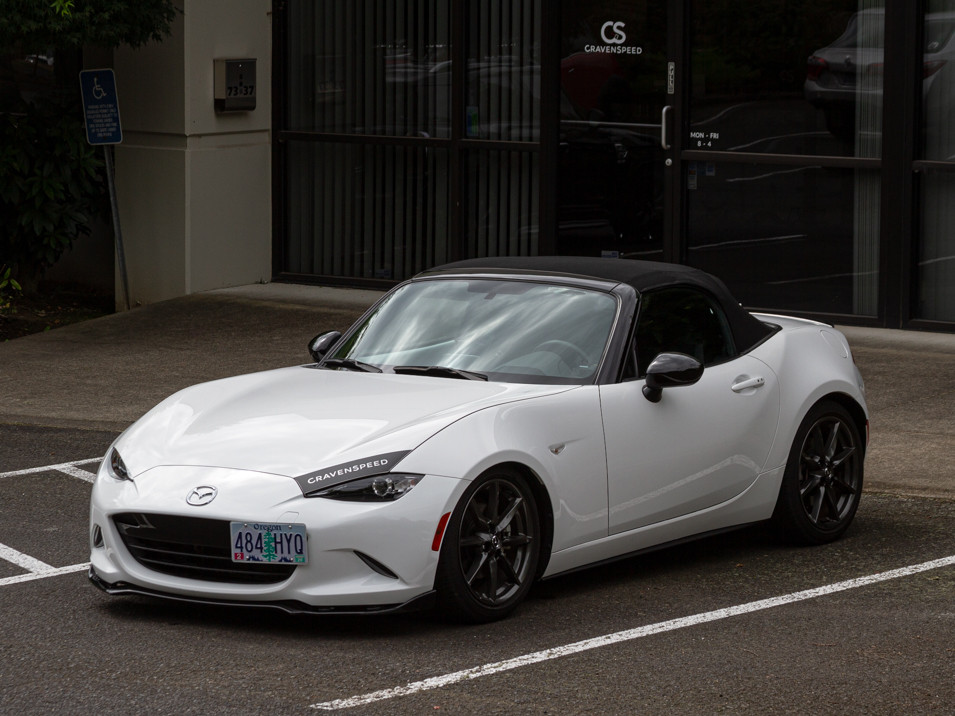
THANK YOU
for purchasing the CravenSpeed Graphics Kit for the ND Miata! This product is made from the highest grade materials and is guaranteed to be free from defects.
You can buy our
CravenSpeed CravenSpeed Graphics Kit for ND MX-5 Miata here
Parts Included:
-
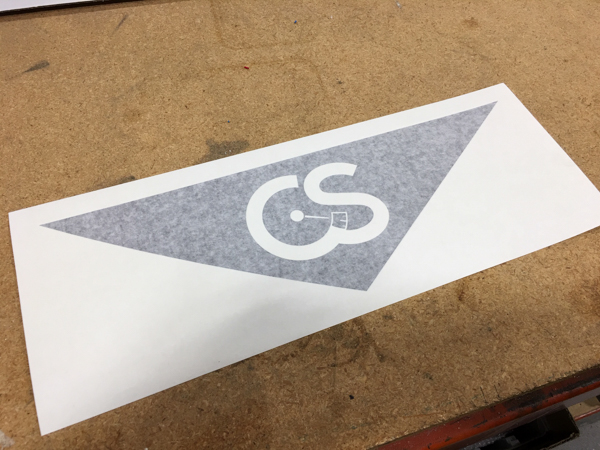
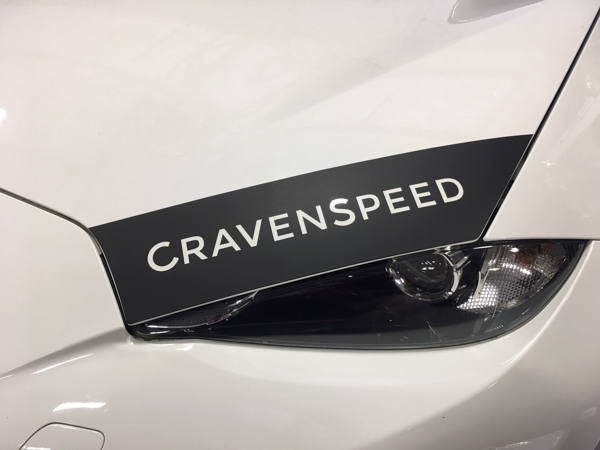
1 x Hood Corner Decal
-
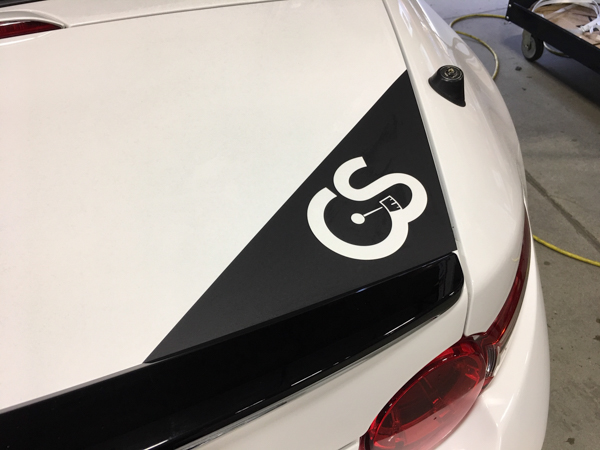
1 x Trunk Corner Decal
Tools Required:
-
Denatured or Isopropyl Alcohol
-
Soft, Lint-Free Cloth
-
Squeegee
-
Utility Spray Bottle
-
Dish Soap
-
H2O
-
X-acto Knife or Scissors
NOTE:
Installing vinyl decals may seem like an intimidating task, but we have developed this instructional guide to make the process much easier than it sounds. In the unlikely event your decal application goes awry, we offer one-time $5 mulligan kit on each purchase made directly through the CravenSpeed.com website. Just contact support@cravenspeed.com for help.
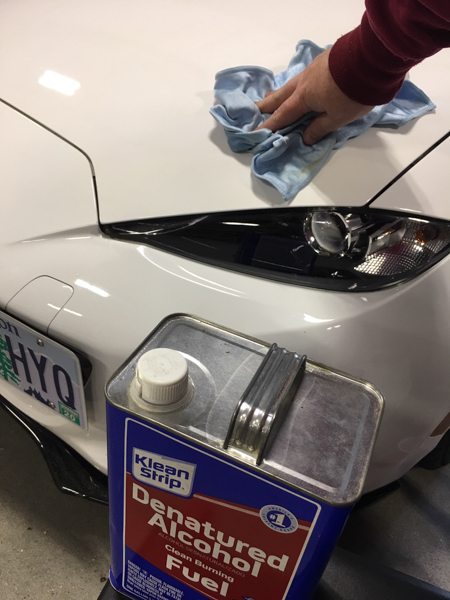
Prep the Vehicle Surfaces
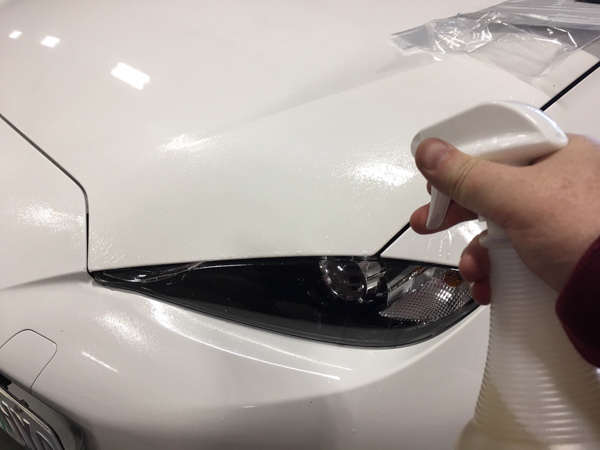
Let’s begin by giving your MX-5 a thorough cleaning in preparation for the hood and trunk decals. Once the surface is dry, wipe down the area again with some denatured alcohol applied to a soft cloth. (Isopropyl alcohol is an acceptable substitute)
Mix Your Decal Install Solution
Grab a utility spray bottle, fill it with water and add a couple very small drops of dish soap to it. Give it a good shake to mix up the solution and set it within arms reach for use while applying the decals.
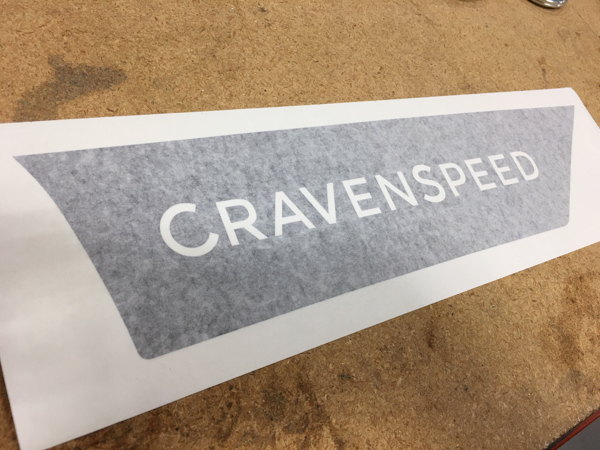
Prepare the Decals for Install
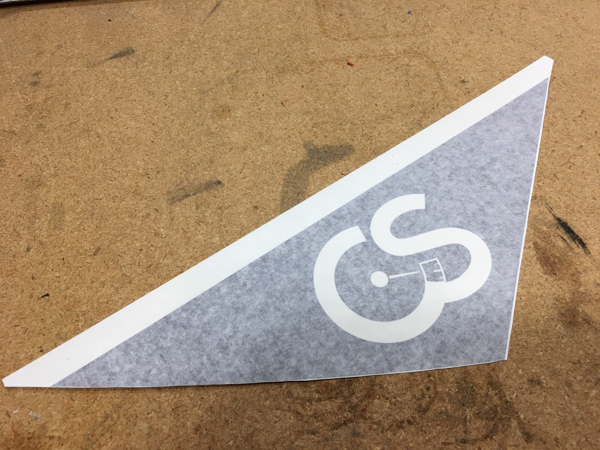
-
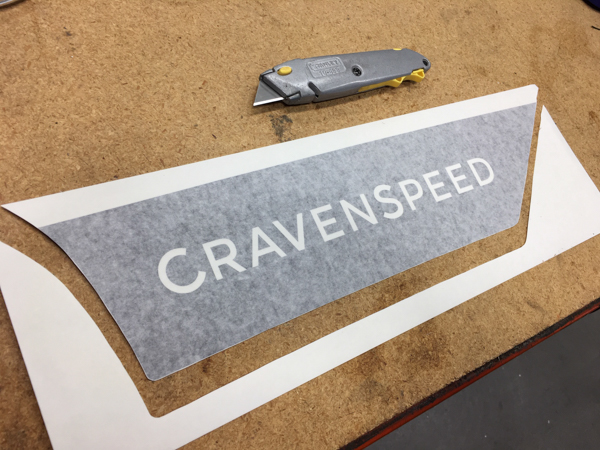
Lay out the decal on a flat work surface and using an X-acto knife or scissors, trim the lower edges of the backing paper to within 1-2mm of the vinyl. Take care that you do not accidentally nick the decal.
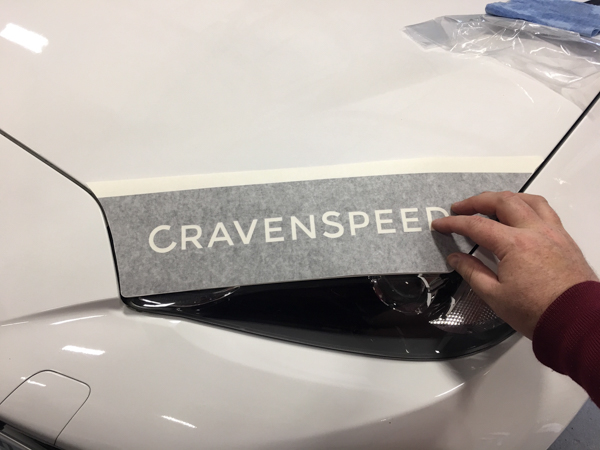
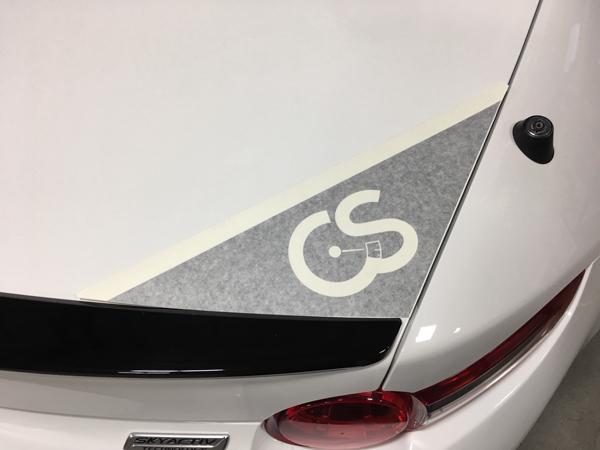
-
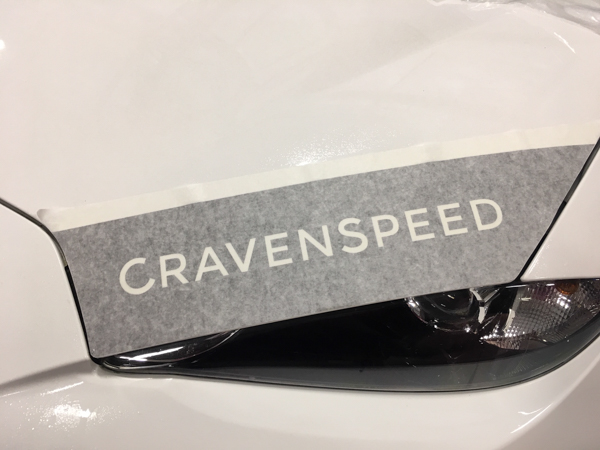
Bring the decals over to your MX-5 and set them against the surface where they’ll be positioned to check fitment. Front driver corner and rear passenger side trunk corner. Line up the lower edges of the decal so they are right against the edges of the body panel. If for some reason the decal does not to match edges as close as you’d prefer, utilize some scissors and adjust the decal to fit. Temporarily removing the antenna will give you a bit more room to work around the rear end of your MX-5.
Apply the Decals to the Car
-
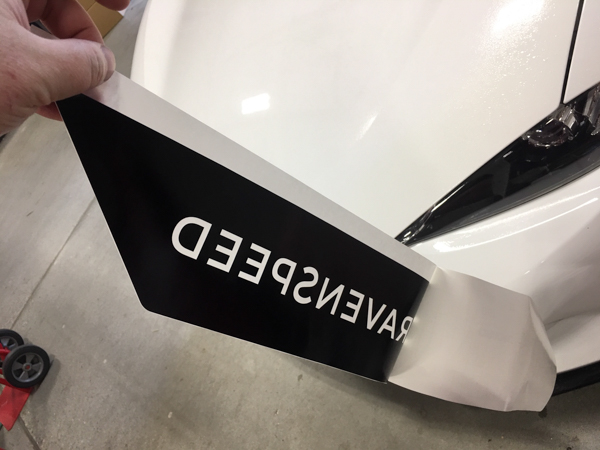
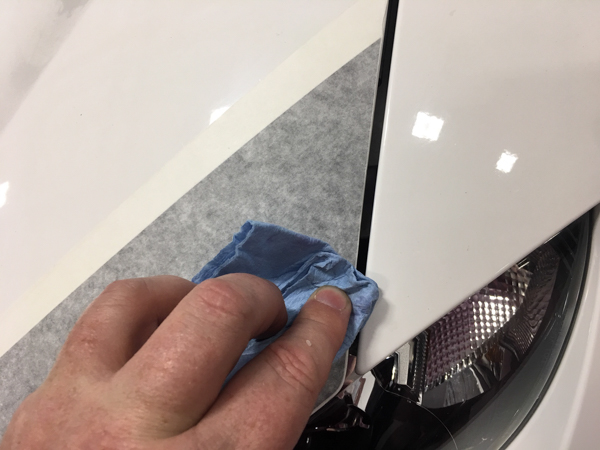
Set the decal aside and wipe down the body panel one final time with a soft, lint-free cloth. Peel the decal completely off of its backing so that the sticky adhesive is exposed, taking care that nothing bumps into the adhesive side while handling the decal.
-
Take your utility bottle and spray an even coat of your soap/water solution to both sides of the decal. It doesn’t need to be completely soaked… it just needs enough for you to be able to readjust the decal if you don’t set it down perfectly straight on the first try. Spray some of the soap/water solution onto the top surface of the body panel as well.
-
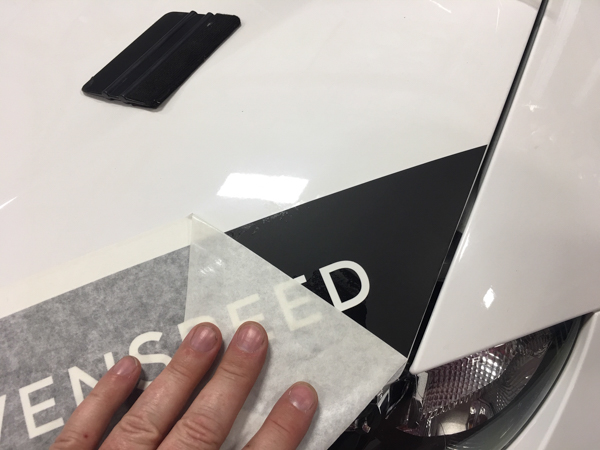
Hold the decal by the transfer paper and gently set it down onto the body panel. Your soap/water solution should give you the ability to either pull the decal up again or slide it around to line it up precisely.
-
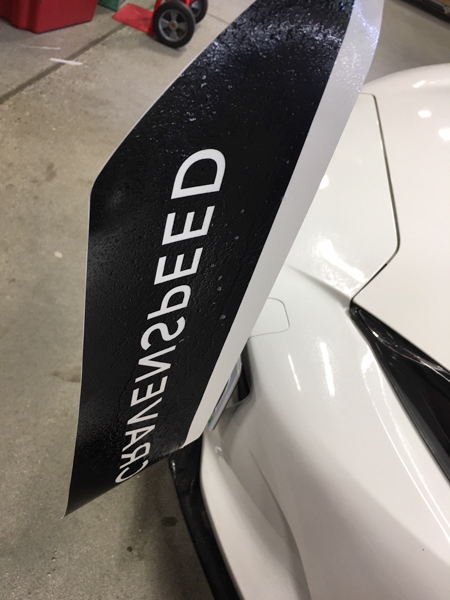
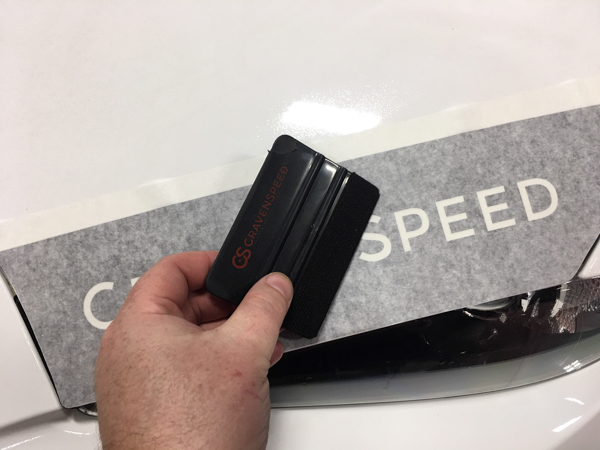
When you’re satisfied with its positioning, start from the middle and gently squeegee the soap/water solution out from under the decal. Use the soft, lint-free cloth to clean up any excess solution while you work the decal down.
-
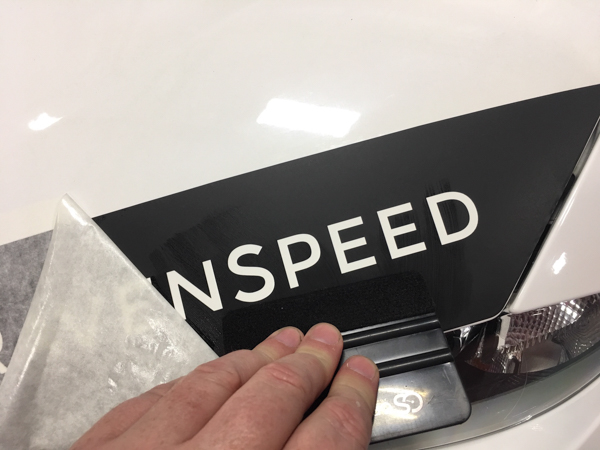
After the decal is completely squeegeed, go take a quick 10-20 minute break to let some of the solution evaporate and allow the decal to adhere a bit. When you come back, give the decal one more good going-over with the squeegee and then starting from one side, begin to peel the transfer paper off of it. Pull the paper back upon itself at an extreme angle to minimize the potential of lifting the decal off the surface.
-
If parts of the decal do begin to pull up with the transfer paper.. don’t be too concerned. Apply the felt side of the squeegee directly onto the decal and press it back down. NOTE: The plastic blade of the squeegee is fine for pressing against the transfer paper, but once the vinyl is exposed, only use the felt-wrapped side as it will be less likely to scratch the vinyl.
-
Once you have the transfer paper completely removed, inspect the decal for any creases or solution bubbles. If you have any, use your squeegee to work the bubbles to the edge of the decal and then soak up the solution with the soft, lint-free cloth.
-
For pesky bubbles that don’t want to slide to the edge, try to combine them by pushing them toward one another and then piercing the vinyl with your x-acto knife. You should then be able to squeegee the solution out through this tiny hole. Any minor bubbles or surface imperfections that you can’t seem to eliminate should disappear over the next couple of weeks as the solution evaporates and the vinyl decal shrinks a bit. Leaving the car exposed in the sun will help speed up this process.
Congratulations… your install is complete! Stand back and admire your handiwork!