THANK YOU
for purchasing the MINI F56 FlexPod Gauge Mount from CravenSpeed. This product is made from the highest grade materials, and is guaranteed to be free from defects.
You can buy our
CravenSpeed Flexpod Gauge Mount for MINI Gen 3 here
Use this bracket to mount gauges and see exactly what is going on in the engine of your 3rd generation MINI F56. This kit is designed to allow the driver to position gauges on the steering column without the need to drill elsewhere into your precious Gen 3 MINI Cooper.
It is important to note that this CravenSpeed Pro Series Mount is
compatible only with F56 MINI Cooper vehicles
.
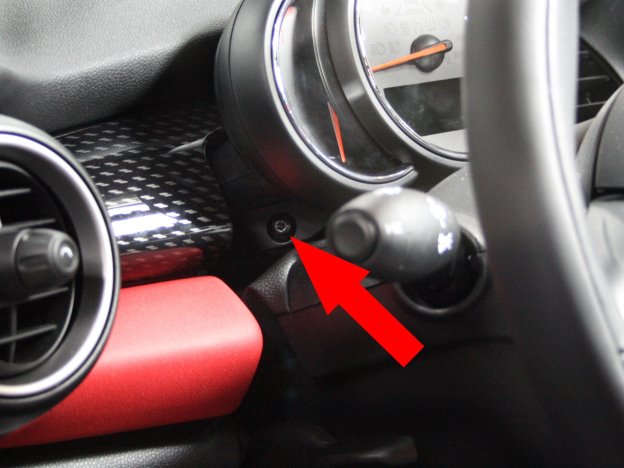
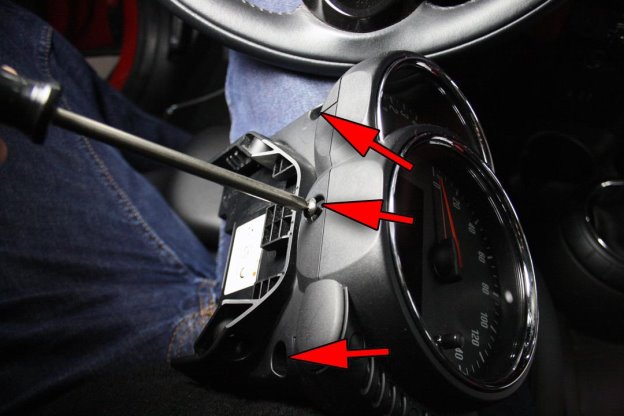
There are two Torx screws hiding underneath small rubber caps holding the factory instrument cluster in place. First remove the caps and then the screws--one on each side. Use T-20 Torx Driver.
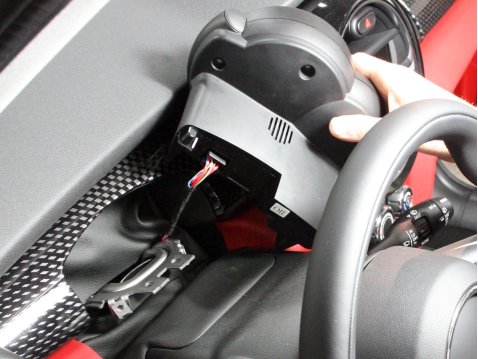
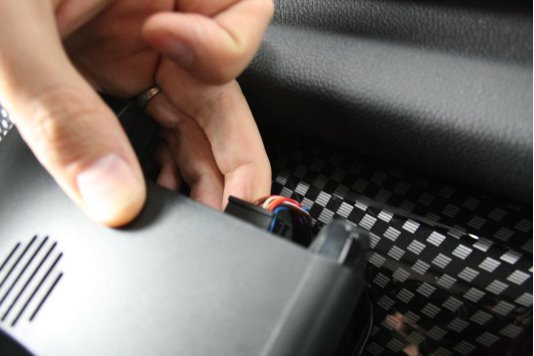
Slide the tach towards you, and remove the electrical plug from the rear of the factory instrument cluster to free it completely.
There is a small tab on the connector that, unless depressed, will keep it connected to the factory instrument cluster. This connector can be stubborn, so be patient so as not to break the locking tab.
On cars with heads-up-display (HUD), there will be an additional wire that
can not
be disconnected, in which case, installation will have to be done more carefully not to put too much stress on the wires.
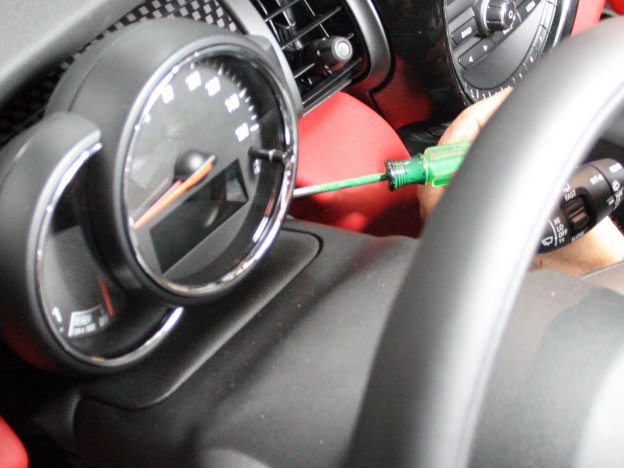
Remove the 3 factory screws from the bottom of the factory instrument cluster. Note that some are deep. Use a Phillips head driver.
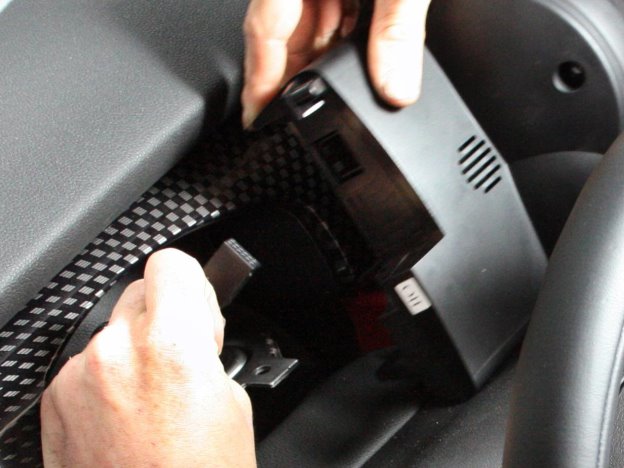
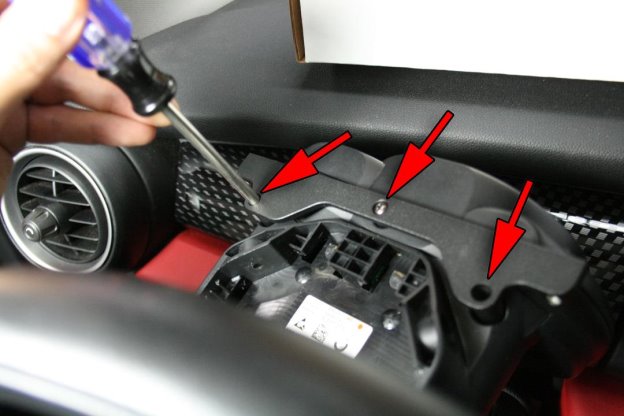
Now grab the main bracket from your CravenSpeed FlexPod Gauge Mounting Kit and place it on the factory instrument cluster. Using the provided screws, tighten it down. (Note: These screws are slightly thicker than the OEM screws, and all three are the same length) Once the bracket is secure (no wiggle) do not continue to tighten, as this will just strip out the plastic housing.
Re-connect the electrical clip, slide your tach back into place and put the screws on both sides back into place using the same T-20 as before
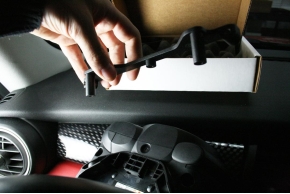
Next, attach the pods to both mounting points using the included socket head cap screws and your 3/16" hex driver.
Put the press-in cap screw plugs over the socket head cap screws for a nice, clean look.
Voila! You did it!
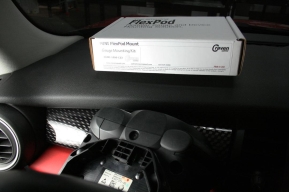
Parts Included:
Tools Required:
Procedure