THANK YOU
for purchasing the Ford F-150 13th Gen Phone Mount from CravenSpeed. All machined components are custom made in the USA from high quality 6061 T6 Aluminum, and are guaranteed to be free from defects.
You can buy our
CravenSpeed Gemini Phone Mount for Ford F-150 13th Gen here
Tools Required:
-
Plastic Panel Tool
-
7mm socket or open/box end wrench
-
Phillips Screwdriver
-
Electric Drill with ¼ bit and ⅛ bit
-
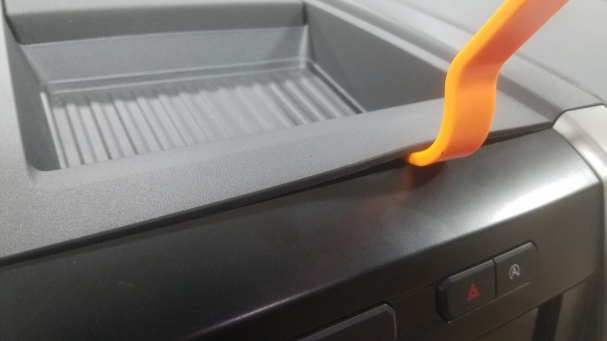
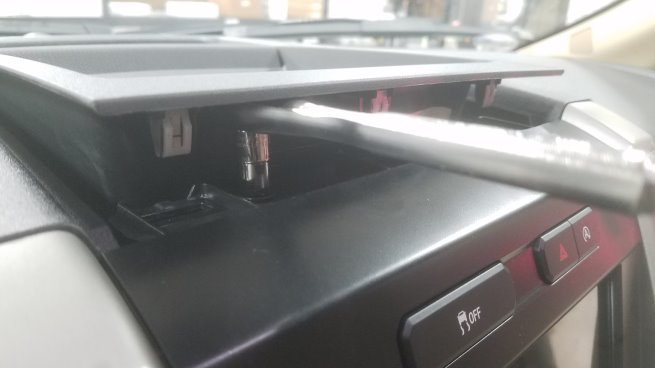
Using the plastic panel tool, or another thin object that will not scratch the plastic, pry at the panel attached to the top of the head unit. 3 plastic clips will pop out.
-
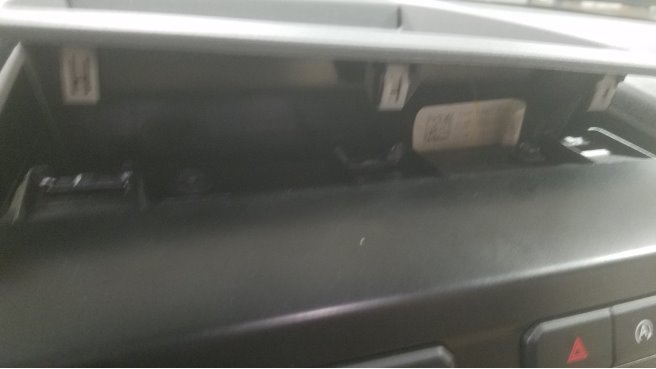
Using your 7mm socket or wrench, unbolt the three bolts holding the head unit in place.
-
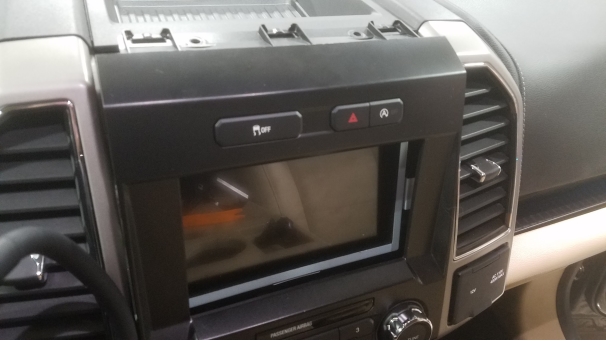
Pry back on the top of the head unit, and unplug the two electrical connectors.
-
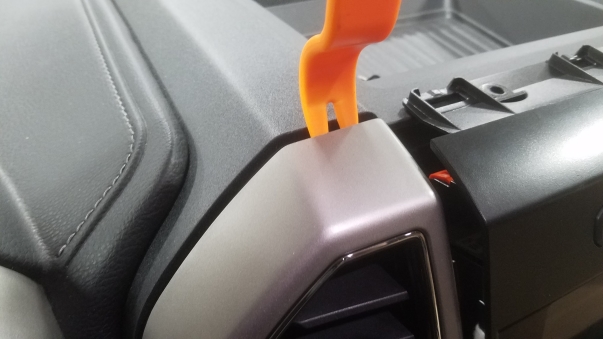
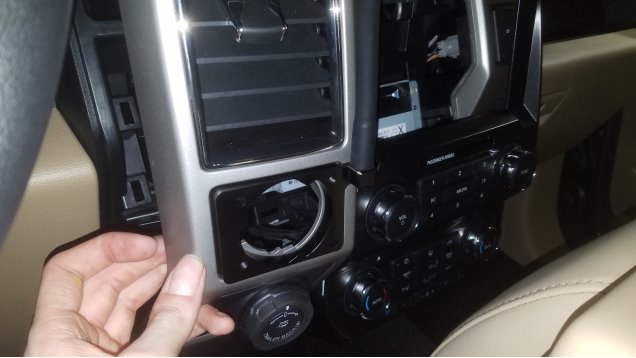
Pull back the plastic column to the left of the head unit containing the vent and 4WD selector. There will be plastic clips from top to bottom. Be firm, but gentle.
-
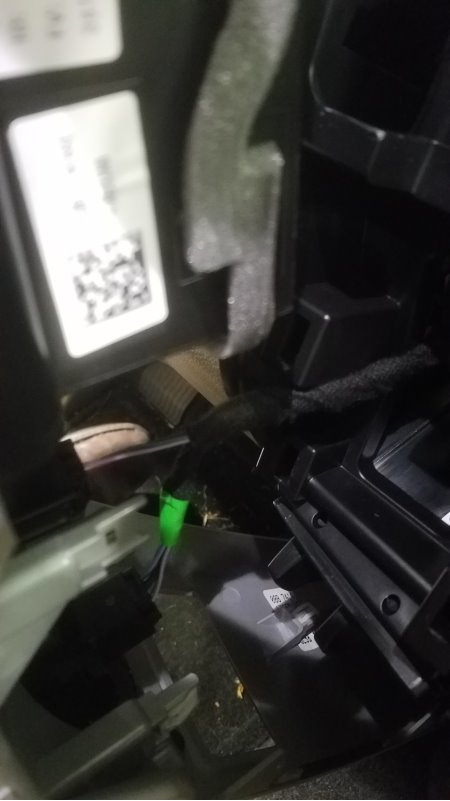
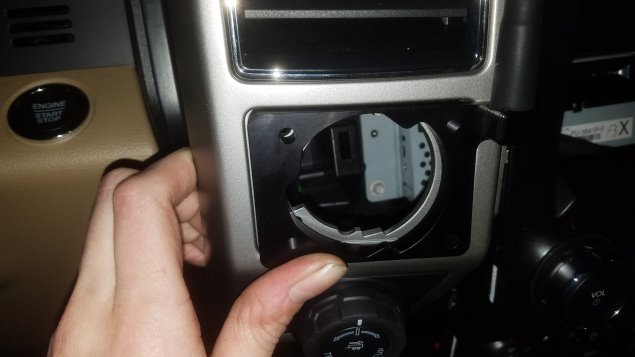
Disconnect the cable on the back of the 4WD selector, and push in the 3 retainers holding the 4WD selector onto the plastic column. These will be tricky to feel around for. Pry from the front face simultaneously so that they don’t slip back into place.
-
Line up the phone mount in the column as shown, and with a small drill bit (1/8 or smaller) scribe through the threaded holes on the mount and onto the plastic to mark where the holes need to be drilled.
-
Slowly drill through the indicated scribe marks with the 1/4 drill.
-
Place the phone mount into the recess with the newly drilled holes, and through the back side of the panel, install the screws.
-
Place the 4WD selector into the phone mount. The 3 tabs should click into place.
-
Reverse steps 1-5, remembering to plug in all of the cables that were disconnected.
-
Place your phone into the phone mount, and you’re done!