THANK YOU
for purchasing the Hyundai Veloster N Gemini Phone Mount from CravenSpeed. This product is made from the highest grade materials and is guaranteed to be free from defects.
You can buy our
CravenSpeed Gemini Phone Mount for Hyundai Veloster N here
Parts Included:
-
1x Gemini Flexarm Phone Mount Assembly
-
1x 1/4-20 x 1.125 L Stainless Cap Head Screw
-
Delete Mount
-
Mount Nut Plate
-
Adhesive Metal Plate
Tools Required:
-
5/32 Hex Wrench
-
3/16 Hex Wrench
-
Phillips Screwdriver
-
Small Flat Head Screwdriver
-
Needle Nose Pliers
-
Trim Panel Removal Tool
-
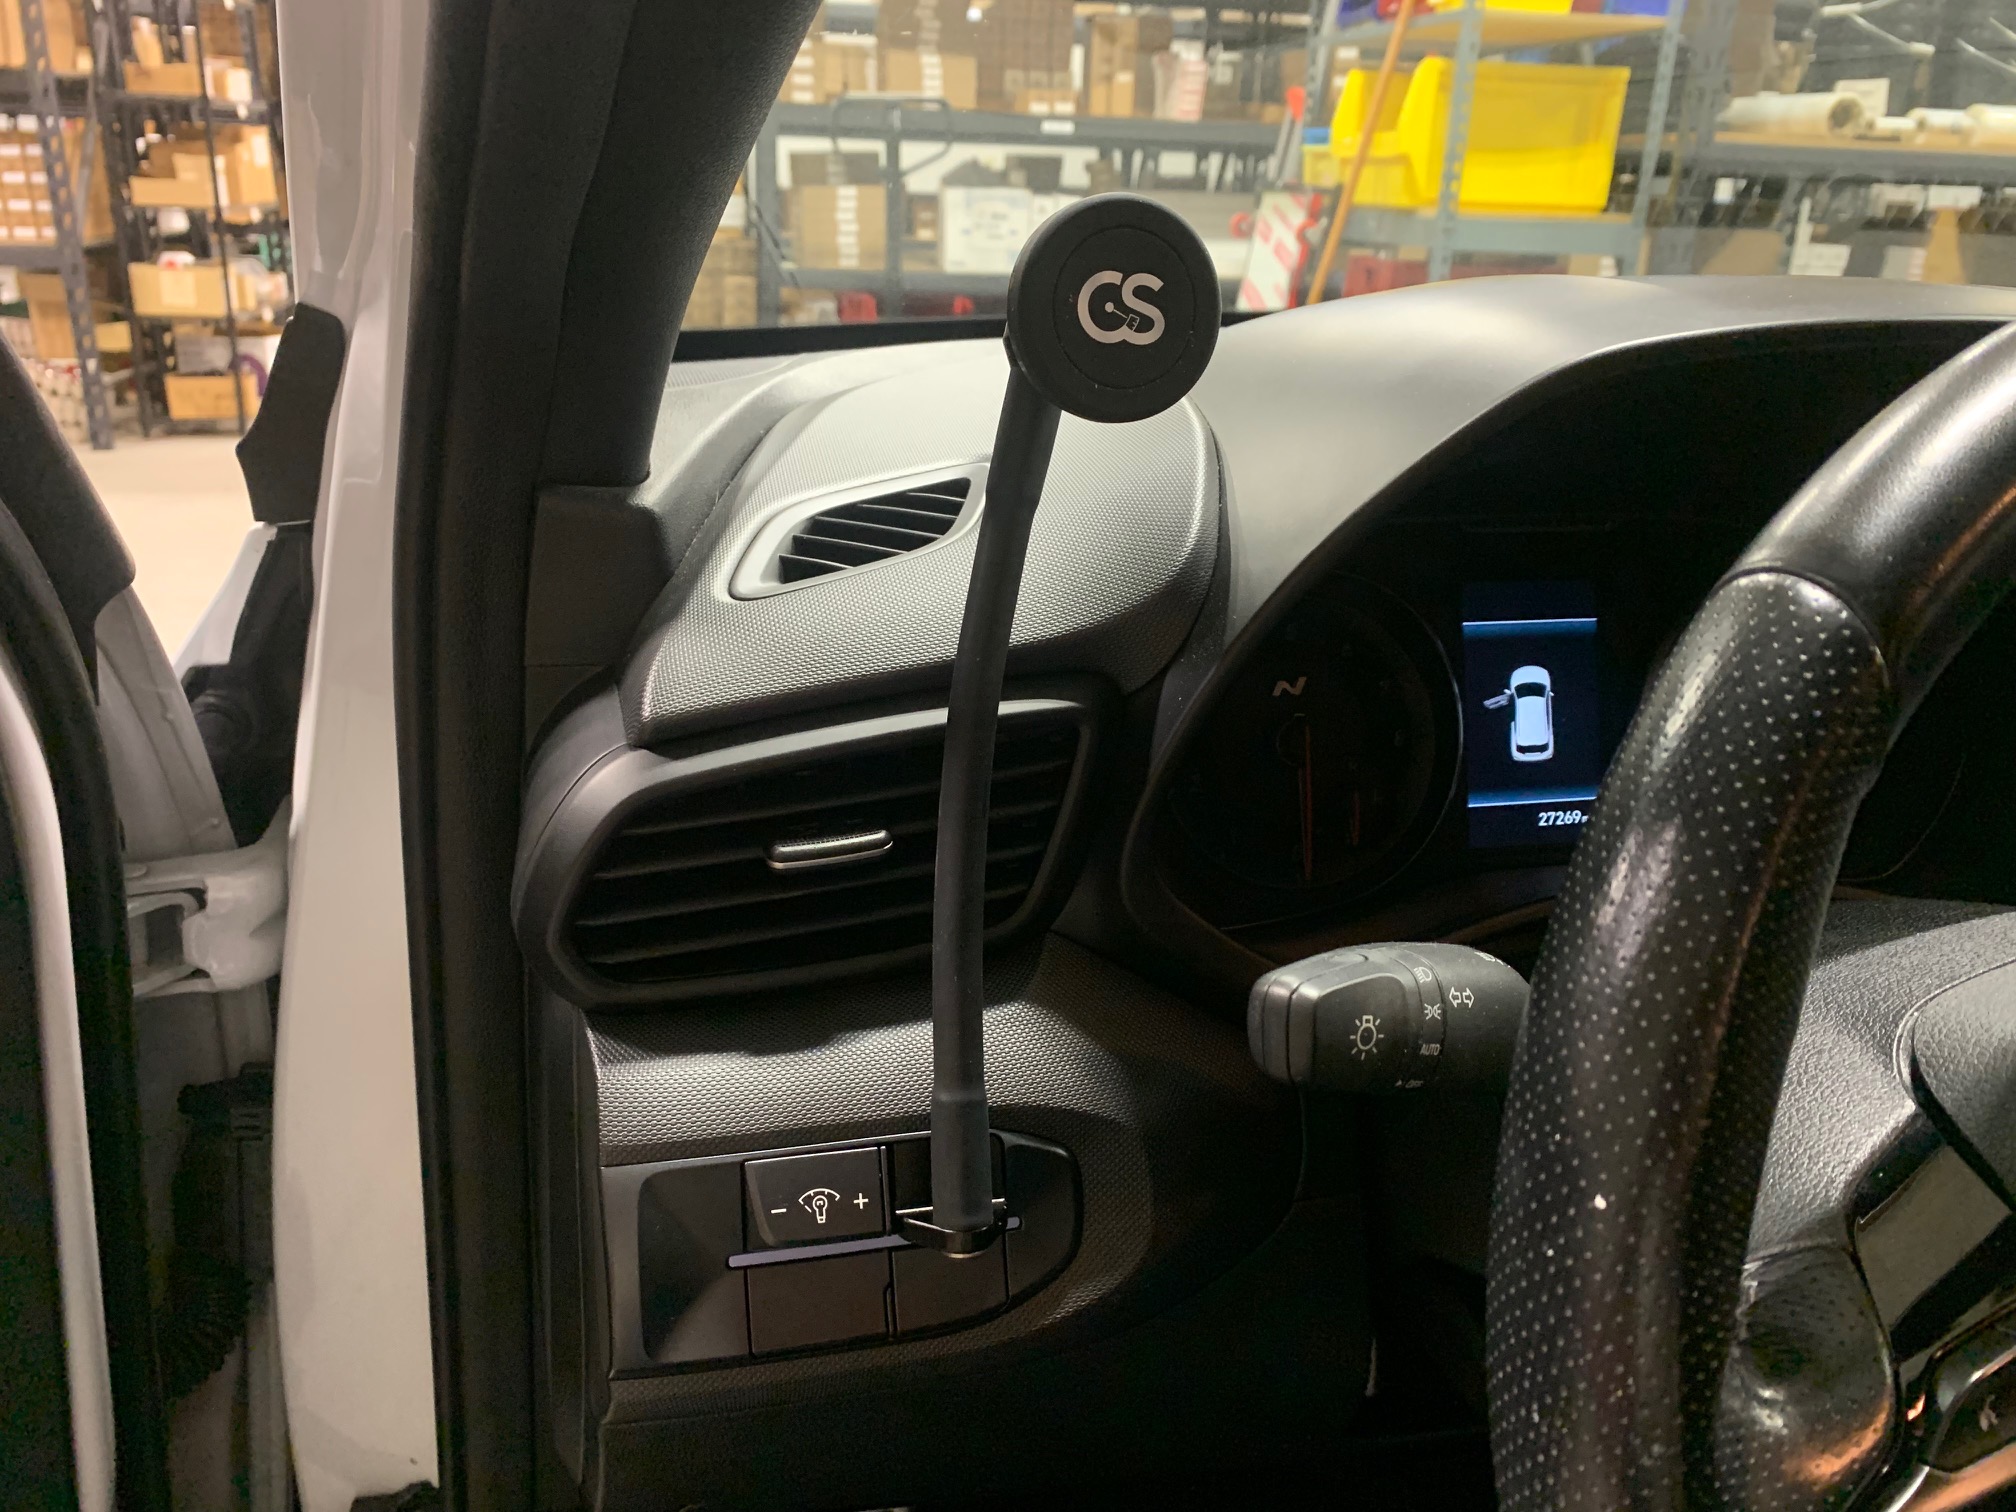
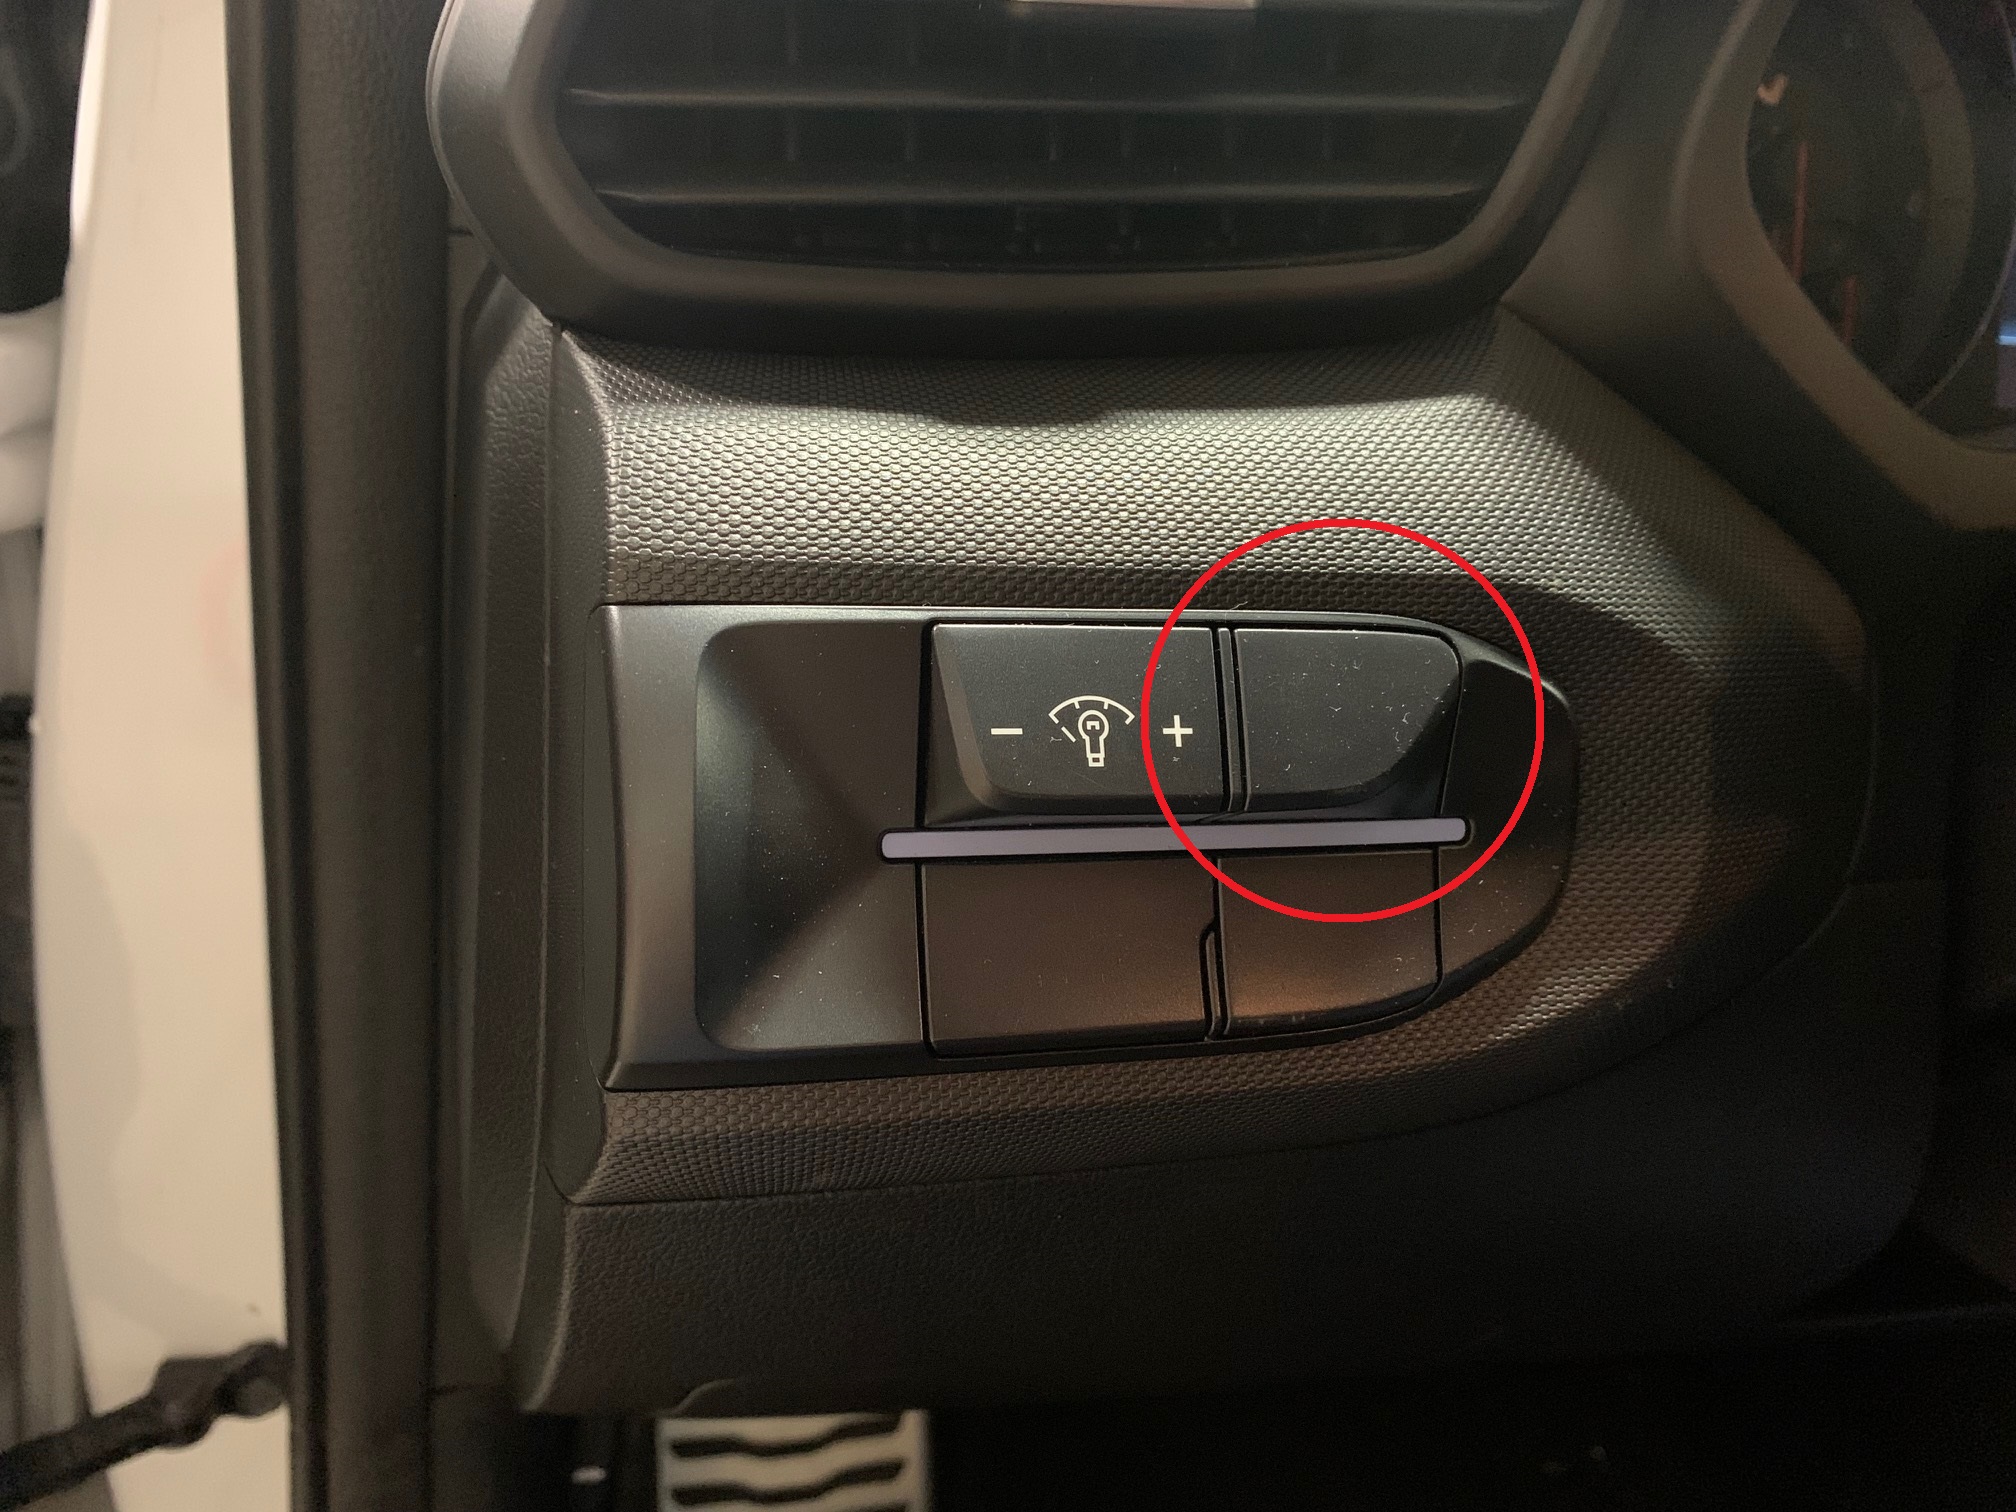
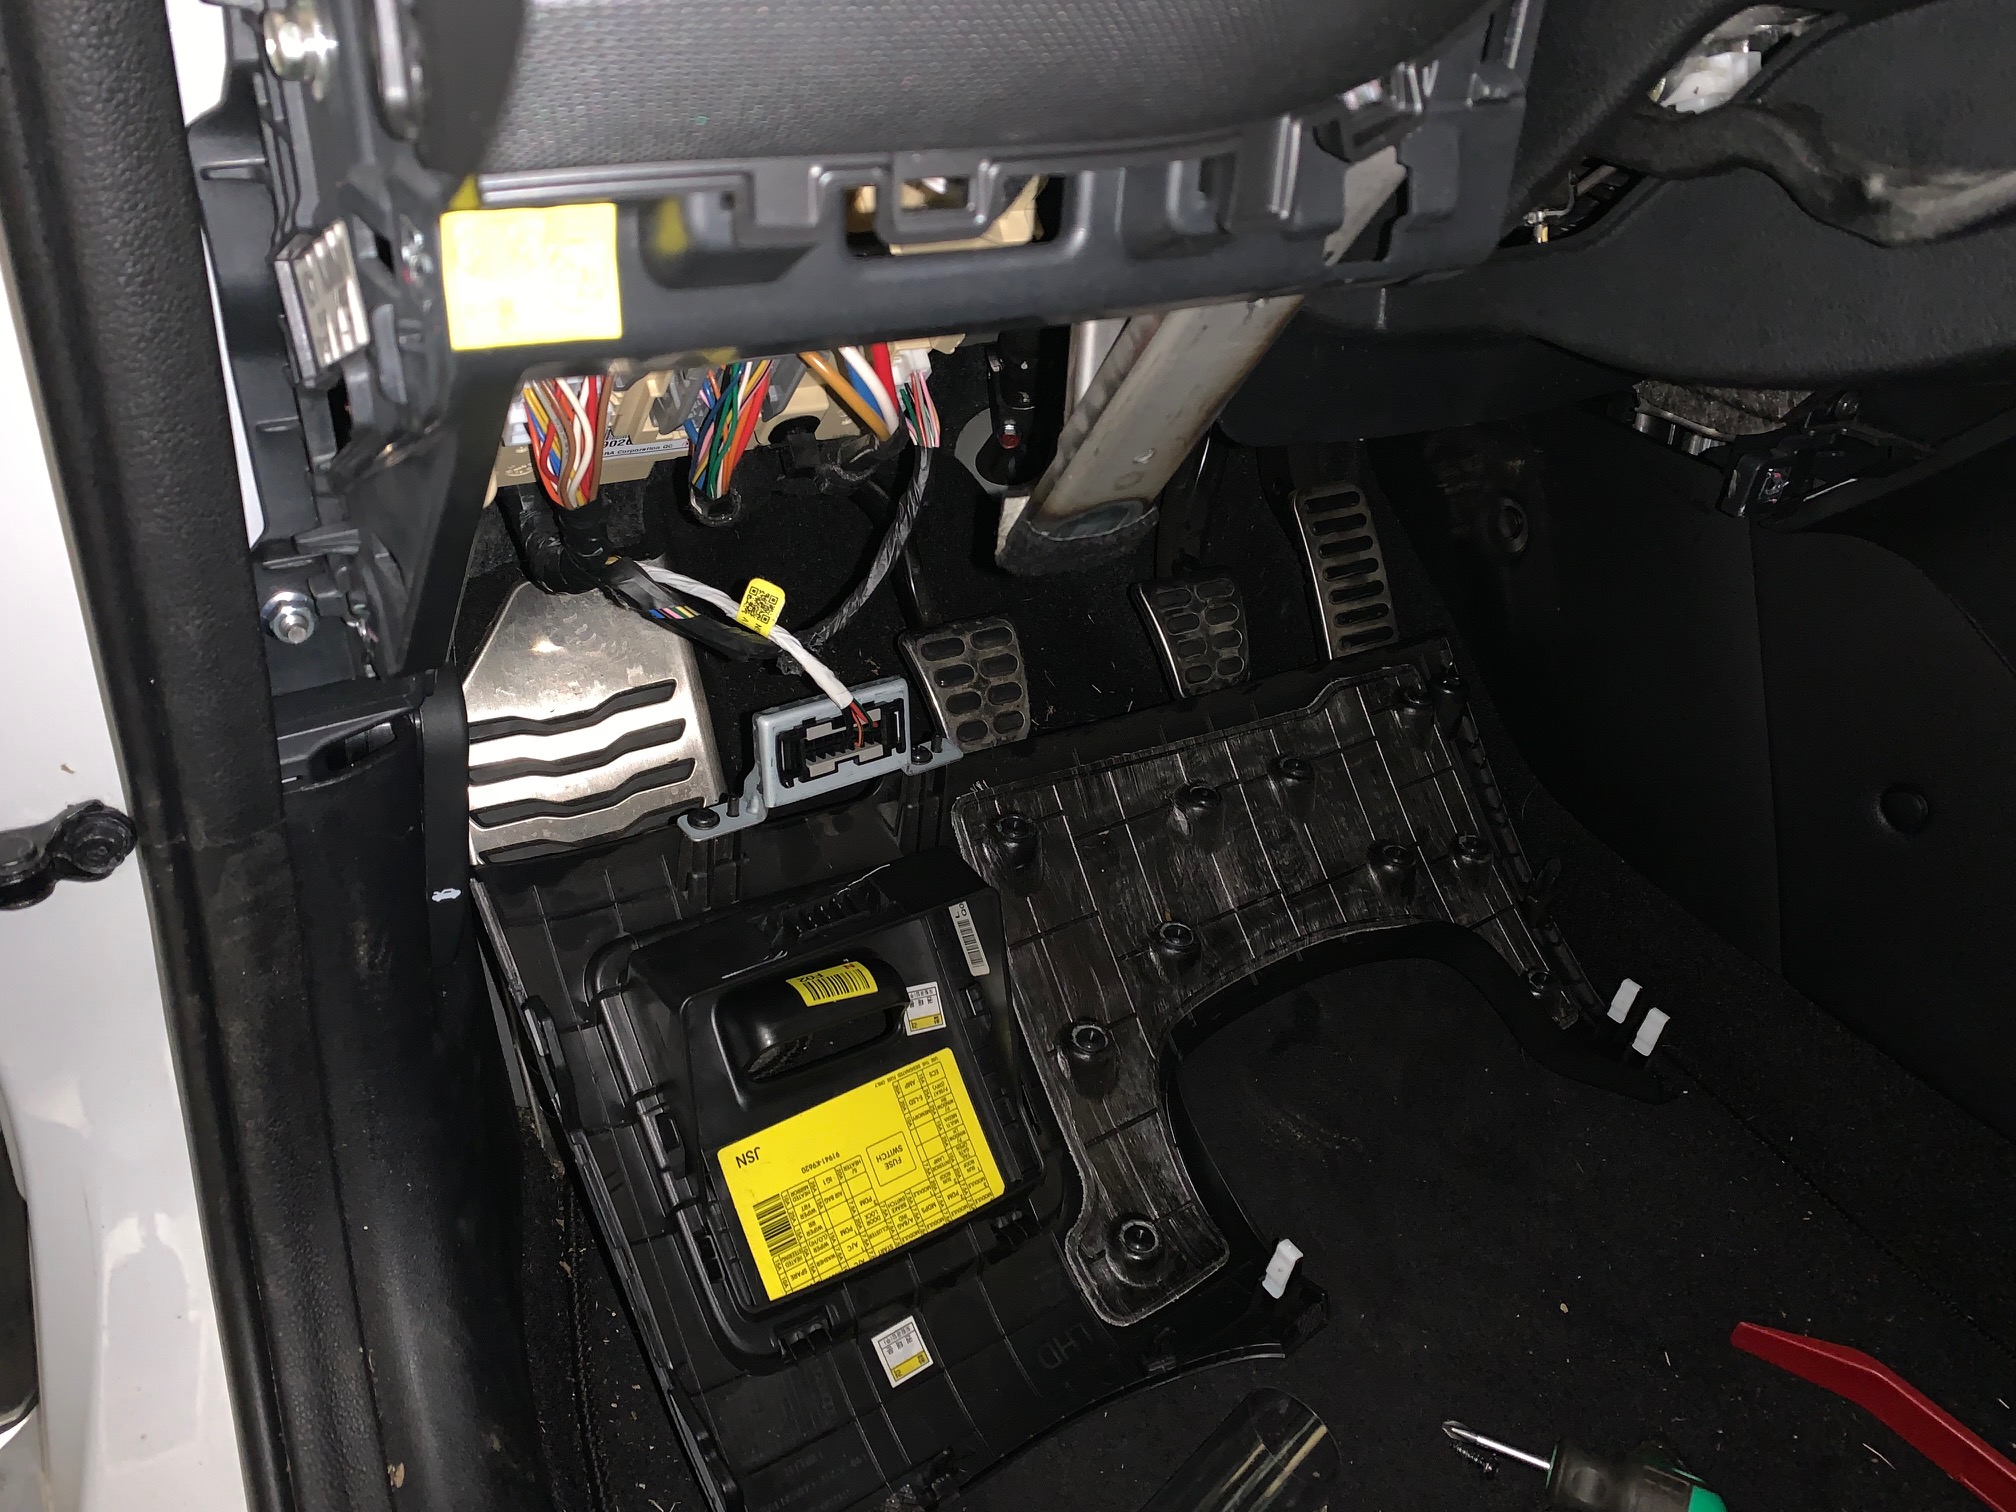
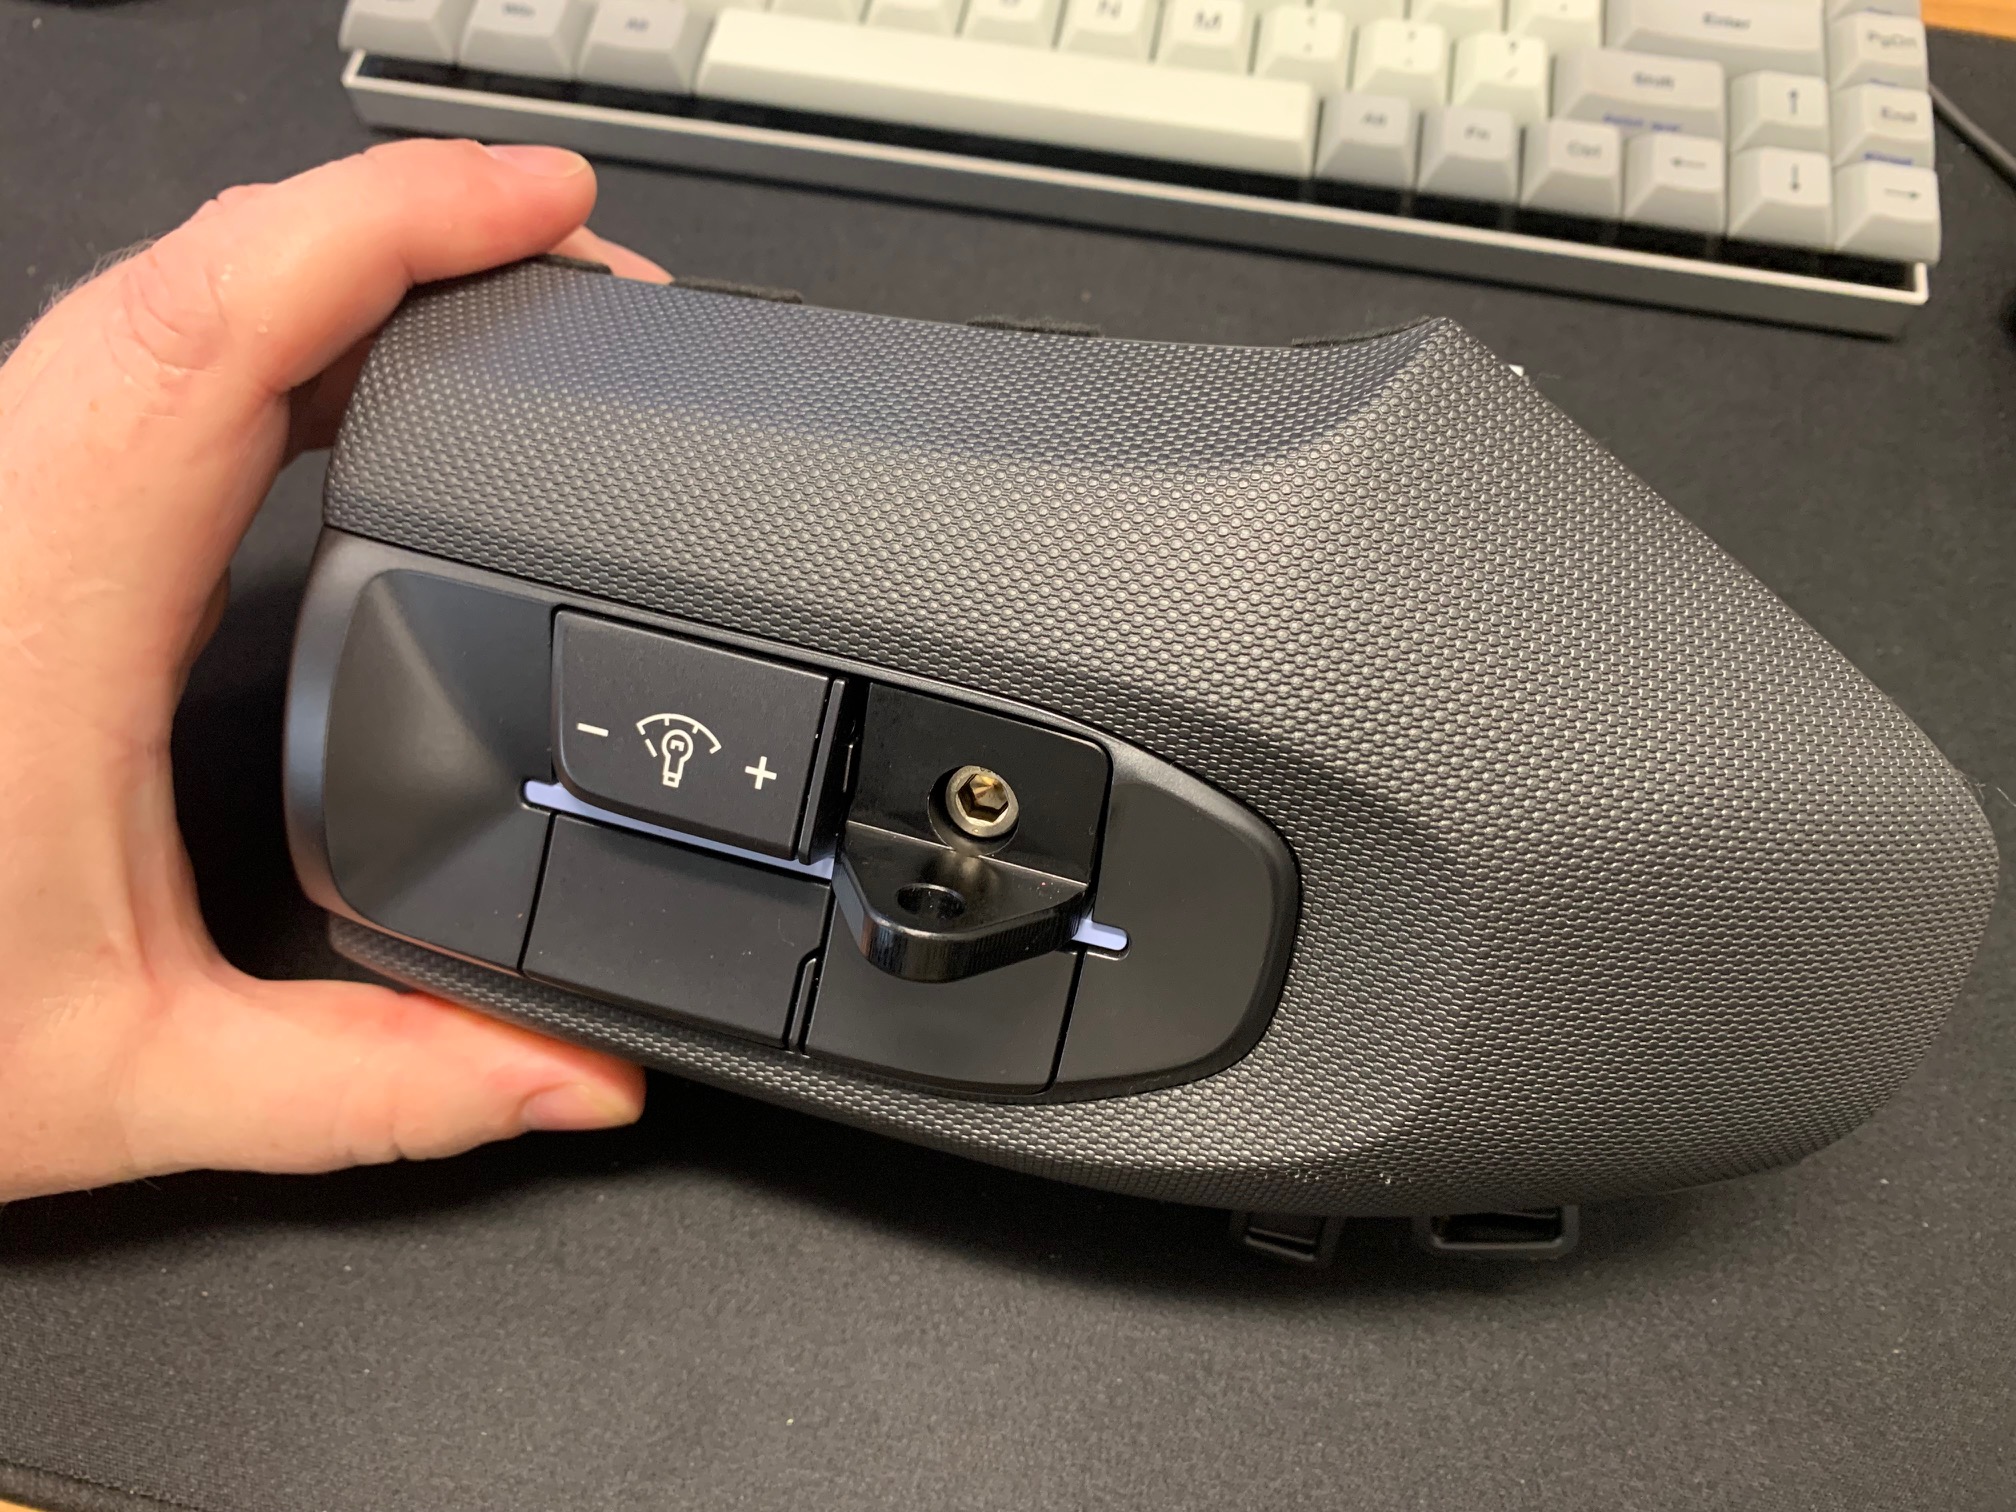
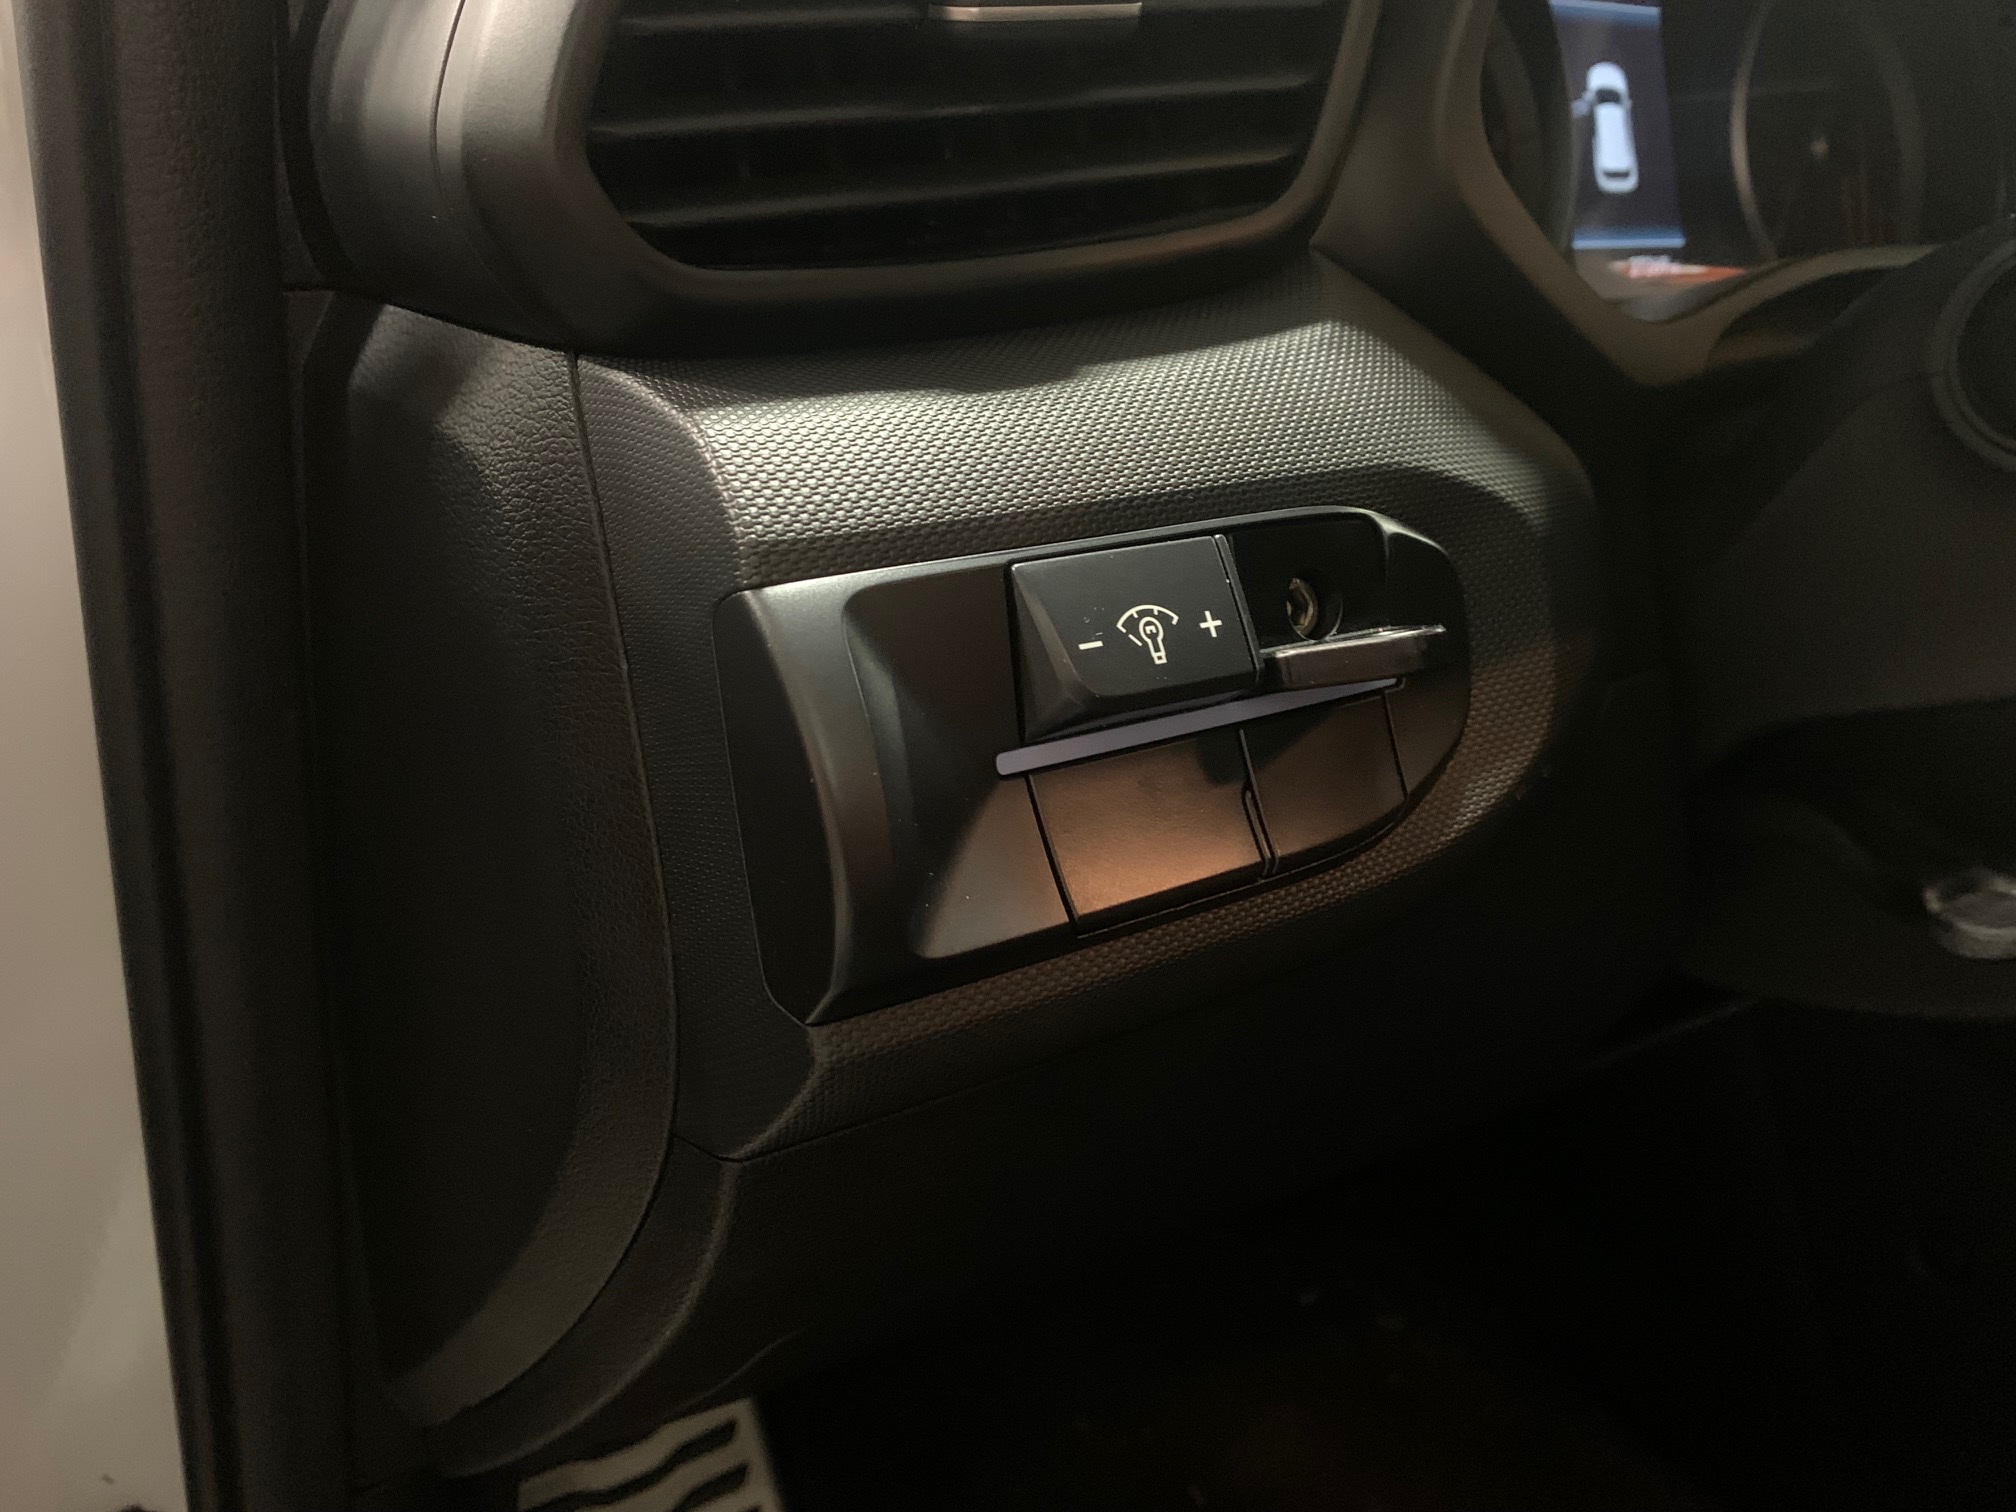
This phone mount is installed into the lower left side instrument panel just to the right of where your dash lighting dimmer switch is located. Even the highest trim-optioned Velosters should have this delete panel available to utilize.
-
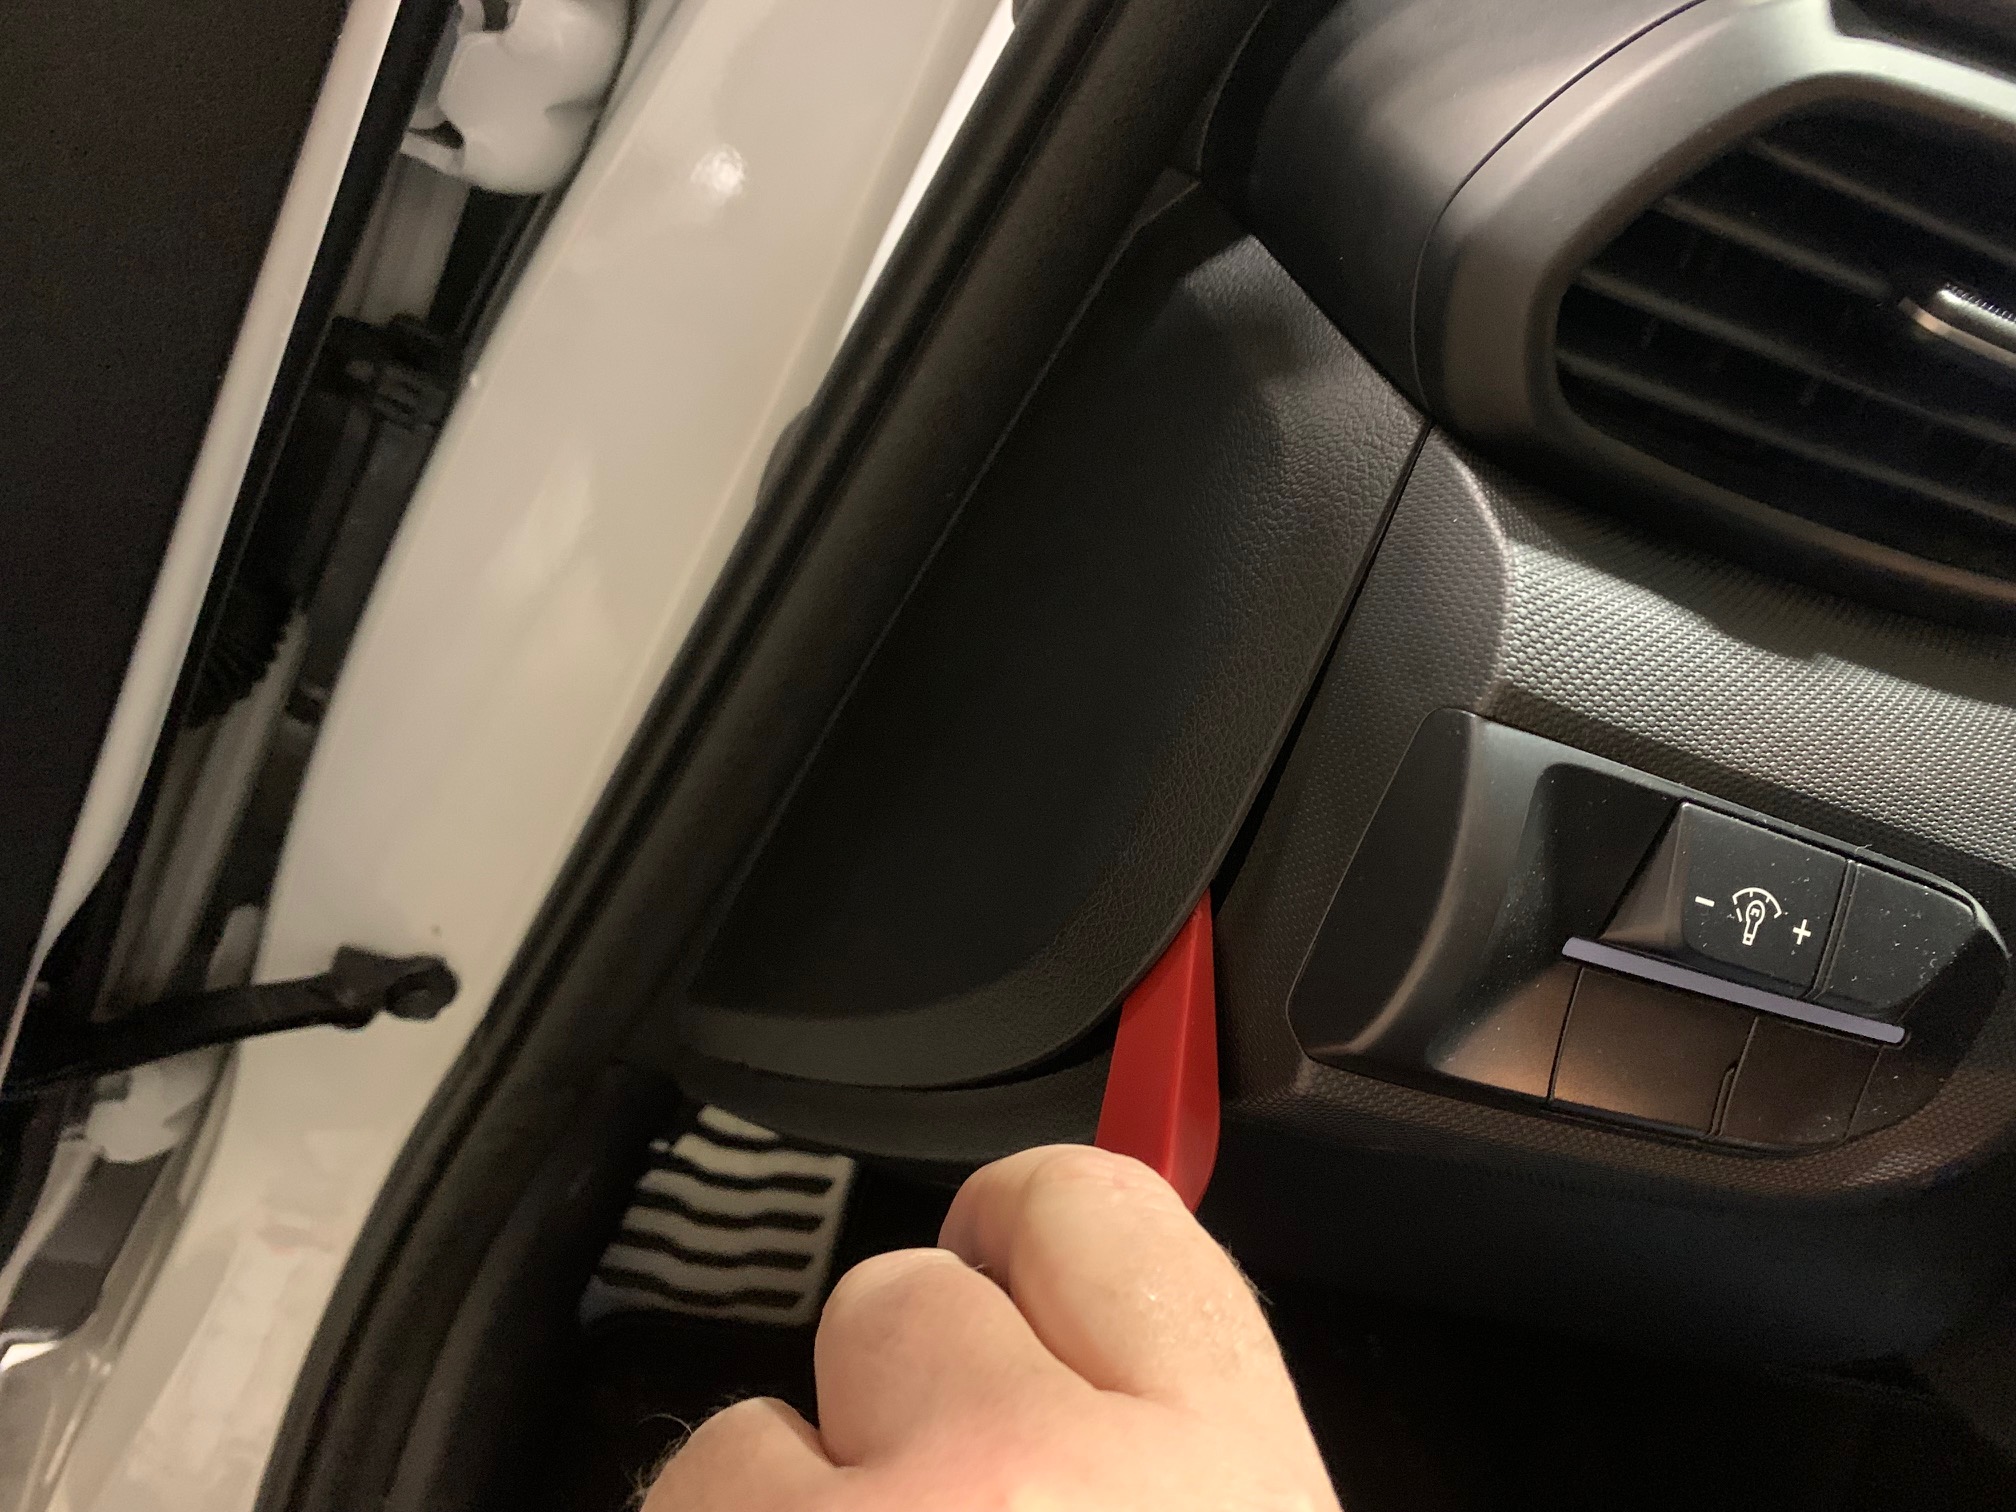
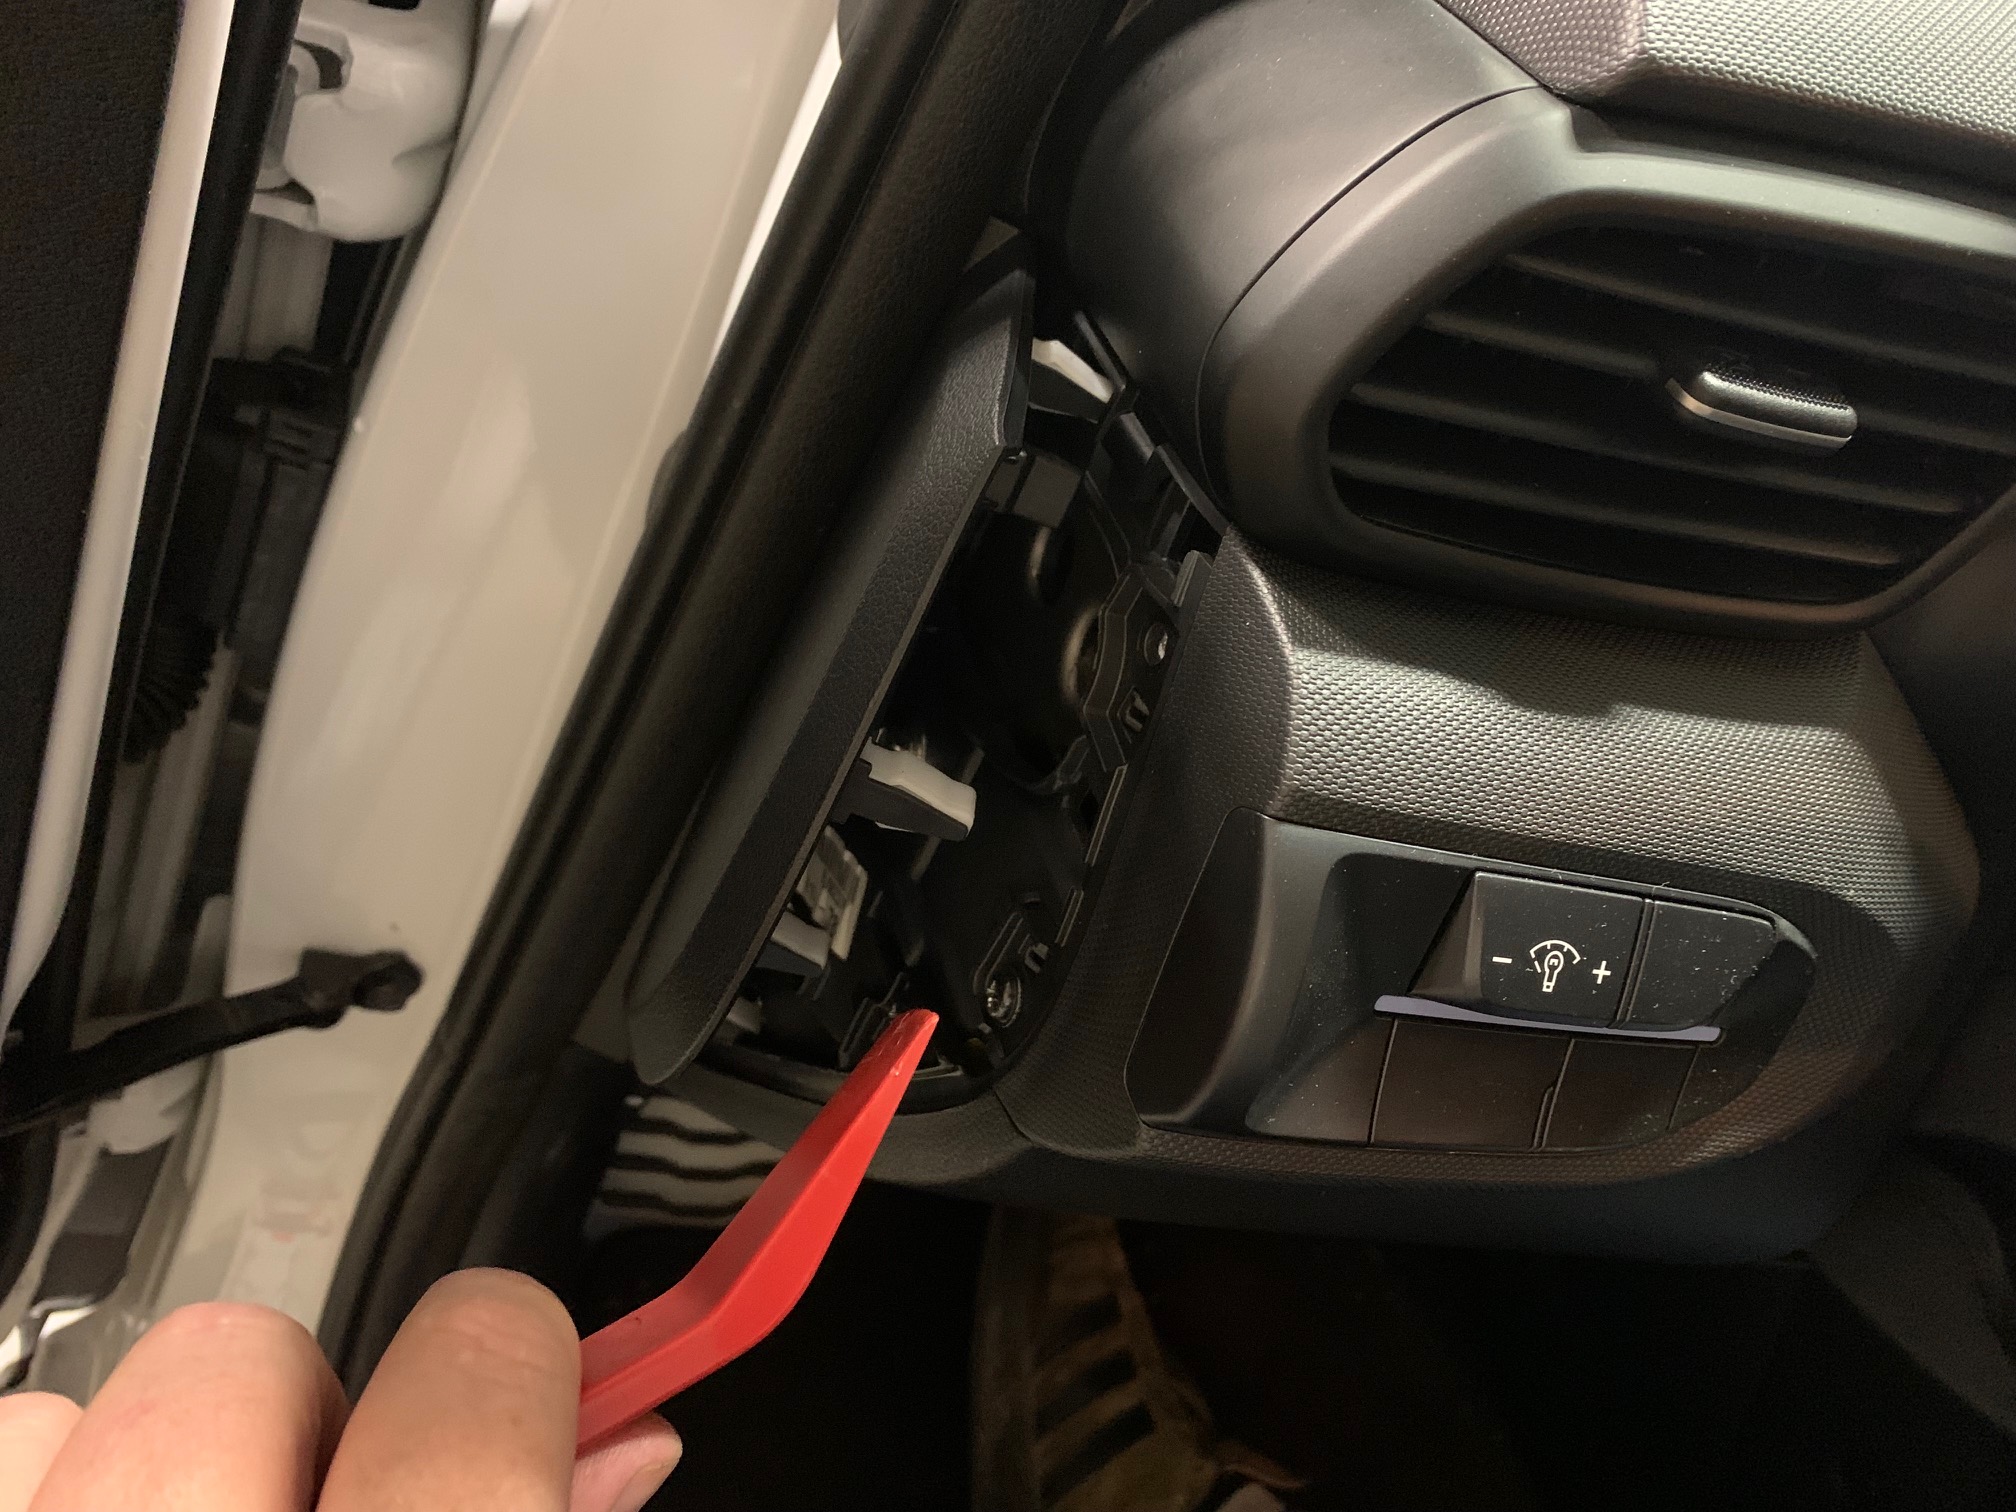
Utilizing a trim panel removal tool, begin by removing the side dash panel.
-
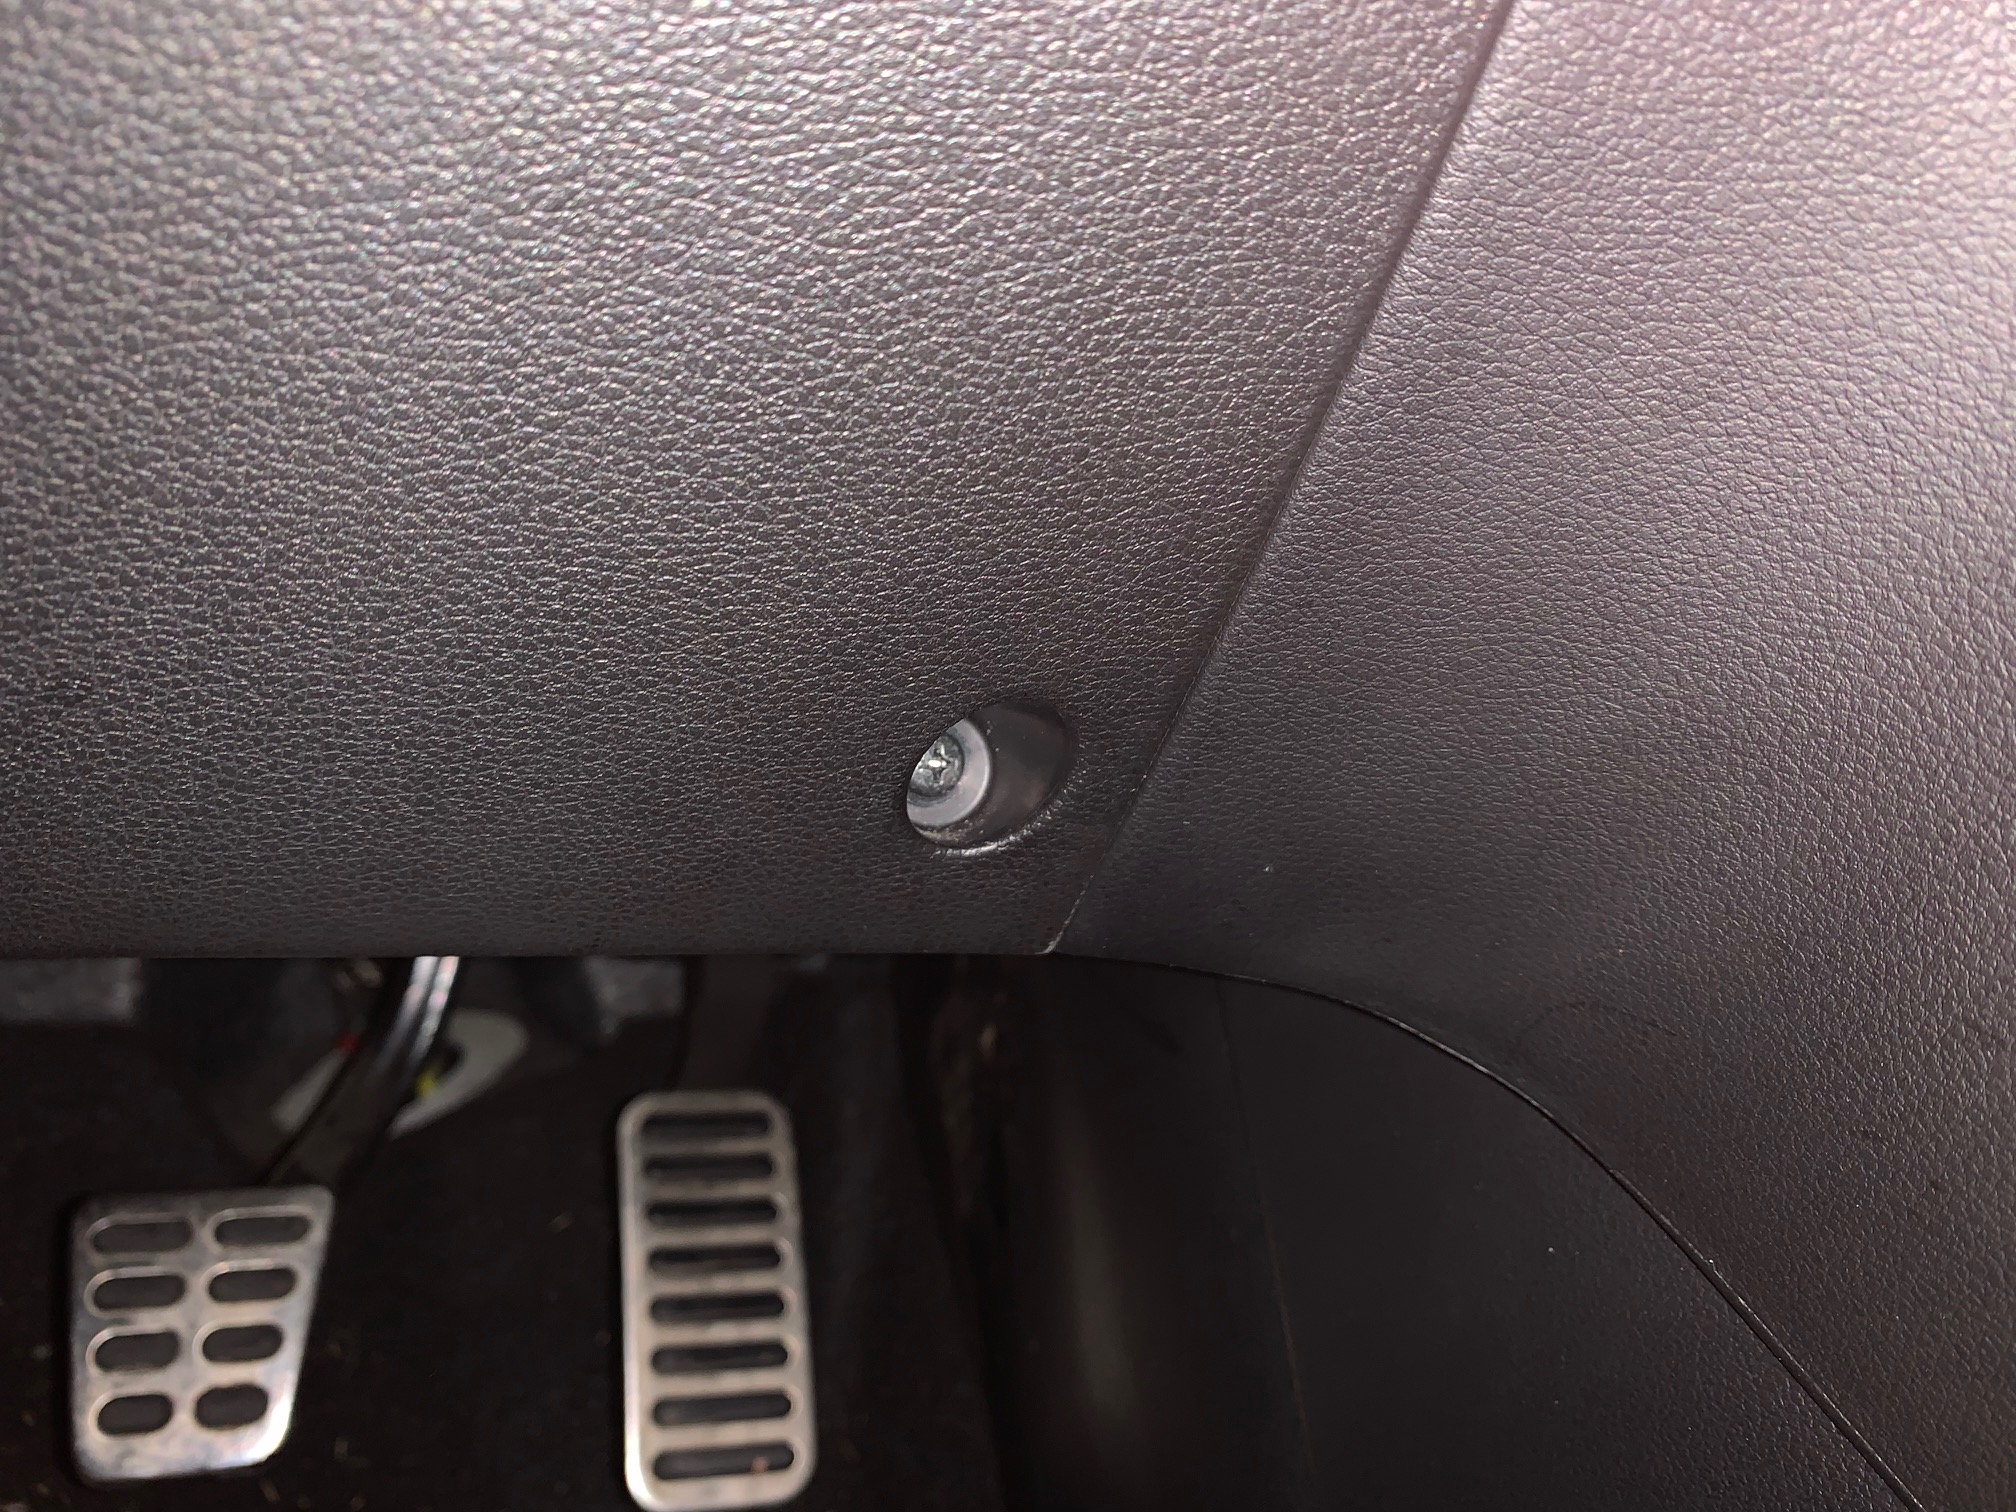
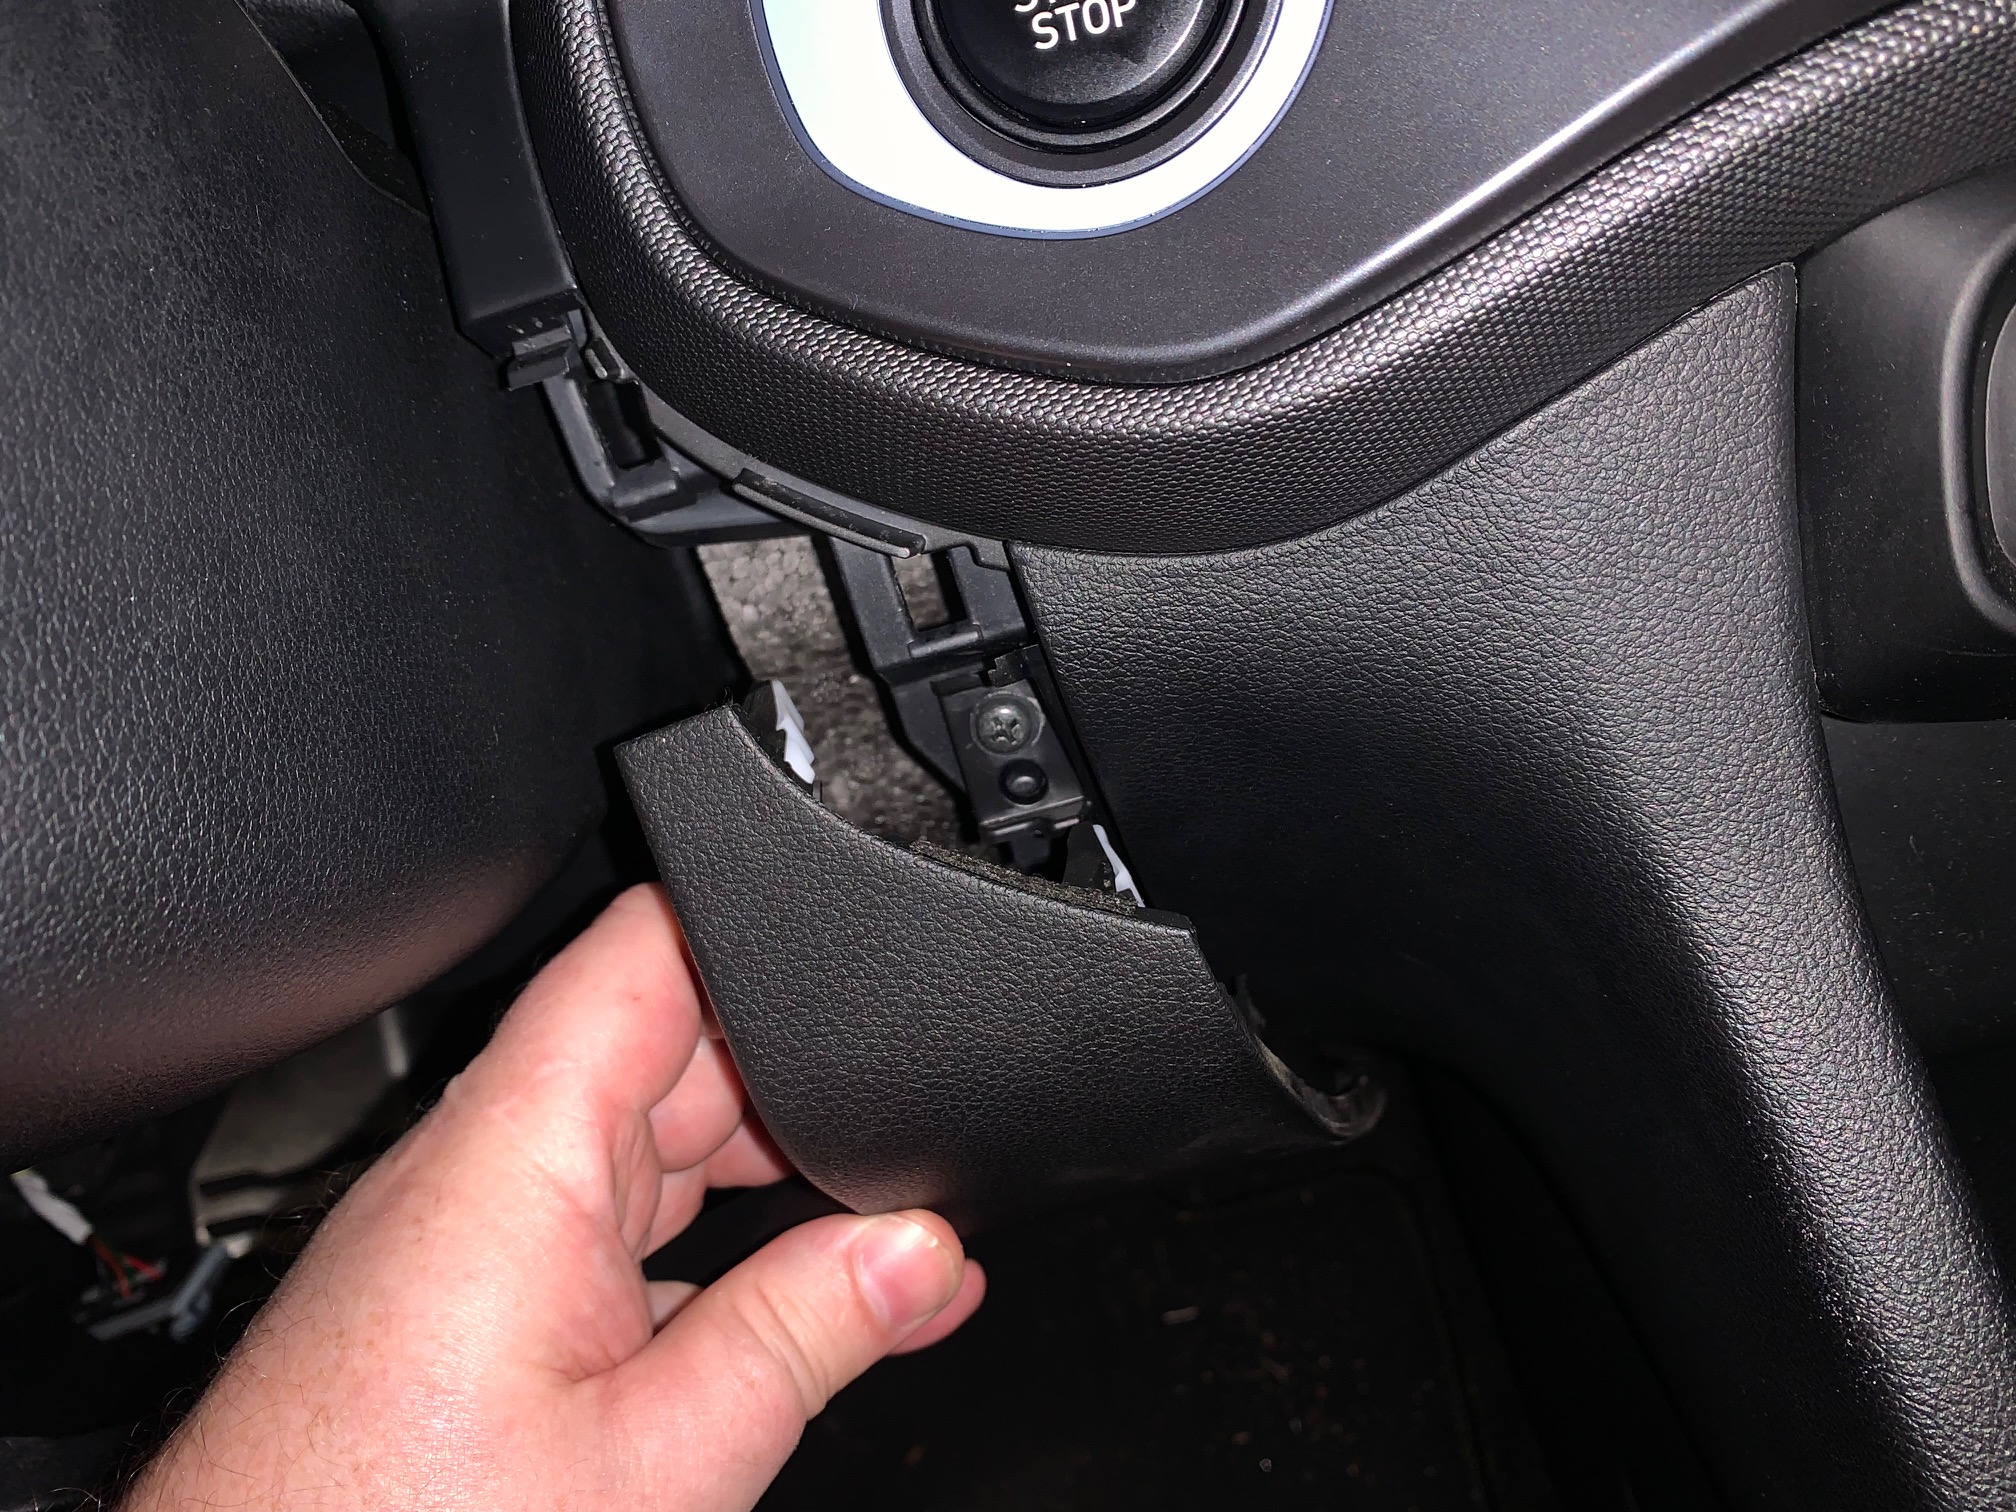
Next, remove the lower panel below the steering wheel. There are two Phillips head screws on the exposed side and one more at the bottom right corner of the front of the panel. Remove these screws and the whole panel pops off along the top edge. The wiring for the OBD plug will be attached to the lower left side of the panel, so either pop the plug off or use caution and let it lightly hang.
-
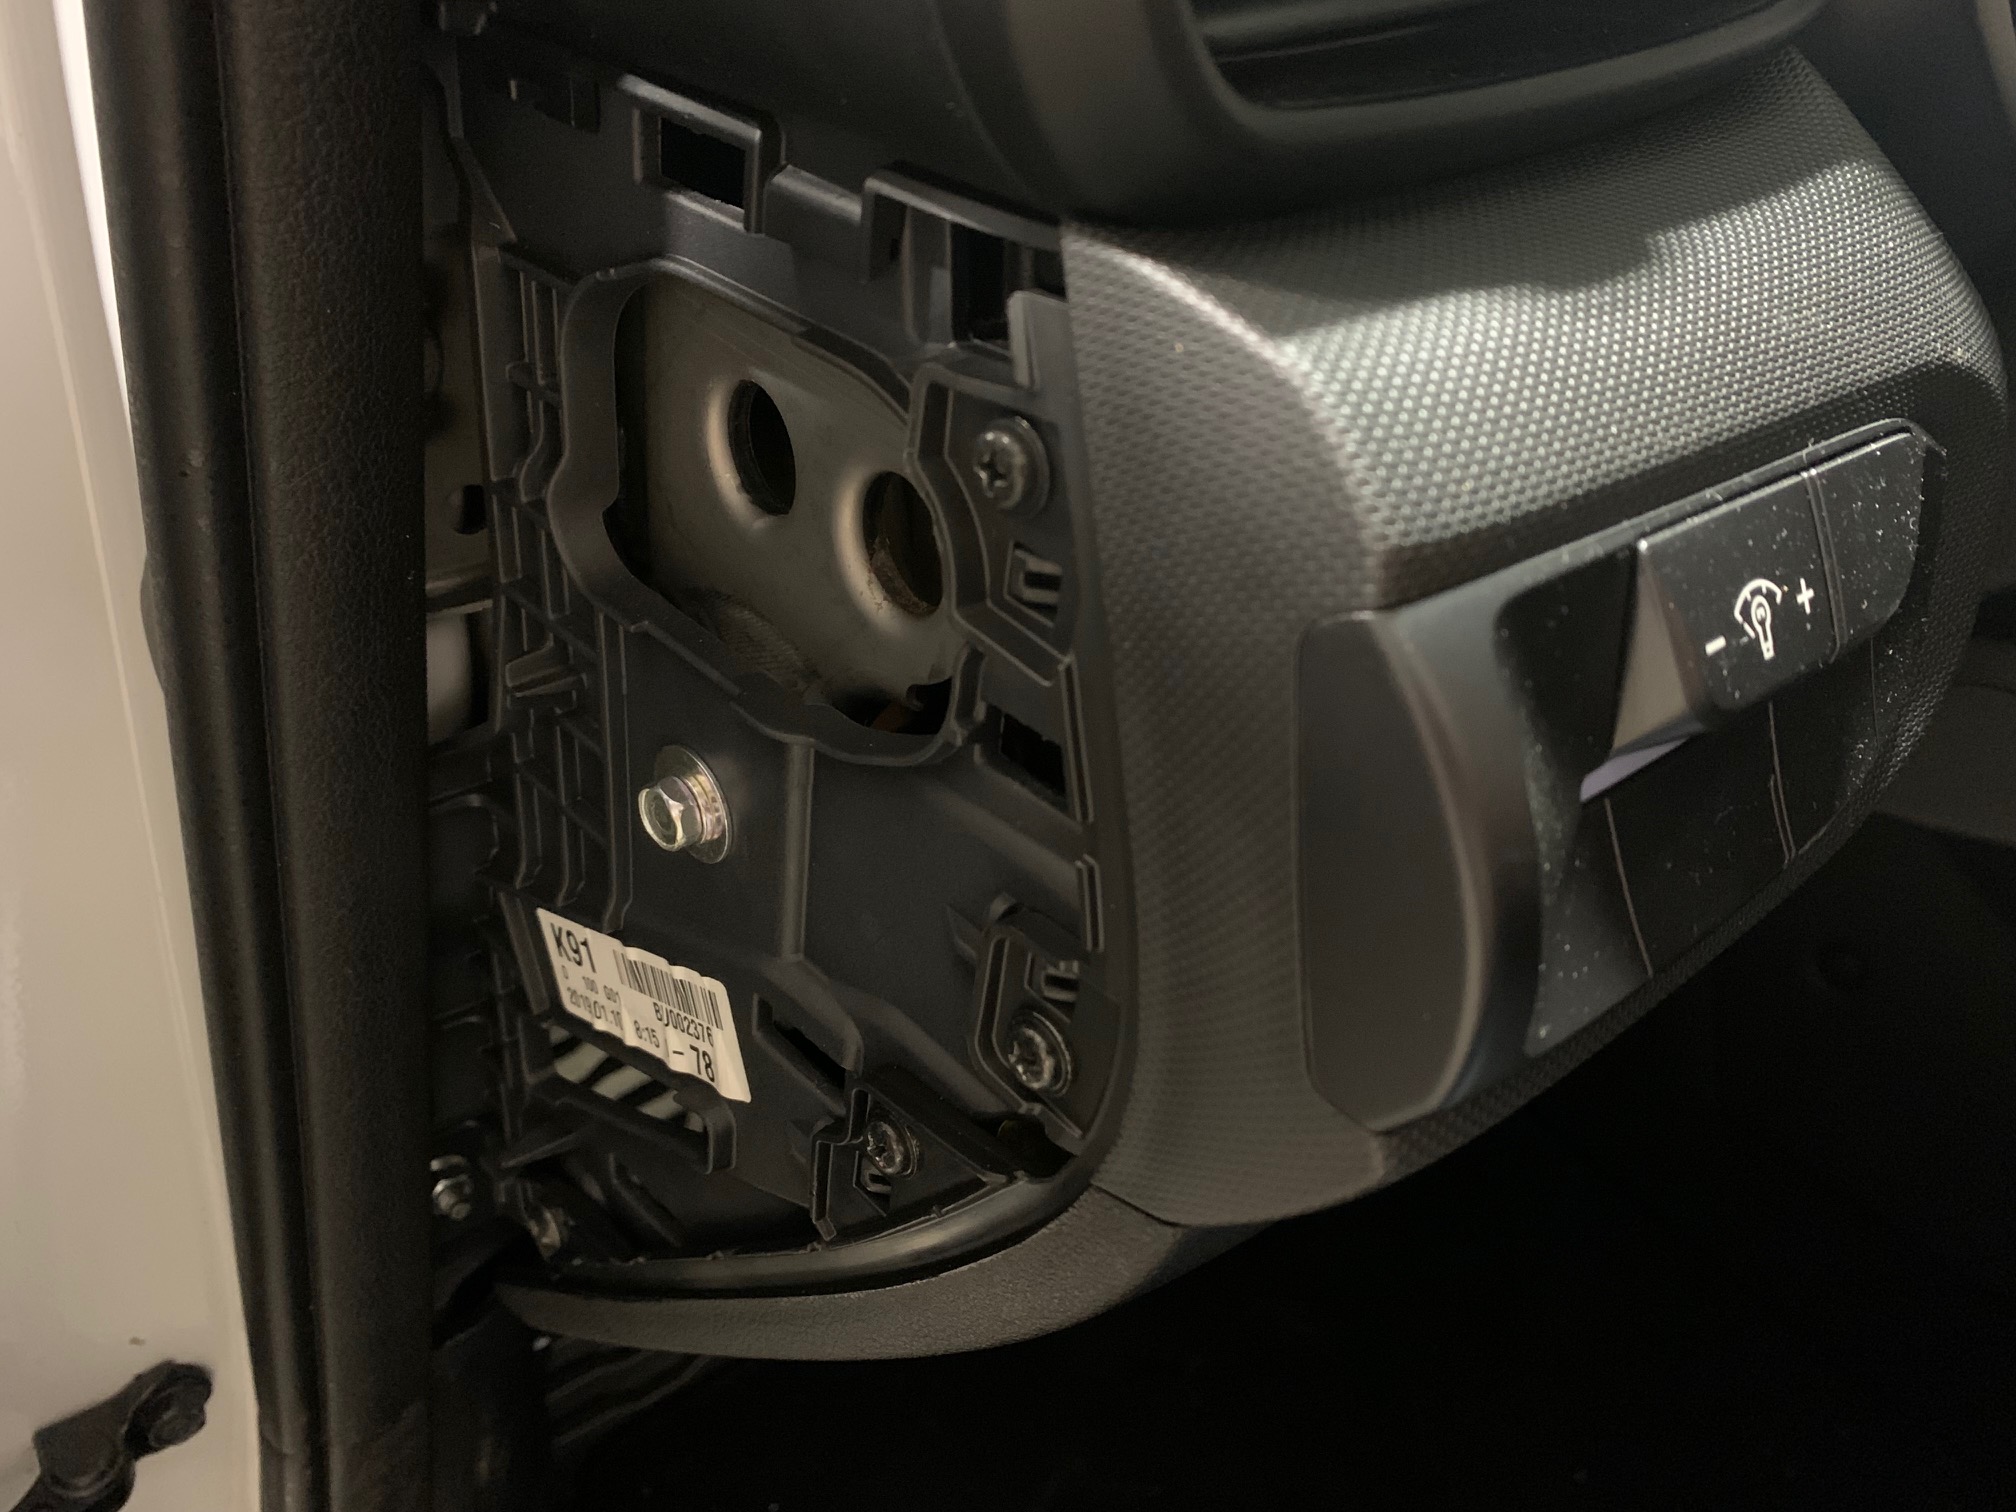
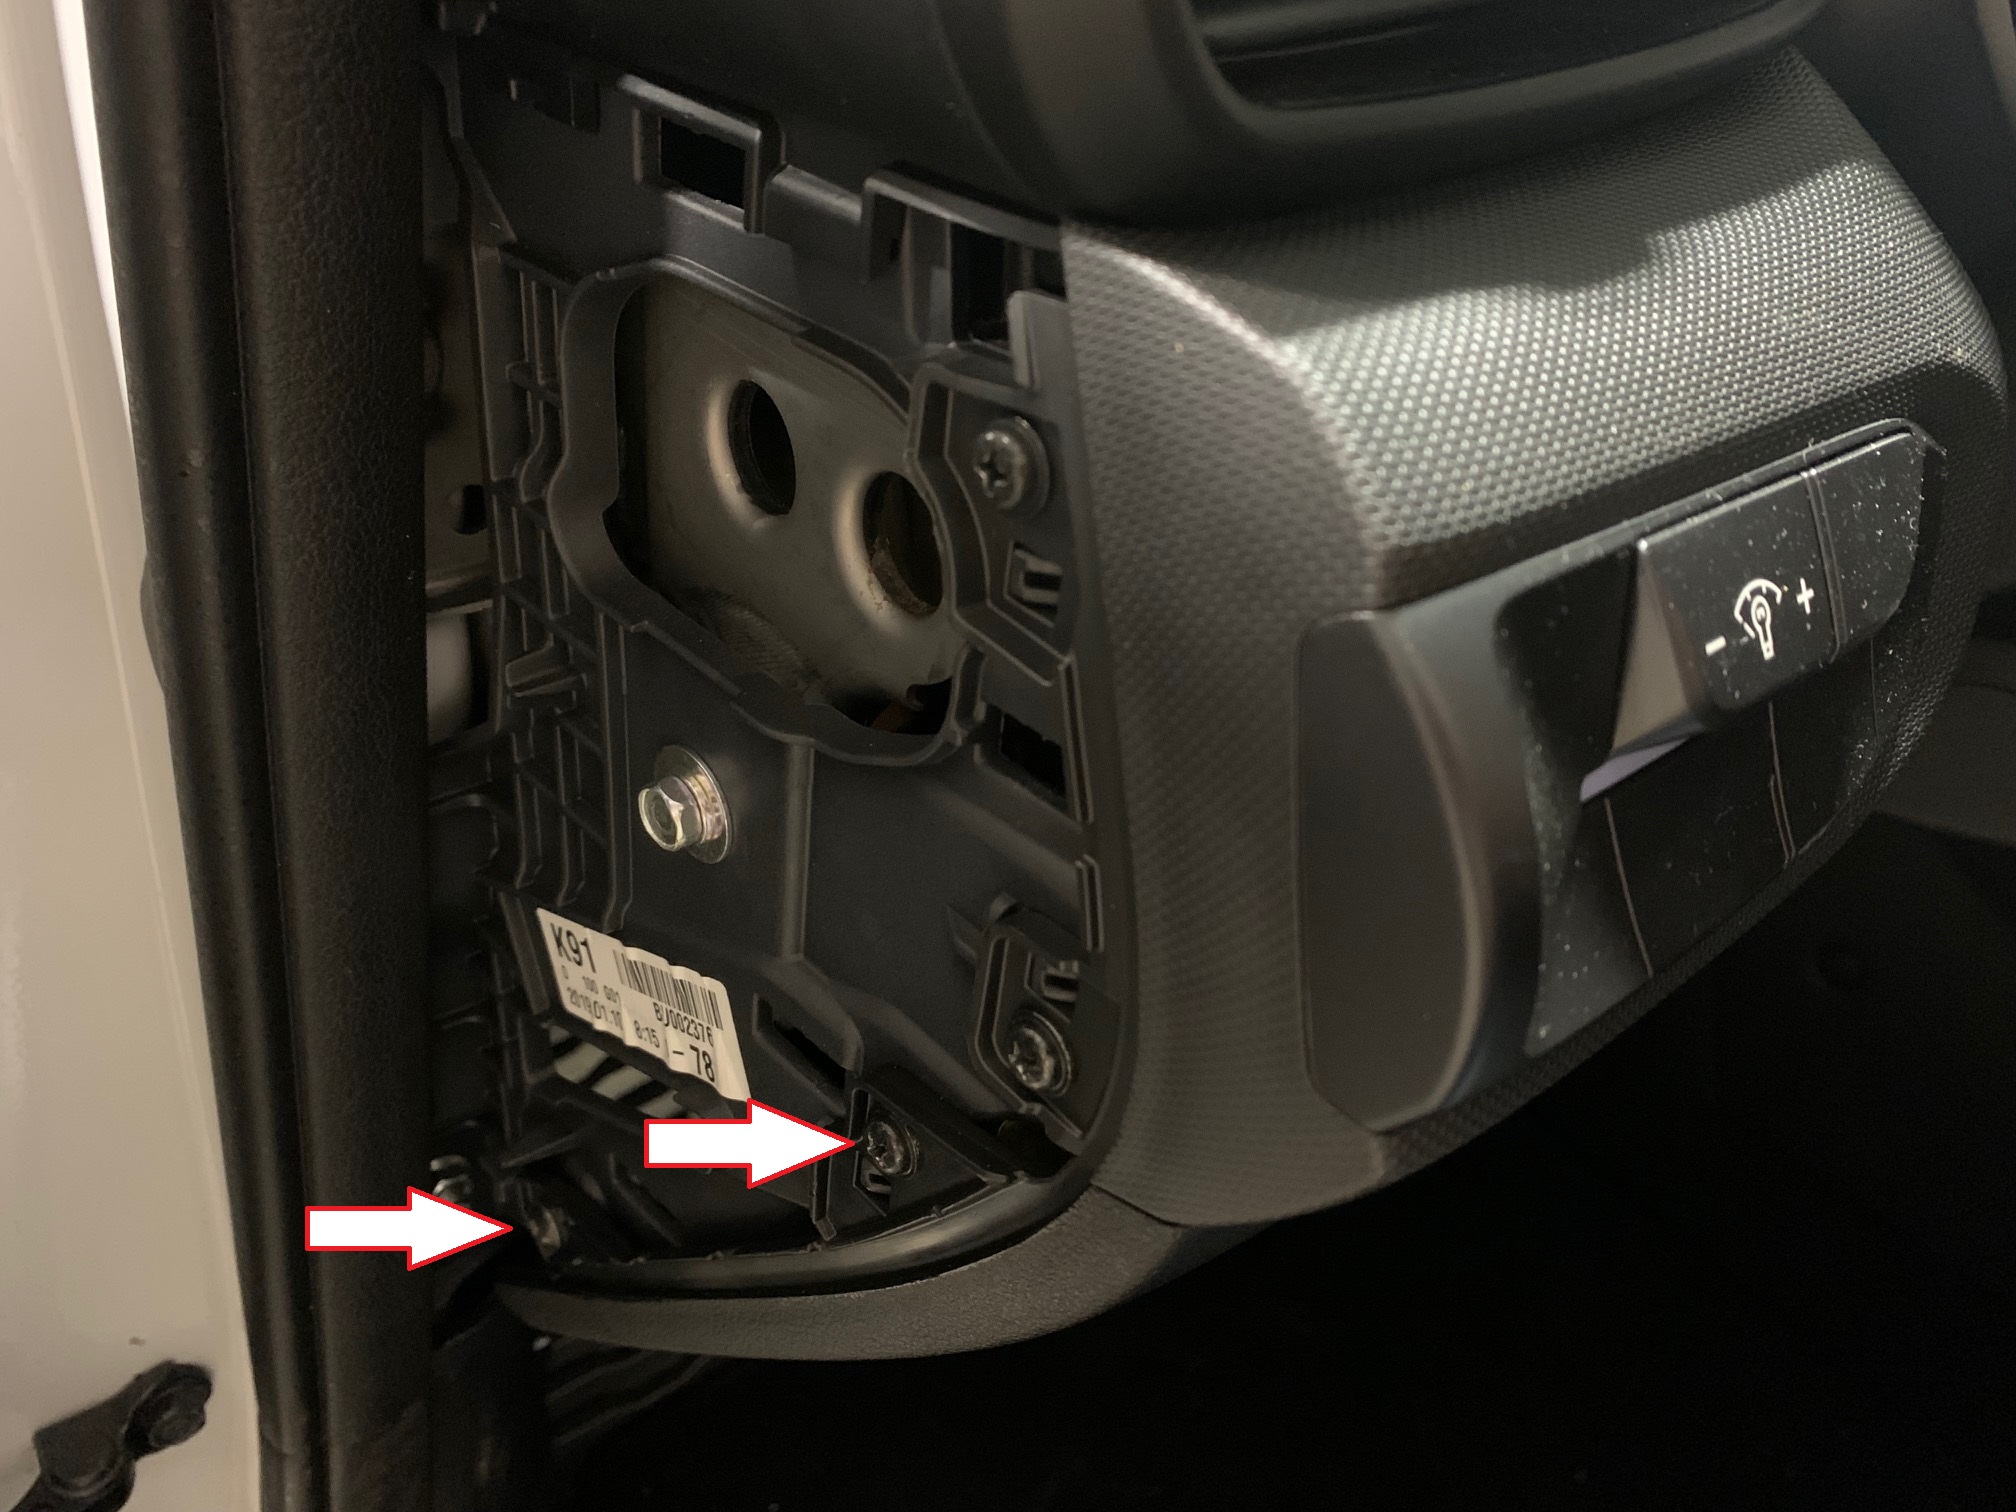
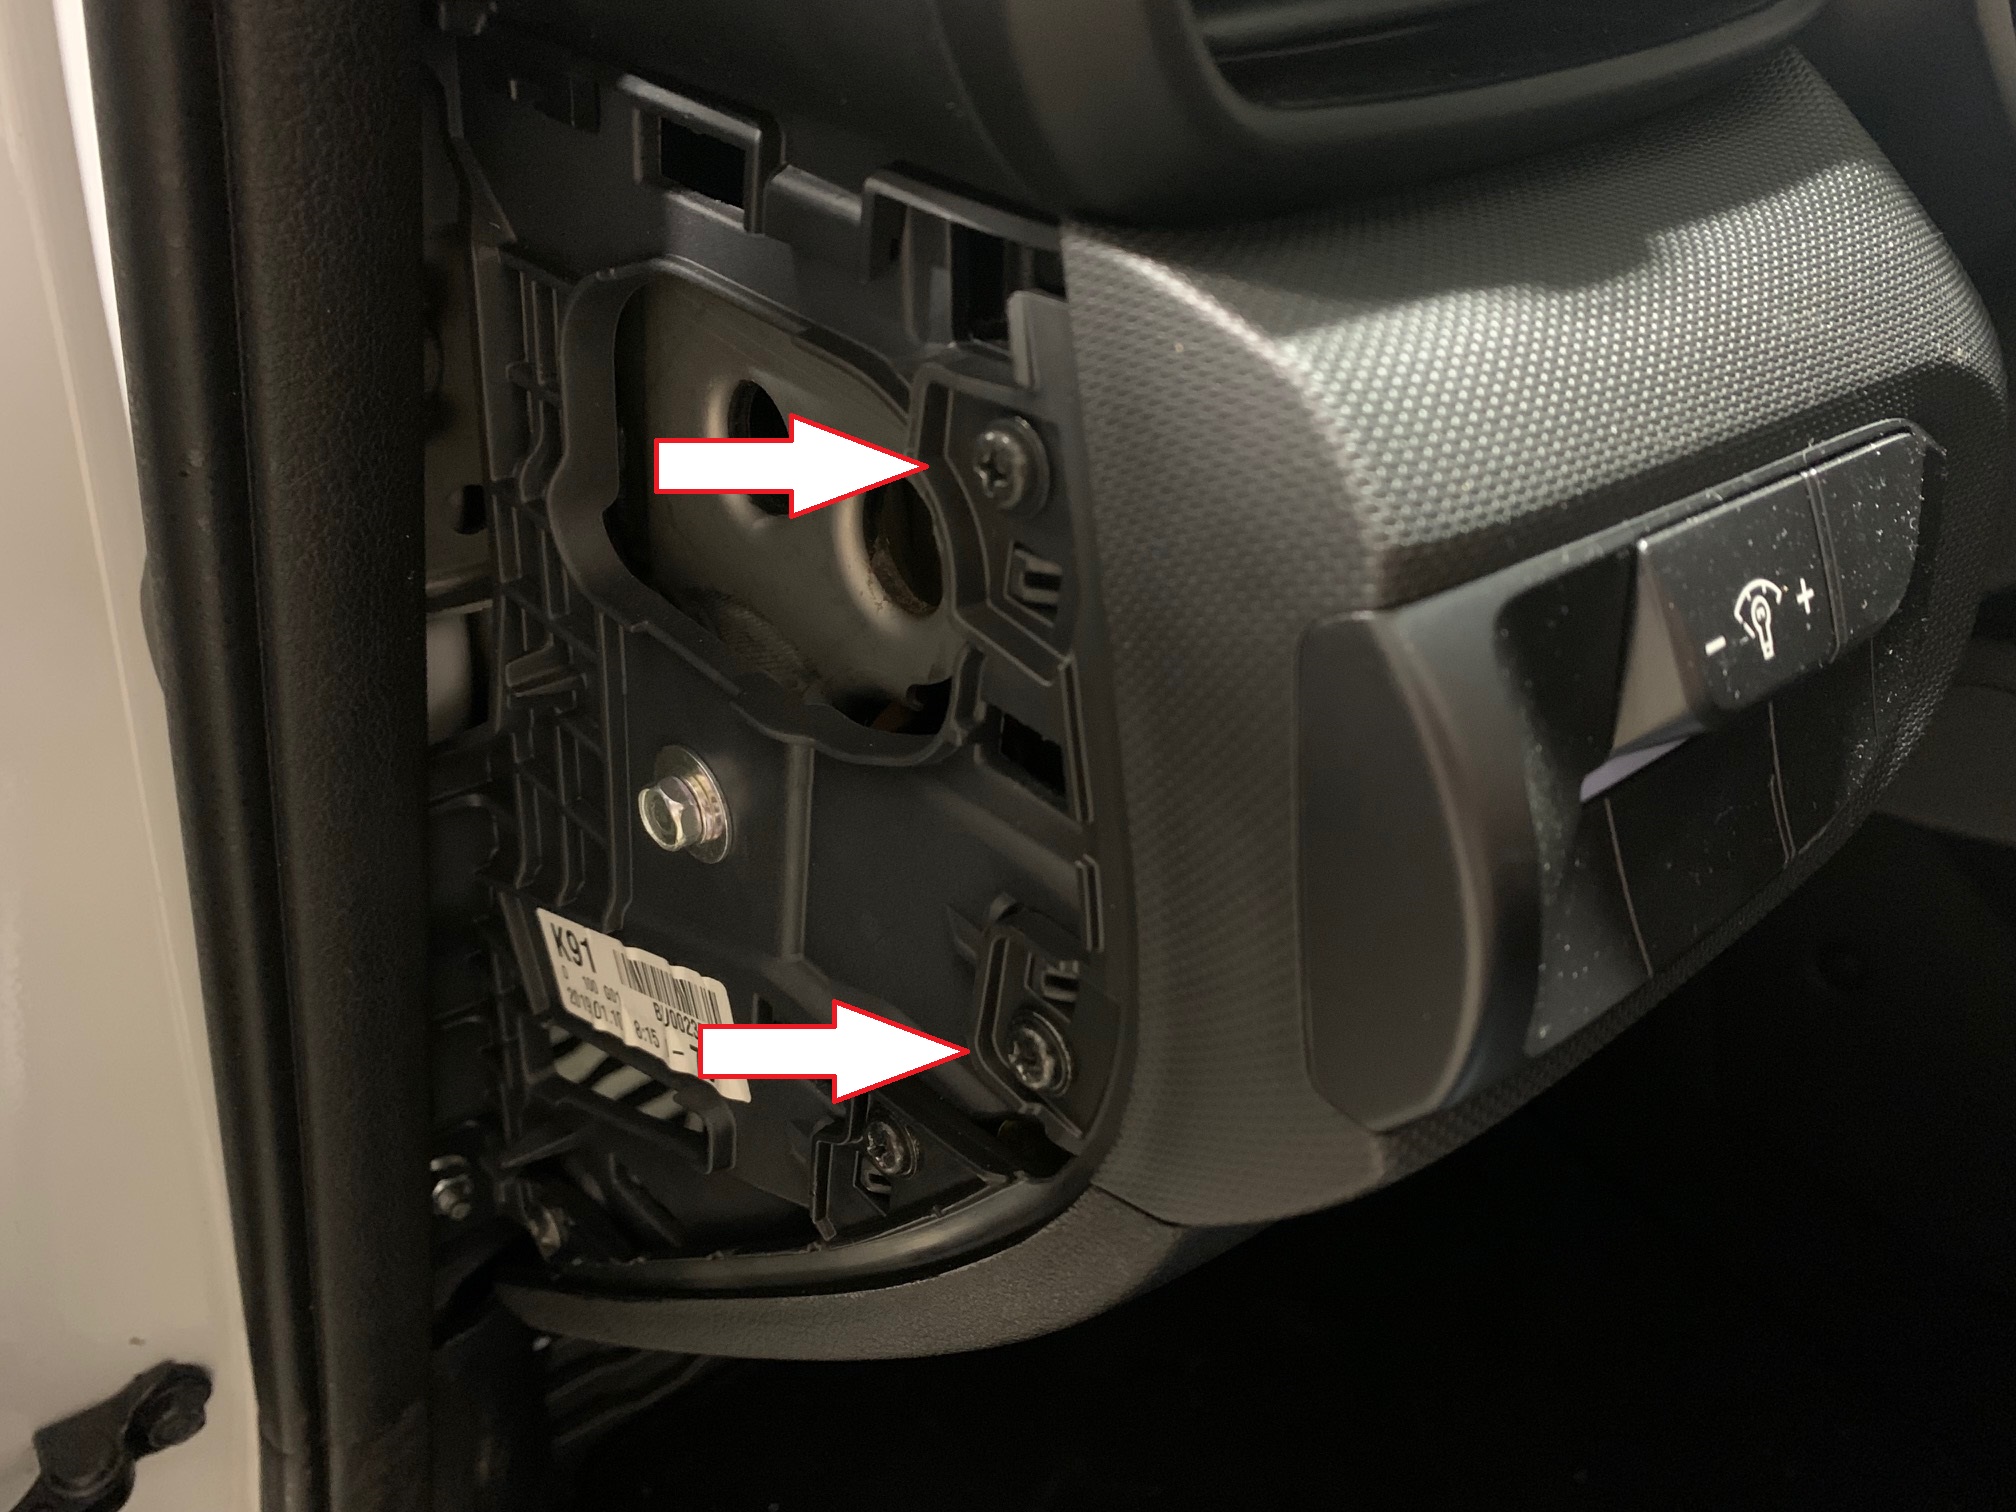
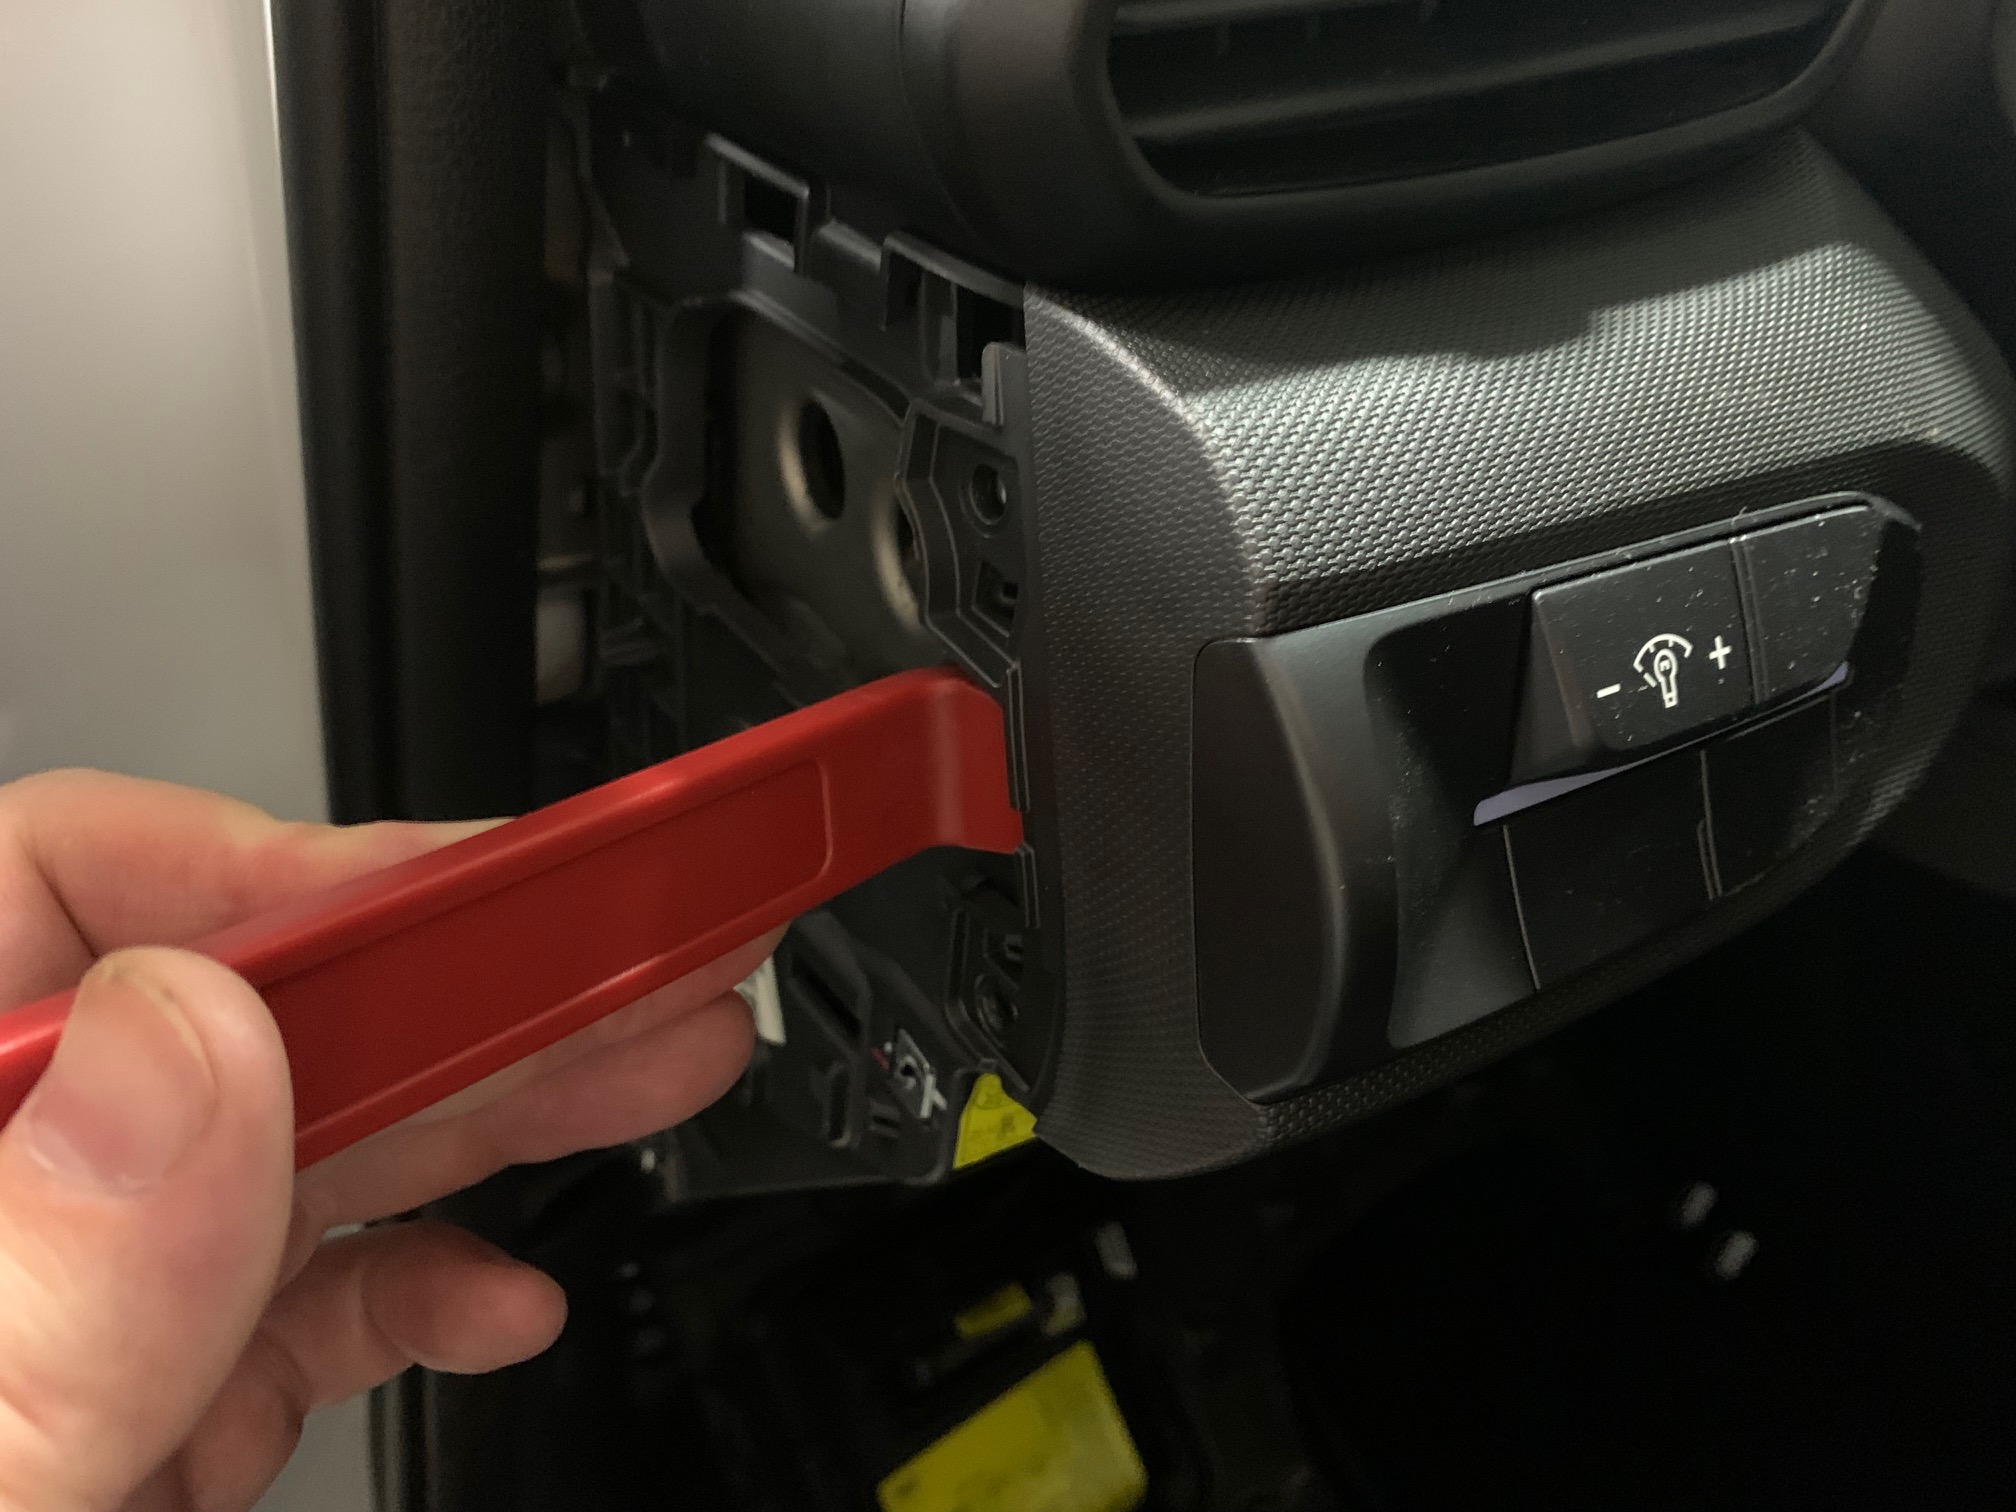
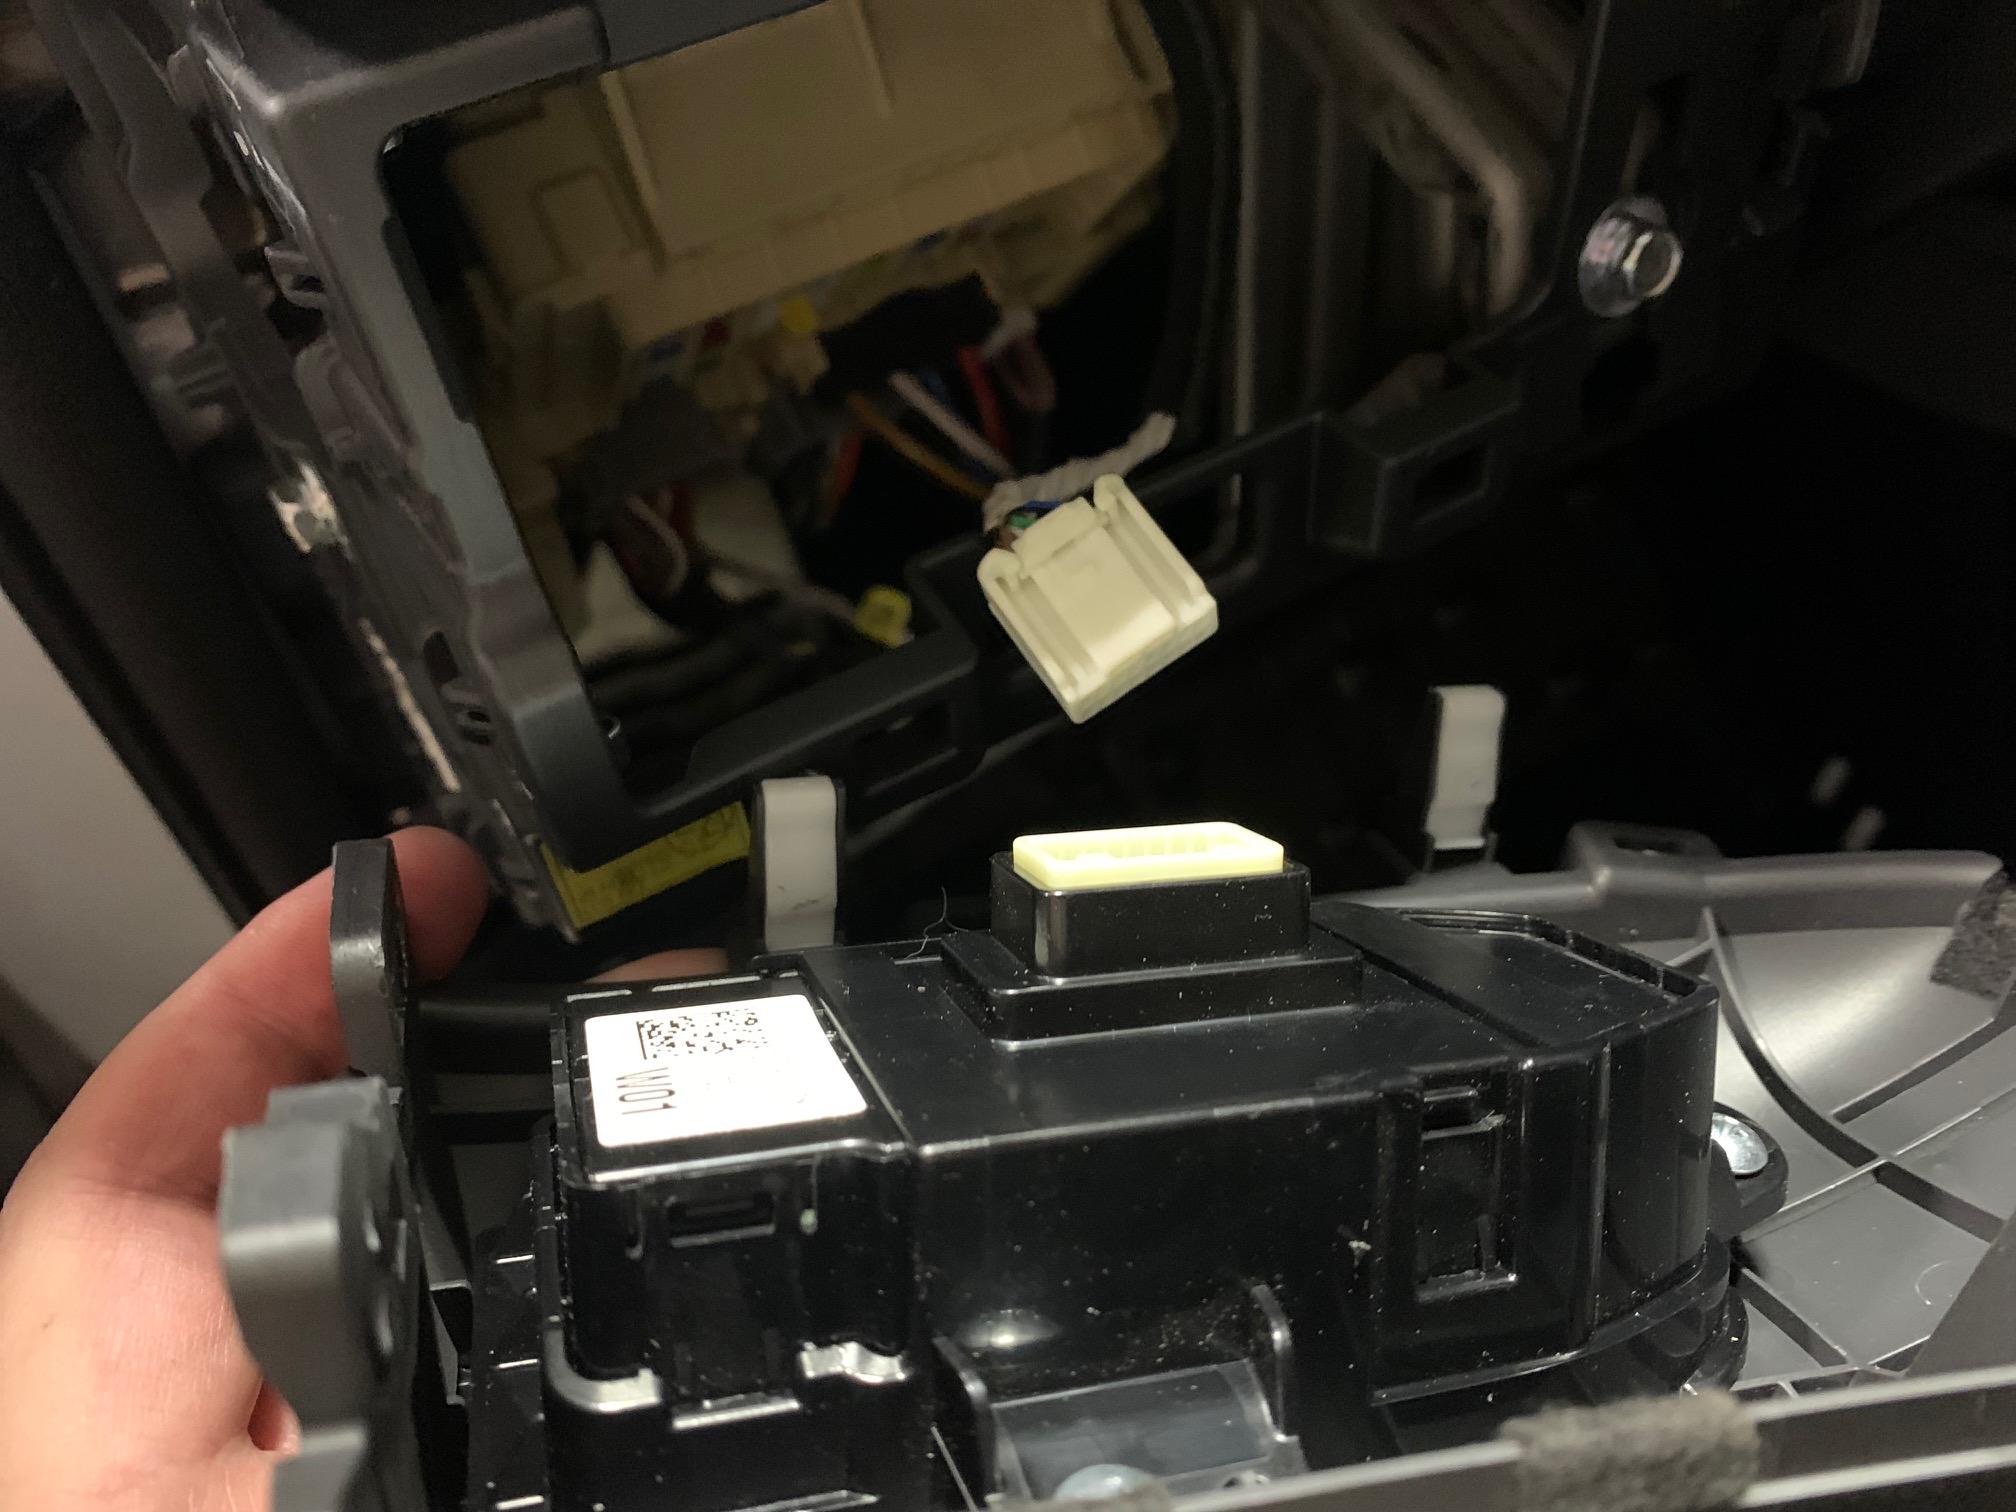
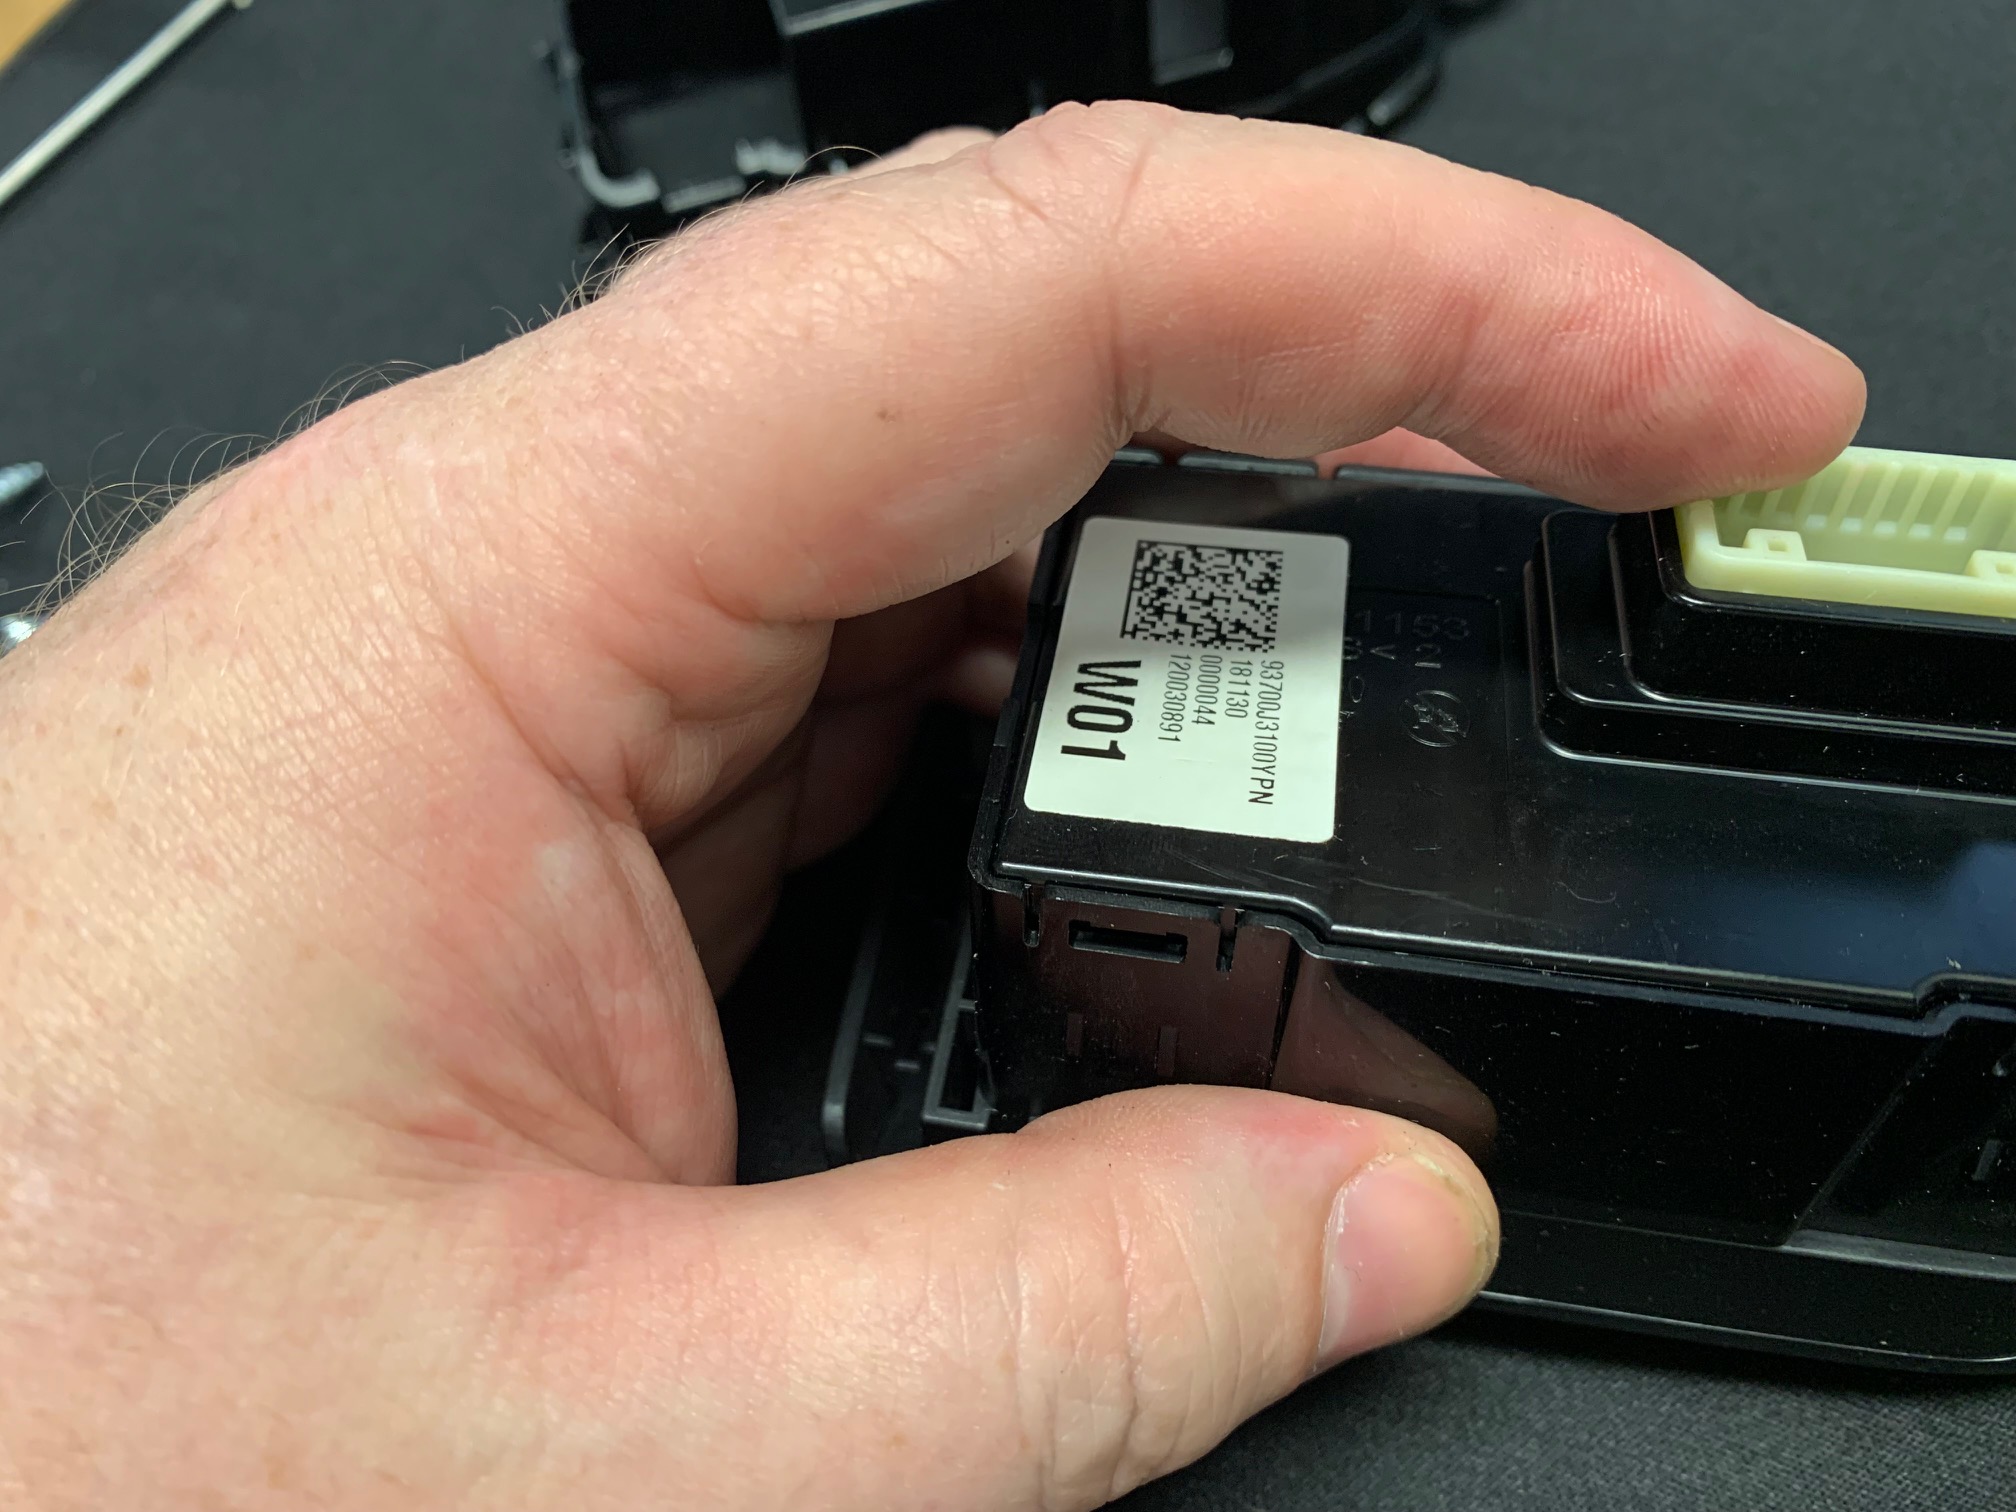
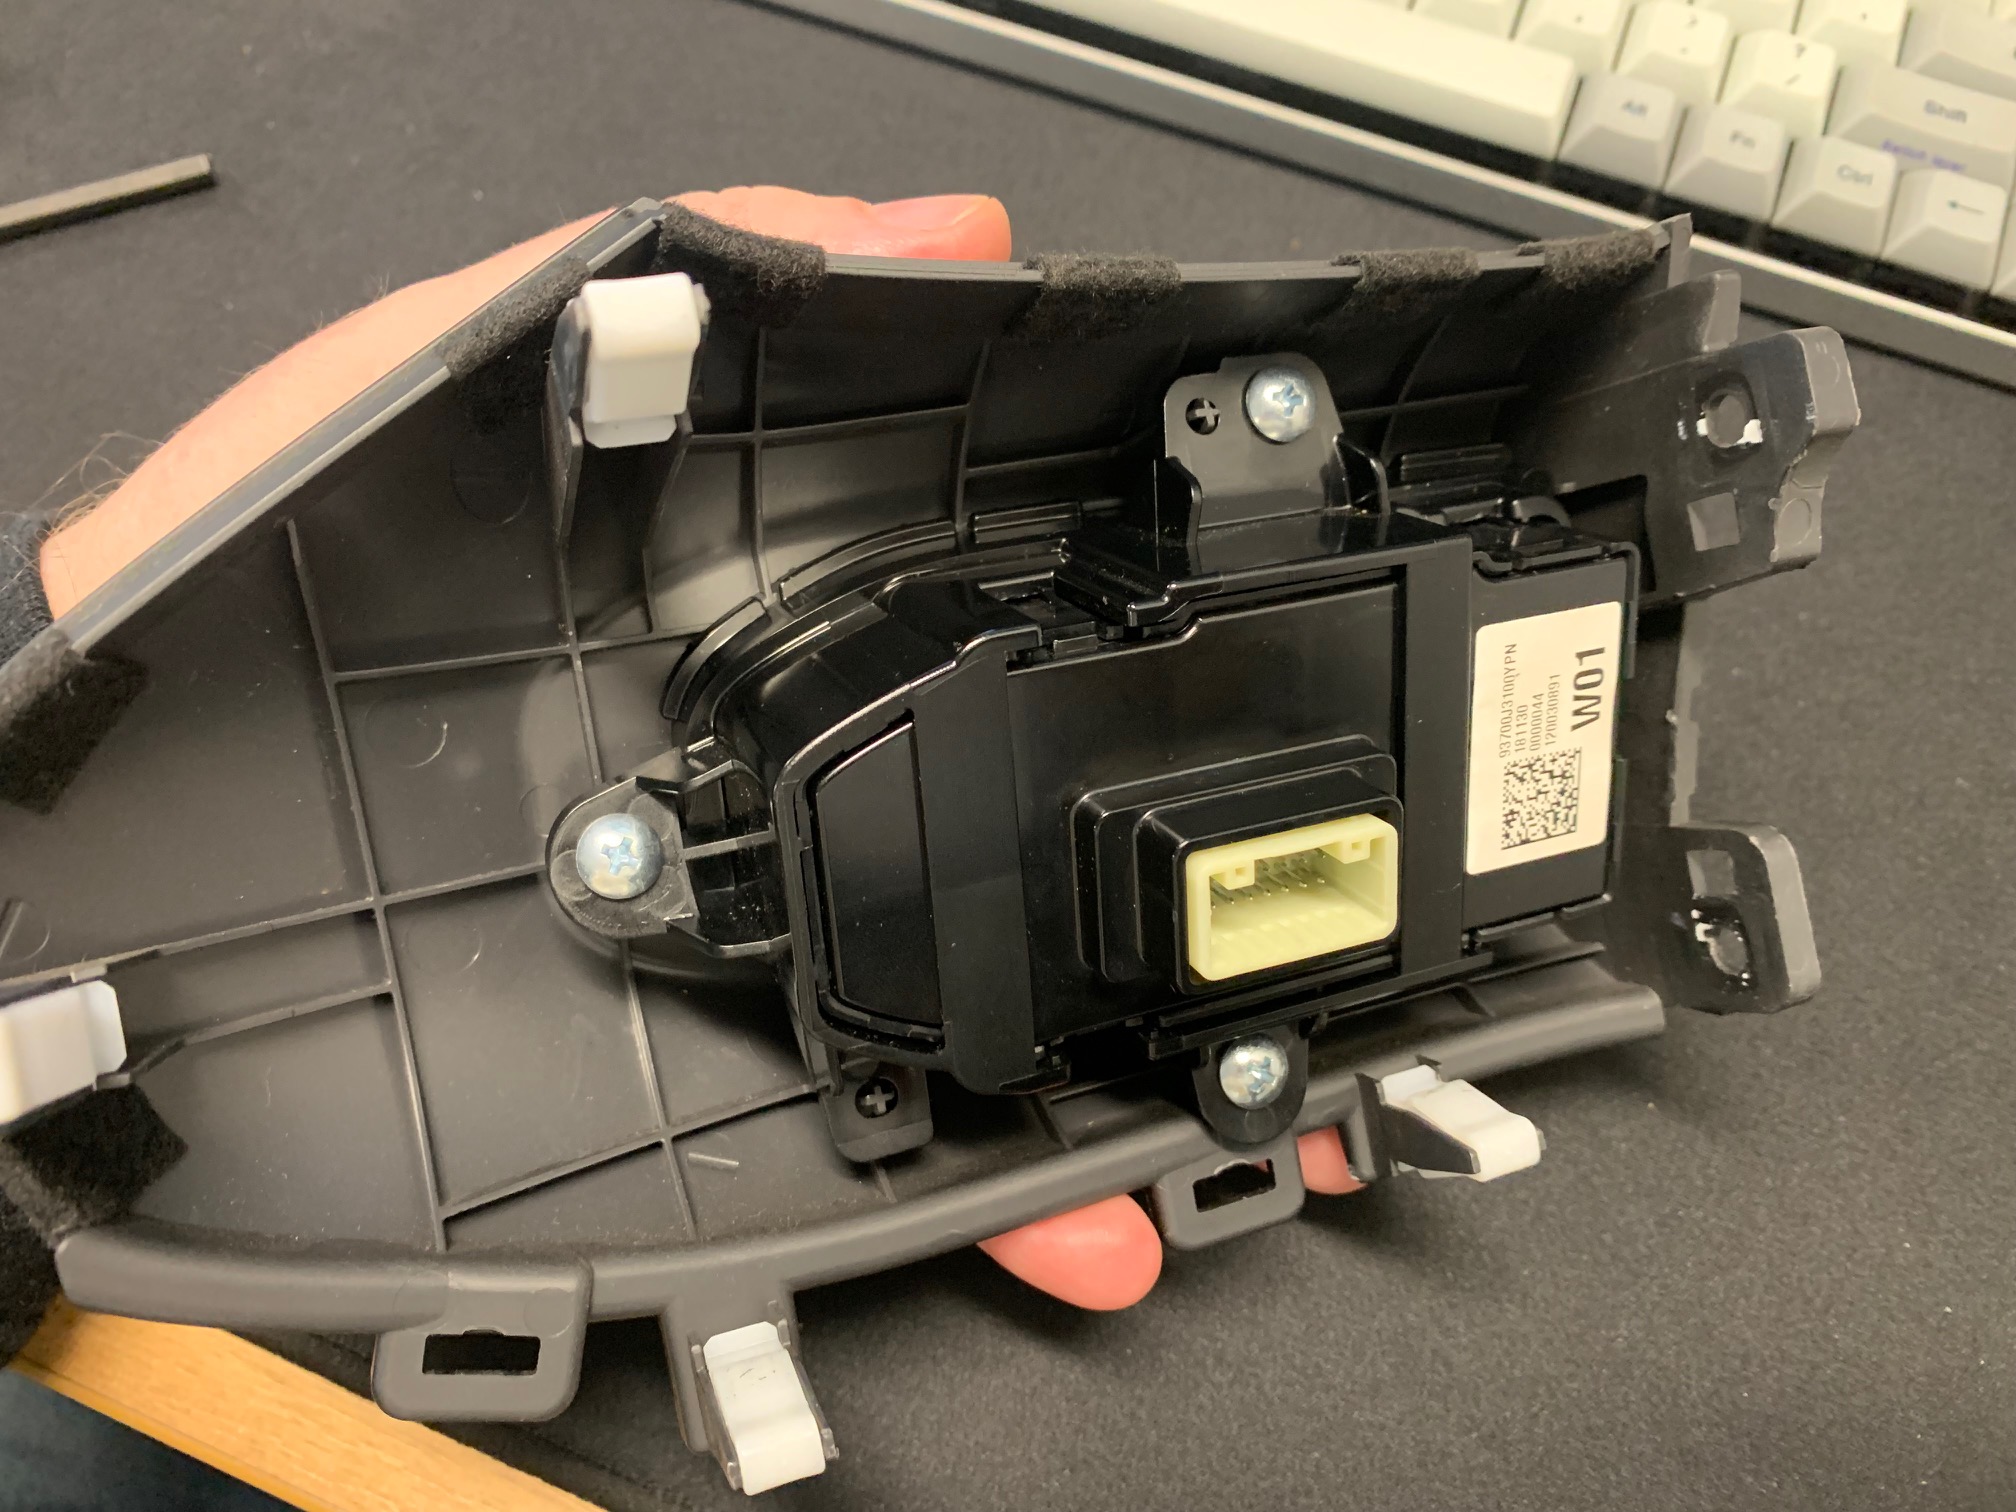
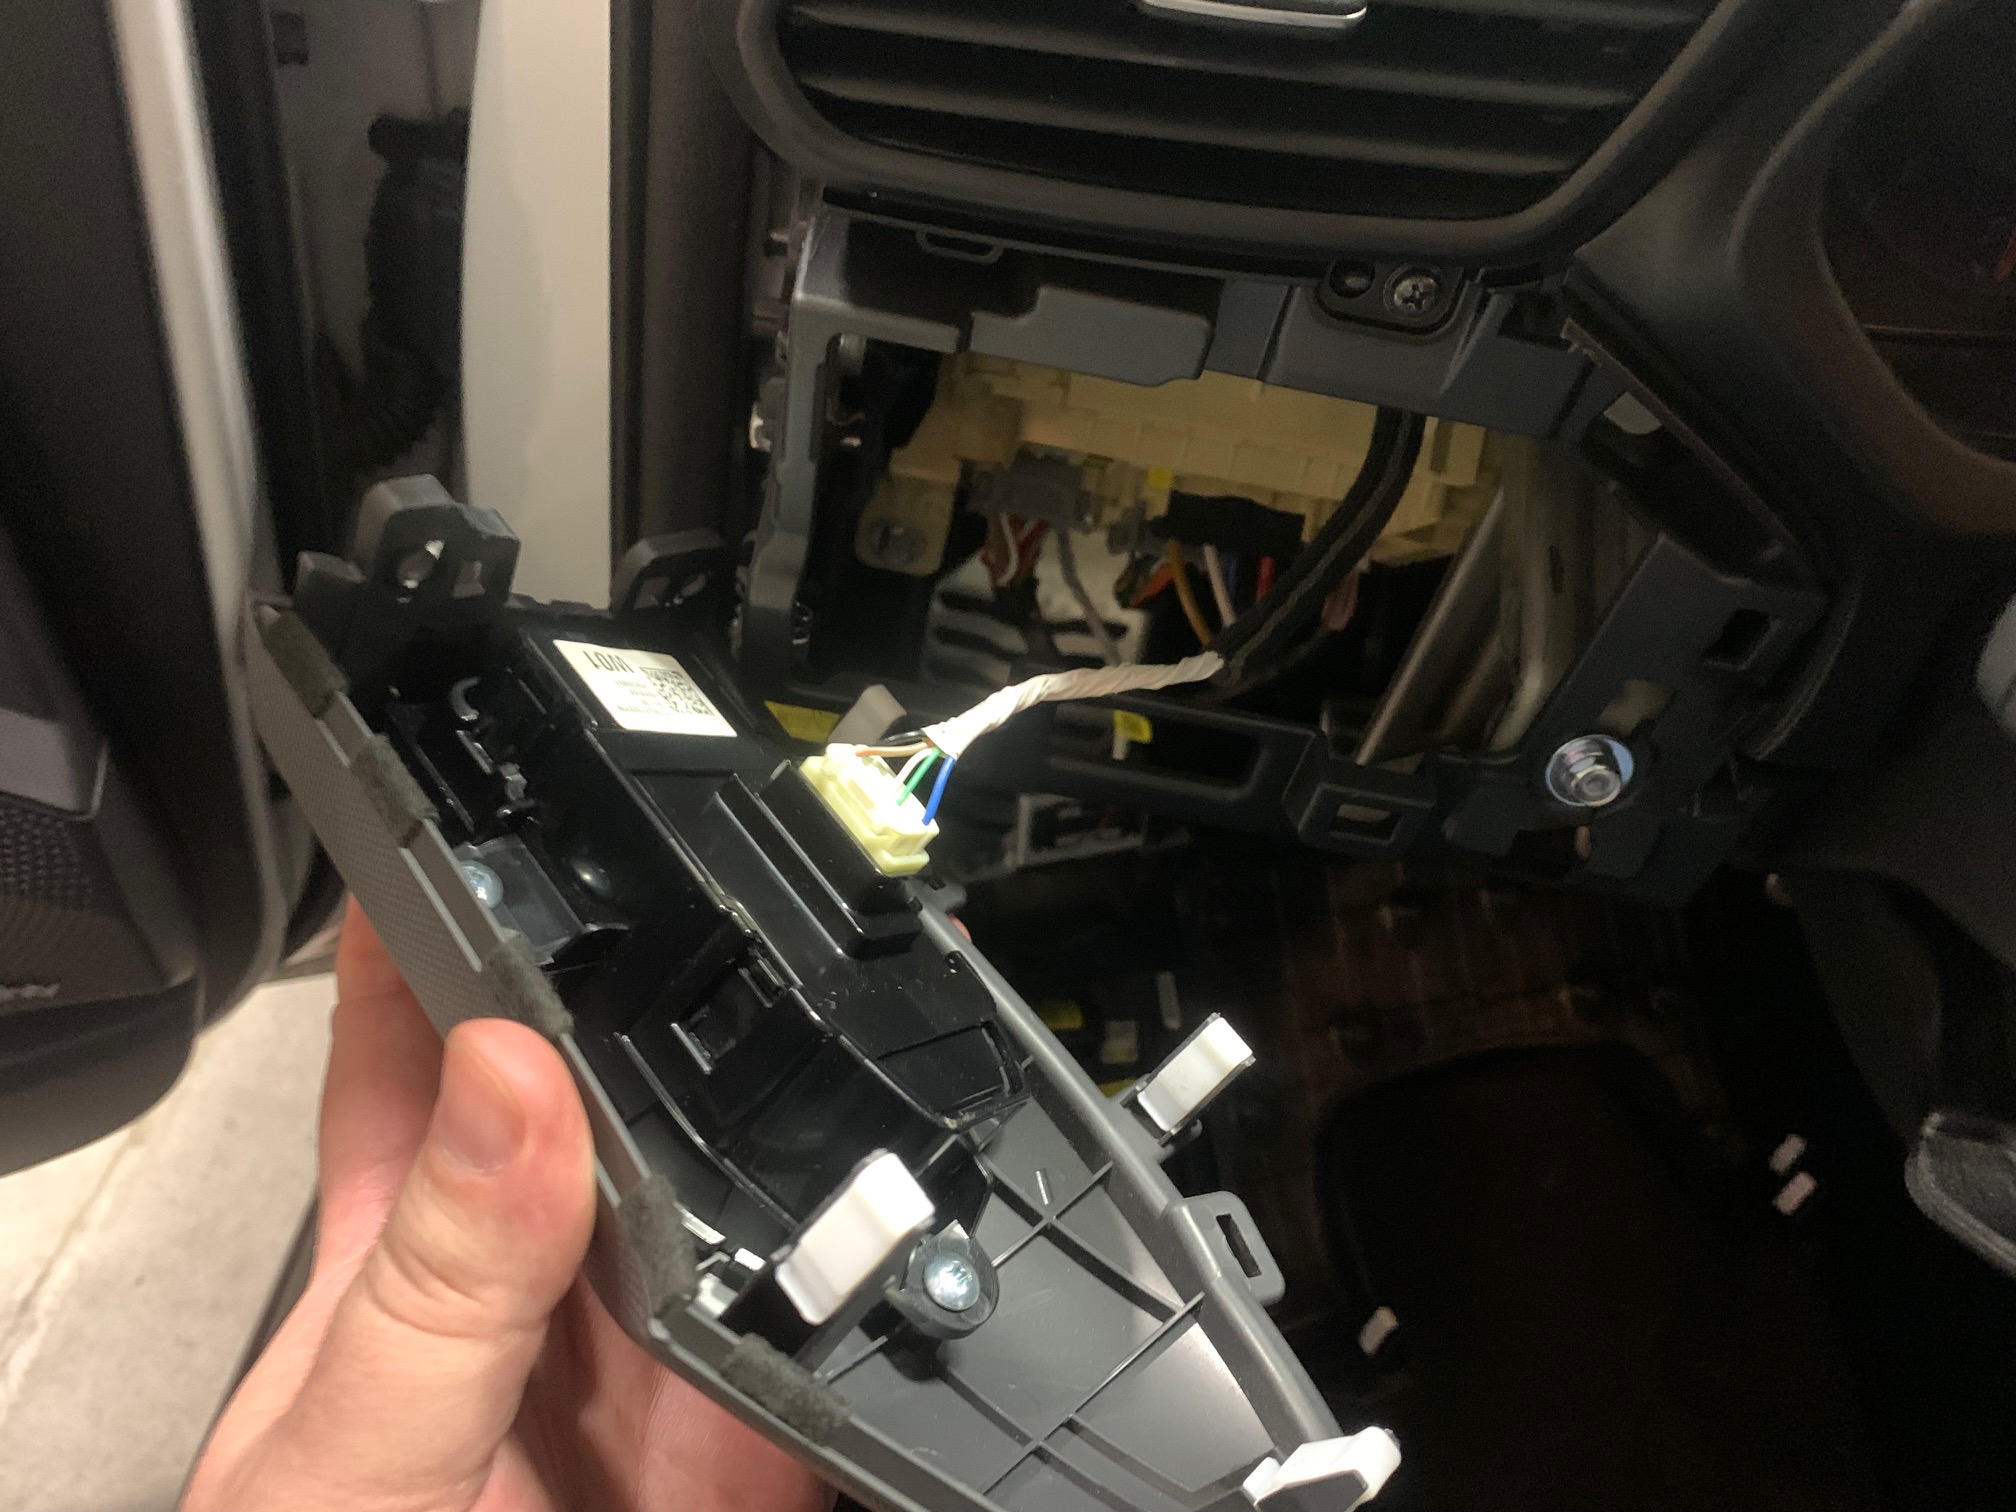
We now need to remove the associated switch panel from the dash, so start by removing the two Phillips head screws on the exposed side. Use the trim panel removal tool to pry the two tabs out a bit then pull the entire switch panel off of the dash. There are some plastic anchors around the perimeter so use a bit of caution when pulling and releasing them so they're not damaged.
-
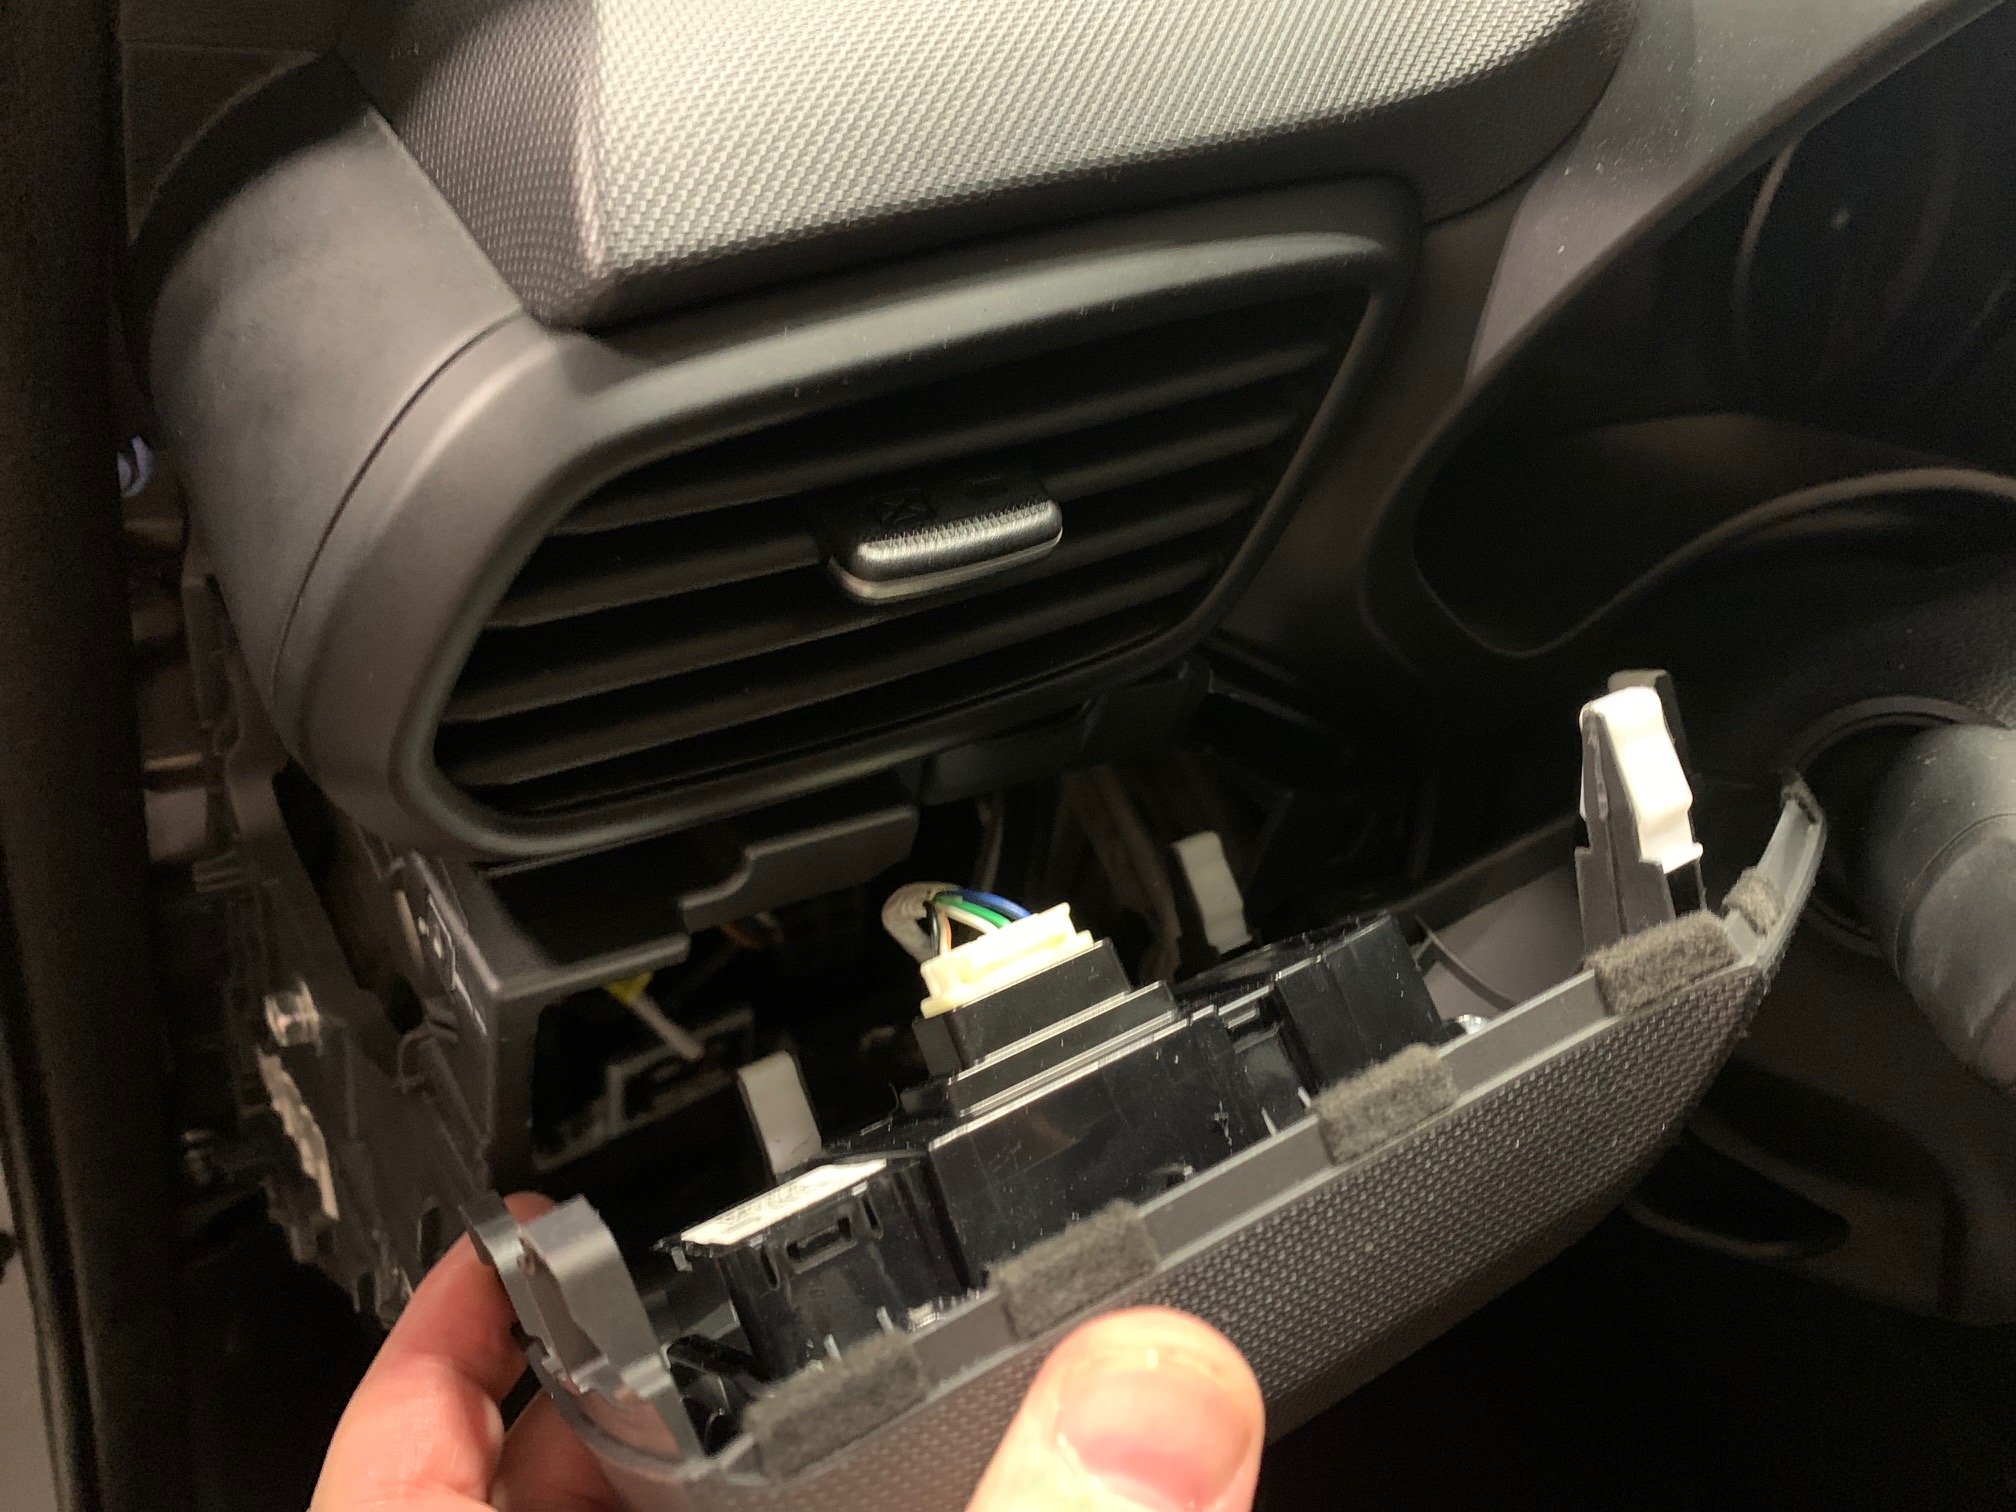
You’ll have a wiring connector plug to deal with, so disconnect it and the switch panel should now be free of the dash.
-
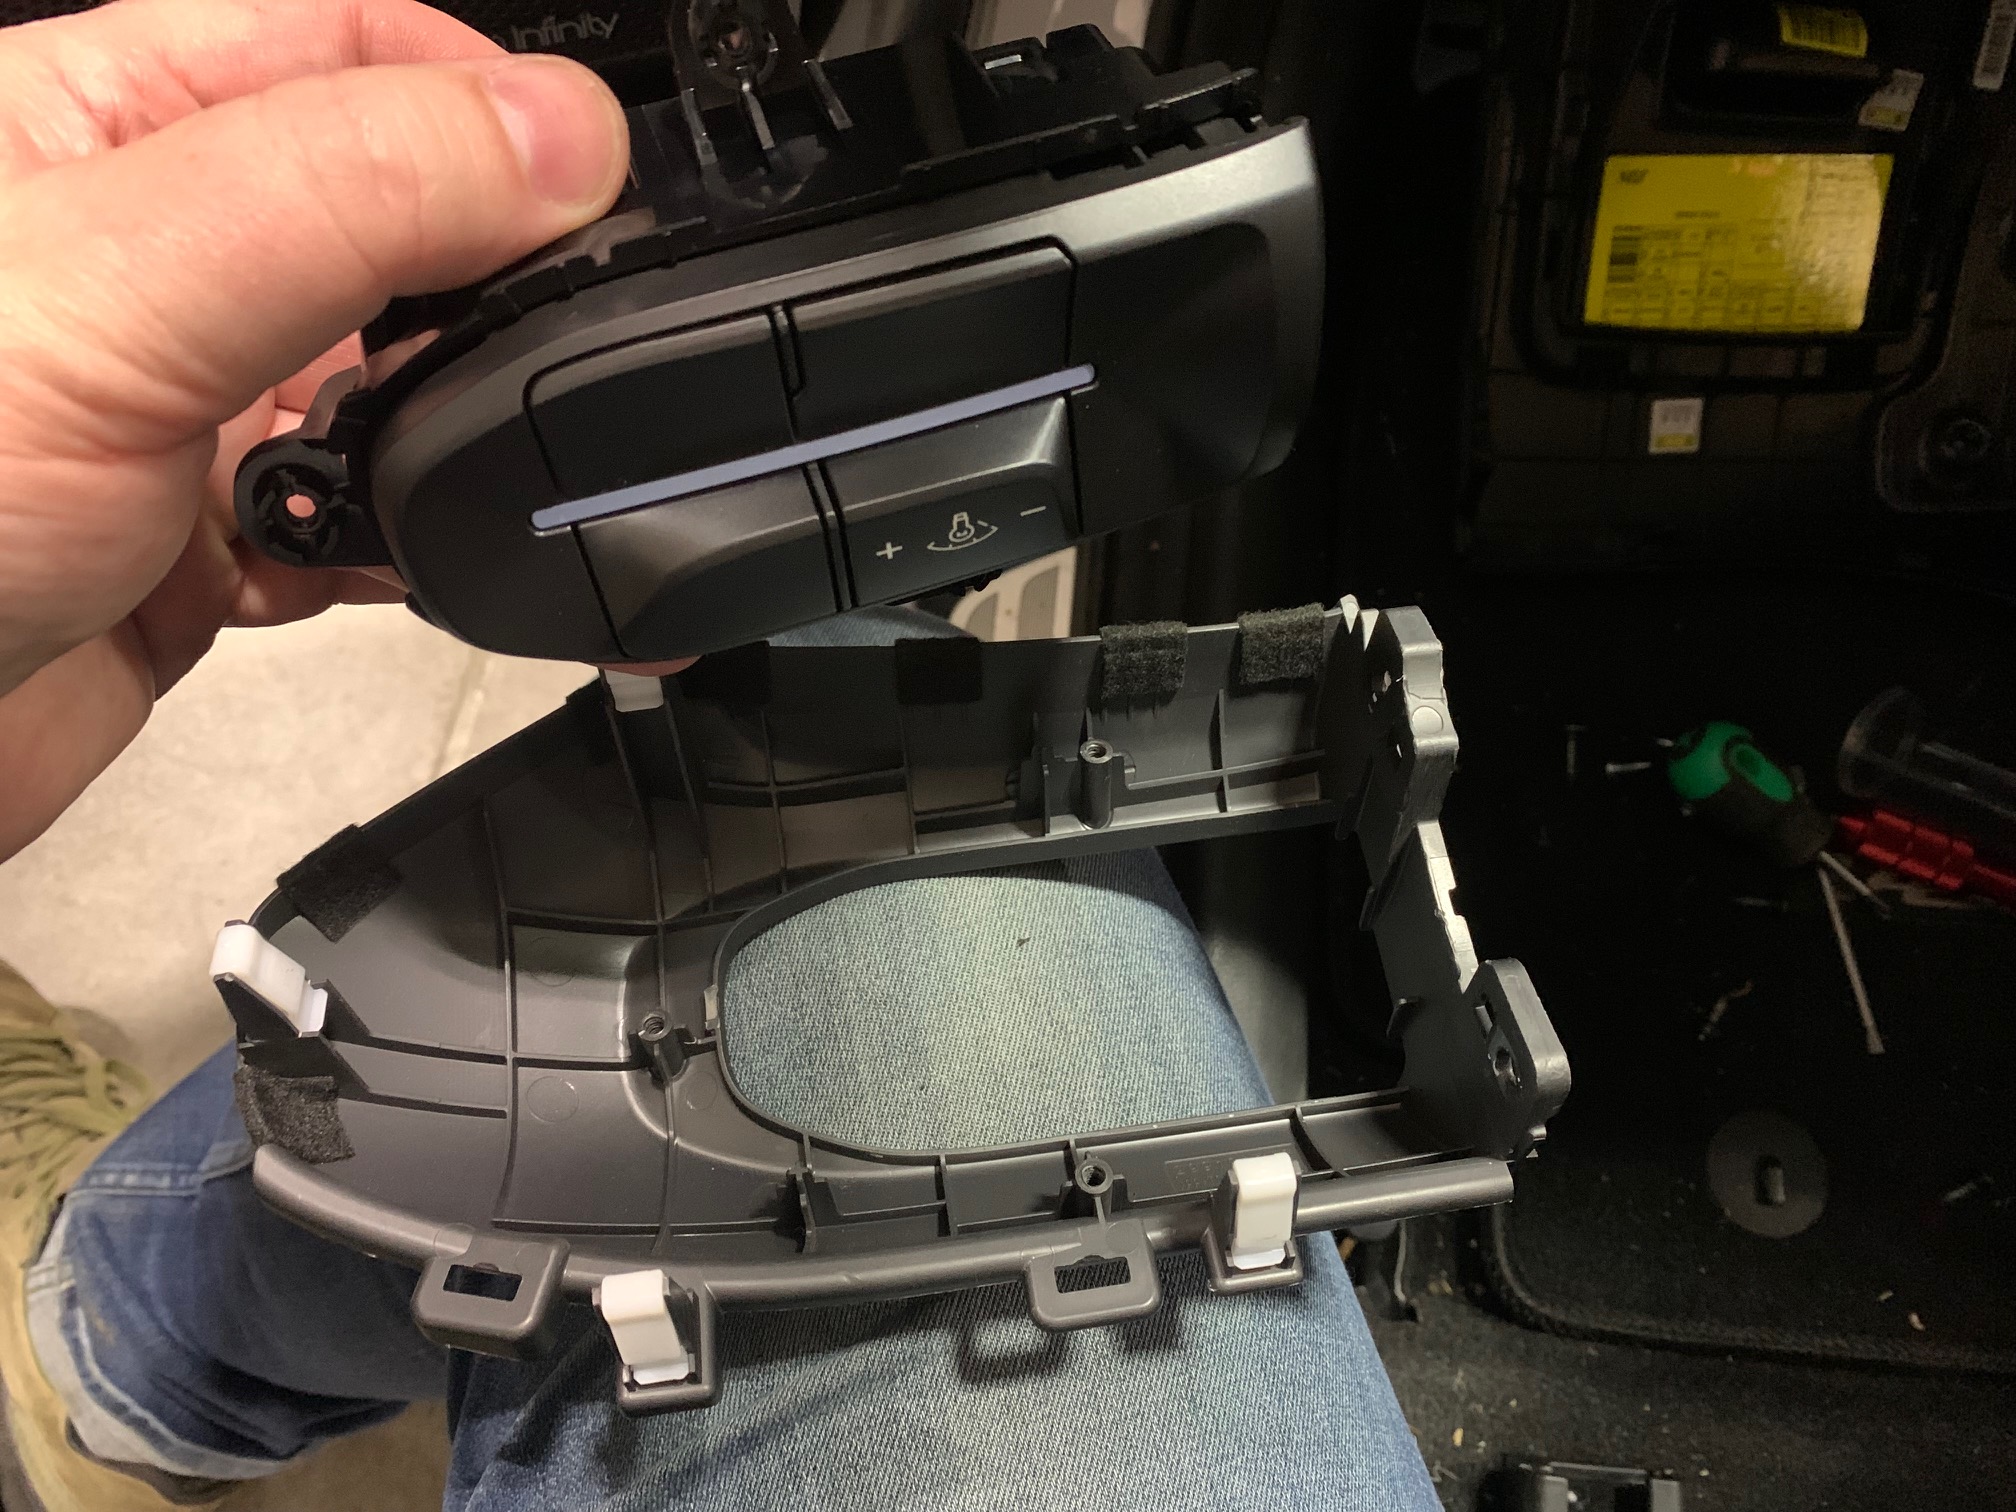
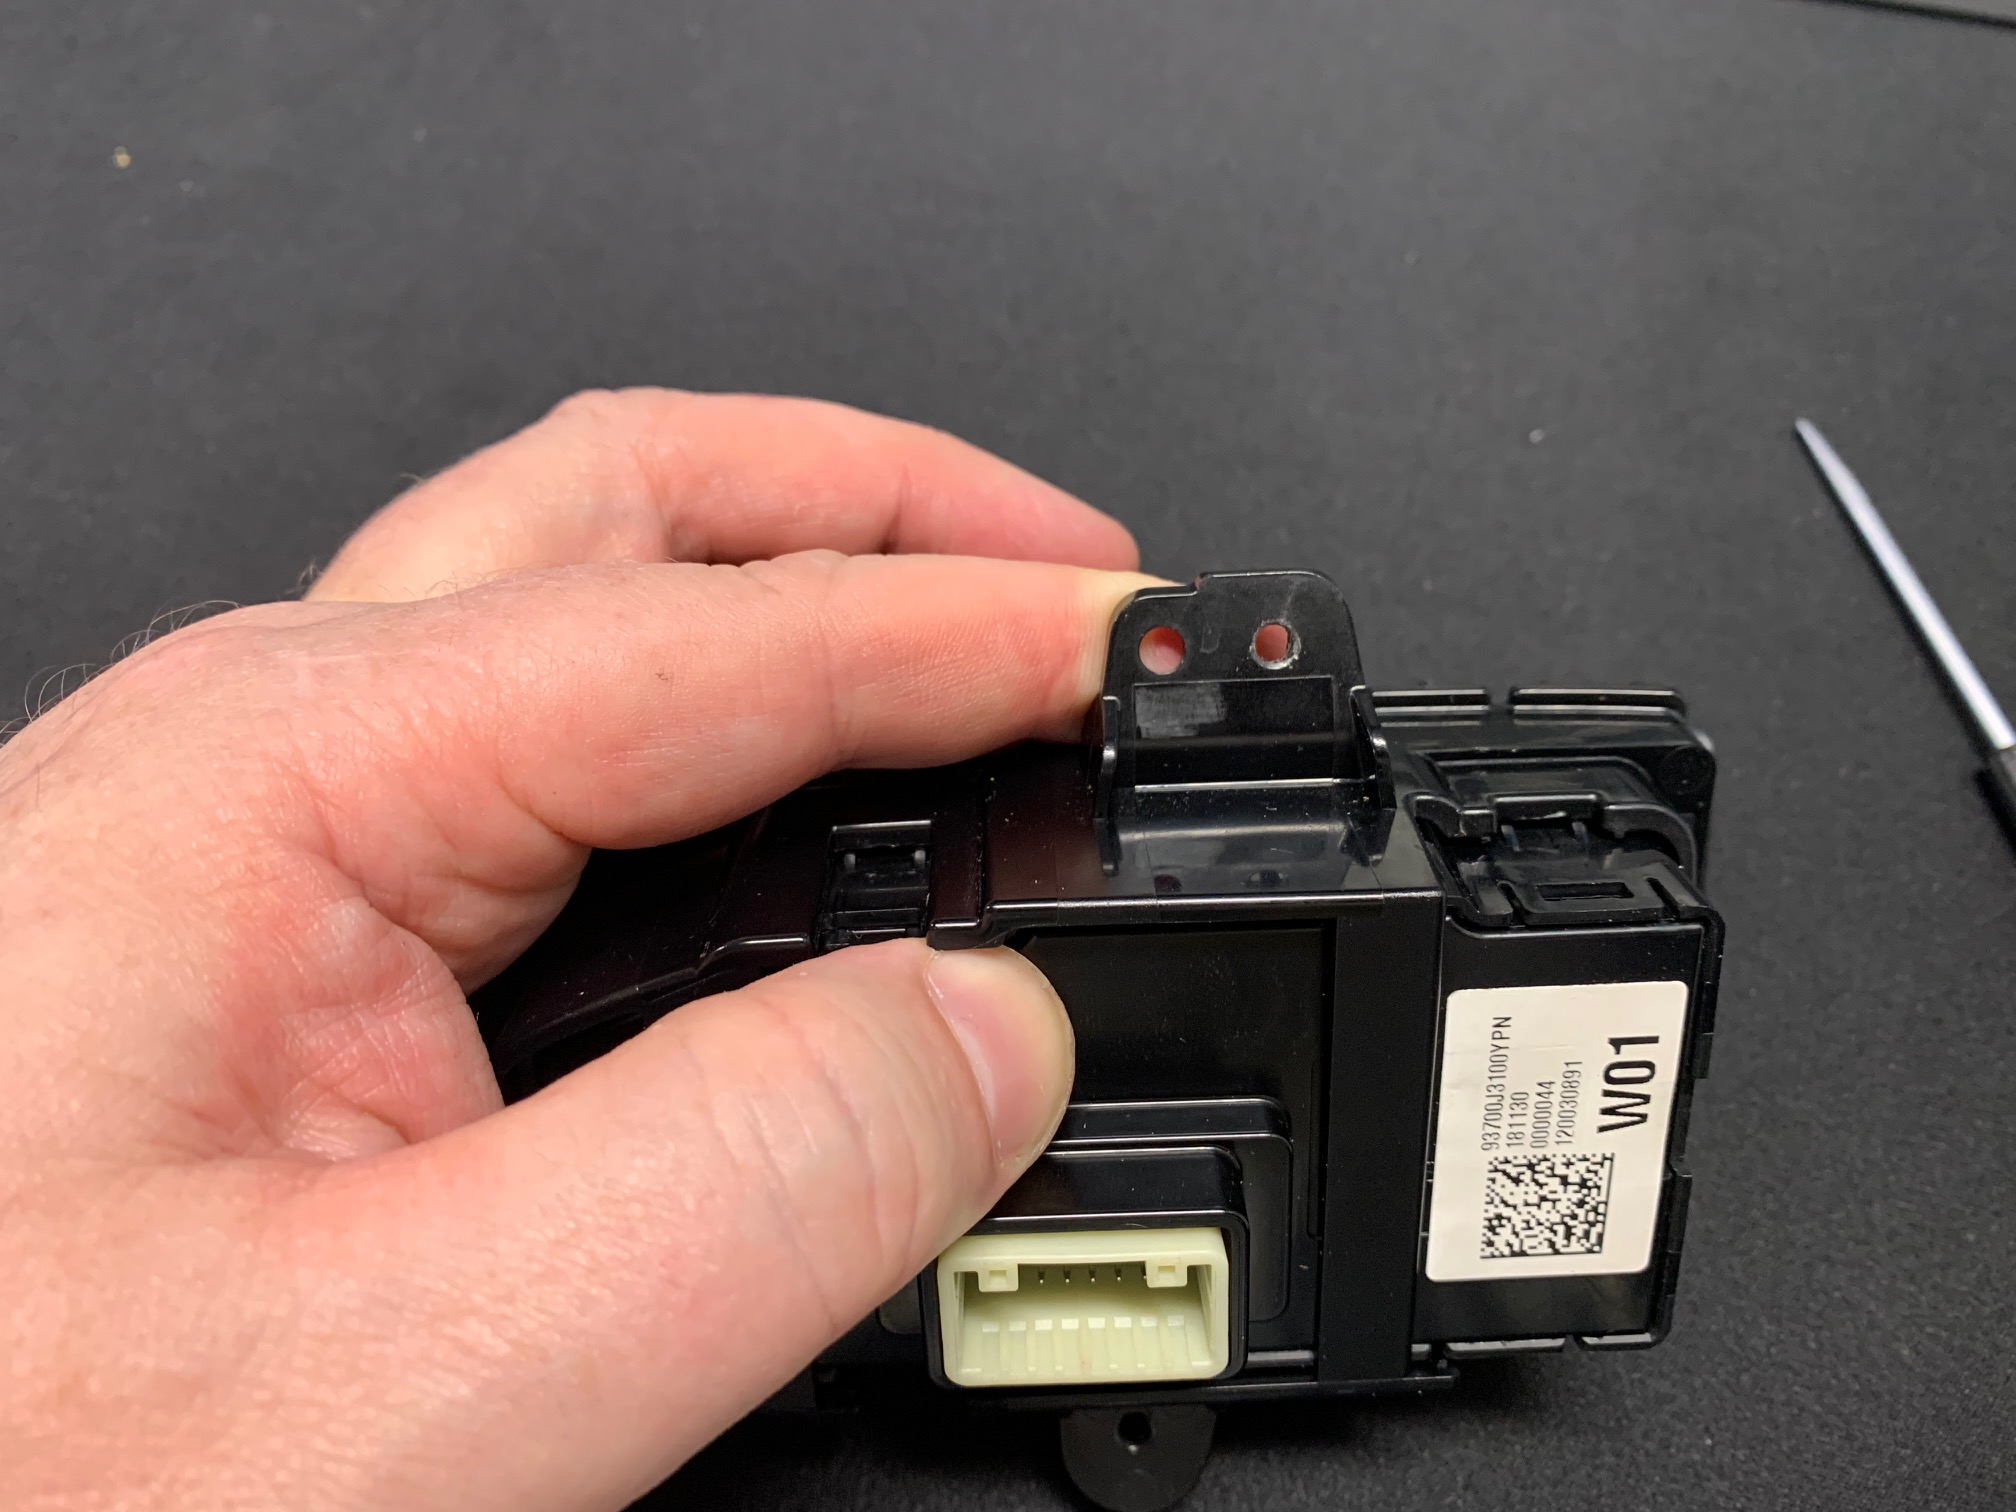
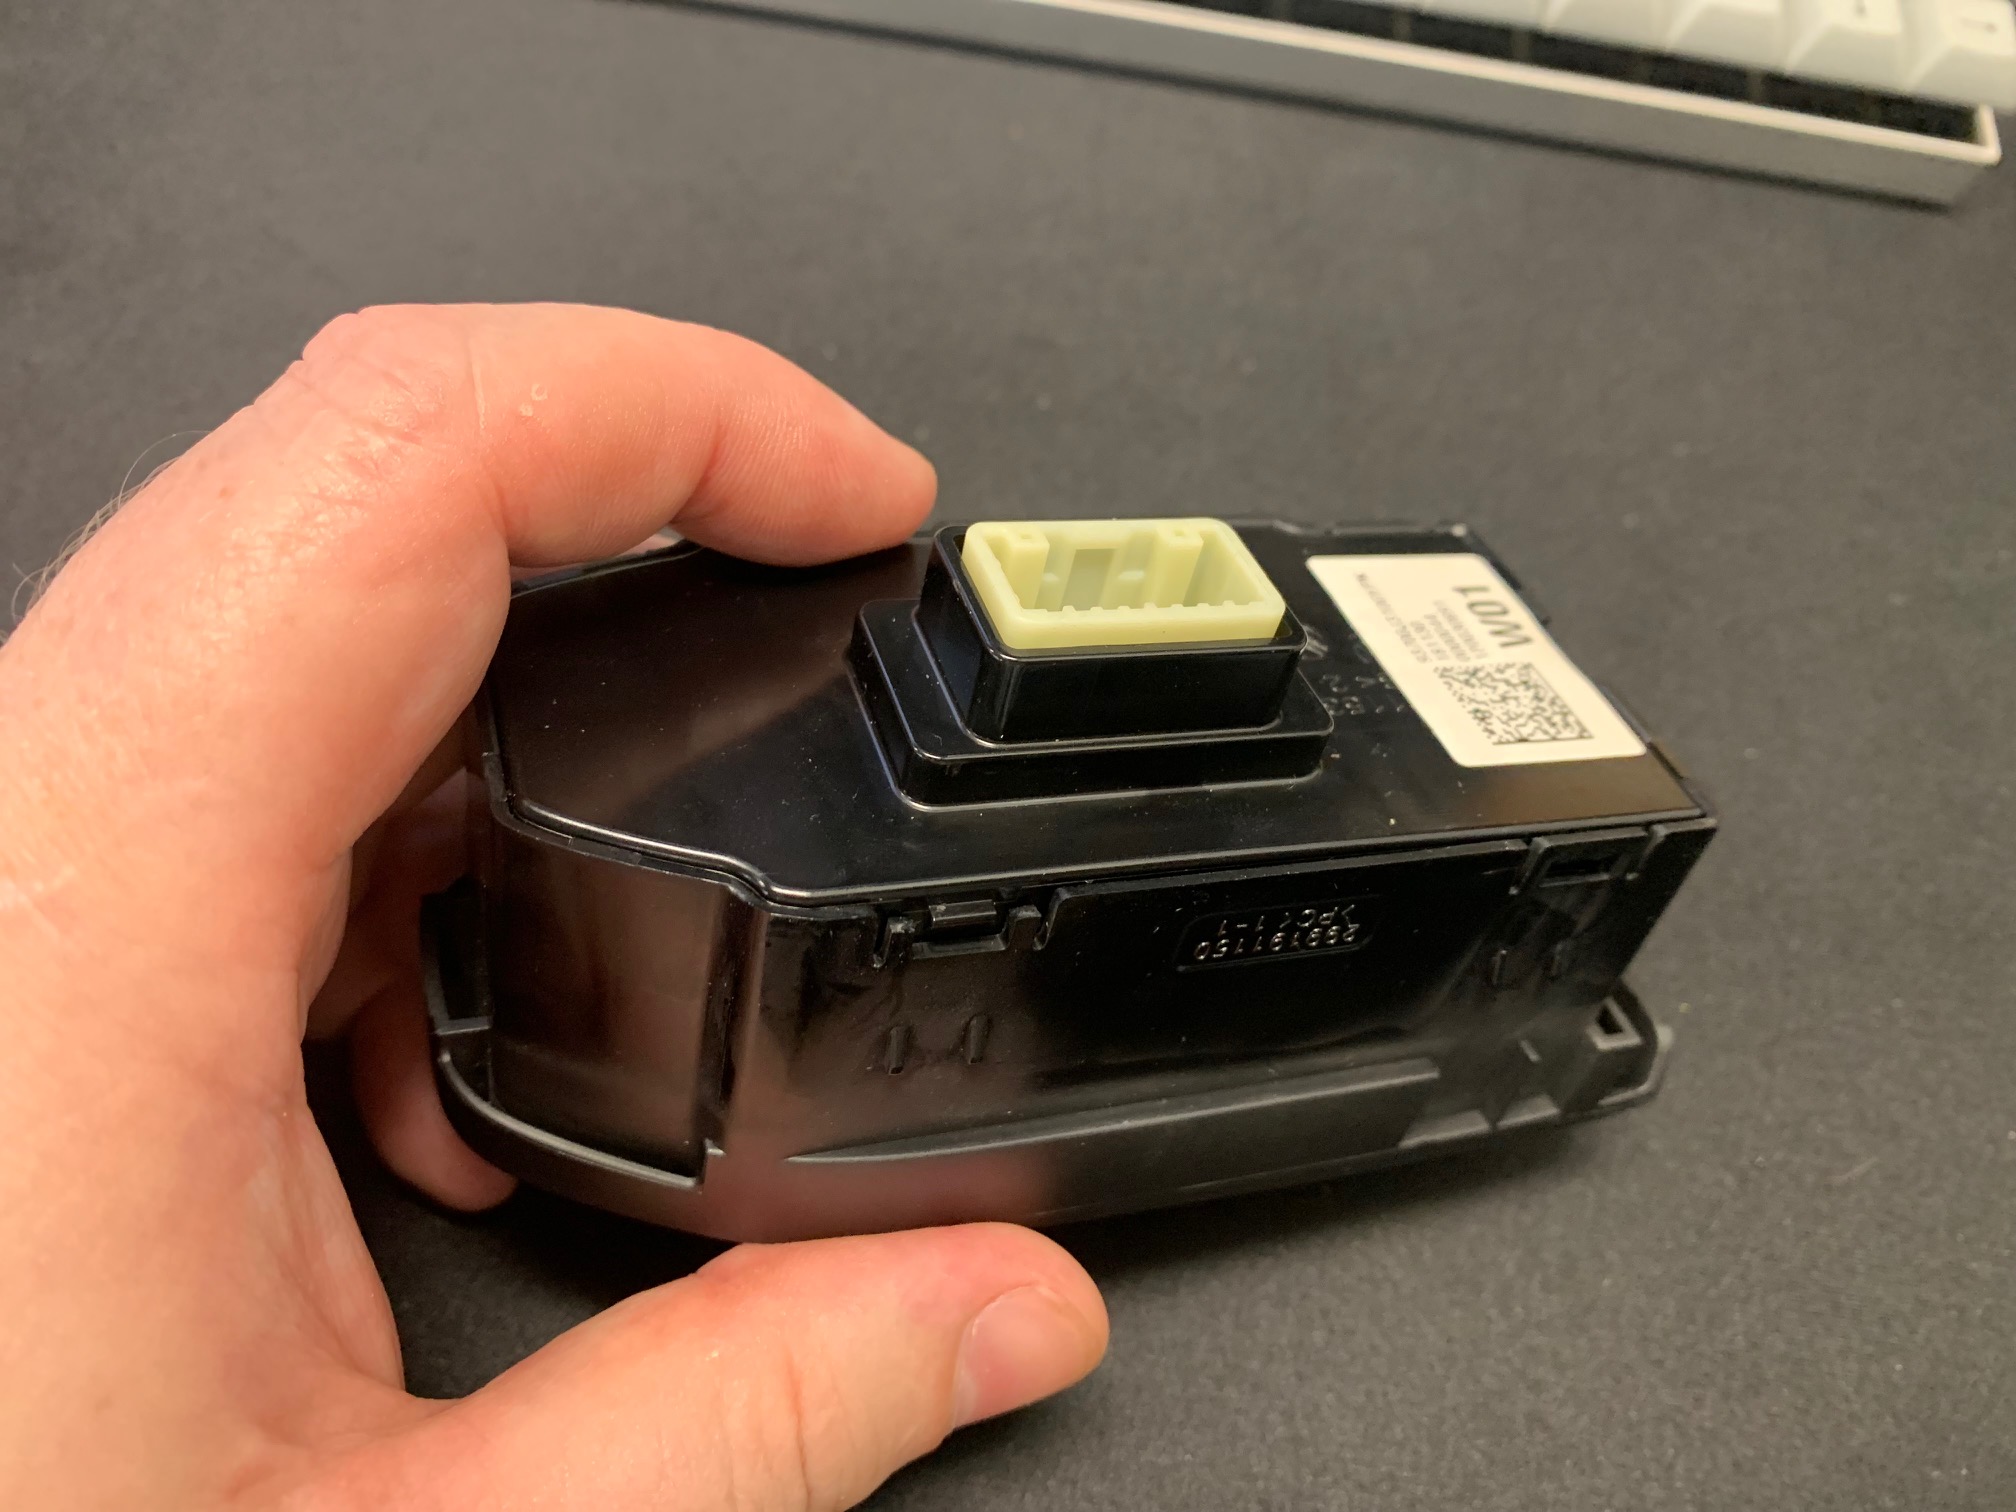
For this next process, bring the switch panel over to a clean, well-lit surface as we'll be disassembling the switch housing. Remove the three Phillips head screws and separate the two pieces.
-
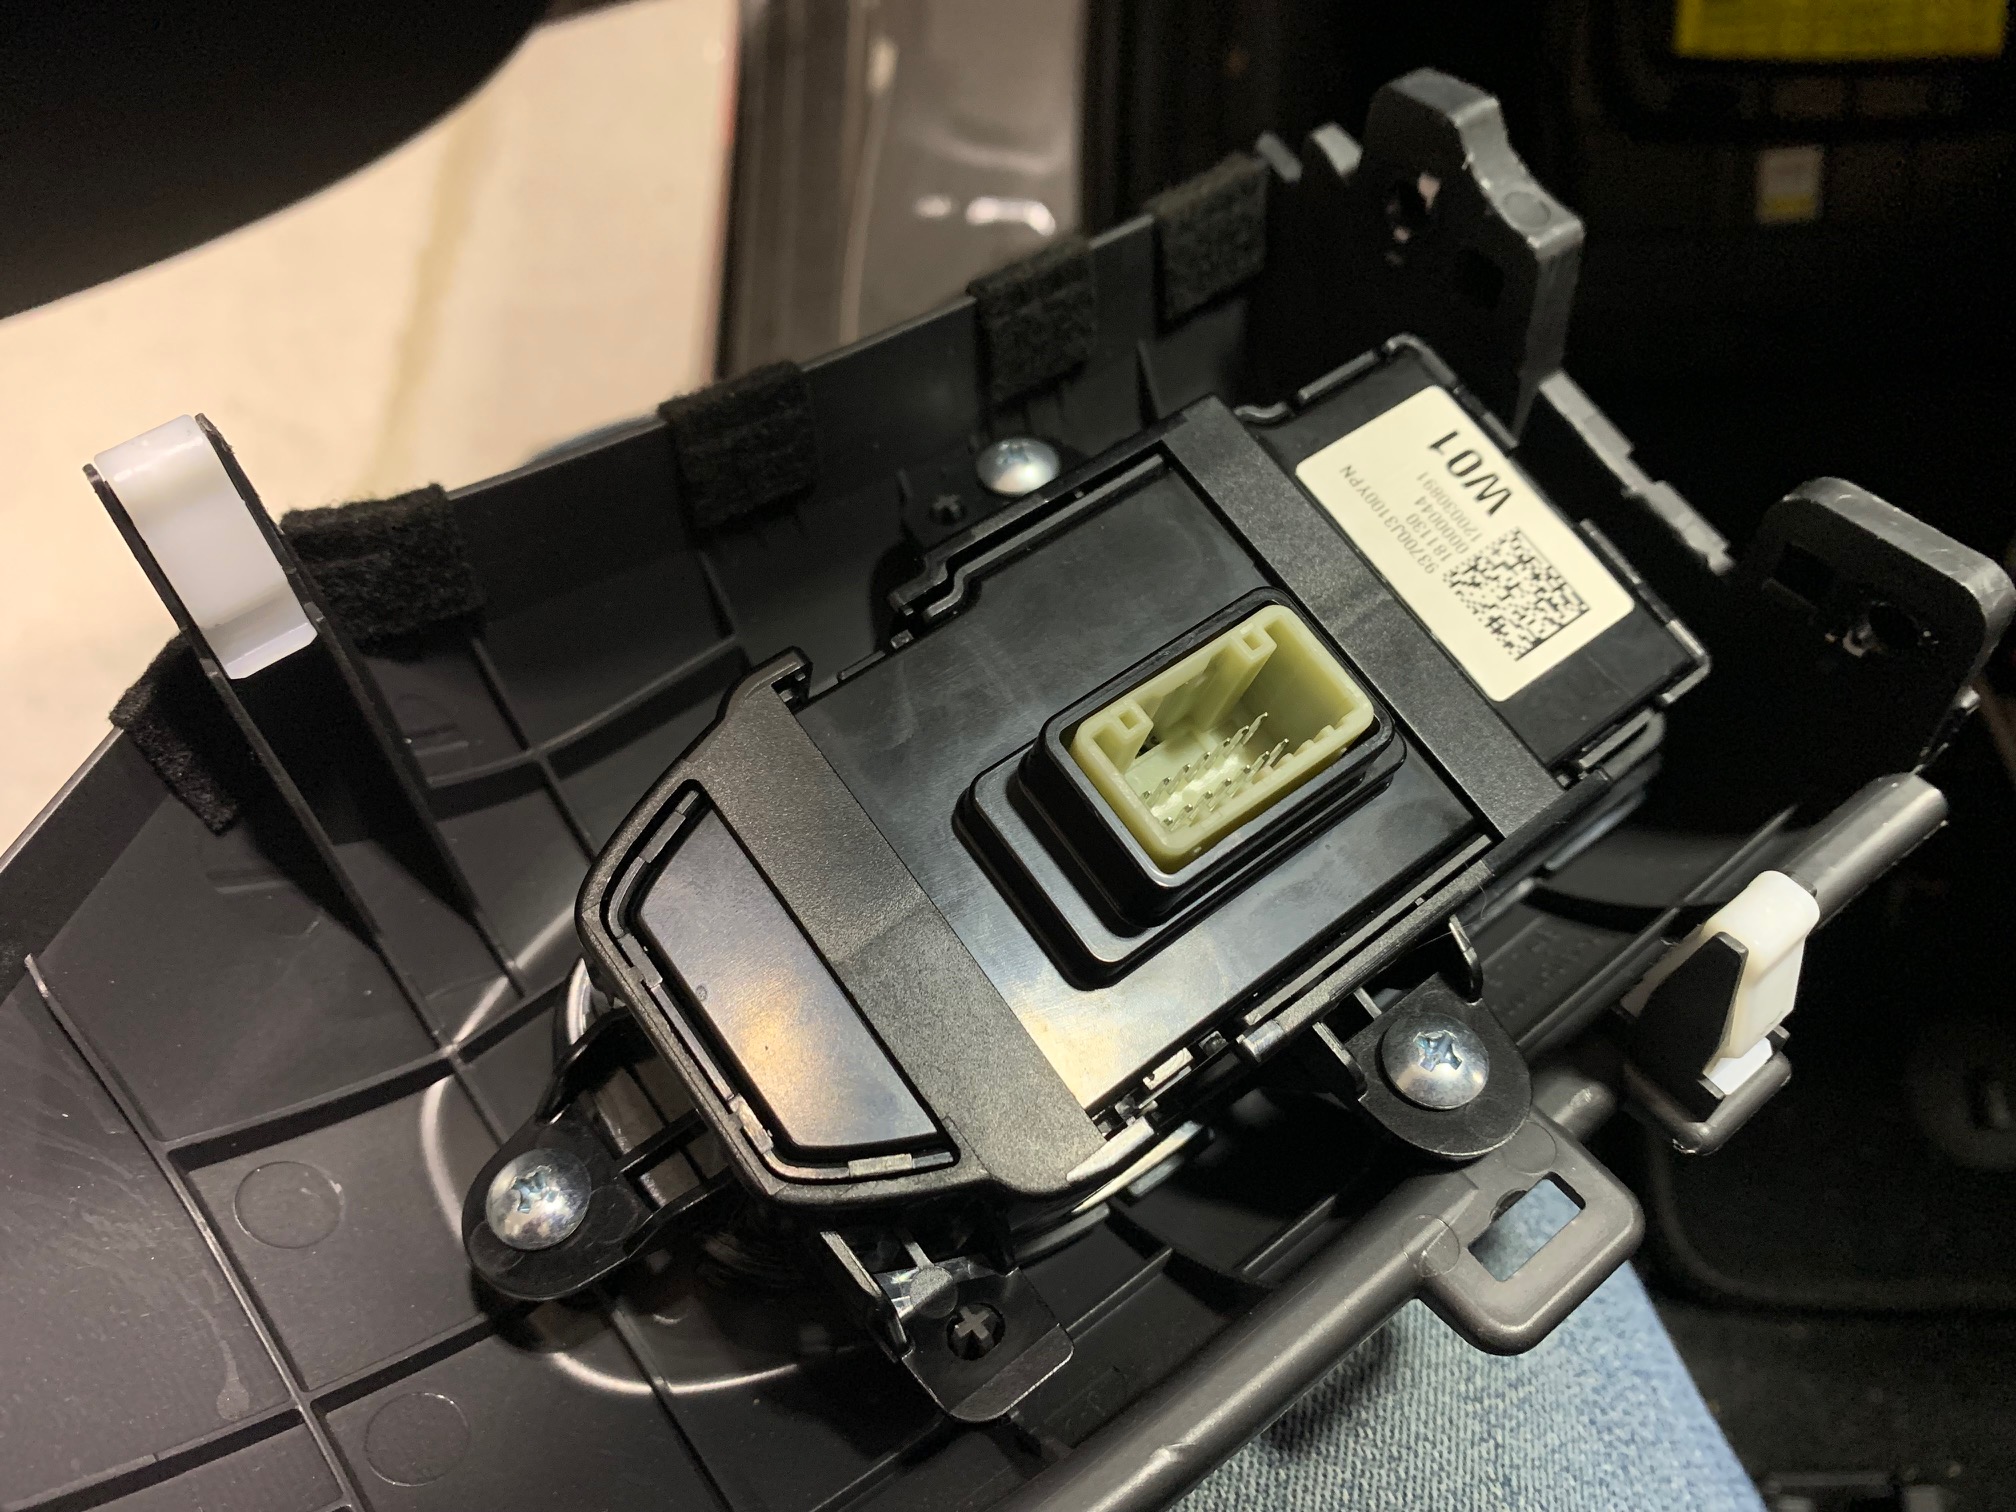
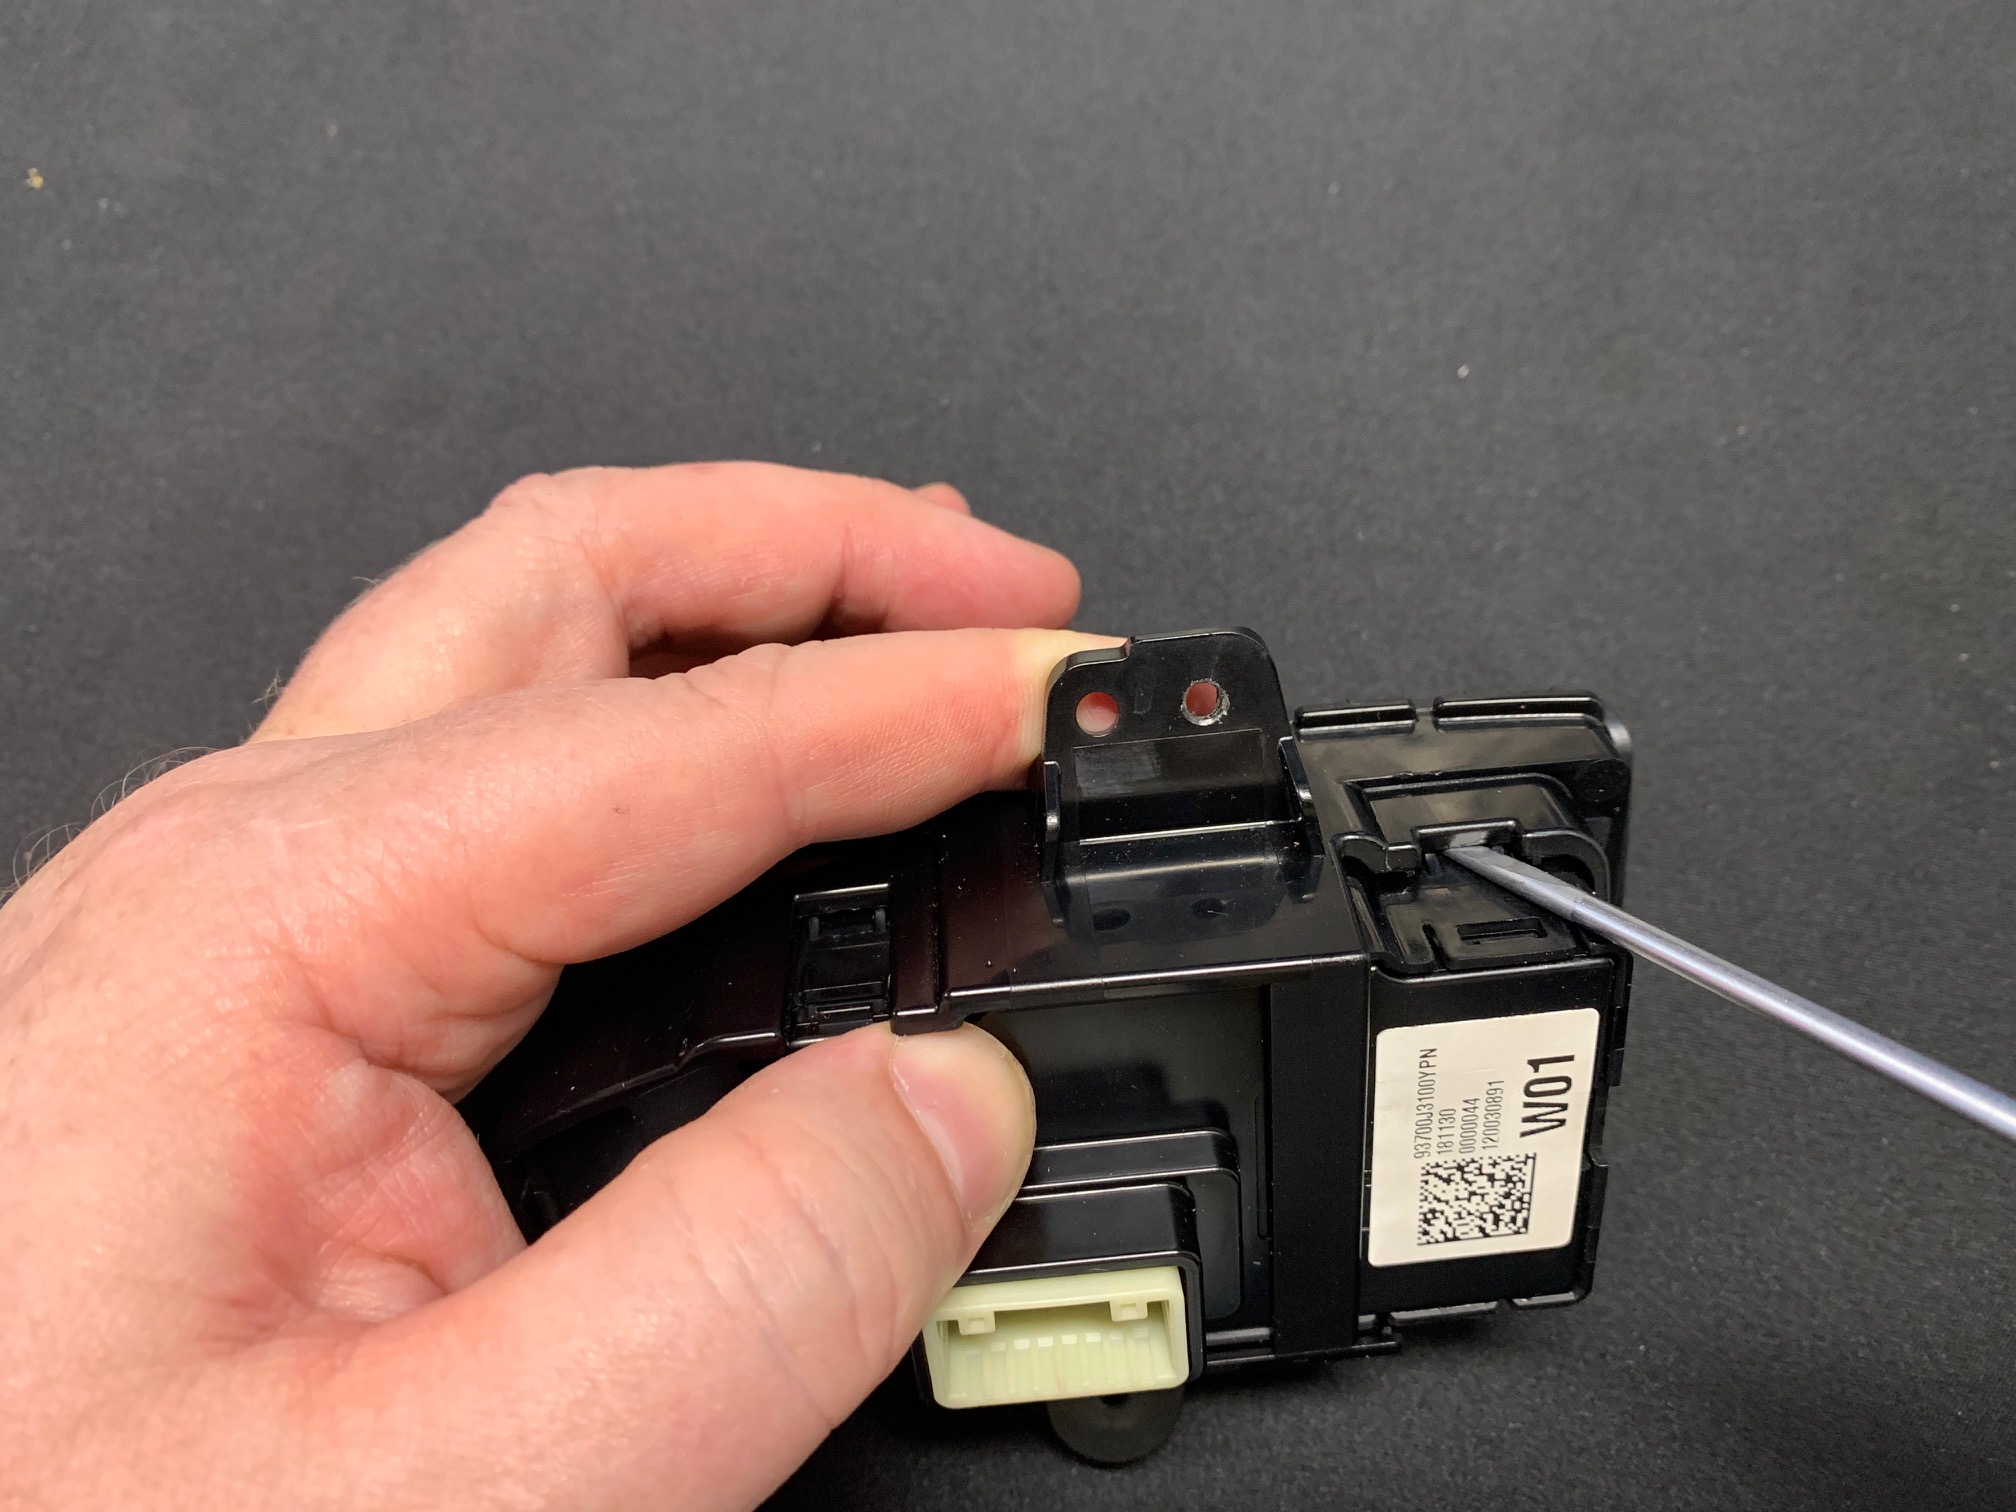
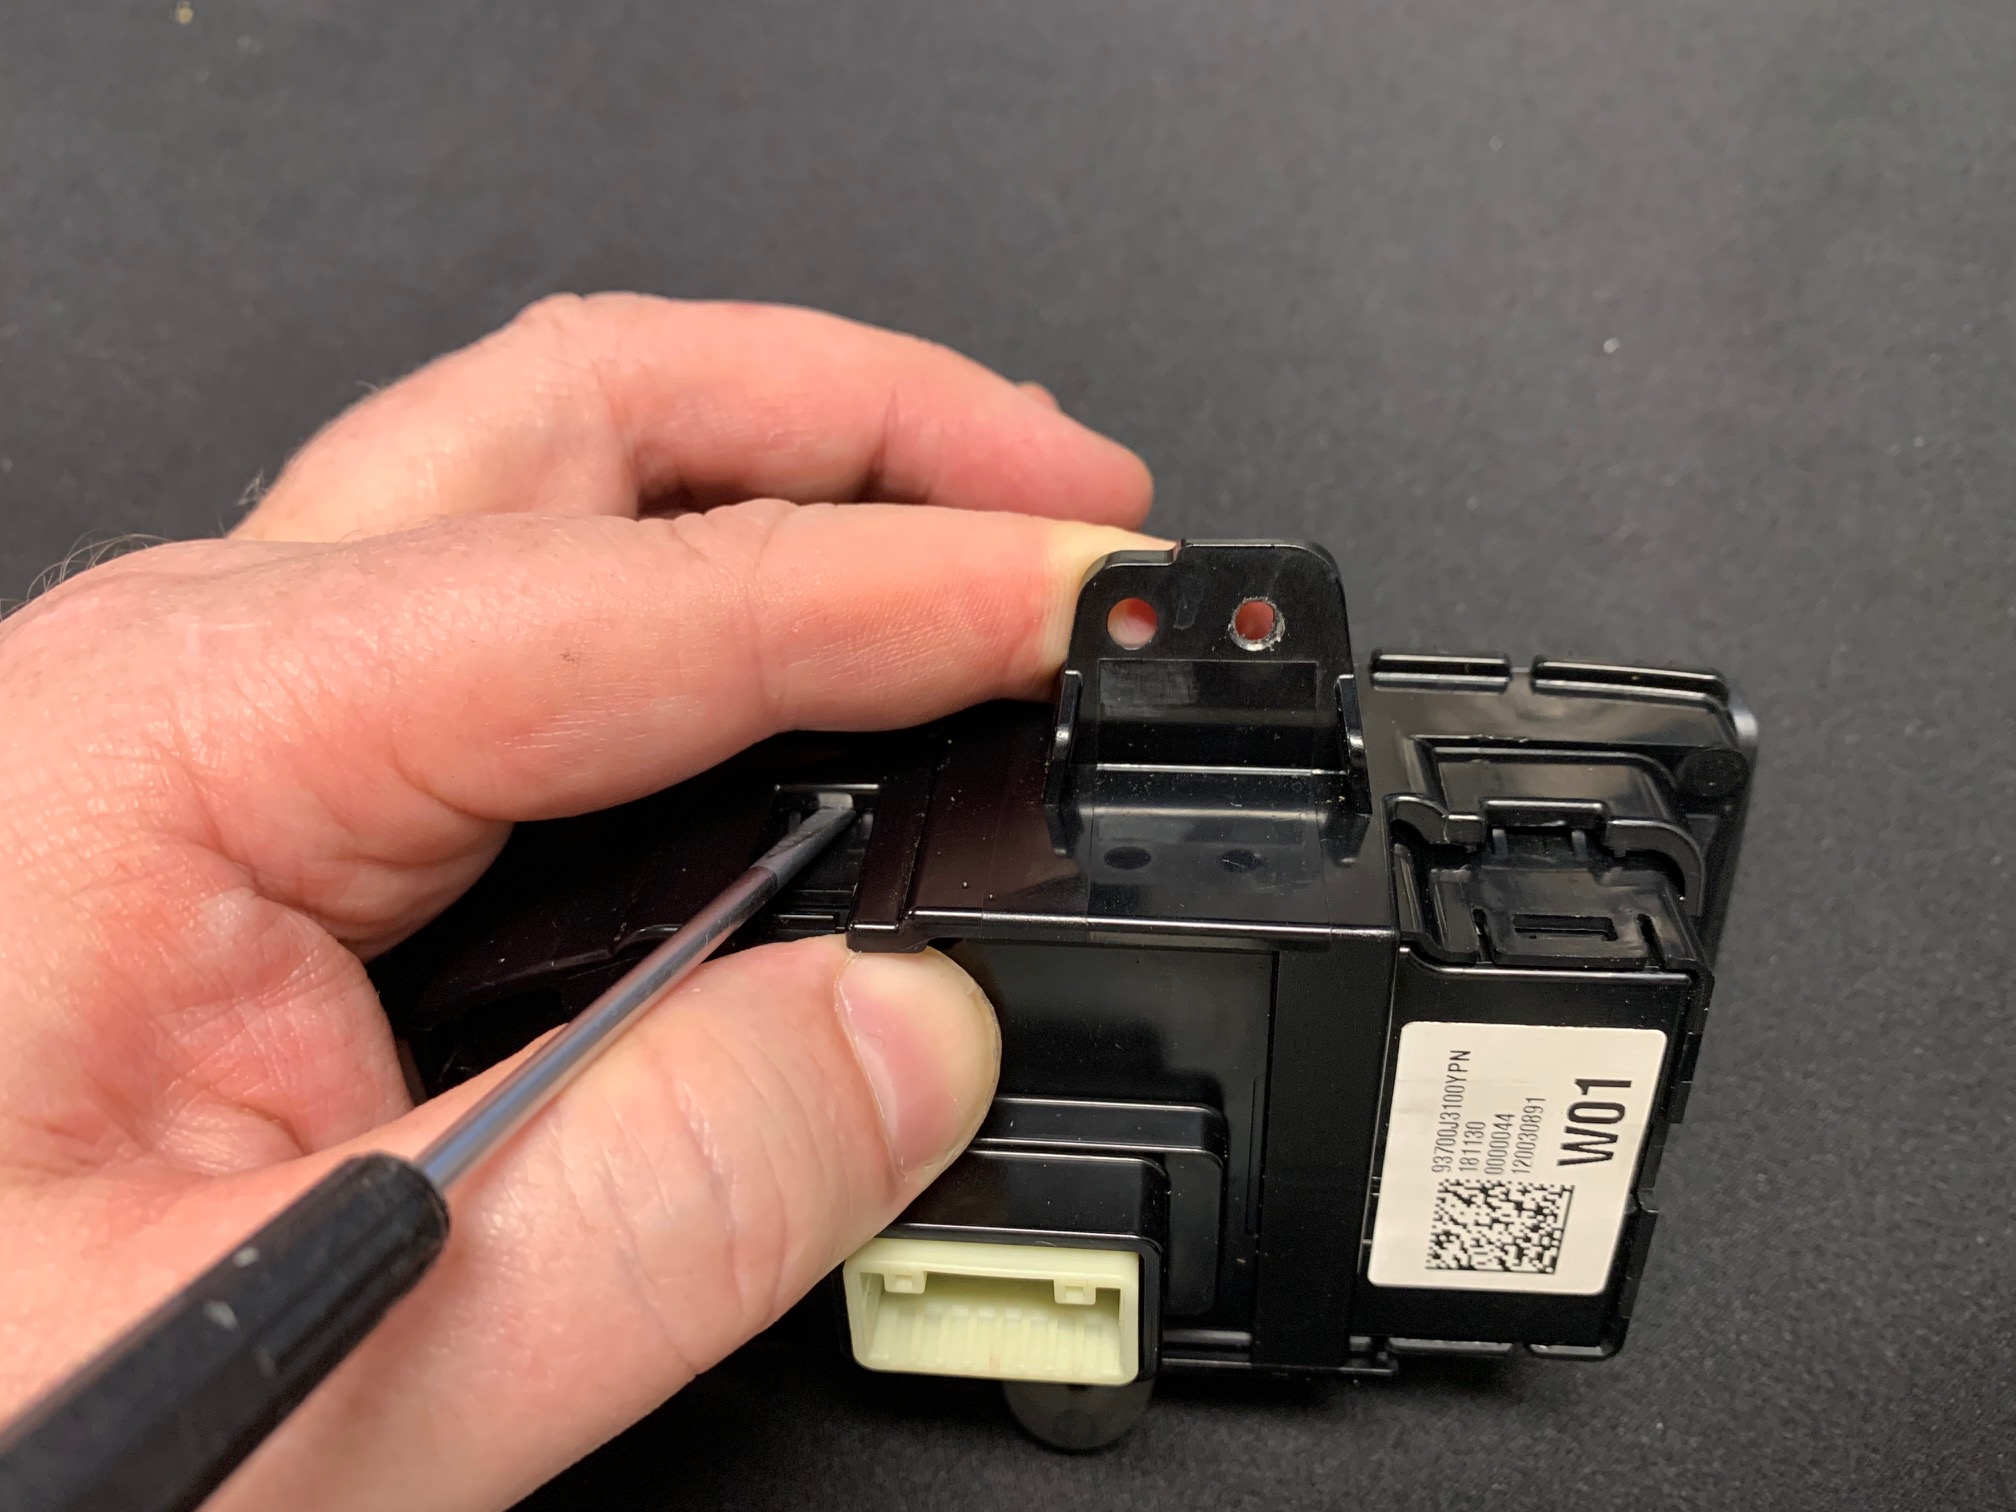
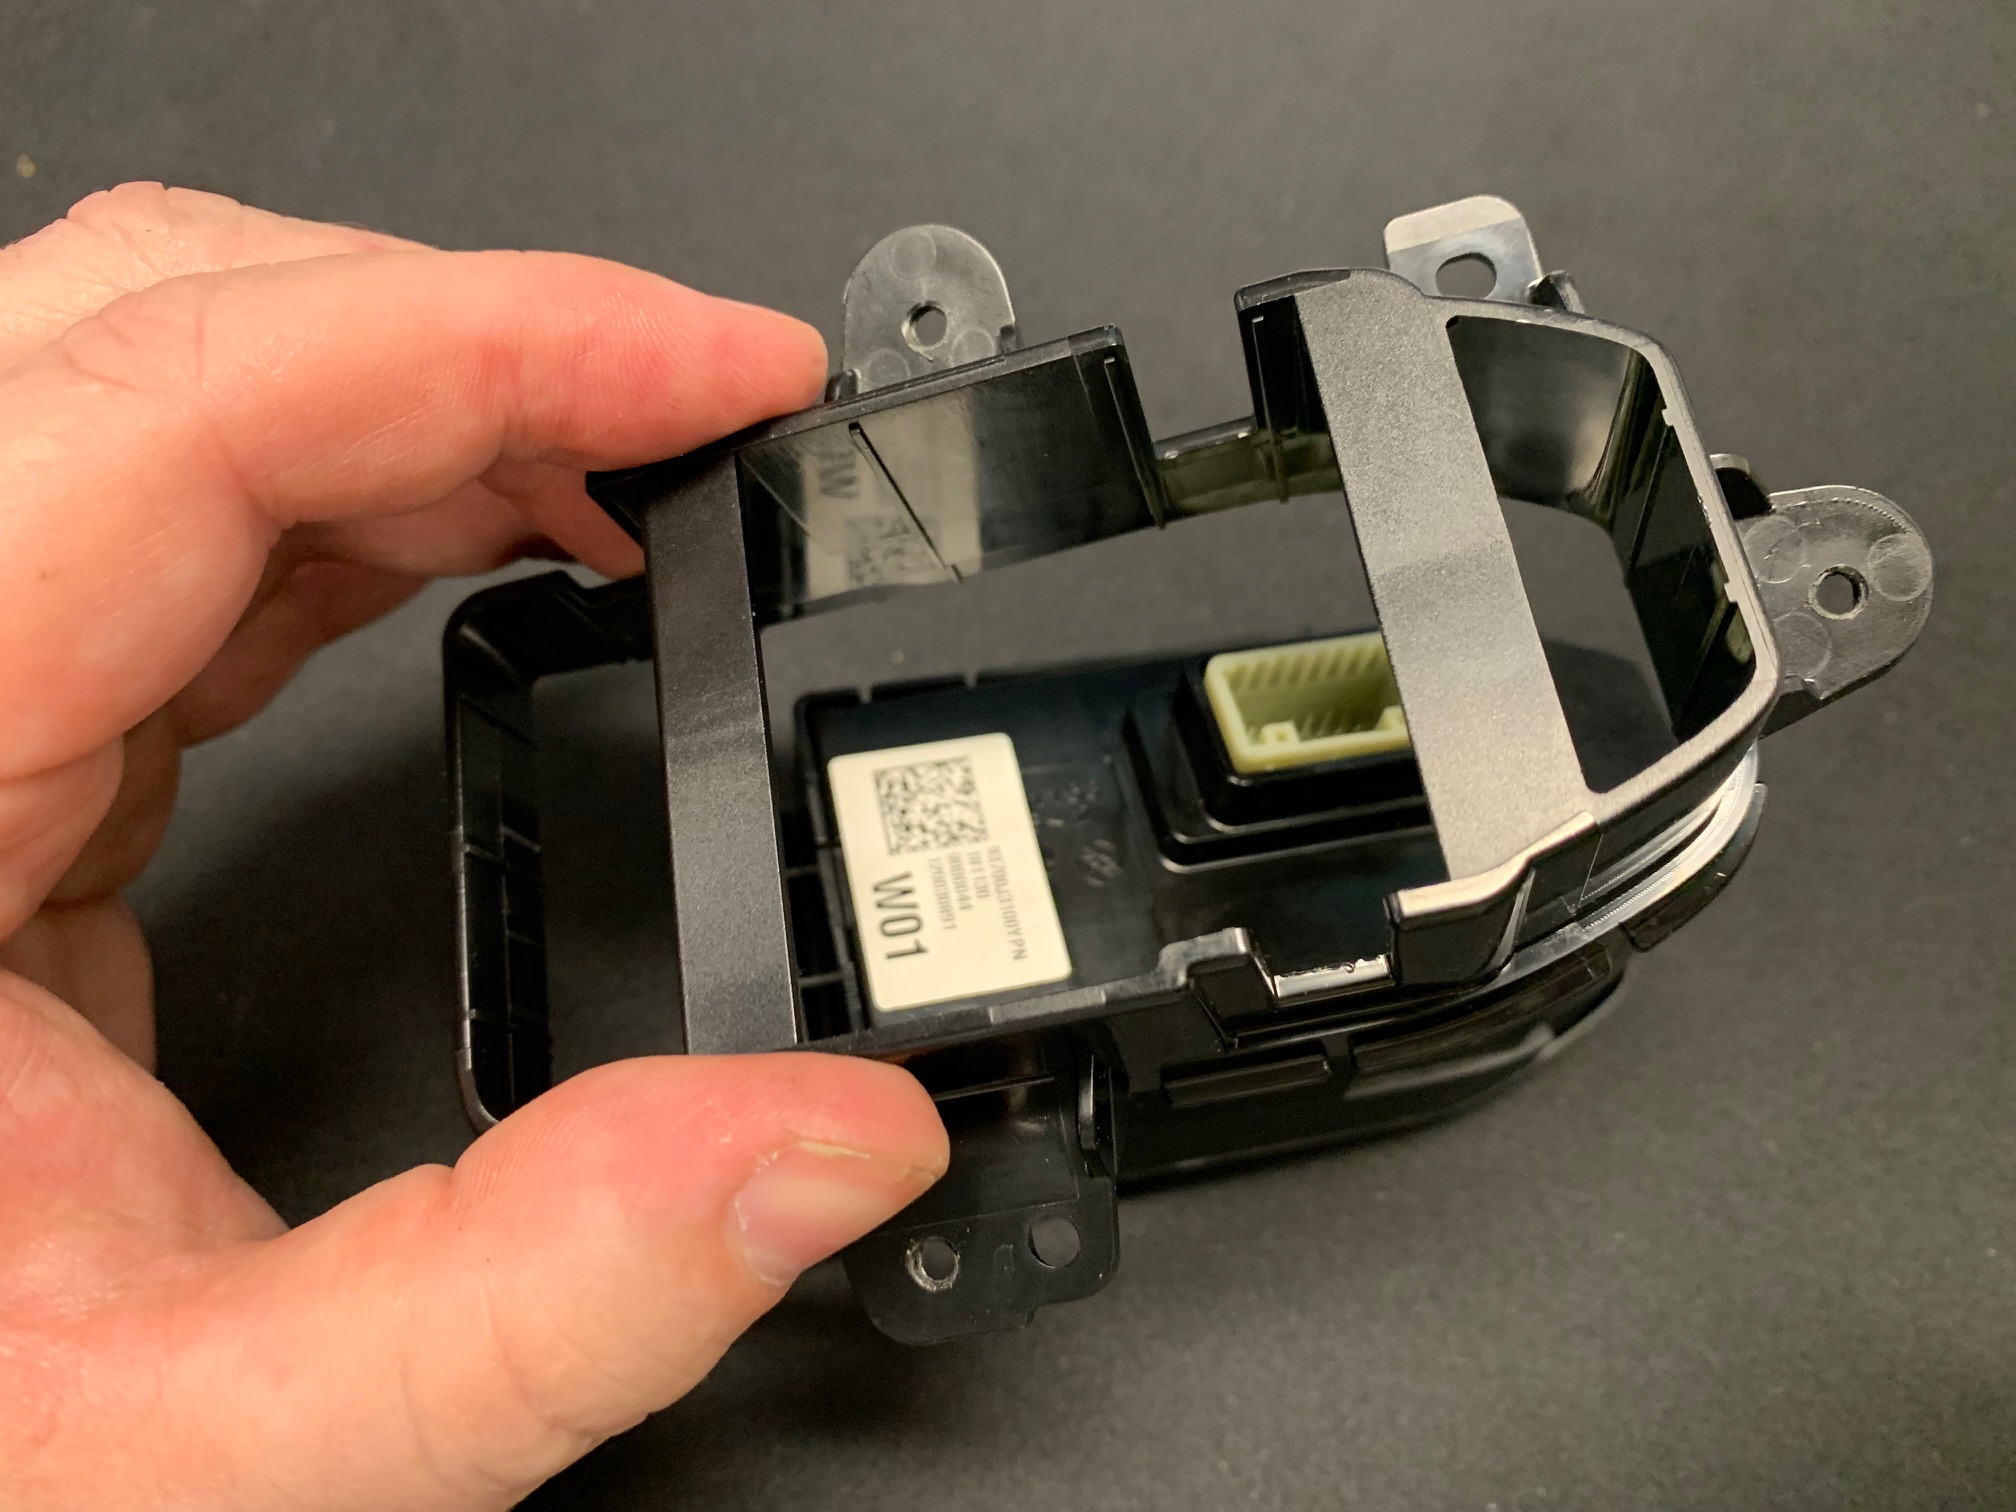
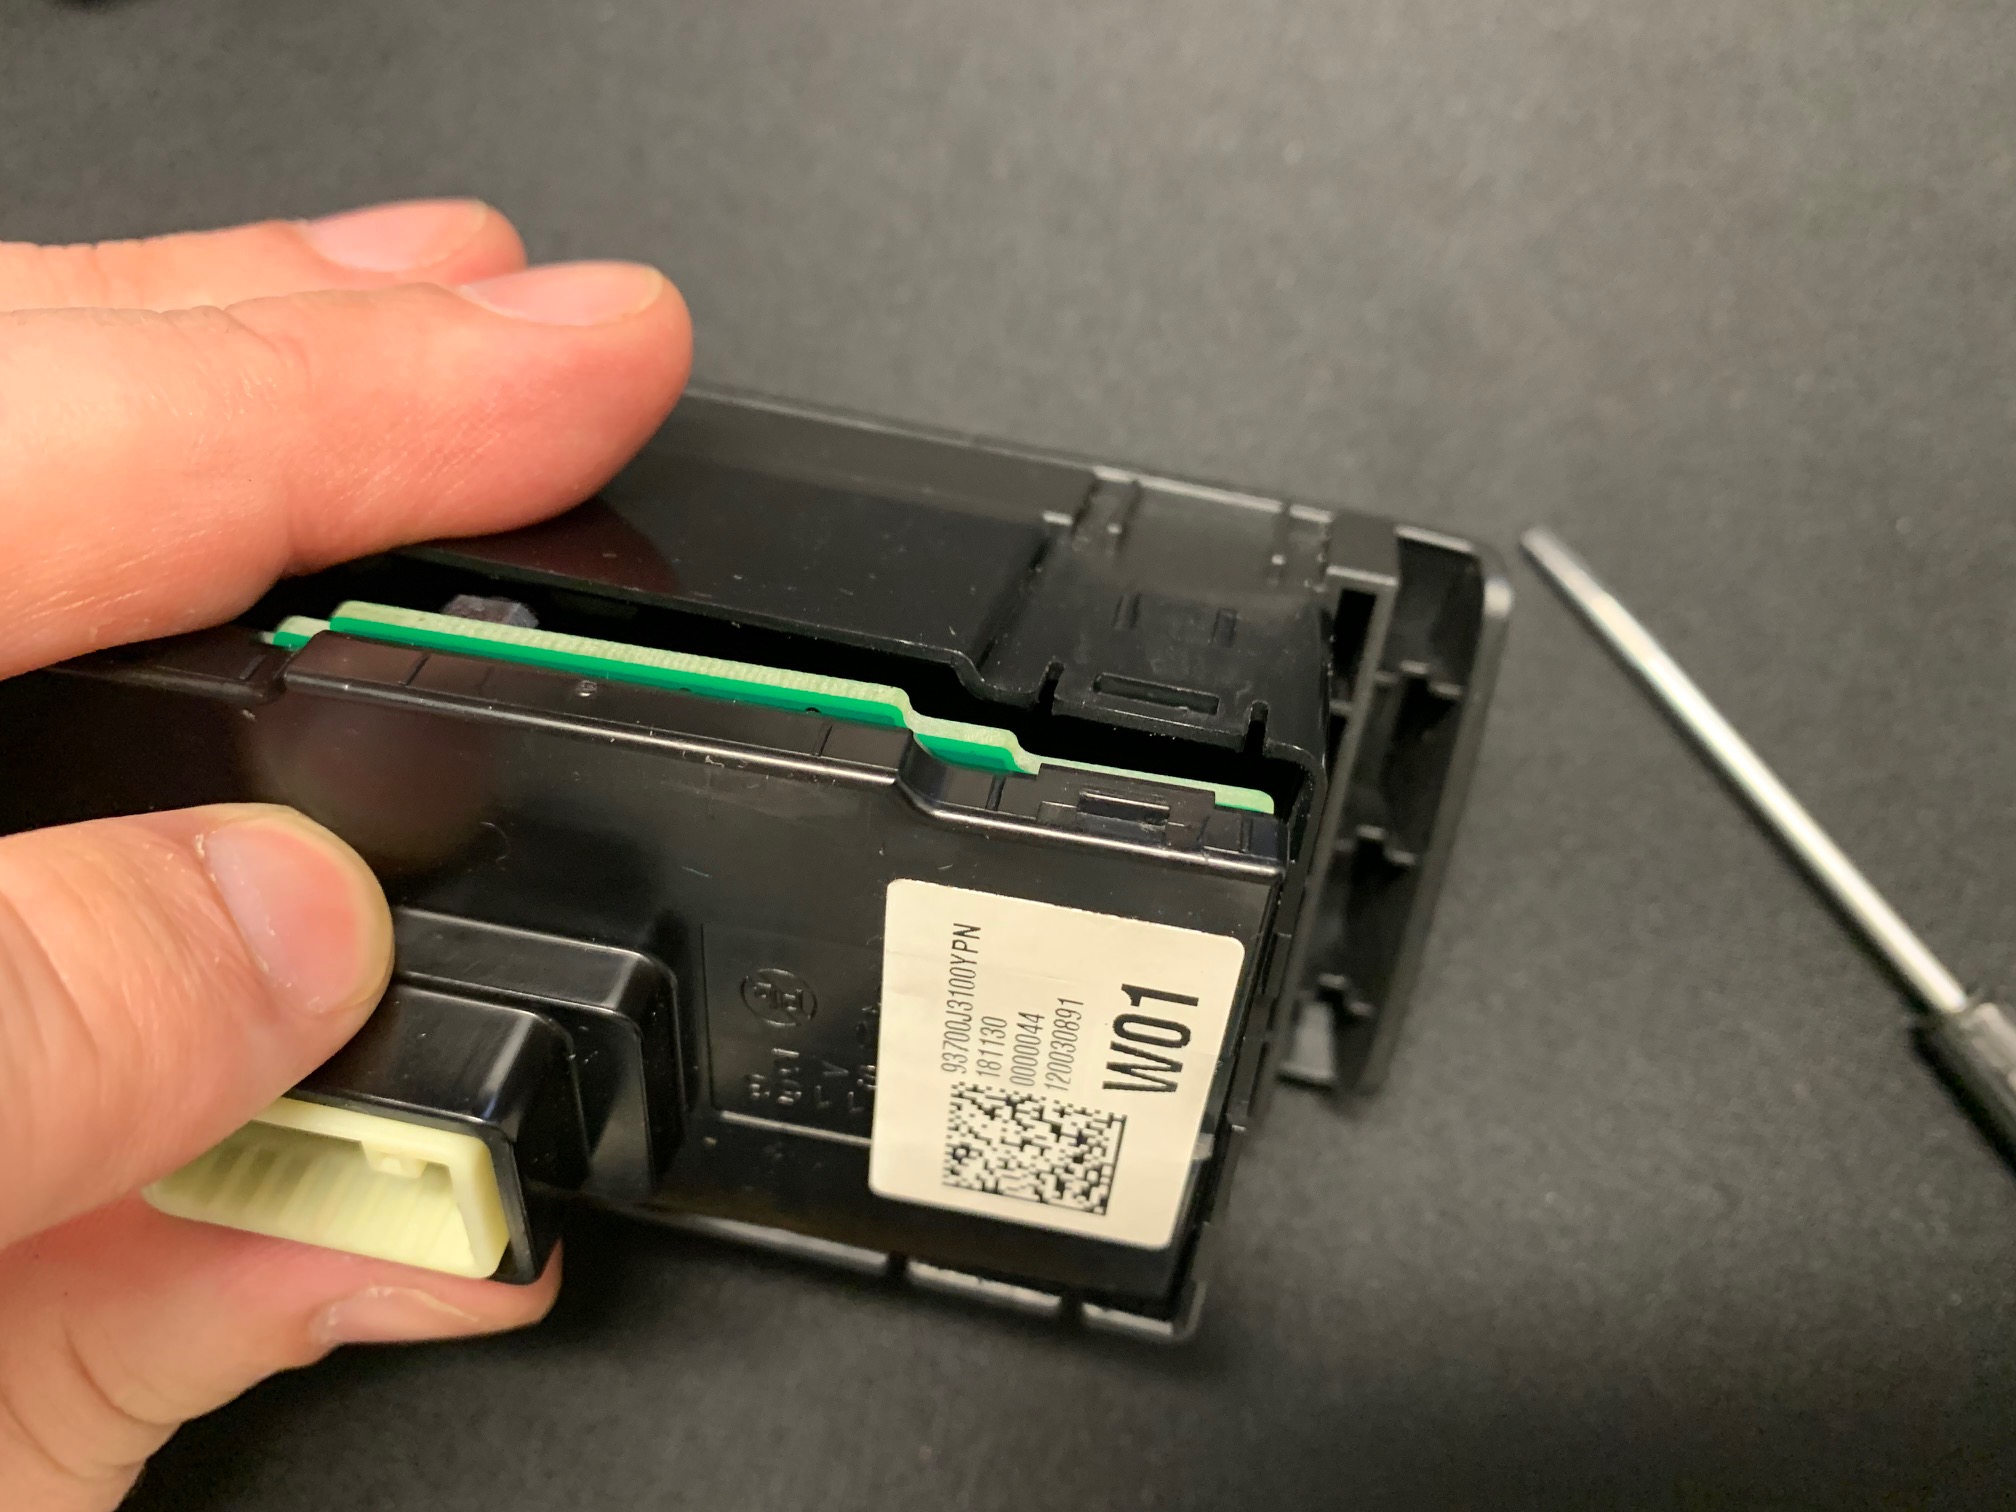
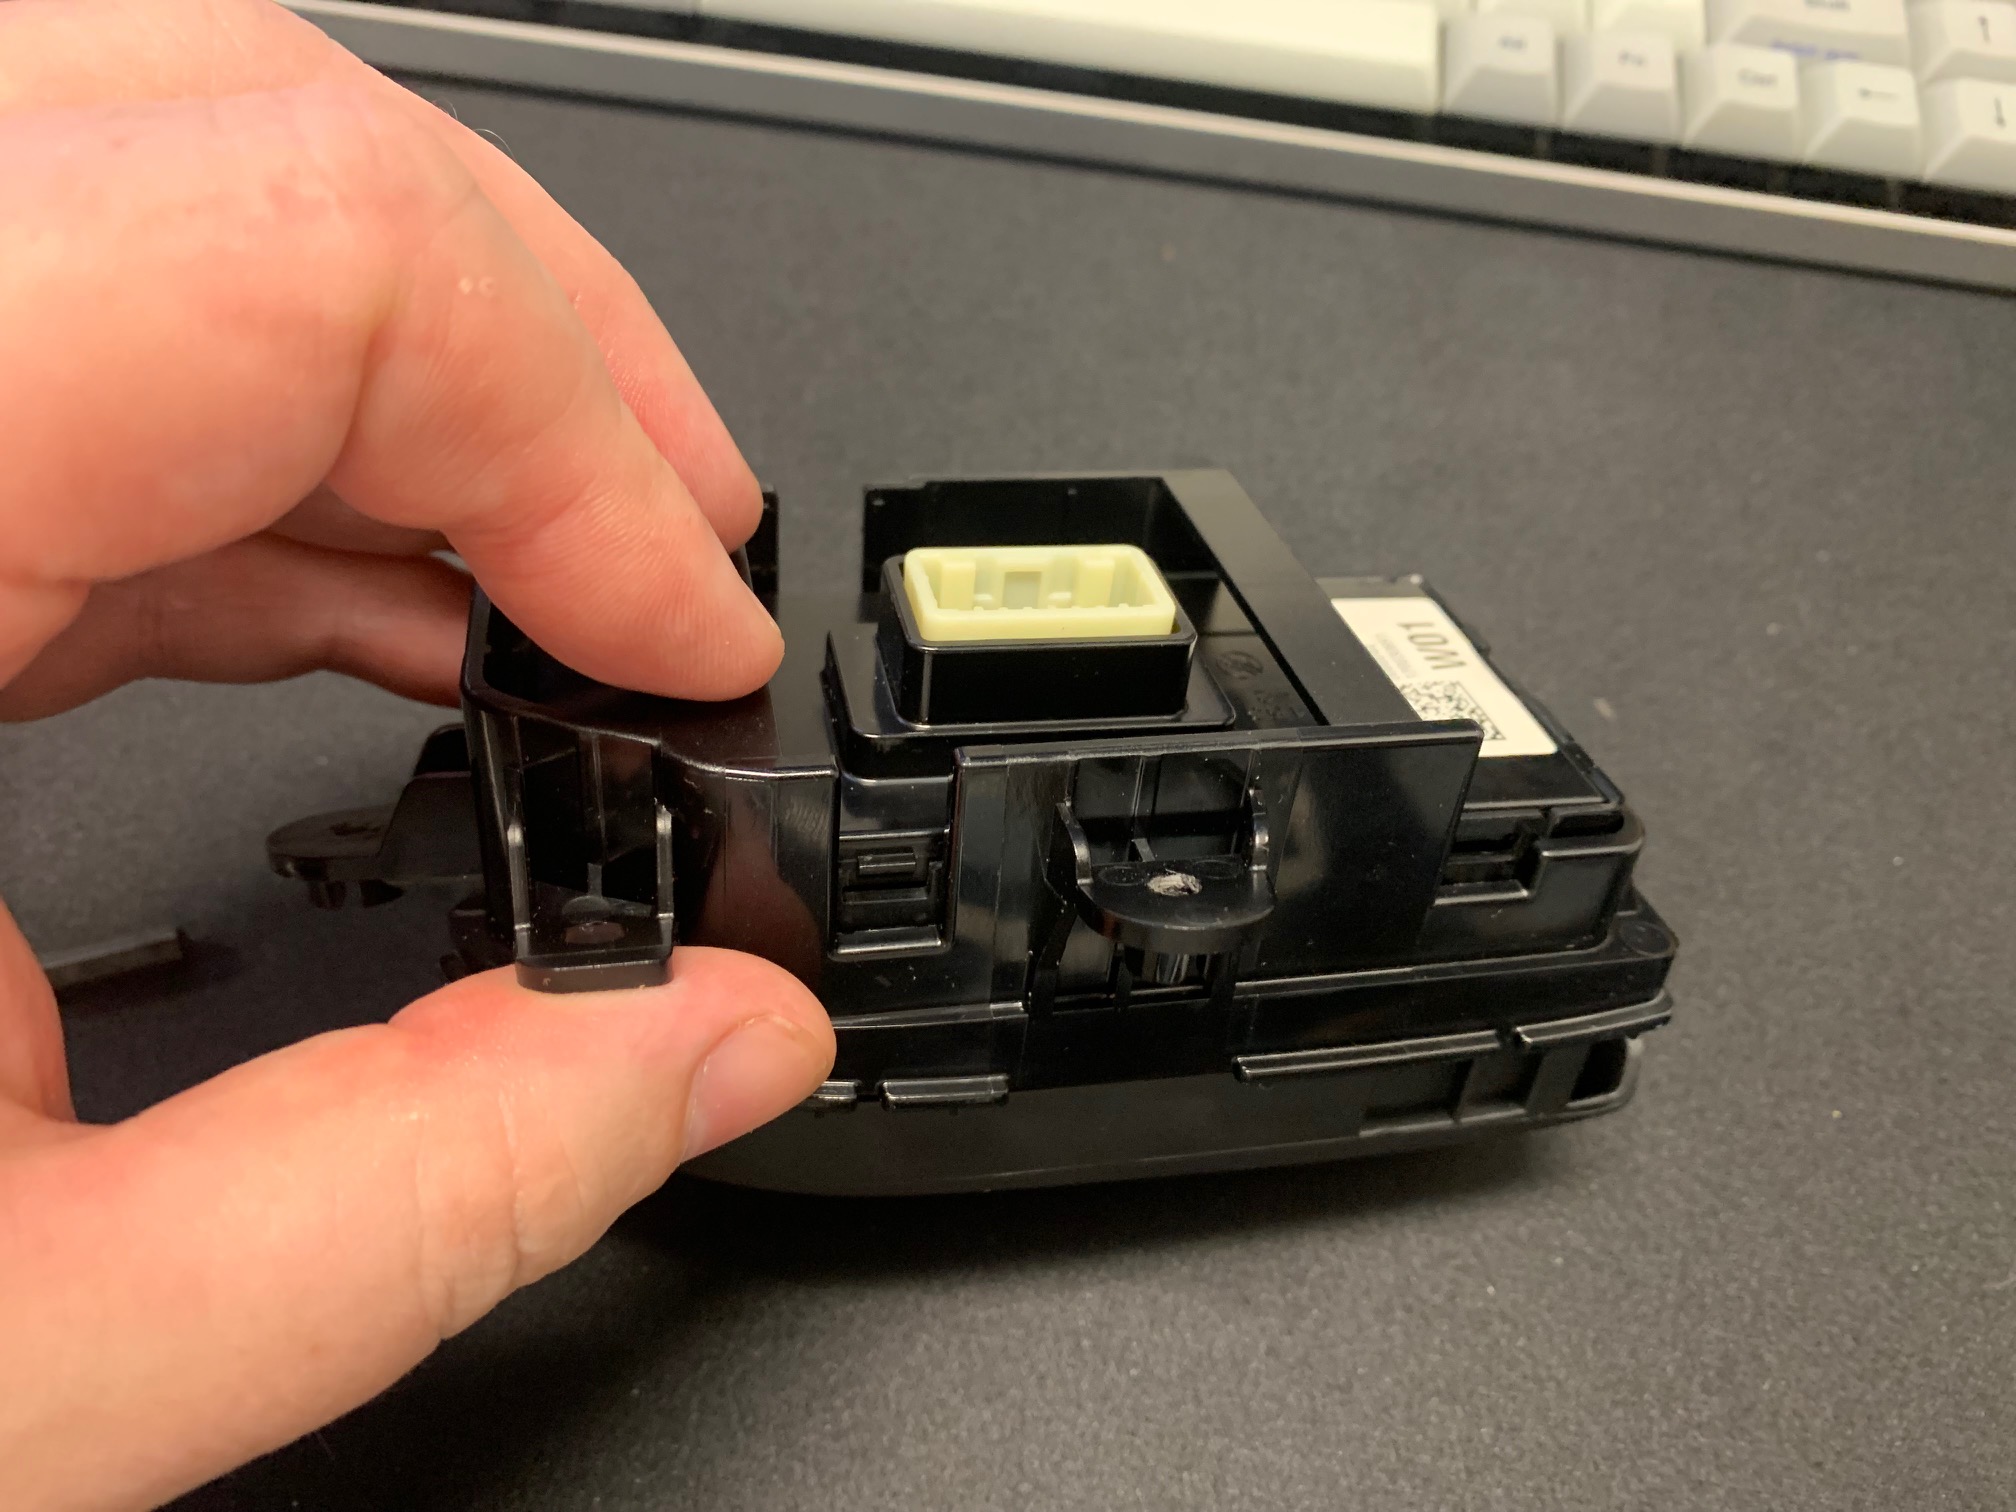
There are four small channels around the perimeter of the switch housing that hold the mounting frame to the housing itself. Utilizing a small flat-bladed screwdriver, gently pry the frame away from the switch housing while applying pressure to push the two parts away from each other.
-
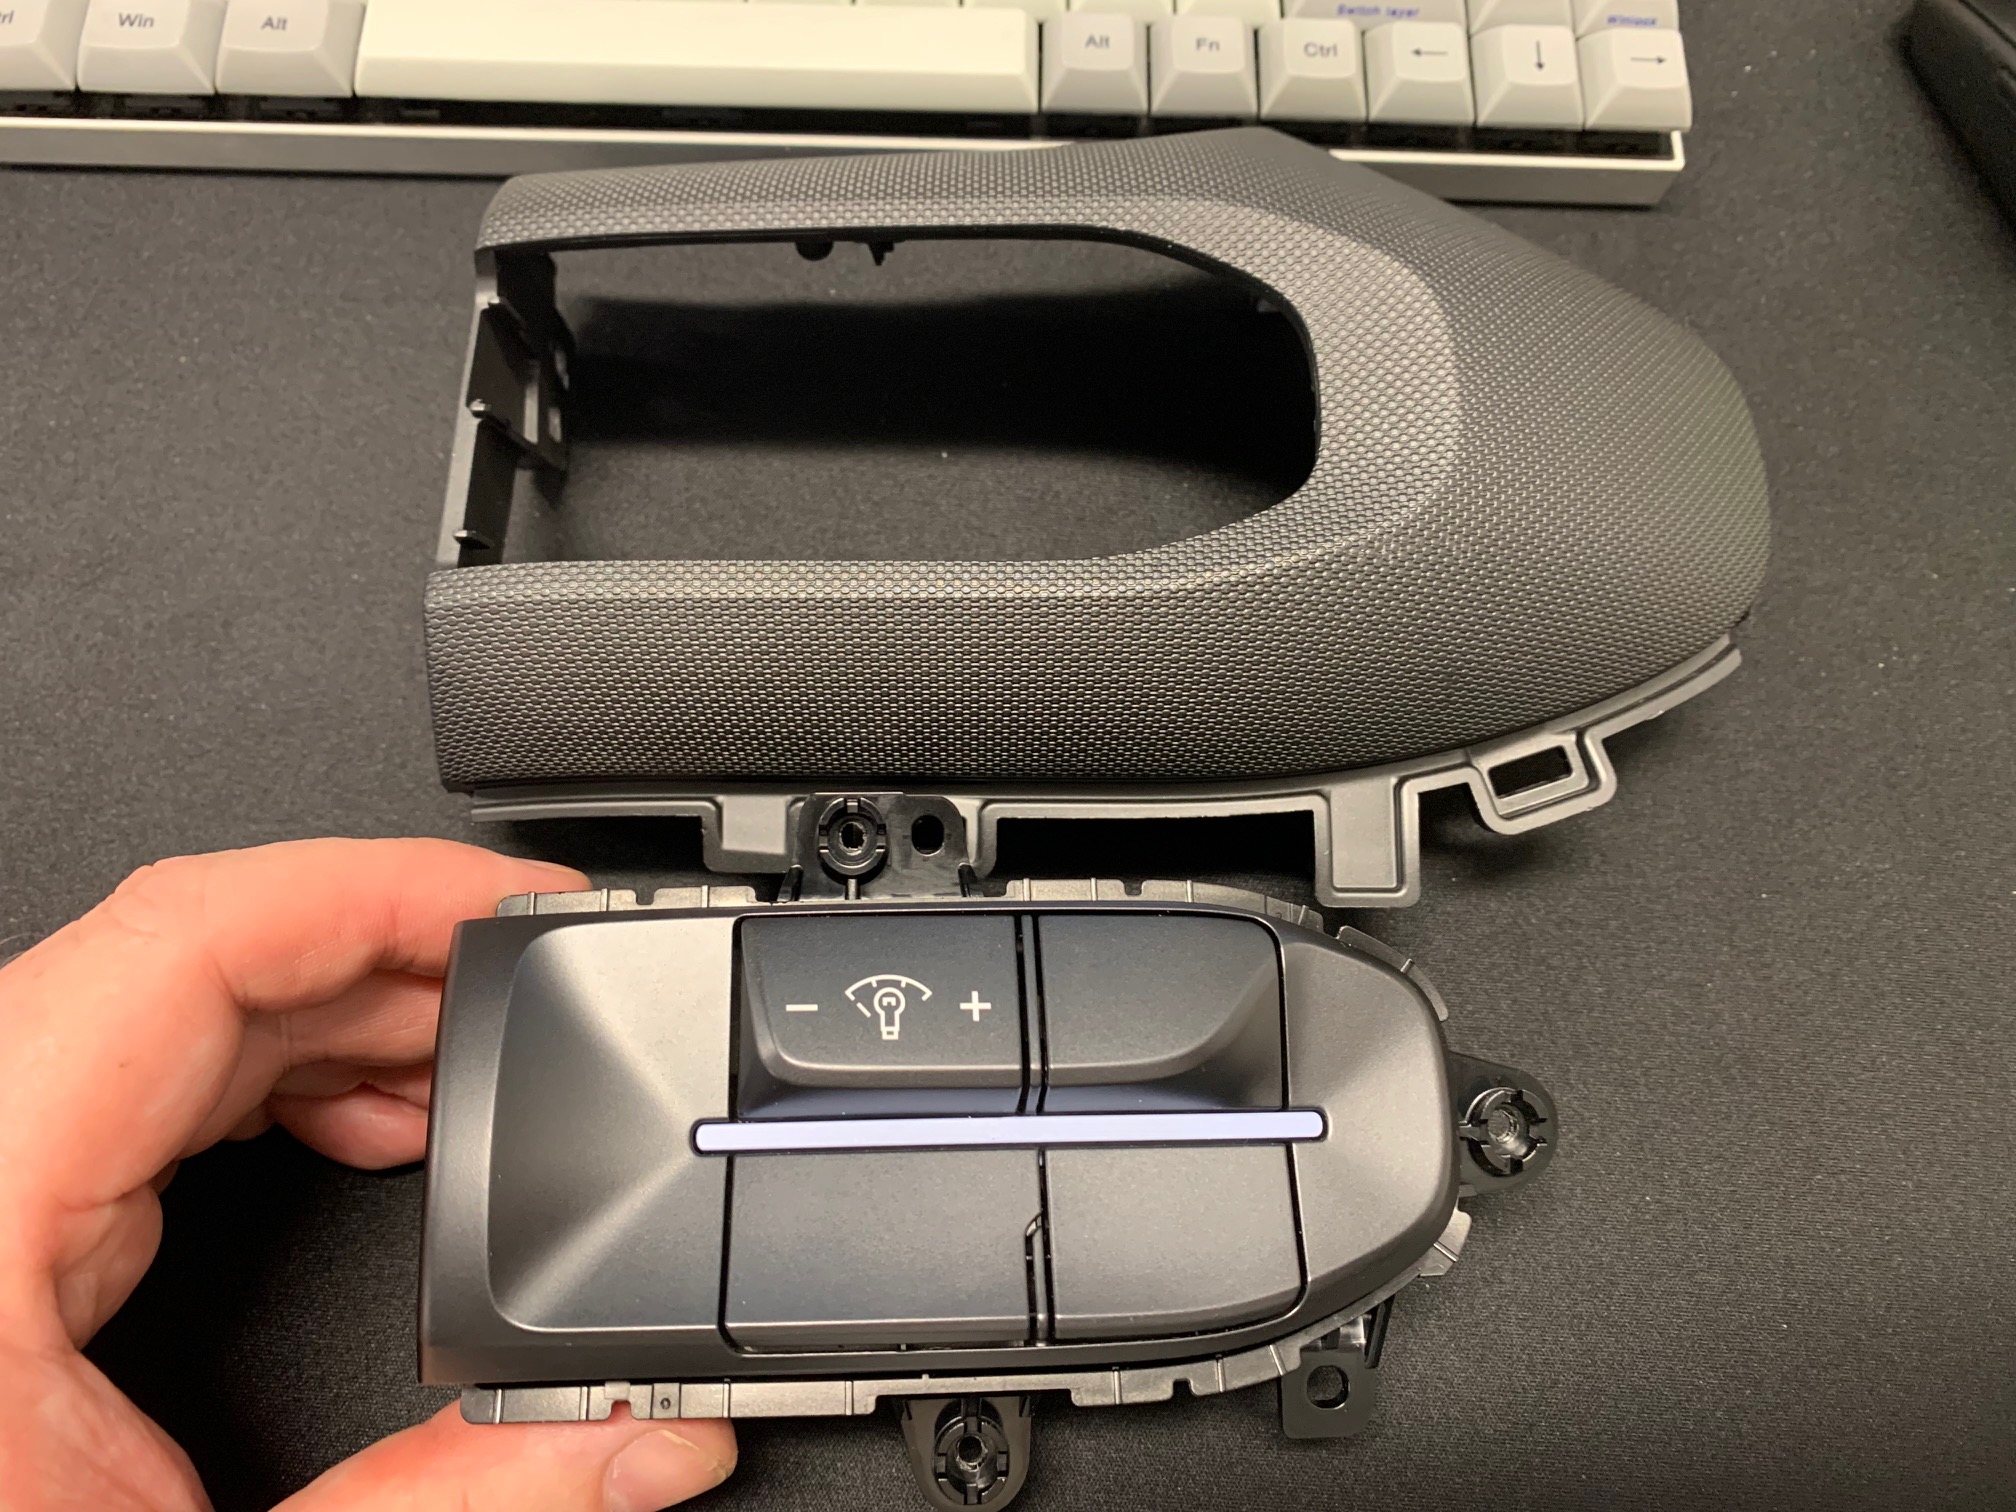
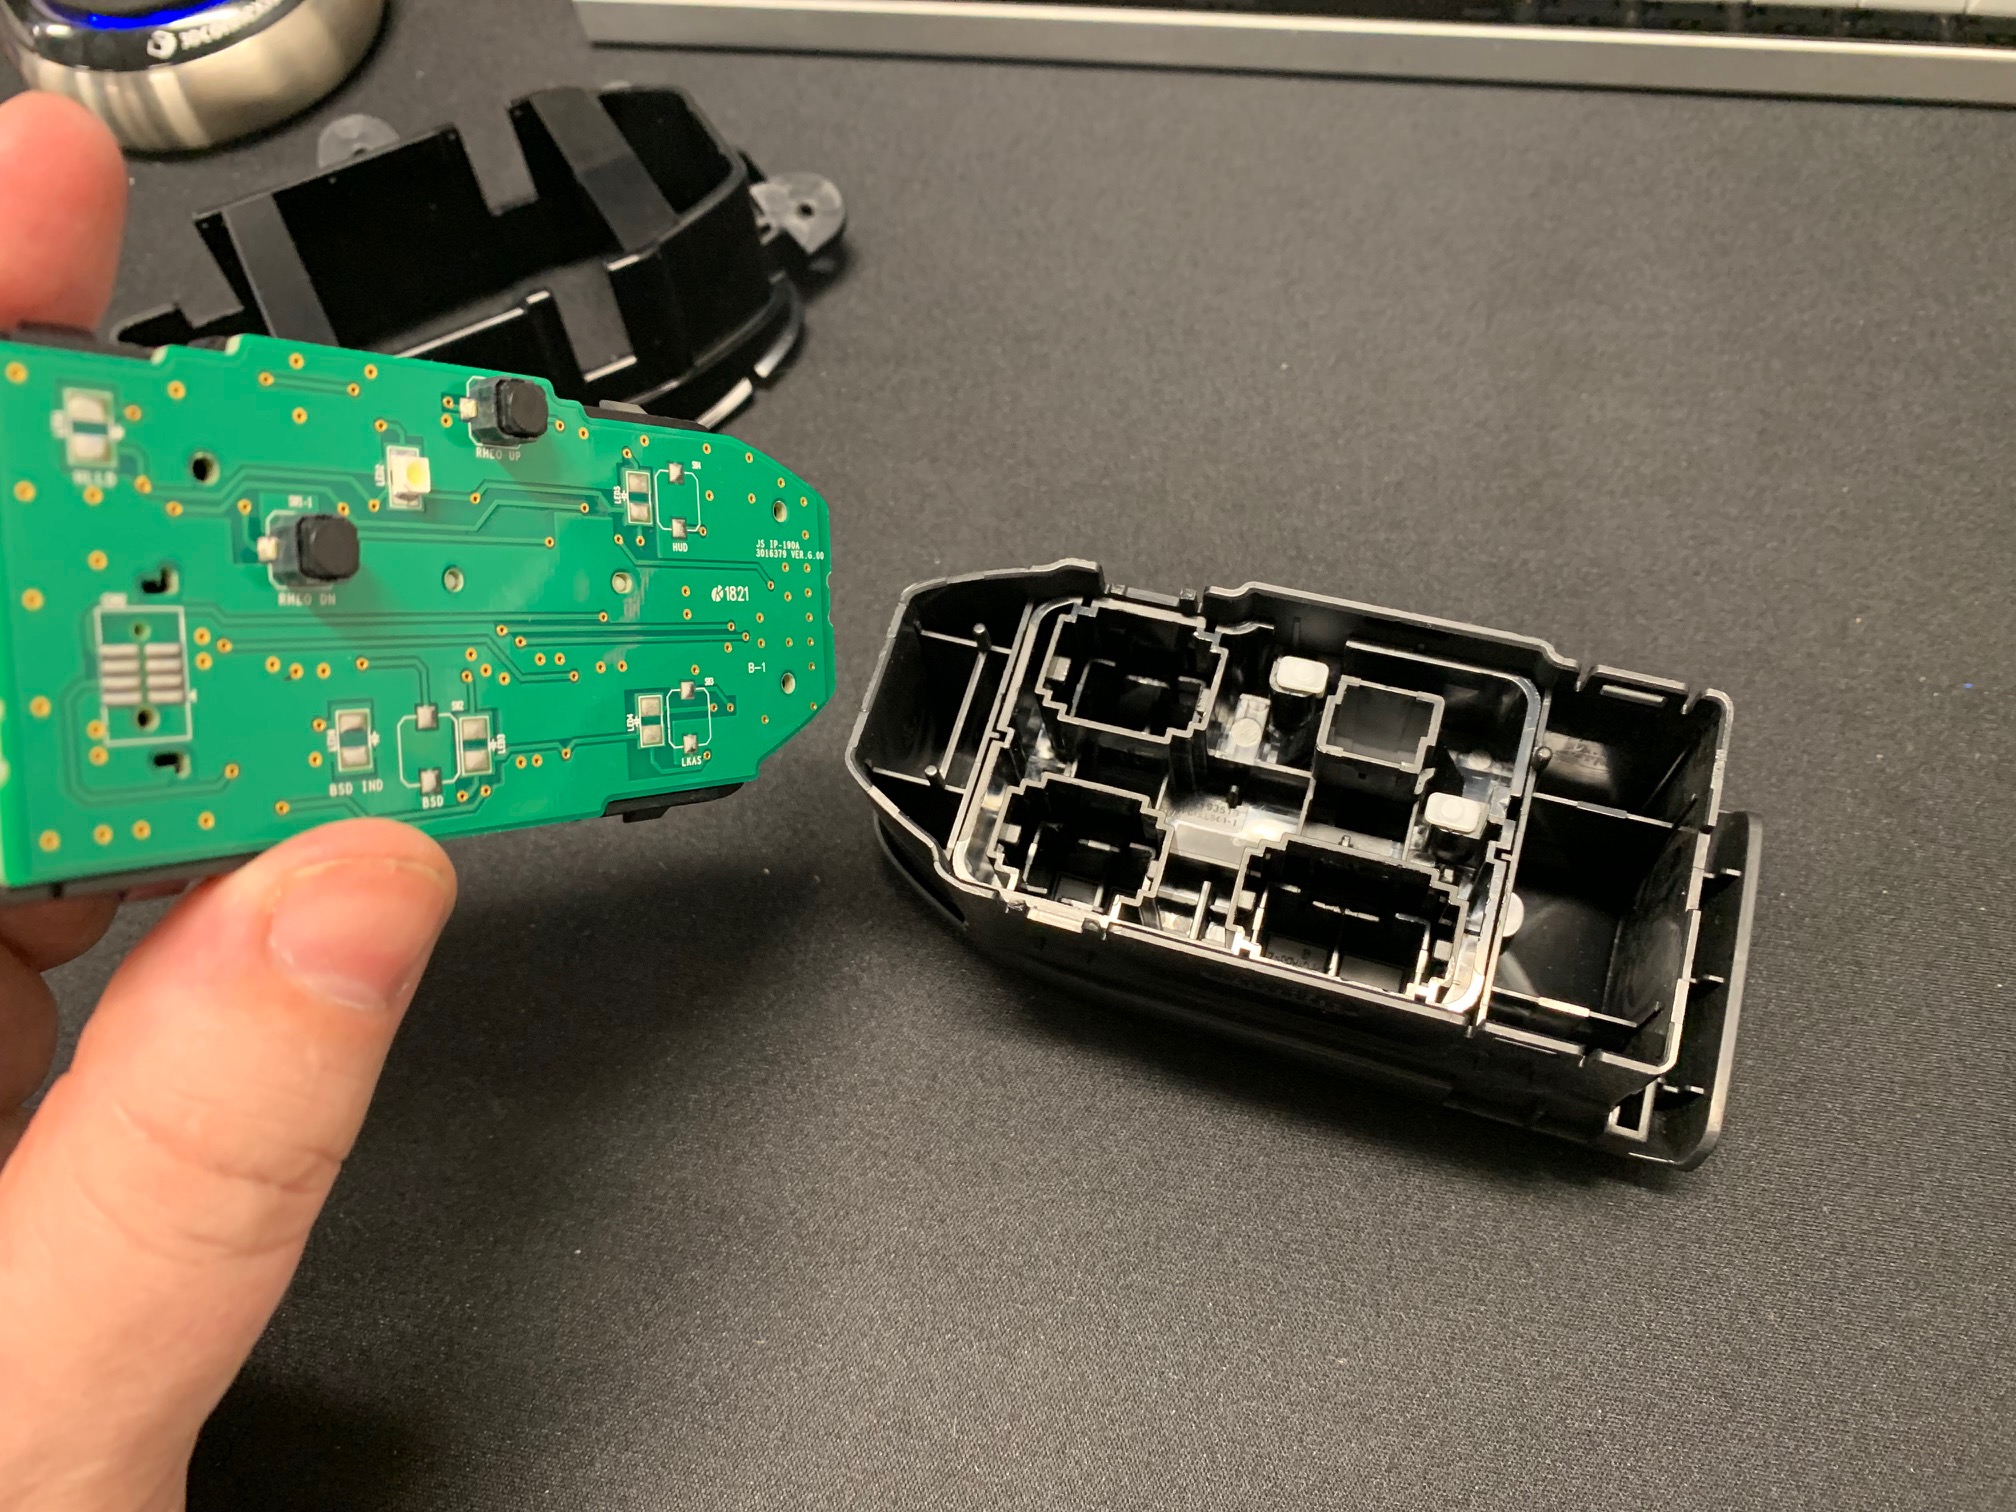
With the two pieces separated, now remove the back panel of the switch housing by gently prying the loop tabs while pulling on the back plate.
-
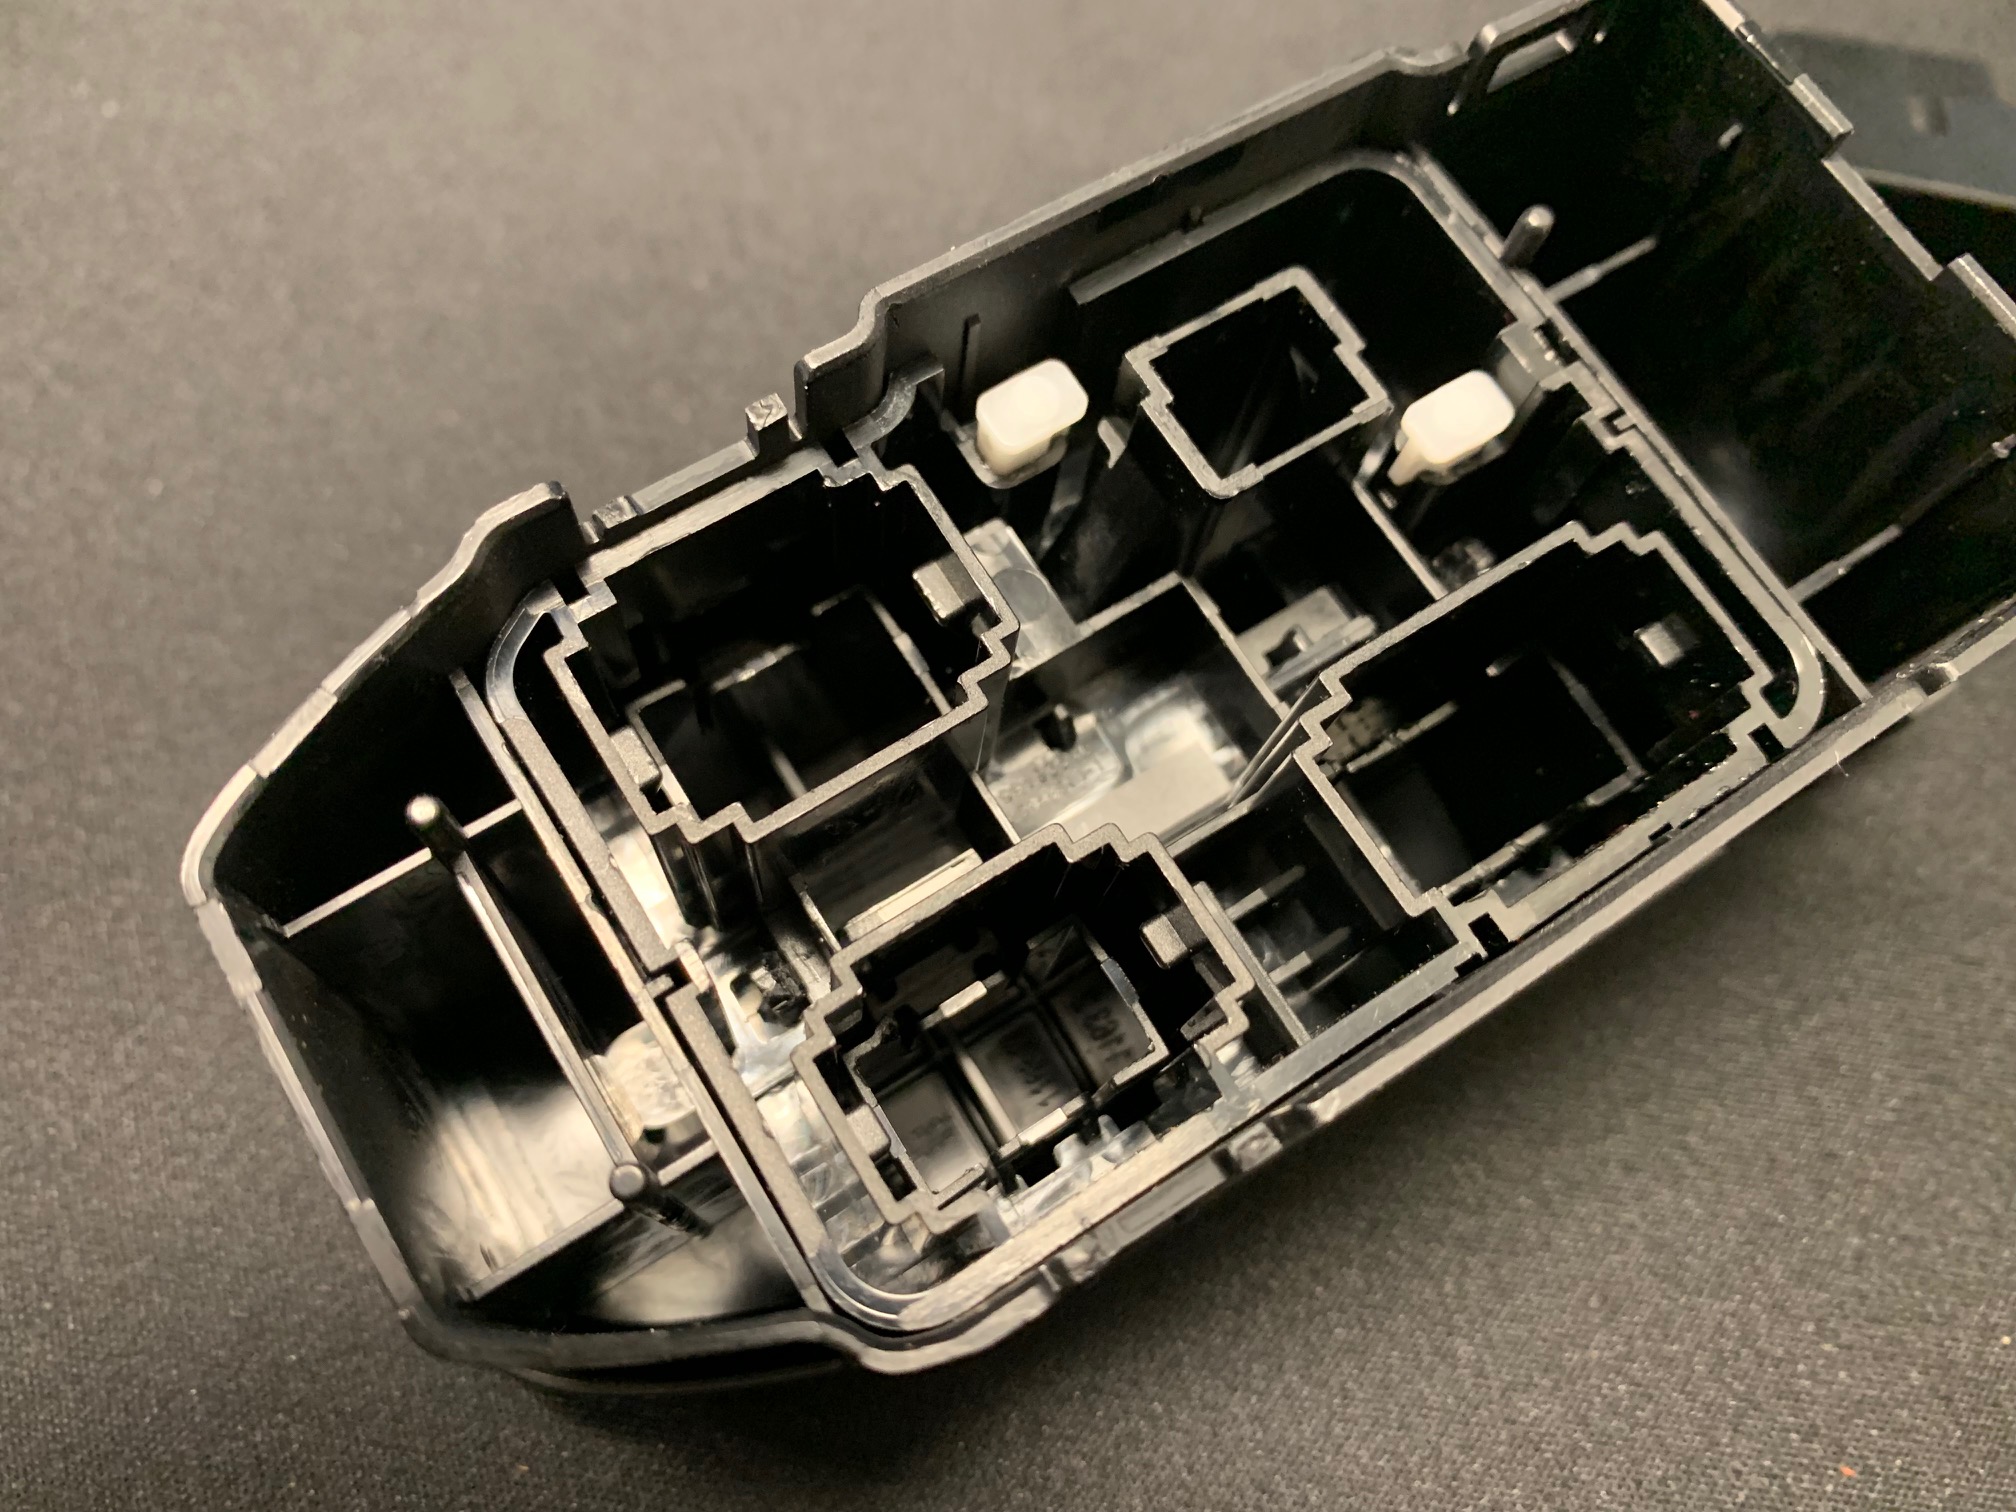
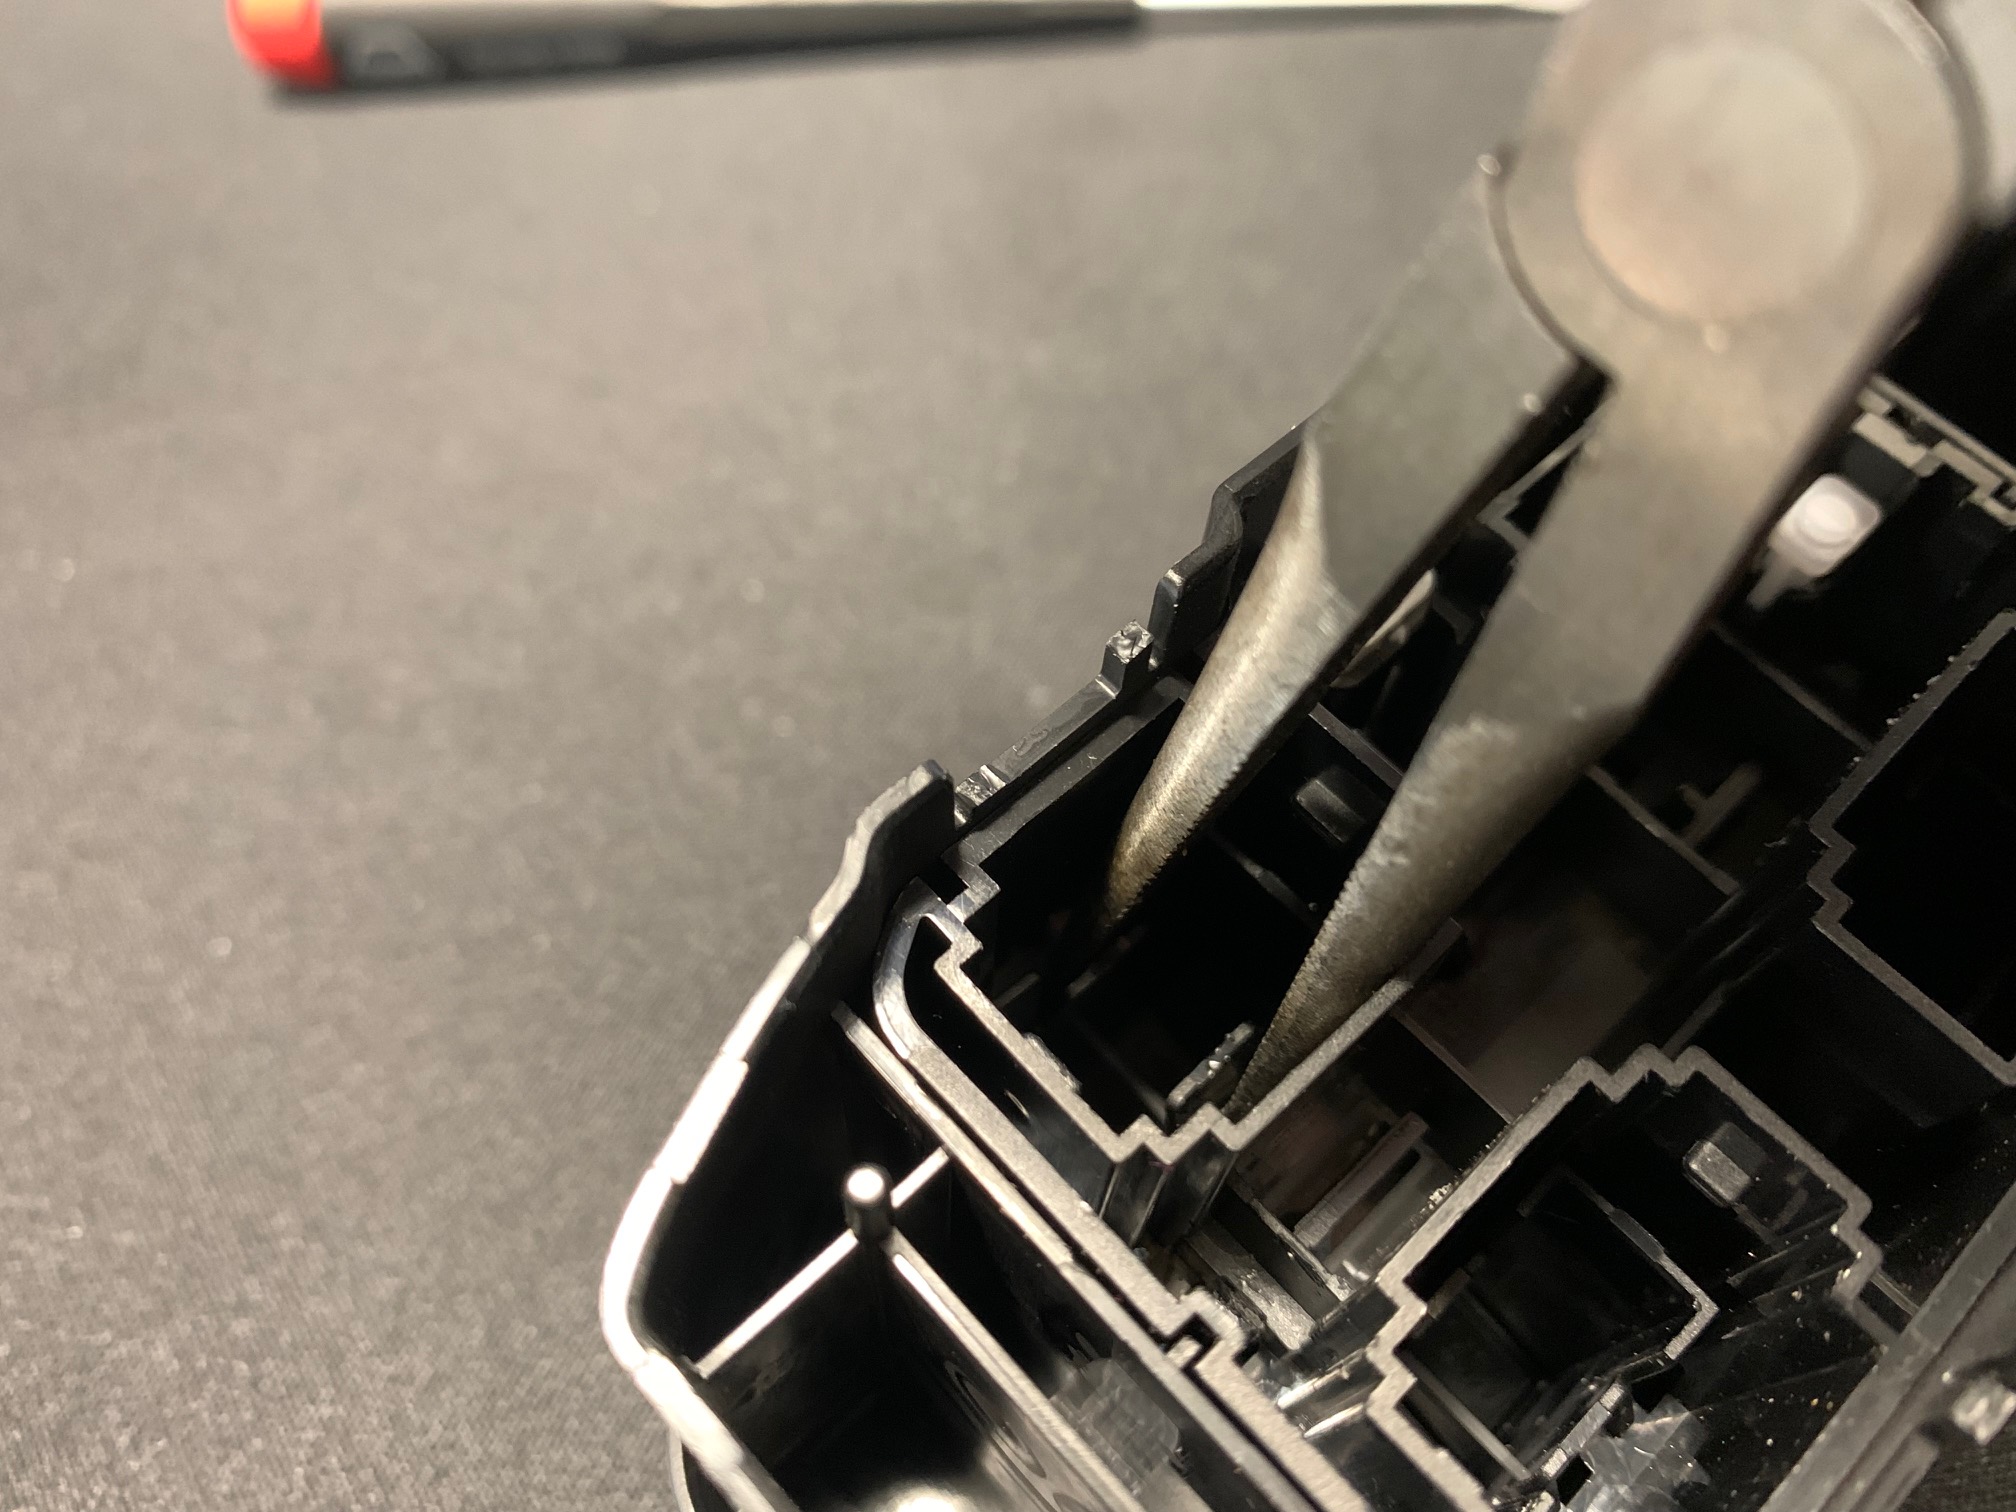
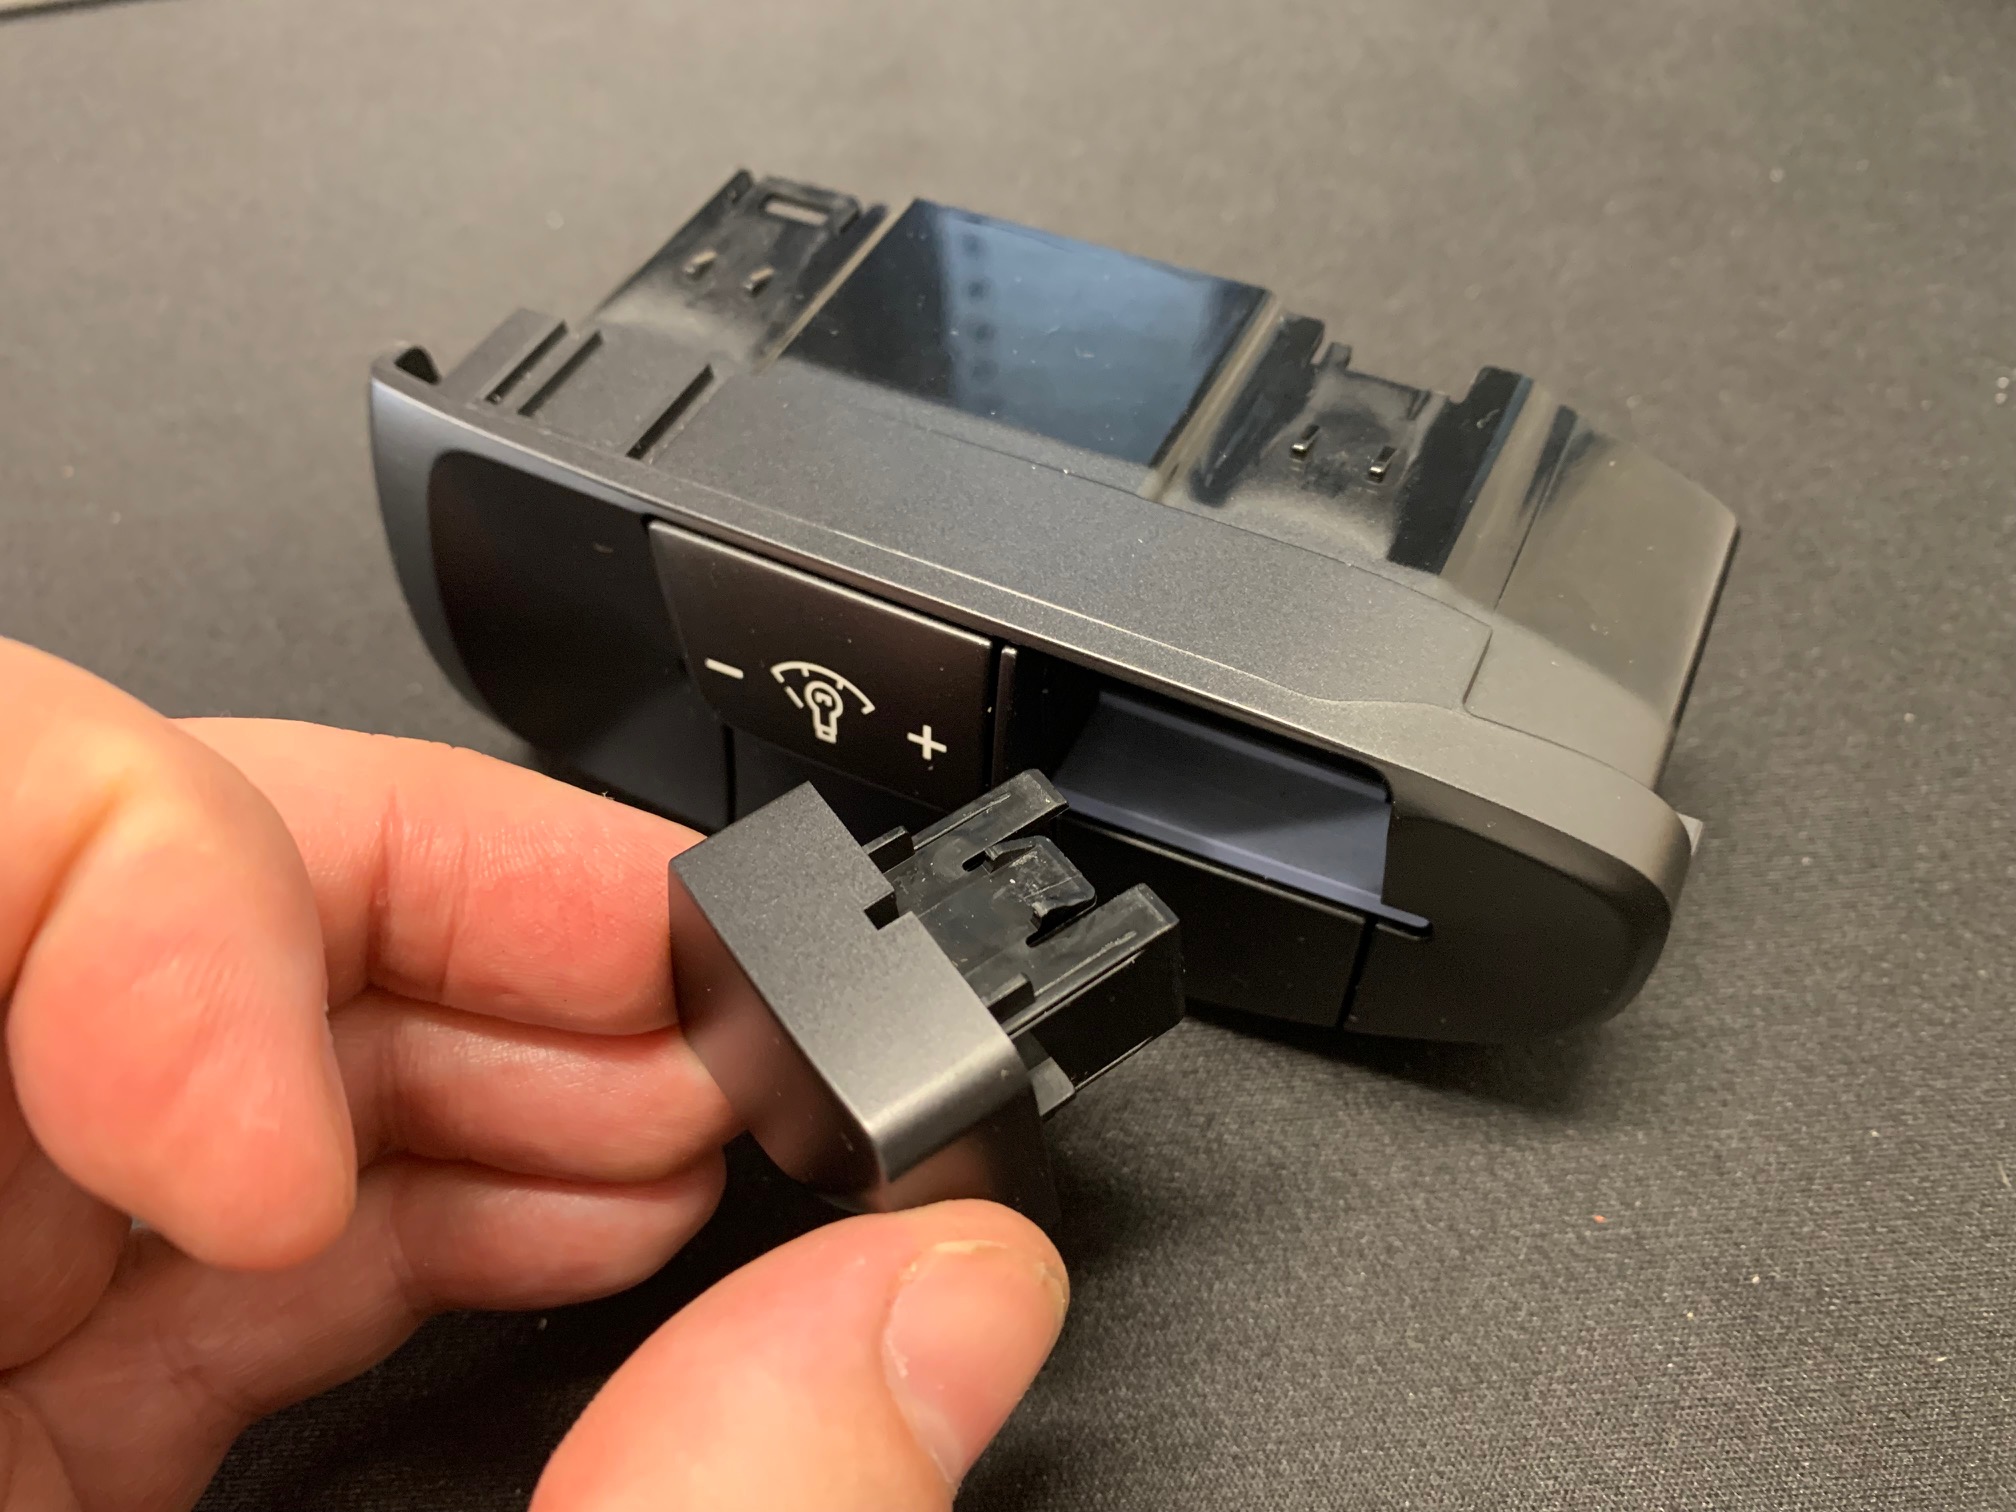
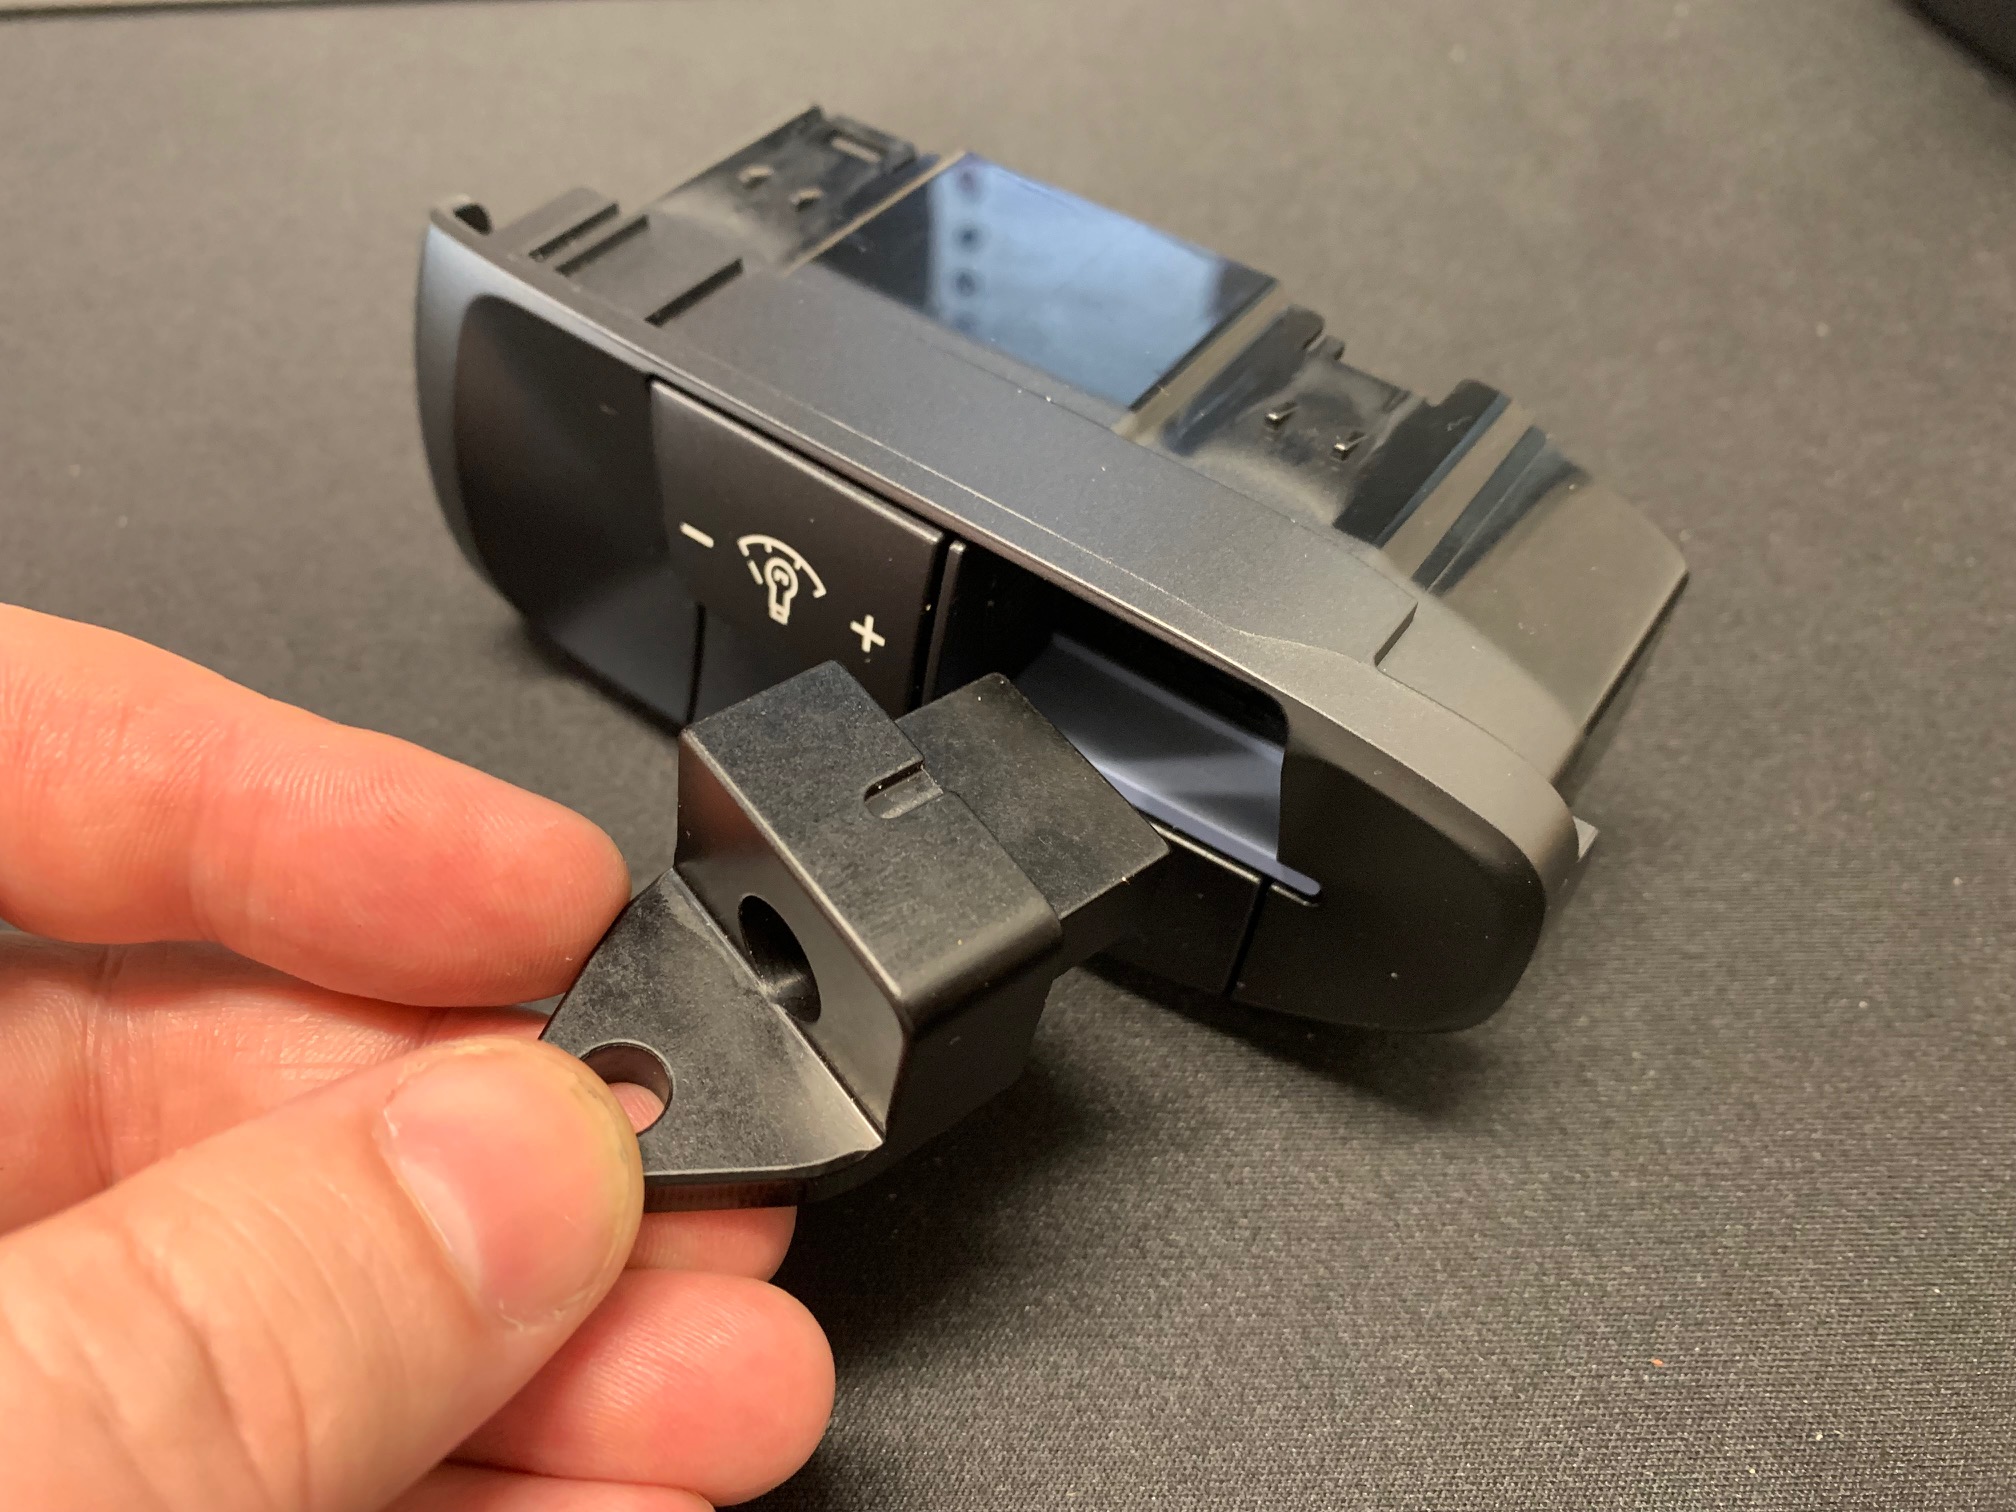
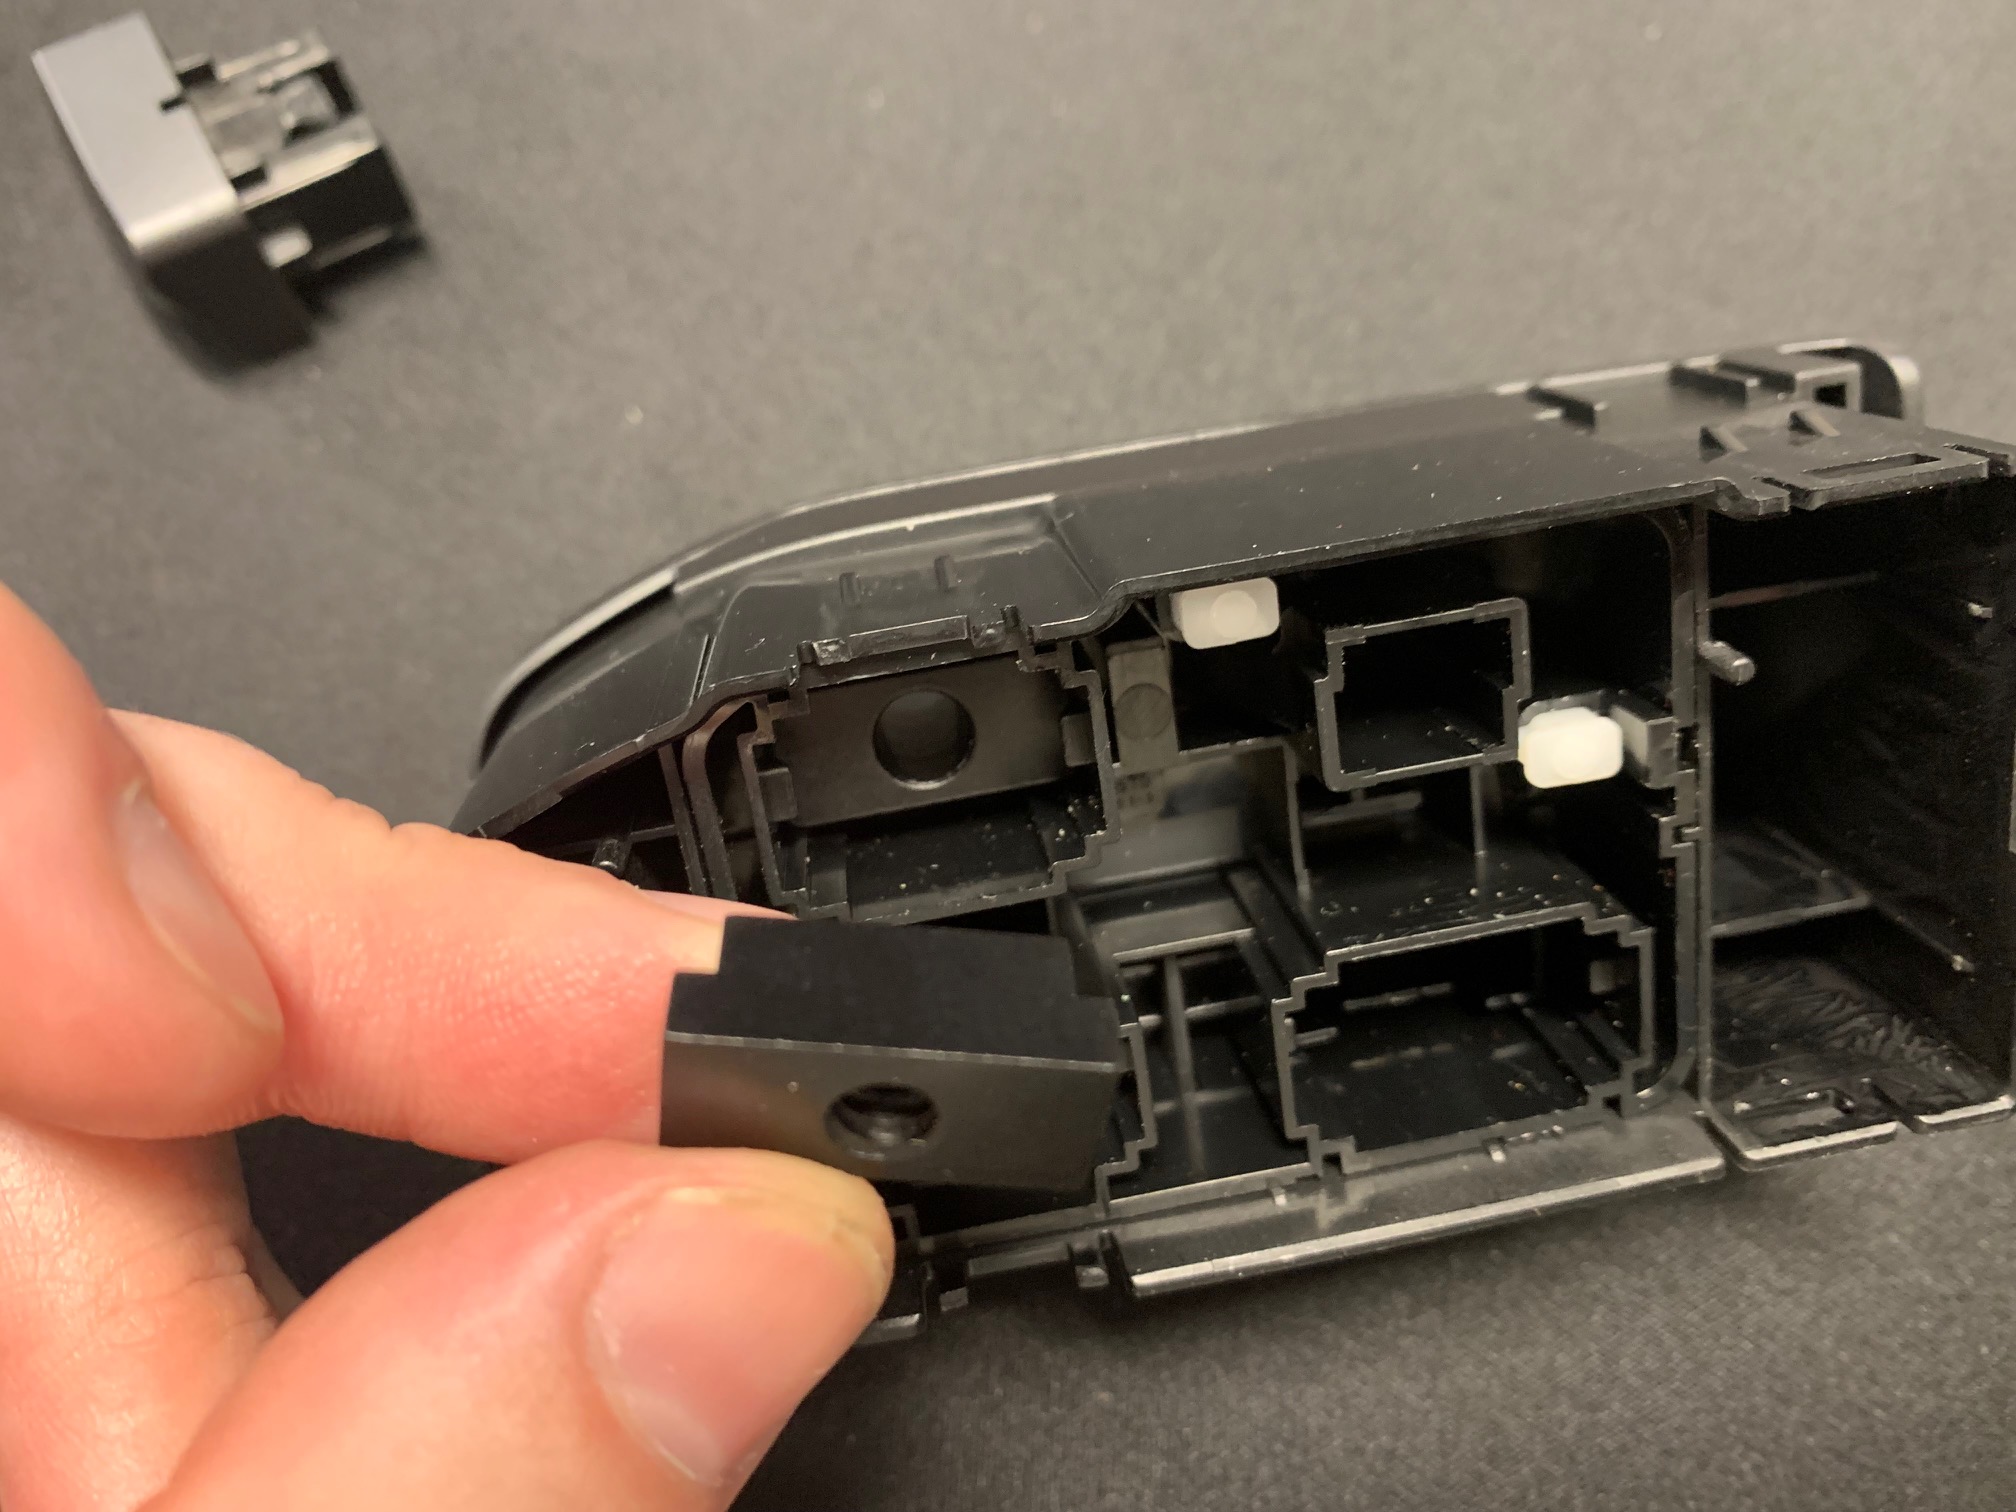
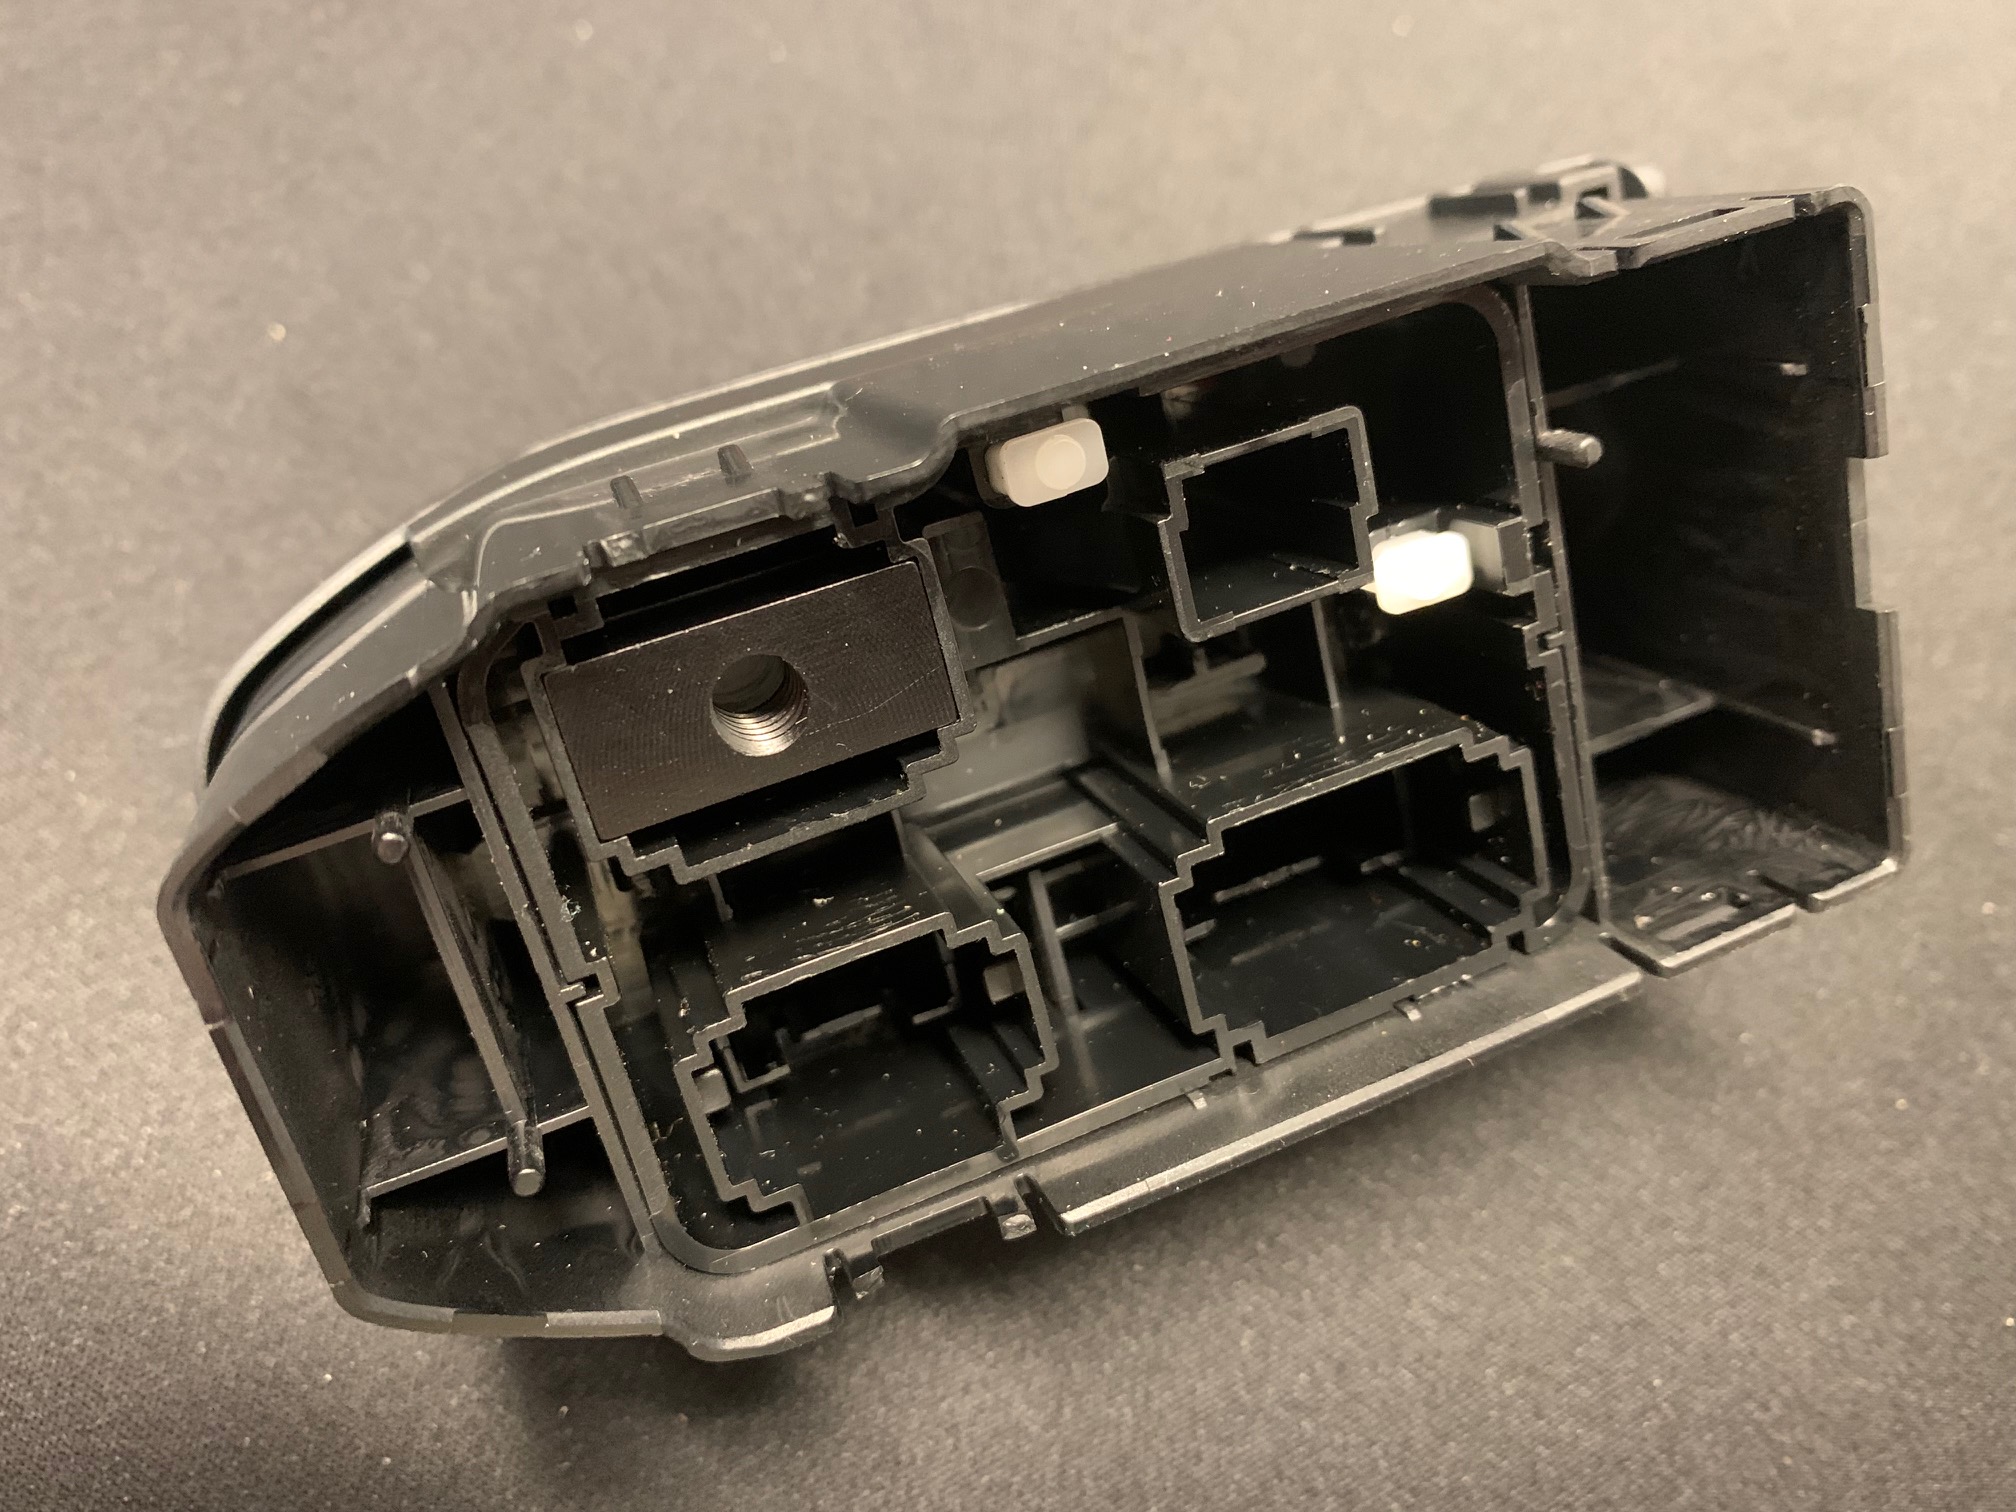
Now that the inside of the panel is exposed, we will be removing the associated block-off delete plate. Looking inside you will see two tabs in the center of the delete plate. Use your needle-nose pliers to squeeze these tabs together and remove (push) the delete plate thru the front.
-
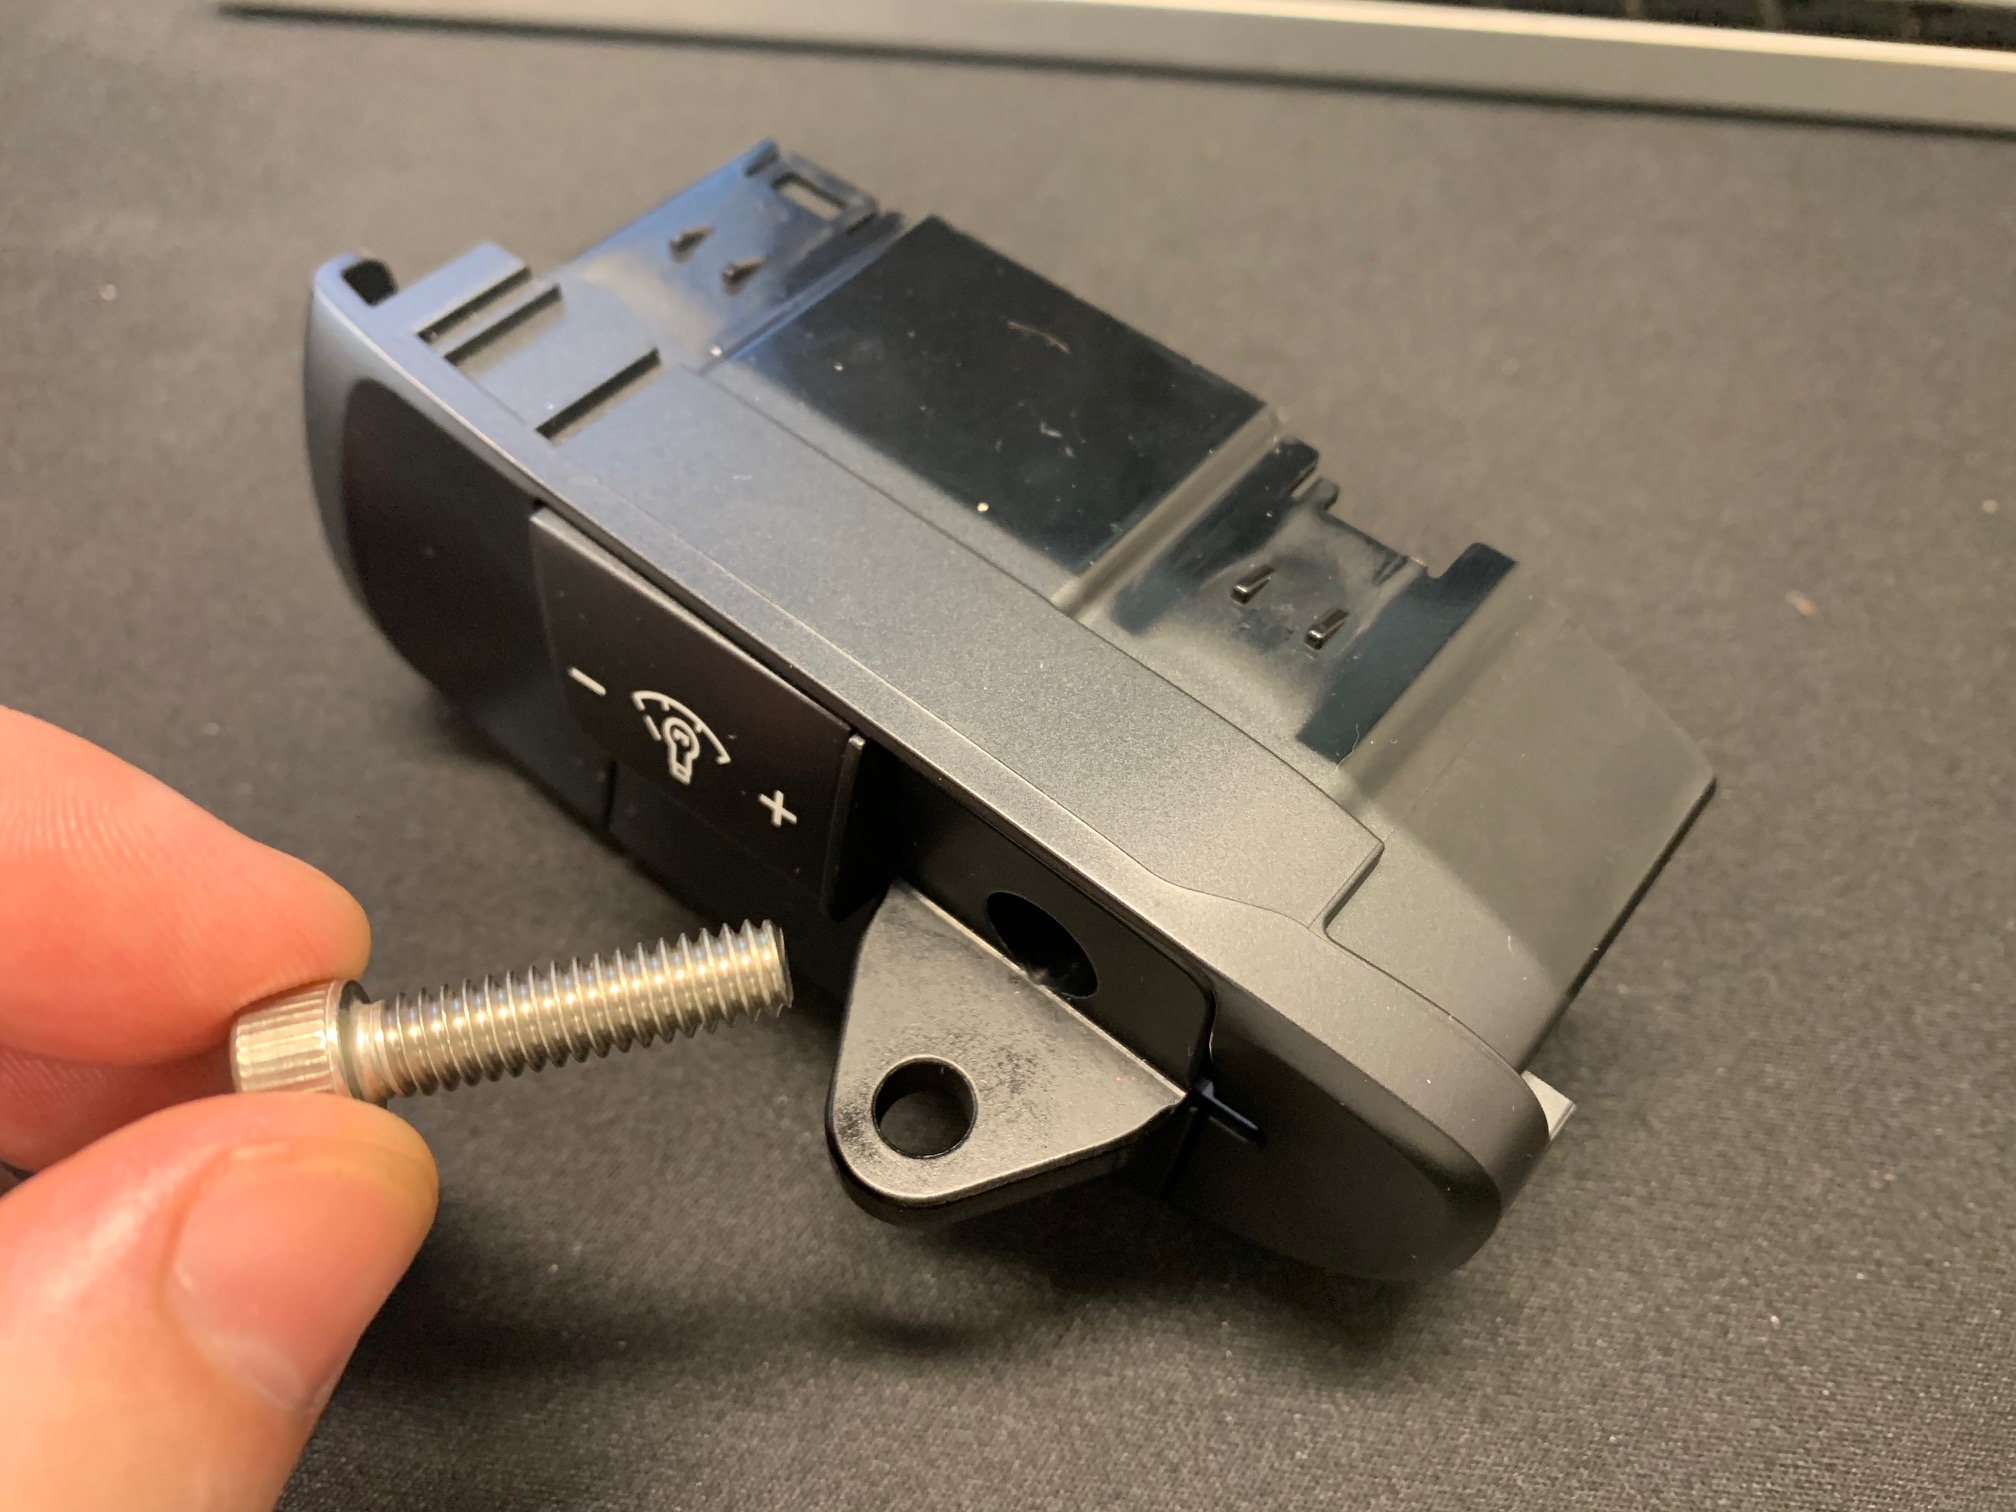
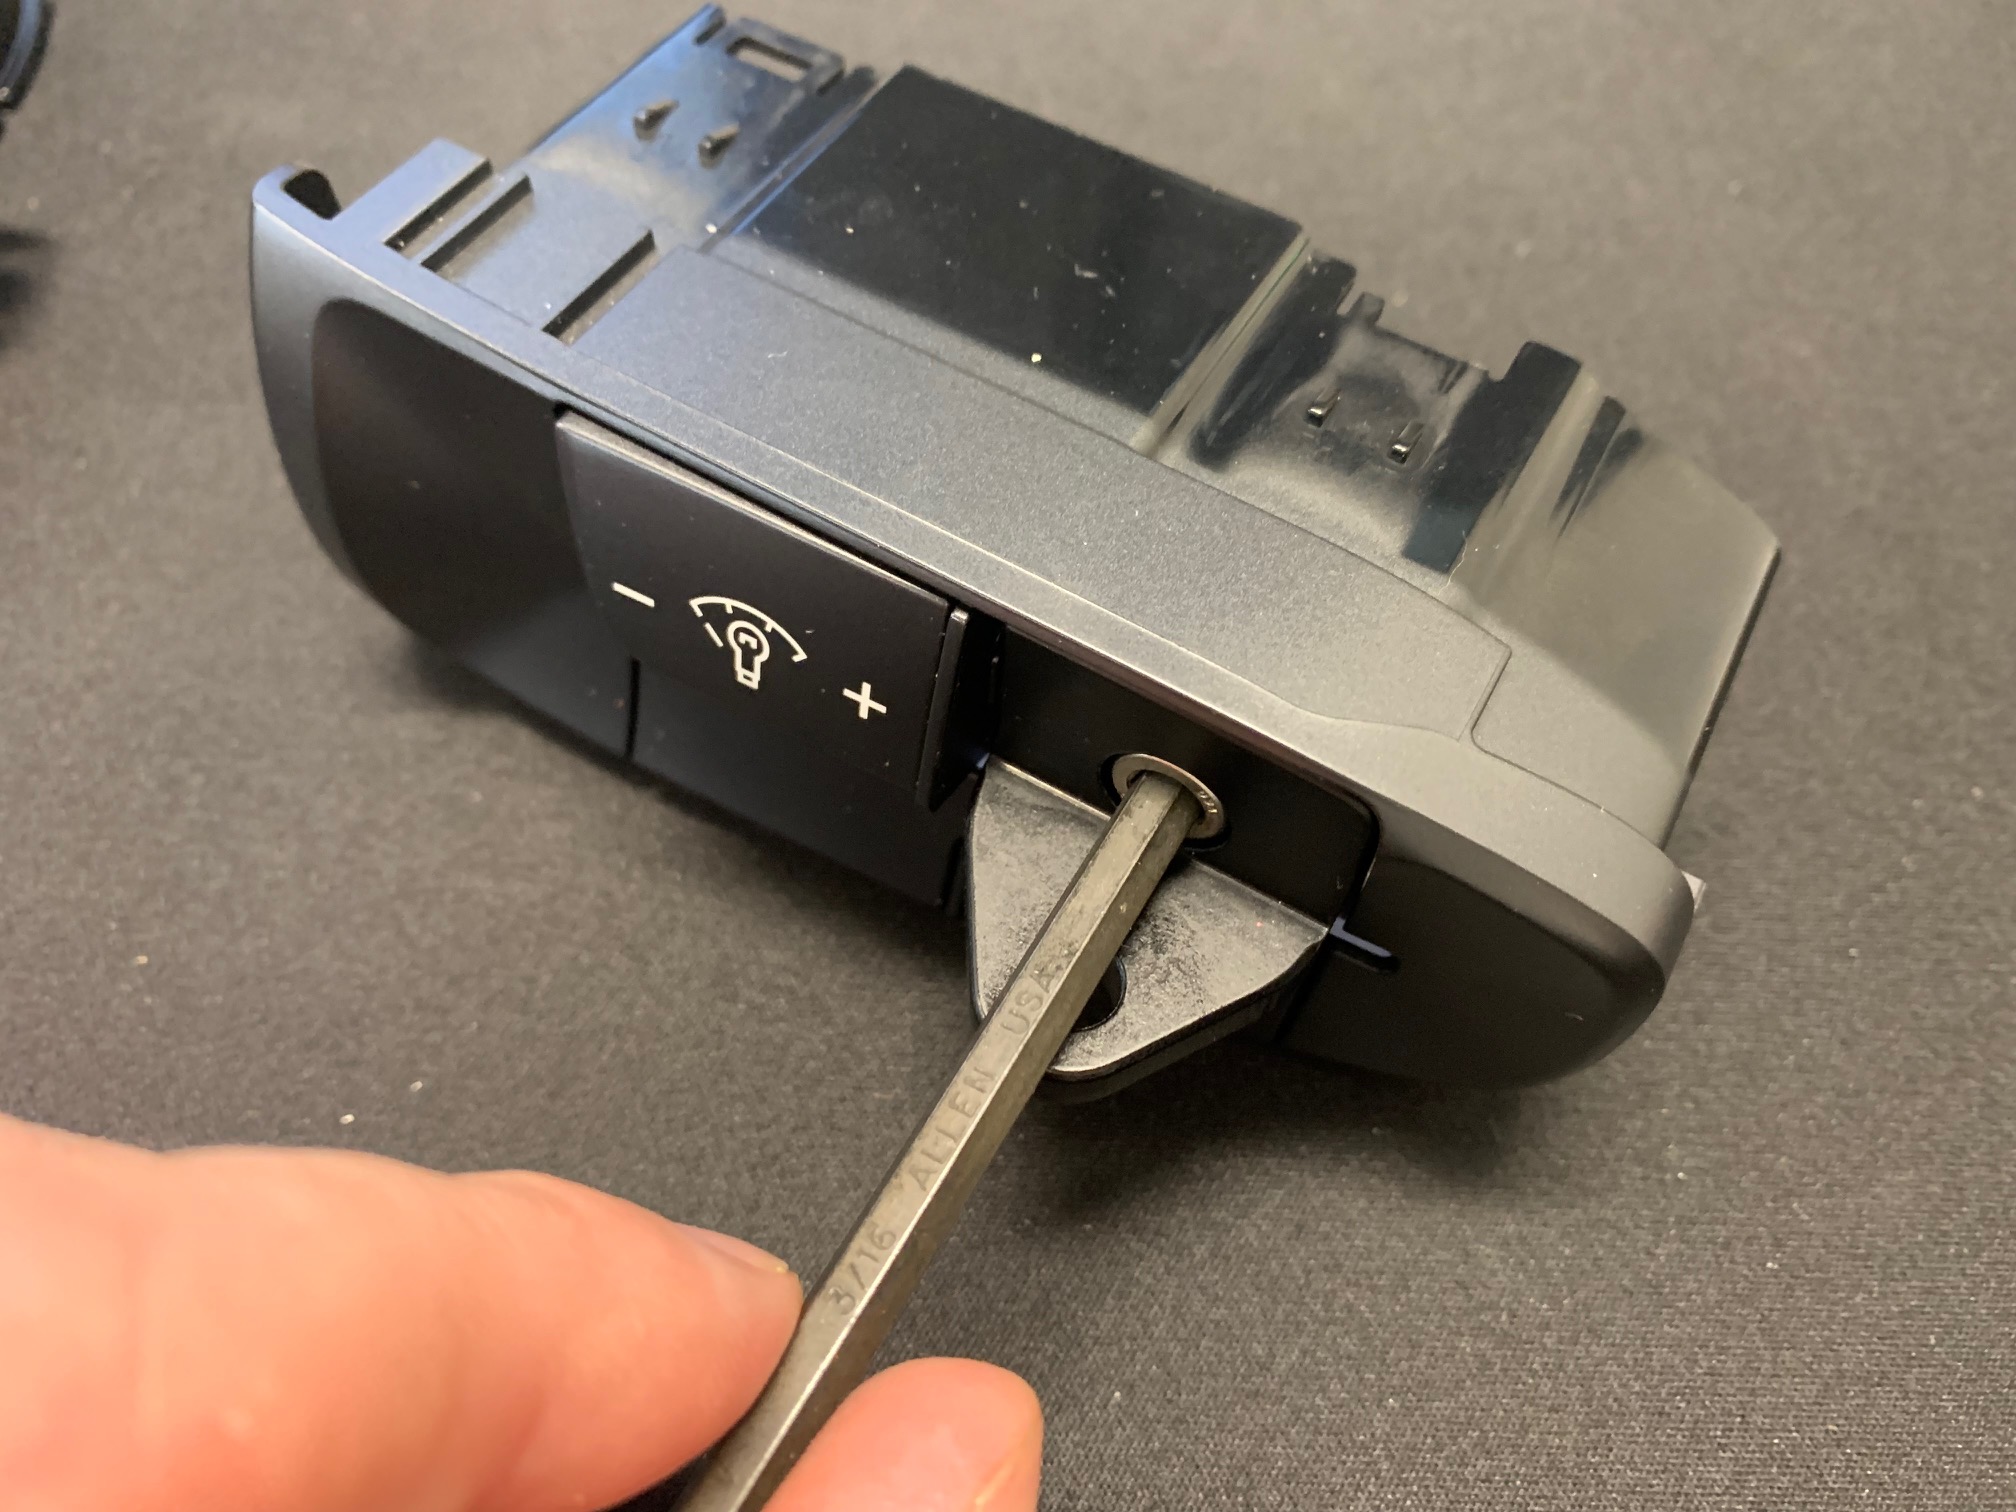
Insert the Cravenspeed Gemini Mount into the empty slot and place the Nut Plate on the backside. Thread the stainless 1/4-20 cap head screw through the mount and tighten it into the Nut Plate.
-
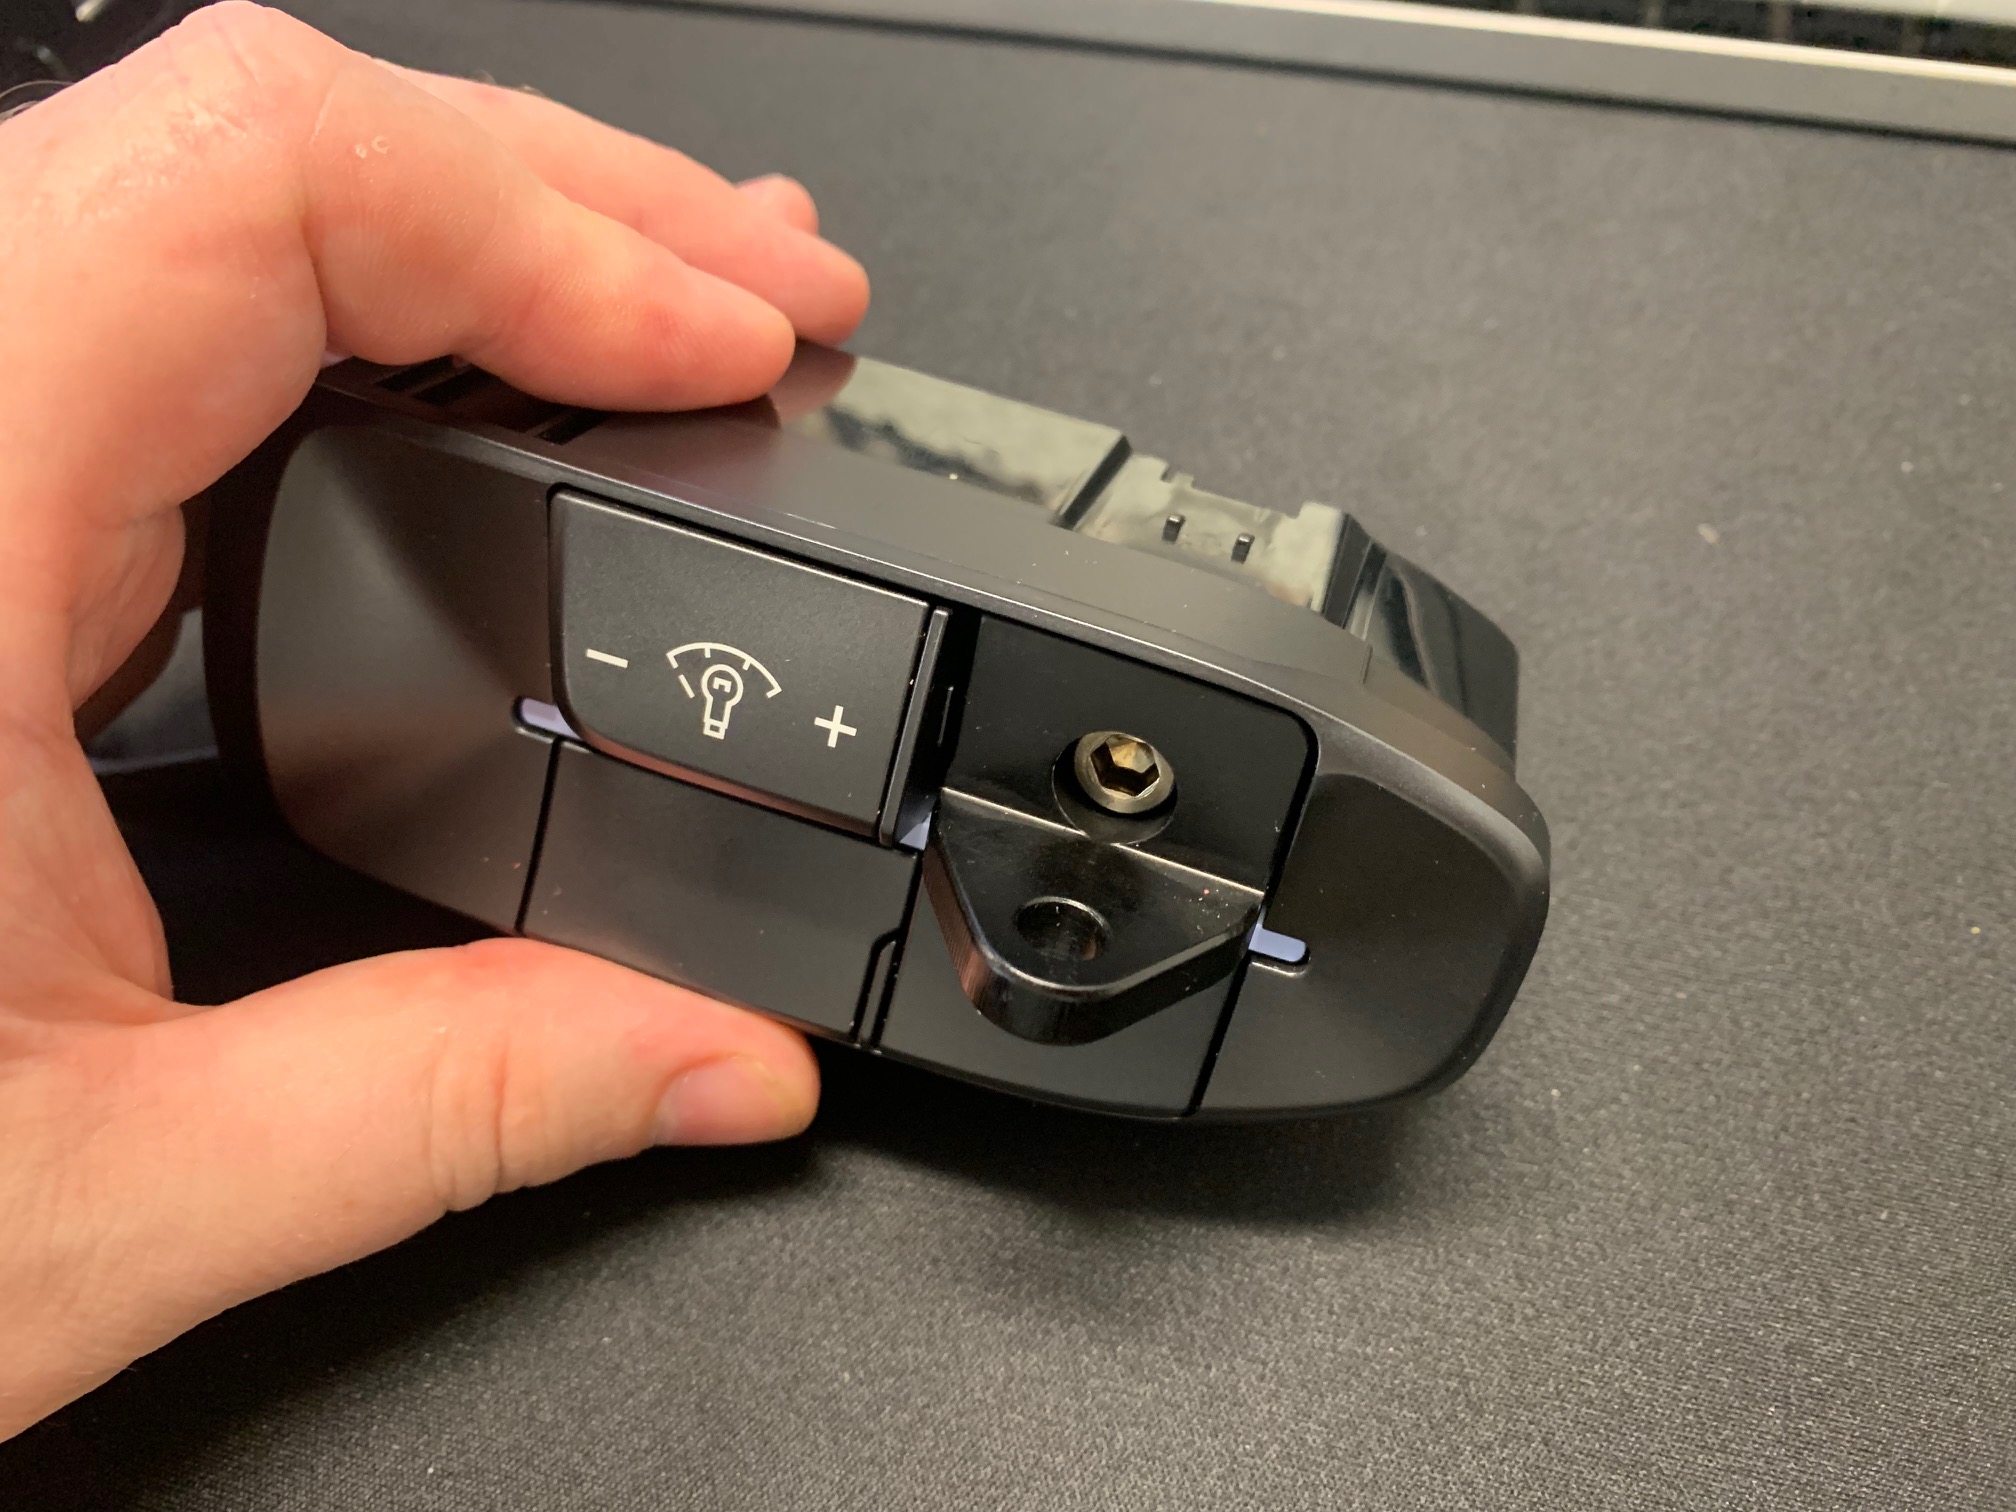
With the mount installed, reassemble the switch housing and affix it back onto the dash panel.
-
Plug in the wiring and reinstall the panel onto the dash. Reinstall the lower panel, screws, and side dash panel.
-
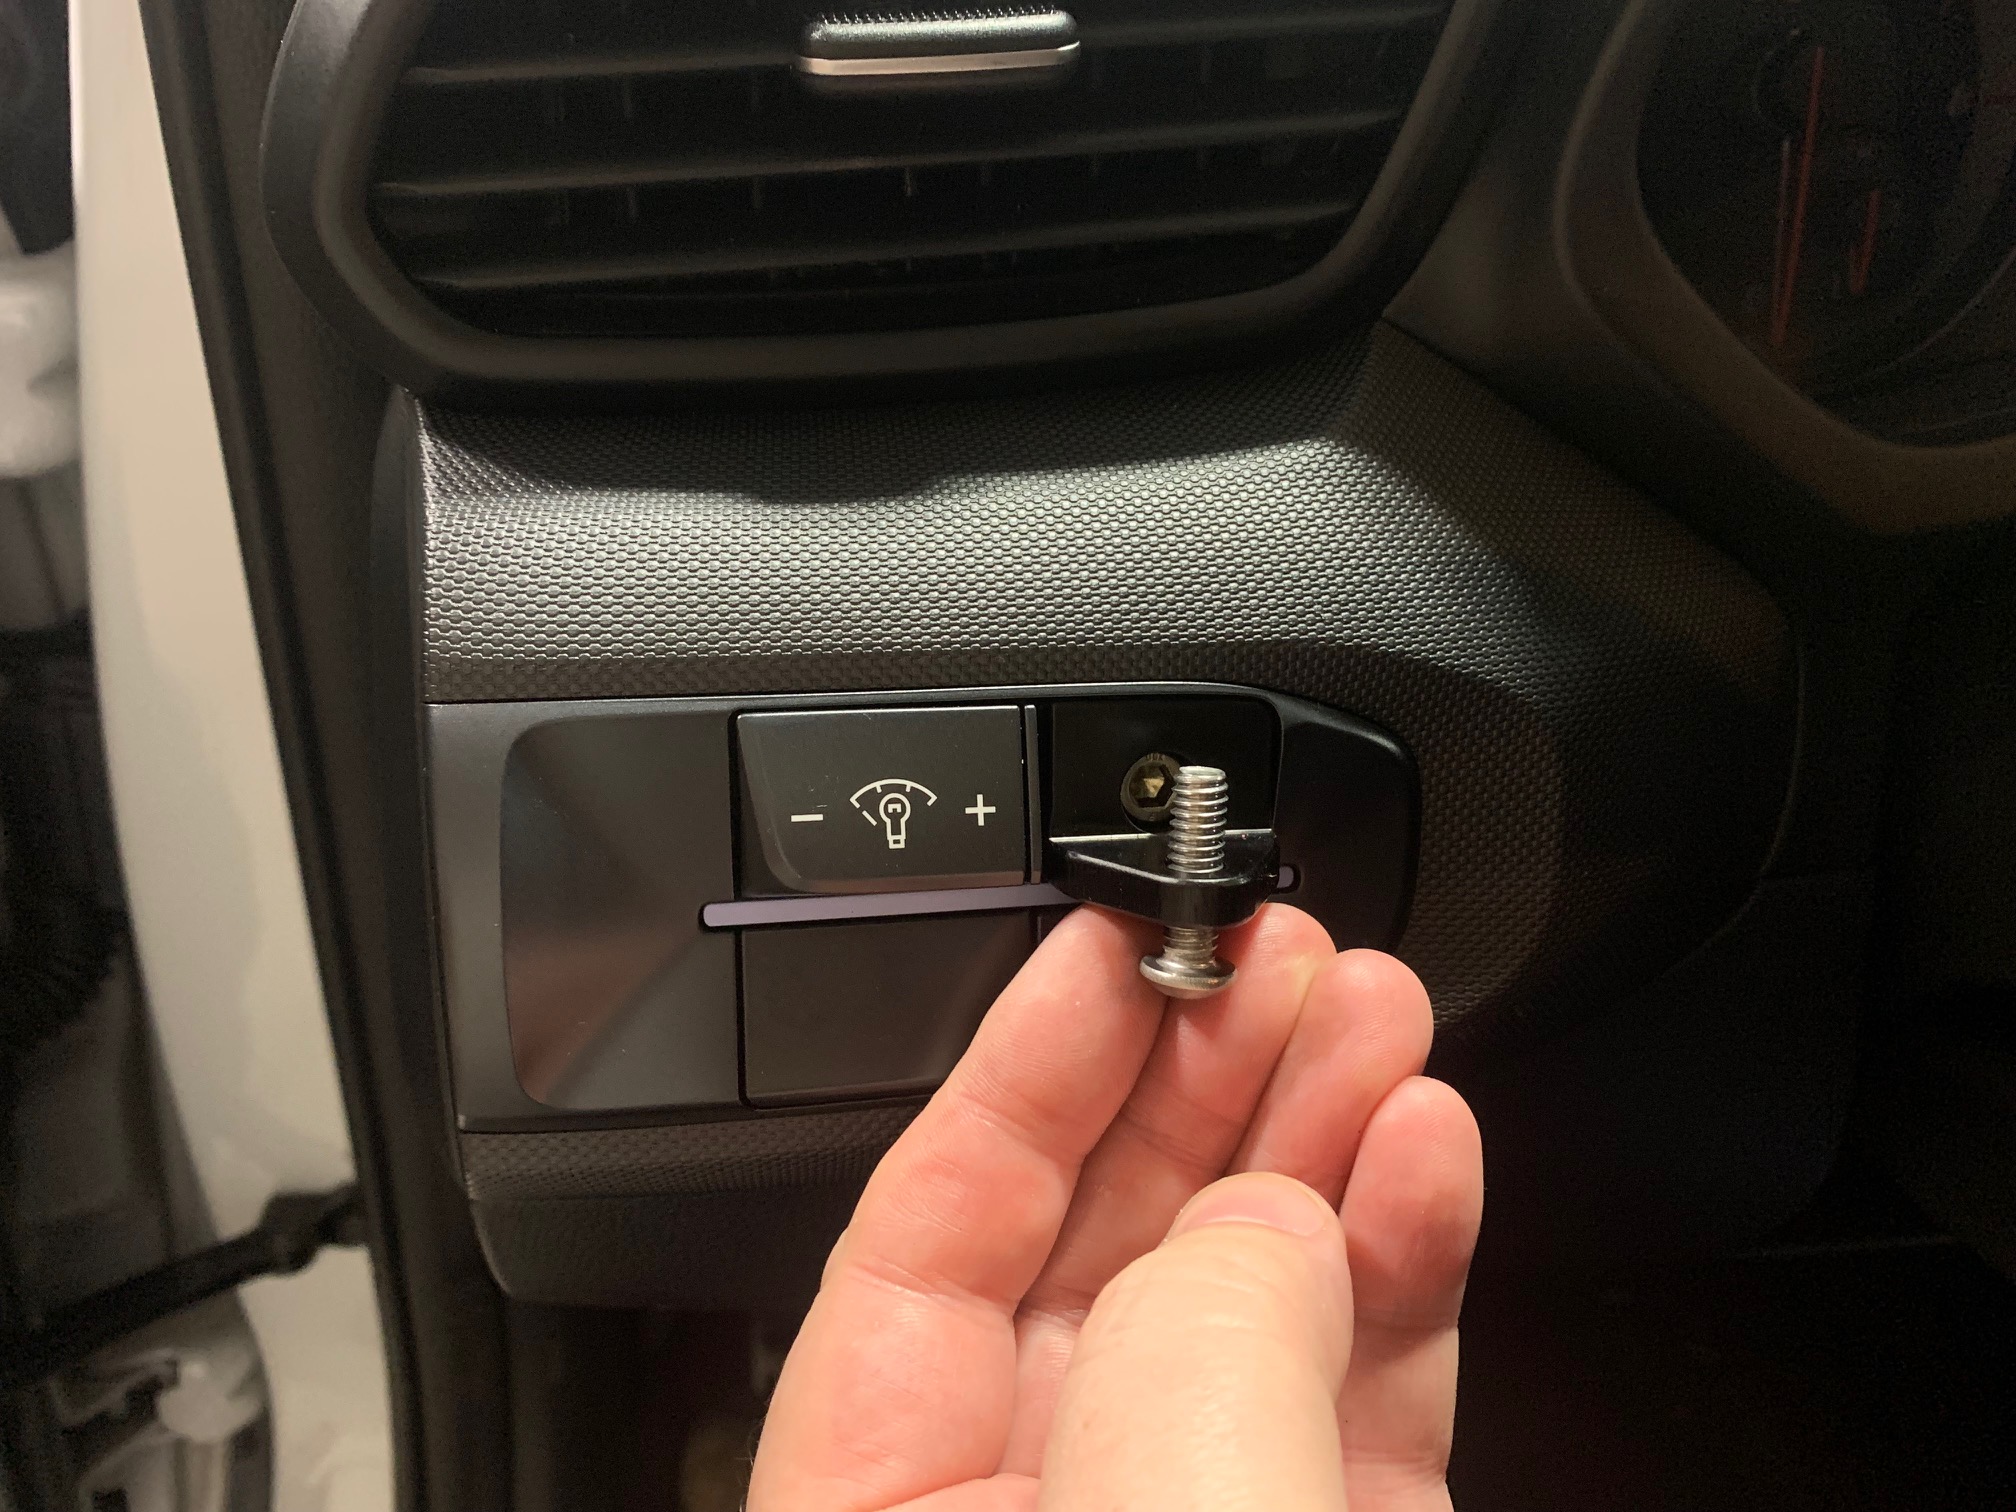
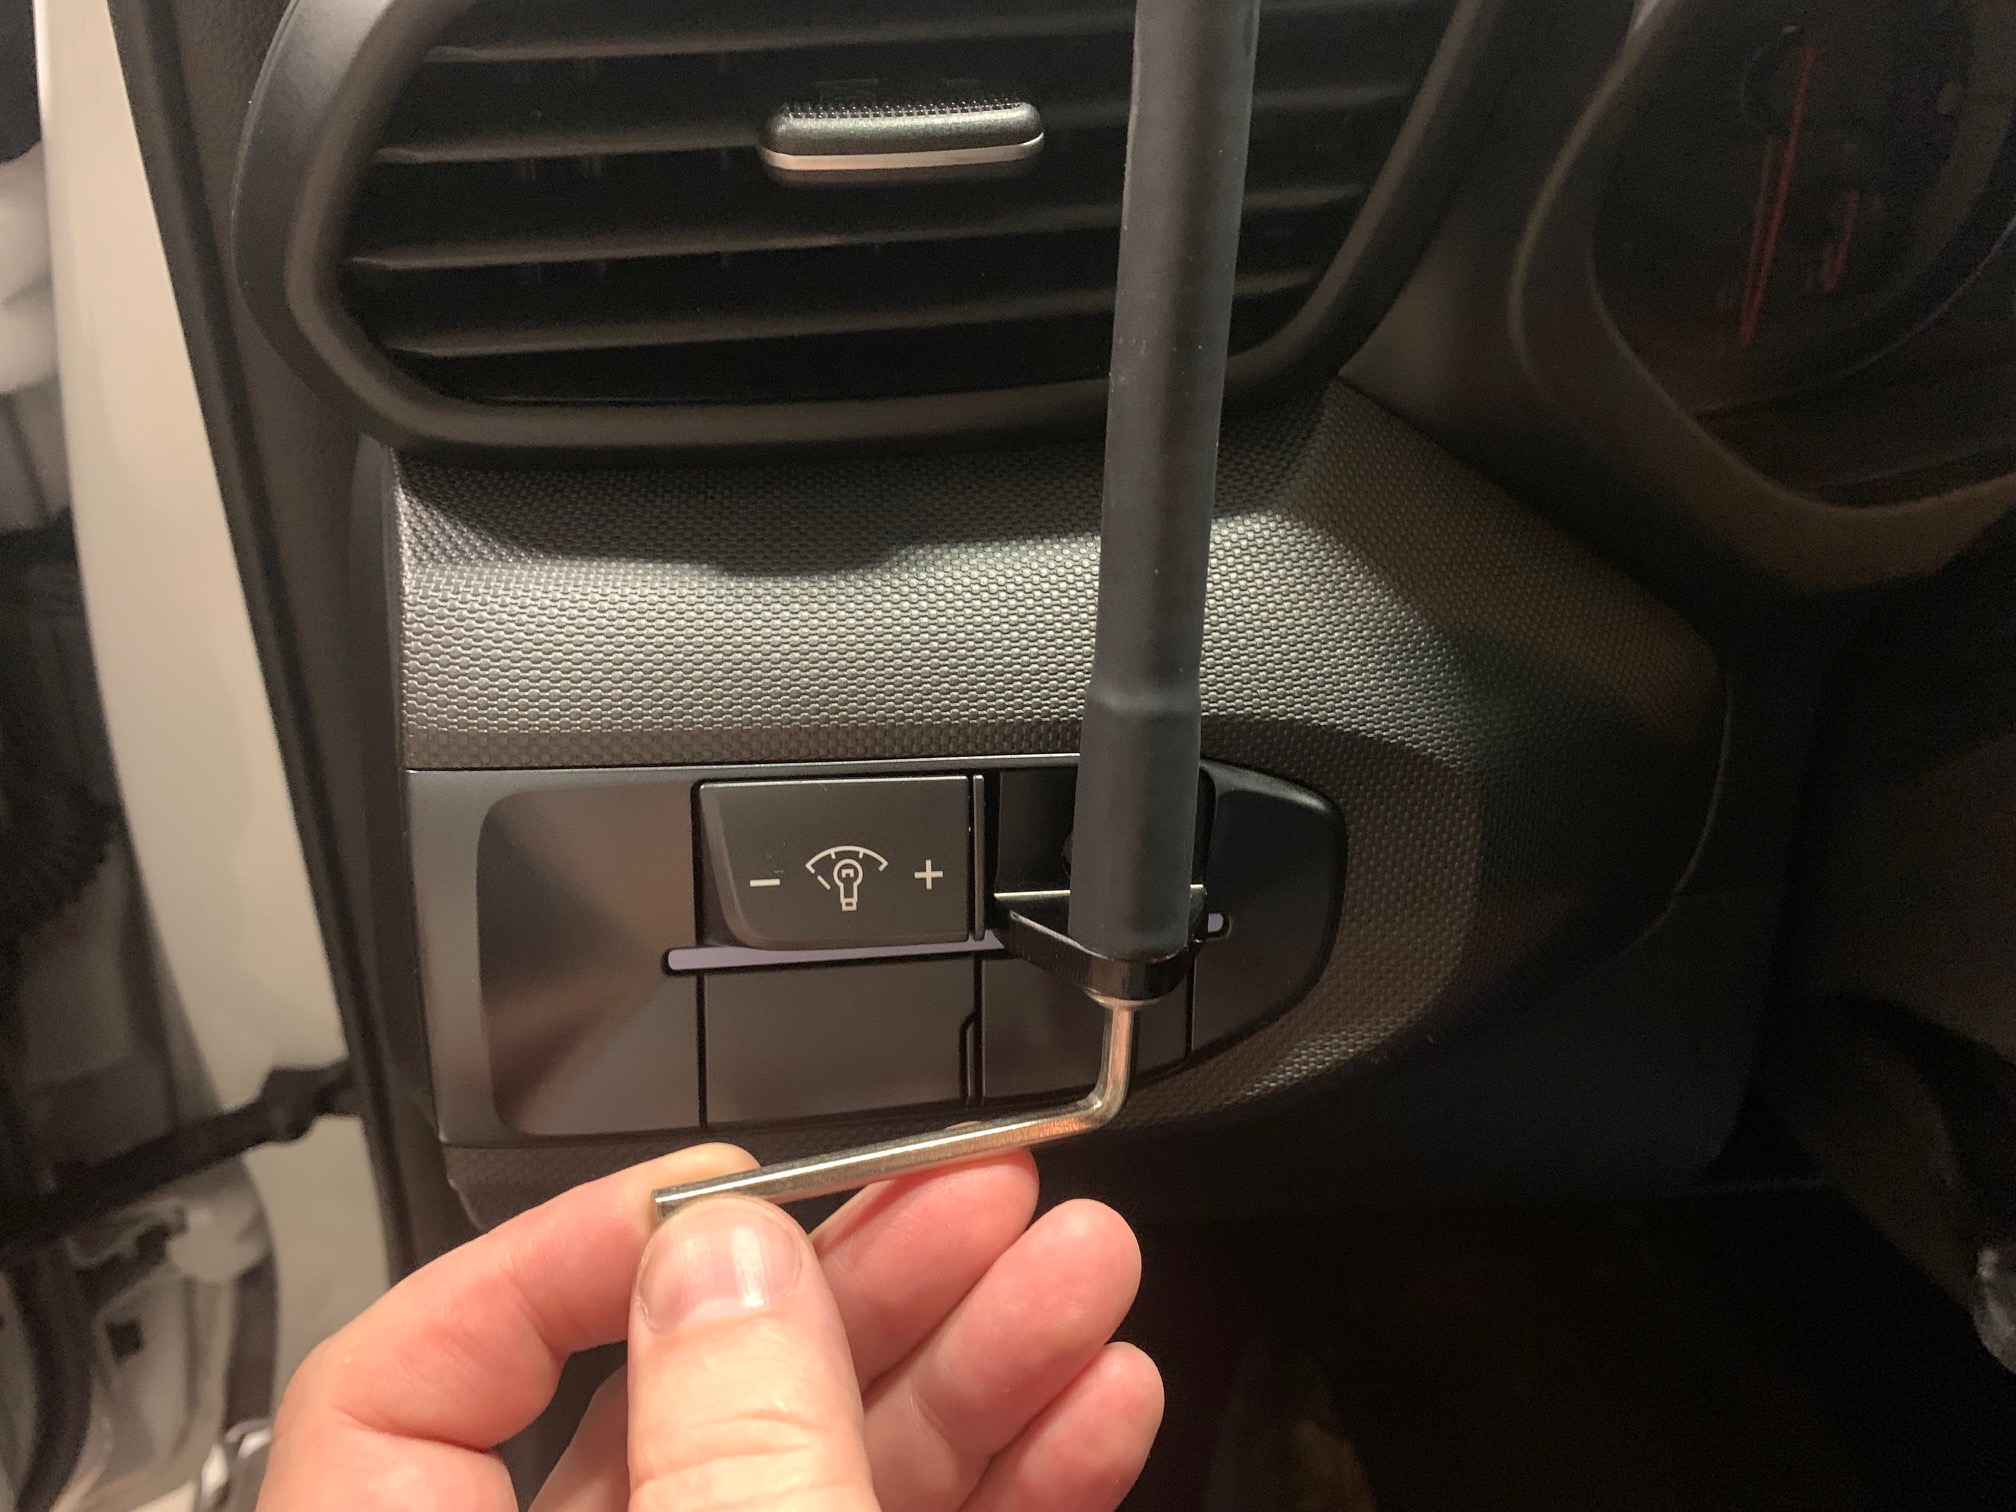
Locate the provided stainless button head 1/4-20 x 7/8" screw and place it up through the bottom of the mounting tab and thread it into the end of the flex arm.
-
Position the flex arm into your desired location and affix the adhesive metal plate to the backside of your phone. All that's left is to simply set your phone against the magnet mount and you're good to go! Stand back and admire your handiwork!