THANK YOU
for purchasing the MINI Gen 3 Cold Air Intake from CravenSpeed. This product is made from the highest grade materials, and is guaranteed to be free from defects.
You can buy our
CravenSpeed Cold Air Intake for MINI Gen 3 here
NOTE:
Please completely read through all these instructions before starting the install of your CravenSpeed 3rd Gen MINI Cold Air Intake. Perform your work in a clean, well-lit, and level environment, and just to be on the safe side... open up the battery box with your 8mm socket wrench, disconnect the negative battery terminal and secure the cable out of the way. Let’s do this!
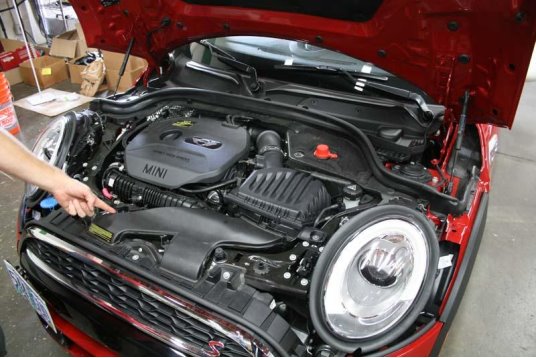
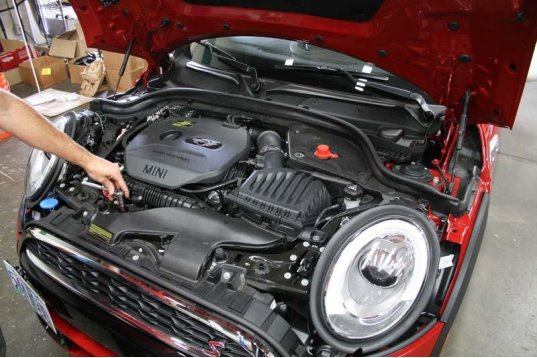
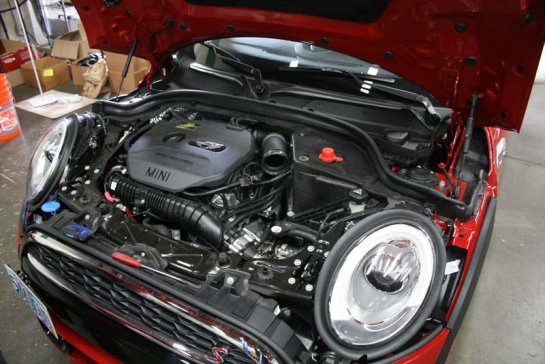
1. The first order of business is to get the air-intake duct out of the way. To find the air-intake duct, check out what our wrench monkey is pointing at.
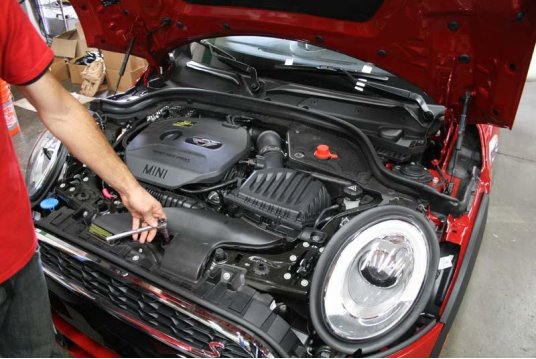
2. Remove the (2) 10mm nuts holding the air-intake duct in place.
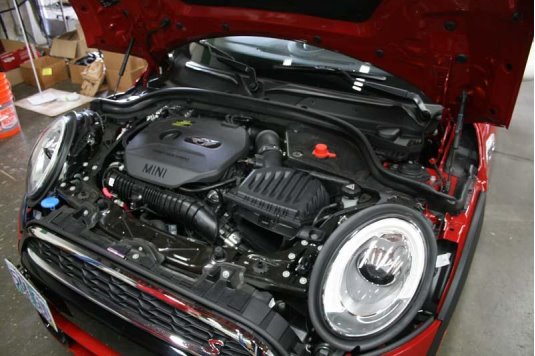
3. Remove the air-intake duct by unclipping it where it attaches to the air filter housing and lifting it up and out.
4. You’ll need to remove this bolt using your trusty 10mm socket wrench. Once the factory air box is removed, reinstall this bolt for safe keeping.
5. Loosen the factory air box hose clamp. You will need to get this fairly loose, because you’ll need some stretch in the plastic intake tube to fit the new CS aluminum MAF housing.
6. Using a small flathead screwdriver, unlock the tab on the Mass Air Flow sensor connector, pinch the locking tab and pull. Be gentle and patient as this tab is delicate and could potentially break if you’re not careful.
7. Separate the factory air box from the intake hose. It may be a tight fit, so it will probably take some elbow grease. There is also a wiring loom attached to the left side of the factory air box via a molded tab. Slip the rubber loom mount off of this tab and allow the wiring loom to just hang out for a bit.
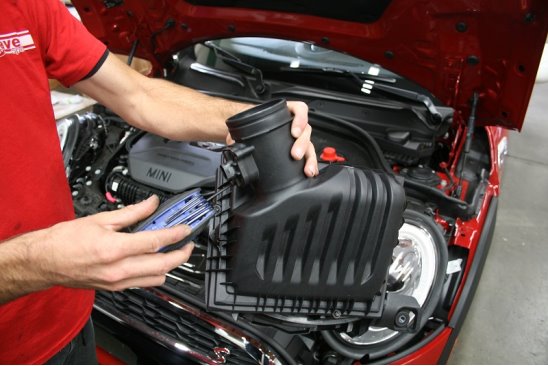
8. Once everything is detached, remove the factory air box. There are 2 soft rubber sockets below the air box that anchors it to the car. Grasp the air box on either side and pull up while rocking it back and forth. It should release and come out without too much effort.
Voila! Le air box is out!
9. Remove the Mass Air Flow sensor from the factory air box outlet with a T25 torx driver.
Yeah... this guy. Don’t break him as he’s an expensive little bugger to the tune of about 350 bux.
10. Install the Mass Air Flow sensor into the CravenSpeed Aluminum MAF housing and affix with the two (2) included M4 socket head cap screws via your 3mm hex key.
11. Place the CS Aluminum MAF Intake Body through the Grommet Bezel of the CS Air Box Housing, attach the K&N Filter to the curved end of the intake pipe and tighten the hose clamp.
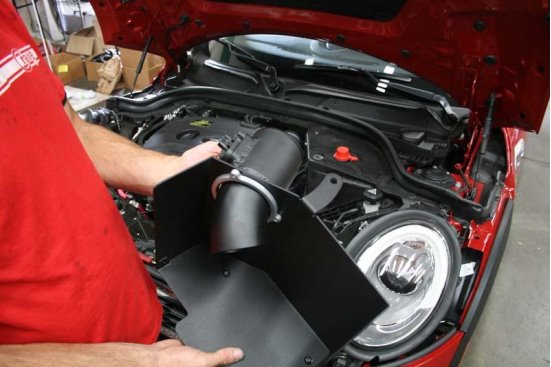
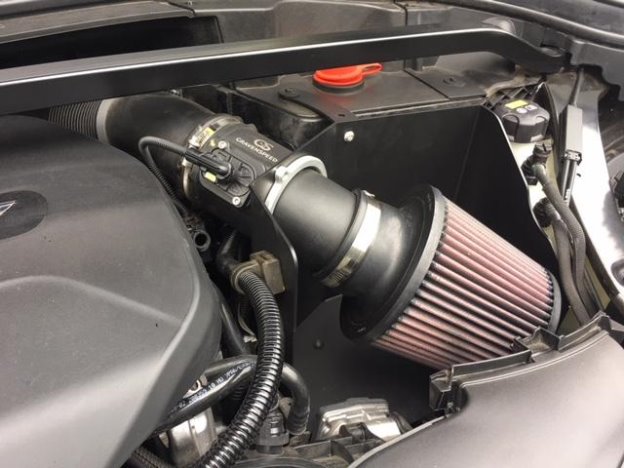
12. Rotate the CS MAF Intake assembly so that the filter is angled down into the air box at about 35 degrees (see image) and set the entire assembly back into the cavity created after you ripped out the factory air box. Ensure that the ball connectors on the bottom side of the air box assembly line up and lock into the rubber sockets. Go ahead and plug in your MAF sensor wiring harness and set the locking tab.
13. If you haven't done so already, remove the 8mm screws that attach the cover to the battery box. There may be some associated weather stripping and panels to remove first.
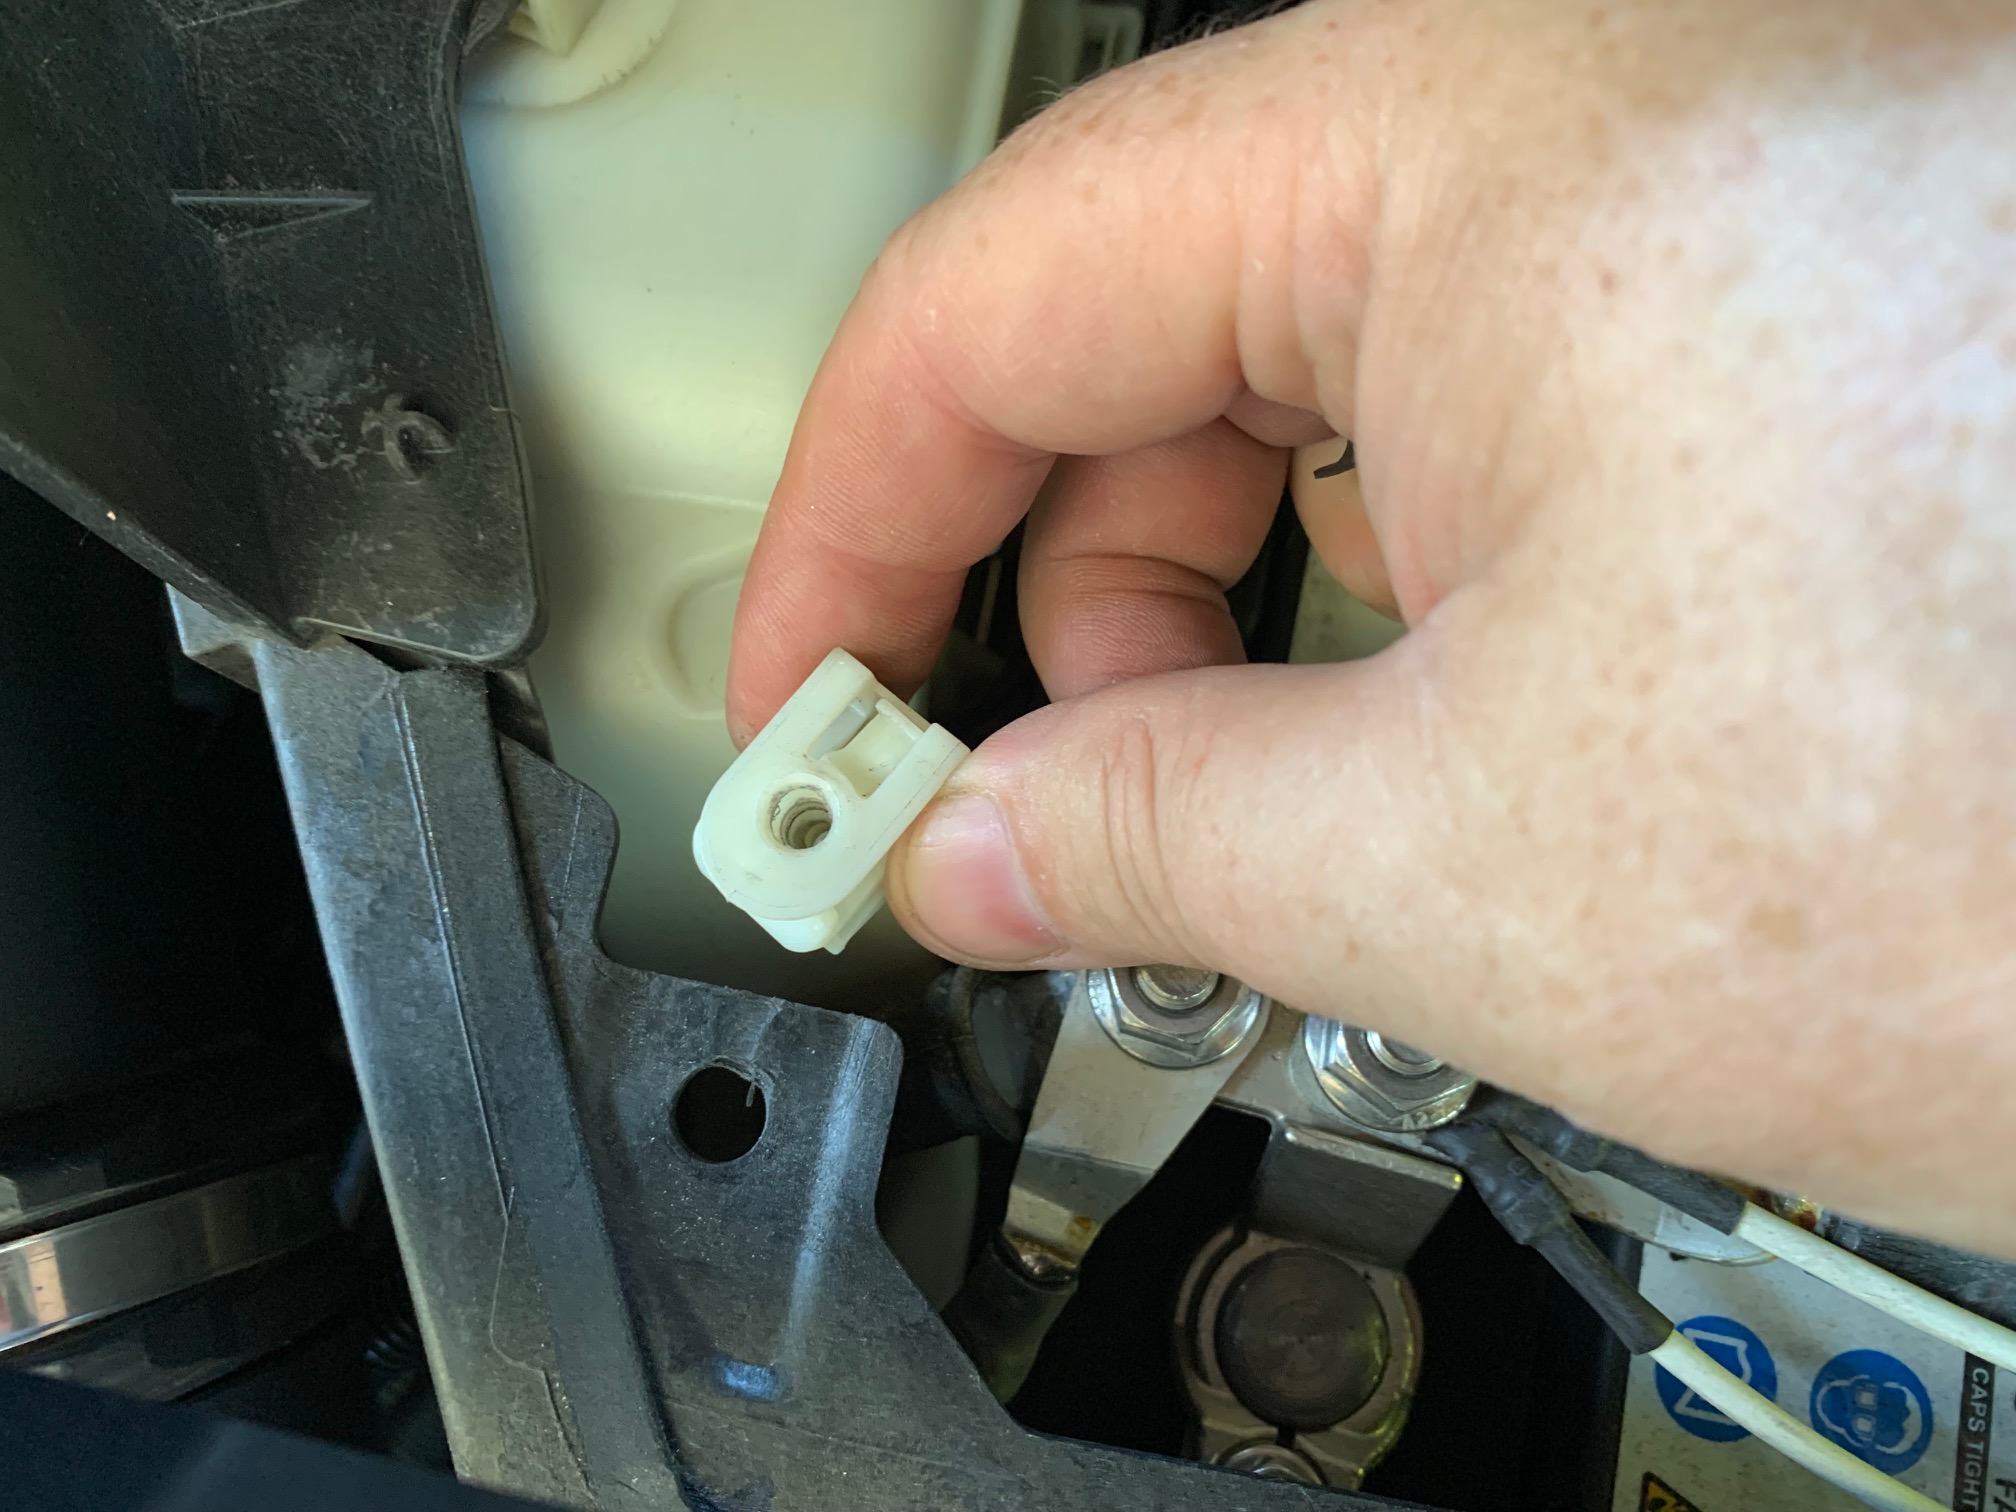
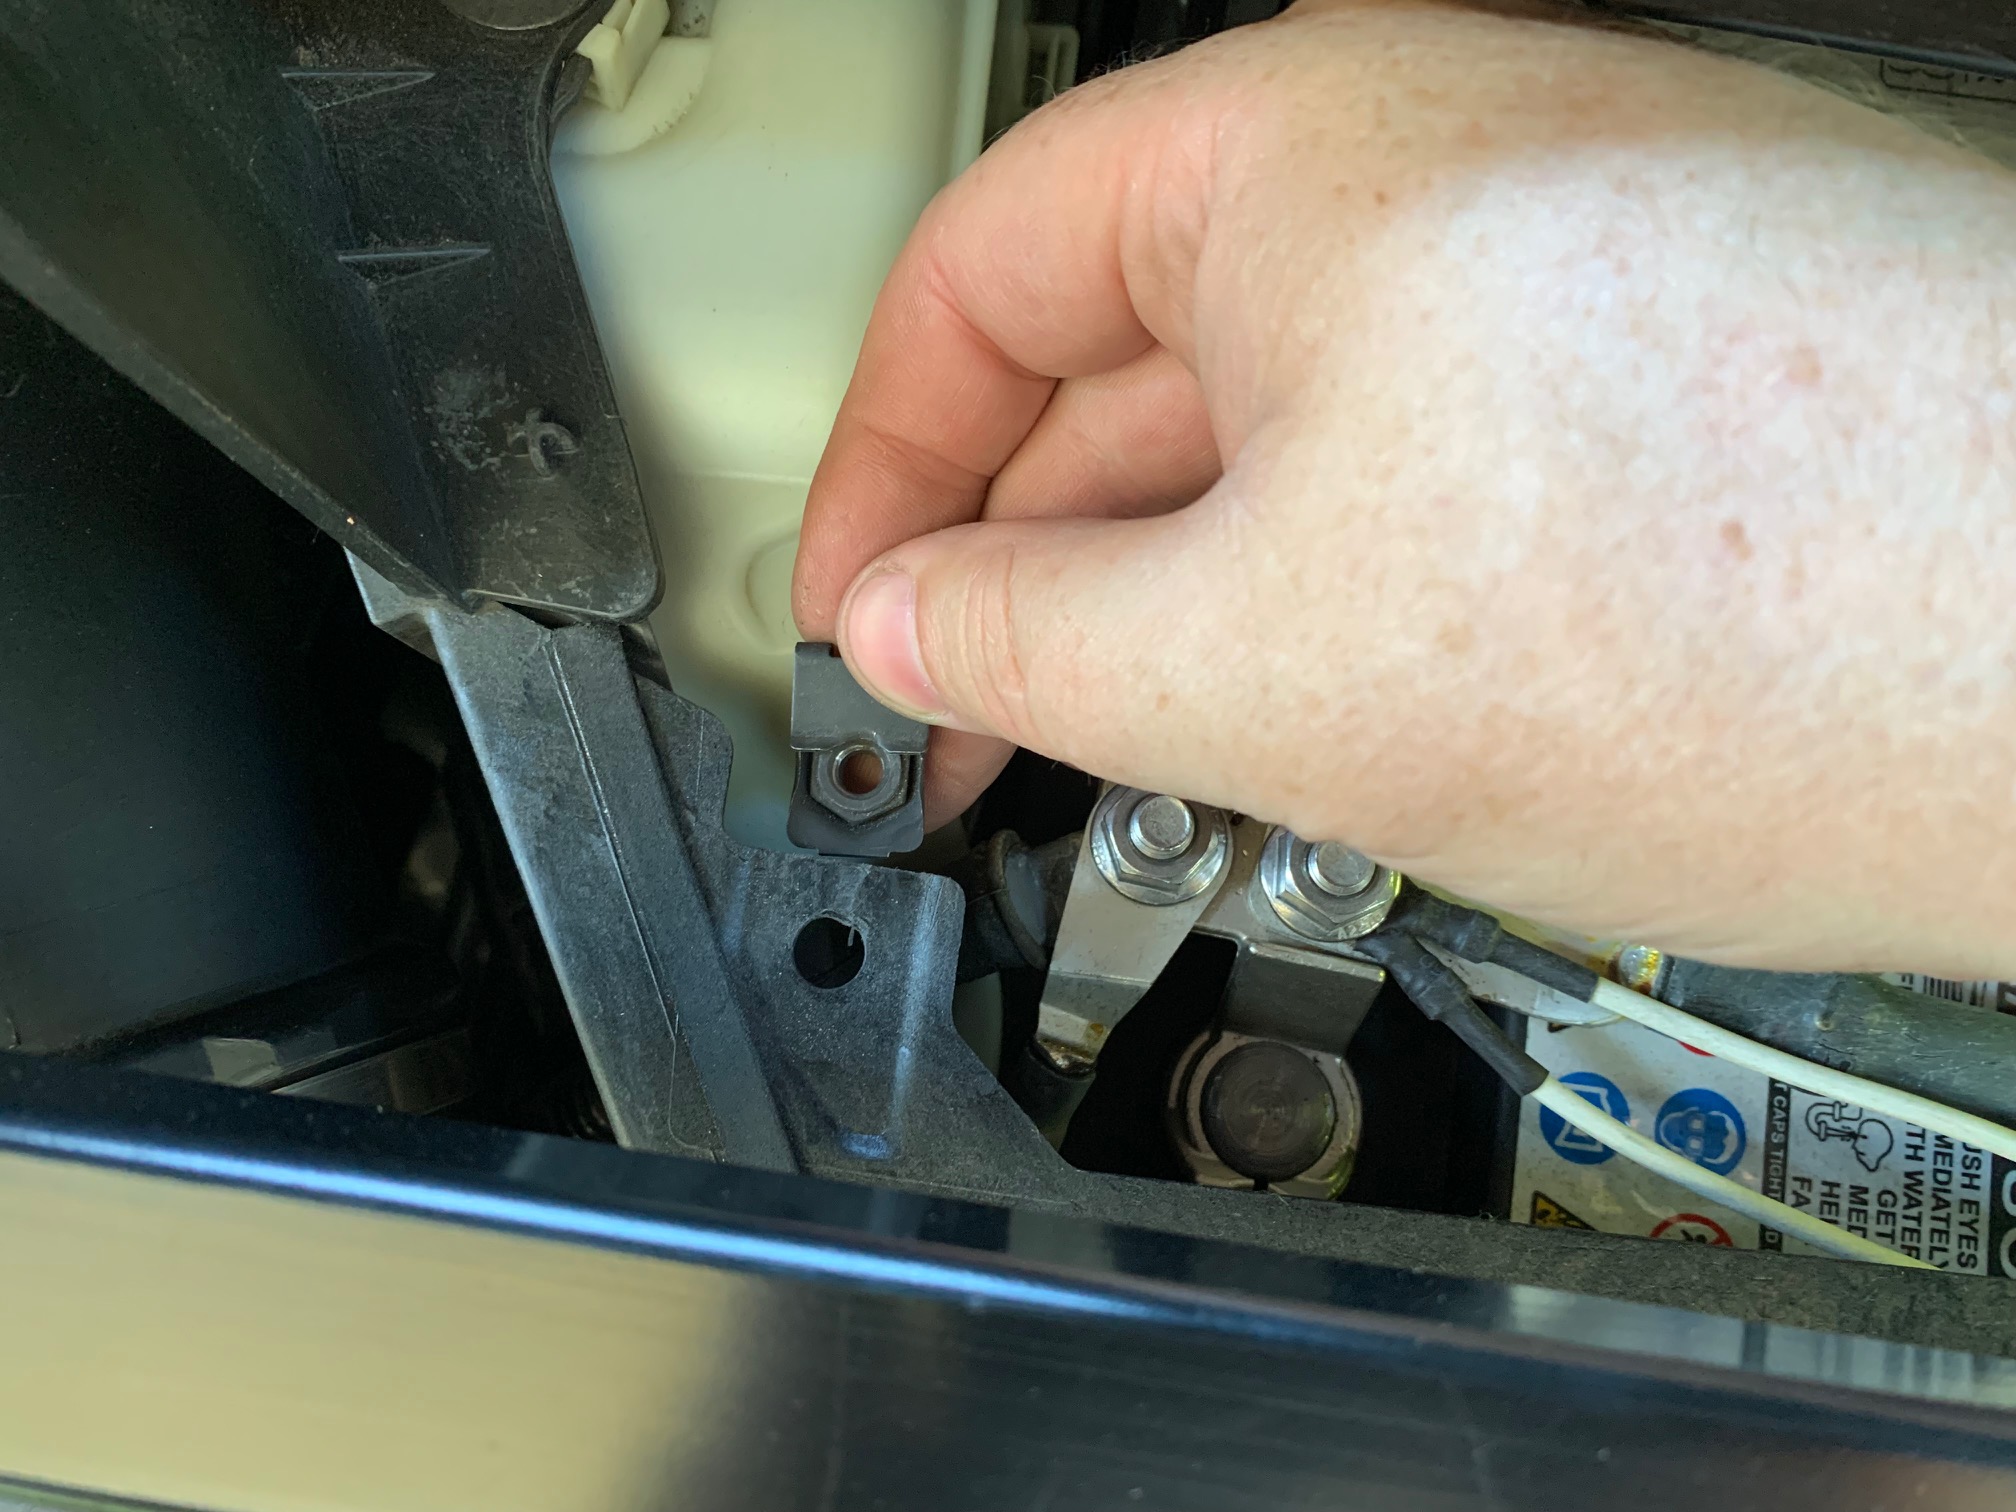
14. Inside you should see a couple white plastic c-clip panel nuts, but the one we're concerned with is the closest left corner. We're using this fasteners' location as a mounting point for the CS airbox, so we'll need to replace it with something a bit more robust.
15. You should be able to just grab the c-clip and pull it off the mounting tab.
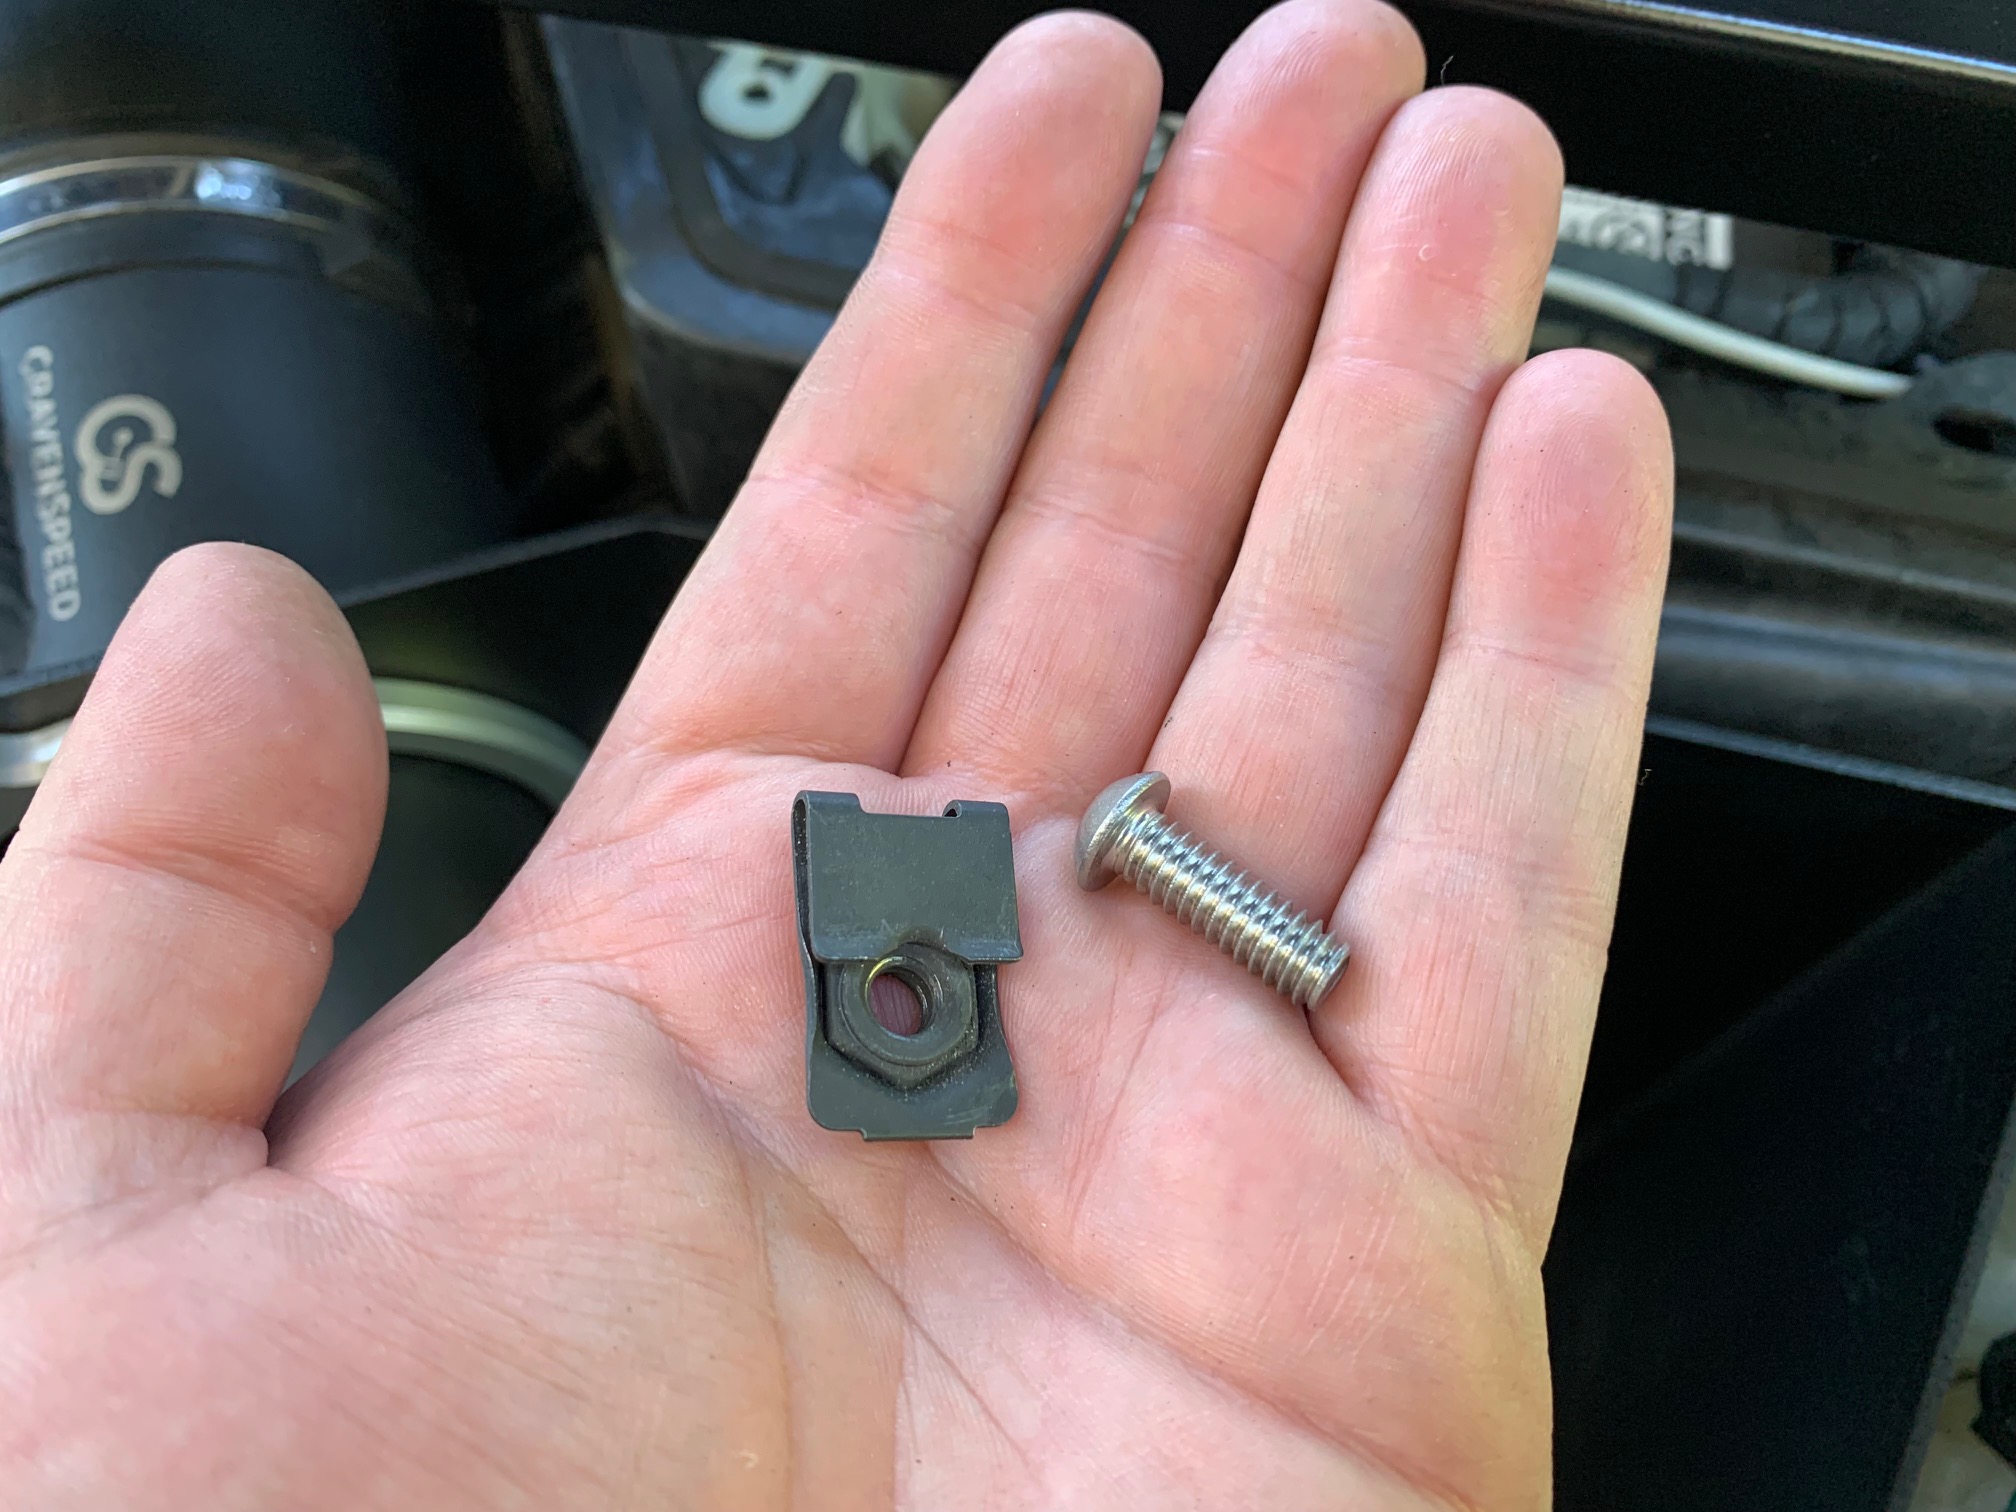
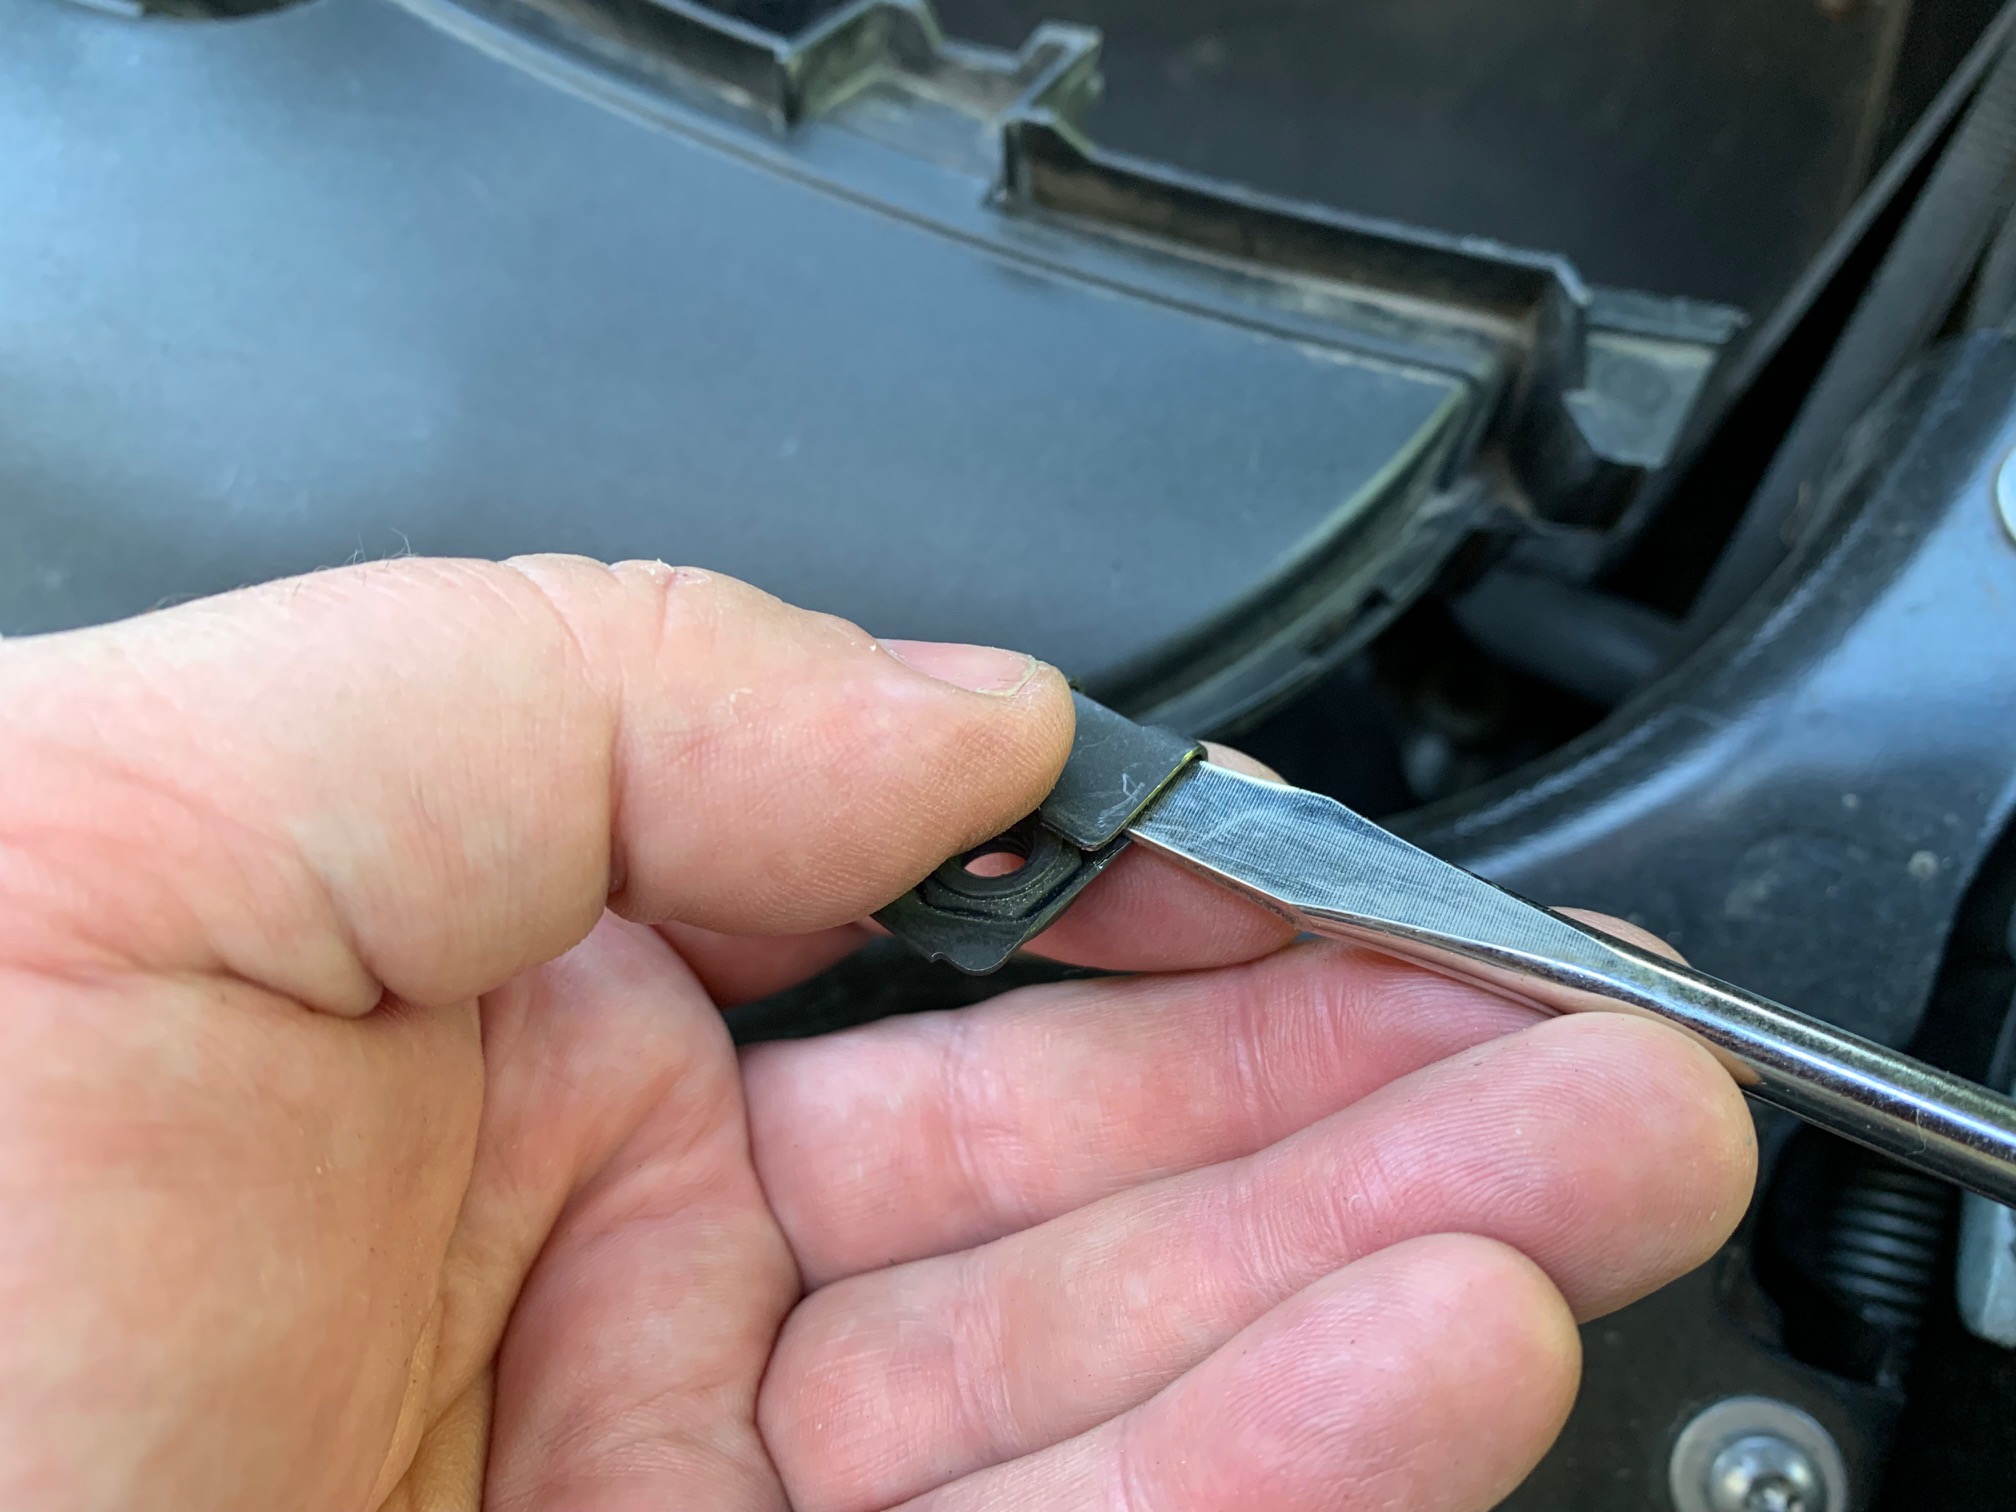
16. Included with your intake kit should be a metal barrel-nut and a 1/4-20 flanged button-head screw. Replace the plastic c-clip with the metal barrel-nut. If the fit is too tight, utilize the tip of a flat-head screwdriver to expand the opening.
17. Reconnect your negative battery terminal then reinstall the battery box cover and related weather stripping.
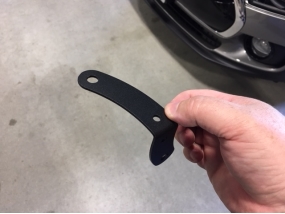
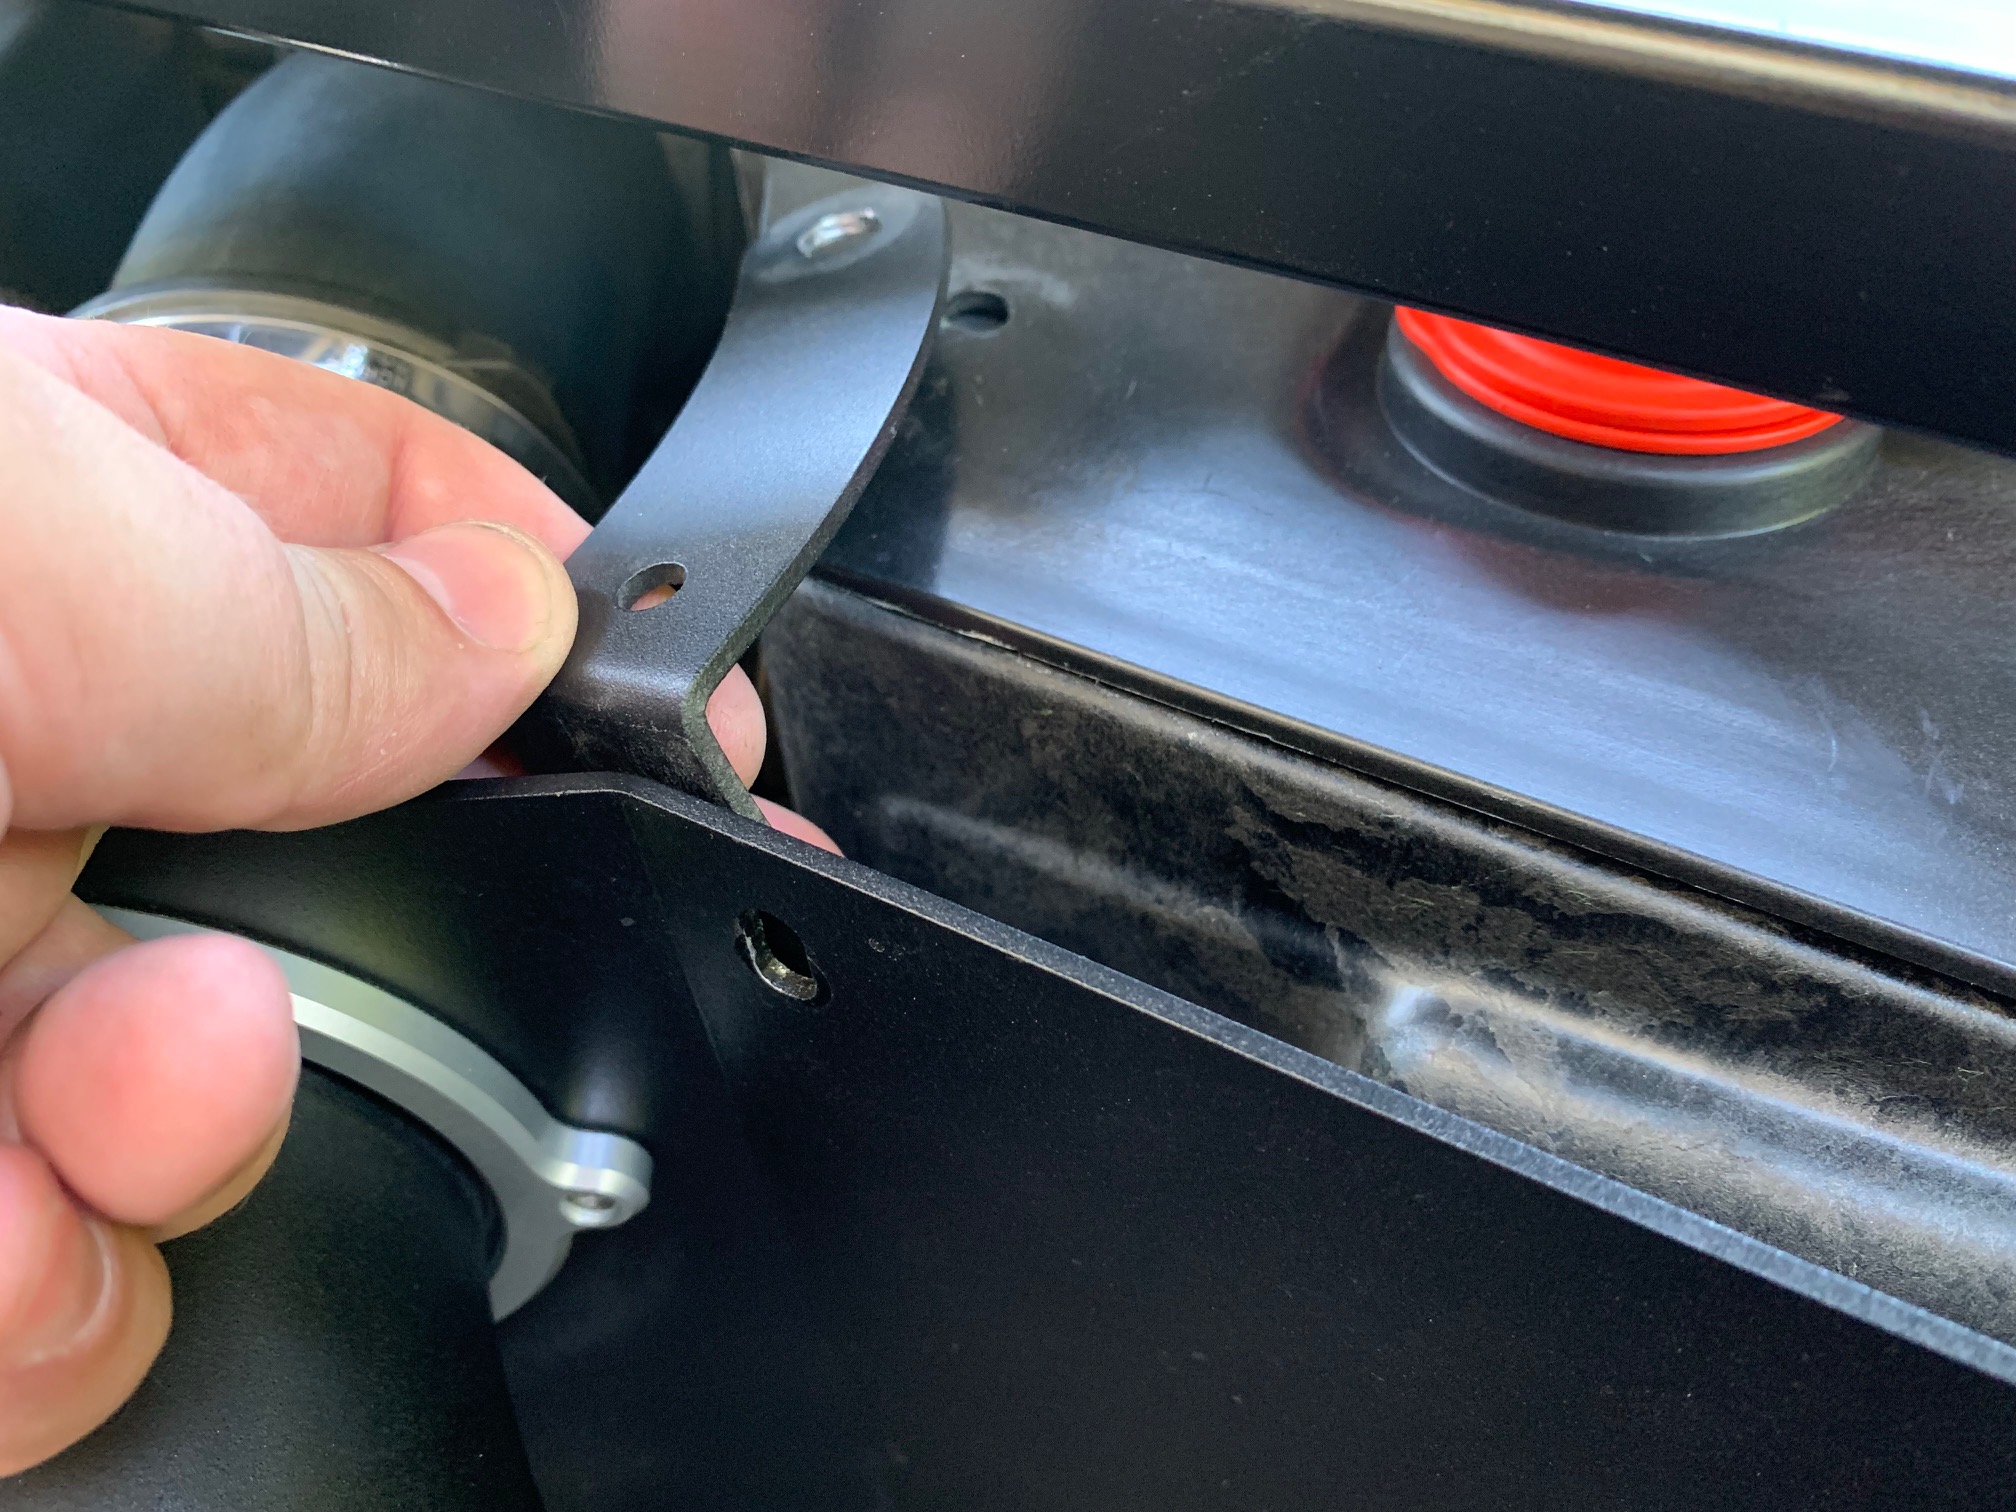
18. The CravenSpeed air box assembly includes a separate L-shaped mounting tab along with the bulk of the parts. If installing the intake into an F55/F56/F57, utilize the included ¼-20 stainless button head screw and locknut and loosely mount the tab to the backside of the air box assembly so that the short side of the mounting tab is on top. If installing into an F54 Clubman or F60 Countryman, mount the tab with the long side up.
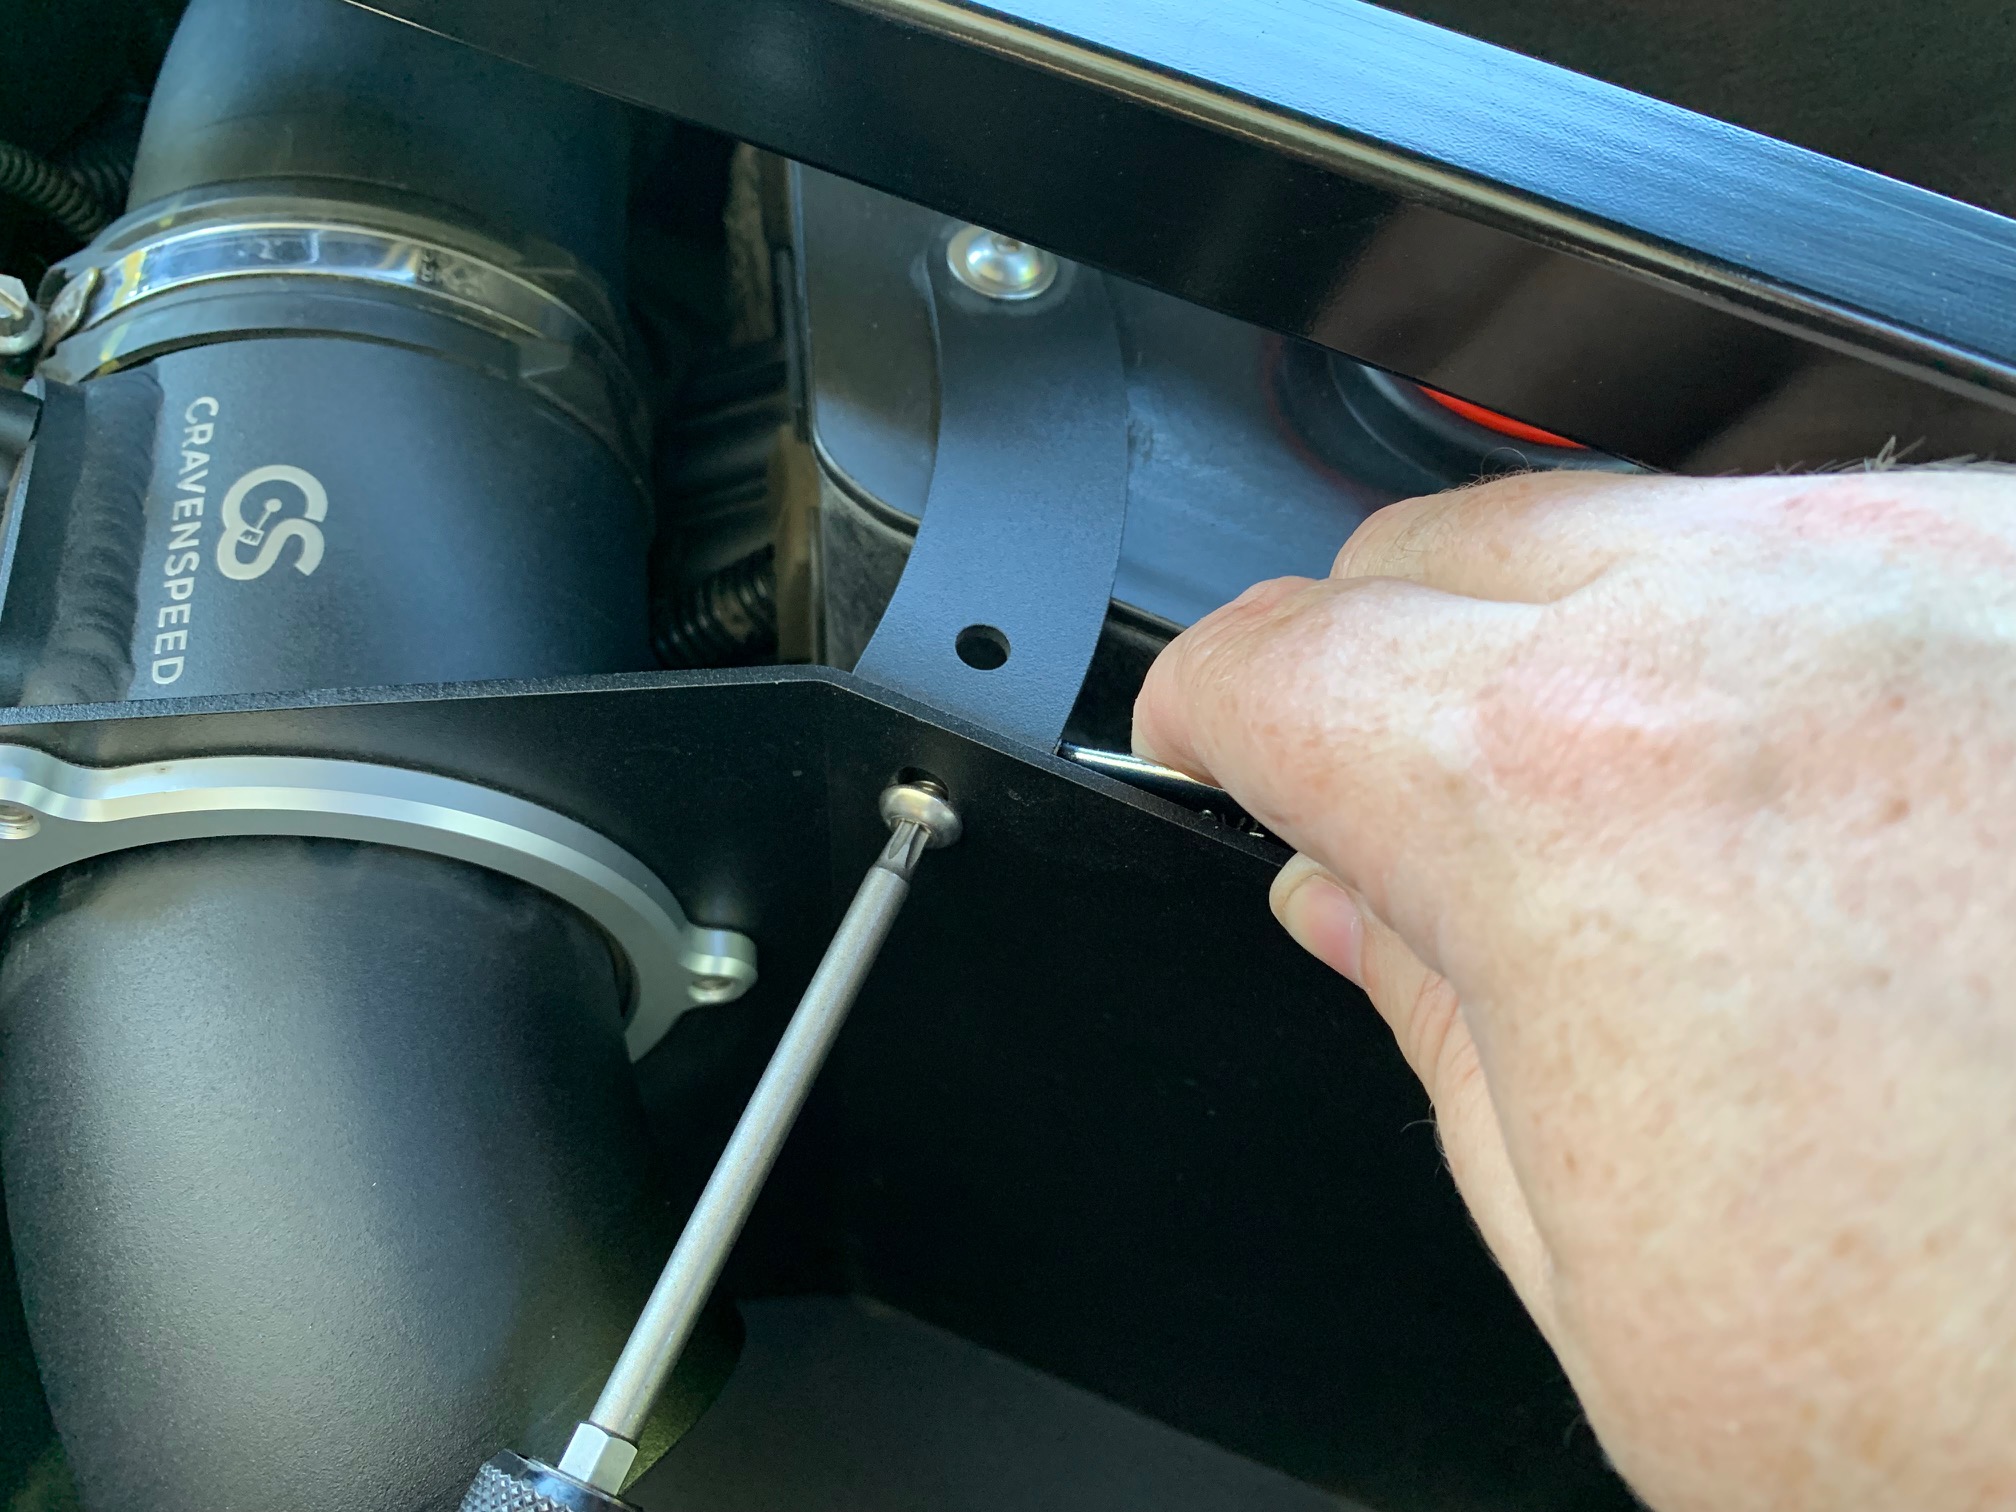
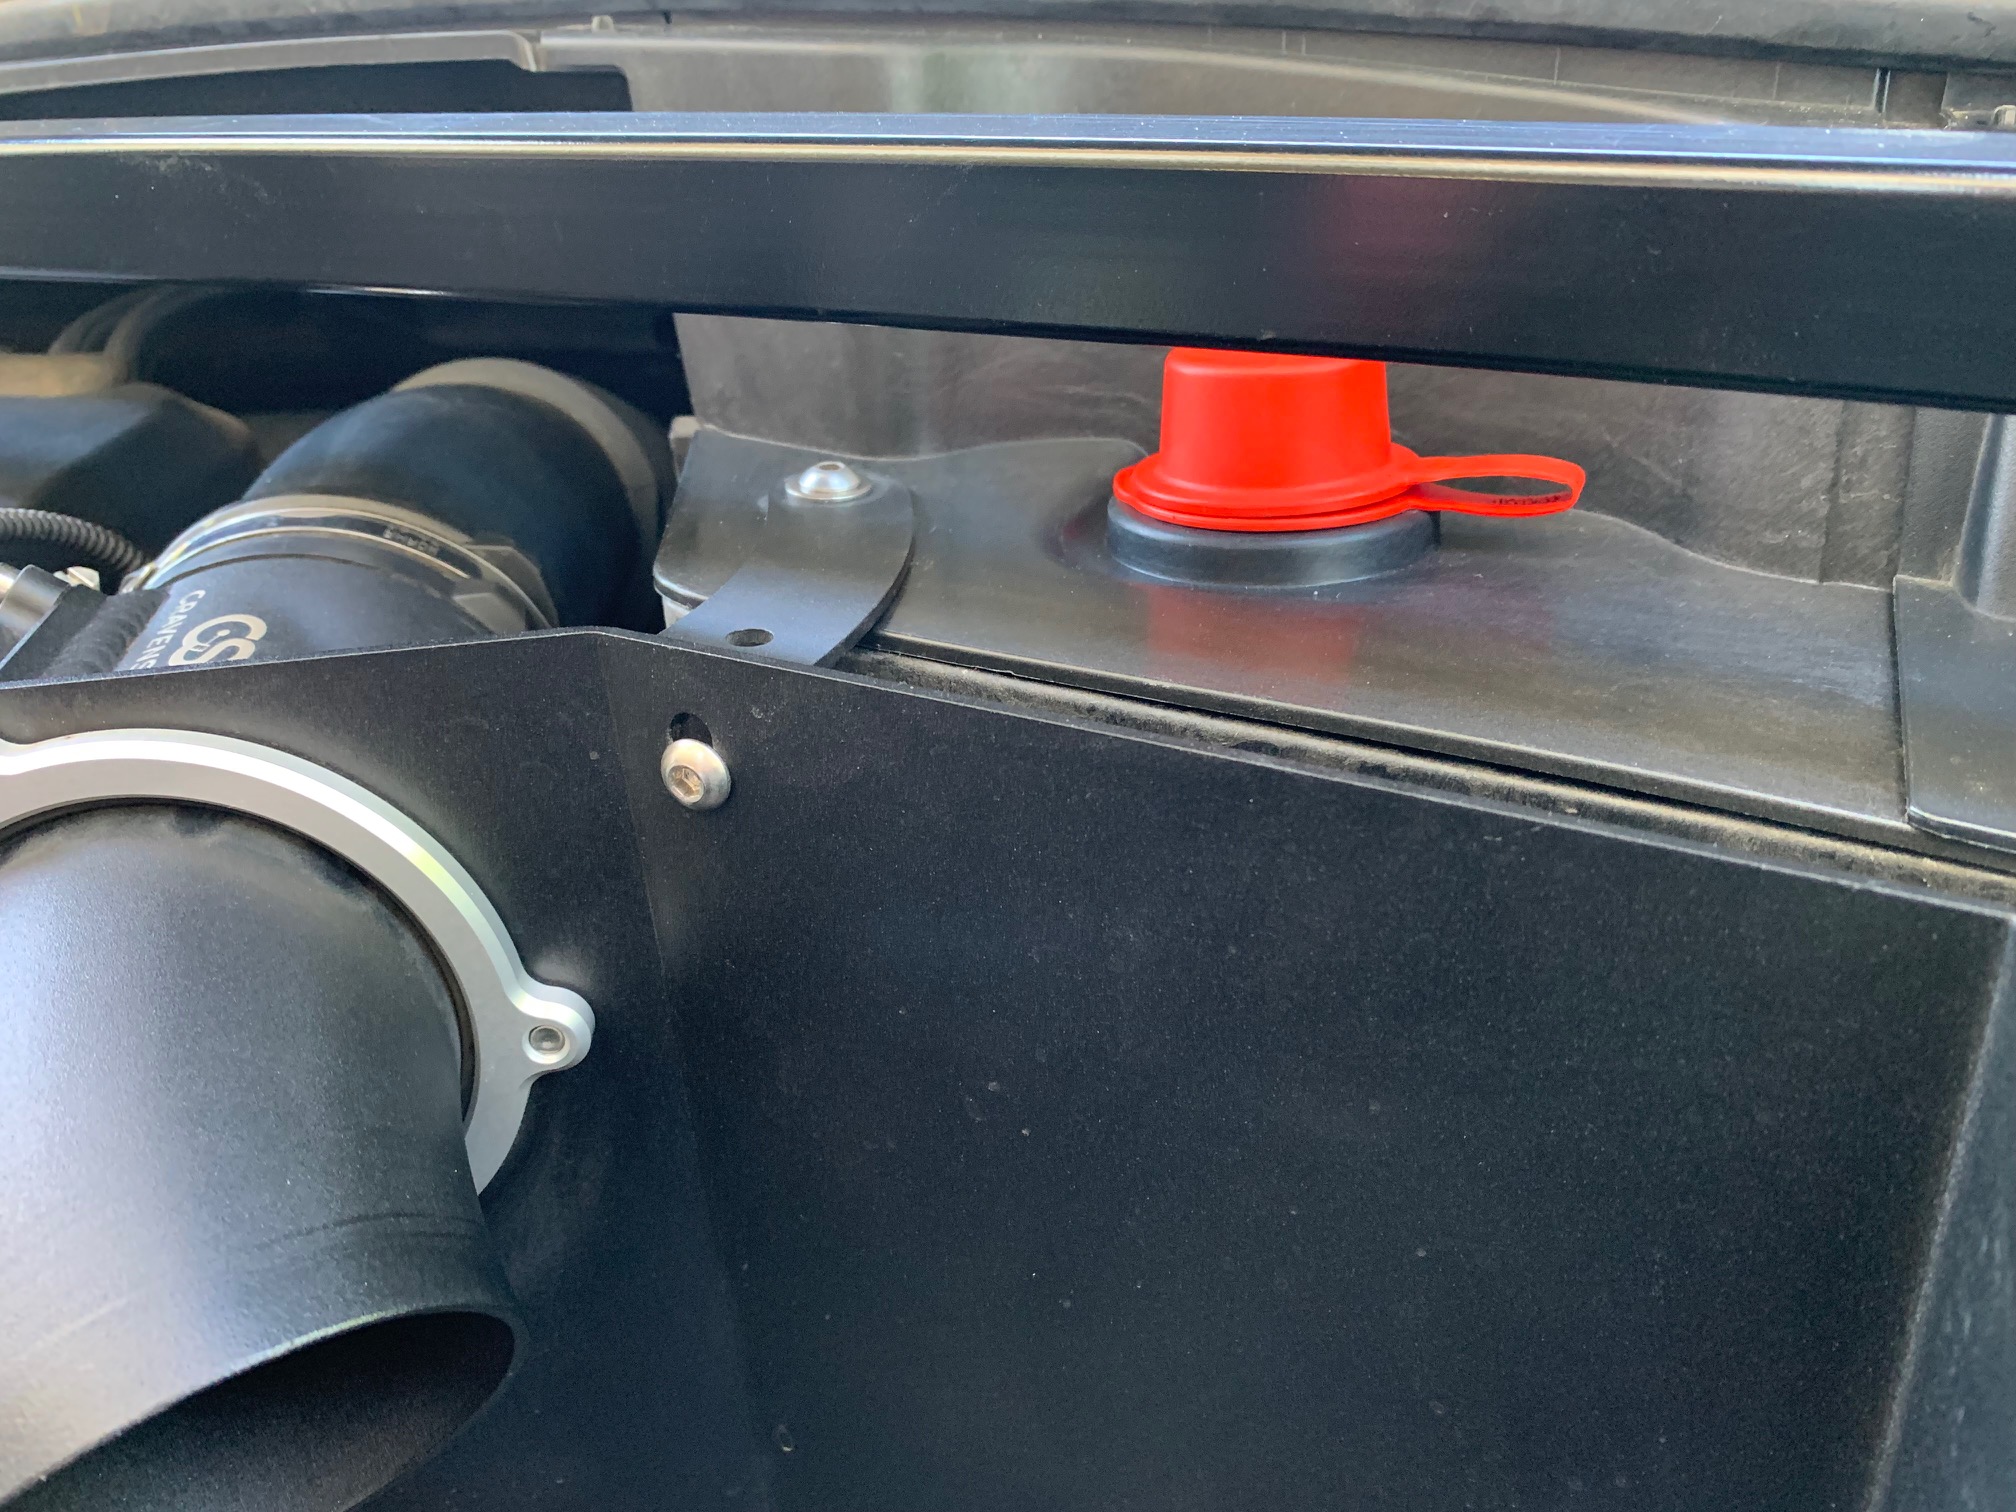
19. Now take the 1/4-20 flanged button-head screw and run it thru the L-bracket/battery cover and into the metal barrel-nut inside the battery box. Tighten this screw then the airbox/L-bracket mounting fasteners.
20. Slip the intake hose back onto the CS MAF intake body, ensure your assembly has the proper rotation within the air box, and tighten the hose clamp.
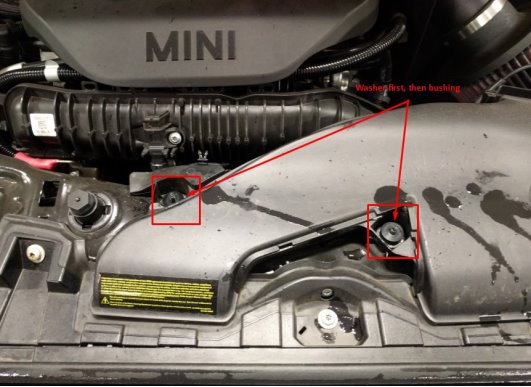
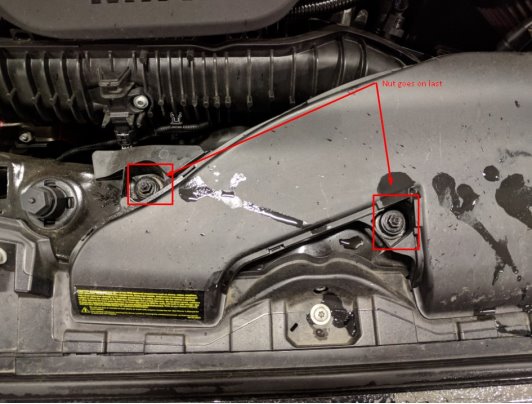
21. Take the factory air ducting and remove the rubber bushing and metal spacers from the mounting points. Set the air duct back into place and use the included large washers and stepped bushings to reattach it to the core support. Place the large washer first then set the bushing into it so the stepped section sits inside the washer. Replace the 10mm nuts.
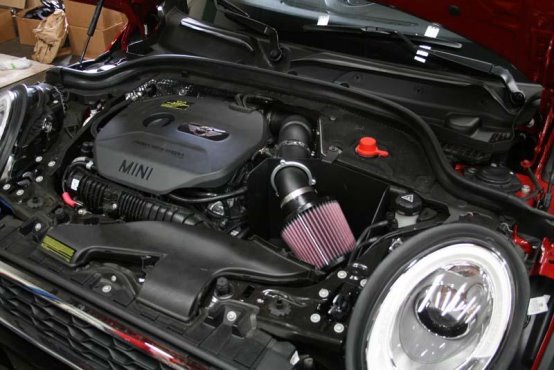
Congrats! Your installation is complete! Make one last check of the engine compartment to make sure all connections have been made and that there are no stray tools left behind. Close the hood, start up your MINI and send it.
Parts Included:
Tools Required:
Procedure