THANK YOU
for purchasing the MINI R53 Supercharger Reduction Pulley from CravenSpeed. This product is made from the highest grade materials, and is guaranteed to be free from defects.
You can buy our
CravenSpeed Supercharger Reduction Pulley for MINI R53 here
Please follow all directions carefully!
Jack stands
MUST
be utilized with any jack. It is highly recommended to have an experienced mechanic on hand at all times. If you doubt your abilities, have an experienced mechanic perform this installation.
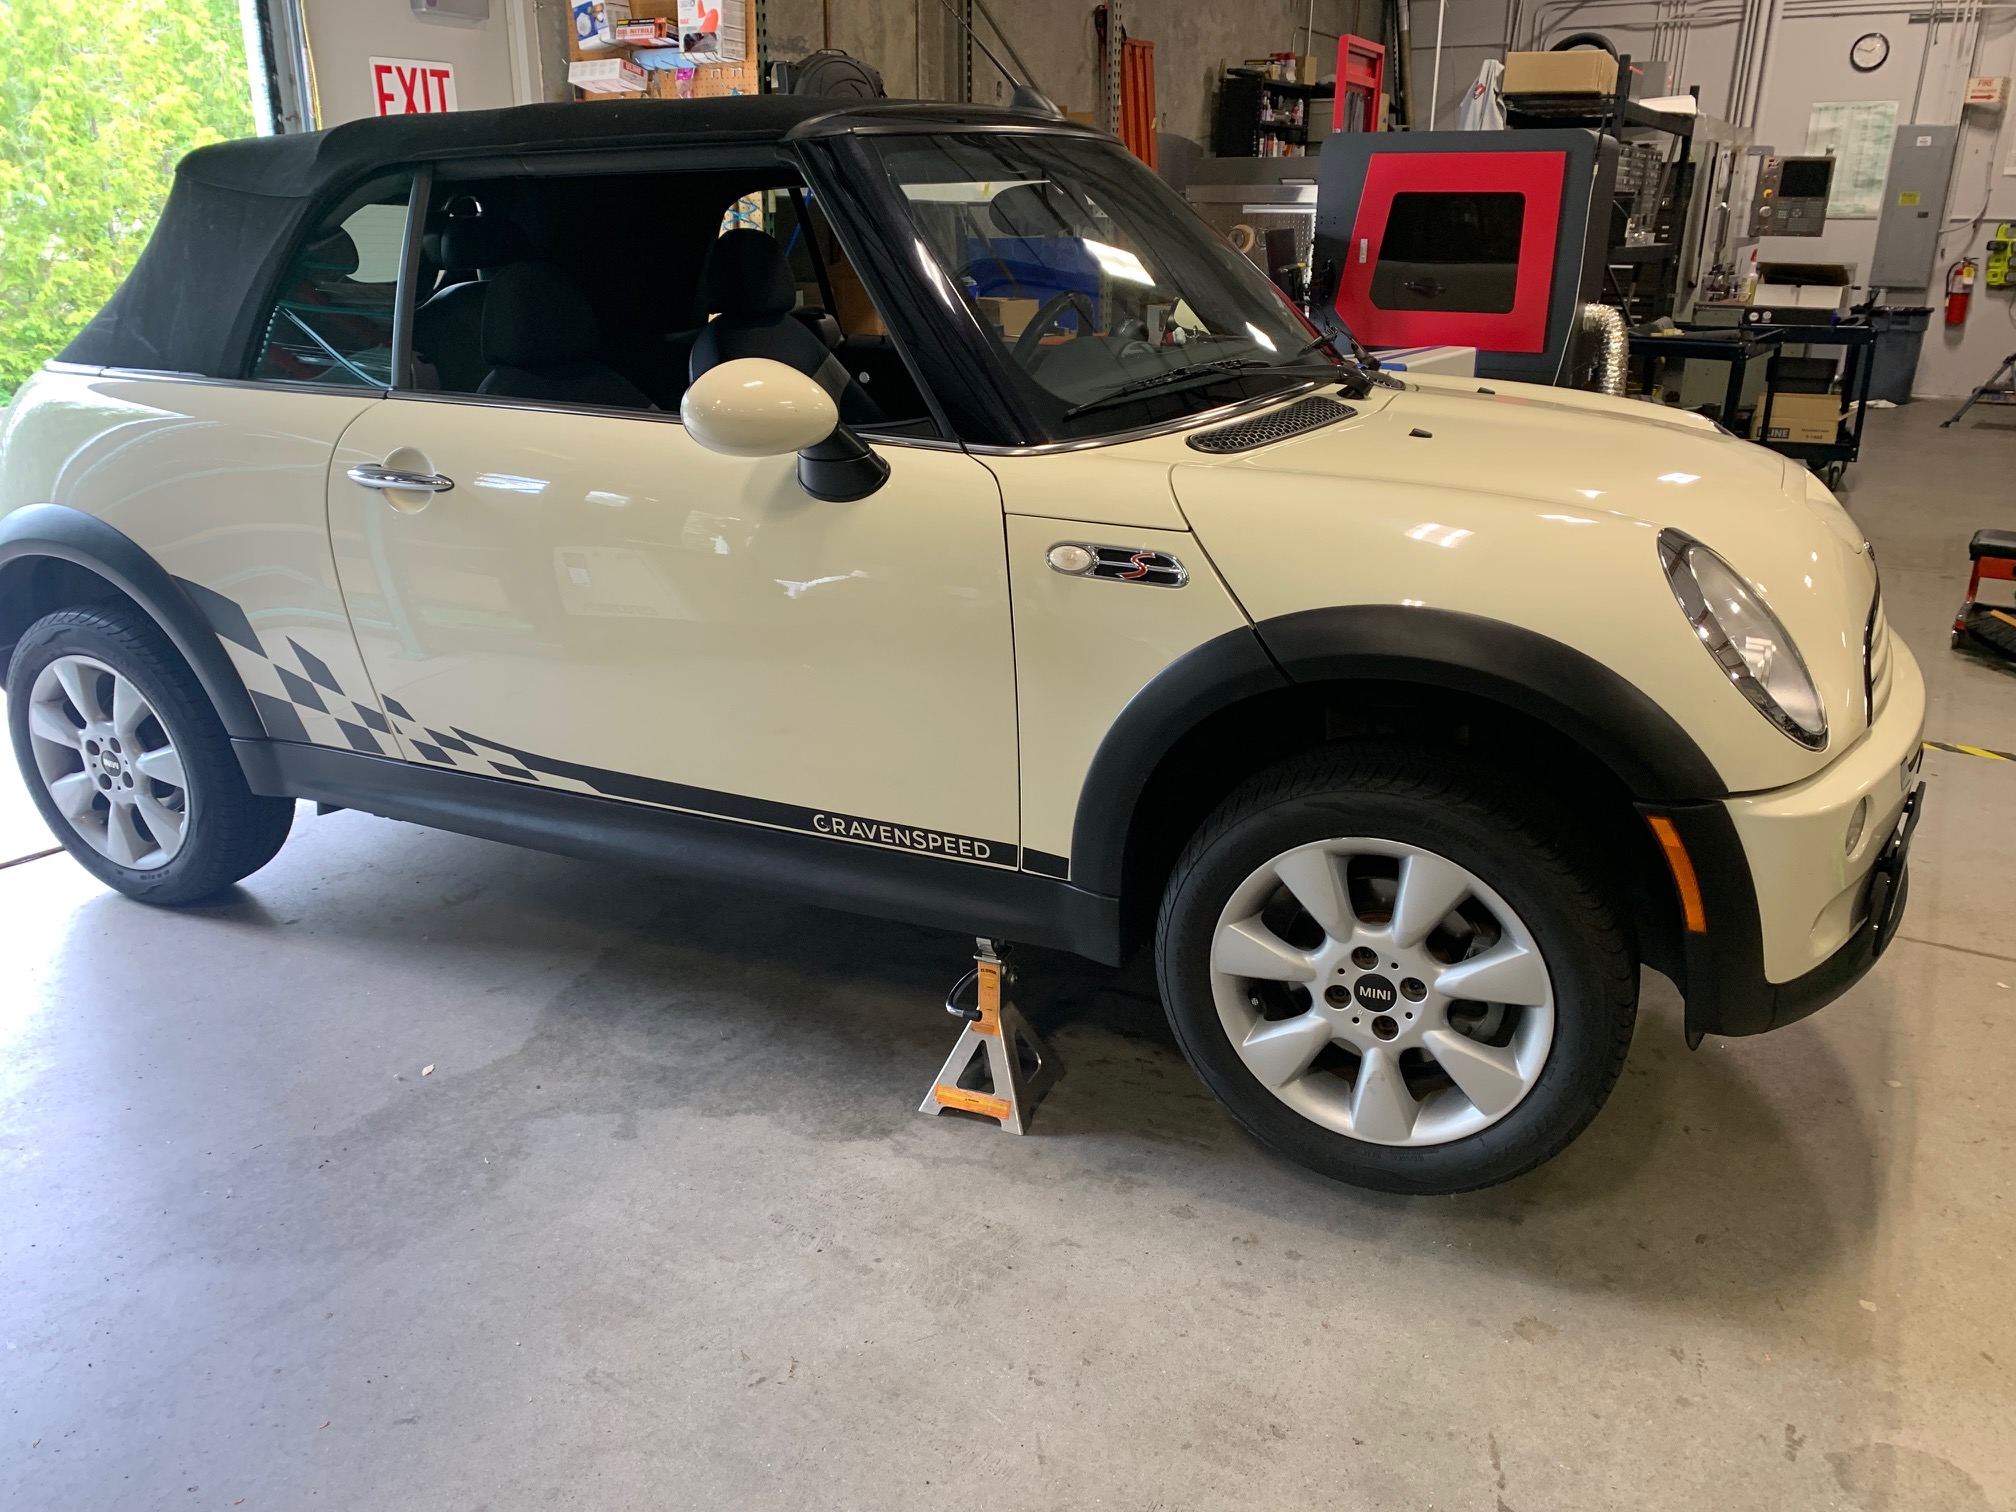
1. To begin, pull your MINI into a well-lit, clean and level surface. Proceed to the boot and disconnect the negative wire from the (-) battery terminal with your 10mm socket wrench. Once disconnected, if you accidentally close the boot, a release handle is located under the rear seat cushion (hatchback) or on the inner boot panel itself (convertible).
2. Jack up the front of the MINI, set it on jack stands and pop open the bonnet. Set a wheel chock behind one of the rear tires for an added boost of safety.
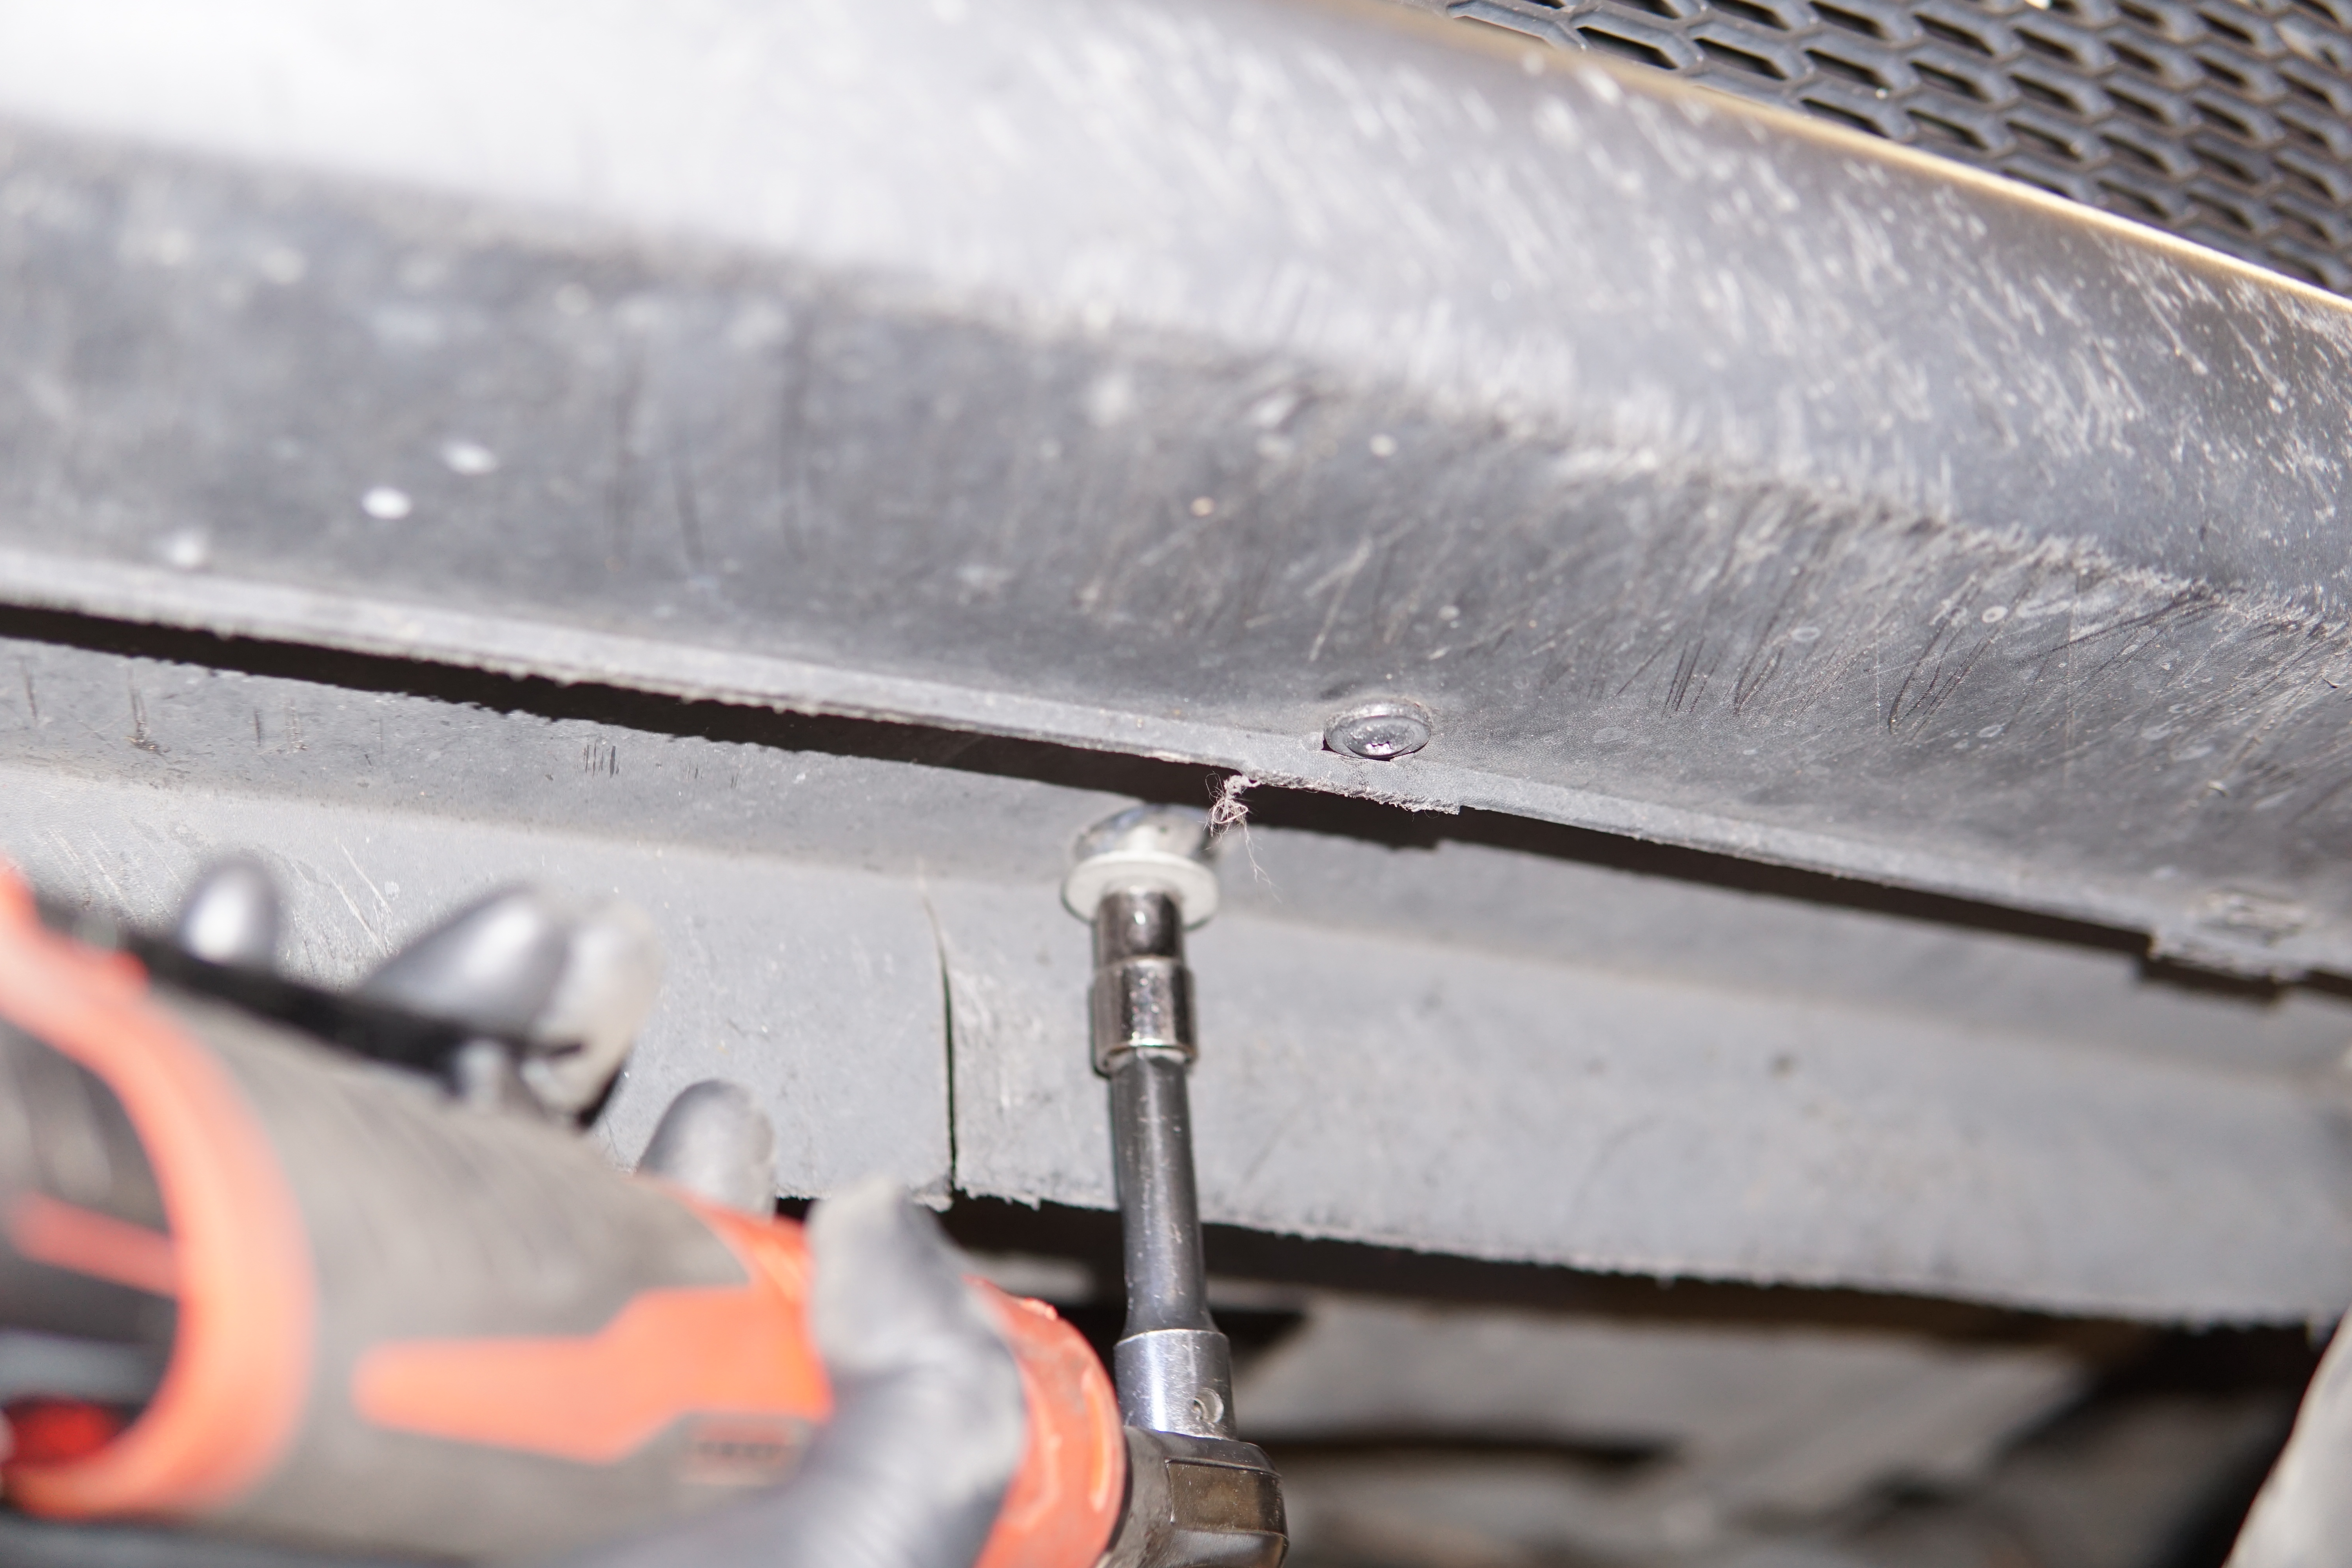
3. Grab a socket wrench, 10mm and 13mm sockets, a Philips screwdriver and slide under the front of your MINI where we'll be removing the plastic front underbody panel. Three (3) 10mm screws along the front lip and two (2) half-turn Philips screws; one on either end. Set the fasteners and panel aside.
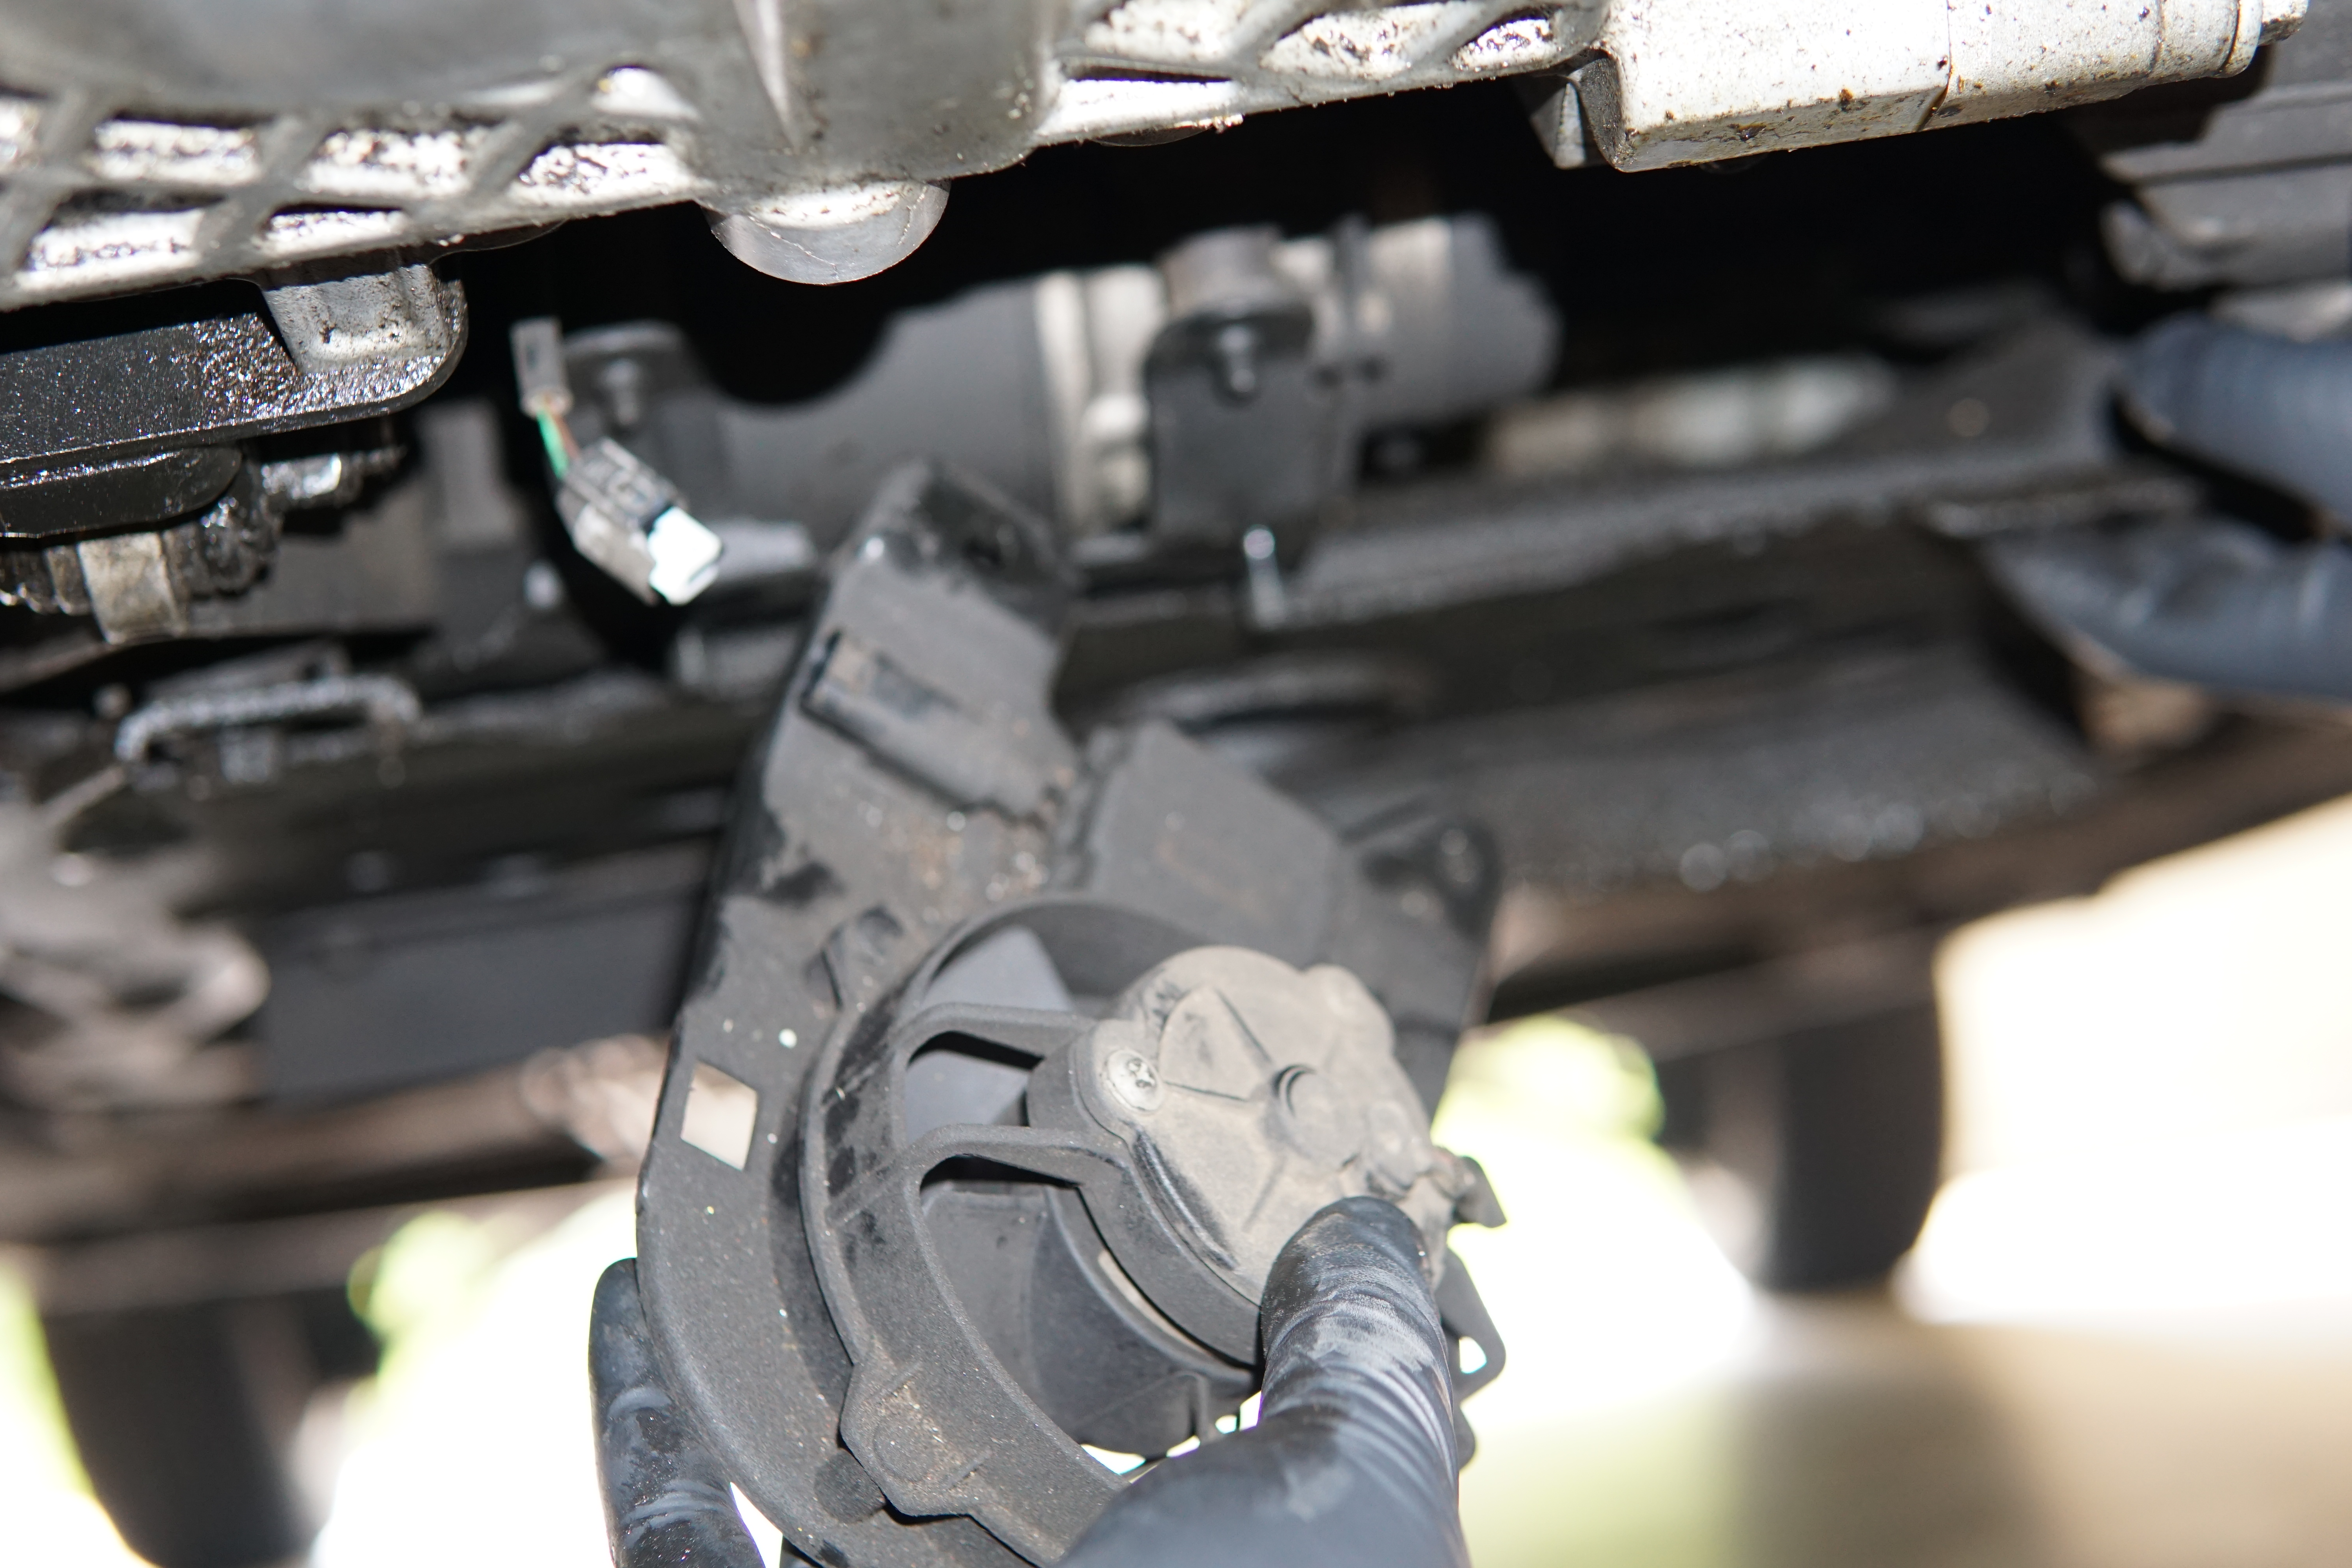
4. While you're under there, remove the two (2) 13mm nuts holding the power steering pump cooling fan in place. Once loose, disconnect the wiring plug and set it aside with the underbody panel. Before reinstalling the cooling fan, give it a good look over and clean it up if it's particularly filthy. Ensure that the fan blades still spin freely.
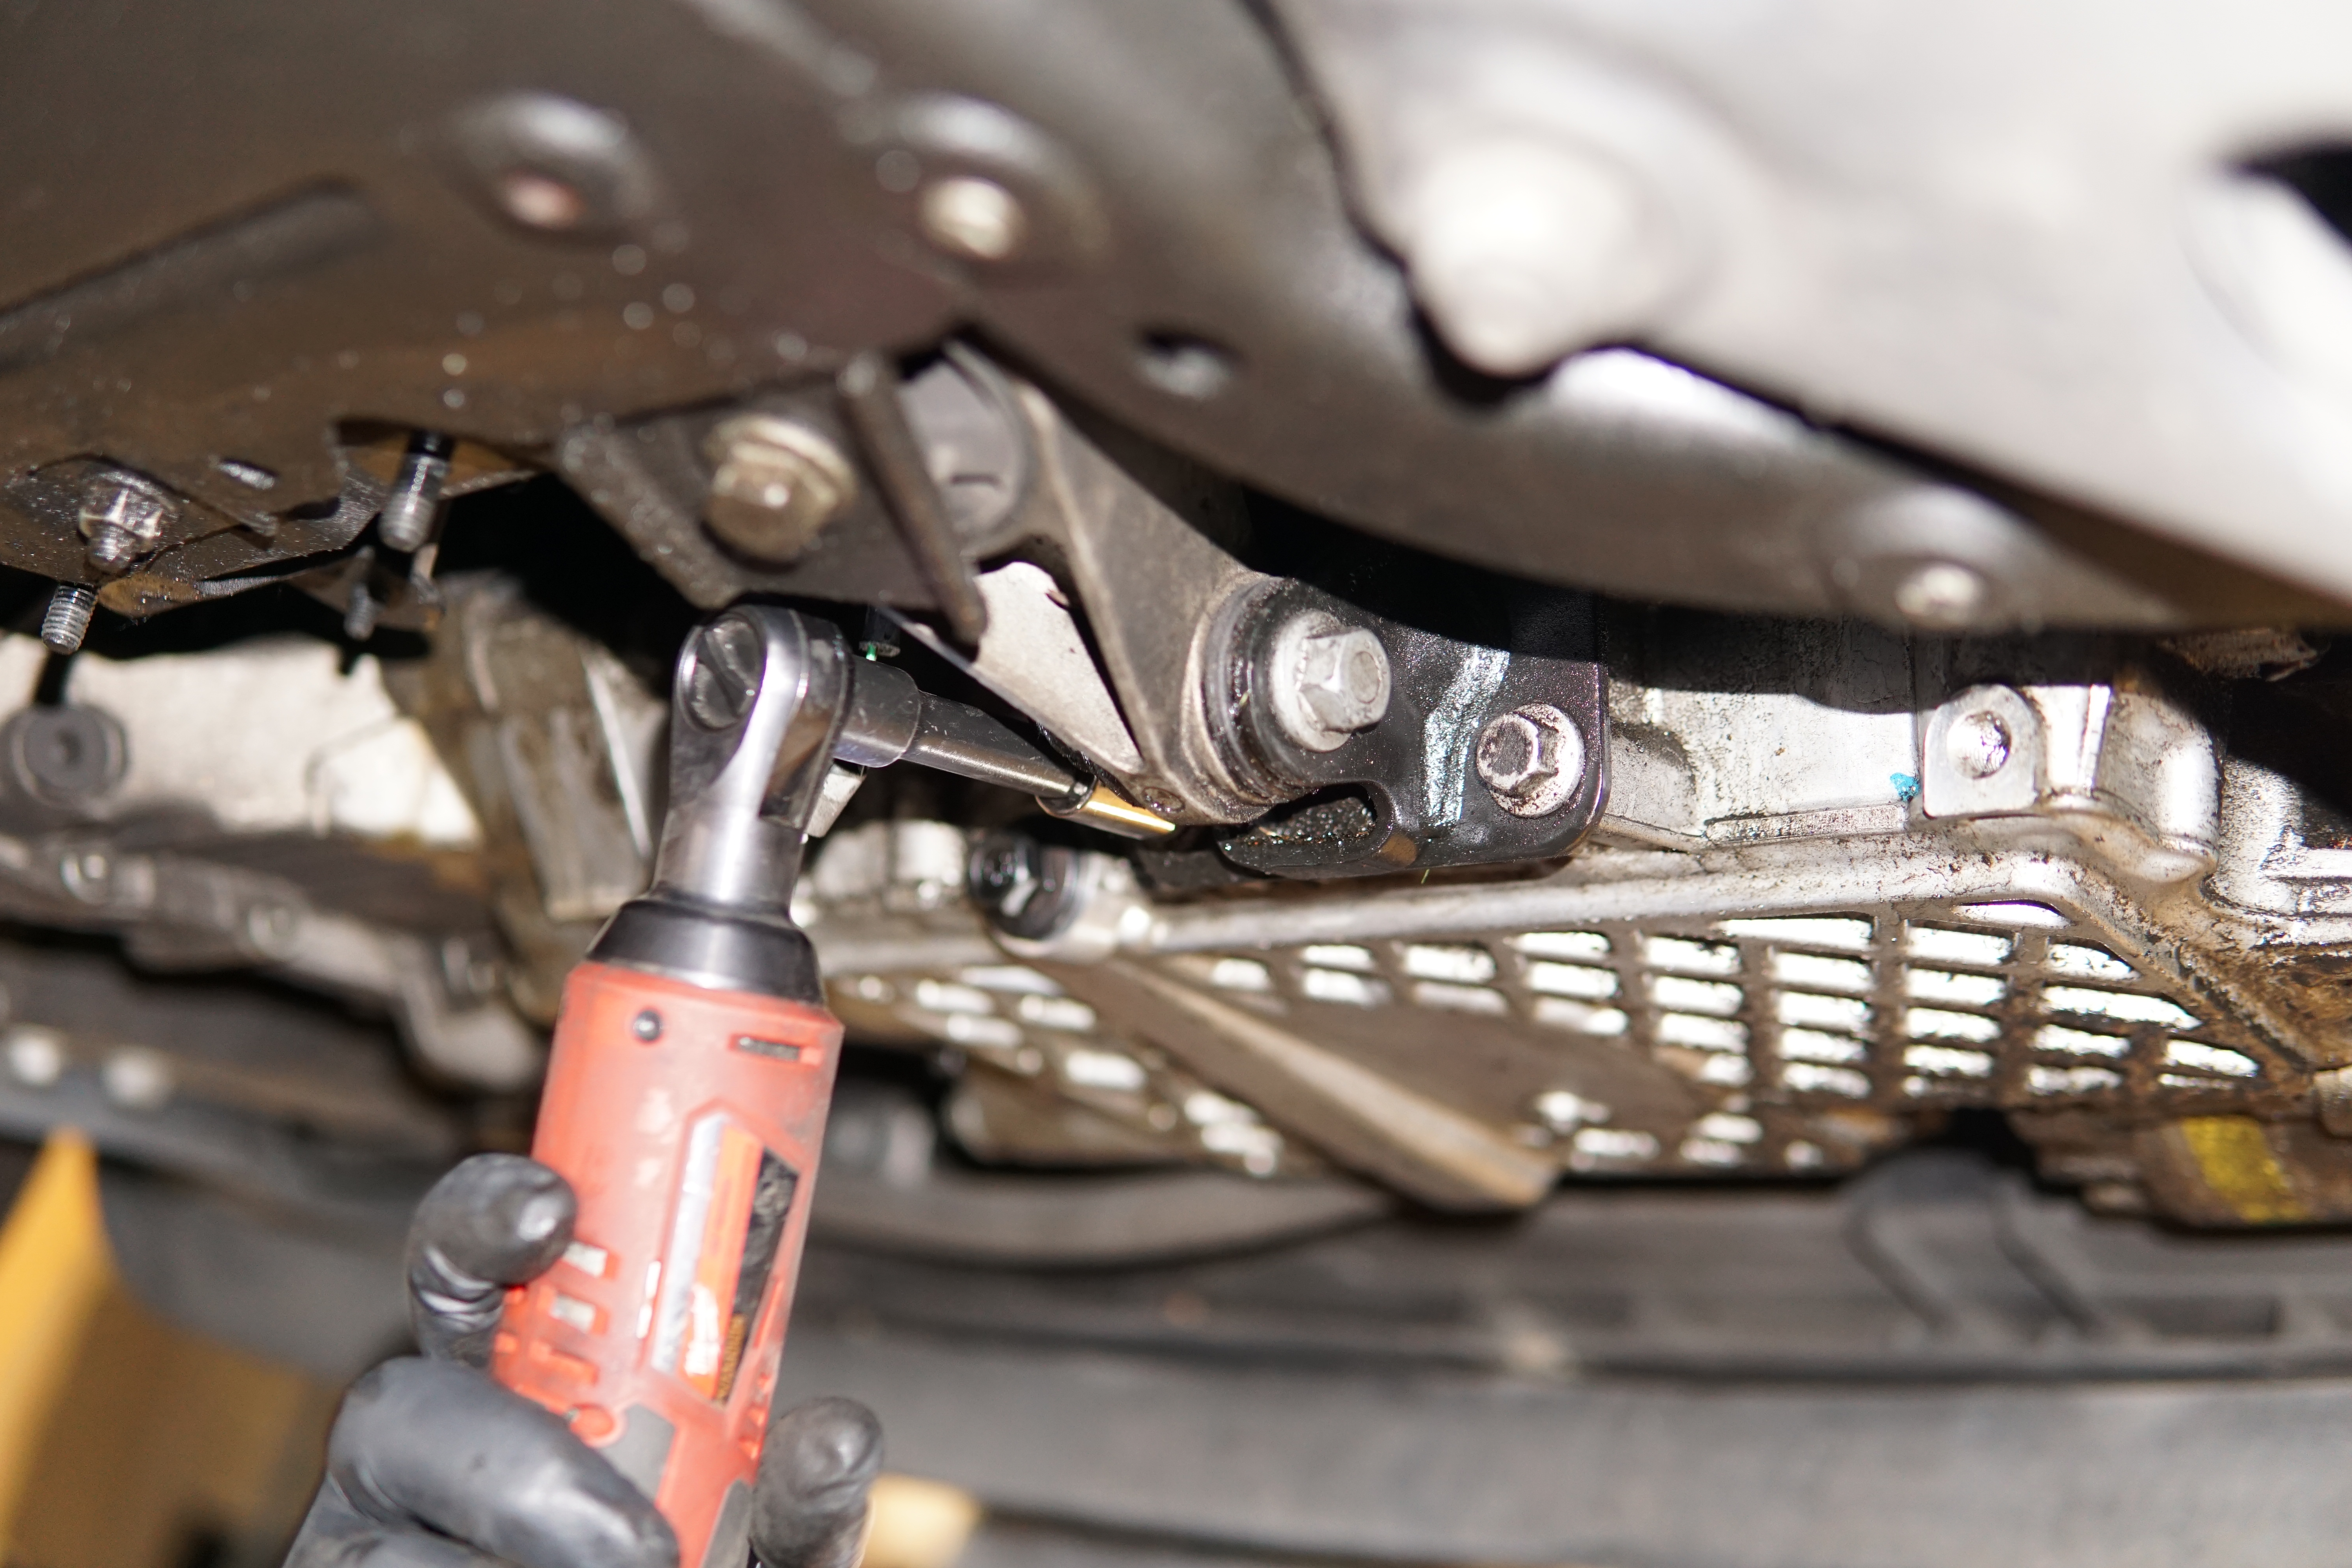
5. Next, remove the four (4) 13mm lower engine mount screws attached to the backside of the oil pan.
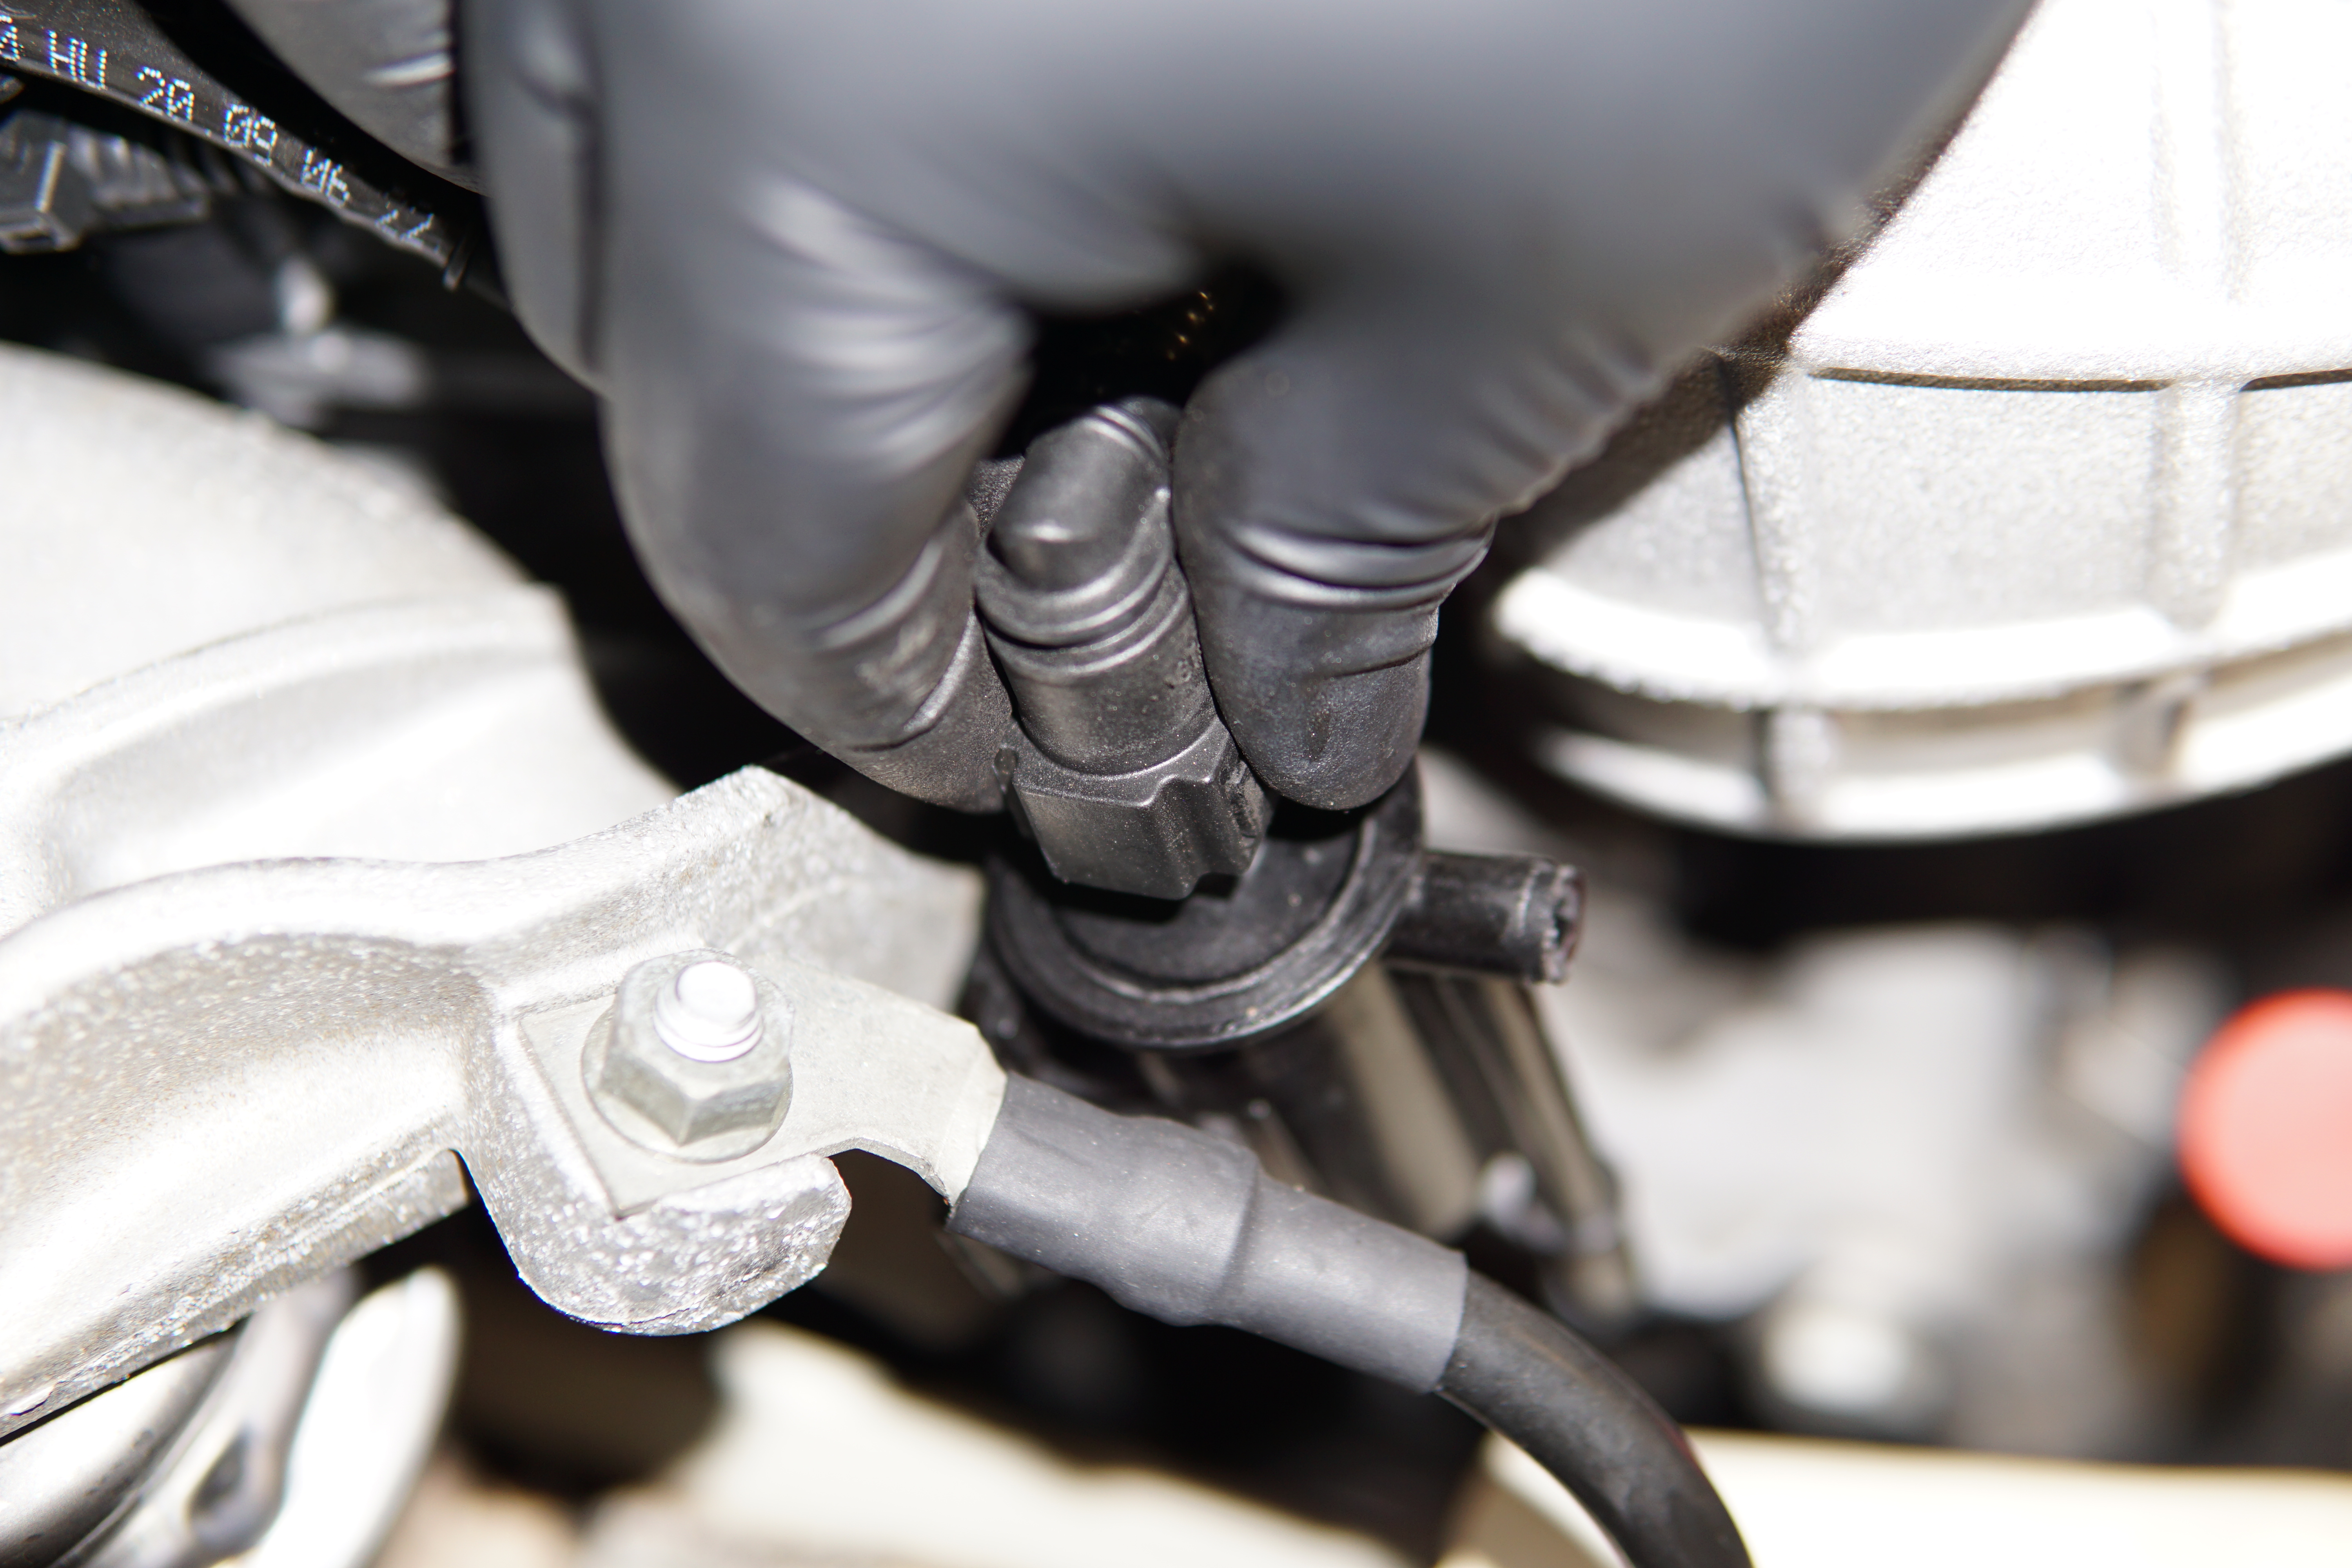
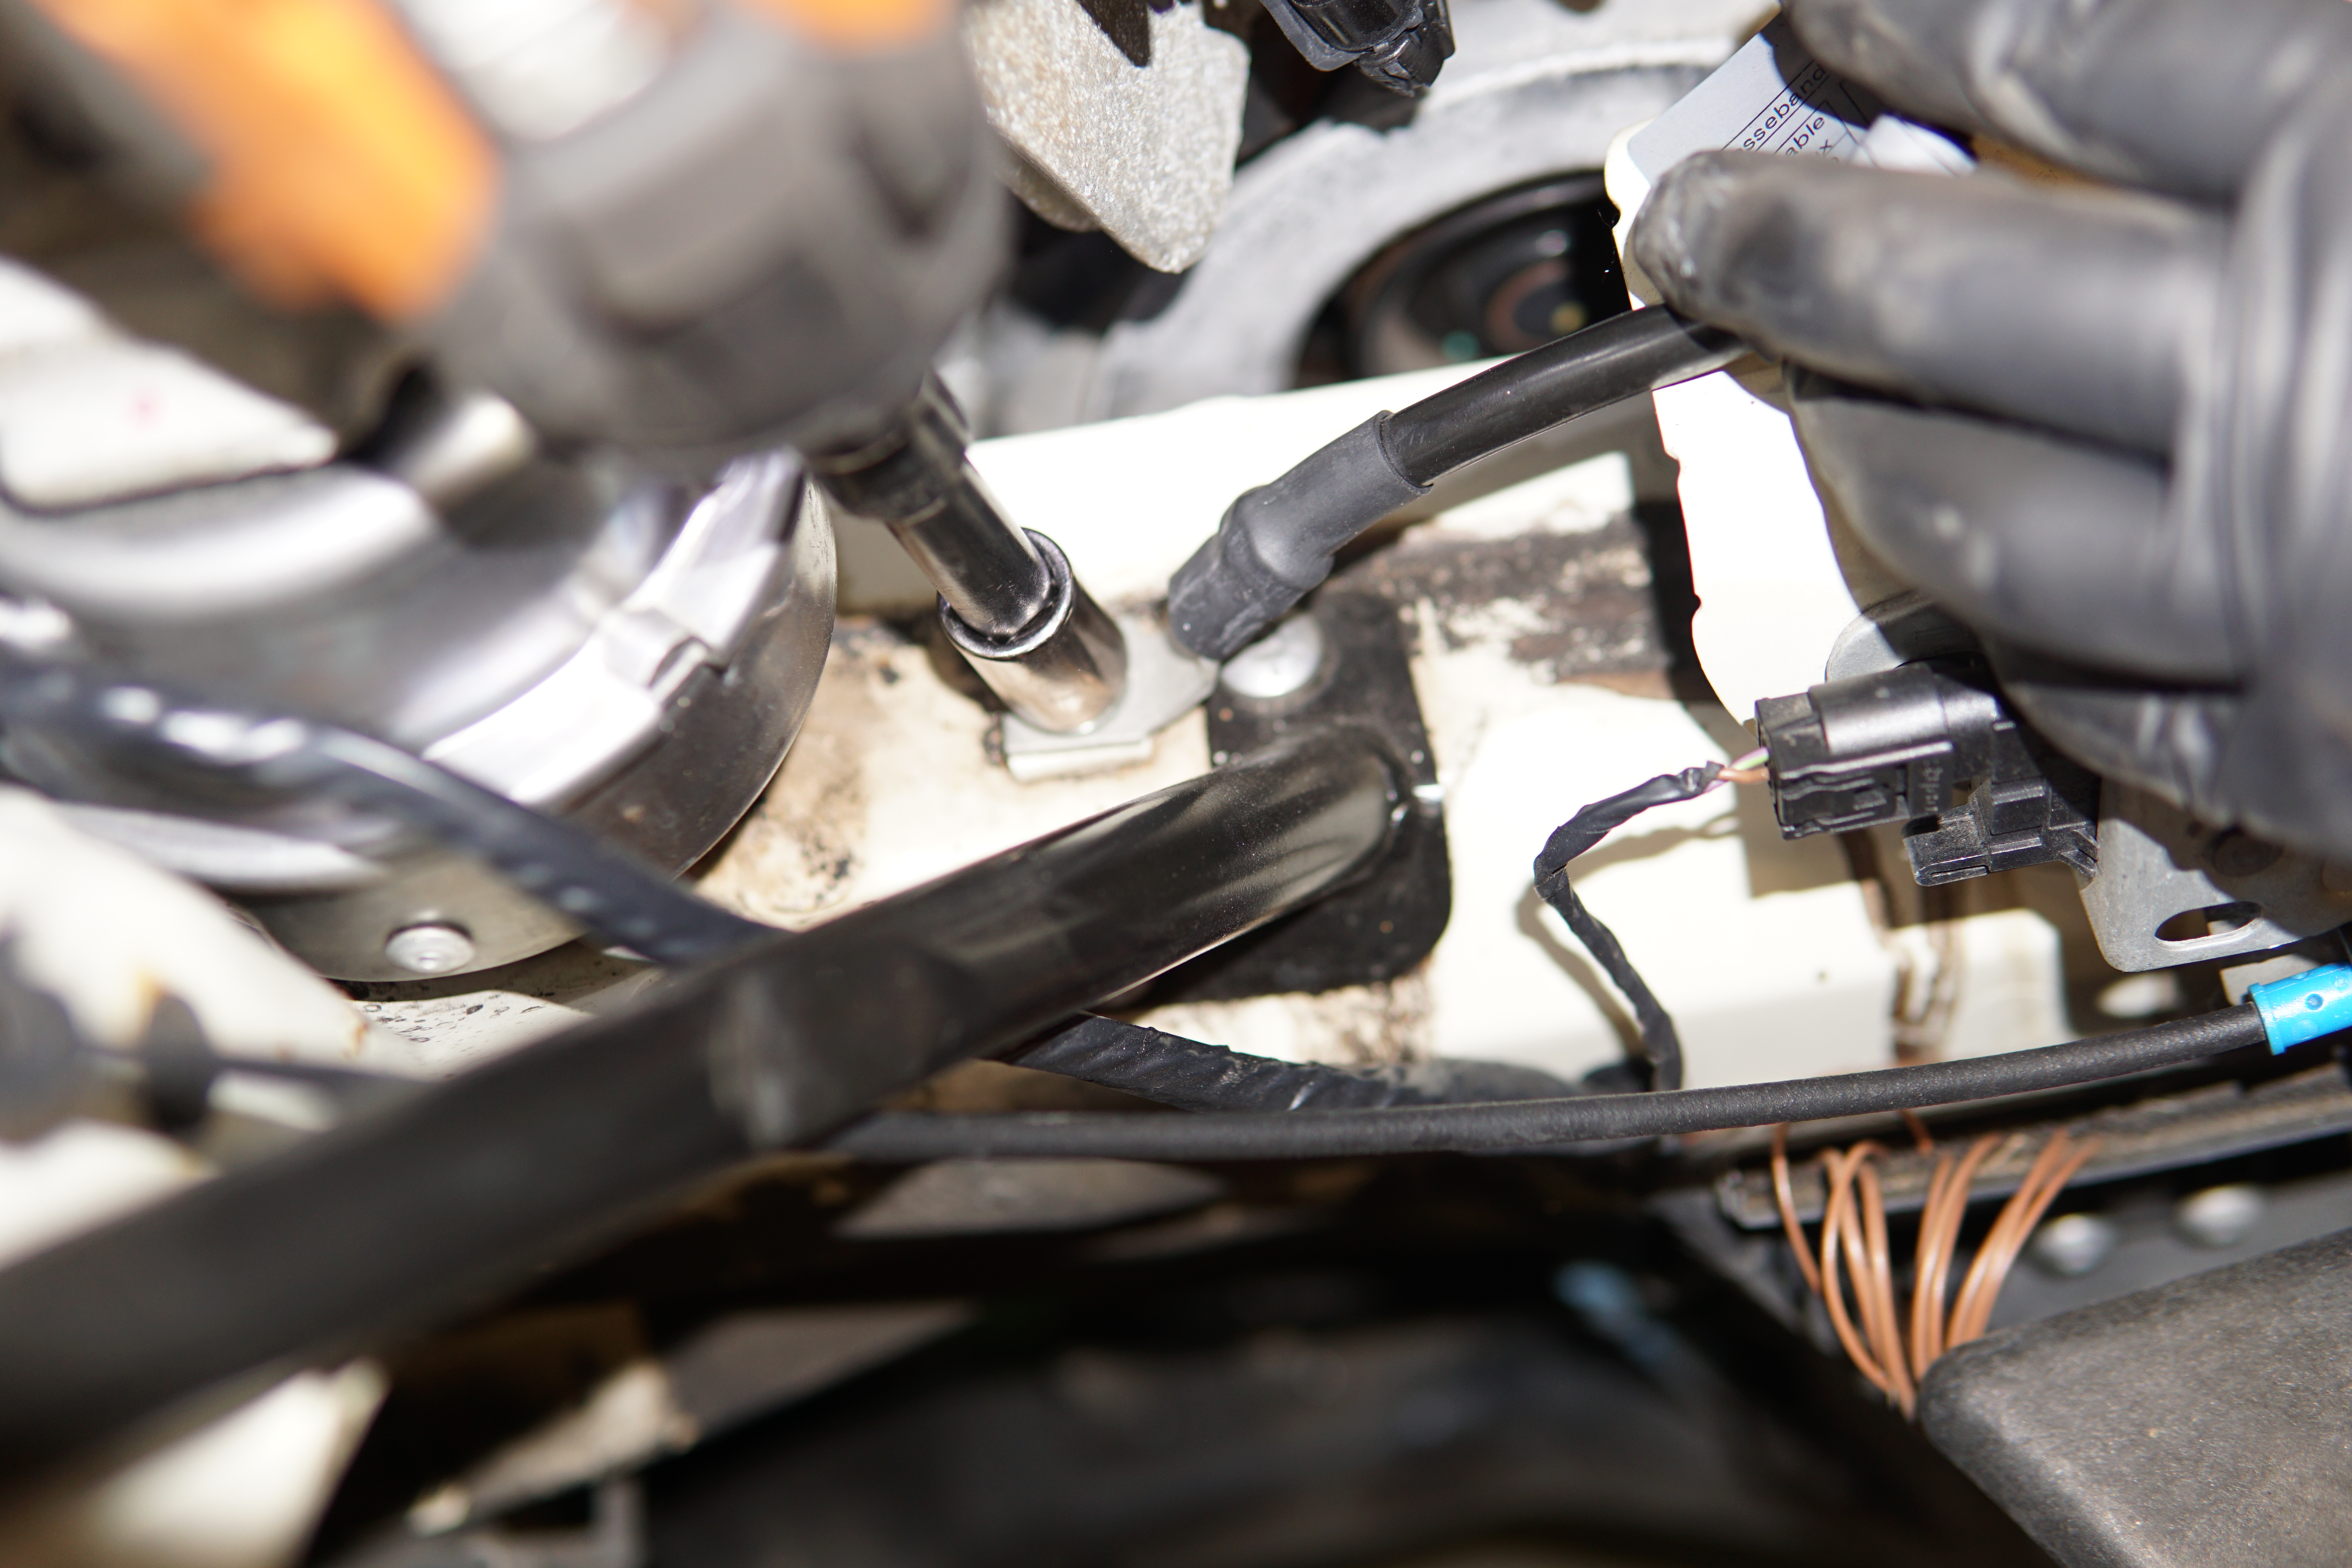
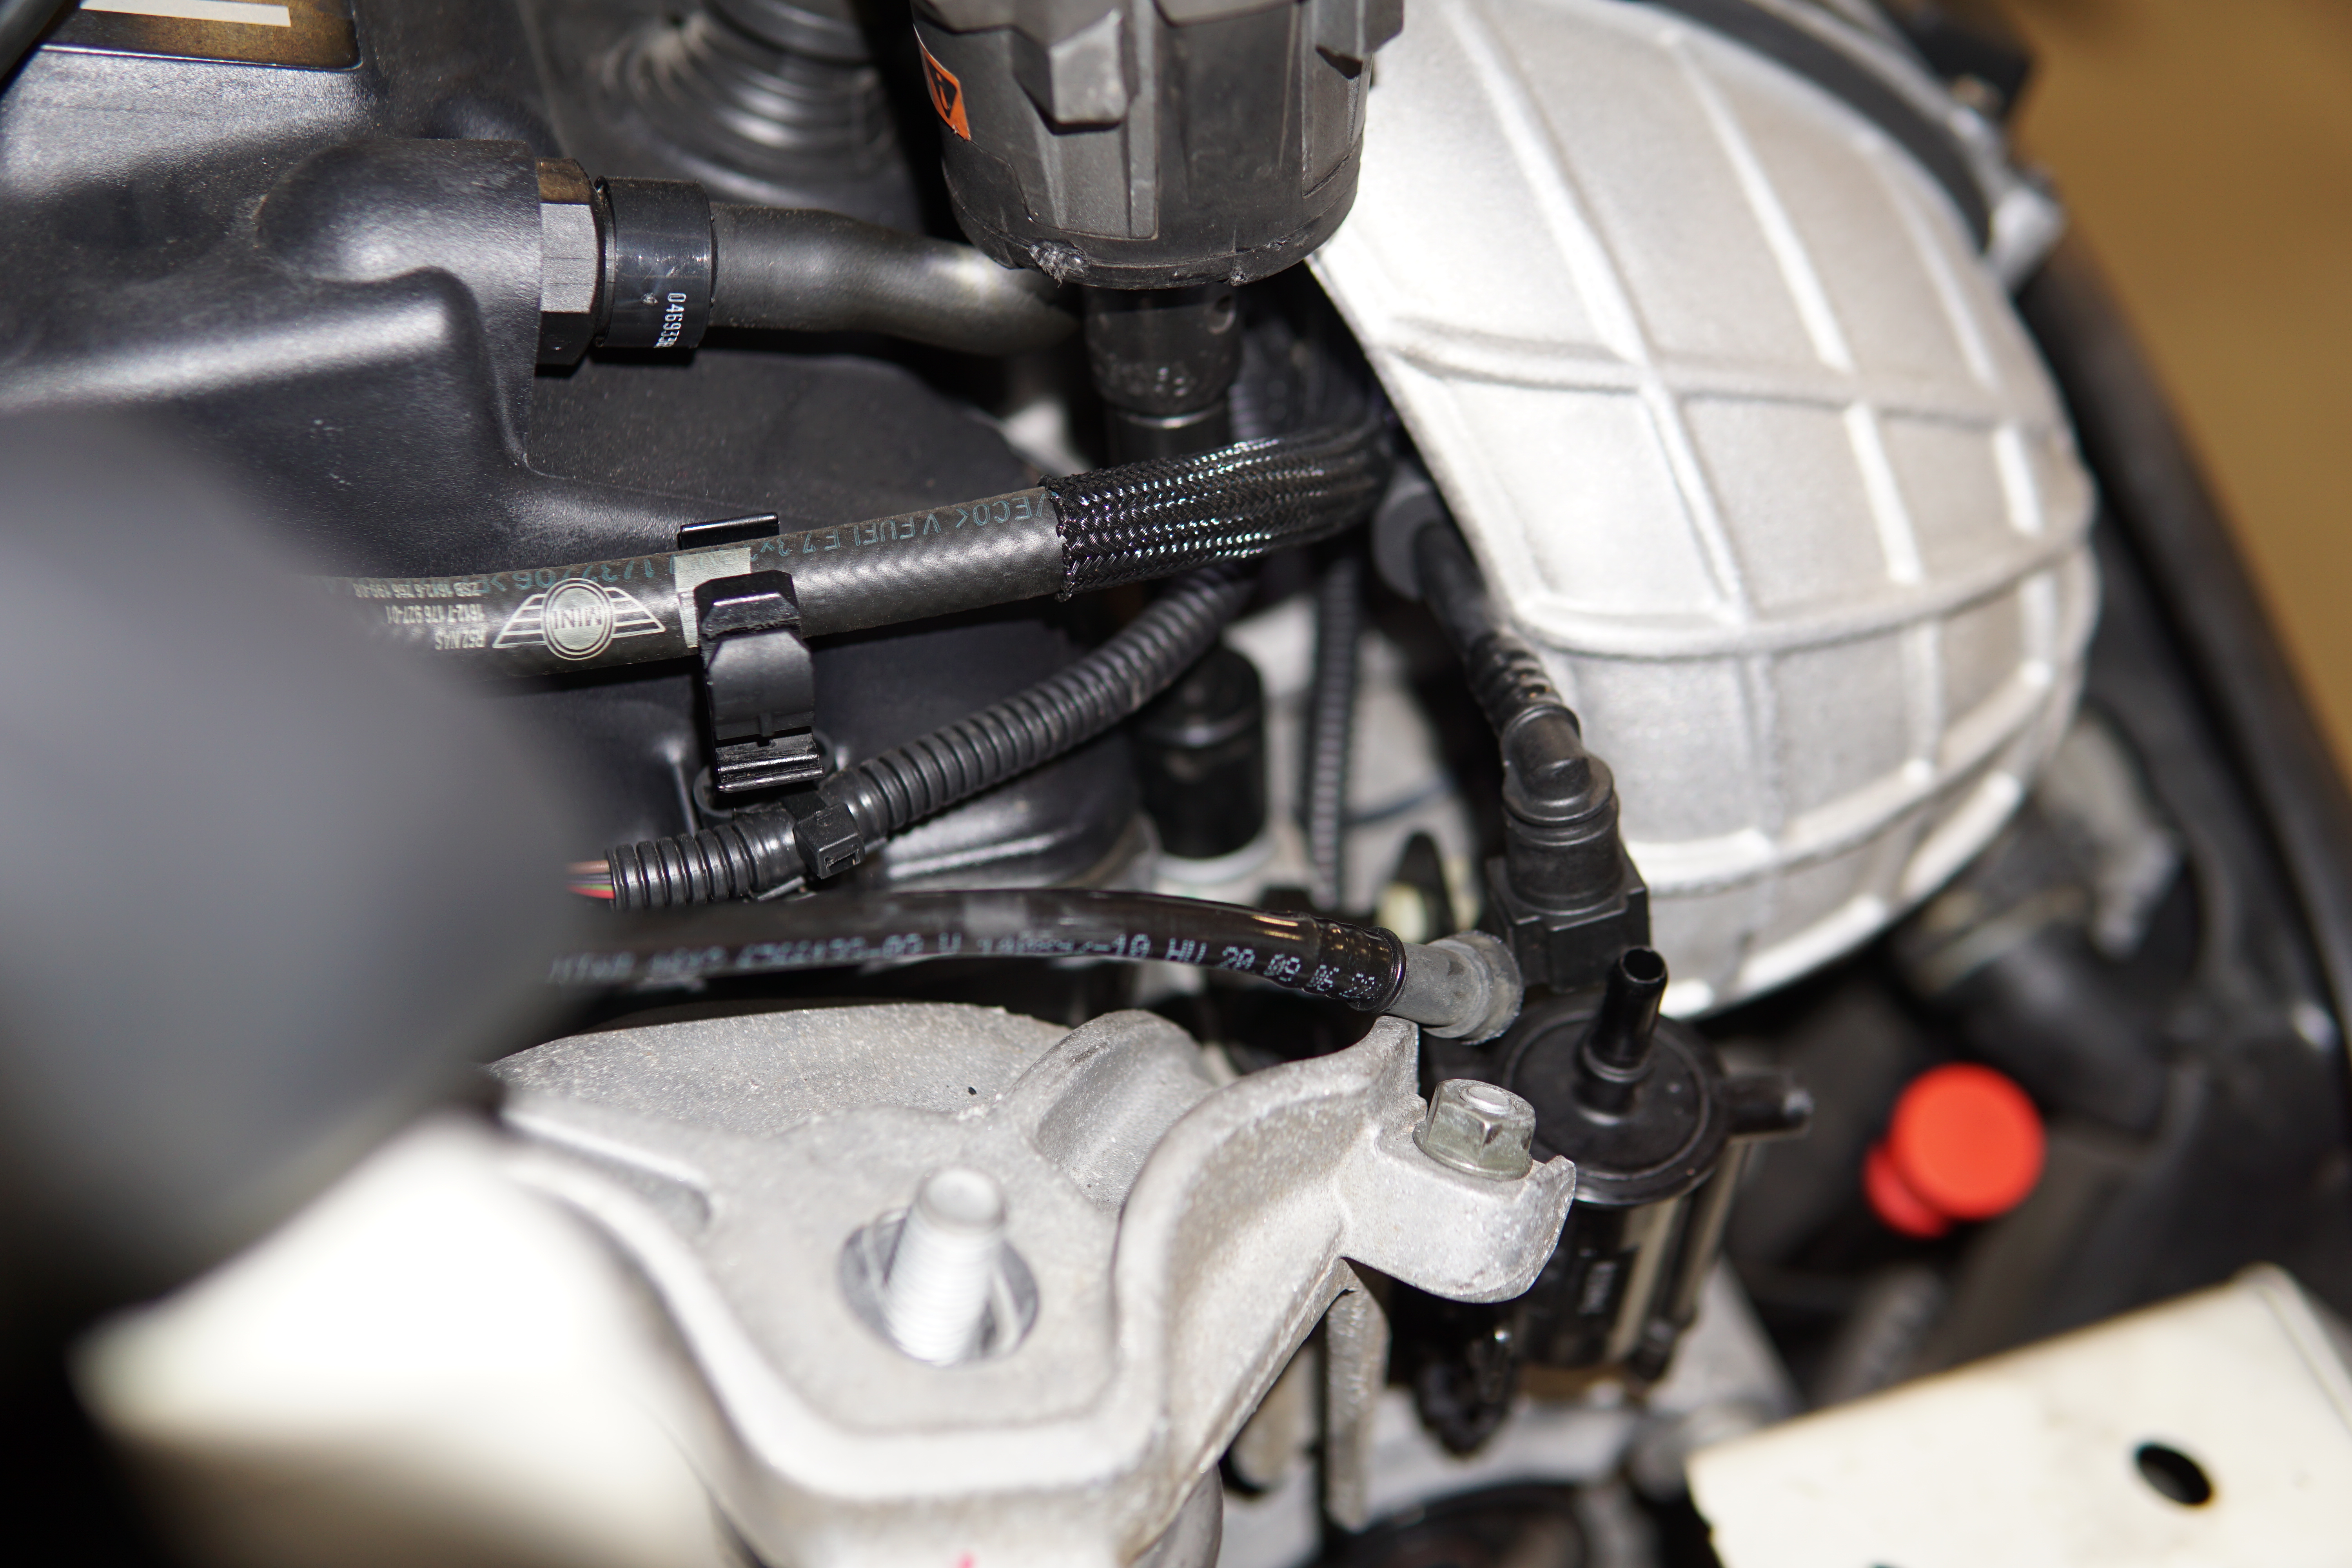
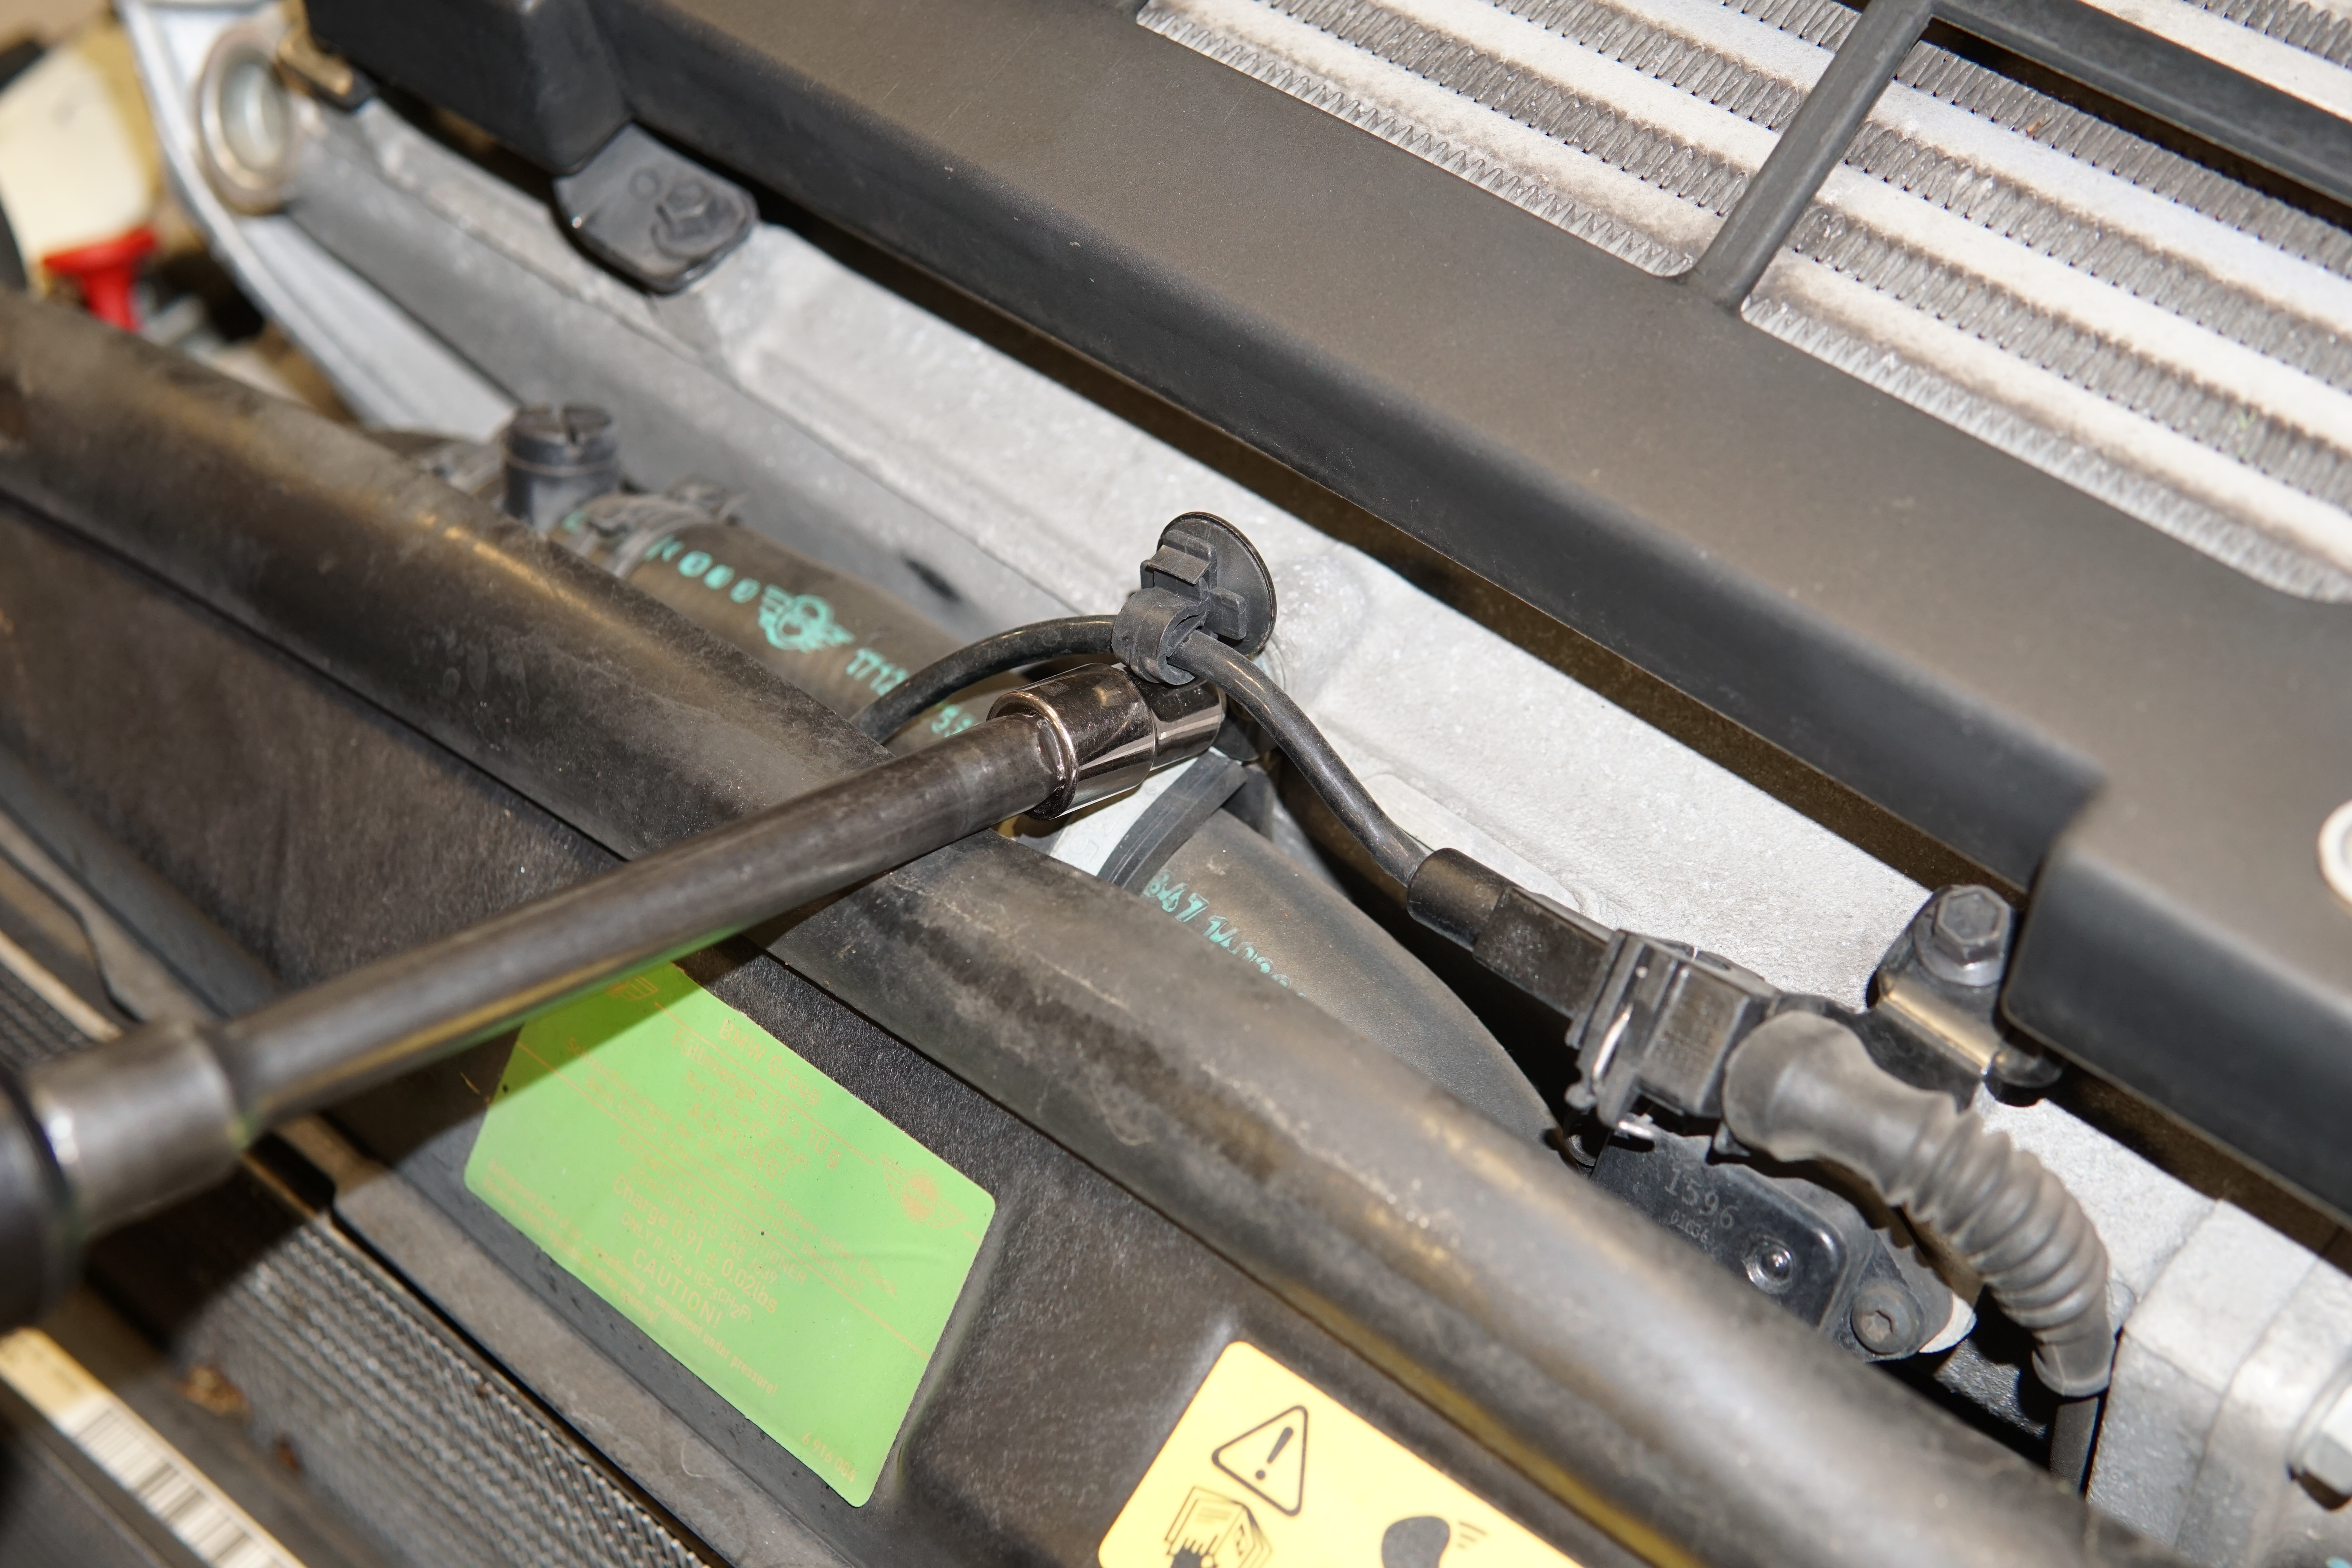
6. Up to the engine compartment, remove the top and bottom hose fittings to the fuel vapor recirculation valve by pinching the square sides of the hose mount clips and wiggling the hoses free. Gently relocate the lines out of the way so you can access the engine mount bracket and tensioner assembly.
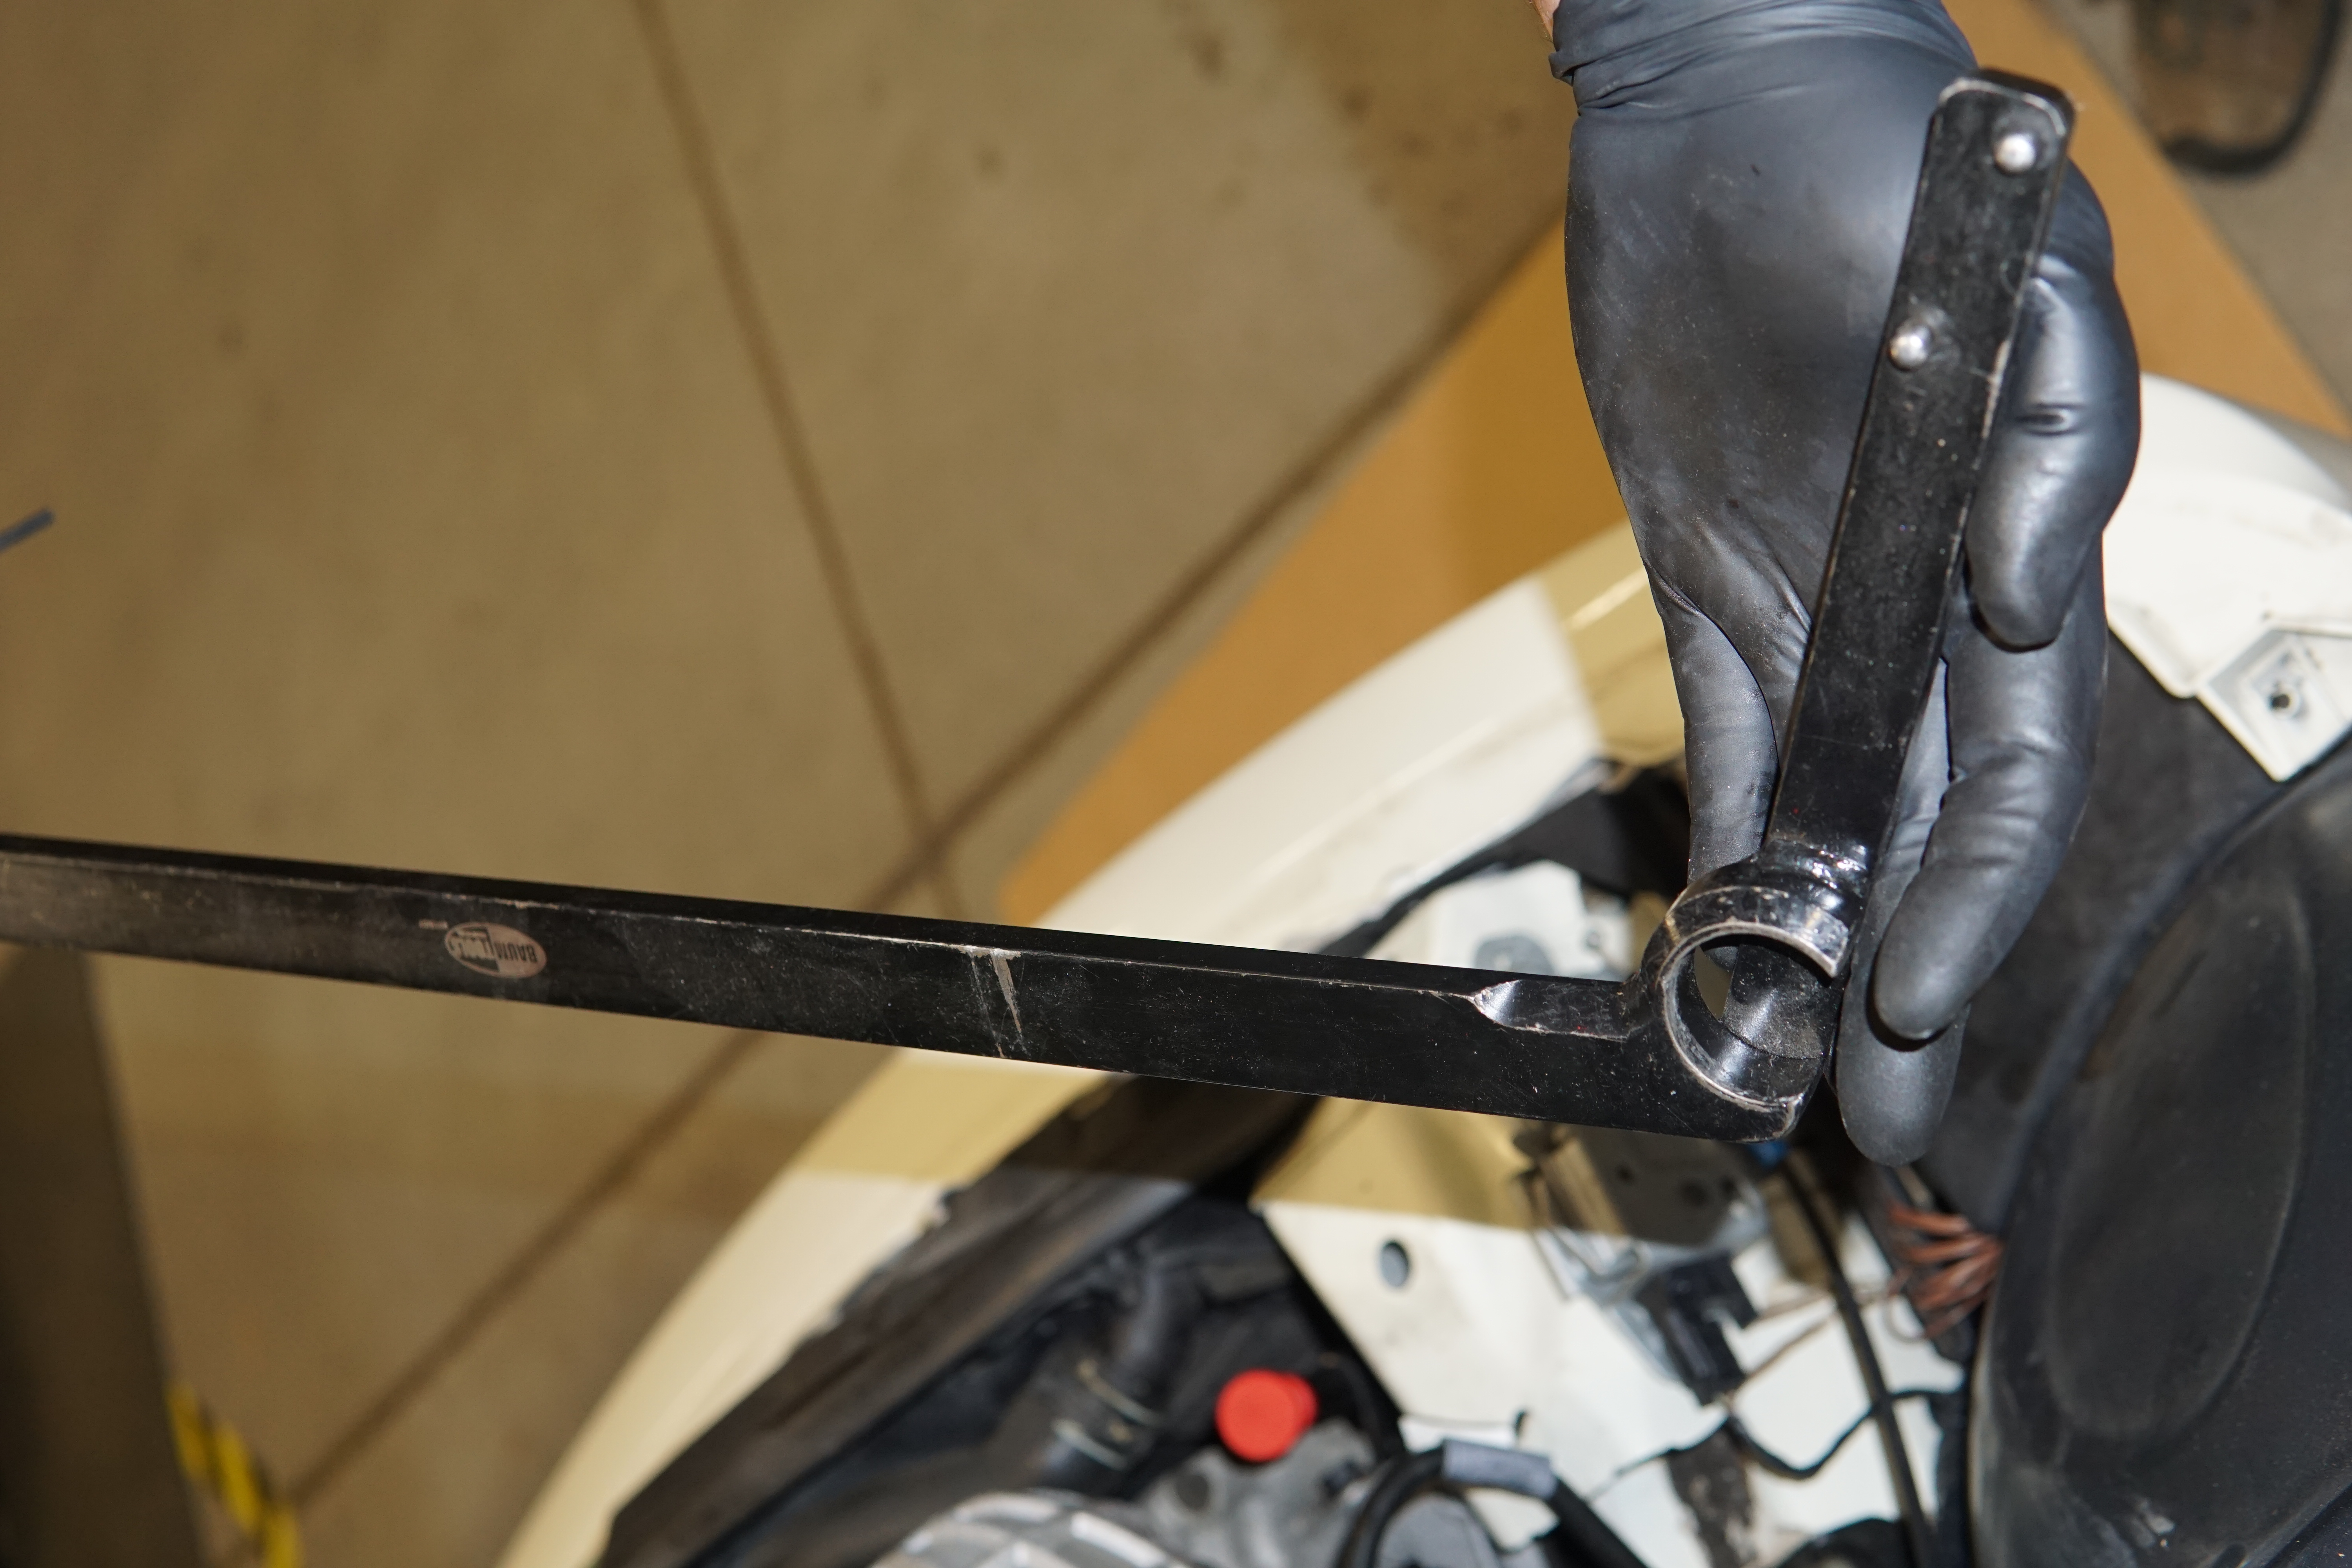
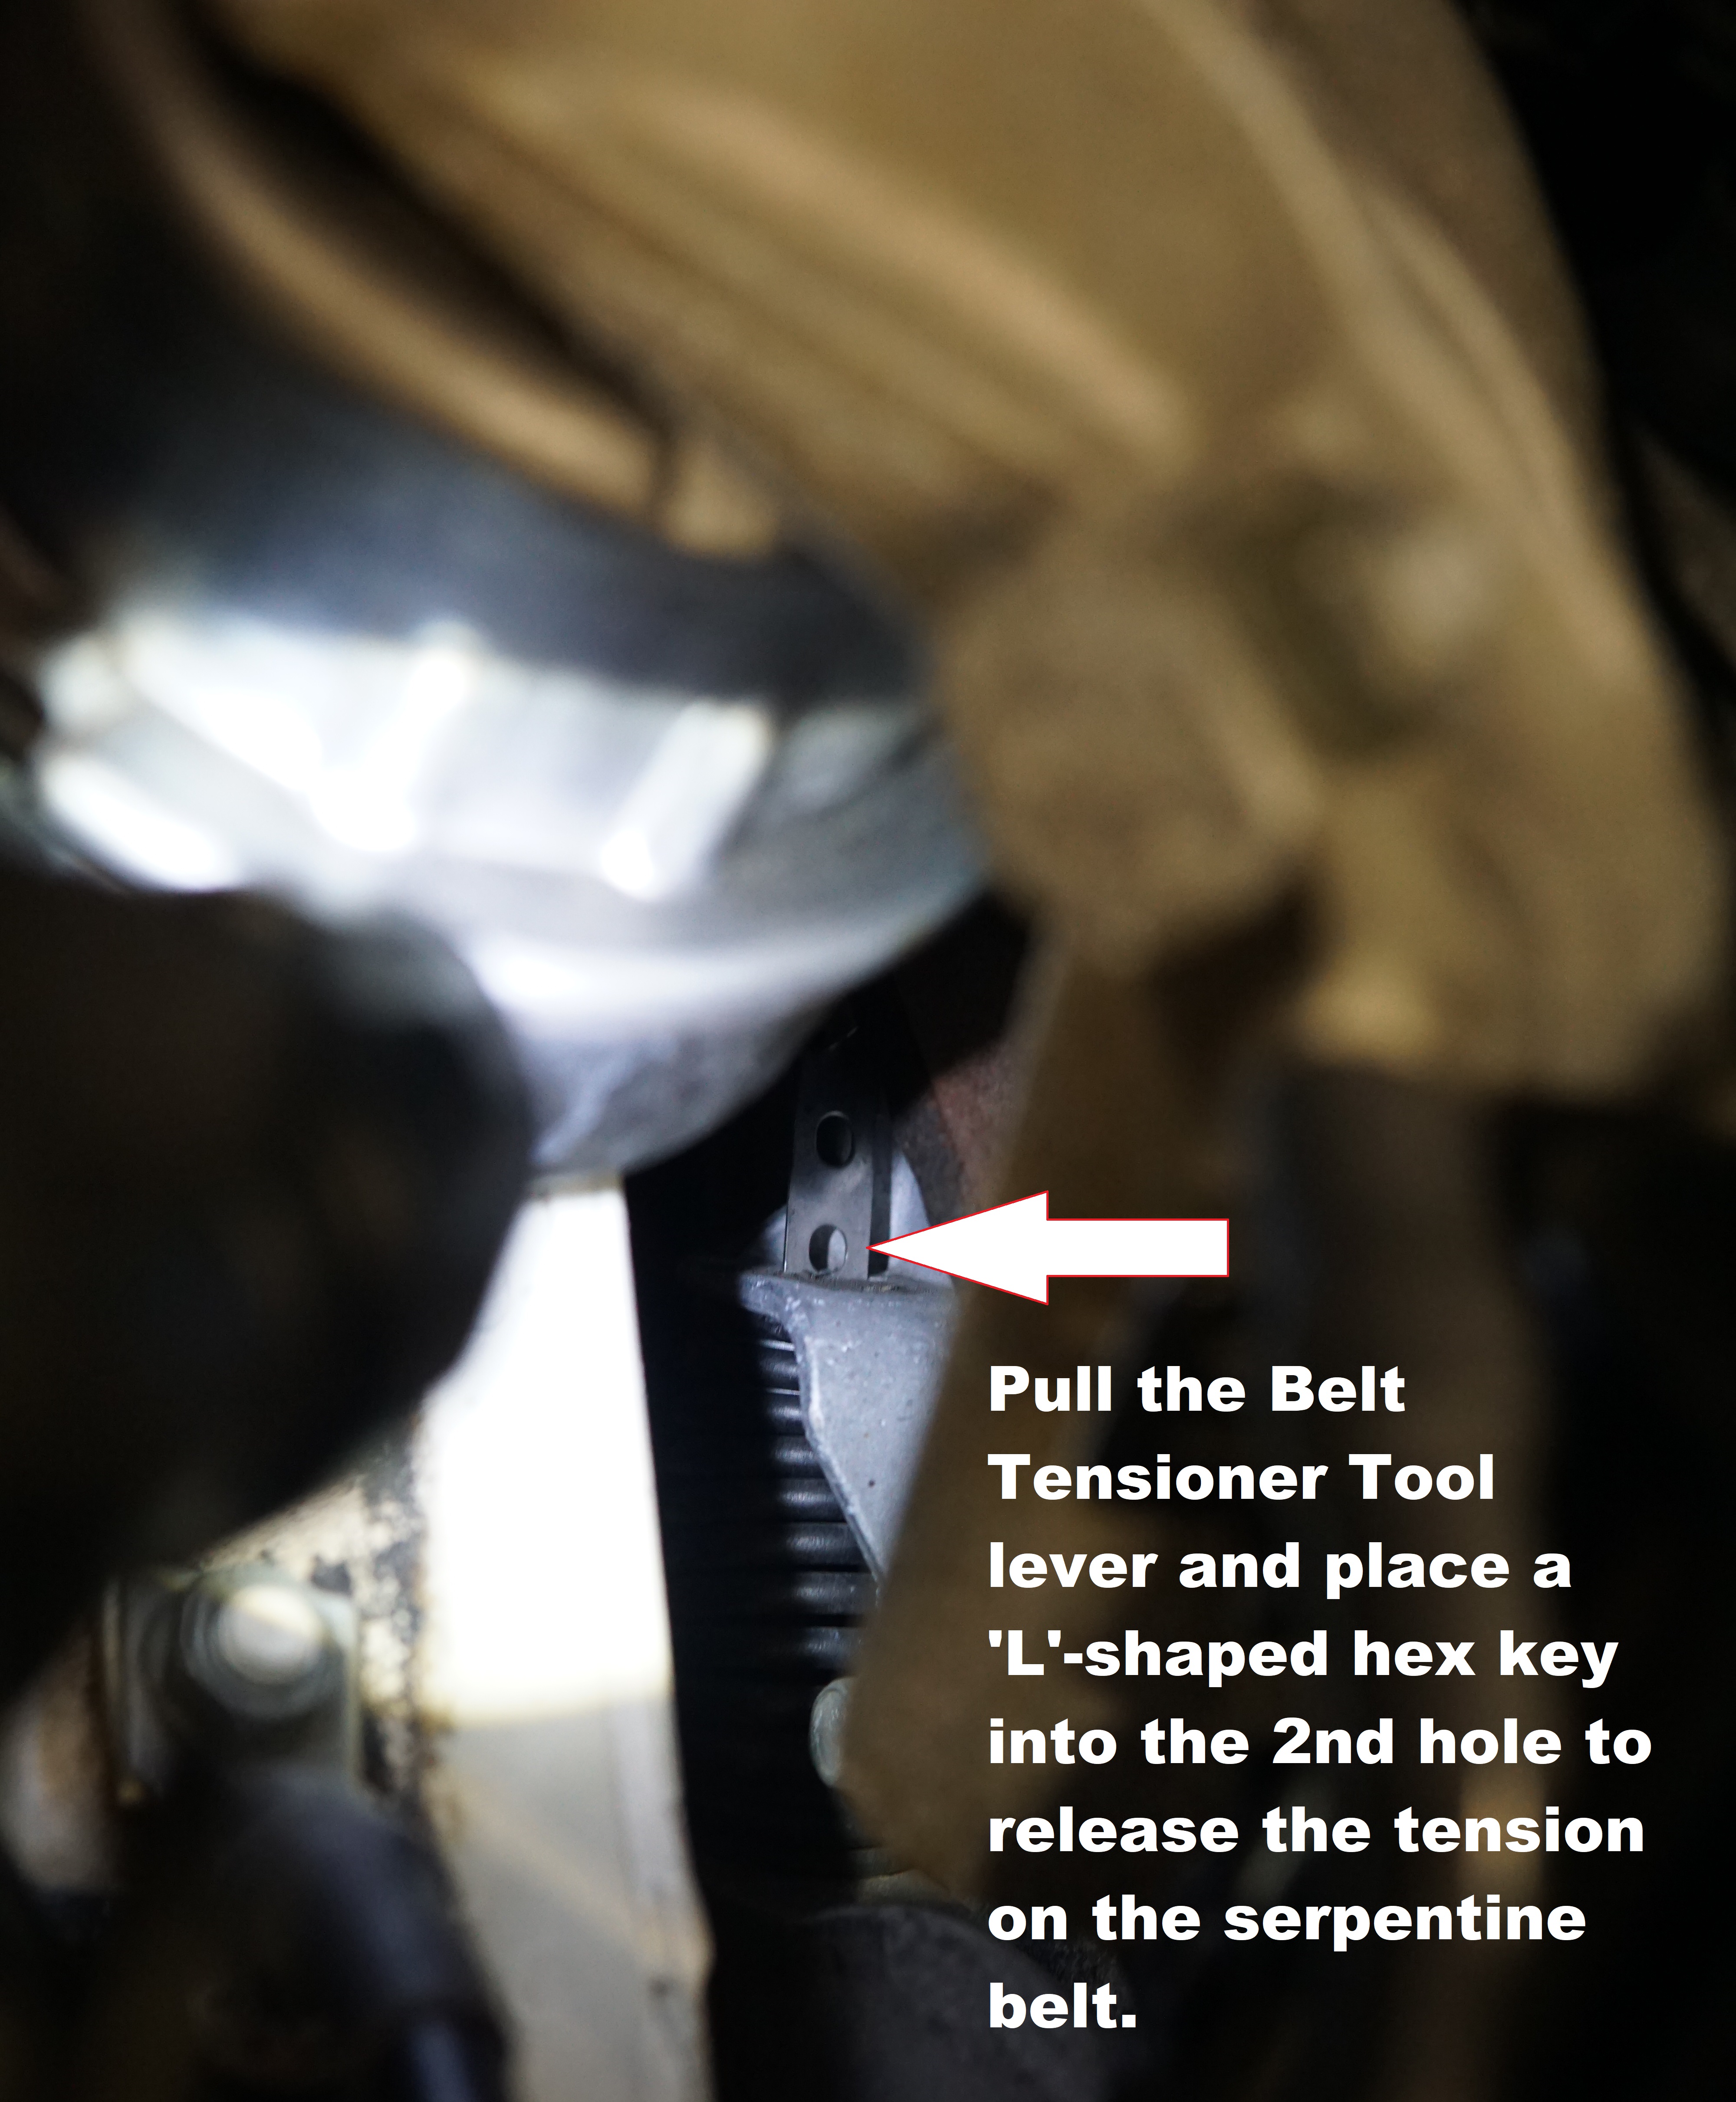
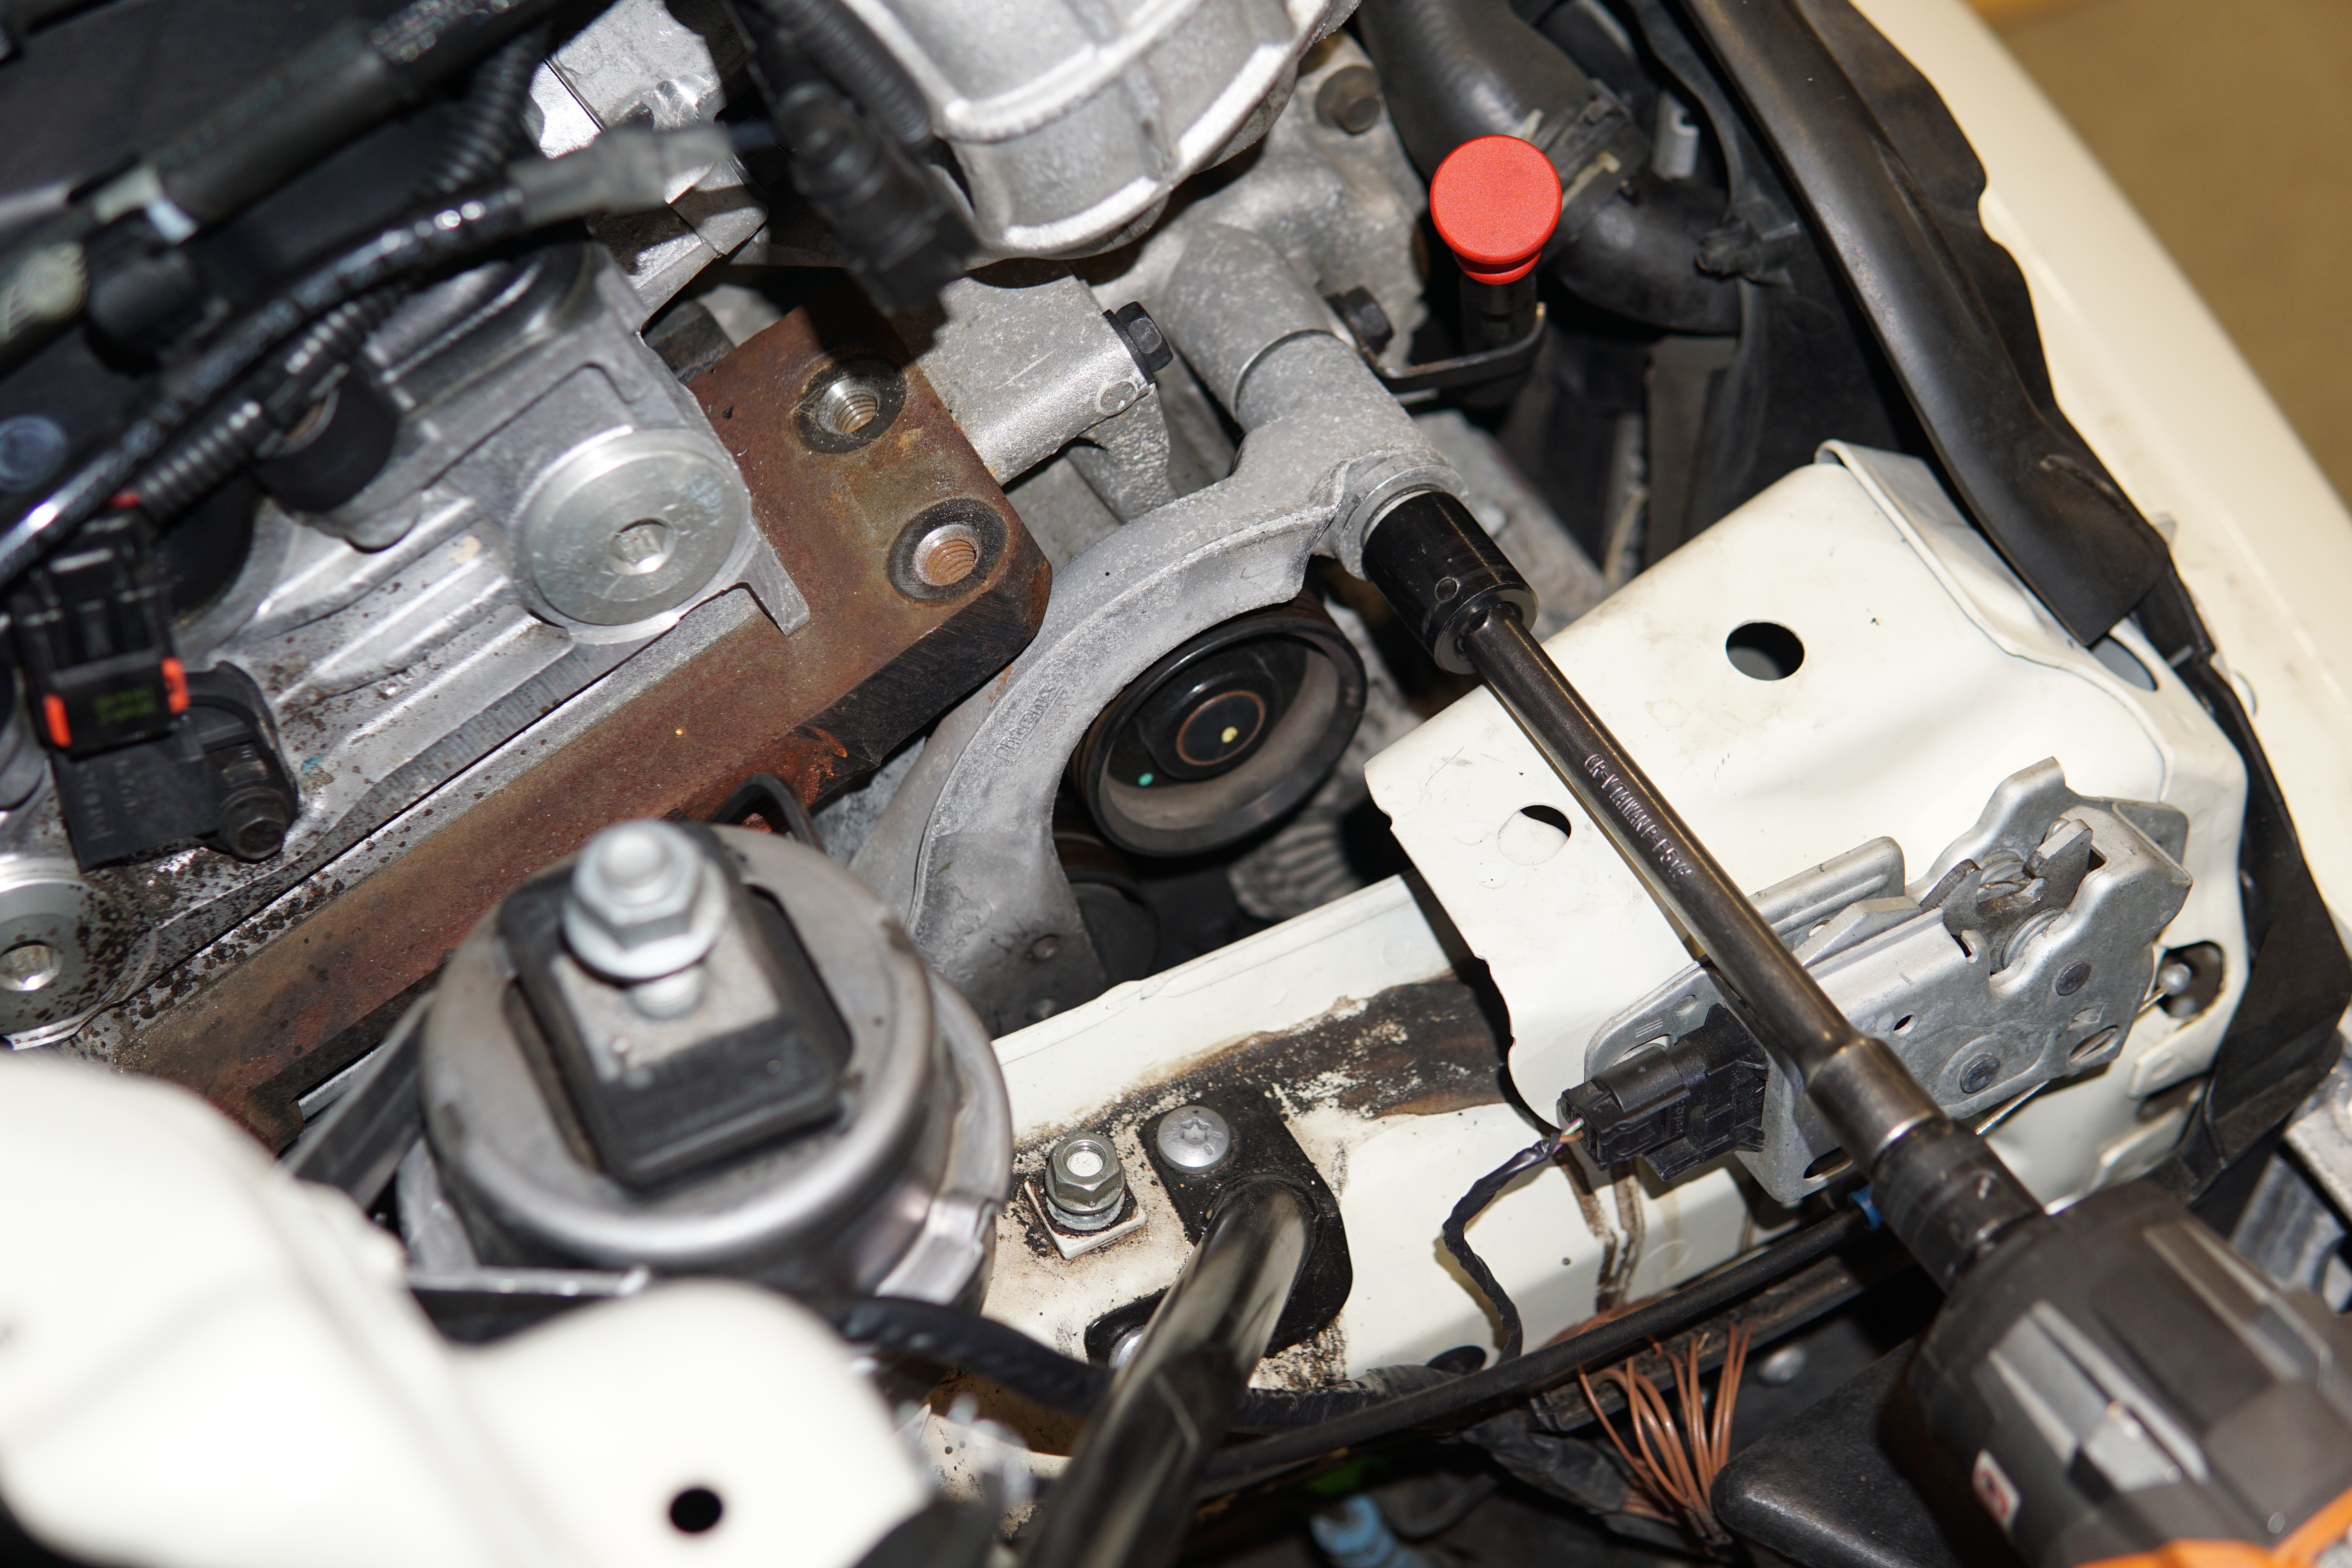
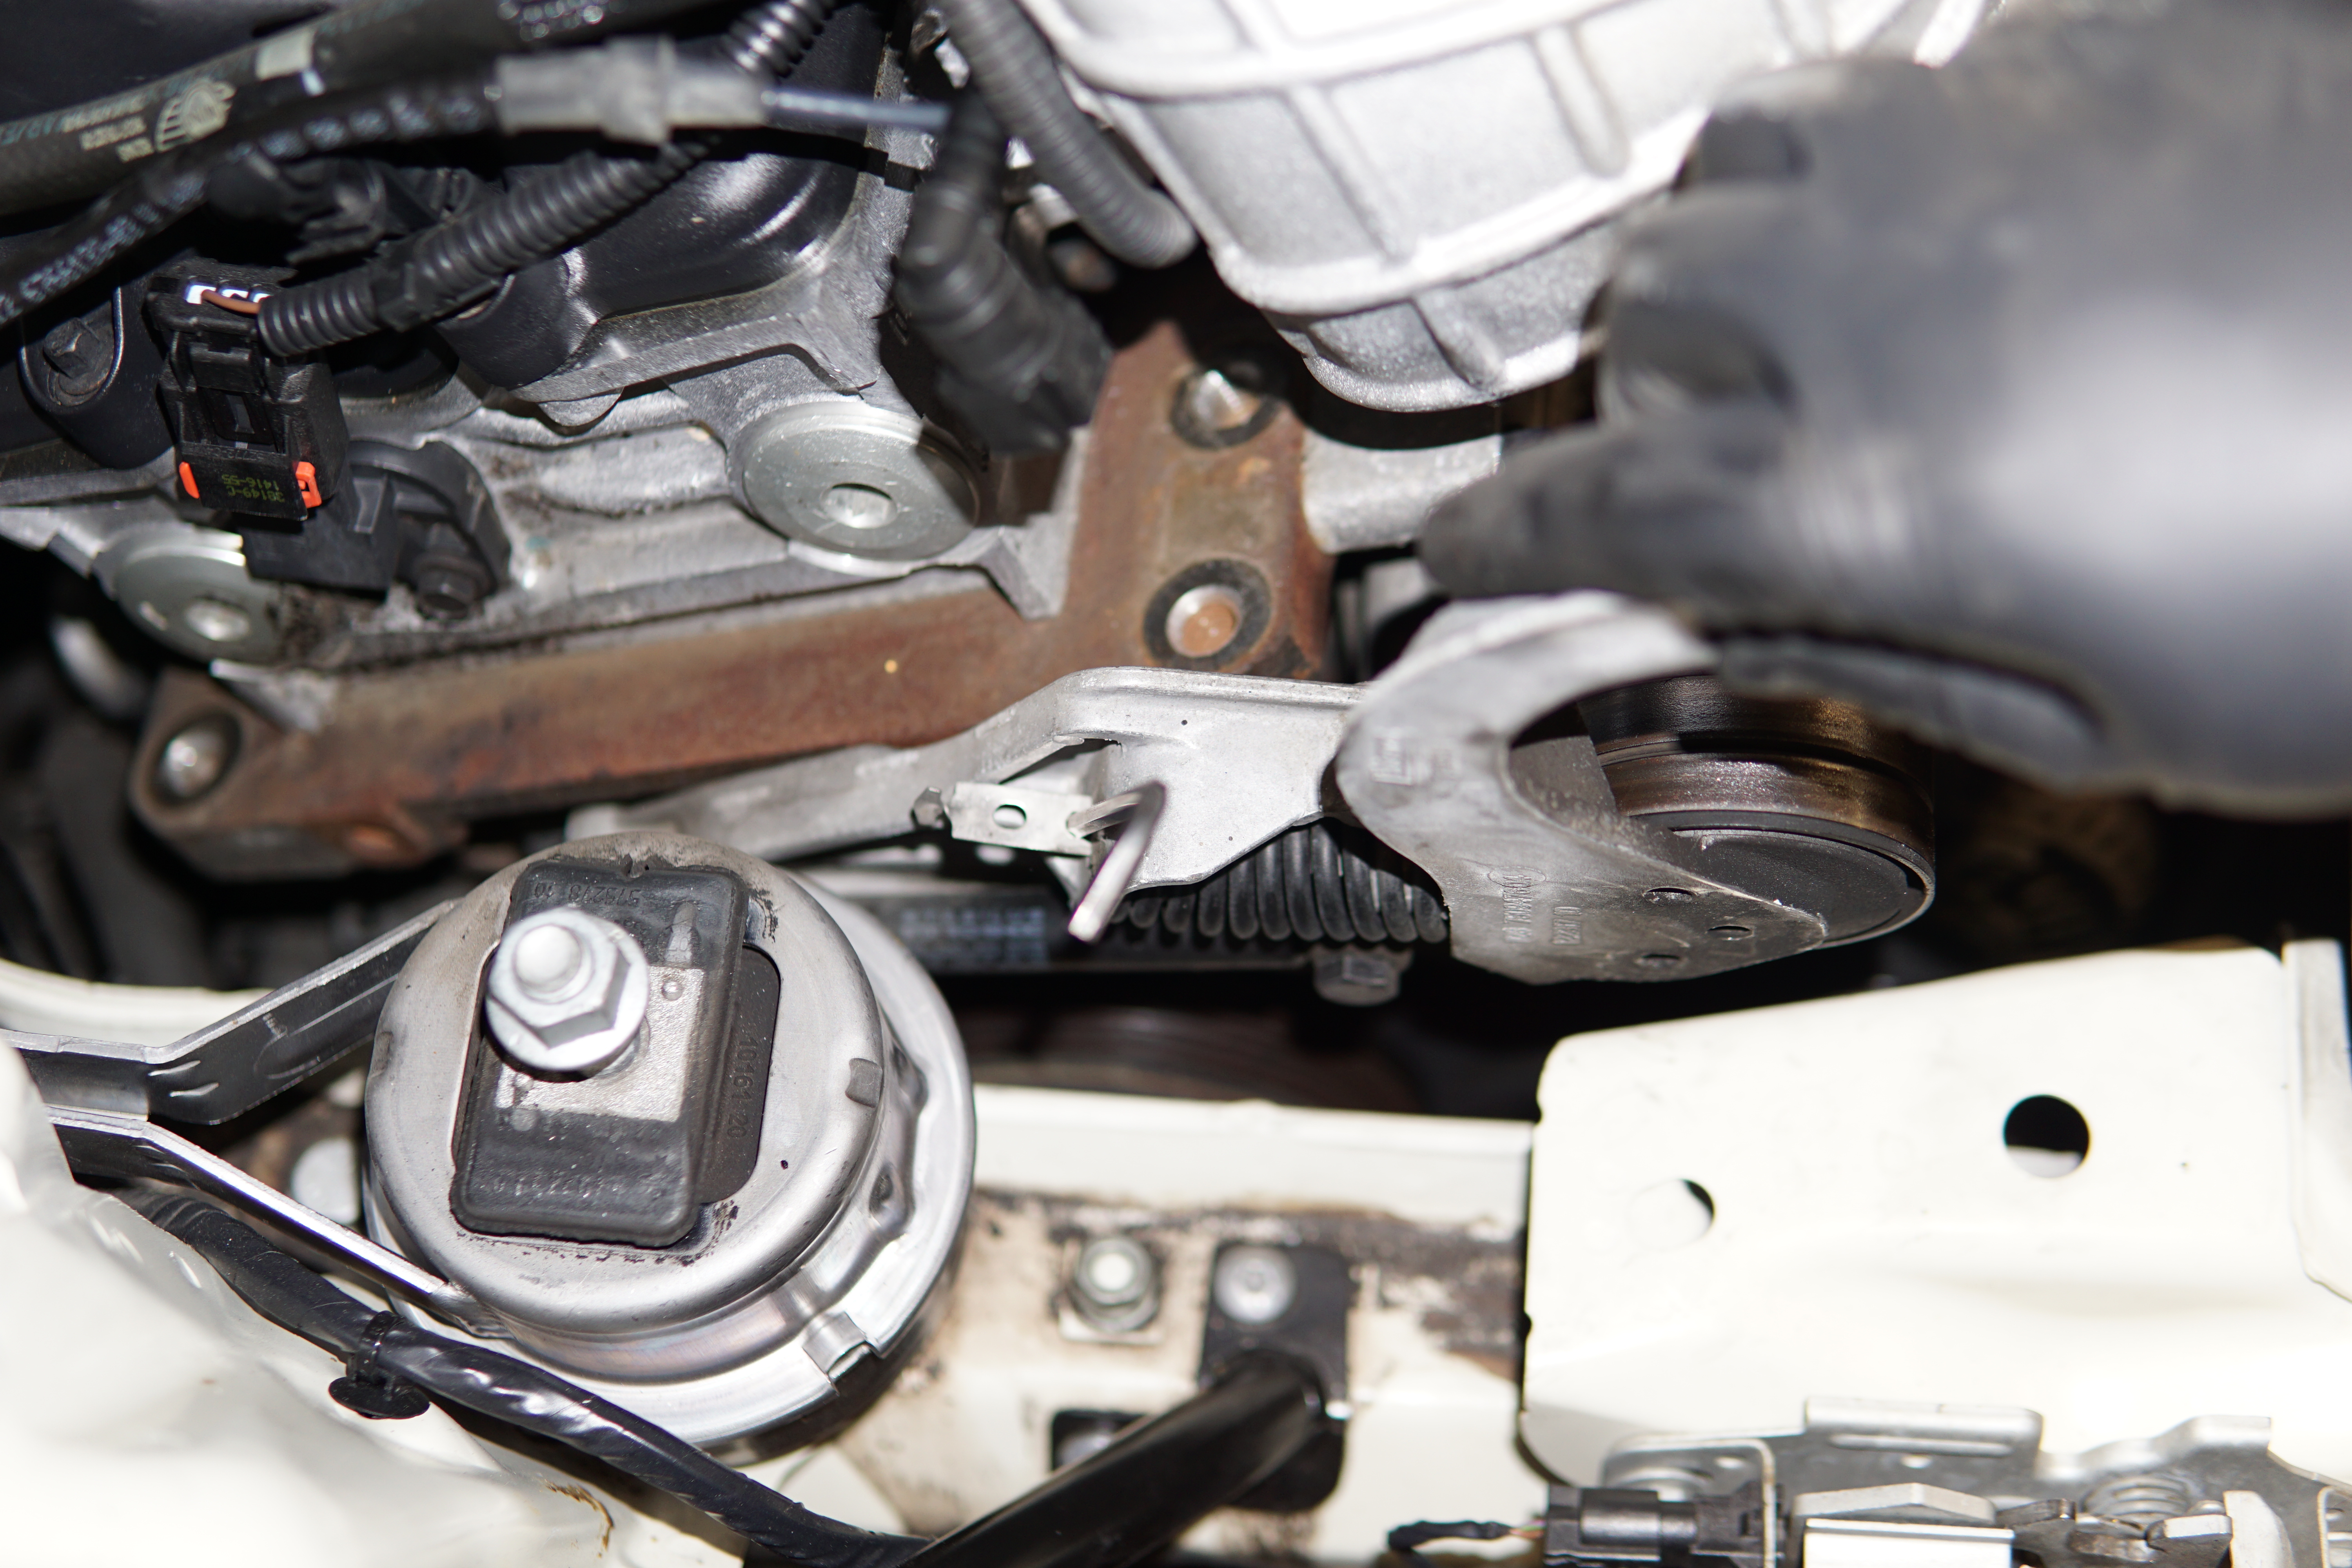
7. Utilize the R53 MINI Belt Tensioner tool to remove the tension from the serpentine belt. Set the pivoting elbow of the tool onto the forwardmost 16mm screw on the belt tensioner bracket and line up the two pins with the corresponding holes in the belt tensioning arm. Pull forward on the tool handle and place a small screwdriver or 'L' shaped hex key into the 2nd hole of the tensioner tab to lock the unit in an un-tensioned state. We recommend having a helper with a flashlight to assist with this step as it can be a bit awkward by oneself.
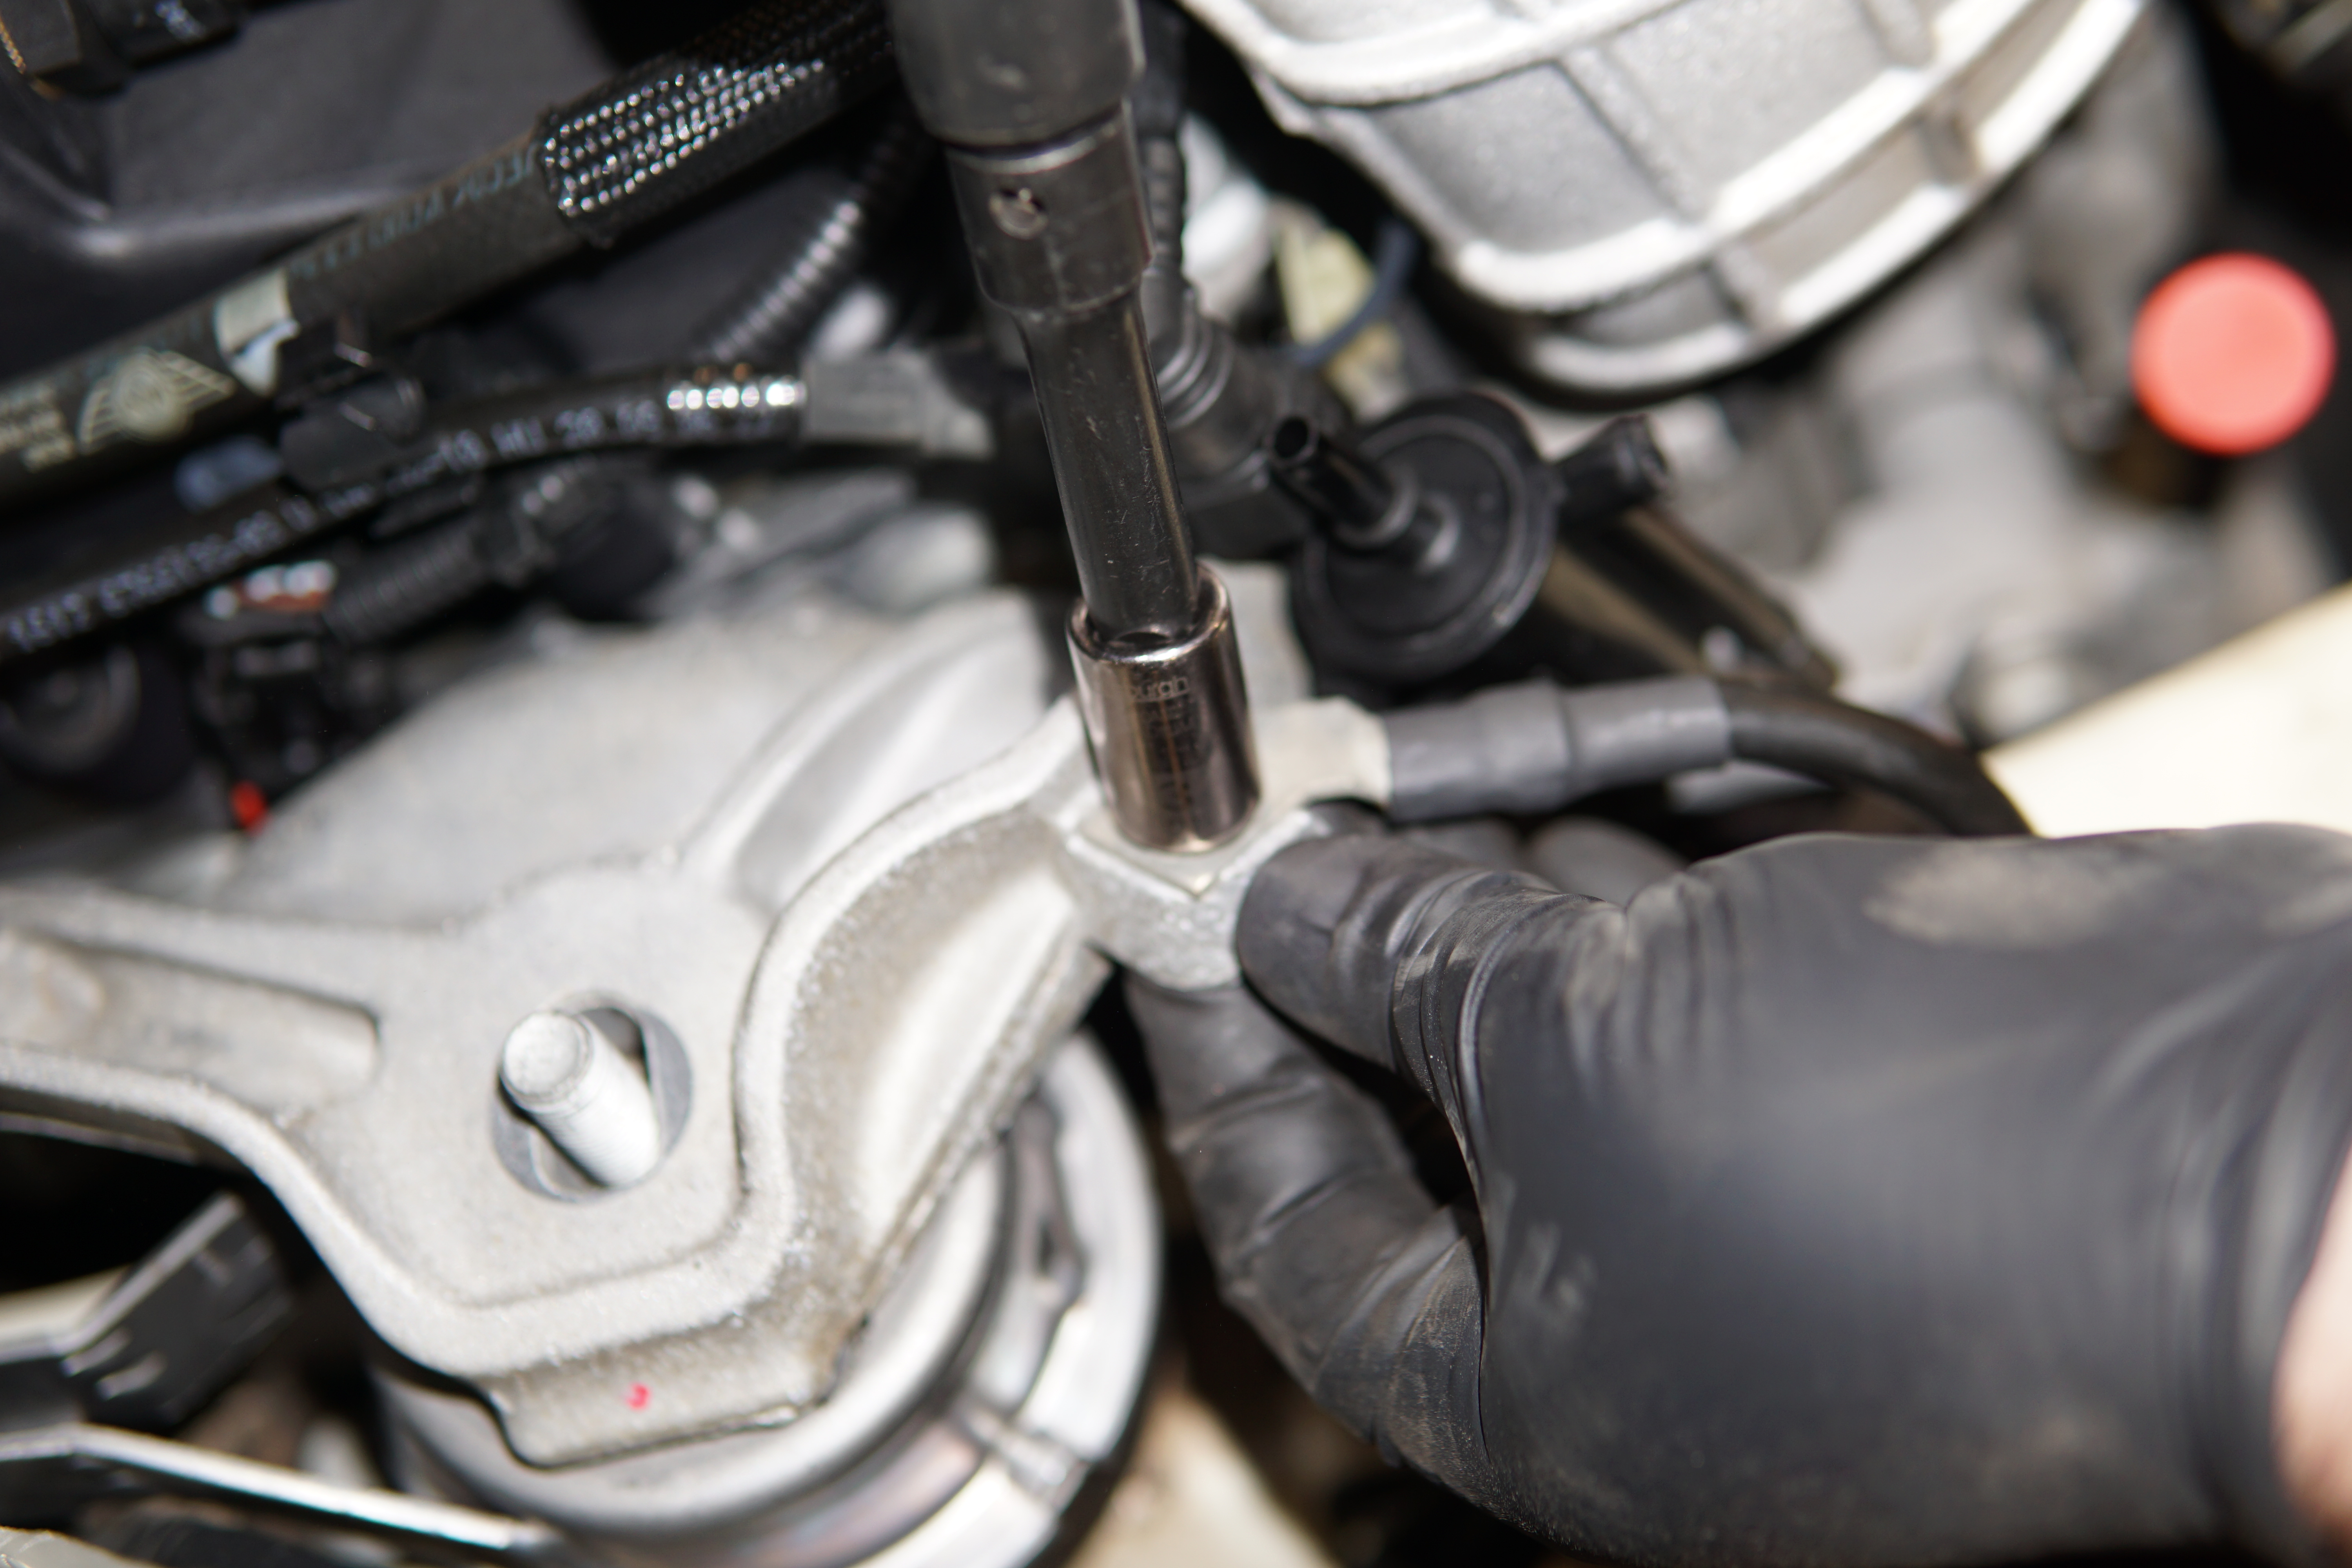
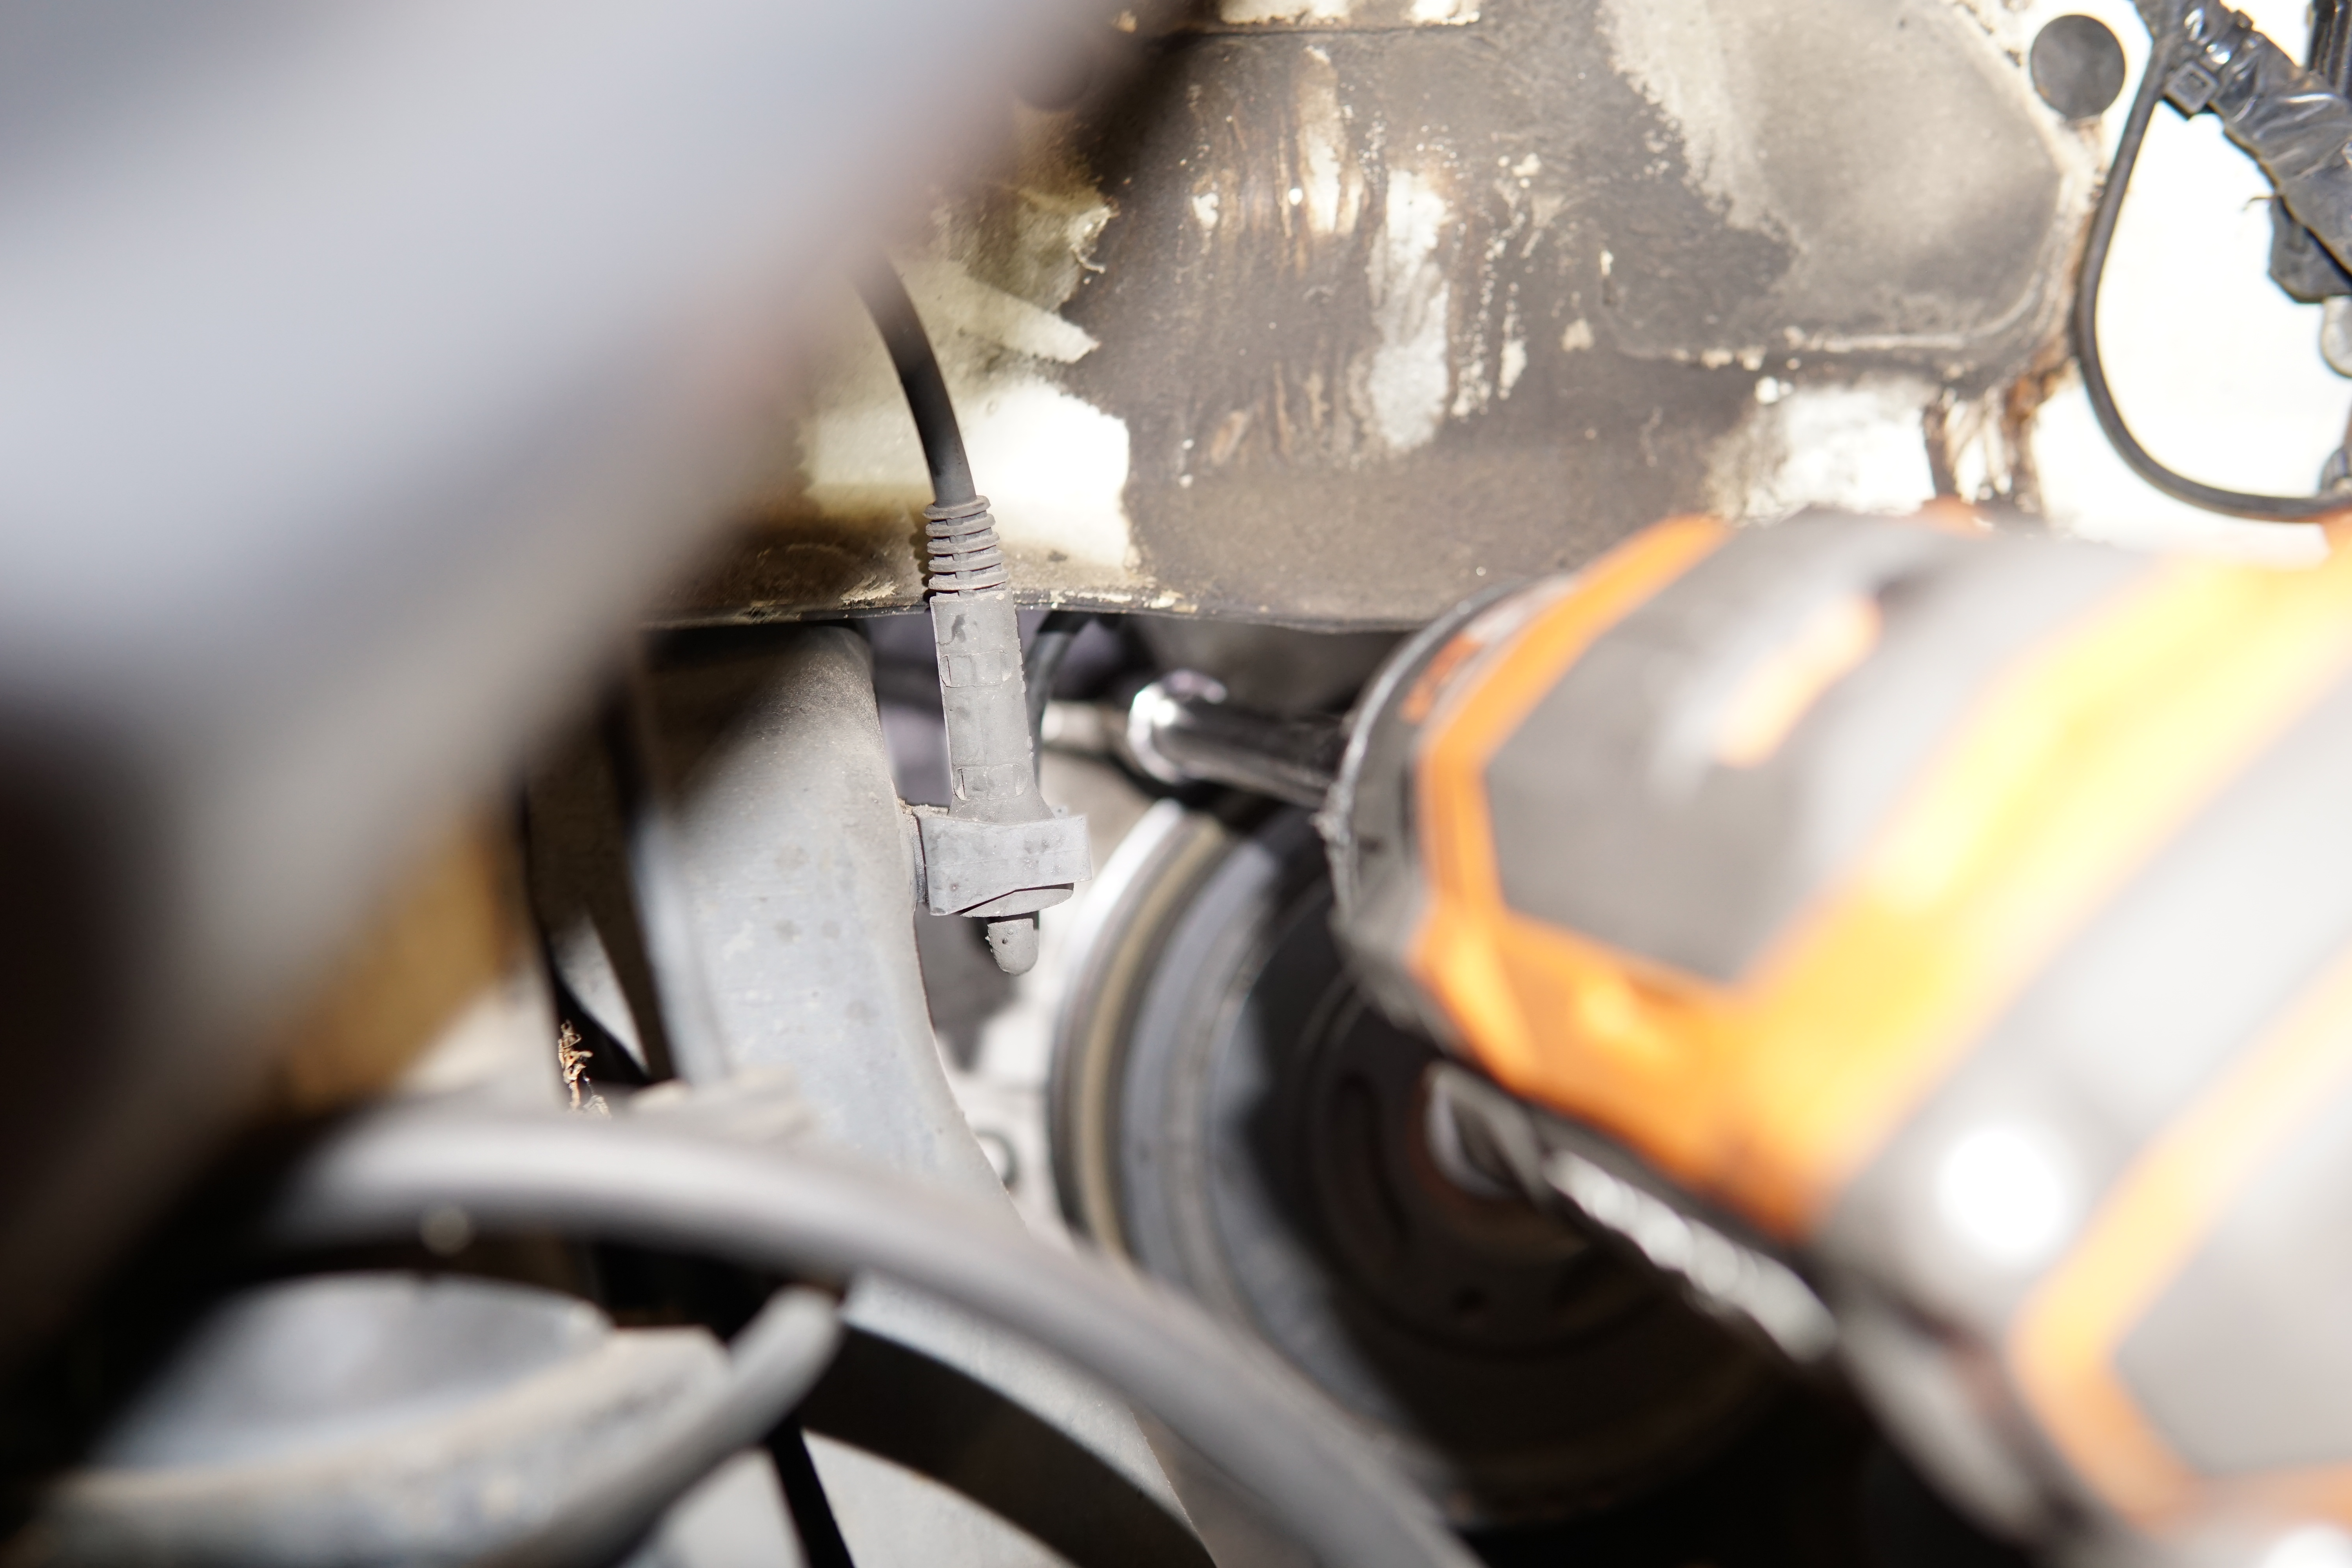
8. Remove the short ground cable that is attached to the engine mount and the subframe with your 10mm socket wrench.
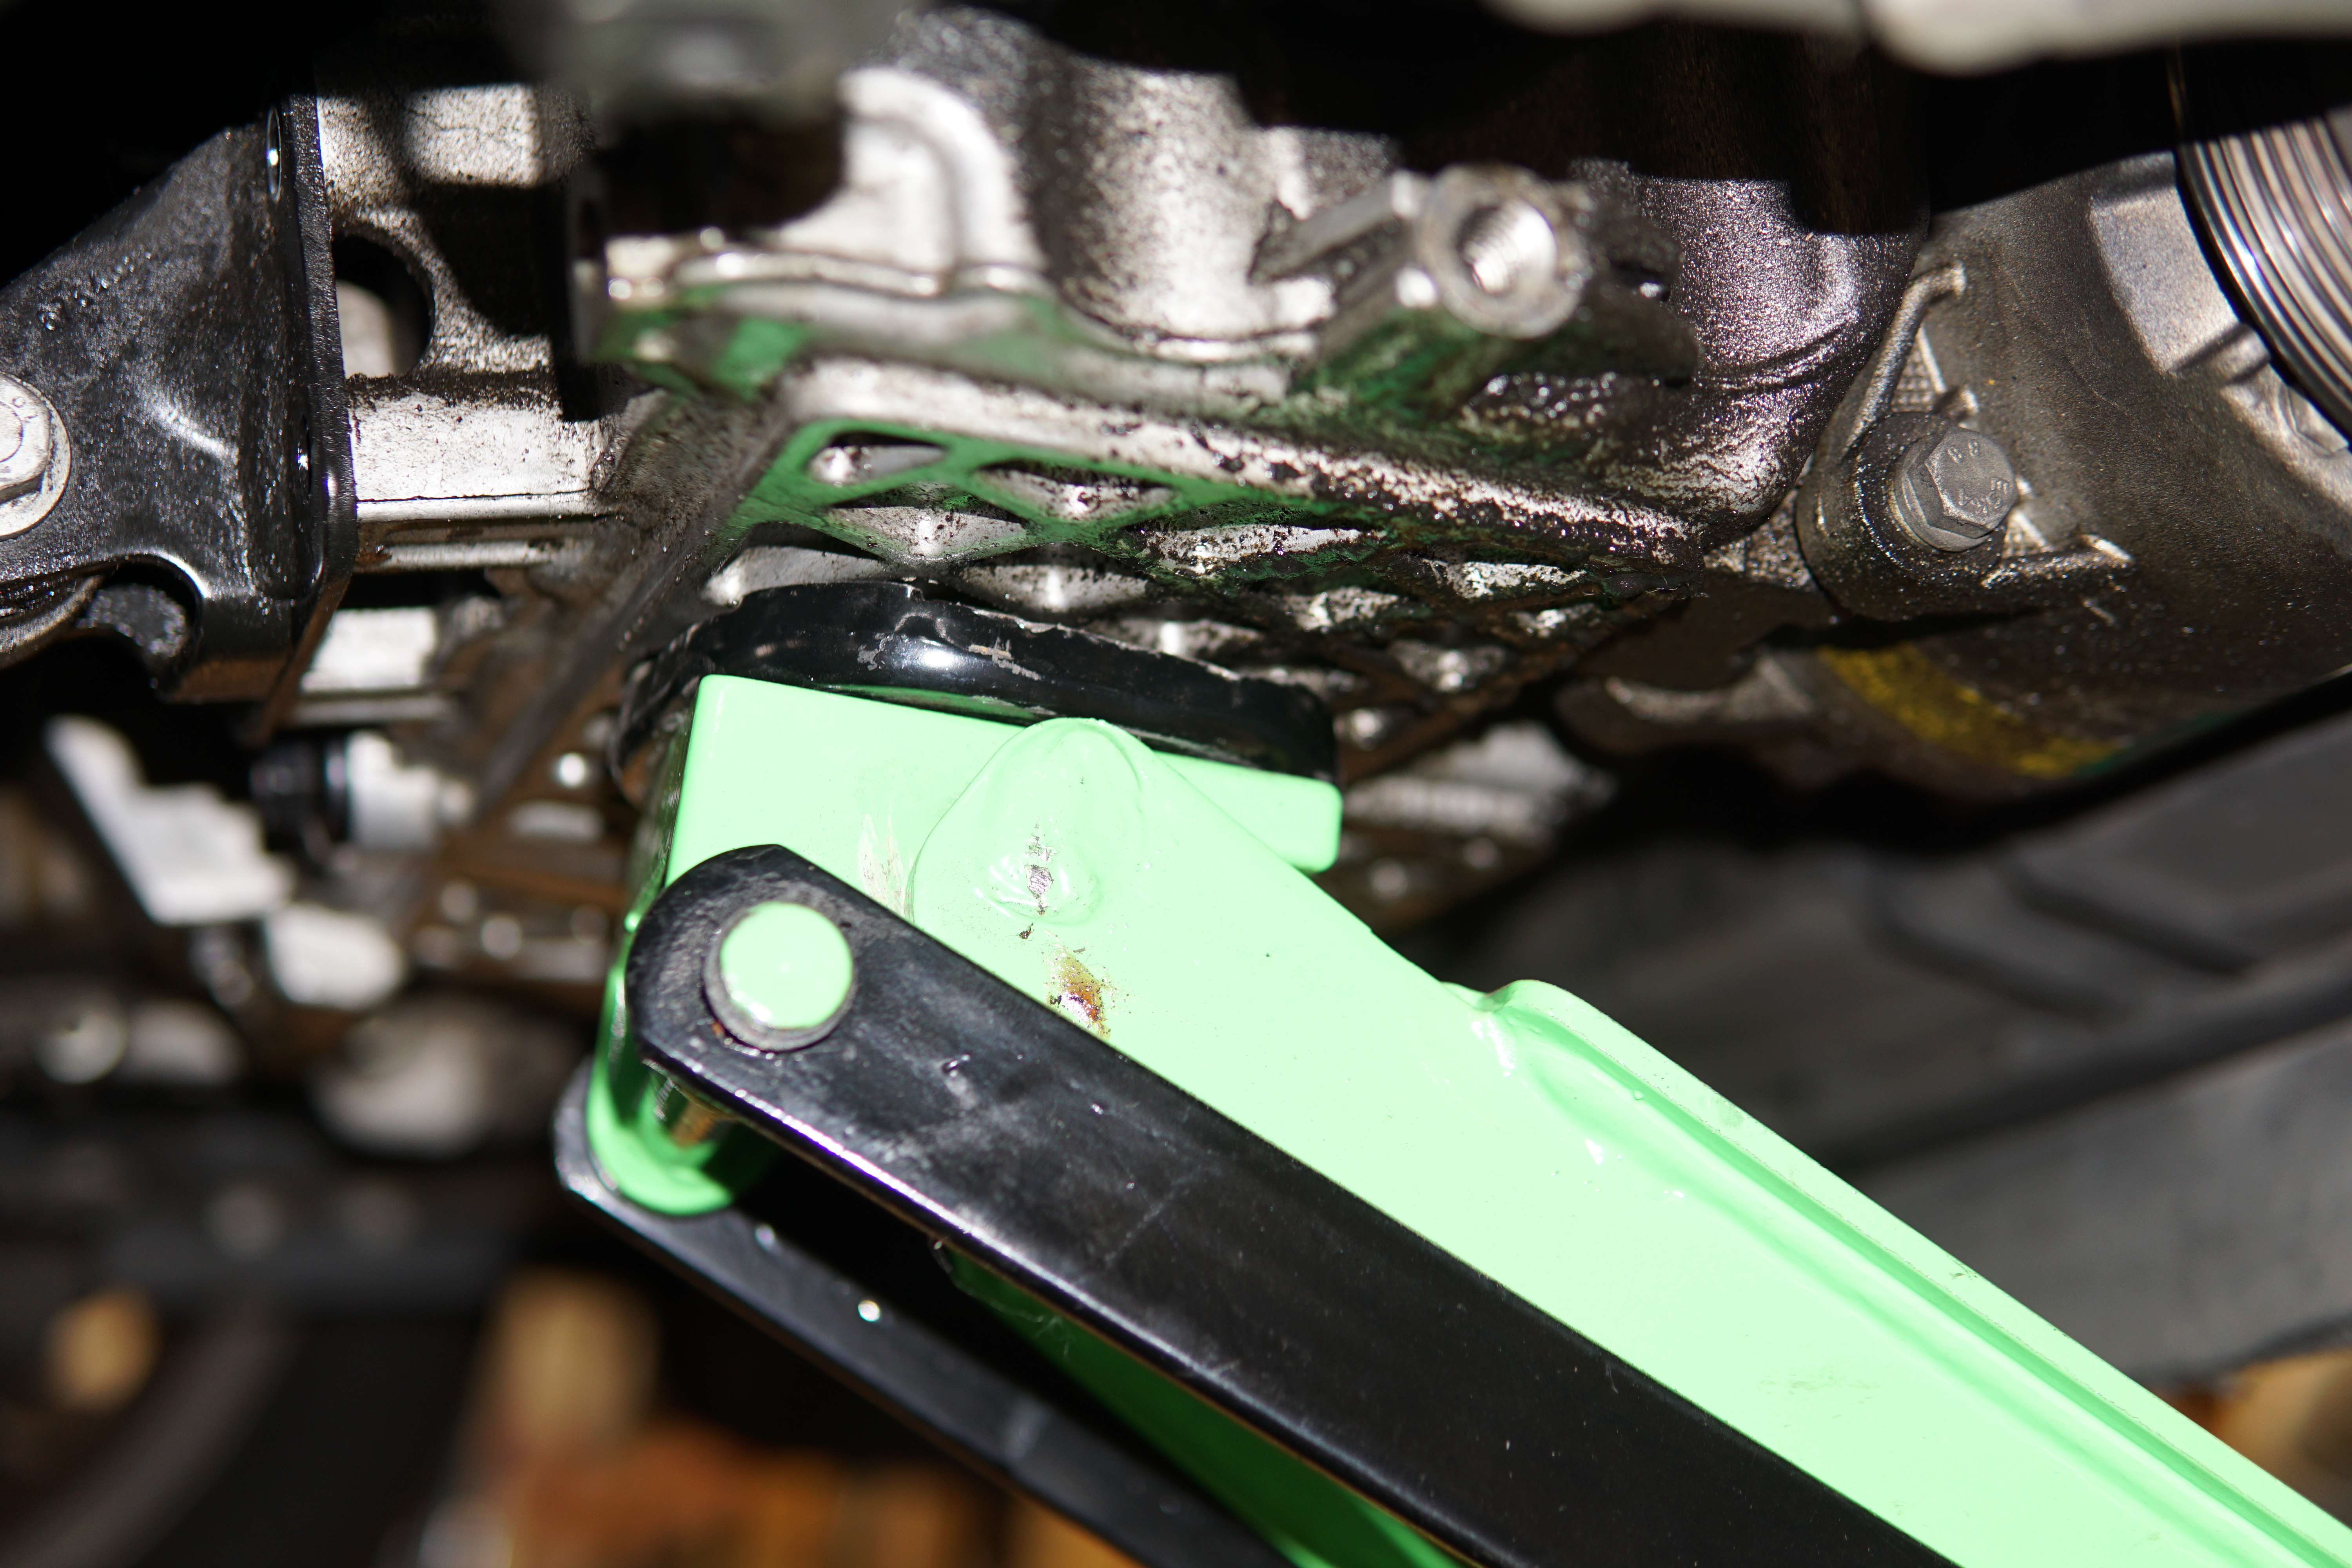
9. Take the floor jack and position it under the oil pan. If your jack does not have a built-in pad, set a block of wood between the jack and the oil pan then raise the jack to provide some support under the engine.
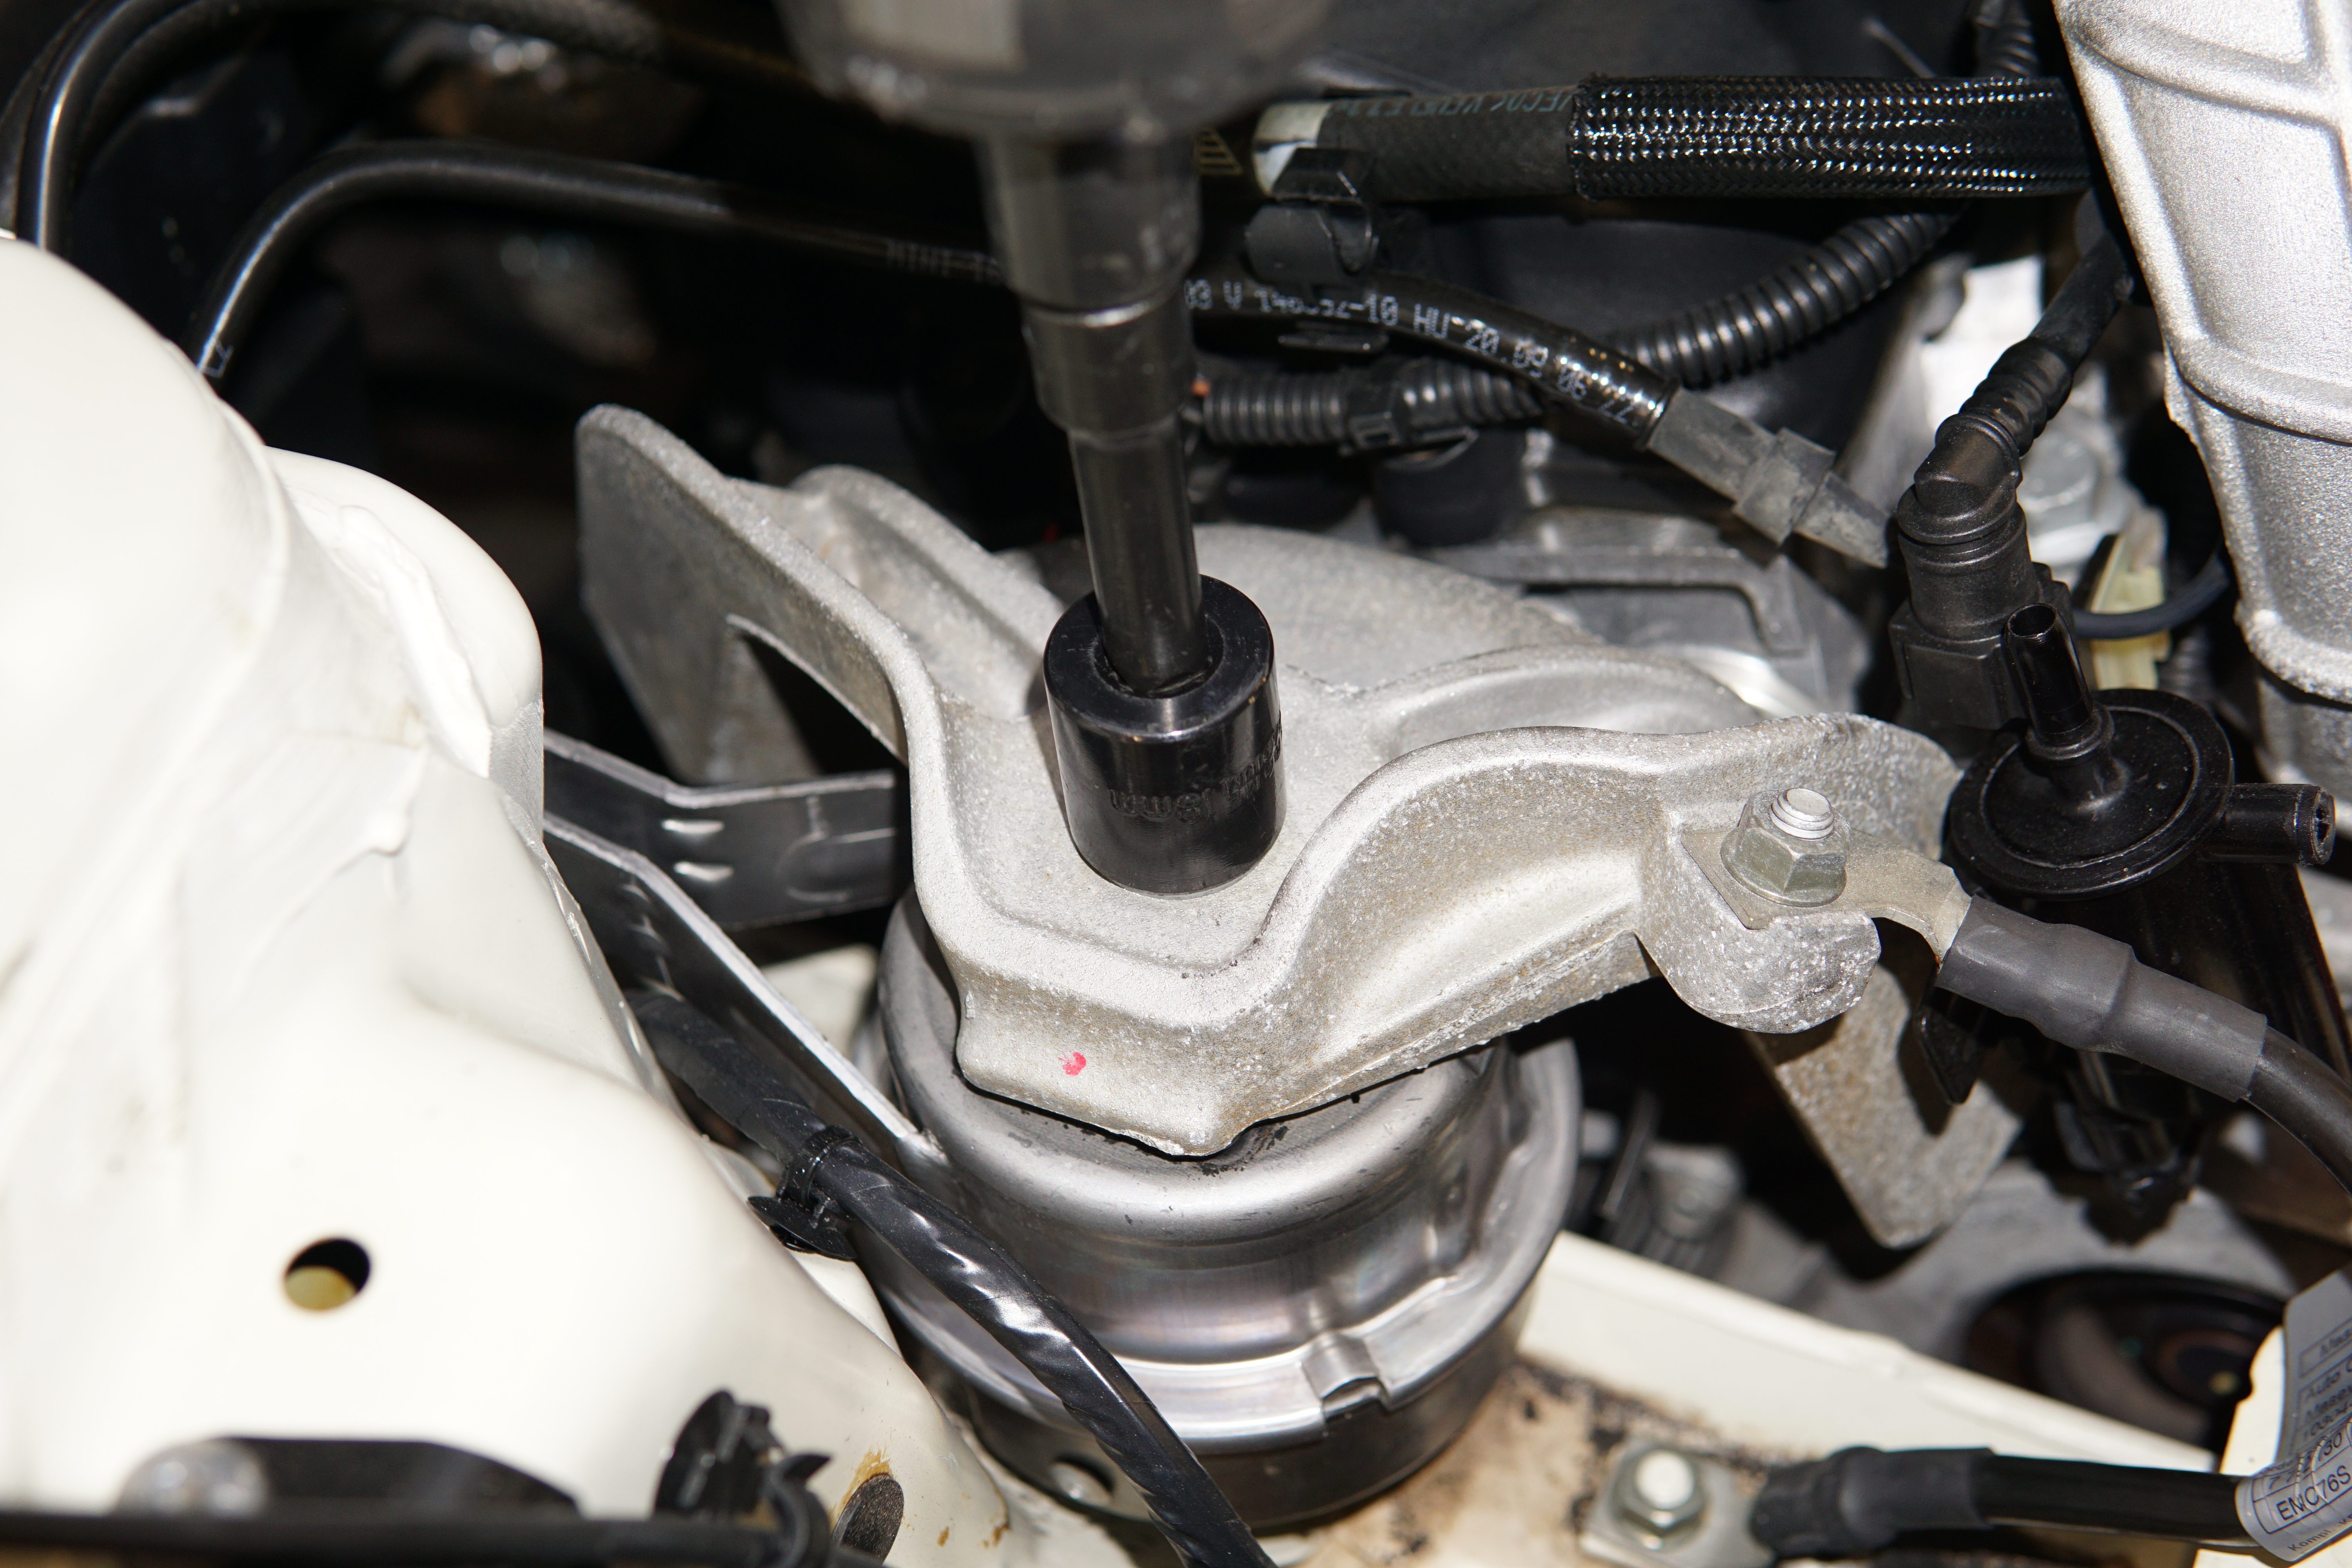
10. Remove the single top 18mm nut from the passenger side motor mount. Jack up the engine slightly so you can tell the weight is no longer resting on the engine mount.
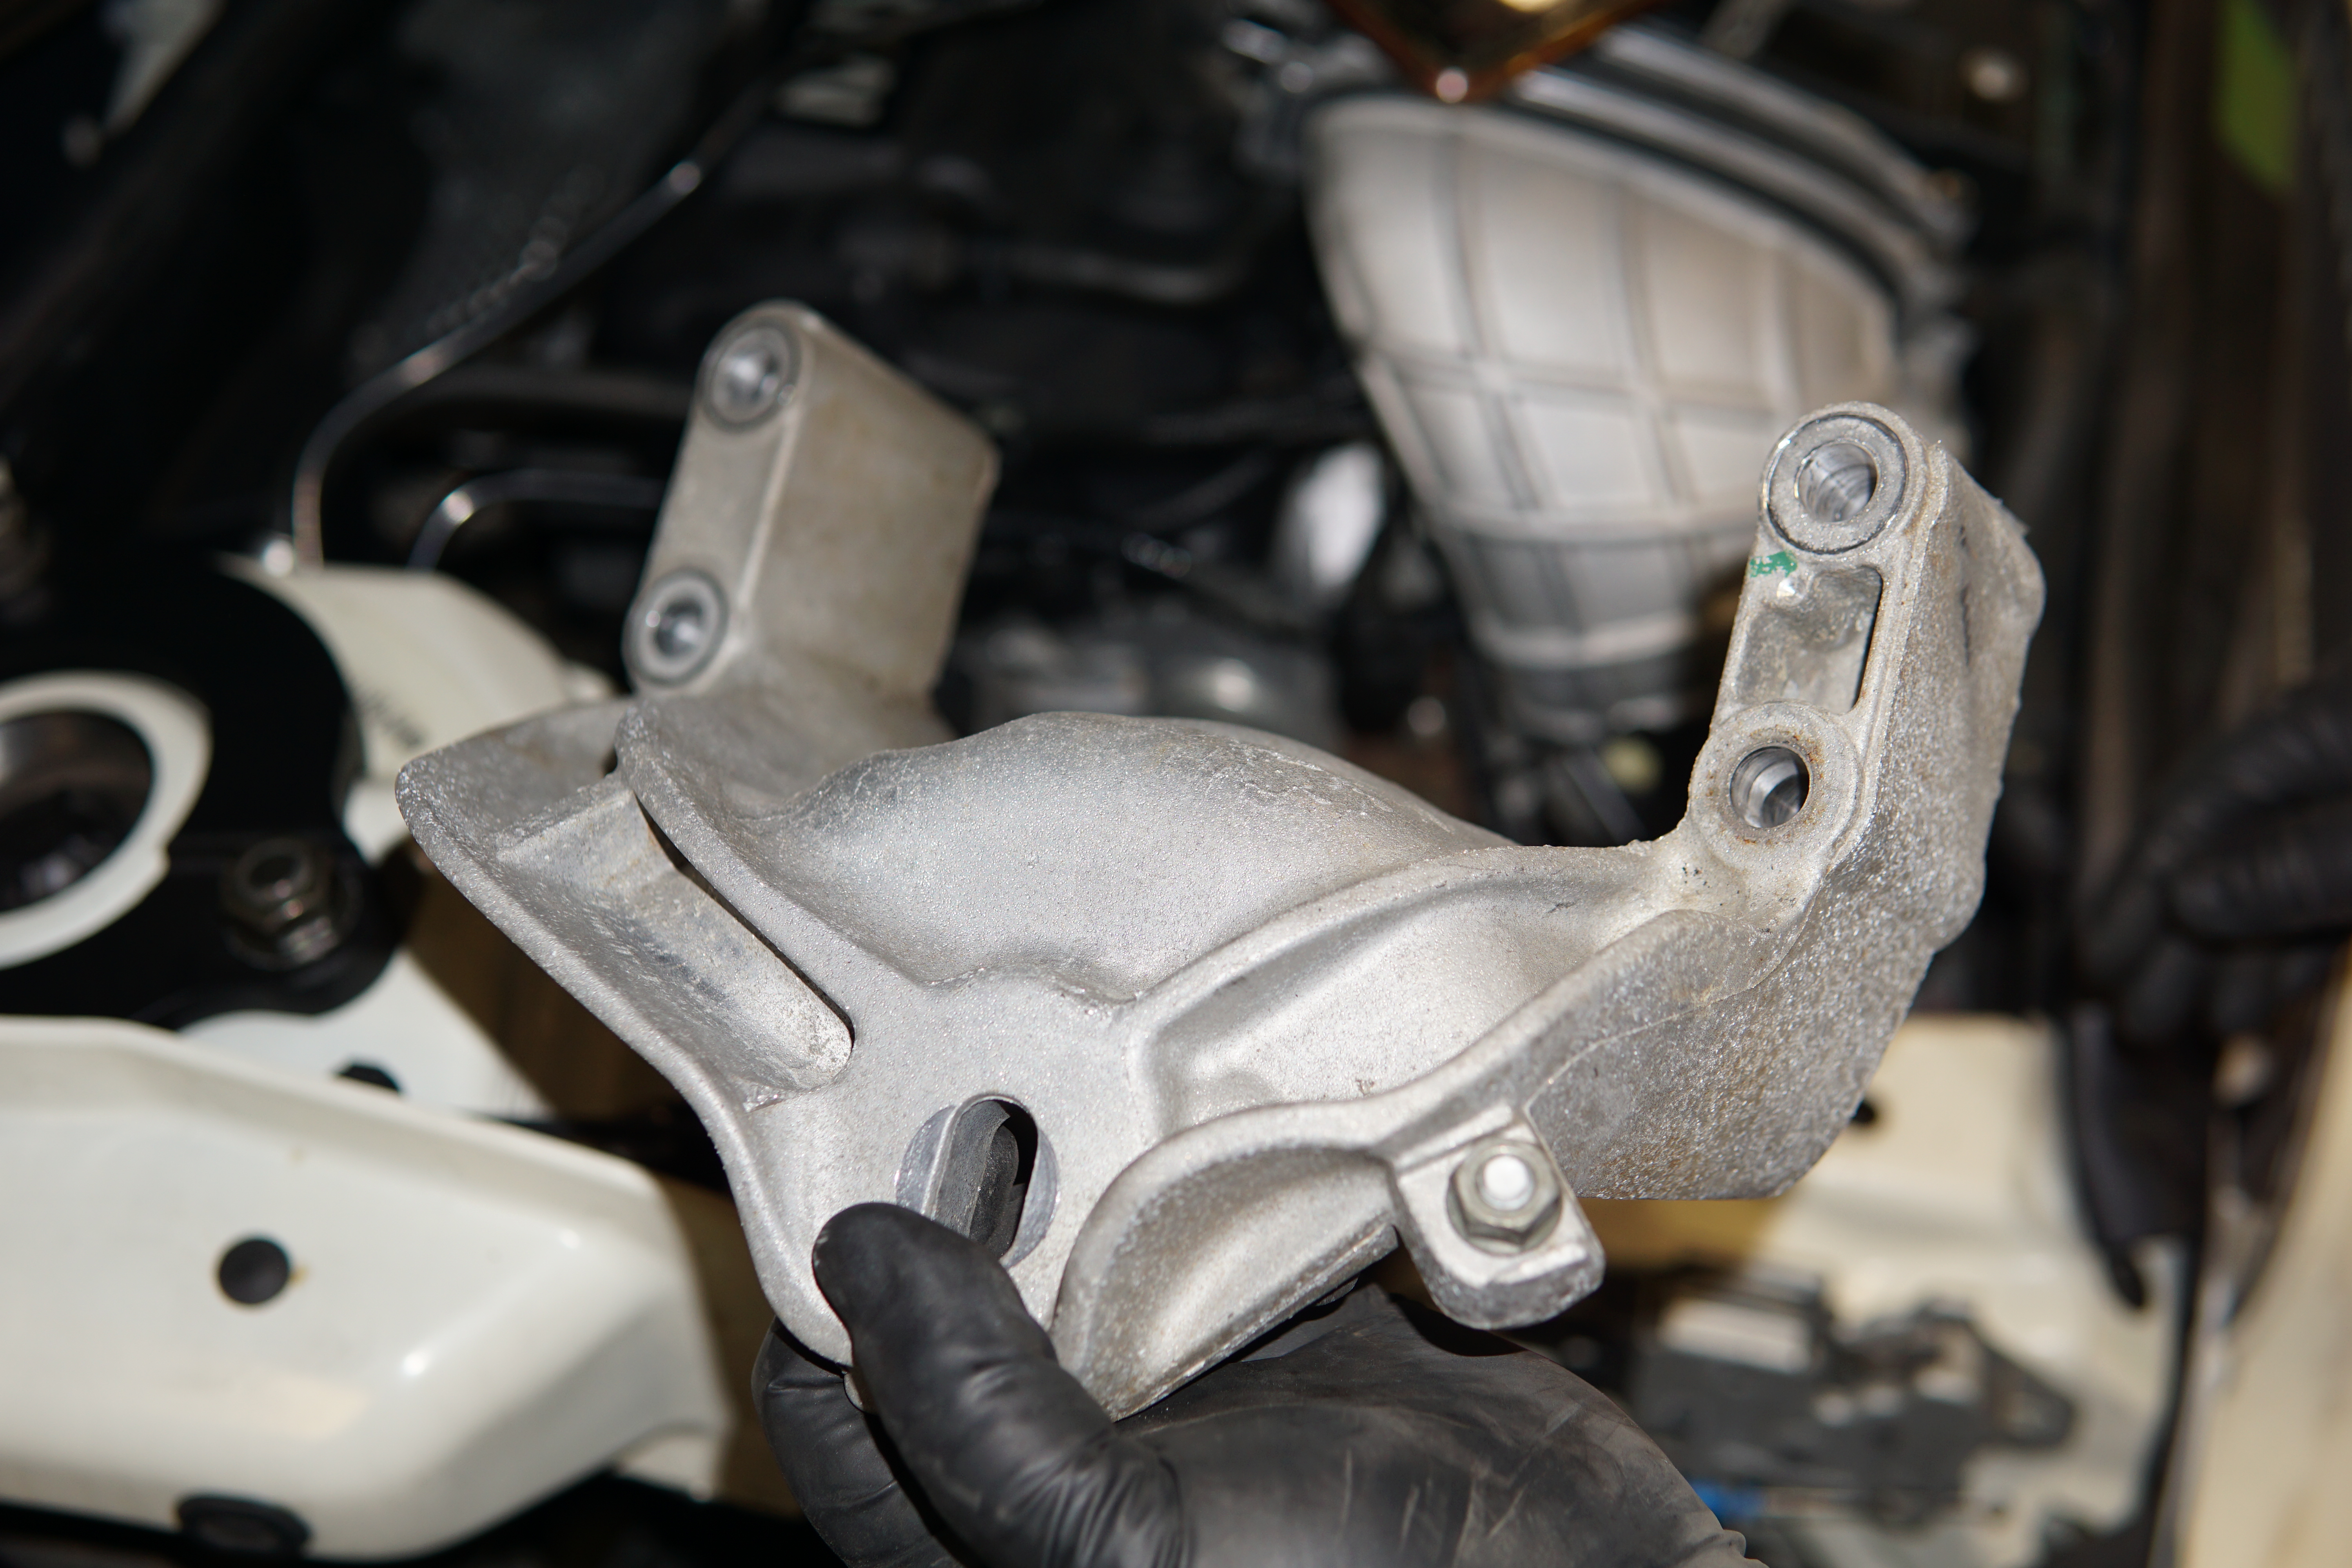
11. Remove the four (4) 16mm screws attaching the engine mount to the top of the engine block and lift off the engine mount bracket. You may need to jack the engine up a couple of inches to facilitate this. The fuel vapor recirculation valve can now be moved out of the way as well.
12. Remove the 10mm screw holding the radiator hose and wiring to the center of the intake manifold.
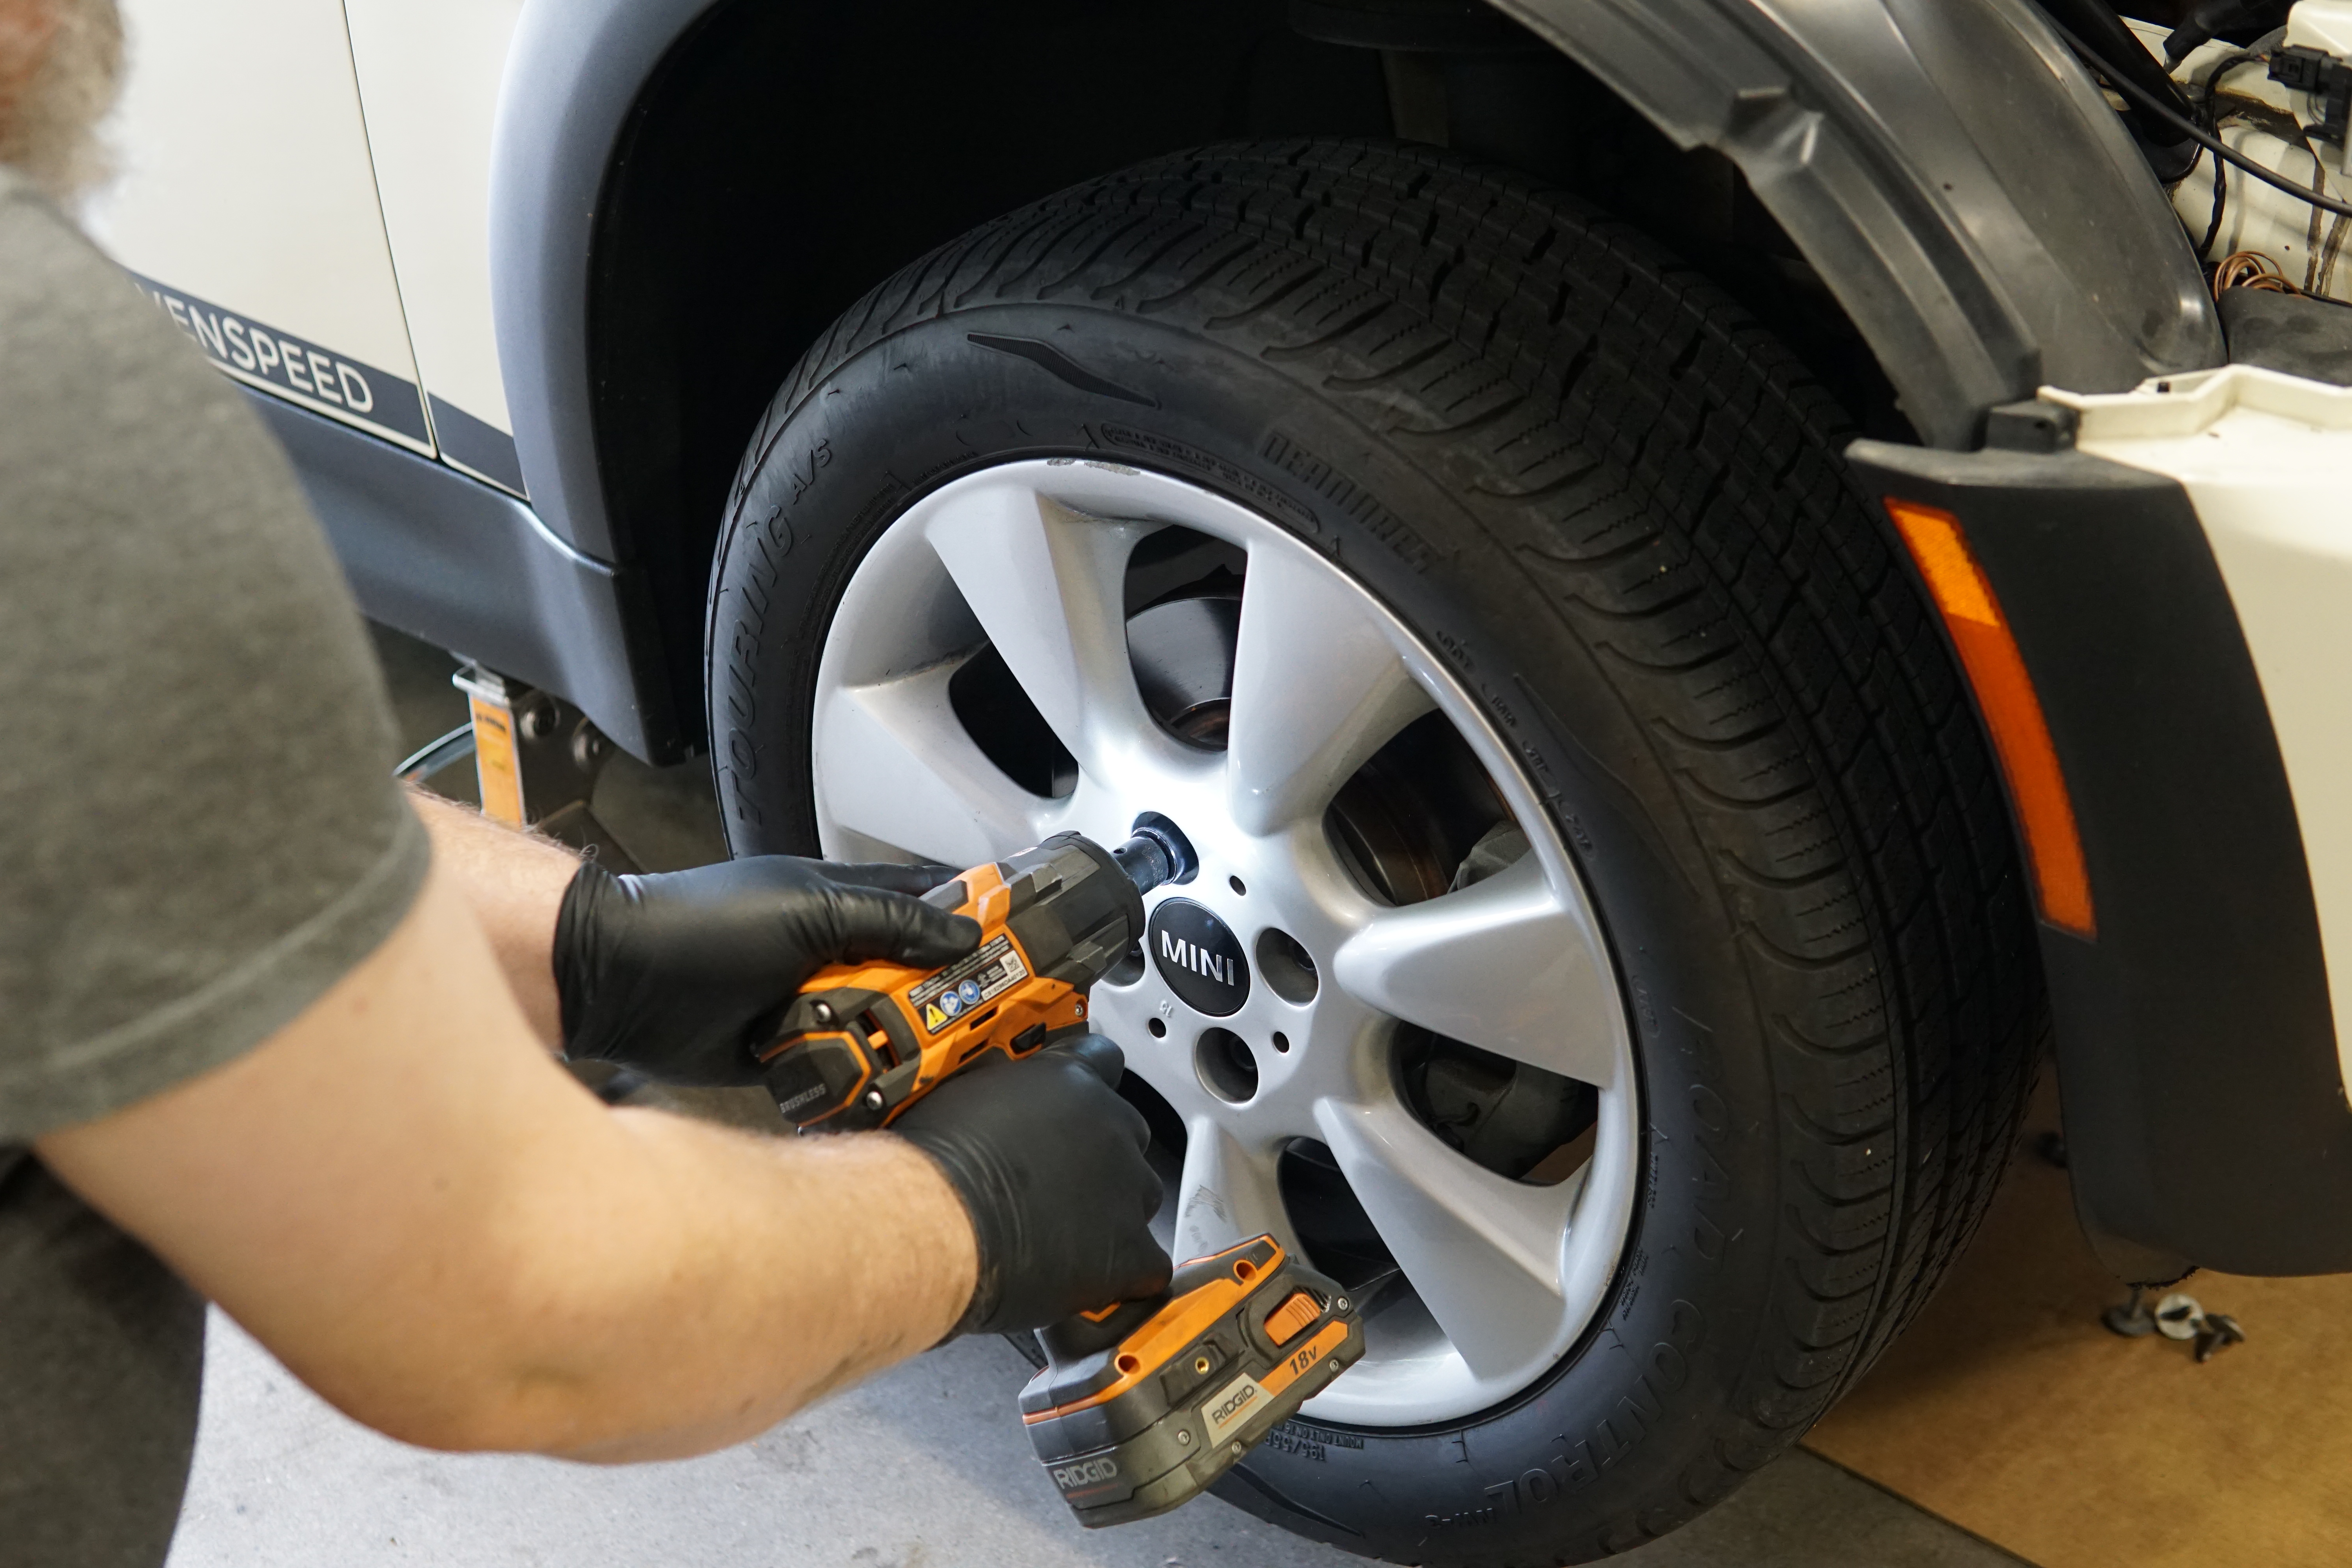
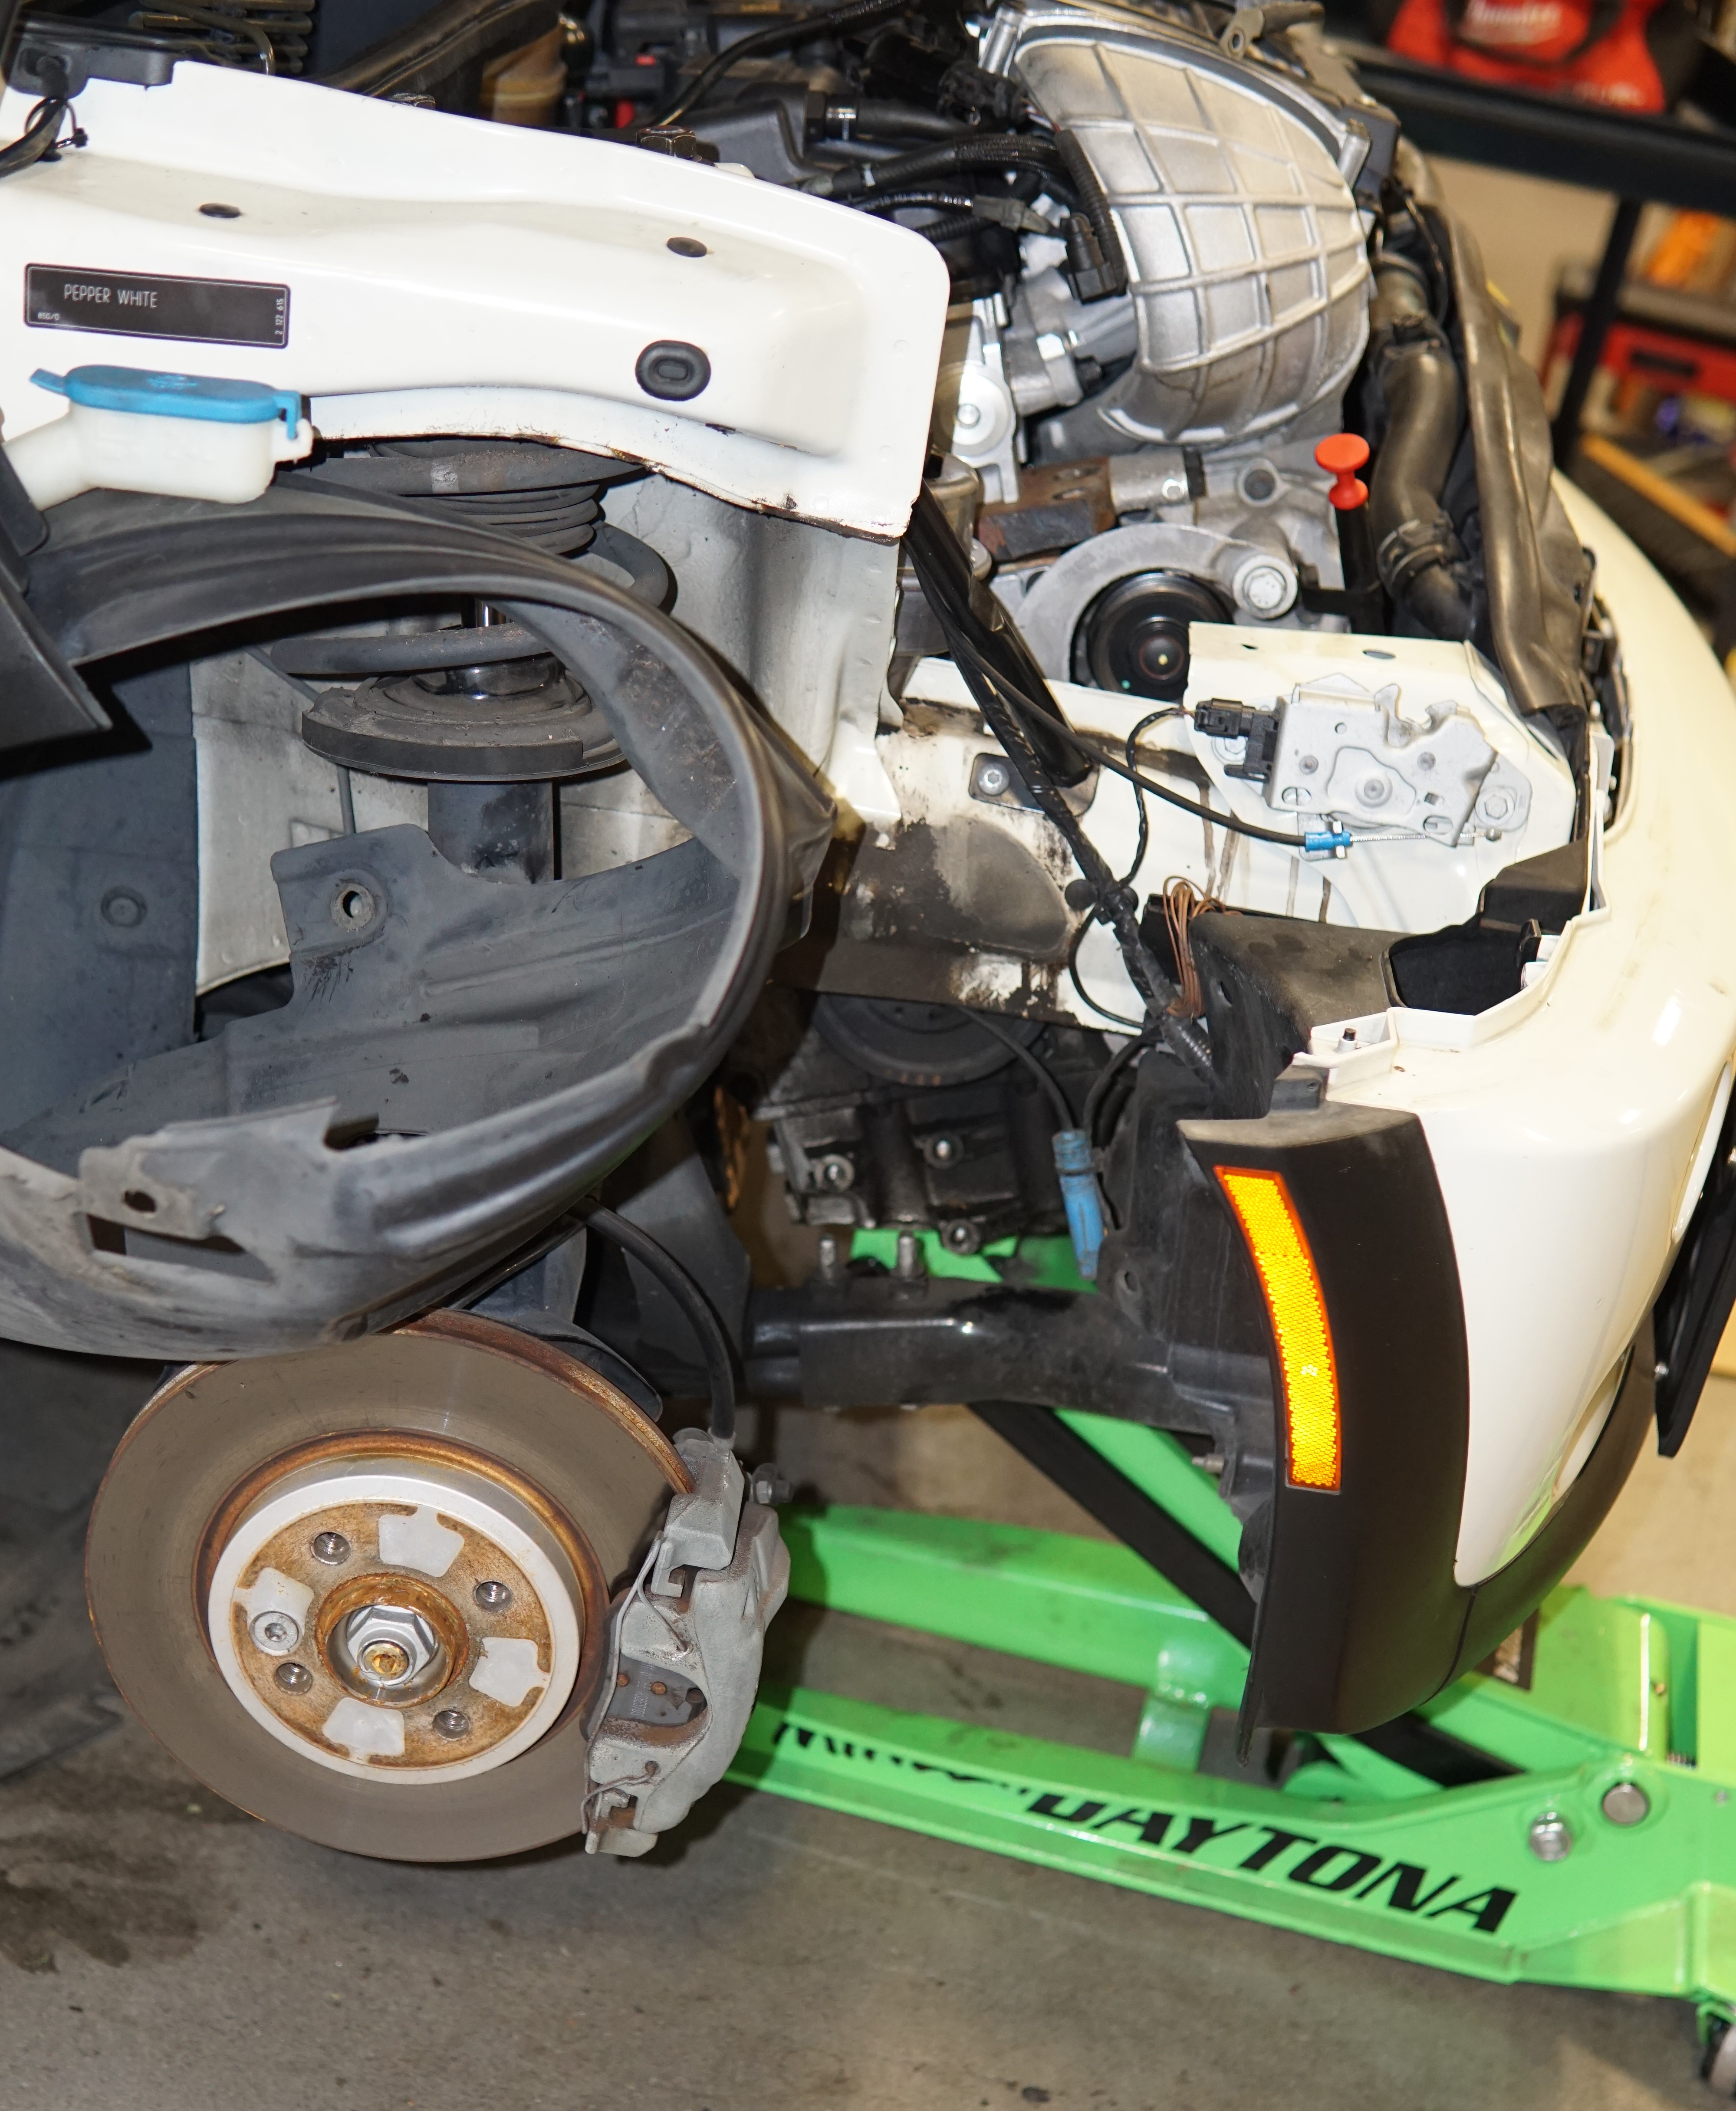
13. Take the passenger side front wheel off, exposing the inner fender liner.
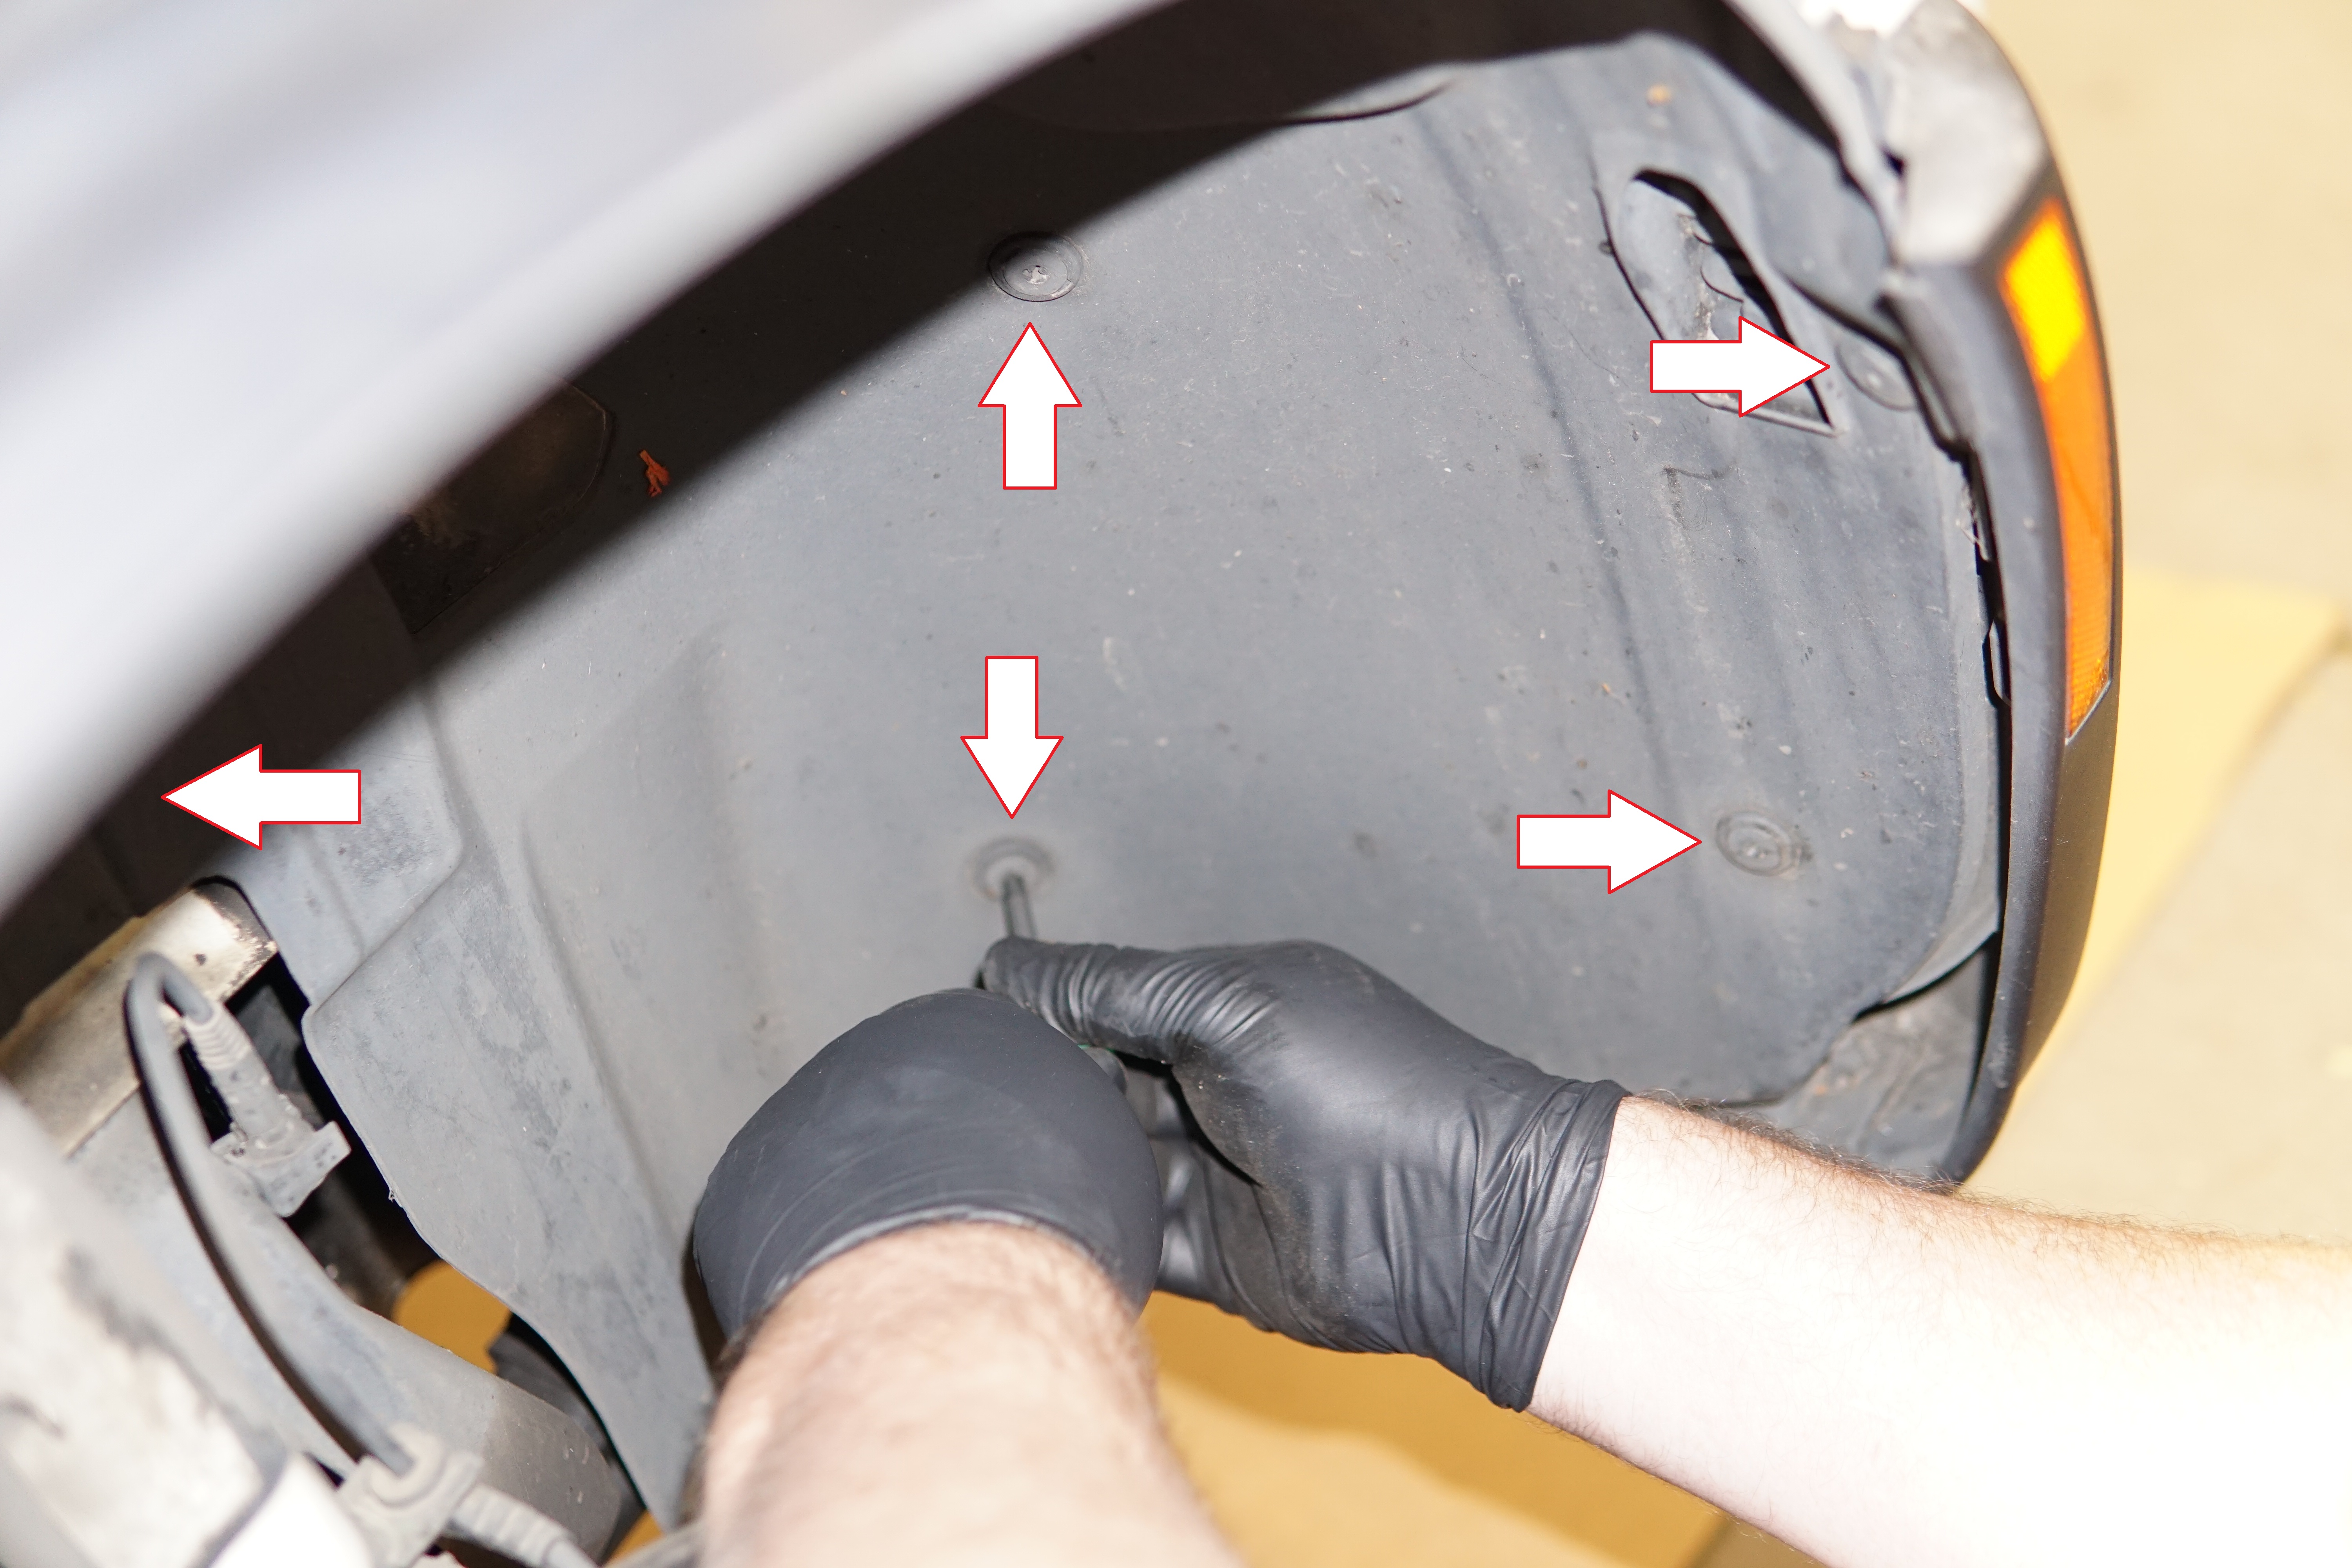
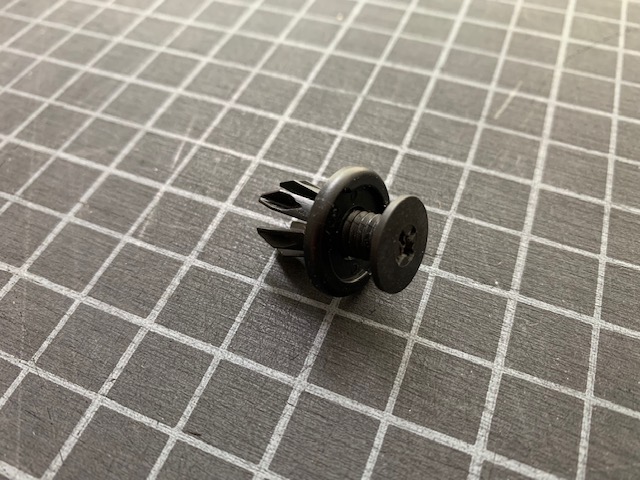
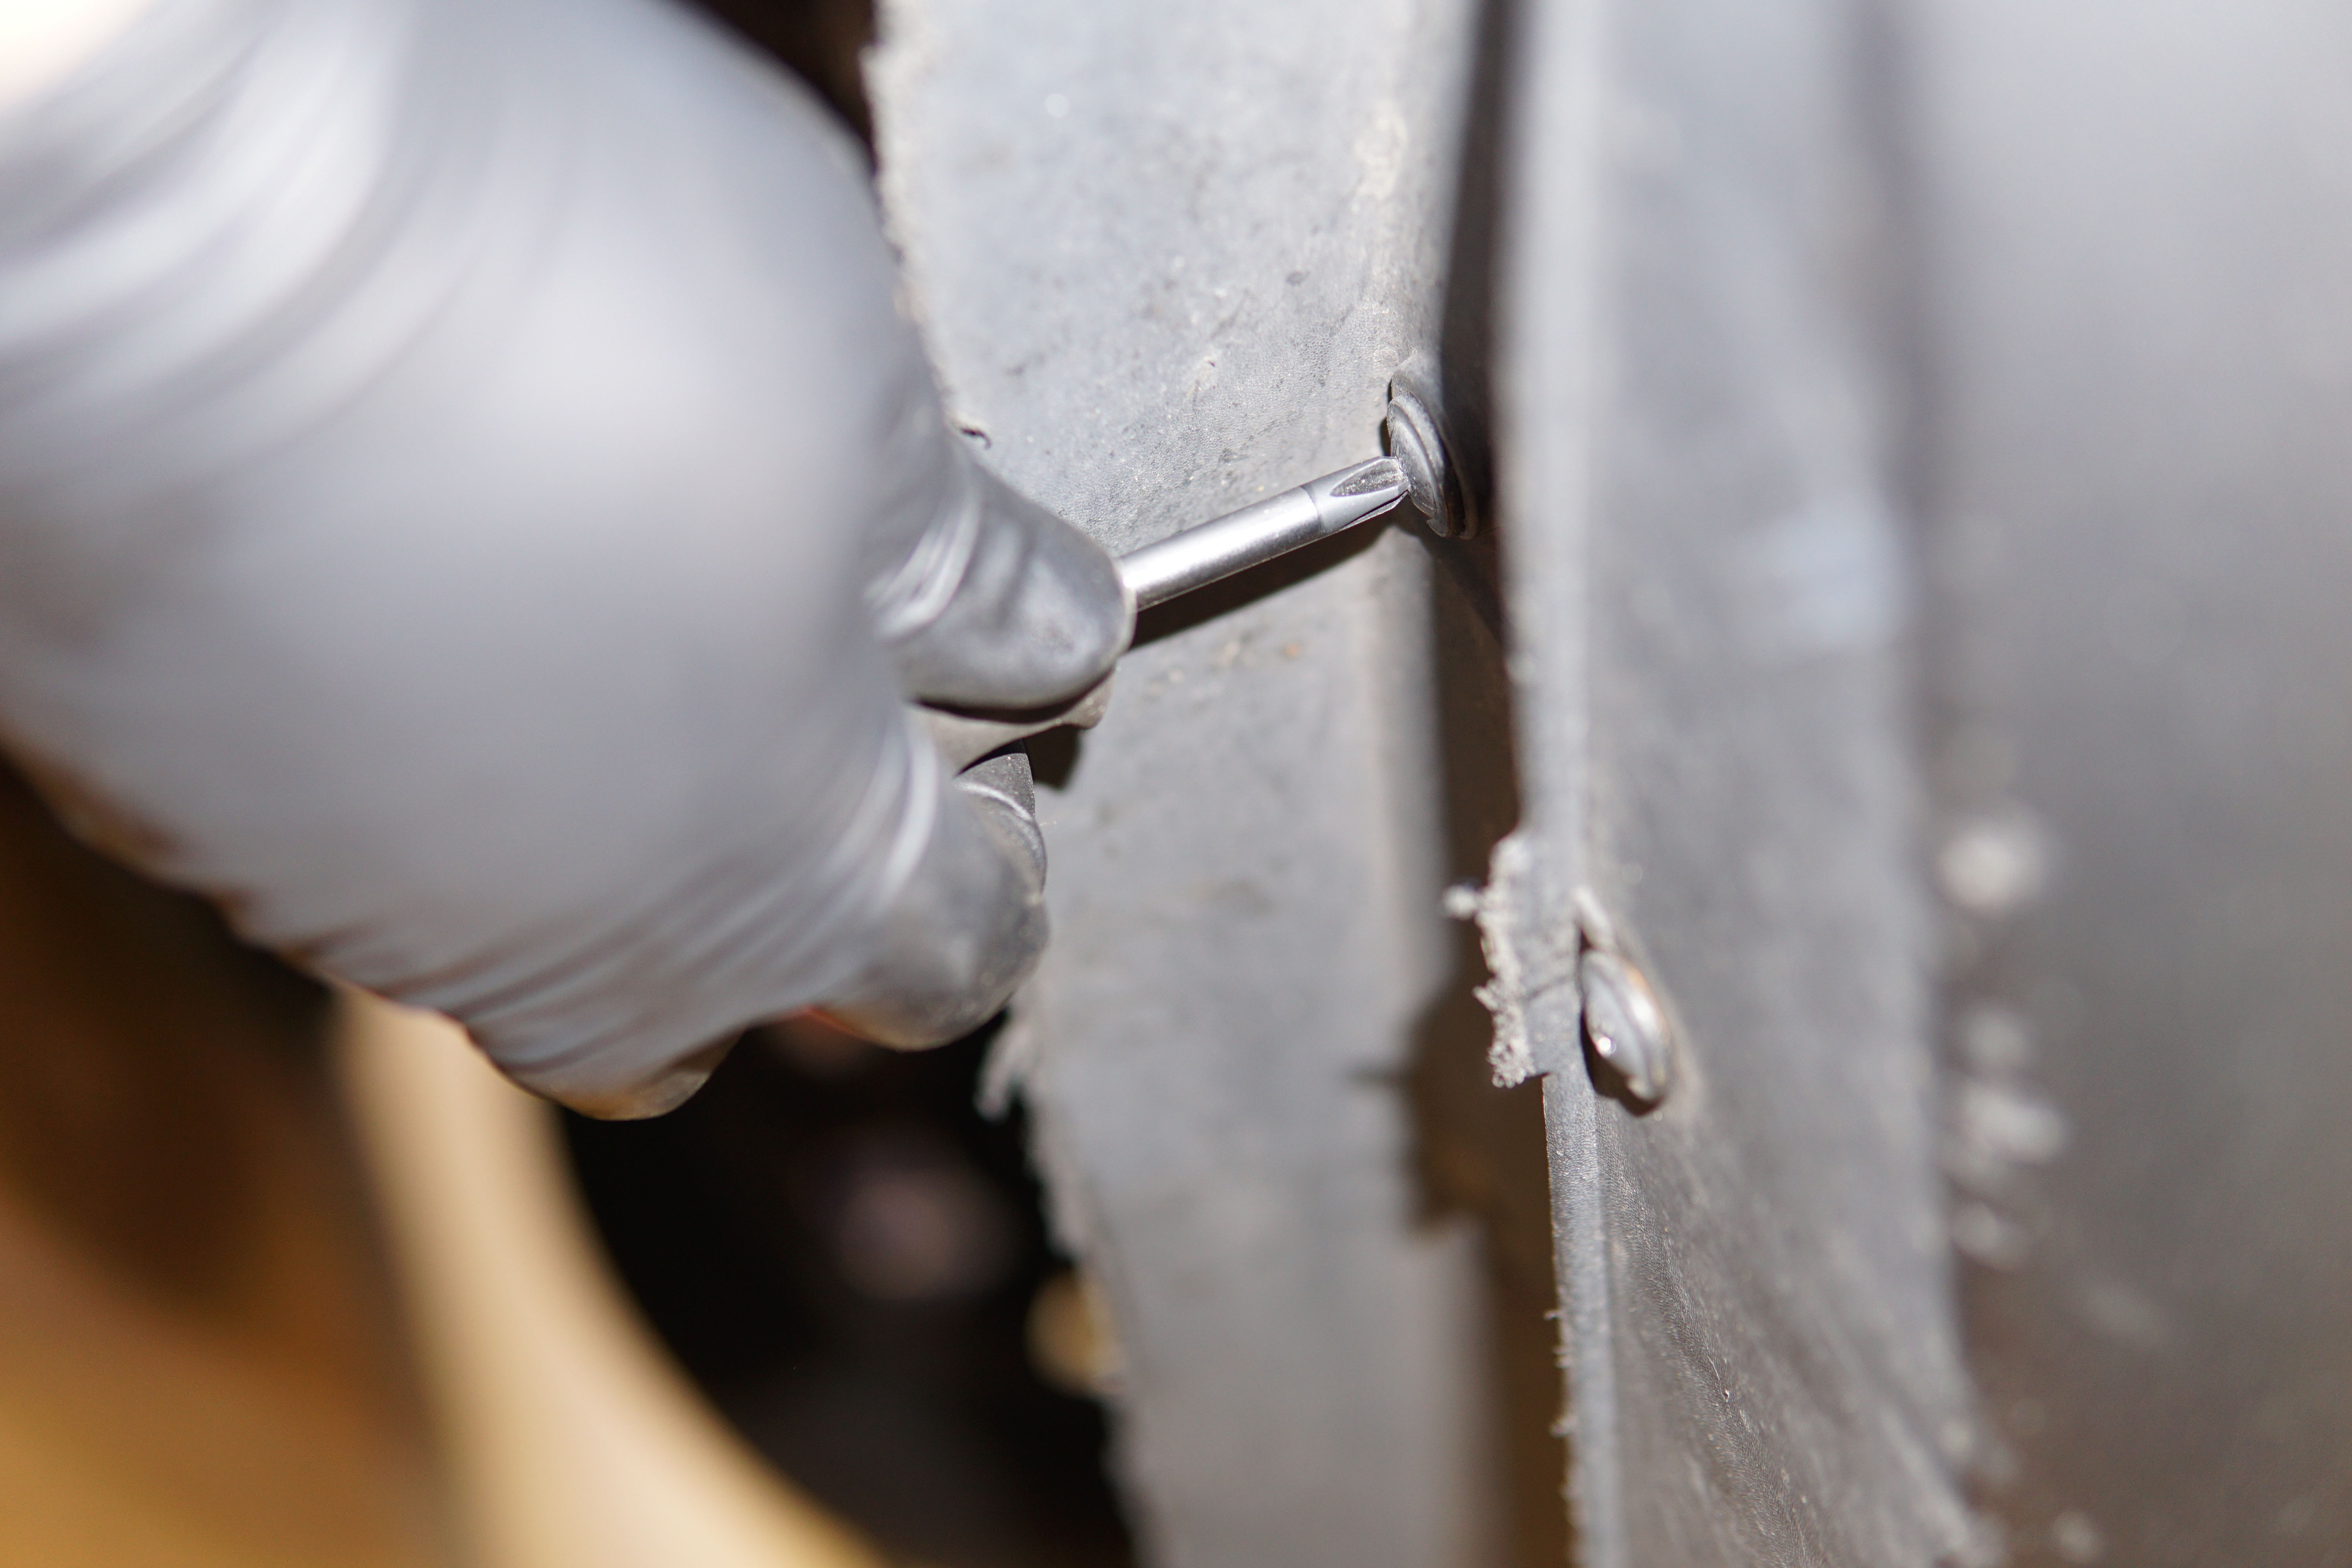
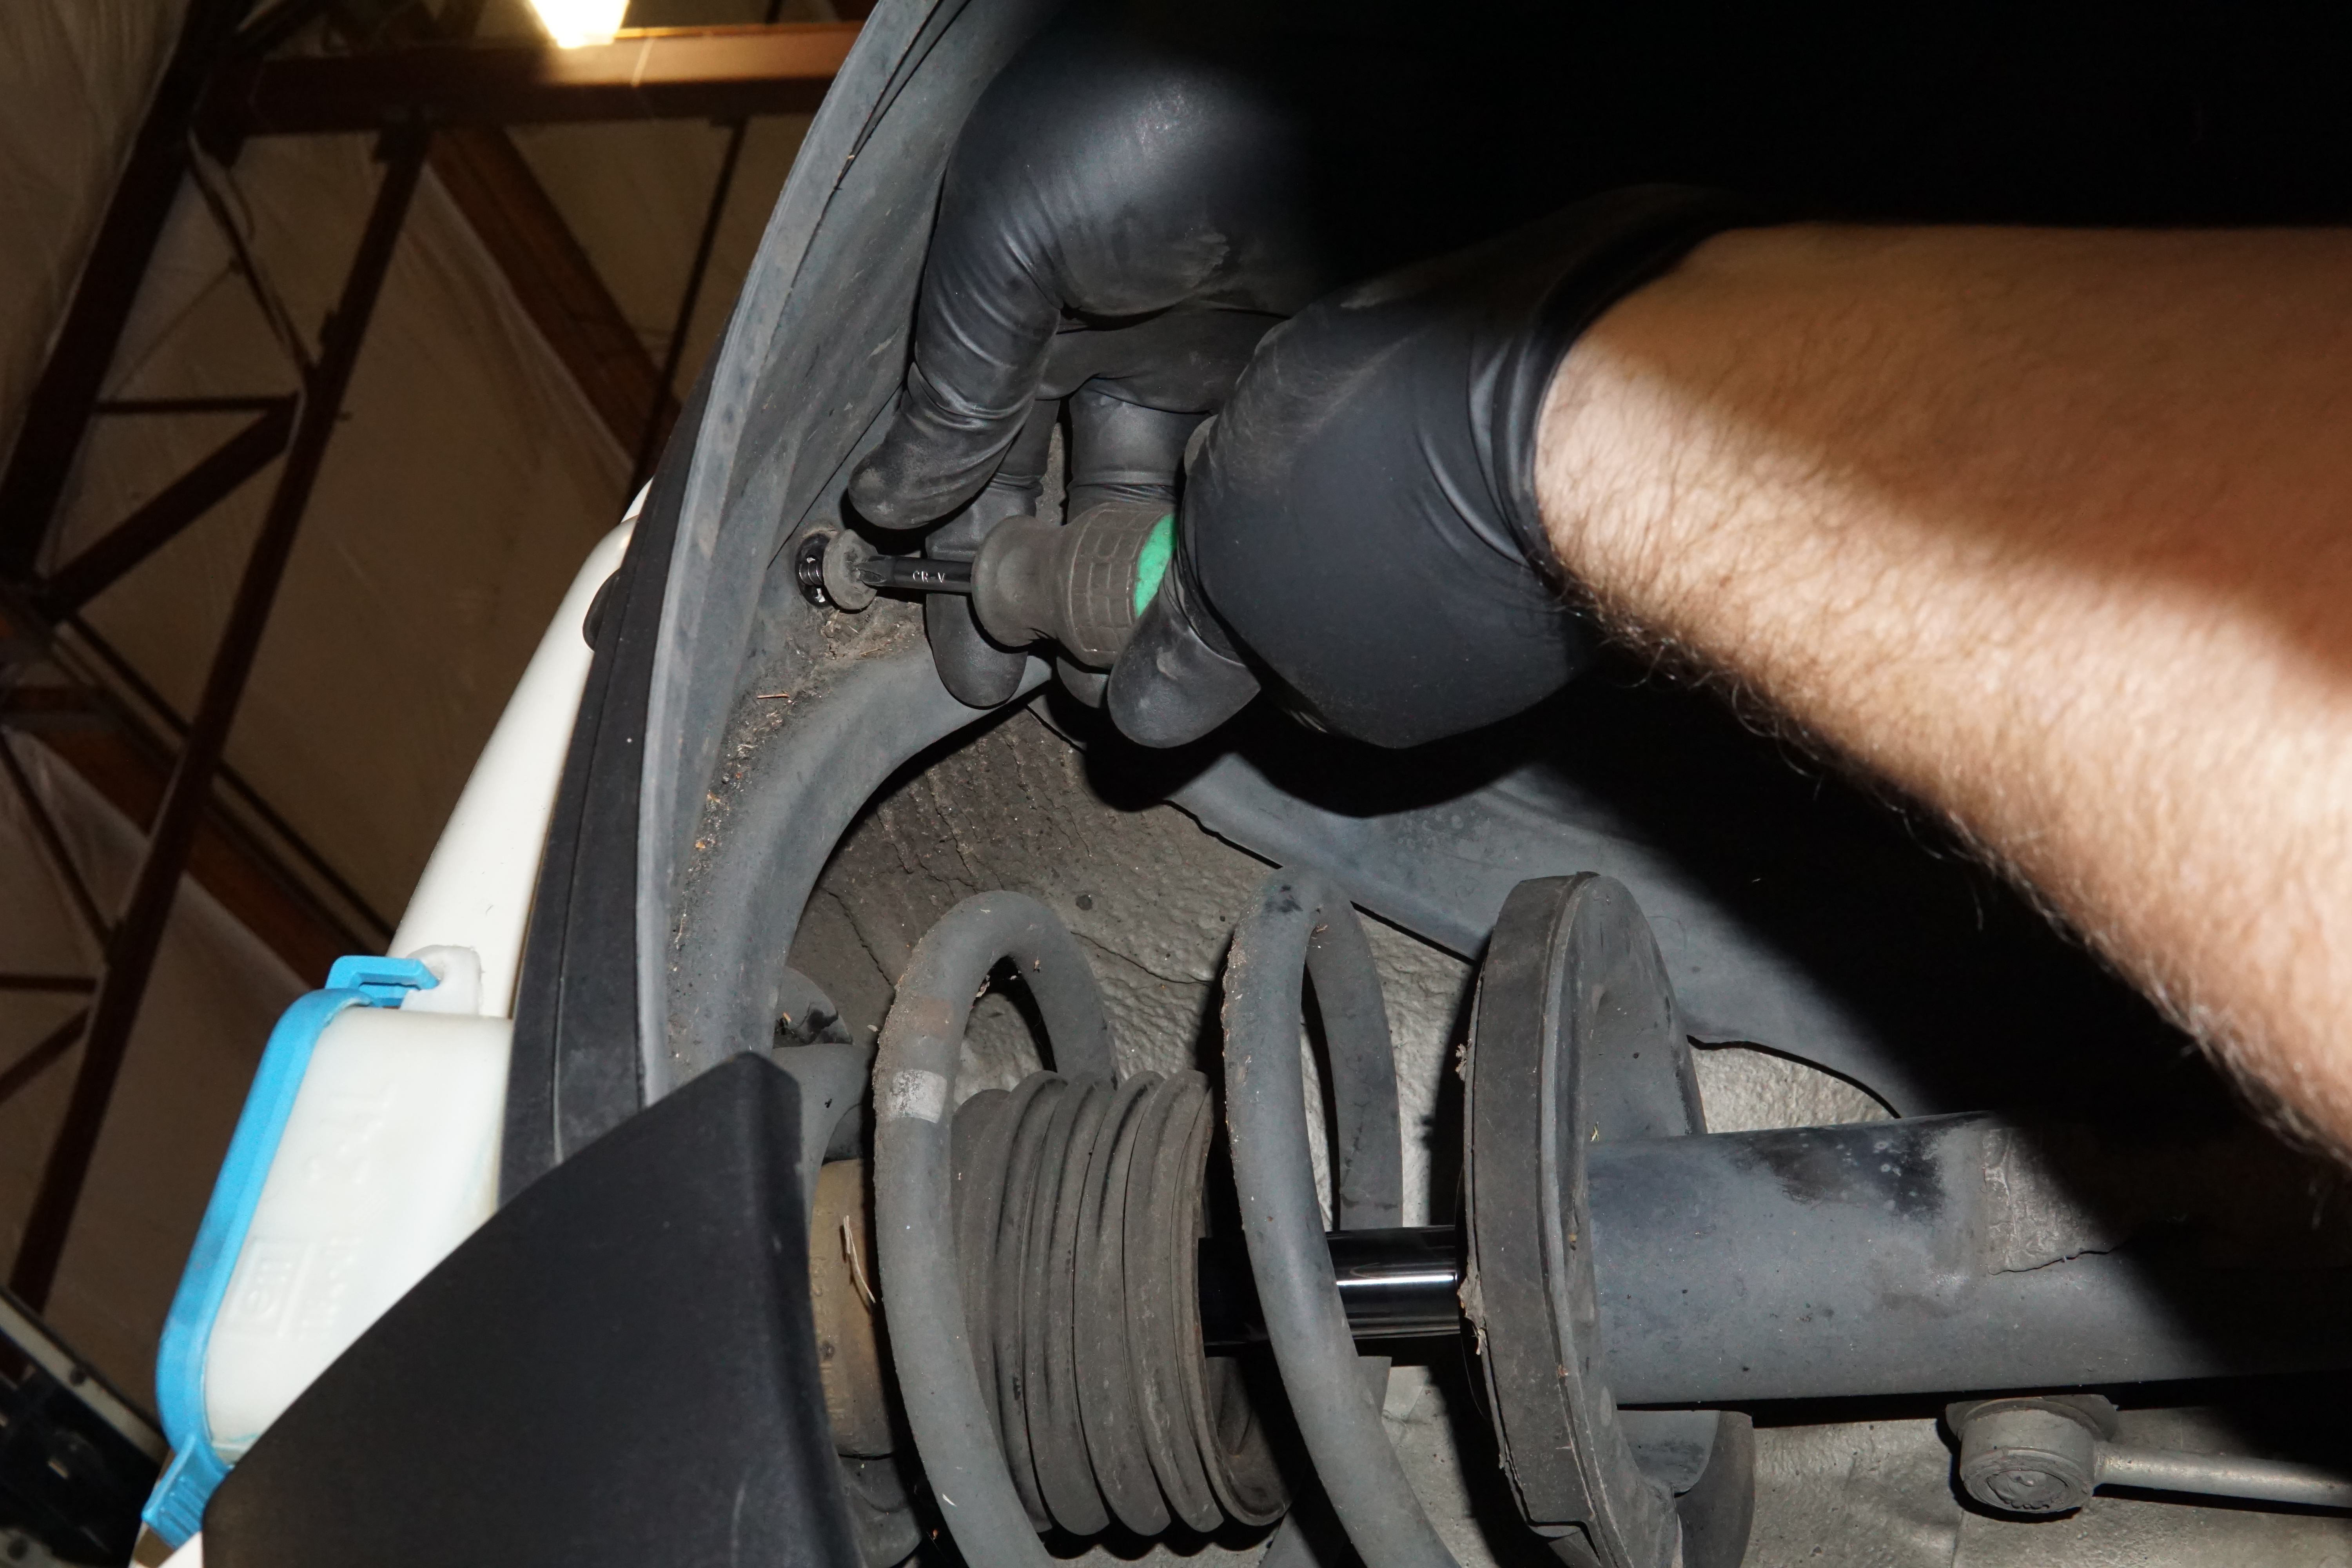
14. There are five (5) plastic expandable rivets and two (2) Philips-head screws affixing the front half of the fender liner to the MINI. It's very possible that you will either strip out or break these plastic expandable rivets as they've gotten dirty and brittle over time. If you need replacements, the MINI part number is 07130702966 and they're about .50 cents a piece. The five (5) expandable rivets should be fairly easy to locate, but the two (2) Philips-heads screws are a bit hidden. One is underneath the corner of the front lip and the other is tucked up into the top center of the fender liner.
15. With these fasteners removed, peel the front half of the fender liner back and tuck it into the rear portion of the fender well.
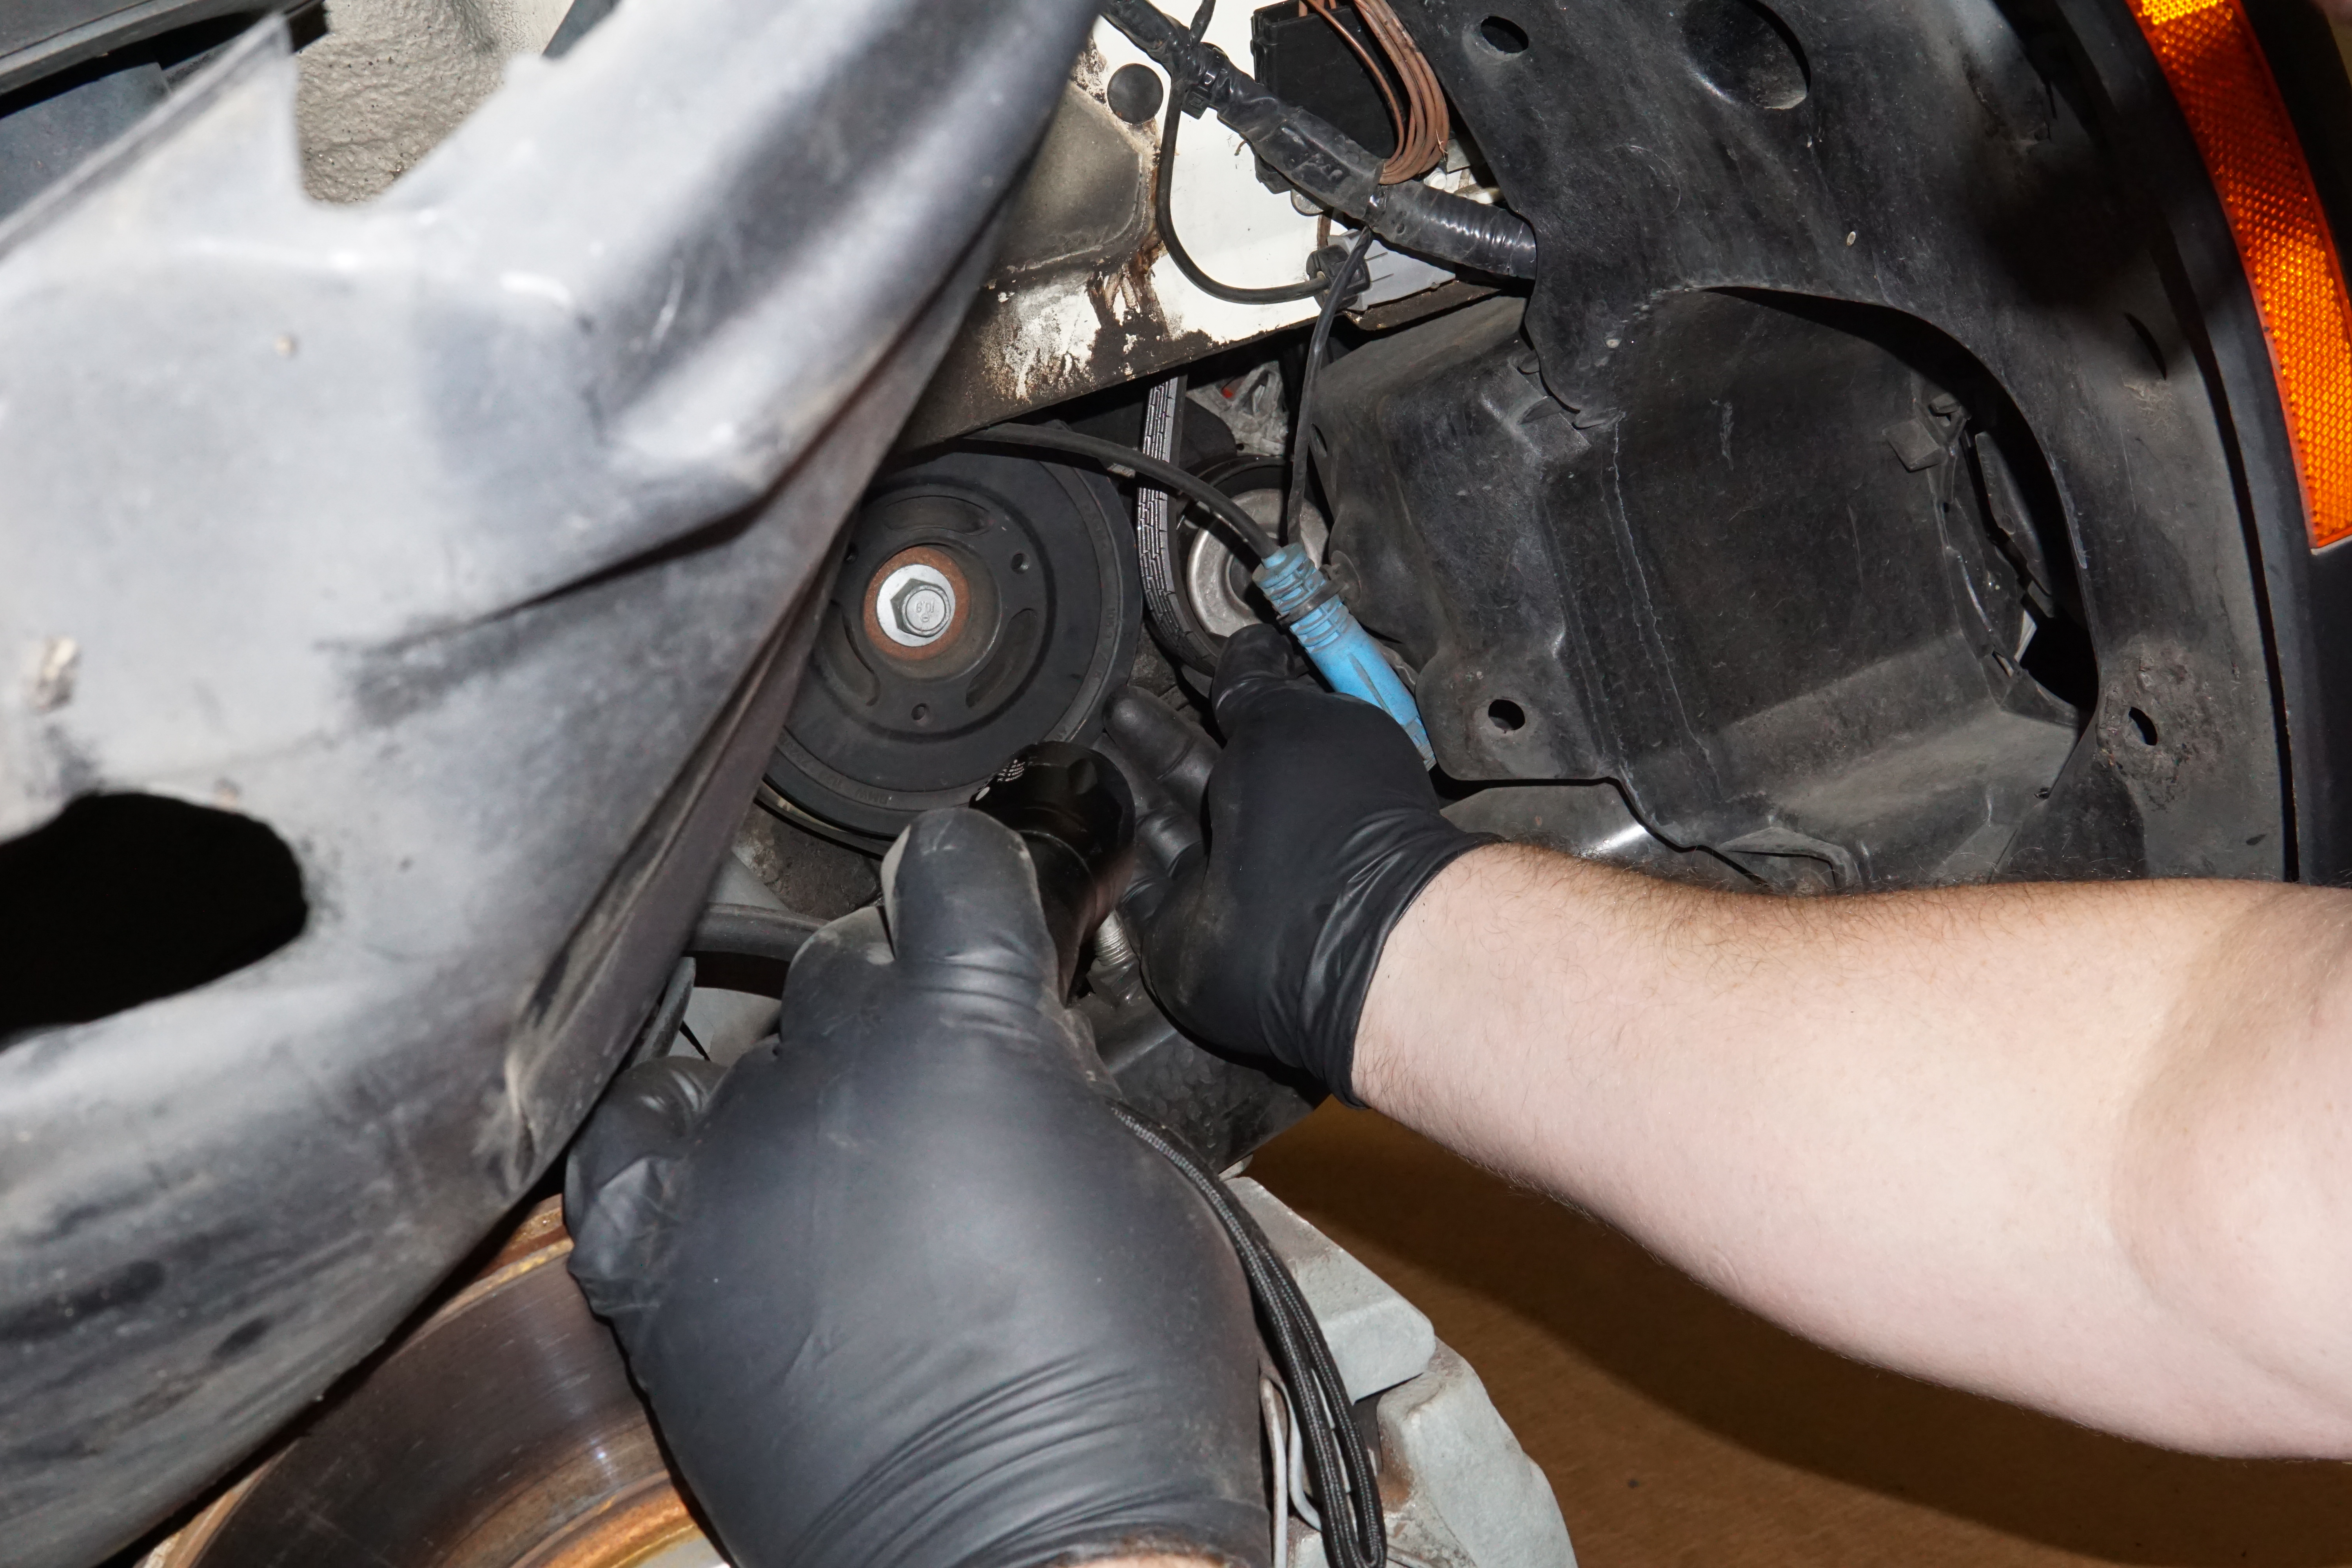
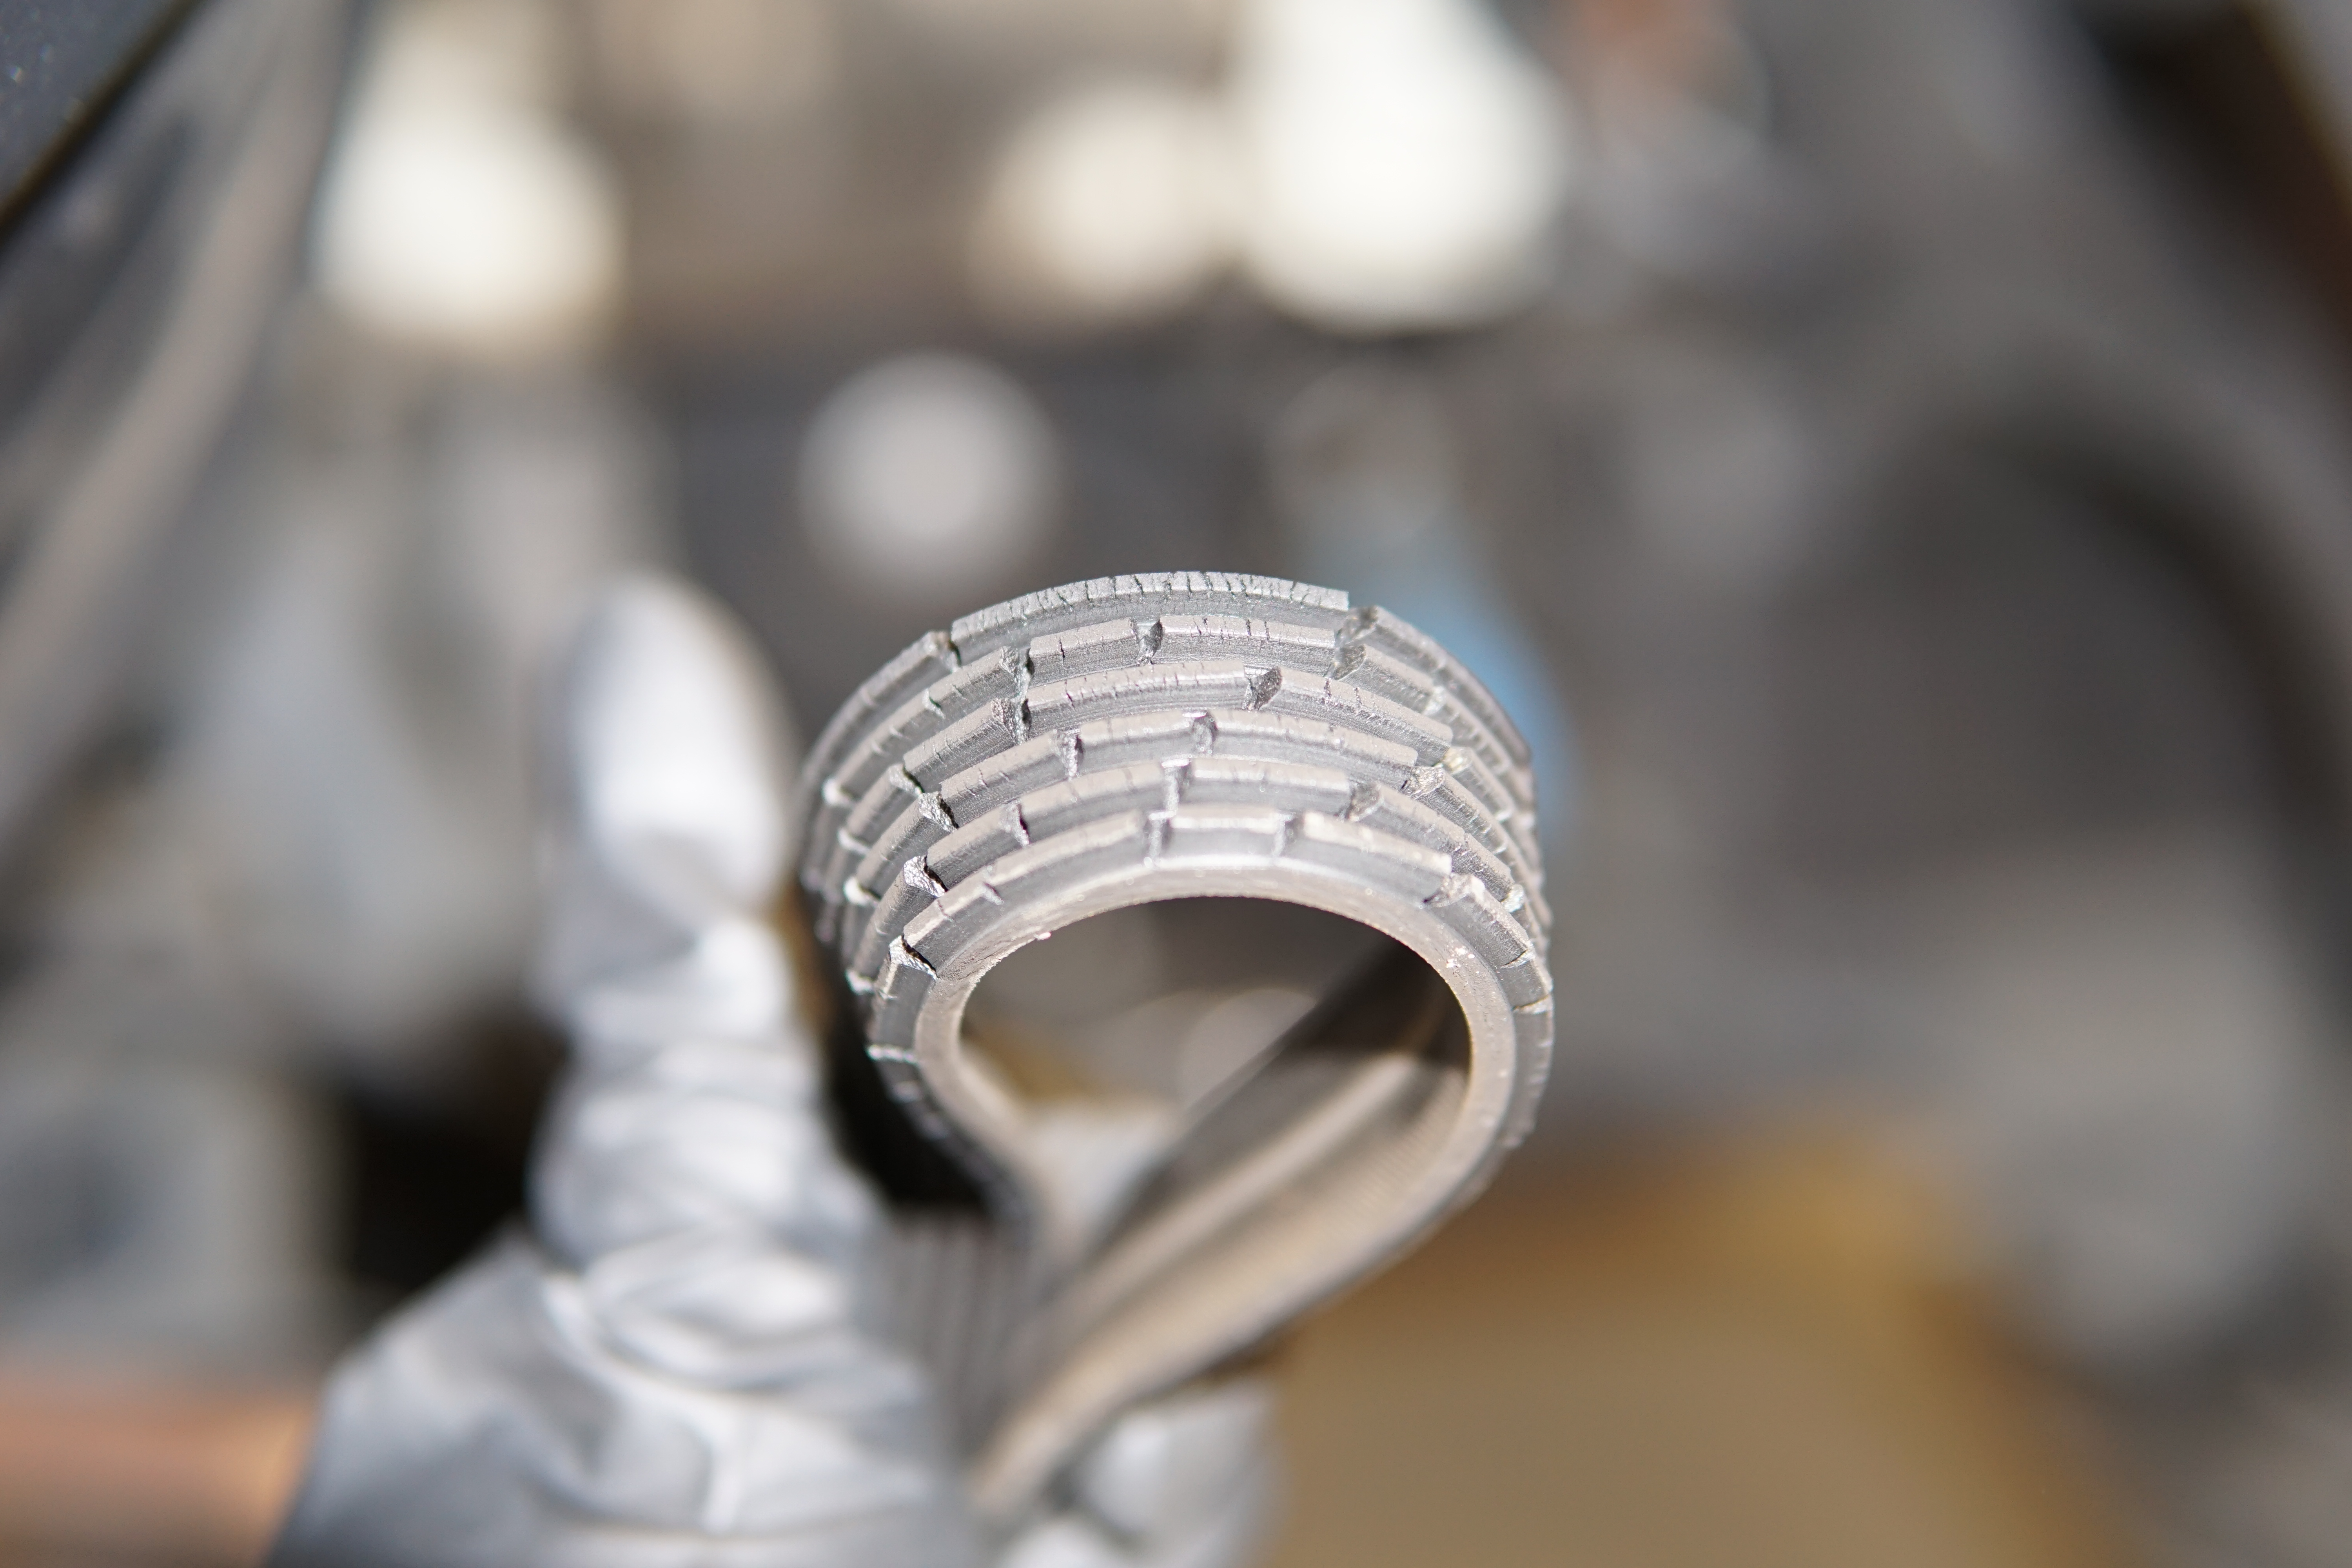
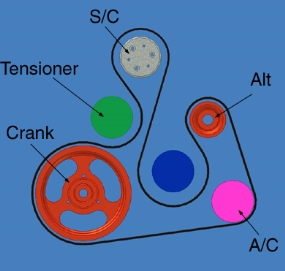
16. Use your flashlight and look for the serpentine belt through the exposed fender well. Manipulate it off of the pulleys and remove it from the MINI.
If your belt looks anything like this one... it's time to replace it. You may order up a new one right here:
Belt for MINI Supercharger Pulley
17. Next, we'll be removing the belt tensioner assembly. Four (4) screws hold it to the side of the engine block; two (2) 16mm and two (2) 10mm. Jack up the engine to access the forwardmost 16mm and 10mm screws and lower the engine to remove the remaining two screws towards the back. Pay special attention to the coil pack plugs, throttle body, and any other engine components that could get 'hung up' in the process of lifting or lowering the engine.
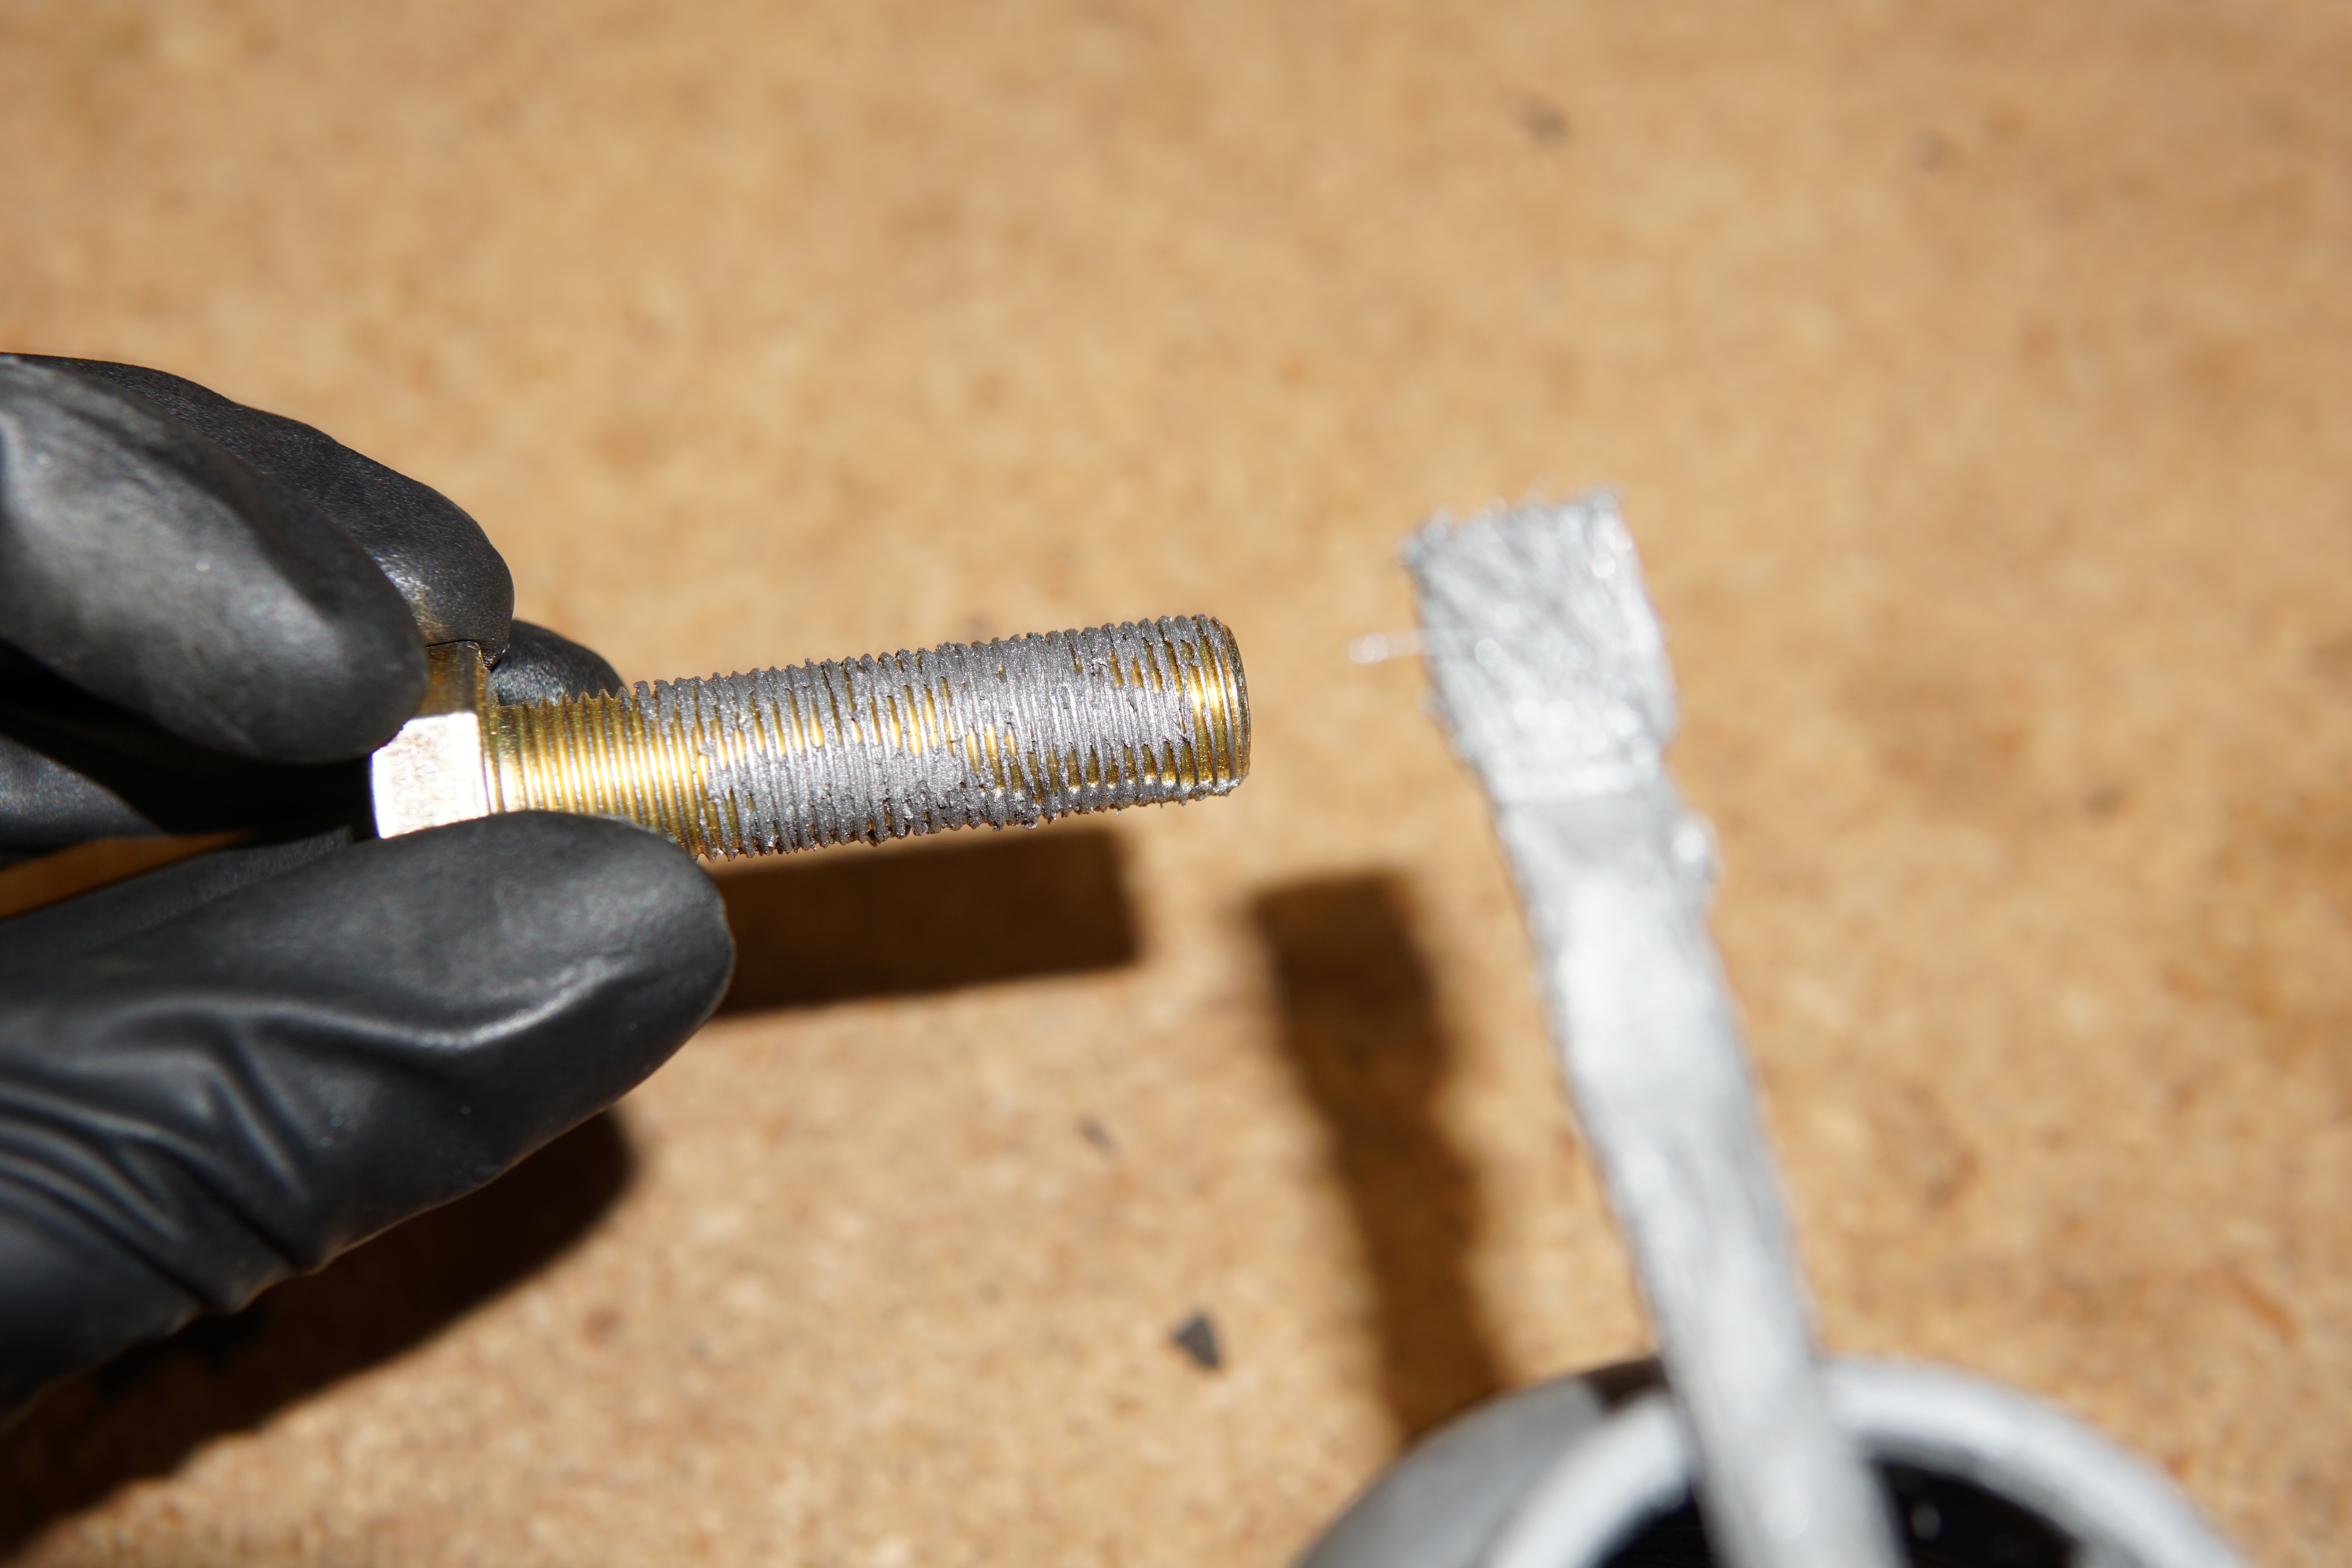
18. There is a plastic nubbin threaded onto the end of the supercharger pulley shaft that needs to be removed before pulling the factory pulley off.
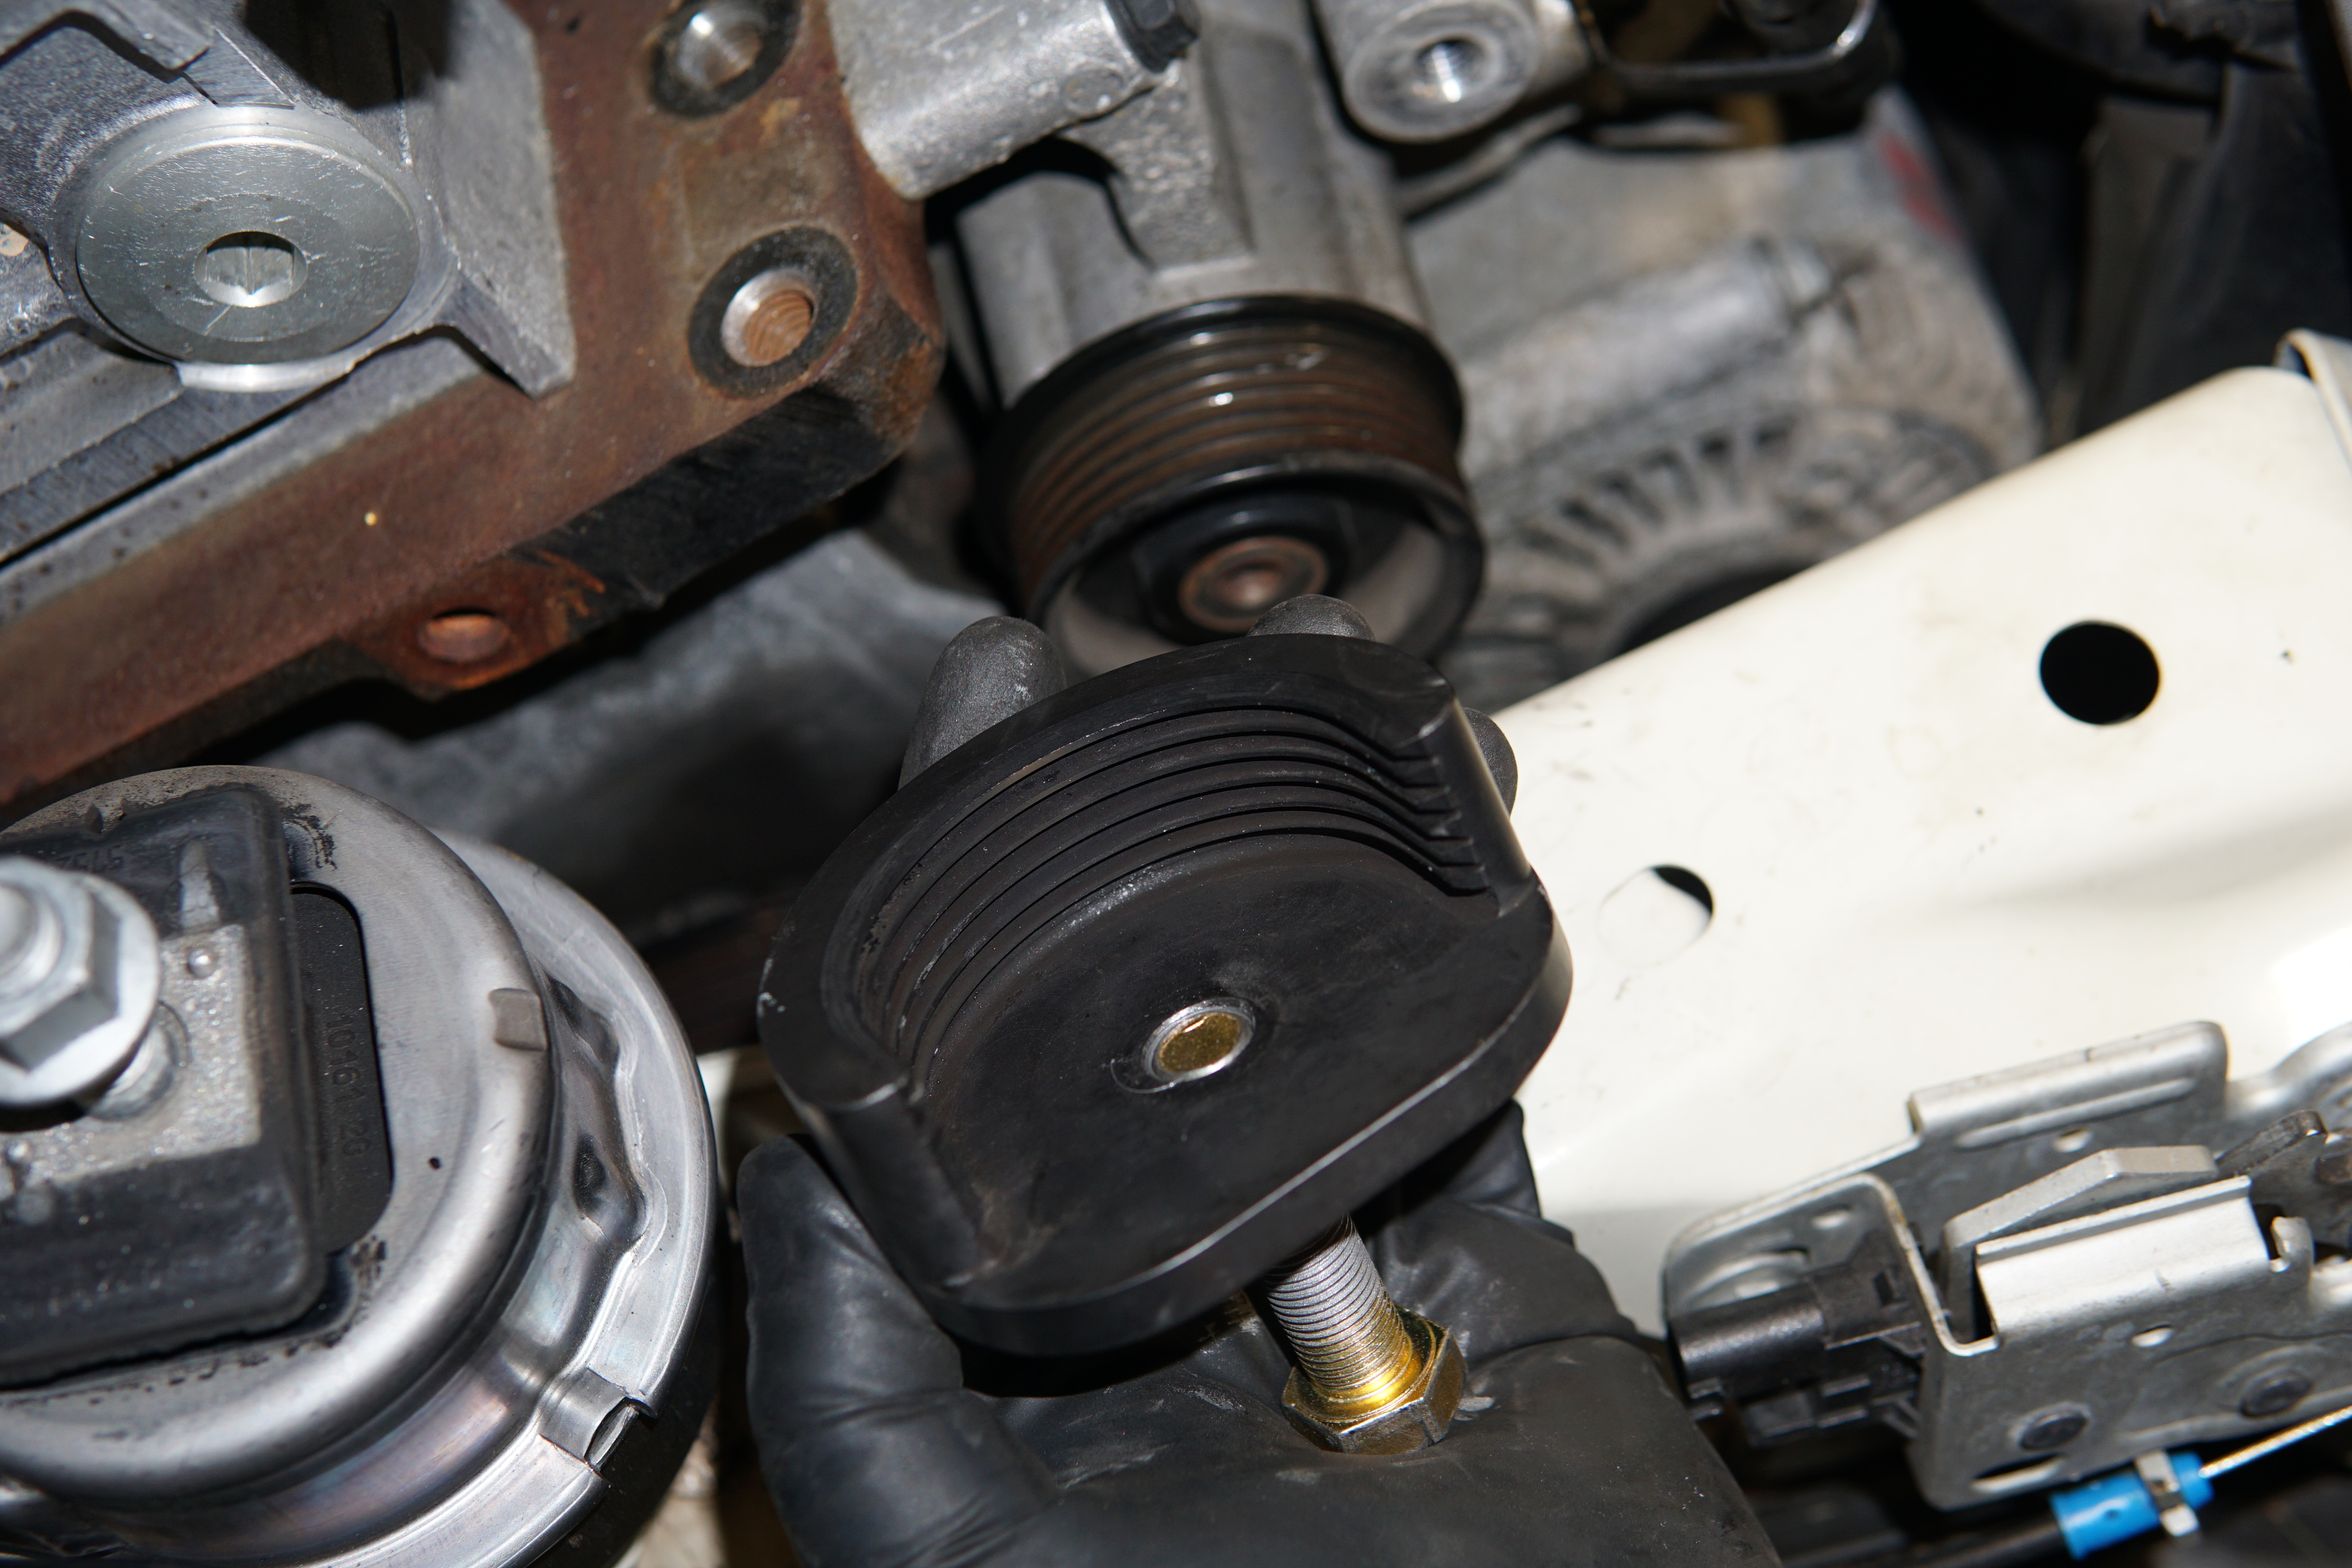
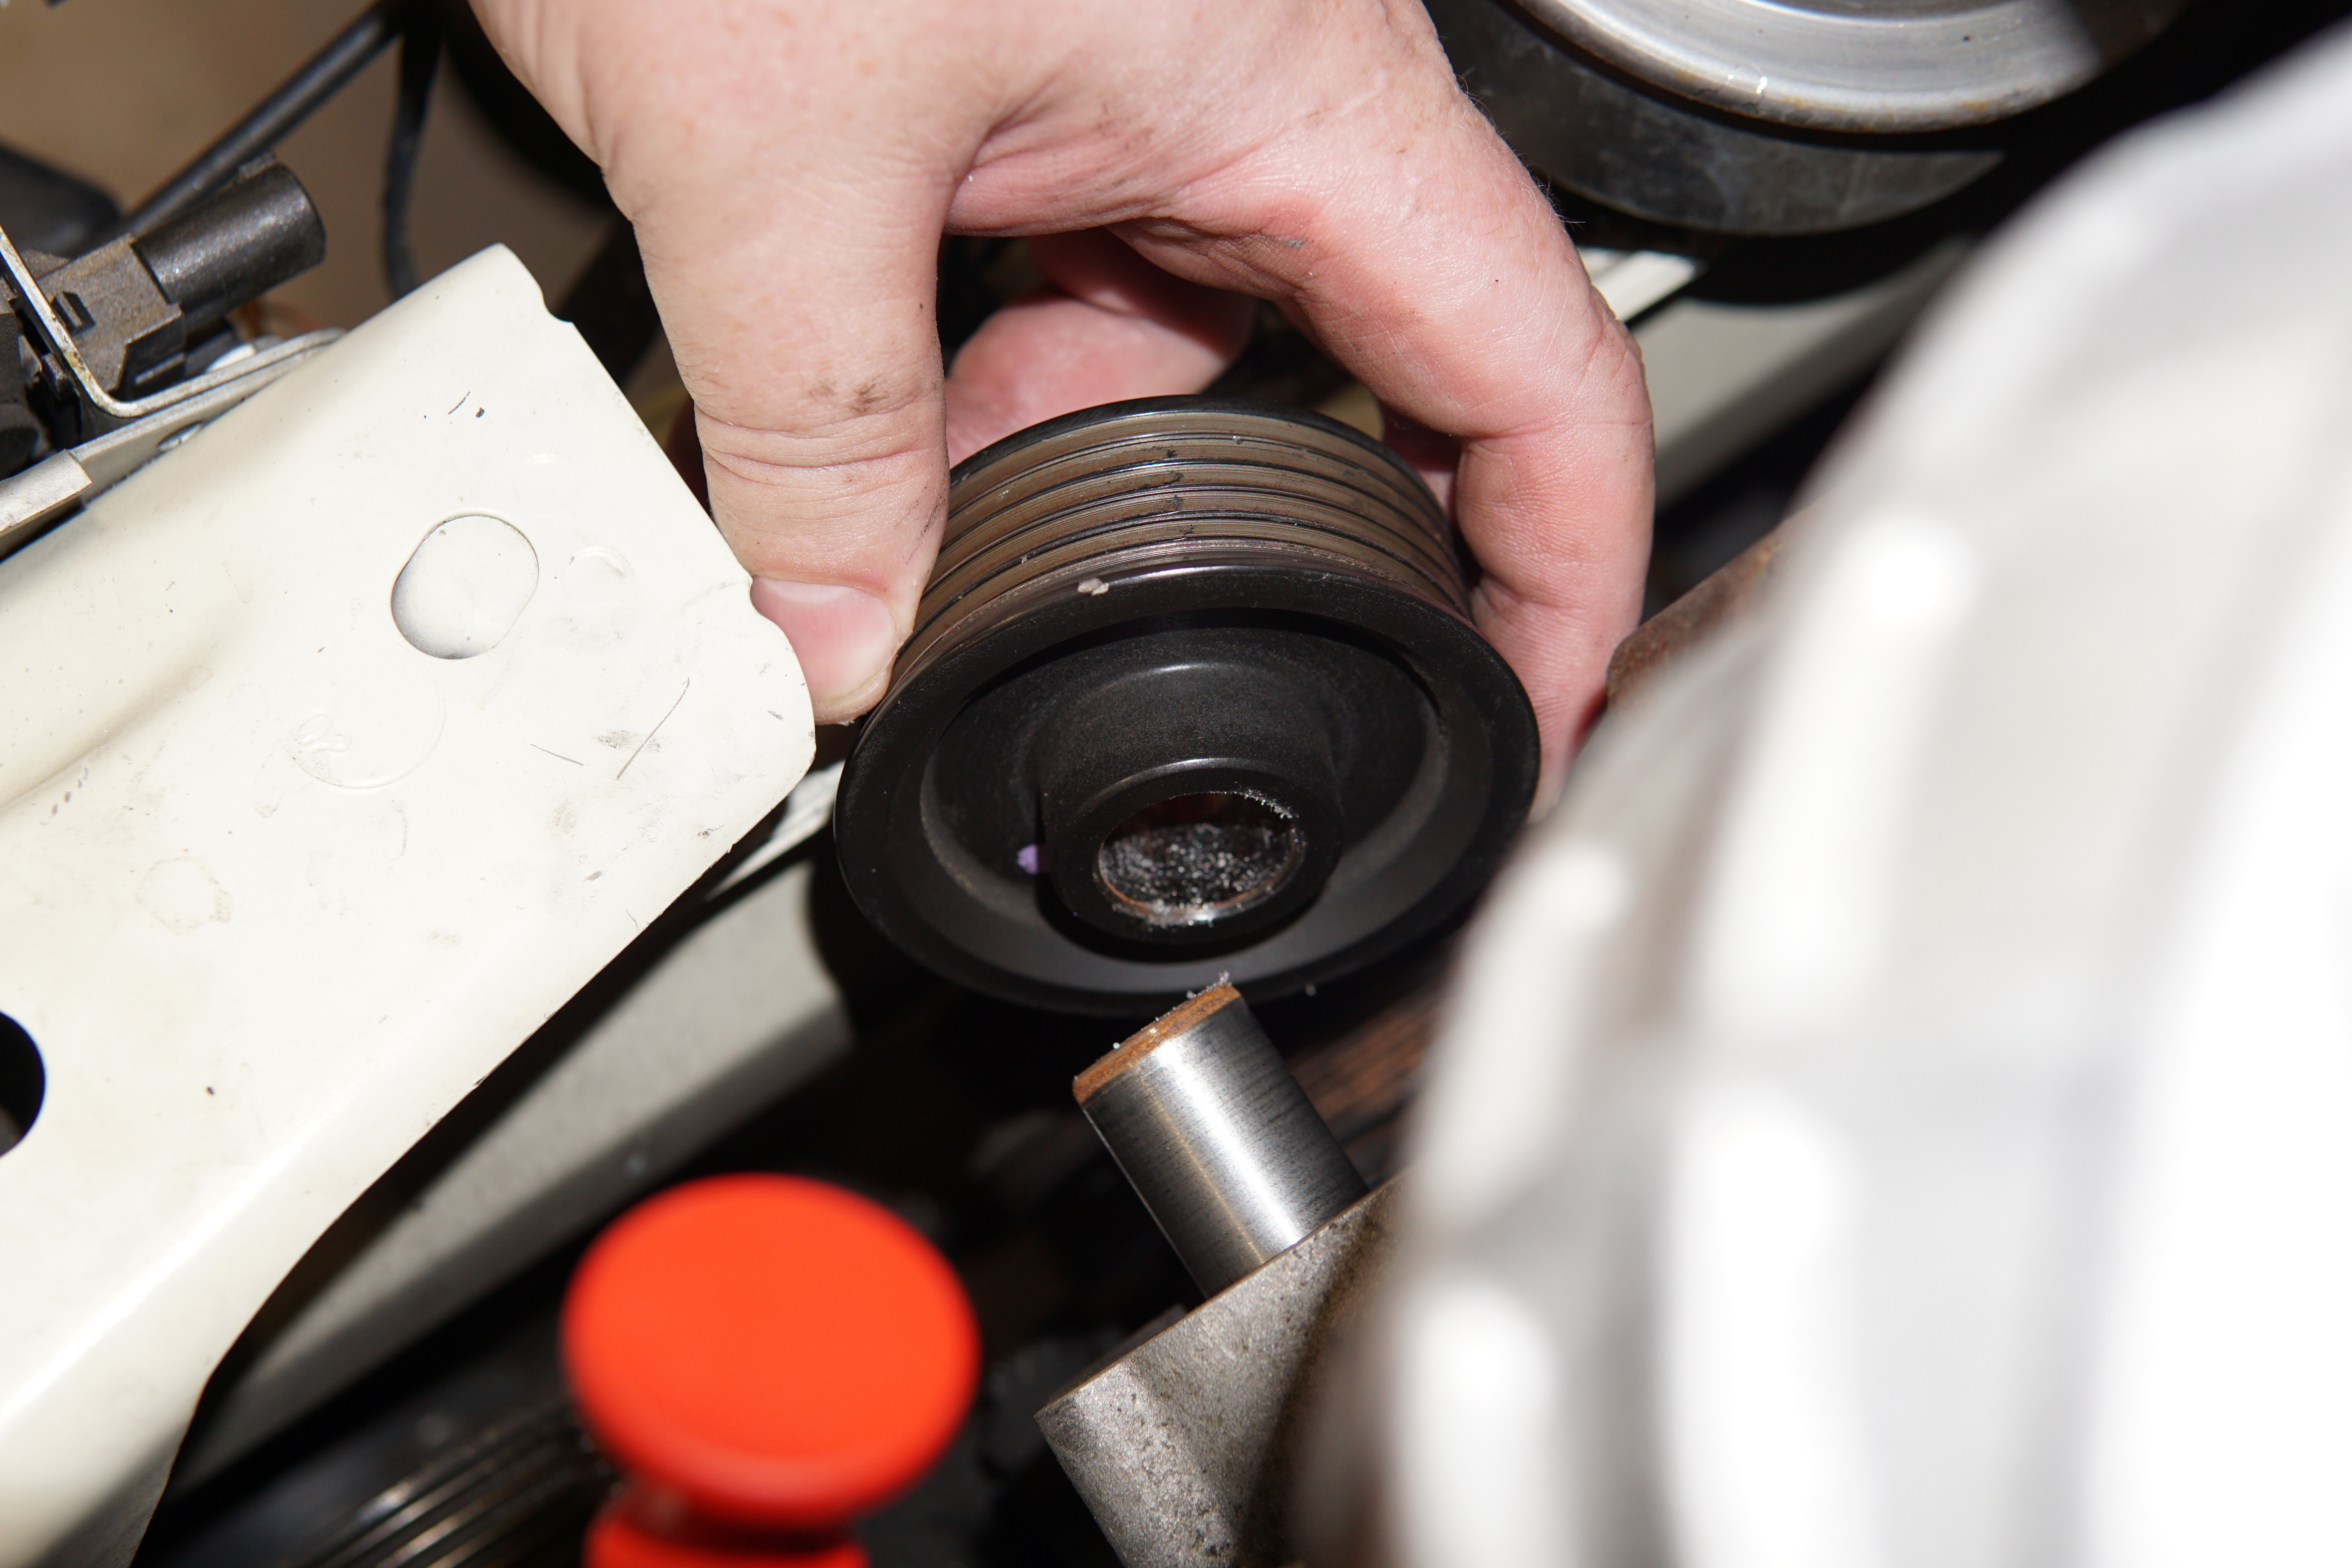
19. The factory supercharger pulley will now be accessible and we can remove it with the pulley puller tool. Carefully jack up the motor so that you can approach the pulley straight on from the passenger side. Take the proper pulley puller (there are two available; one for Cooper S and one for JCW models) and thread the pressure bolt a few turns into the puller body with a little anti-seize on the threads.
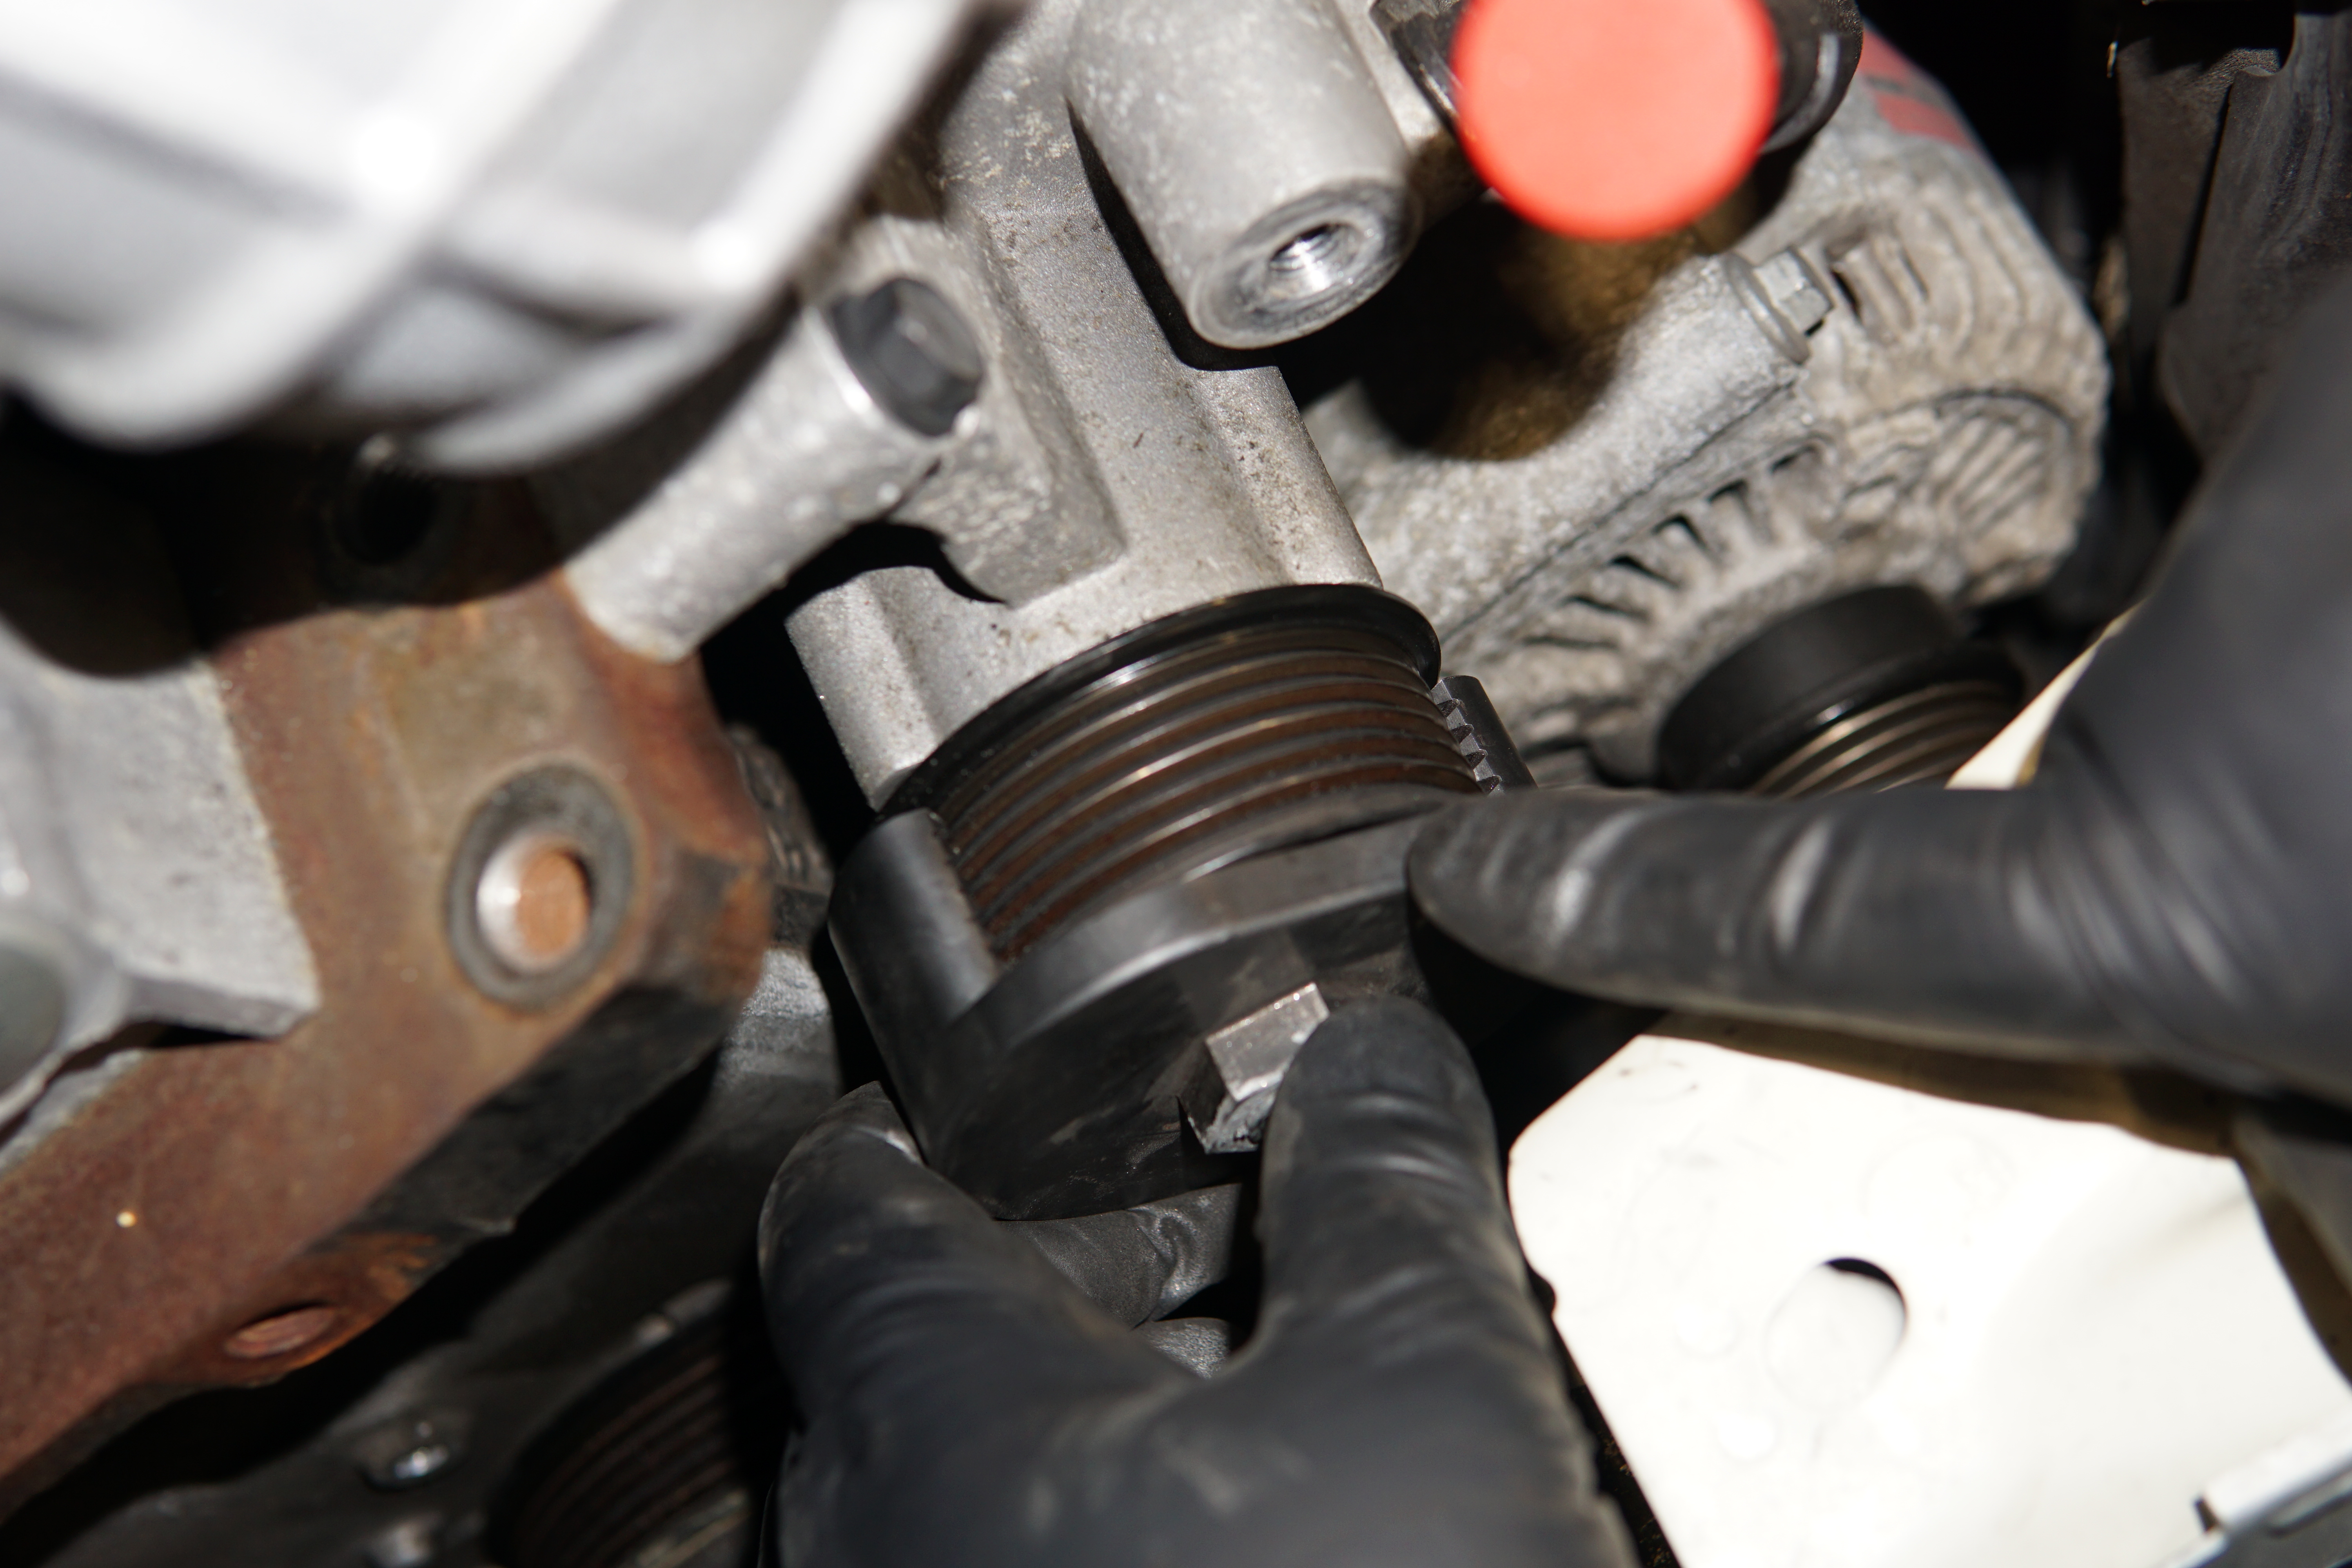
20. Place the pulley puller assembly onto the factory supercharger pulley, ensure that is fully seated, and hand-thread the pressure bolt into the puller body until it touches the end of the supercharger pulley shaft.
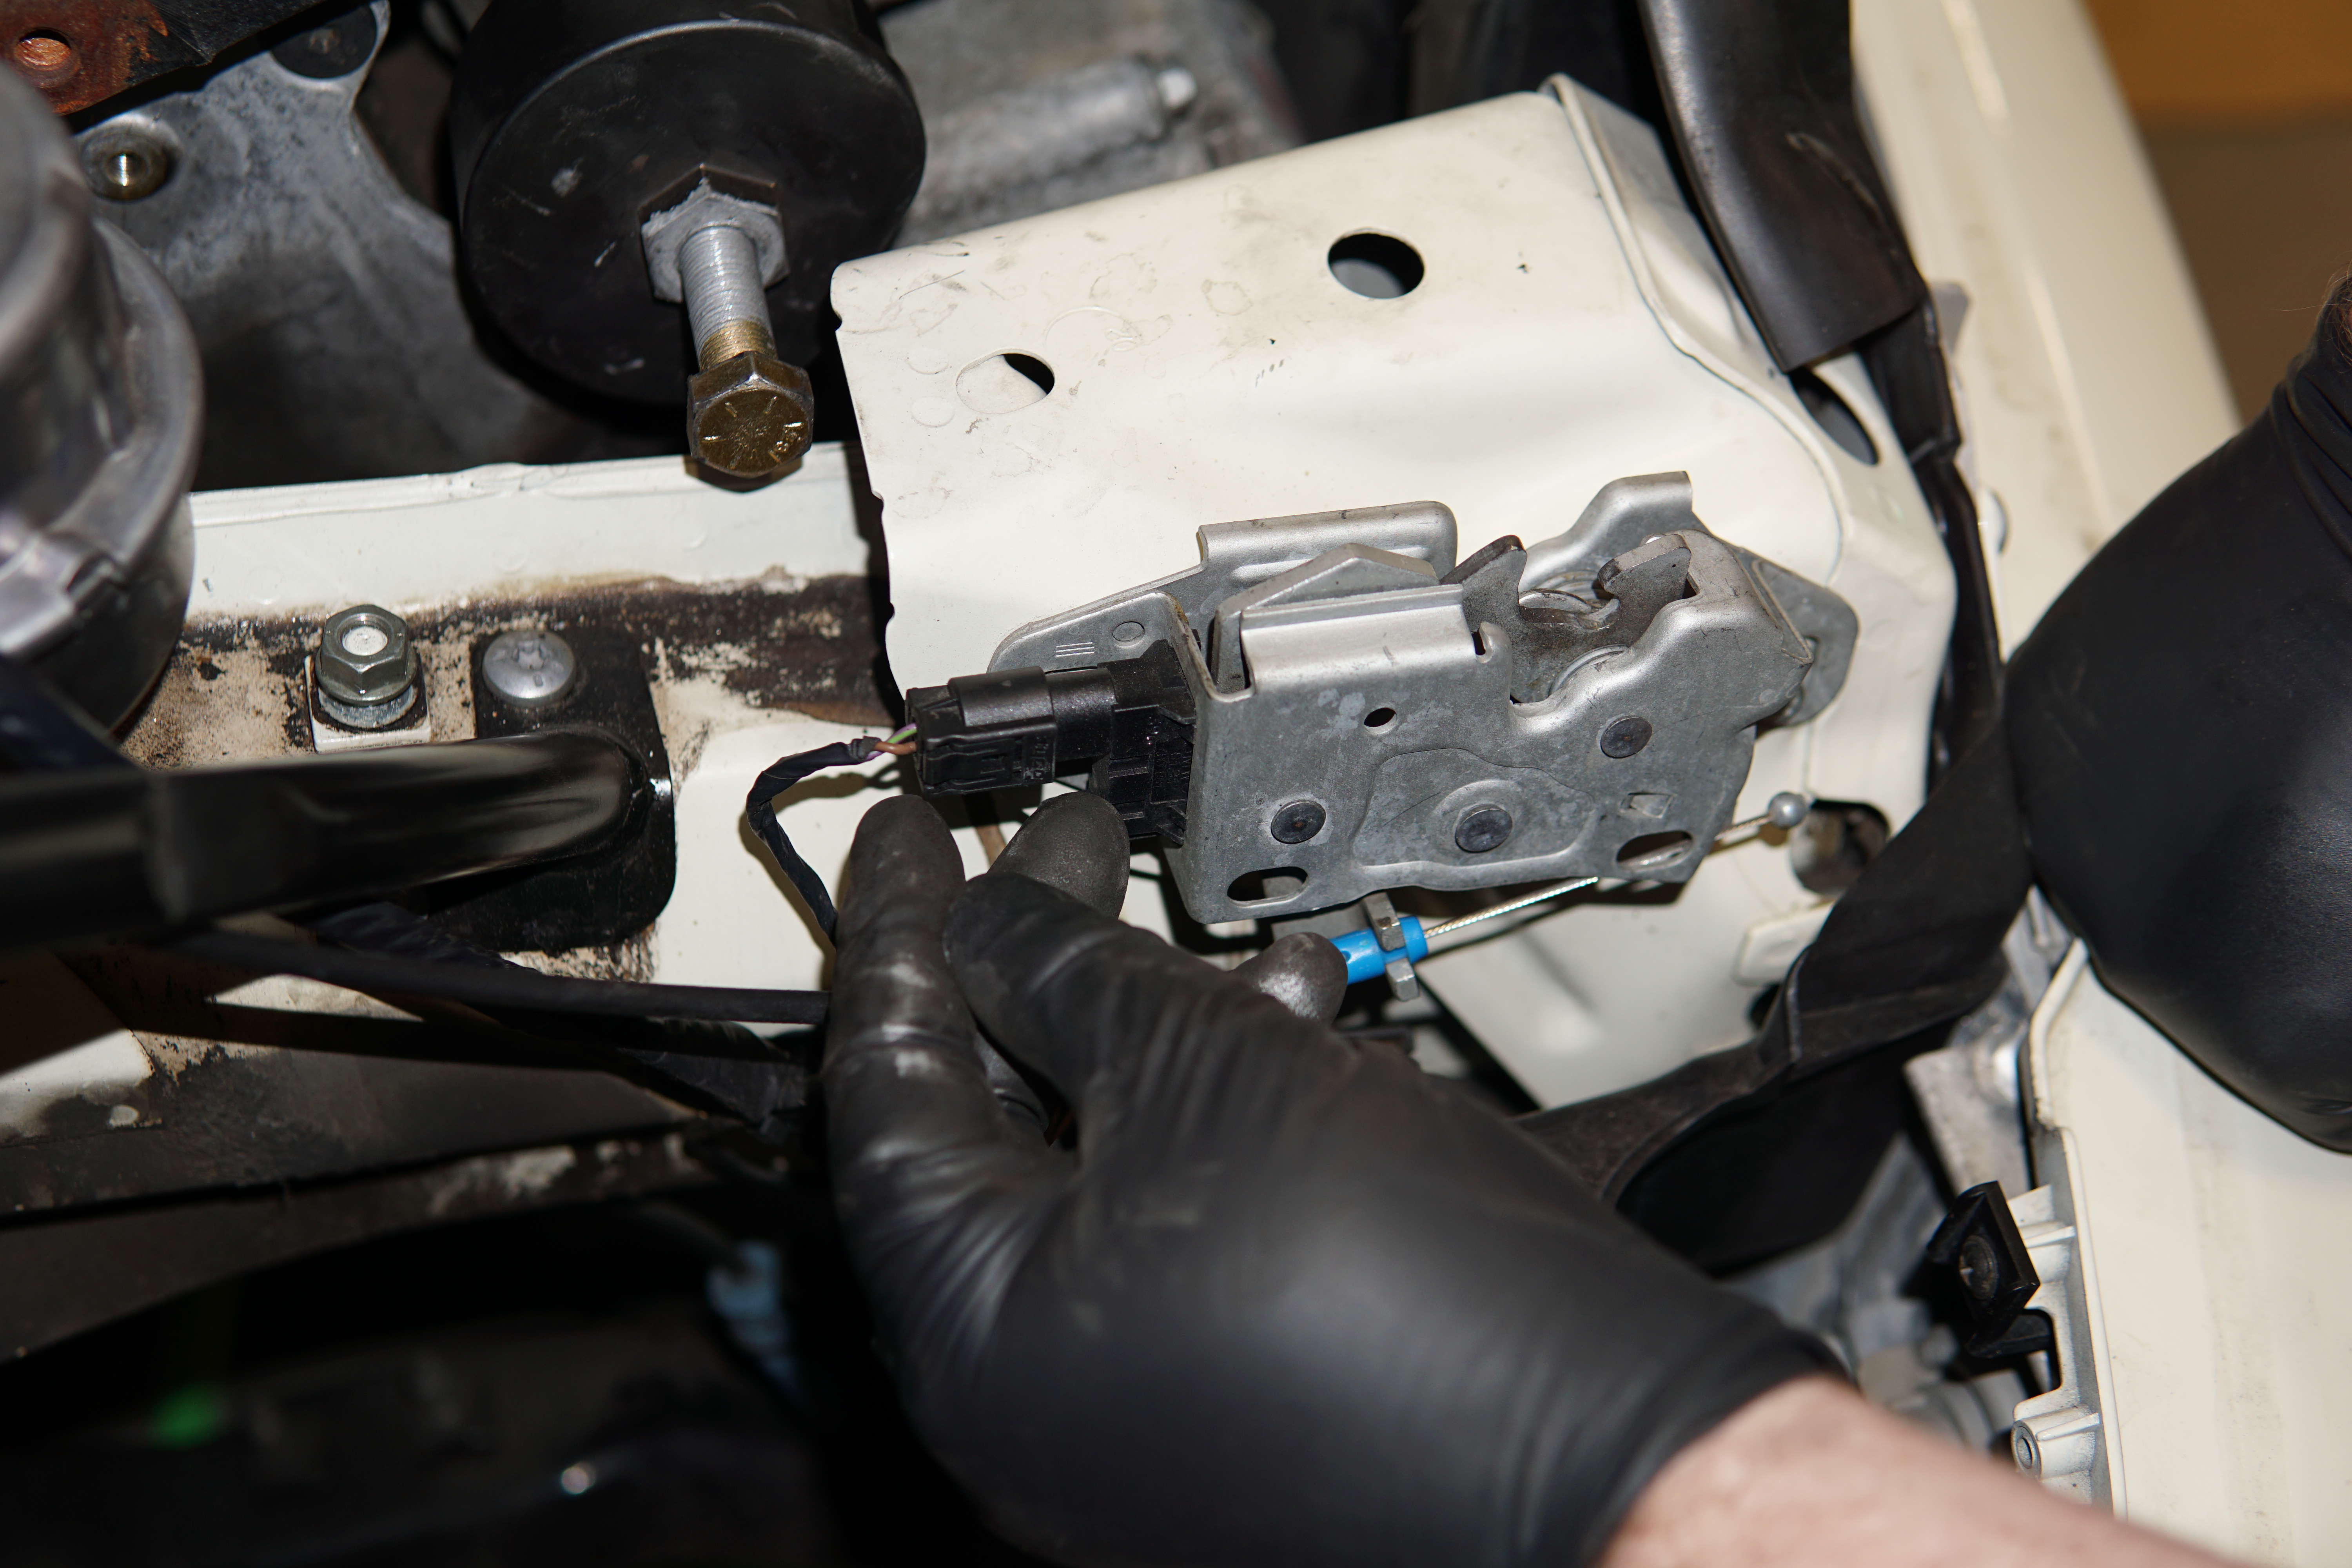
21. Unplug the warning switch for the bonnet latch mechanism, so it is not damaged when using the impact wrench.
22. Steady the pulley puller tool in place with a 7/8th combination wrench and use an impact wrench along with a 3/4" socket on an extension for the pressure bolt. Go slowly and continuously check the tool/pulley alignment during the removal process. If you find that the impact wrench is not up to the task, you may need to utilize a breaker bar.
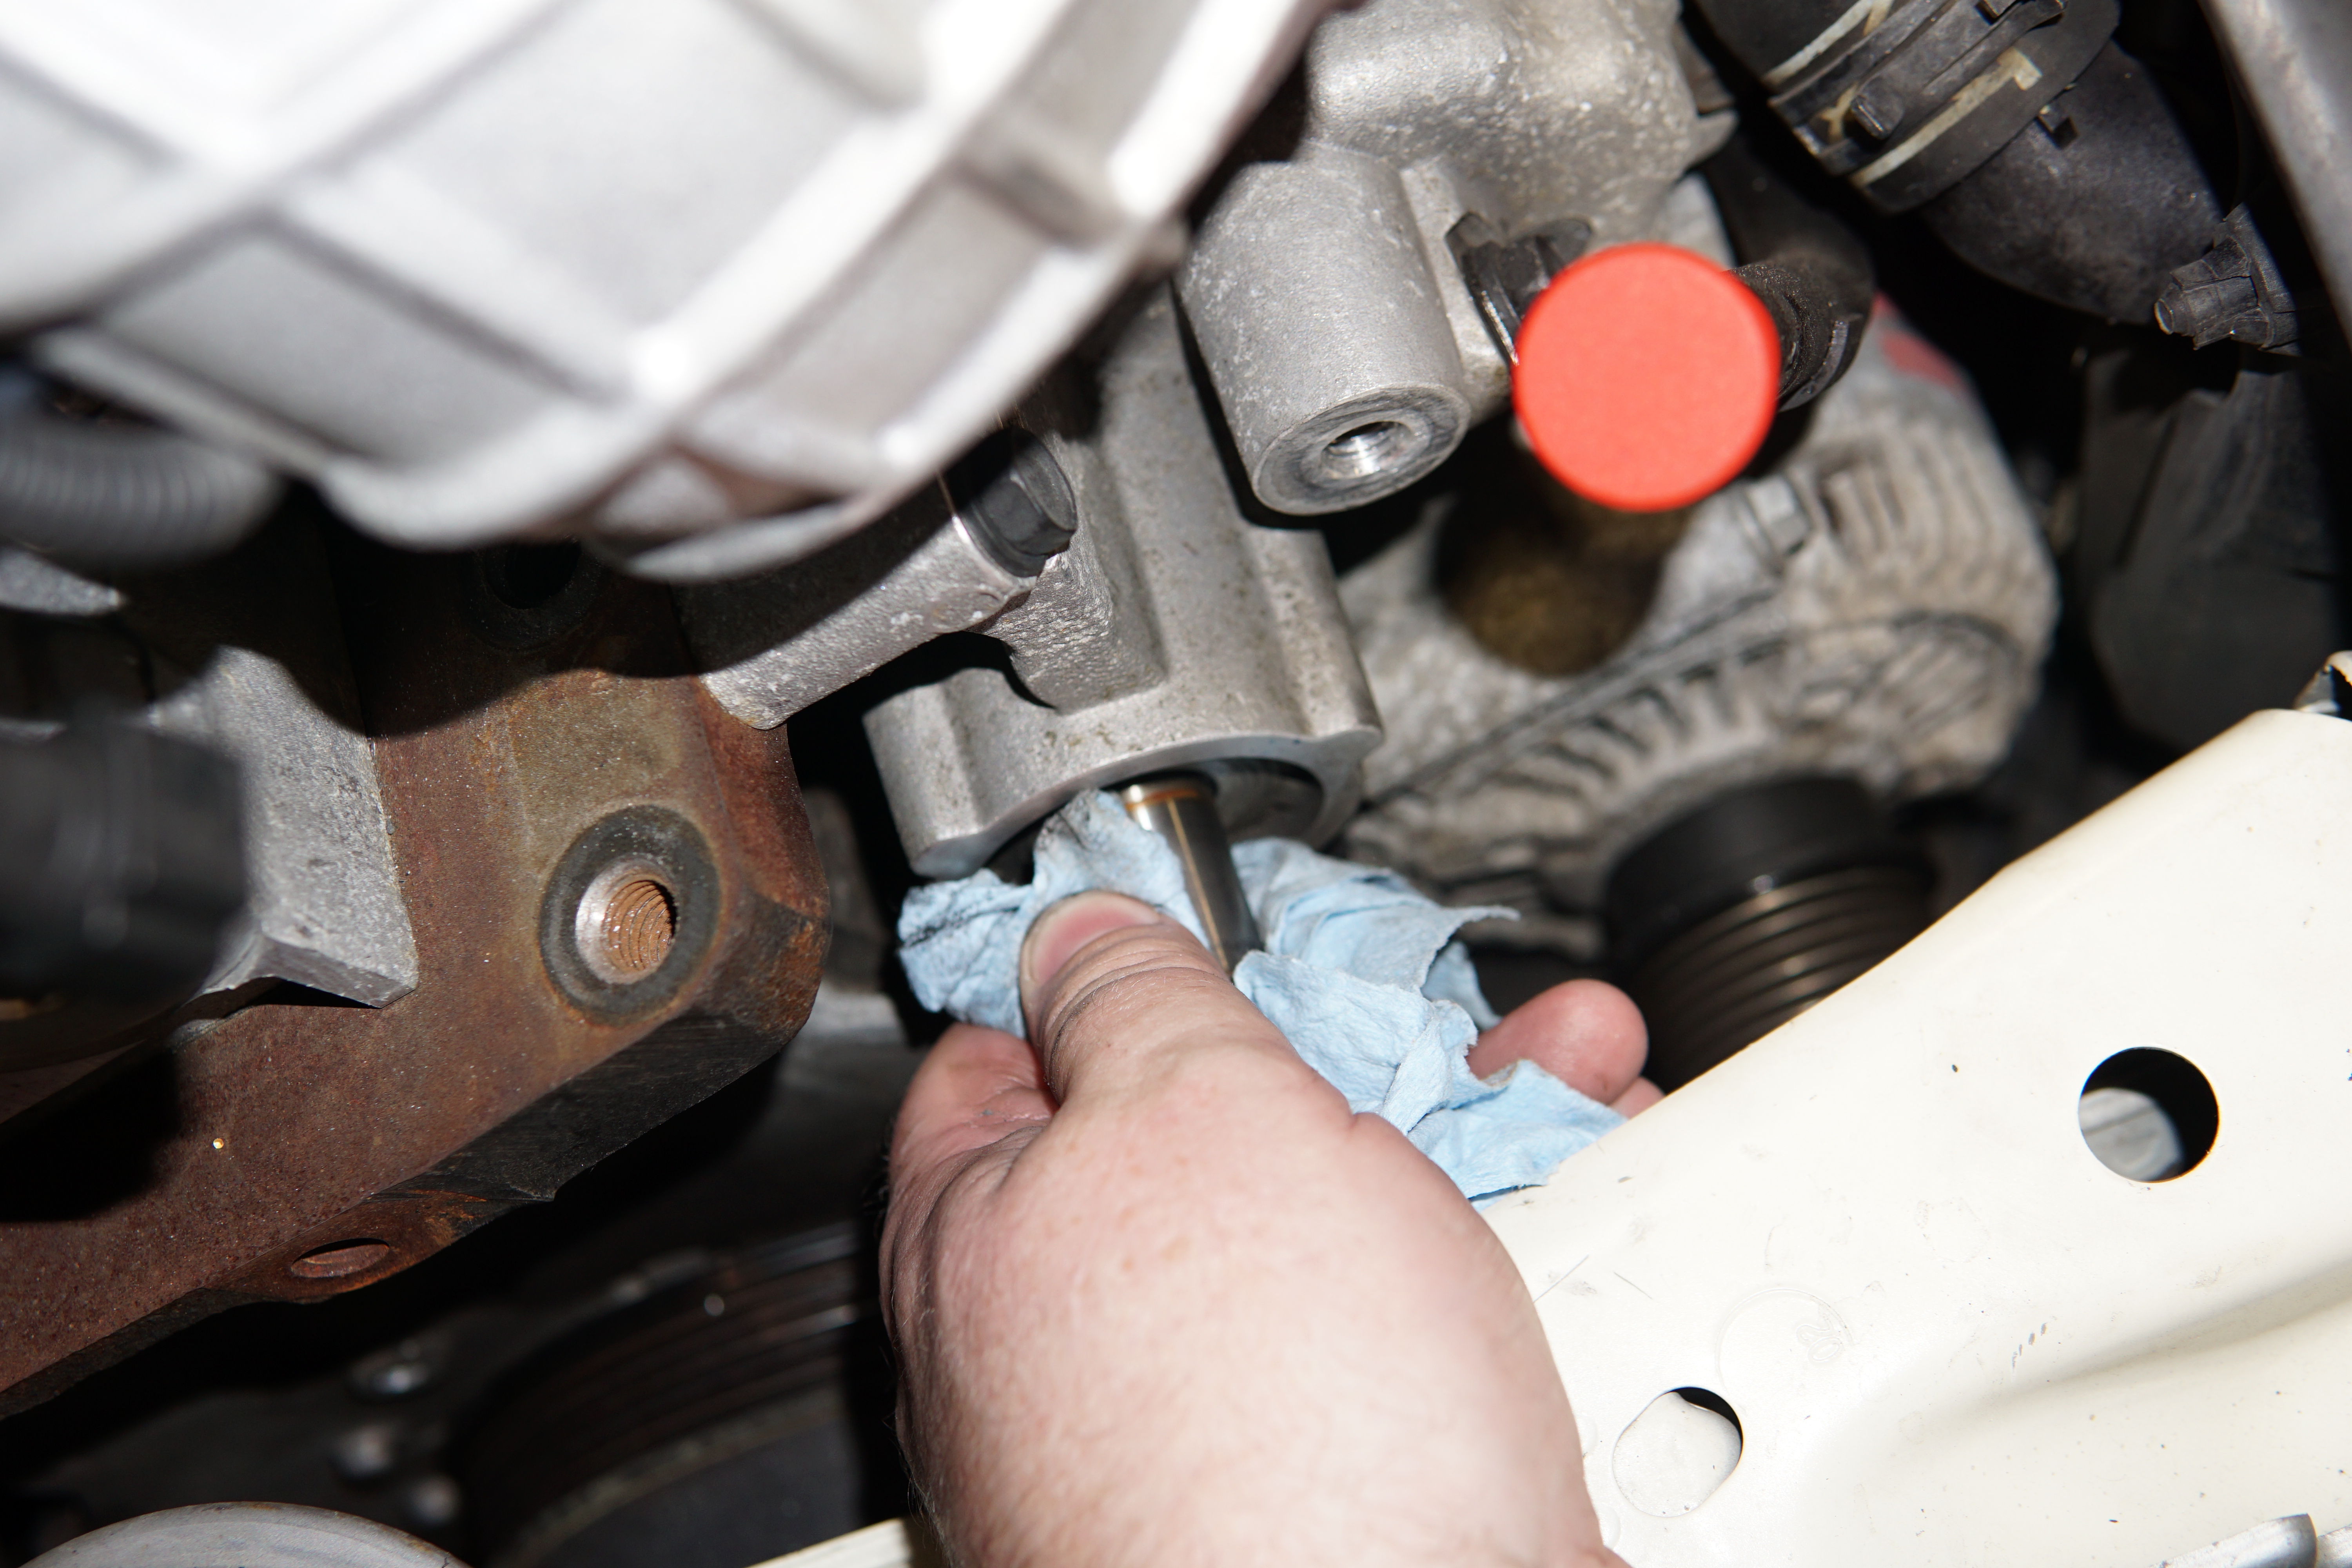
23. With the factory supercharger pulley removed, use a degreaser and wipe down the exposed shaft. Ensure that there is no damage to the shaft prior to the pulley install.
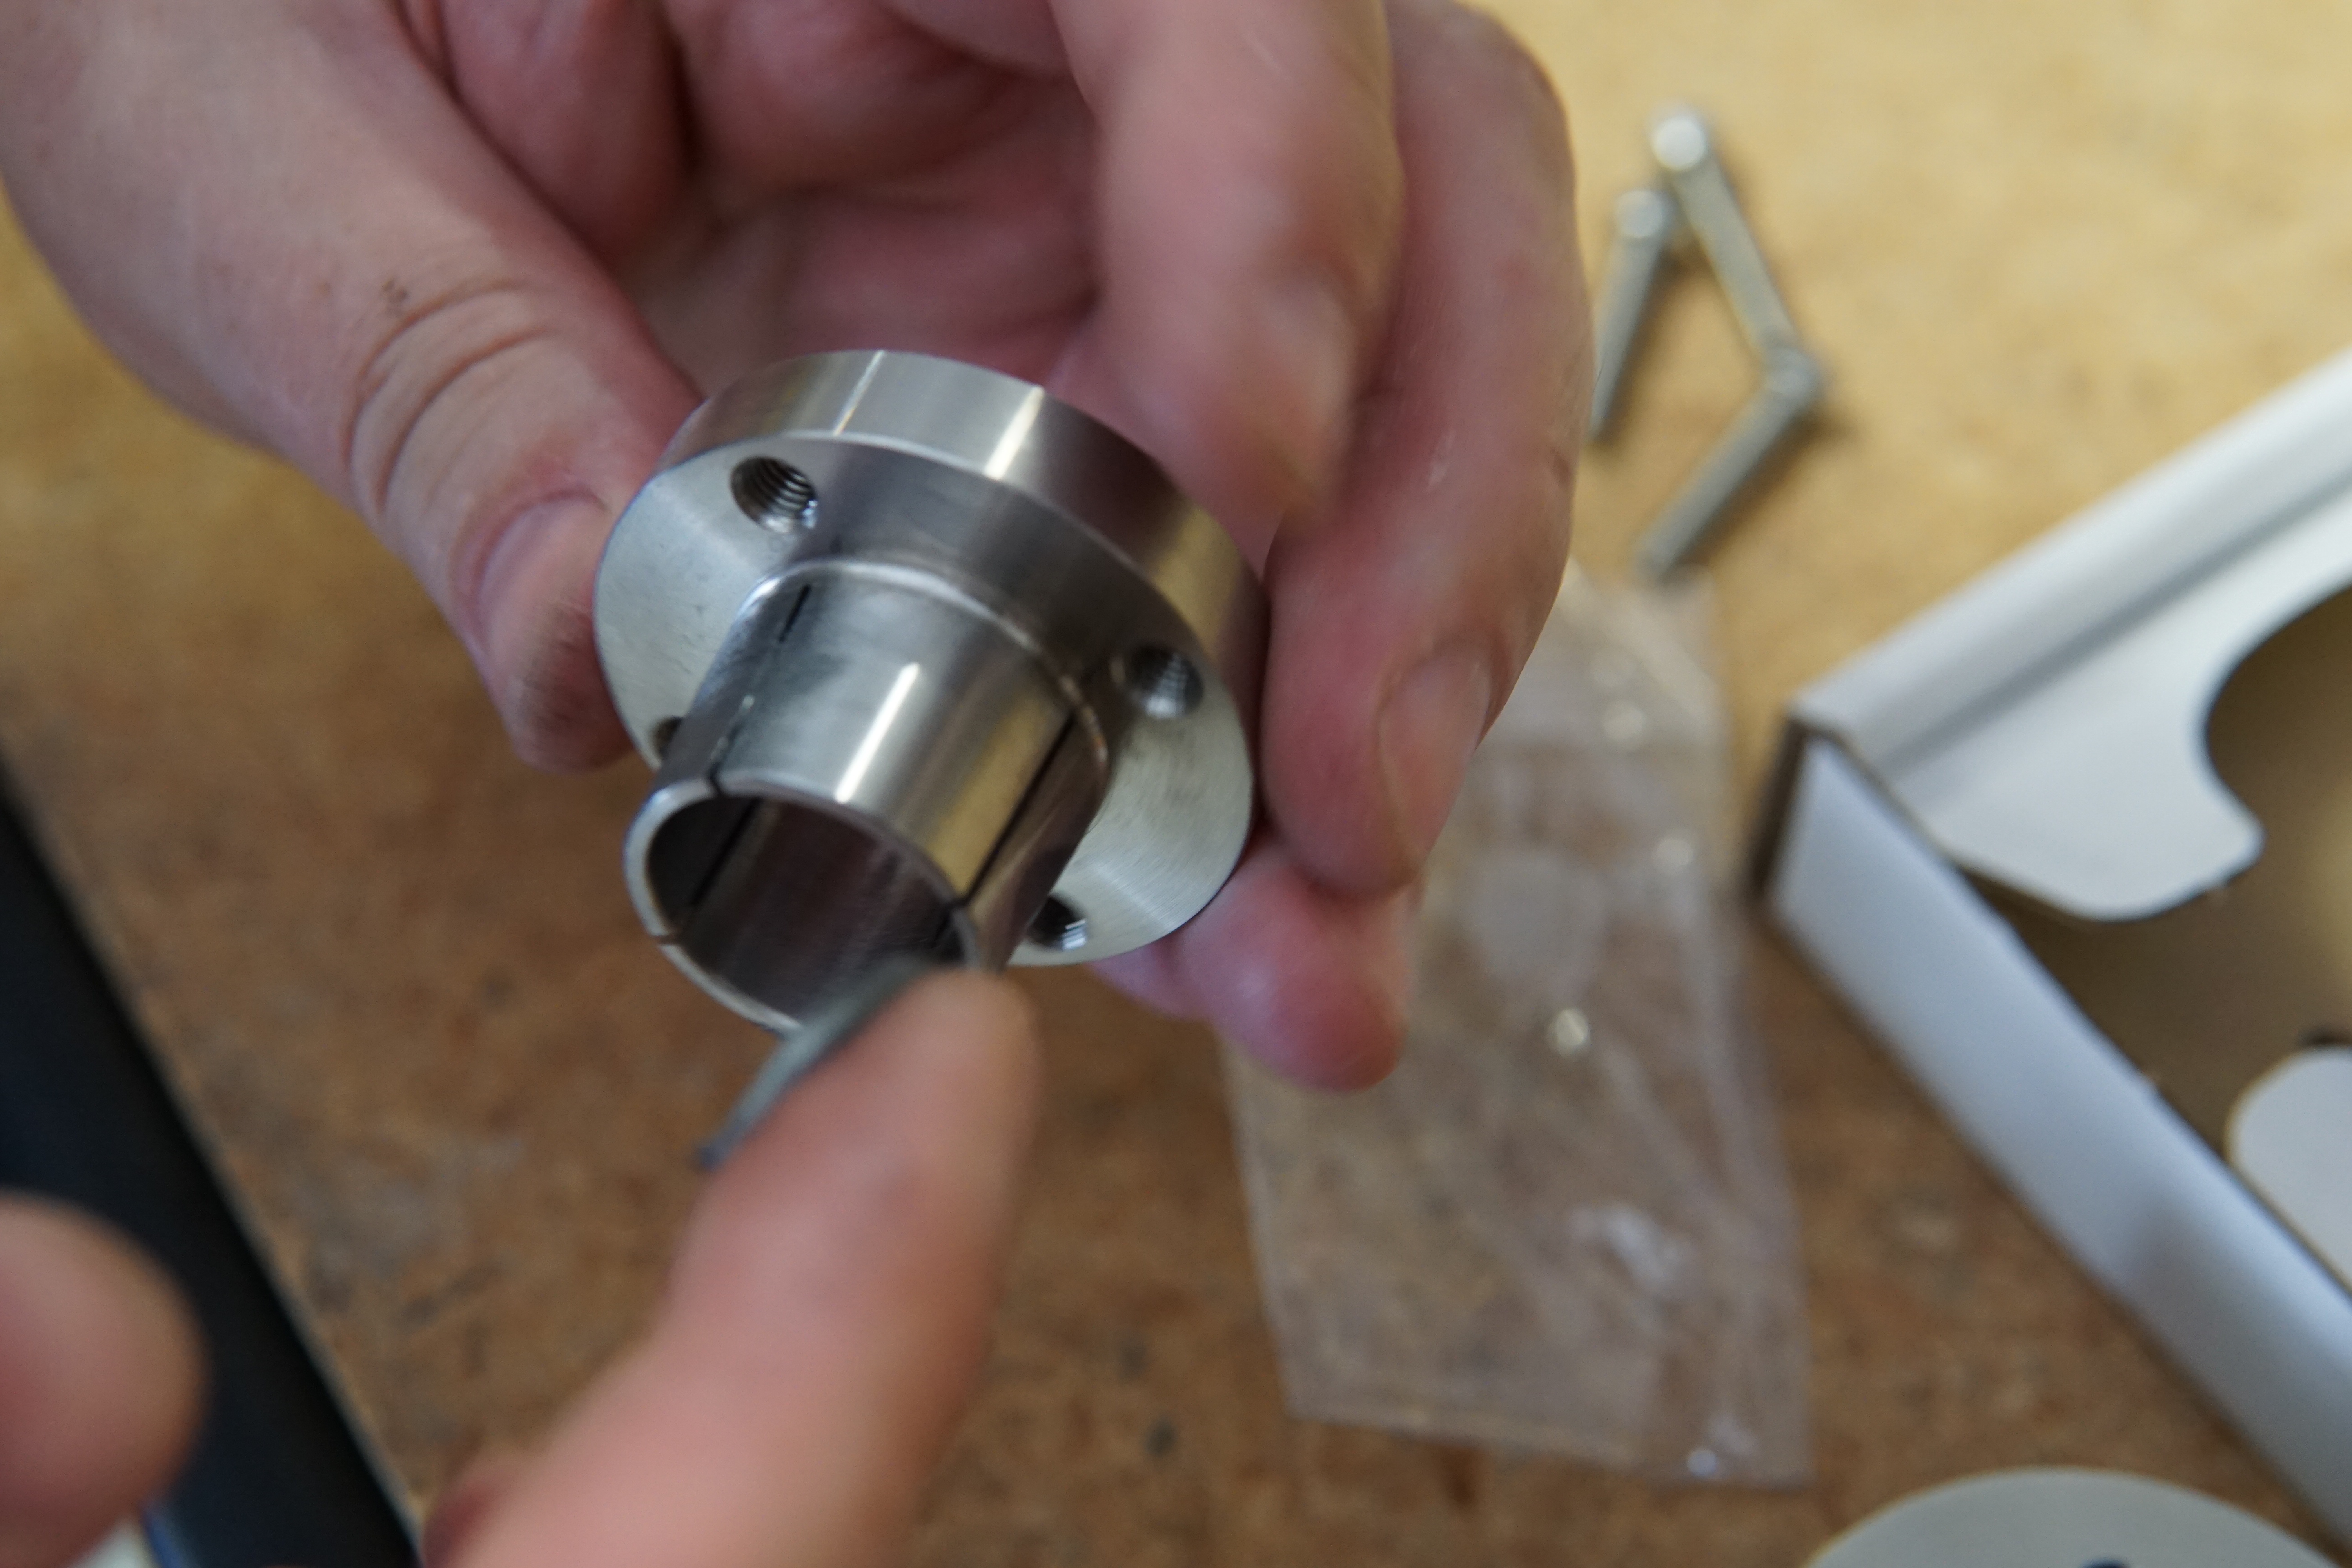
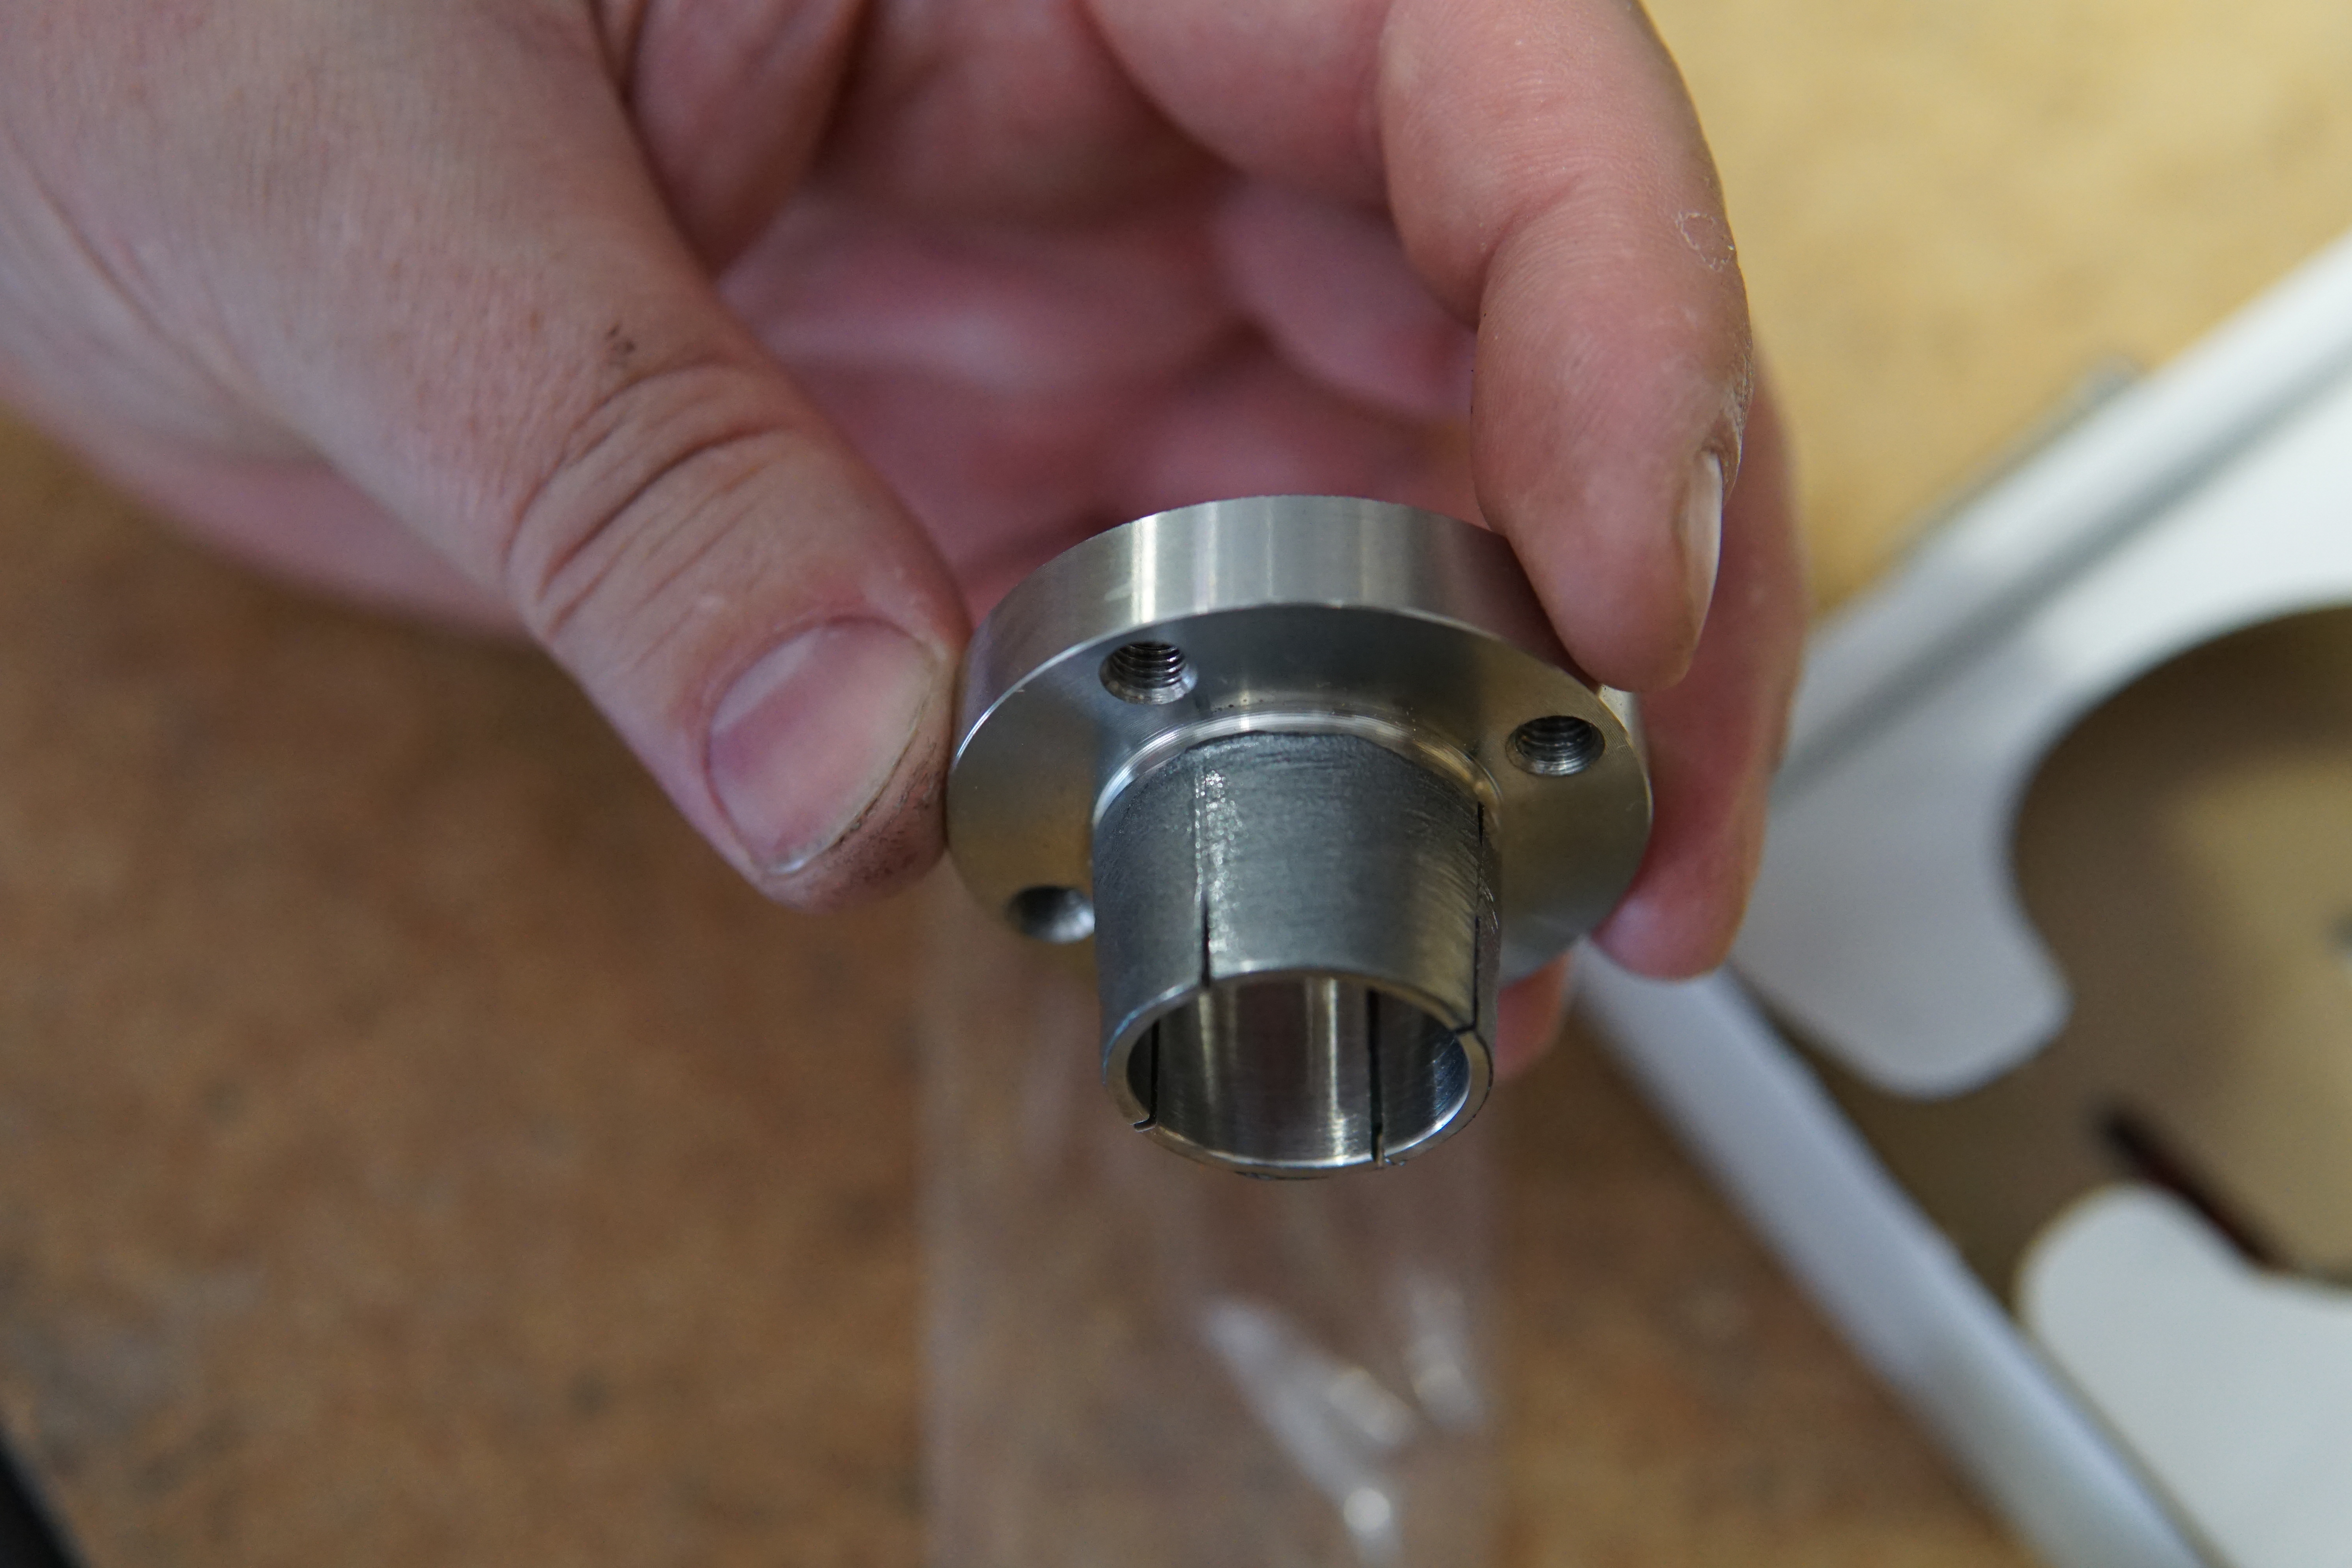
24. Apply a small amount of the provided anti-seize to the tapered section of the hub, slide it all the way onto the supercharger shaft and place the pulley body over it. Push the two pieces of the pulley together until they are lightly mated. Push the assembly toward the supercharger until it bottoms out and then pull it back approx .020-.025". This important step insures that the outer body of the pulley tightens on to the hub and not the other way around.
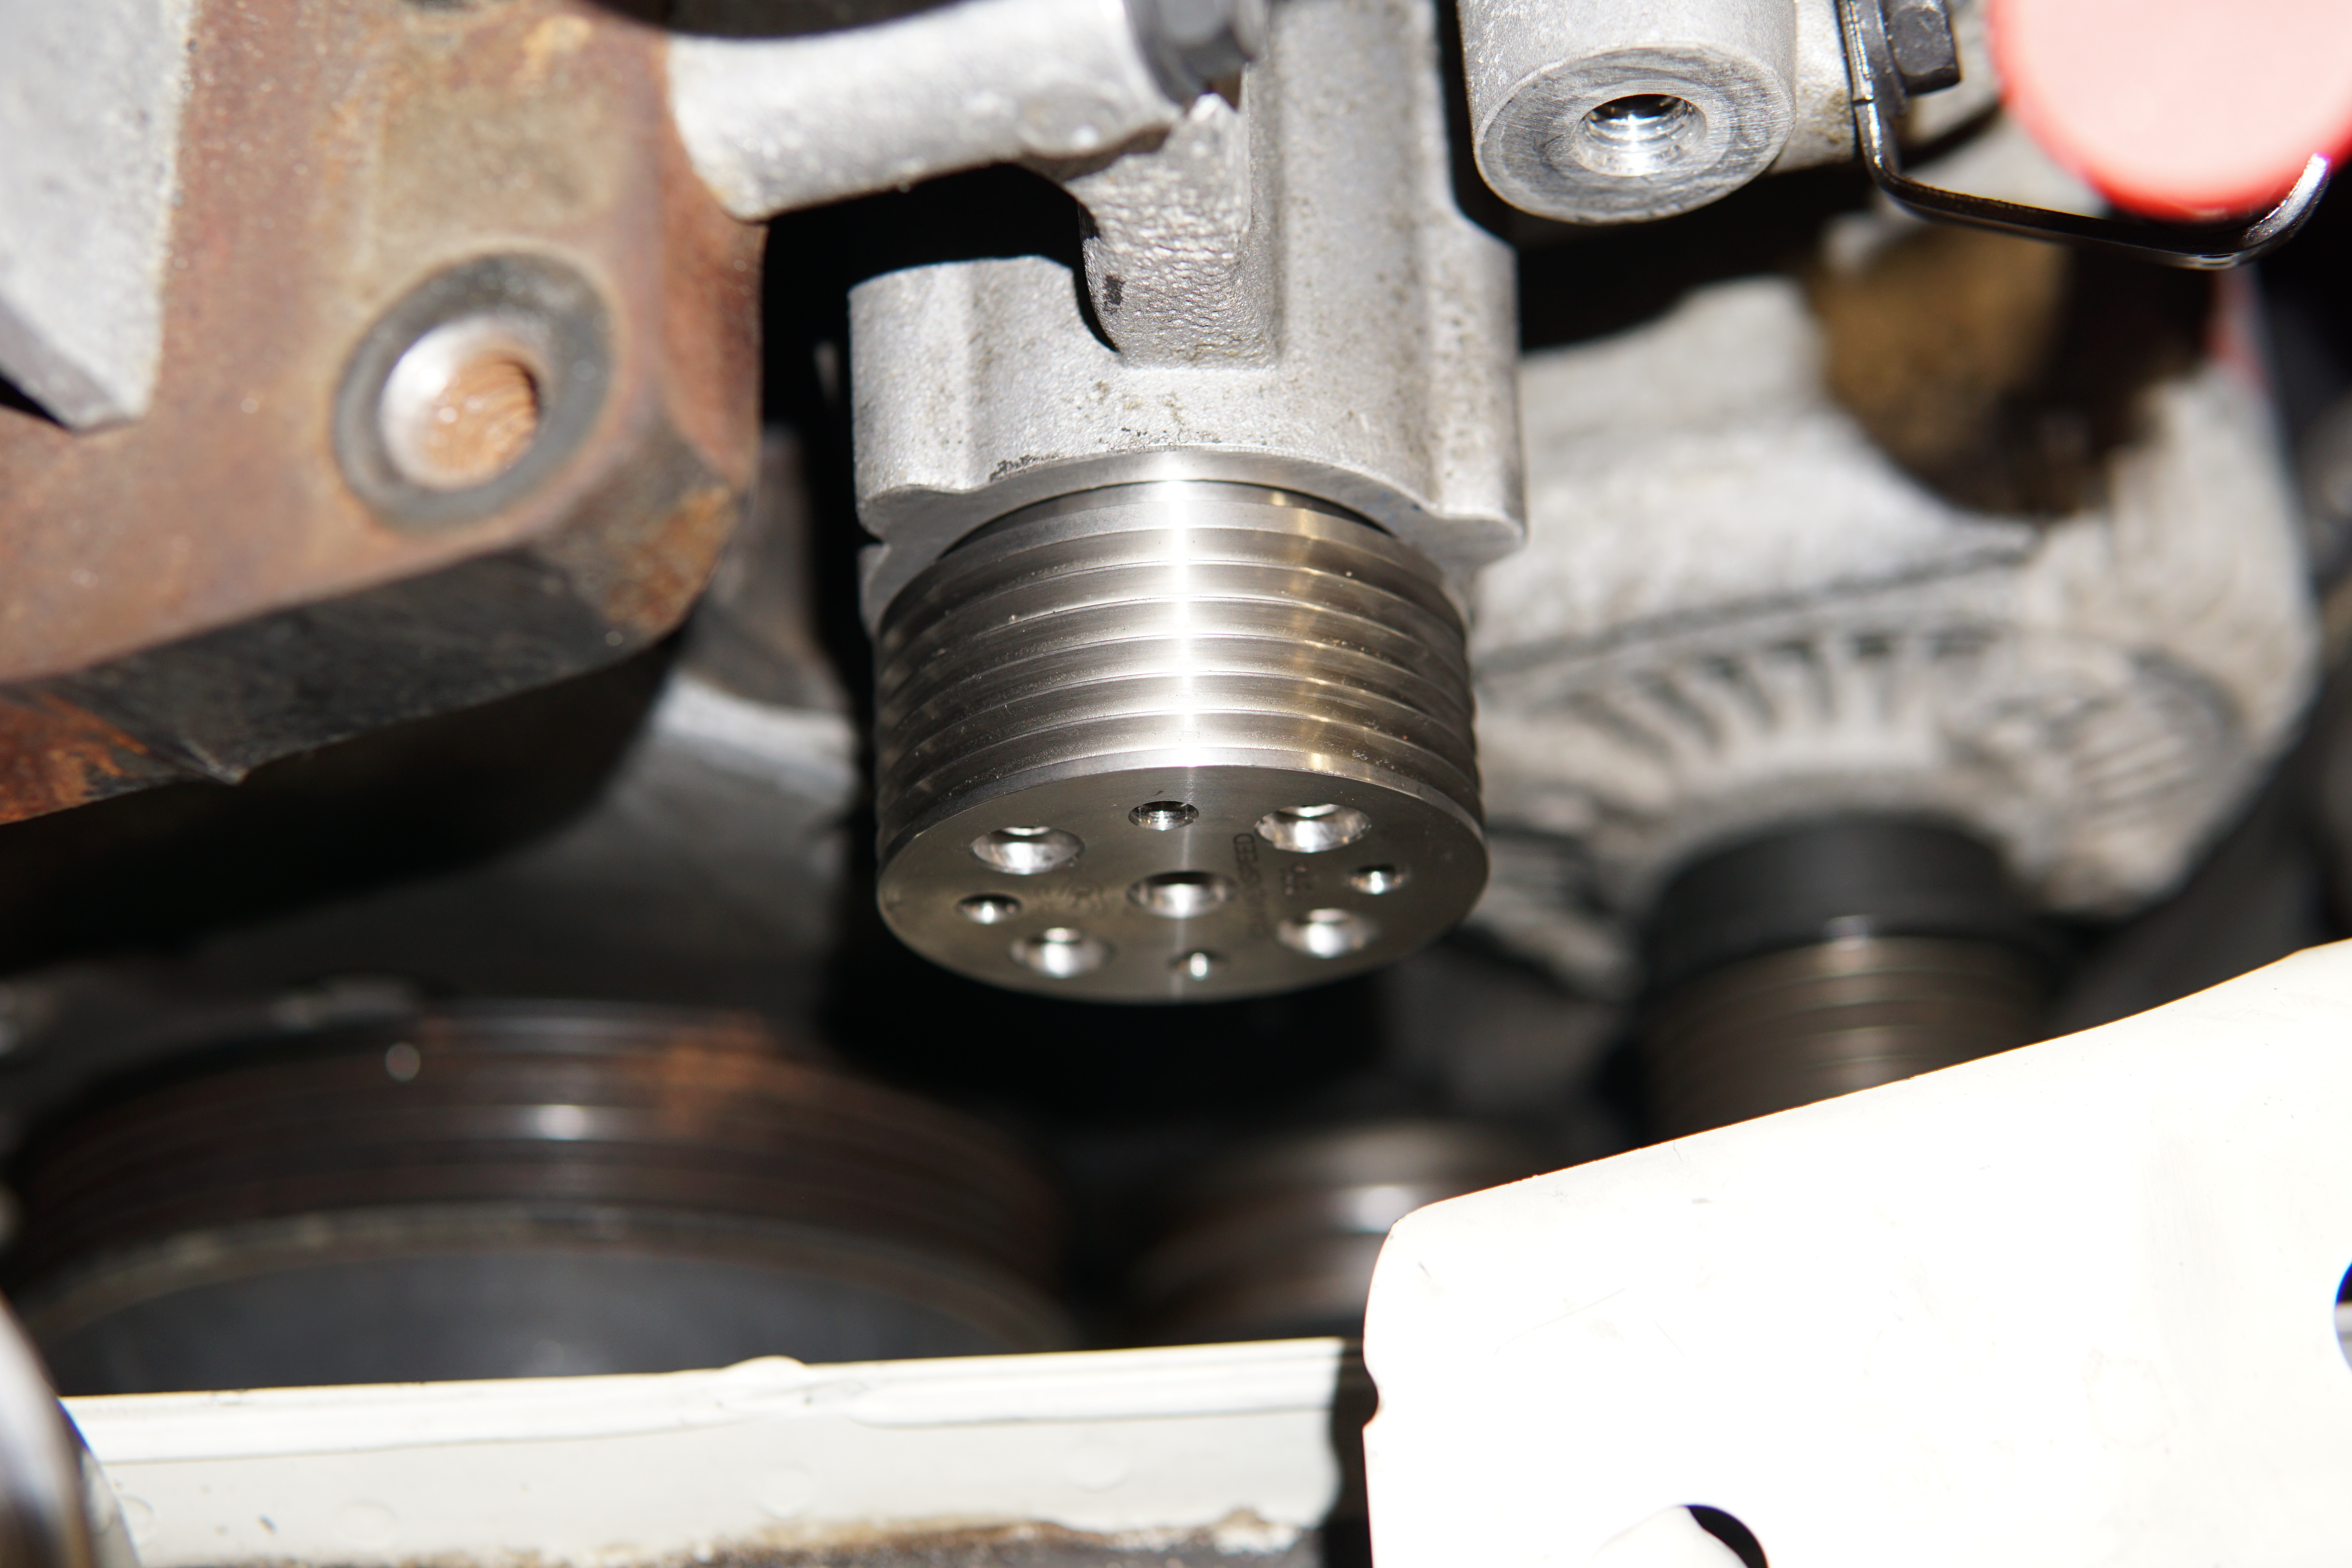
25. Put a wee dab of anti-seize on the thread ends of each of the four (4) 10-32 screws and thread them into the pulley.
26. Use an old serpentine belt to grip/hold the pulley in place while tightening the four (4) bolts to approx
80 in-lb
(6.66 ft-lb). Gradually tighten them in a star pattern until you reach the recommended torque value.
27. Installation of the CravenSpeed MINI R53 Supercharger Reduction Pulley is complete! Now is the time to reinstall all of the components we removed to perform this procedure.
28. Plug the warning switch wiring for the bonnet release mechanism back in.
29. Reinstall the belt tensioner.
30. Reinstall the serpentine belt back on all of the pulleys and reset the belt tensioner.
31. Reinstall the engine mount onto the top of the engine block. Don't forget to install the bracket for the fuel vapor recirculation valve.
32. Lower the engine back onto the passenger side motor mount and reinstall the 18mm nut.
33. Reinstall the 10mm screw holding the radiator hose and wiring to the center of the intake manifold.
34. Refit the fuel vapor recirculation valve and quick disconnect hoses.
35. Reinstall the ground strap and associated fasteners.
36. Fit the fender liner back into place using the five (5) expanding rivets and two (2) Philips-head screws.
37. Reinstall the passenger front wheel.
38. Reinstall the lower engine mount to the oil pan, power steering pump cooling fan, and front underbody panel.
39. Remove the jack stands, lower the MINI and replace the negative (-) battery terminal cable.
40. Turn the ignition key on for 10 seconds to reinitialize the system and then start your MINI.
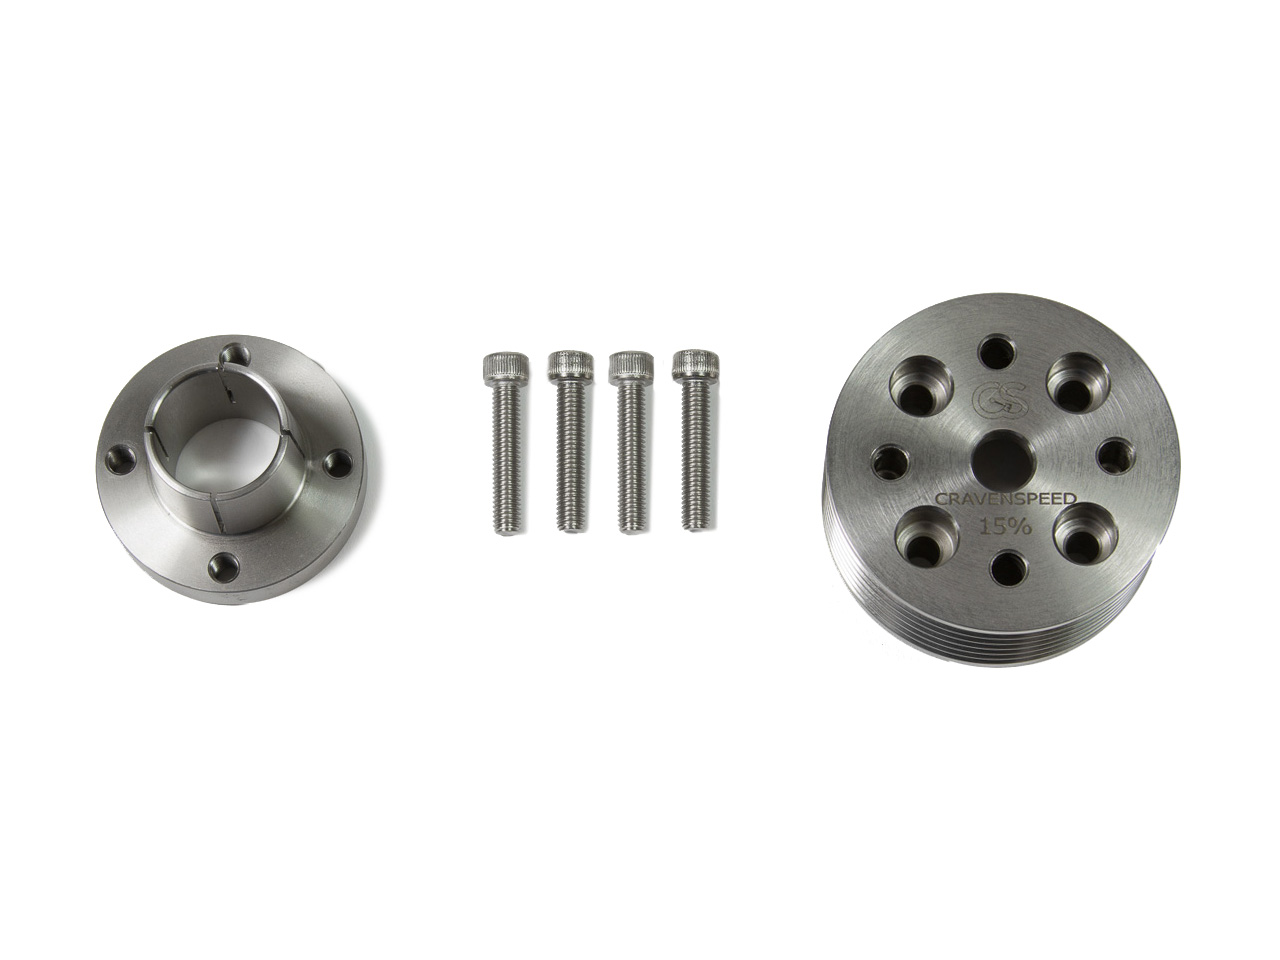
Parts Included:
Tools Required:
Procedure