THANK YOU
for purchasing the ND MX-5 Miata Shift Well Kit from CravenSpeed. This product is made from the highest grade materials, and is guaranteed to be free from defects.
You can buy our
CravenSpeed Shift Well Cover for ND MX-5 Miata here
PLEASE NOTE:
This product requires the previous install of the
CS-AA100 CravenSpeed Short Shifter Kit
. It is not compatible with the OEM Mazda shift lever.
FITMENT DISCLOSURE:
A small number of customers have reported fitment issues with this product, so after it has been installed but before you take your ND for a spin and start rowing through the gears, take a moment to check the clearance of the shift lever within the shift well opening. If it appears that the shift lever is crushing the slide plate grommet when shifting into reverse, give our customer support line a quick message and we’ll do what we can to fix the issue.
Please see this discussion thread detailing the potential issue.
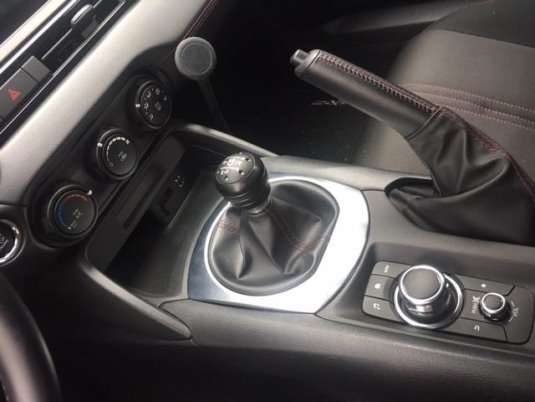
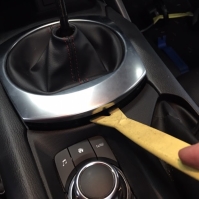
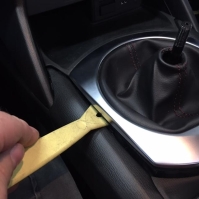
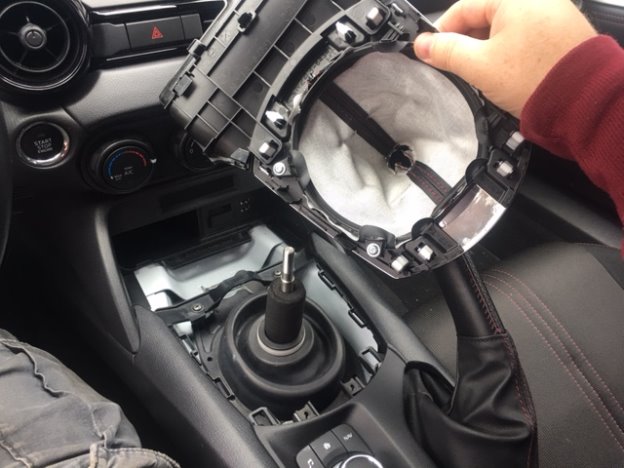
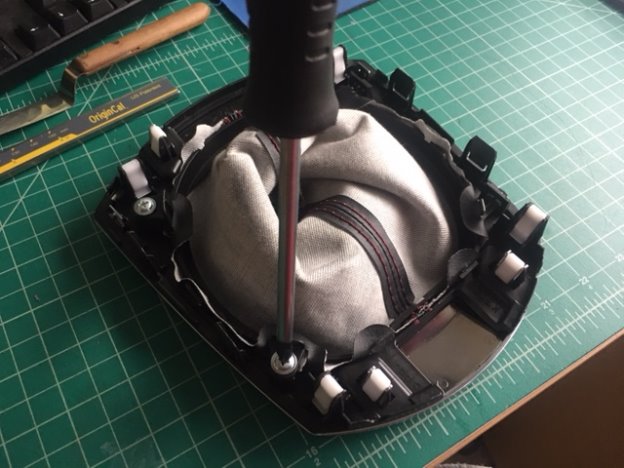
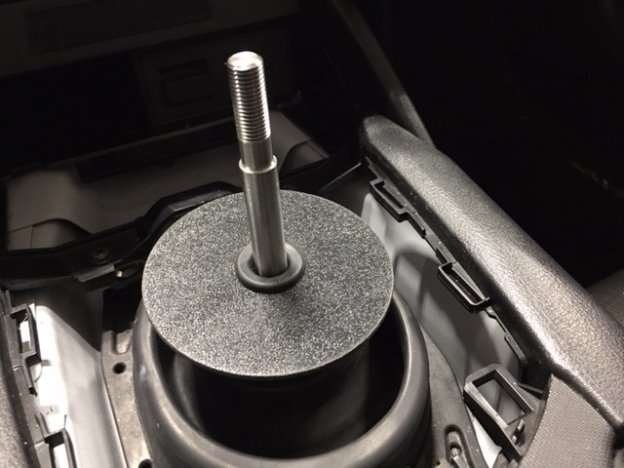
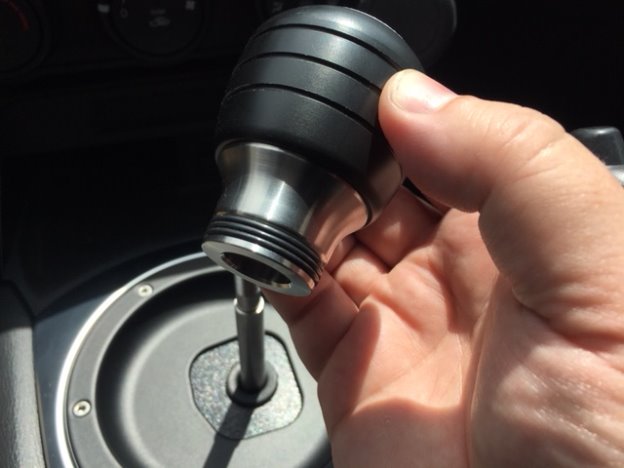
Remove the Shift Knob & Boot Surround
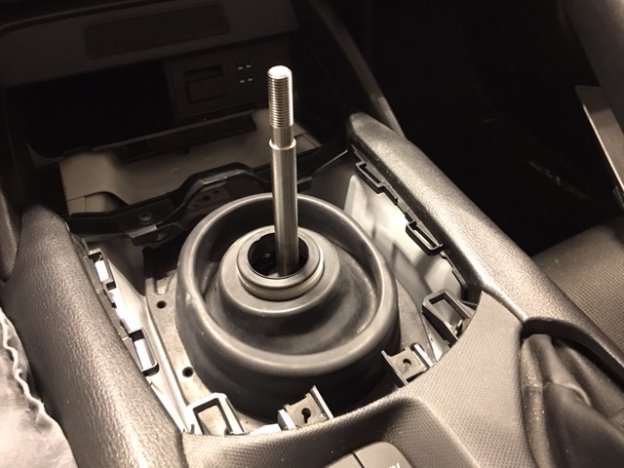
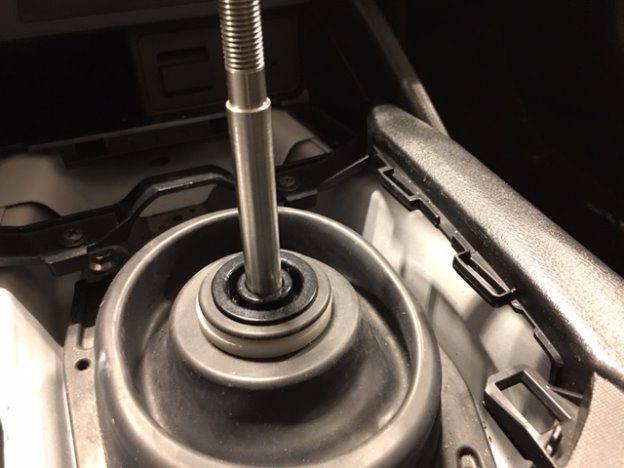
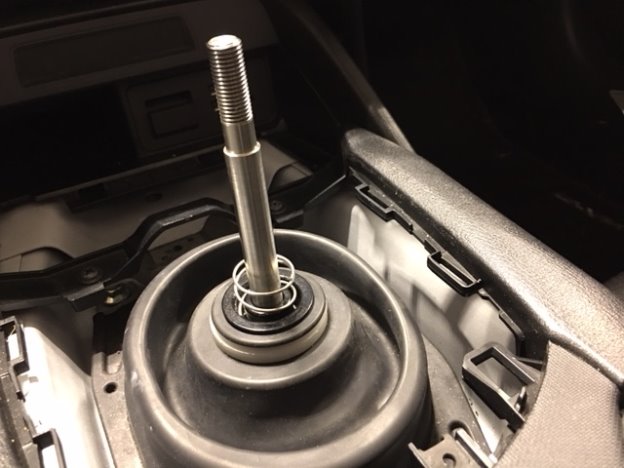
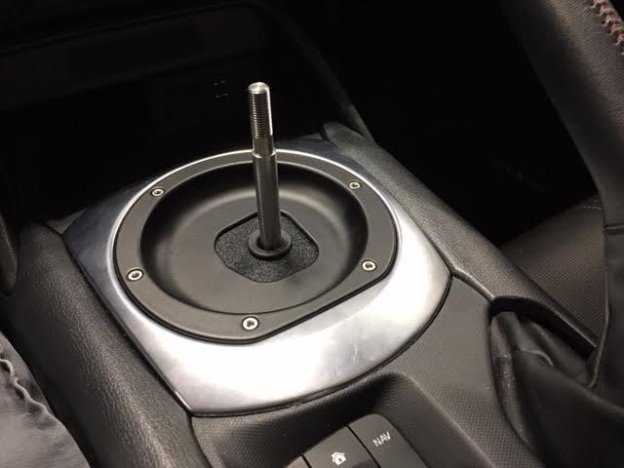
Installing the CS Shift Well Cover Assembly
Please Note:
If your ND MX-5 was equipped with the white padded baffling, do not reinstall it as there could potentially be fitment issues with the shift well cover plate.
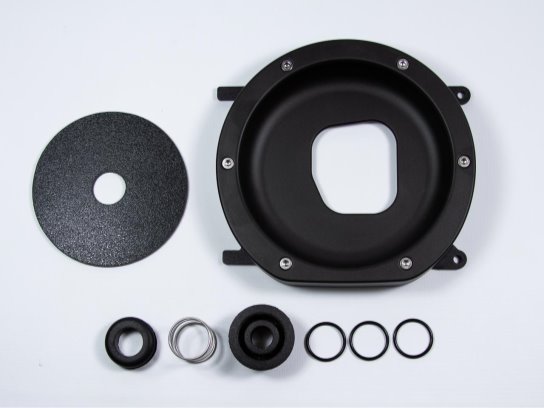
Parts Included:
Tools Required:
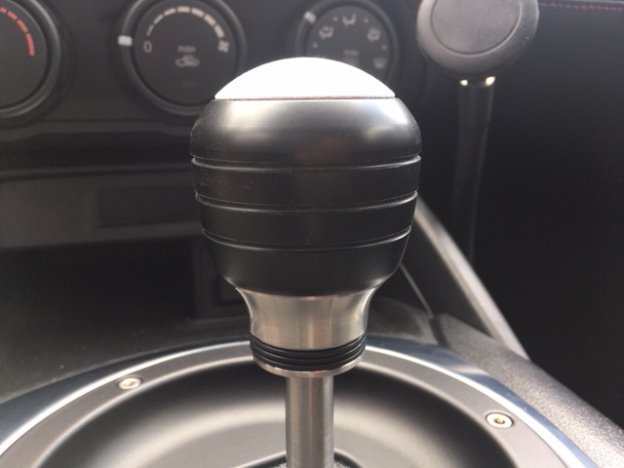
Procedure
Let's get started