null Skip to main content

Shift Well Cover Install Guide - MINI Gen 3

THANK YOU for purchasing the MINI F56 Shift Well Kit from CravenSpeed. This product is made from the highest grade materials, and is guaranteed to be free from defects.
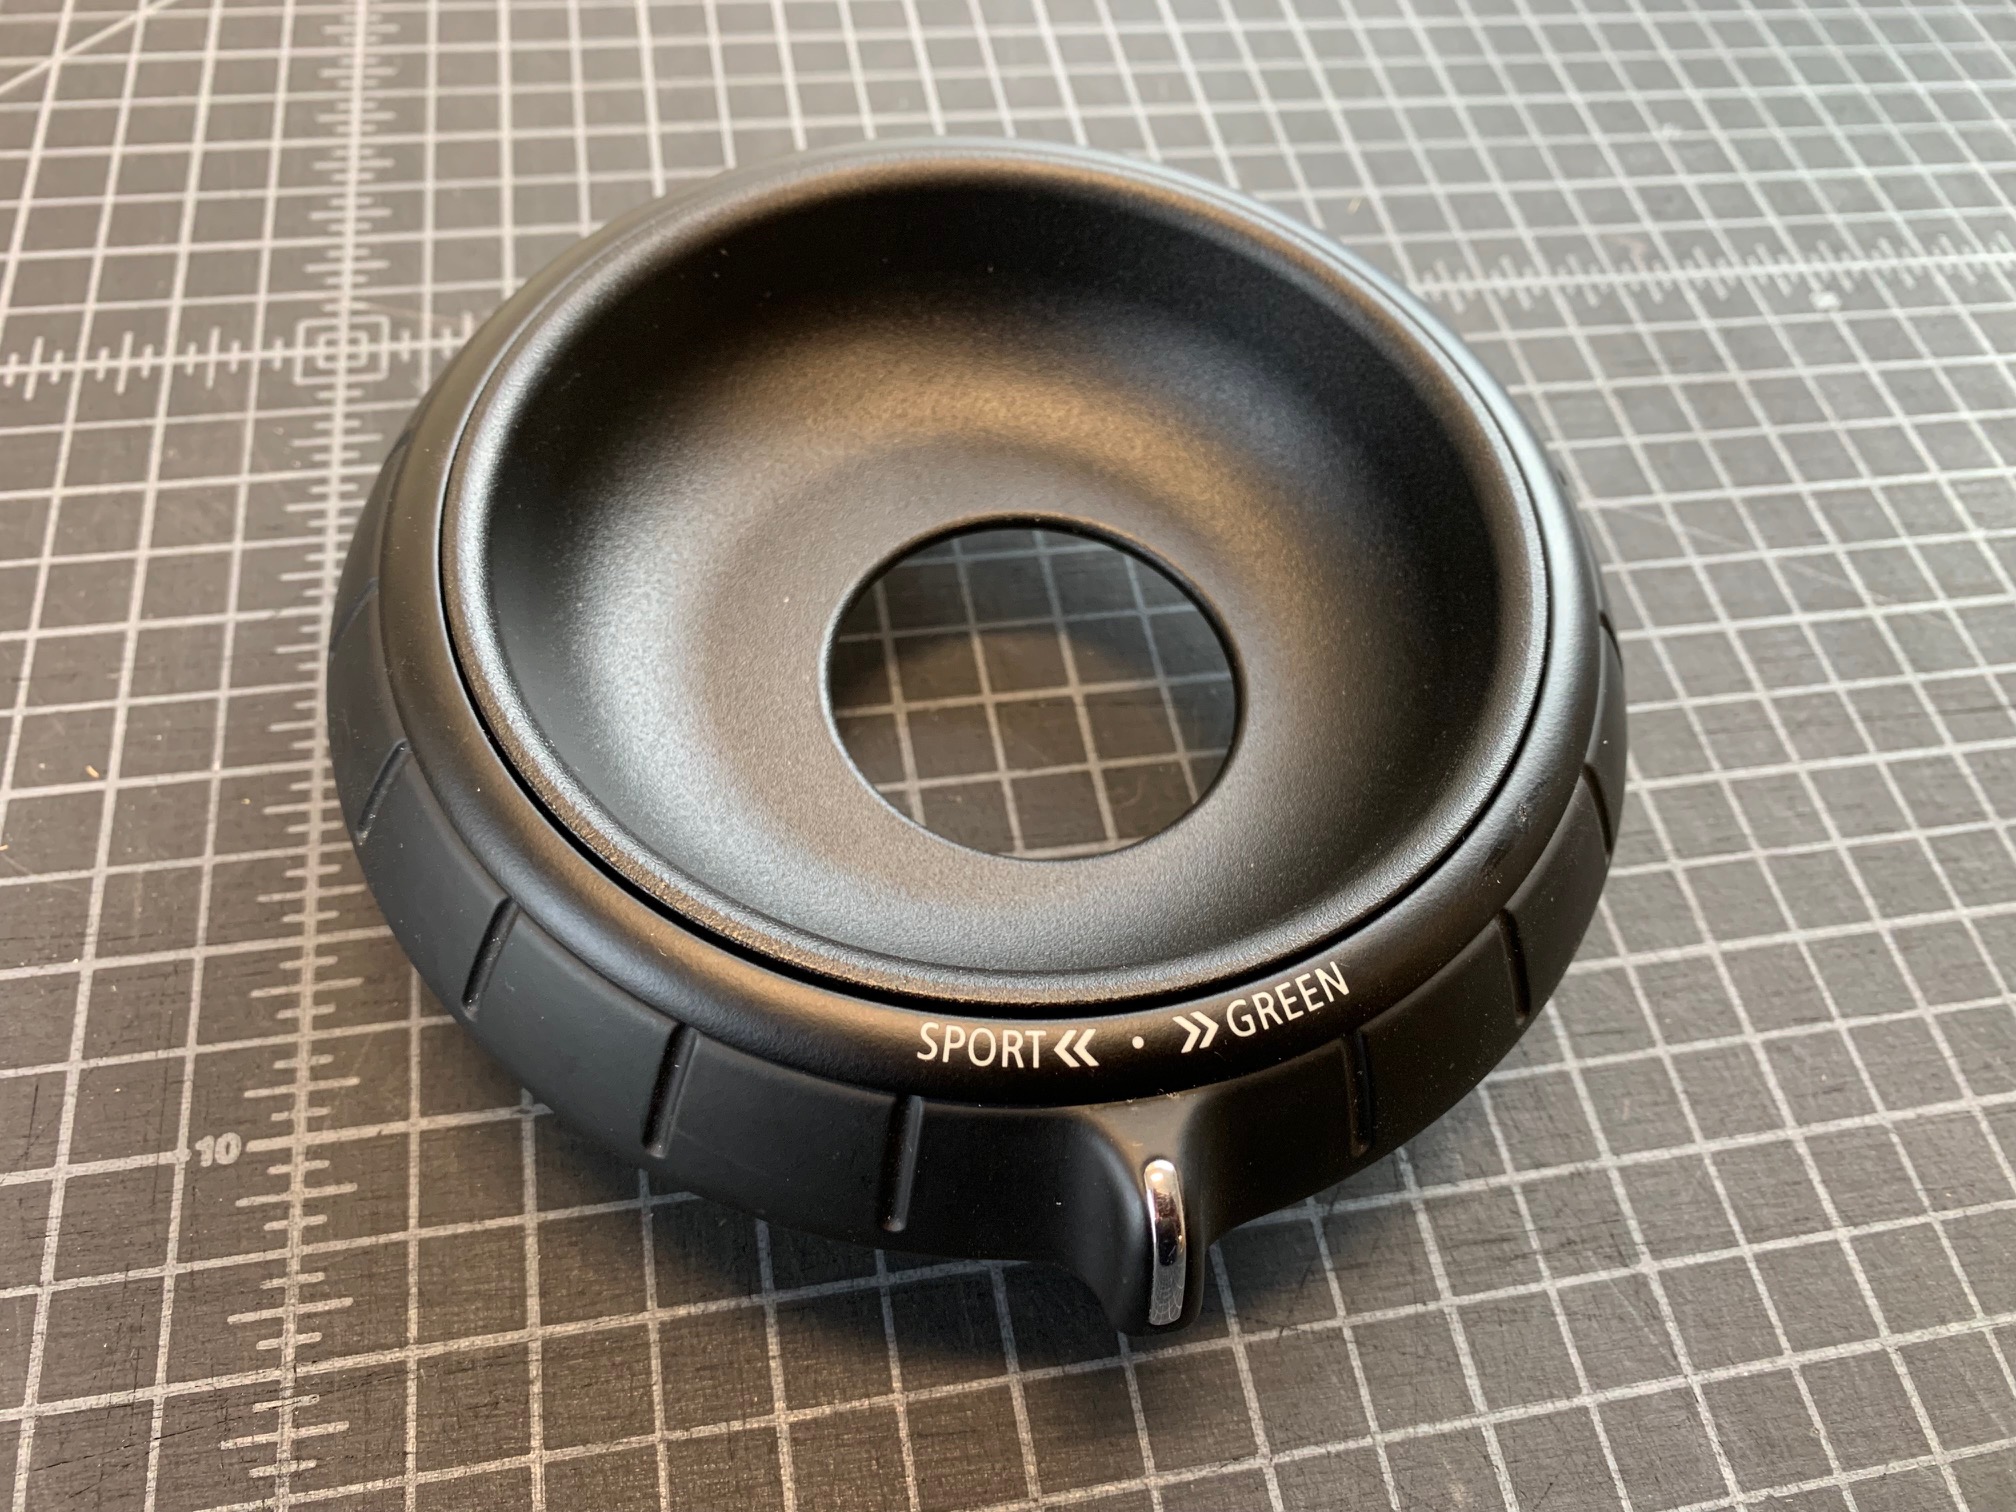
You can buy our CravenSpeed Shift Well Cover for MINI Gen 3 here

Parts Included:

  • Shift Well Cover
  • ABS Slide Plate
  • Rubber Grommet
  • Large Spring
  • 3x Stainless Button-Head Screw
  • 1/16" Hex Key

Tools Required:

  • Trim Panel Removal Tool (Flat-bladed Screwdriver may be used with care)
  • Snap Ring Pliers (Optional)

Procedure

arrow-tip

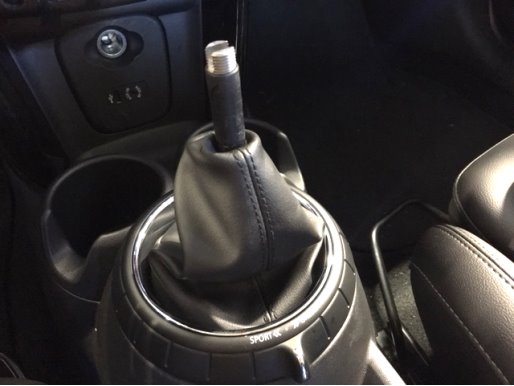
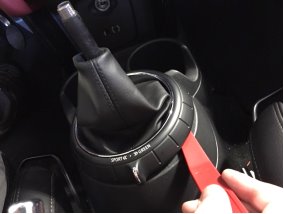
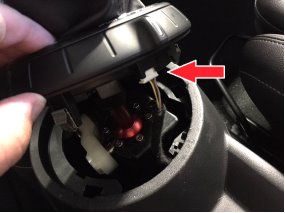
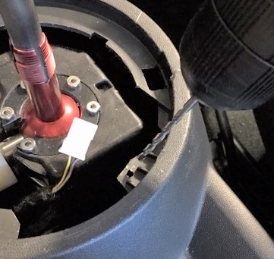
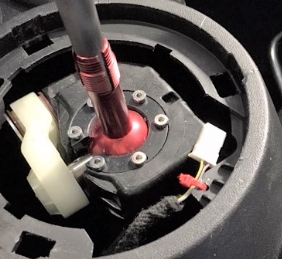
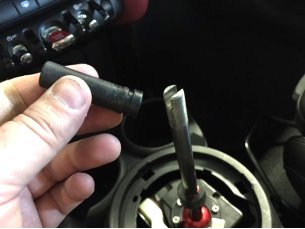
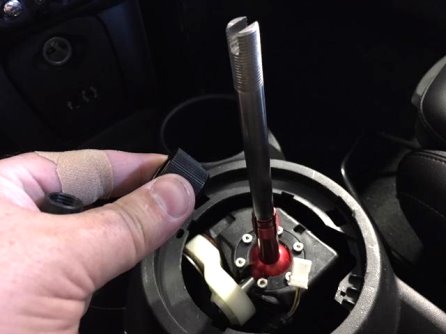
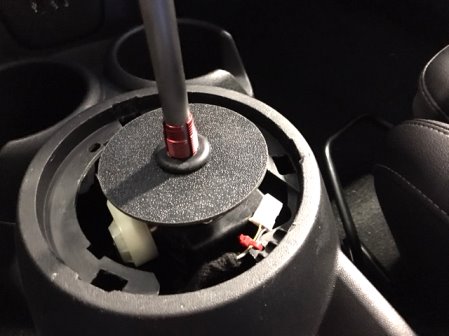
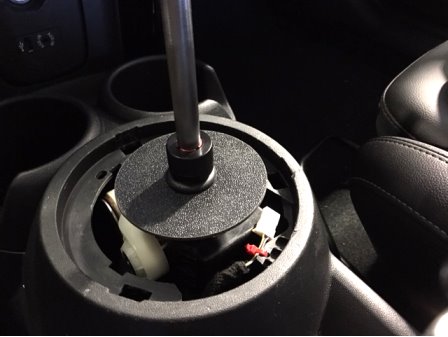
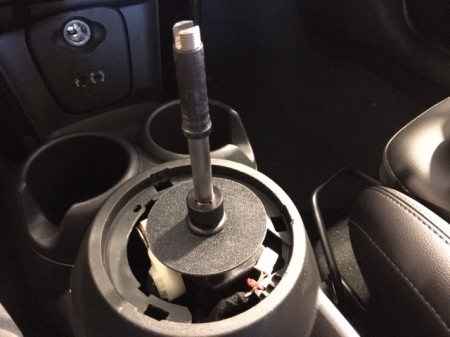
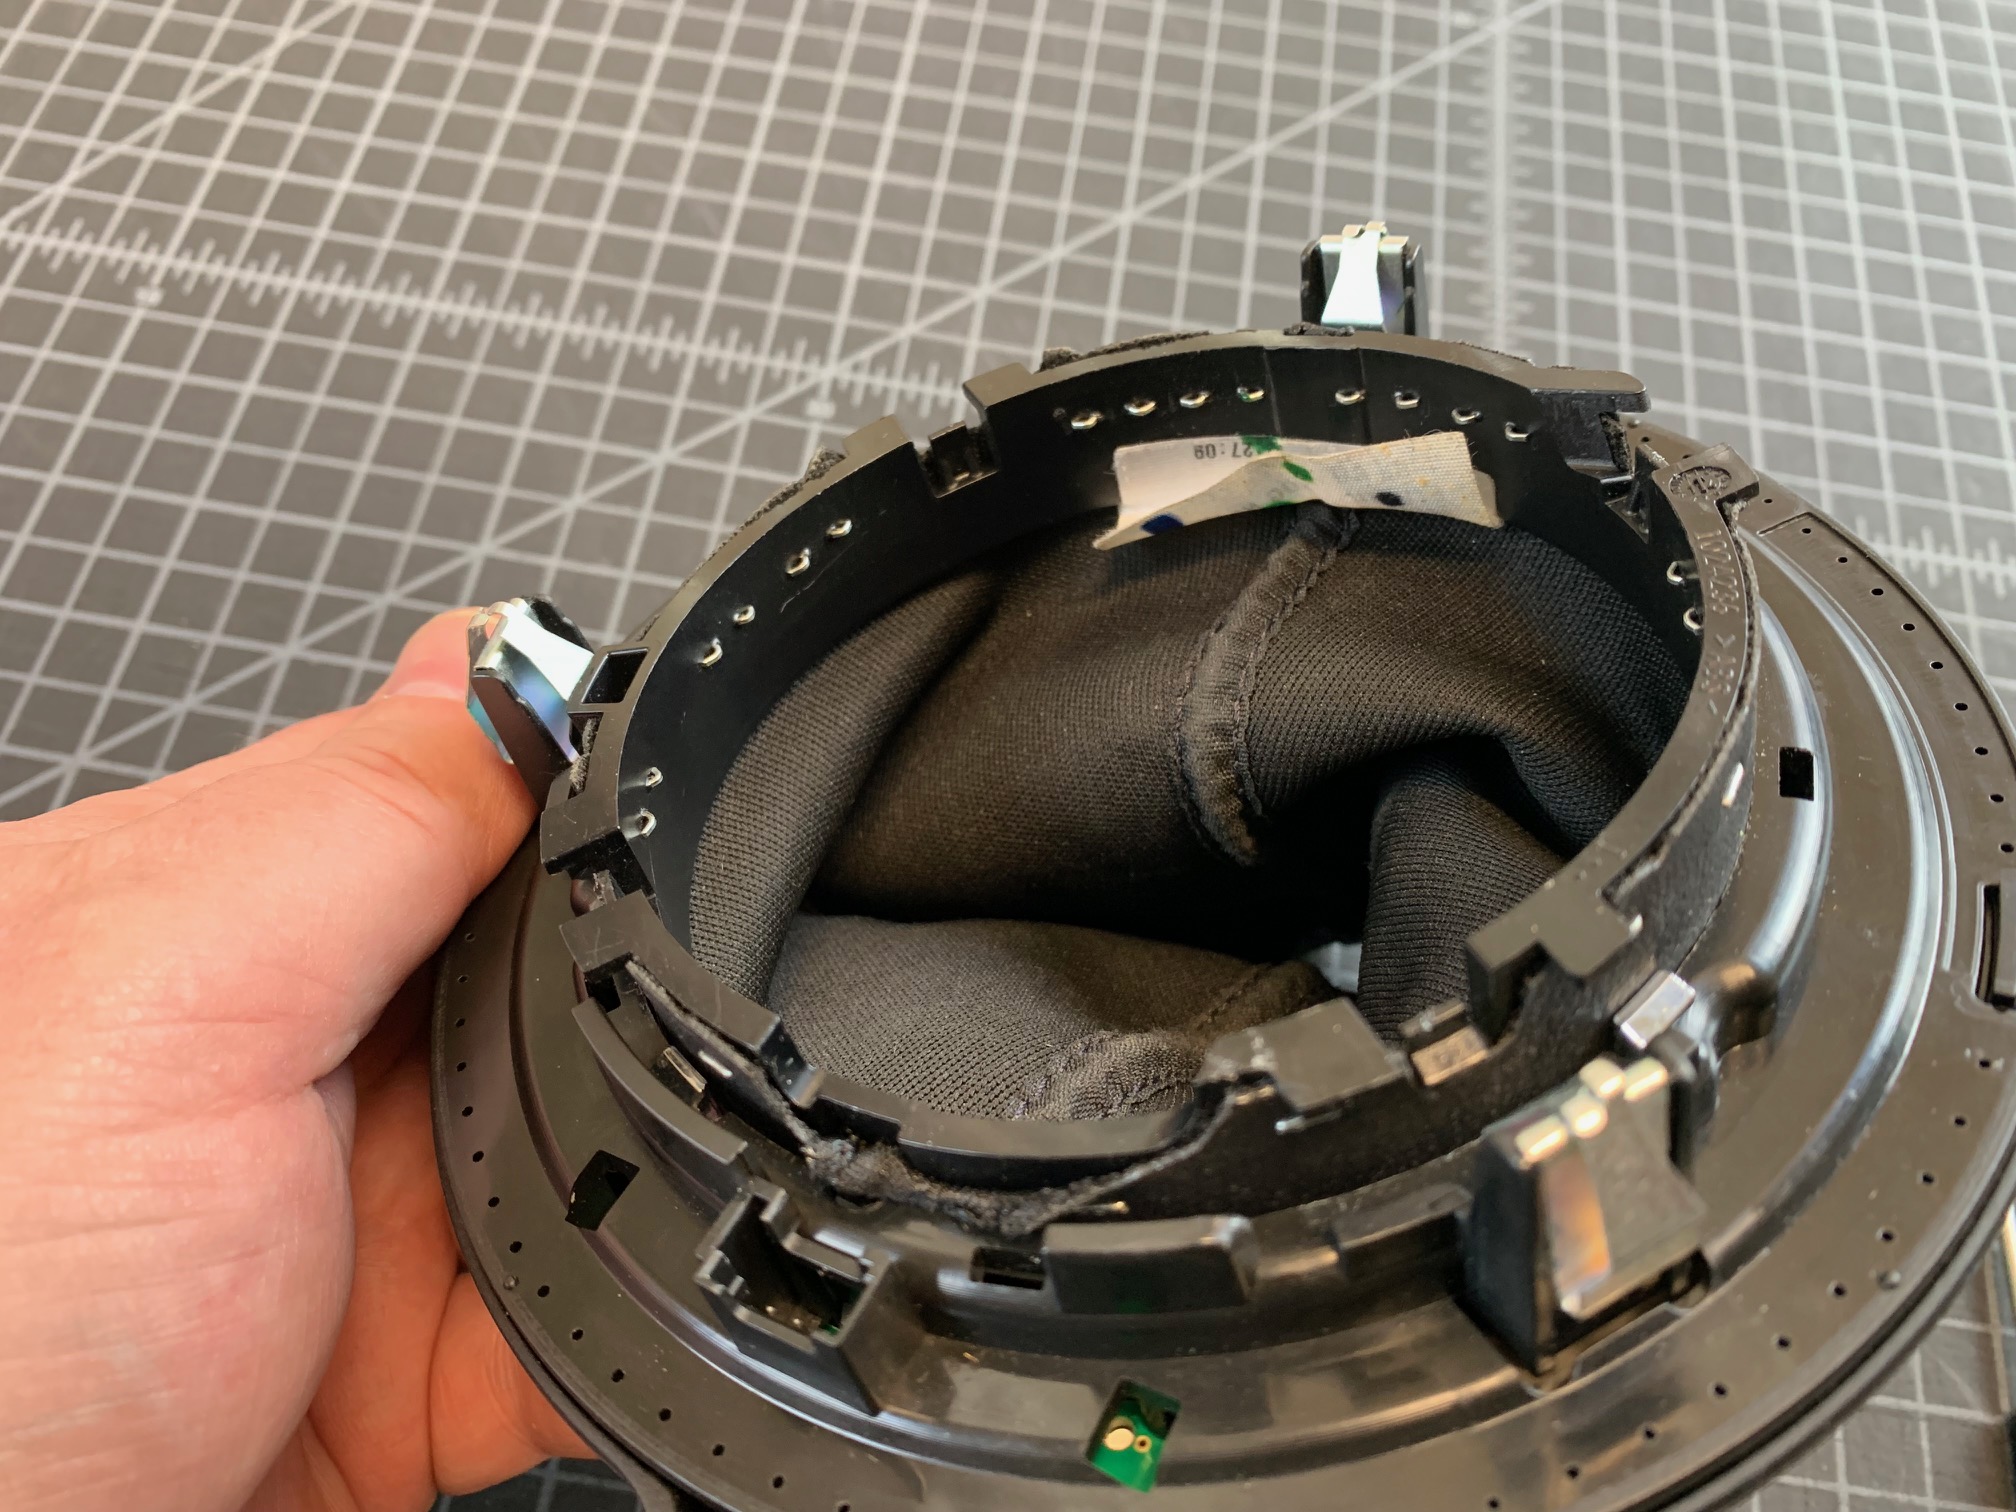
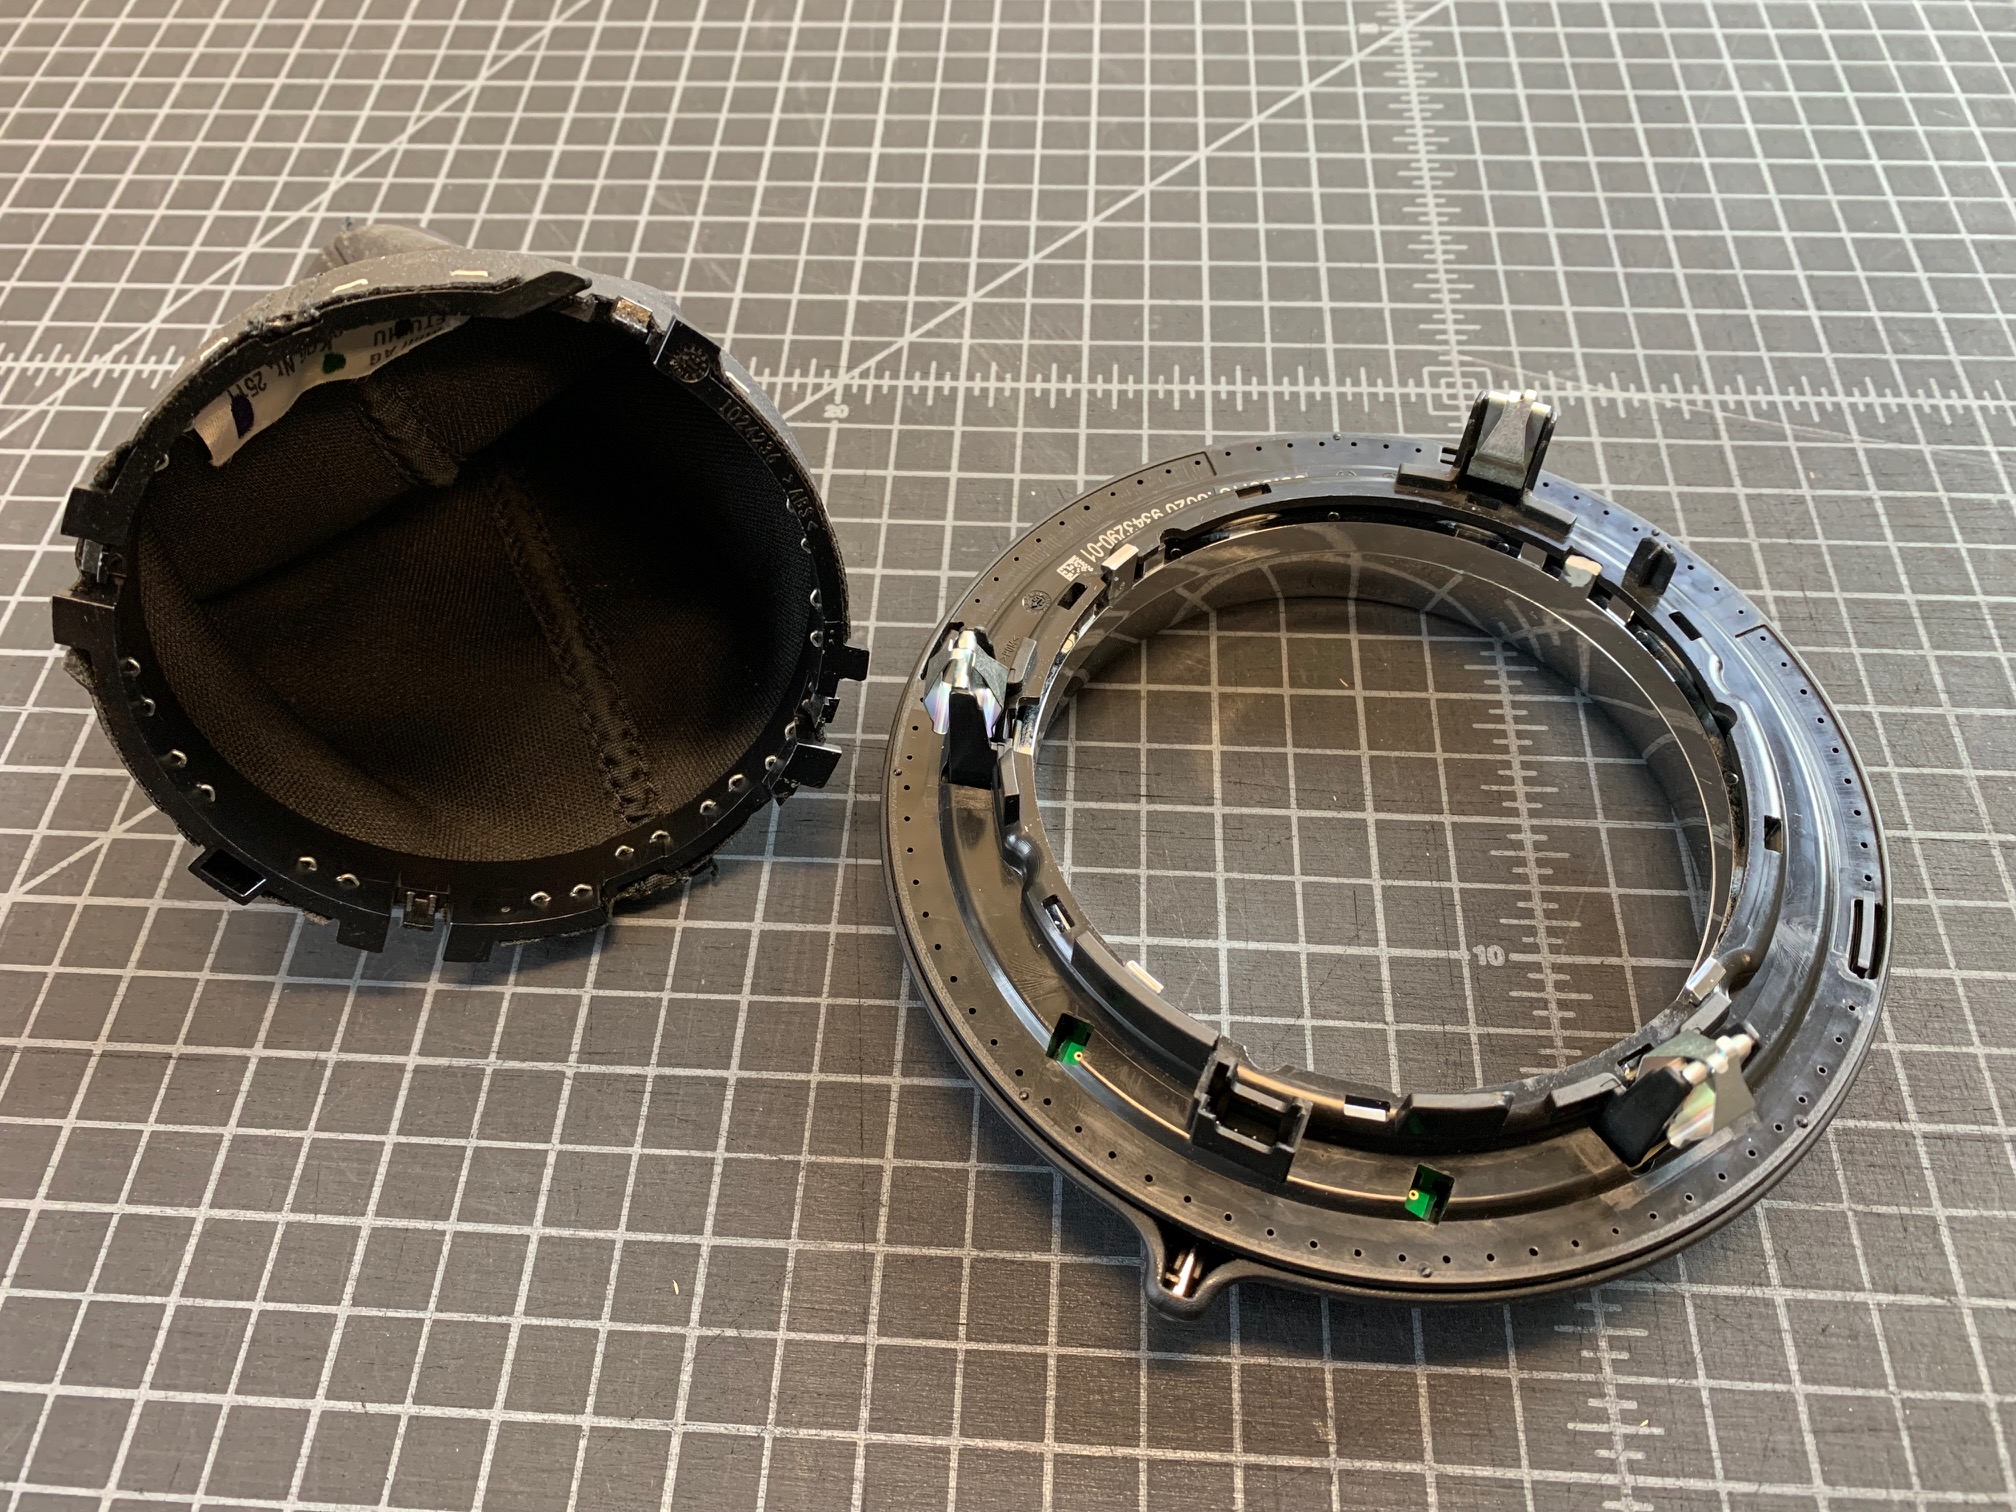
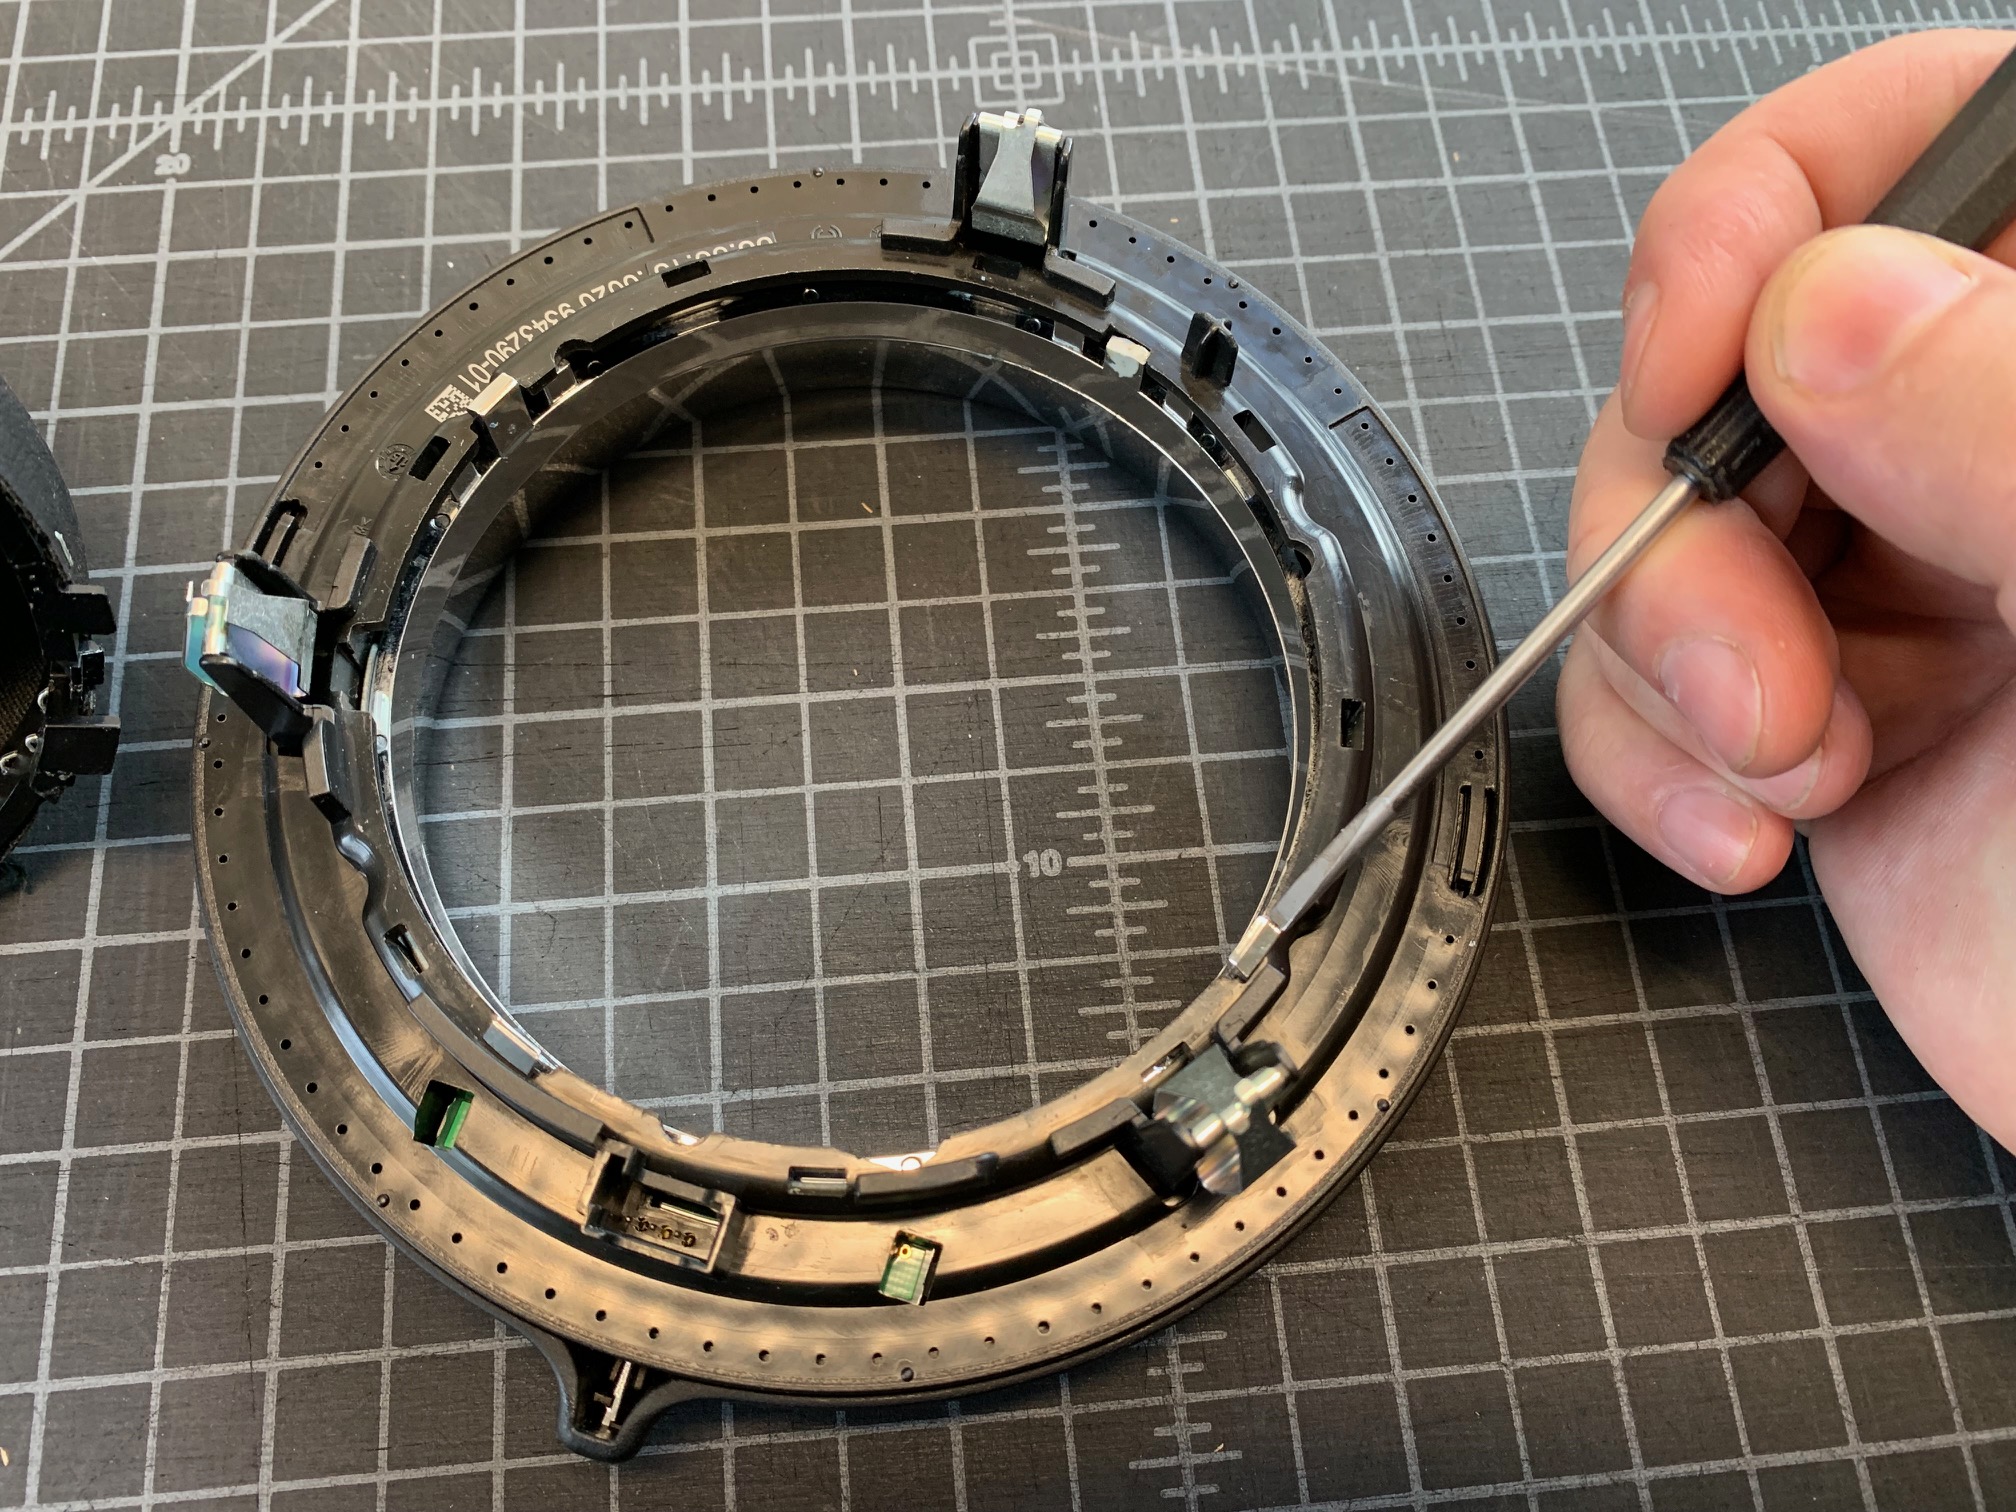
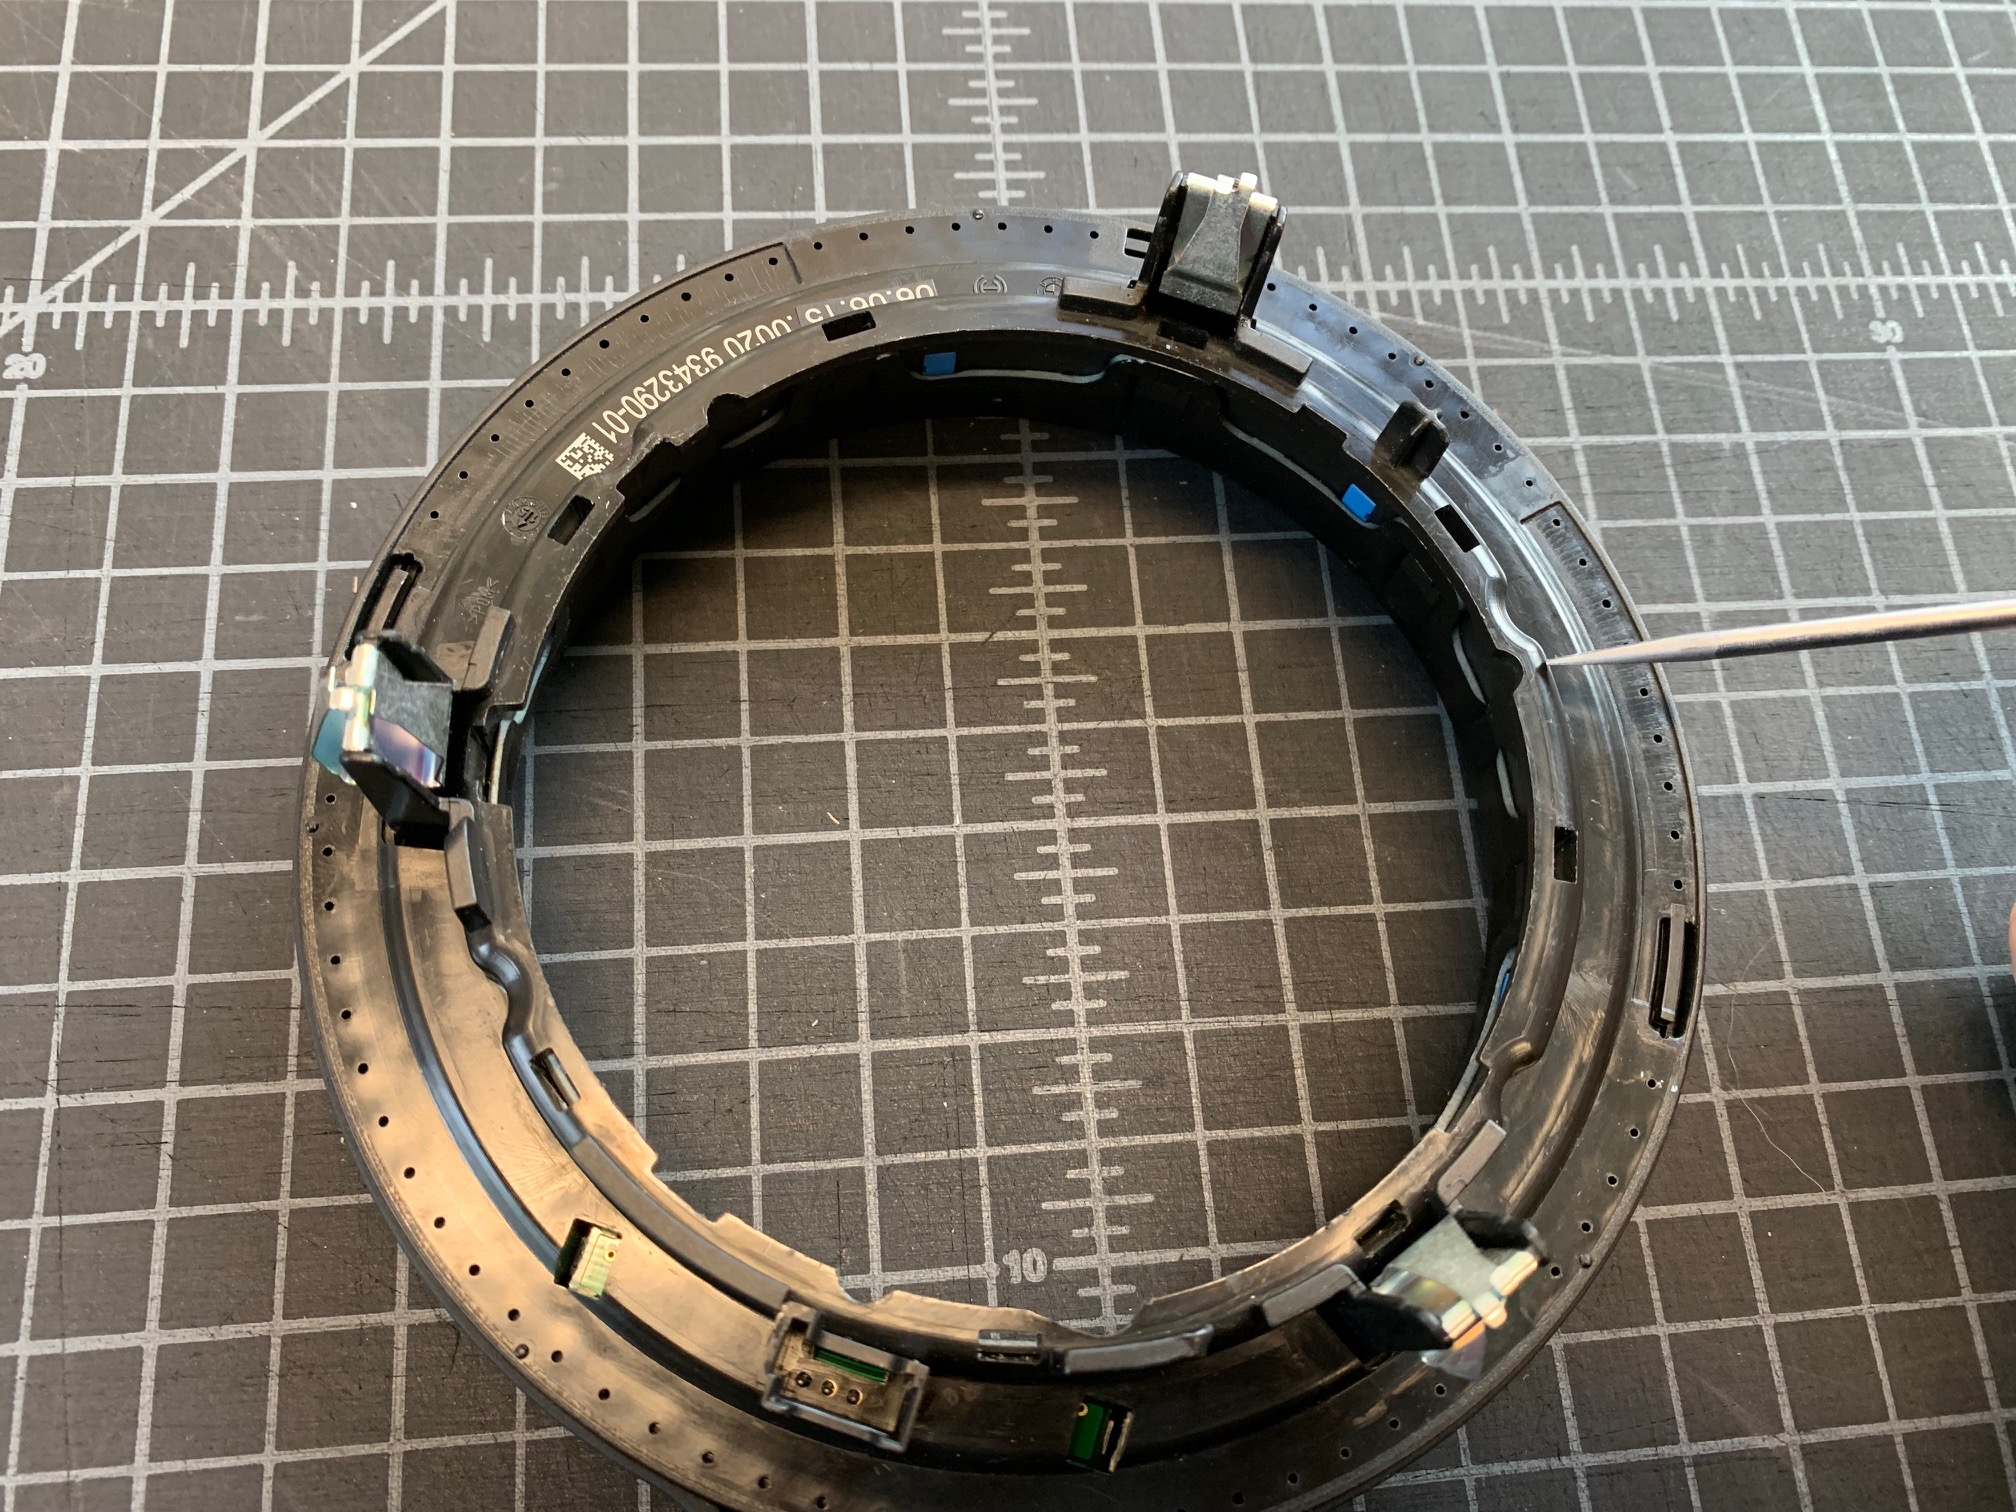
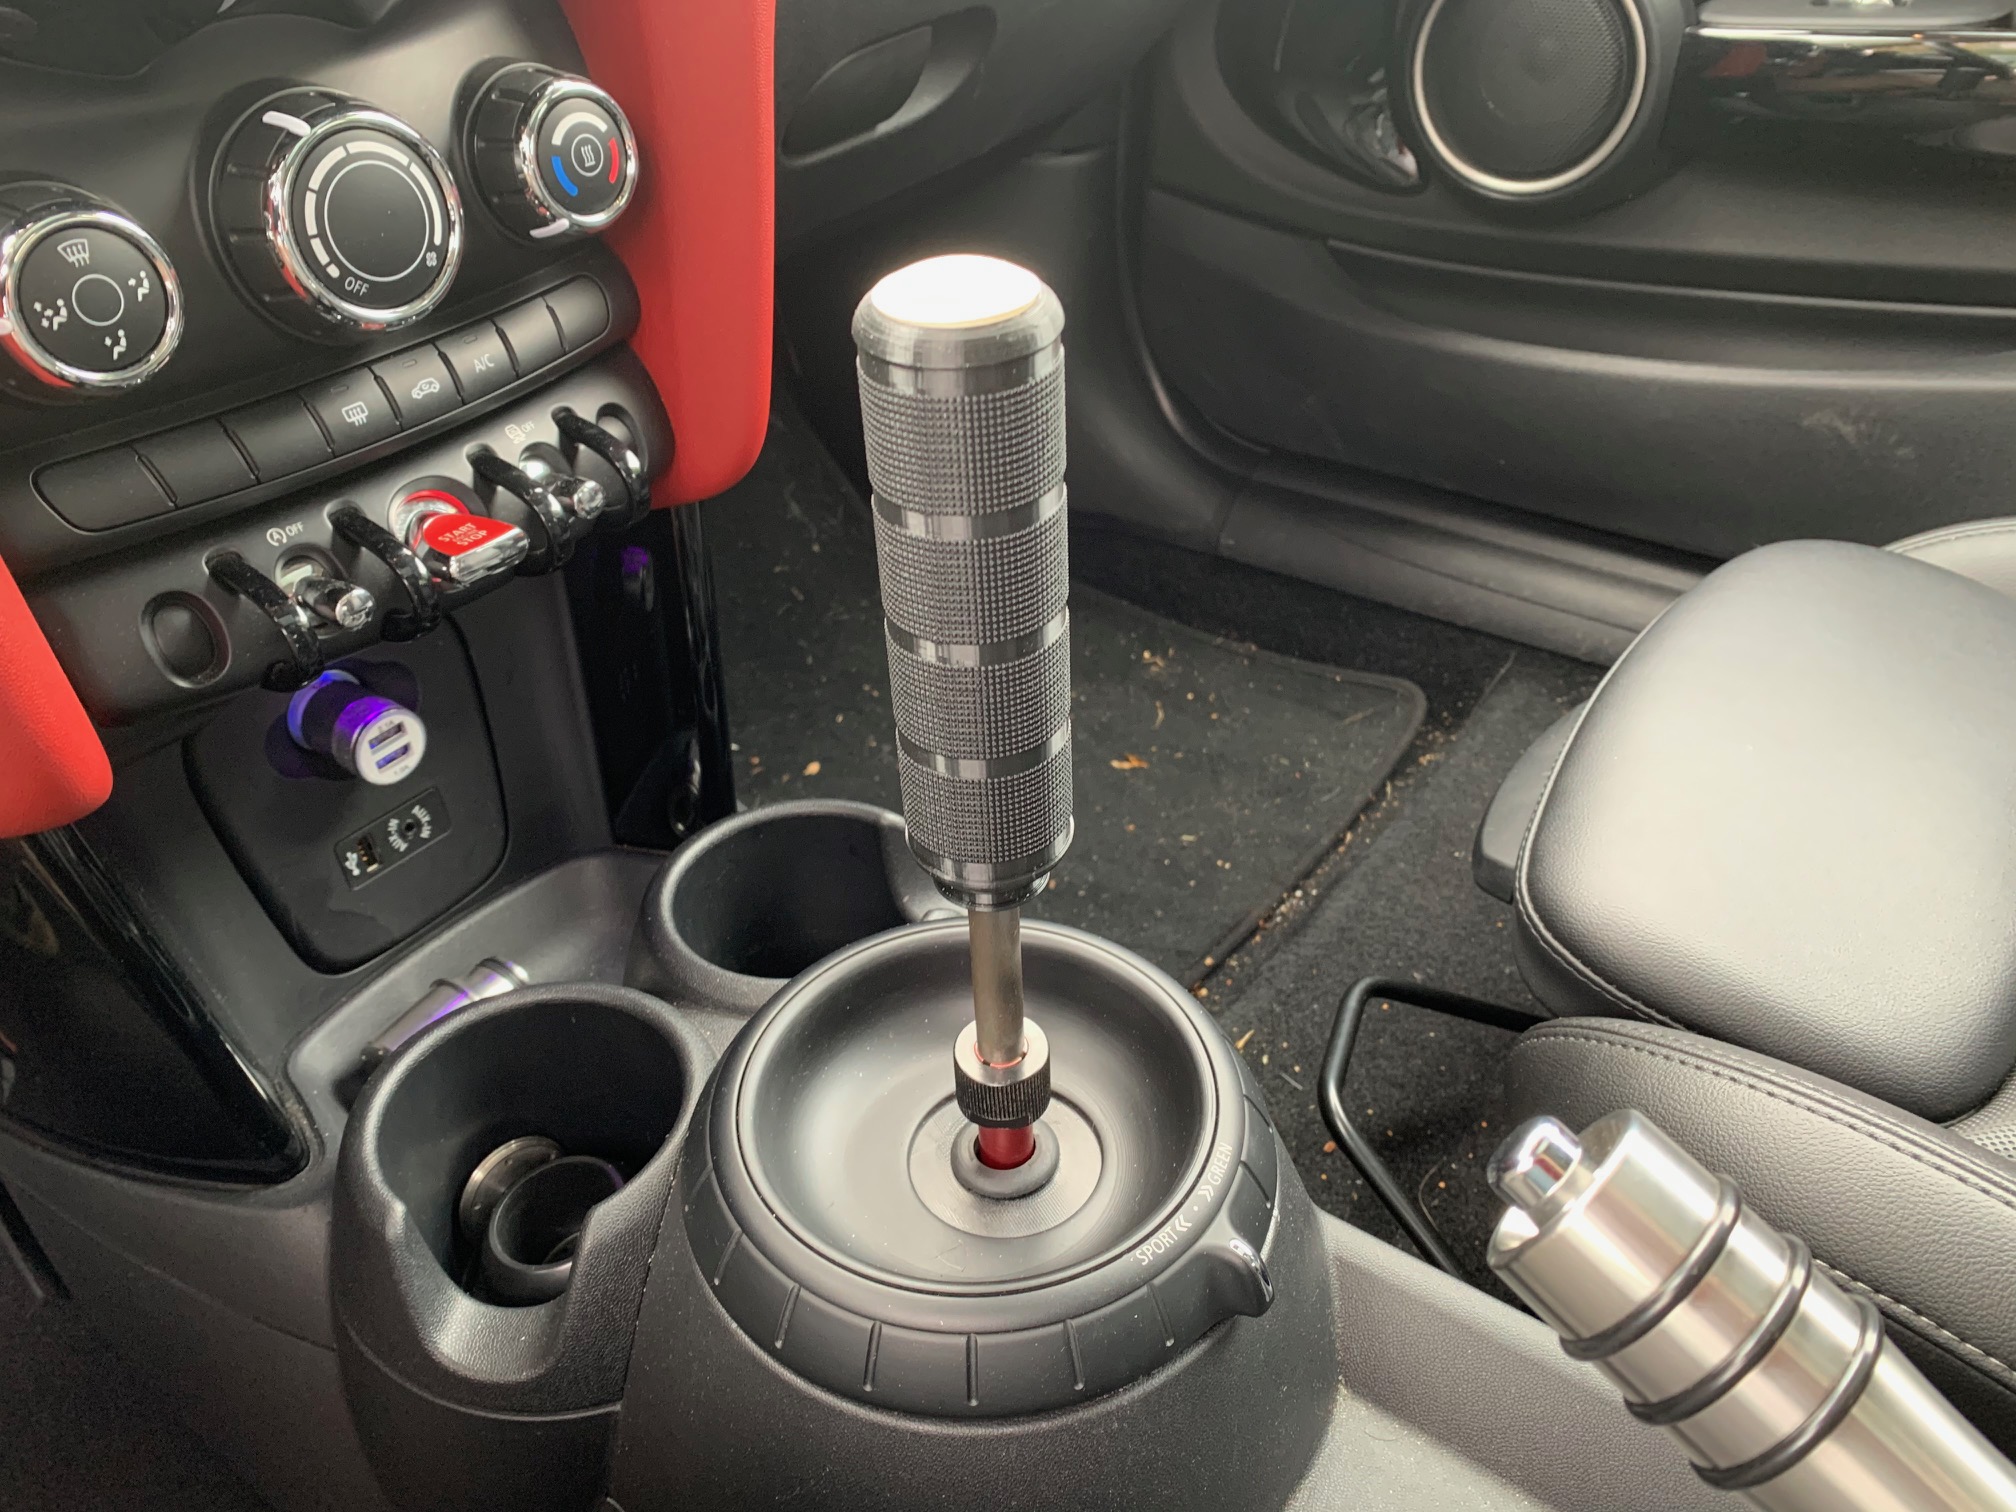
    Remove the Shift Knob & Boot Surround

    1. First off… let’s remove the shift knob. If you have the CravenSpeed shift knob you probably already know how it installs. Reverse the process and completely remove it. If you still have the factory knob, please see the MINI Shift Knob Installation Guide and follow the steps to remove the factory shift knob.

    1. Use a trim panel removal tool to pry up around the bottom of the shift boot surround. If your MINI is a ‘14-’17 (Pre-LCI) there will be a wiring harness plugged into the bottom of it. Carefully disconnect this plug and ziptie it to a secure location so it cannot drop down into the shifter linkage area.

    1. We drilled a small hole in the plastic flange and ziptied the plug there, but you may choose from any of the available slots around the perimeter of the opening.

    1. Remove the Knob Adapter Collar and threaded on Adapter (if you have the CS shift lever). Remove the Stainless Shift Knob Core now if you have the CS Shift Knob.

    1. (CS Short Shifter) Remove the Height Adjustment Collar.

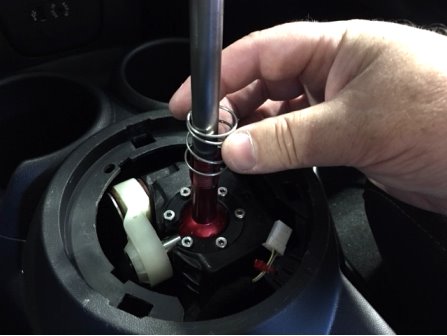
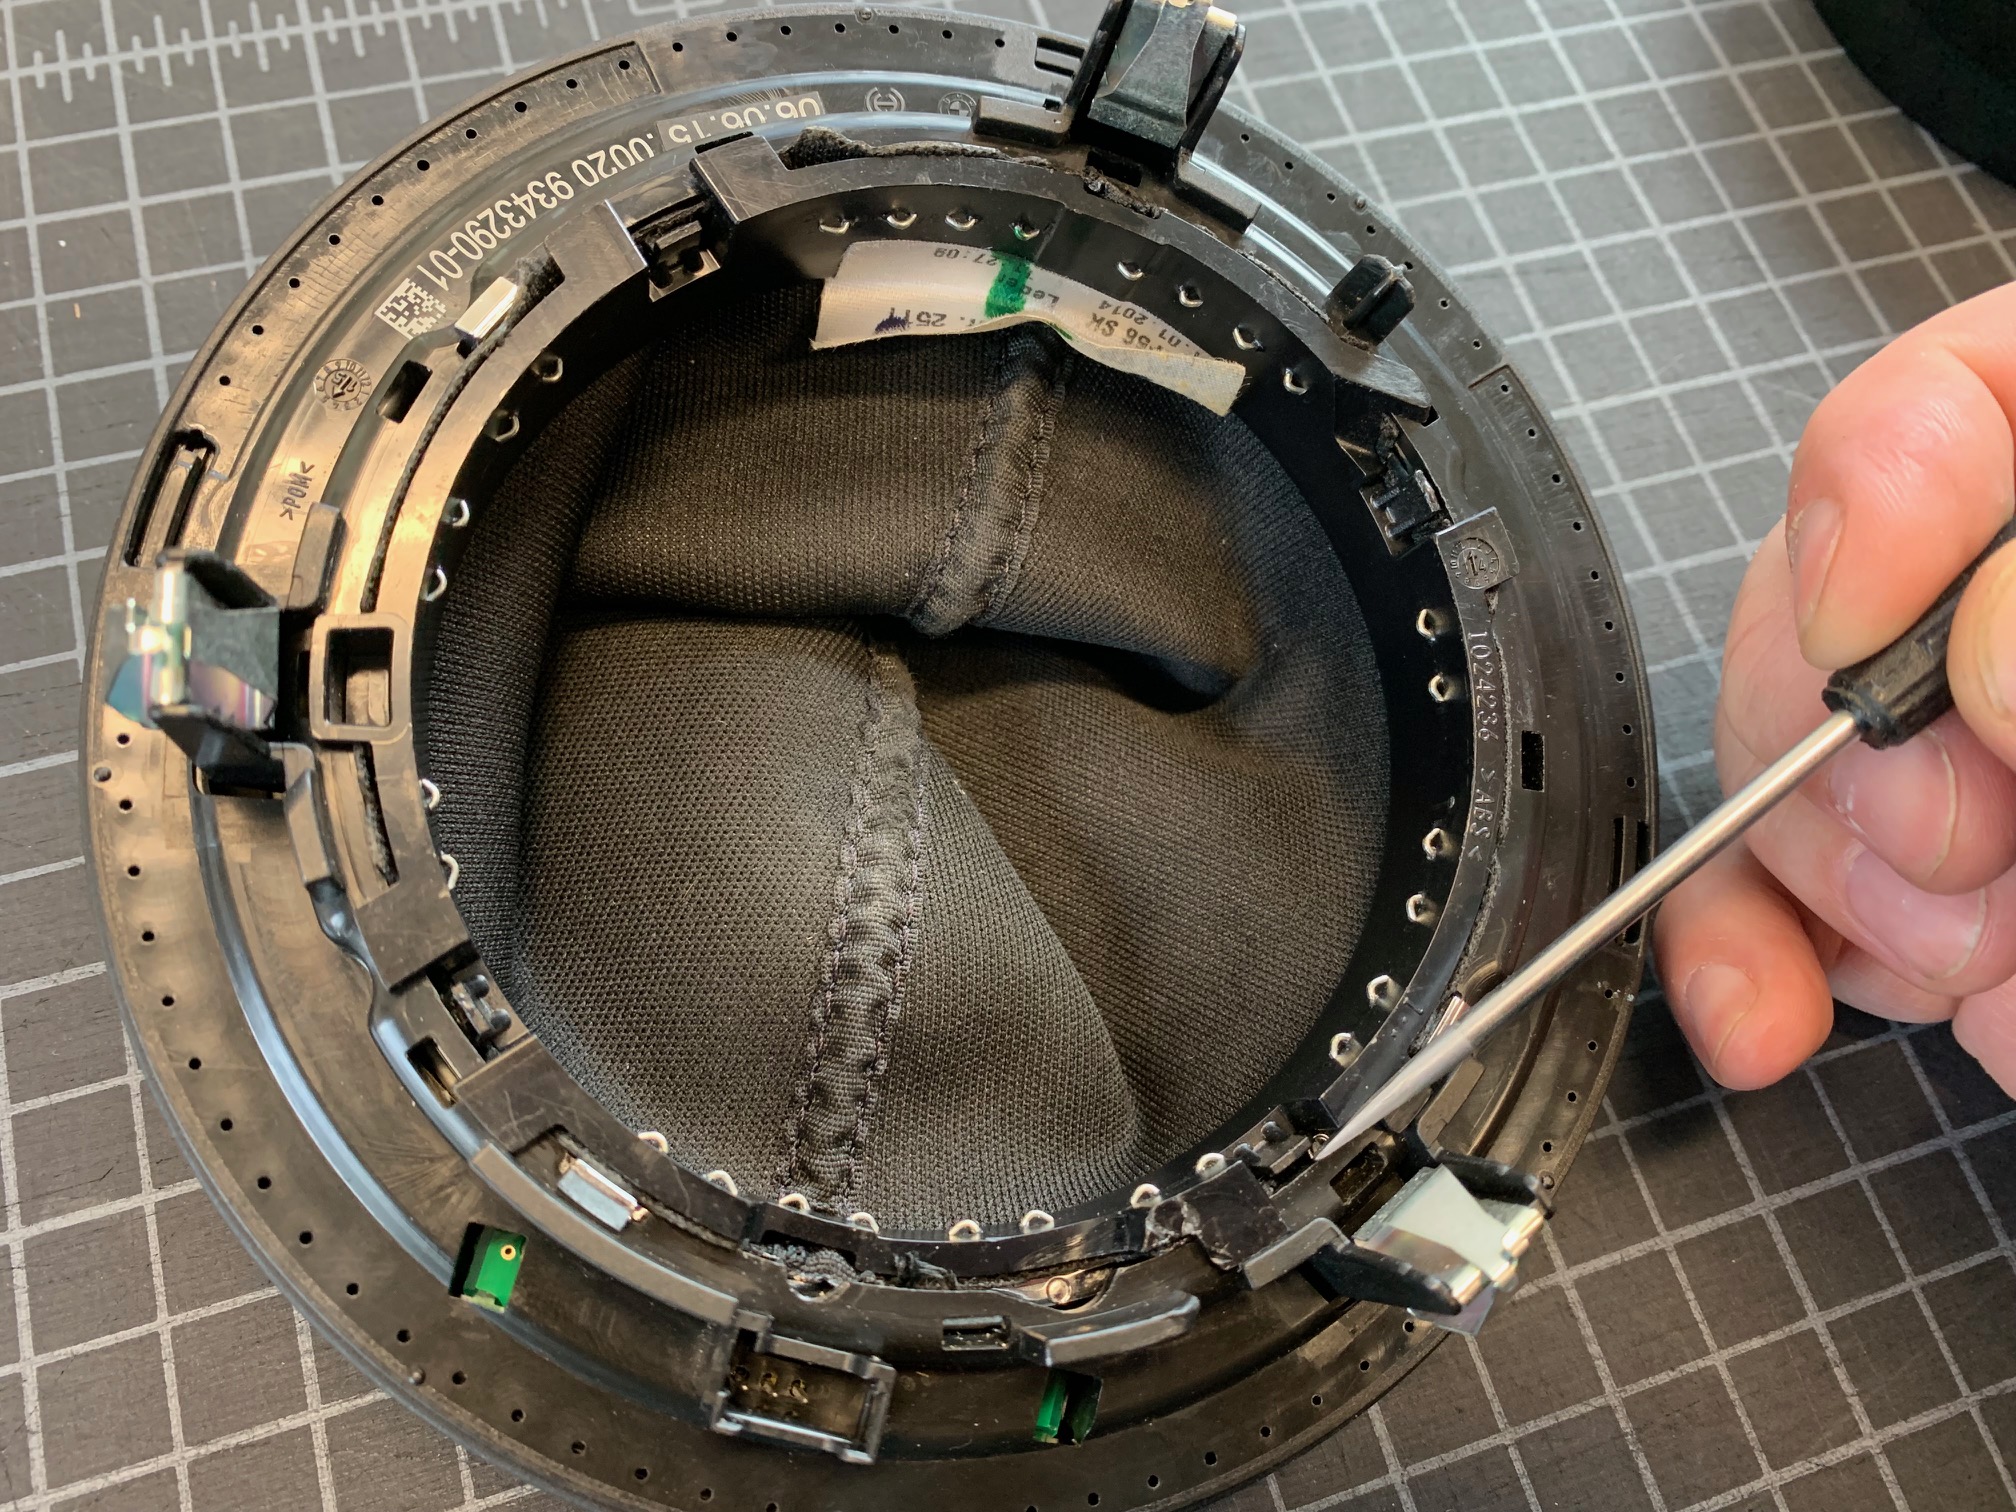
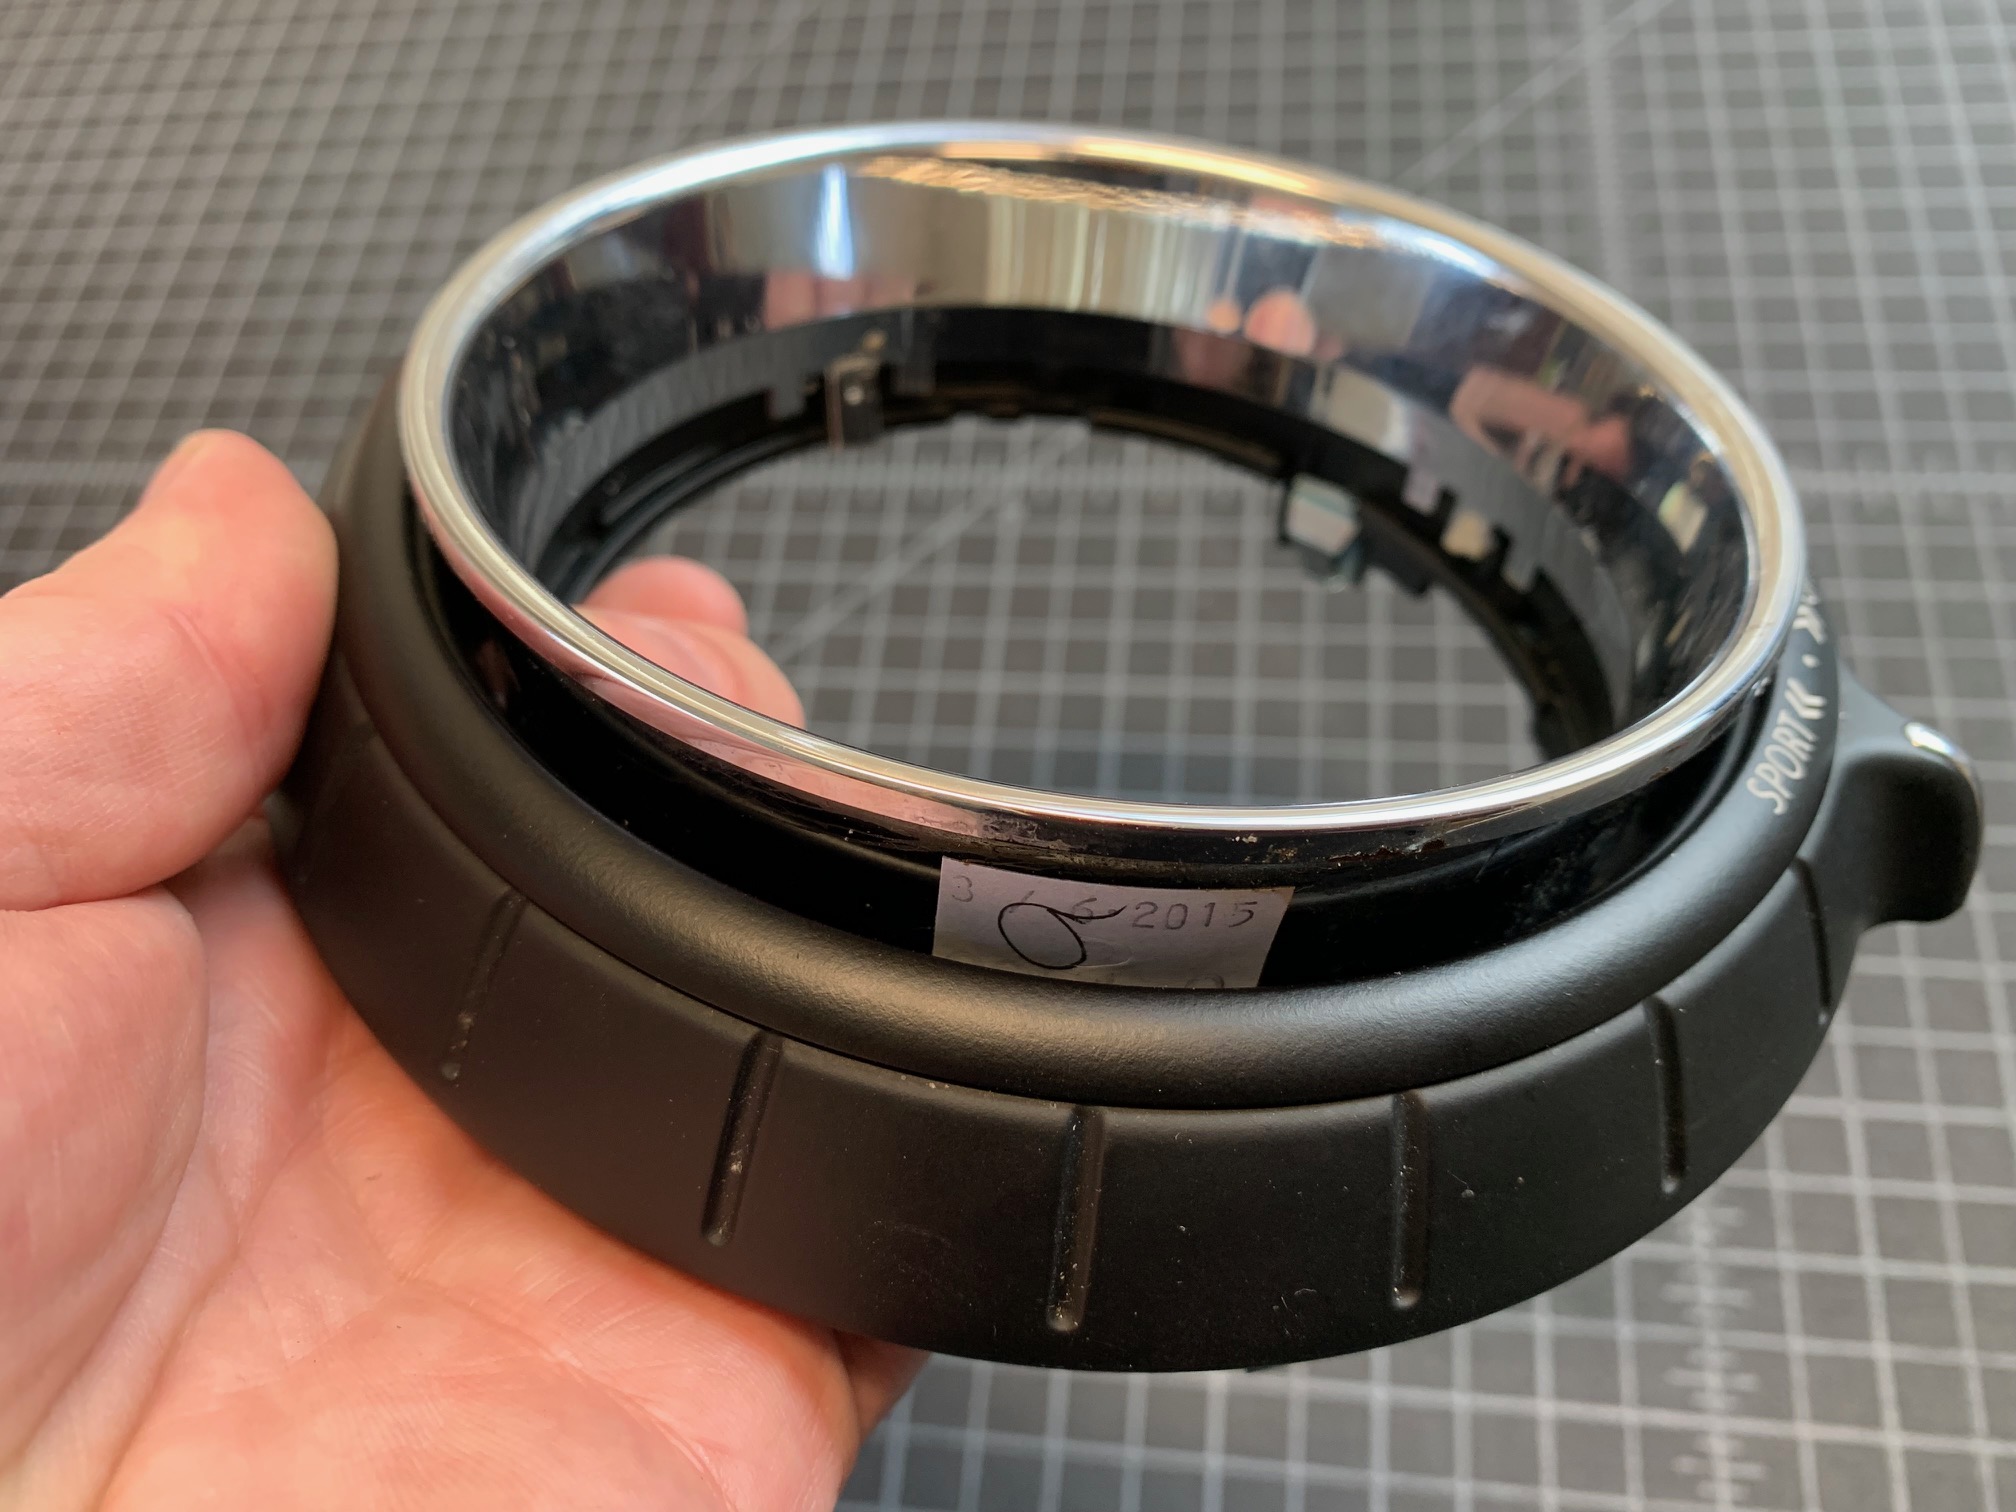
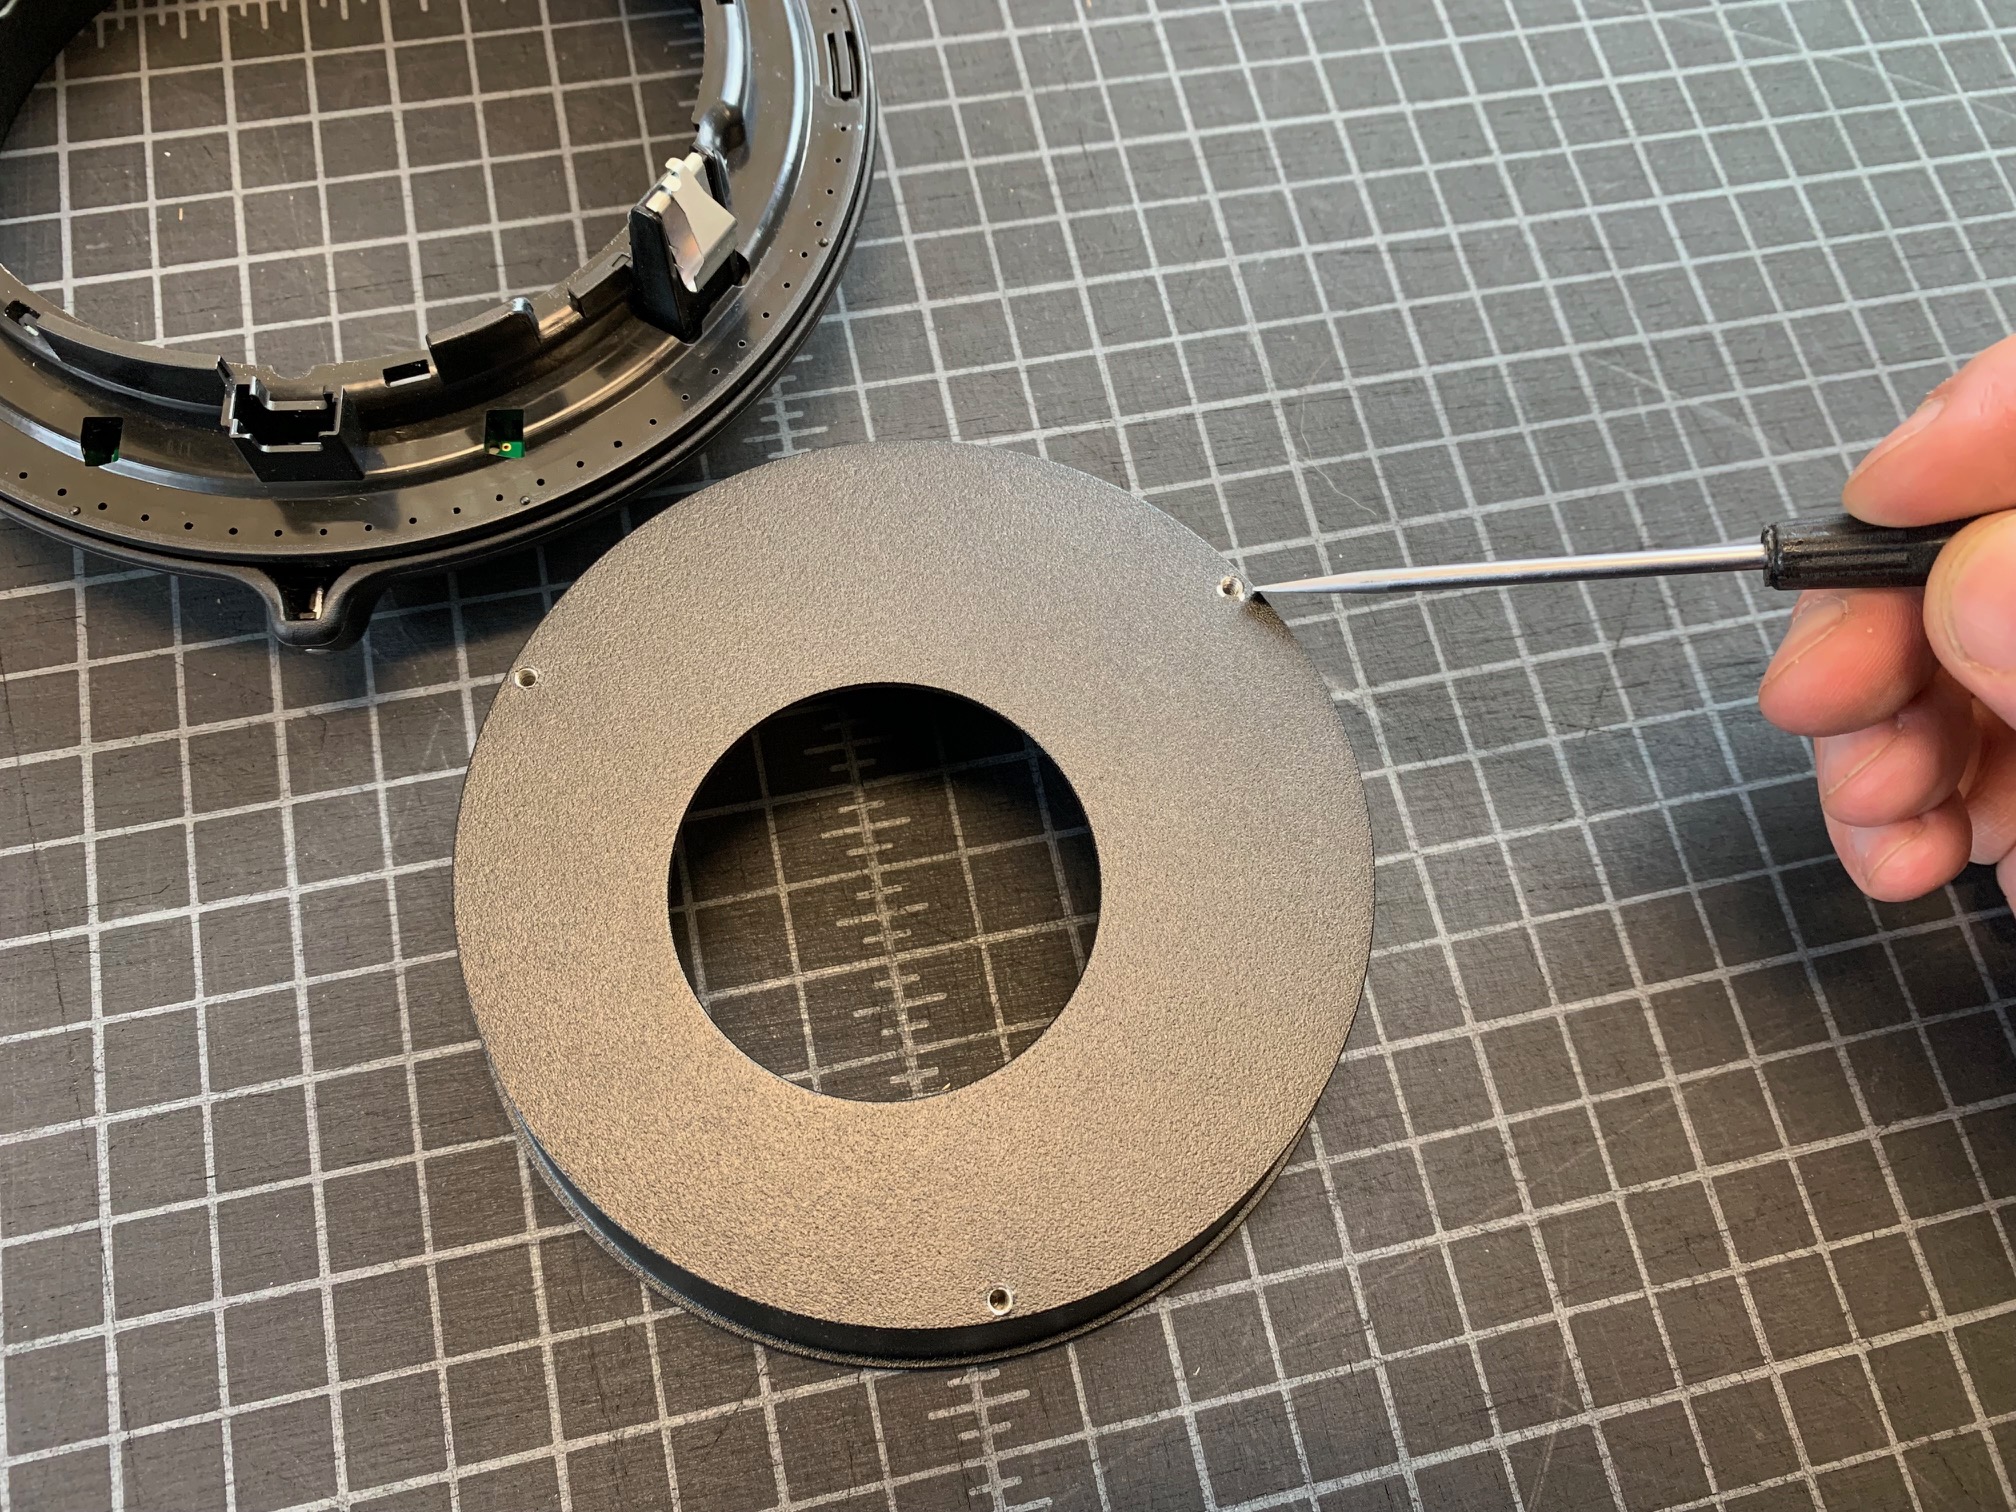
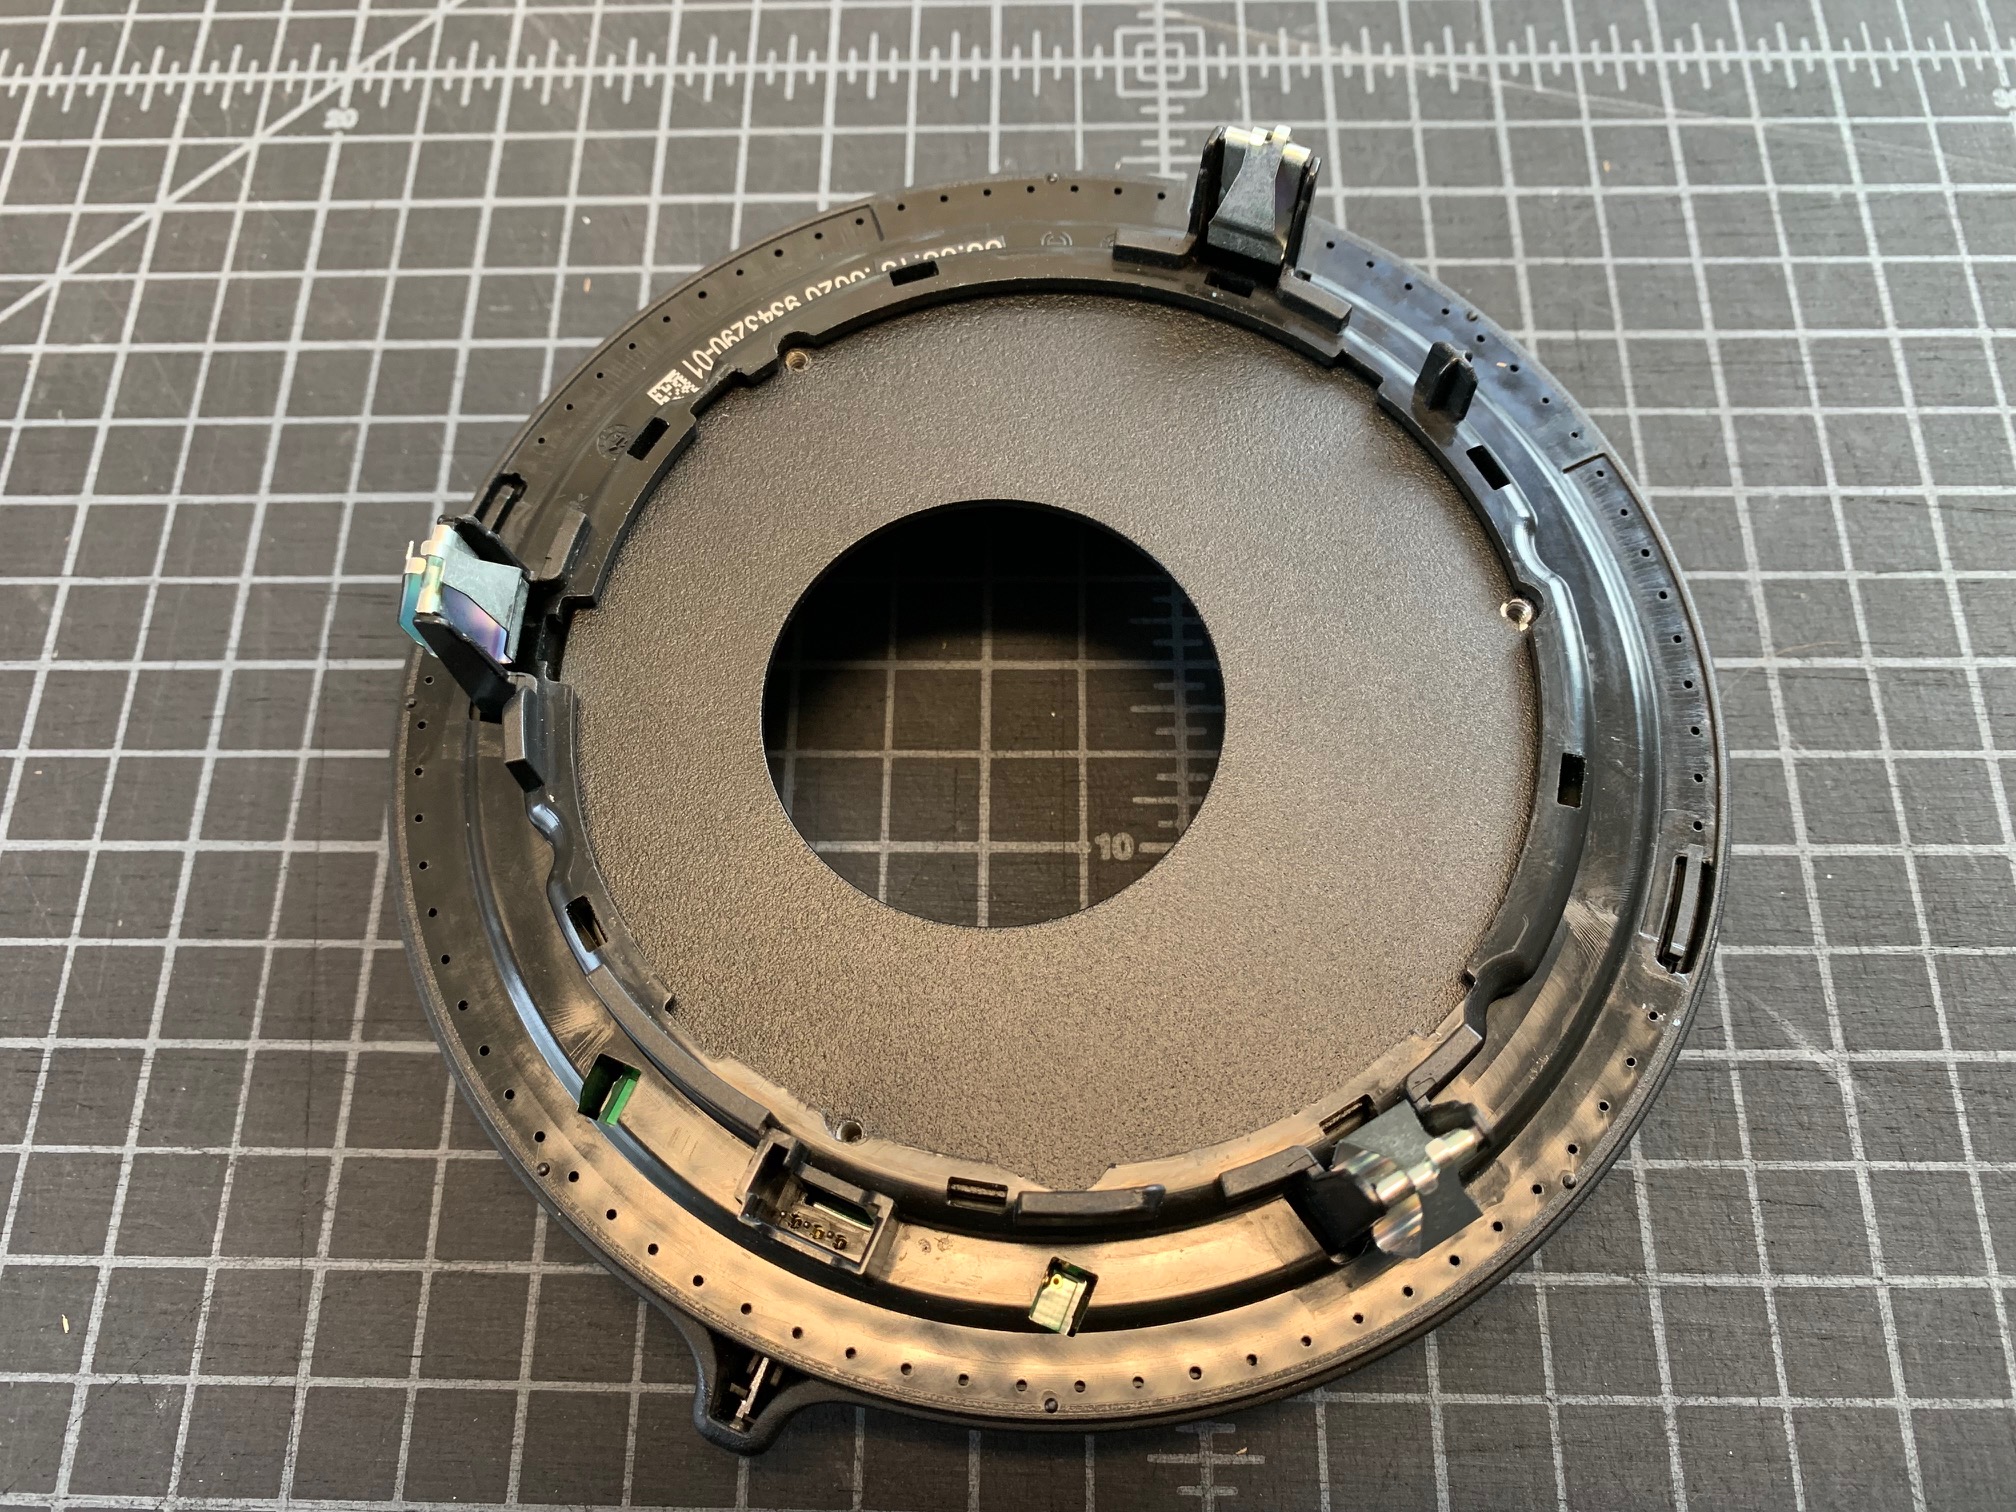
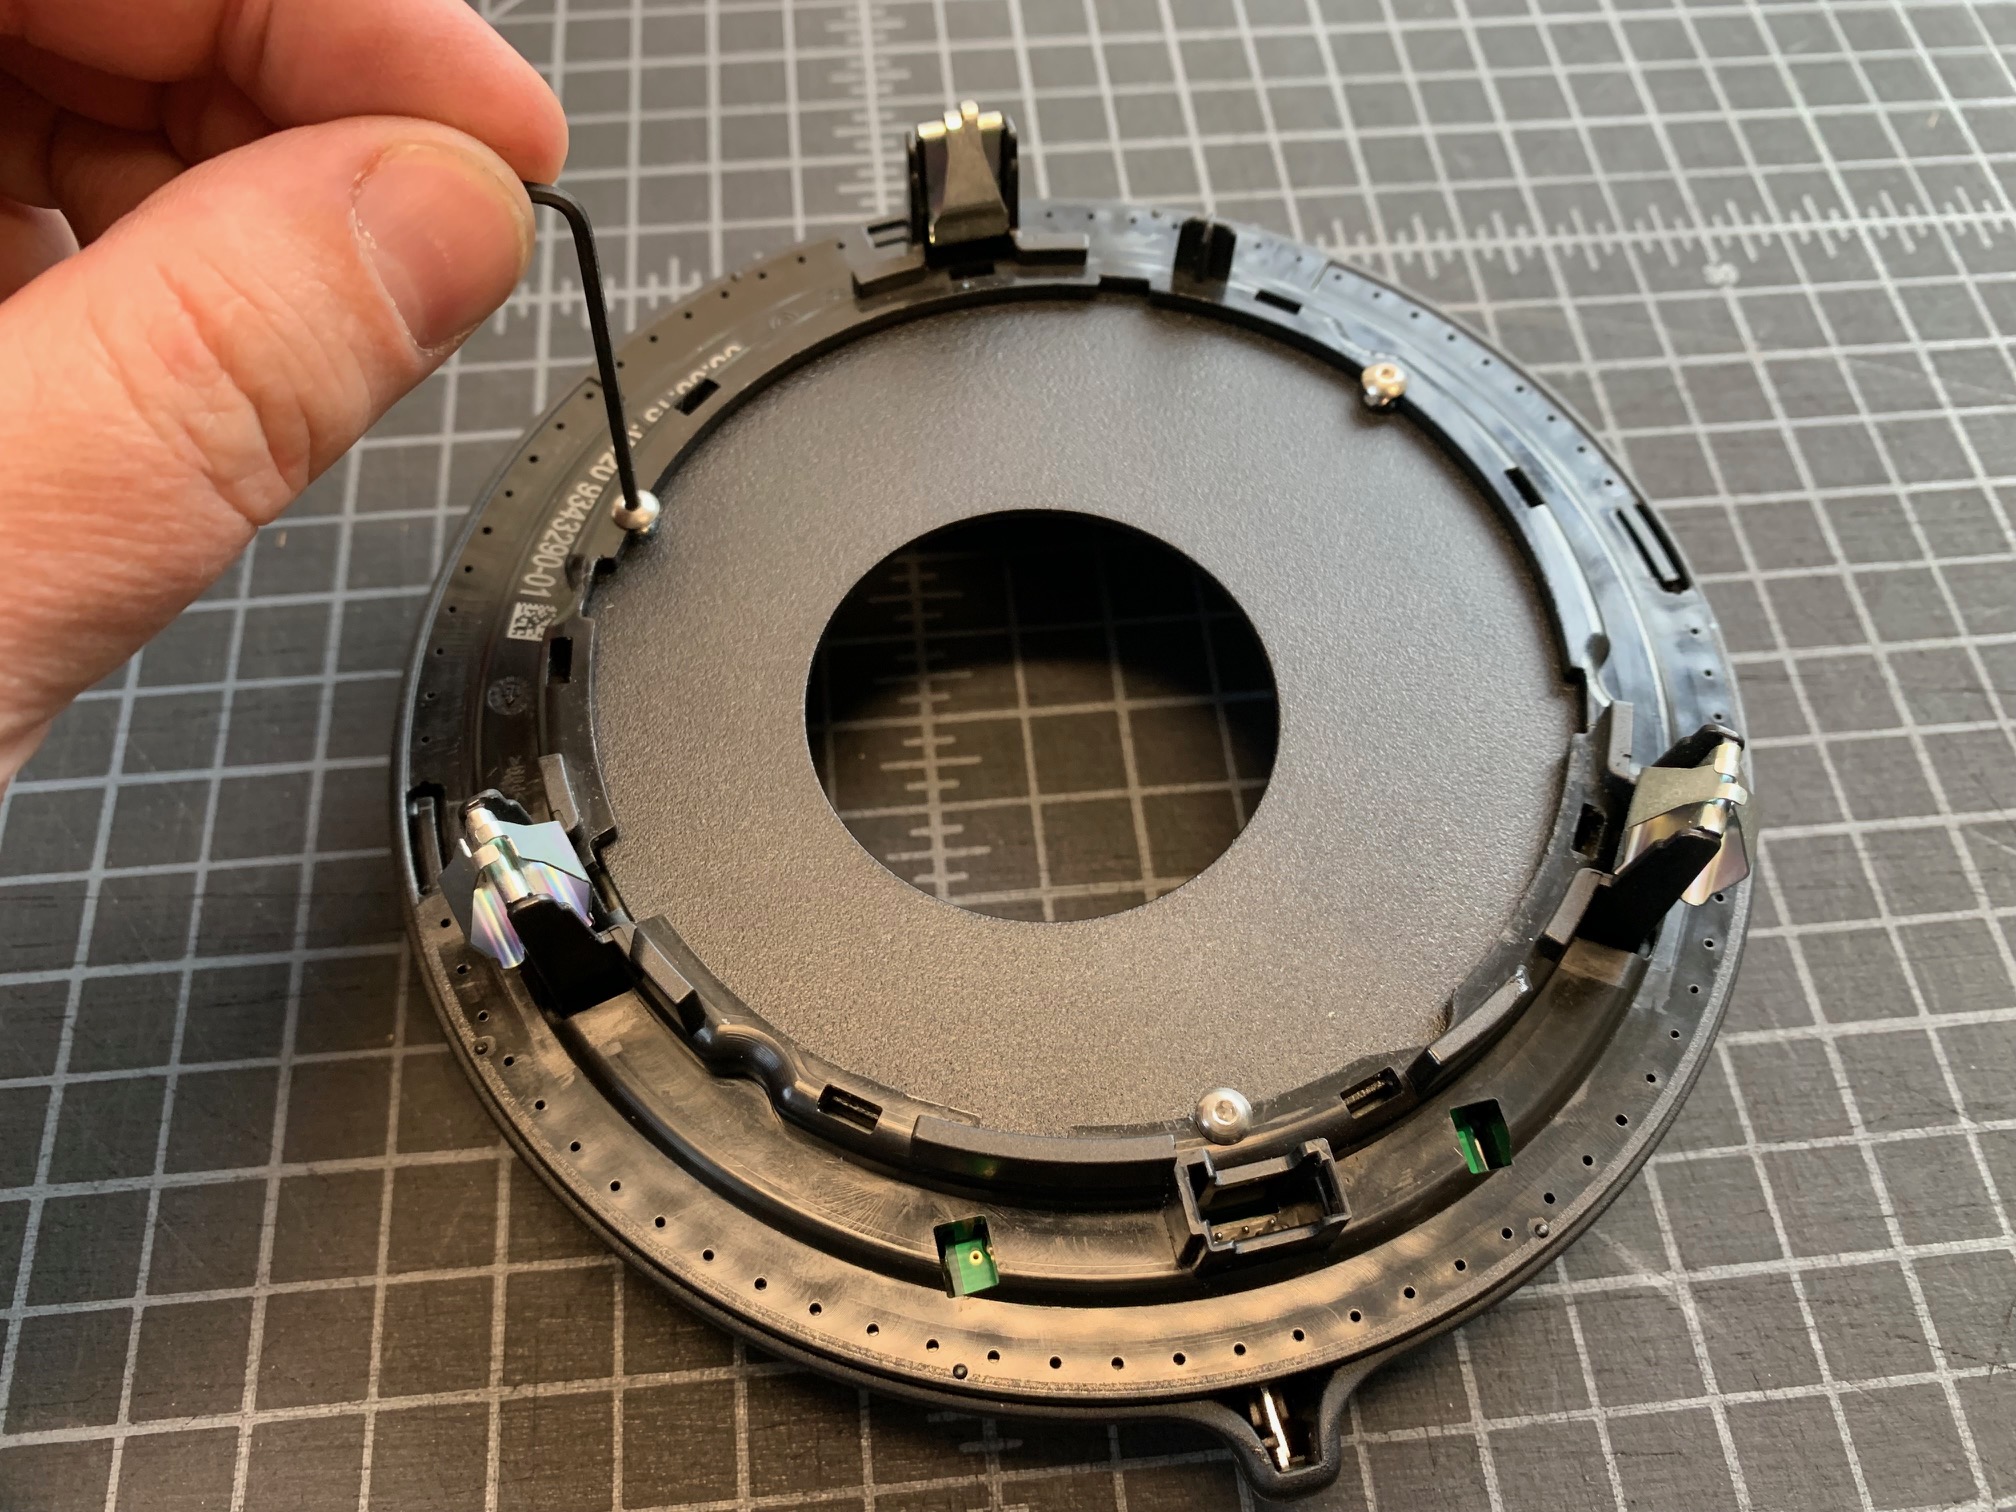
    Preparing and Installing the CS Shift Well Cover

    1. (CS or OEM Shifter) Place the large spring over the shift lever to rest upon the ball pivot.

    1. Take the ABS Slide Plate (install the rubber grommet if necessary) and place it onto the shift lever, past the threads of the red anodized pivot assembly and down onto the large spring.

    1. (CS Short Shifter) Reinstall the Height Adjustment Collar.

    1. (CS Short Shifter) Reinstall the Thread-on Adapter.

    1. Next, we'll need to remove the OEM shift boot and chrome trim ring within the OEM shifter surround. There are four (4) small plastic tabs around the boot mount ring that need to be gently pried away from the perimeter of the shifter surround.

    1. The chrome trim ring will then be removed by gently prying on the four (4) tabs holding it into place. These tabs are extremely fragile and you probably will break at least one of them. If you ever need to reinstall the chrome trim ring, a little silicone adhesive will hold it back into place just fine.

    1. Take a close look to the bottom of the OEM shifter surround and note the three (3) small half-circle cut outs around its perimeter. The bottom side of the CS Shift Well features three (3) tapped screw holes which will line up with these cutouts in one orientation only. A quick way of finding this orientation is to hold the OEM shifter surround in your hand with the top side up and the sport switch toward your body. Set the CS Shift Well into it with the off-center hole in the lower right quadrant. Flip the assembly over and the screw holes should be very close to lining up with the semi-circle cut-outs. Make any small changes to line these up perfectly with each other and use the three small button-head screws and a hex key included with your kit to affix the CS Shift Well into the OEM shifter surround.

    1. With the ABS Slide Plate already installed onto the shift lever, all that is left to do is install the CS Shift Well assembly and reinstall your shift knob. Be sure to plug the Sport Switch wiring back in if your MINI is equipped with it.