THANK YOU for purchasing the Dodge Dart Short Shifter Installation Guide from CravenSpeed. This product is made from the highest grade materials, and is guaranteed to be free from defects. You can buy our Short Shifter for Dodge Dart here
Thank you for purchasing the Dodge Dart Short Shifter from CravenSpeed. The piece is made from the highest grade materials and is guaranteed to be free from defects.
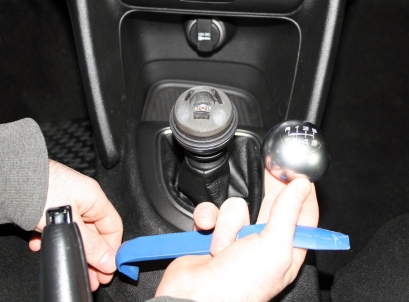
1a. Separate the top half of the shift knob from the bottom gently with a plastic auto body tool. If you do not have a plastic pry tool a screwdriver or razor blade will do, but might cause scratches.
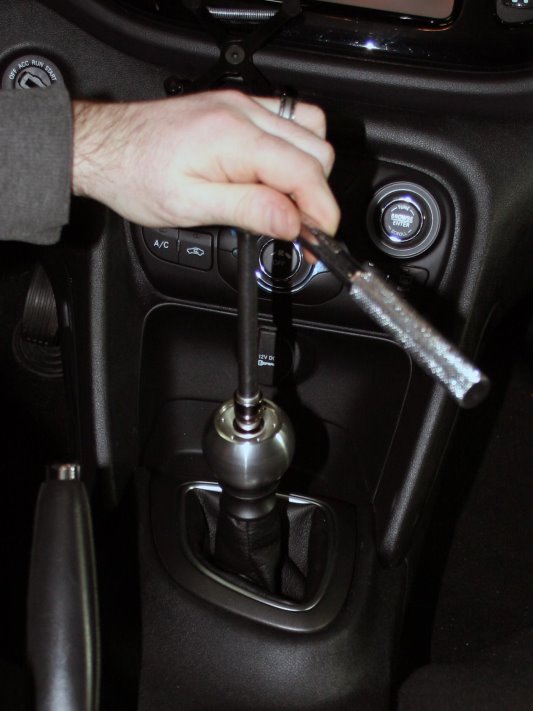
1b. Use a 10mm socket wrench to remove the bottom half of the stock knob.
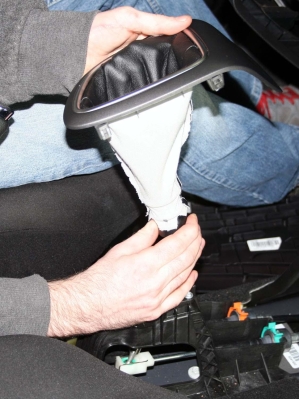
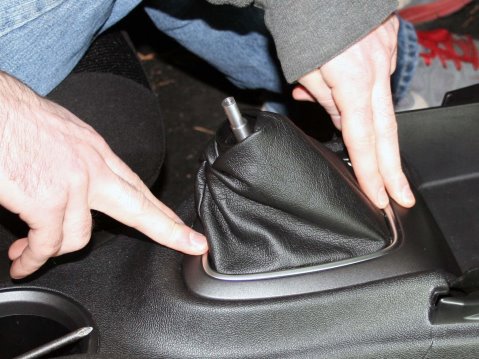
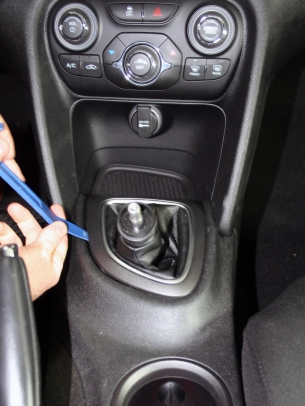
2a. Remove the shift boot. Gently use a plastic pry bar to loosen the clips around the boot.
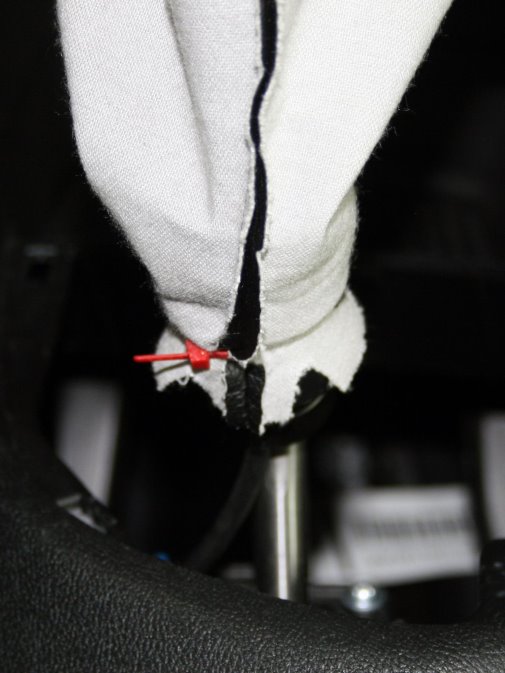
2b. Snip the OEM Zip Tie holding up the boot.
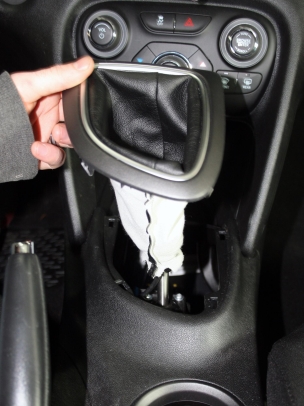
2c. Remove shift boot from shifter shaft.
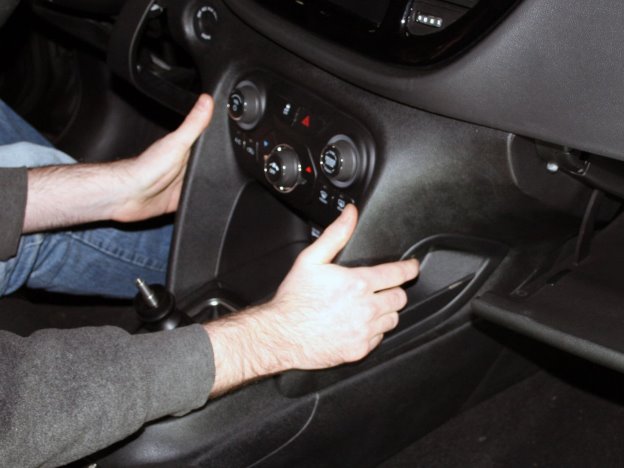
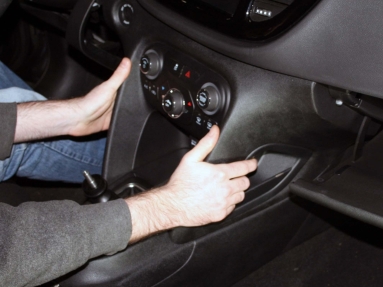
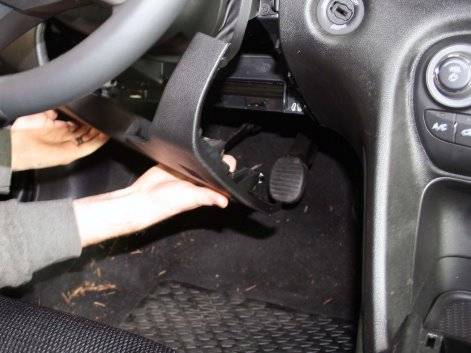
3a. Remove moulding under steering wheel. Gently pull and pop loose the plastic moulding under the steering wheel.
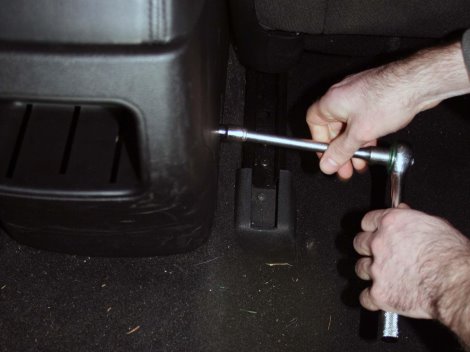
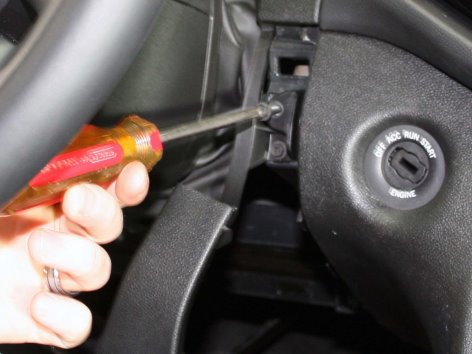
3b. Remove the screw to the left of the ignition, that was hidden by the moulding we just removed.
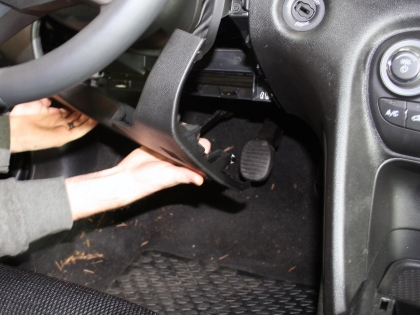
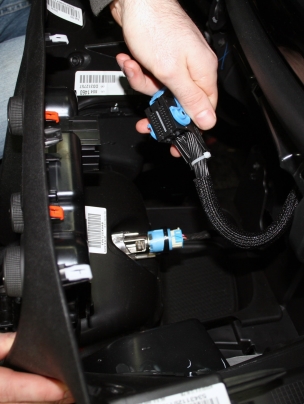
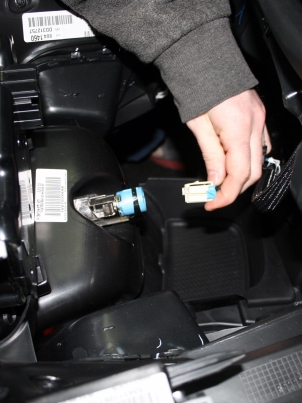
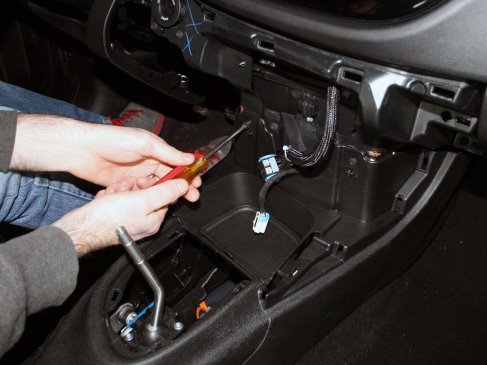
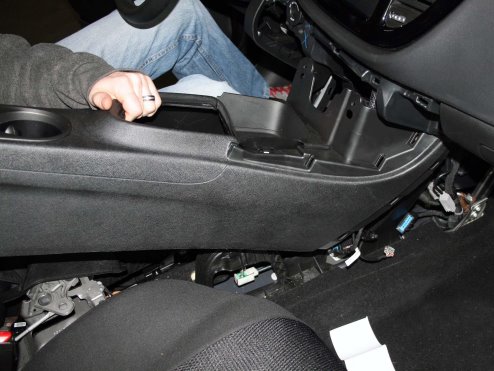
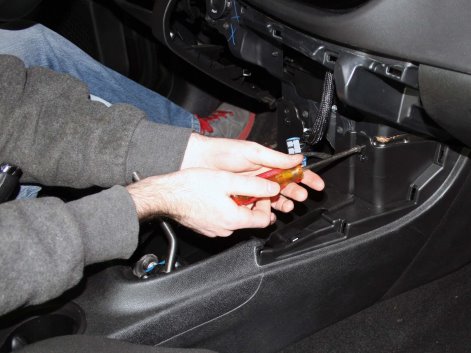
3c. Open the glove box, and gently pull the center console loose.
3d. Disconnect the two wire harnesses in the back of the center console, and remove the console.
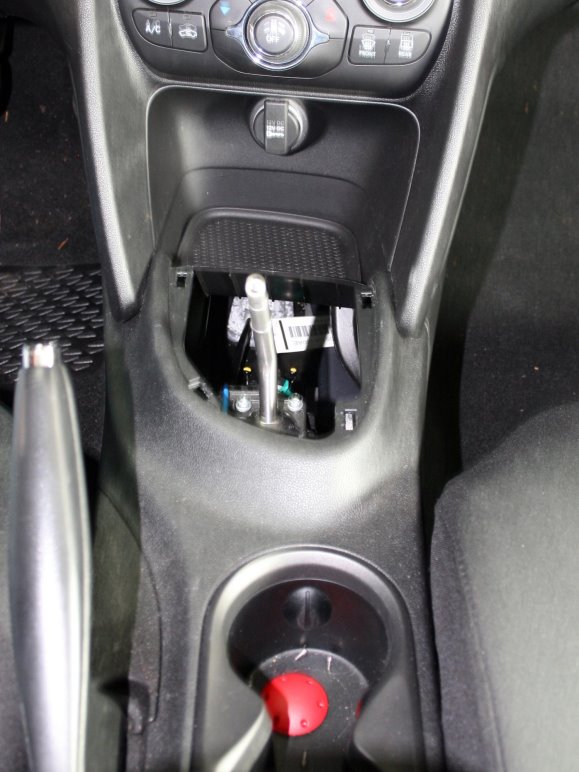
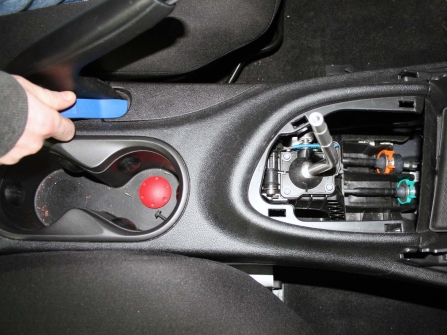
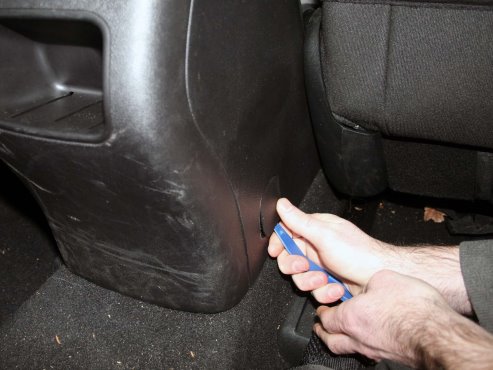
4a. Using the plastic pry bar, remove the plastic trim under the parking brake.
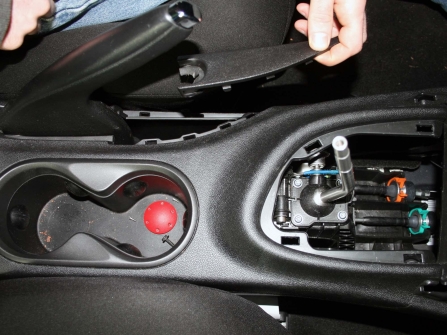
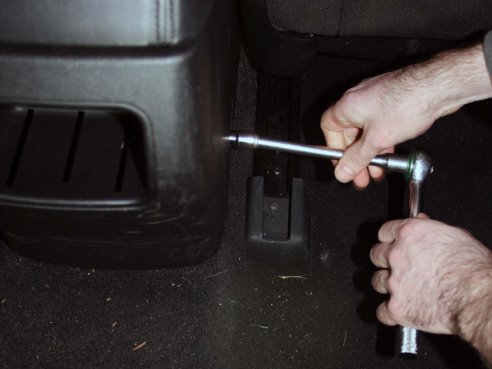
4b. Behind the front seats, on either side of the console there are two screws, you must first use the plastic pry bar to remove the small square cover, and then the screws. (One on each side, same spot)
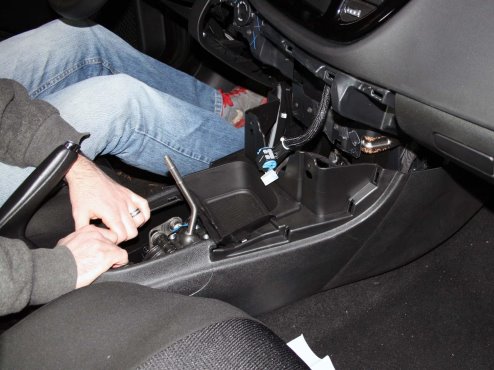
4c. Remove the final two Philips head screws holding the entire center console in. They are behind where the console piece was removed earlier.
4d. Gently pull on the console until it becomes loose. Once loose there will be three wiring connectors. Disconnect all three and the console can be completely removed.
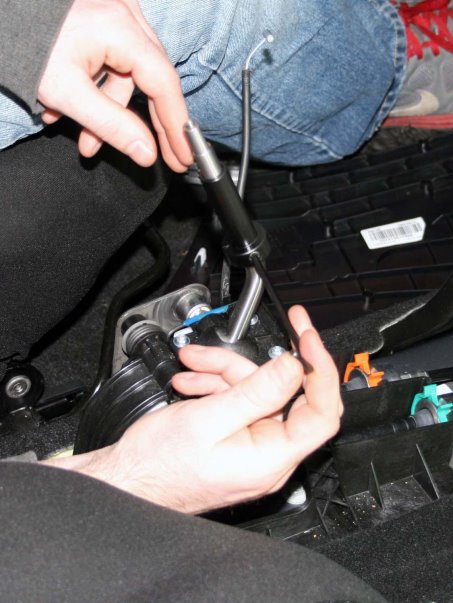
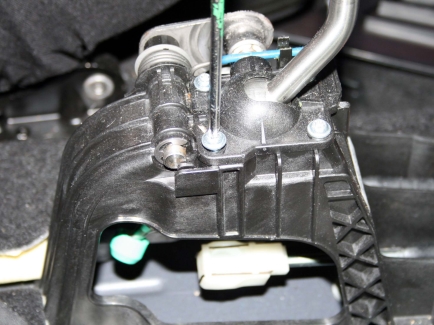
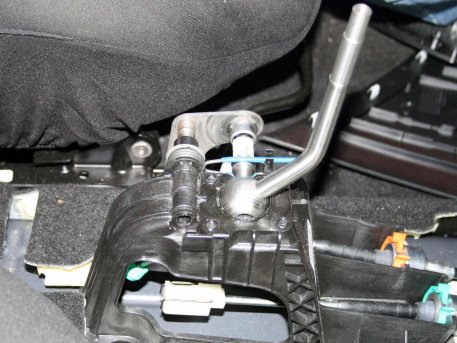
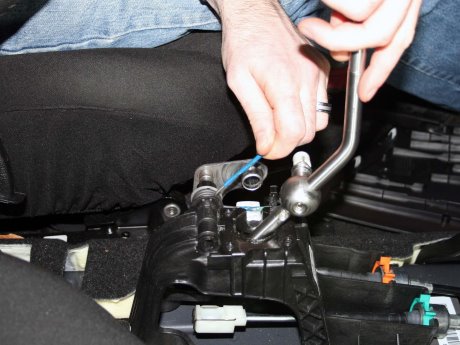
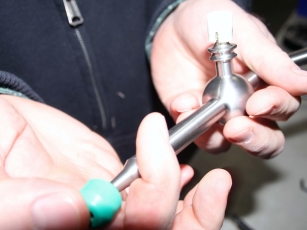
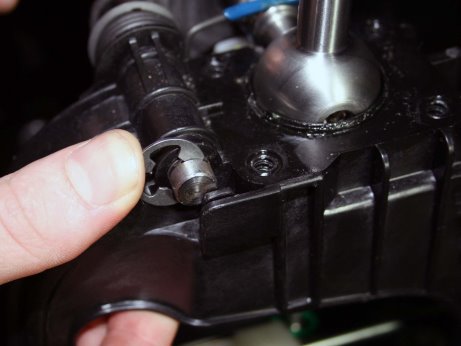
5a. Remove the pivot ball from the plastic clip.
5b. Remove the four screws holding on the top of the shifter, and remove the plastic cover.
5c. Remove the retainer C clip (Do not lose this, it’s small, and you will need it again!)
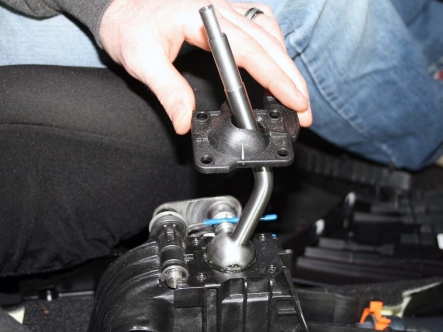
5d. Pull the metal L bracket on the side of the shifter assembly towards the drivers side door.
5e. Pull the top of the blue retaining spring up, and gently remove your stock shifter.
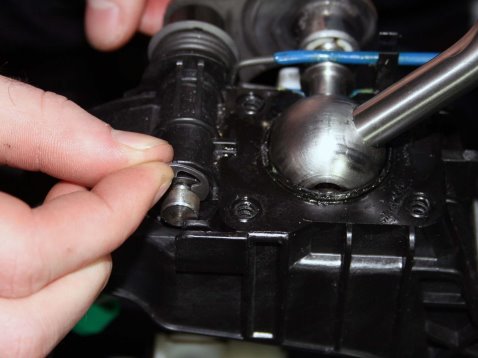
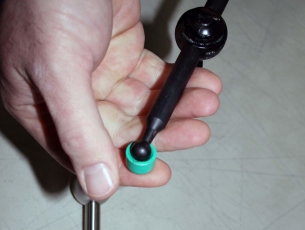
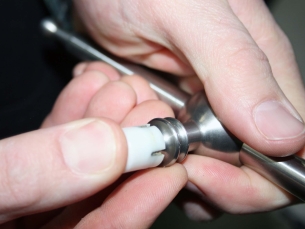
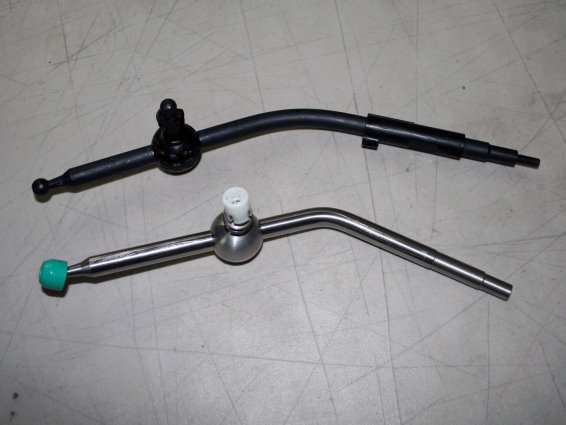
6a. Remove the OEM plastic clips from stock shifter, and snap them onto the Cravenspeed Short Shifter.
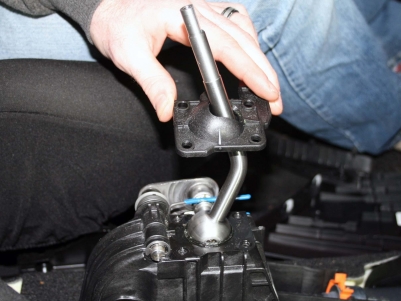
7a. Place Short Shifter back into place (Without Collar).
7b. Replace top Collar, and four screws.
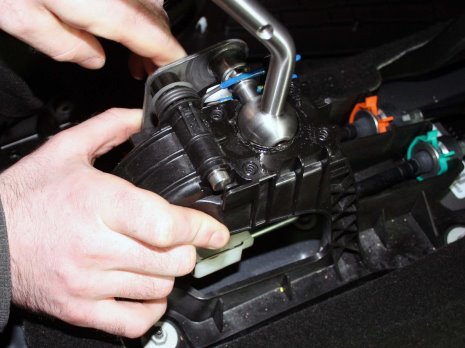
7c. Push the L bracket back towards the passenger side door.
7d. Replace retaining clip.
7e. Place bottom ball into white socket.
8a. Replace the center console by putting the front end in place first (be sure to reconnect the three electrical connections you unhooked during the removal)
8b. Replace the two screws in front, and the two in the rear behind the seats. (From steps 4b, and 4c).
9a. Open your glove box, and gently put the center console back into place, making sure to connect the two electrical connections you unhooked in the removal process.
9b. Replace the screw to the left of the ignition, and push the molding under the steering wheel back into place.
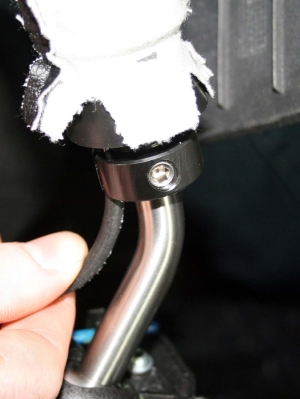
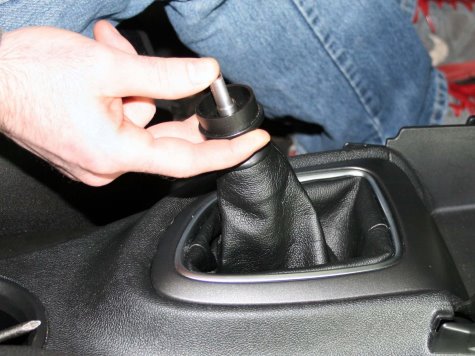
10a. Using a 3/16 Allen Key, install the black plastic collar with the included setscrew.
10b. Place the boot back over the shifter, being mindful of your reverse pull cable.
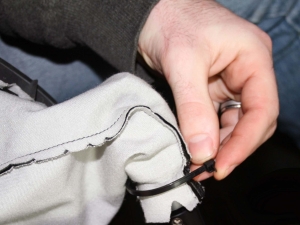
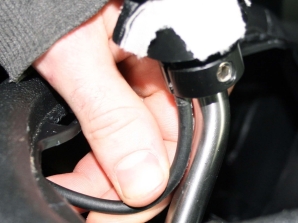
10c. Install the zip tie, and hook up your reverse pull cable.
10c. Reinstall the shift boot, by pushing it back into place, gently.
10d. Test your reverse pull.
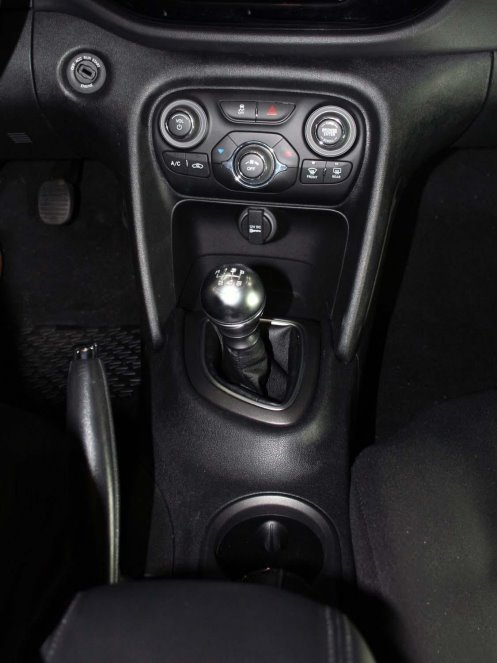
10e. Re-install your shift knob (Preferrably our Cravenspeed Knob[1]!) and you’re good to go.
Congratulations, your CravenSpeed Dodge Dart Short Shifter is now installed!
Parts Included:
Tools Required:
Procedure
Step 1. Remove the shift knob.

Step 2. Removing the Shift Boot
Step 3. Remove front Center Console.


Step 4. Removing the center console.

Step 5. Remove the Stock Shifter.

Step 6. Install Cravenspeed Short Shifter.

Step 7. Reinstall the Cravenspeed Short Shifter.


Step 8. Replace center console.

Step 9. Replace the front center console.


Step 10. Reinstall the shift boot.