THANK YOU
for purchasing the The Belmont from CravenSpeed. This product is made from the highest grade materials, and is guaranteed to be free from defects.
You can buy our
CravenSpeed The Belmont for here
The installation time for this product is approximately 30min.
Mock-up assembly and determine install location
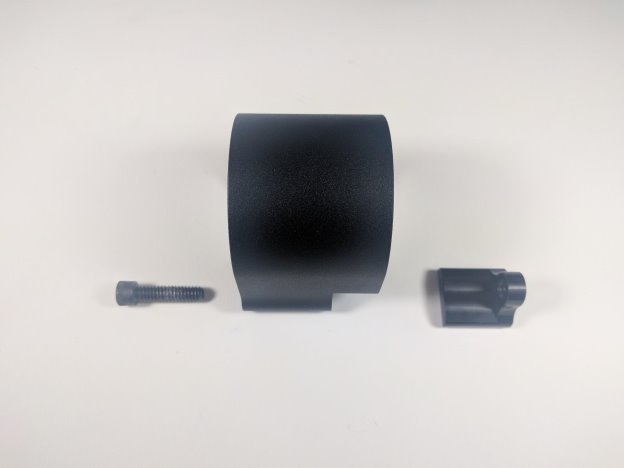
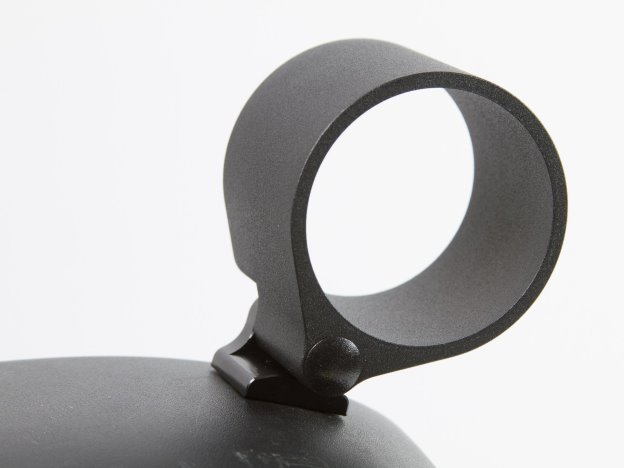
Temporarily assemble the mount by securing the gauge cup to the mount with the with the 1/4-20 Cap Screw and the 3/16 Allen wrench in the following orientation:
Take this assembly out to your car and determine a location for it to be installed. We typically install The Belmont on the top half of the steering column shroud. This shroud locates the gauge in an ideal position, is easy to remove, and cheap to replace ($30-$50) should you ever need to revert back to stock. That said, the Belmont can be installed on virtually any panel in the car.
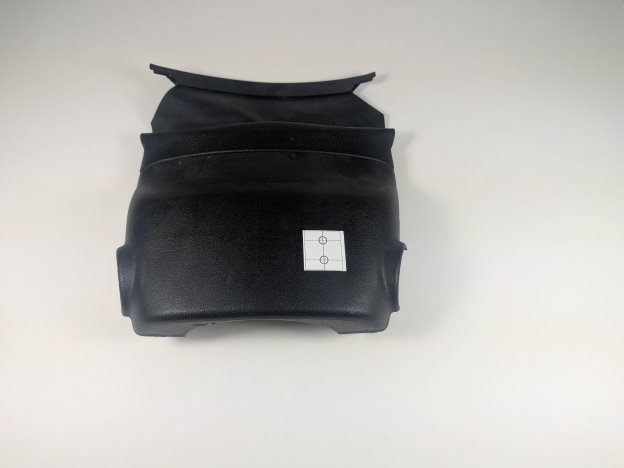
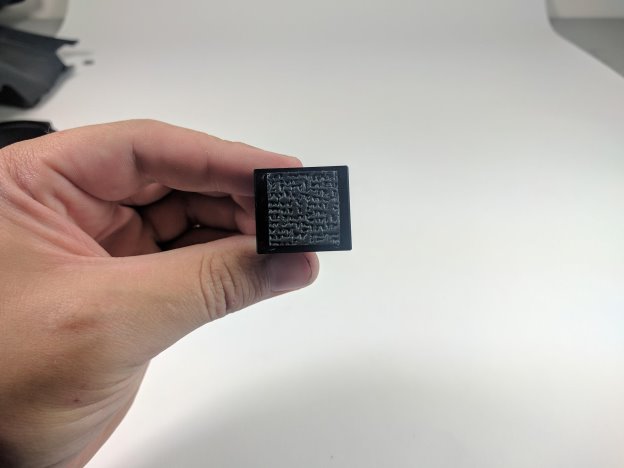
Once you have a good idea of where you want to install the mount, peel and stick the hole template to that location. It may be easier to trim the template slightly, but pay close attention to the orientation of the holes. The holes should be inline with the driver.
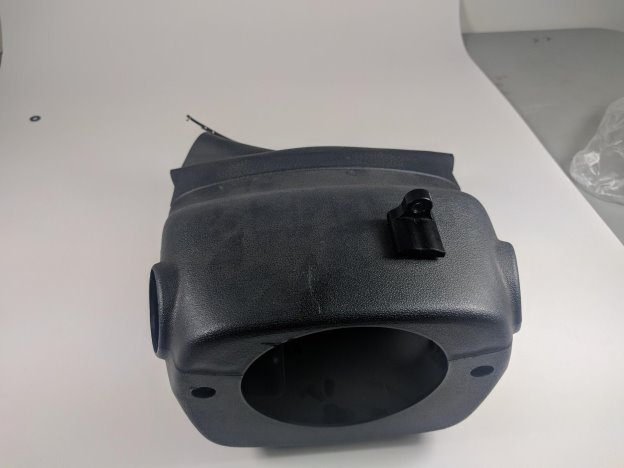
2.Drill attachment holes.
Remove the steering column shroud from the vehicle, and bring it to a sturdy workspace. These typically just snap together and can be easily pulled apart. Some are held together with screws. If you need help determining how the shroud in your car comes off,
send us an email
and we’ll help you find that information.
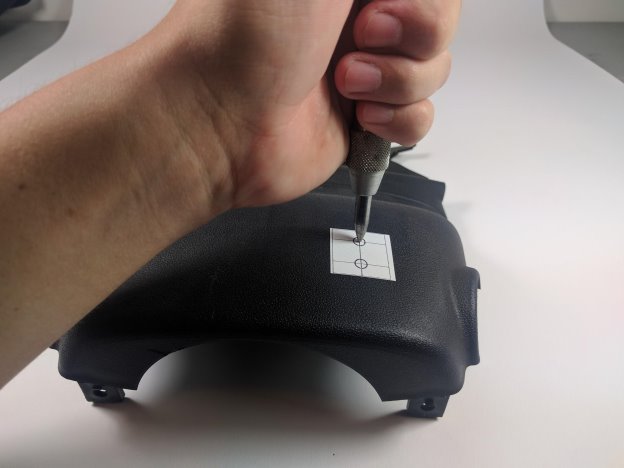
DOUBLE CHECK THE ORIENTATION OF YOUR HOLES BEFORE YOU DRILL
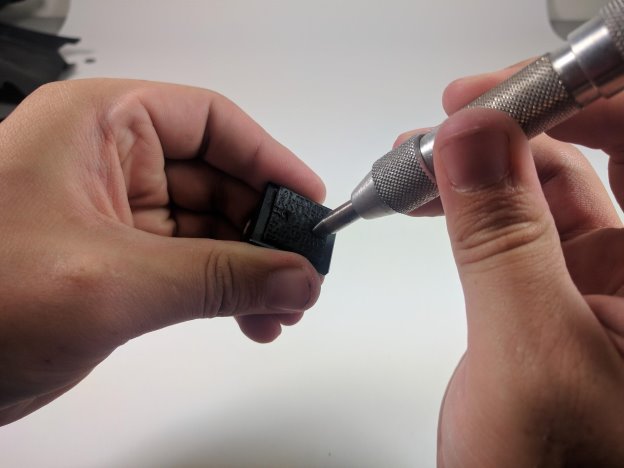
Use a center punch to give the drill bit a starting point. If you do not center punch the holes first, the drill bit will walk and your holes will not be spaced properly.
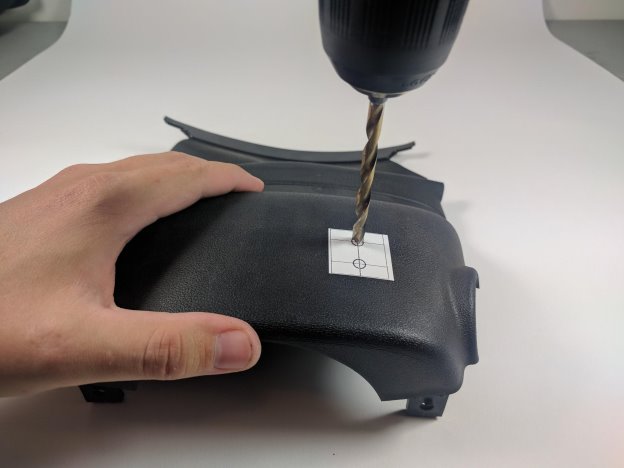
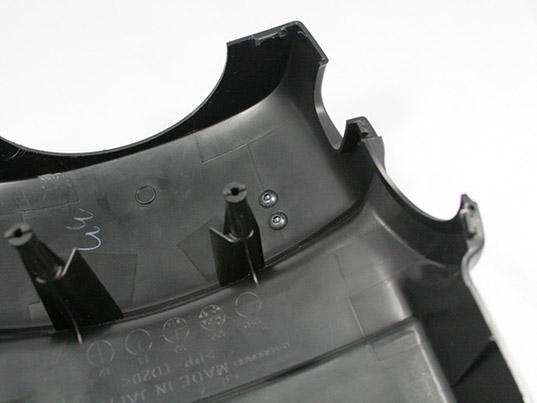
Use an 11/64 drill bit to drill the two mounting holes. 11/64 is the ideal hole size, but a 3/16 bit will also work. The holes should be inline with the driver. Do not drill them horizontally across the column, or your gauge will not point in the right direction. Make sure you are holding the shroud securely, and be mindful of what is behind the hole, as the drill bit will poke through rapidly once you get through the plastic.
3. Prep the mount for installation.
Disassemble the mock-up from earlier, then peel and stick the square foam pad to the bottom of the Belmont mount.
Use your center punch to poke holes in the pad where the screw holes are.
4. Install the mount onto the shroud.
Use the 2 button head screws to attach the Belmont mount to the shroud.
Attach the cup to the mount. This time, you can also install the plastic push-in plug to cover up the hole in the gauge cup. With the mount attached, you can install the shroud back into the vehicle.
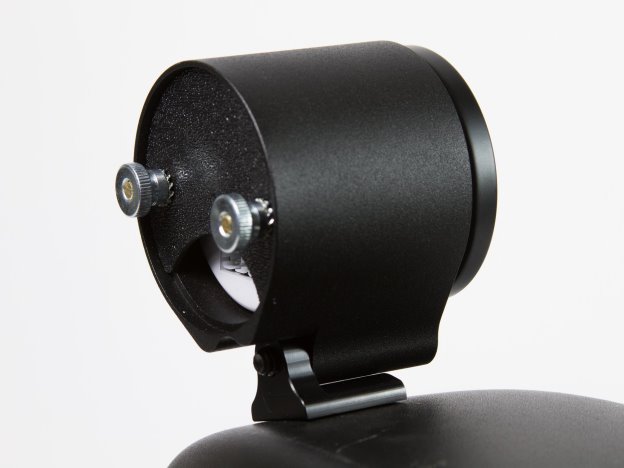
5. Install your gauge.
There are two methods of installing a gauge into the cup. The most common is to insert the gauge into the cup, and then attach the plastic back plate onto the back of the gauge using the threaded posts.
If you have a 60mm gauge, or your gauge doesn’t have threaded posts, you can apply the included circular pads to the inside of the cup to create a friction fit between the cup and the gauge.
Parts Included:
Tools Required:
Procedure