THANK YOU
for purchasing the The Miata Sound Maker Delete from CravenSpeed. This product is made from the highest grade materials, and is guaranteed to be free from defects.
You can buy our
CravenSpeed Noise Maker Delete Kit for ND MX-5 Miata here
All components are
OEM Mazda
parts ordered from the factory.
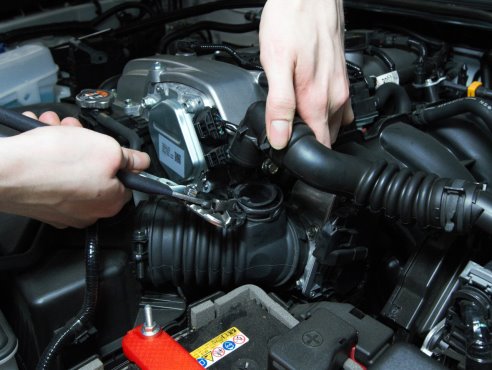
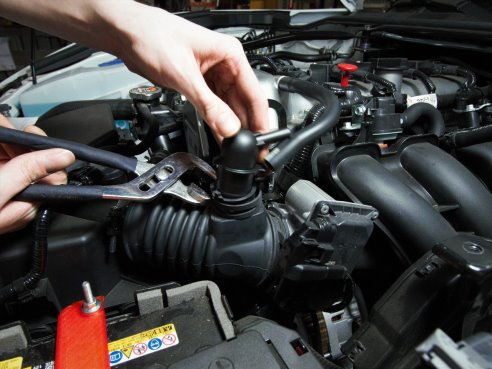
1. Using pliers, loosen the clamp connecting the plastic elbow to the new air tube and wiggle off the plastic elbow. (You can save the air tube as a replacement part if your stock one tears or breaks, or recycle it.)
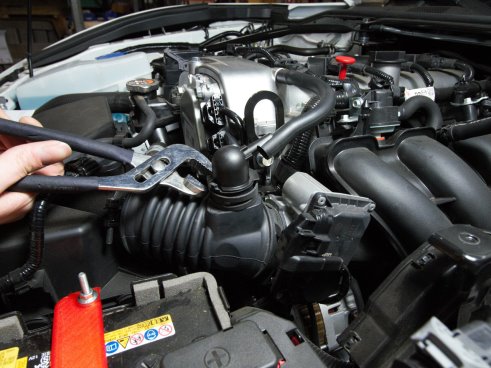
2. Again using pliers, remove the stock plastic elbow from the air tube in your vehicle using the method in step 1.
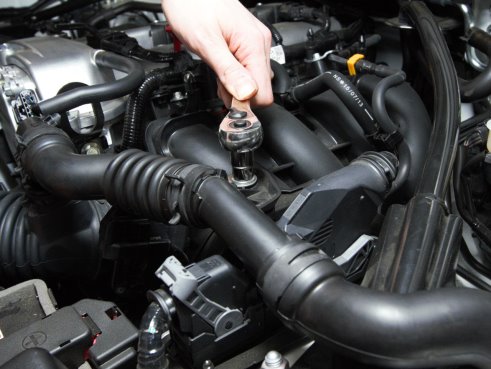
3. With care, slowly and gently remove the thin rubber tube from the plastic elbow. (Our stock plastic elbow broke during the install. If yours does too, that’s ok. We just need that rubber tube to remain intact!)
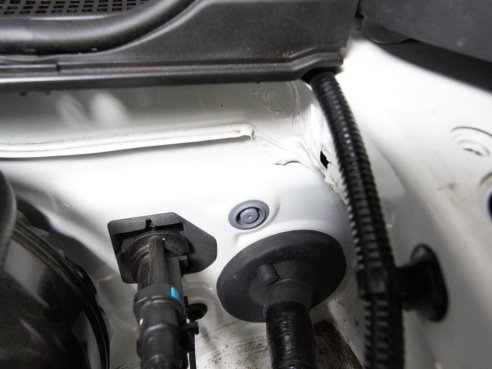
4. Using the 10mm socket, remove the two bolts that hold down the sound maker. These bolts are no longer necessary and can be put aside.
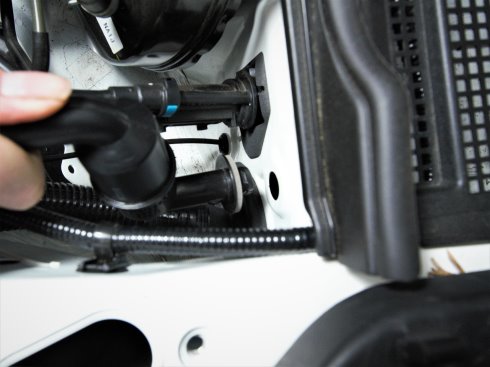
5. Locate the rubber bushing on the sound maker and gently pry it off of its mount.
6. Next, firmly pull the sound maker out of the firewall. There are two plastic clips on the other side of the firewall (in the driver footwell) that make this difficult. They may break or tear as a result.
6b. Optionally, use the needlenose pliers to compress these plastic clips from inside the footwell and push the sound tube out.
7. Install the grommet to plug the hole in the firewall.
8. With your pliers, loosen the metal clip on the air tube and install the new plastic elbow.
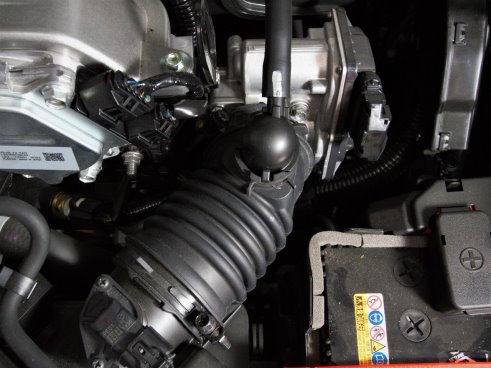
9. Gently push the thin rubber tube over the matching plastic tube on the new elbow. And finished!
Parts Included:
Tools Required:
Procedure