THANK YOU for purchasing the The Platypus License Plate Mount from CravenSpeed. This product is made from the highest grade materials, and is guaranteed to be free from defects. You can buy our CravenSpeed Platypus License Plate Mount for here
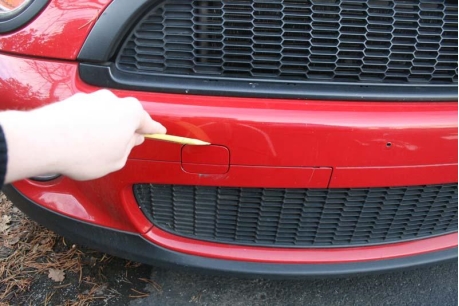
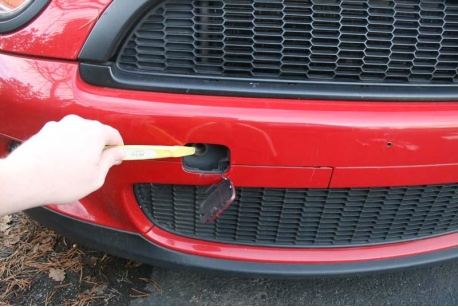
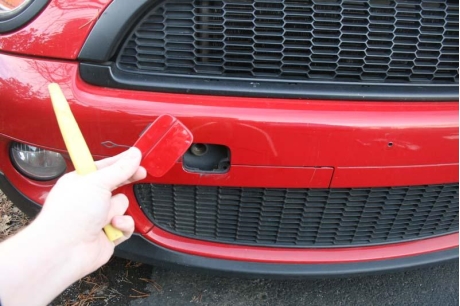
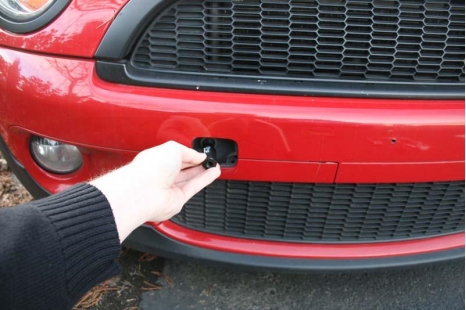
1. Using your finger, or a plastic prying tool, remove the towing eye cover on the front bumper.
Take the cover completely off, and keep it in a safe place.
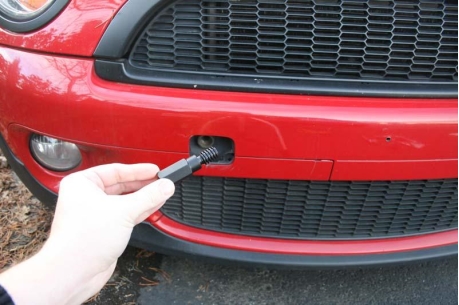
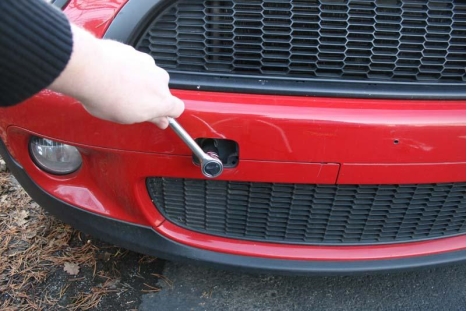
2. Install the tow stud into the towing eye receiver.
We intentionally machine these slightly oversized, so if it feels like it doesn’t want to go in just get a socket on the end of it and drive it in. The studs are aluminum which is much softer than the material in the towing eye receiver, so they won’t damage your car.
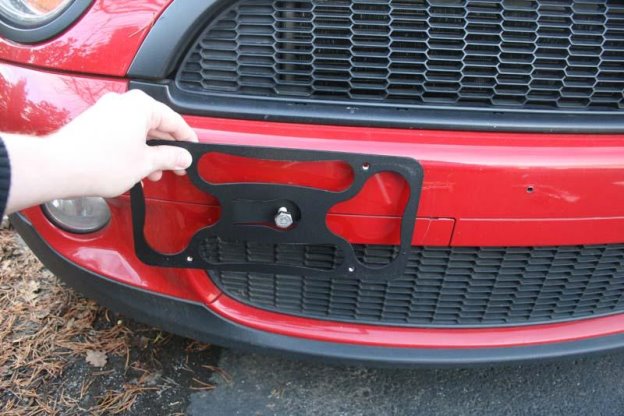
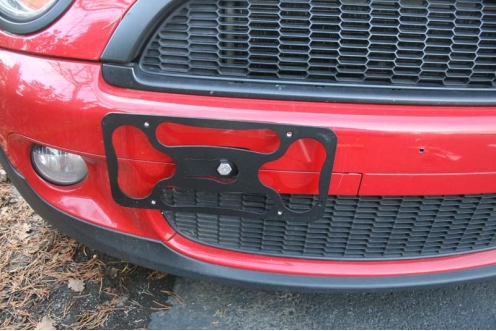
3. Check for clearance, and install the back plate.
Hold the back plate up to the stud with the holes lined up. On some vehicles, the back plate will touch the bumper if you install it without adjusting the angle of the mounting tab first.
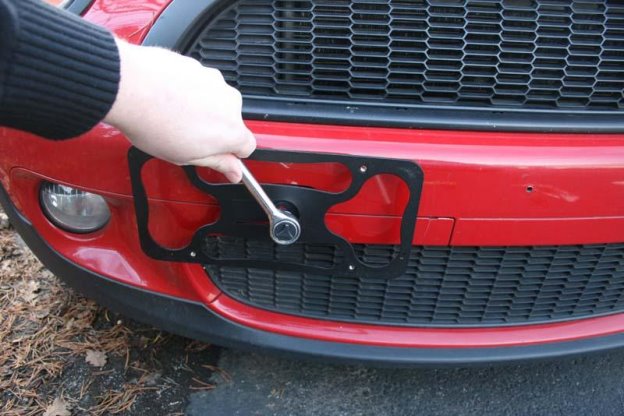
Hold the plate in the desired position while you tighten the plate bolt with a 15mm socket. If your car uses a left hand threaded tow stud, you will want to use an open ended wrench on the tow stud to keep it tight while you torque down the plate bolt. This bolt needs to be snug to prevent the plate from coming loose or rotating, almost as tight as you can get it with a standard socket wrench.
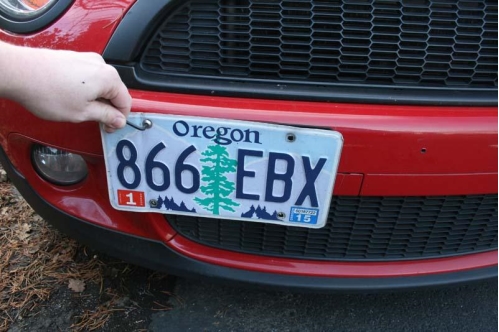
4. Install the license plate with the four included button head screws.
5. If you car has parking sensors, some adjustment of the plate may be necessary so that the mount doesn’t set them off. If they are being triggered, you can adjust the angle of the plate horizontally by grabbing it on both sides and angling it to the right or left. This is usually a trial and error process. We will start with the plate all the way to one side, and make small adjustments until the sensors are no longer triggered by the mount. If you can’t get it to work
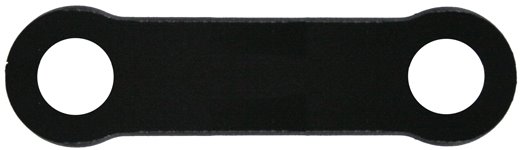
Extension Arms
Some vehicle’s mounts come with an extension arm:
We us this part to get further control over the positioning of the back plate. It mounts between the tow stud and the back plate. The goal of the extension arm is to get the plate into a better position to avoid the parking sensors. Let us know if you have any questions about this part.
Parts Included:
Tools Required:
Procedure