THANK YOU
for purchasing the Action Cam Antenna Mount from CravenSpeed. This product is made from the highest grade materials, and is guaranteed to be free from defects.
You can buy our
CravenSpeed Action Cam Antenna Mount for here
1. Remove your vehicle’s antenna and store it in a safe location. Confirm that no adapter or threaded stud remains in the antenna base as you will require an empty, threaded antenna base to install the Cam Mount.
2. Determine which threaded adapter you will require and thread it into the base of the Cam Mount. If you have a hex key on hand that fits the chosen adapter, go ahead and tighten it into the Cam Mount base.
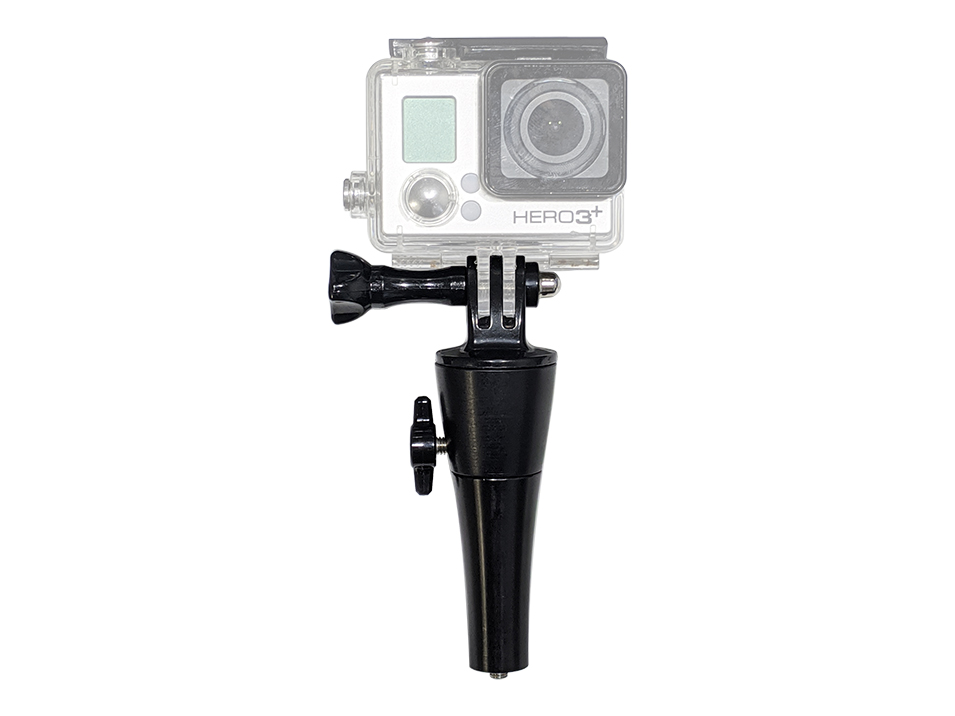
3. The Action Cam Antenna Mount has two different camera mount options to utilize. Straight from the box it is configured to work with the industry standard action cam style mount (GoPro). If you require a ¼-20 tripod threaded stud, you can remove the GoPro-style mount to reveal the threaded stud.
4. Once you have attached your action cam, you’ll need to configure the antenna mount to hold the camera steady and in the desired orientation. Adjusting the camera angle is a cinch. Just loosen the collar thumbscrew to adjust the side-to-side angle, and adjust the camera at any vertical position you want using the screw at the GoPro bracket.
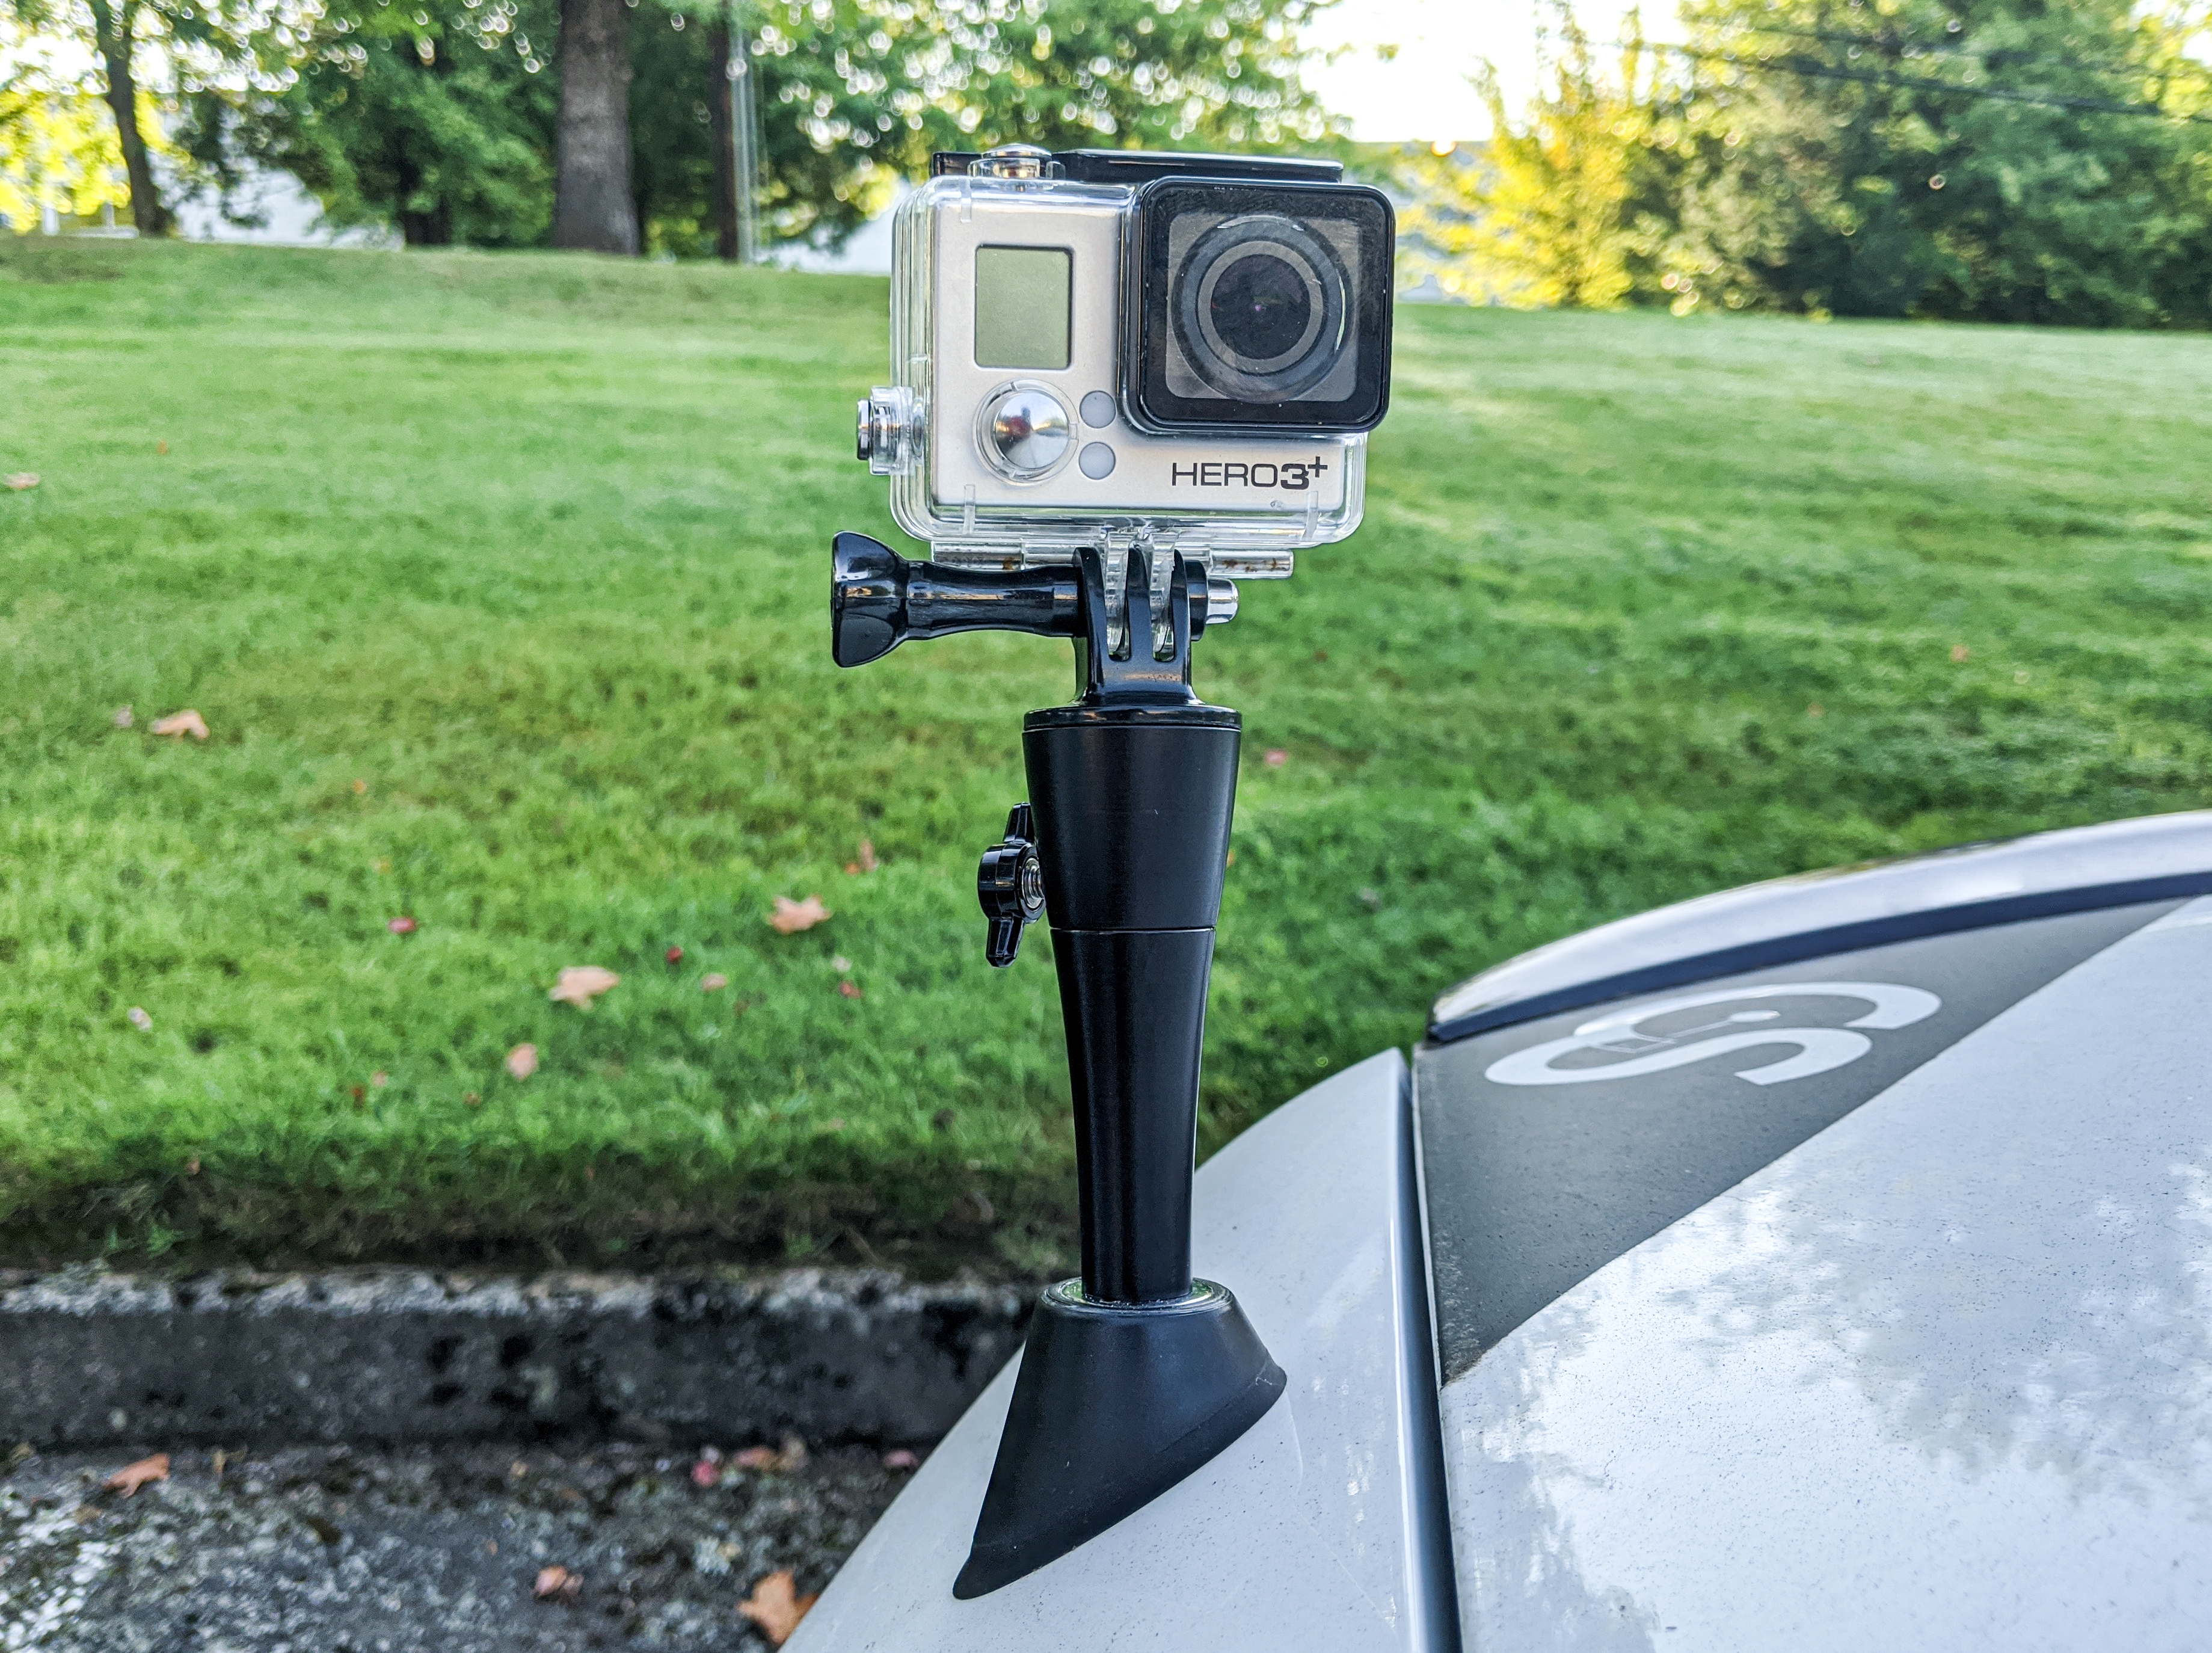
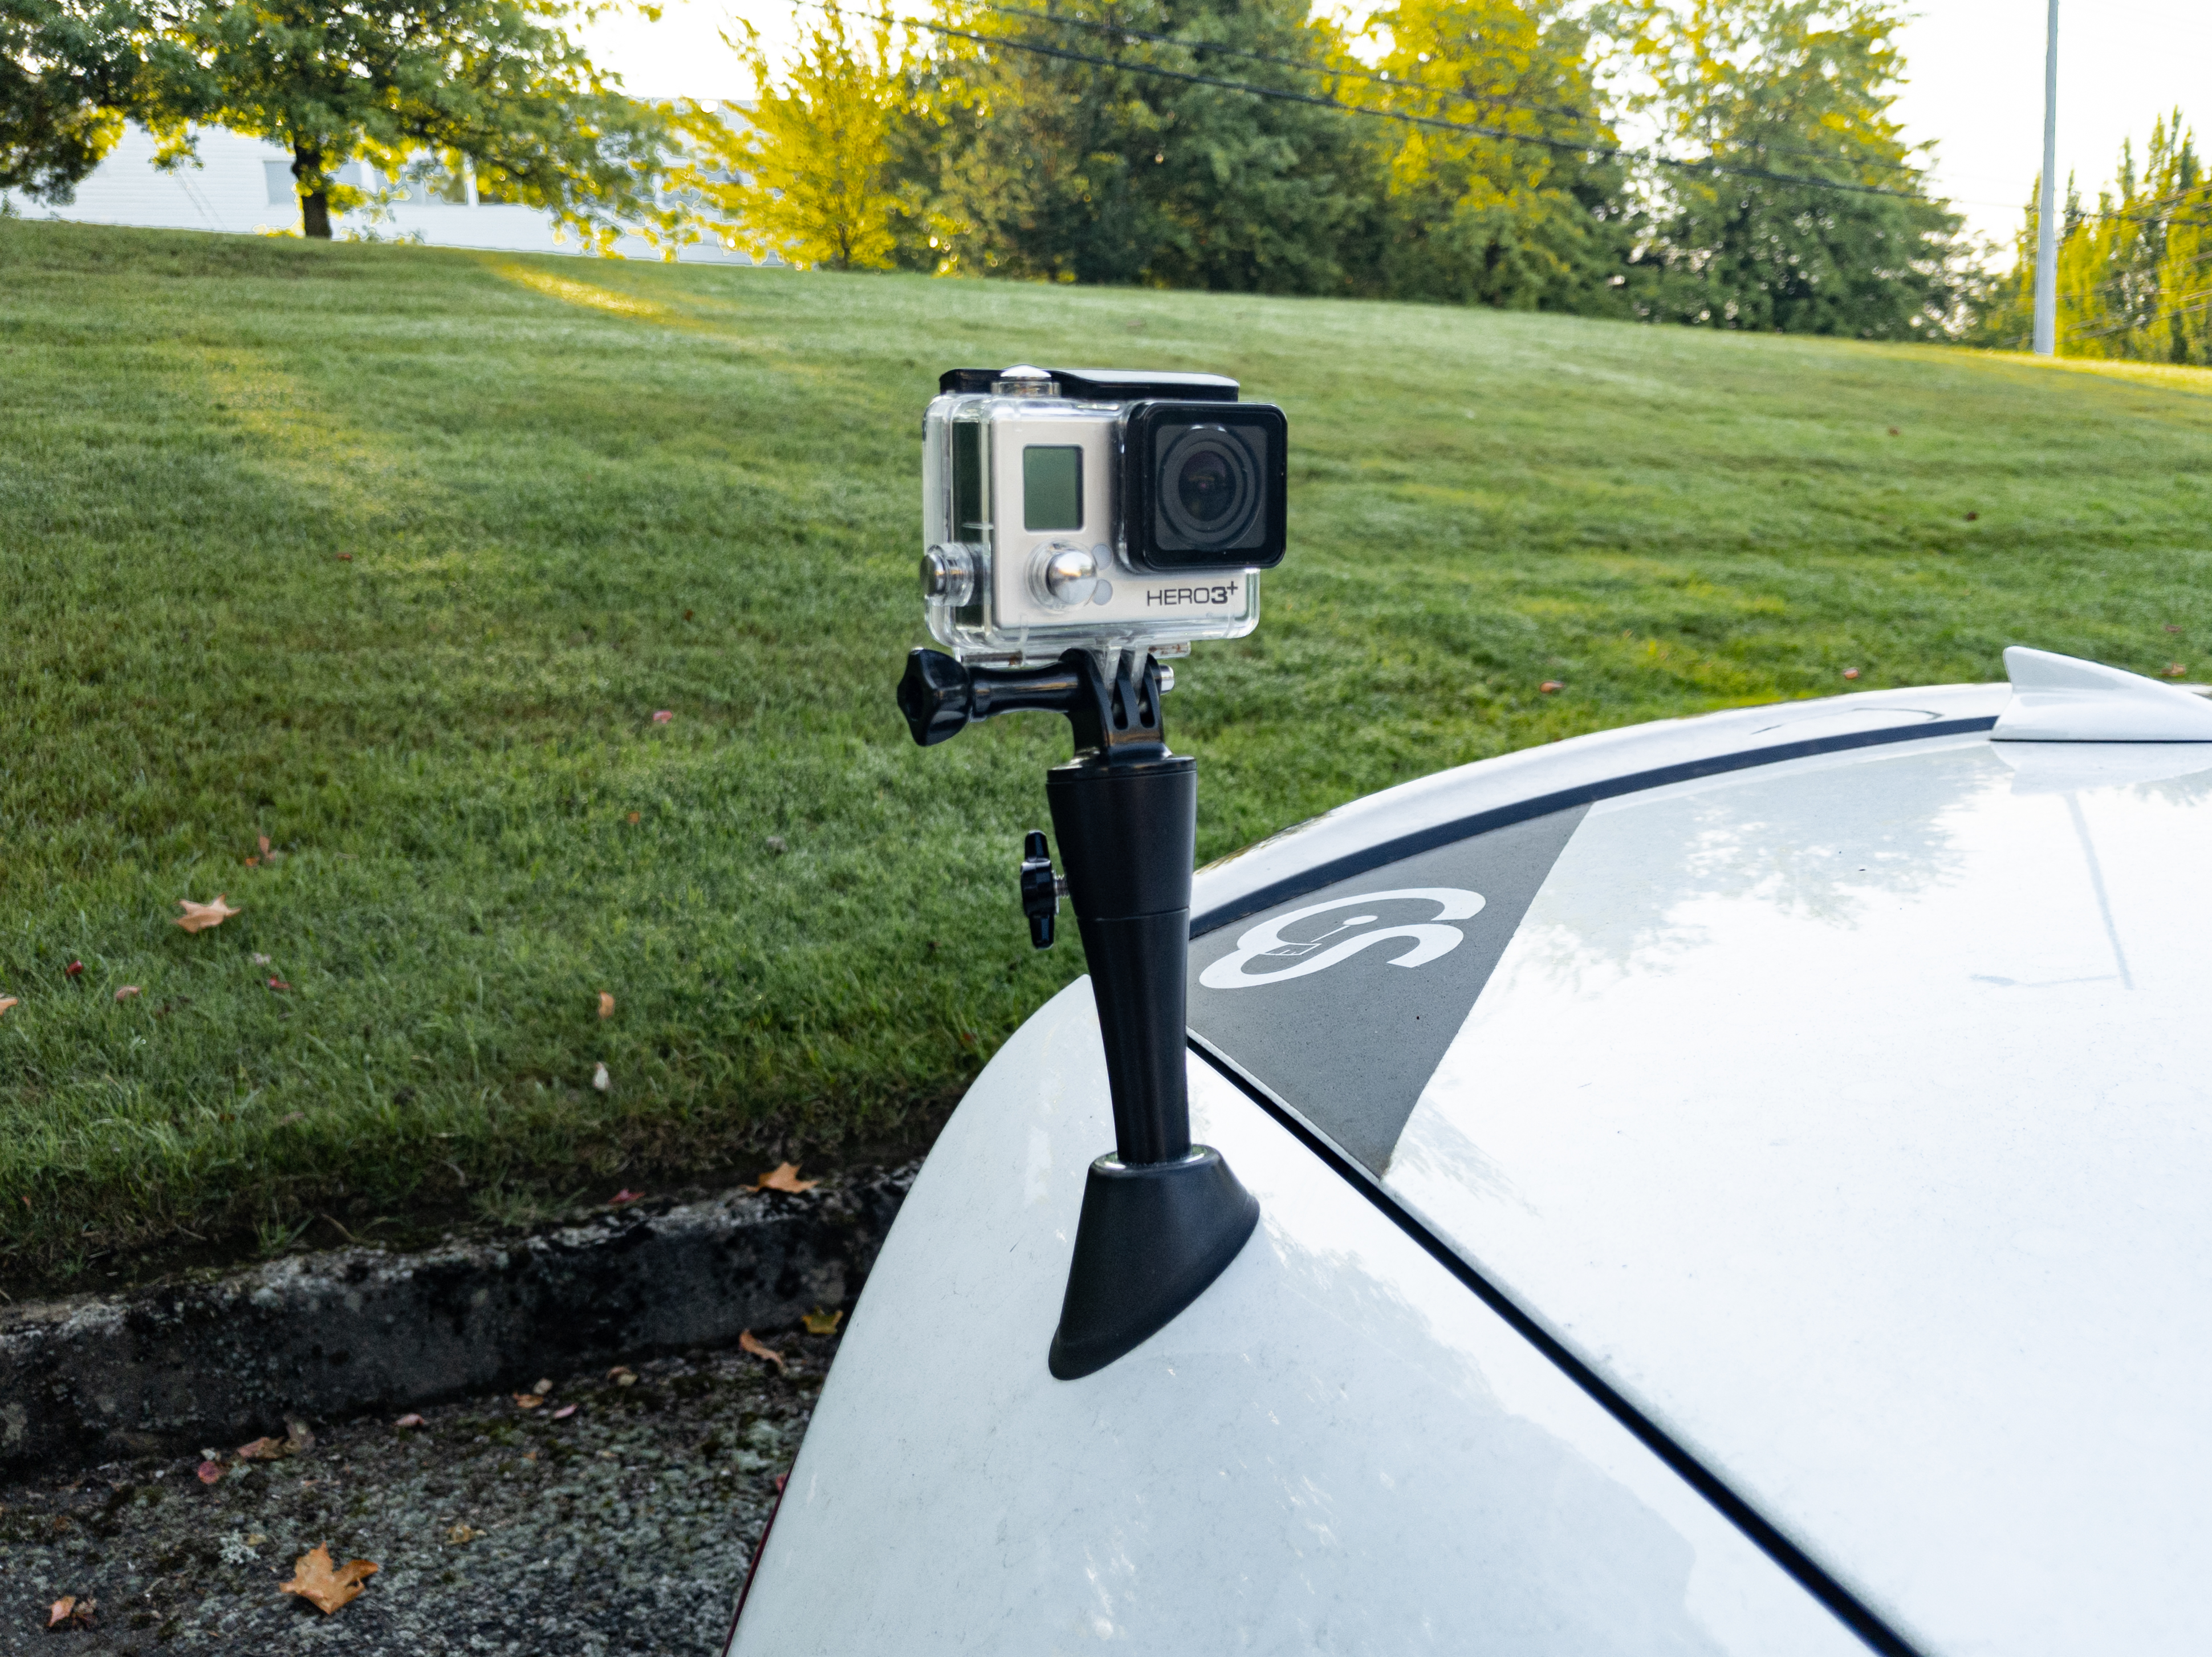
5. Thread the Action Cam Antenna Mount onto your vehicle’s factory antenna base. Position the camera in the desired direction and tighten the knob on the side of the collar.
6. Installation complete! Enjoy the unique perspective this camera mount offers.
Parts Included:
Tools Required:
Procedure
Installation of the Action Cam Antenna Mount