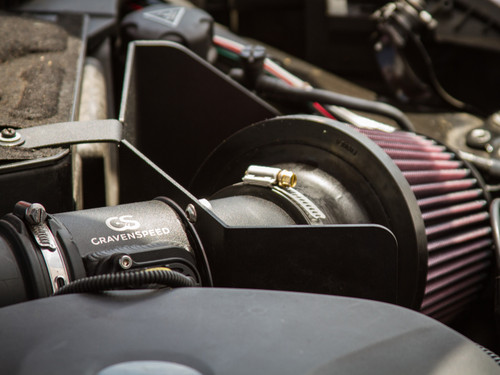


More Noise, More Air, More Power
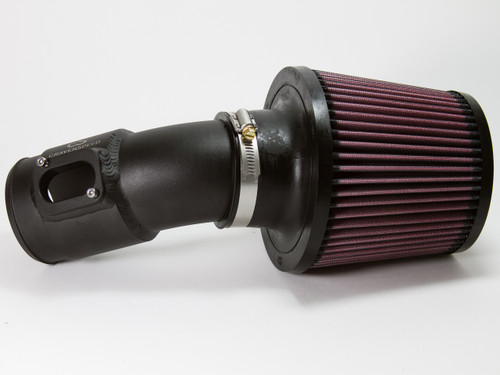
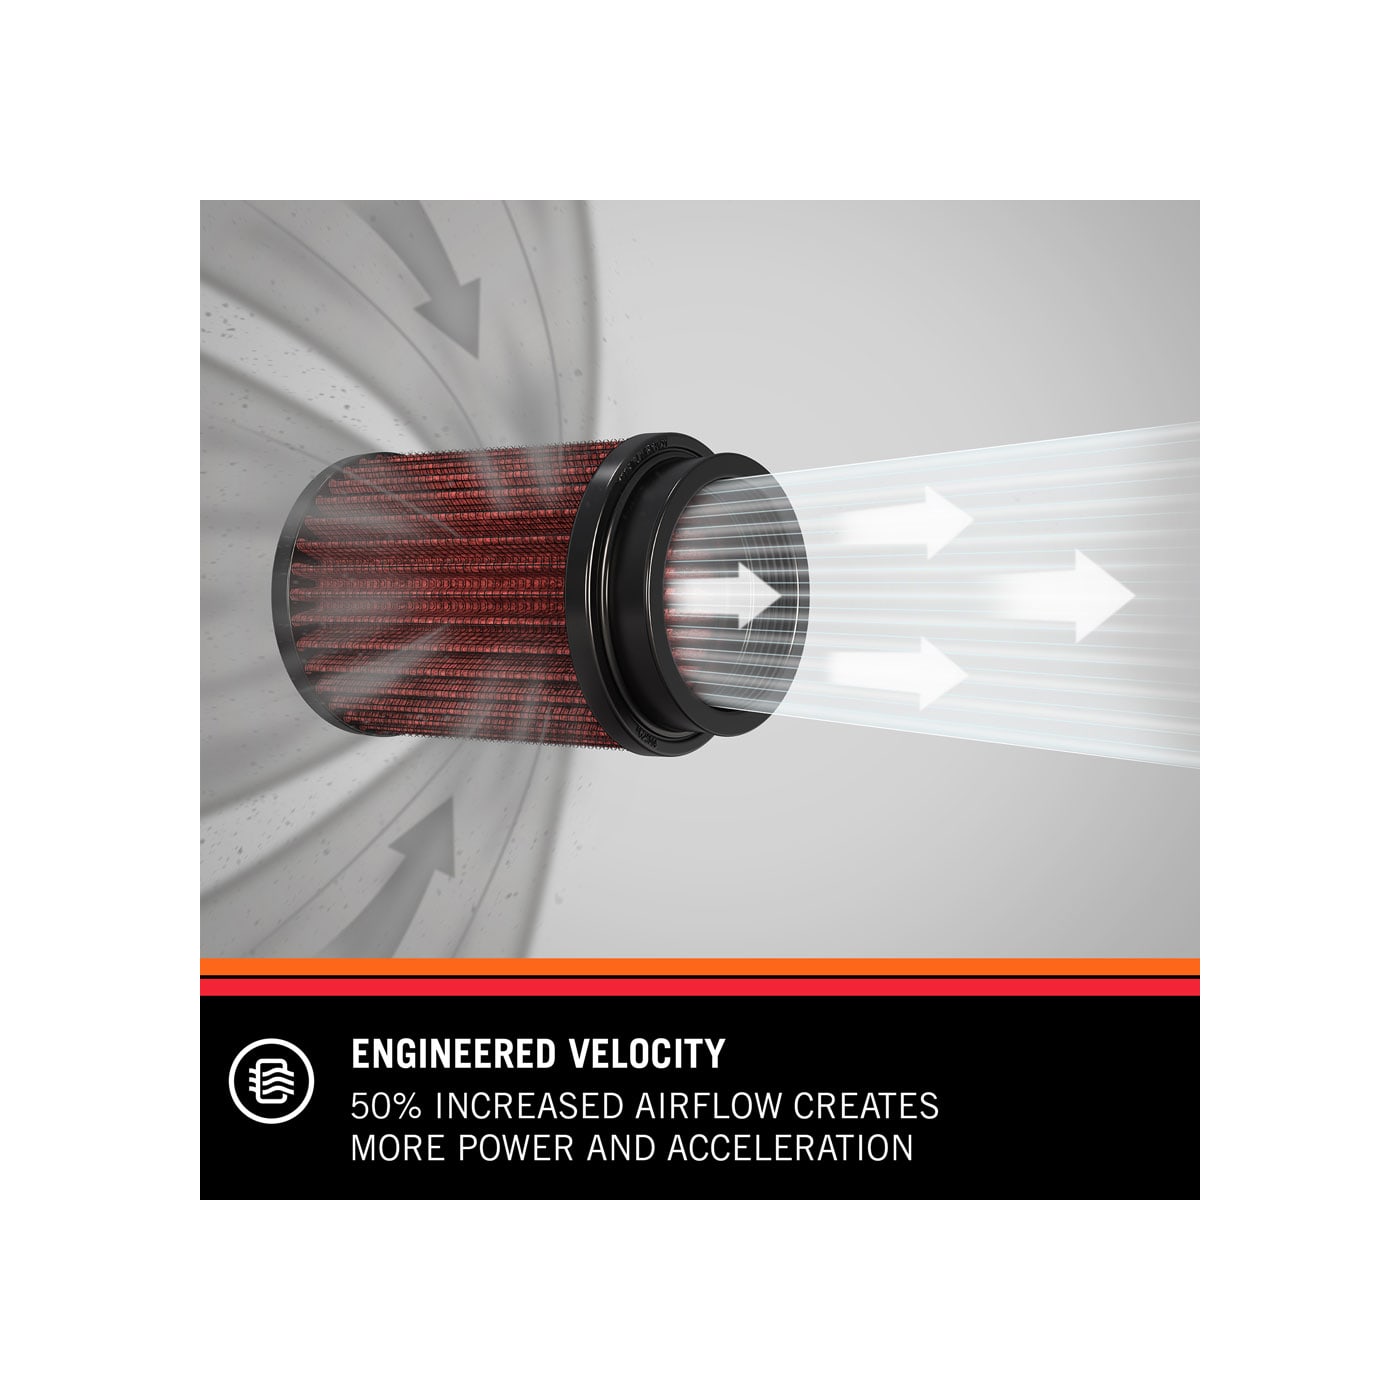
One of the best ways to get some more power out of your MINI's engine is to increase the volume of cold air available to it. The Craven Speed Cold Air Intake allows massive amounts of cold air to get to our K&N lifelong filter.
You don't need a mechanic, ANYONE can install The CAI
The intake installs in just a few minutes, with tools you've probably got lying around.
Free Domestic Shipping
We ship orders every weekday. All orders placed by 2:00 pm PT will ship the same day. You will receive a shipping notification when we print the label for your order. The tracking will not indicate that the order has been shipped until it is picked up and scanned in by the carrier. Orders placed after 2:00 pm PT on Friday will ship on Monday.
Our Team is comprised of a small group of dedicated individuals who each pride themselves on providing their best work to our customers every day. We are all willing to go above and beyond for our customers to make sure they are happy with their entire shopping experience. If you need anything, please drop us a line at support@cravenspeed.com and we'd be happy to help you out. Our customer service team will usually get back to you within the hour during business hours.
Click here to meet the team!