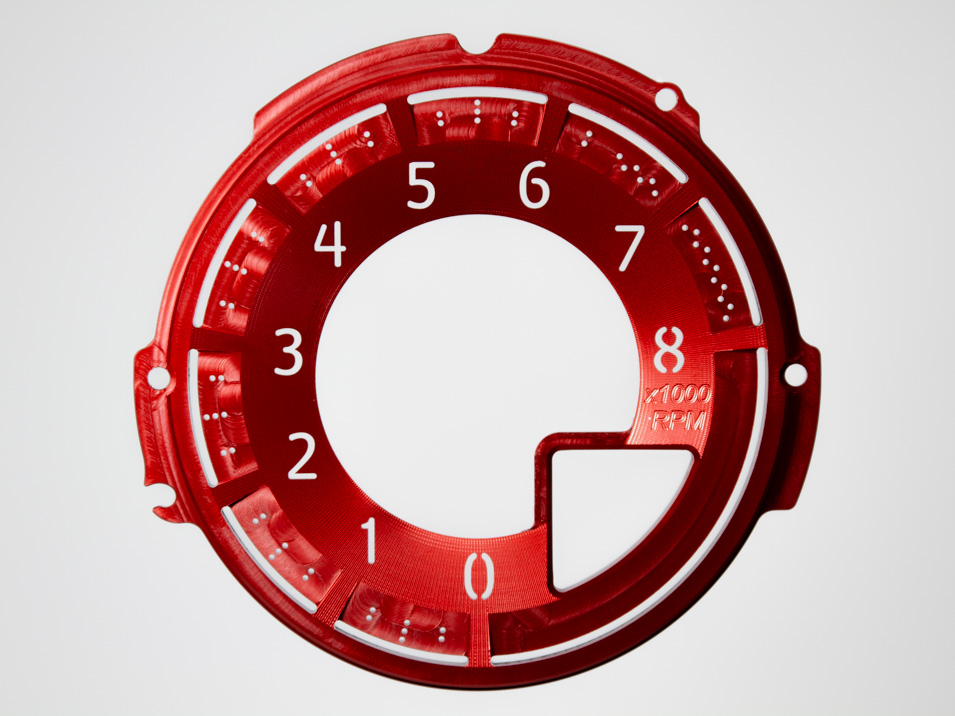
THANK YOU for purchasing the ND MX-5 Miata Red Edition Tachometer Dial from CravenSpeed. This product is made from the highest grade materials, and is guaranteed to be free from defects.
You can buy our CravenSpeed Billet Tachometer Dial for ND MX-5 Miata here
Parts Included:
- 1 x Red Edition Billet Tachometer Dial
Tools Required:
- Plastic Panel Removal Tool
- Phillips Screwdriver
Procedure
Removing the Gauge Cluster Surround
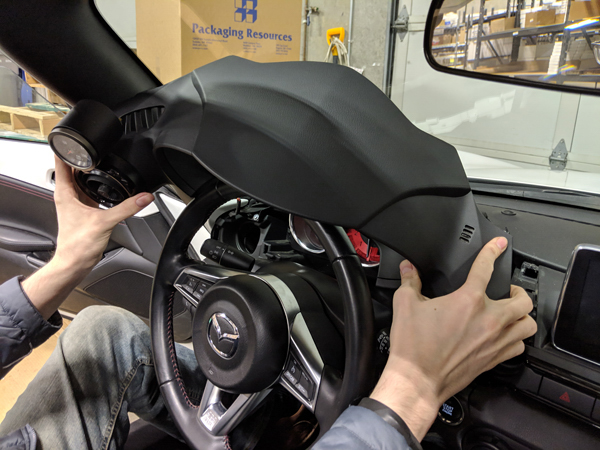
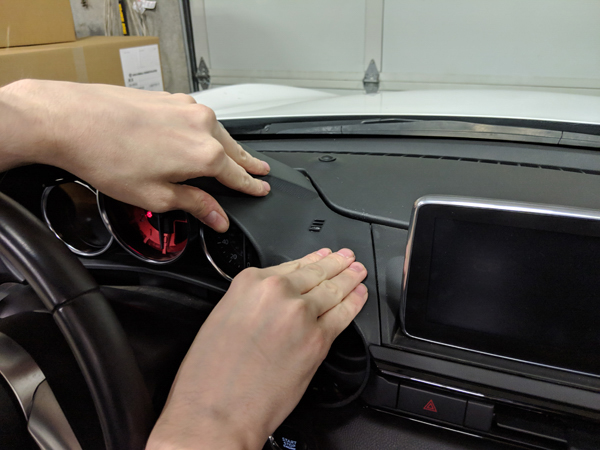
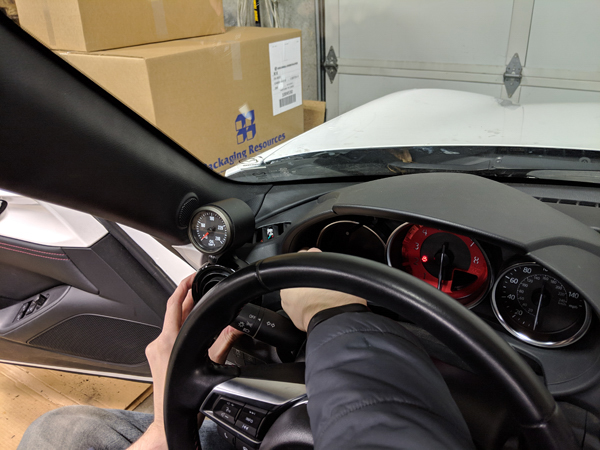
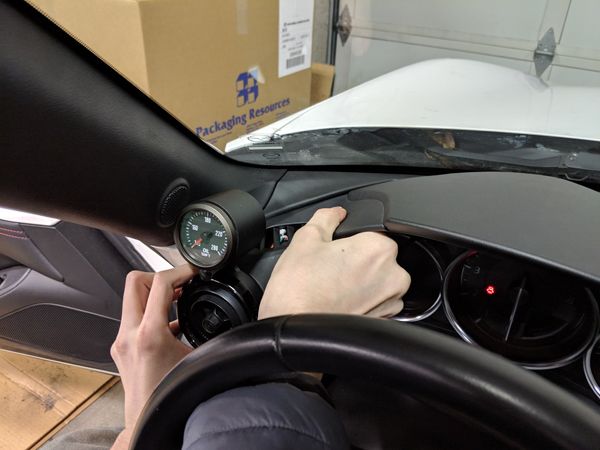
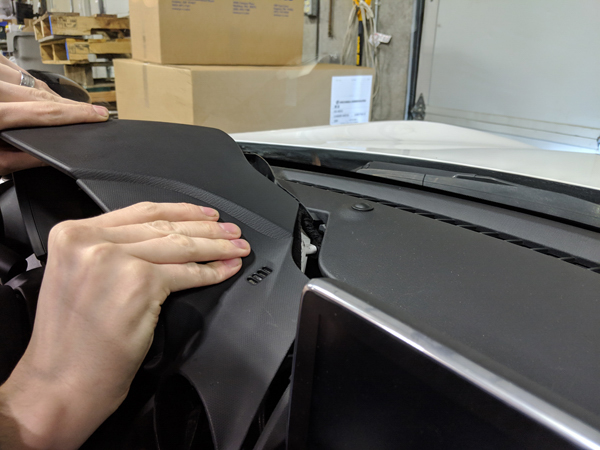
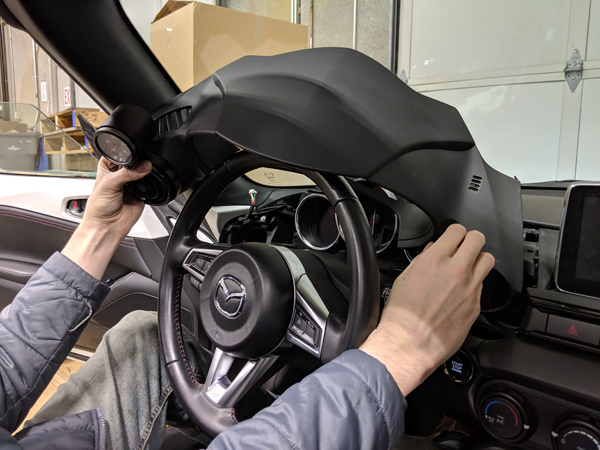
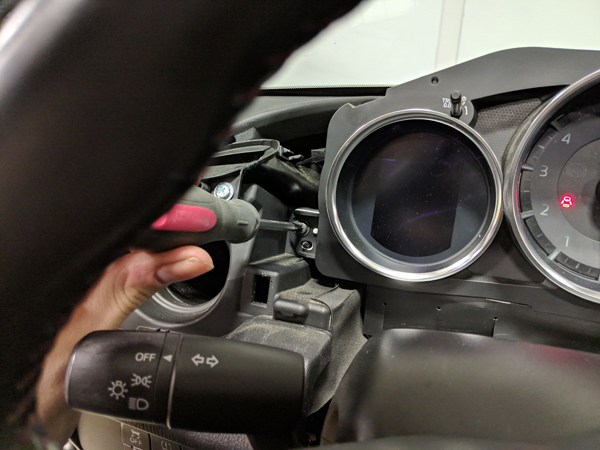
- First we're going to remove the gauge cluster surround. To make things easier, adjust the steering wheel to its lowest position using the adjustment lever found on the underside of the steering column.
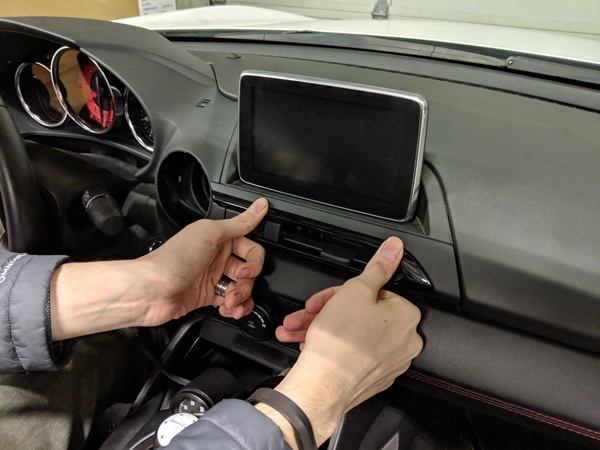
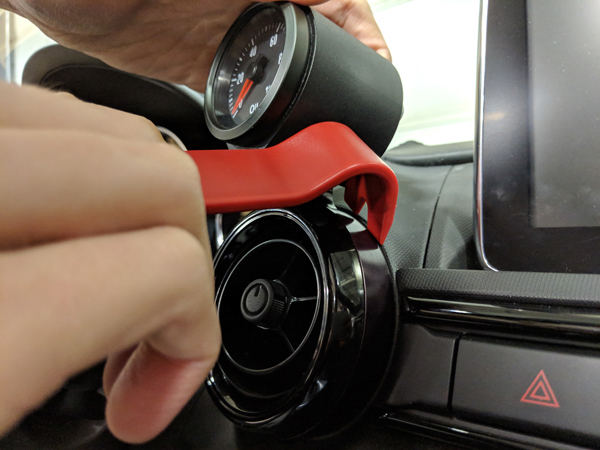
- If you've got one of our gauge pods, or Gemini mounts installed on the right side vent, it's a good idea to remove it at this time. This will make the next steps a bit easier. If you've never removed one of the A/C vents before, it's probably easiest to leave them in. The trim panel that the hazard switch and center vent are mounted in is clipped into the gauge cluster surround. To get the surround out we'll need to pop the center panel out slightly. There are 3 red clips along the top side that we need to pop out.
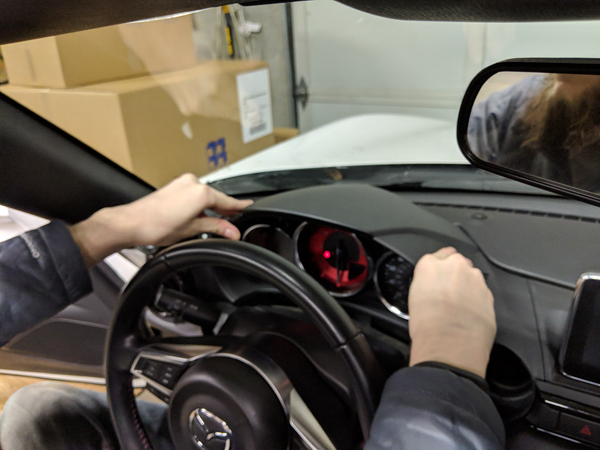
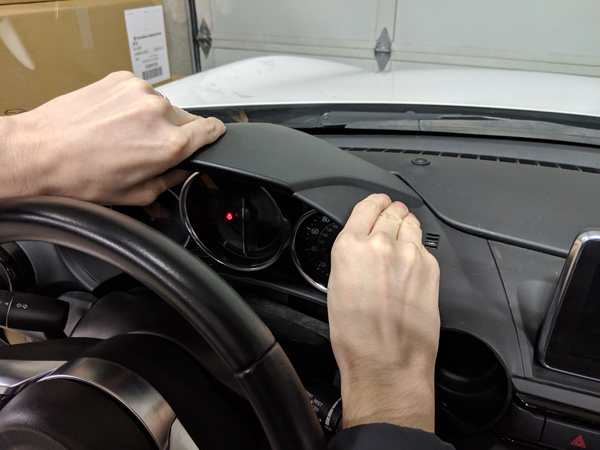
- Now we're ready to remove the surround. We'll start on the left side and work our way toward the center of the car. If it's the first time you've removed the surround, the clips will be a little more stubborn. Start by grabbing the left side as shown and pull out. Use light tugs and bit of back and forth wiggle to convince the clips to give way.
- Once you get the left side to pop, move to the center.
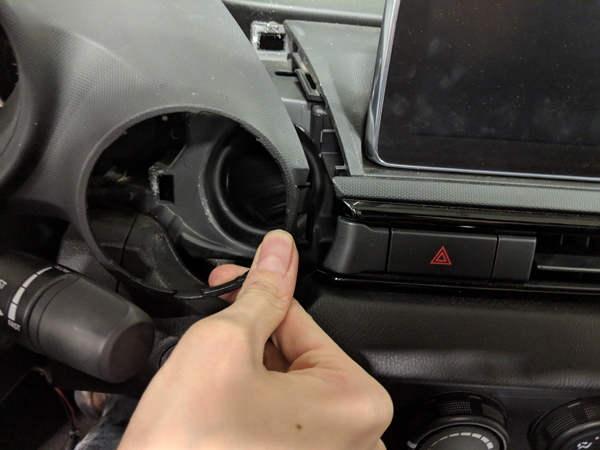
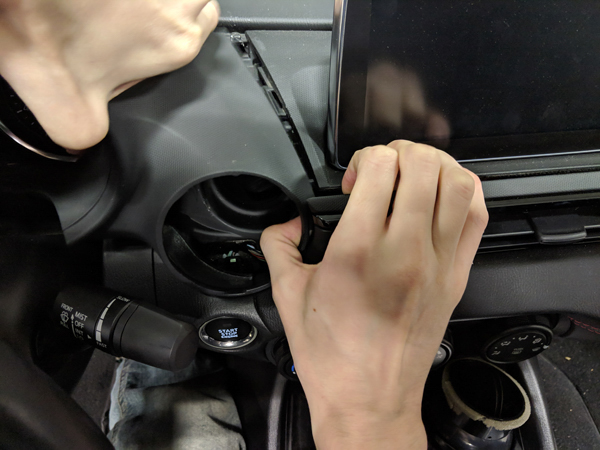
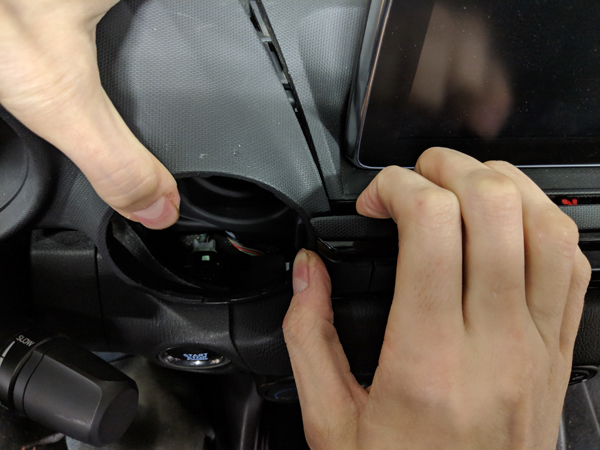
- And then the right side. After this one you aren't home yet, there's the one clip for the center trim panel left.
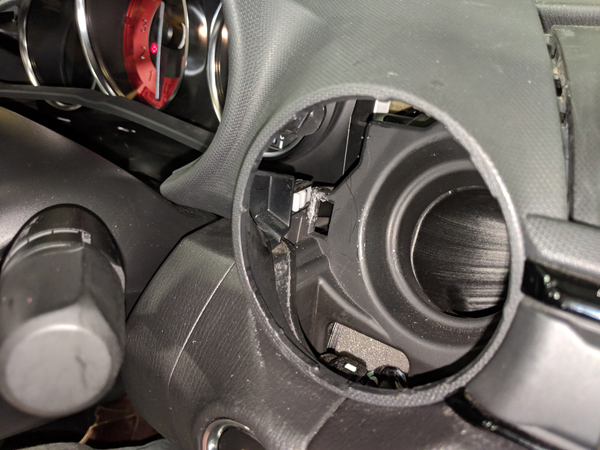
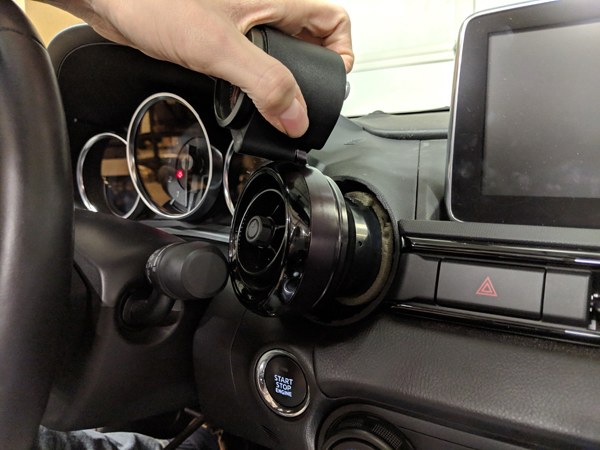
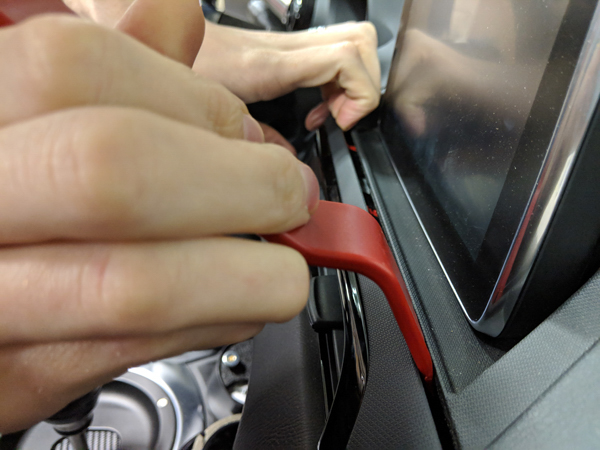
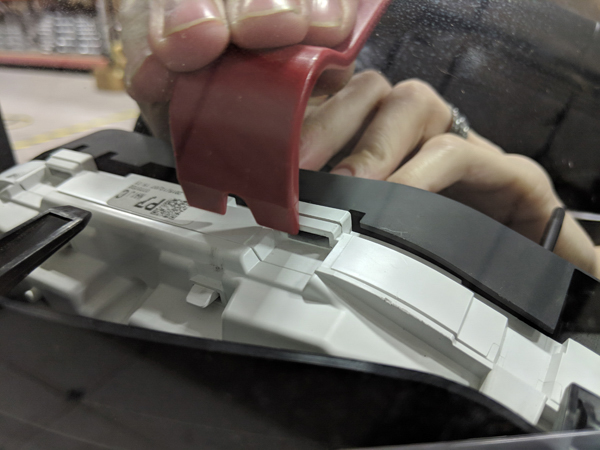
- With the vent off, this next step is pretty easy. If you haven't removed it, this can be a little trickier. Below we've included some photos of what this clip looks like and how it engages with the center trim panel. Of course if you haven't removed the vent, you won't be able to see what's going on behind the surround, but the photos should help you understand. The male side of the clip is part of the center trim panel, while the female side is part of the gauge surround. To release the clip you'll need to push on the right sight of the surround either directly on the vent, or on the hole where the vent goes, while pulling on the left side of the center trim panel.
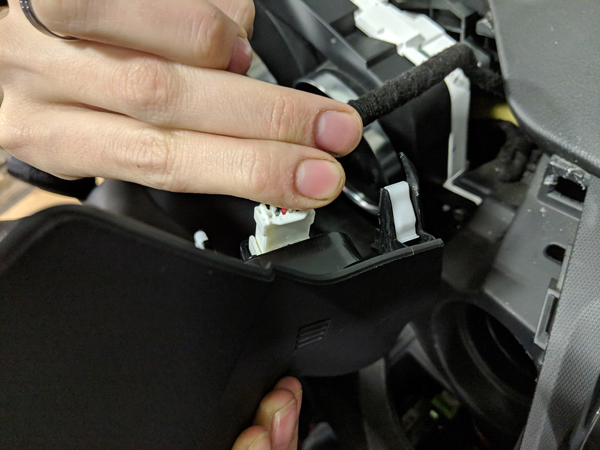
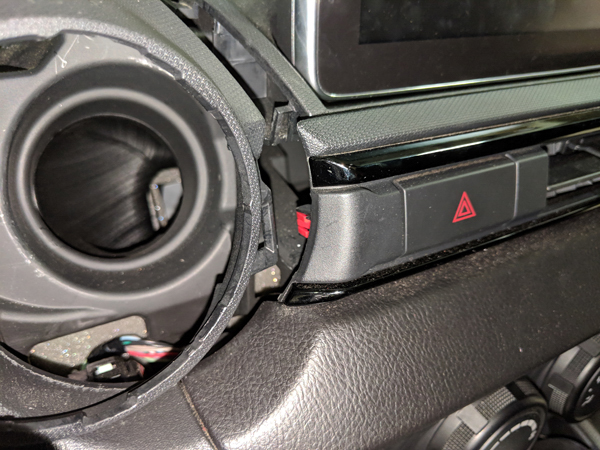
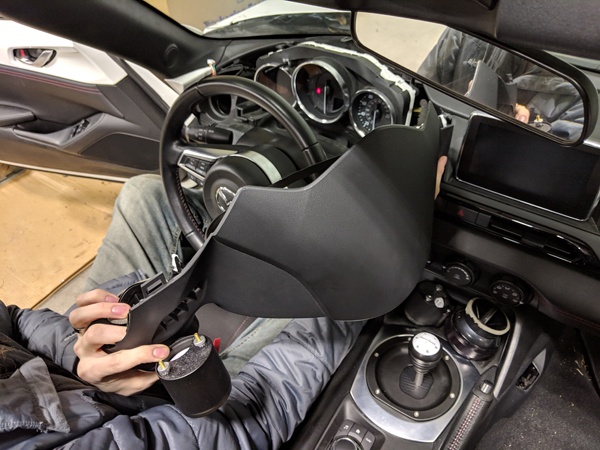
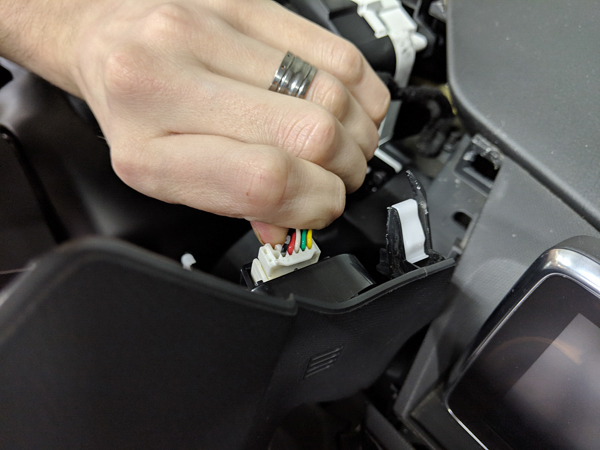
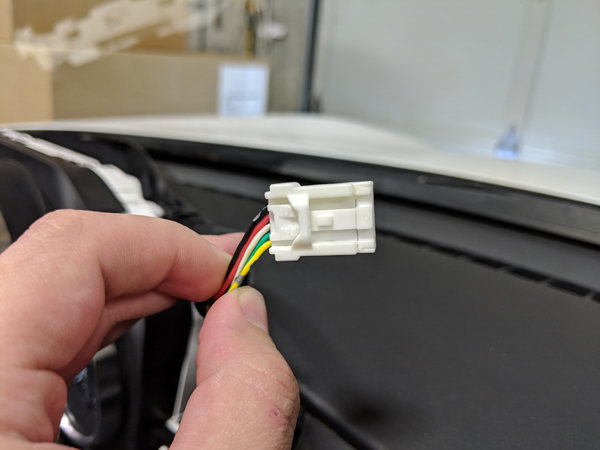
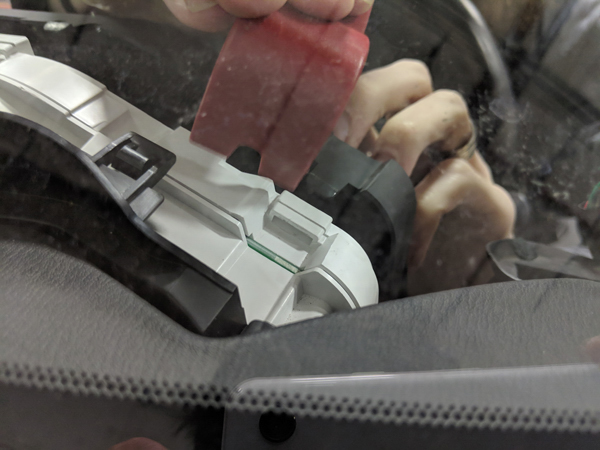
- Once you've got all of the clips released, you can rotate the surround away from the dash, and then unplug the connector for the microphone on the right side.
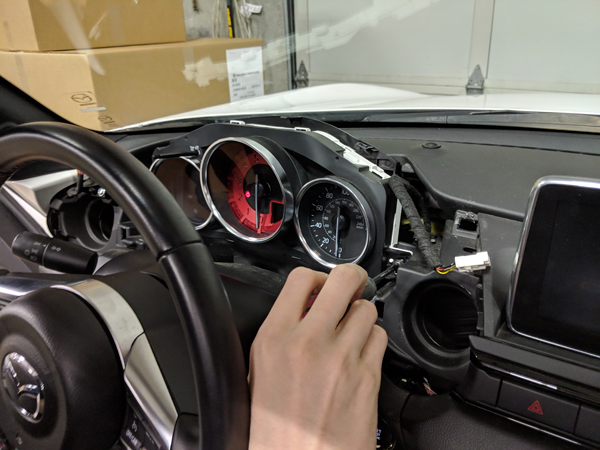
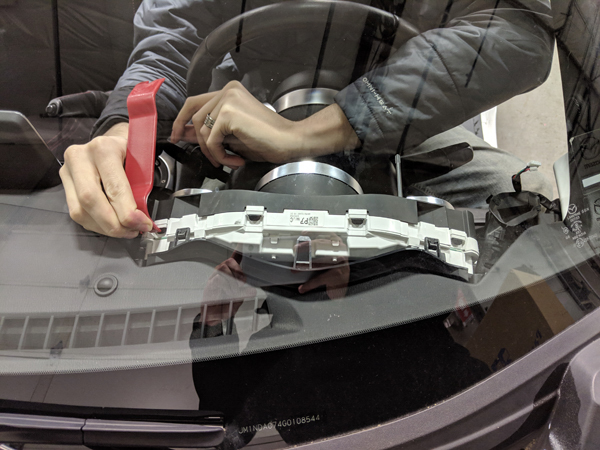
Removing the front half of the instrument cluster
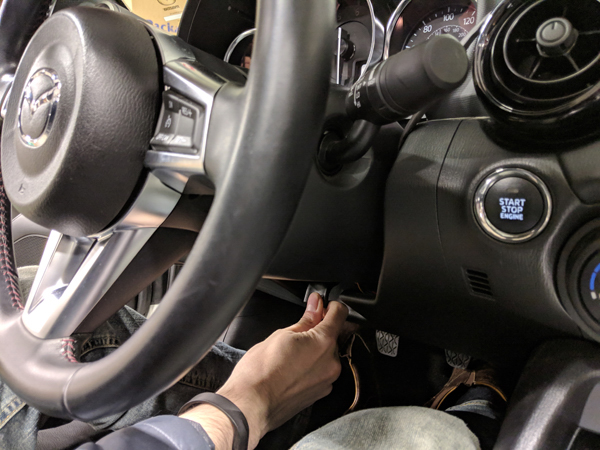
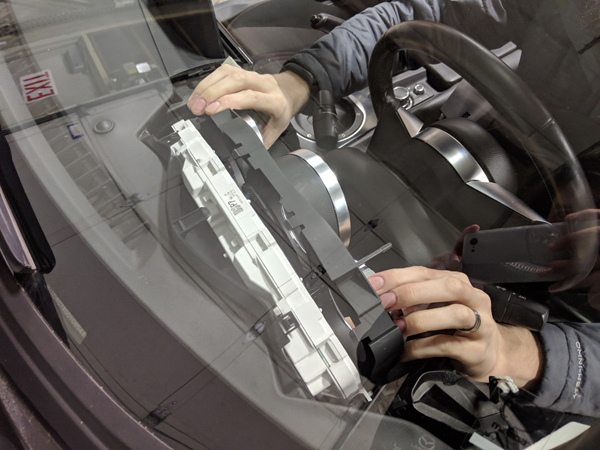
- Remove the two Phillips head screws. There is one on either side.
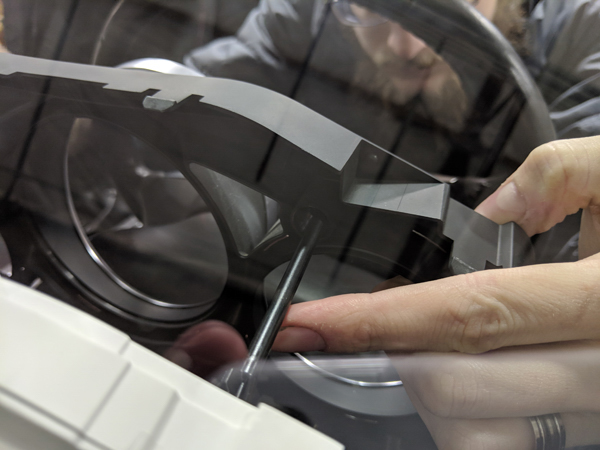
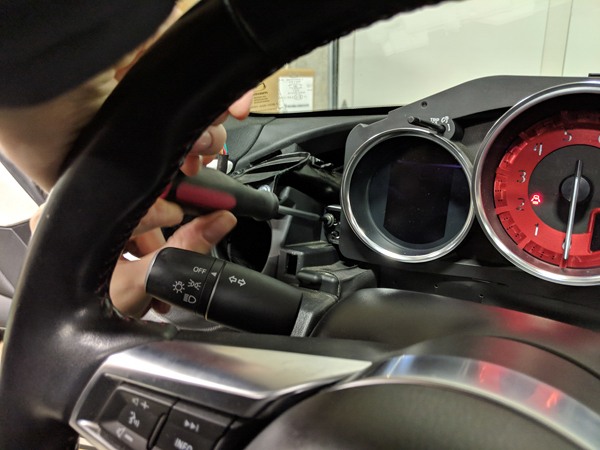
- Disengage the four clips that secure the front half of the cluster to the back half. You can use the end of the plastic prying tool to push down on the clip while pulling out on the front half of the cluster.
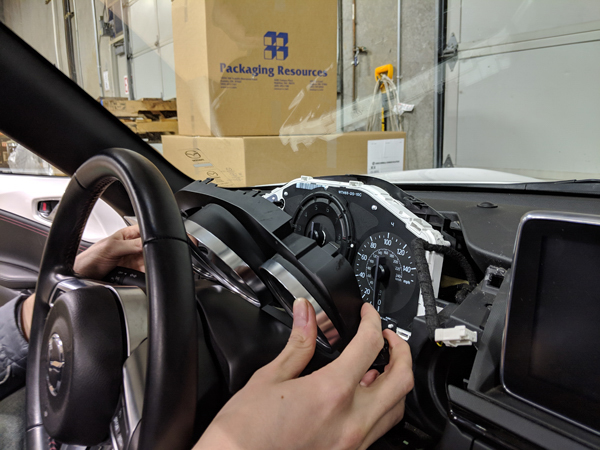
- Tilt the front half forward and pull it down and out. There are more clips securing the bottom, but they will disengage as you tilt the piece forward.
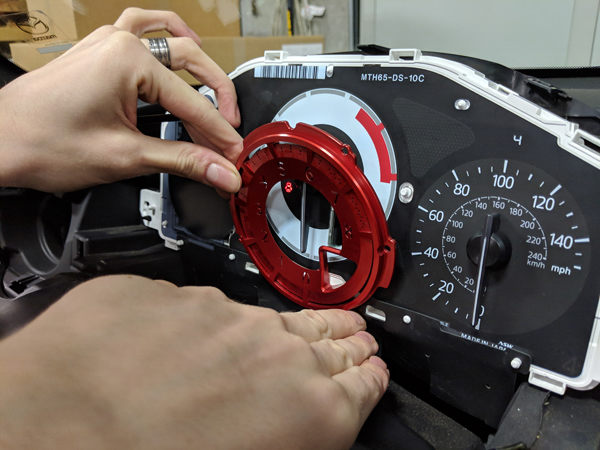
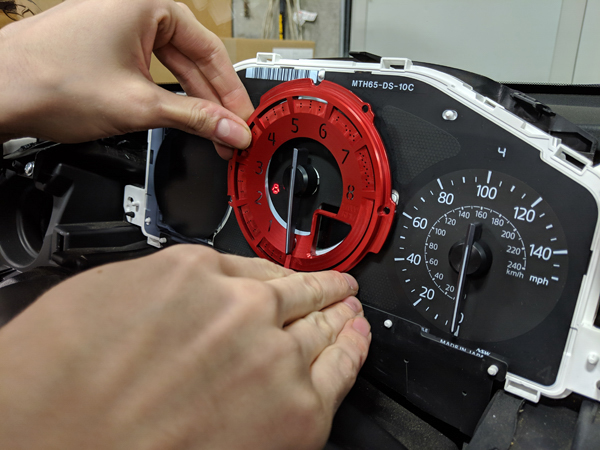
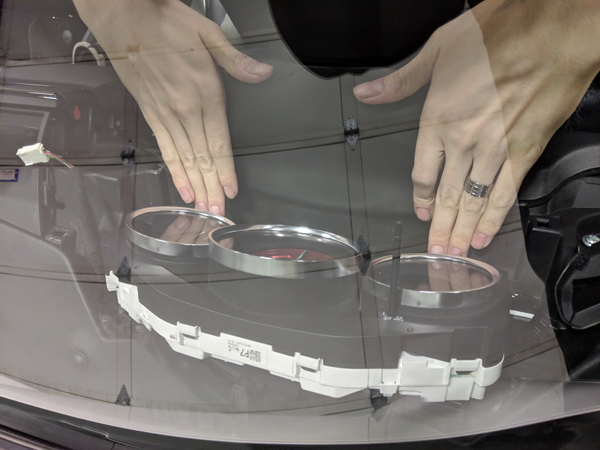
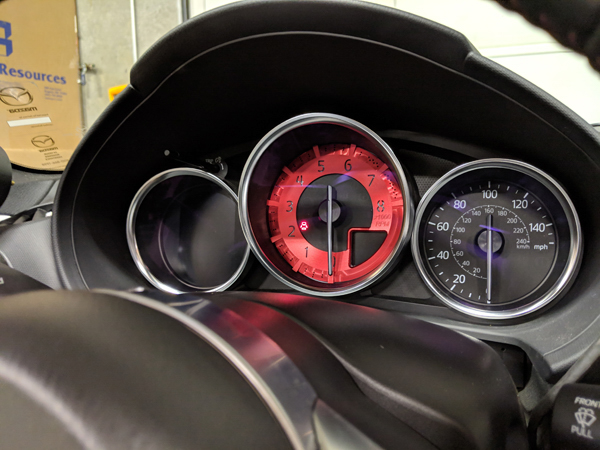
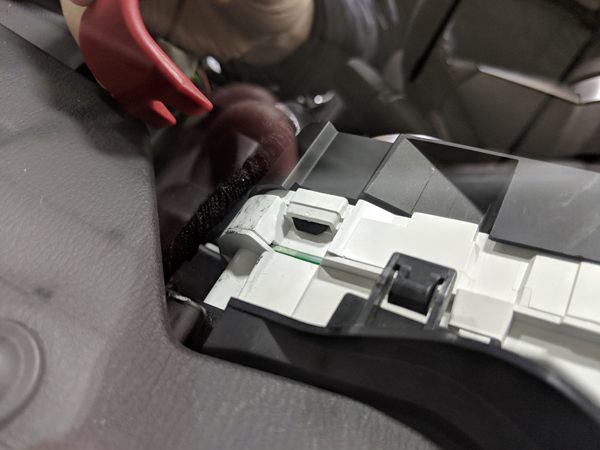
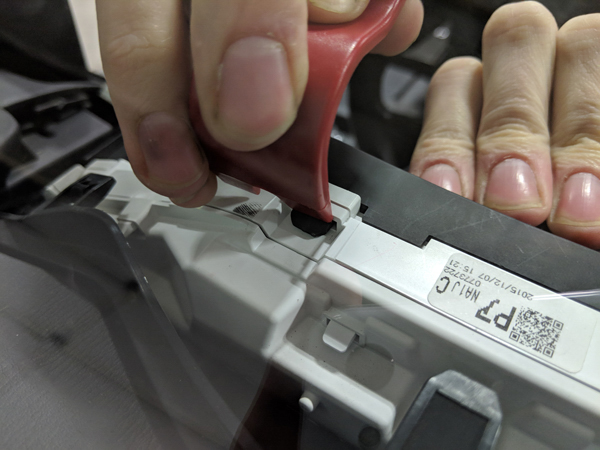
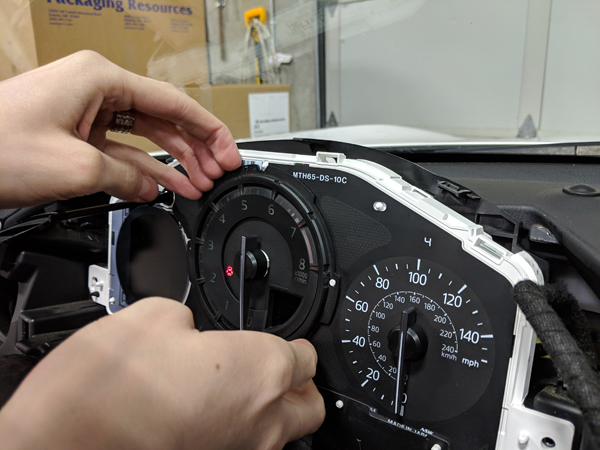
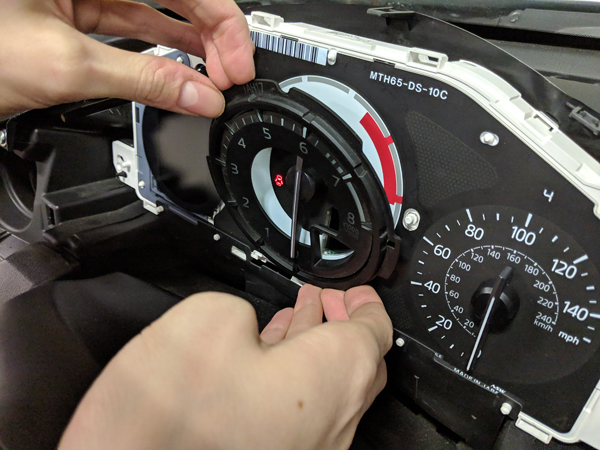
- We've finally got access to the stock dial. It is attached to the cluster by a friction fit on the two white pins on either side. Use the plastic prying tool to lift the dial off of these pins, but don't just pull it straight off. We'll need to do some maneuvering to get around the needle for the tach.


Installing the CS Billet Tach Dial and reassembly.
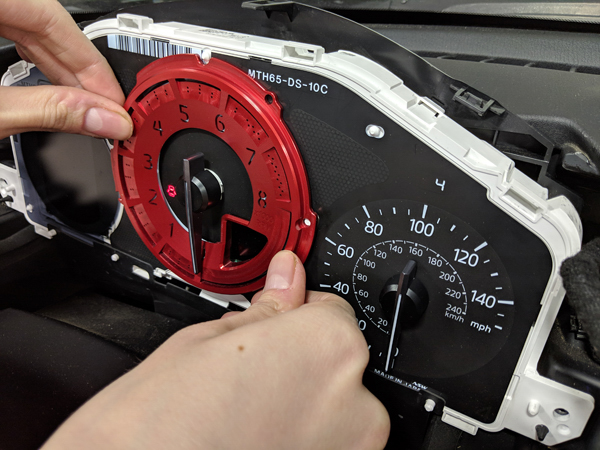
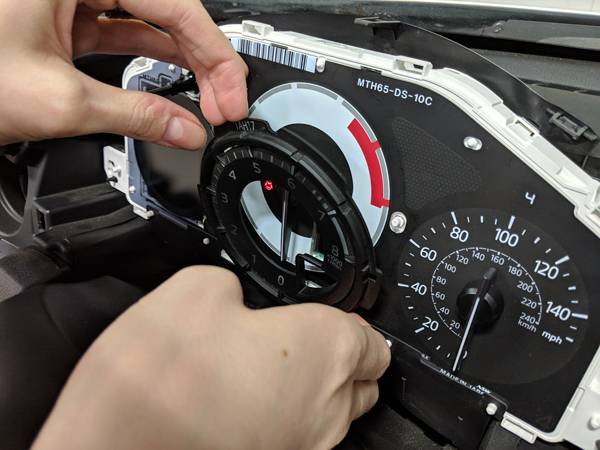
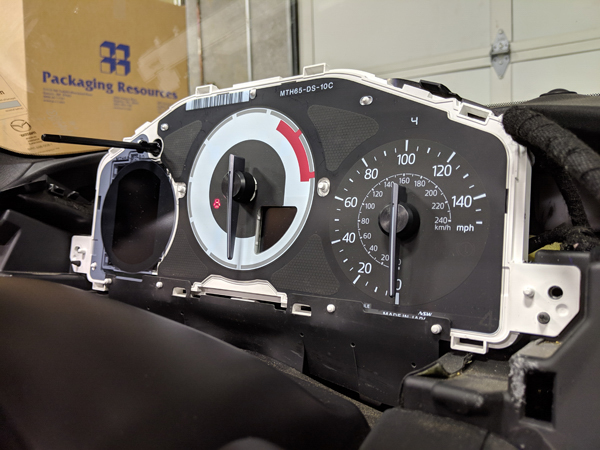
- Now the fun part! Install the shiny new dial exactly as the original came off. Maneuver it around the needle, and then press it into place on the pins.
- Reinstall the front half of the cluster. Start by lining up the odometer knob into its hole.
- Line up the four clips and gently push them back into place. The clips on the bottom should line themselves up. Just give the whole piece a nice push to ensure that all of the clips are fully engaged with the back half of the cluster.
- Put the two Phillips screws back in.
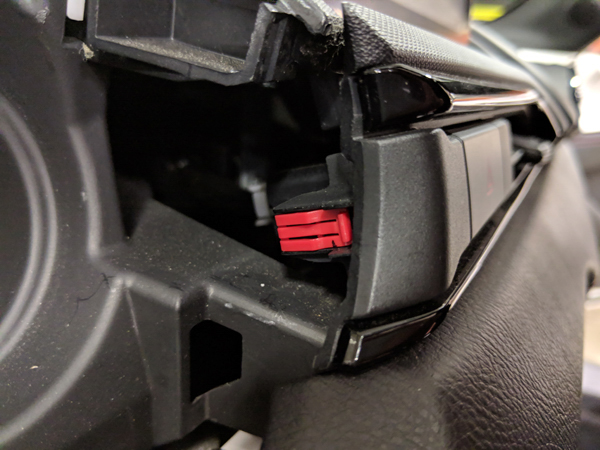
- Now we can start getting the surround back into position. Don't forget to plug the microphone back in!
- Now we need to get all of the clips for the surround lined up, starting with the clip for the center trim piece. Pull back on the center trim piece and insert the red clip into the corresponding hole in the surround. Make sure you get the clip fully engaged by squeezing the two pieces together firmly. Hold off on pushing the center trim piece all the way back into place for now.
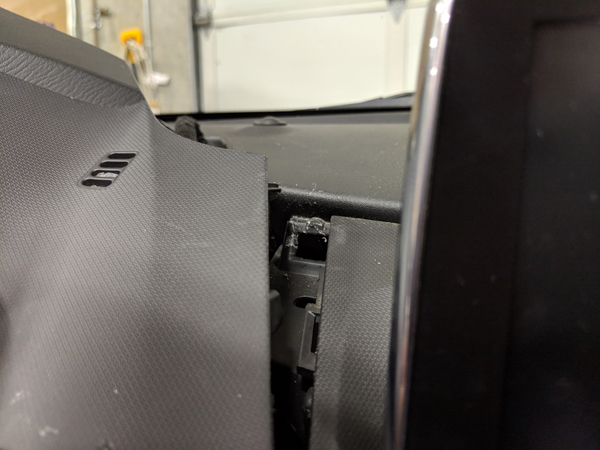
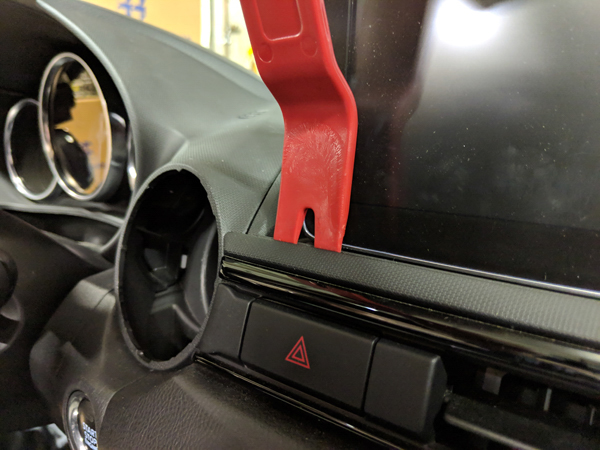
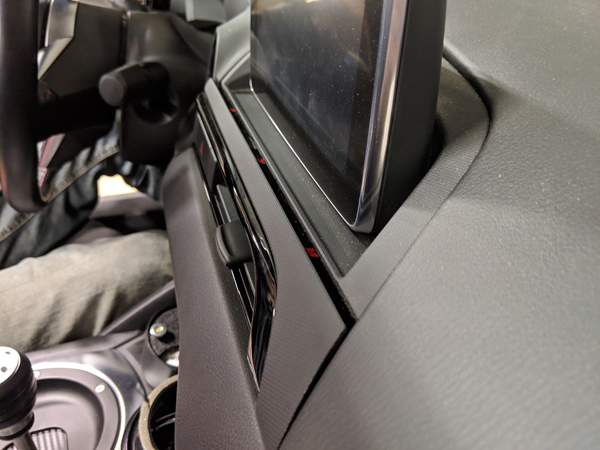
- Next, we need to get the two clips on the right side of the surround line up with their receptacles in the dash. Their locations are shown below.
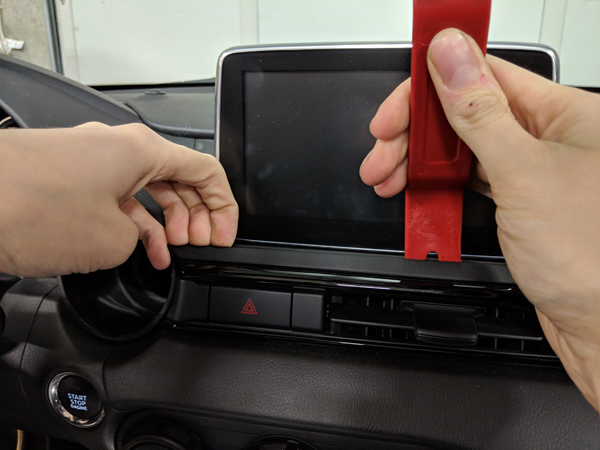
- Once you've got the piece lined up with the dash, a light push on the right side will get those clips engaged.
- Work your way across the surround with light pressure to get all of the clips engaged.
- Once the surround is in place, you can push the center trim panel back into place as well.
- Adjust your steering wheel back into the desired position, and the job is complete!