THANK YOU for purchasing the PIAA Si-Tech Wiper Blade Kit brought to you by CravenSpeed. This product is made from the highest grade materials and is guaranteed to be free from defects.
You can buy our CravenSpeed PIAA Si-Tech Wiper Blade Kit for Tesla Model 3 here

Items Included:
- Driver Side PIAA Si-Tech Wiper Blade
- Passenger Side PIAA Si-Tech Wiper Blade
- Various Adapters
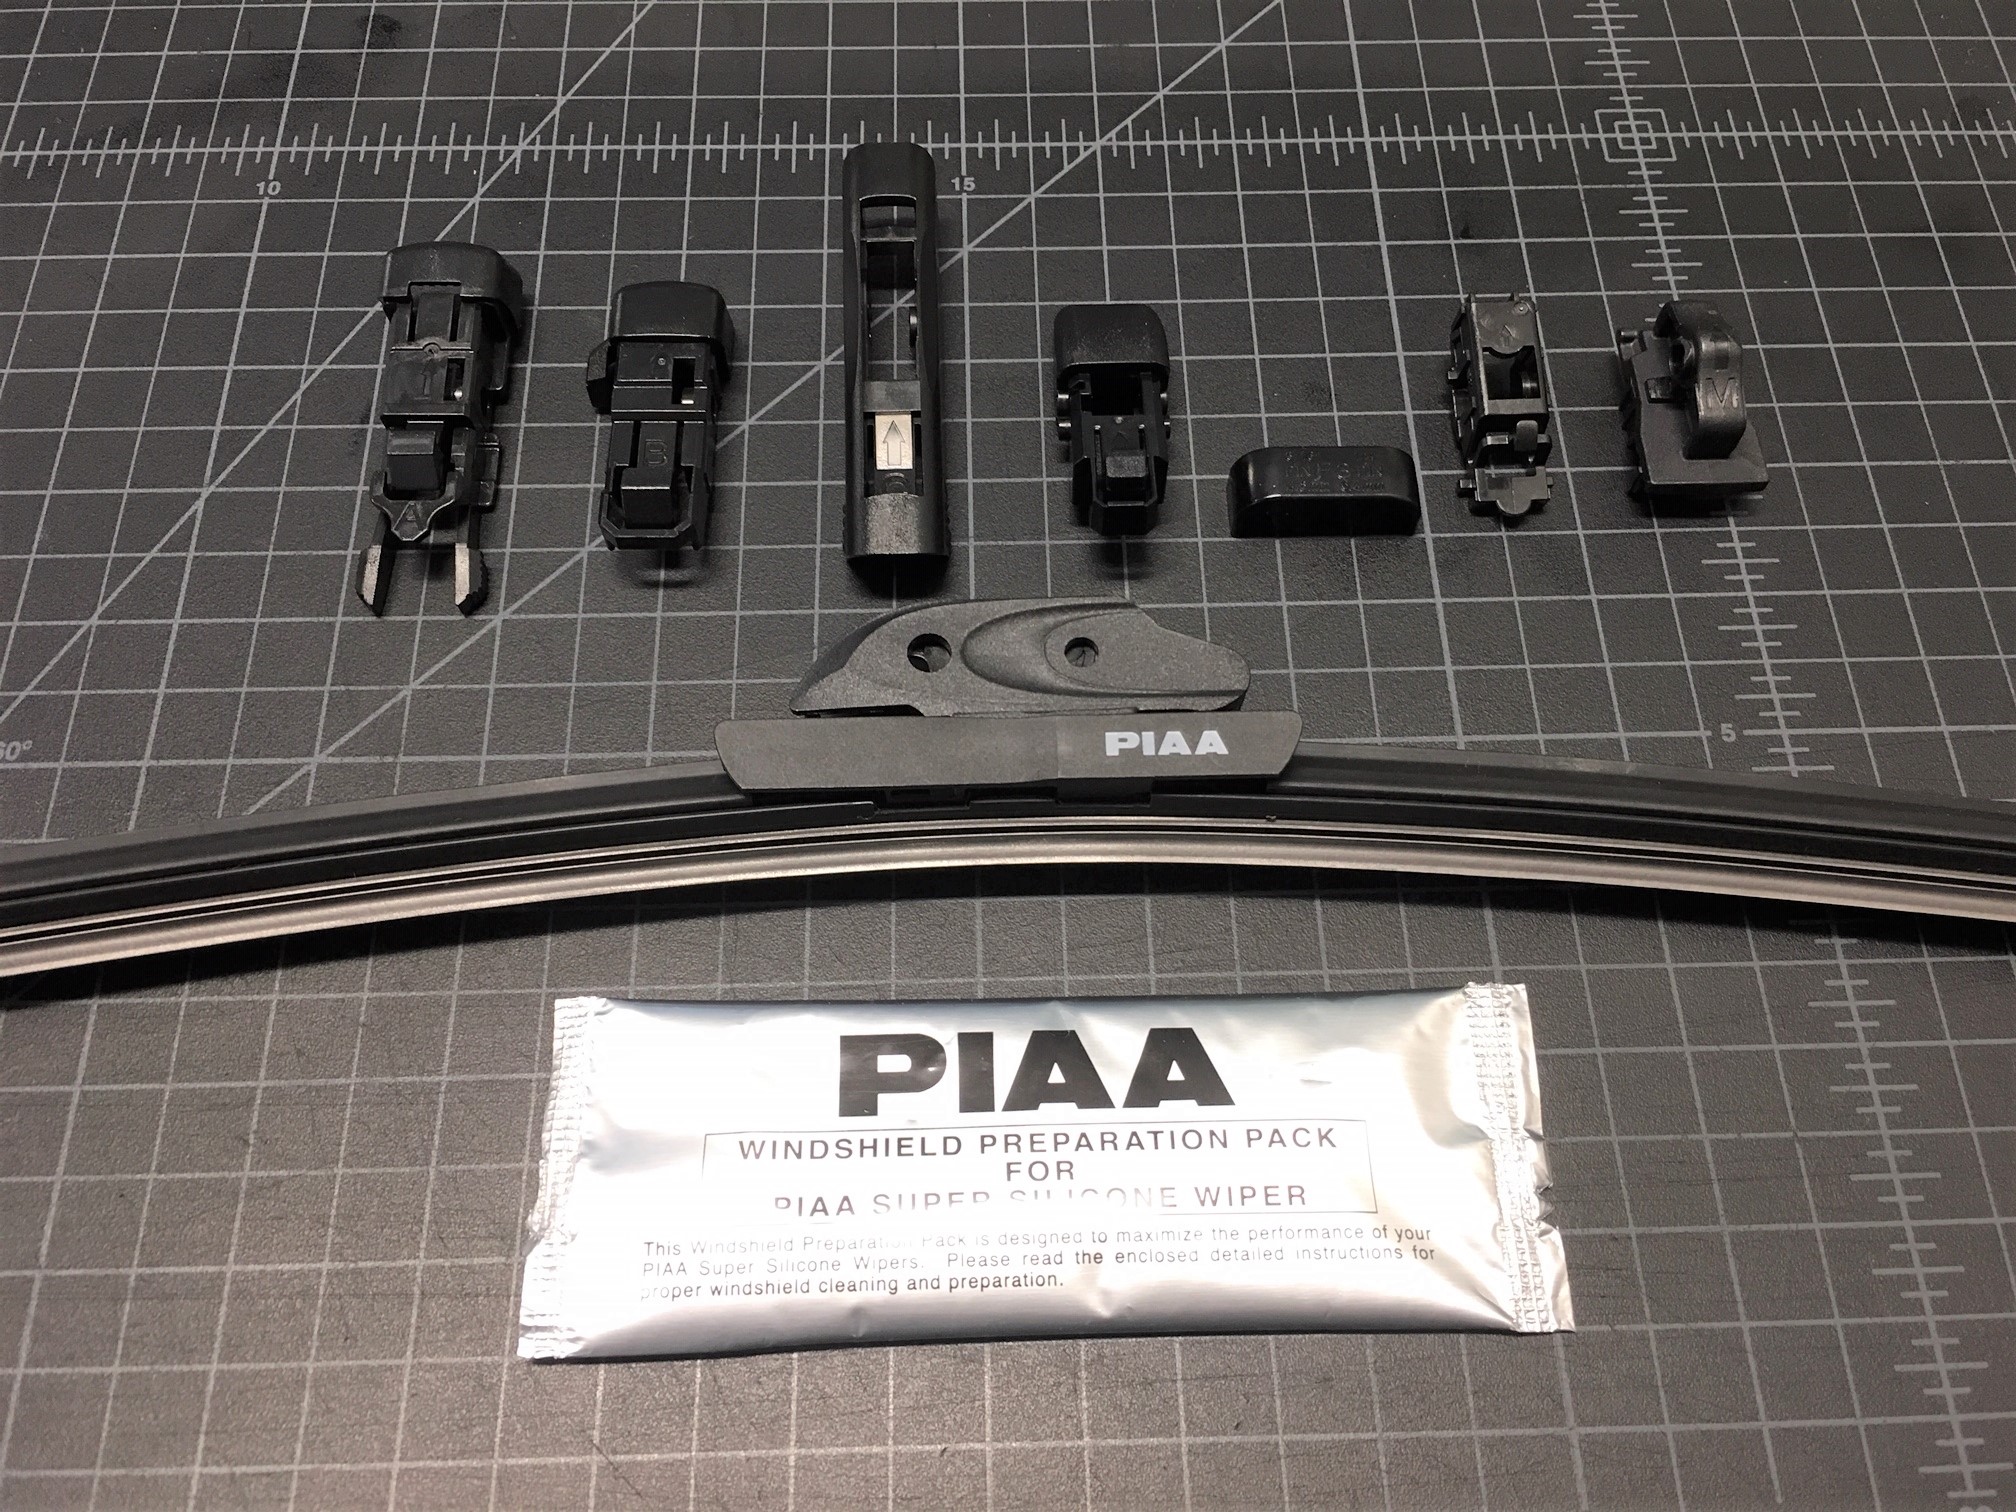
- PIAA Silicone Prep Pack
Tools Recommended:
- Flat-Bladed Screwdriver
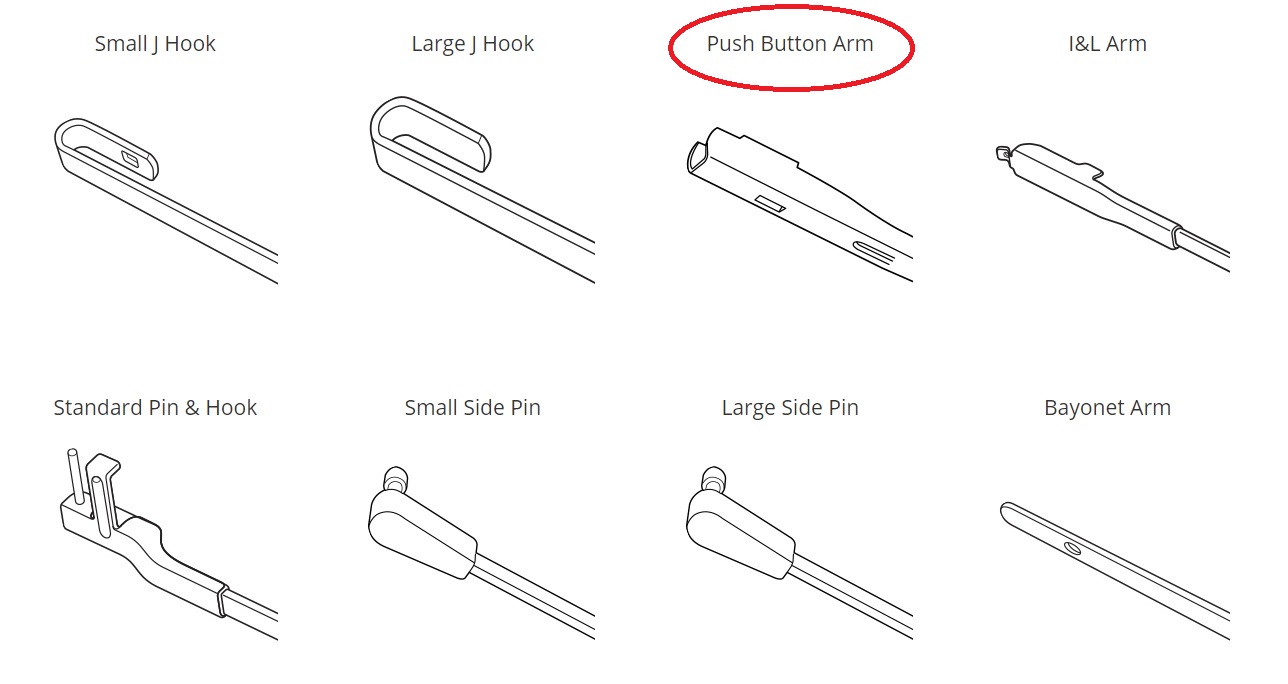
NOTE: These PIAA Si-Tech Wiper Blade installation instructions outline the process of fitment to the Tesla Model 3 which utilizes the "Small Push Button Arm" style of wiper attachment.
Procedure
Prepare Your Work Area and Vehicle
- Park your vehicle in a well-lighted and clean area. Your Tesla Model 3 is equipped with a handy feature called 'Wiper Service Mode' and it can be accessed through the main screen at the 'Service' tab. This mode brings your wiper arms up into a more accessible position so you can perform the wiper blade replacement easier.
- If your windshield is dirty, take a few moments to give it a good cleaning in preparation for your new wiper blades. If necessary, clean the wiper arms and their attachment points as well.
- Open the wiper blade packaging and pull out the included PIAA Silicone Prep Pack. Wipe down the windshield with this pad as it is designed to work in conjunction with the PIAA Si-Tech Wiper Blades. The window prep pack will clean the street grime and dirt while providing long lasting, water-beading technology that will make dirt, water, and grime flow off your vehicles windshield with ease.
PLEASE NOTE: When your Model 3 is in 'Wiper Service Mode', be aware that if you open/close the doors during this process you will cancel the mode and the wiper arms will be retracted back into their parked position. If the wiper blades are not attached at this time, damage to the windshield may result.

Assess your Wiper Blade Components
- Remove the remainder of the components from your PIAA Si-Tech Wiper Blade packaging and lay out all the included parts. You should have the PIAA wiper blade itself along with a selection of adapters.
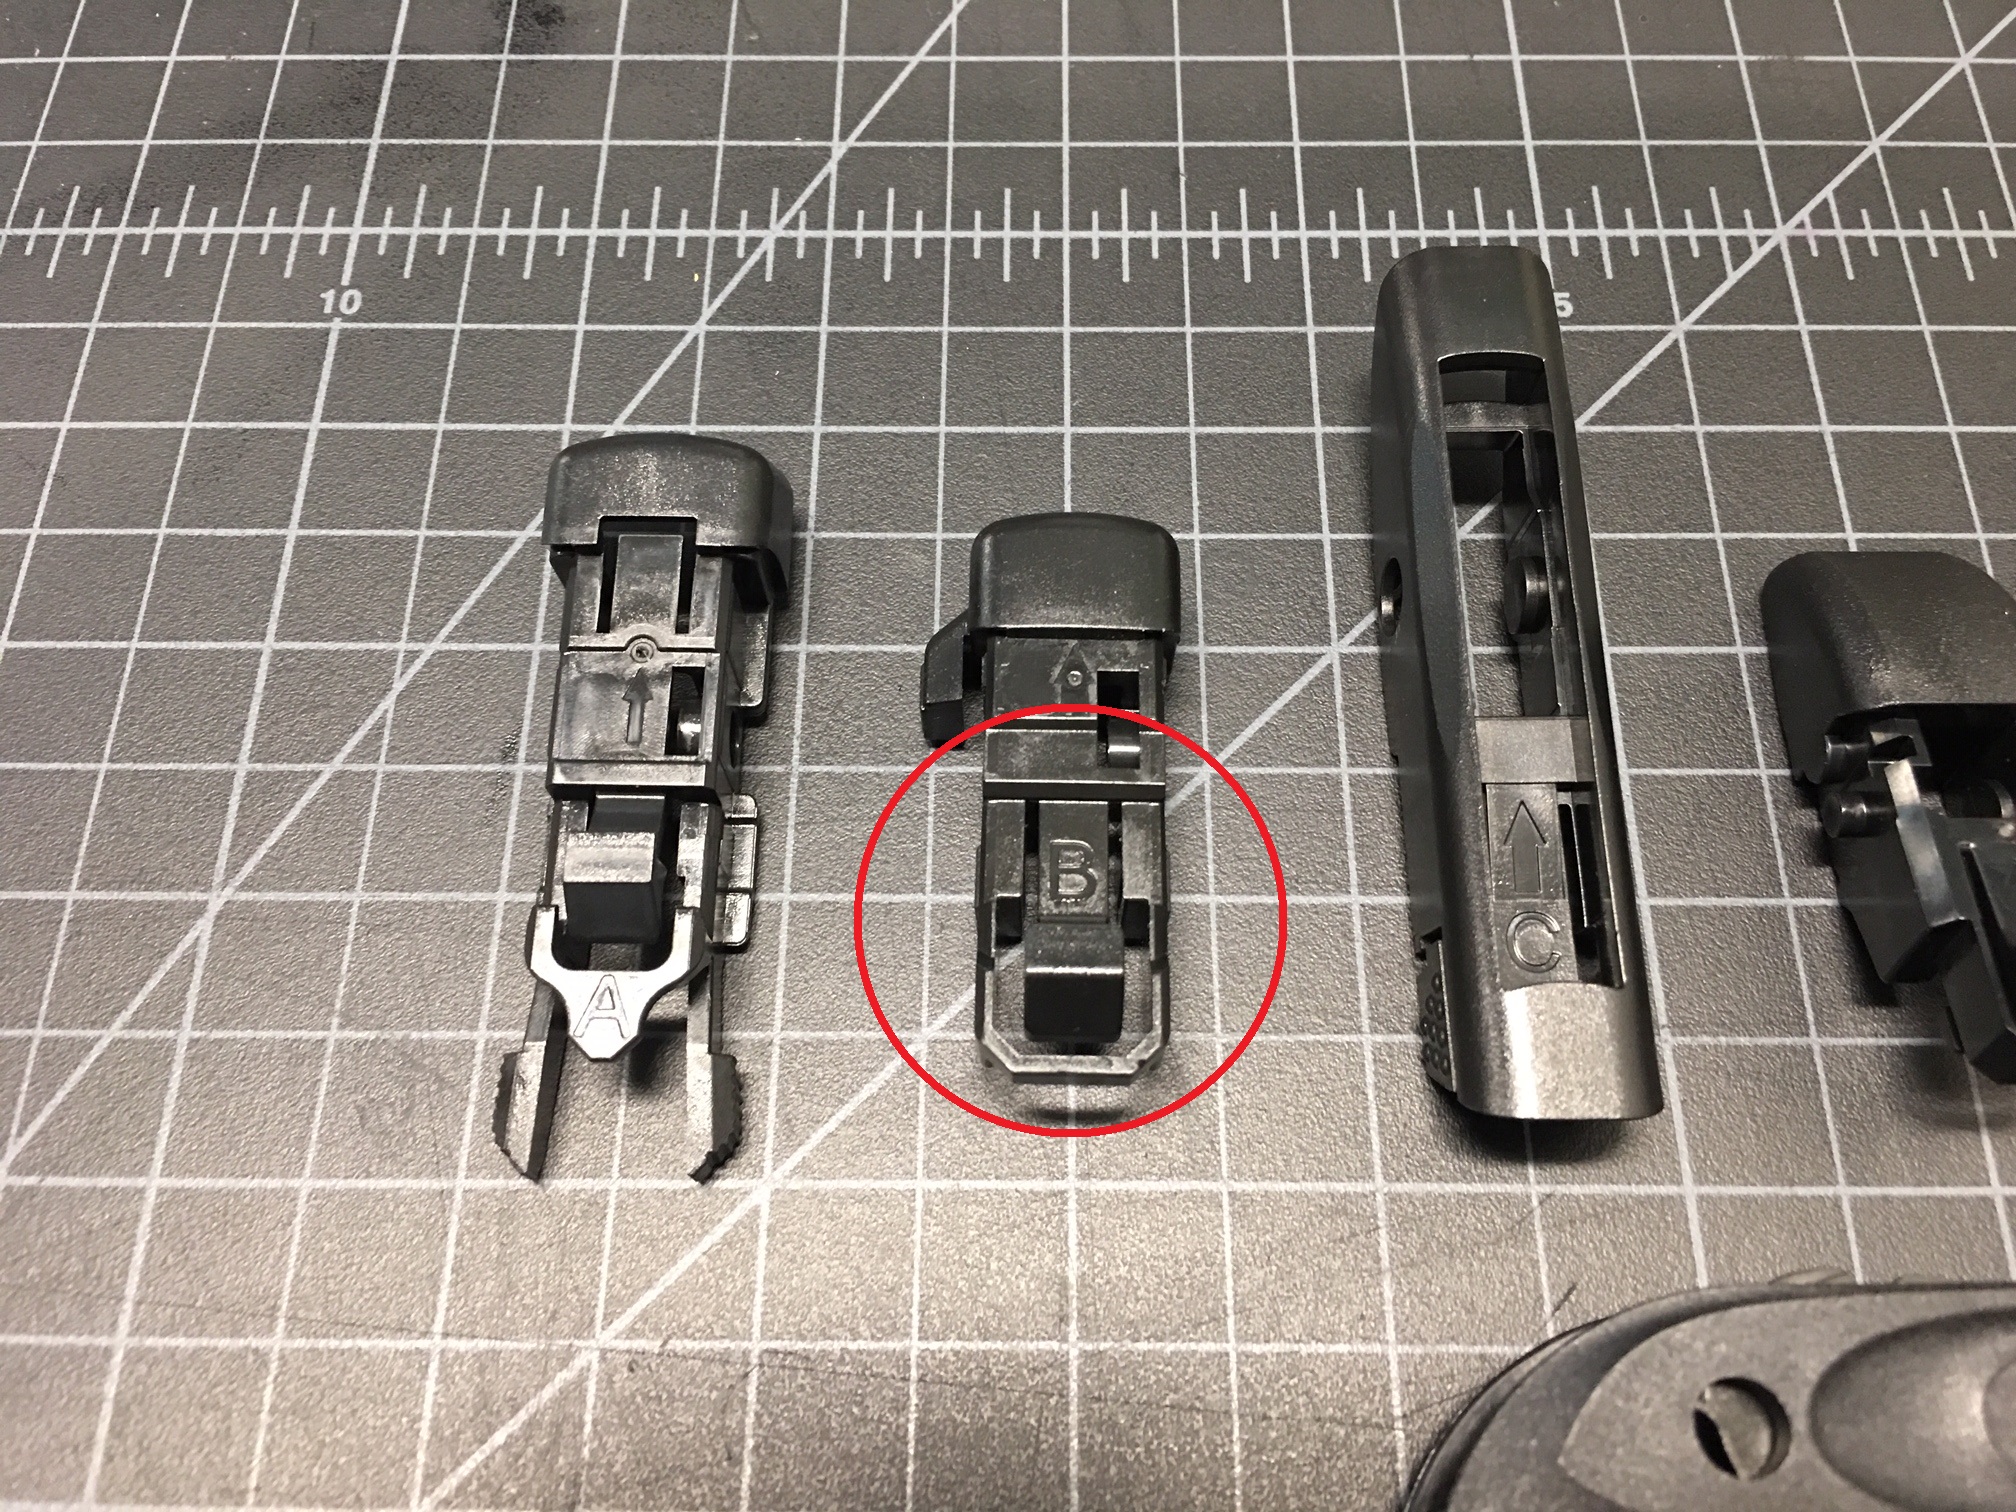
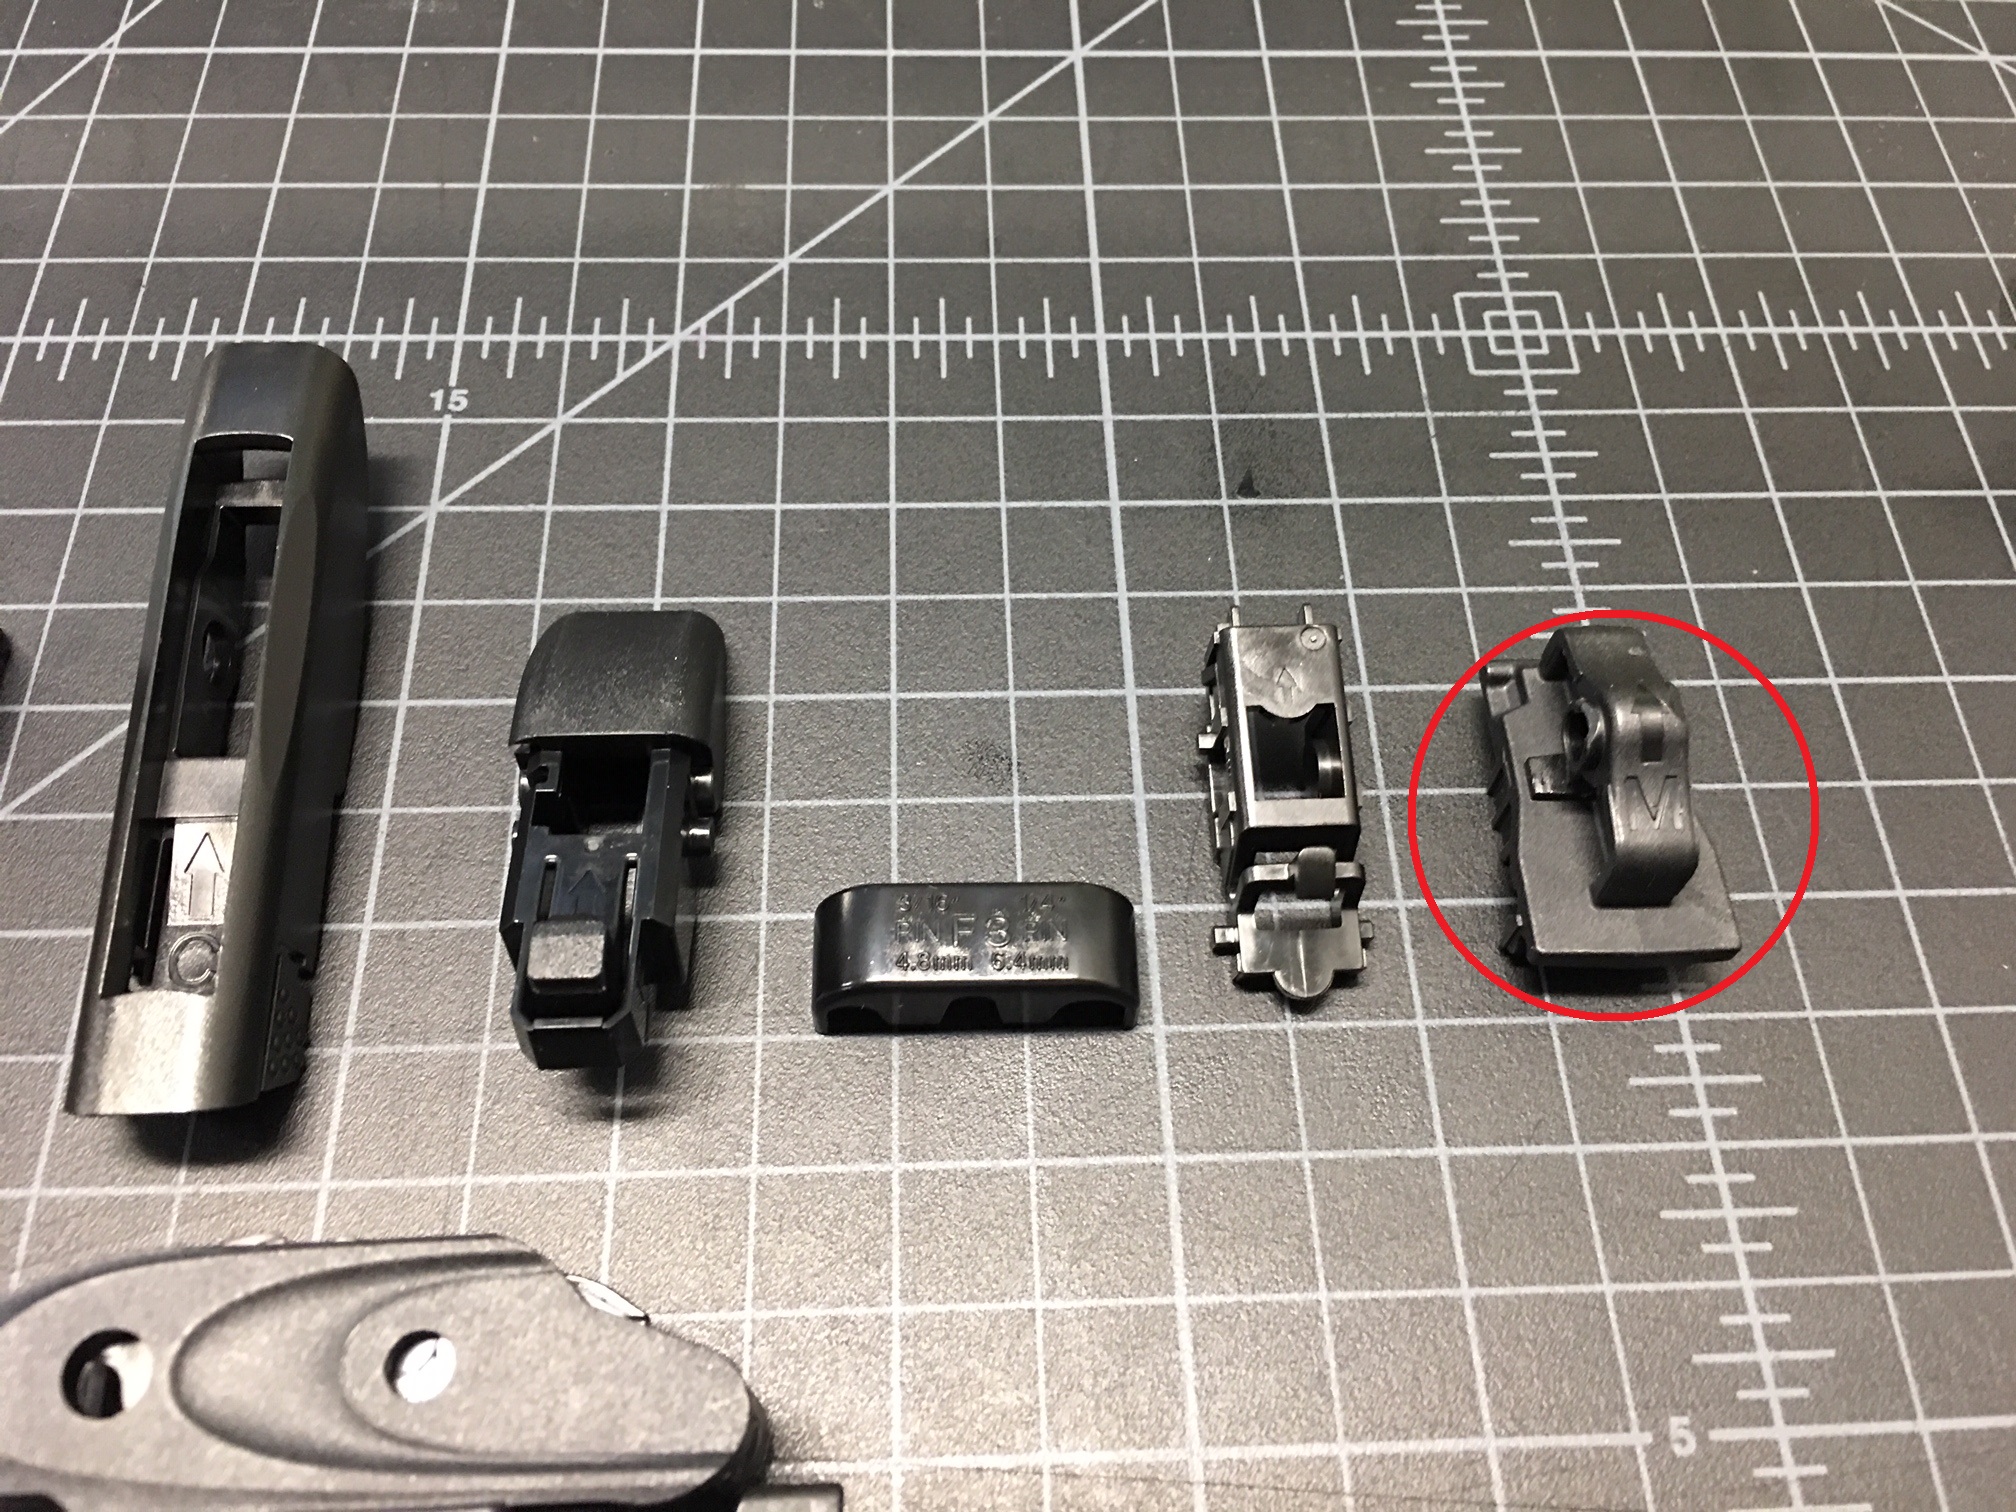
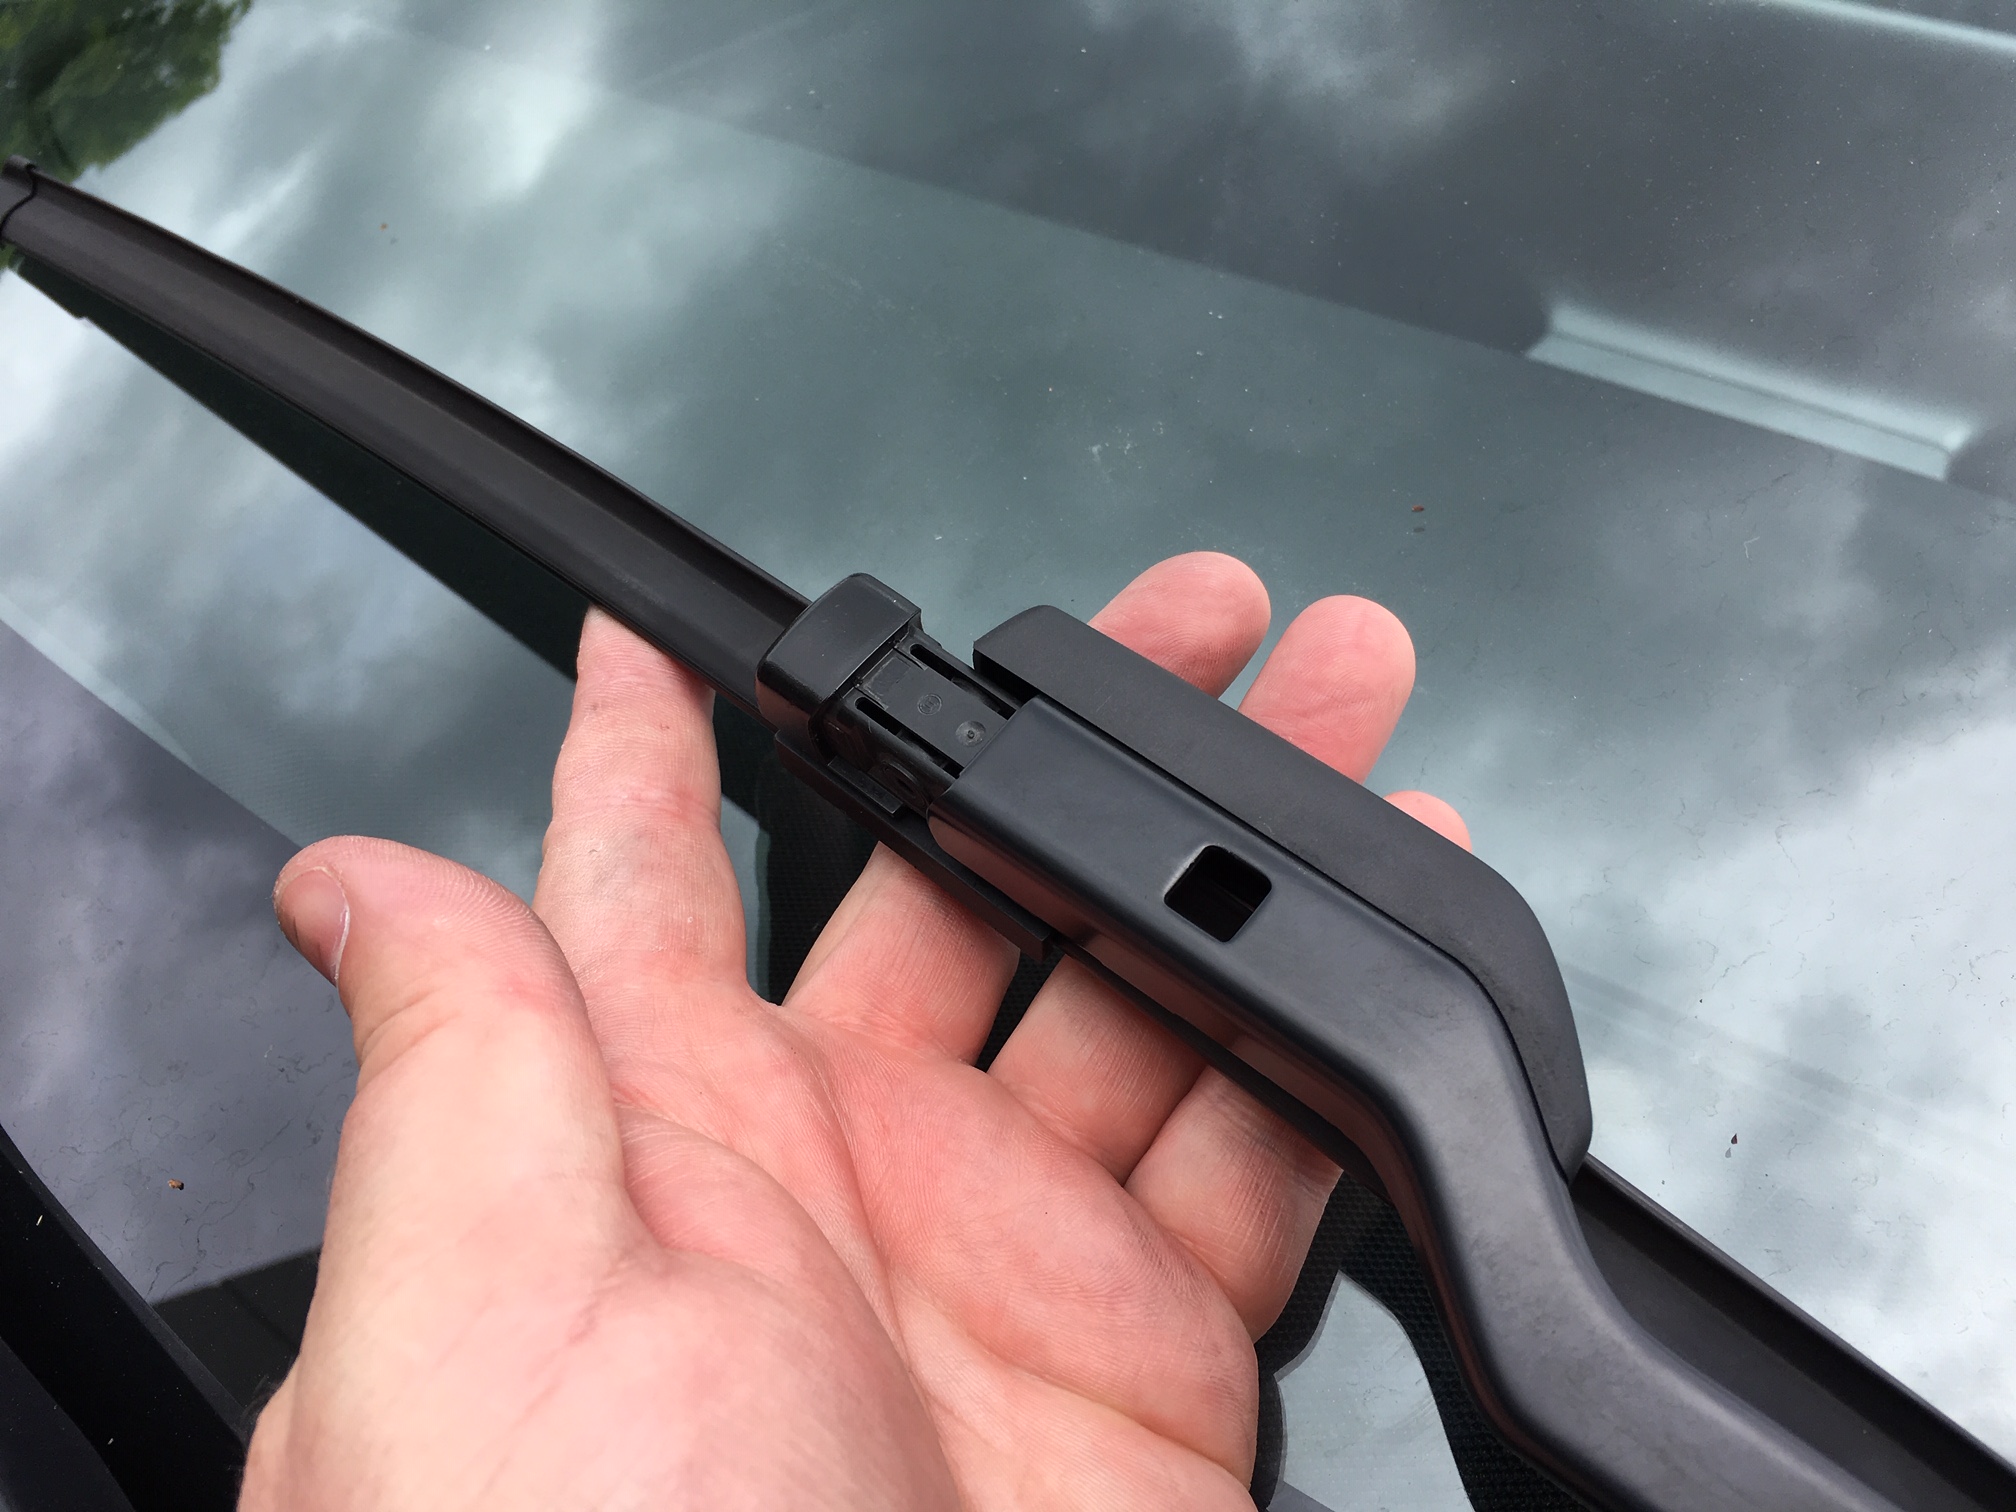
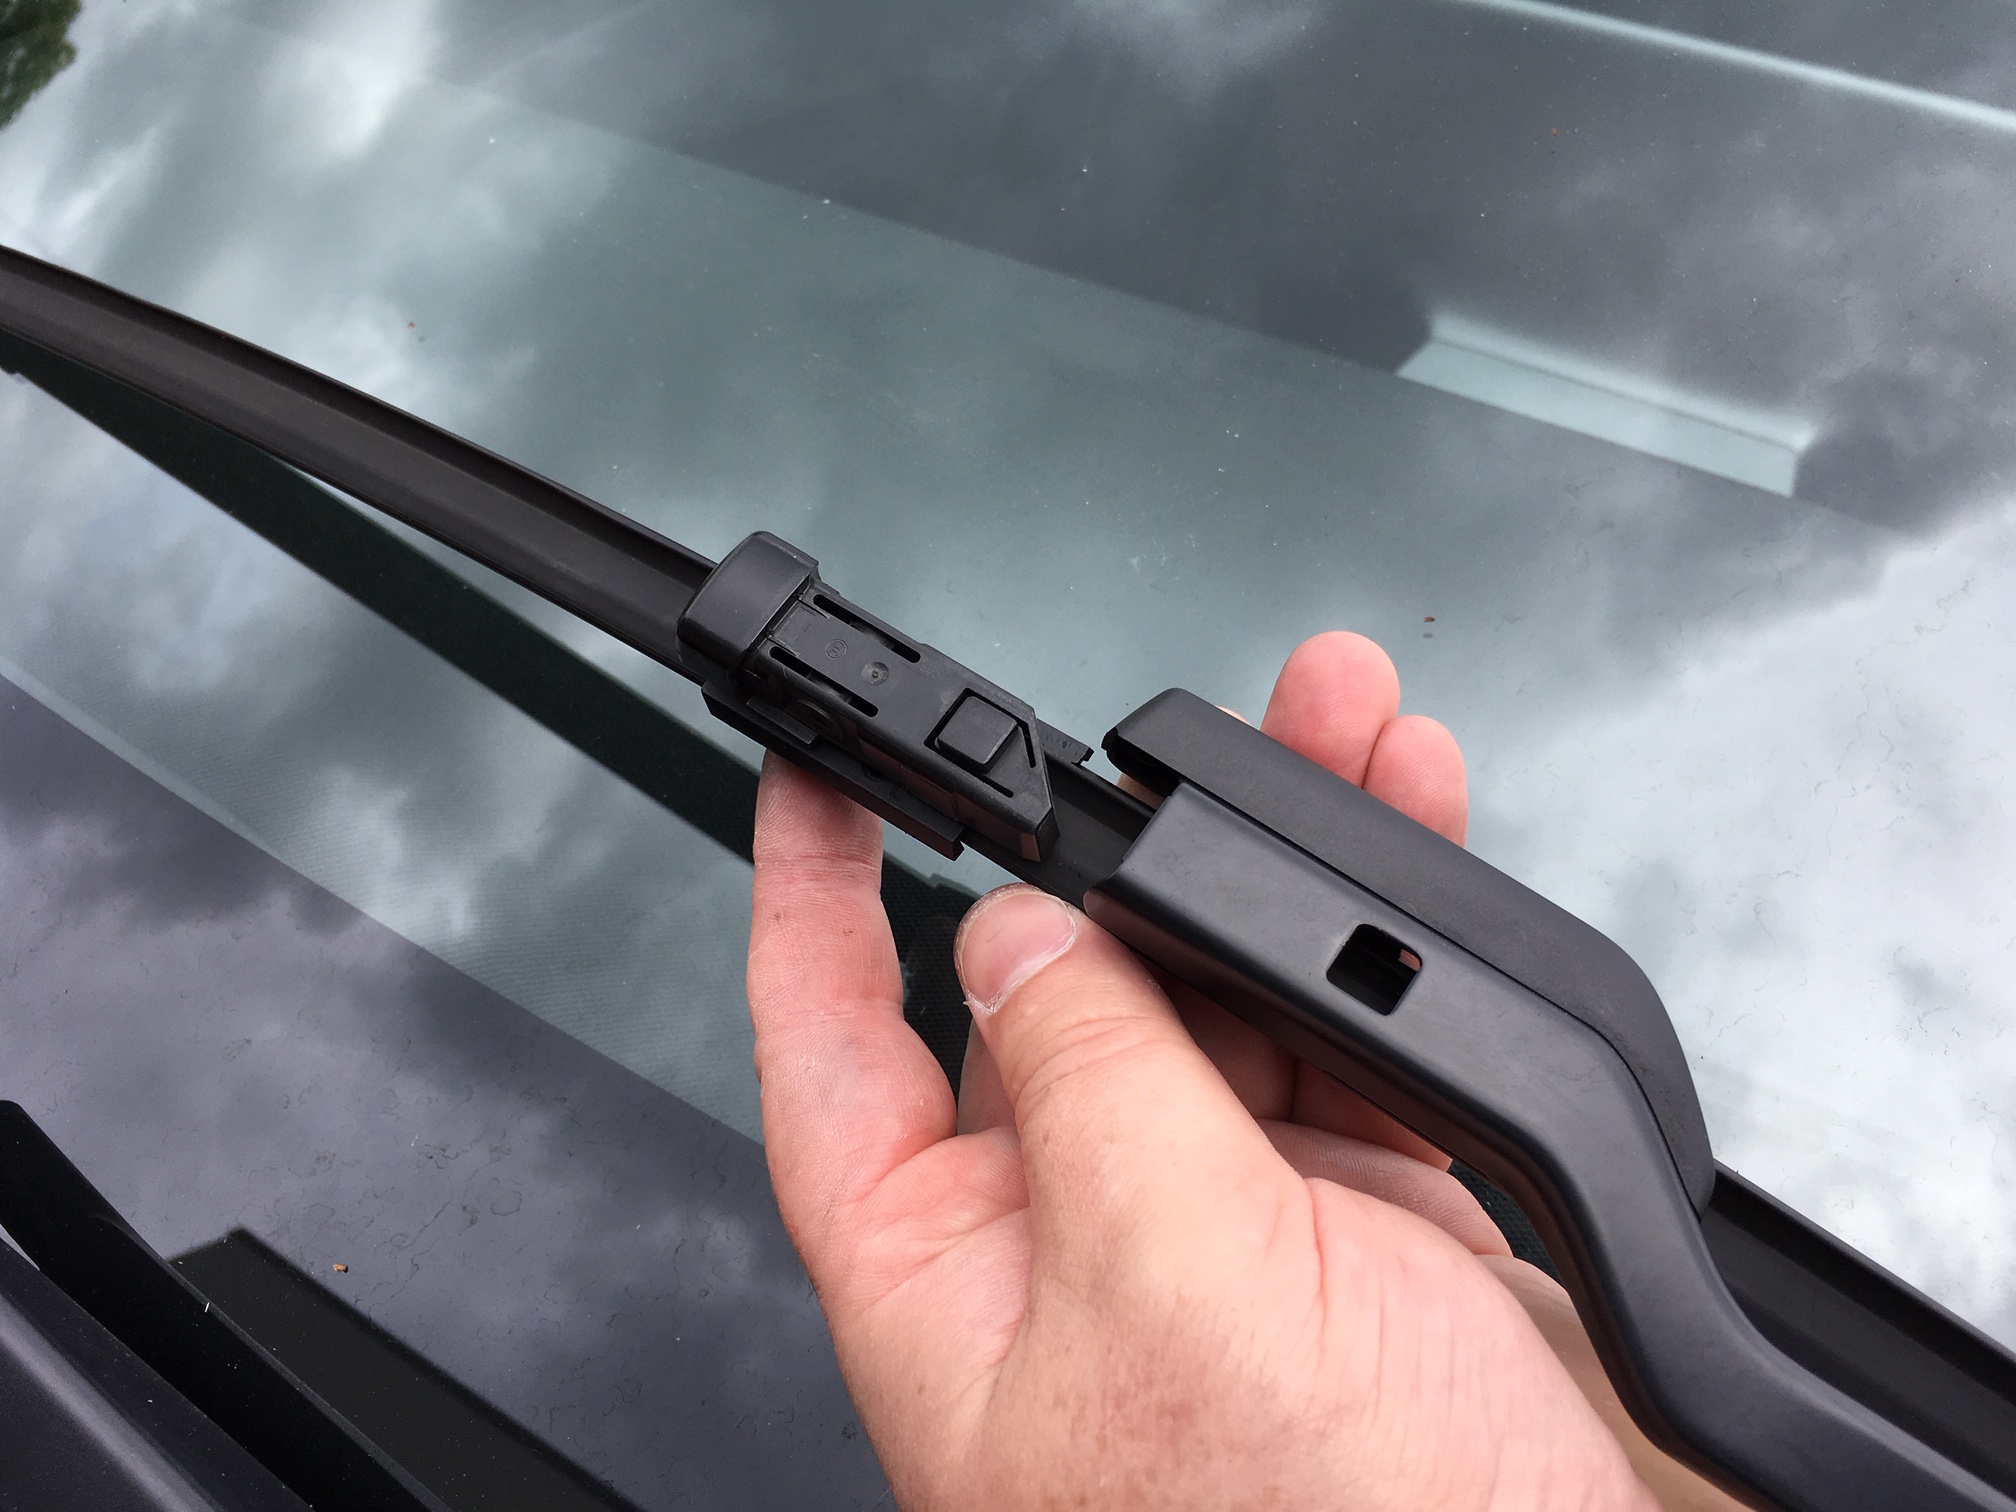
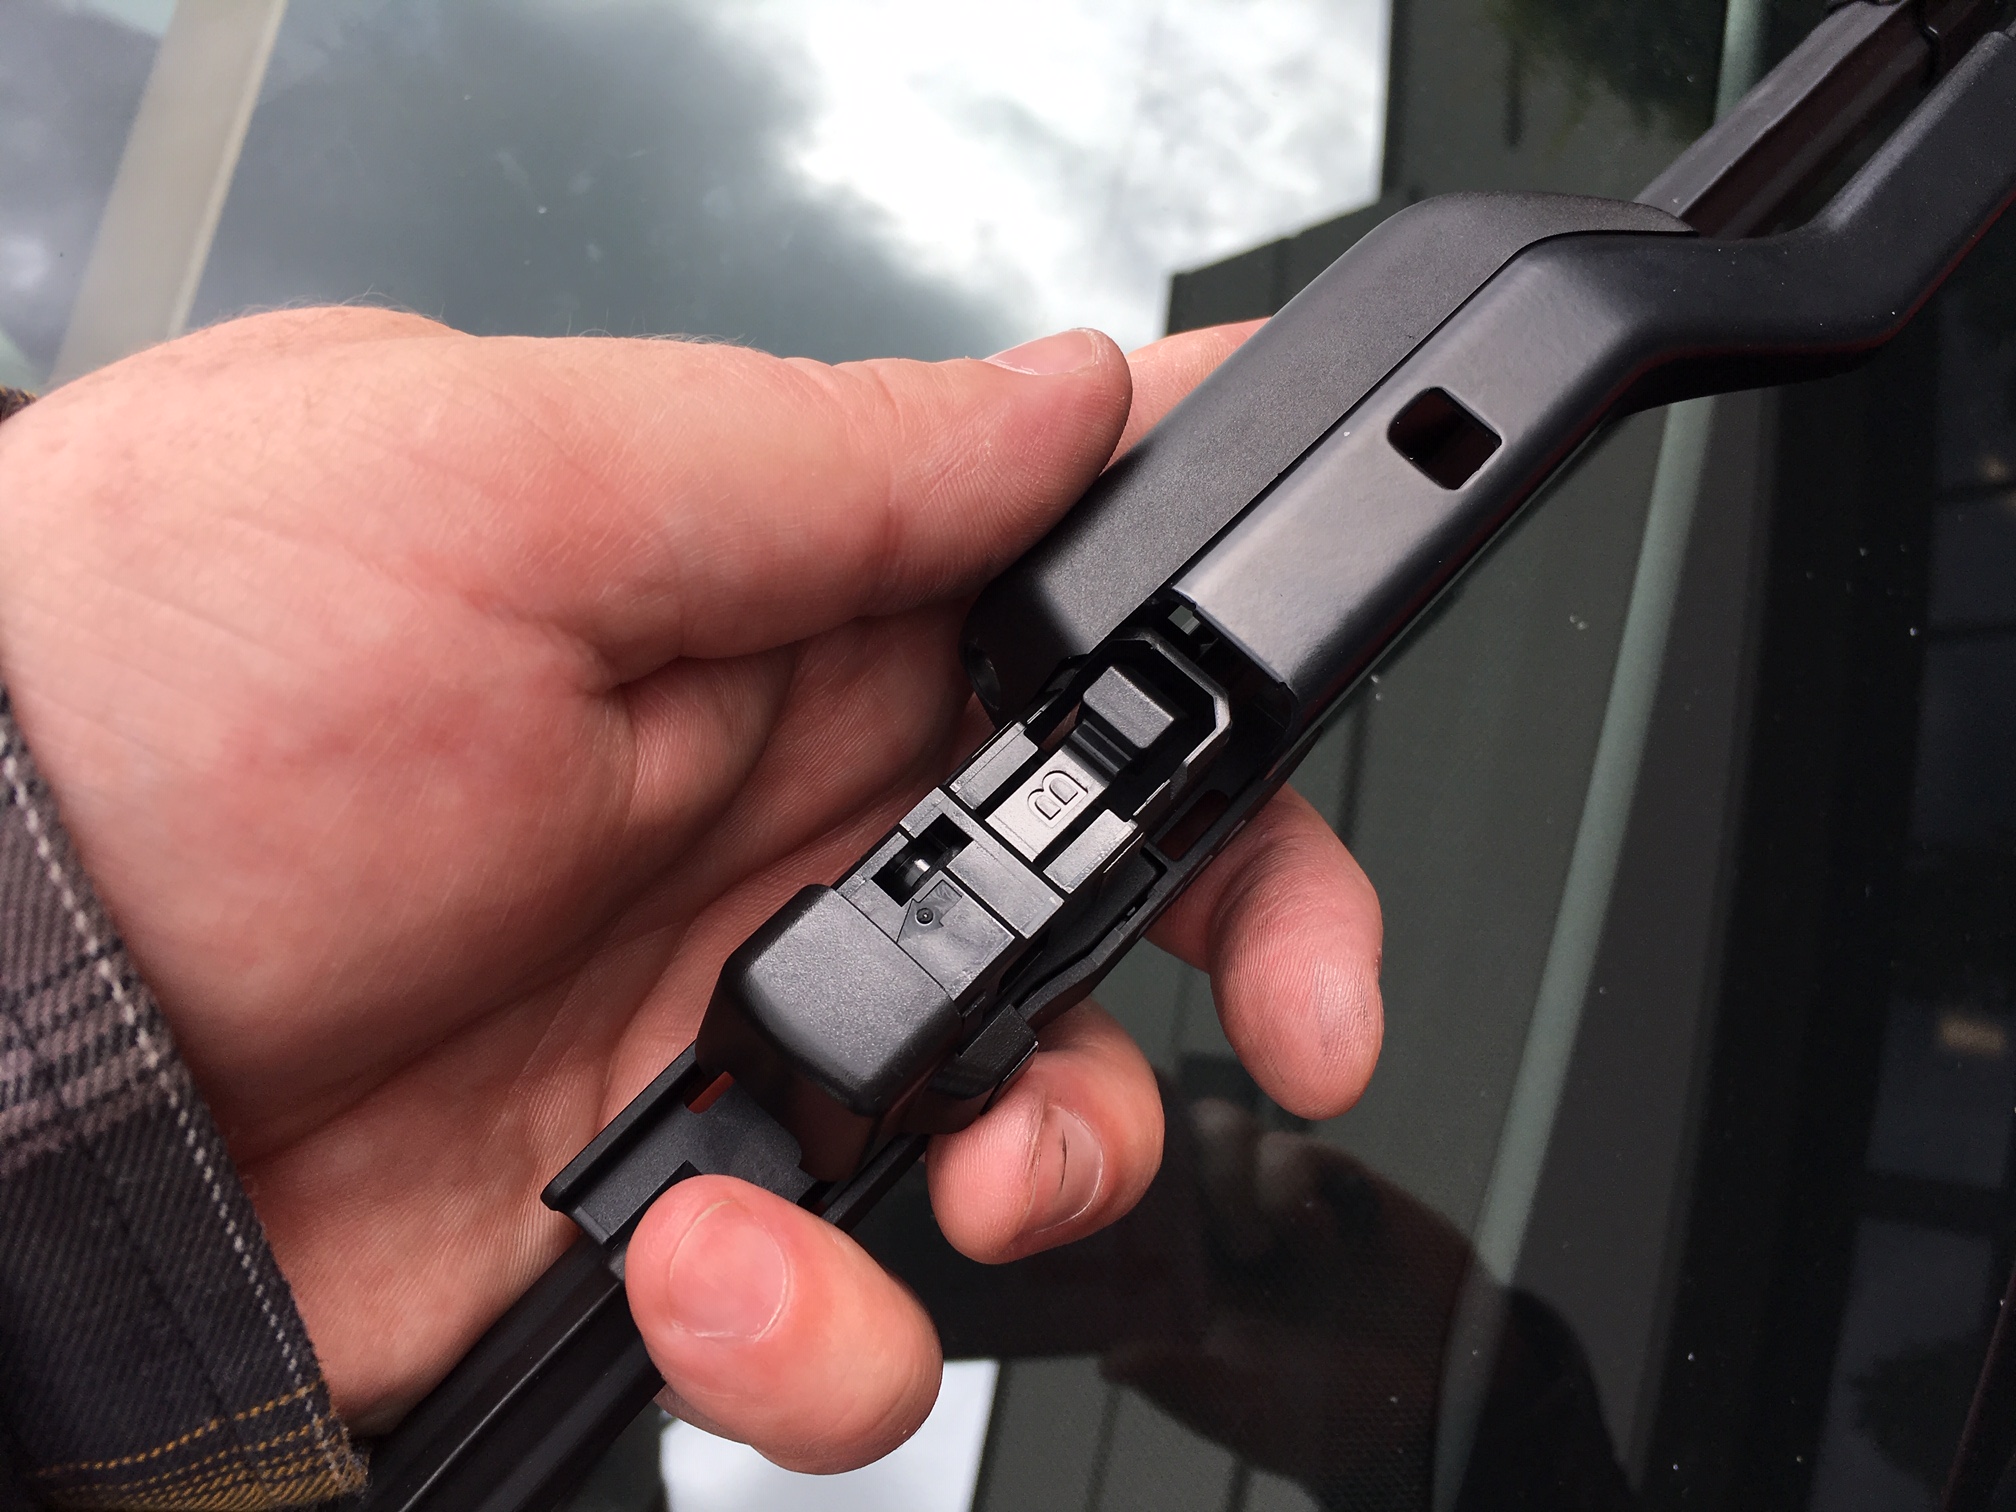
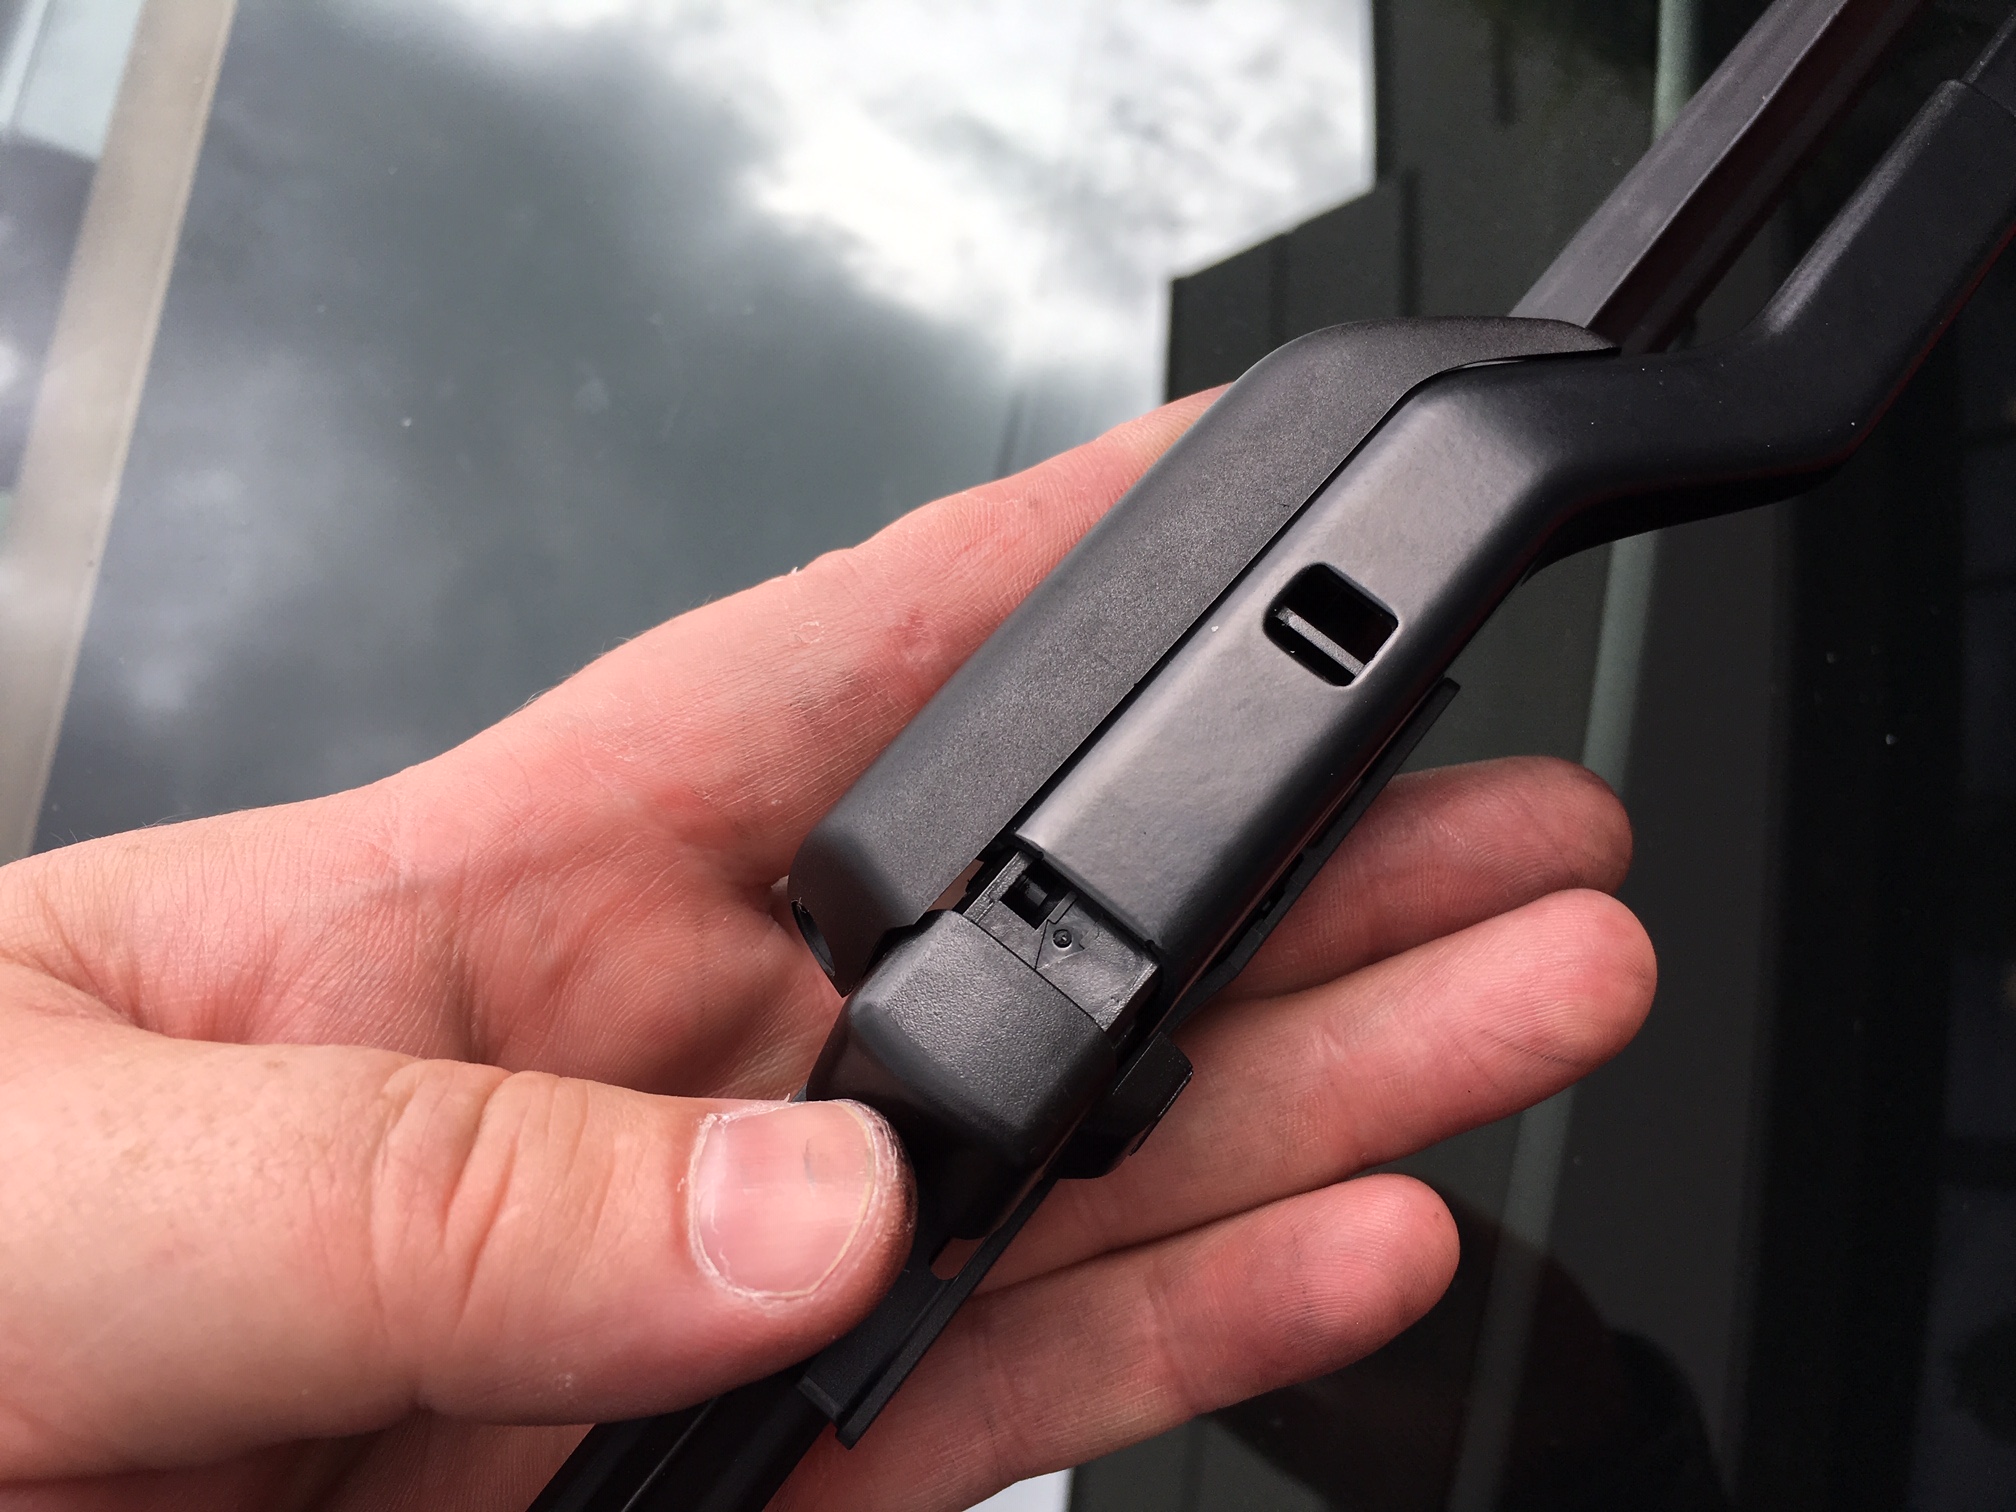
- For the "Small Push Button Arm" style of attachment, you will be using the adapters marked "B" and "M".
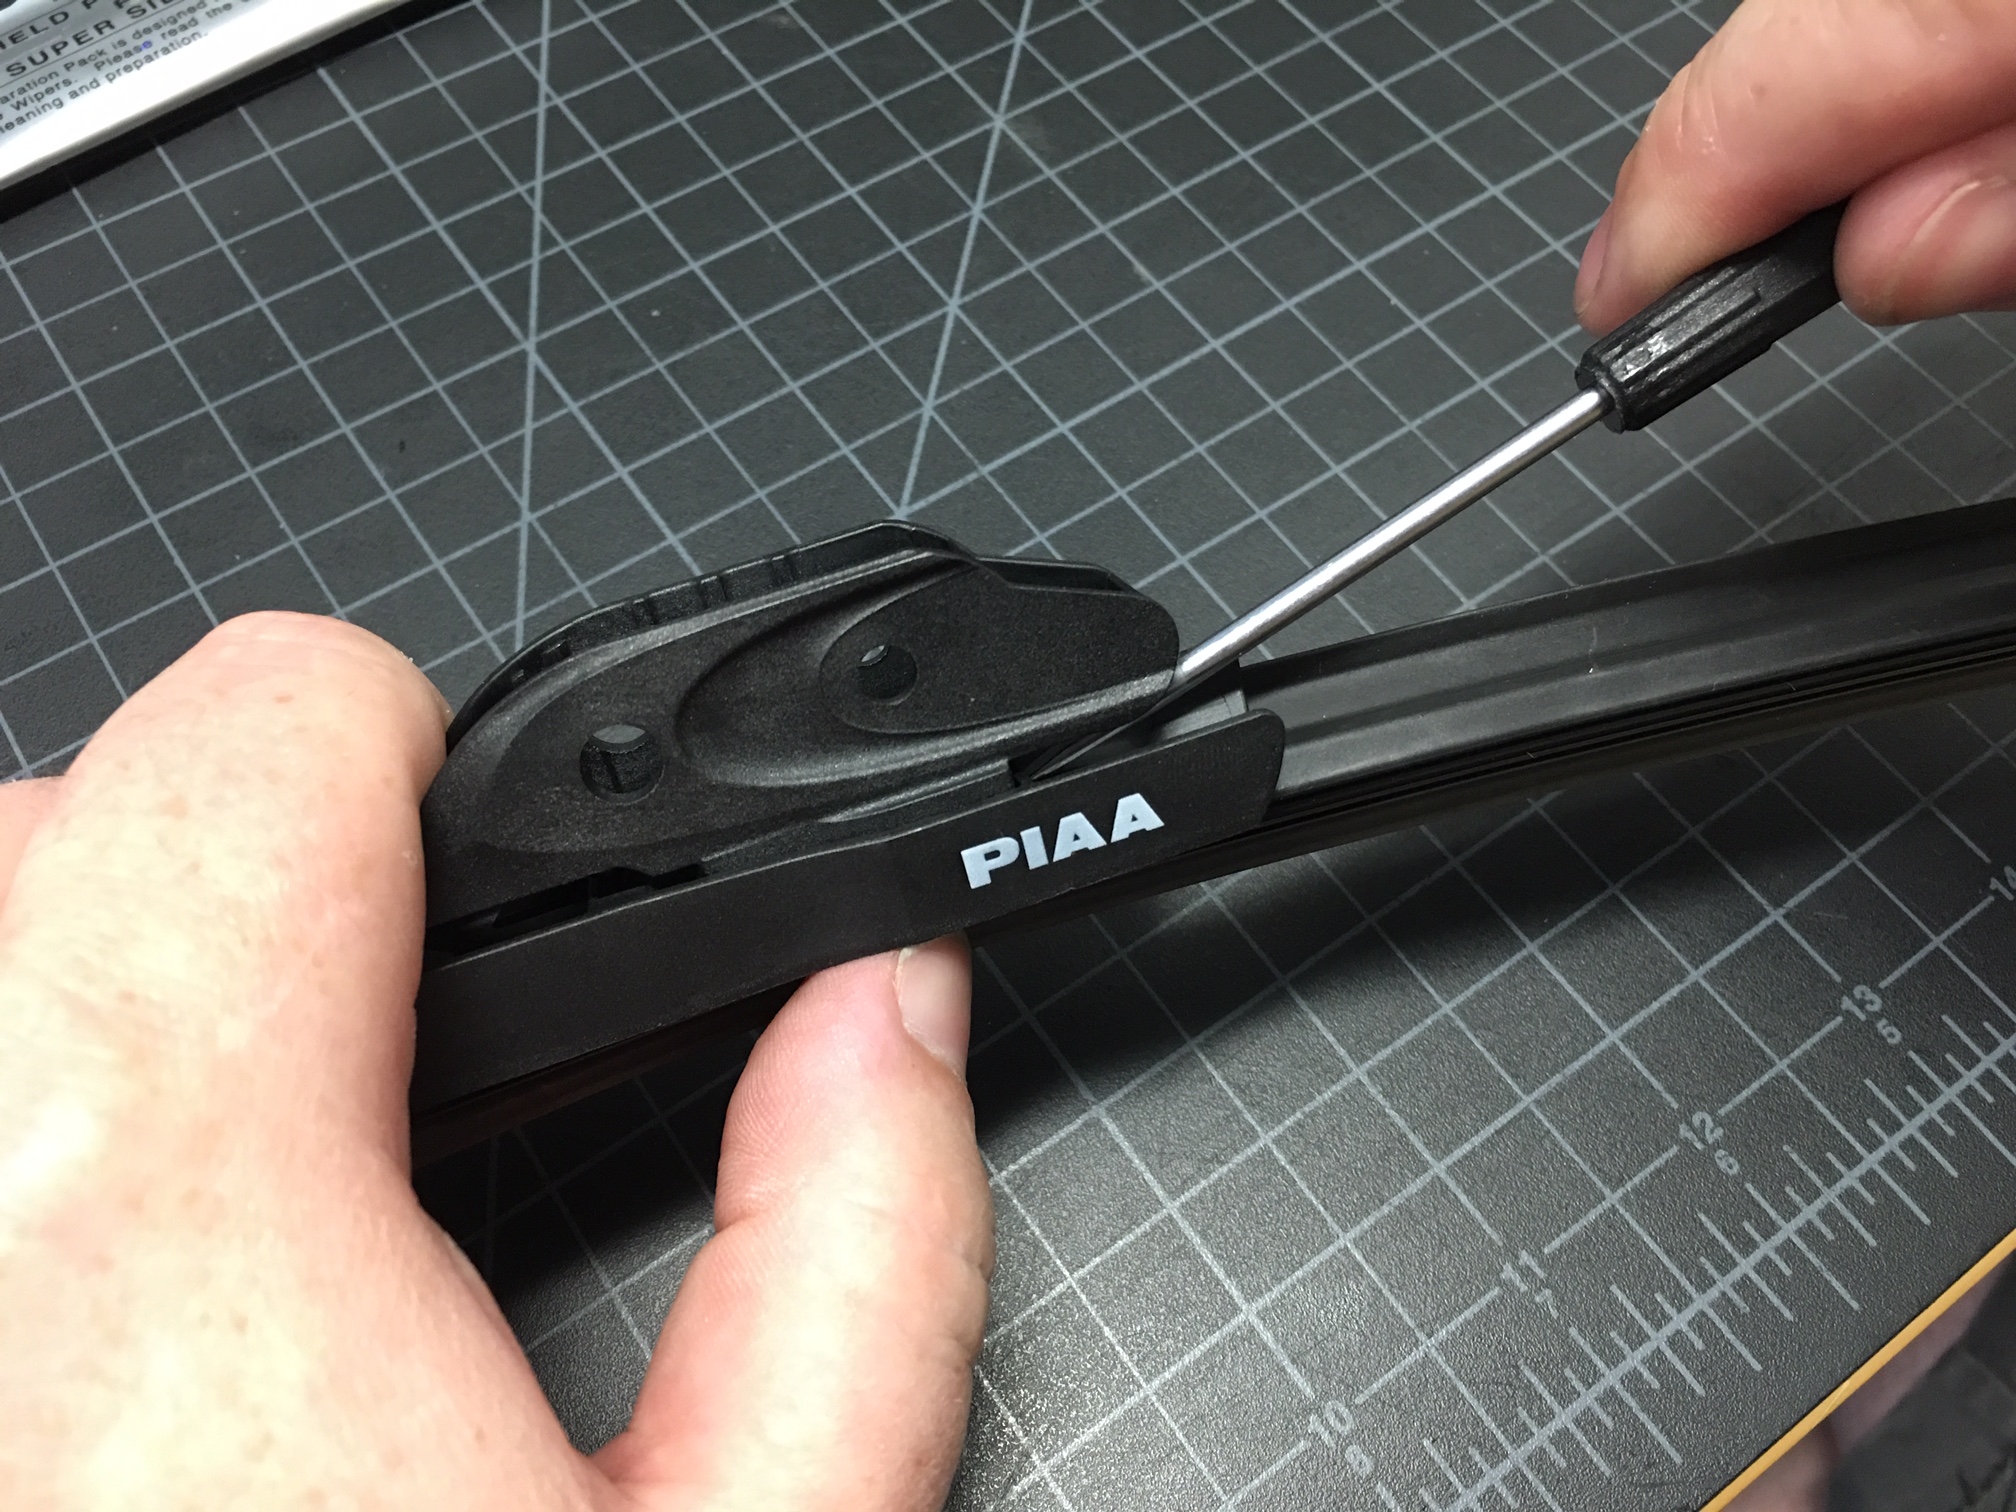
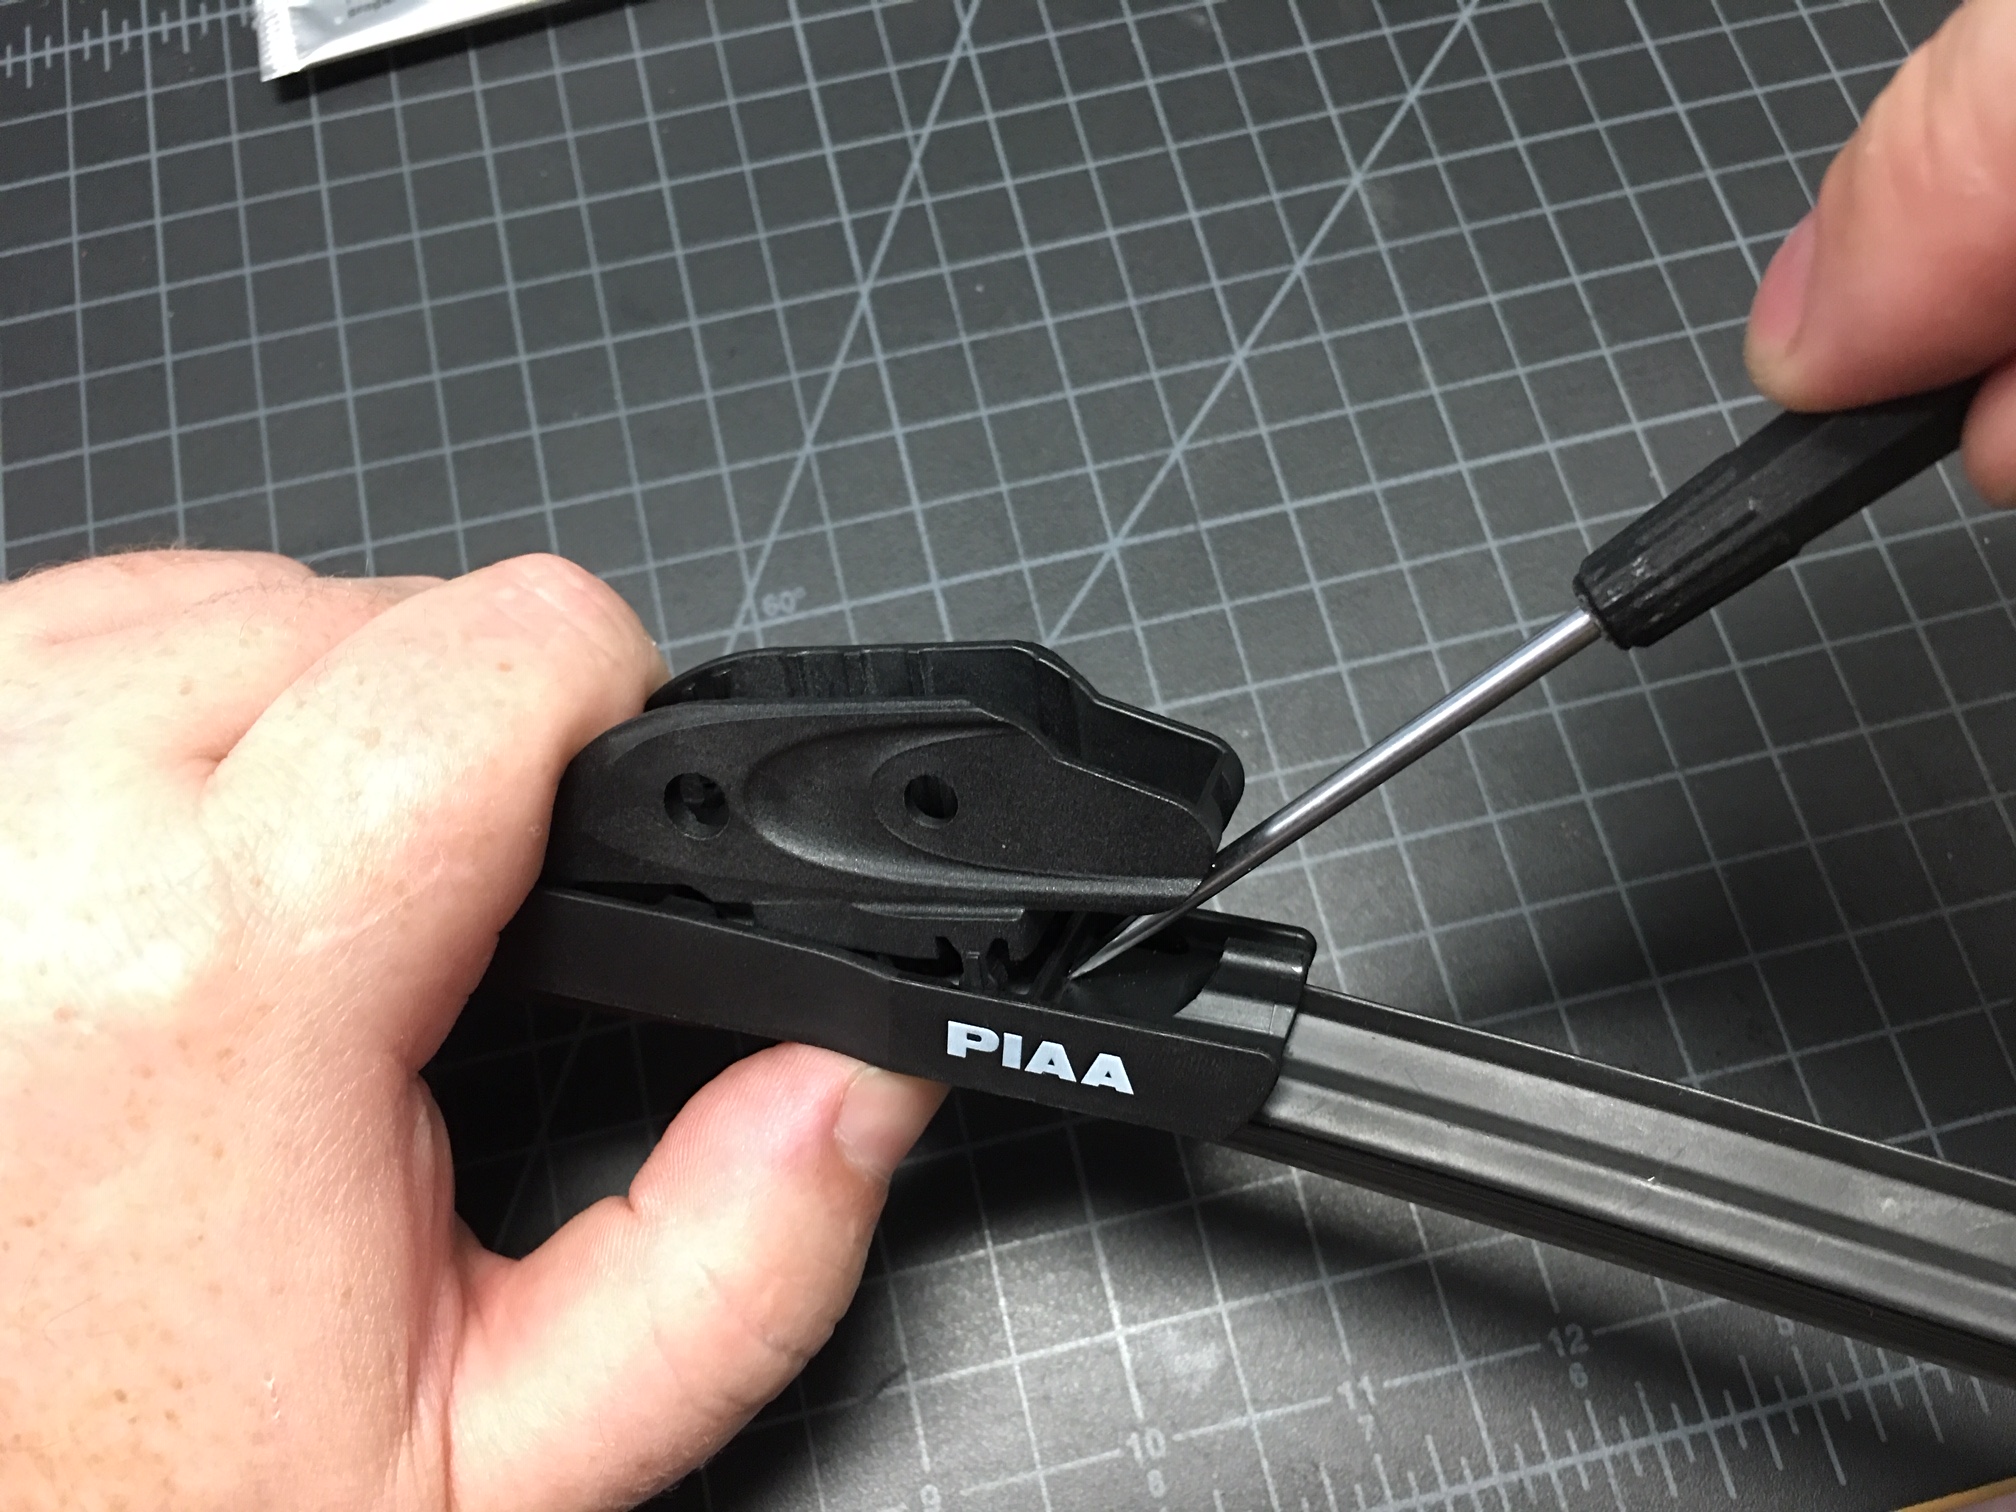
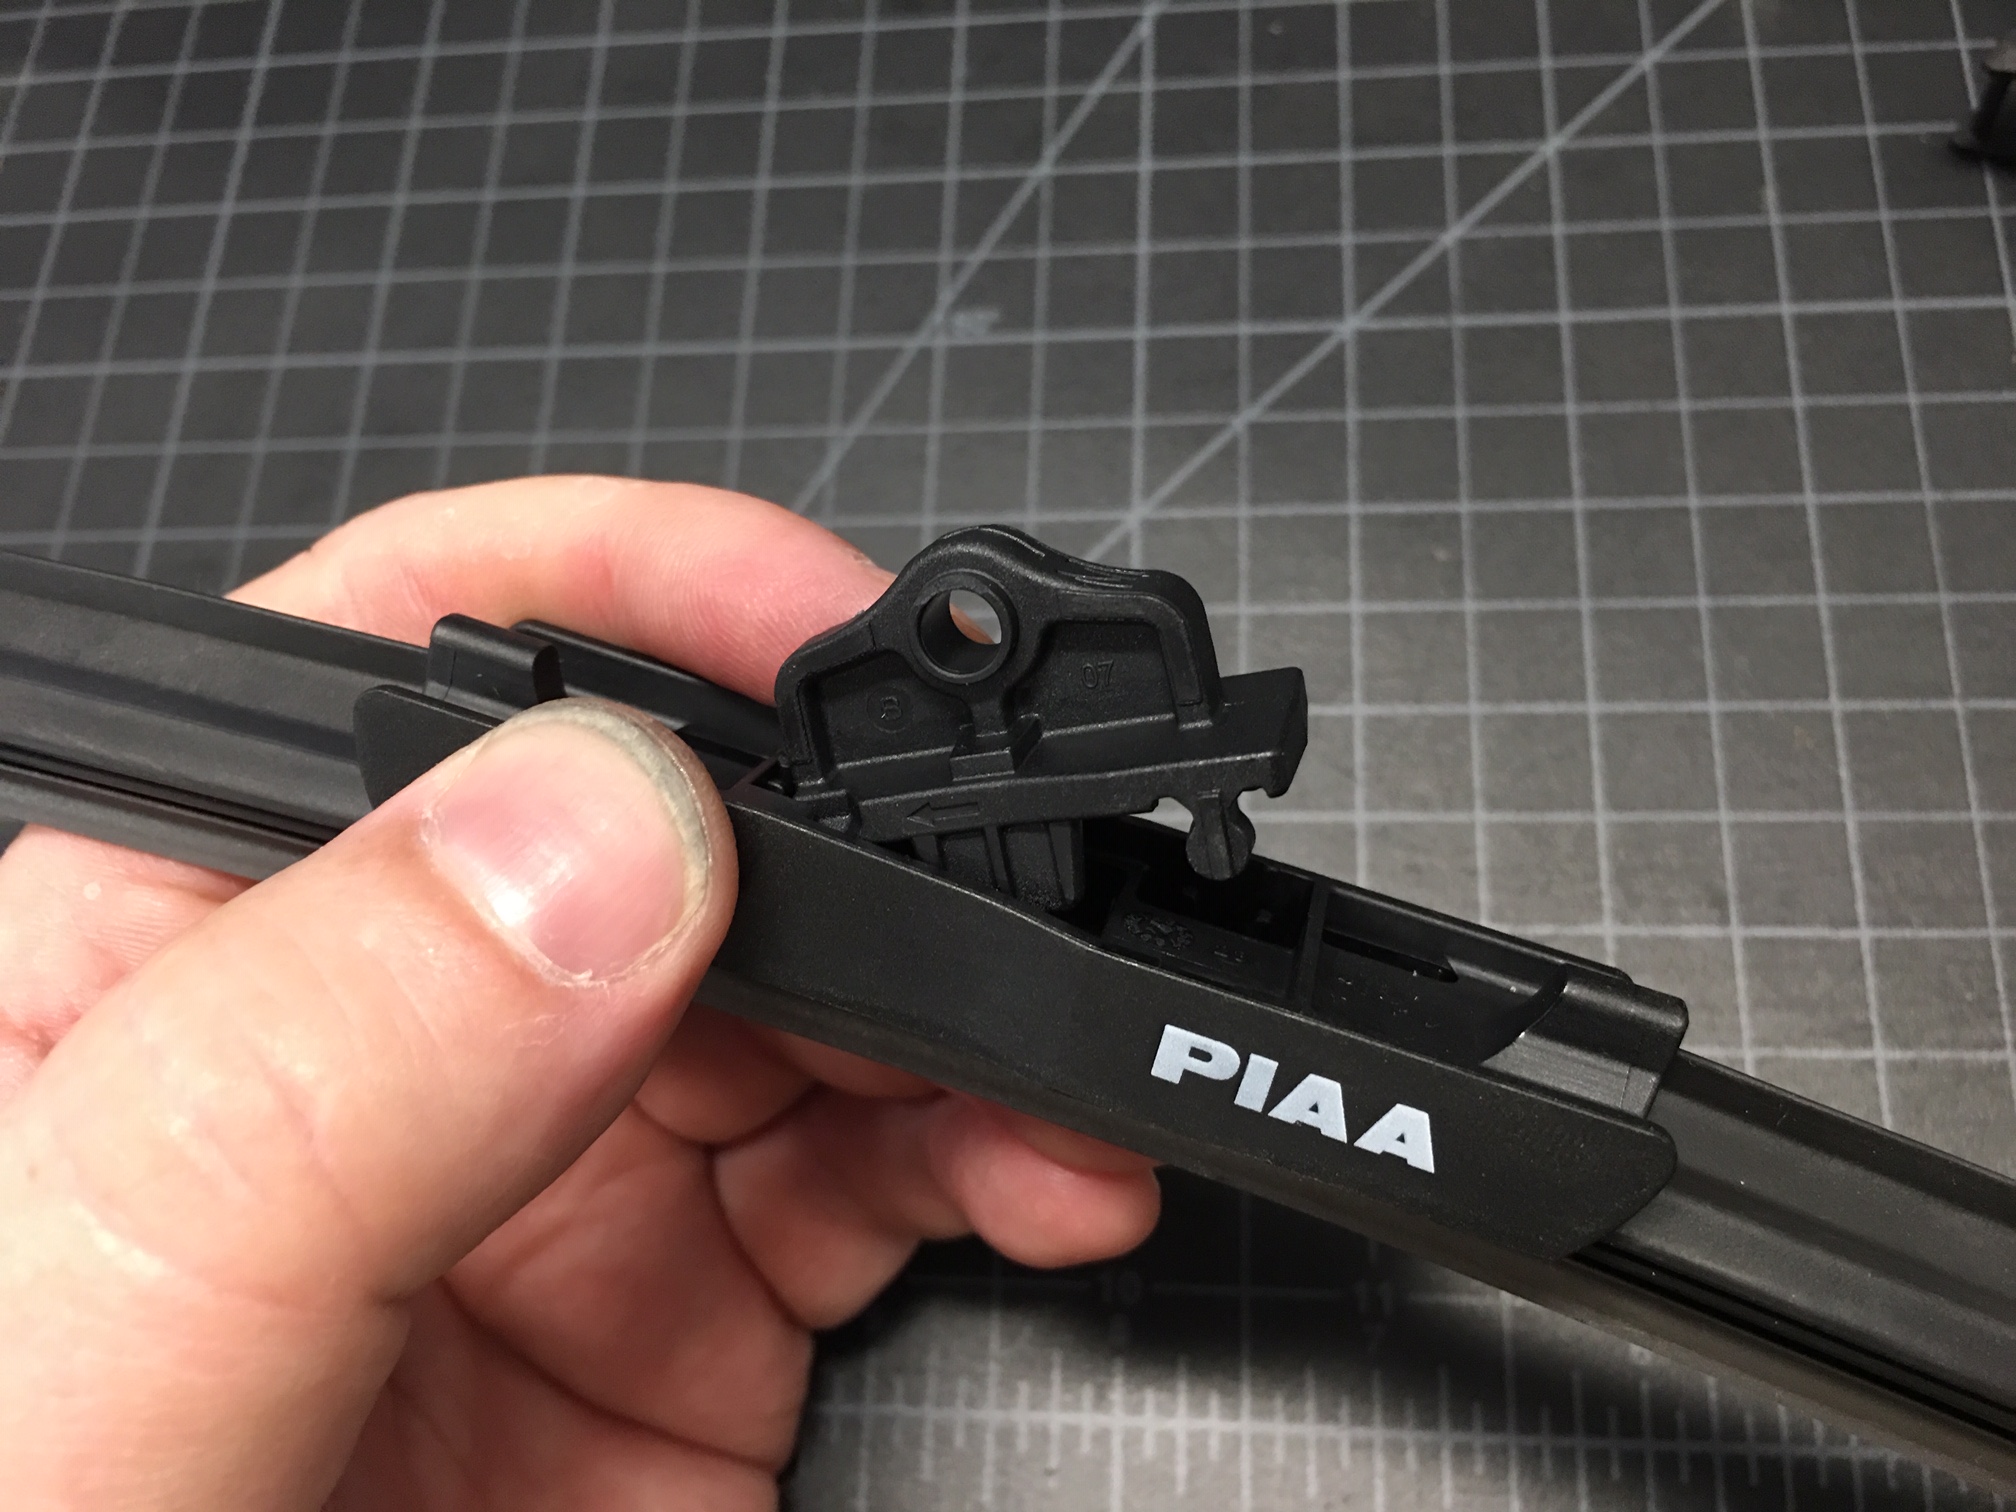
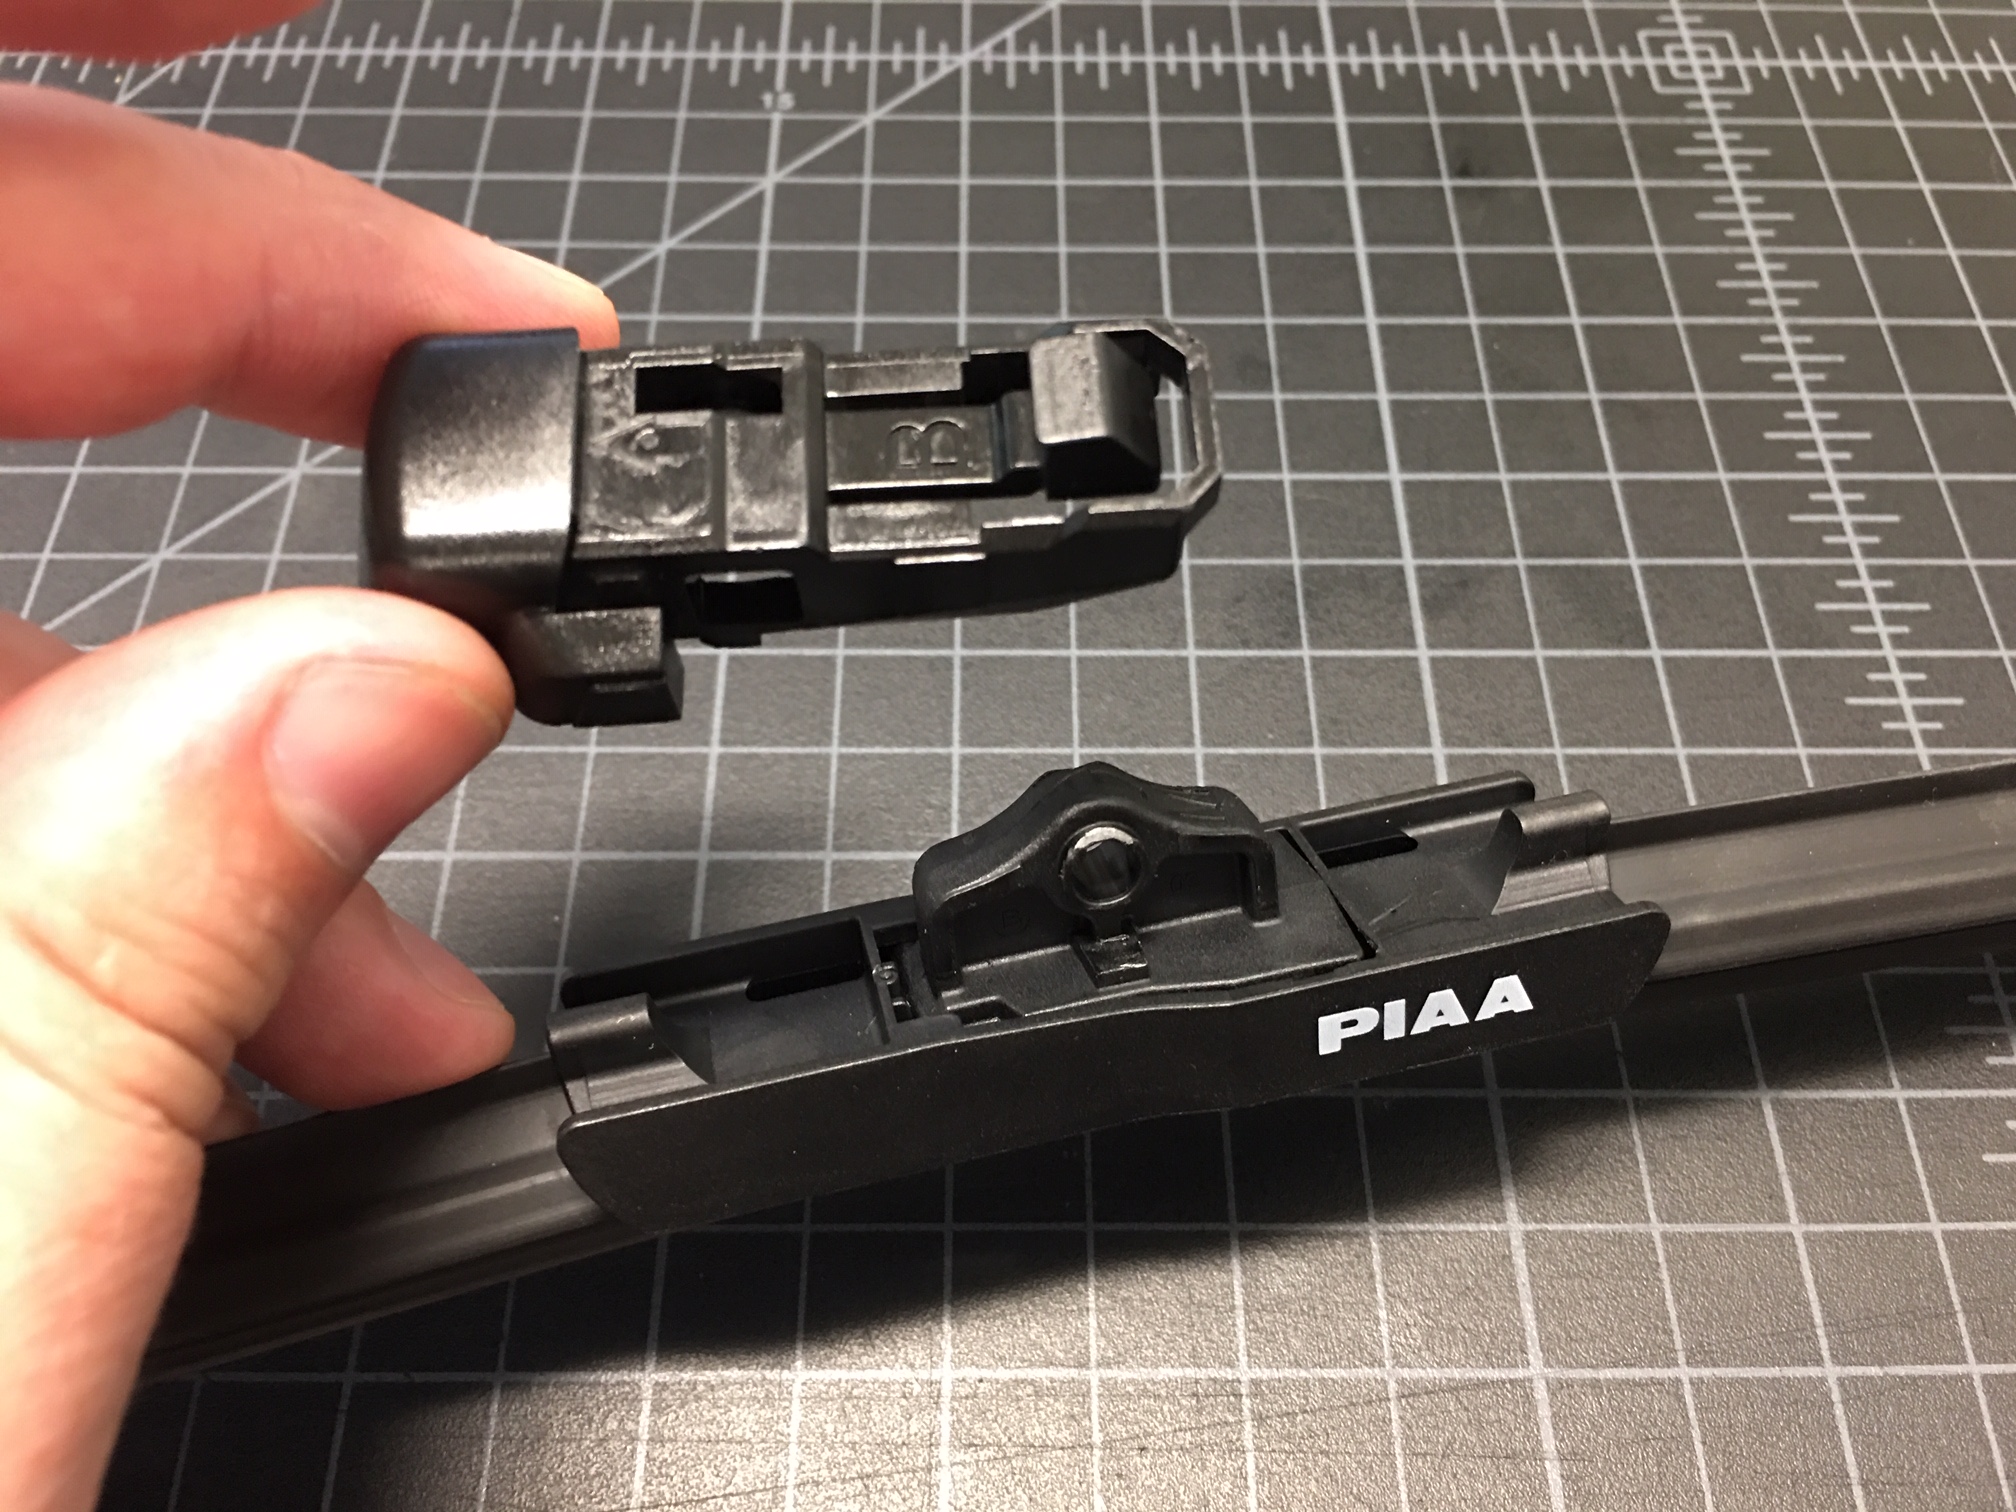
- In order to use these adapters you will need to remove the clip that comes preinstalled on the PIAA wiper blades. Utilize a small, flat-bladed screwdriver to pry up on side and pivot the fitting off the wiper blade.
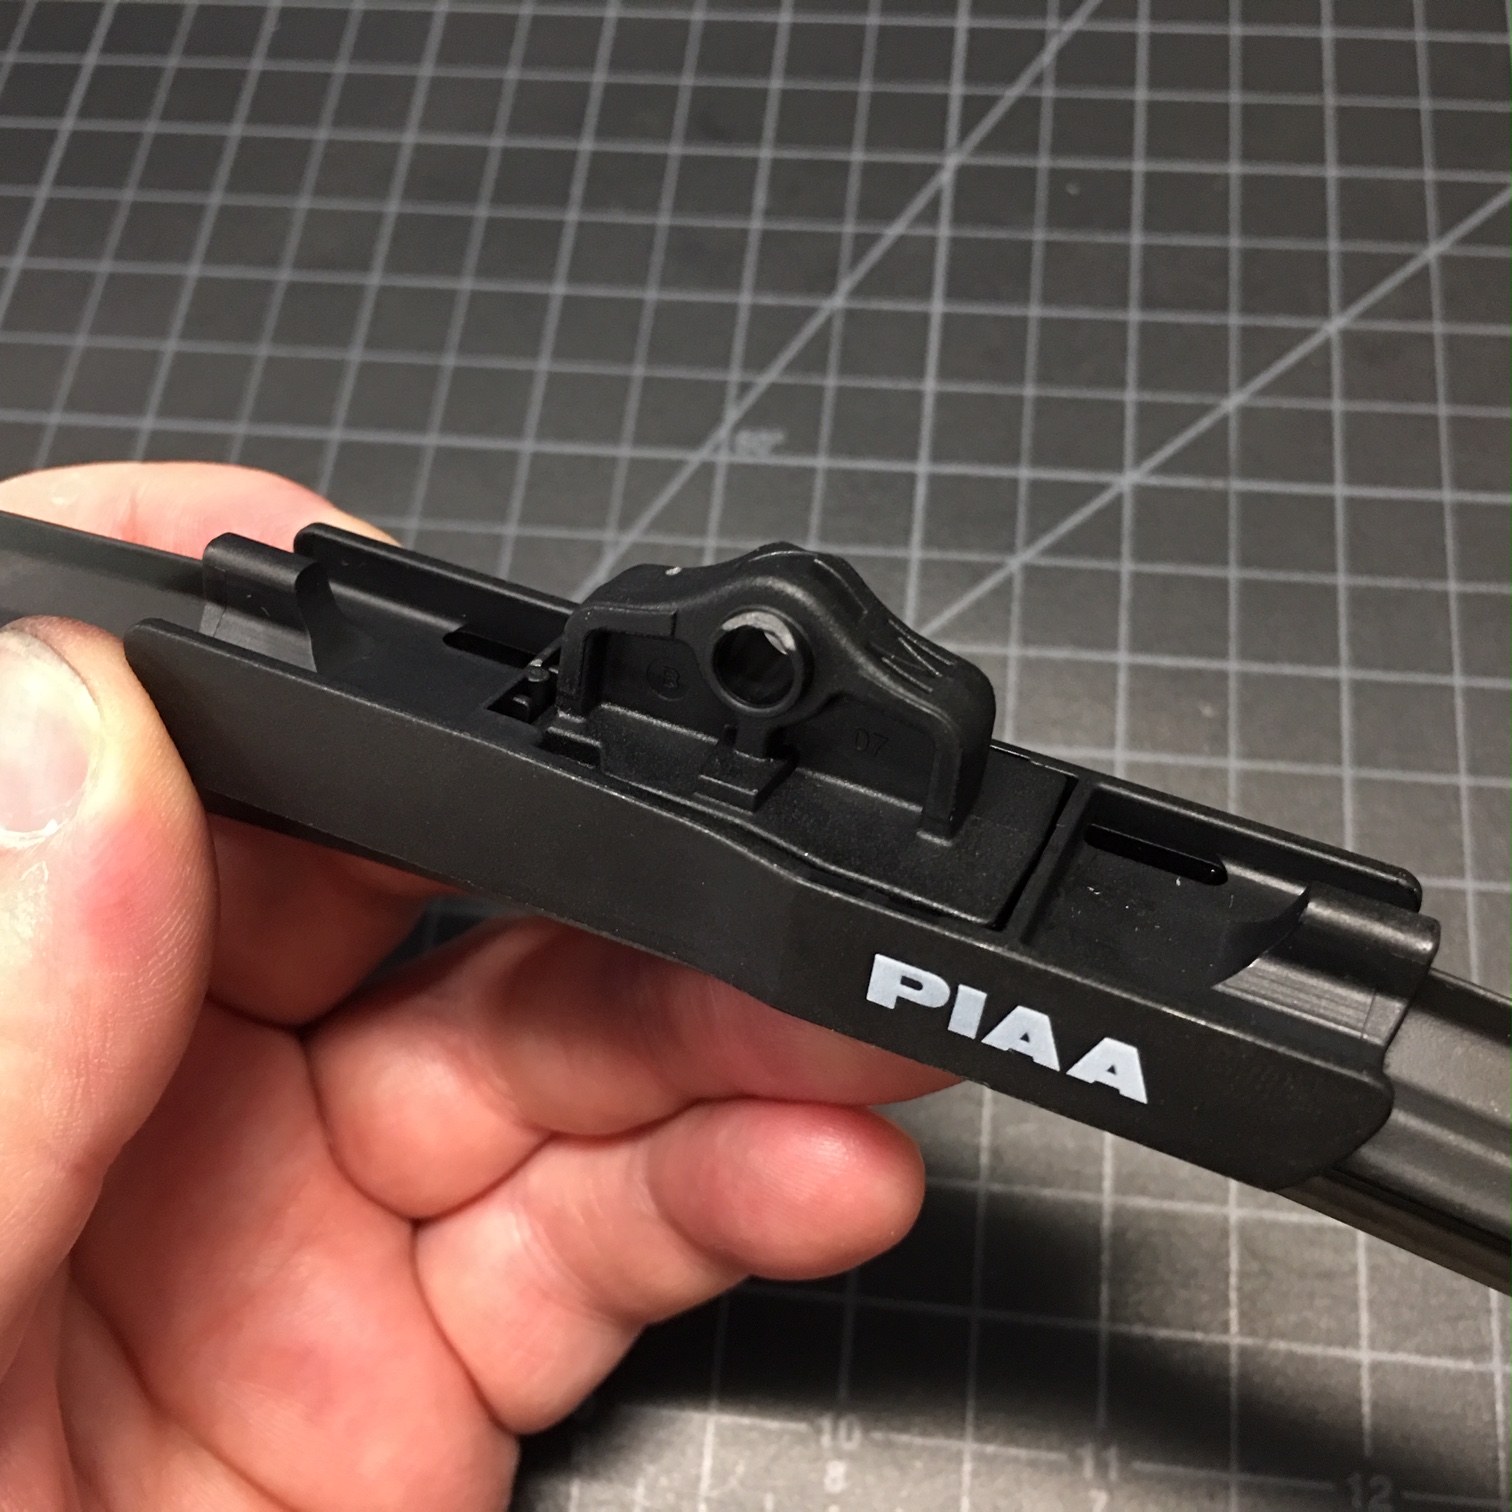
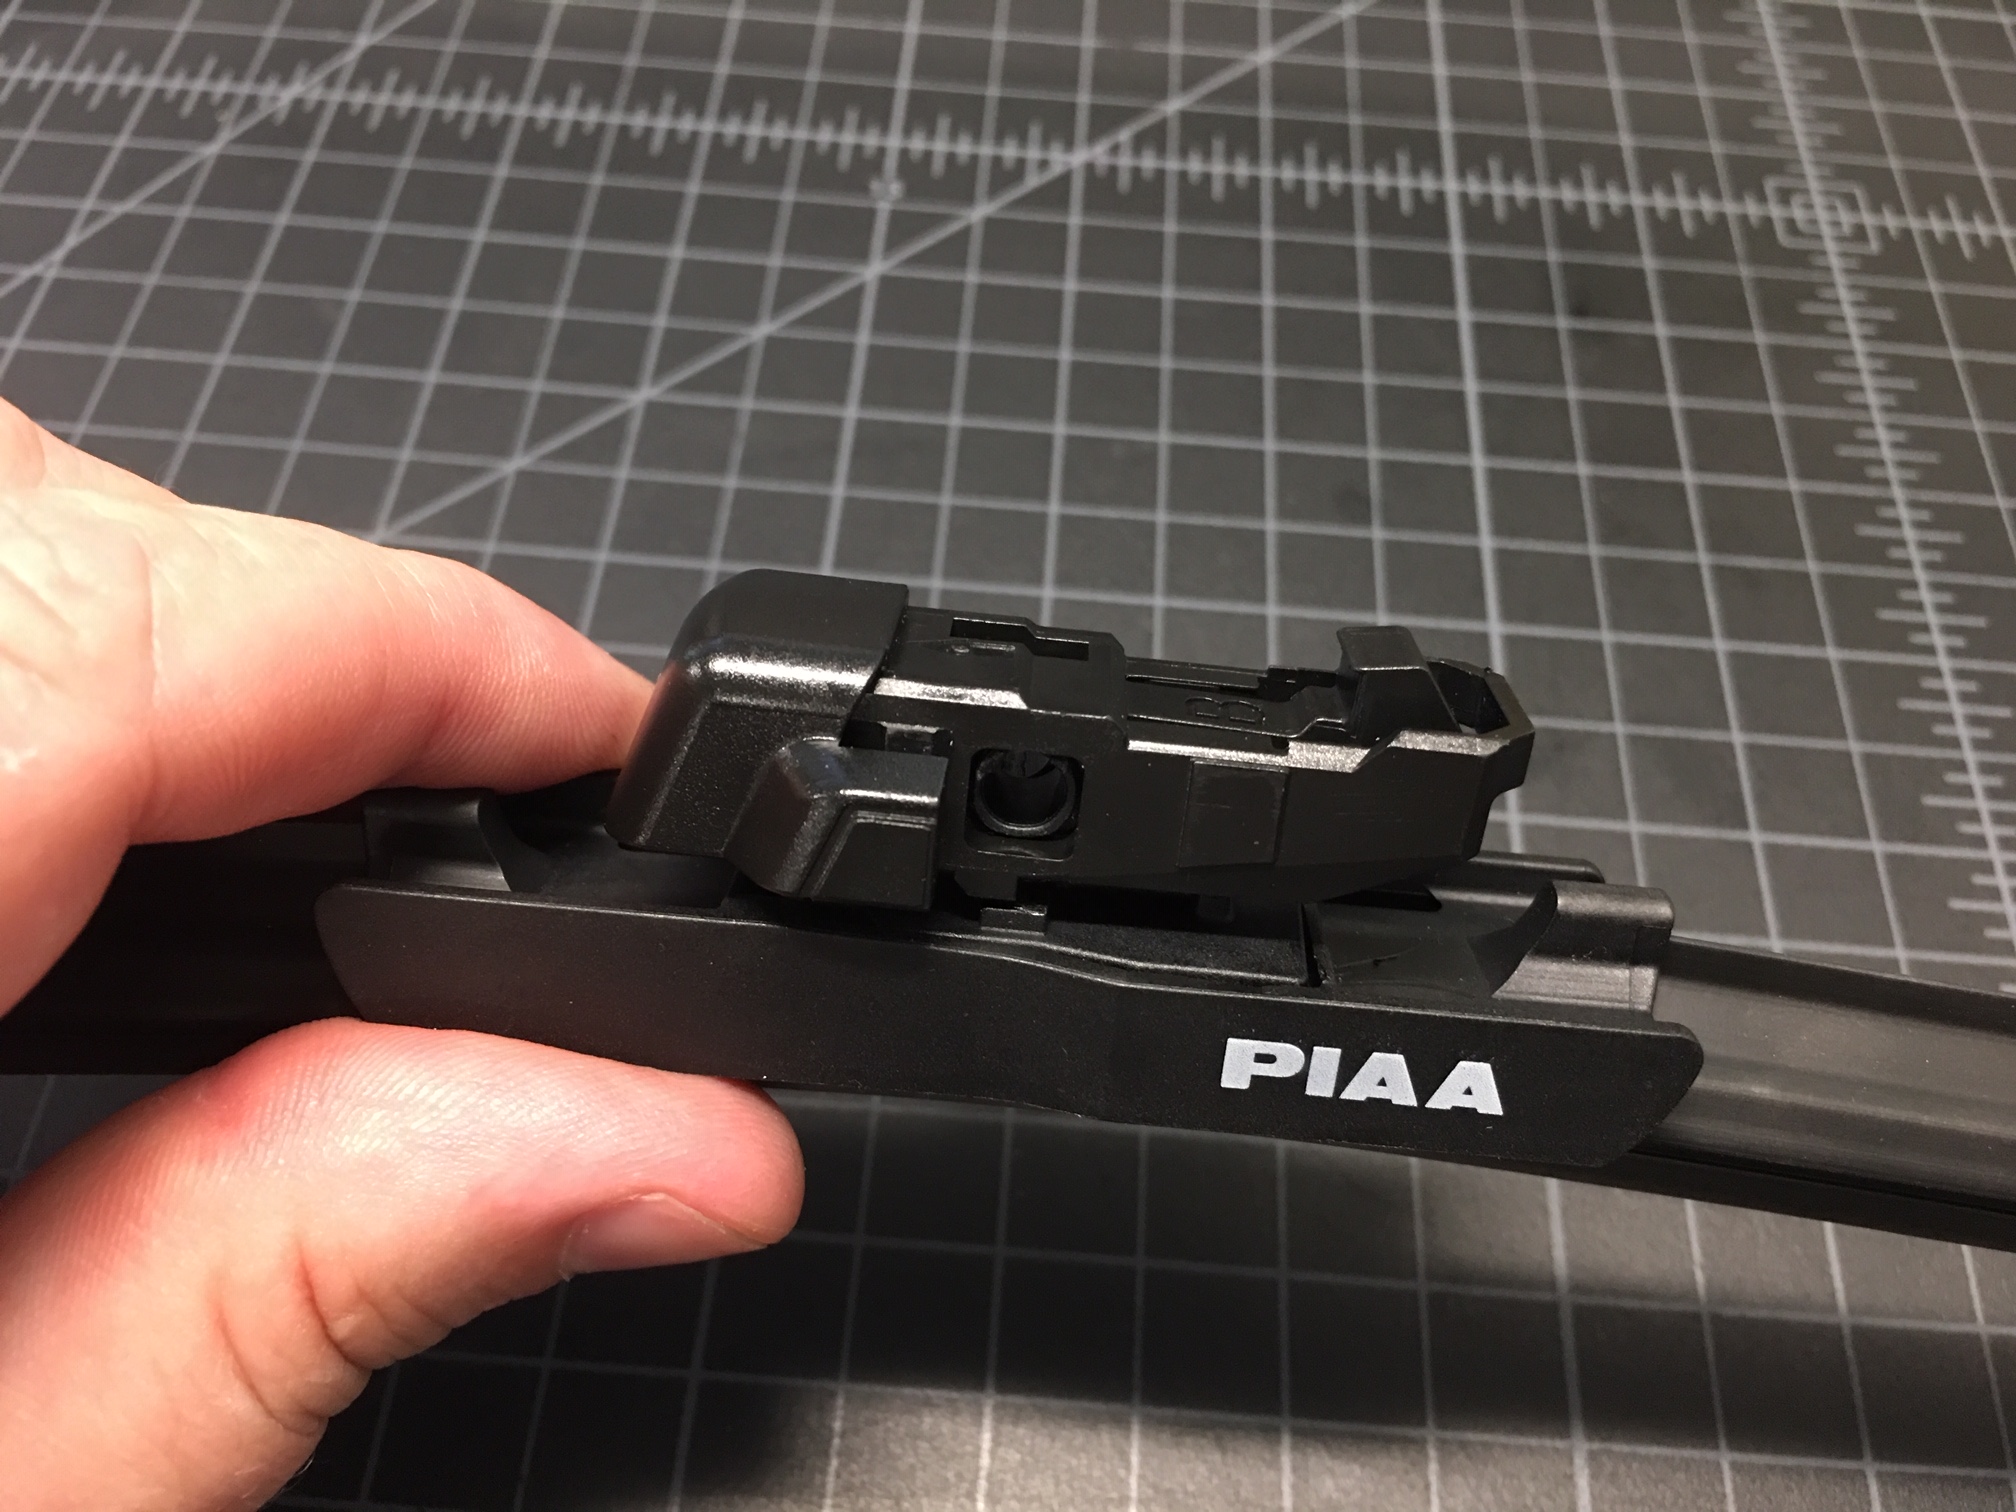
- Once you have that base adapter removed, snap in the adapter marked "M". There is a lip that the adapter fits in first, then pivot and snap the adapter into place.
- Next, fit the adapter marked 'B' over the 'M' adapter and click them together. Note the mating orientation of the two pieces.
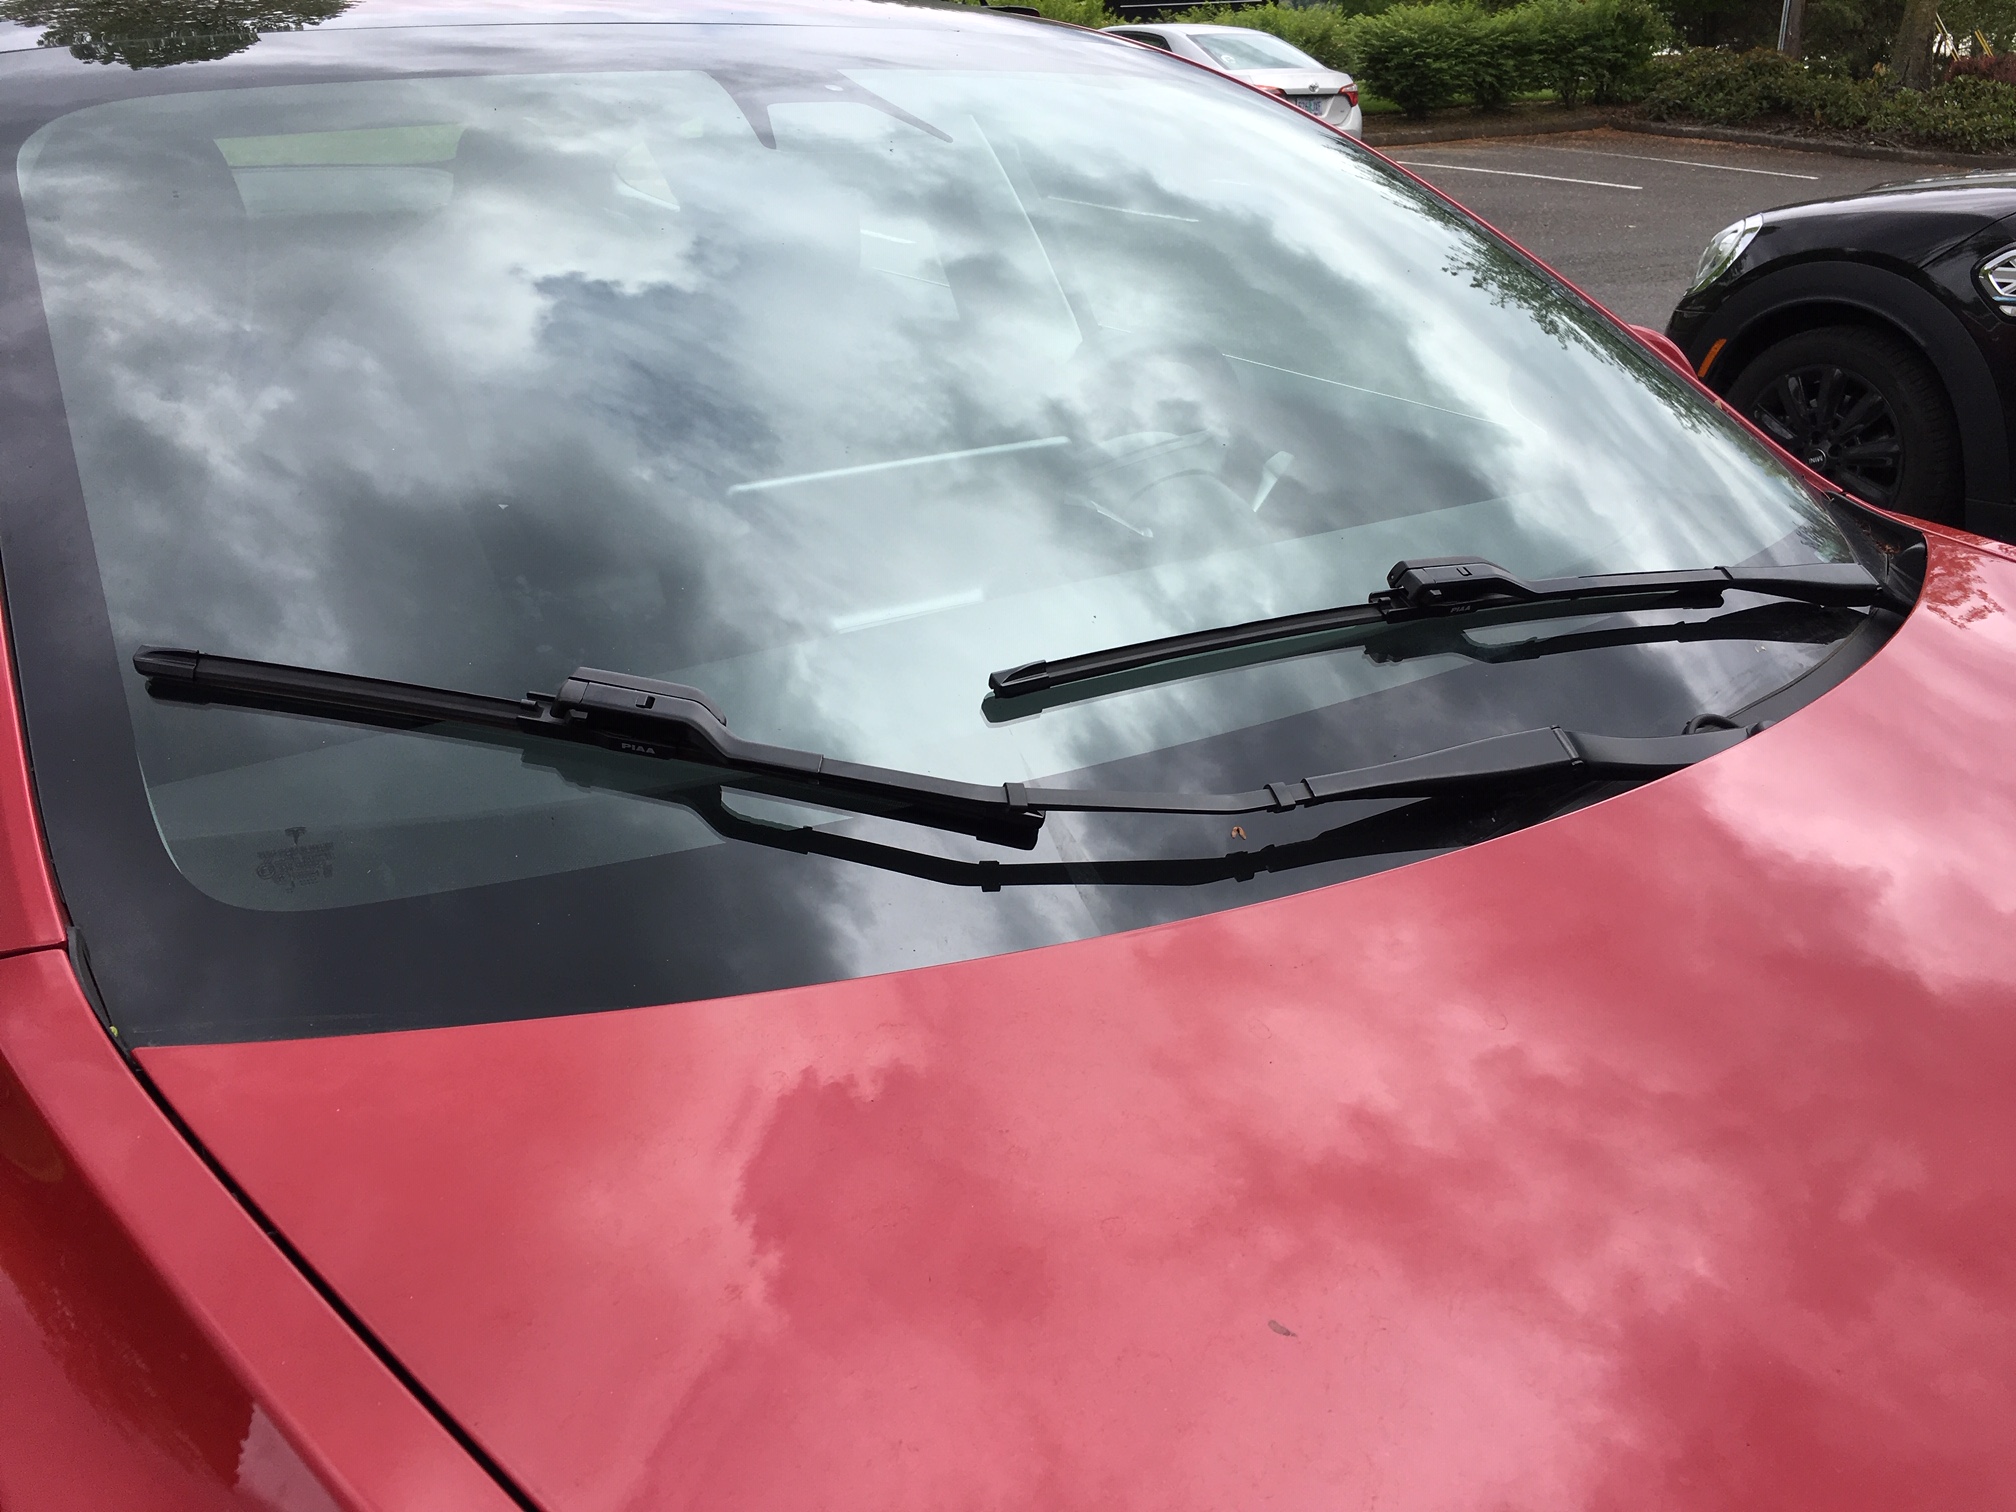
Remove the Worn Wiper Blades
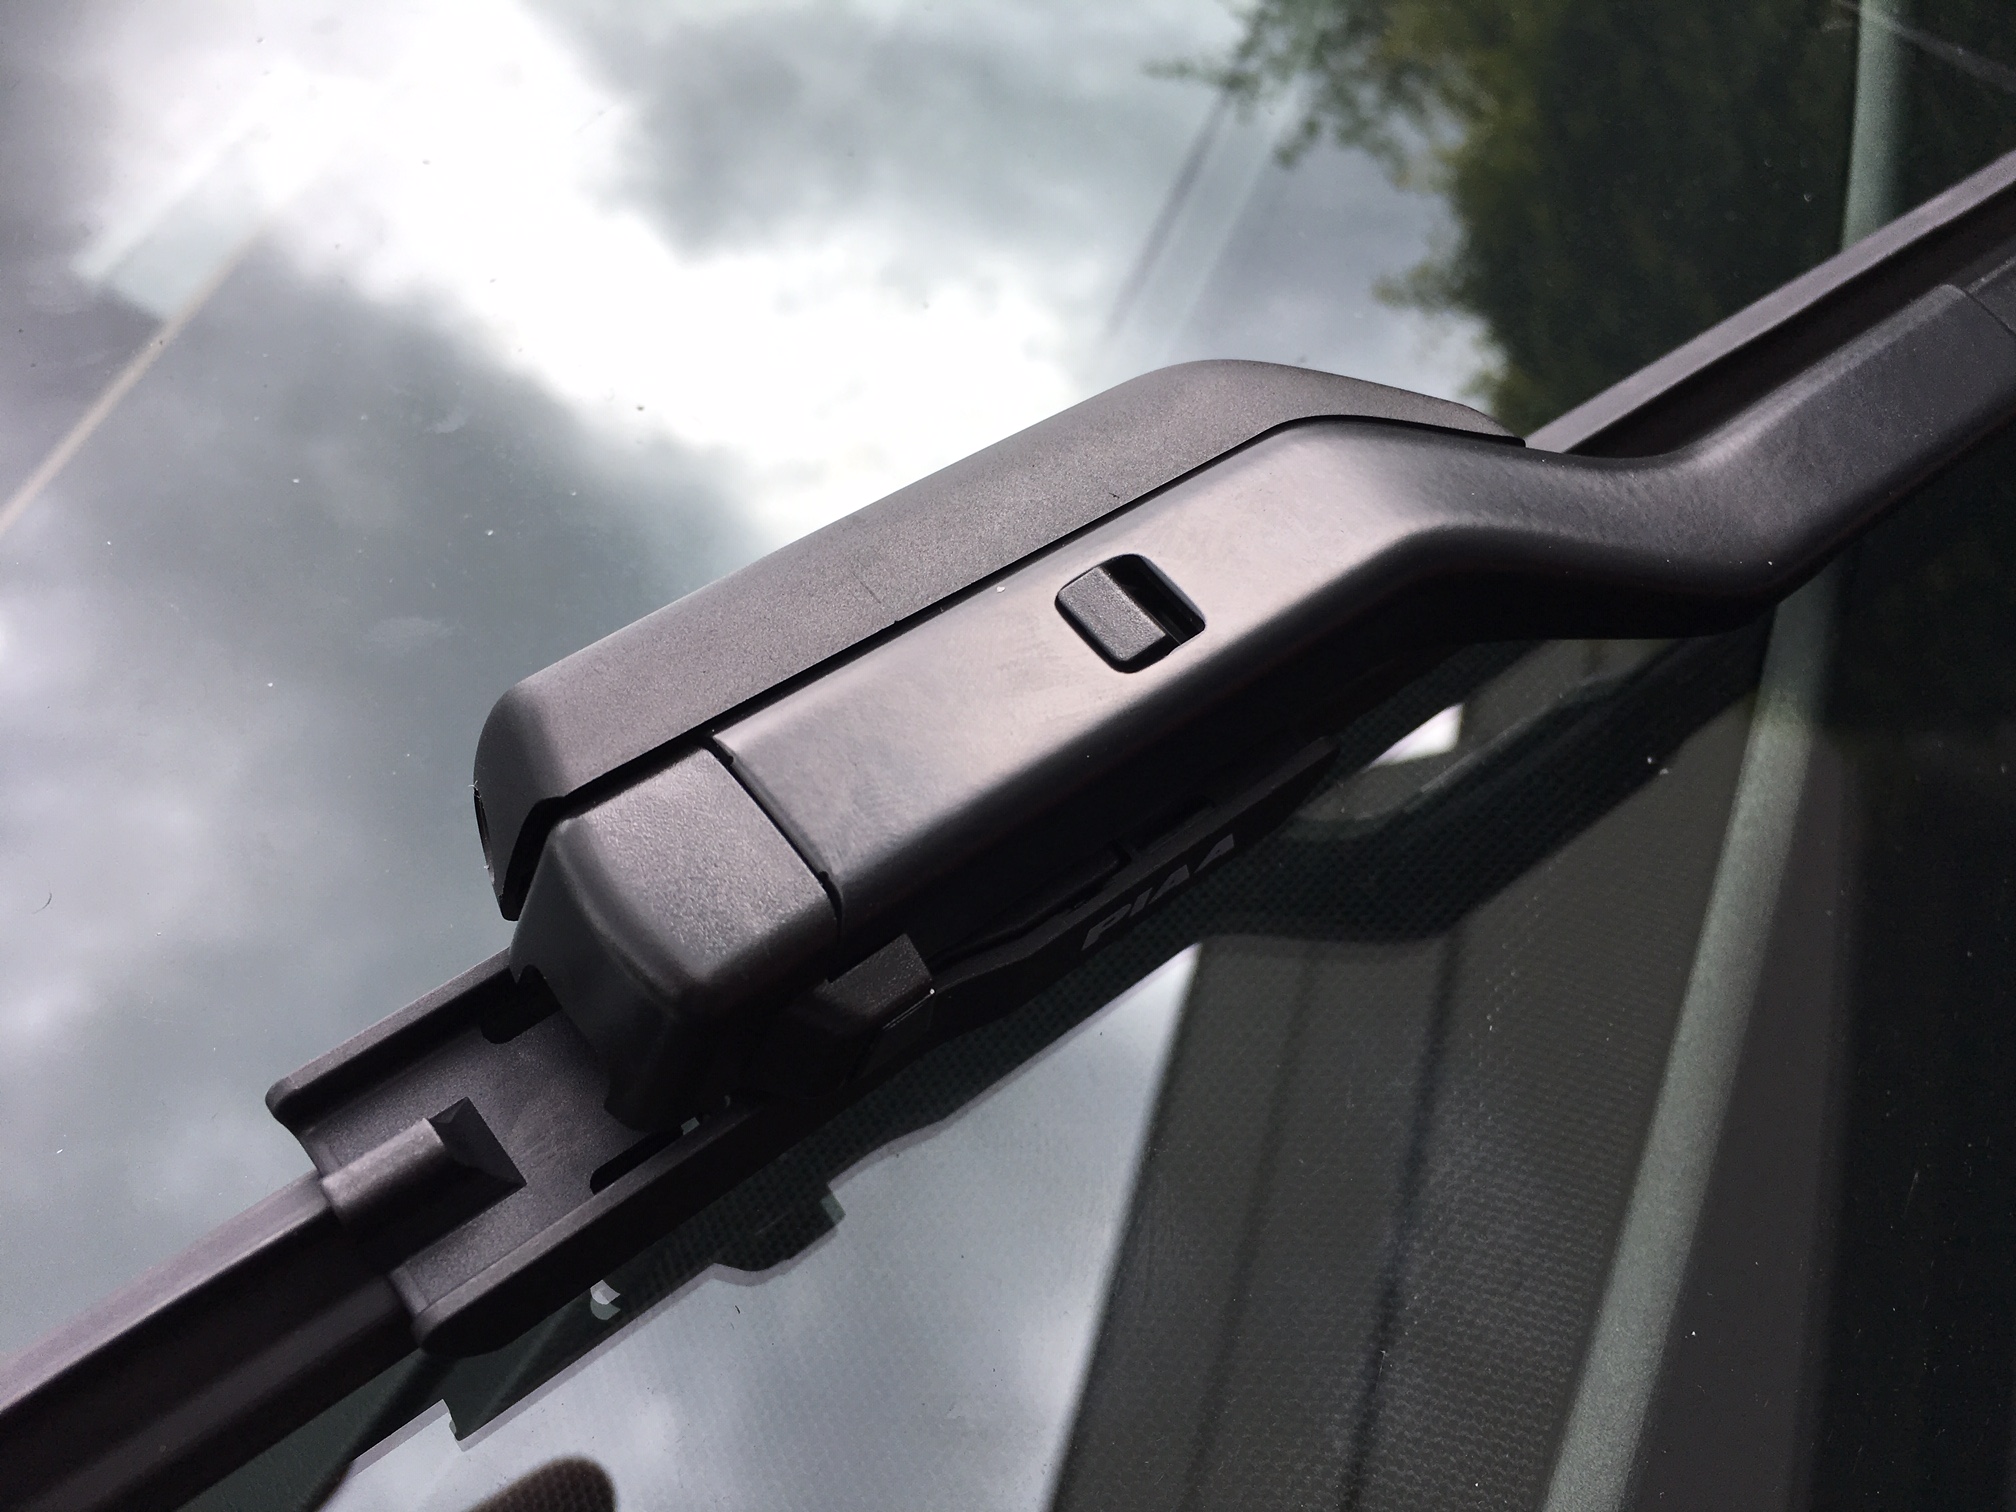
- For removal of the 'Small Push Button Style' attachment point on your worn wiper blades, push down on the small square button and pull the worn wiper assembly away and off the wiper arm.
- You should now be able to pull the worn wiper blade back and disengage it from the wiper arm. Give it a wiggle if it's being a bit stubborn.

Install the PIAA Si-Tech Wiper Blades
- As equipped from the factory, your vehicle will have two different lengthed wipers designated for the driver and passenger sides. Your PIAA Si-Tech Wiper Blade kit will also reflect this. Confirm which wiper goes where and set them on the hood.
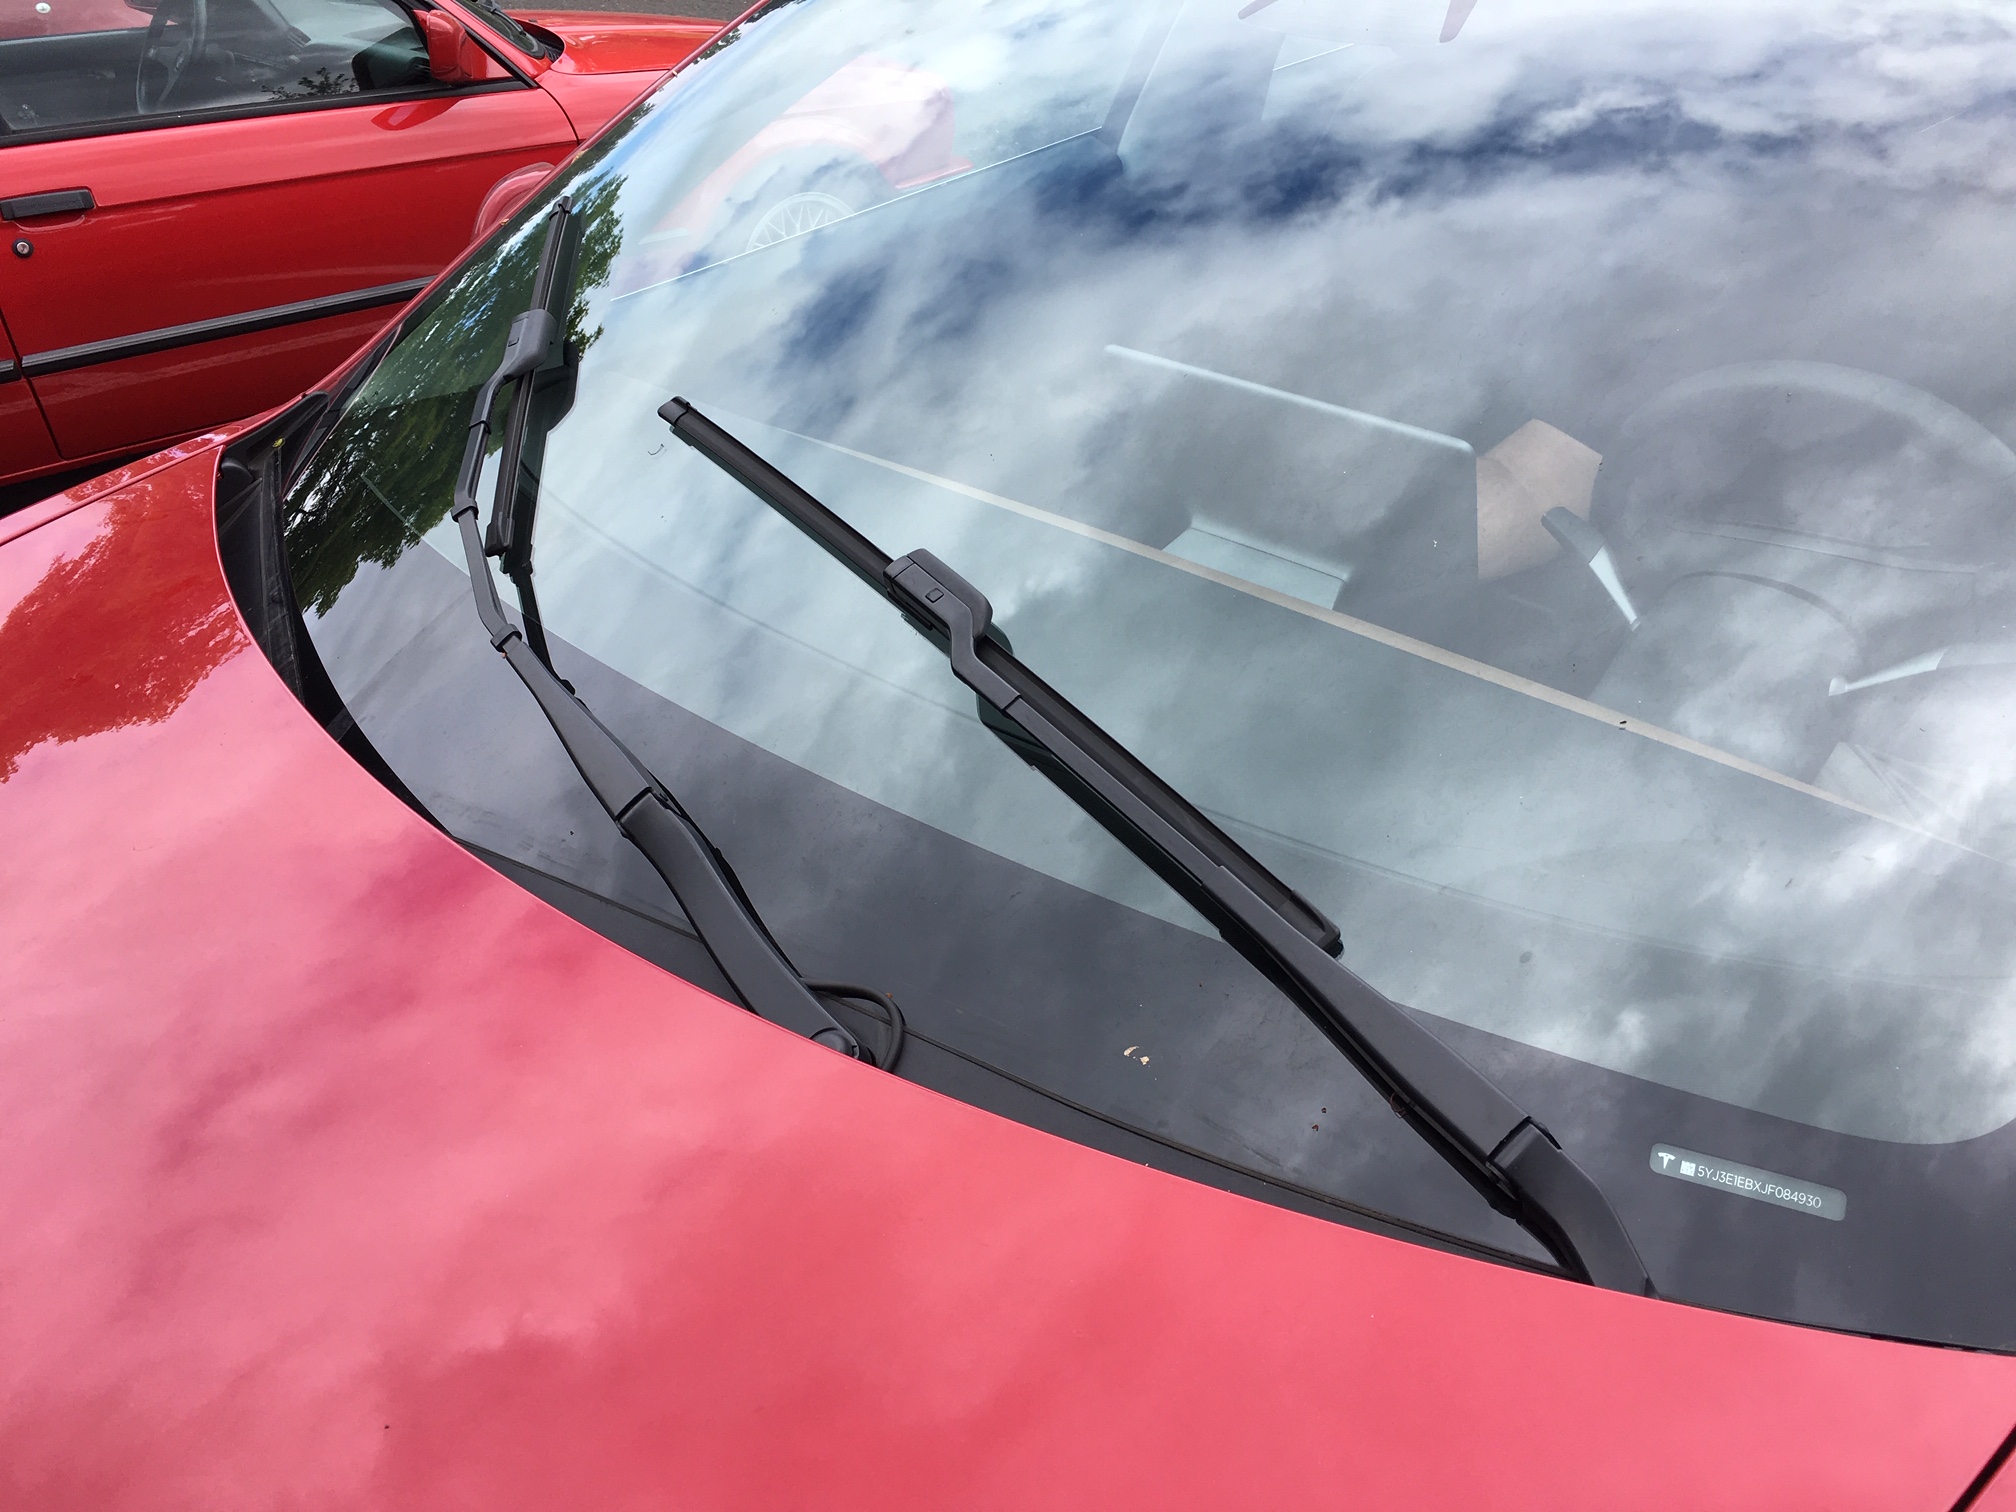
- Take one of the PIAA wiper blades and place it infront of the wiper arm attachment point. Slide the PIAA wiper back into the fitting until the clip engages the square hole on the end of the wiper arm. You should hear an audible 'click' confirming the two components have locked together.
- Perform the same steps for the opposite side.
Congratulations… your PIAA Si-Tech Wiper Blade install is complete! Enjoy your miles of clear view motoring!