THANK YOU
for purchasing the Hyundai Veloster N Shift Knob from CravenSpeed. All unique components are machined from highest quality materials in the USA and are guaranteed to be free from defects.
You can buy our
CravenSpeed Shift Knob for Hyundai Veloster N here
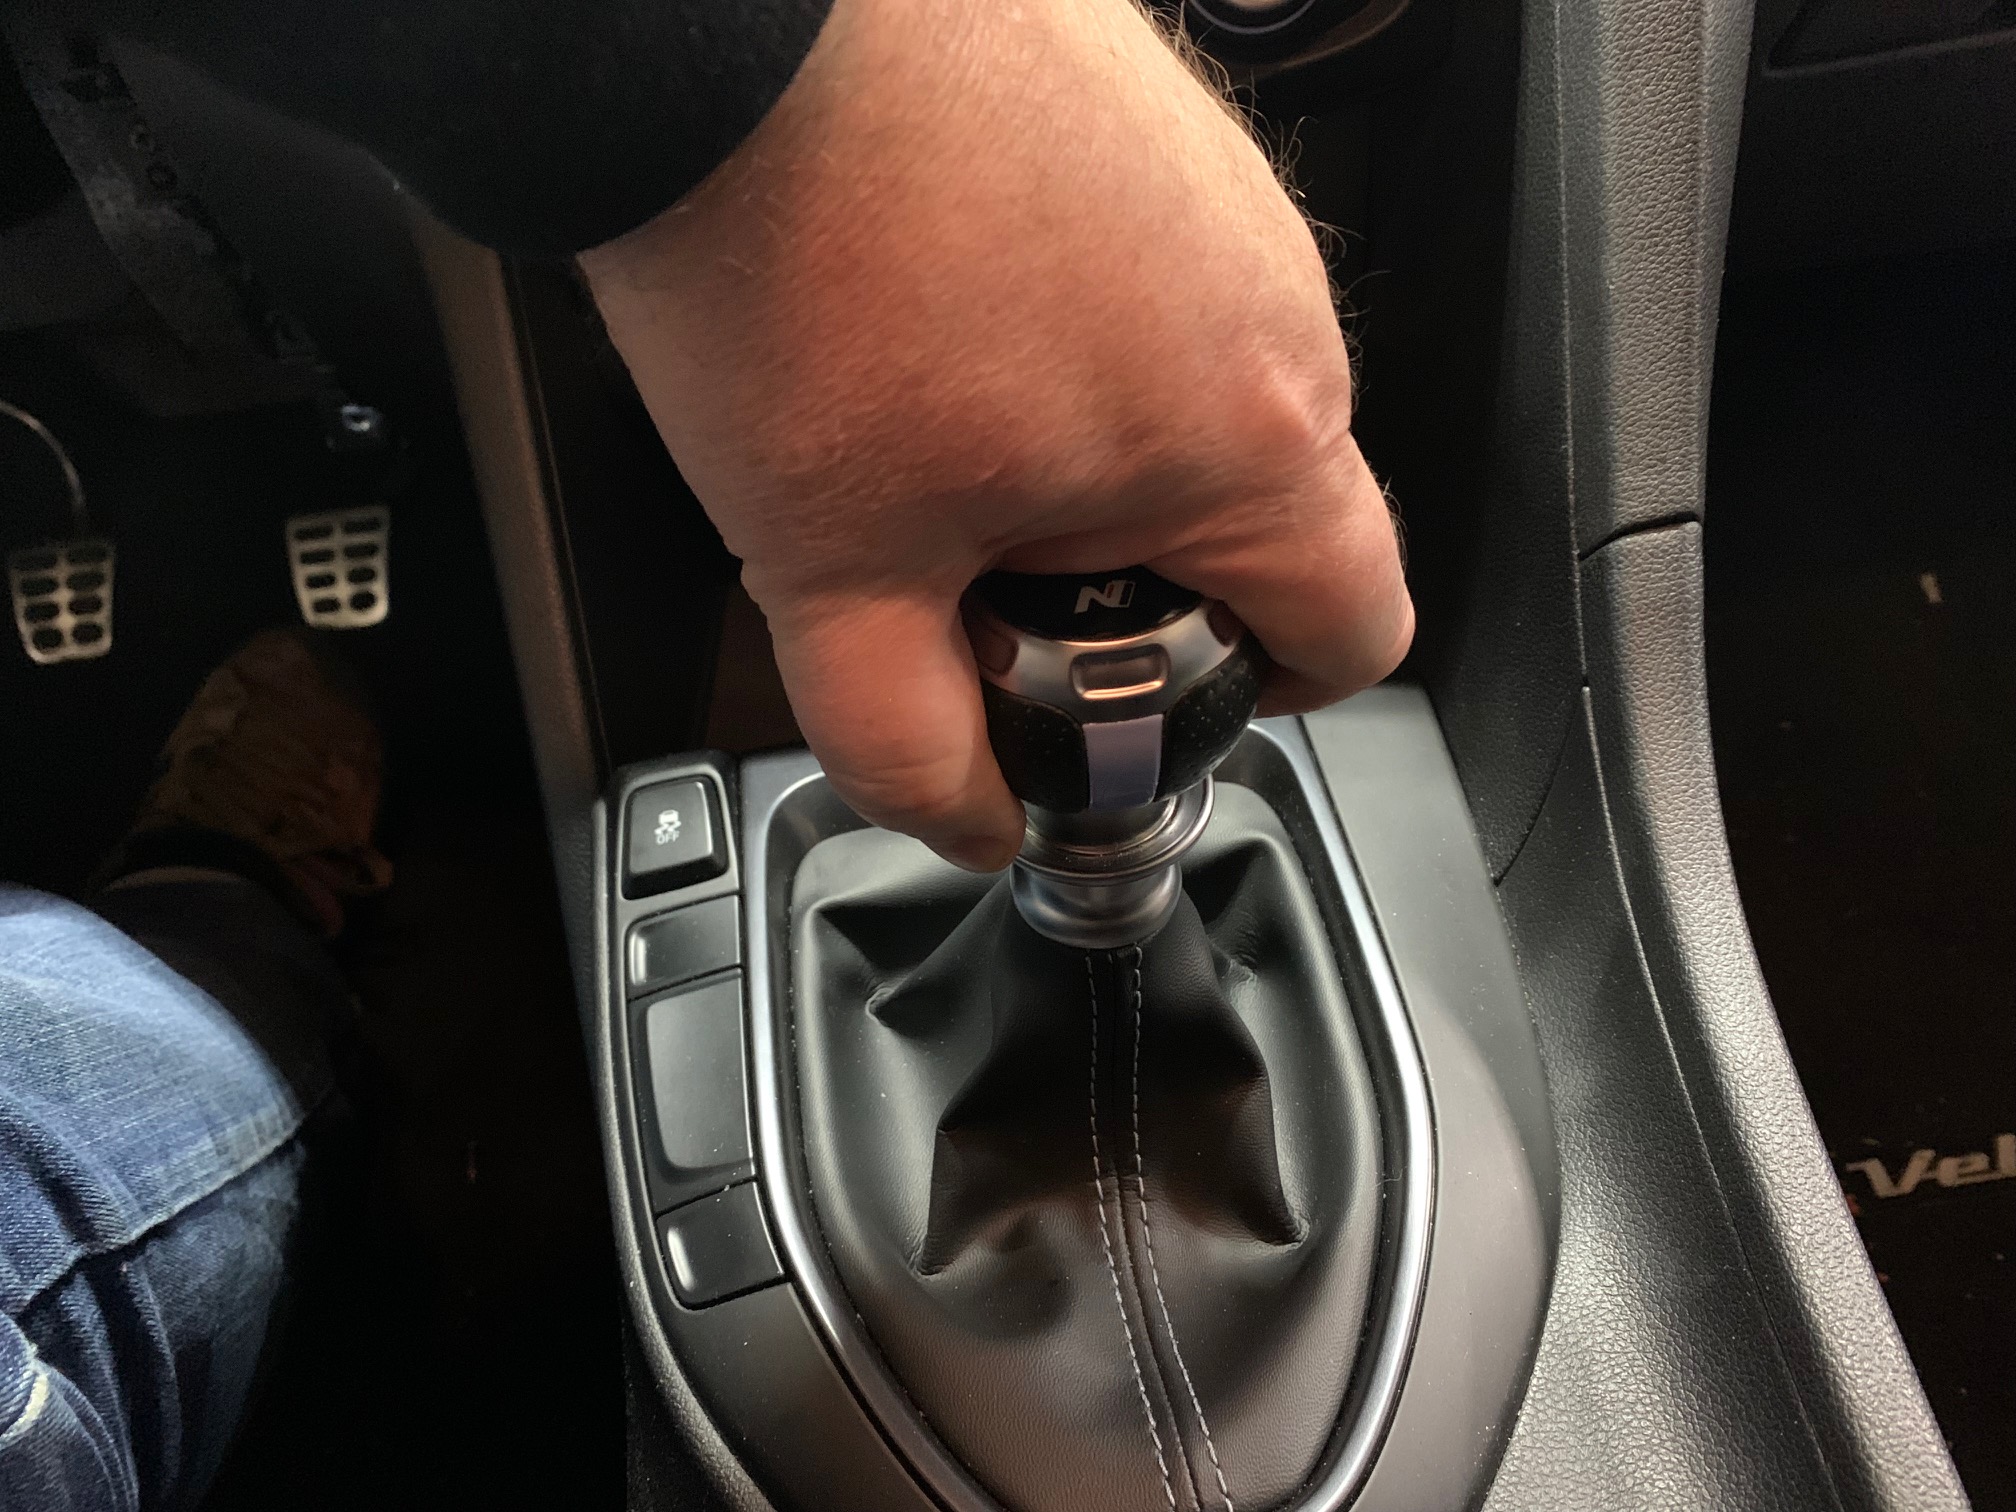
This install is quite simple, but the first step requires a bit of effort. Clear out the shifter area and place the transmission into neutral.
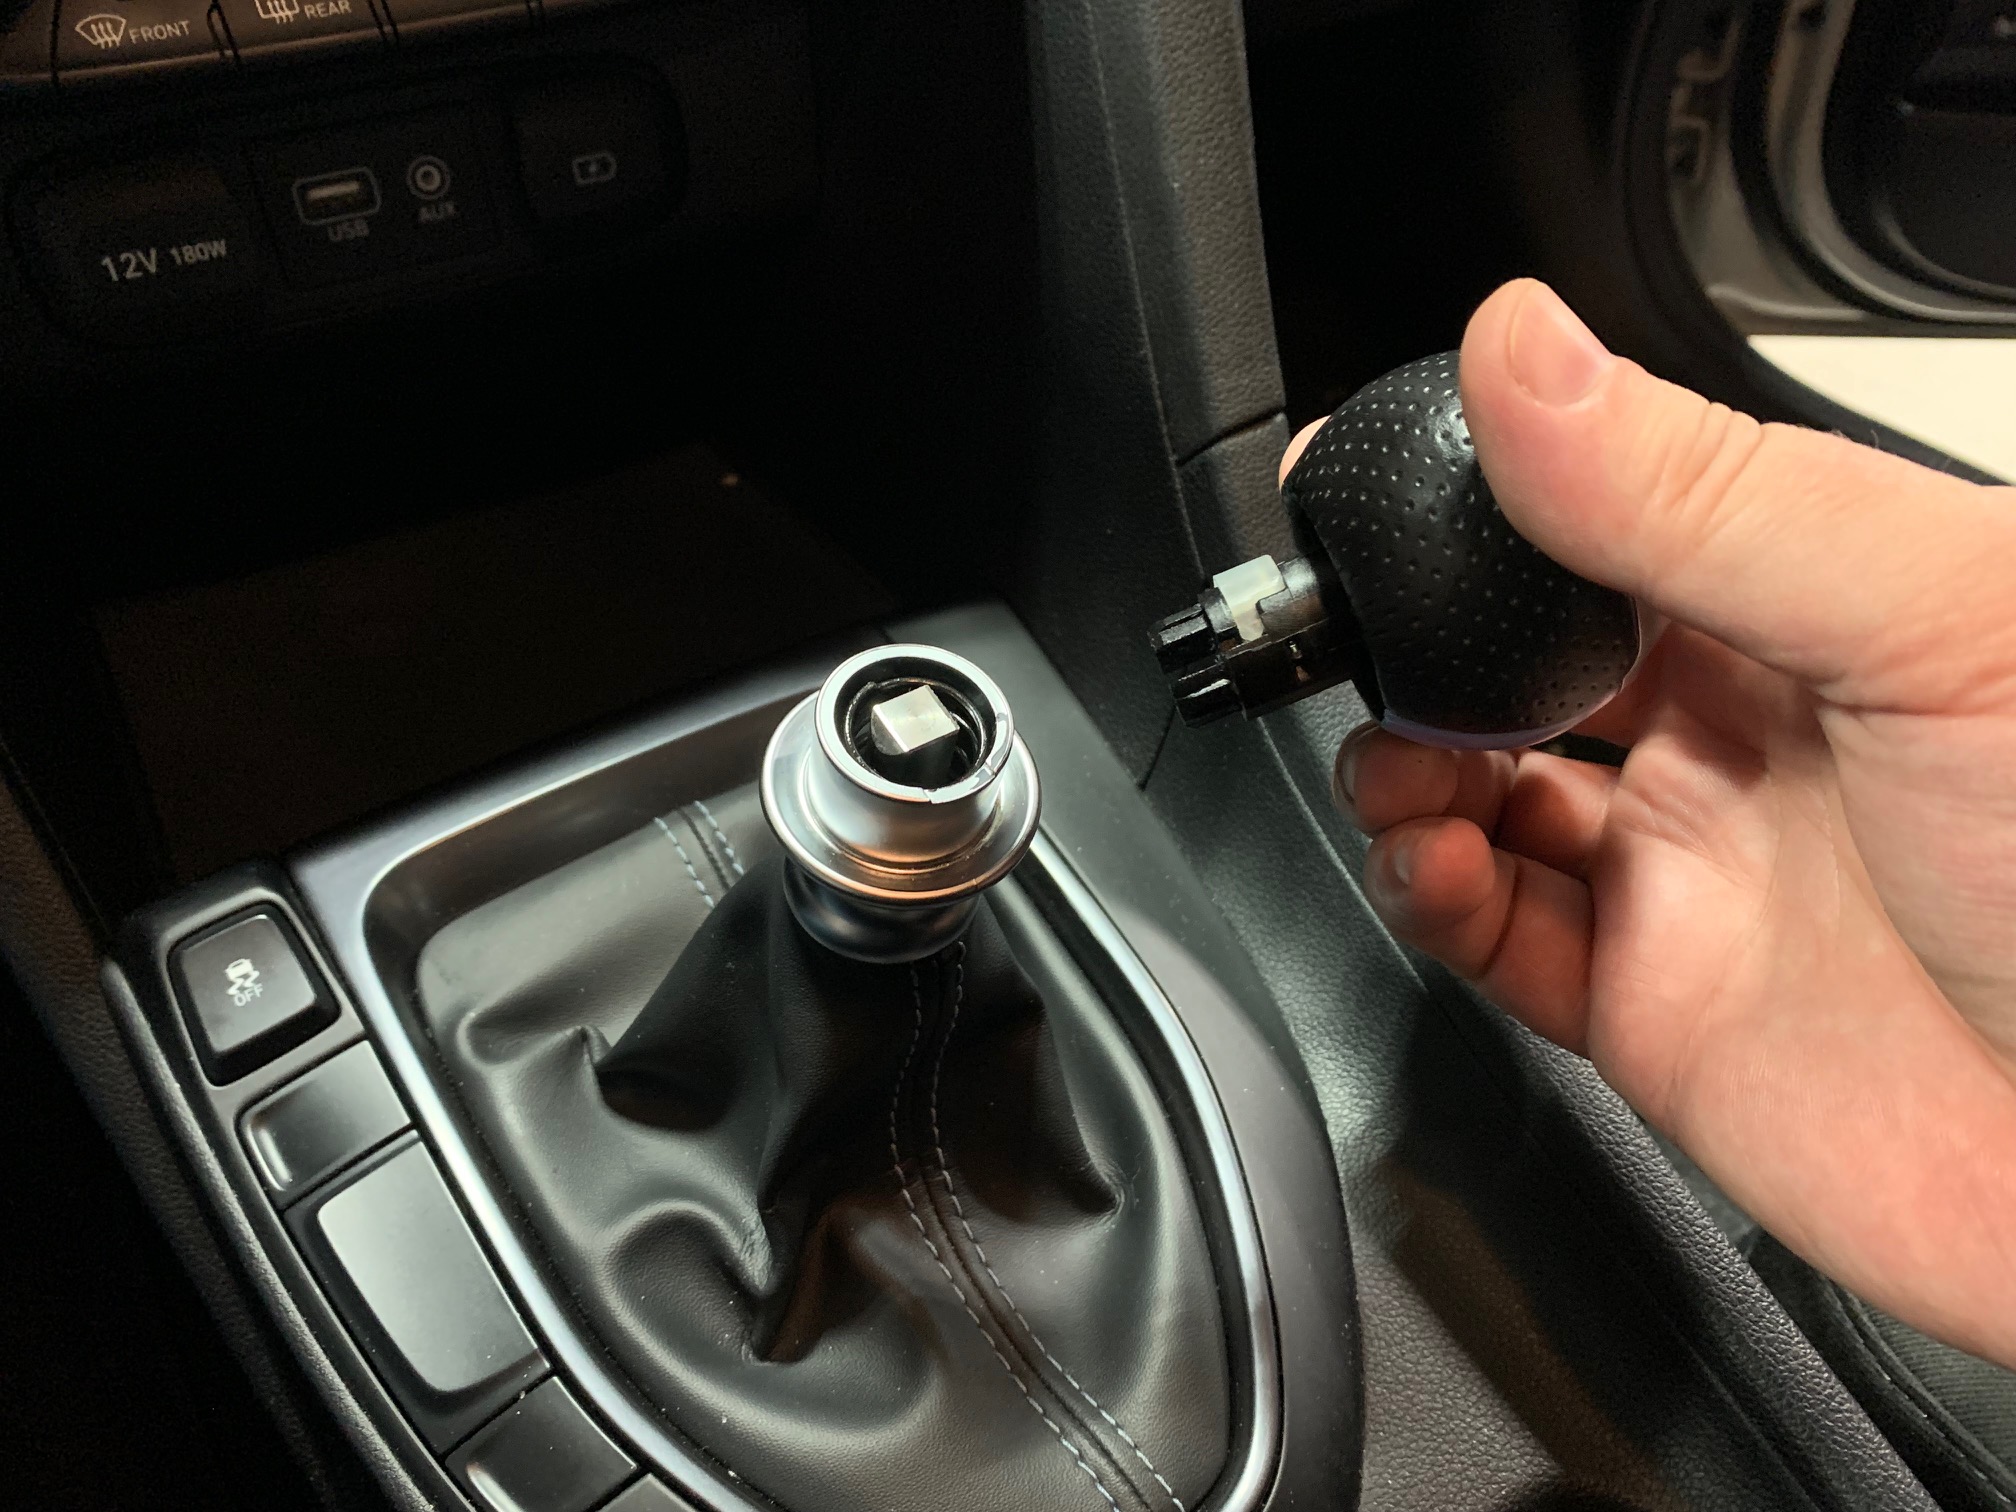
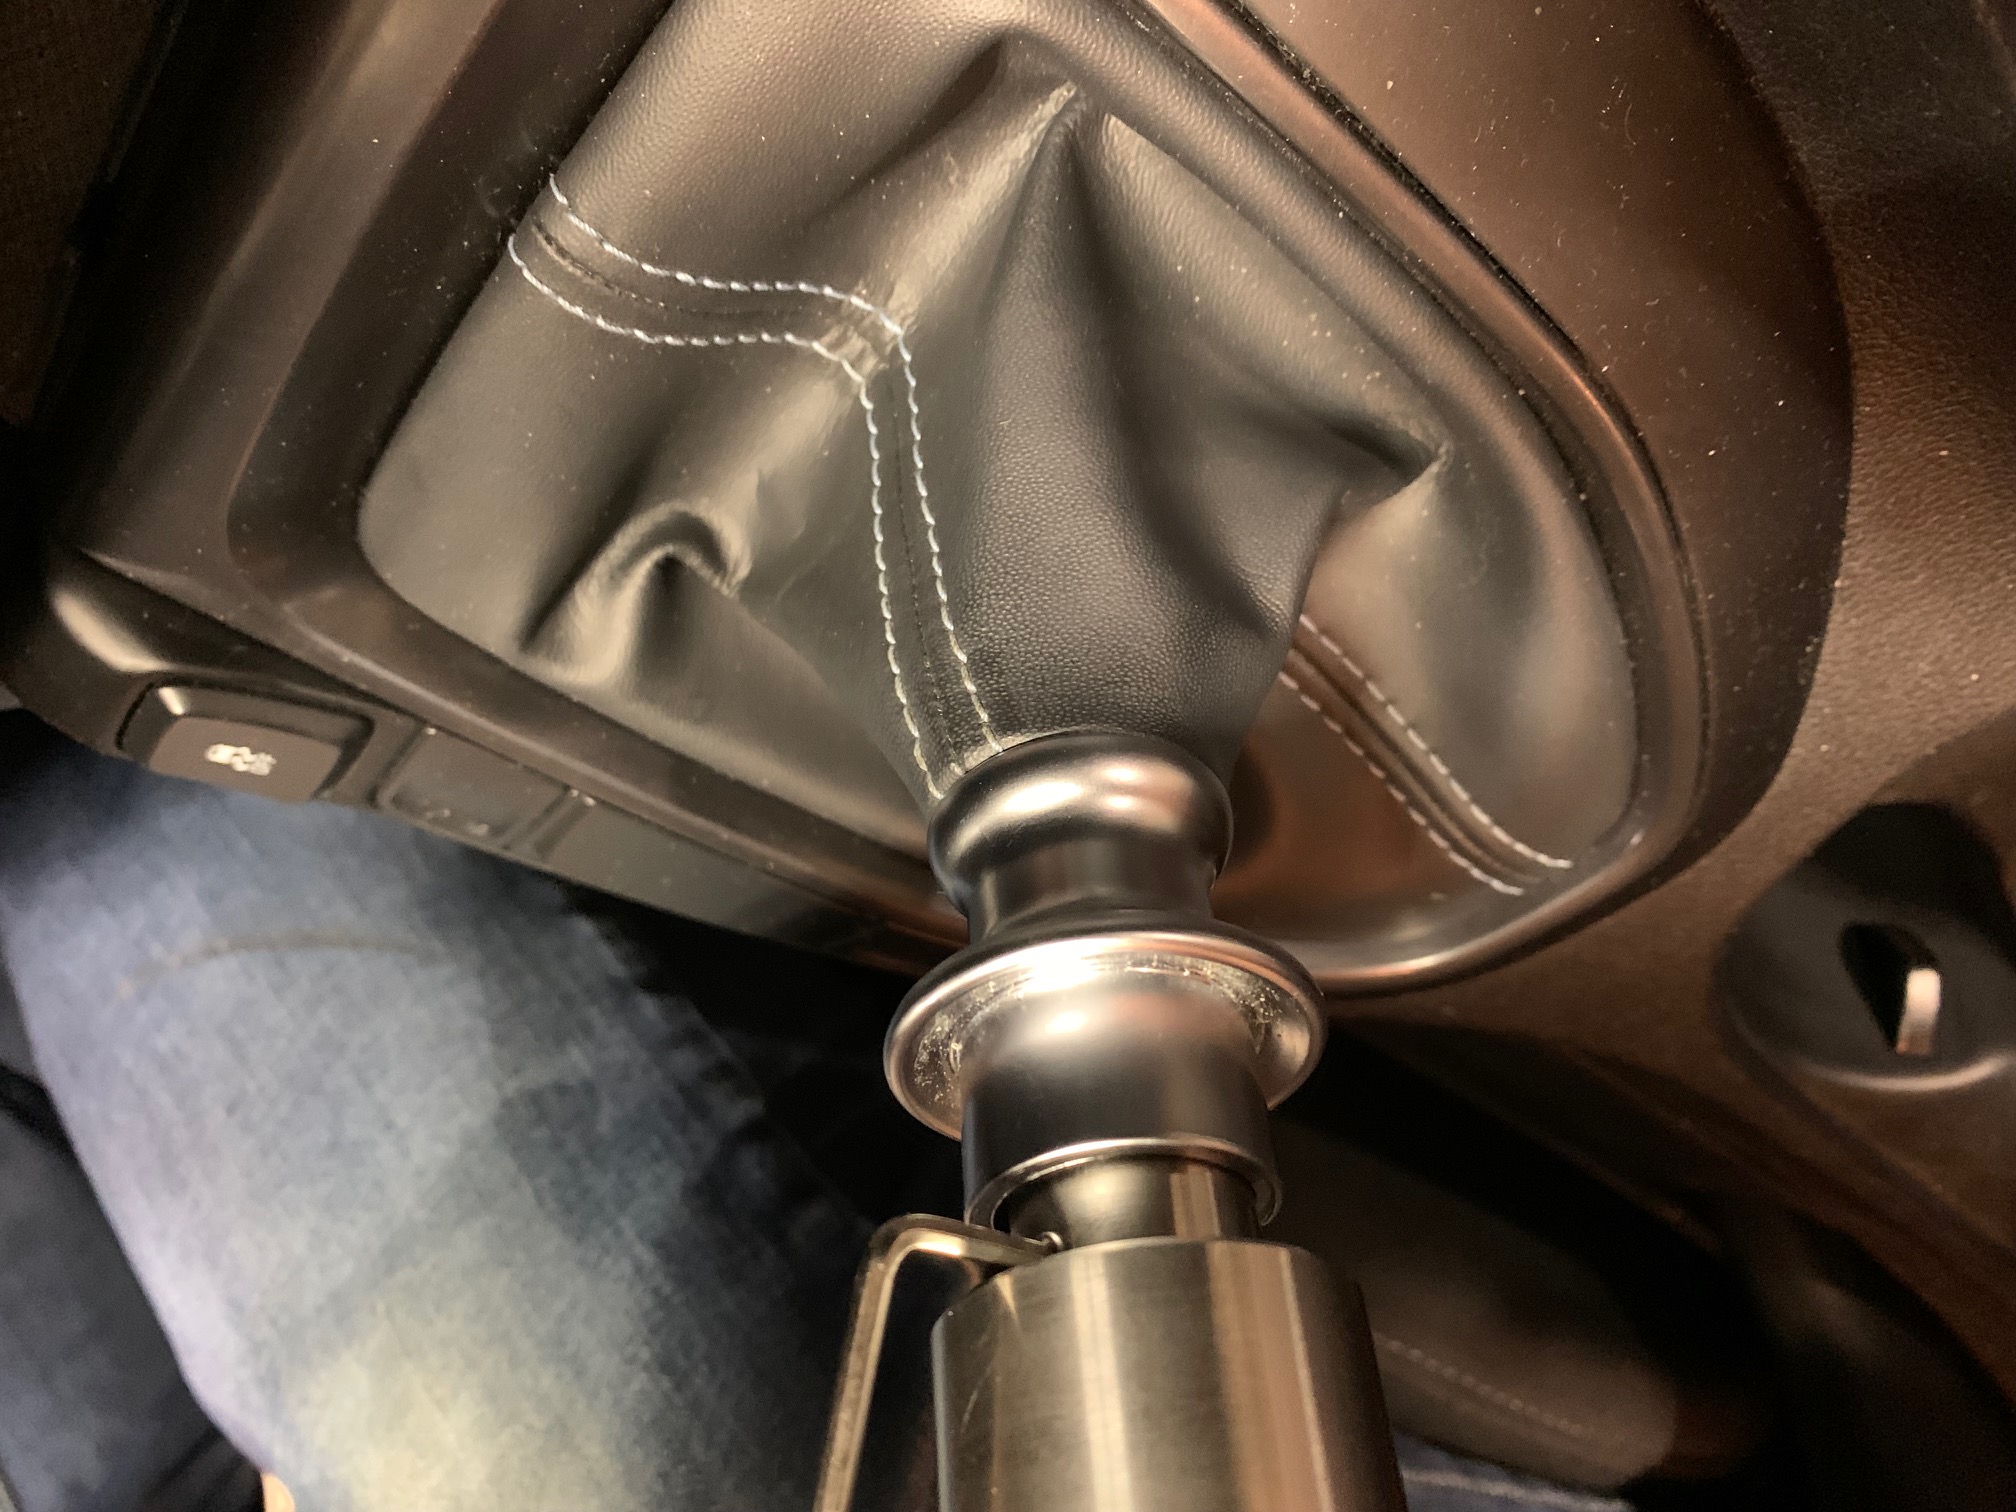
Grasp the factory shift ball and pull it straight up and off of the shift lever. It may take a bit determination, but it does come off. Do not twist and try not to smack yourself in the face when it releases.
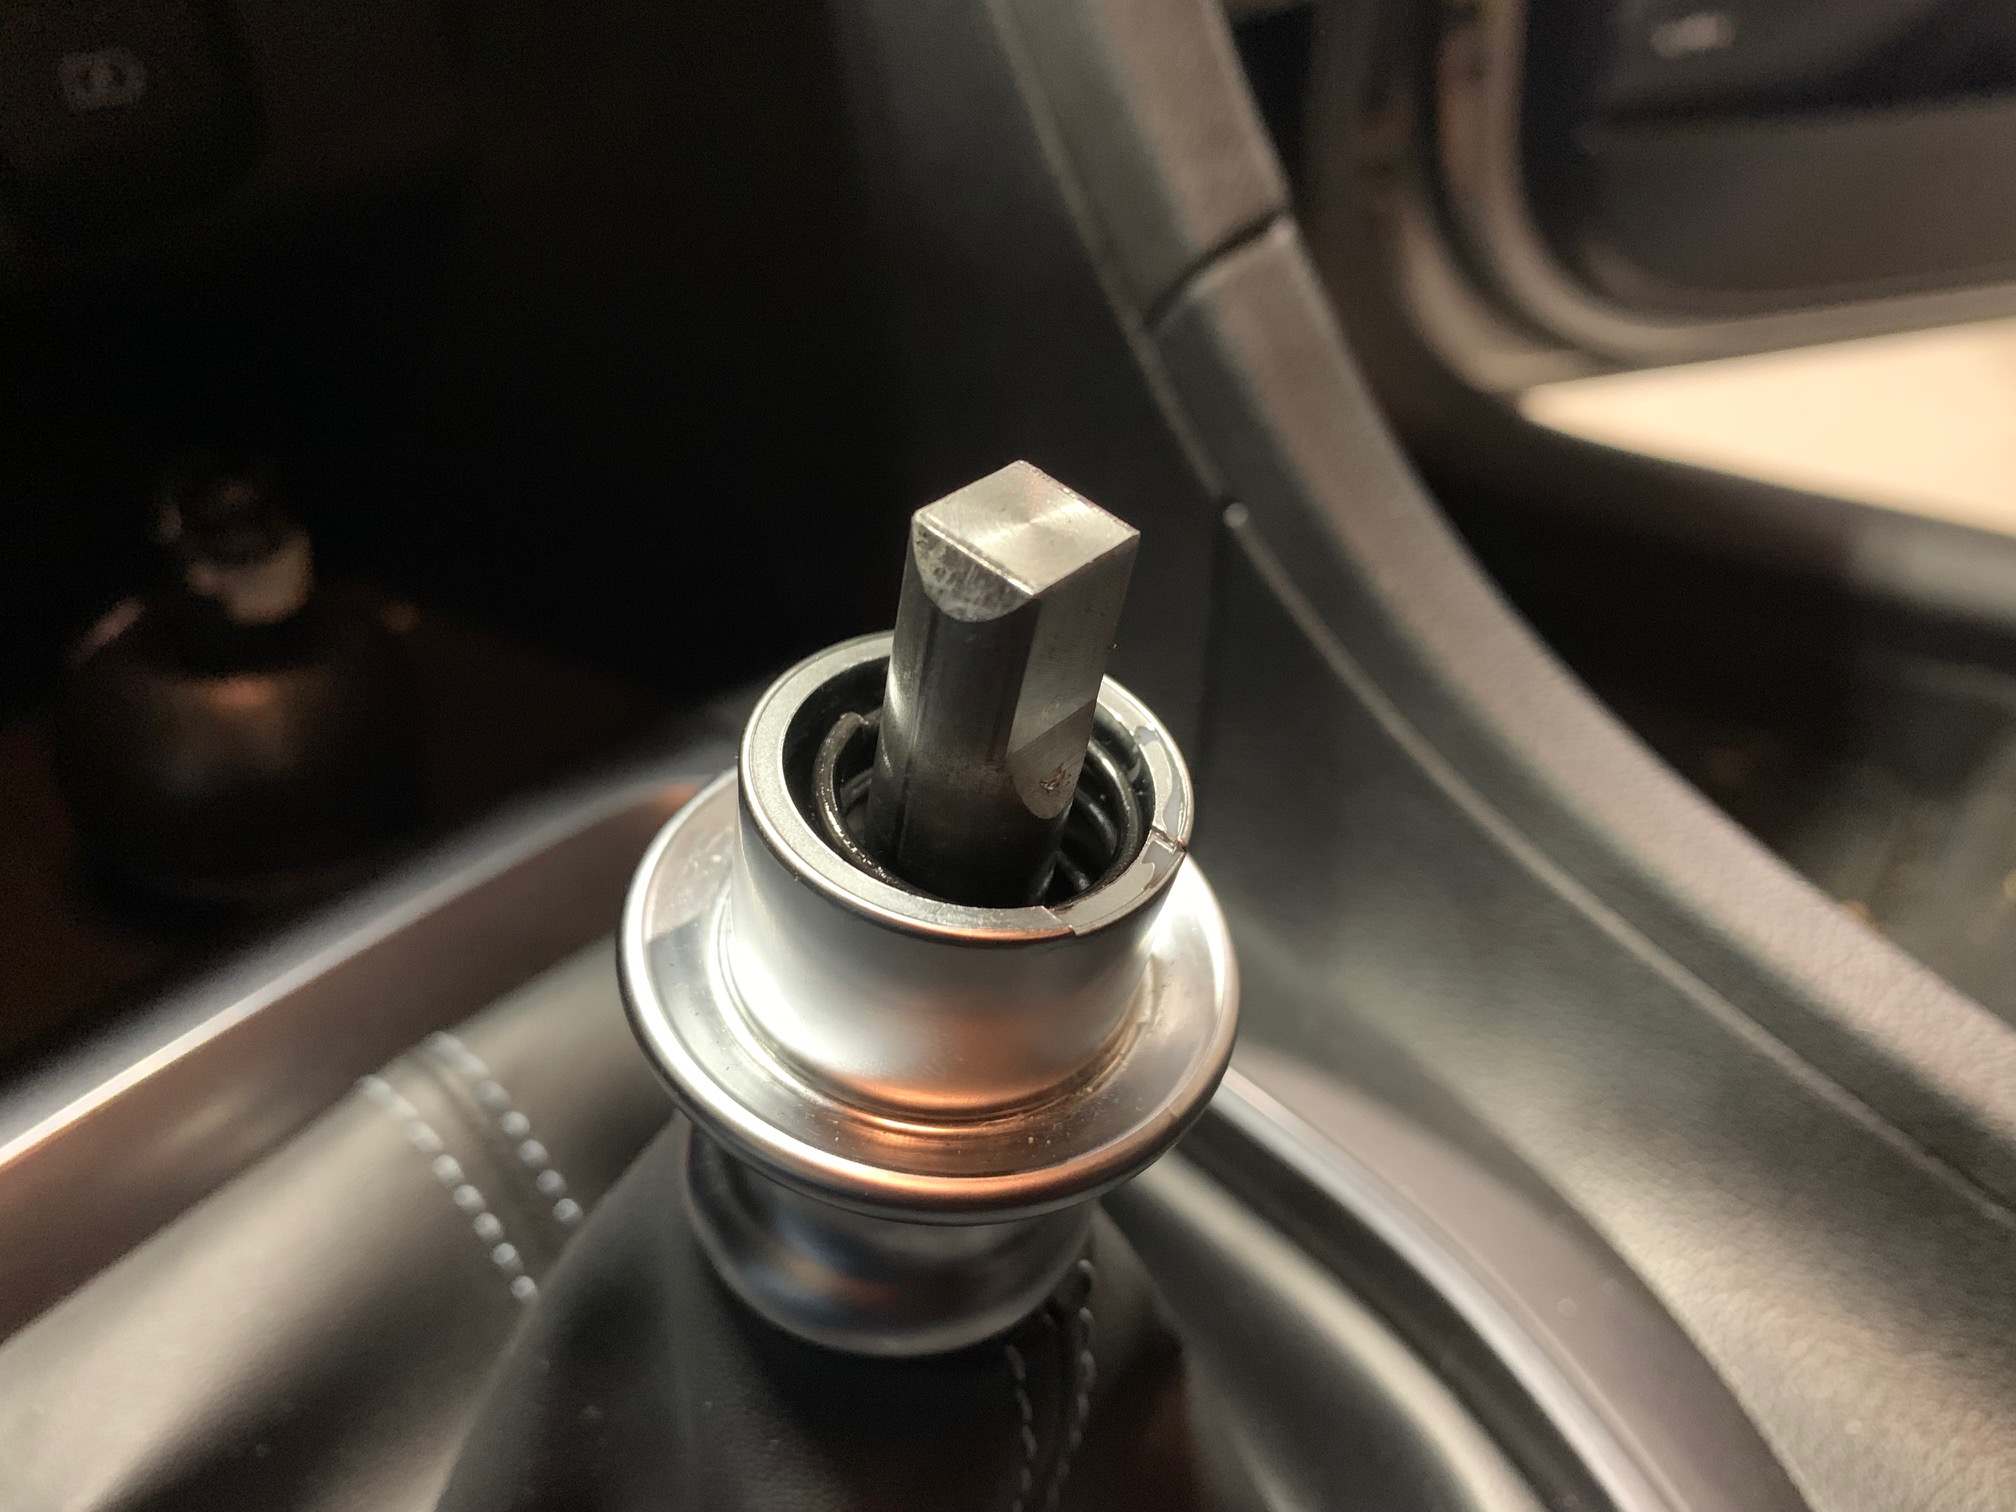
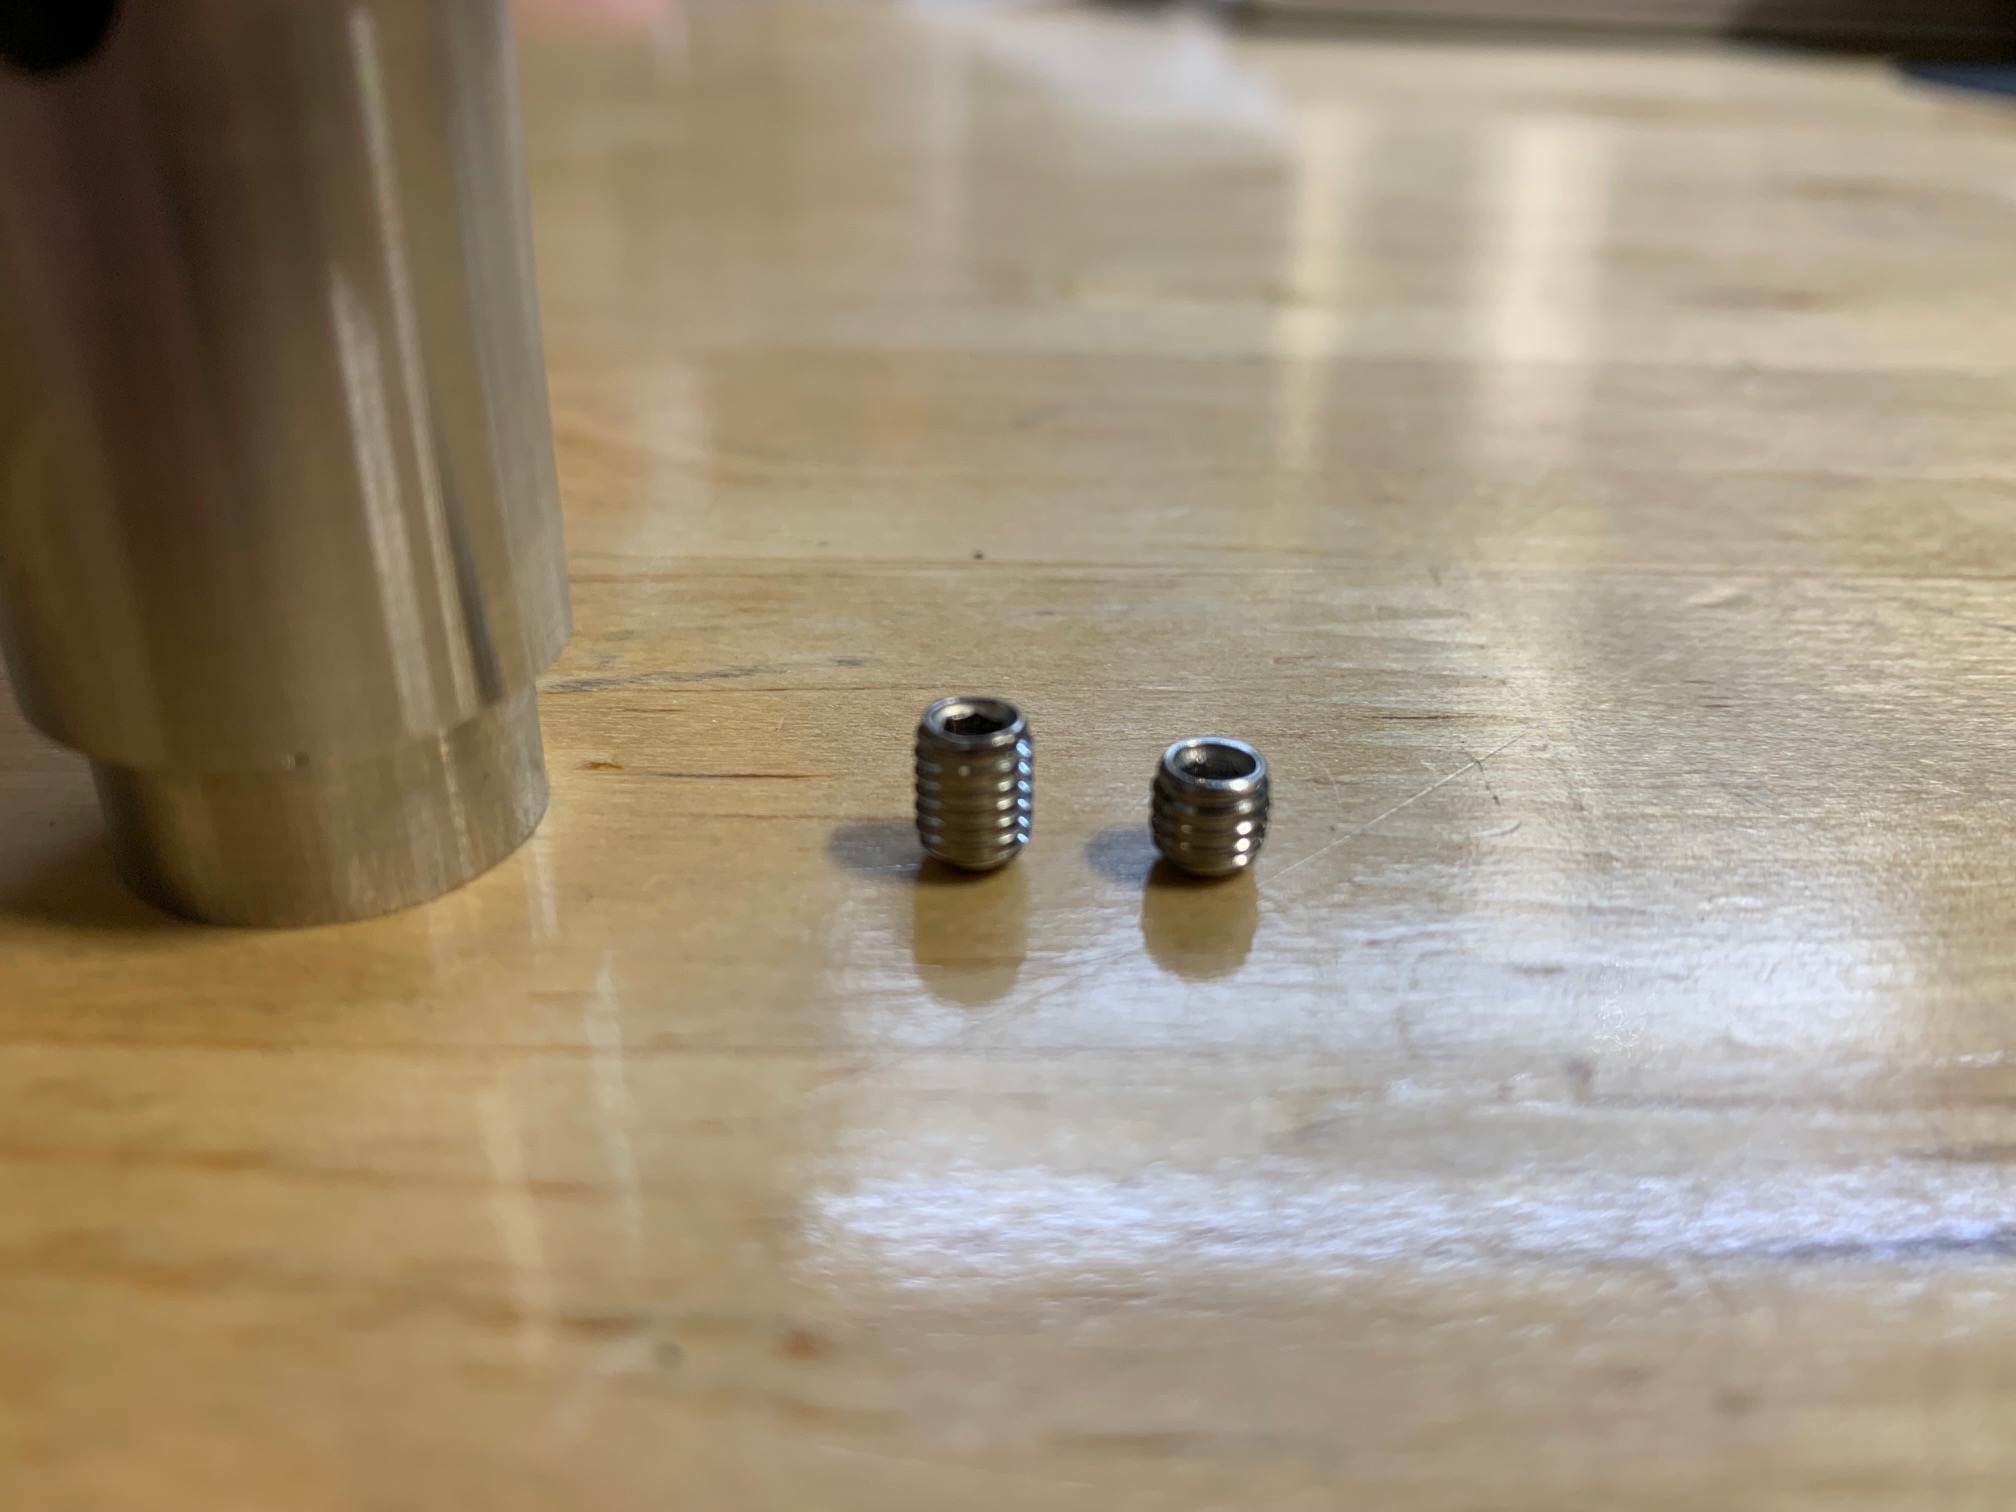
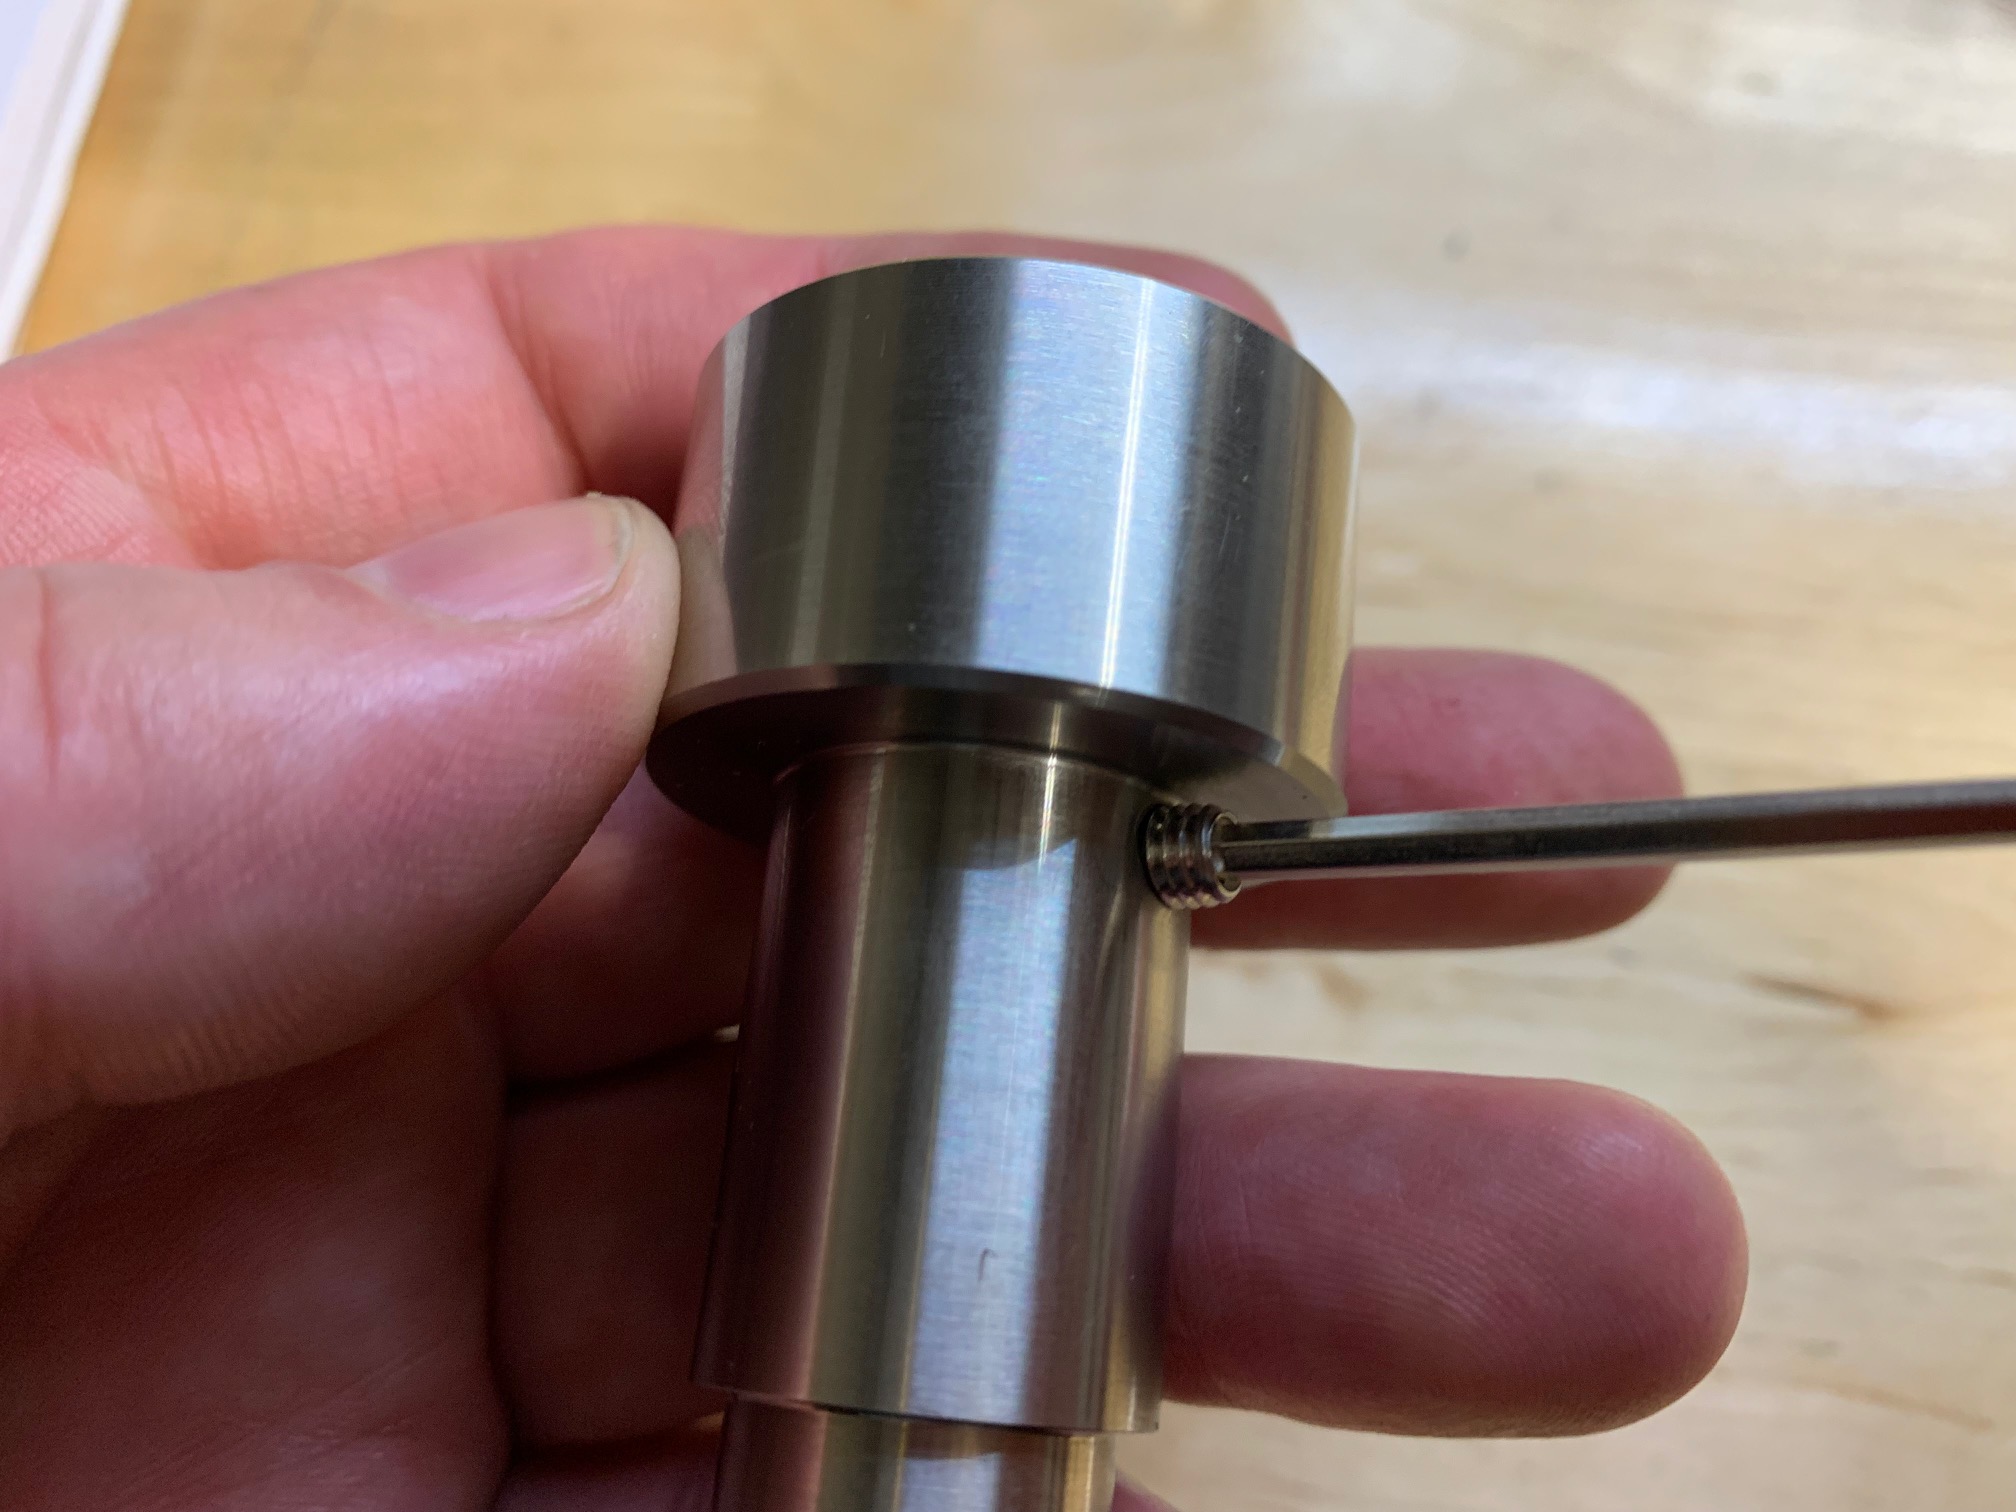
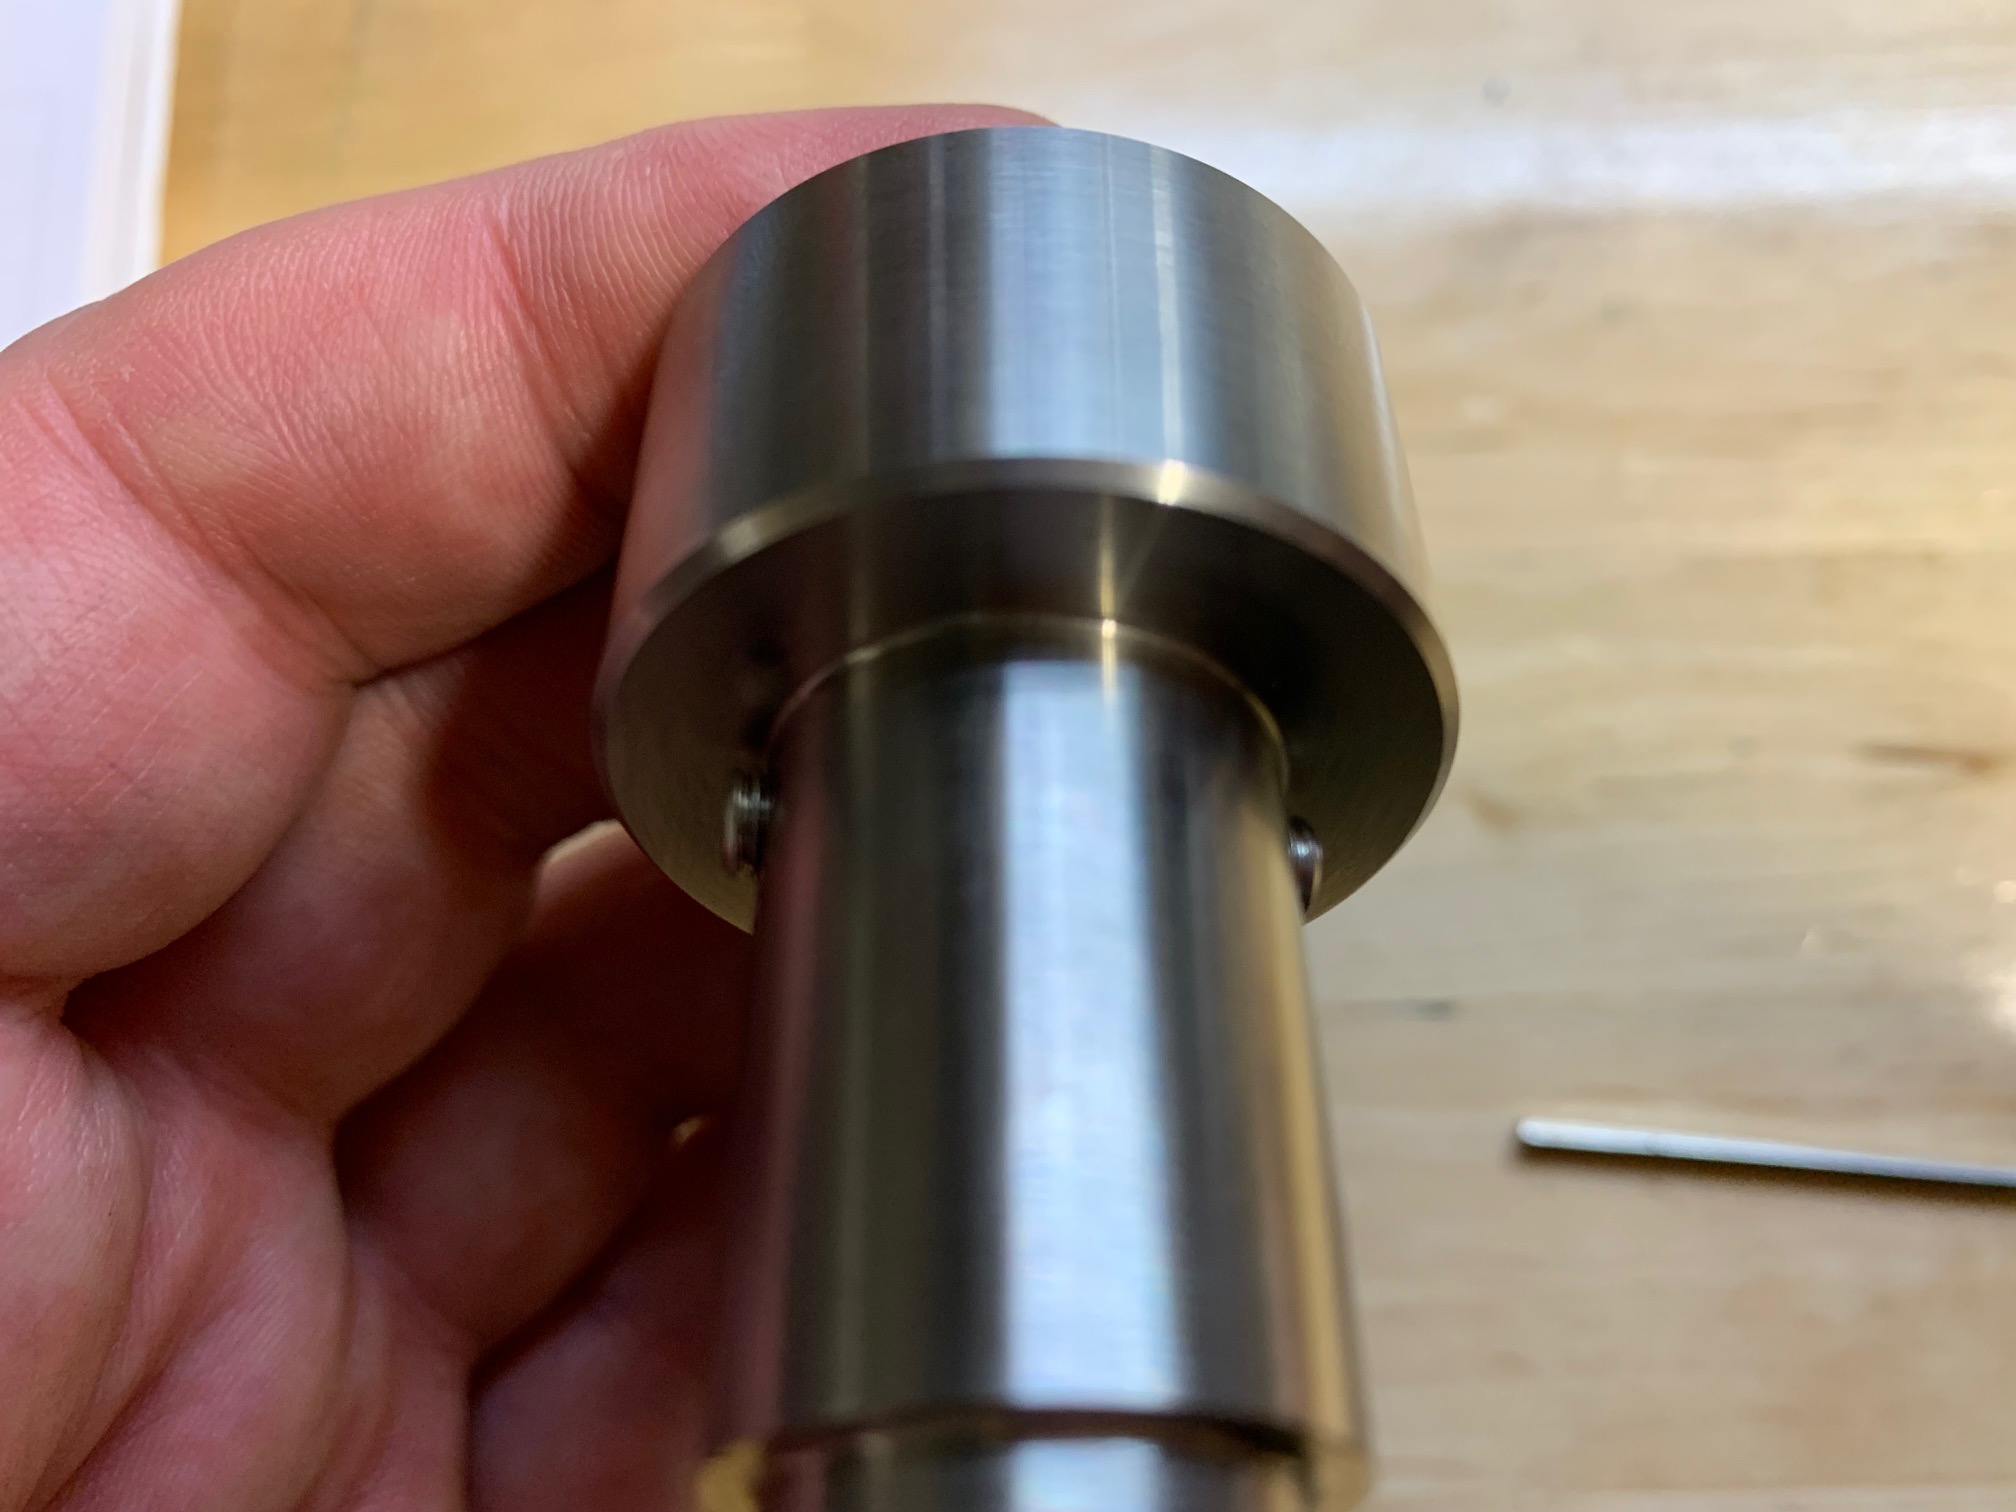
With the shift knob removed you will see the square end of the factory shift lever. This square shape is not symmetric front-to-back so we have provided two lengths of set screws to make up for this difference.
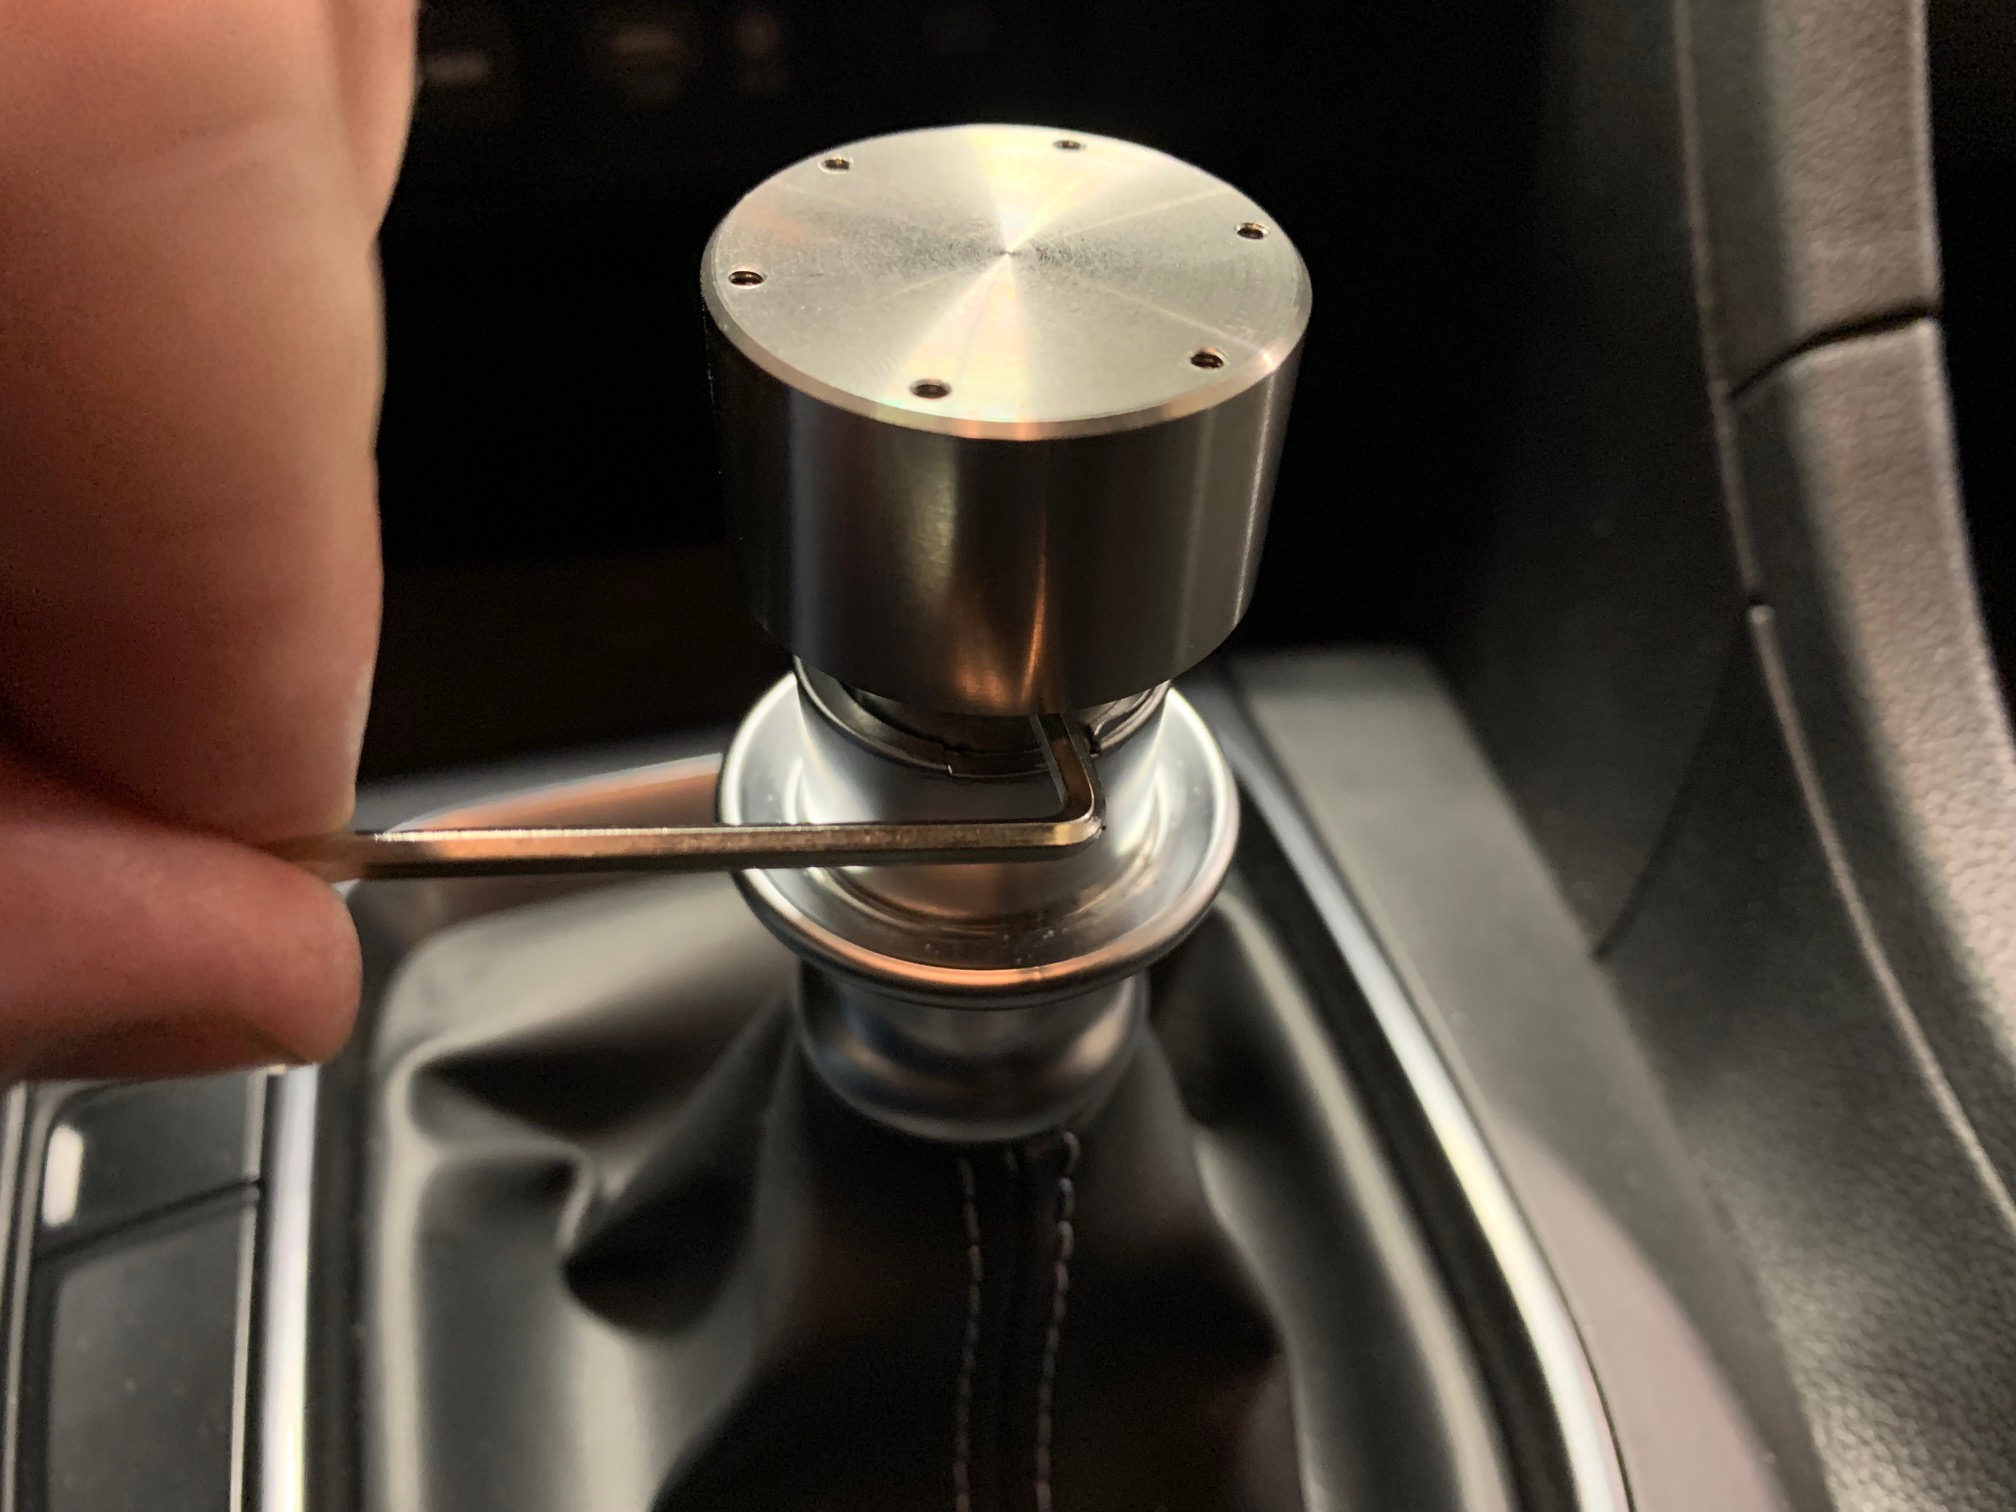
Take the stainless steel shift core and partially thread in the stainless set screws. Add a drop of Loctite (provided) to the threads.
With the longer of the two set screws oriented toward the front of the shift lever, slide the core over the lever until it stops.
Keeping pressure on top of the stainless steel core (to counter the tension of the spring), begin tightening the front and rear set screws. Lightly at first until they are both contacting the shift lever, then snug them up.
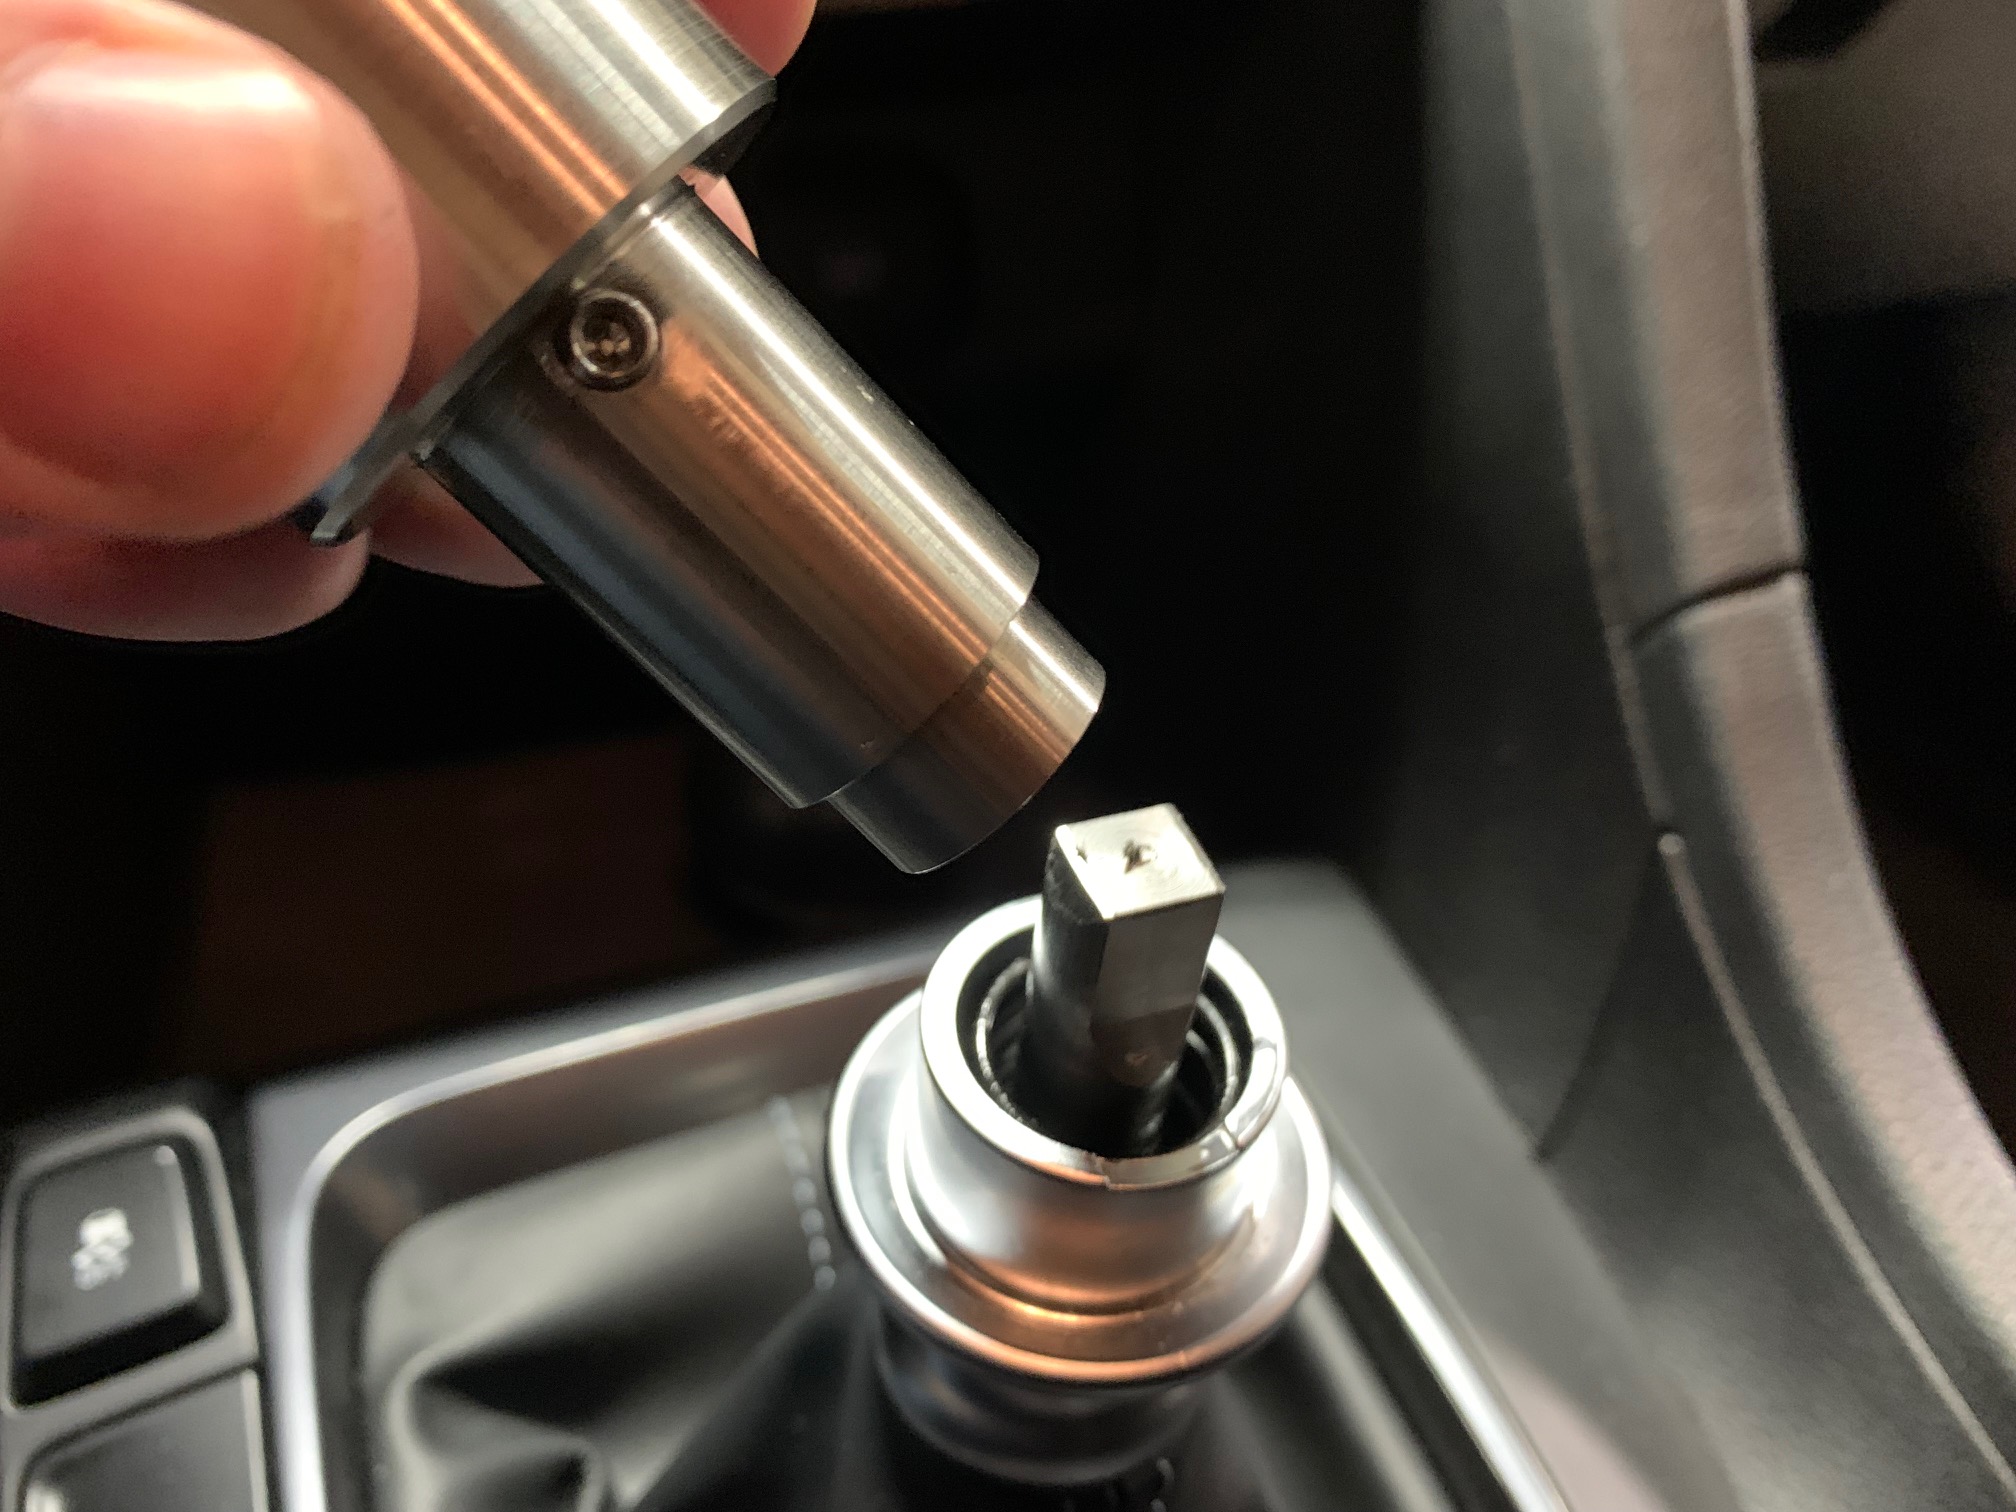
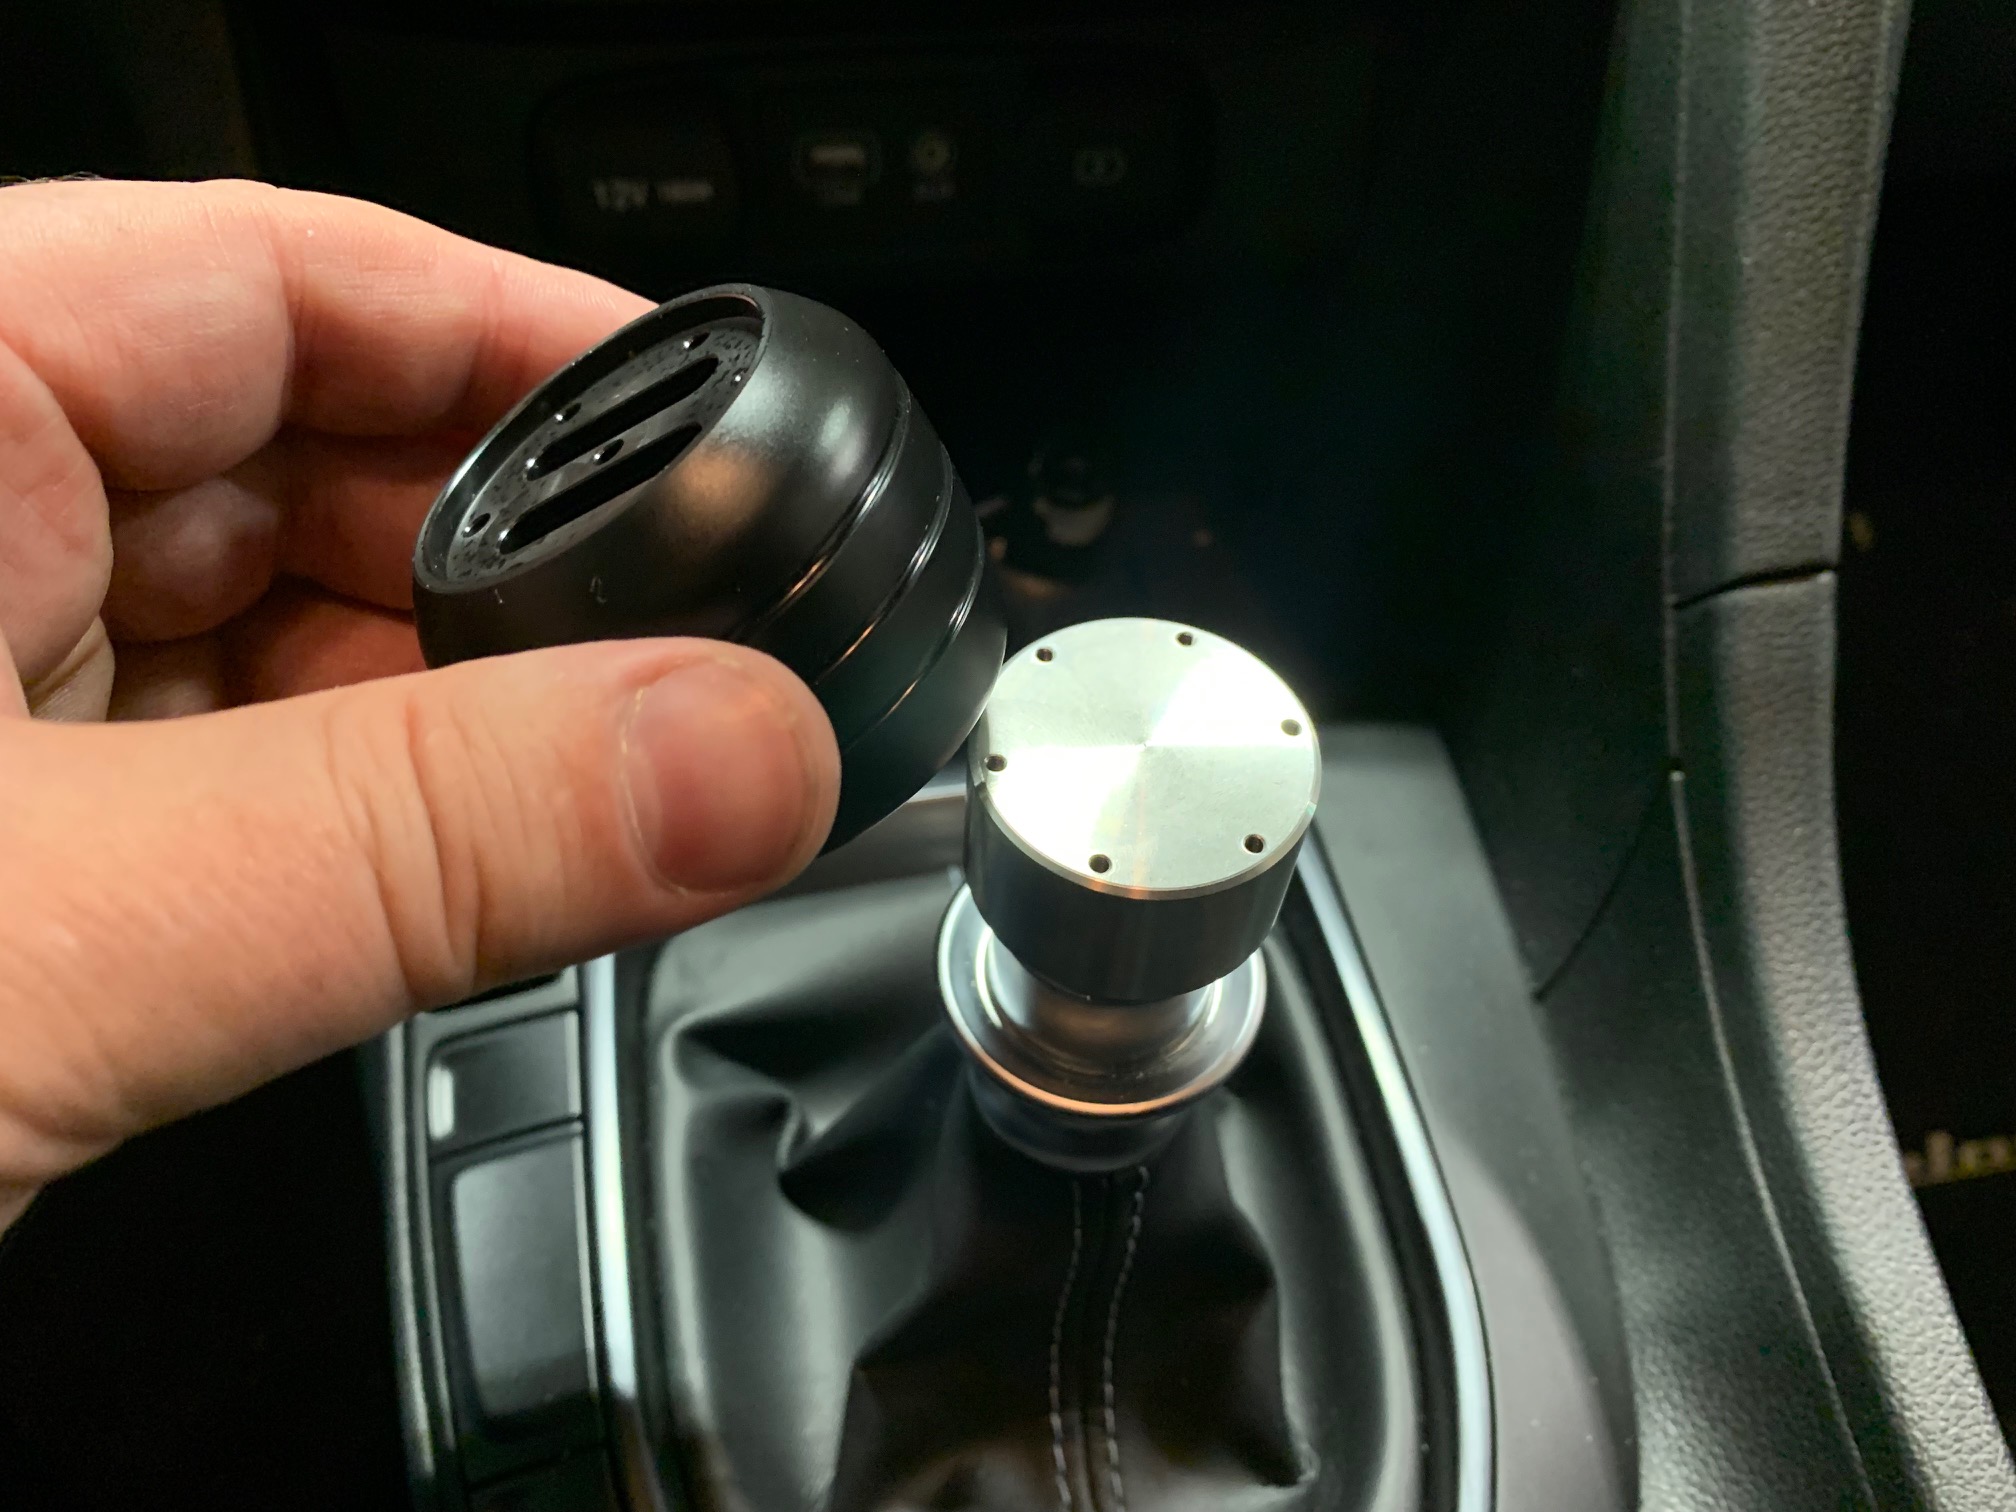
Place the black acetal shift knob over the stainless core piece making sure the 6 holes are clocked inline with each other.
Set the shift knob cap on top of the acetal knob, again lining up the 6 holes.
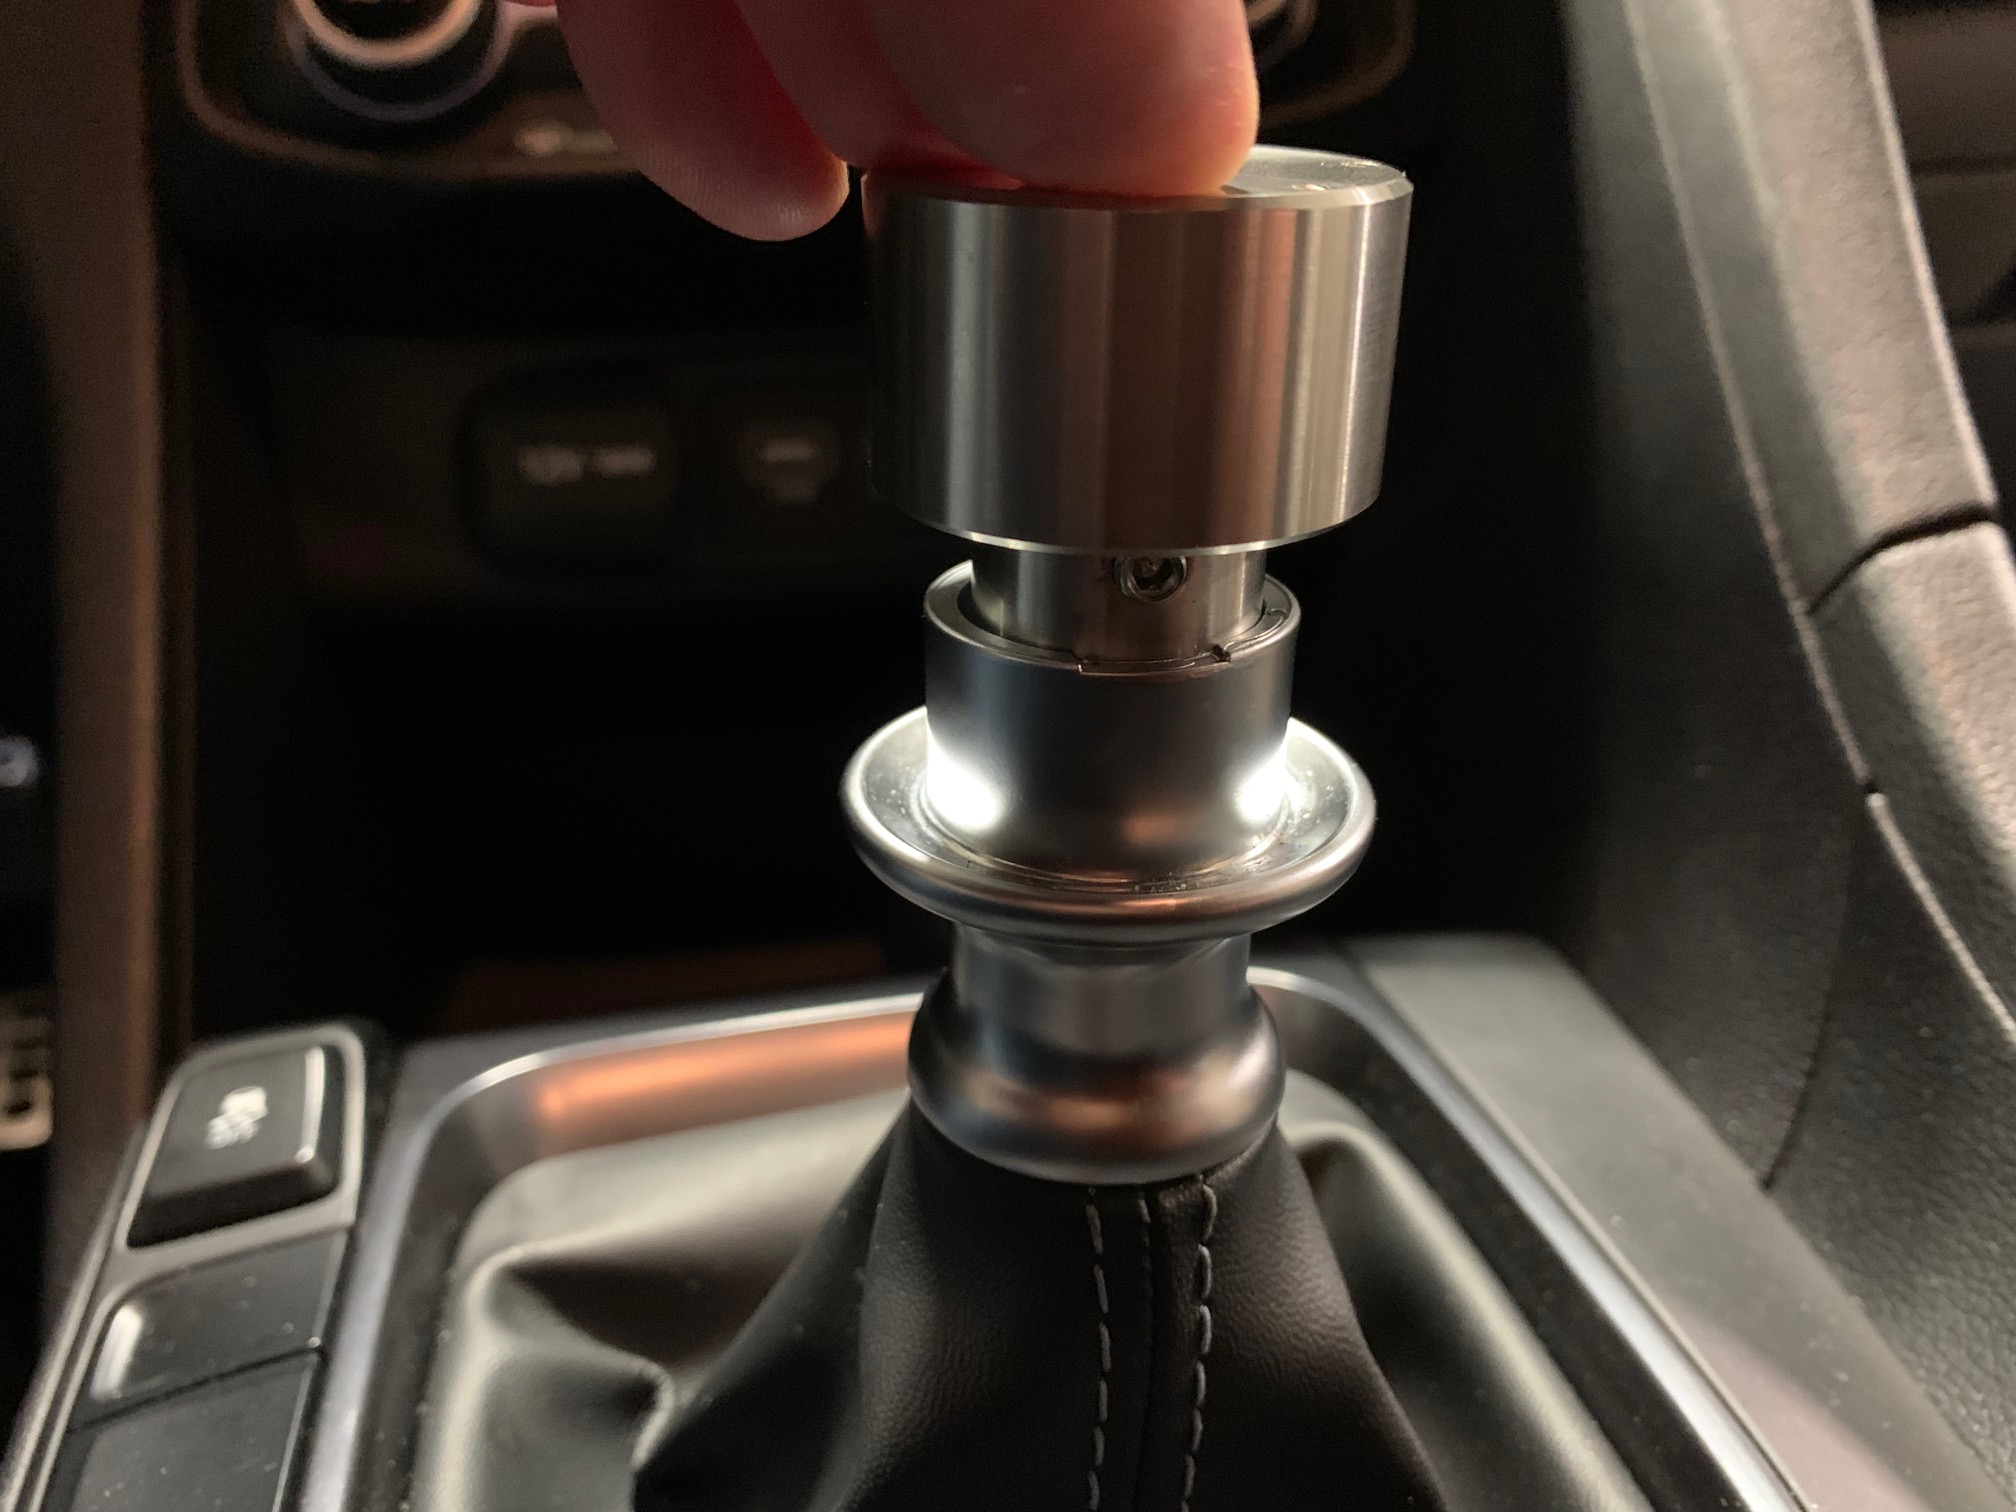
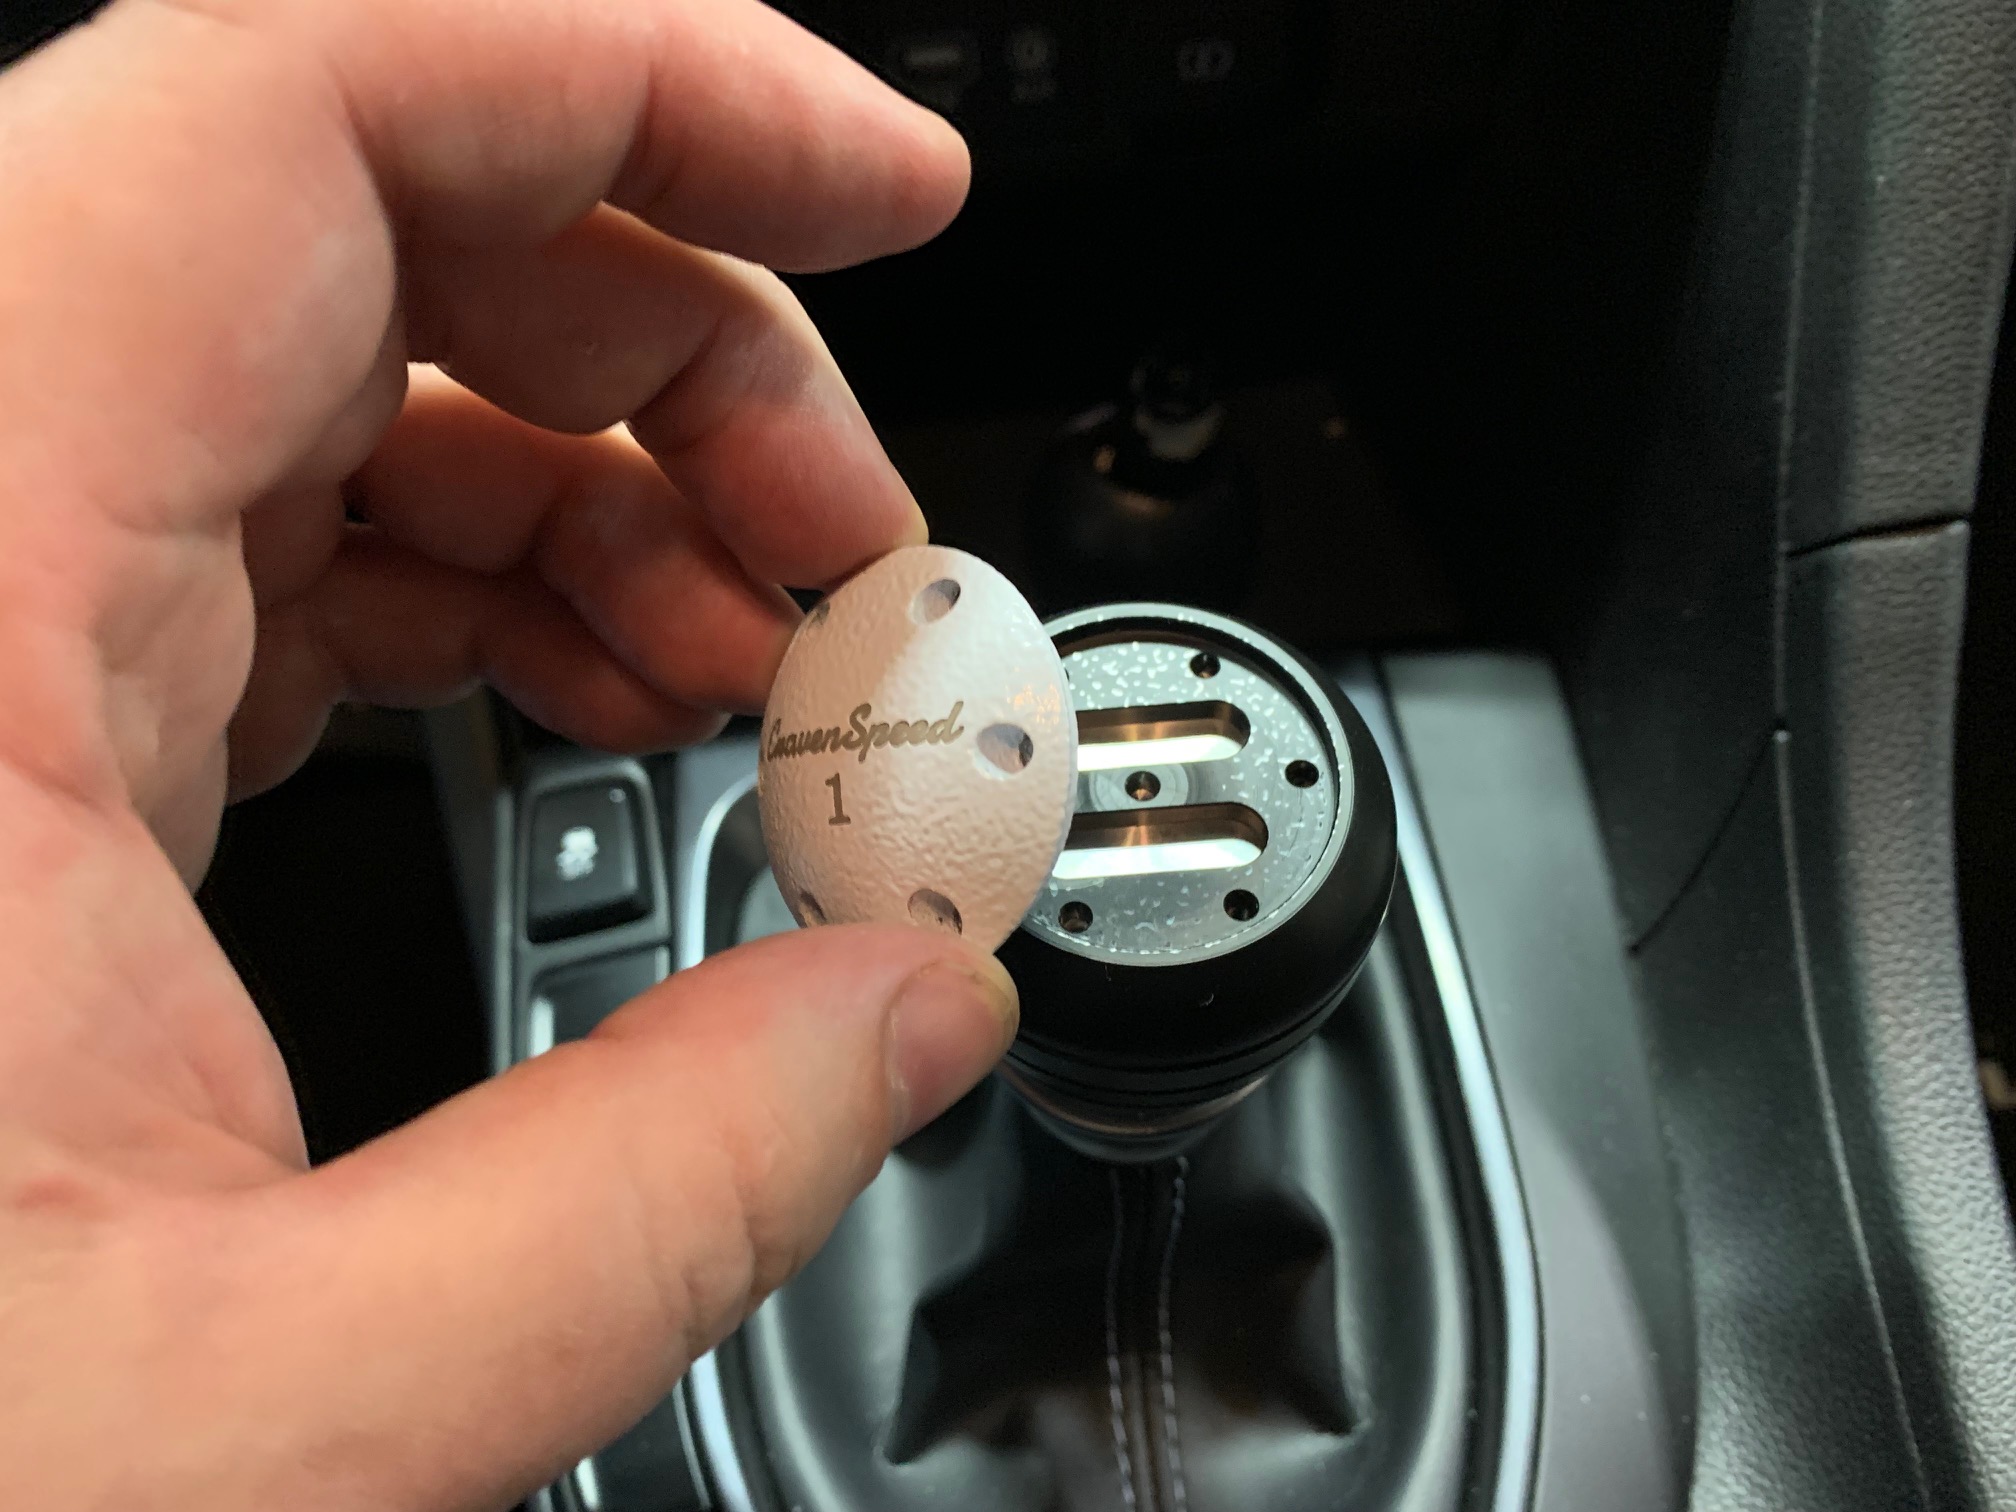
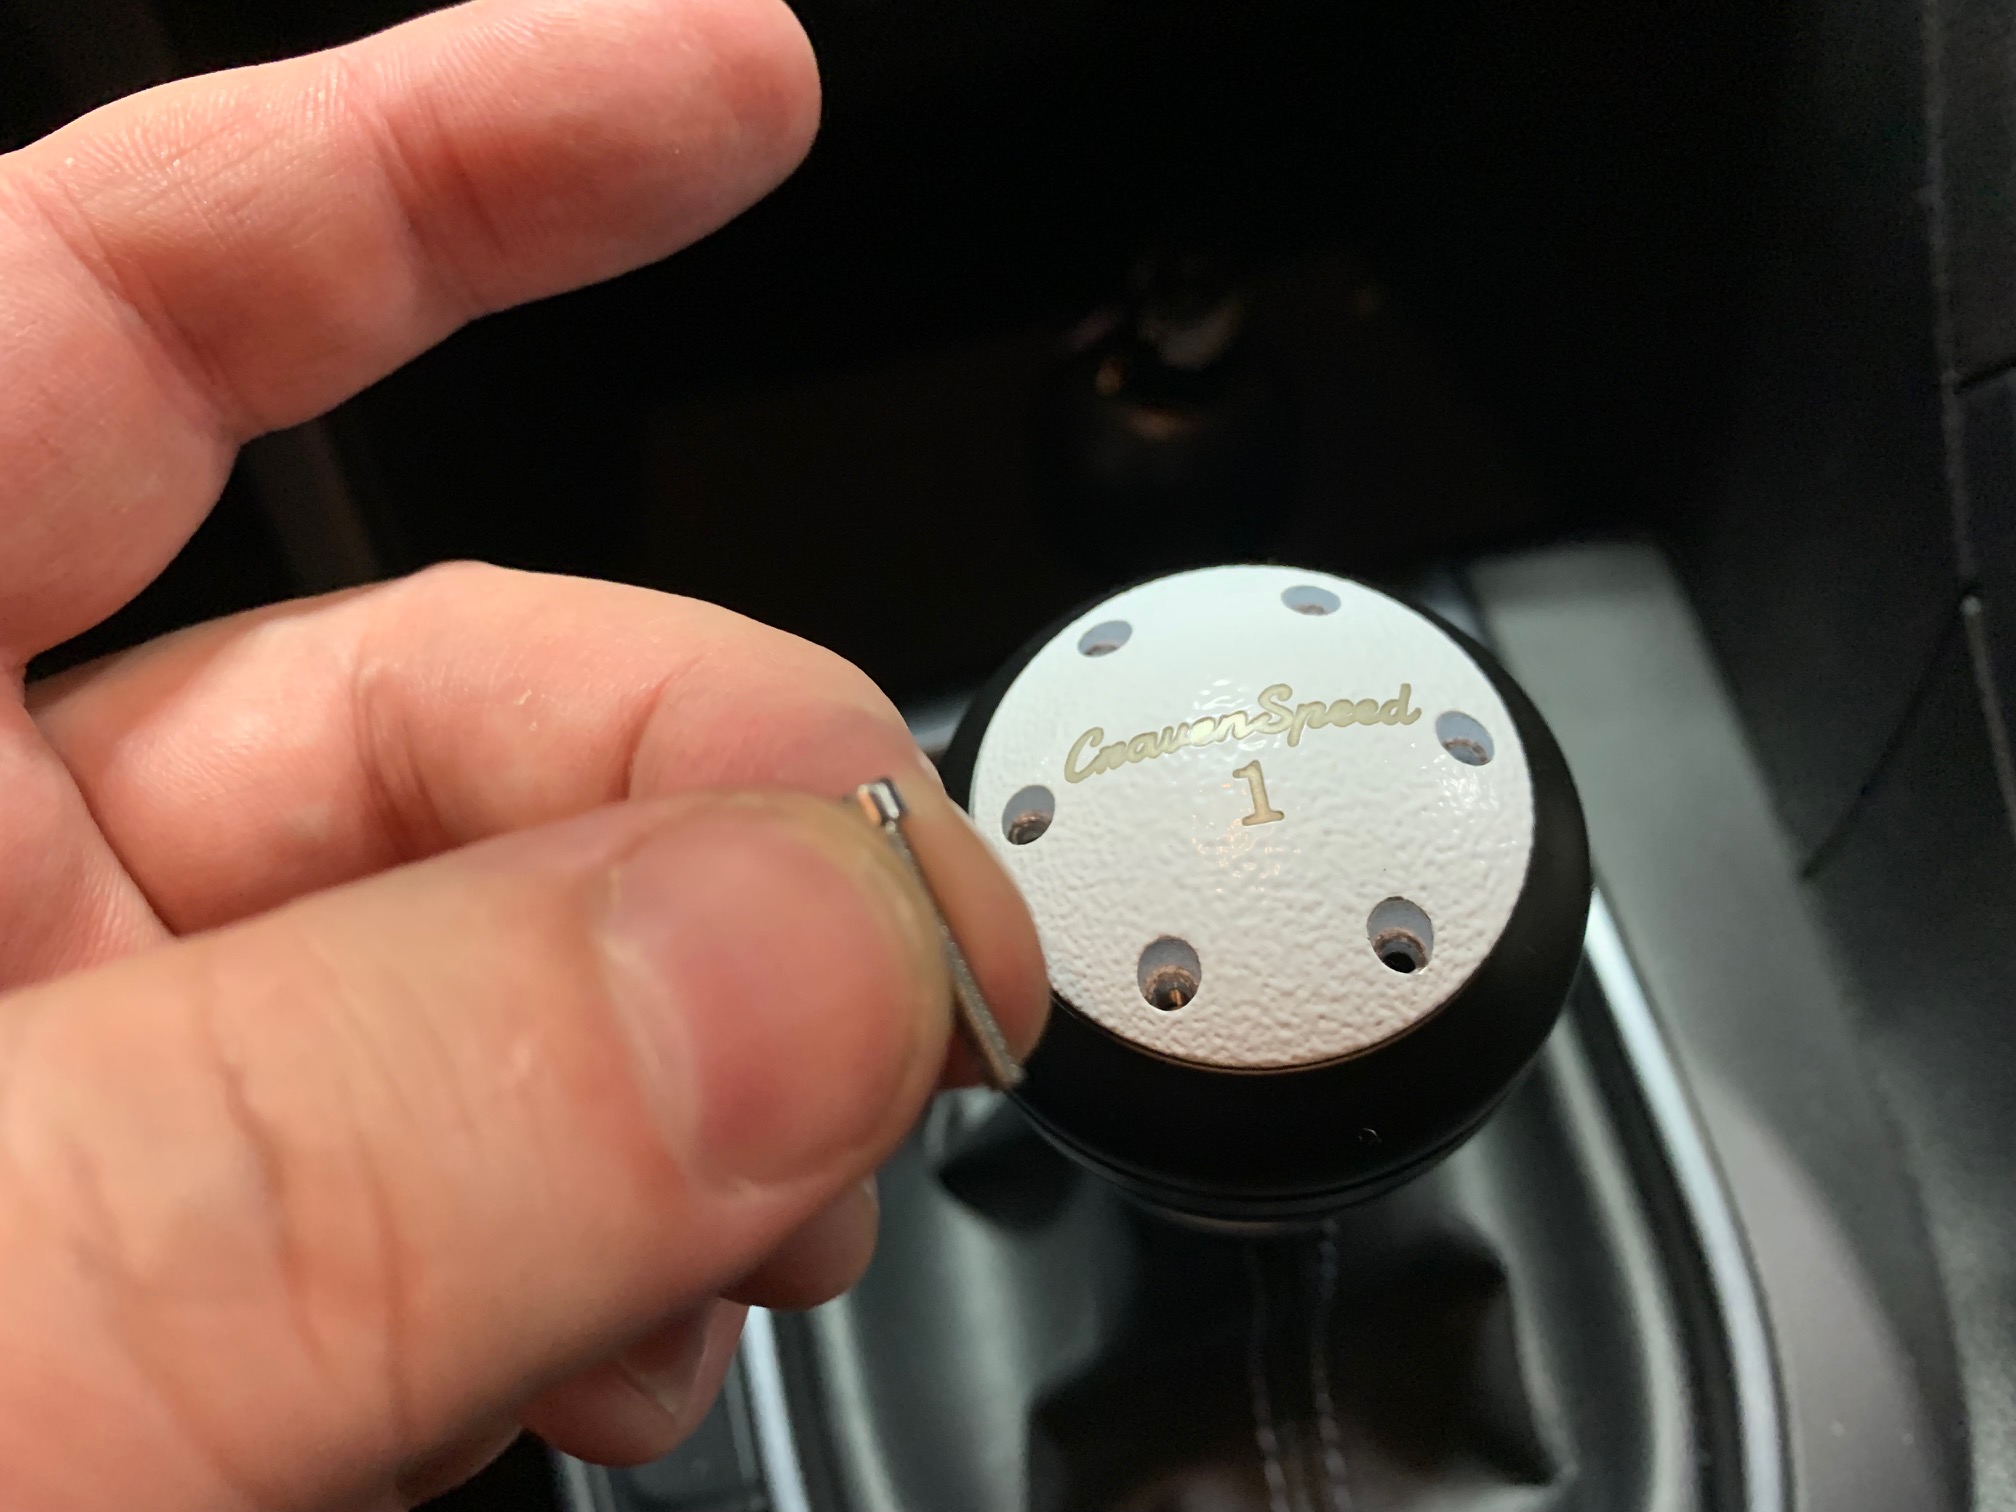
Install the (6) 2/56 socket cap screws through the cap and acetal body down into the threaded holes of the stainless core piece. Tighten them in an even star-pattern as you would with the lug nuts of your wheels.
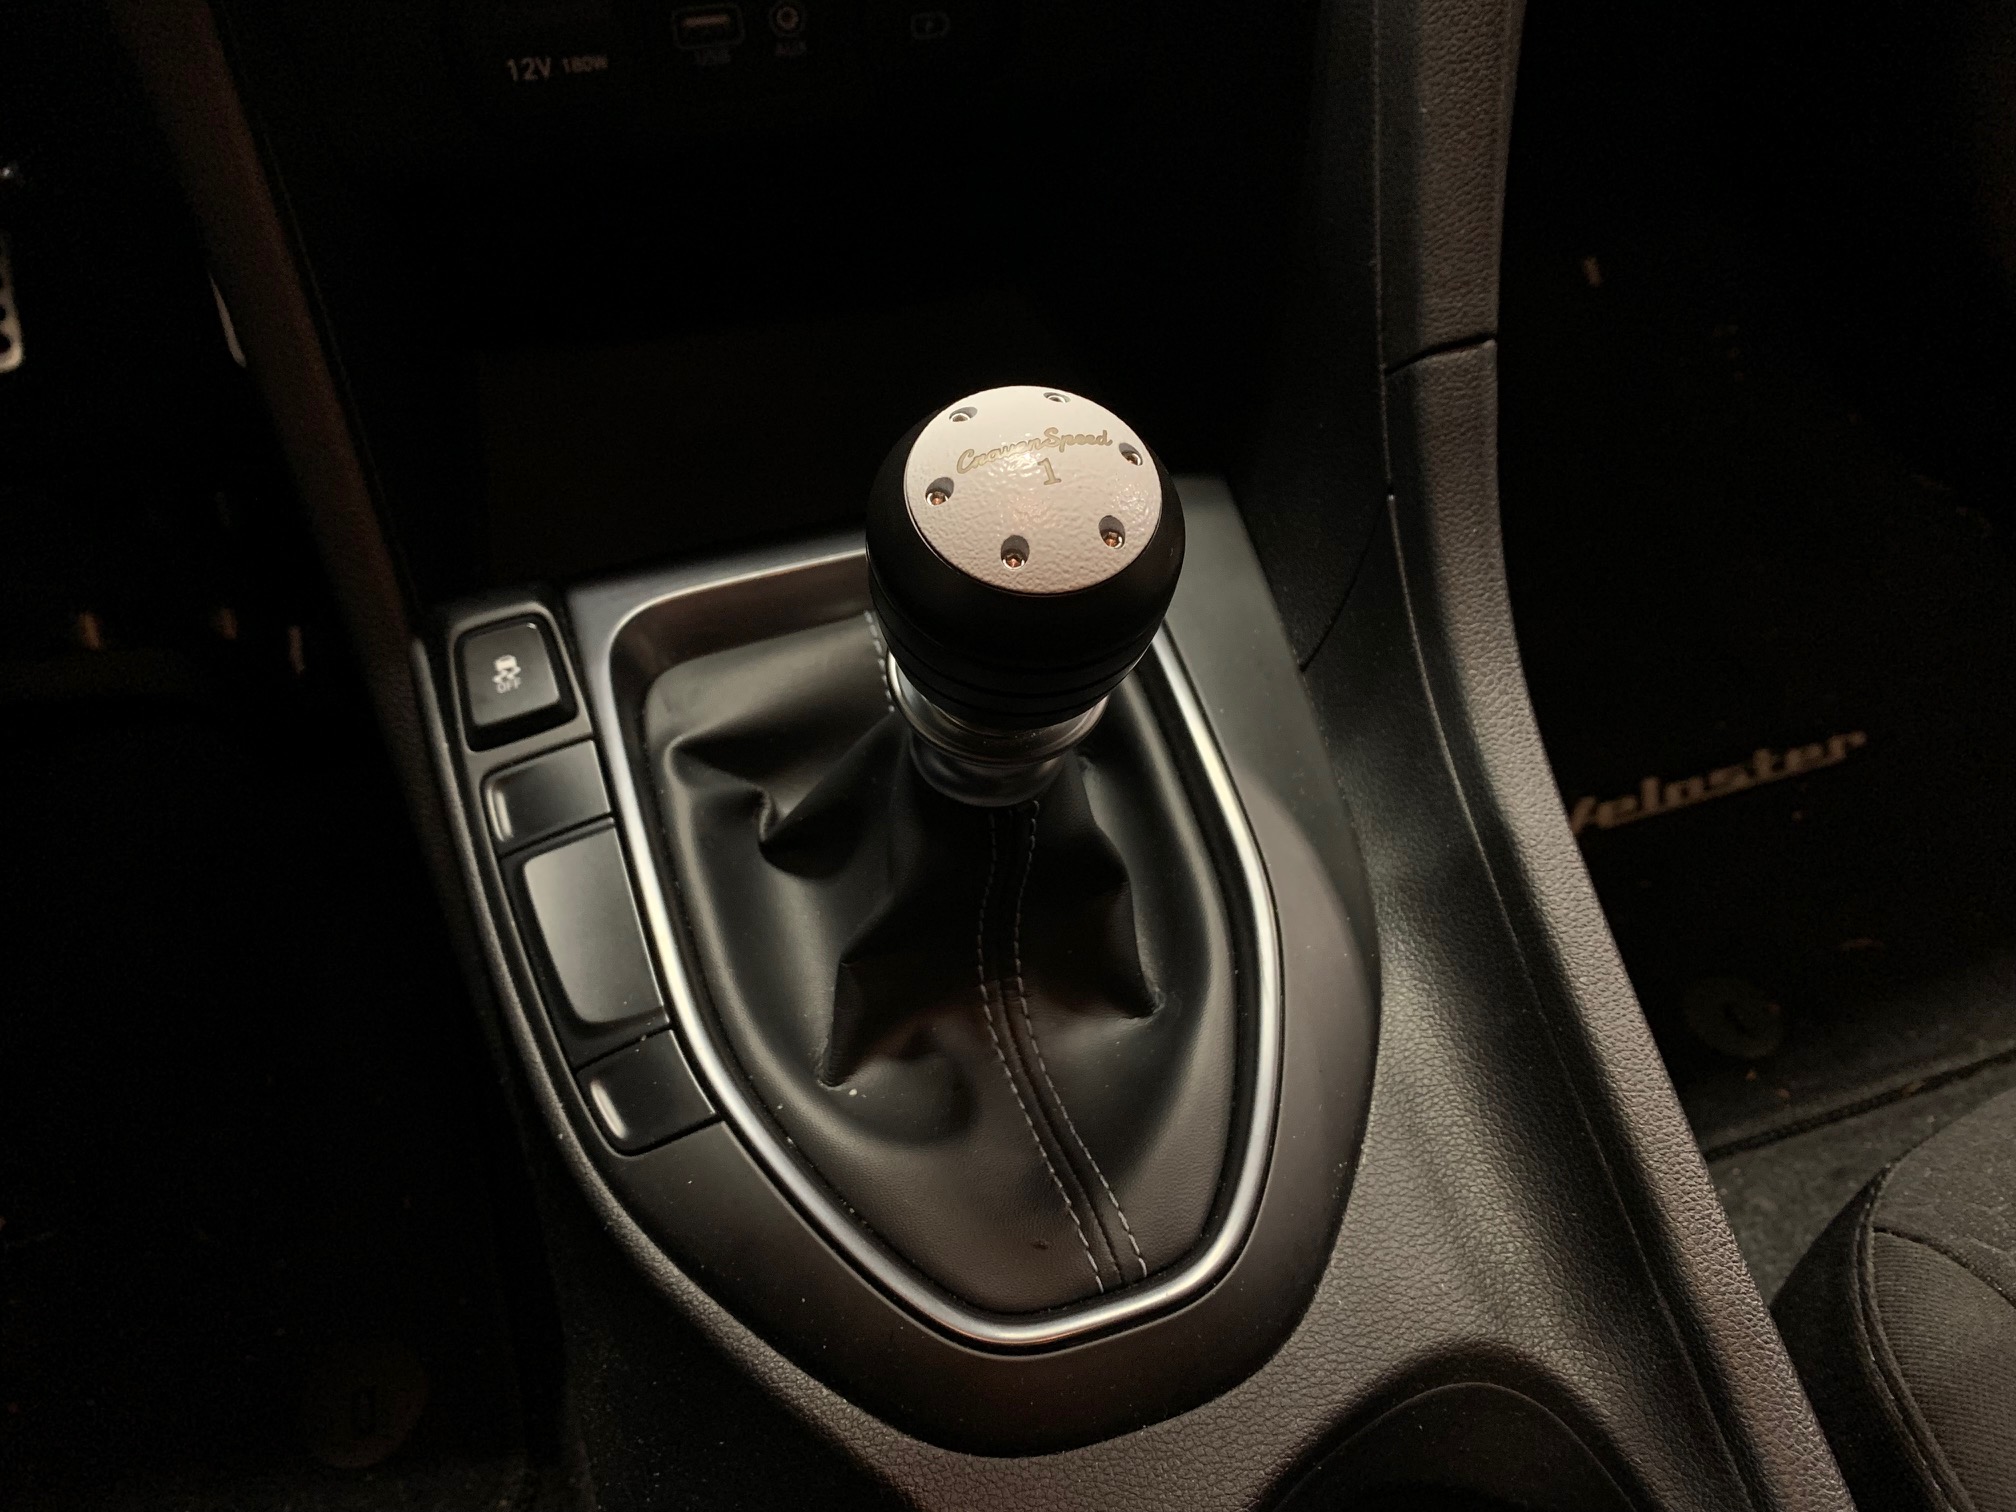
There you have it! Stand back and admire your handiwork.
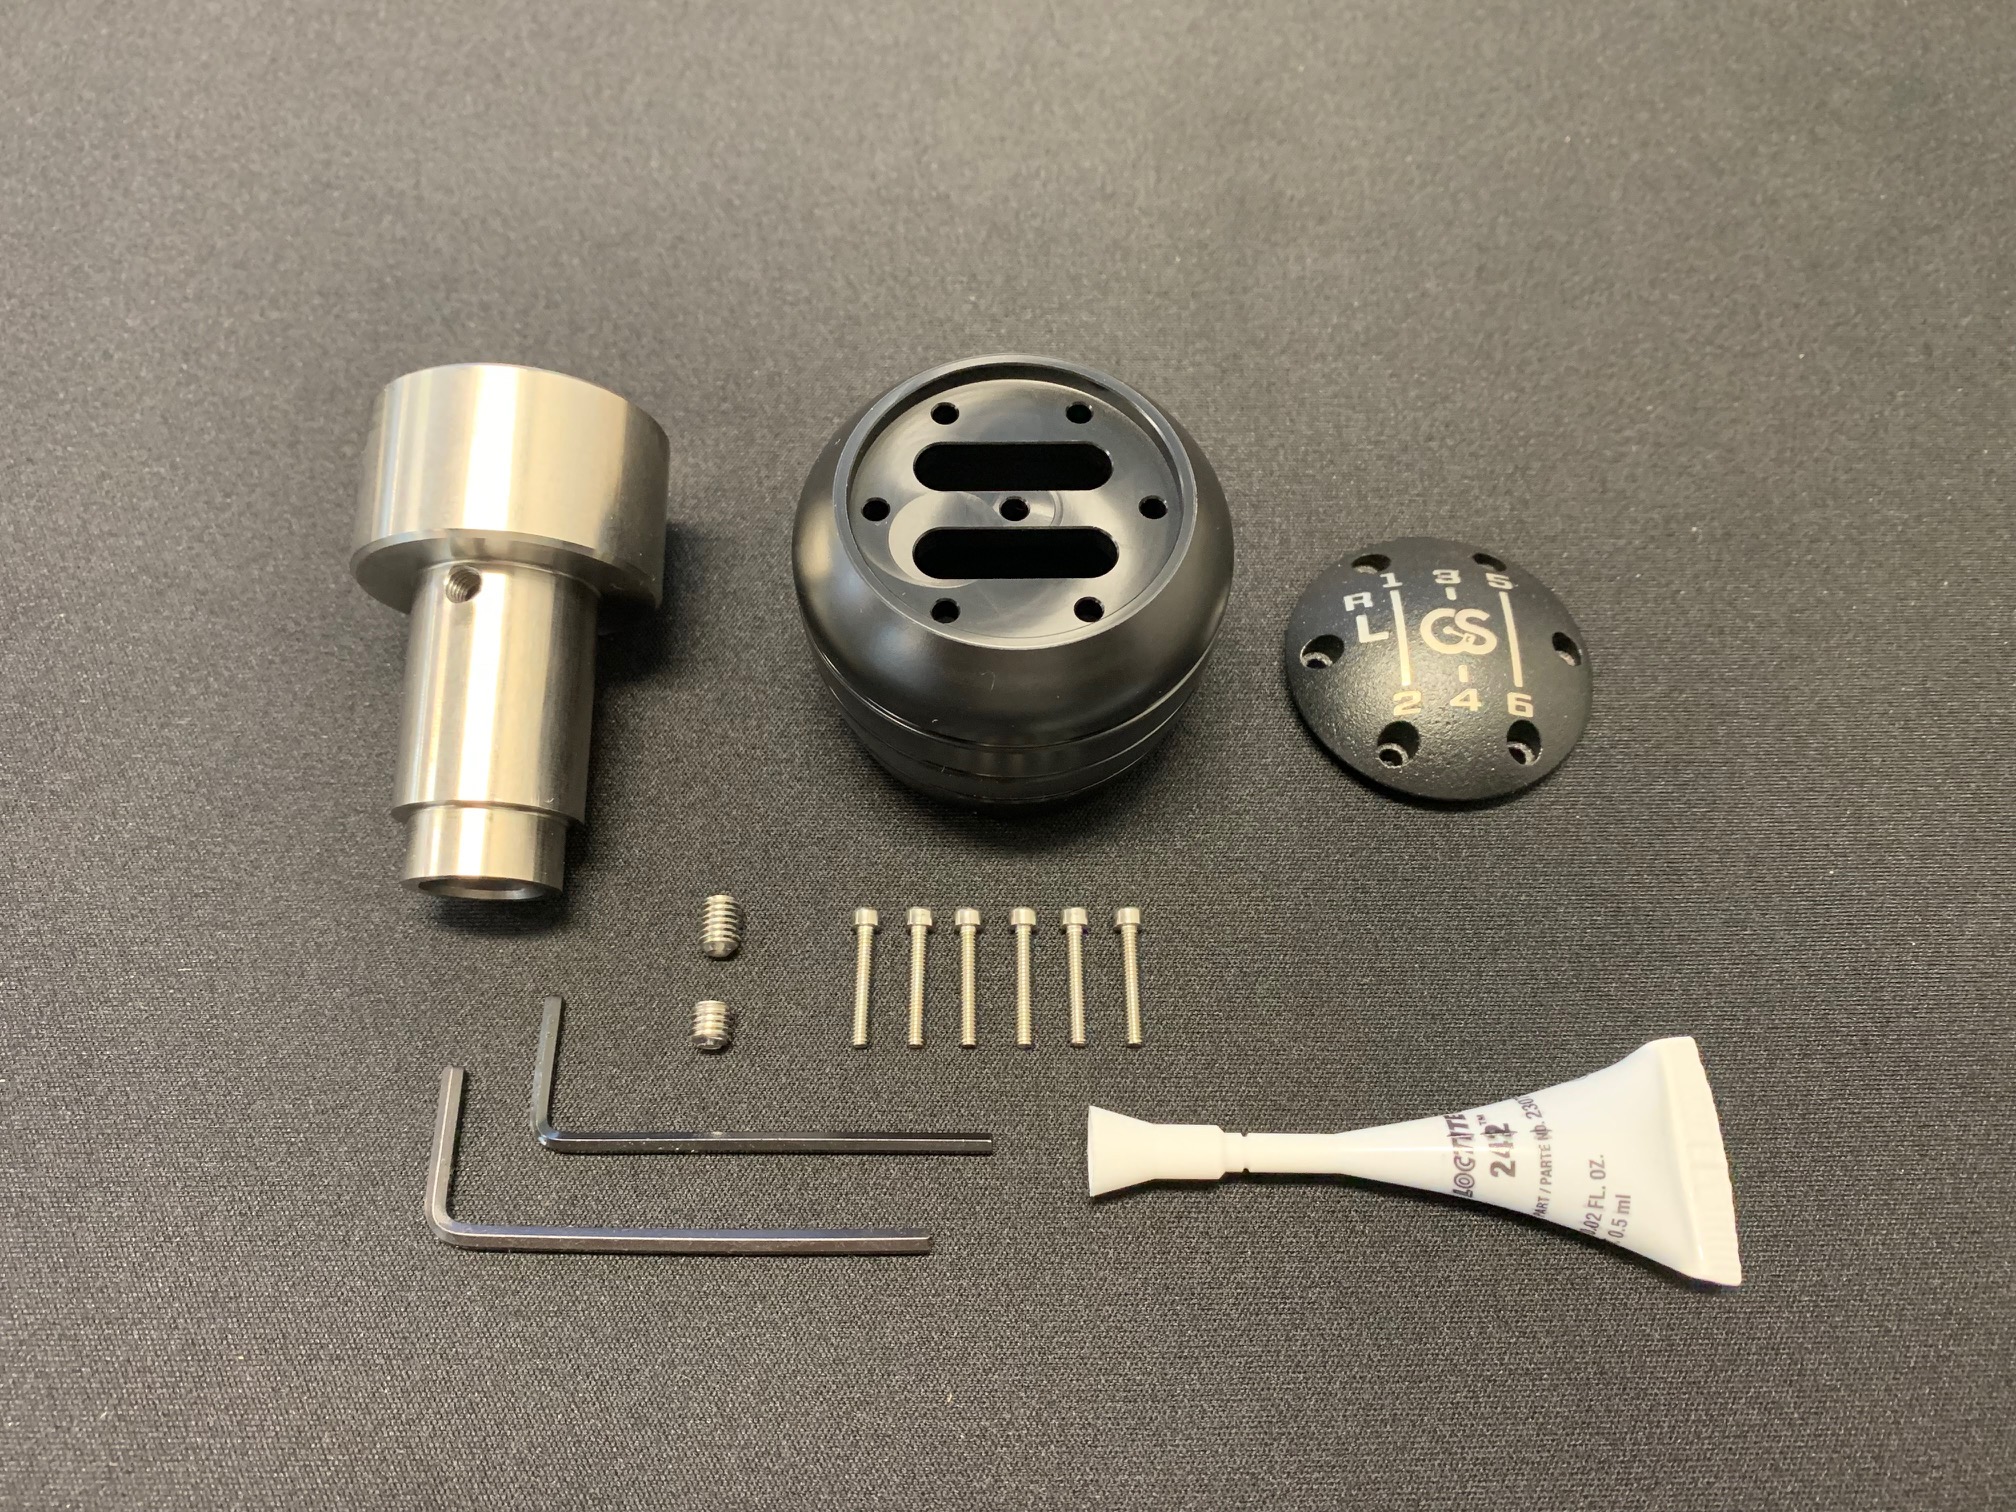
Parts Included:
Procedure