THANK YOU
for purchasing the MINI Gen2 and Gen3 Tall Manual Shift Knob from CravenSpeed. This product is made from the highest grade materials, and is guaranteed to be free from defects.
You can buy our
CravenSpeed Tall Shift Knob for MINI here
Parts Included:
-
1x Knob Cap
-
6x Hex Cap Screws
-
1x Shift Knob Outer, Tall (black acetal)
-
1x Stainless Steel Shifter Core
-
1x Knob Adapter Collar
-
1x O-Ring, Large
-
1x O-Ring, Medium
-
5/64" Hex Driver, 3"L
Tools Required:
-
Plastic Trim Removal Tool (flat-head screwdriver if you use caution)
-
11/16 Socket
-
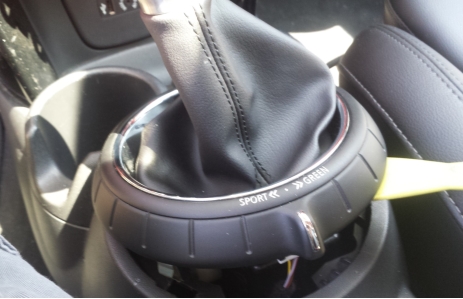
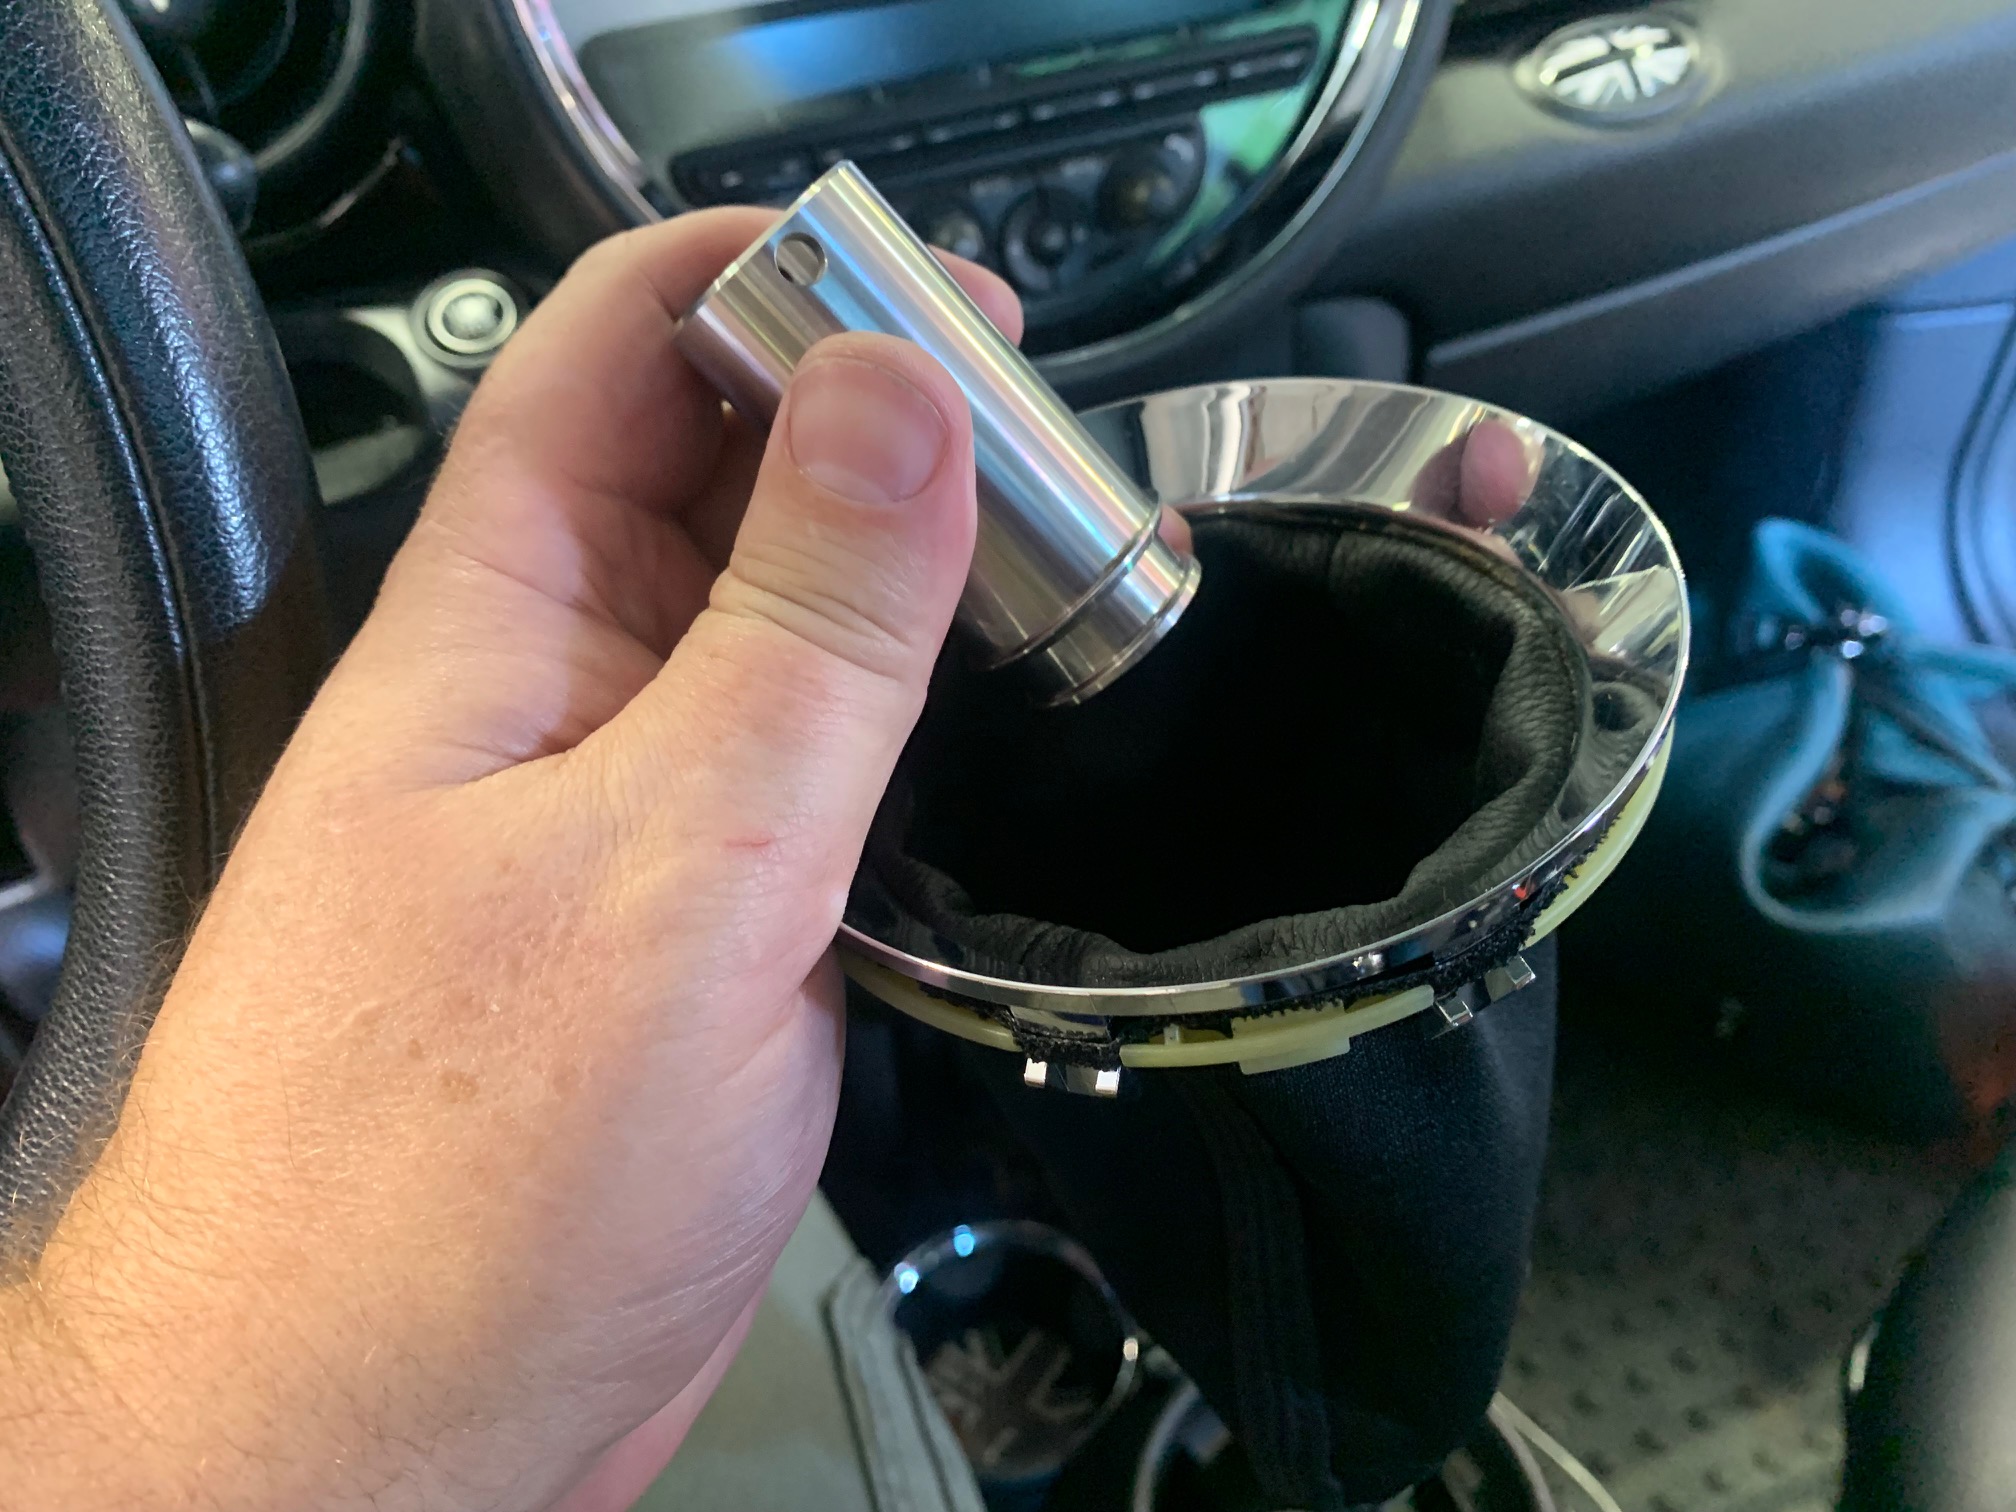
To begin, we must remove the shift boot retaining ring. For Gen2 MINIs, reach into the shift boot and feel for the underside edge of the boot trim ring. Carefully tug up and release the boot trim ring from the center console. For Gen3, use a Trim Removal Tool (or similar) to remove the Sport Mode boot ring from the center console. Just pry up one side and lift it off.
-
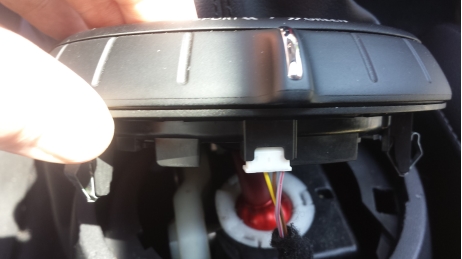
For Gen3 MINIs, carefully disconnect the little white plug from the underside of the Sport Mode switch housing.
-
Remove OEM shift knob.
(Don't twist... PULL UP!)
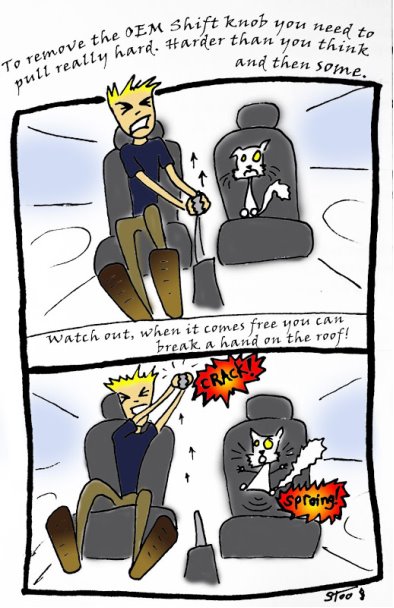
(Graphic by the talented Emily Martin,
http://www.redbubble.com/people/emilymartian
)
-
Once the OEM shift knob has come loose, invert the shift boot and pinch the connector clip using an 11/16 socket to remove the collar attaching the boot to the bottom of the knob. (Thanks to CobraBob on NAM for the tip)
-
Now that the OEM shift knob and boot is completely removed from the car, place the stainless core piece into the inverted shift boot with the .250" outer groove oriented down.
-
Push the grooved section of the stainless core through the shift boot until you just start to see it protruding through the other side. You may need to stretch out the boot fabric a wee bit.
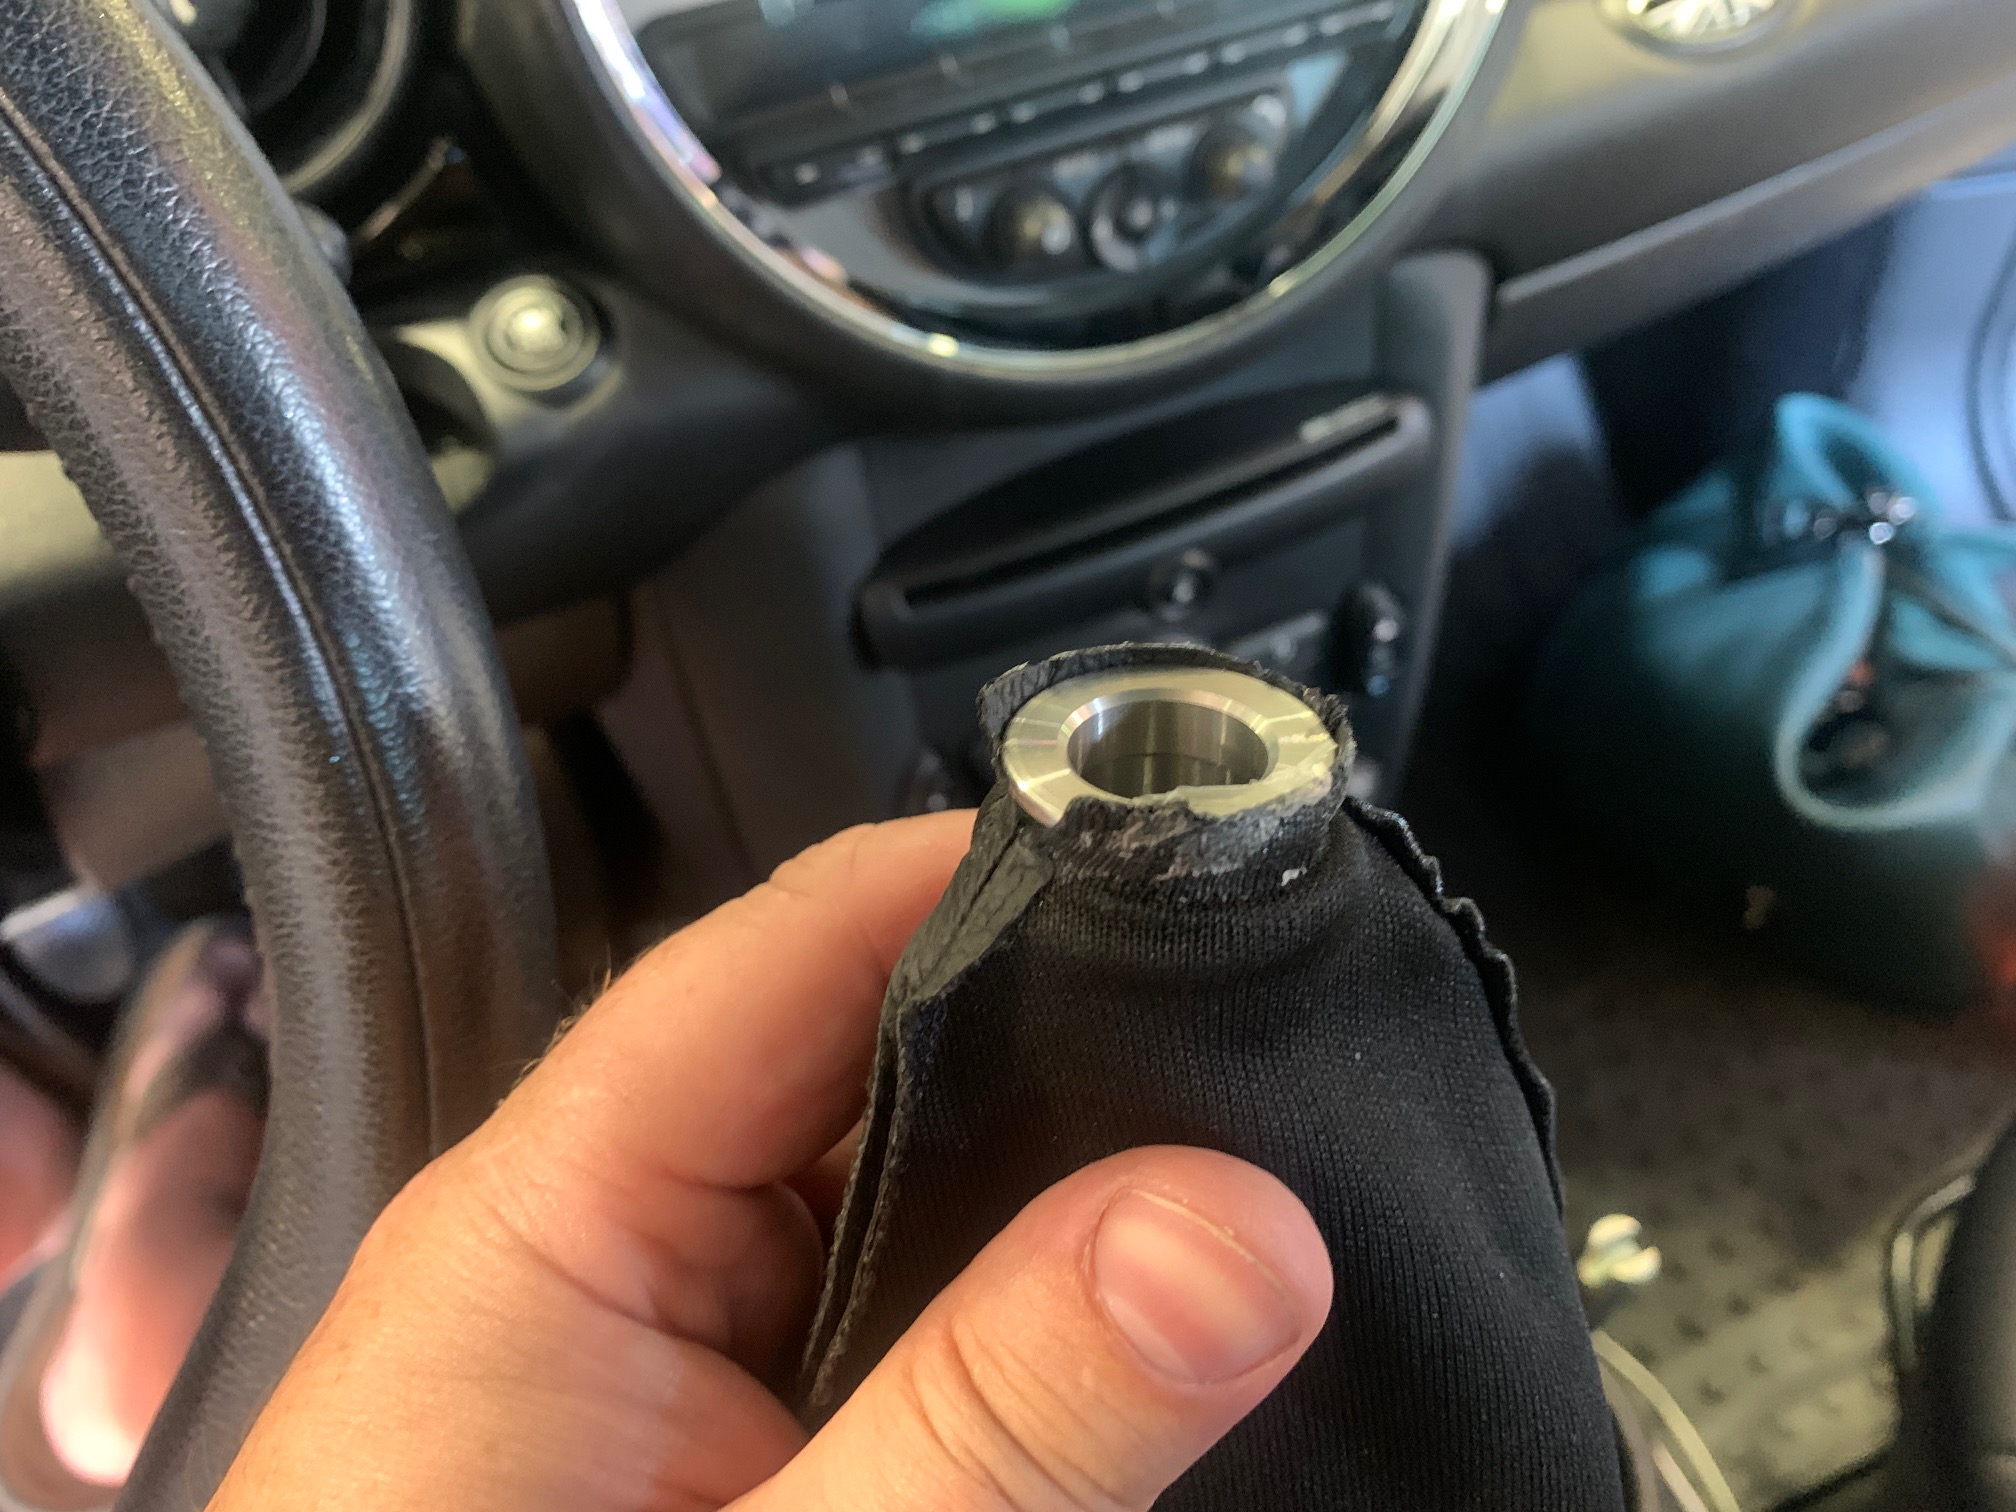
-
There are two o-rings provided with your kit. Take the smaller of the two and slip it over the end of the shift boot so it sits into the stainless core groove and affixes the two components together.
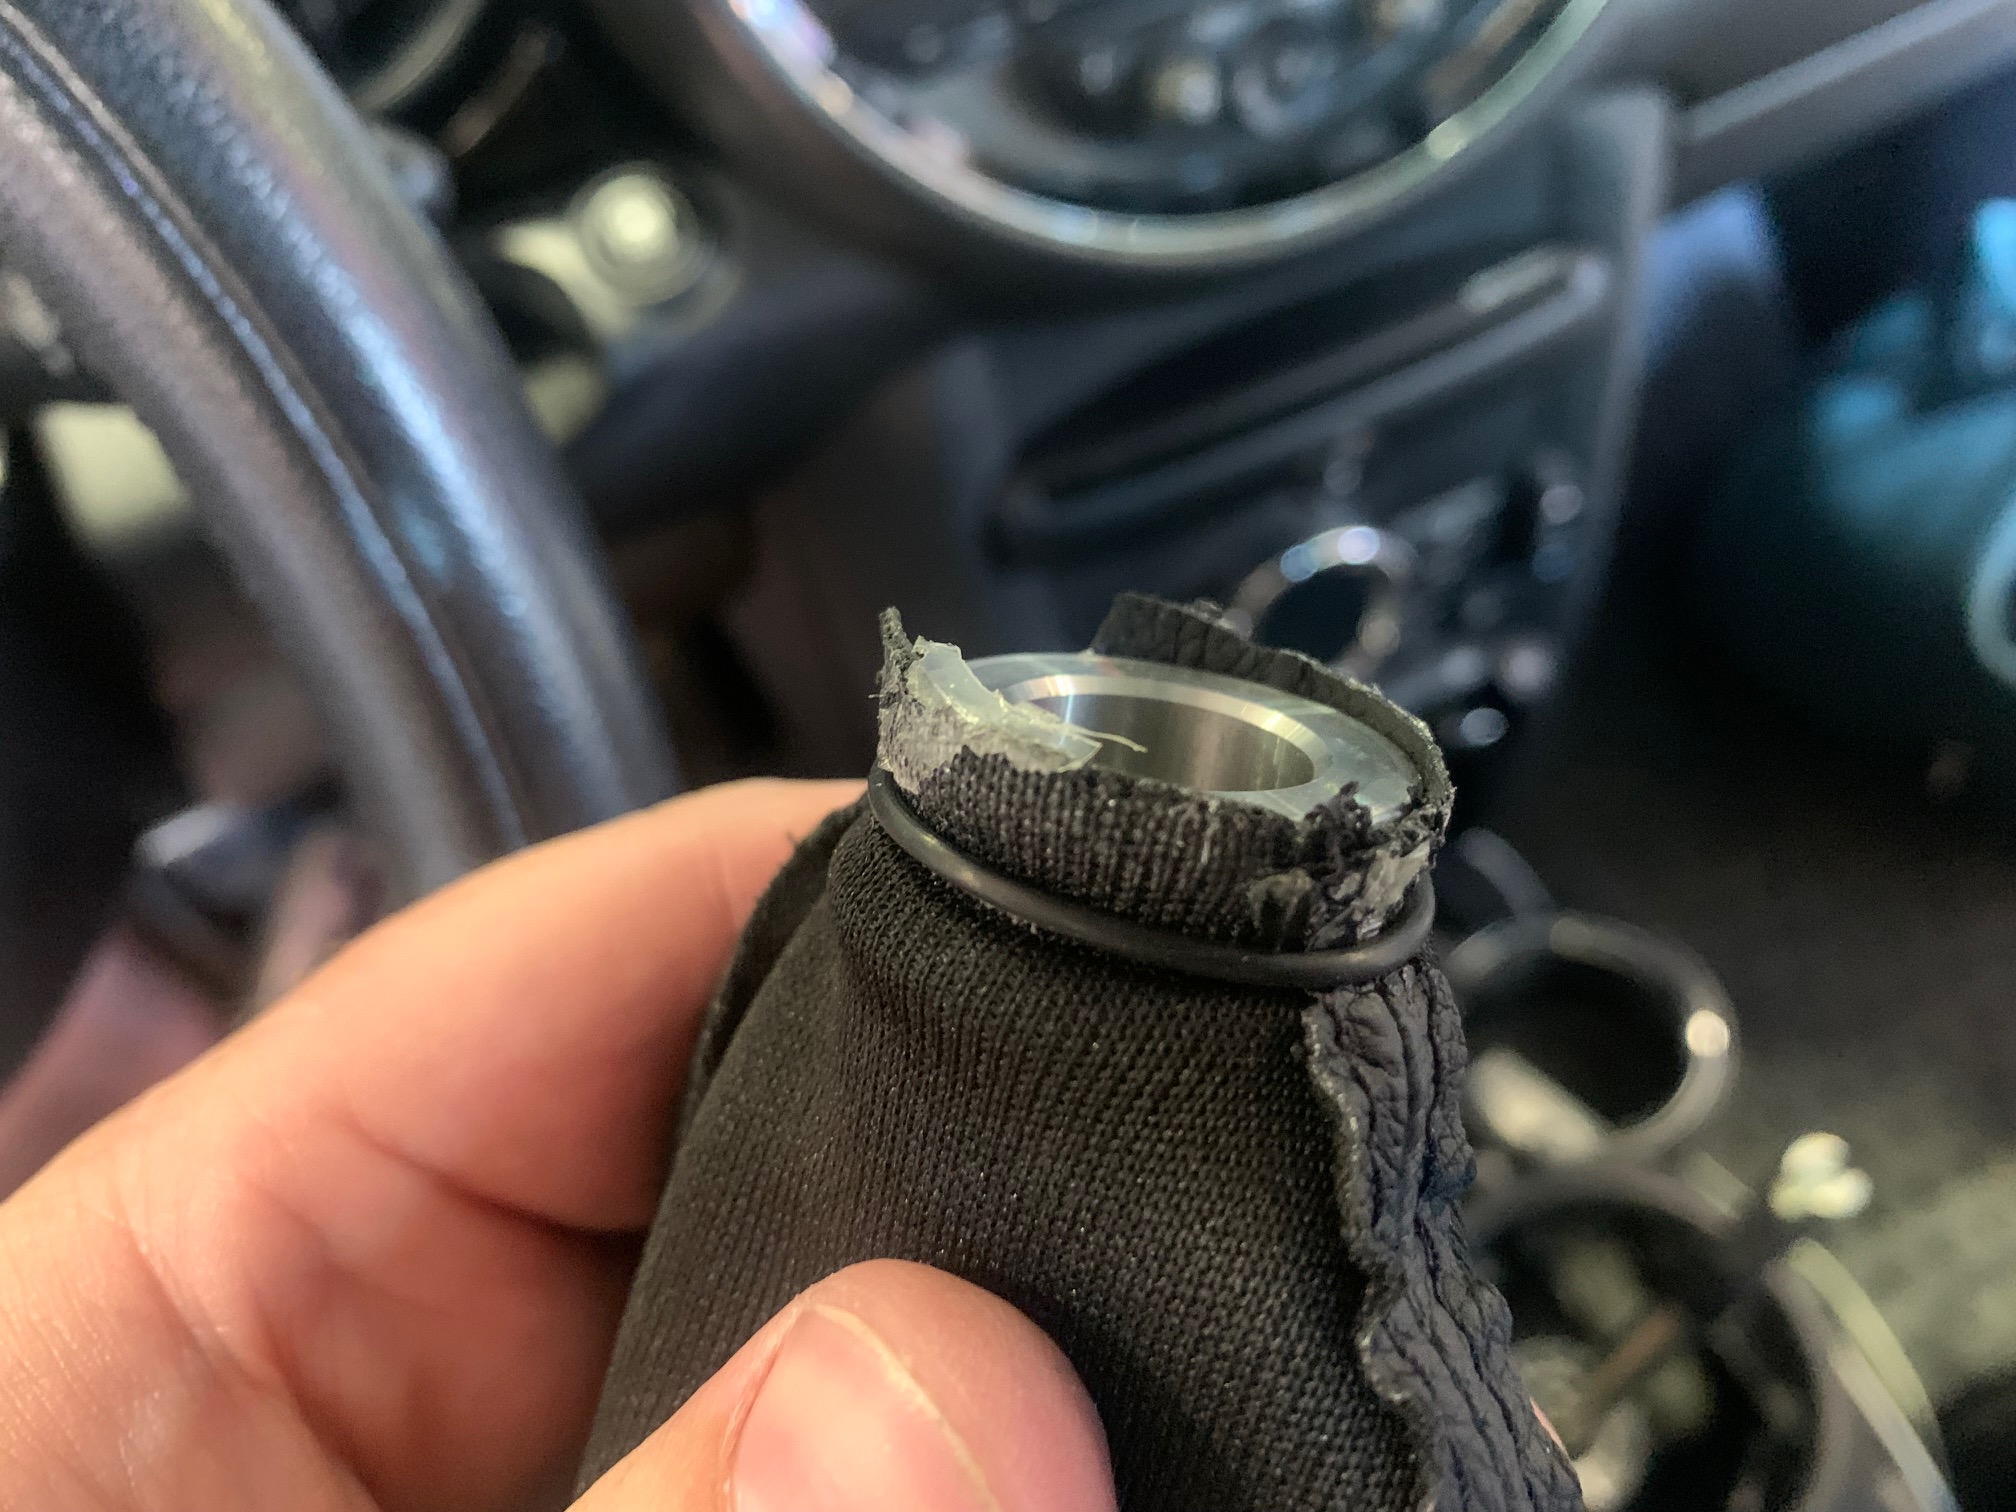
-
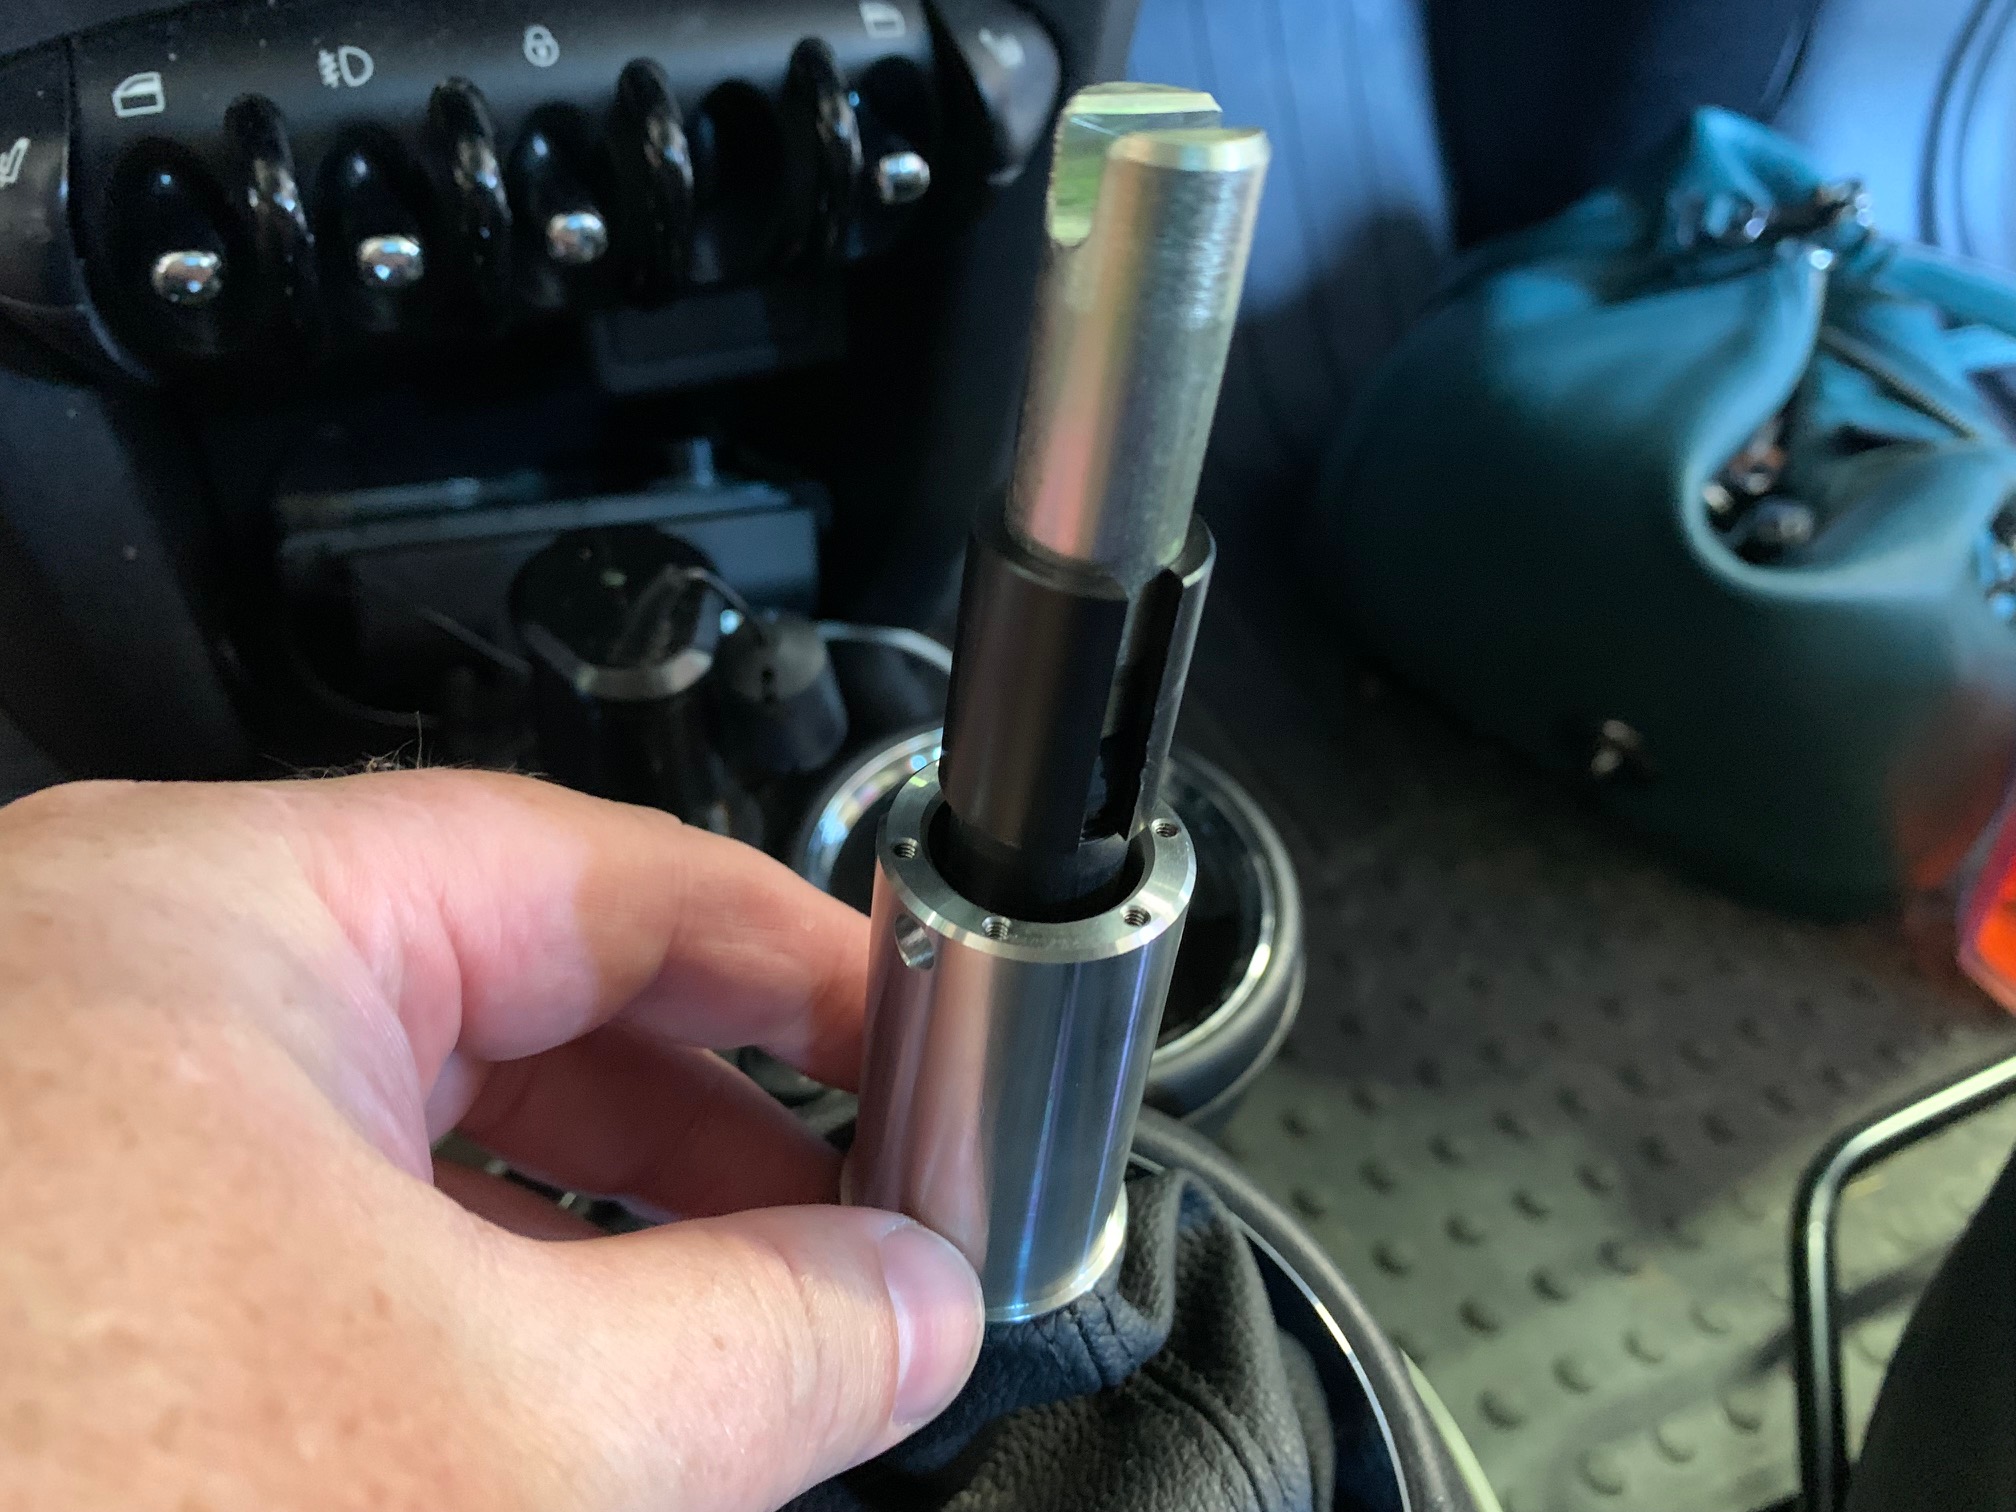
Turn the shift boot right-side-out again and place this assembly over the shift lever. Push the stainless core piece down a couple inches so you have good access to the grooved section at the top of the shift lever. Don't forget to reconnect your Sport Mode switch wiring (Gen3 folks).
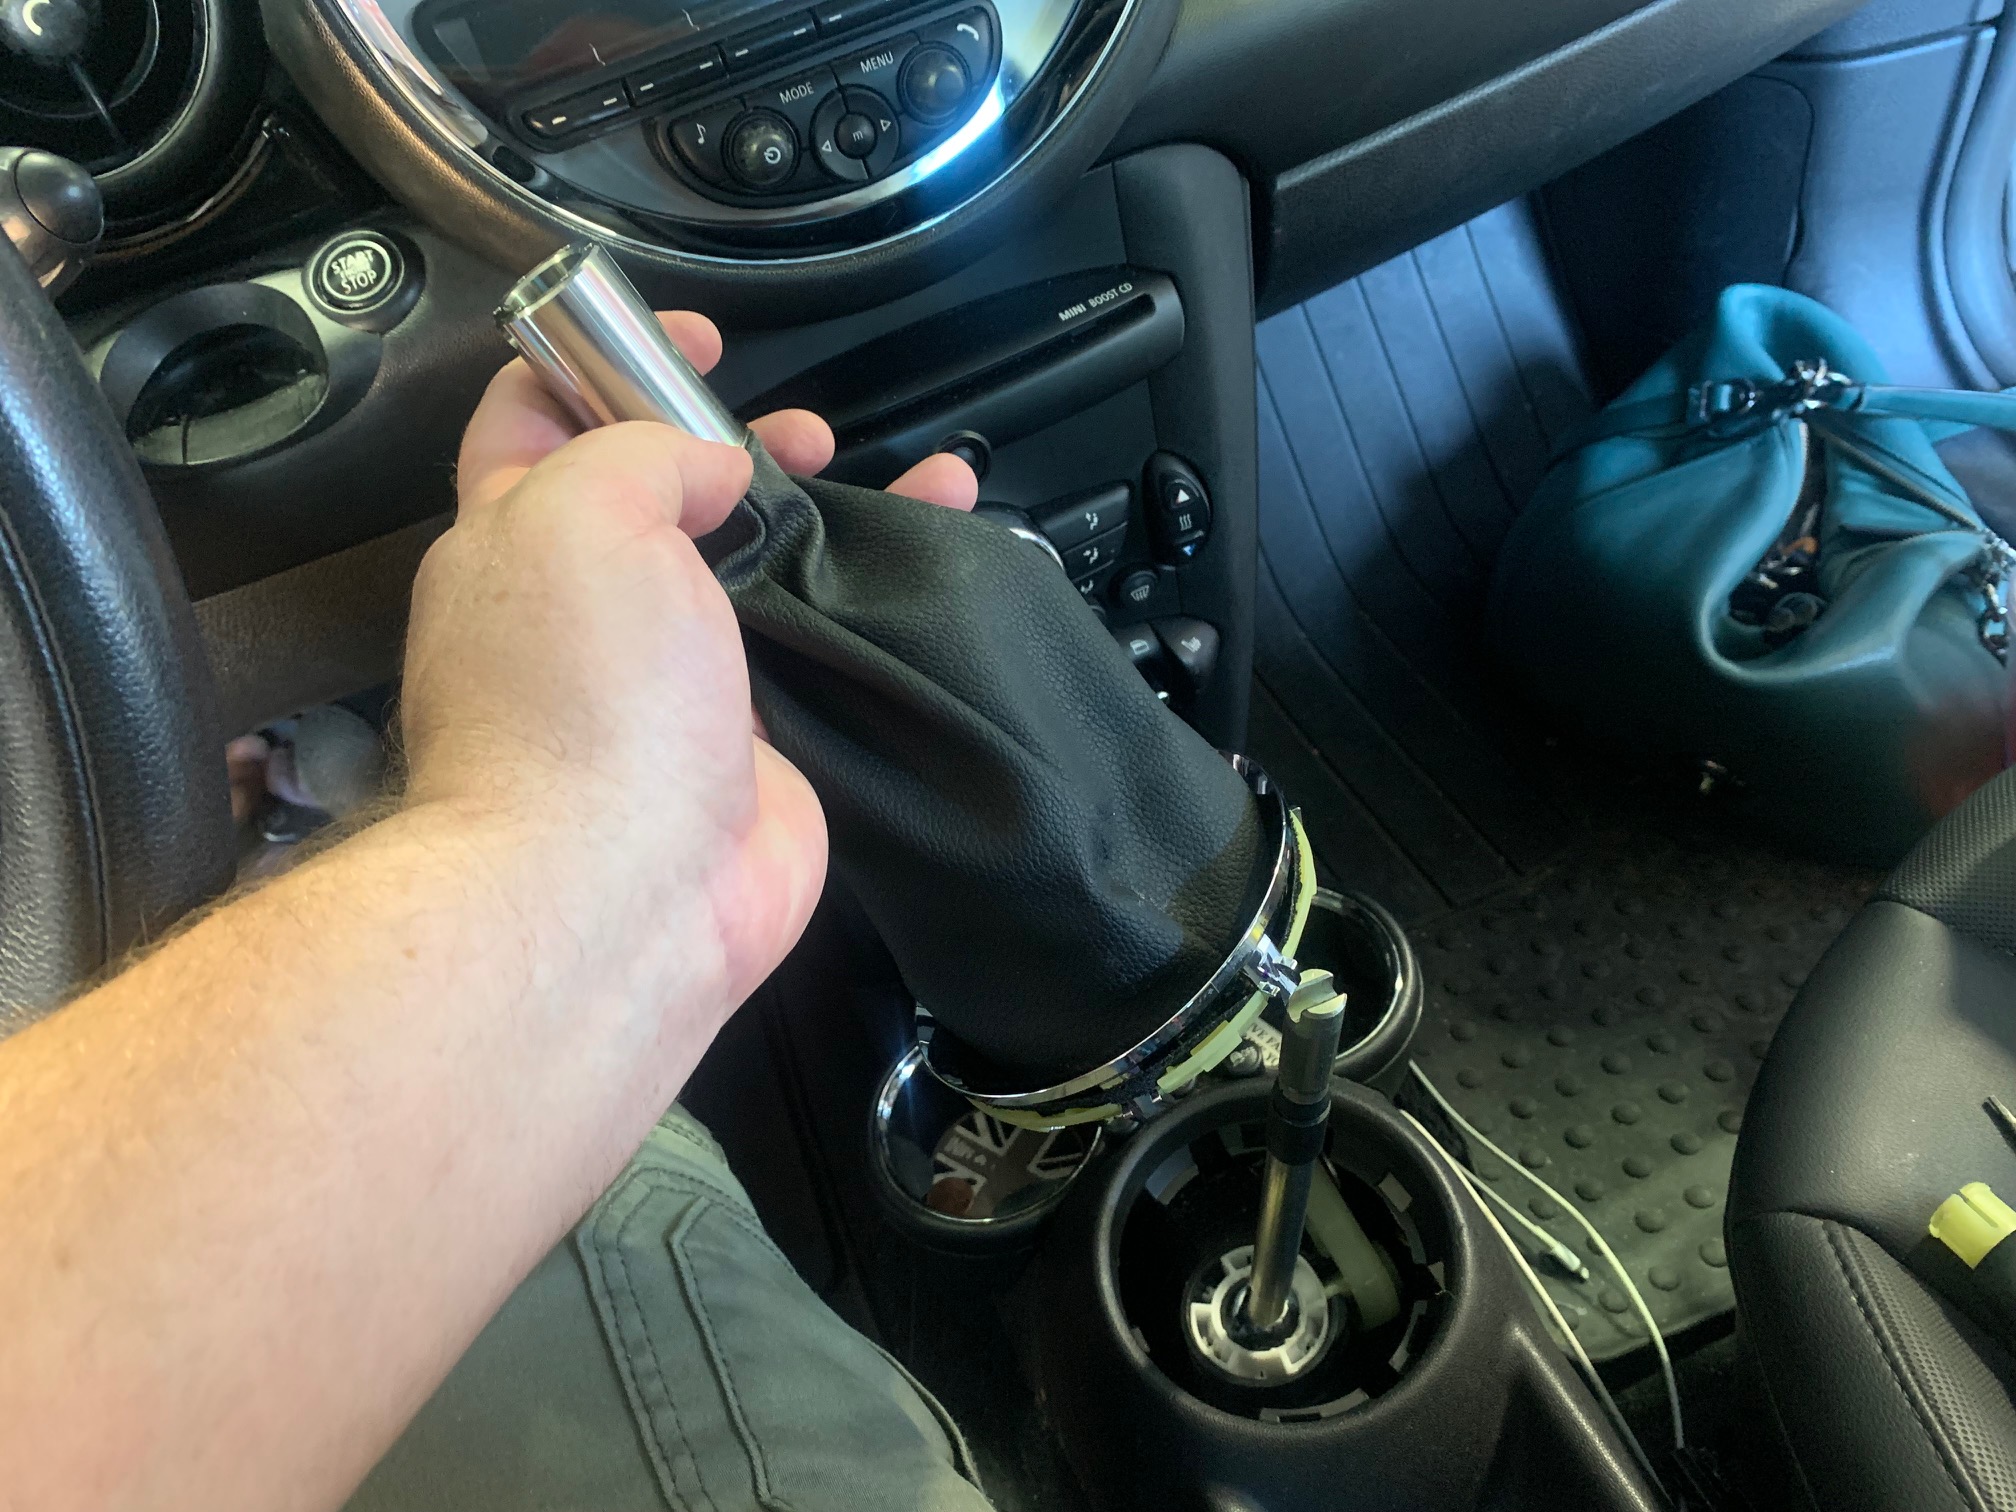
-
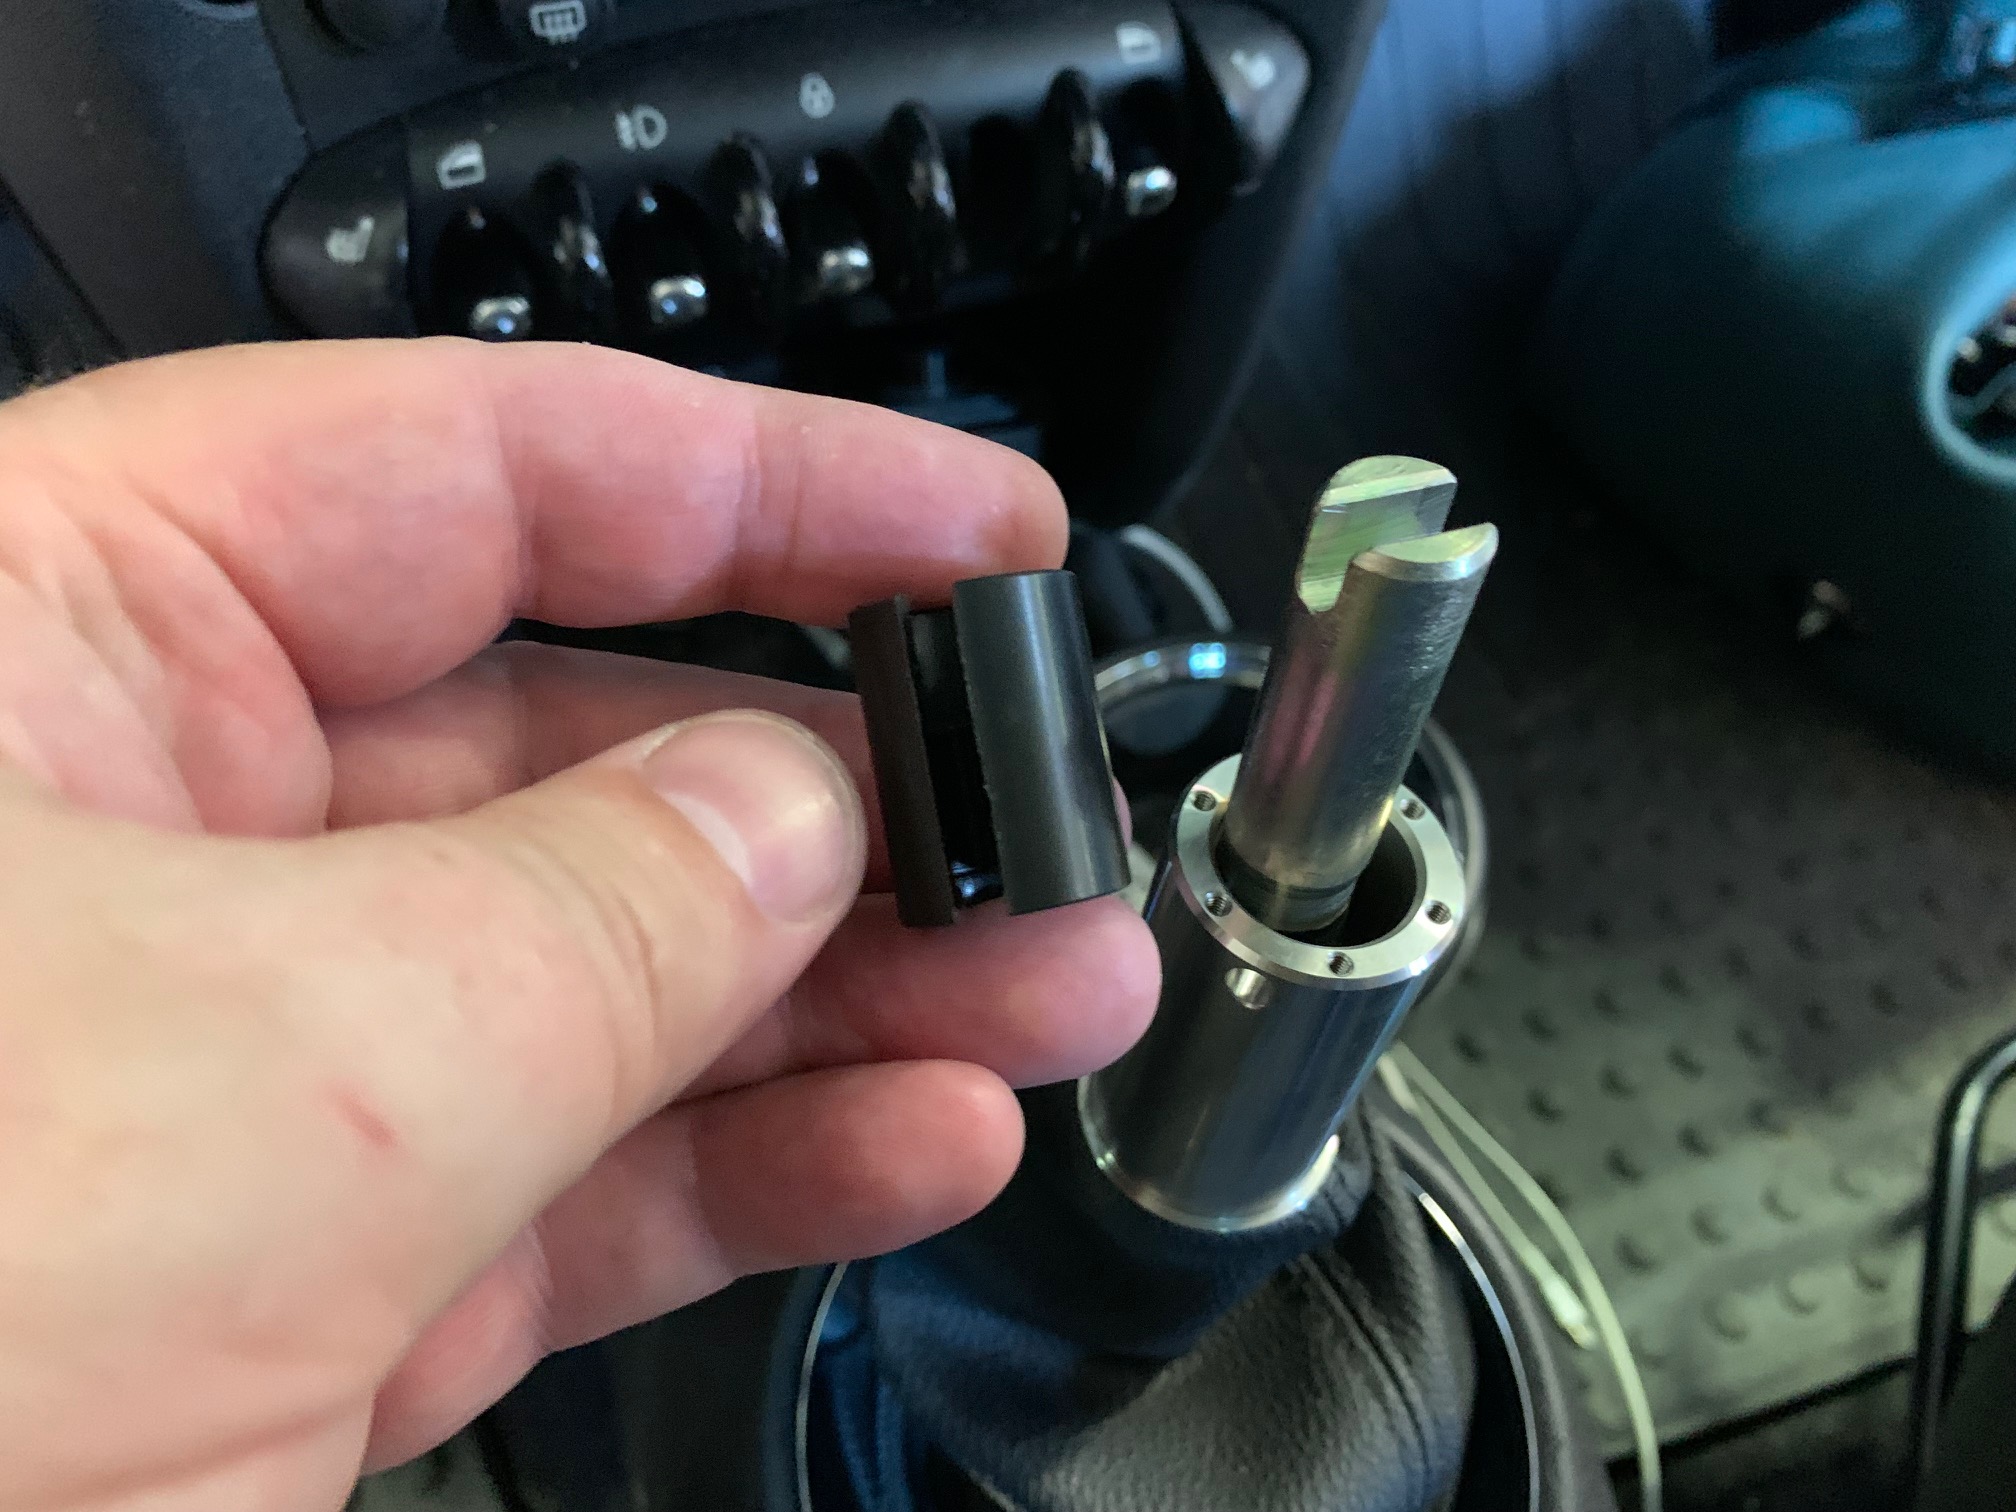
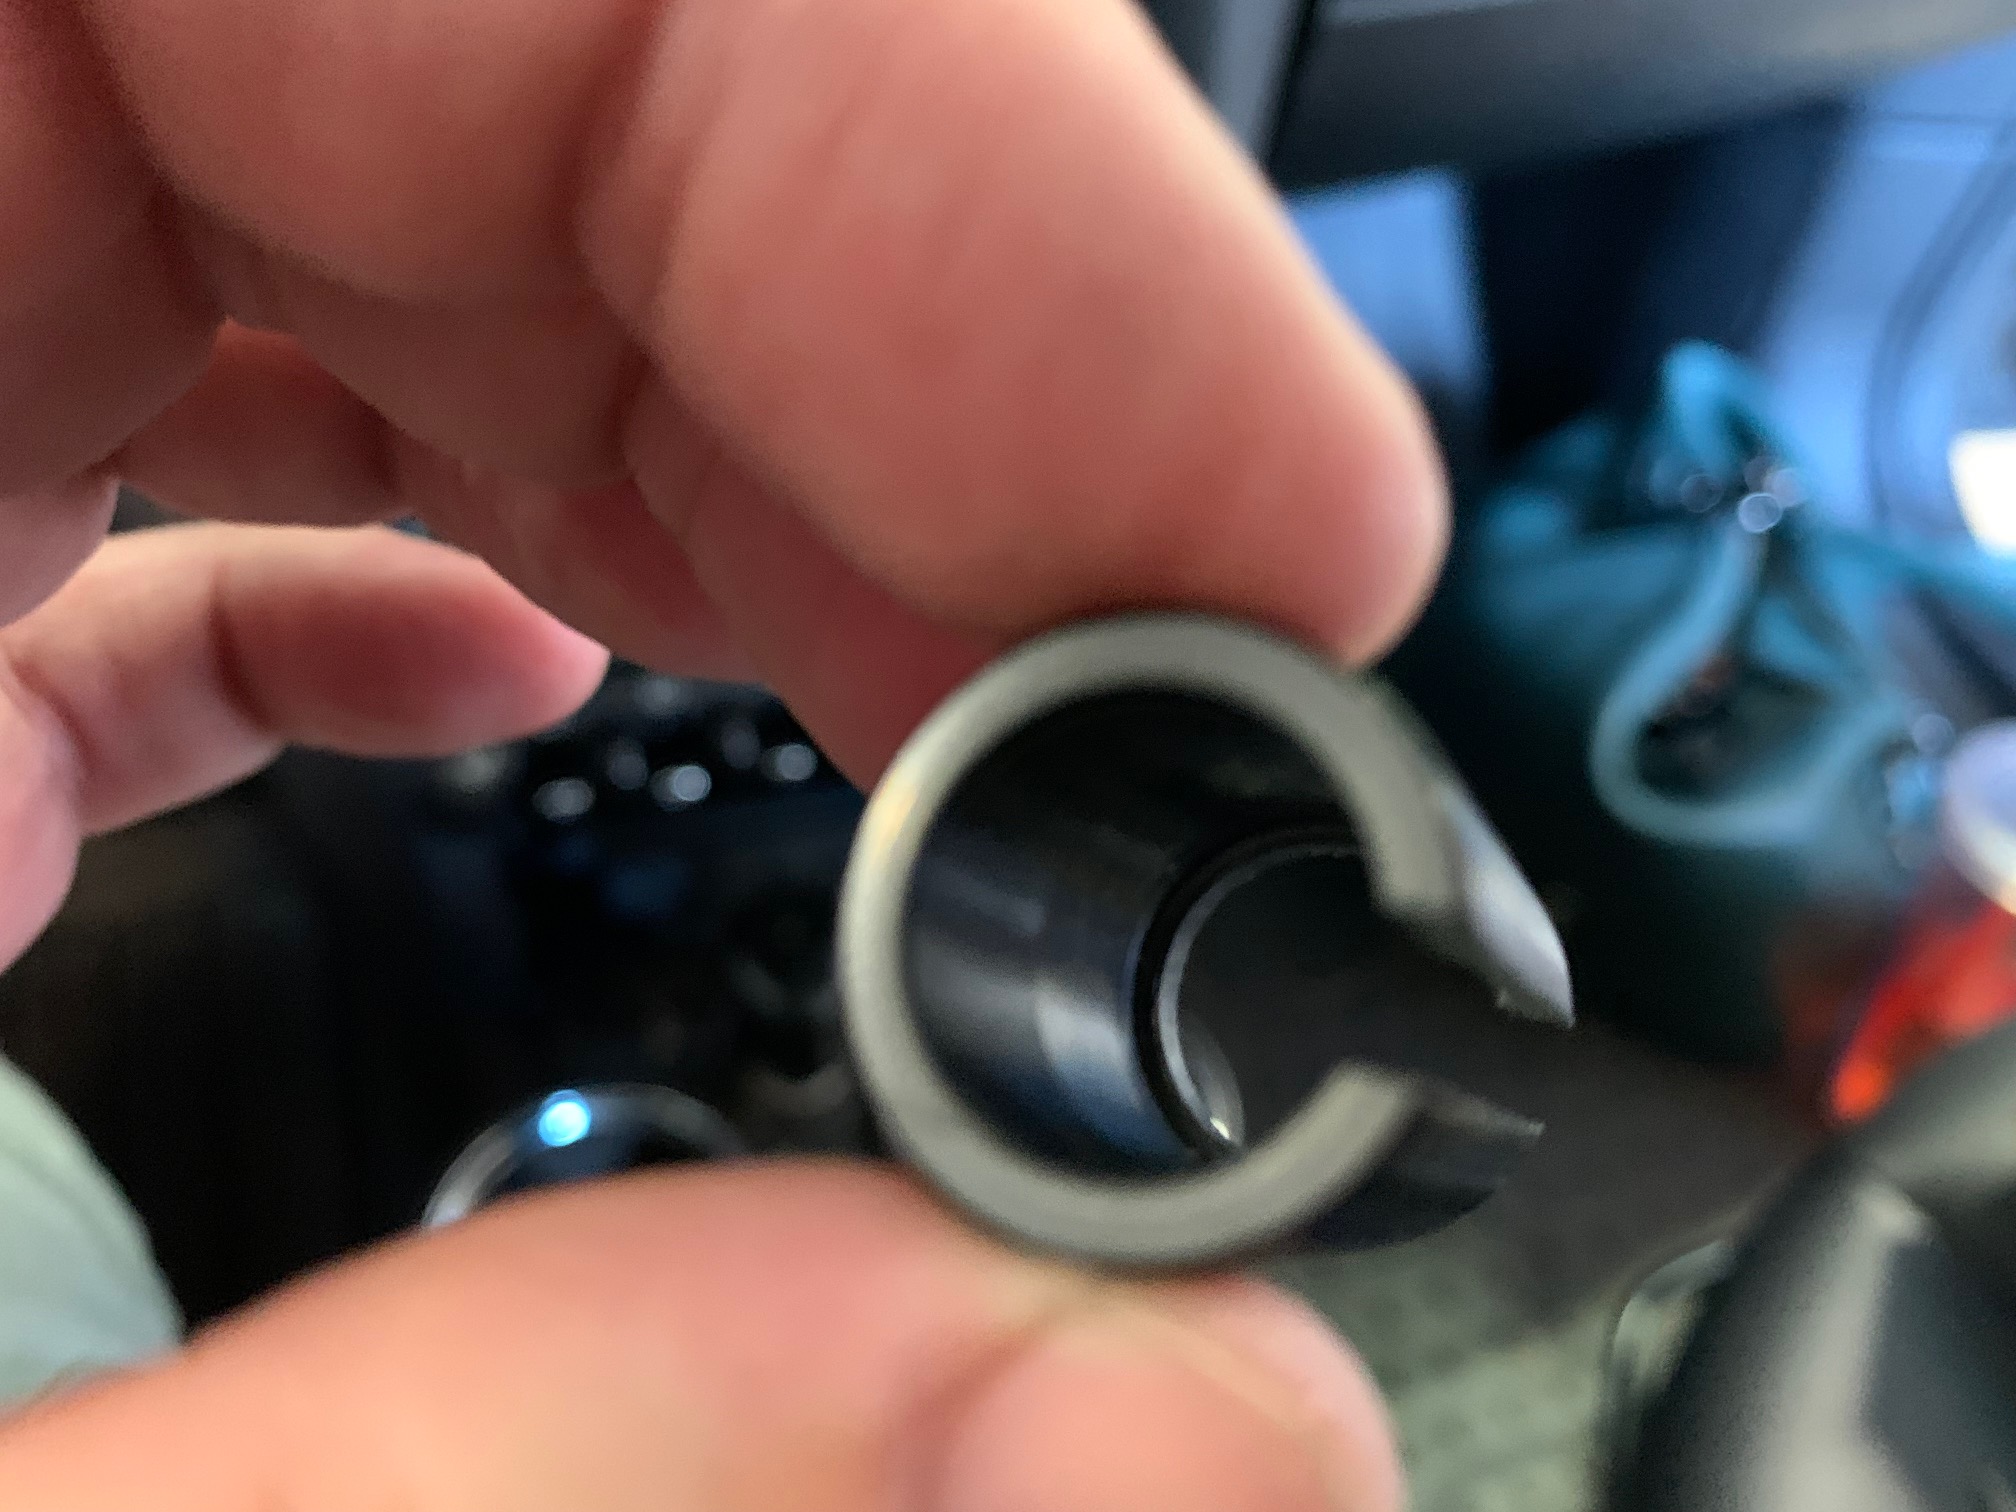
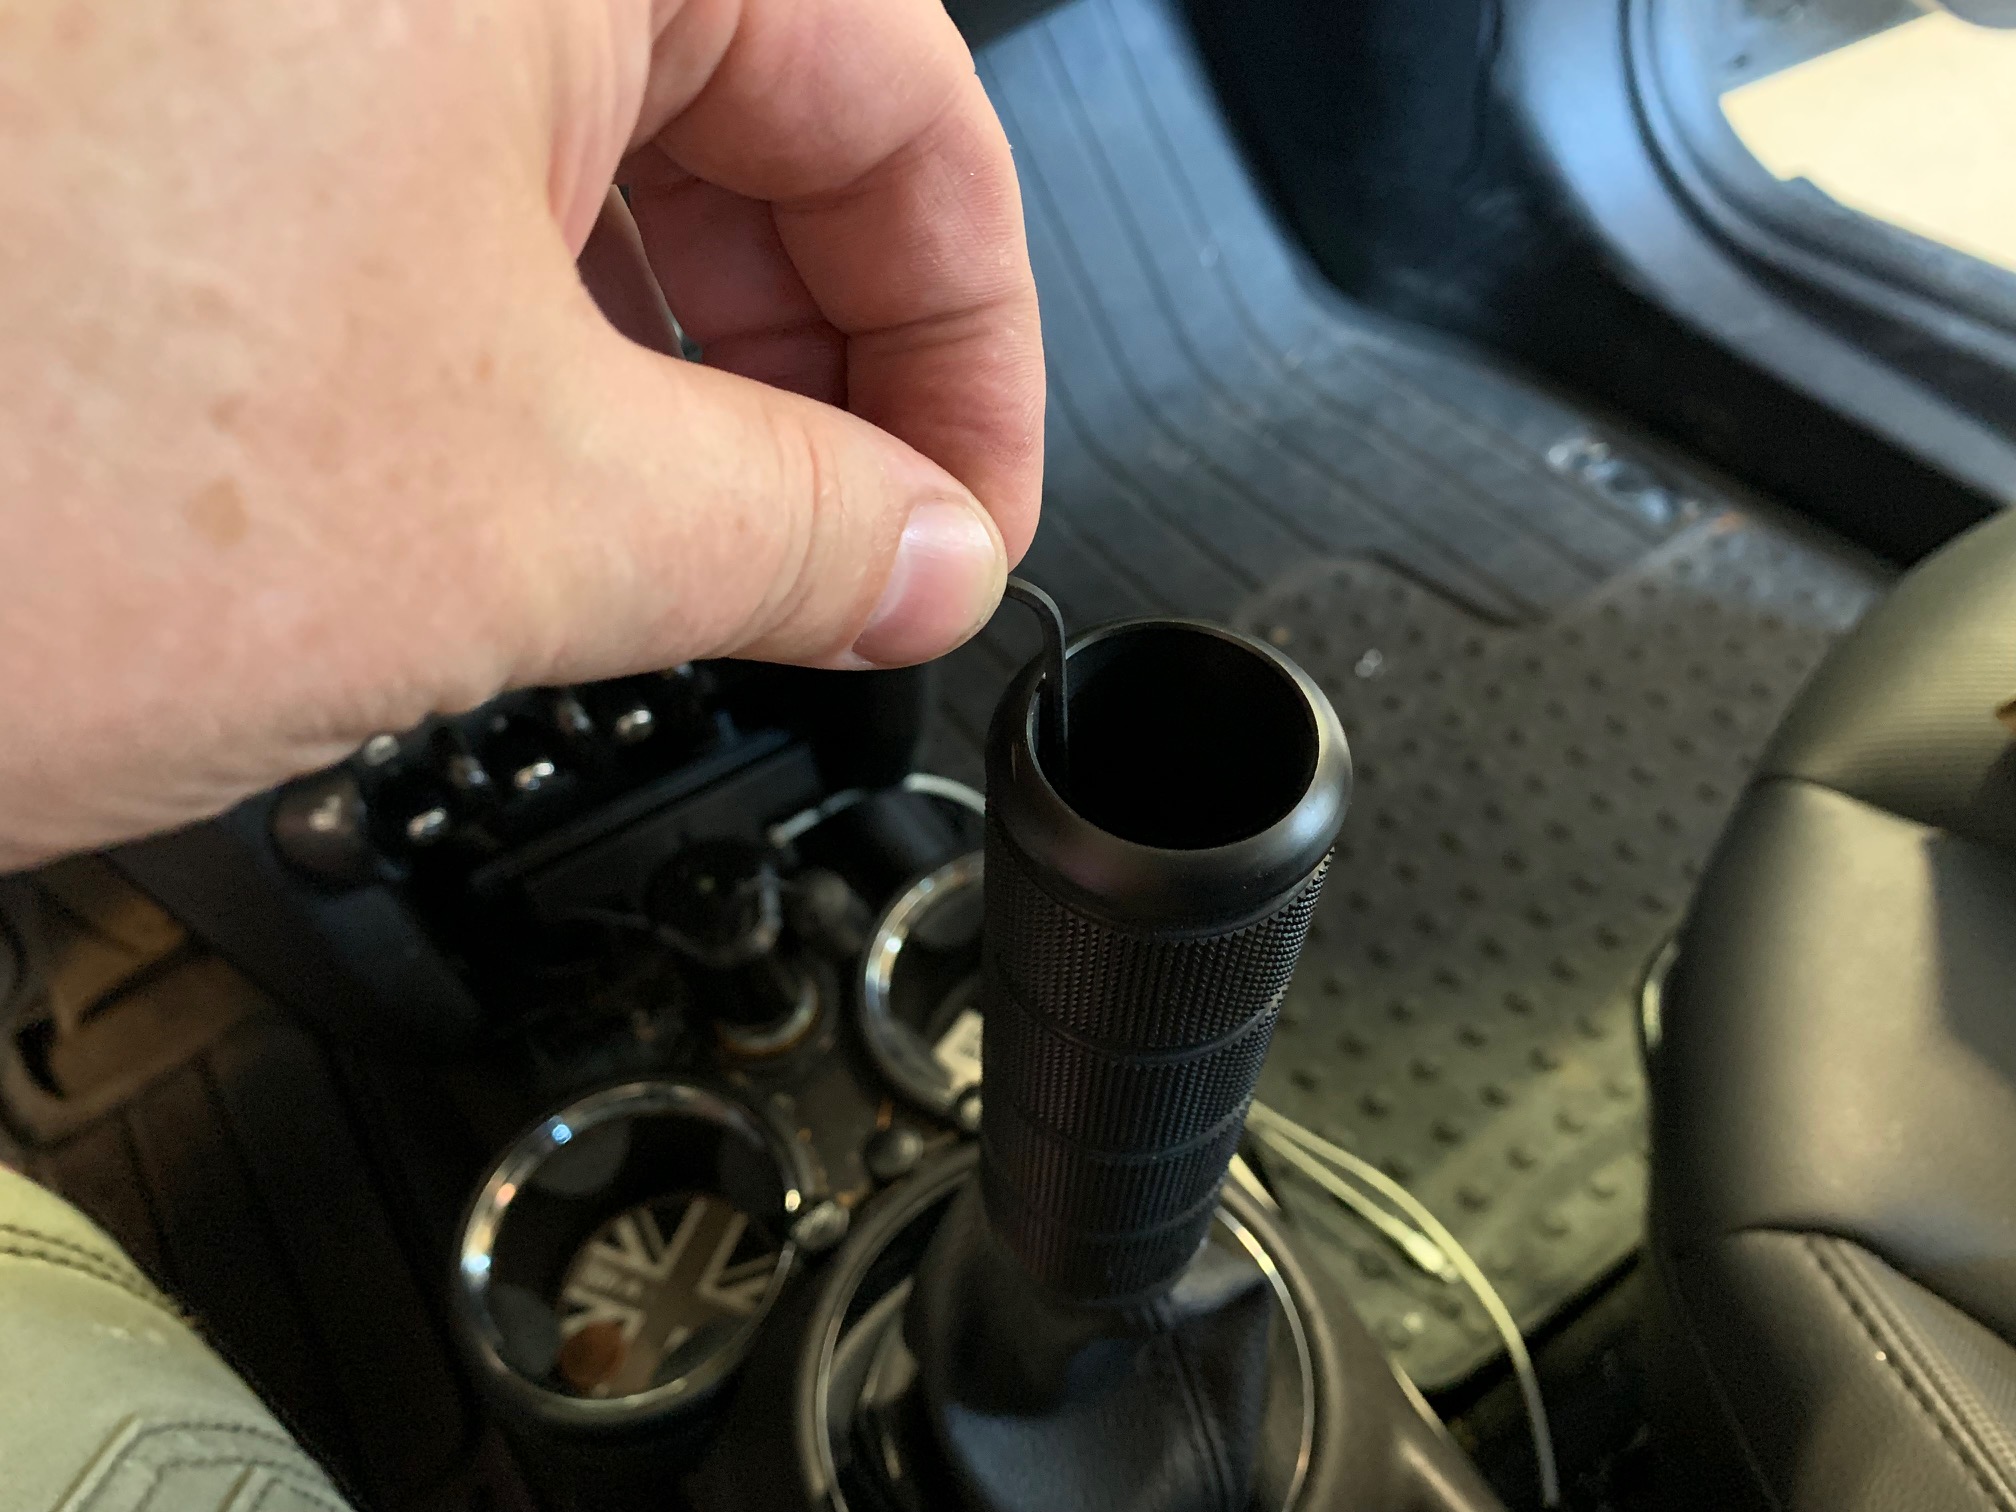
Included in the kit parts is a small black acetal tube with a gap along the side and a small lip on the inside on one end. With the lip oriented down, slide this clip over the shift lever until the lip snaps into the groove of the lever.
-
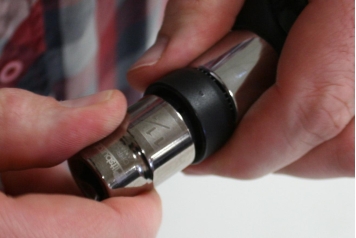
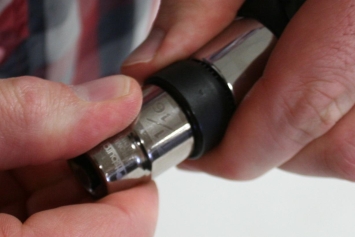
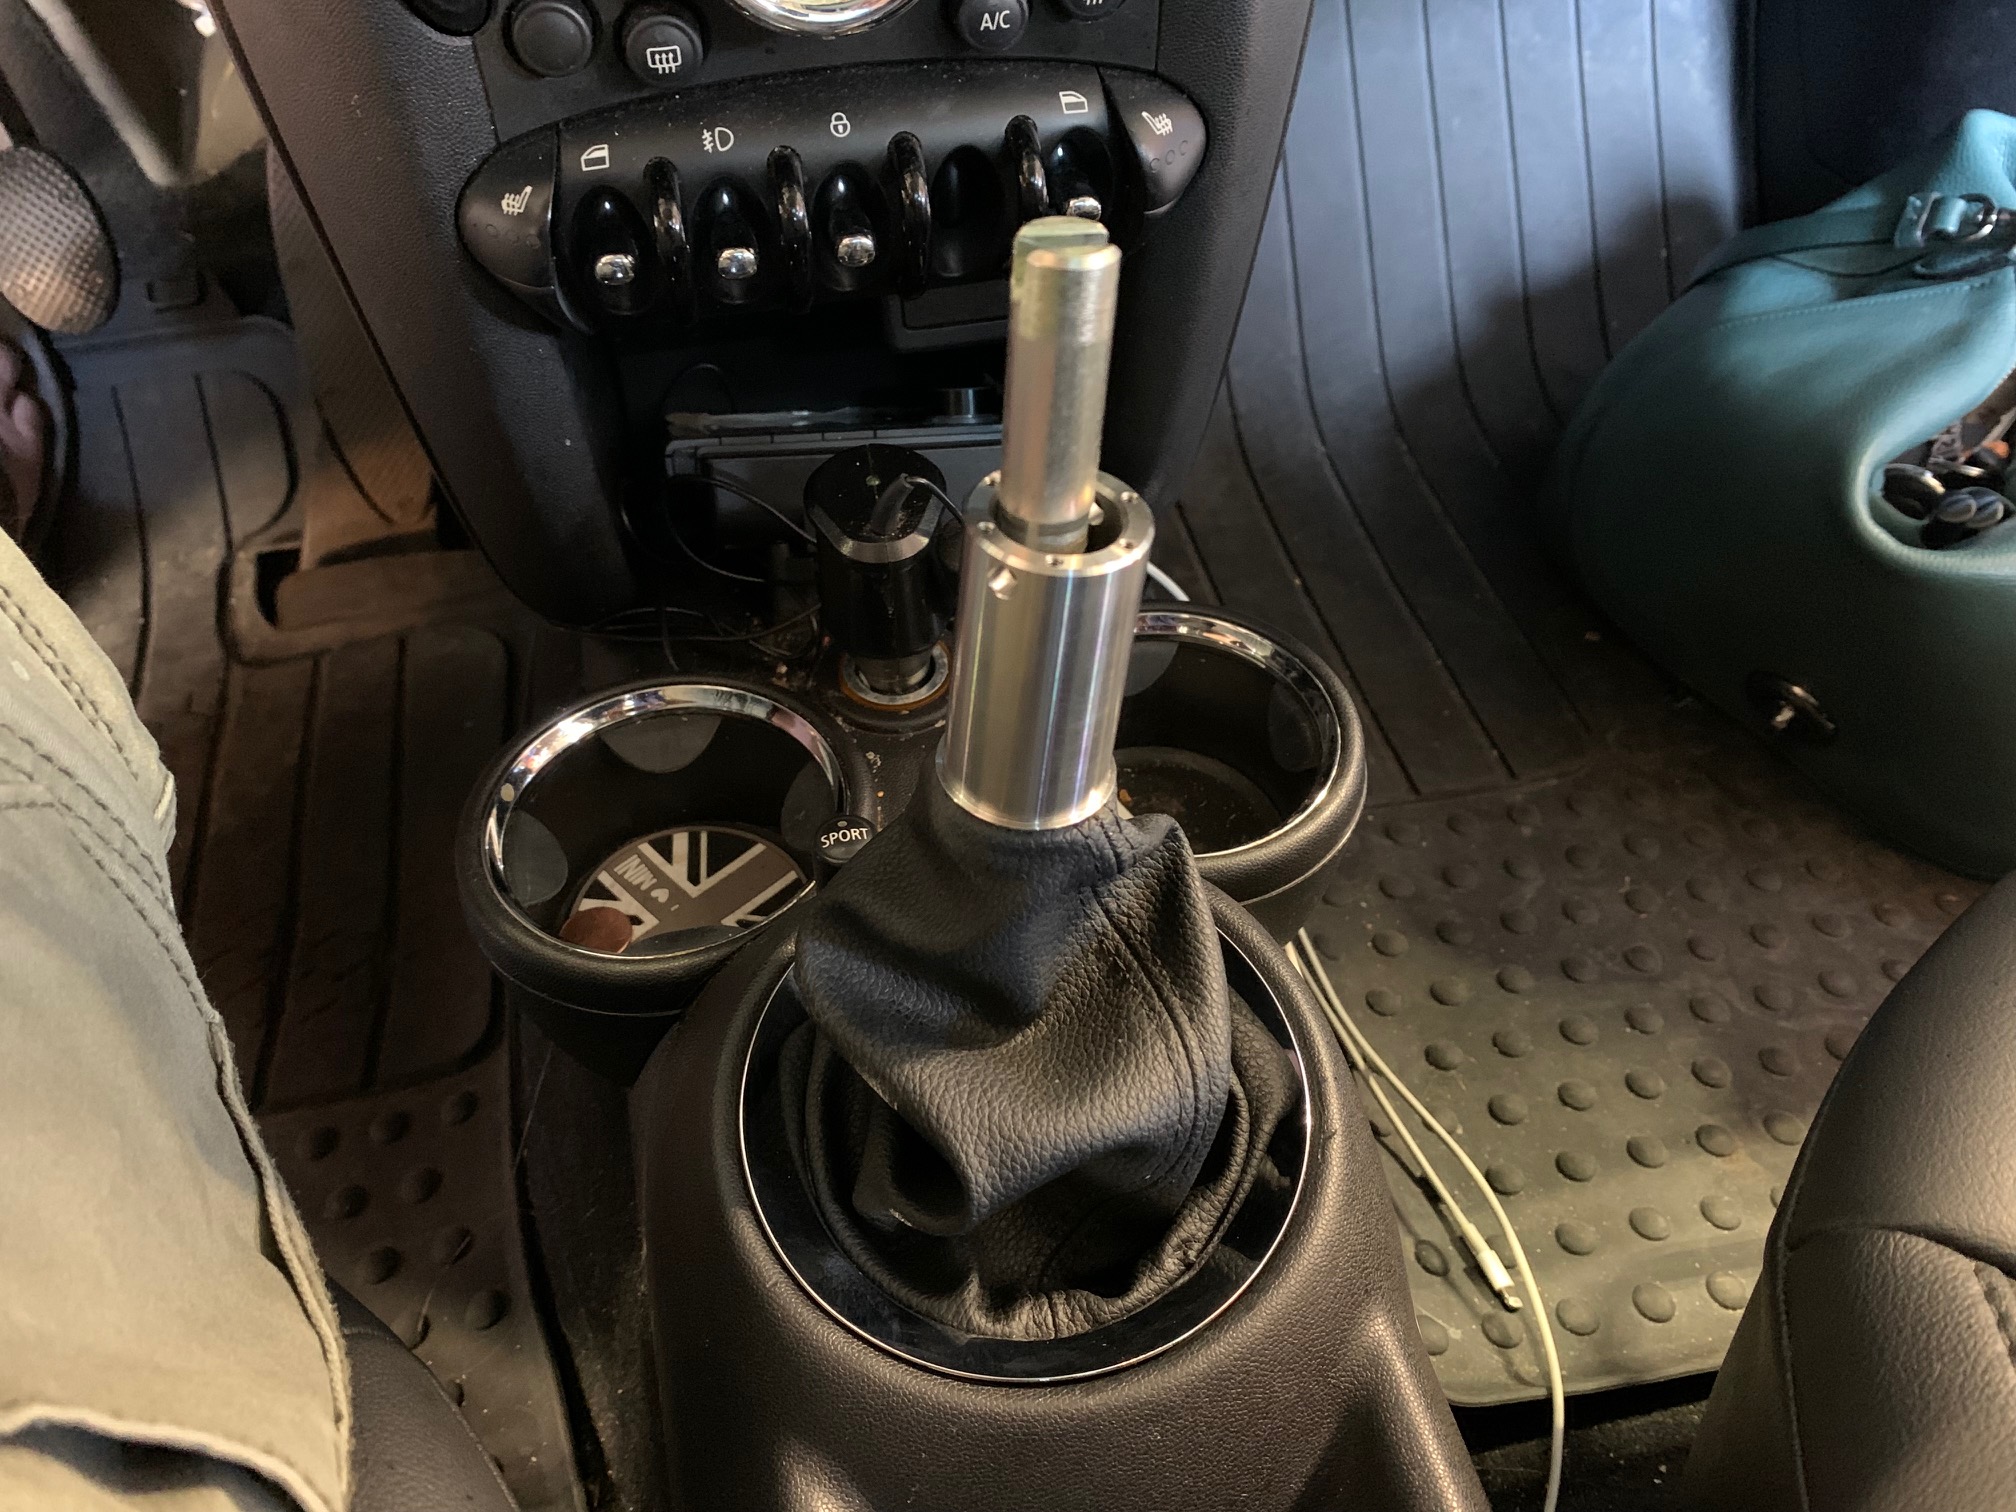
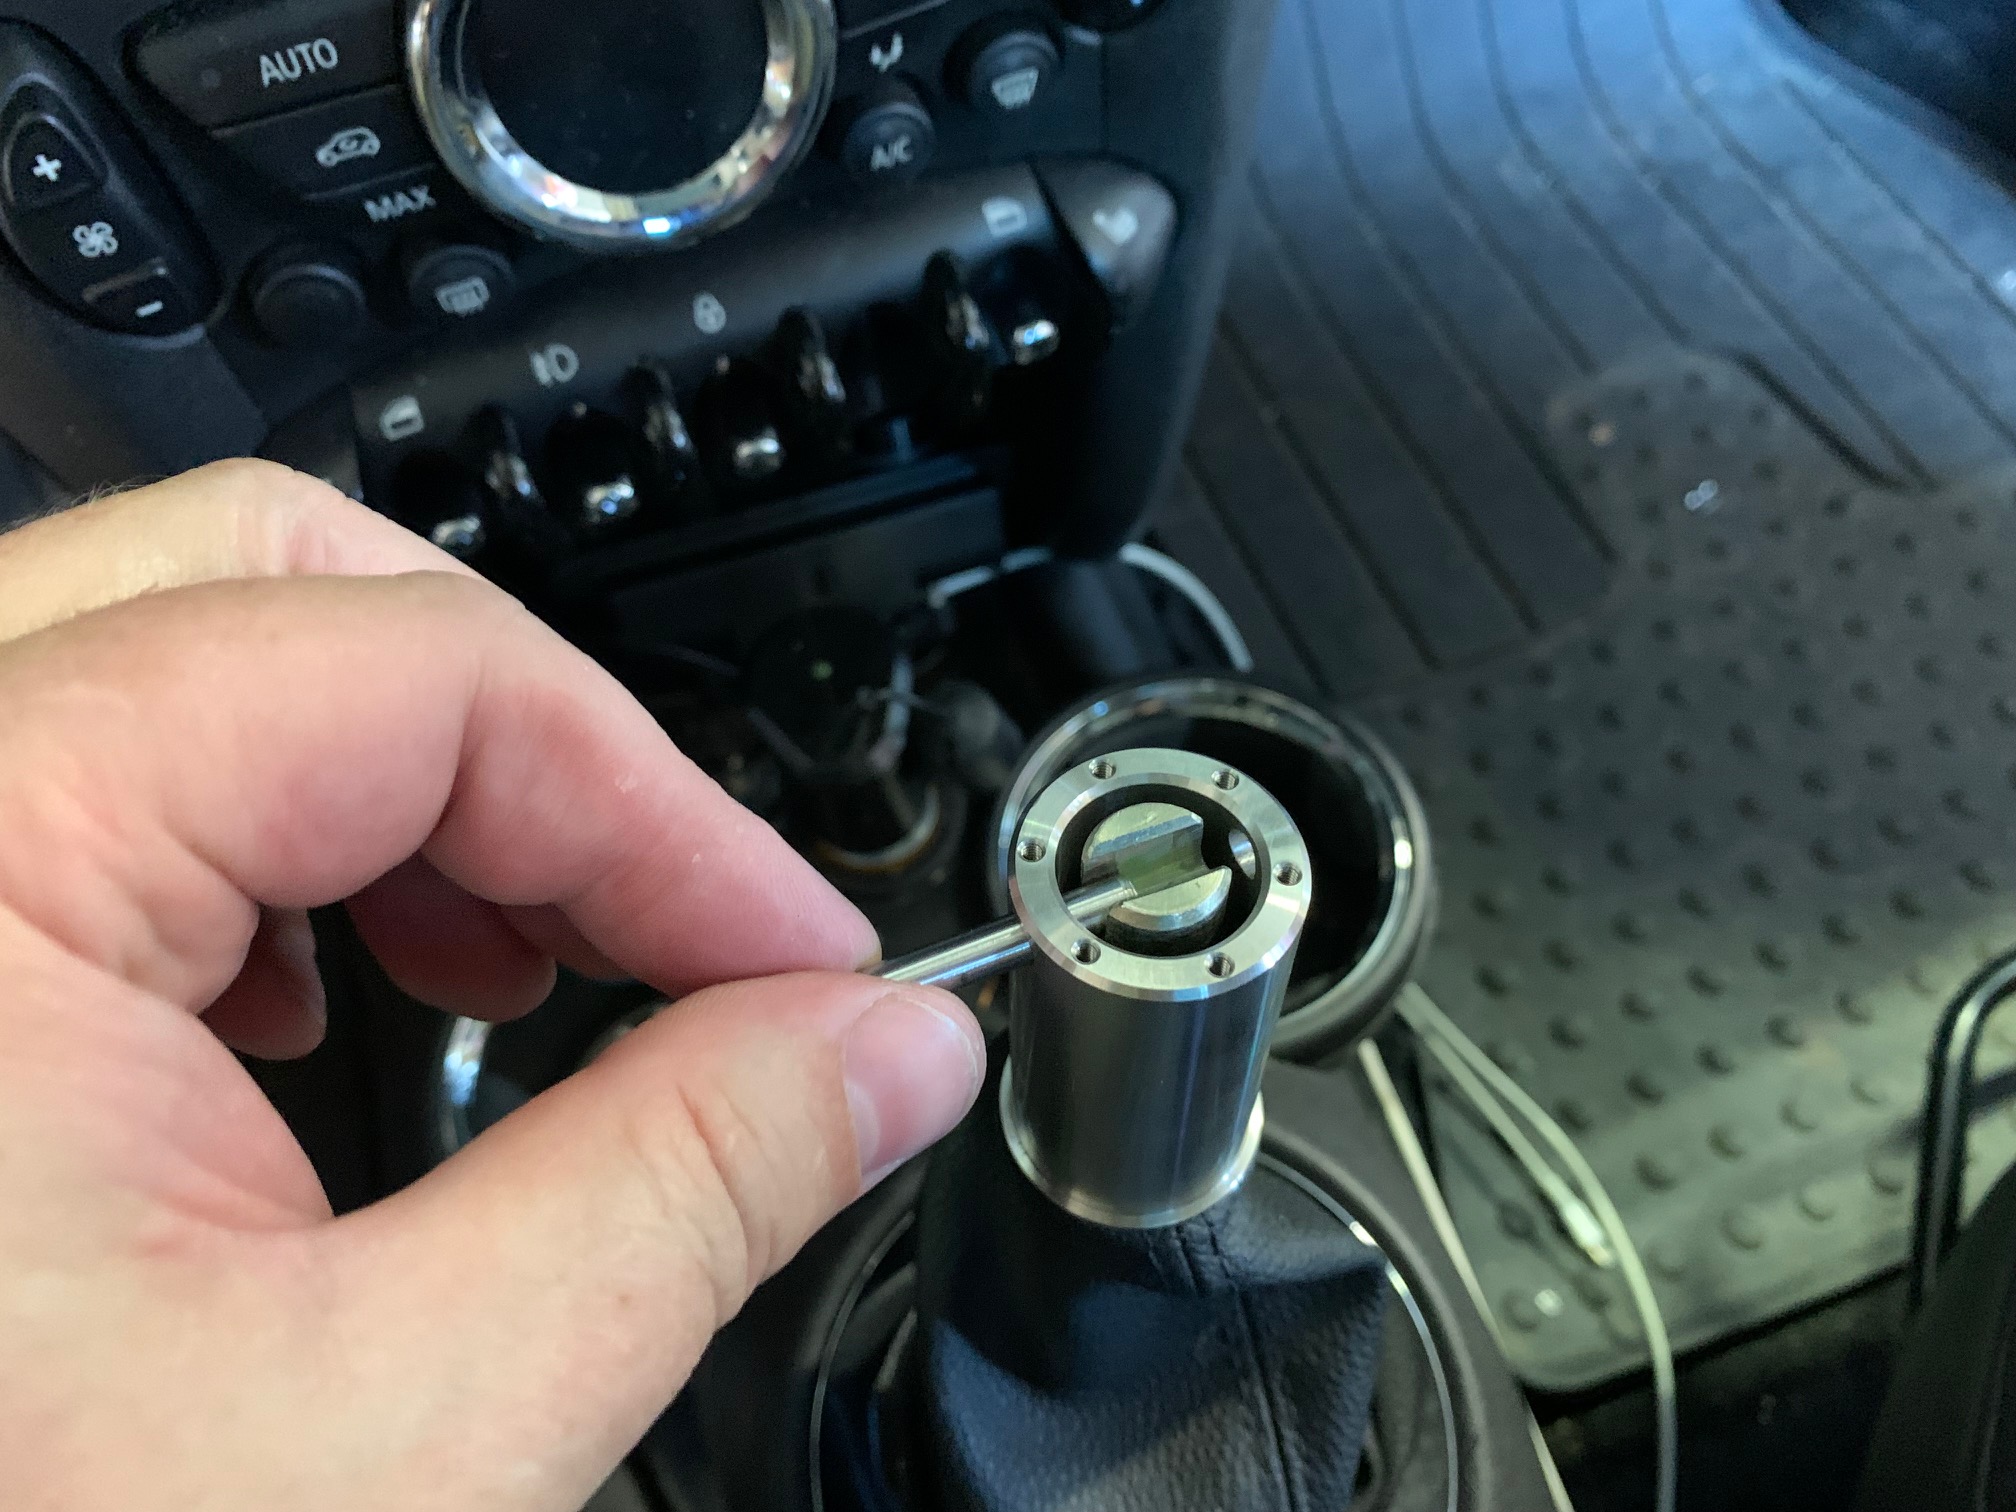
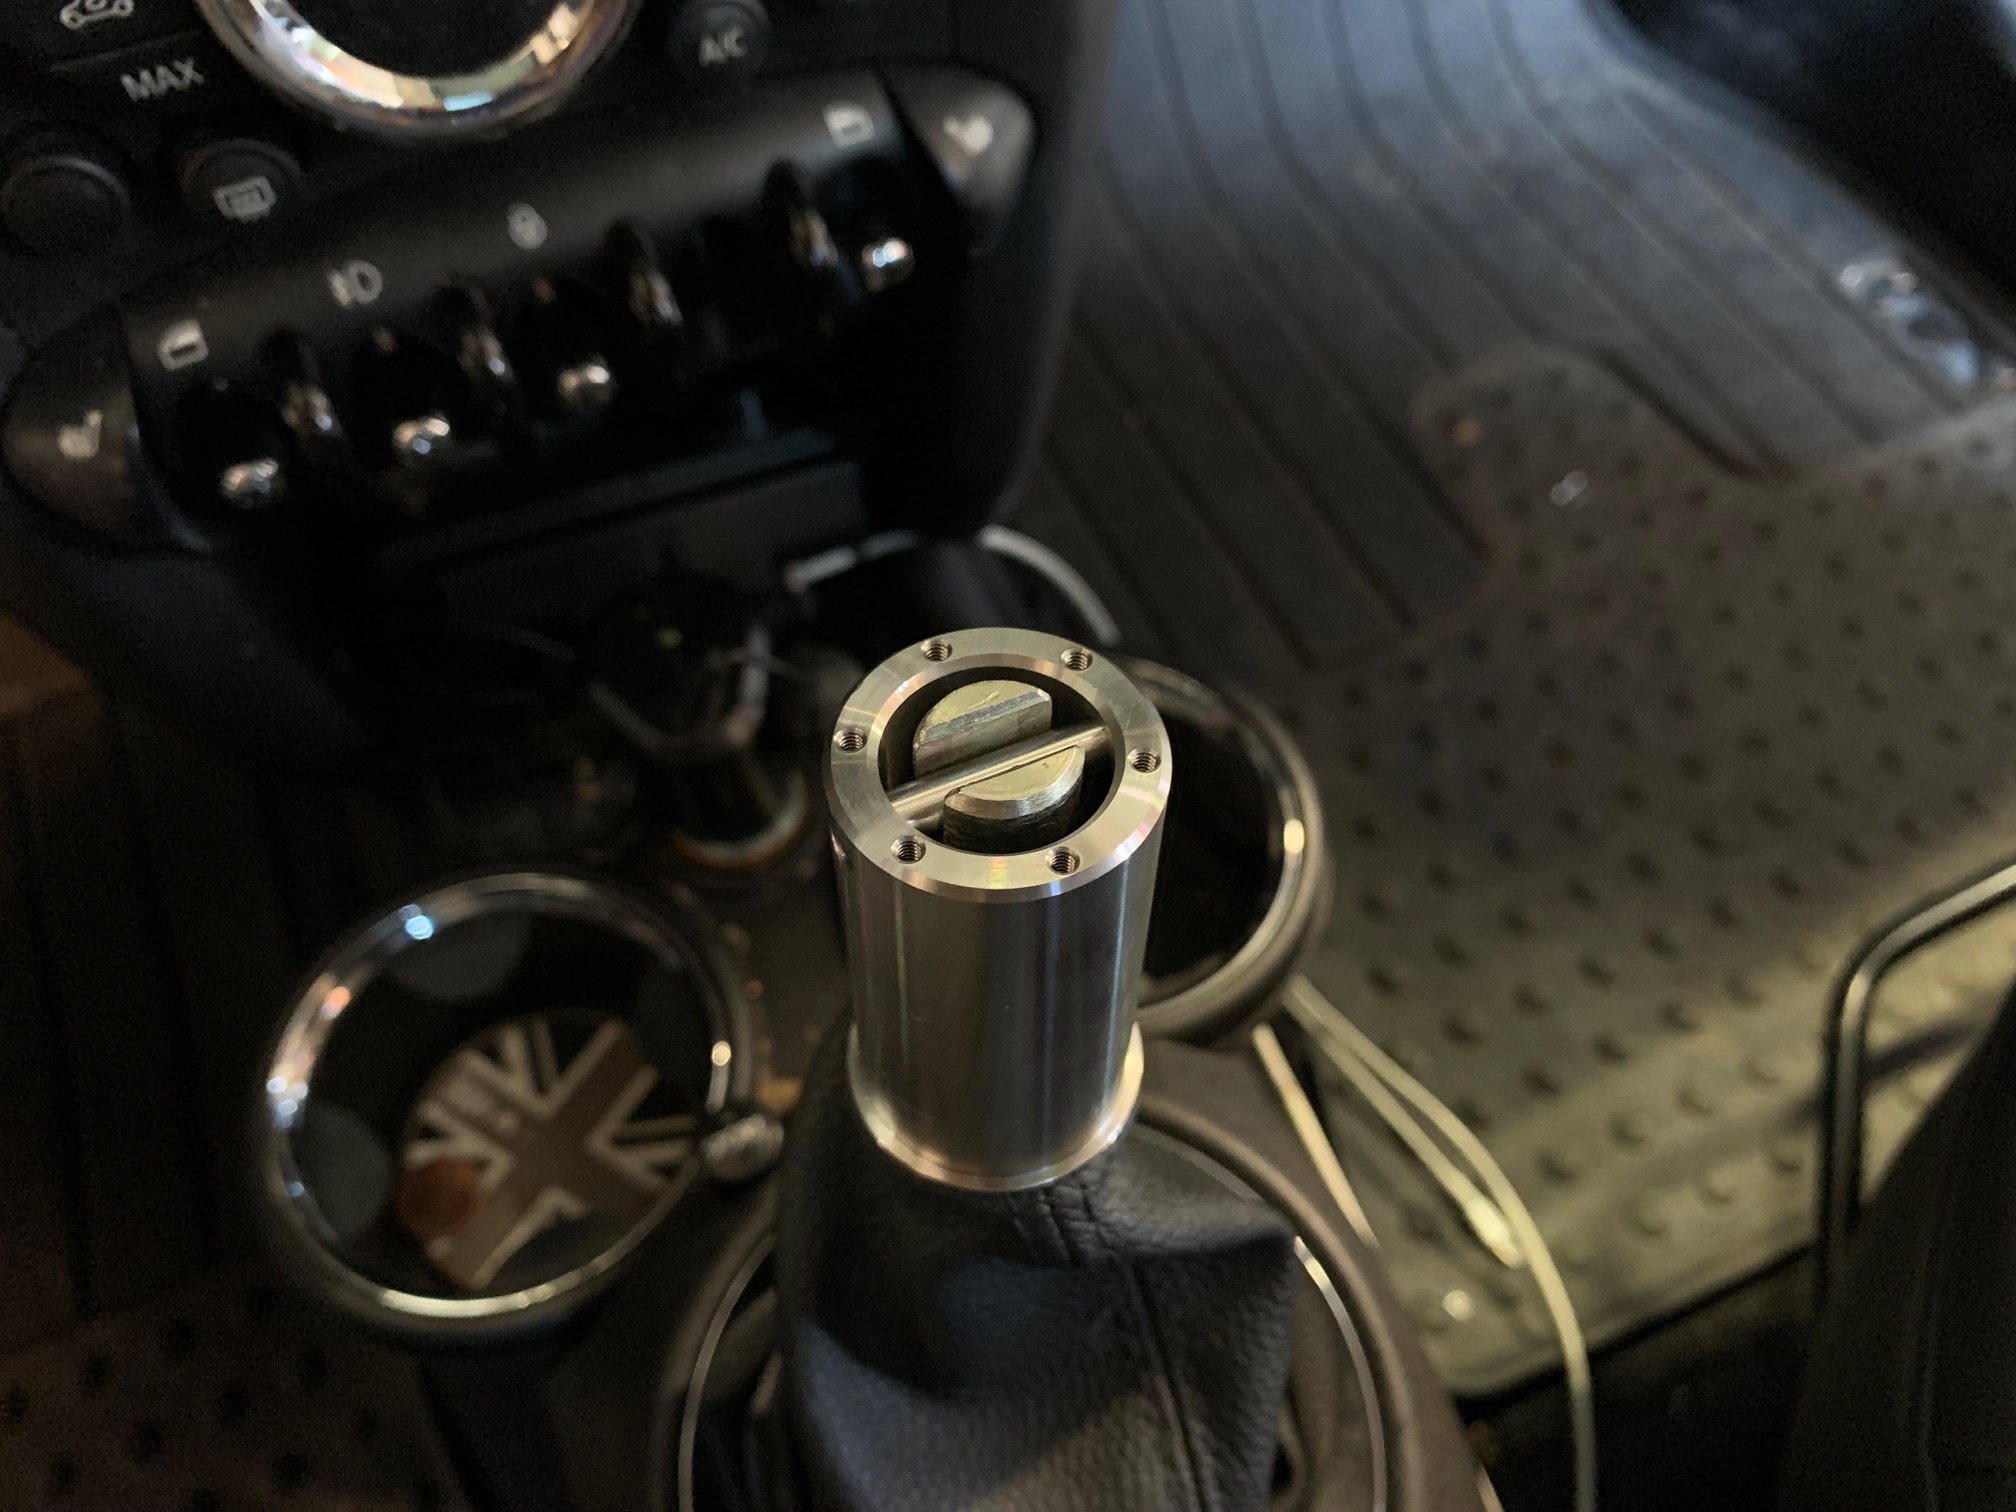
Slide the stainless core up and over the tube clip until it stops just at the top of the shift lever. Orient the cross-thru hole to align with the notch at the top of the shift lever and slip the dowel pin thru to lock them together.

-
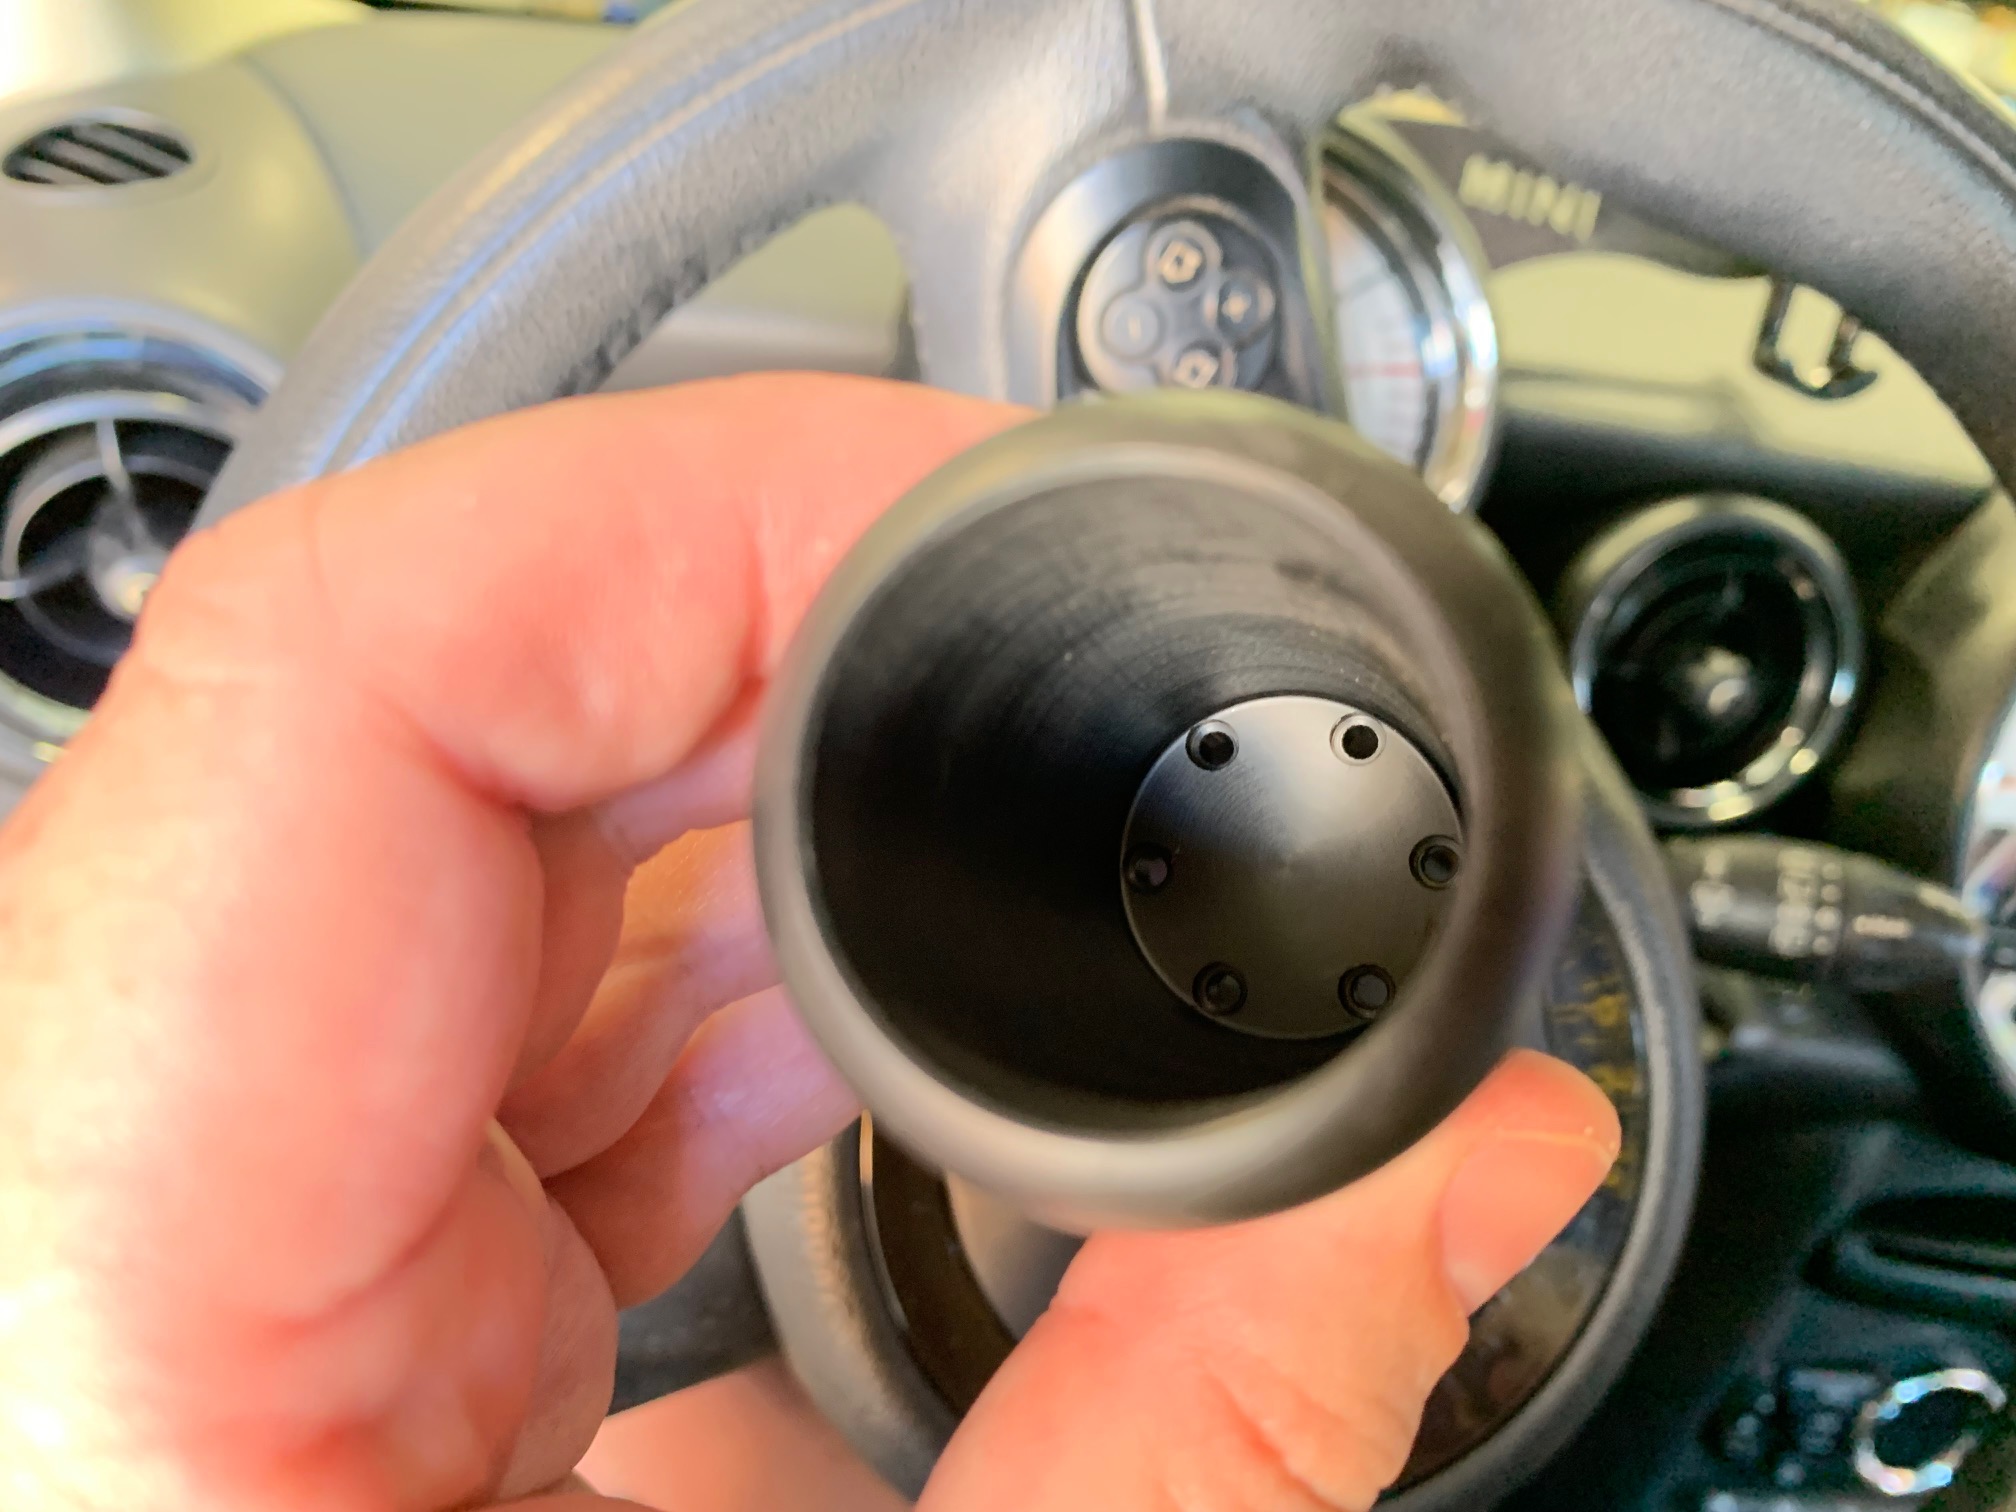
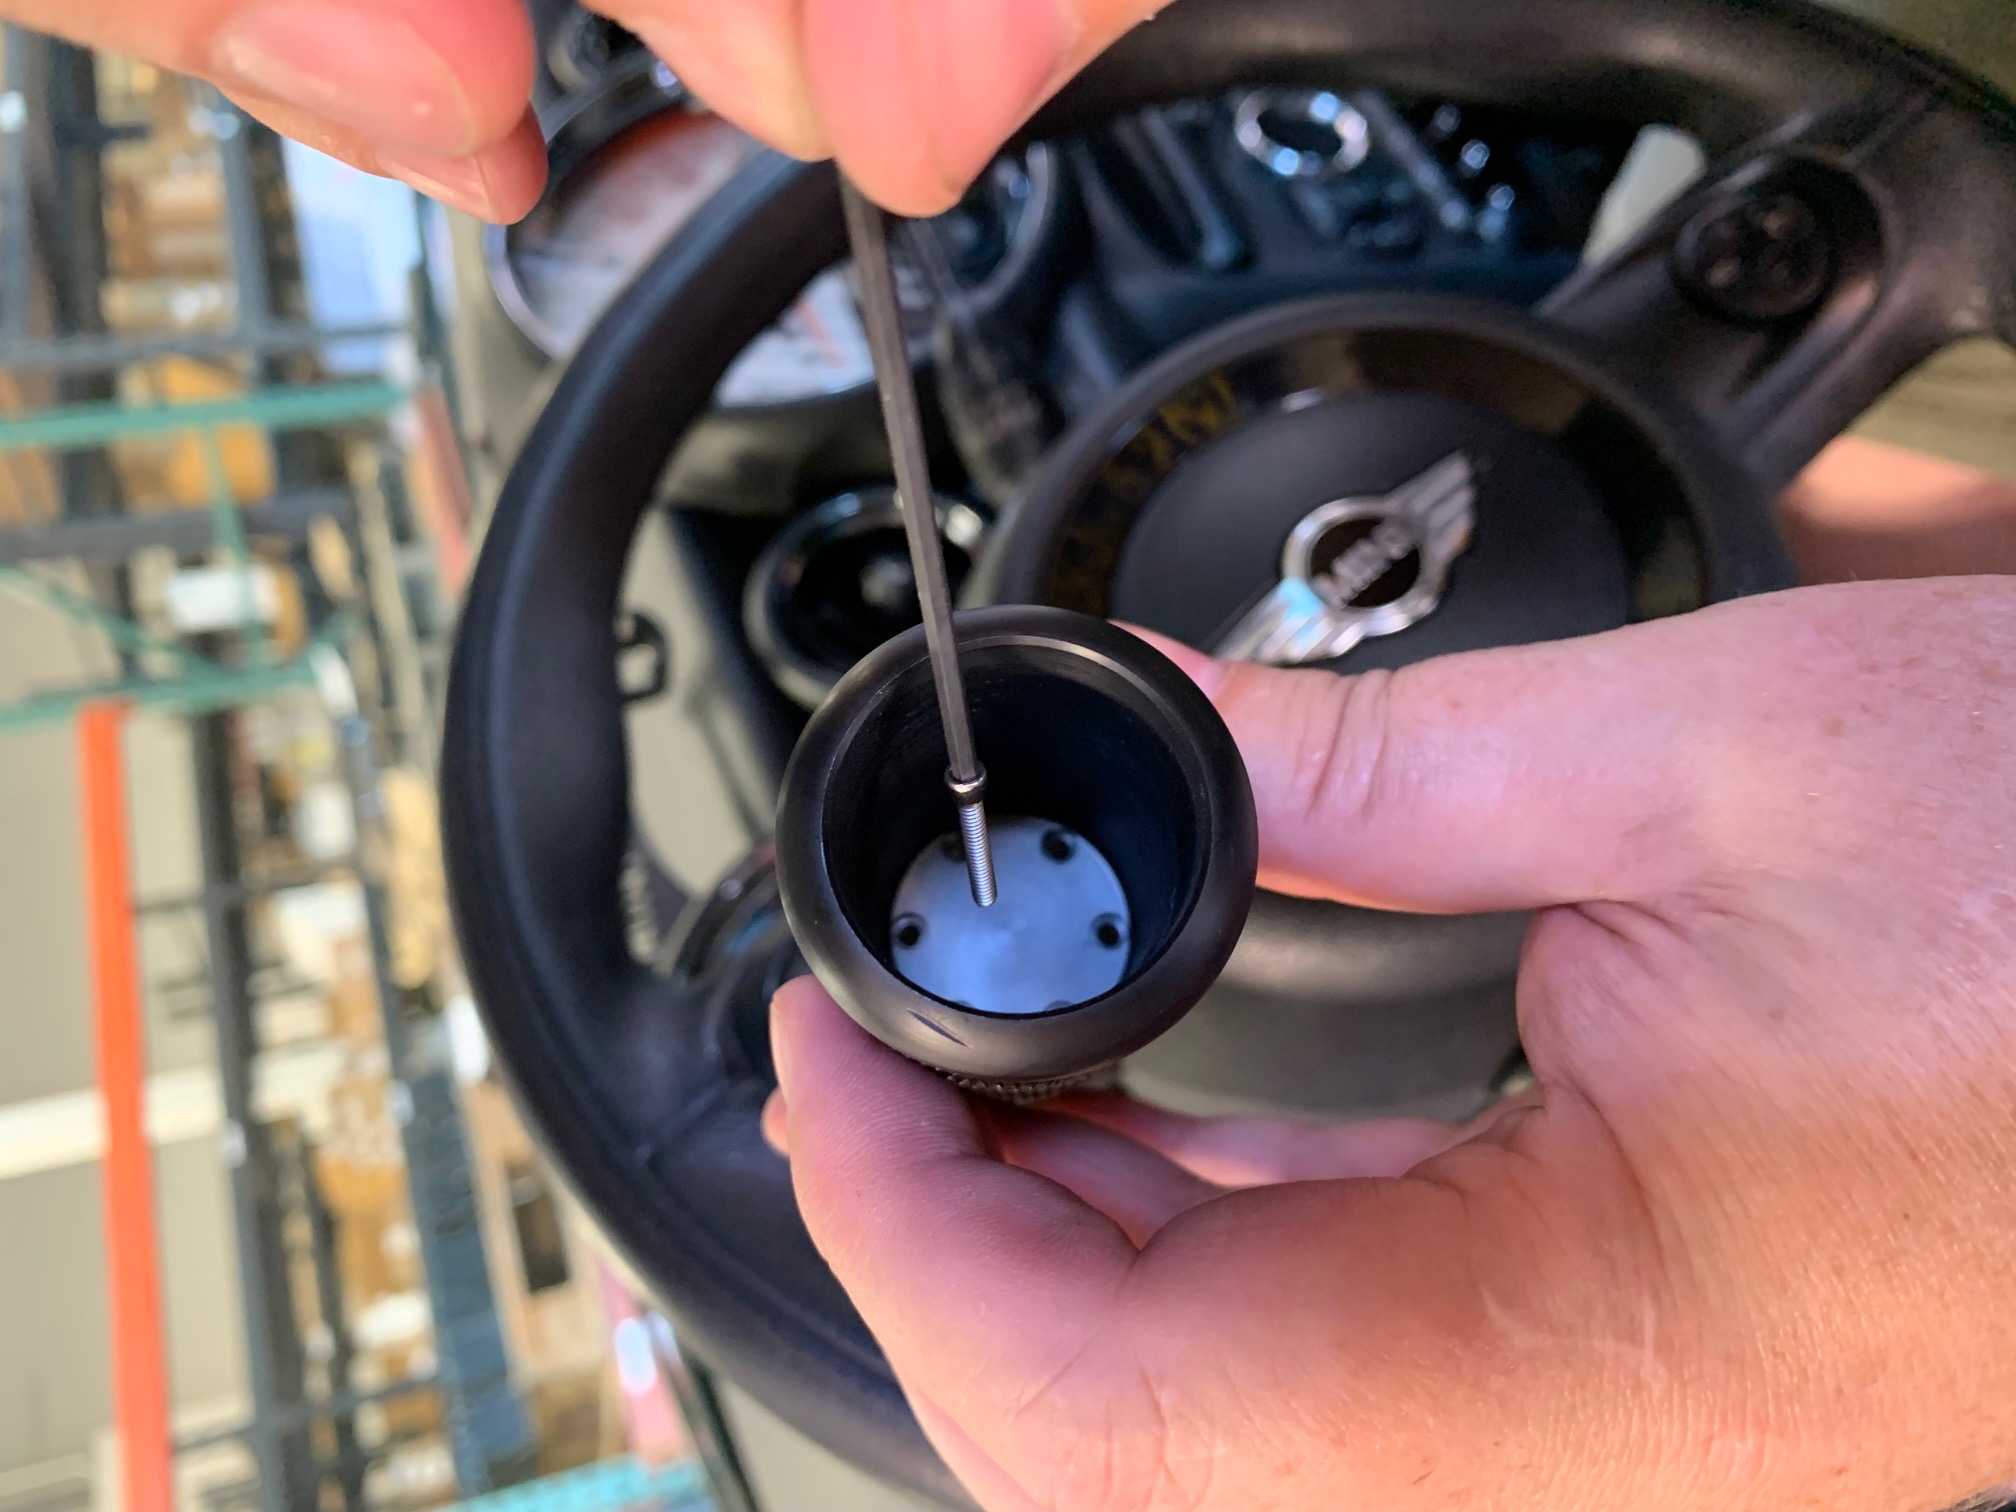
Take the acetal shift knob and look down inside where there are 6 holes in a radial pattern. From one side these holes have a counterbore and they need to be oriented UP when you place the shift knob down over the stainless core. HOWEVER, before you do, place each of the 6 small cap-head screws into their respective holes with the provided 3" long 5/64" hex key. It's much easier to accomplish this task with the knob handle in your hand than down vertically on the shift lever.
-
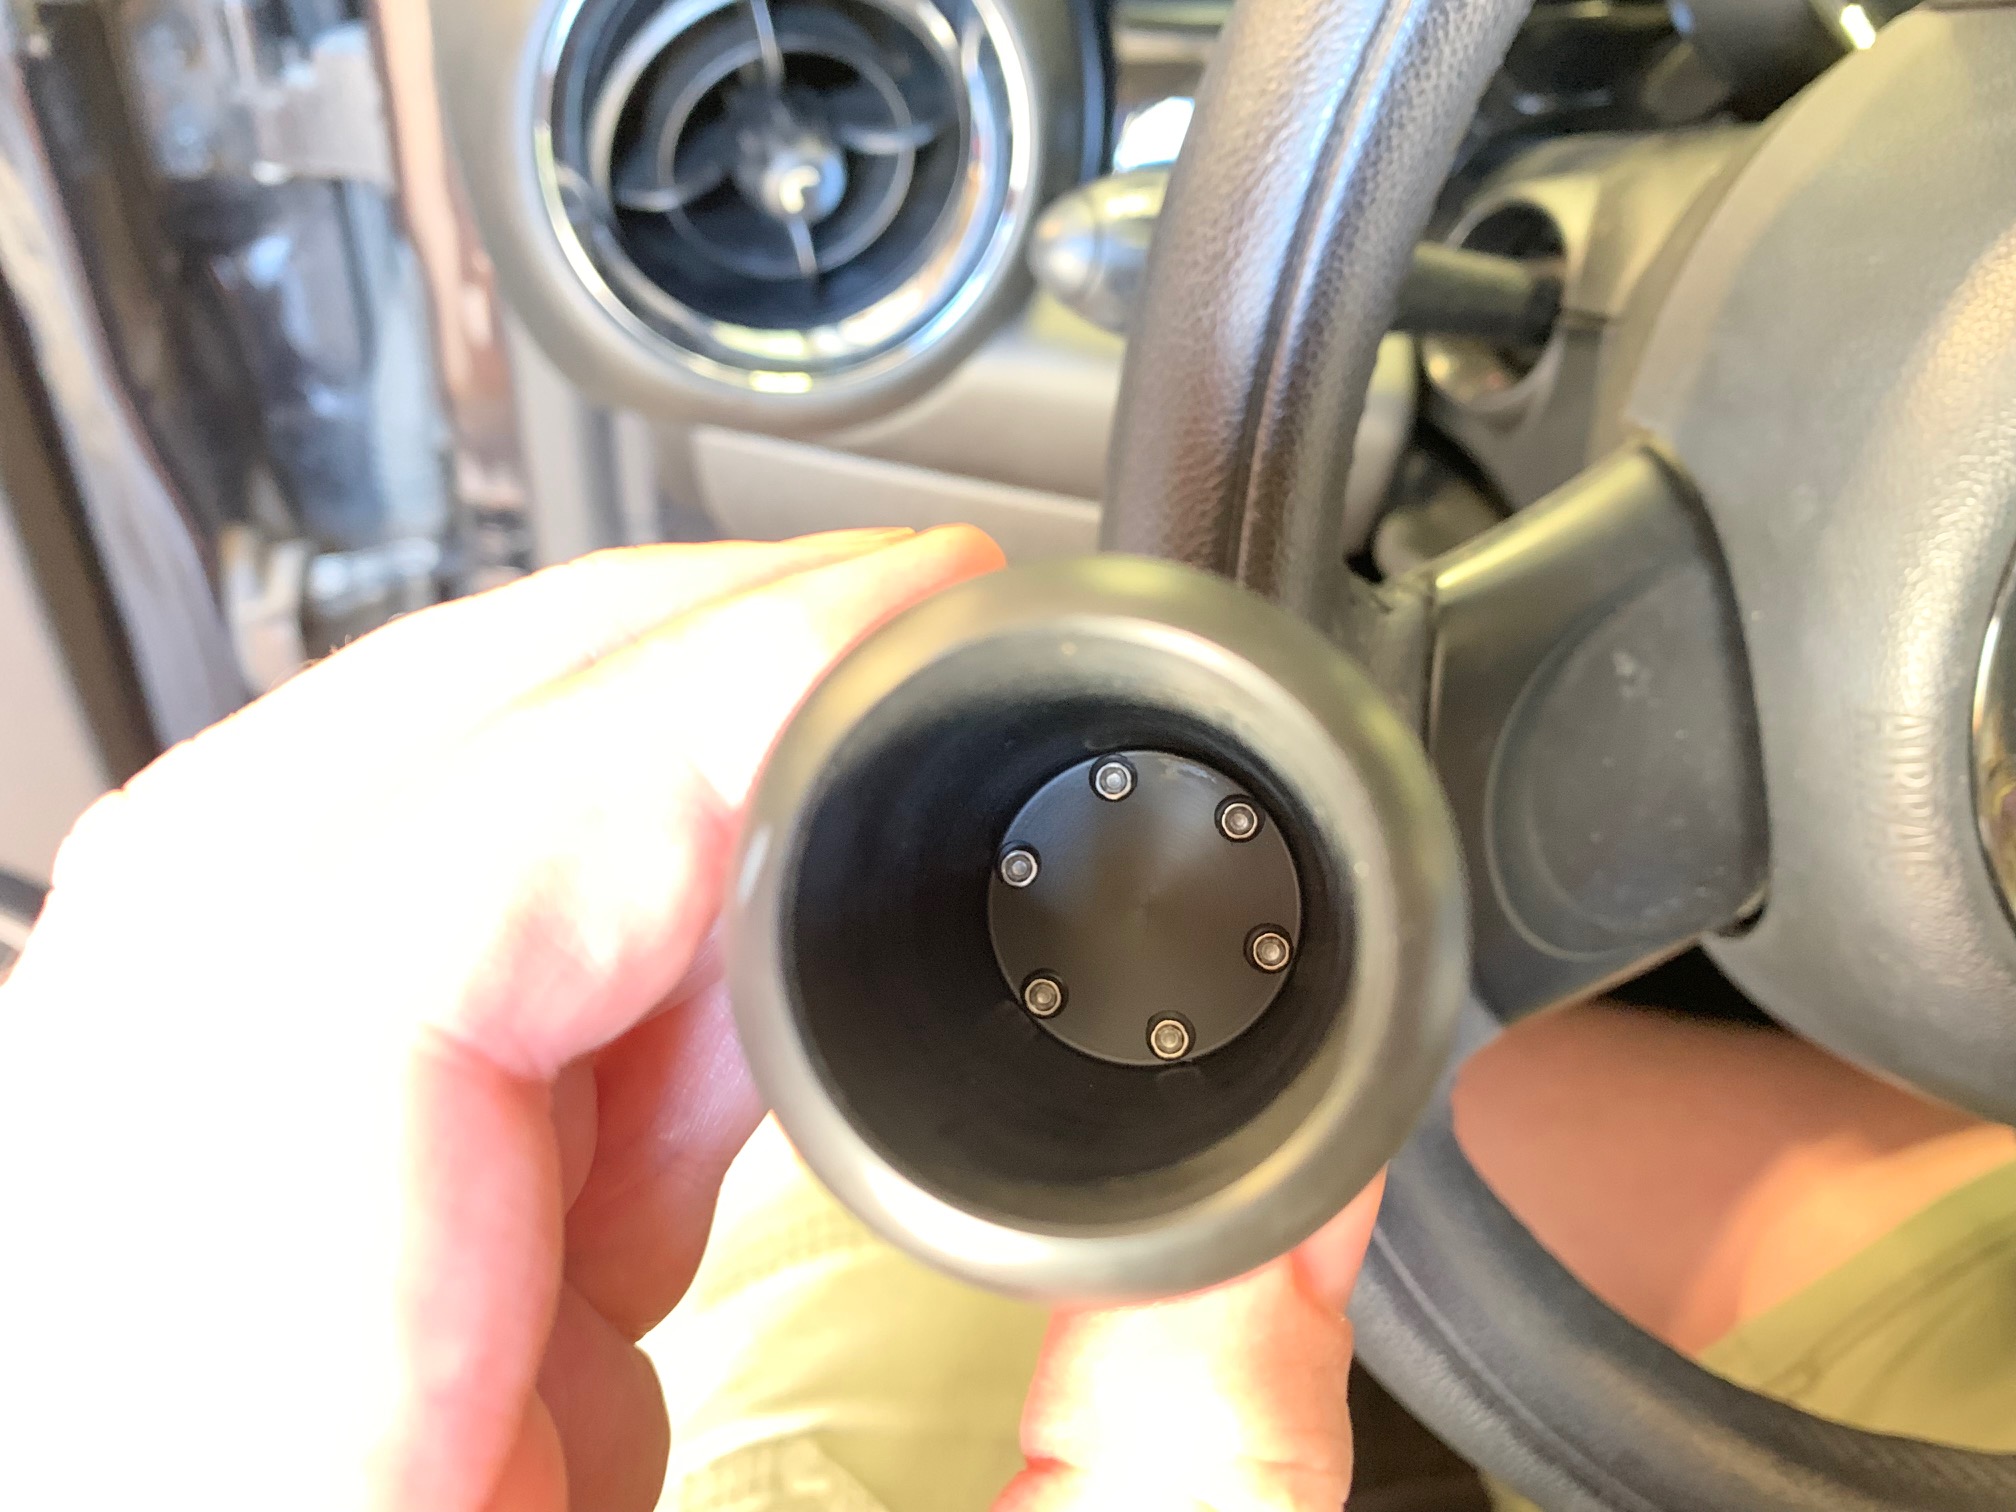
With all six of the small cap-head screws placed correctly, now set the knob handle over the stainless core lining up the holes with the screws. Tighten in a star pattern until the assembly is snug. If a screw feels like it is getting too tight before it's fully seated, back it all the way out and thread it in again.
-
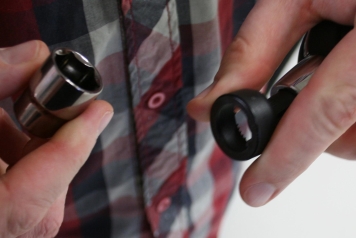
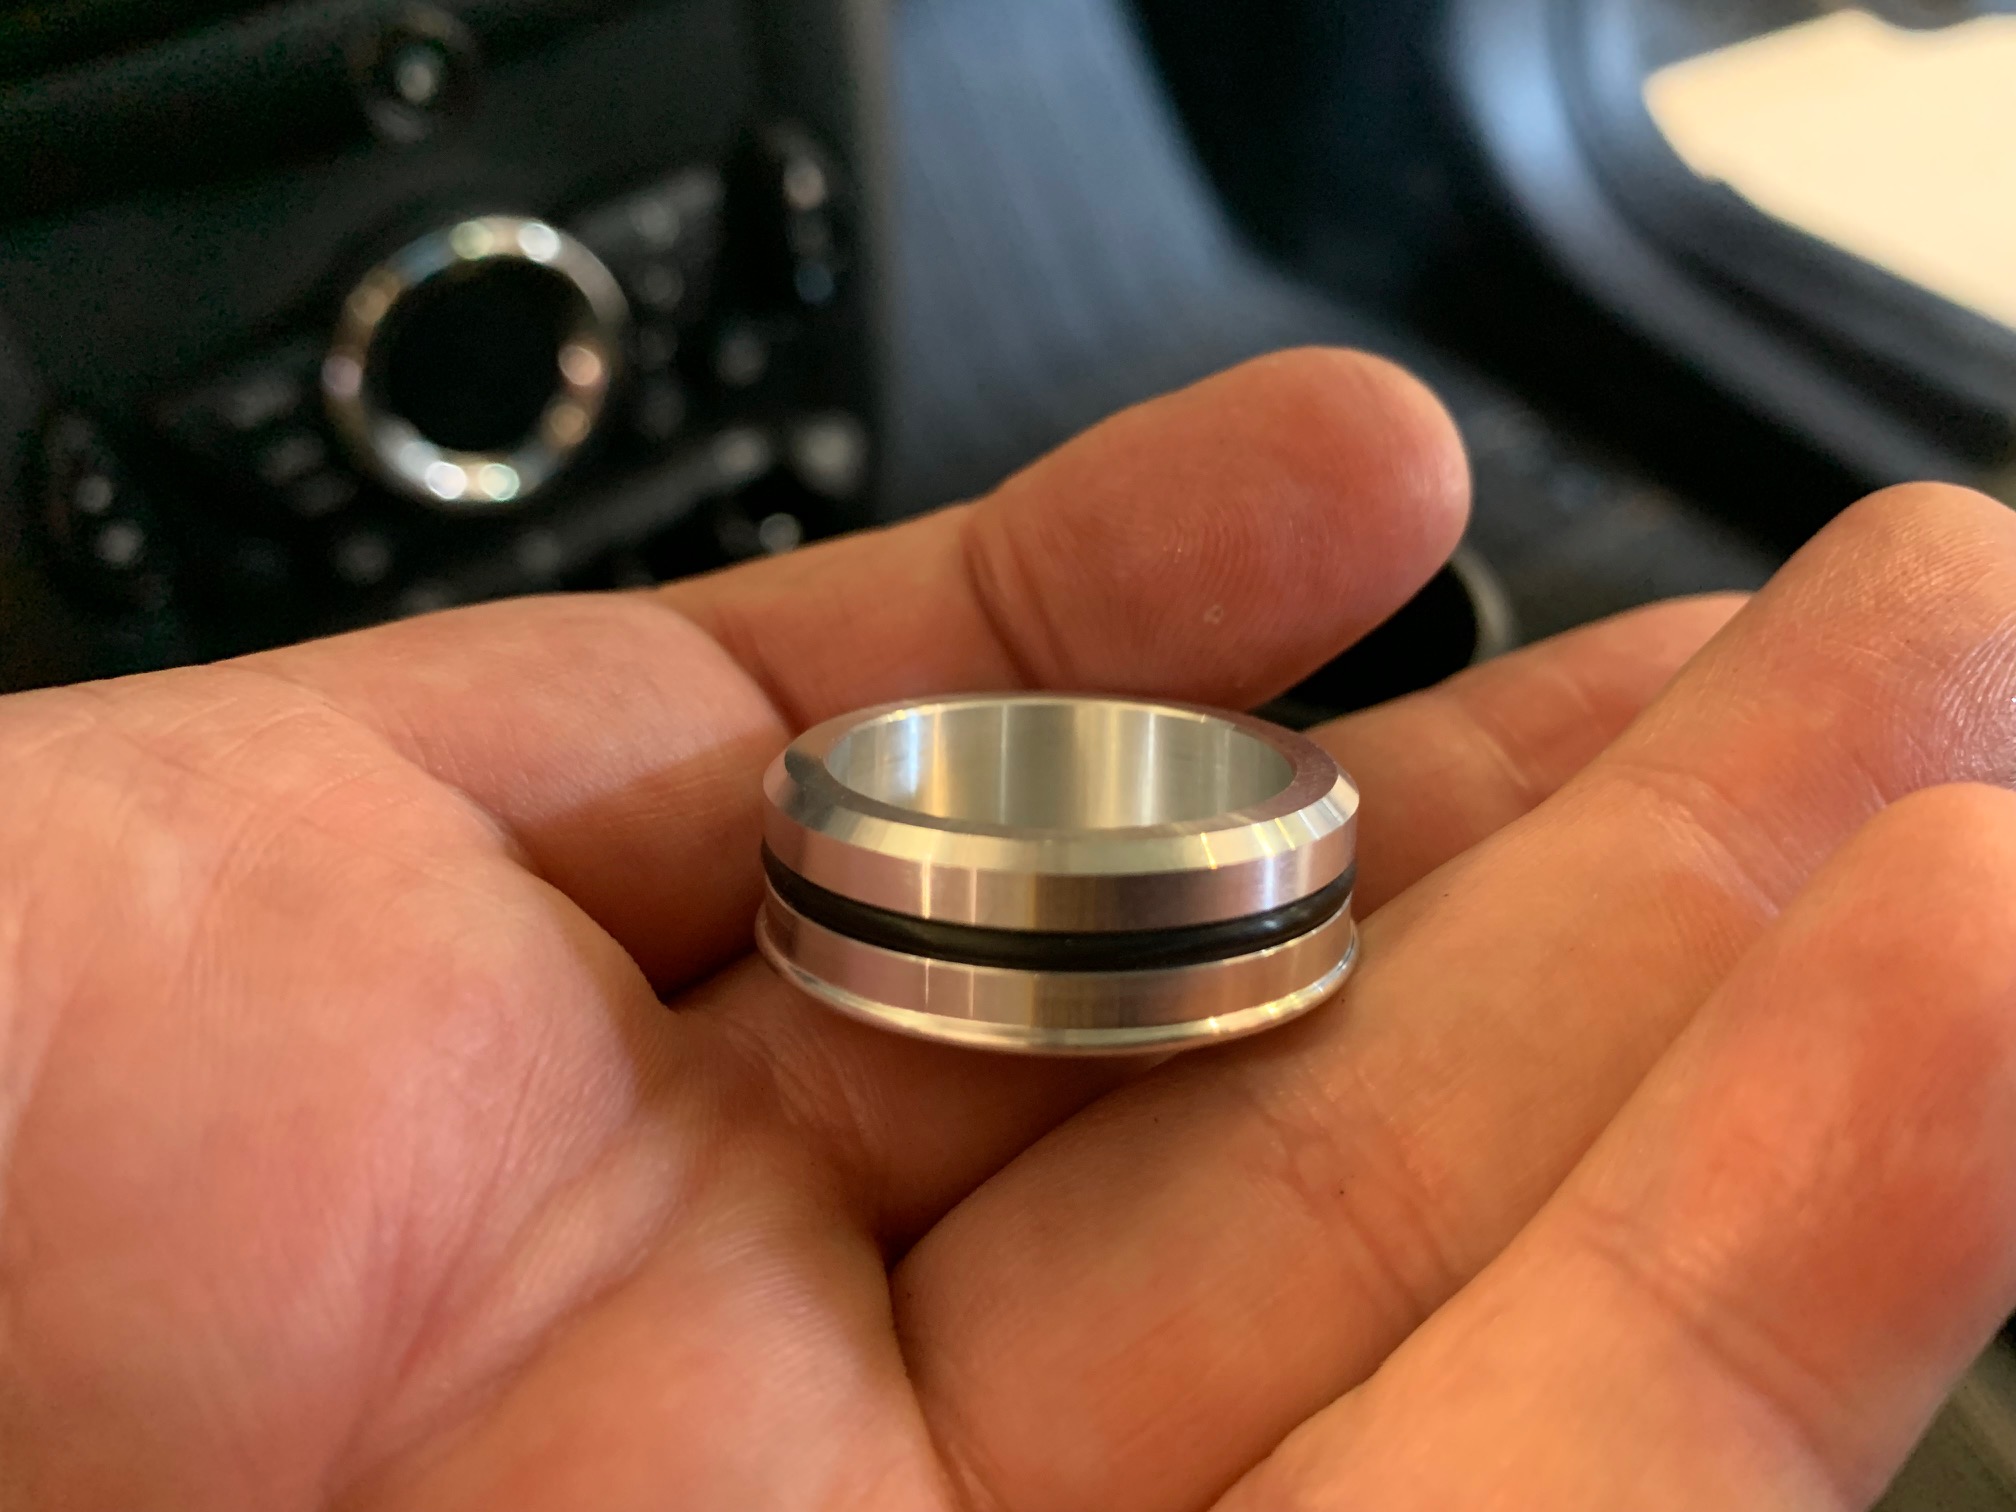
Grab the shift knob cap, install the larger o-ring into the groove and set it into the top opening of the shift knob. To make removal of the cap a little easier, apply a little bit of oil or grease to the o-ring beforehand. You now have a handy little secret compartment to stash some emergency cash or whatever.
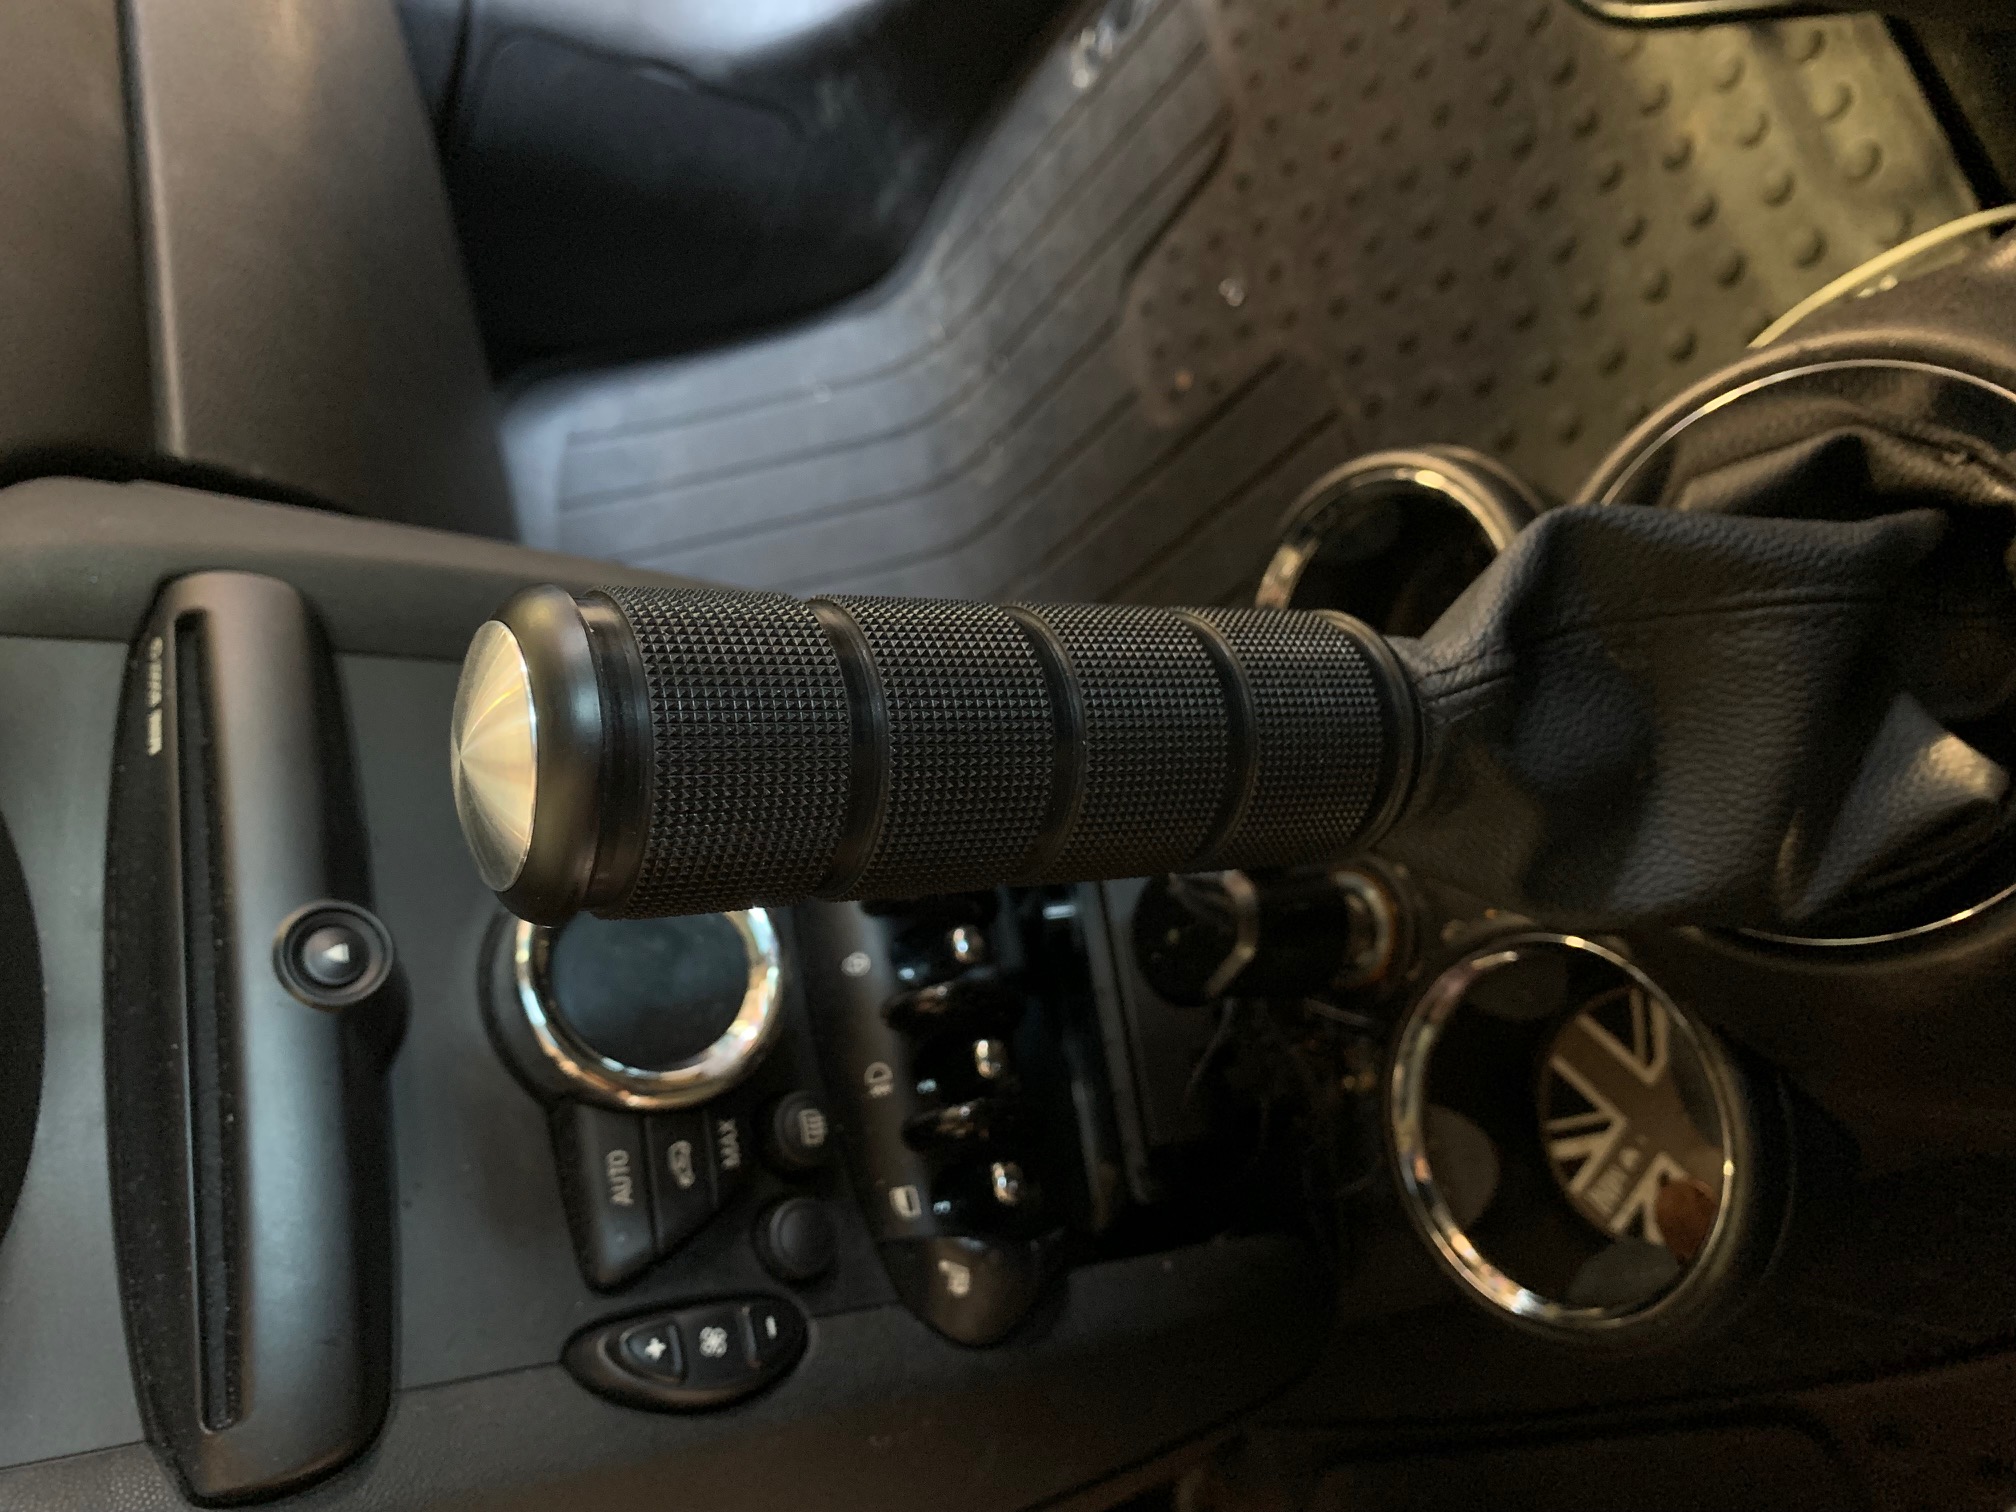
Congratulations! Your Shift Knob install is complete!