THANK YOU for purchasing the The Miata Platypus License Plate Mount from CravenSpeed. This product is made from the highest grade materials, and is guaranteed to be free from defects.
You can buy our CravenSpeed Platypus License Plate Mount for ND MX-5 Miata here
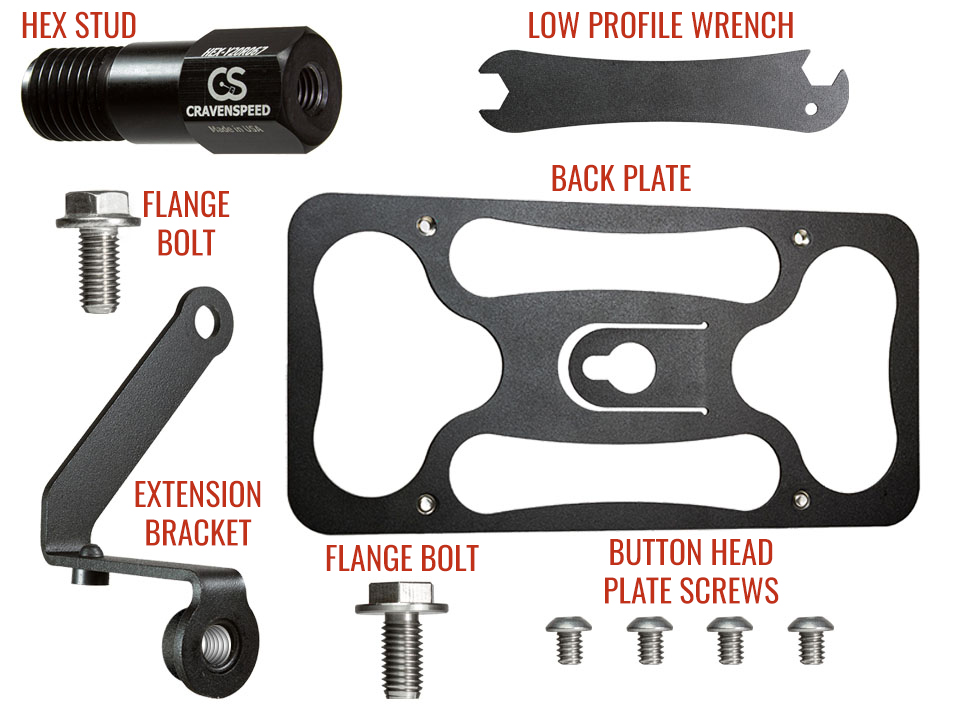
Parts Included:
- 1x Center Back Plate
- 1x Hex Stud
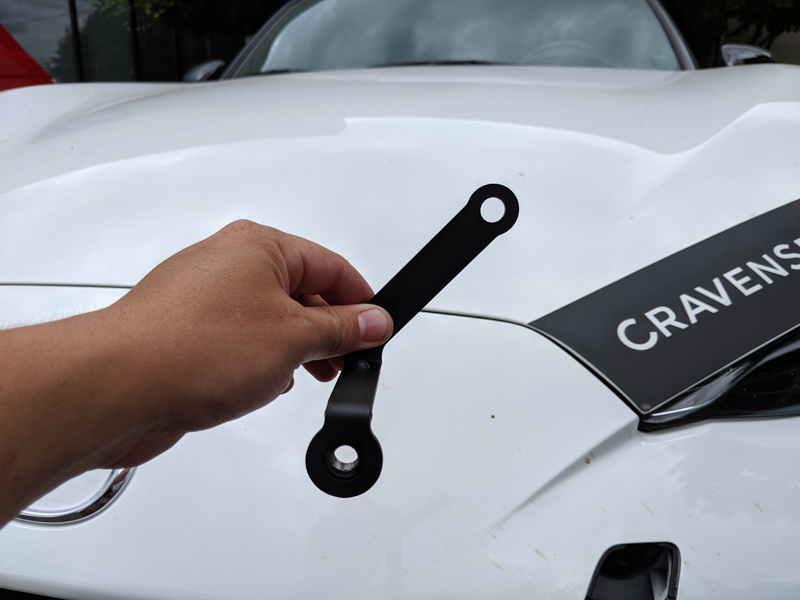
- 1x Extension Bracket
- 2x Stainless Steel Flanged M10 Bolt
- 4x Stainless Steel Button Head screw 3/16" length, 1/4-20 thread size.
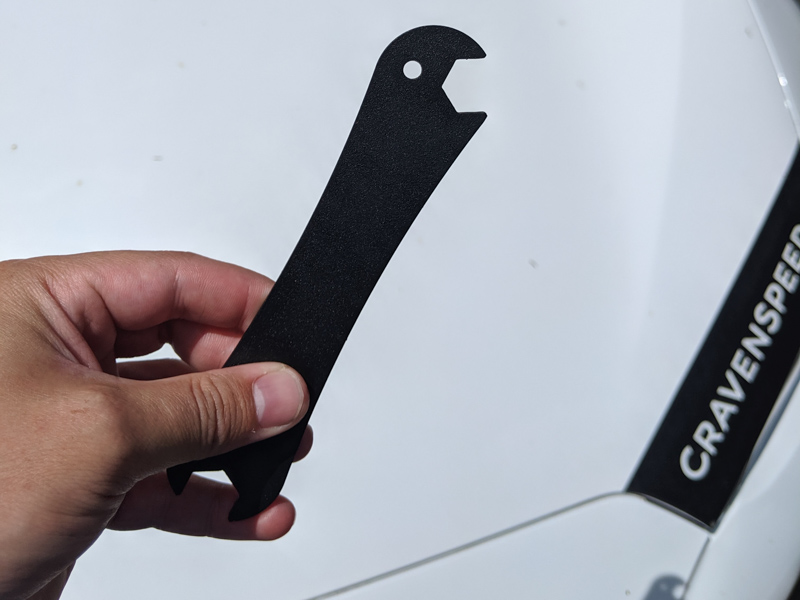
- Low Profile Quick Release 15mm Wrench.
Tools Required:
- 5/32" Hex Wrench
- Socket wrench
- 7/8" Socket (deep socket, or extension)
- 15mm Socket
Procedure
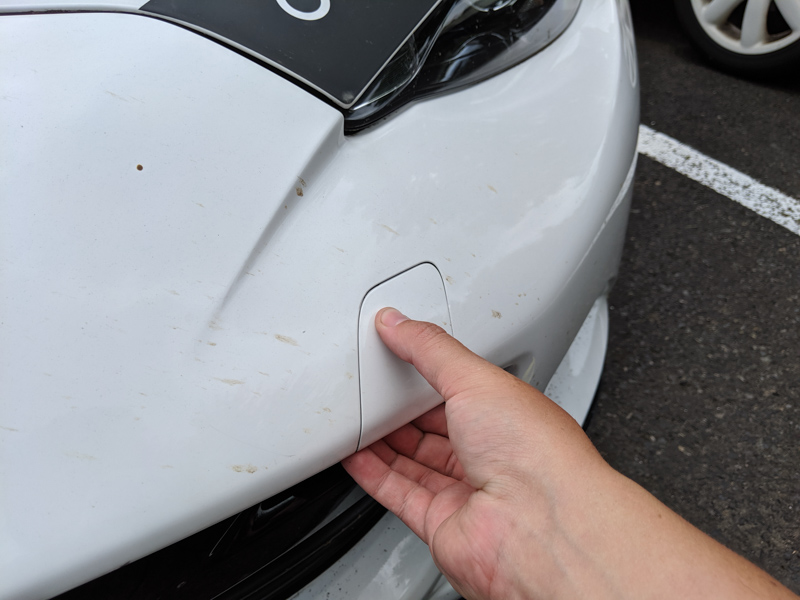
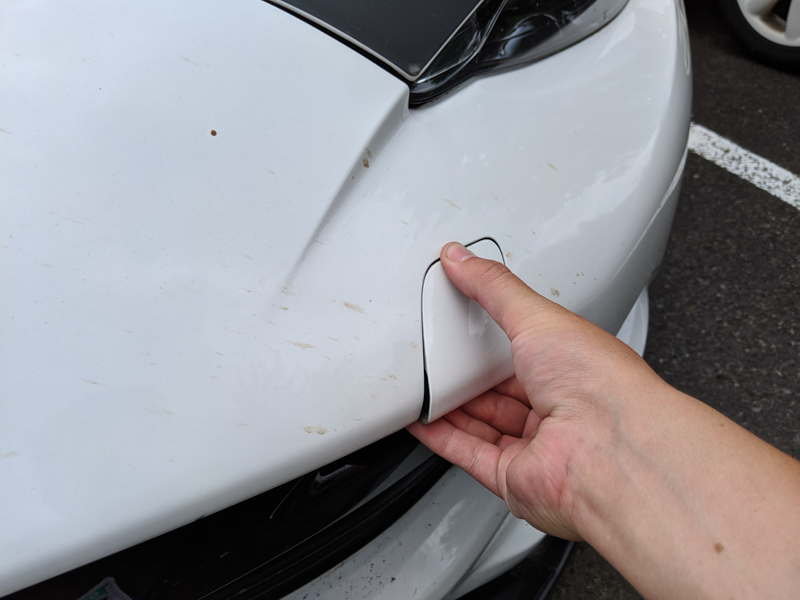
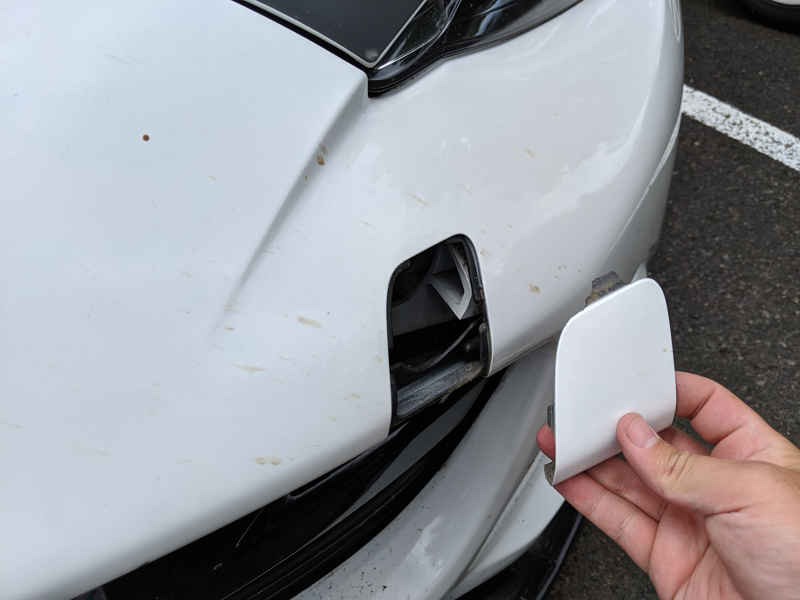
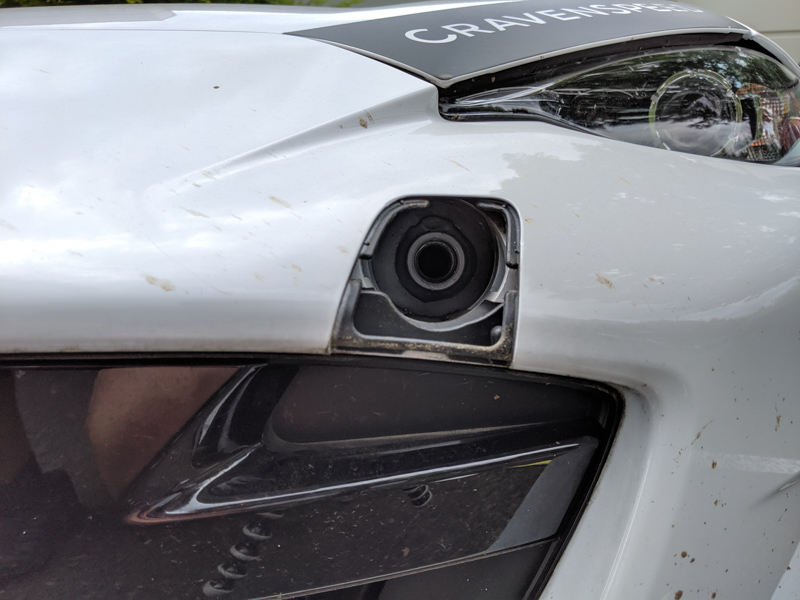
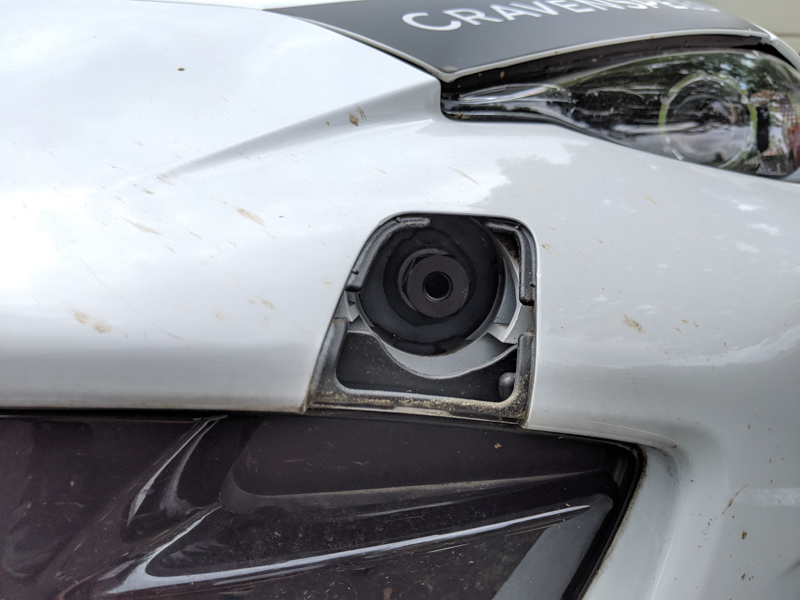
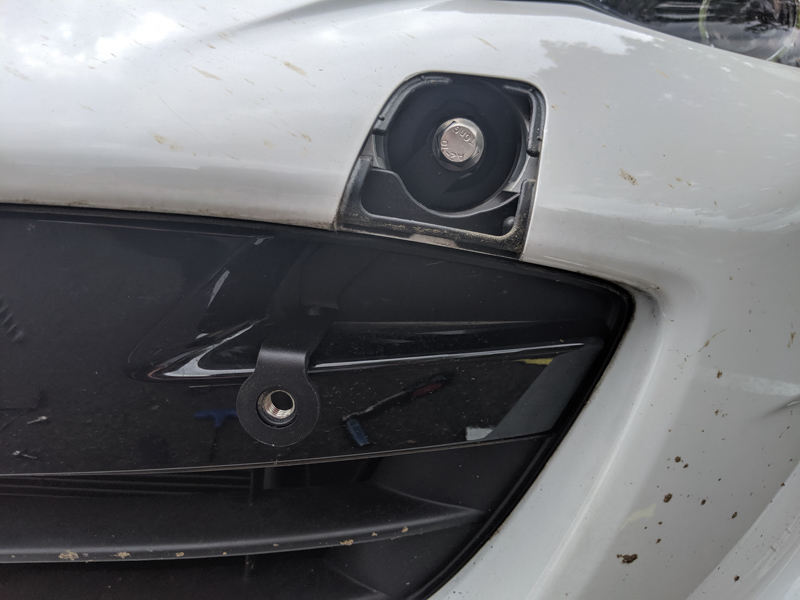
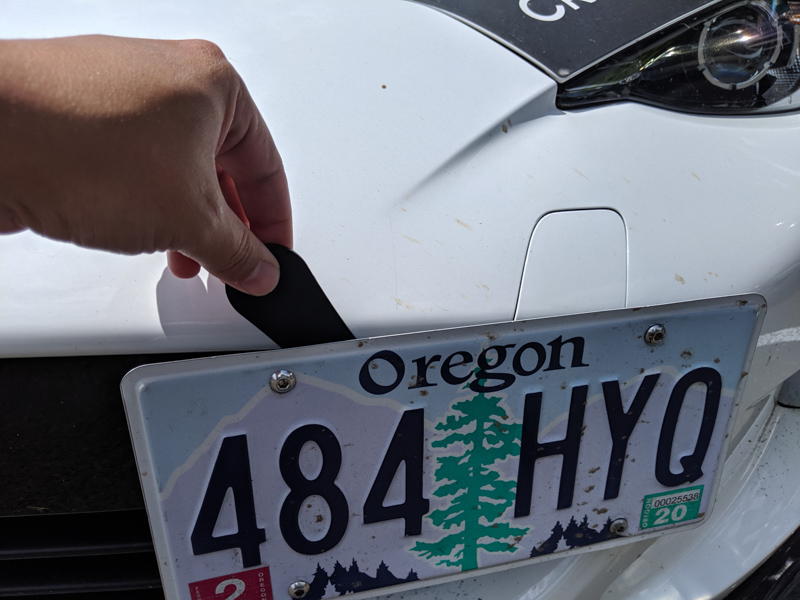
- Using your fingers, remove the towing eye cover from the bumper by lifting up from the bottom edge to reveal the threaded tow hook receiver behind.
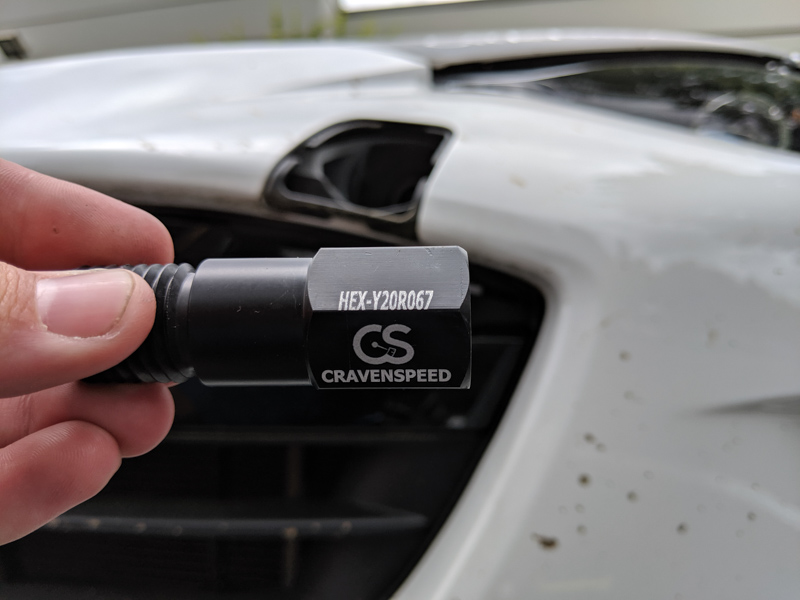
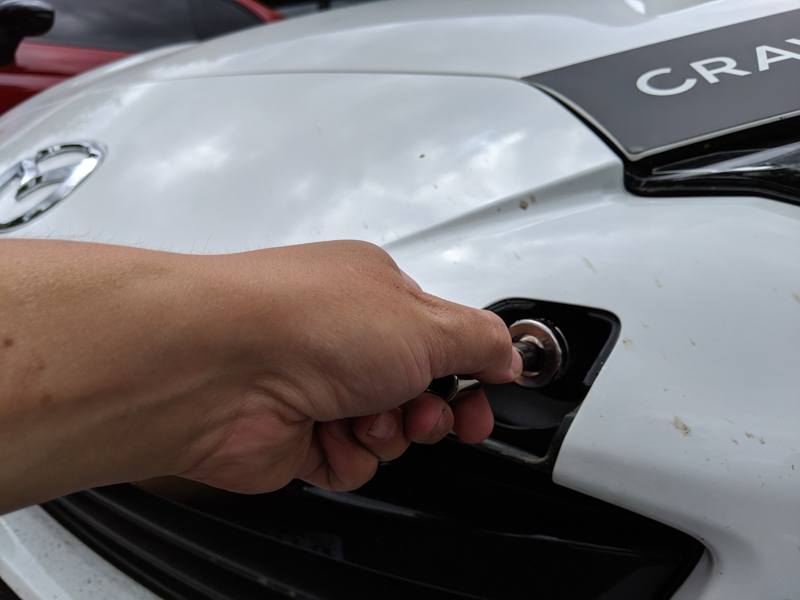
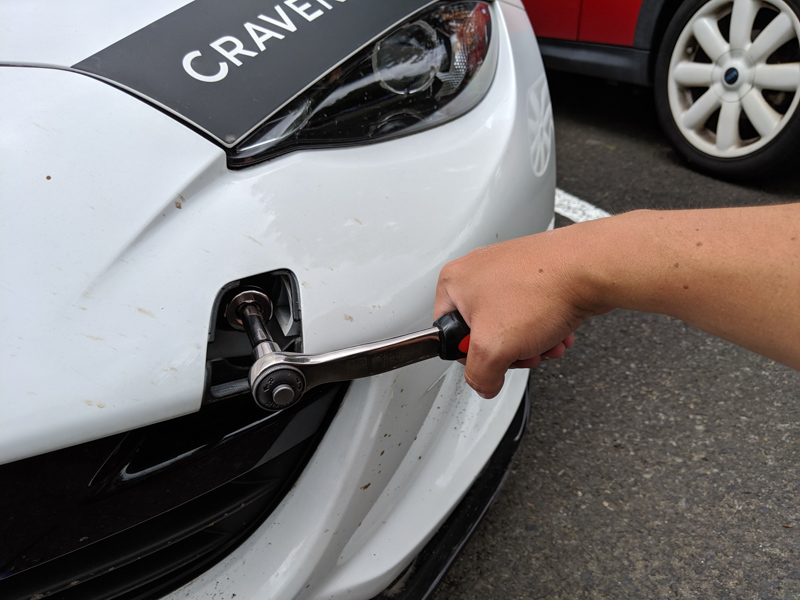
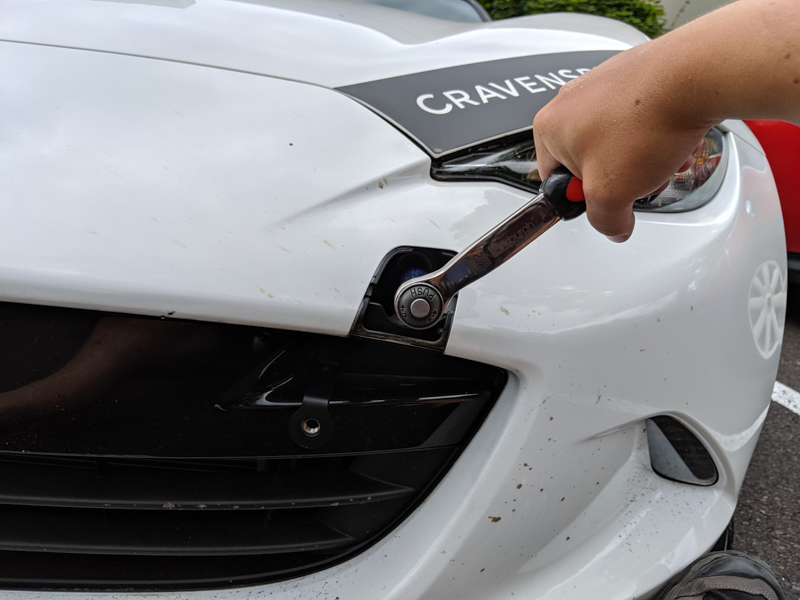
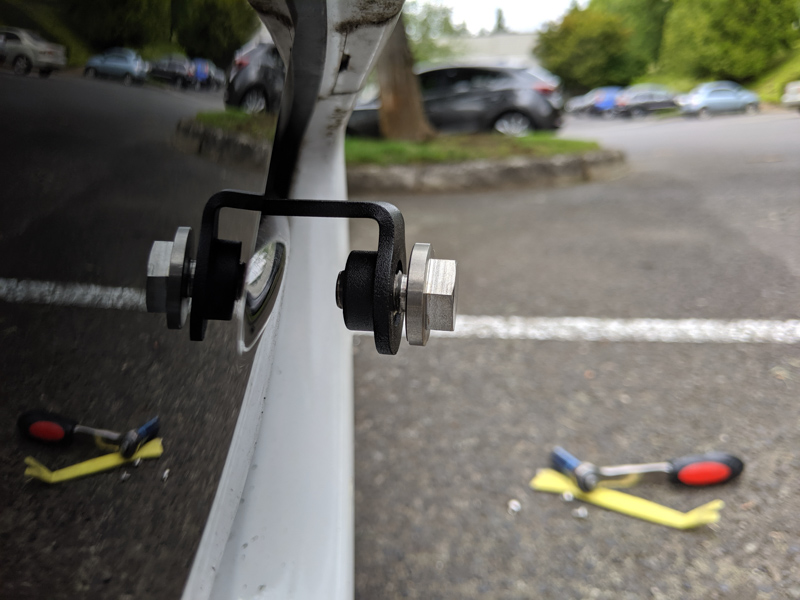
- Next, install the black hex stud. It should have “HEX-Y20R067” engraved on the side. You’ll need a 7/8" socket for the stud, preferably a deep socket, or an extension. I like to do this spark plug style, as the threads are quite recessed into the bumper. Once you’ve got it in, snug it up with a socket wrench. German spec is plenty of torque. Gutentight!
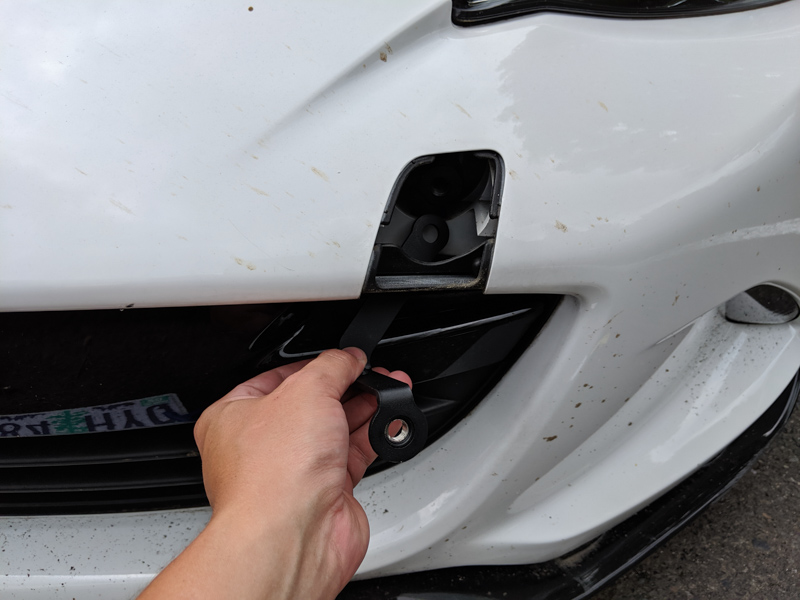
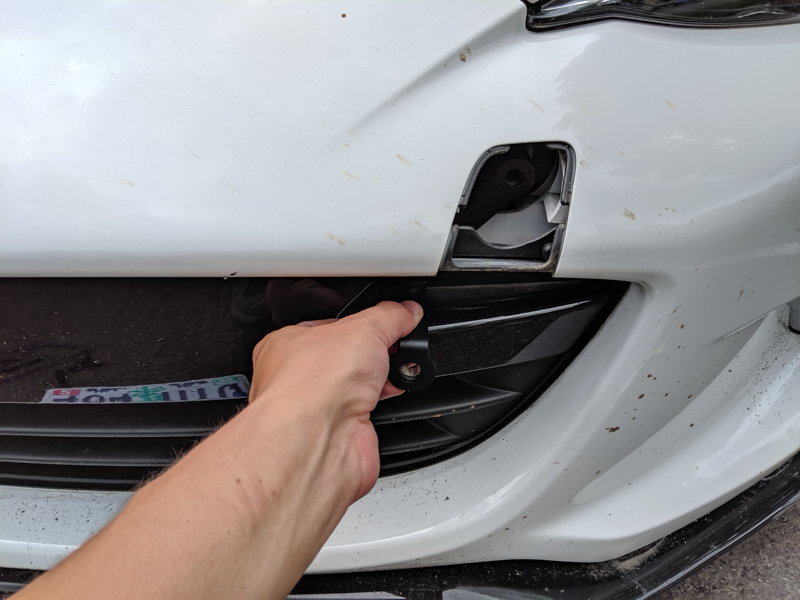
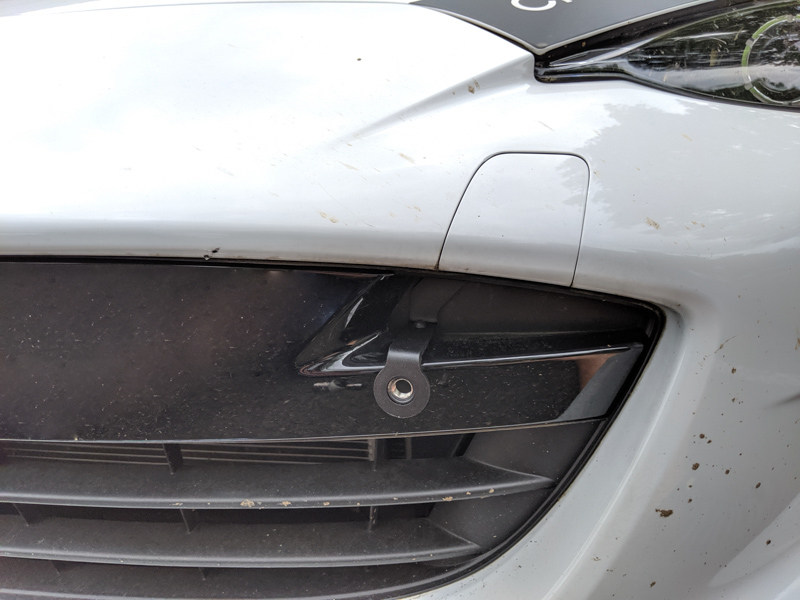
- Now we can install the extension bracket. The smaller, unthreaded flat end bolts directly to the stud with the longer of the two flanged M10 bolts included with the kit. Our bolt supplier has a hard time tracking these down, so yours may look slightly different than ours. Use the longest one if applicable. Snake the bracket in from the opening in the upper right corner of the grille. Line up the hole with the stud and use your 15mm socket to snug up the bolt.
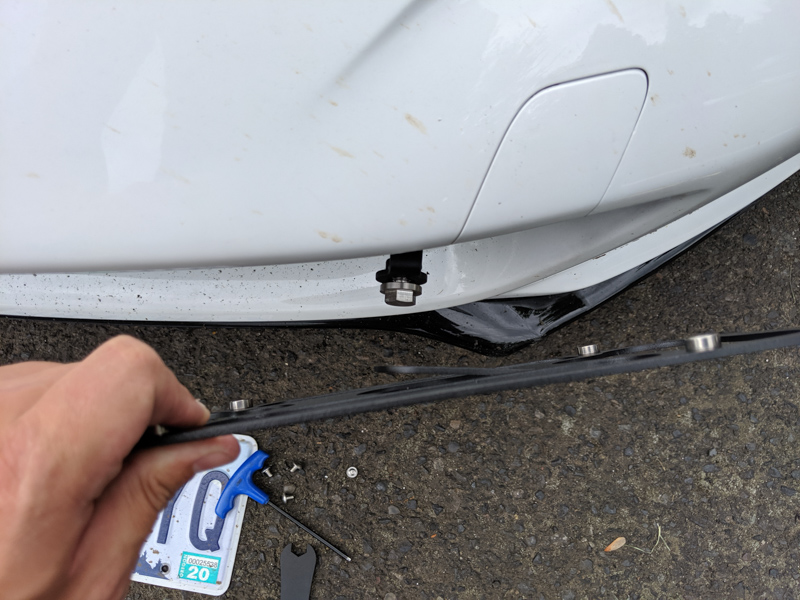
- Now you can replace the towing eye cover.
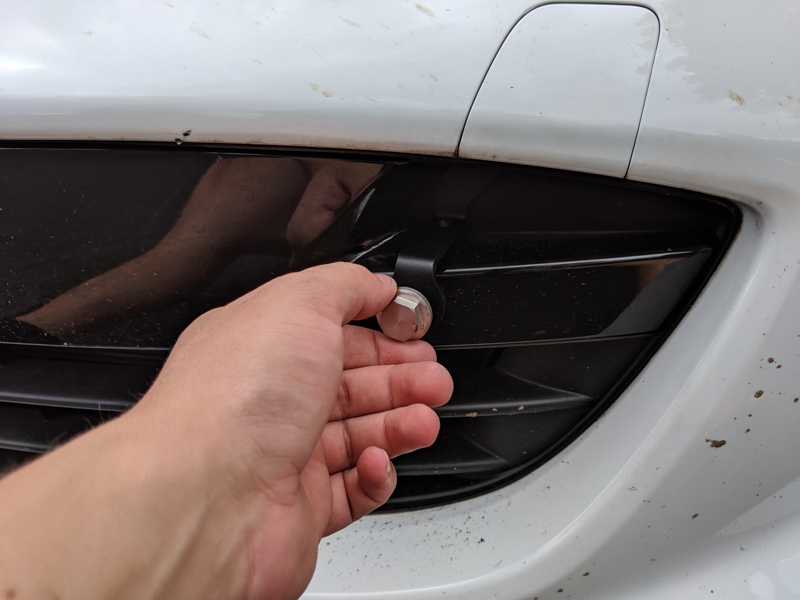
- Next, install the other flanged bolt into the end of the bracket leaving a gap slightly wider than the thickness of the back plate.
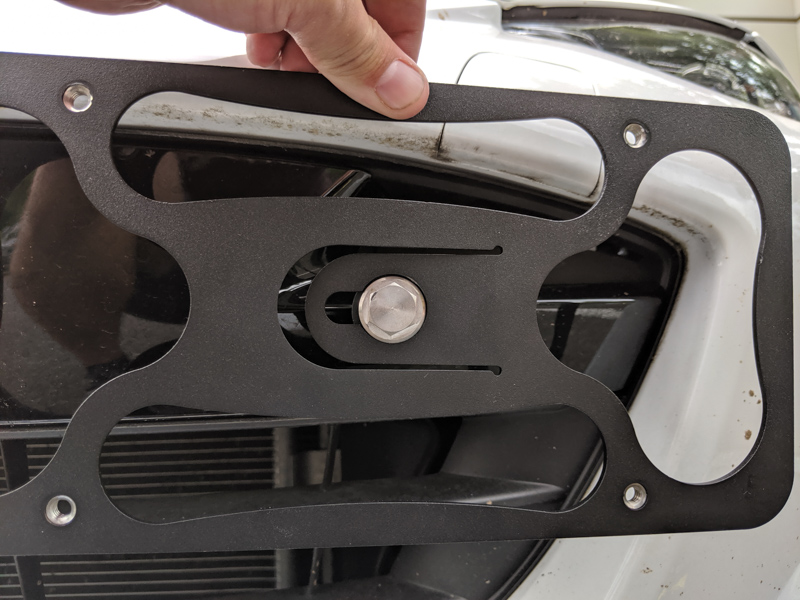
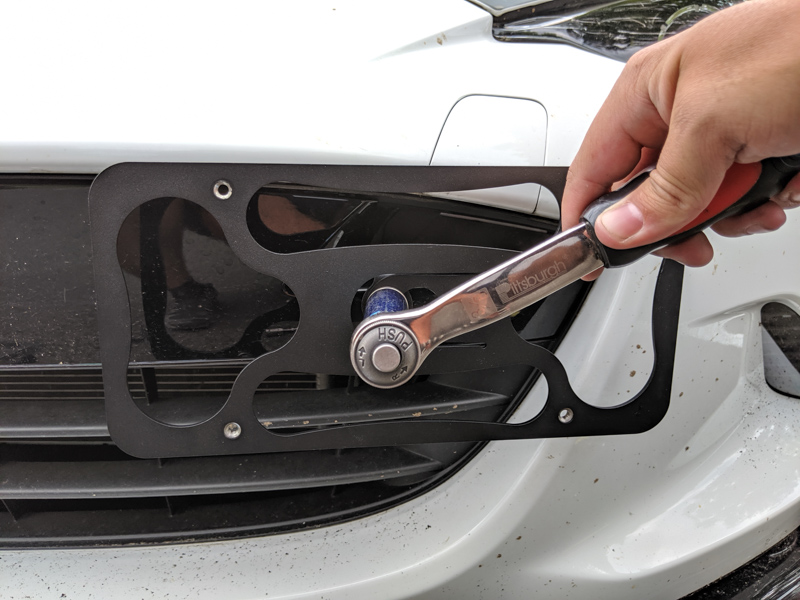
- Insert the head of that bolt through the corresponding hole in the mounting tab of the backplate, then slide it into the cutout and tighten the bolt, securing the backplate in place. Note the orientation of the backplate in the first photo.
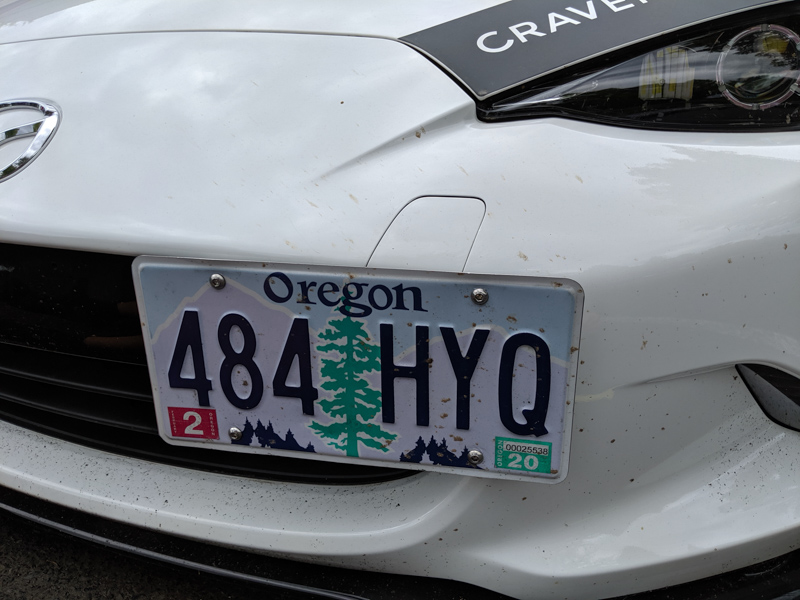
- Finally, use the 4 stainless steel button head screws to attach your license plate to the backplate. You’ll need a 5/32” hex wrench for the screws. If you’d also like to use a license plate frame, we have 1/2" screws available here .
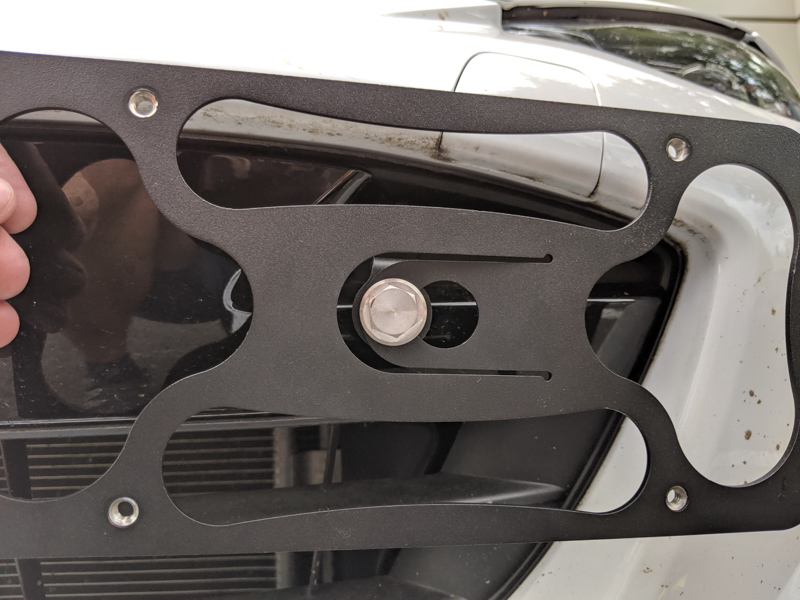
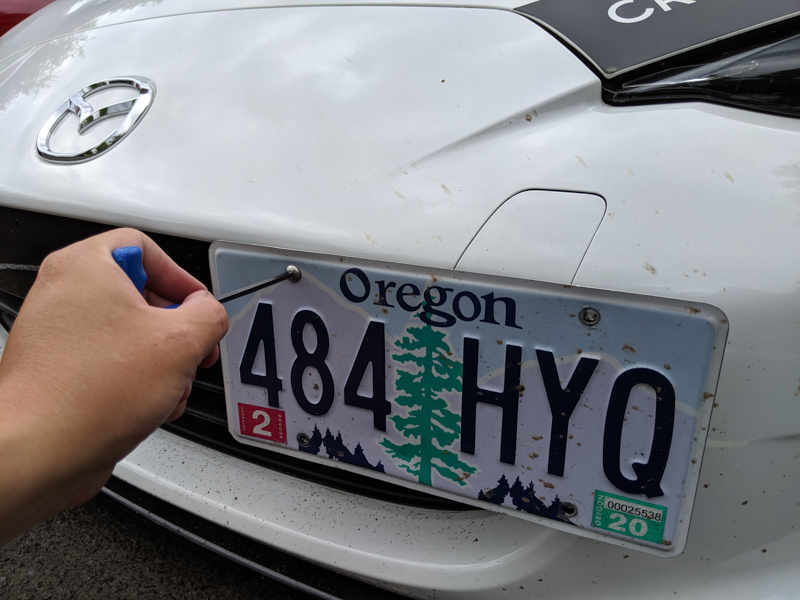
- Included with the kit is a flat low-profile wrench, this wrench is allows you to utilize the quick release feature of our mount. Should you need to quickly remove the plate for a car wash, auto-x, or car show, simply reach behind the plate with the low profile wrench, loosen the back plate bolt, and then slide the backplate to the left to release it from the bracket. Reverse this procedure to re-install the plate.

Below is a video of myself performing this installation on our own 2016 ND Miata (the video was made before we came up with the quick release design):