THANK YOU
for purchasing the VW/Audi Shift Knob from CravenSpeed. All unique components are machined from highest quality materials in the United States, and are guaranteed to be free from defects.
You can buy our
CravenSpeed Shift Knob for VW/Audi here
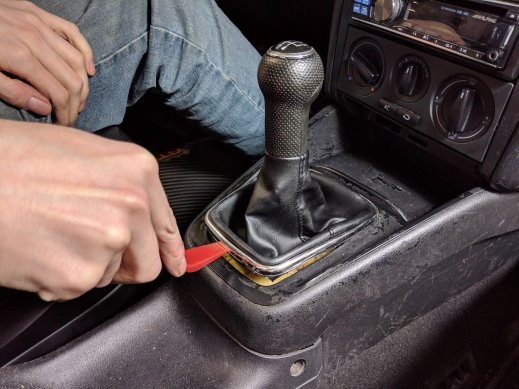
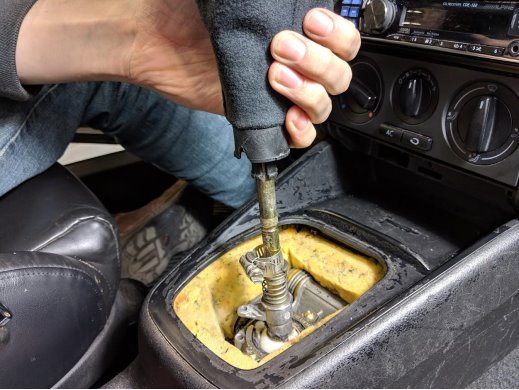
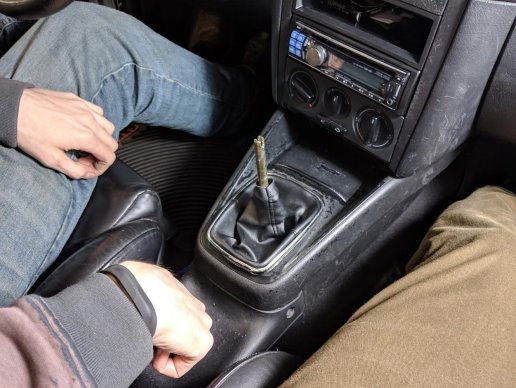
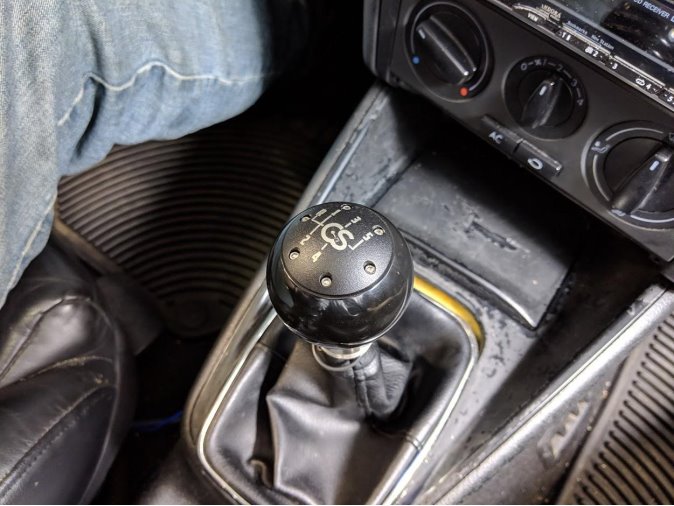
Using the plastic panel tool, pry the back of the shift boot away from the panel.
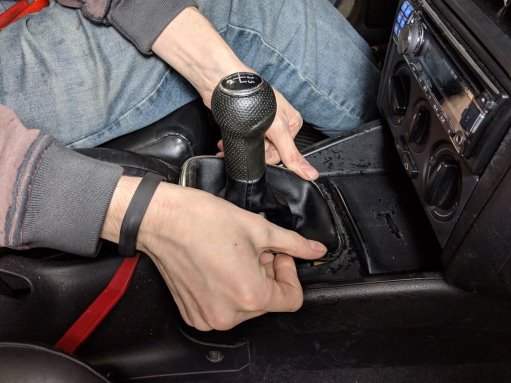
Pull the front of the boot towards the shifter to disengage it from the panel. Then pull it upwards to expose the crimped metal band.
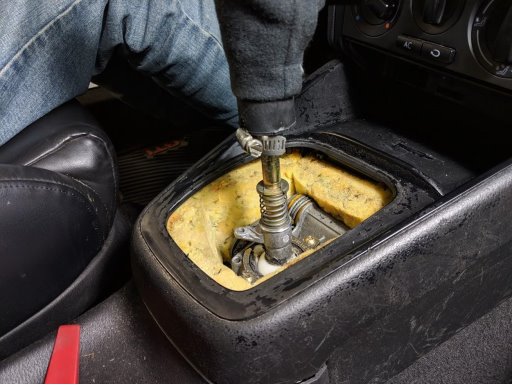
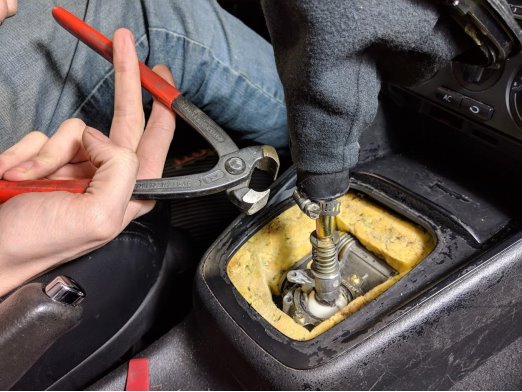
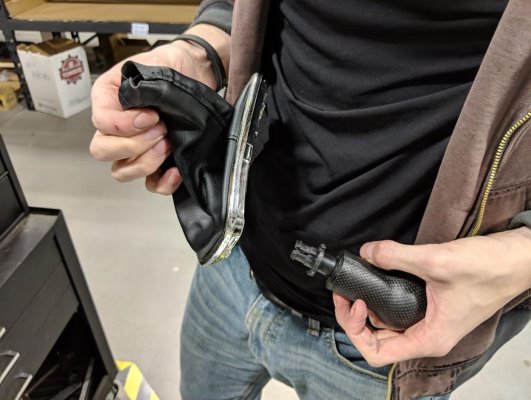
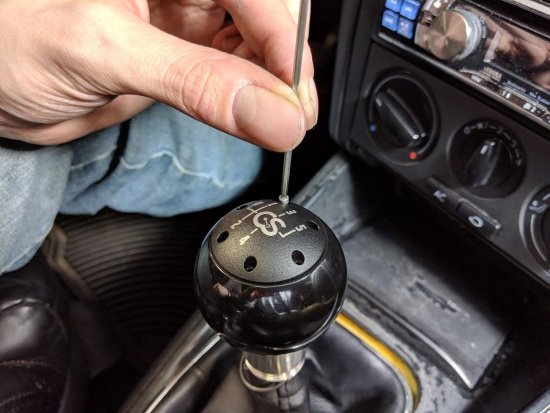
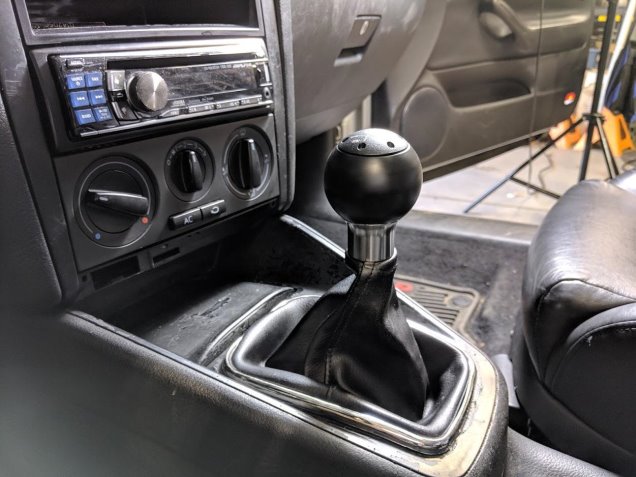
Using end clippers, snap off the crimping ring and lift the knob and boot off the shift shaft. (The OEM shift knob on this vehicle had come loose because the stock crimping ring had broken, and had been held together with a hose clamp.)
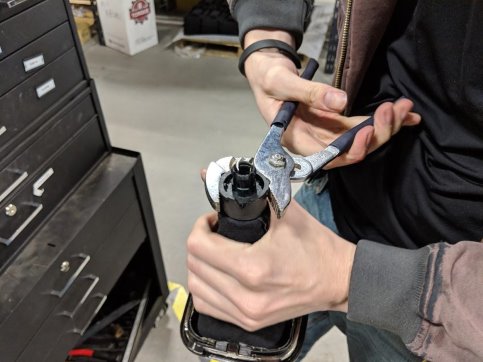
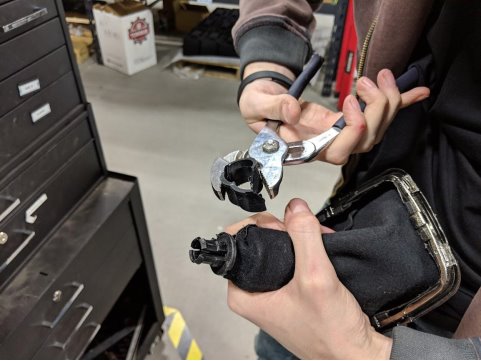
To remove the plastic ring keeping the boot on the knob, use vice grips and twist the ring 180 degrees until the locking nub on the ring lines up with the slot on the knob. We ended up breaking ours, so if you’re planning on keeping yours in one piece, be careful!
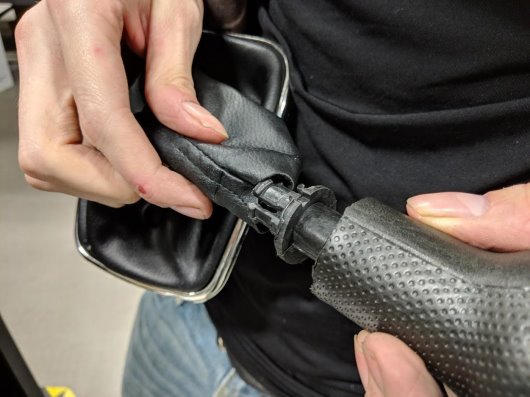
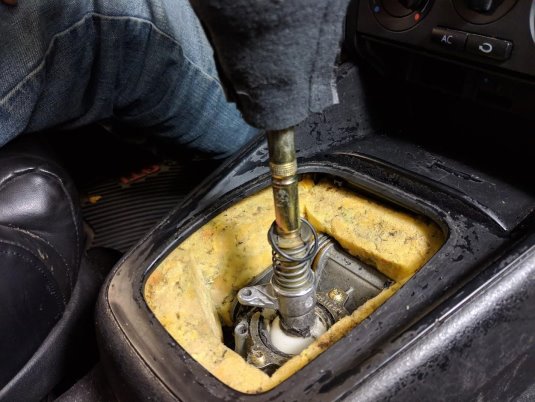
Then, pull the boot off of the knob. Keep the boot handy, and store or throw away the stock knob.
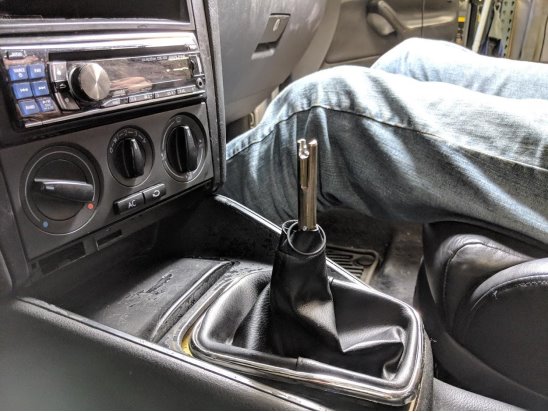
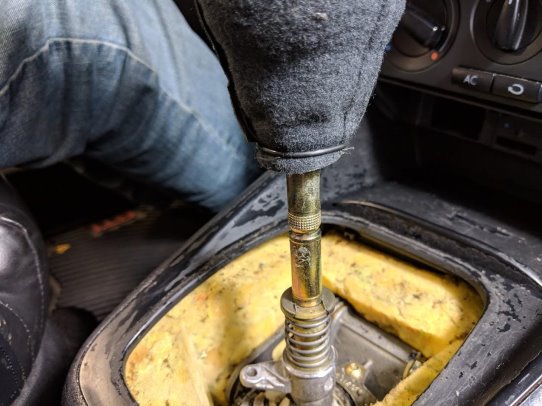
Place the boot and the O-ring over the shift shaft, but don’t snap the boot into place just yet.
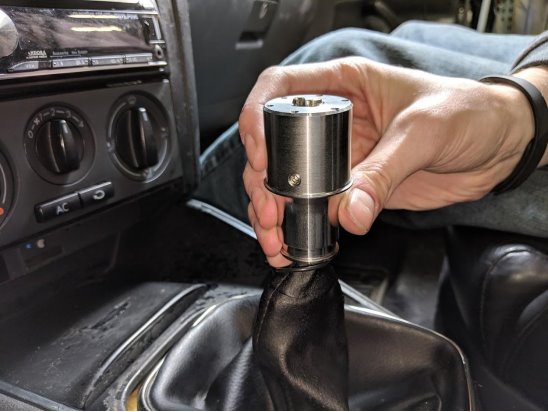
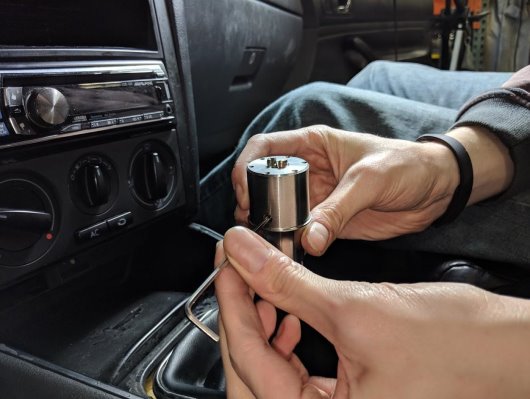
Slide the stainless core over the shift shaft, lining up the set screw with the groove on the left side of the shaft, like so:
After applying the supplied loctite to each set screw, screw in the 3 set screws, clocking the core into place on the shift shaft by setting one of the screws into the groove on the left side of the shaft, then tightening the other two set screws down.
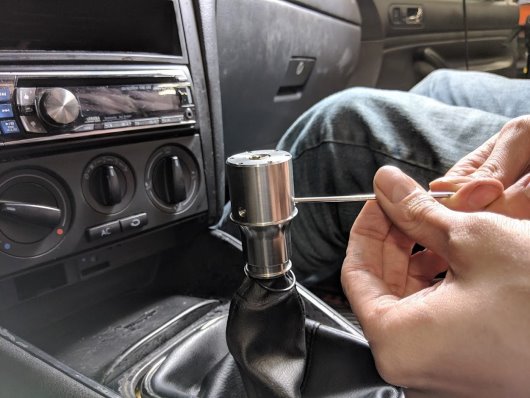
Place the black acetal knob body over the core, lining up the 6 through holes with the tapped holes on the core. Then, place the powder coated knob cap onto the top of the knob body, lining the countersunk holes of the cap up with the through holes and tapped holes.
Then, like you would tighten a wheel to a hub, thread the six small stainless socket head screws most of the way into the core, and then tighten in a star pattern so that all of the screws are tightened equally securely.
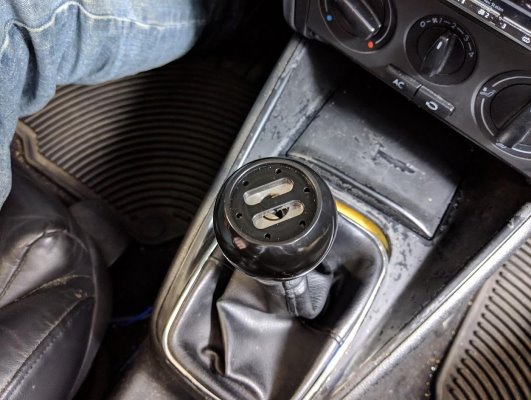
Finally, lift up the boot over the knob and secure the o-ring over the top of the boot into the groove on the bottom of the core. Then, snap the boot into place.
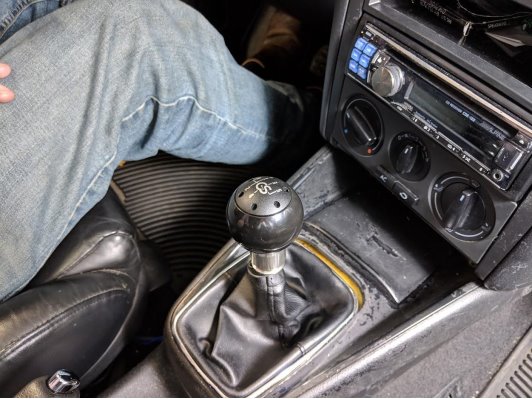
And you’re done!
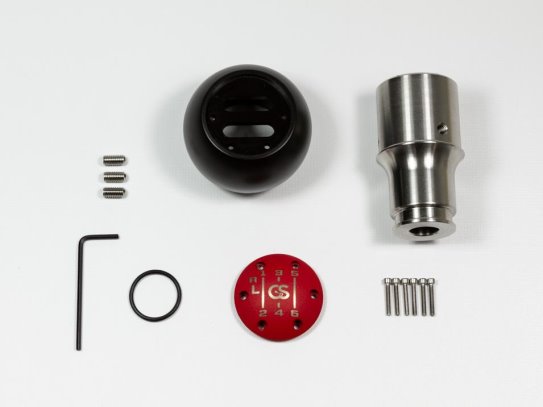
Parts Included:
Tools Required:
Procedure