THANK YOU for purchasing the MX-5 things 3rd Brake Light Flasher from CravenSpeed. This product is made from the highest grade materials and is guaranteed to be free from defects.
You can buy our CravenSpeed 3rd Brake Flasher Kit for ND MX-5 Miata here
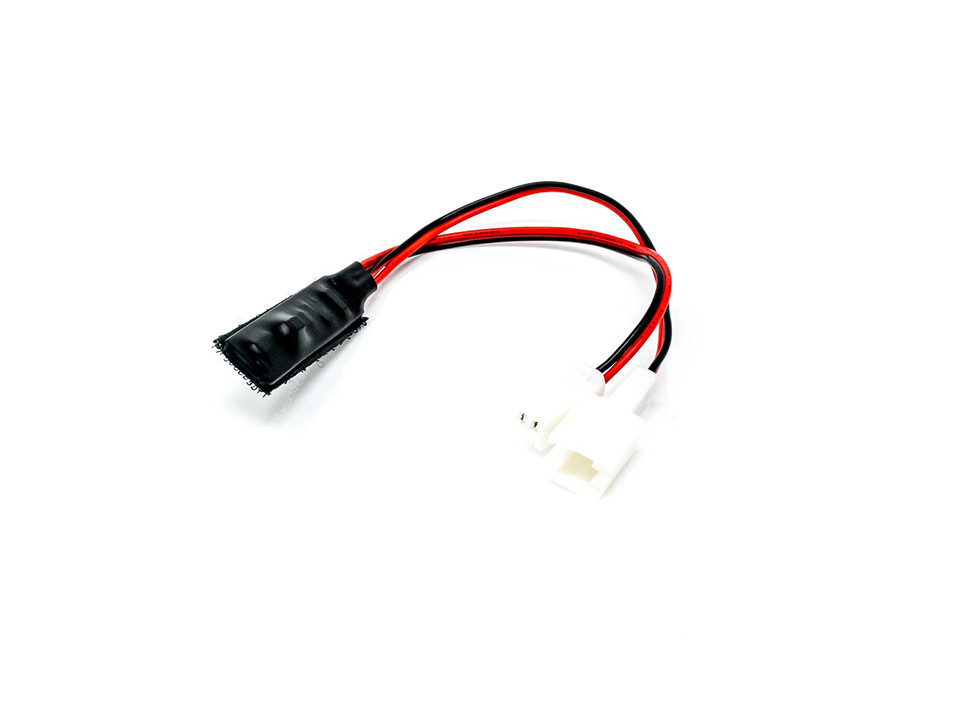
Parts Included:
- 3rd Brake Light Flasher Device
Tools Required:
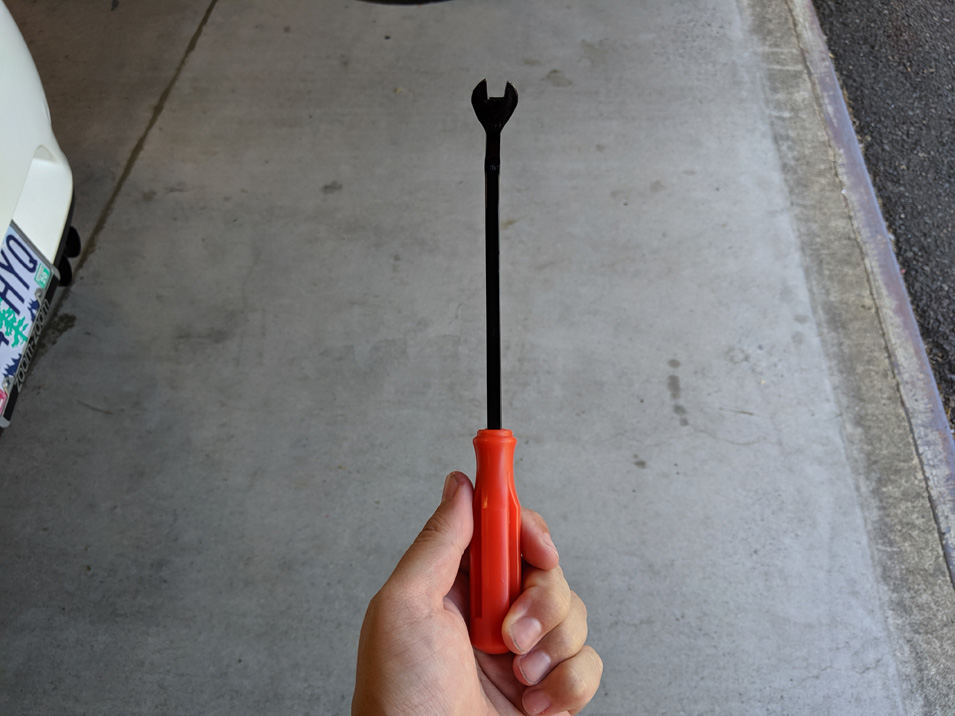
- Small Flat Head Screwdriver
- Panel Clip Remover Tool
NOTE: This installation process is very easy, and should take around 10 minutes. Please read through the entire instructions before you begin.
Procedure
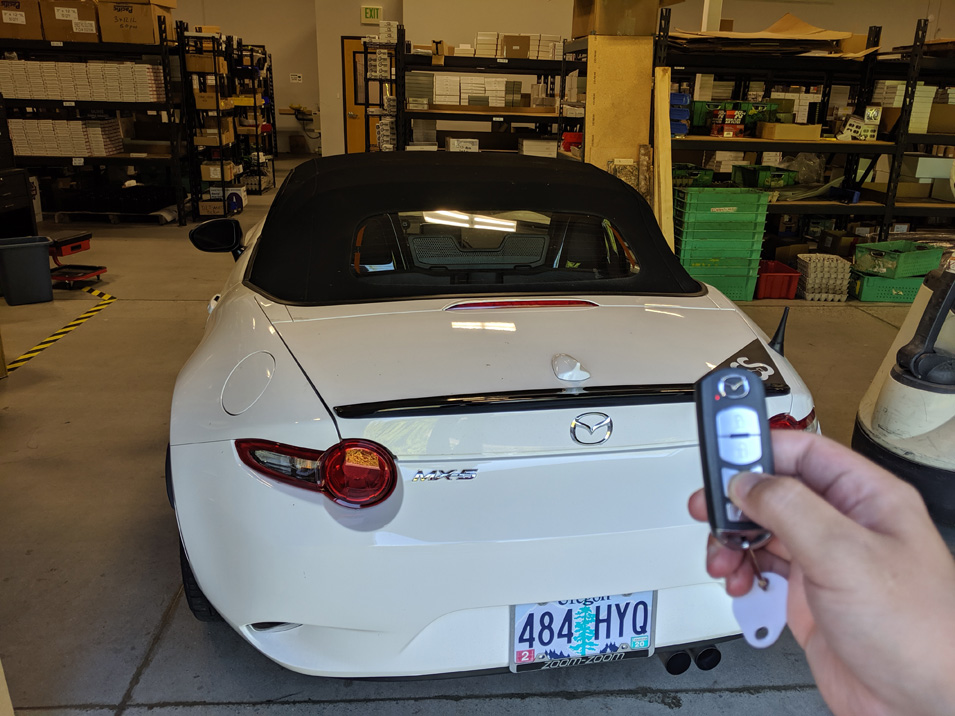
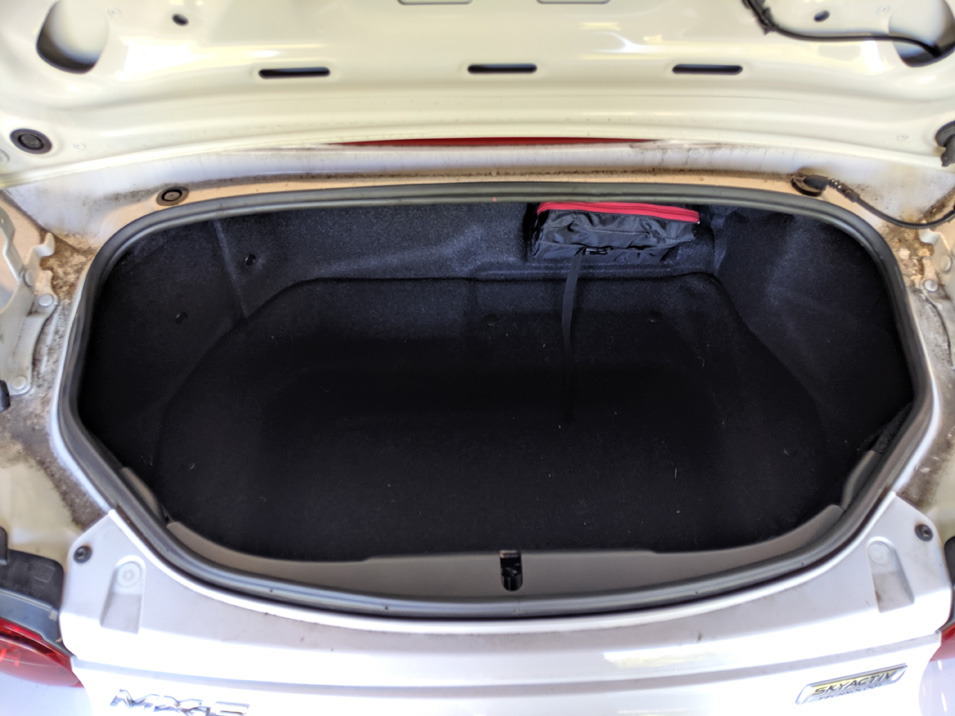
First things first, pop the trunk. It’ll help to empty it as well.
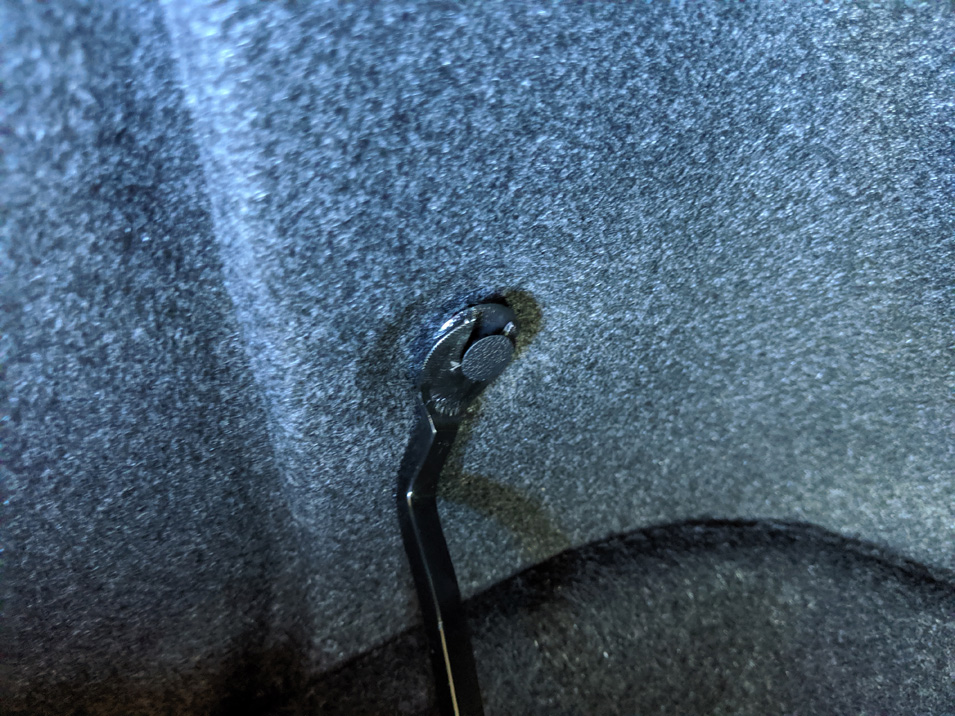
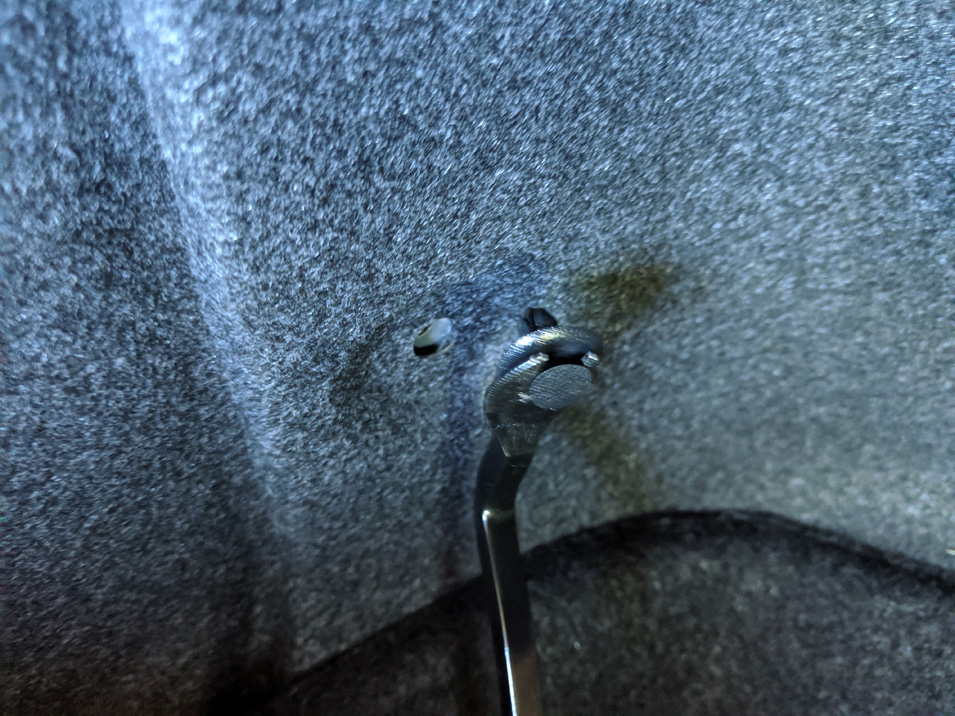
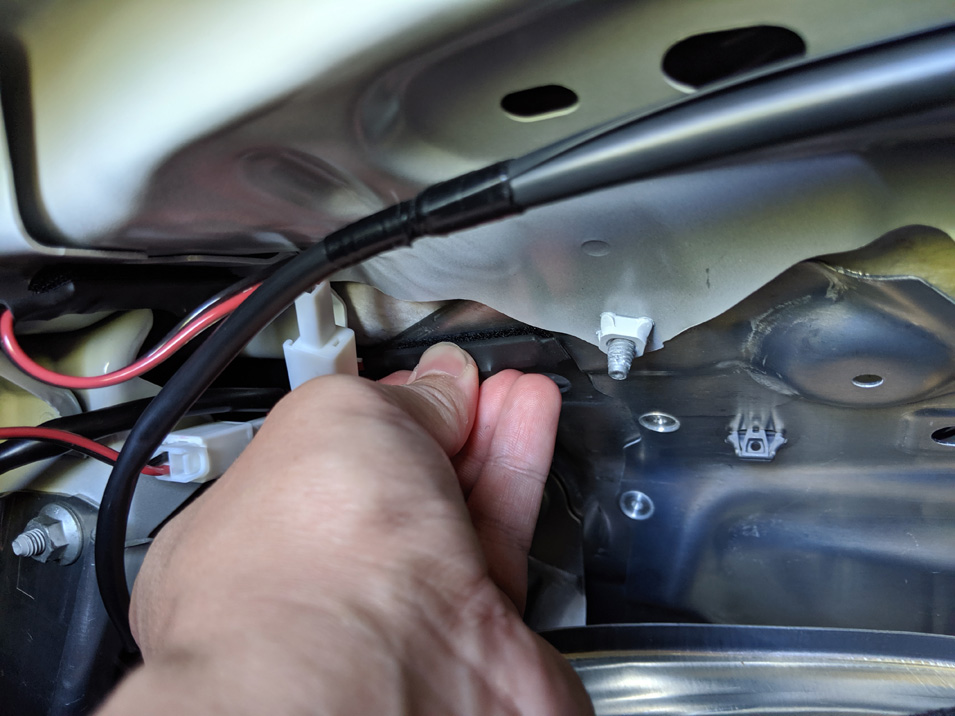
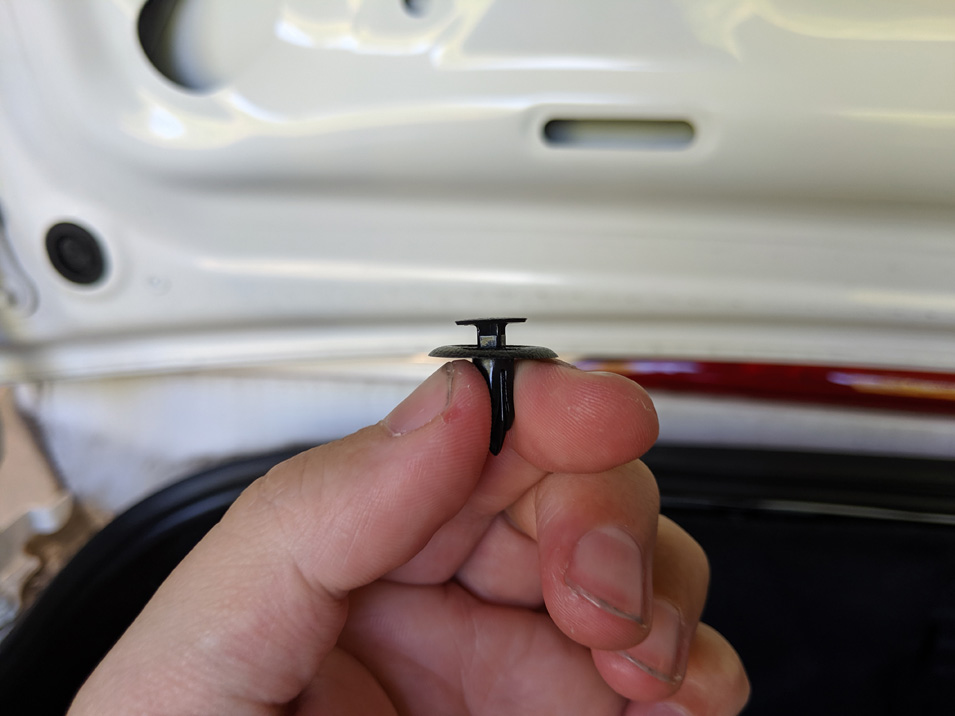
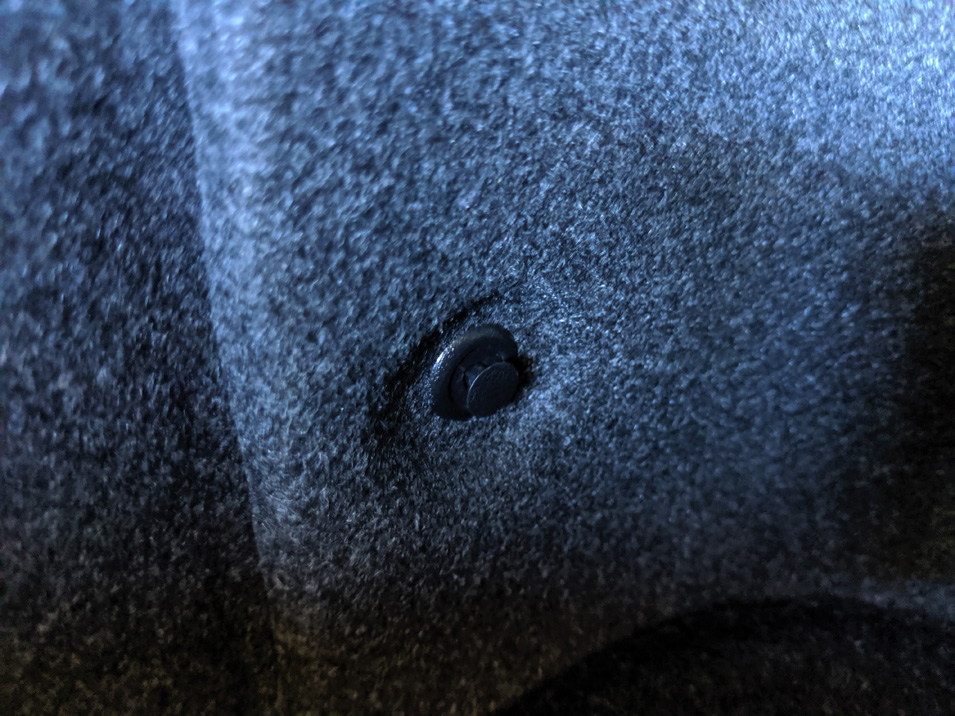
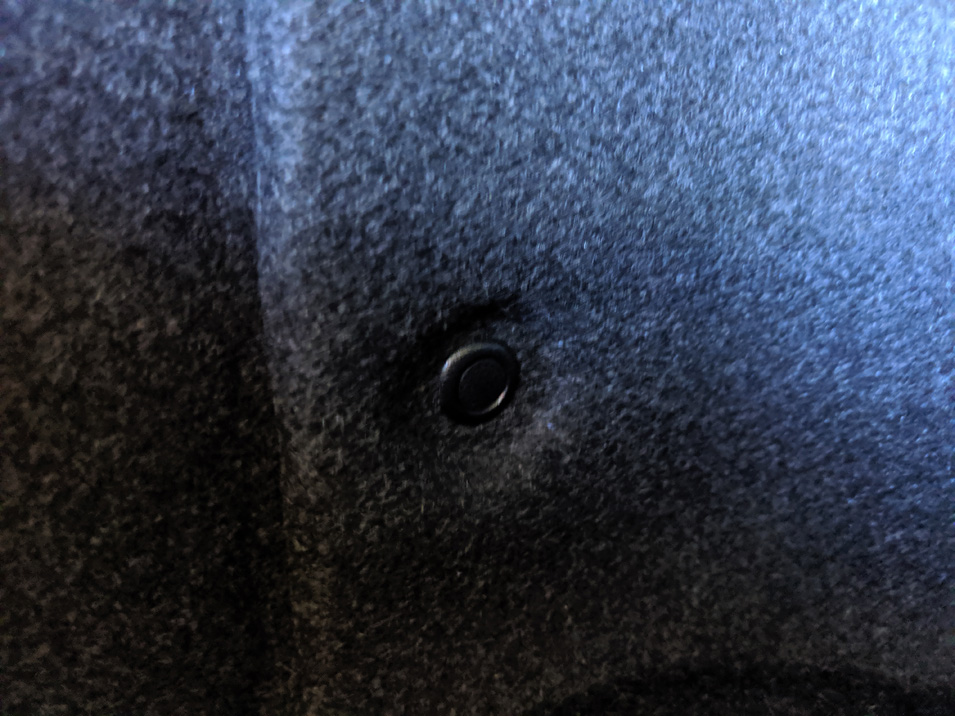
To access the connector for the 3rd brake light we’ll need to pop out three panel clips shown below:
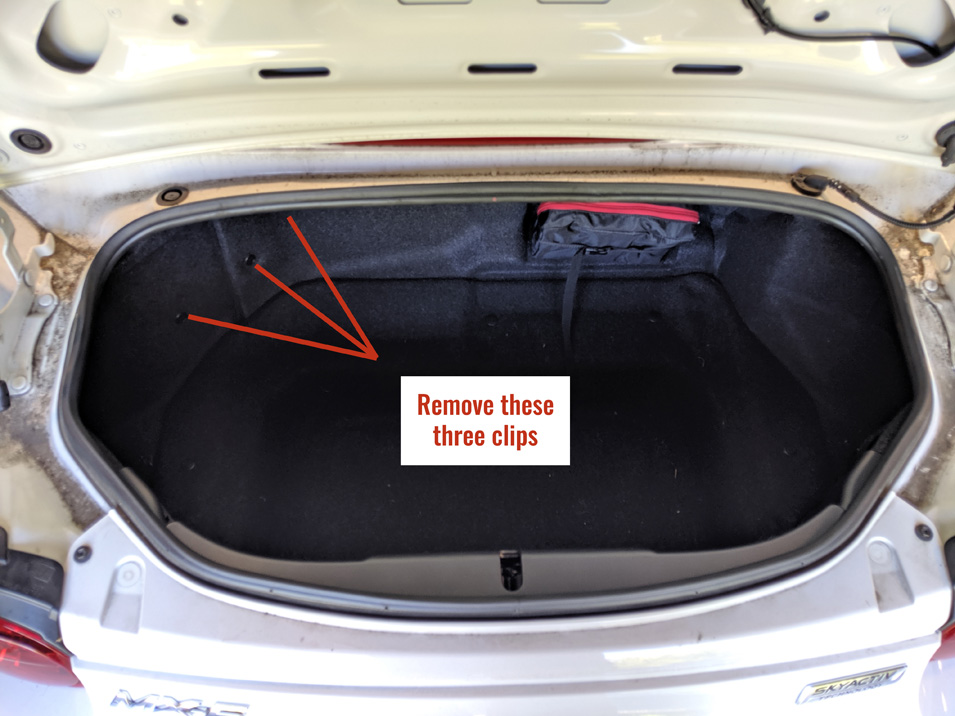
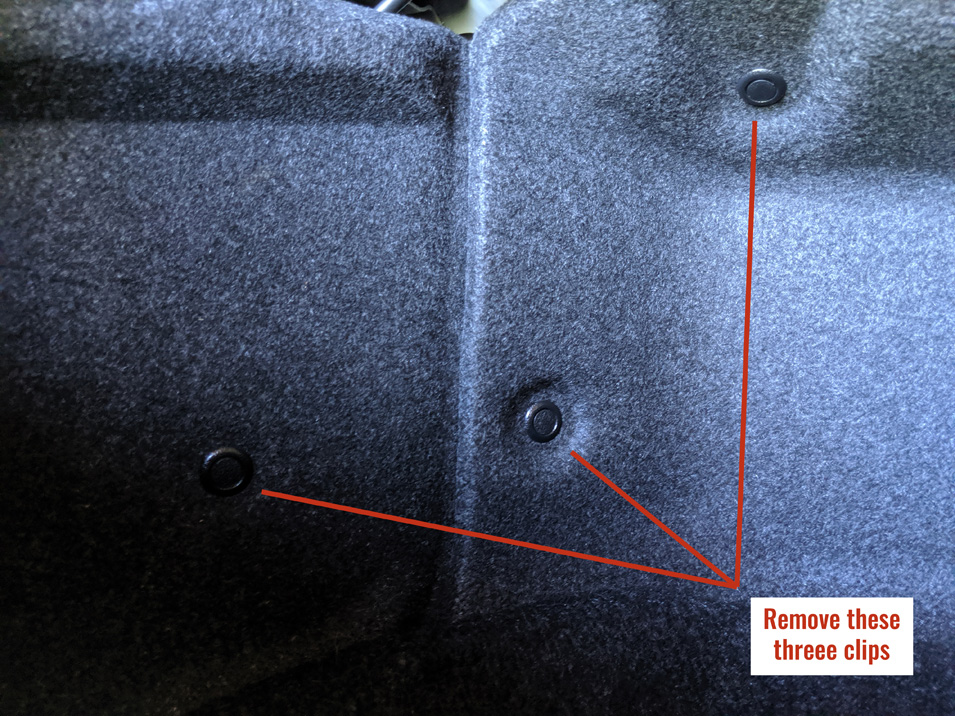
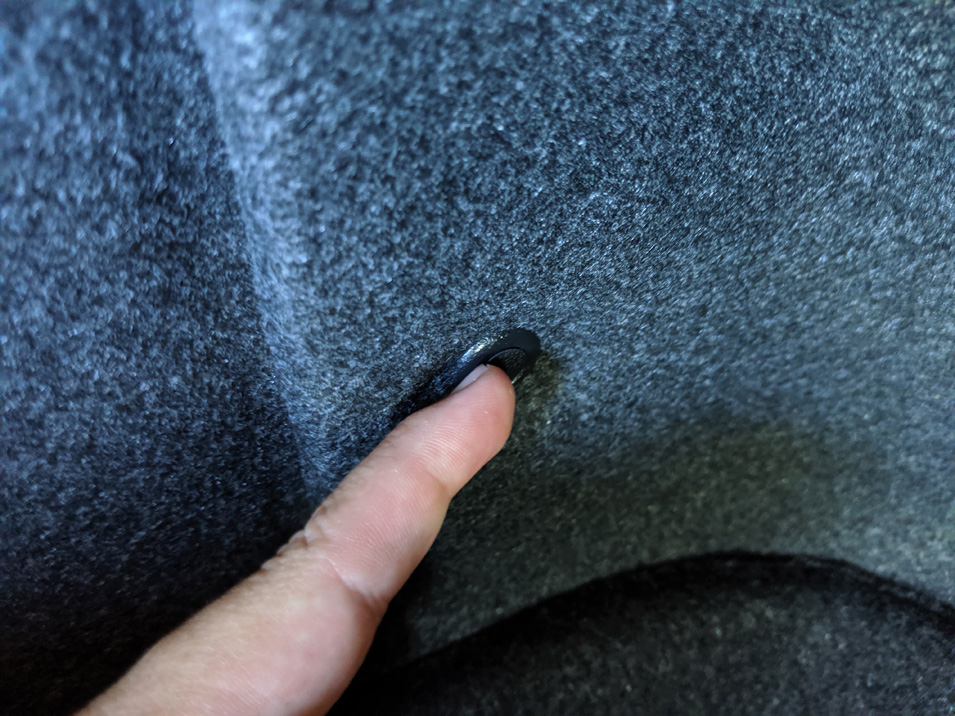
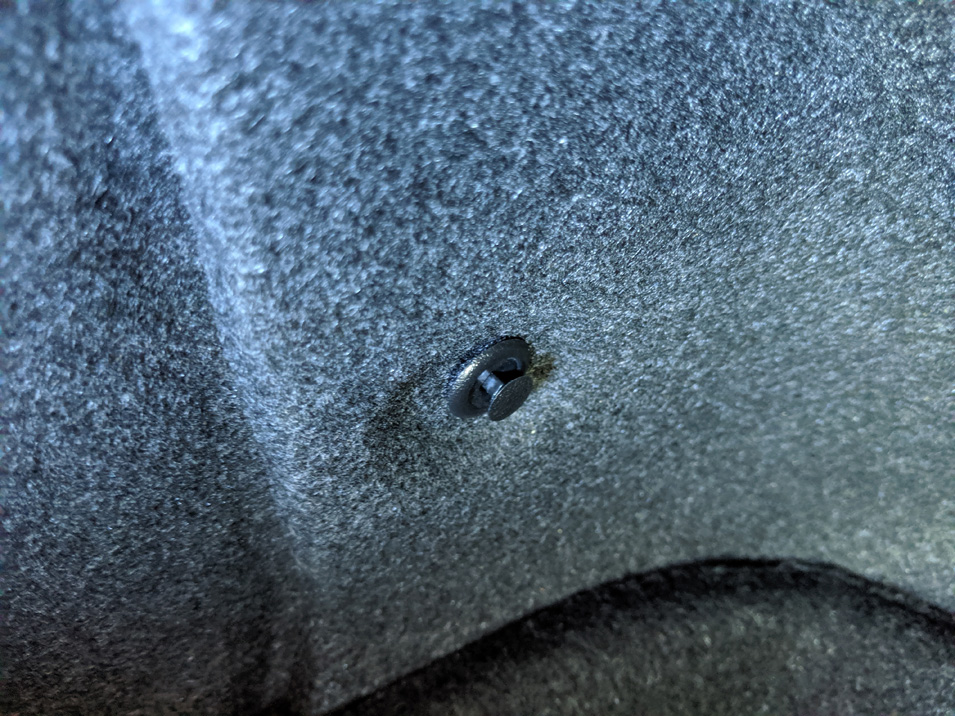
To remove these clips you just need to pop up the center section and then pull the clip out of the panel. These clips should be easy enough to remove by hand, but you can use a clip removal tool as well.
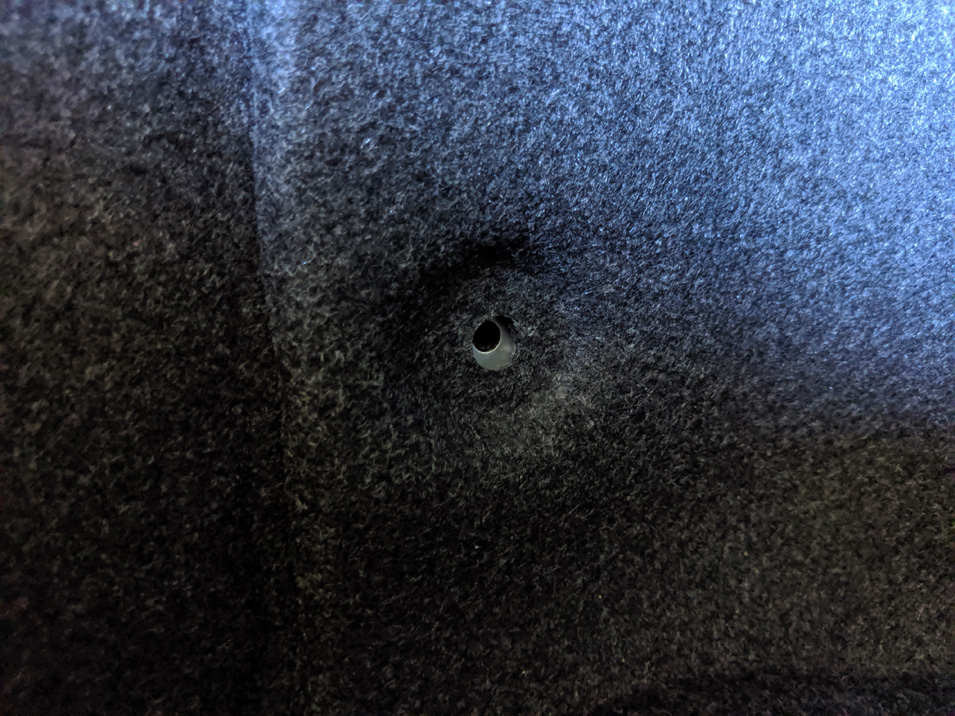
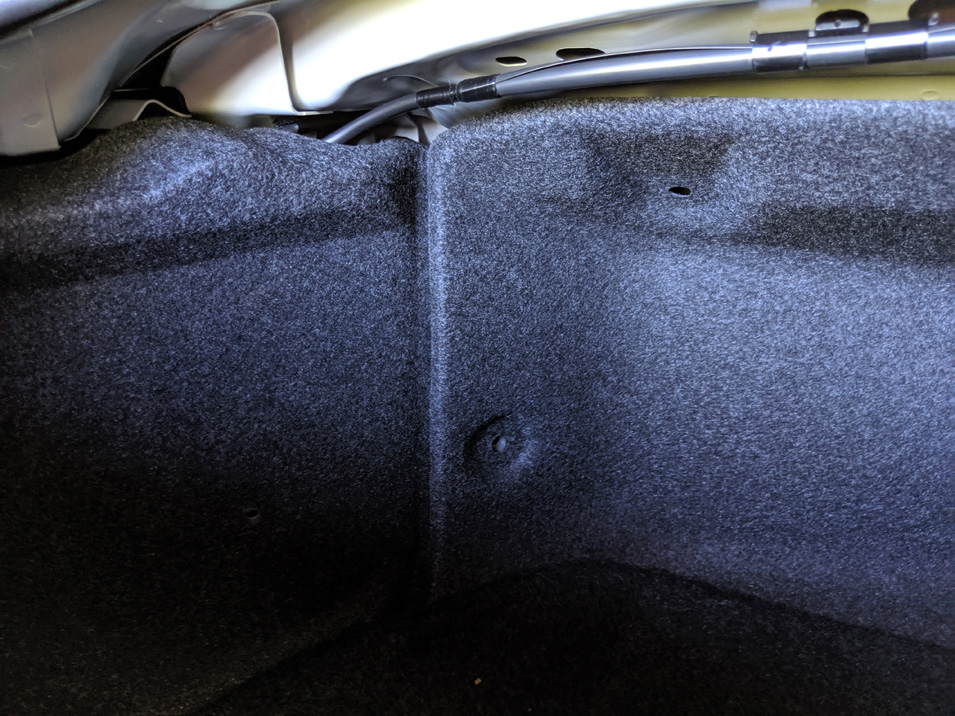
With the three clips out you can now gently pull back the two side panels to reveal the 3rd brake light connector.
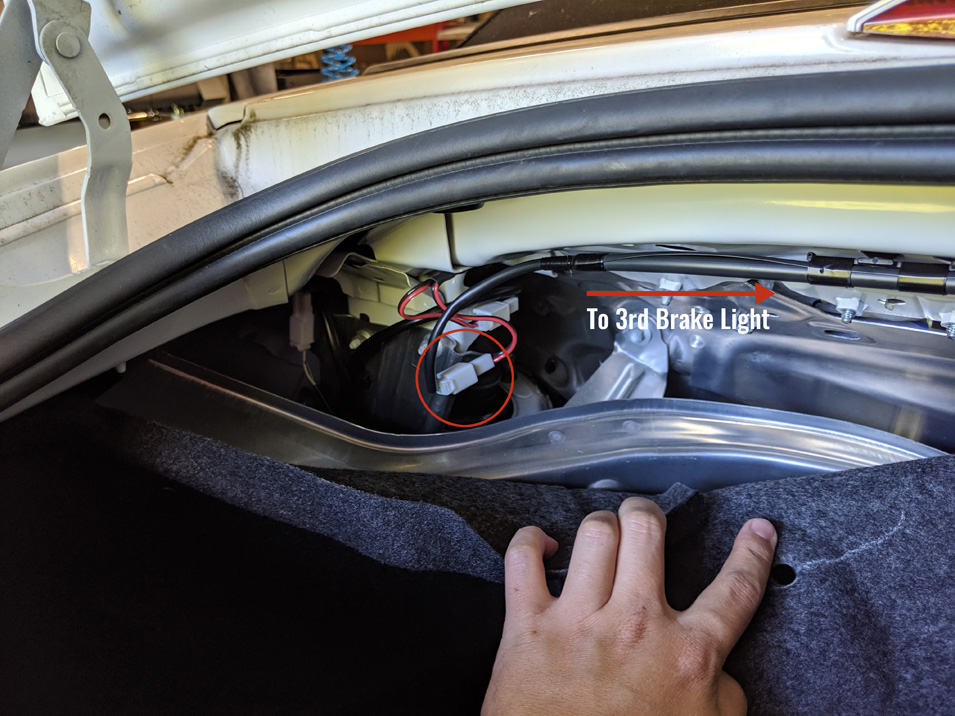
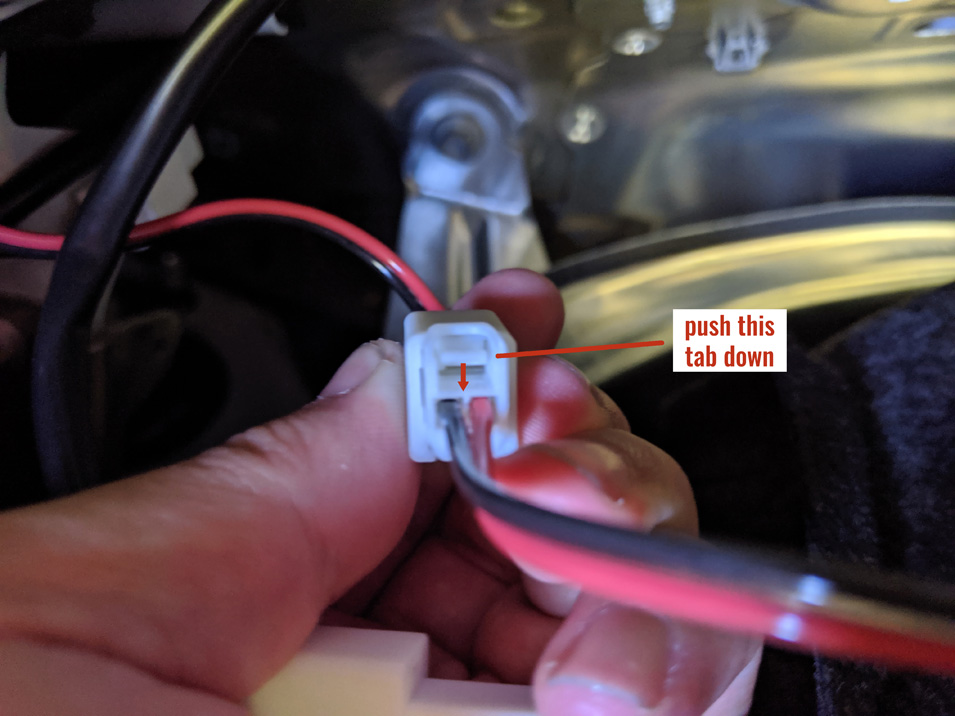
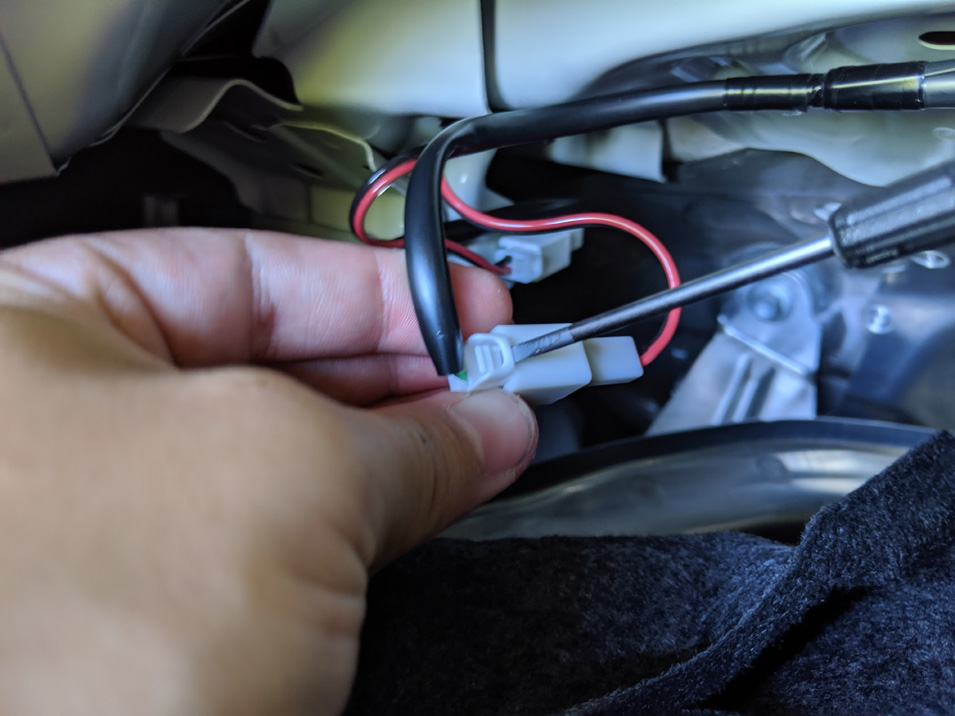
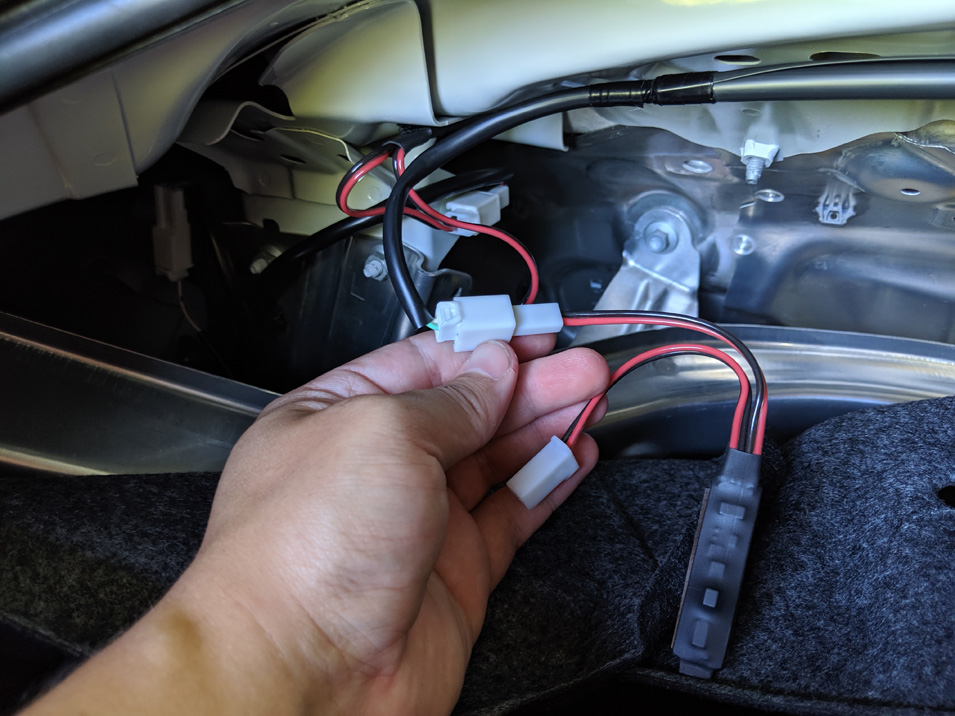
All we need to do is disconnect this connection and plug in the flasher module in between the two ends. To disconnect the connector, I found it easiest to grab a small flat head screwdriver, insert it between the male and female sides of the plug to push down the locking tab, and then twist to push the two ends apart.
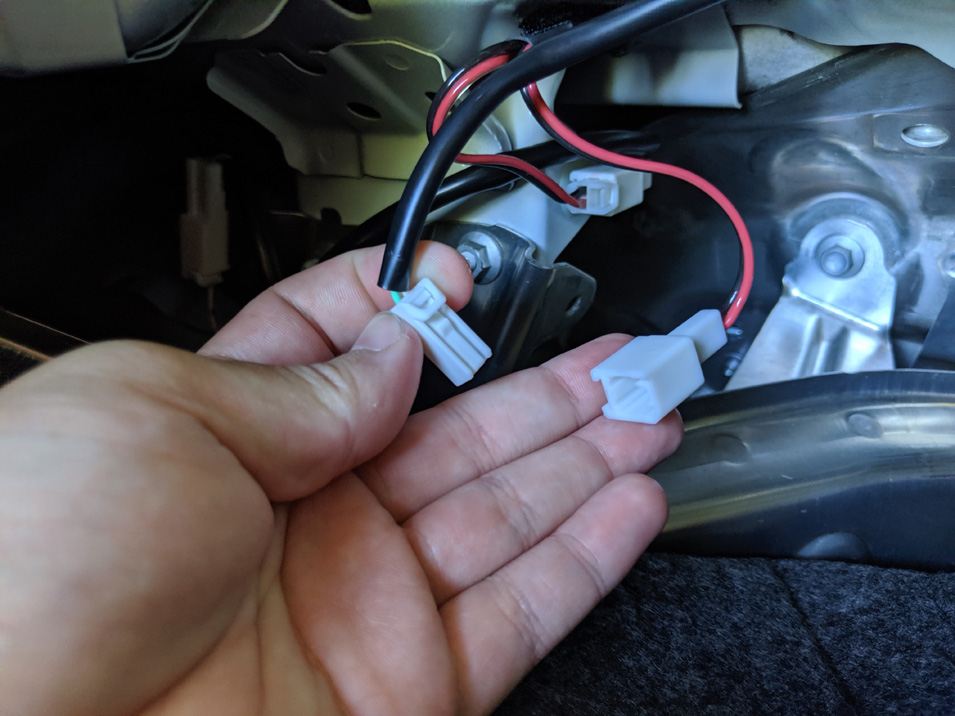
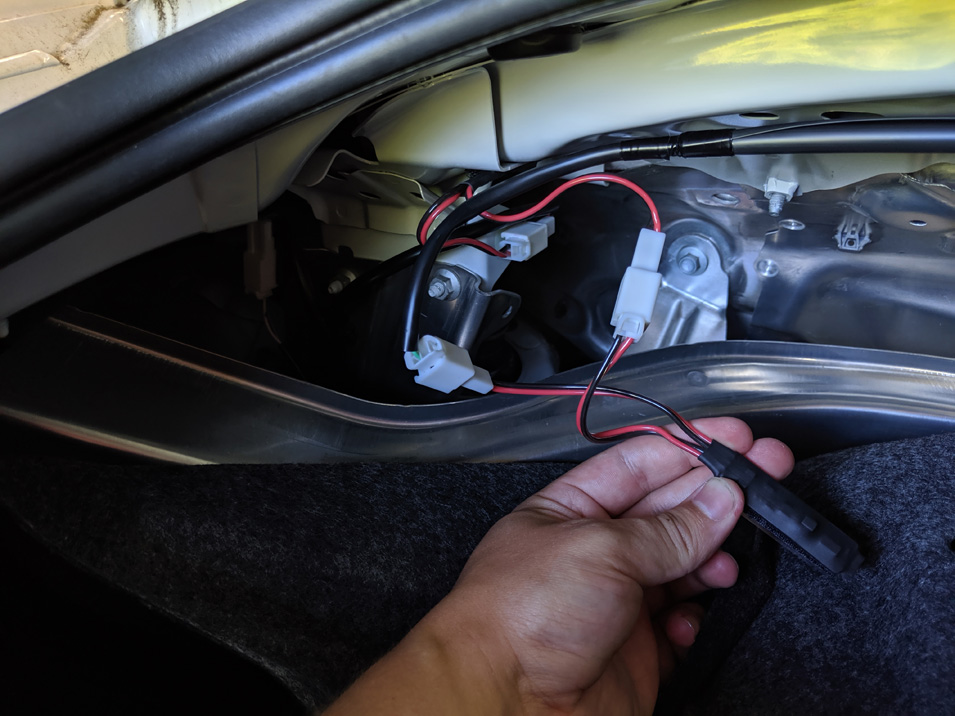
Plug each connector of the flasher into the corresponding connector on the car.
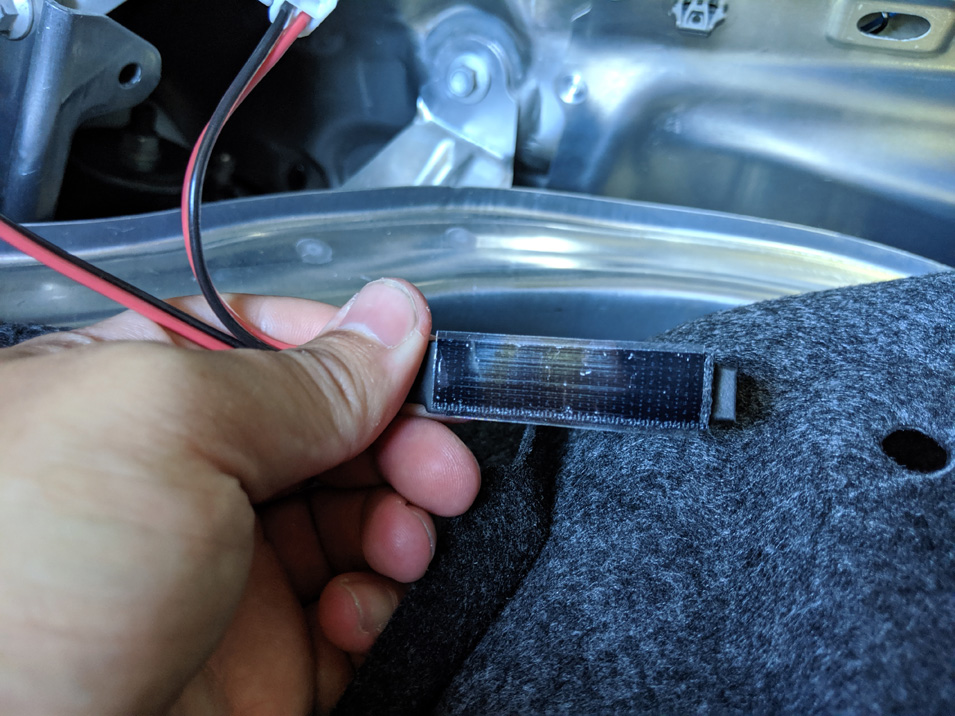
Now we need to affix the flasher to the body. Peel the adhesive backing off of the flasher module and stick it to the chassis of the car. It is important to attach this module to the car itself, perpendicular to the car (as shown below), so the accelerometer can take proper readings.
The last step is to reinstall the three clips we removed earlier. The clips won’t go back in easily unless the center stays popped out while you install them. You want to push the outer section of the clip into the hole, then lock them into place by pushing the center section in.
Job done! Enjoy your higher visibility braking!