THANK YOU for purchasing the ND MX-5 Battery Shield from CravenSpeed. This product is made from the highest grade materials, and is guaranteed to be free from defects.
You can buy our CravenSpeed Battery Shield for ND MX-5 Miata here

Parts Included:
- 1 x CravenSpeed ABS Battery Shield
- 2 x Quick-Release Button Assemblies
- 2 x Ball End Nuts
- 2 x Washers, Metal
- 2 x Washers, Rubber
- 5 x Adhesive-Backed Foam spacers
Tools Required:
- 10mm Deep Well Socket and Ratchet Wrench
The installation time for this product is approximately 5-10 minutes.
Procedure
Let's get started
- Swap Hardware from the OEM Battery Tie-Down.
Open your hood and locate the factory battery tie-down.
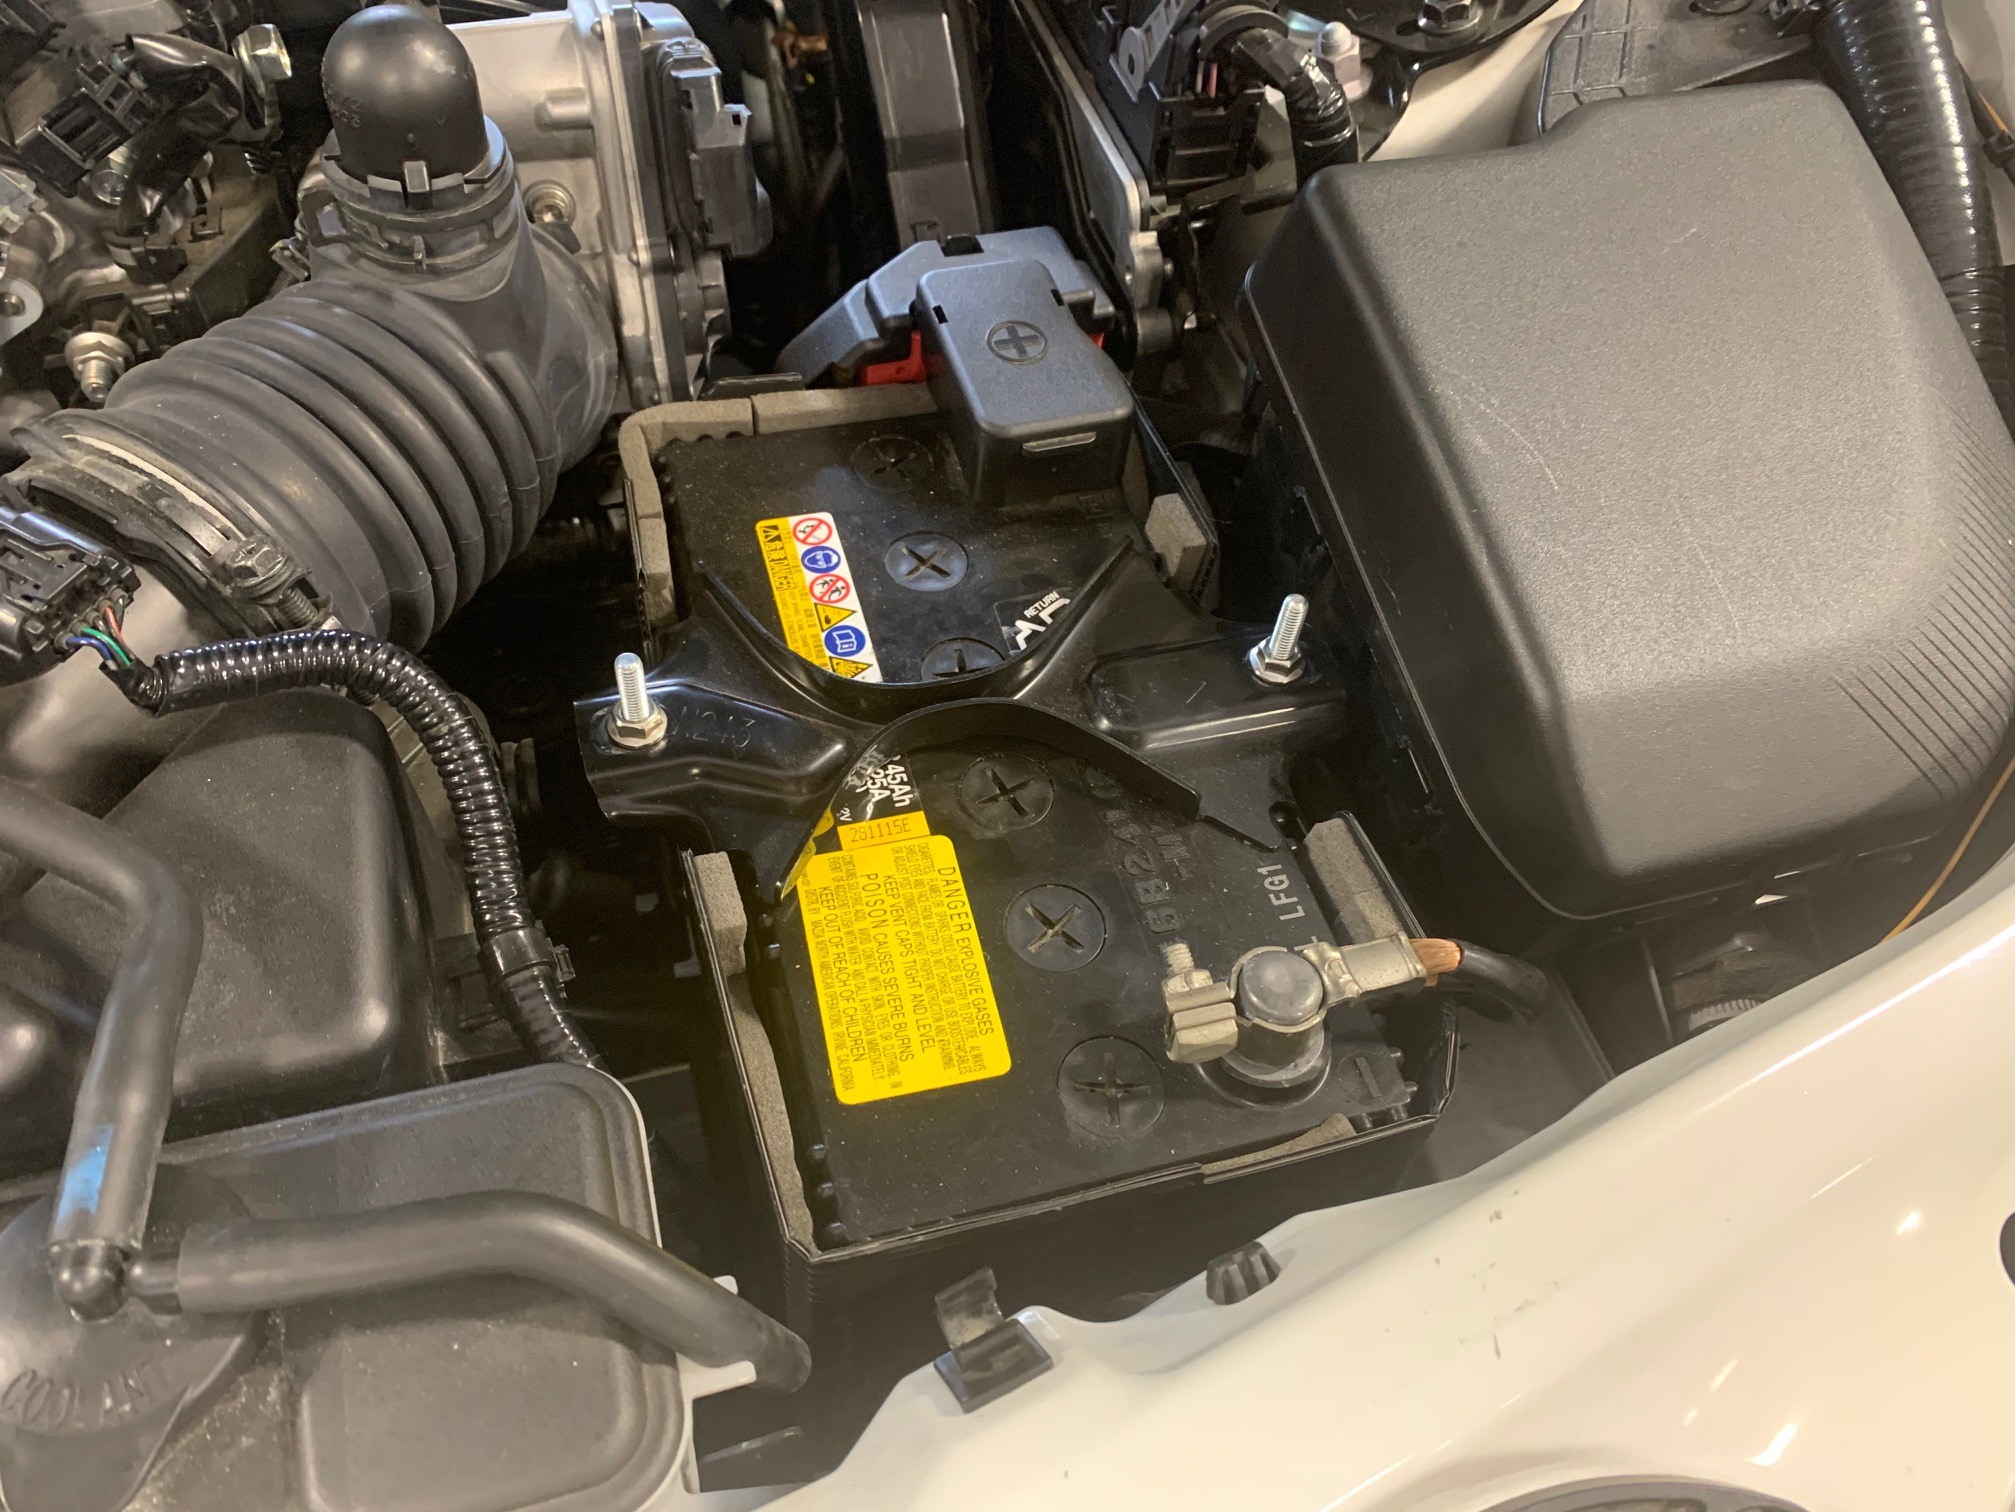
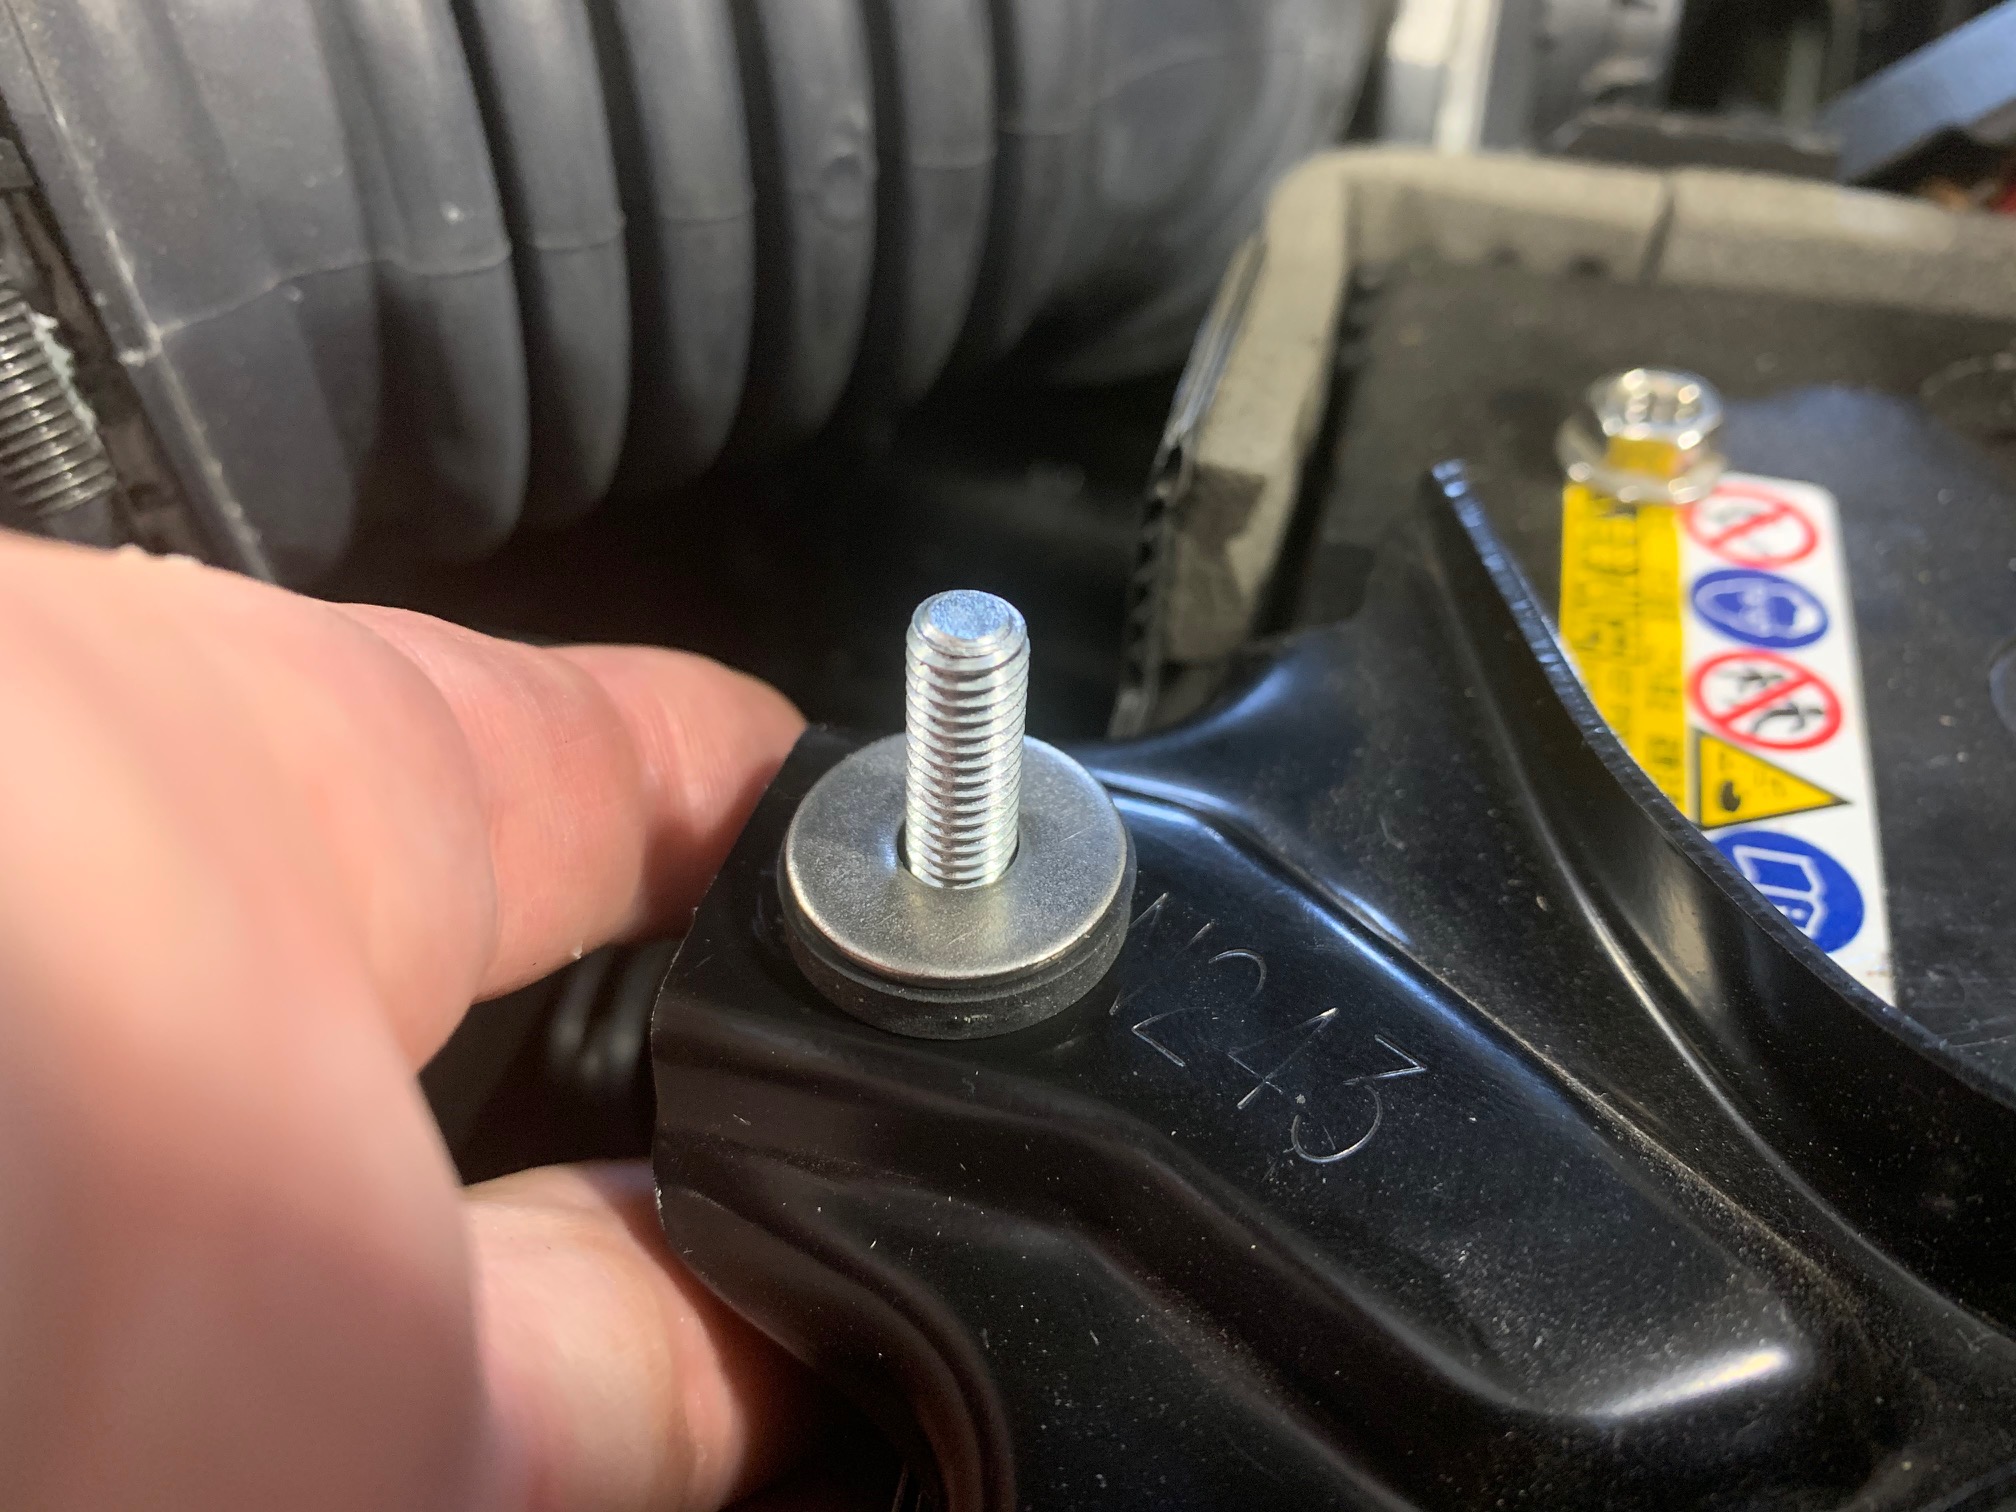
Use the 10mm socket to partially loosen the two nuts that secure the stock tie-down, but do not completely remove them.
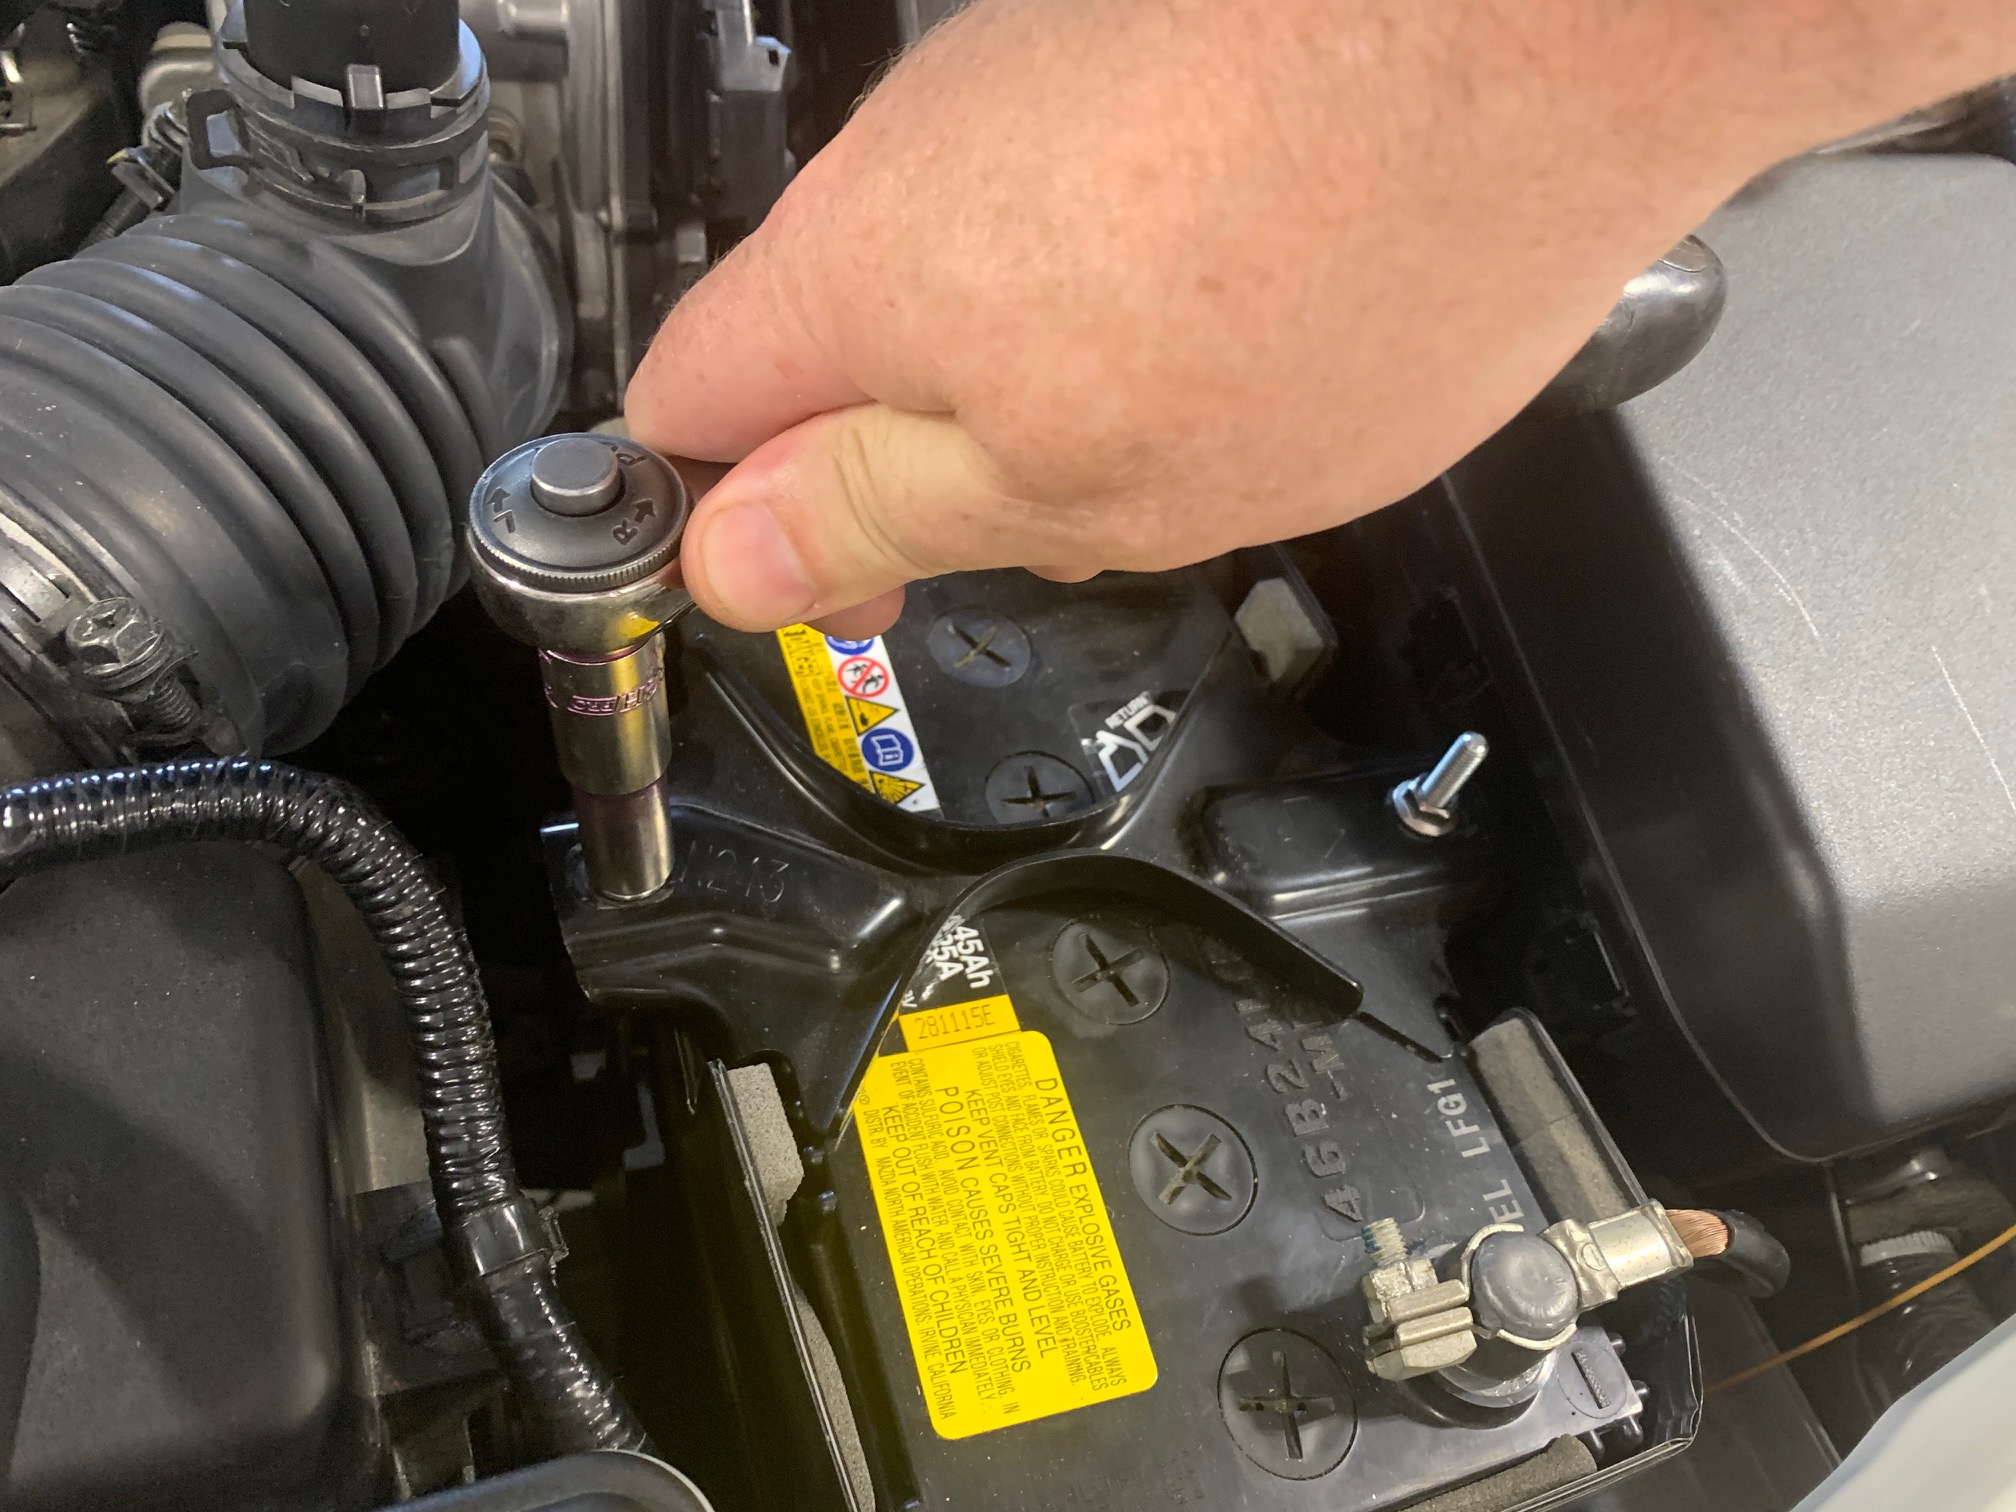
Place your hand along side the battery and hold the J-hook in place so that it doesn't fall when you remove the 10mm nut.

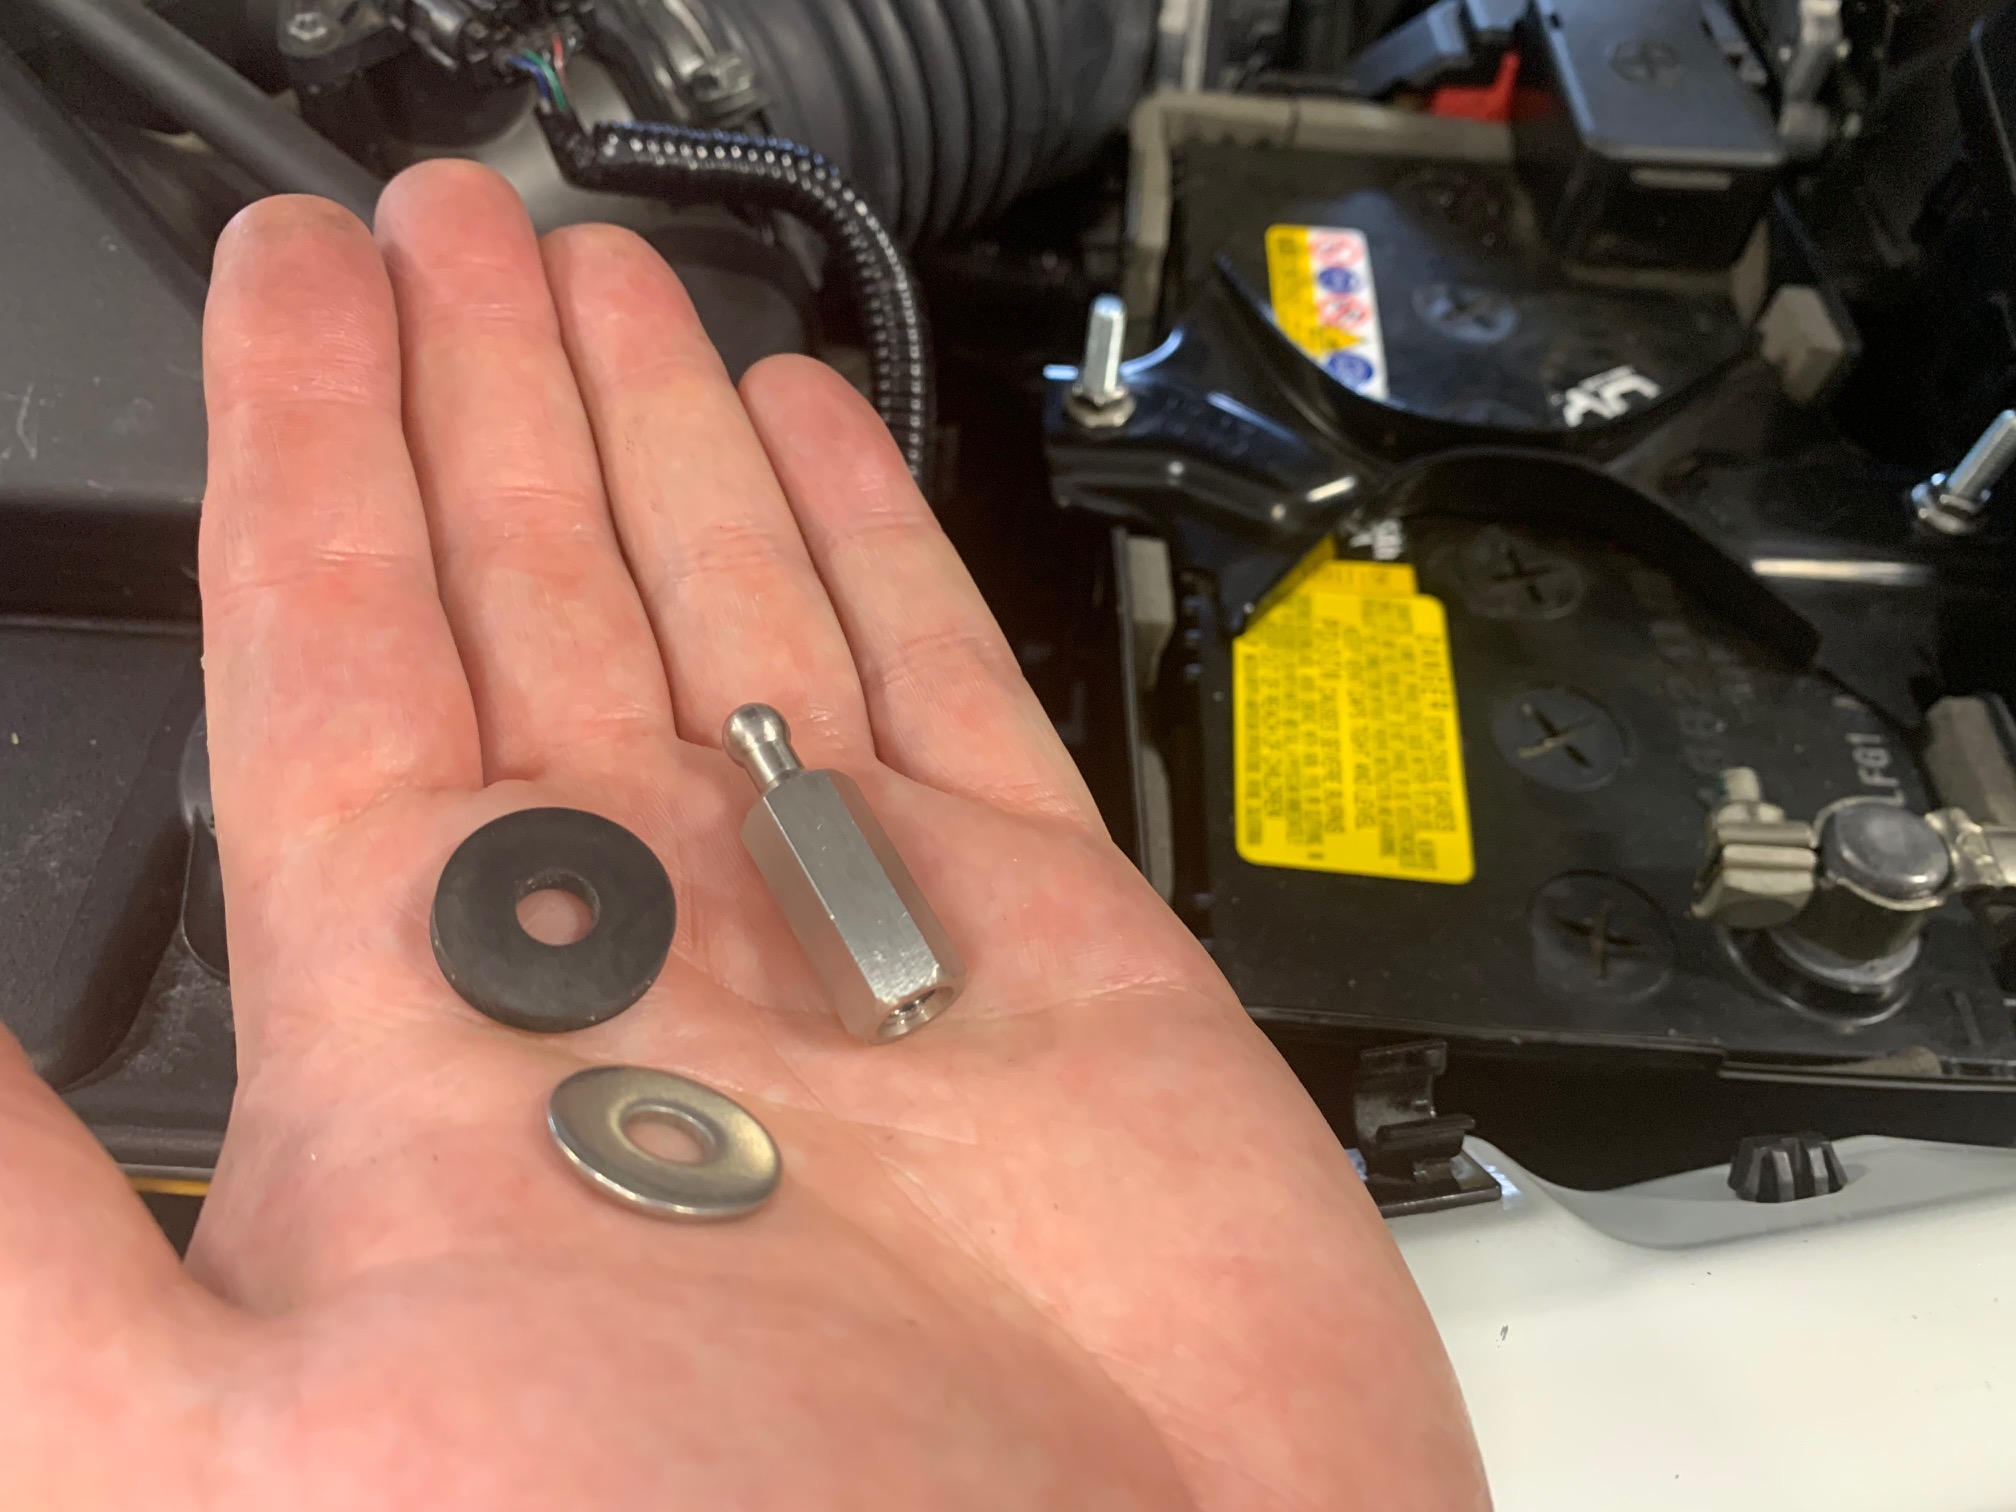
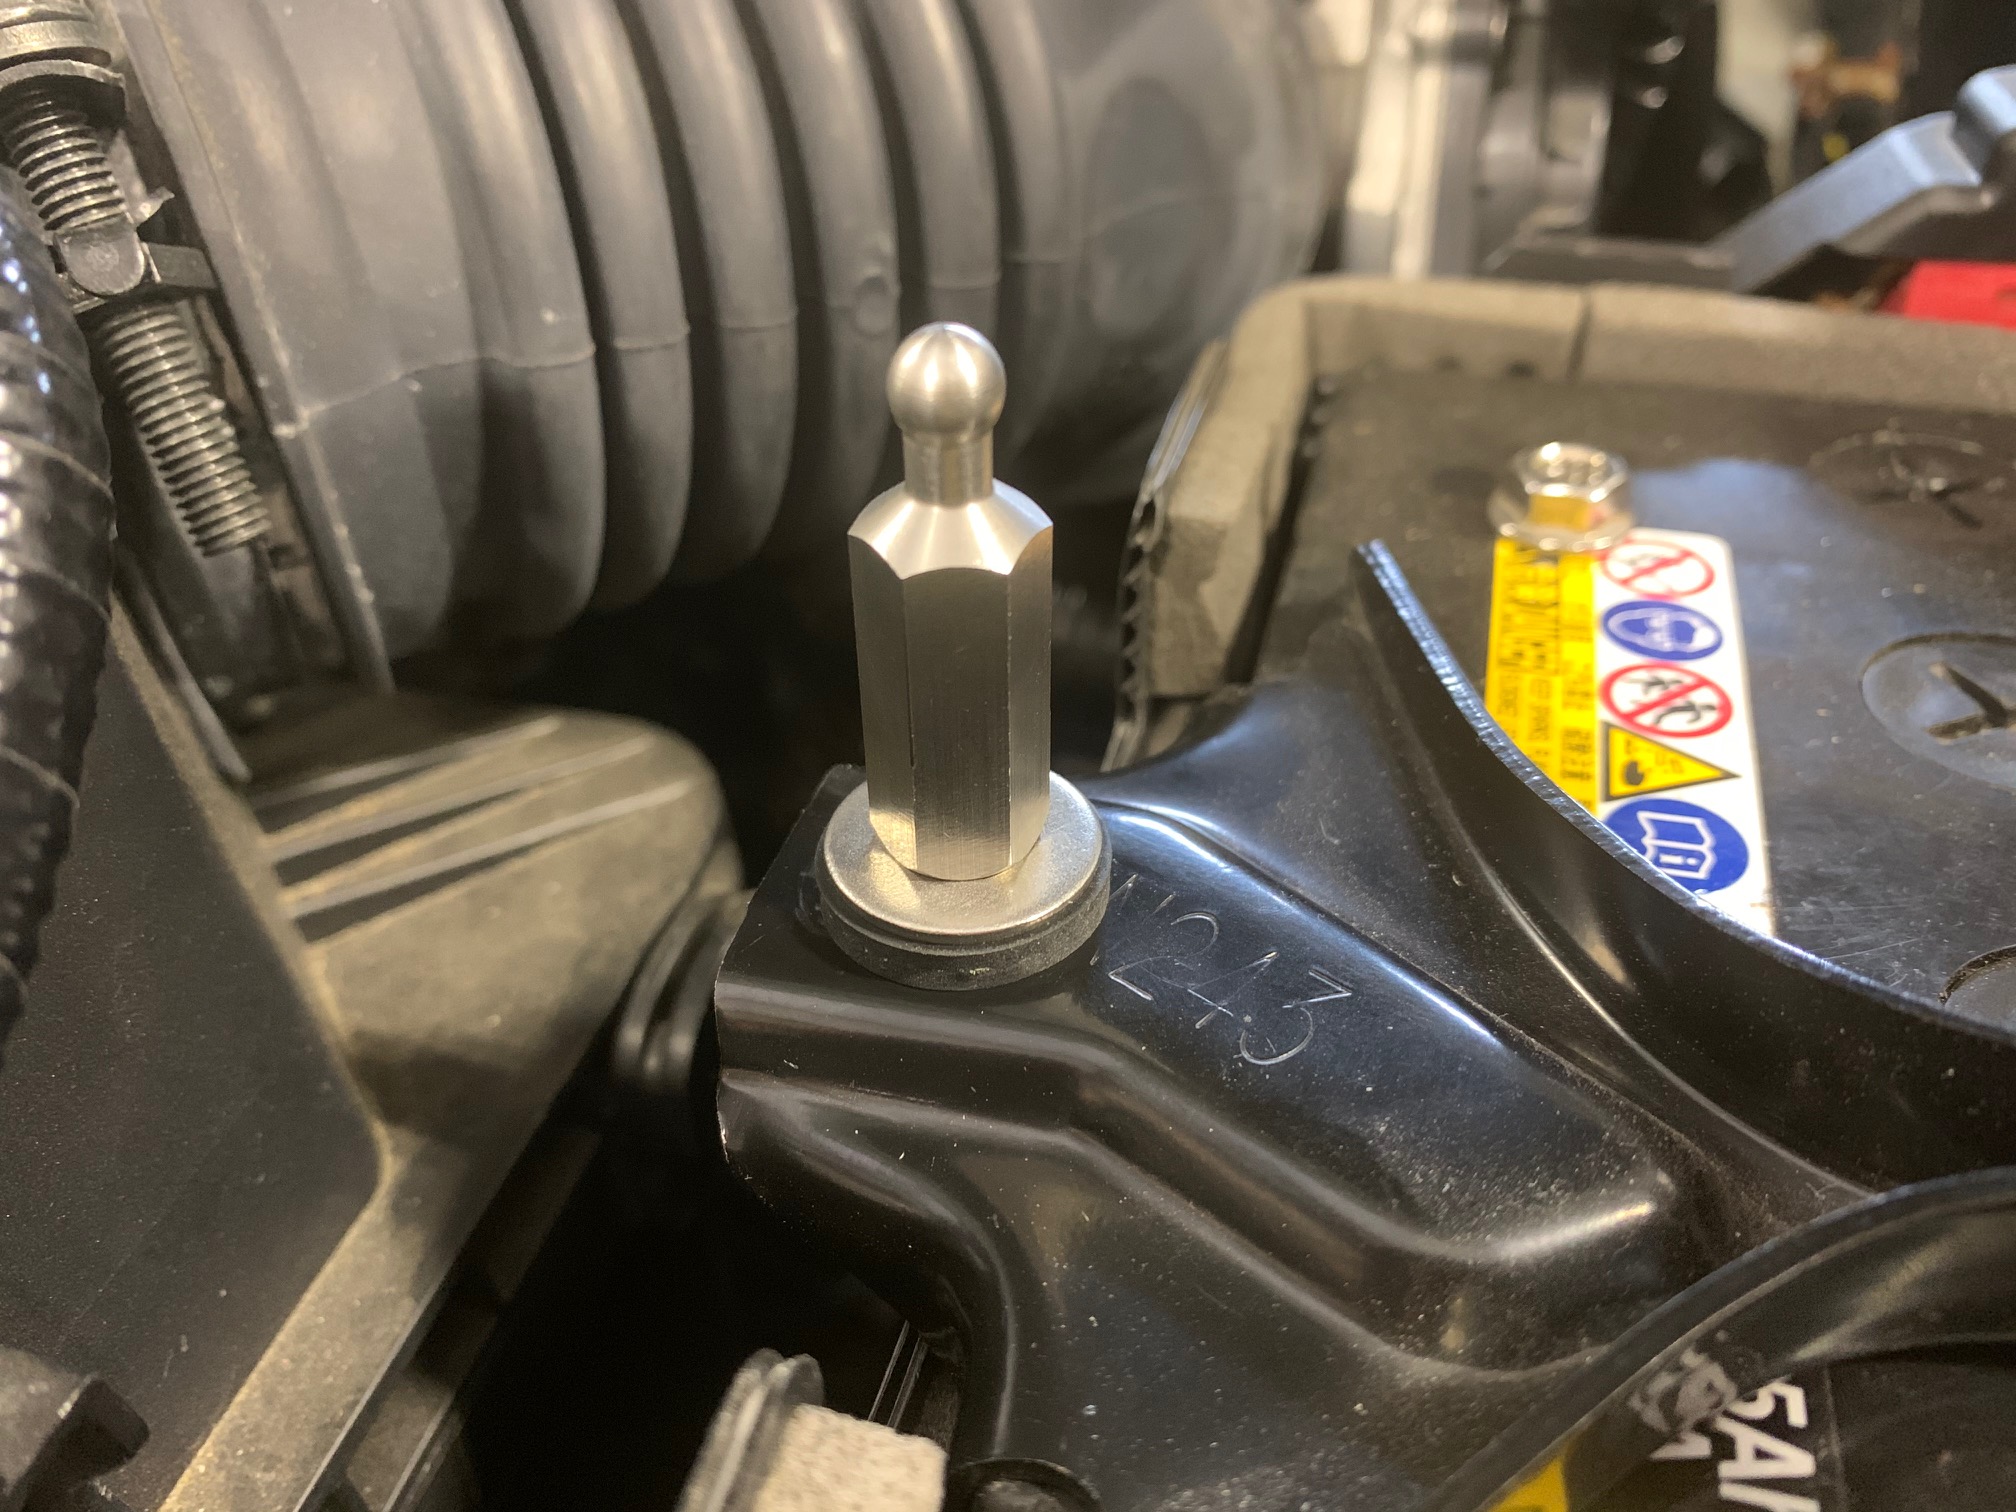
Replace the 10mm nut with a rubber washer, a metal washer, and then the Ball End Nut. Finger-tighten it down.
Perform the same procedure for the opposite side.

2. Prepare the CravenSpeed ND Battery Shield for Installation.
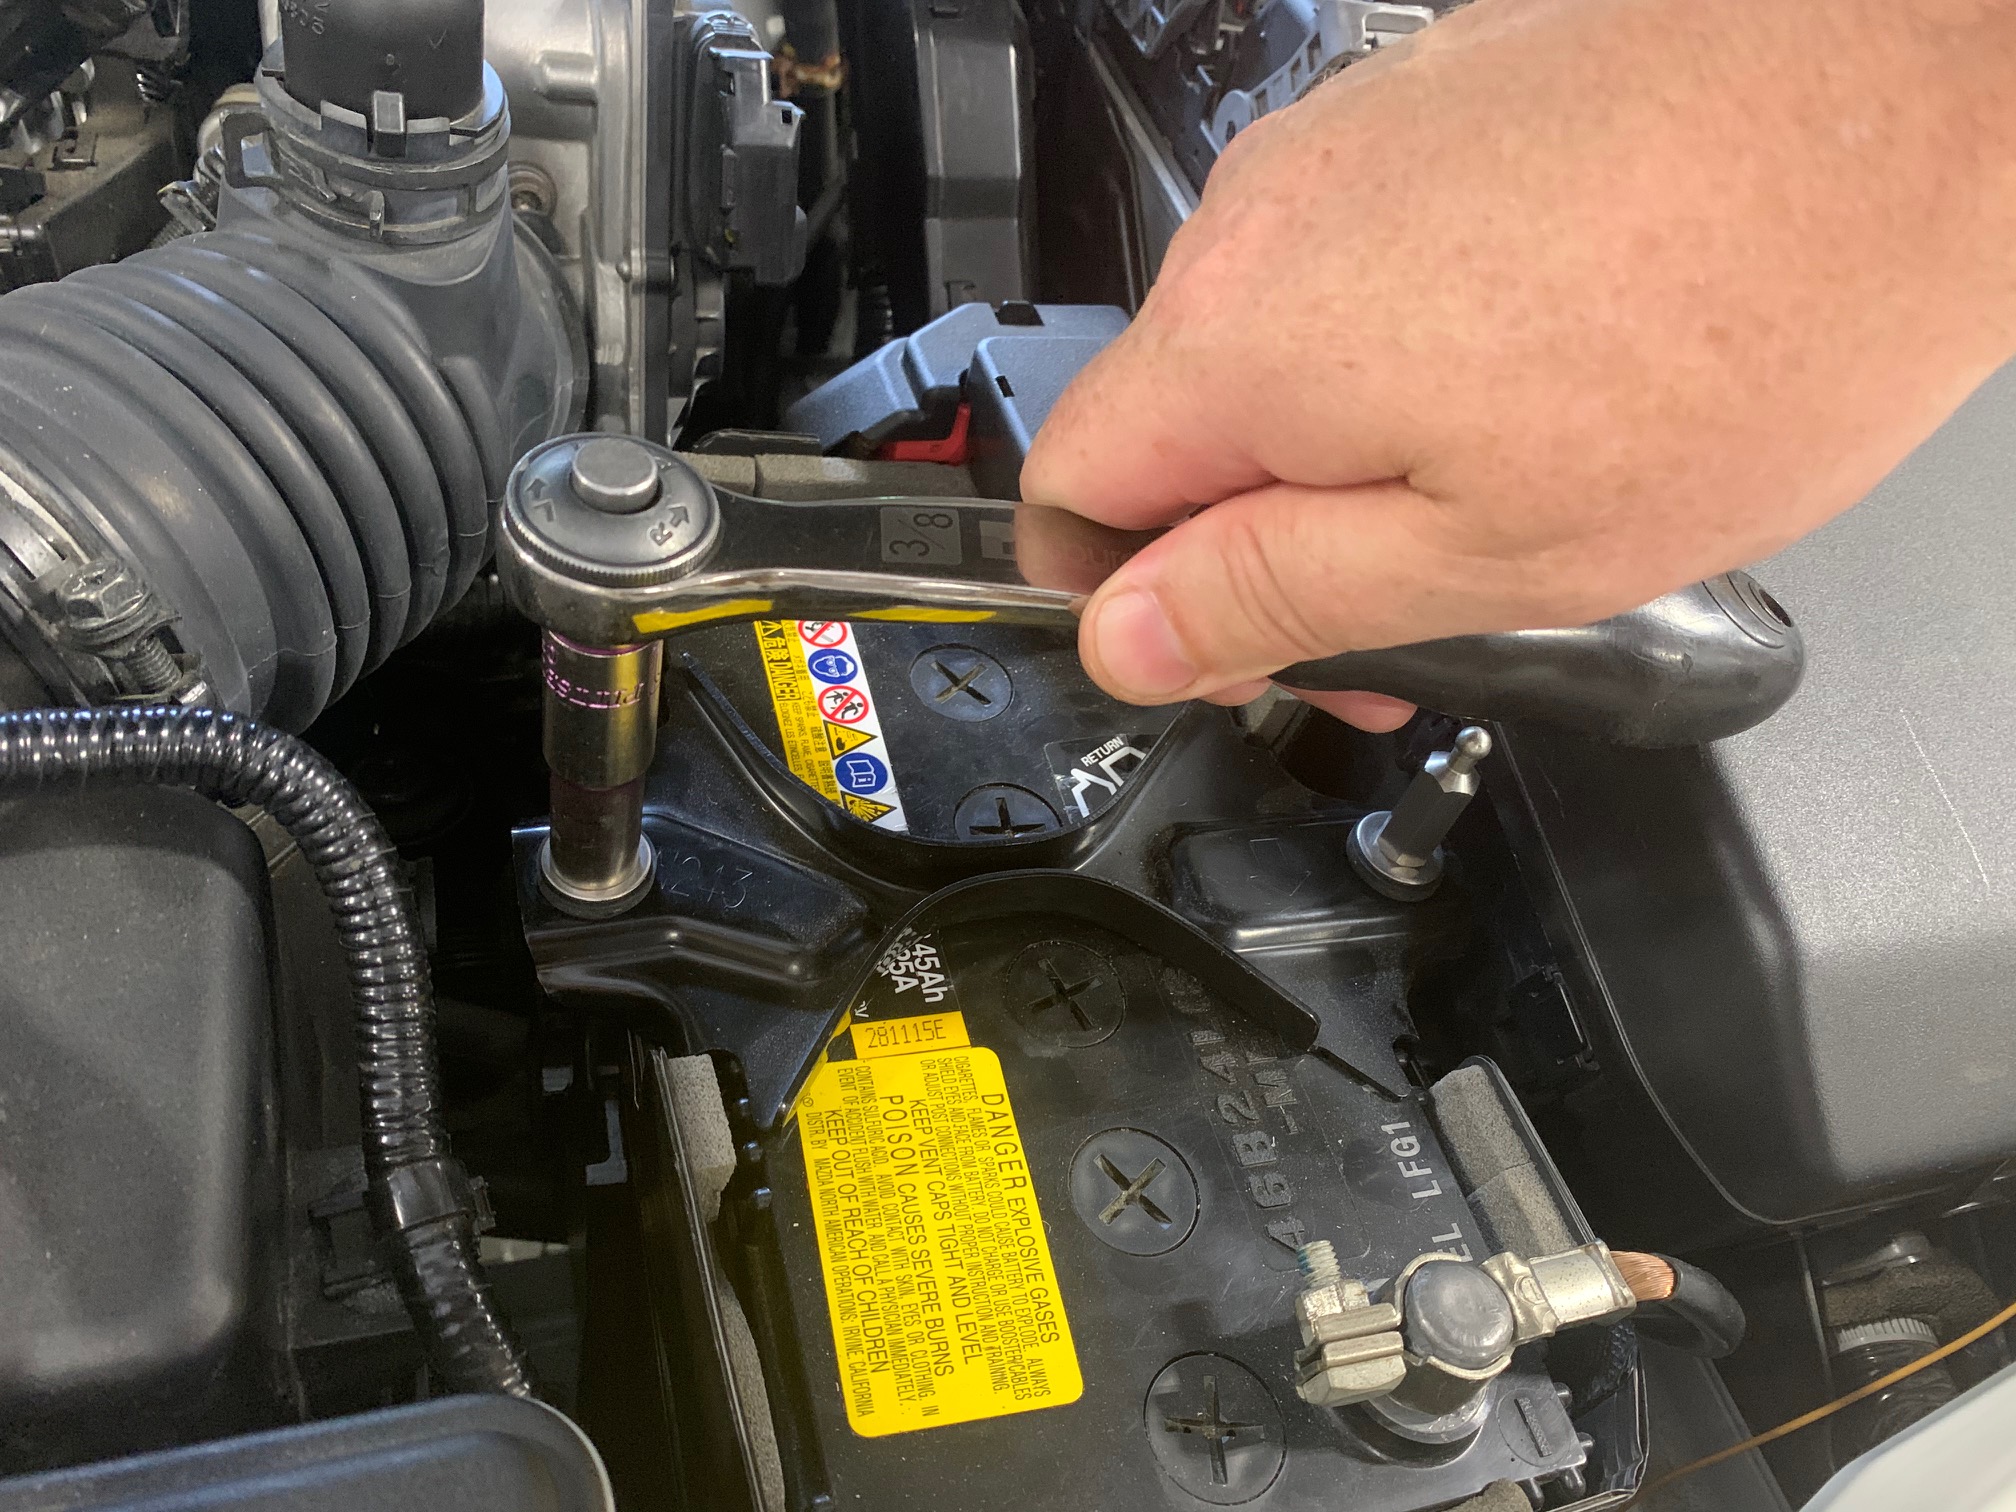
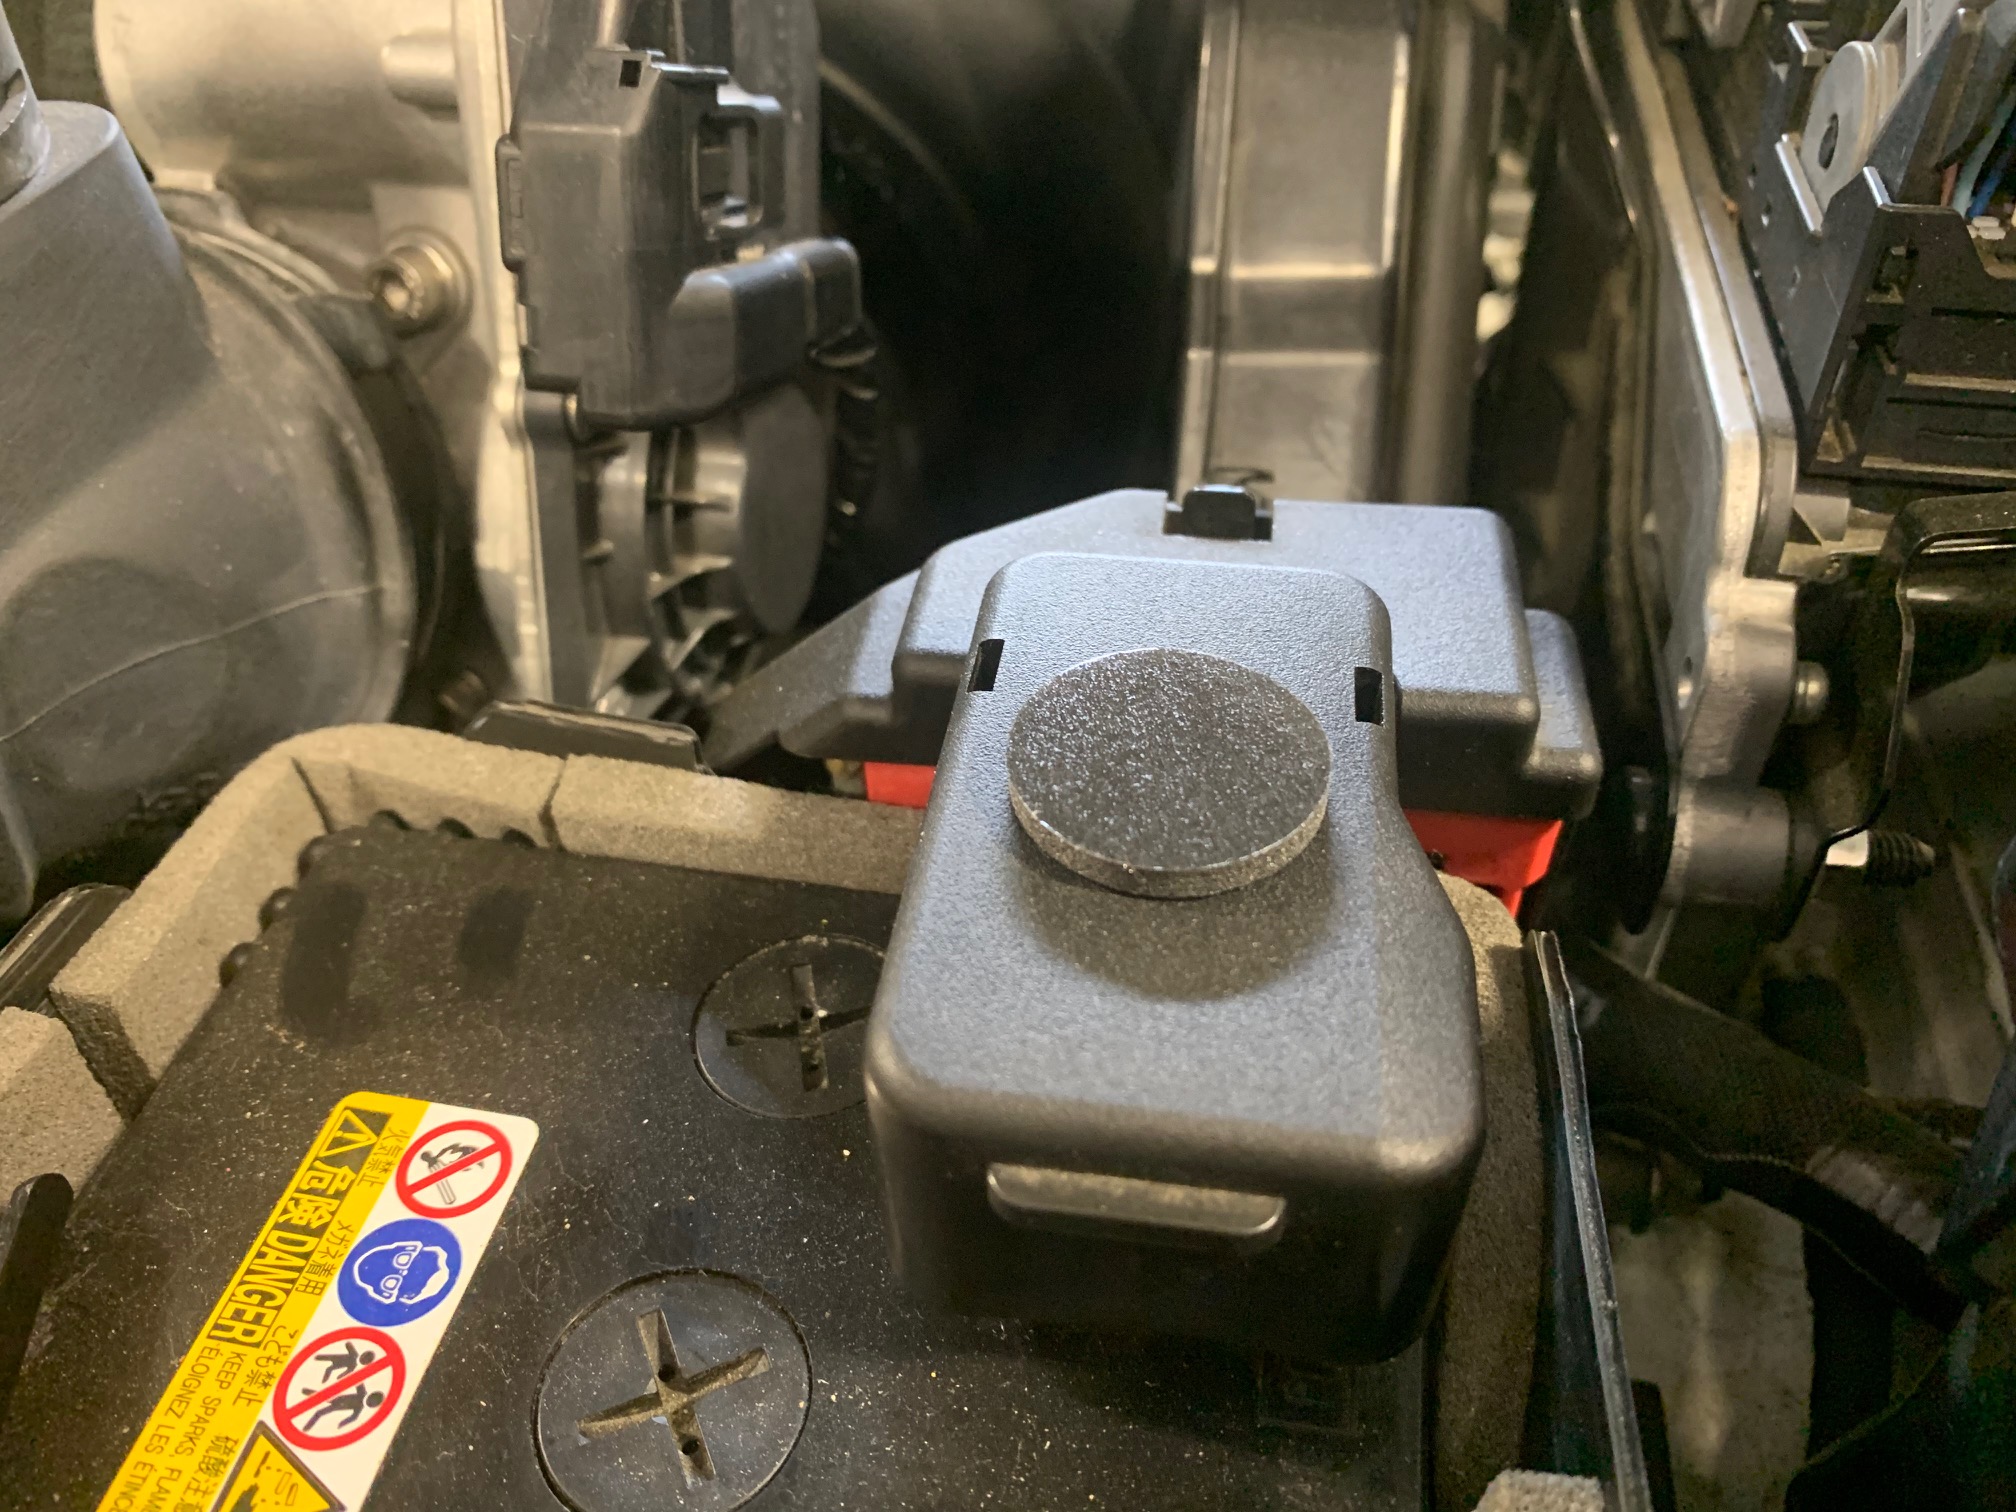
The Ball End Nuts should be snug, but still adjustable width-wise. Temporarily install the CravenSpeed ND Battery Shield by placing it onto the Ball End Nuts and clicking them into the quick-release buttons. This action will set the proper width of the Ball End Nuts so that they line up with the quick-release buttons.
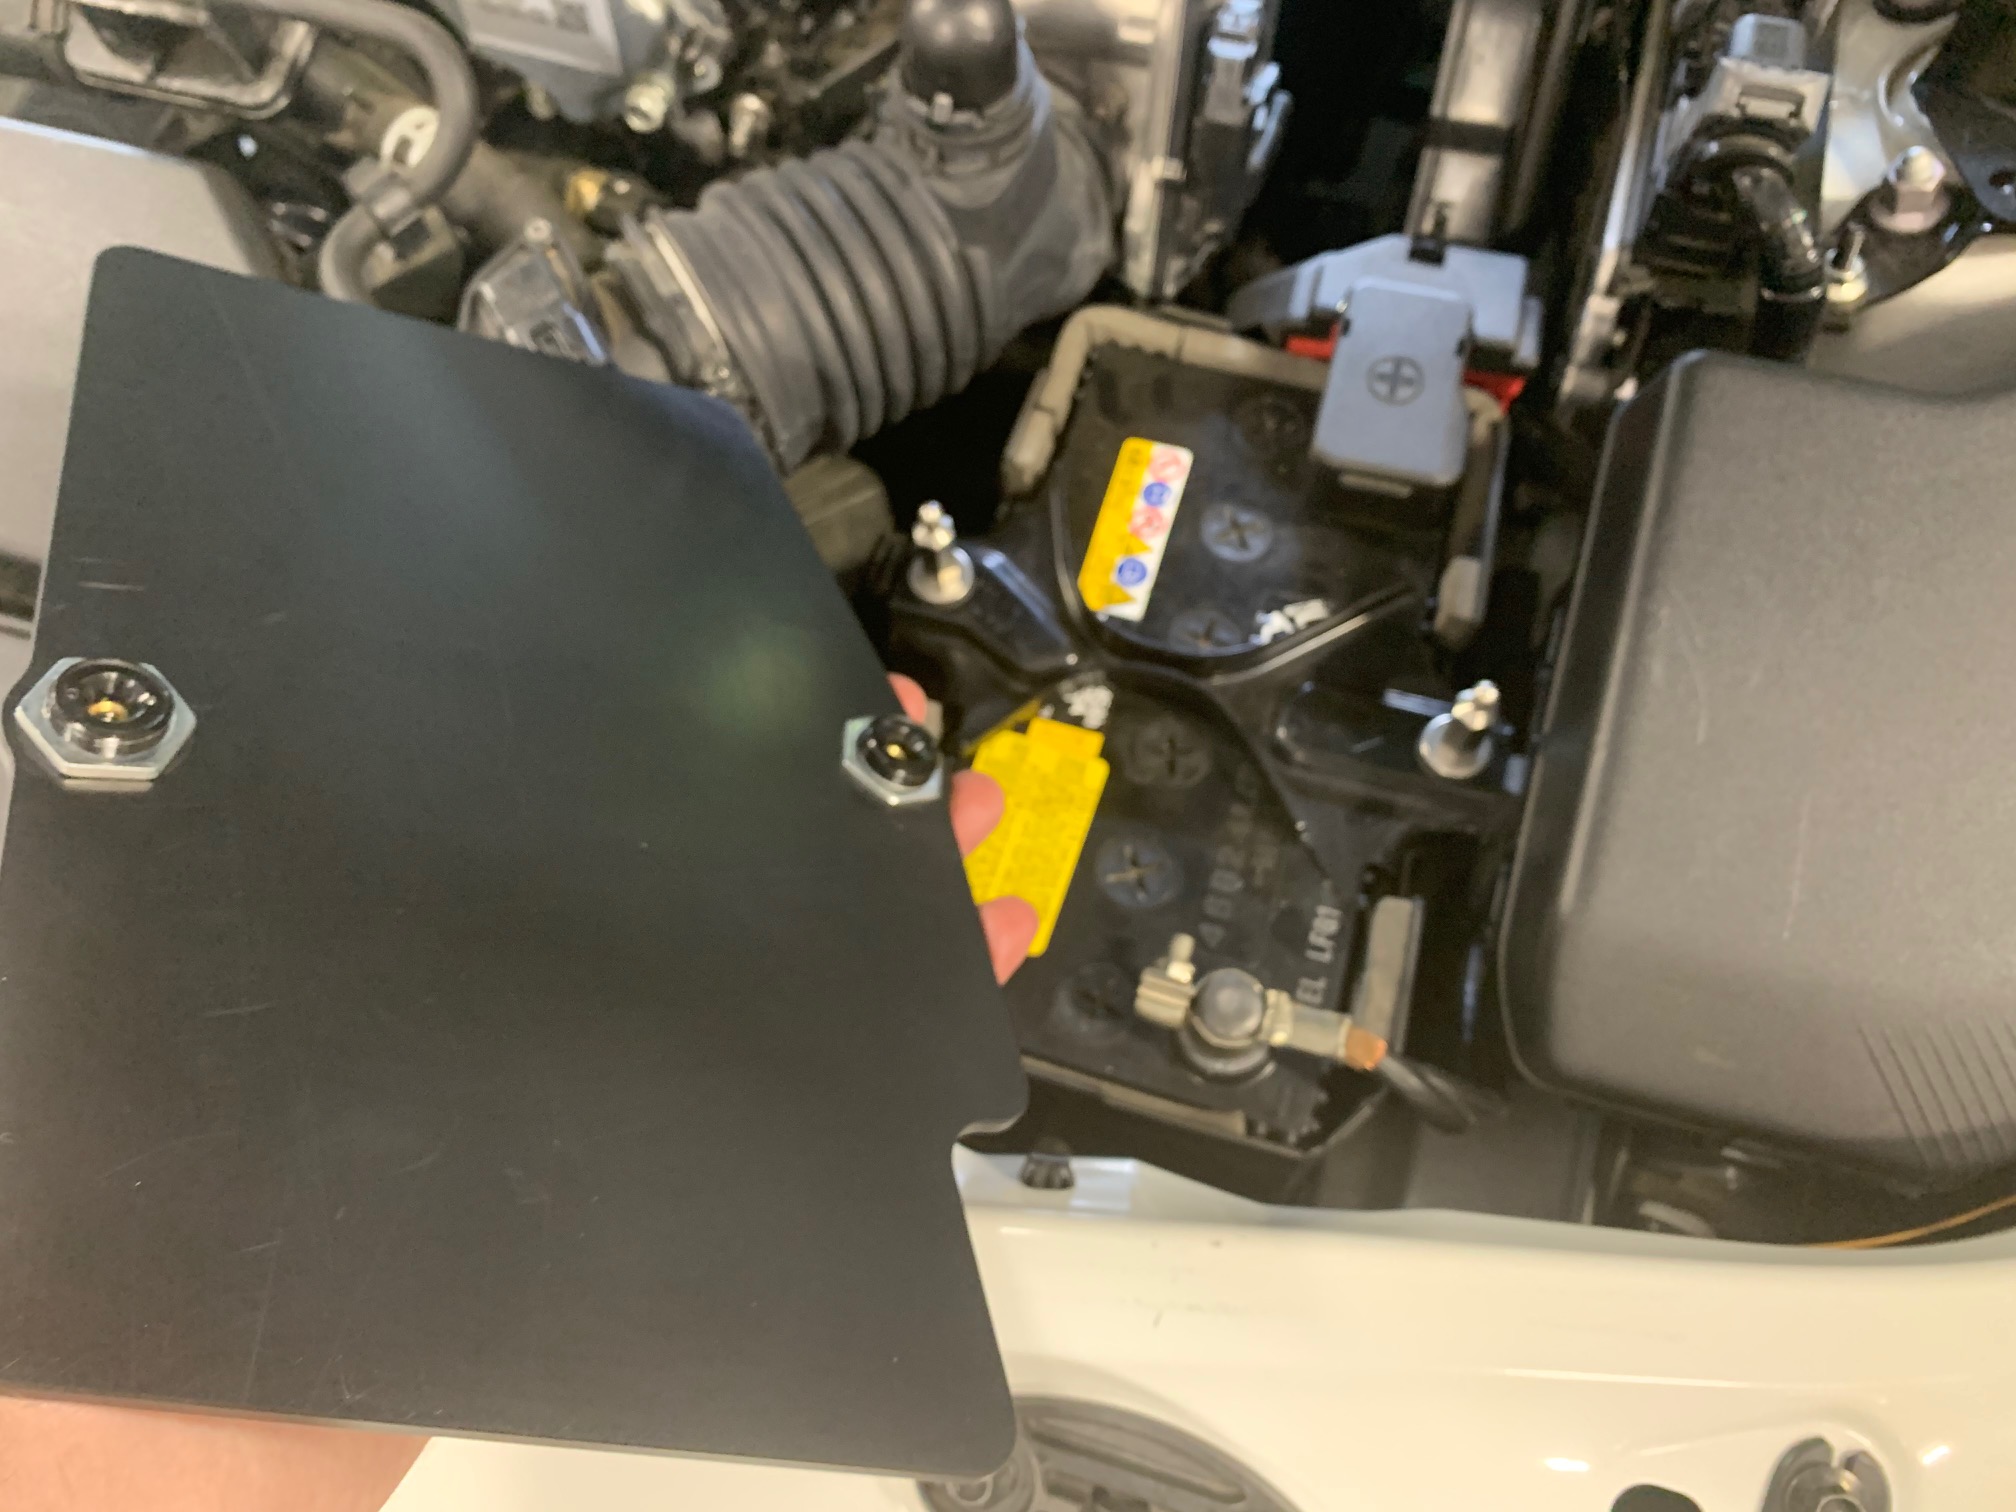
Remove the Battery Shield by pushing the center buttons and lifting the cover off. Give the Ball End Nuts a final tightening with your 10mm deep well socket wrench.
3. Apply the Adhesive-Backed Foam Spacers.
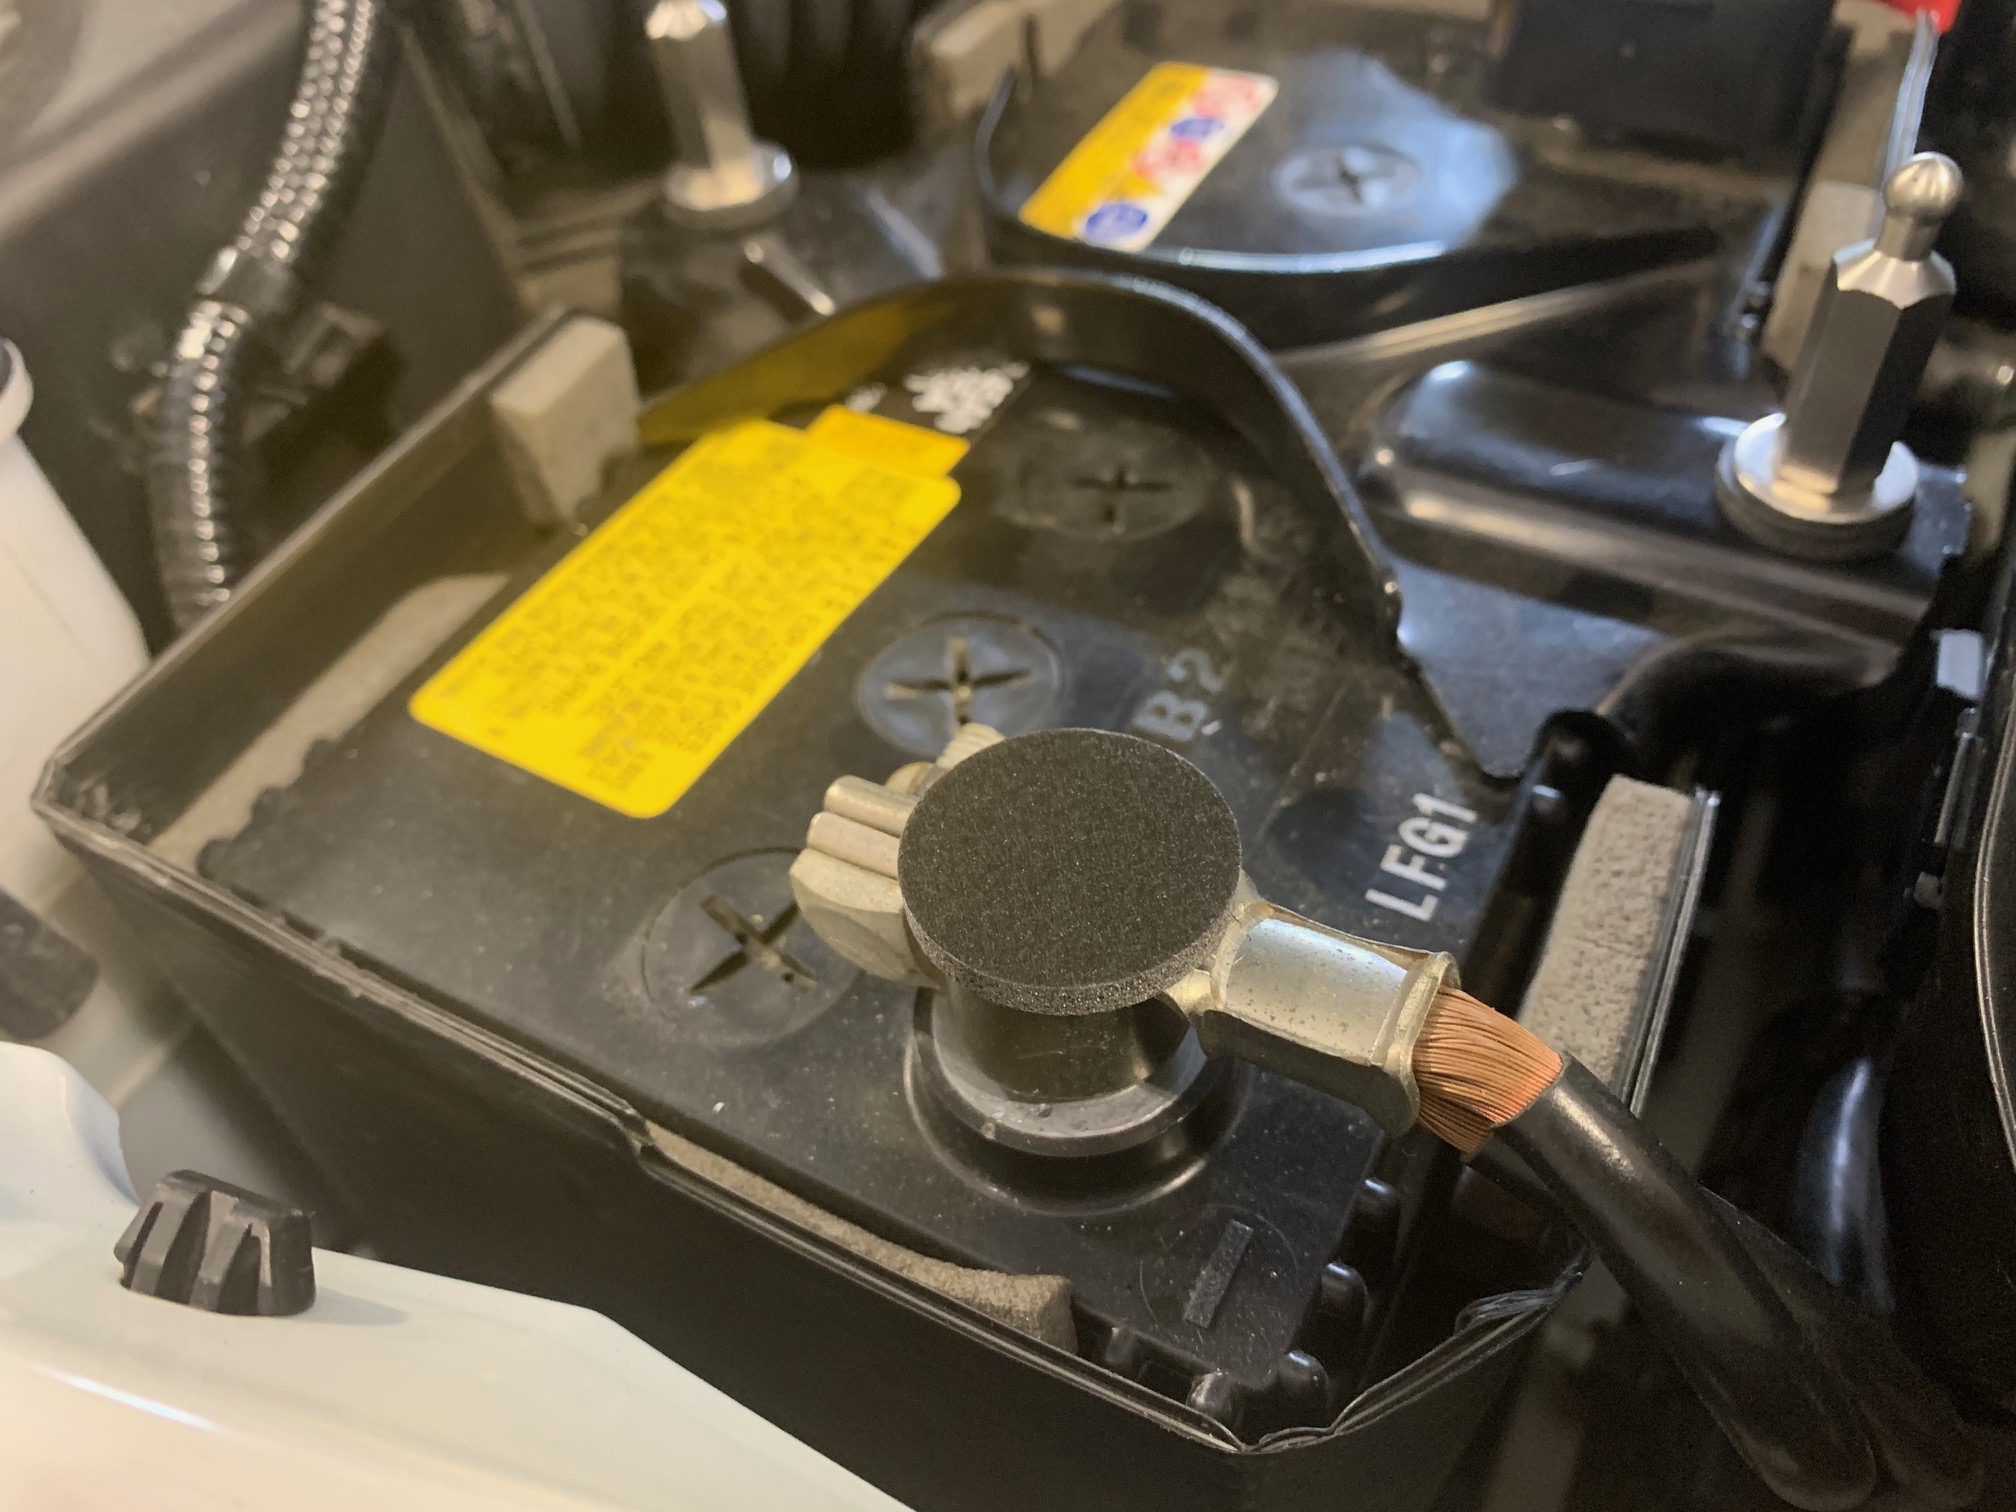
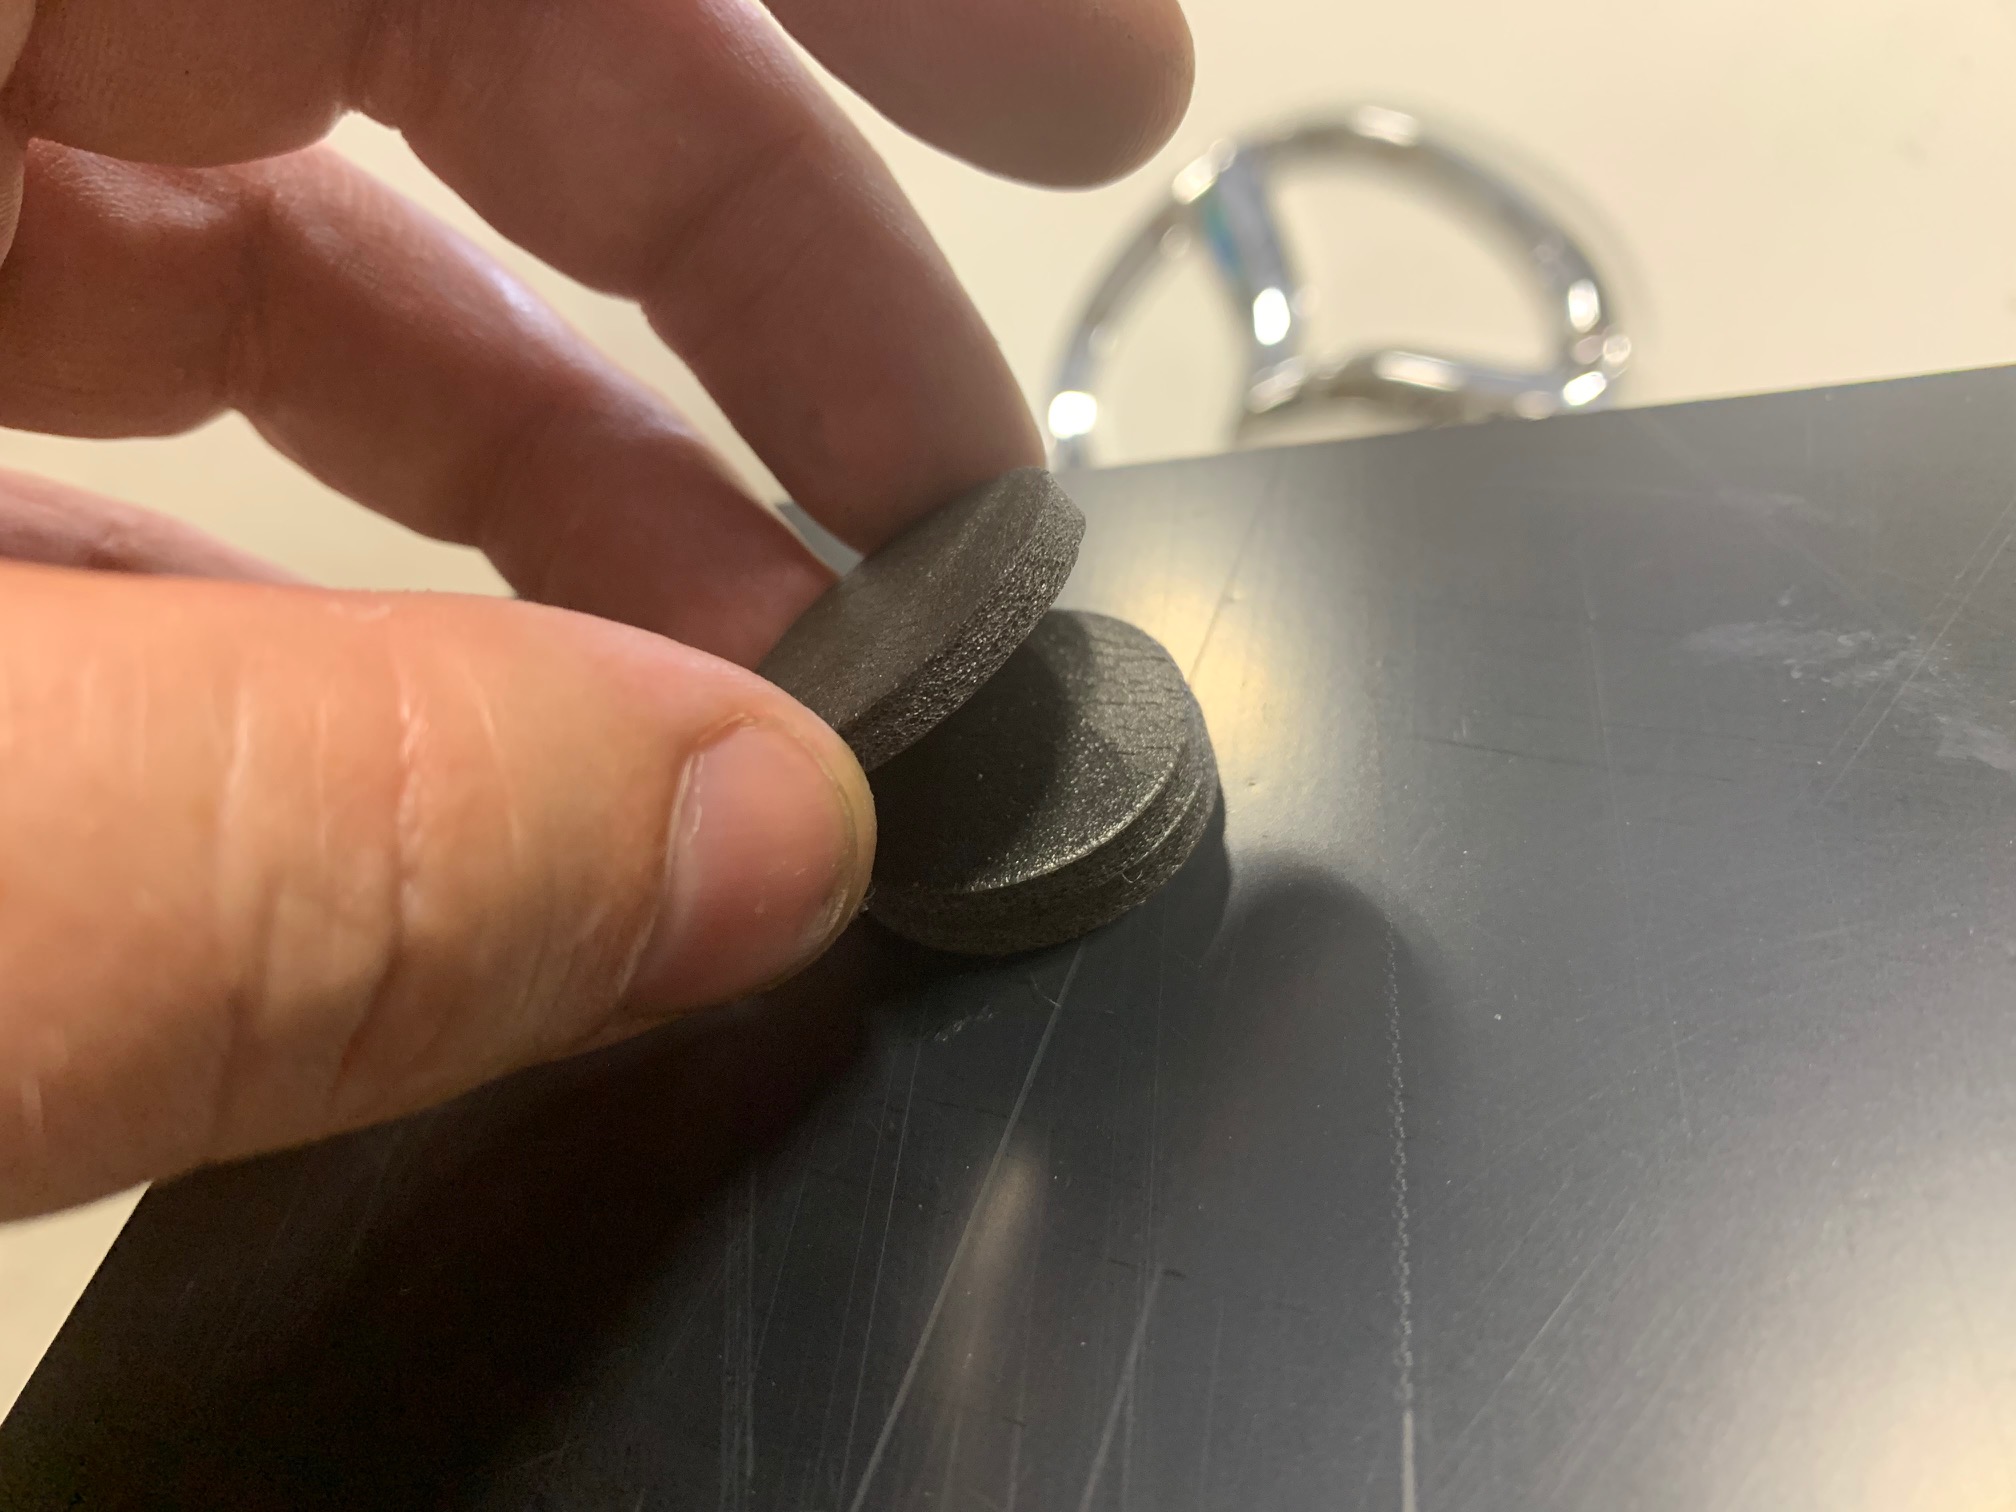
Take one of the Adhesive-Backed Foam Spacers and place it adhesive-side up centered on the negative battery terminal.

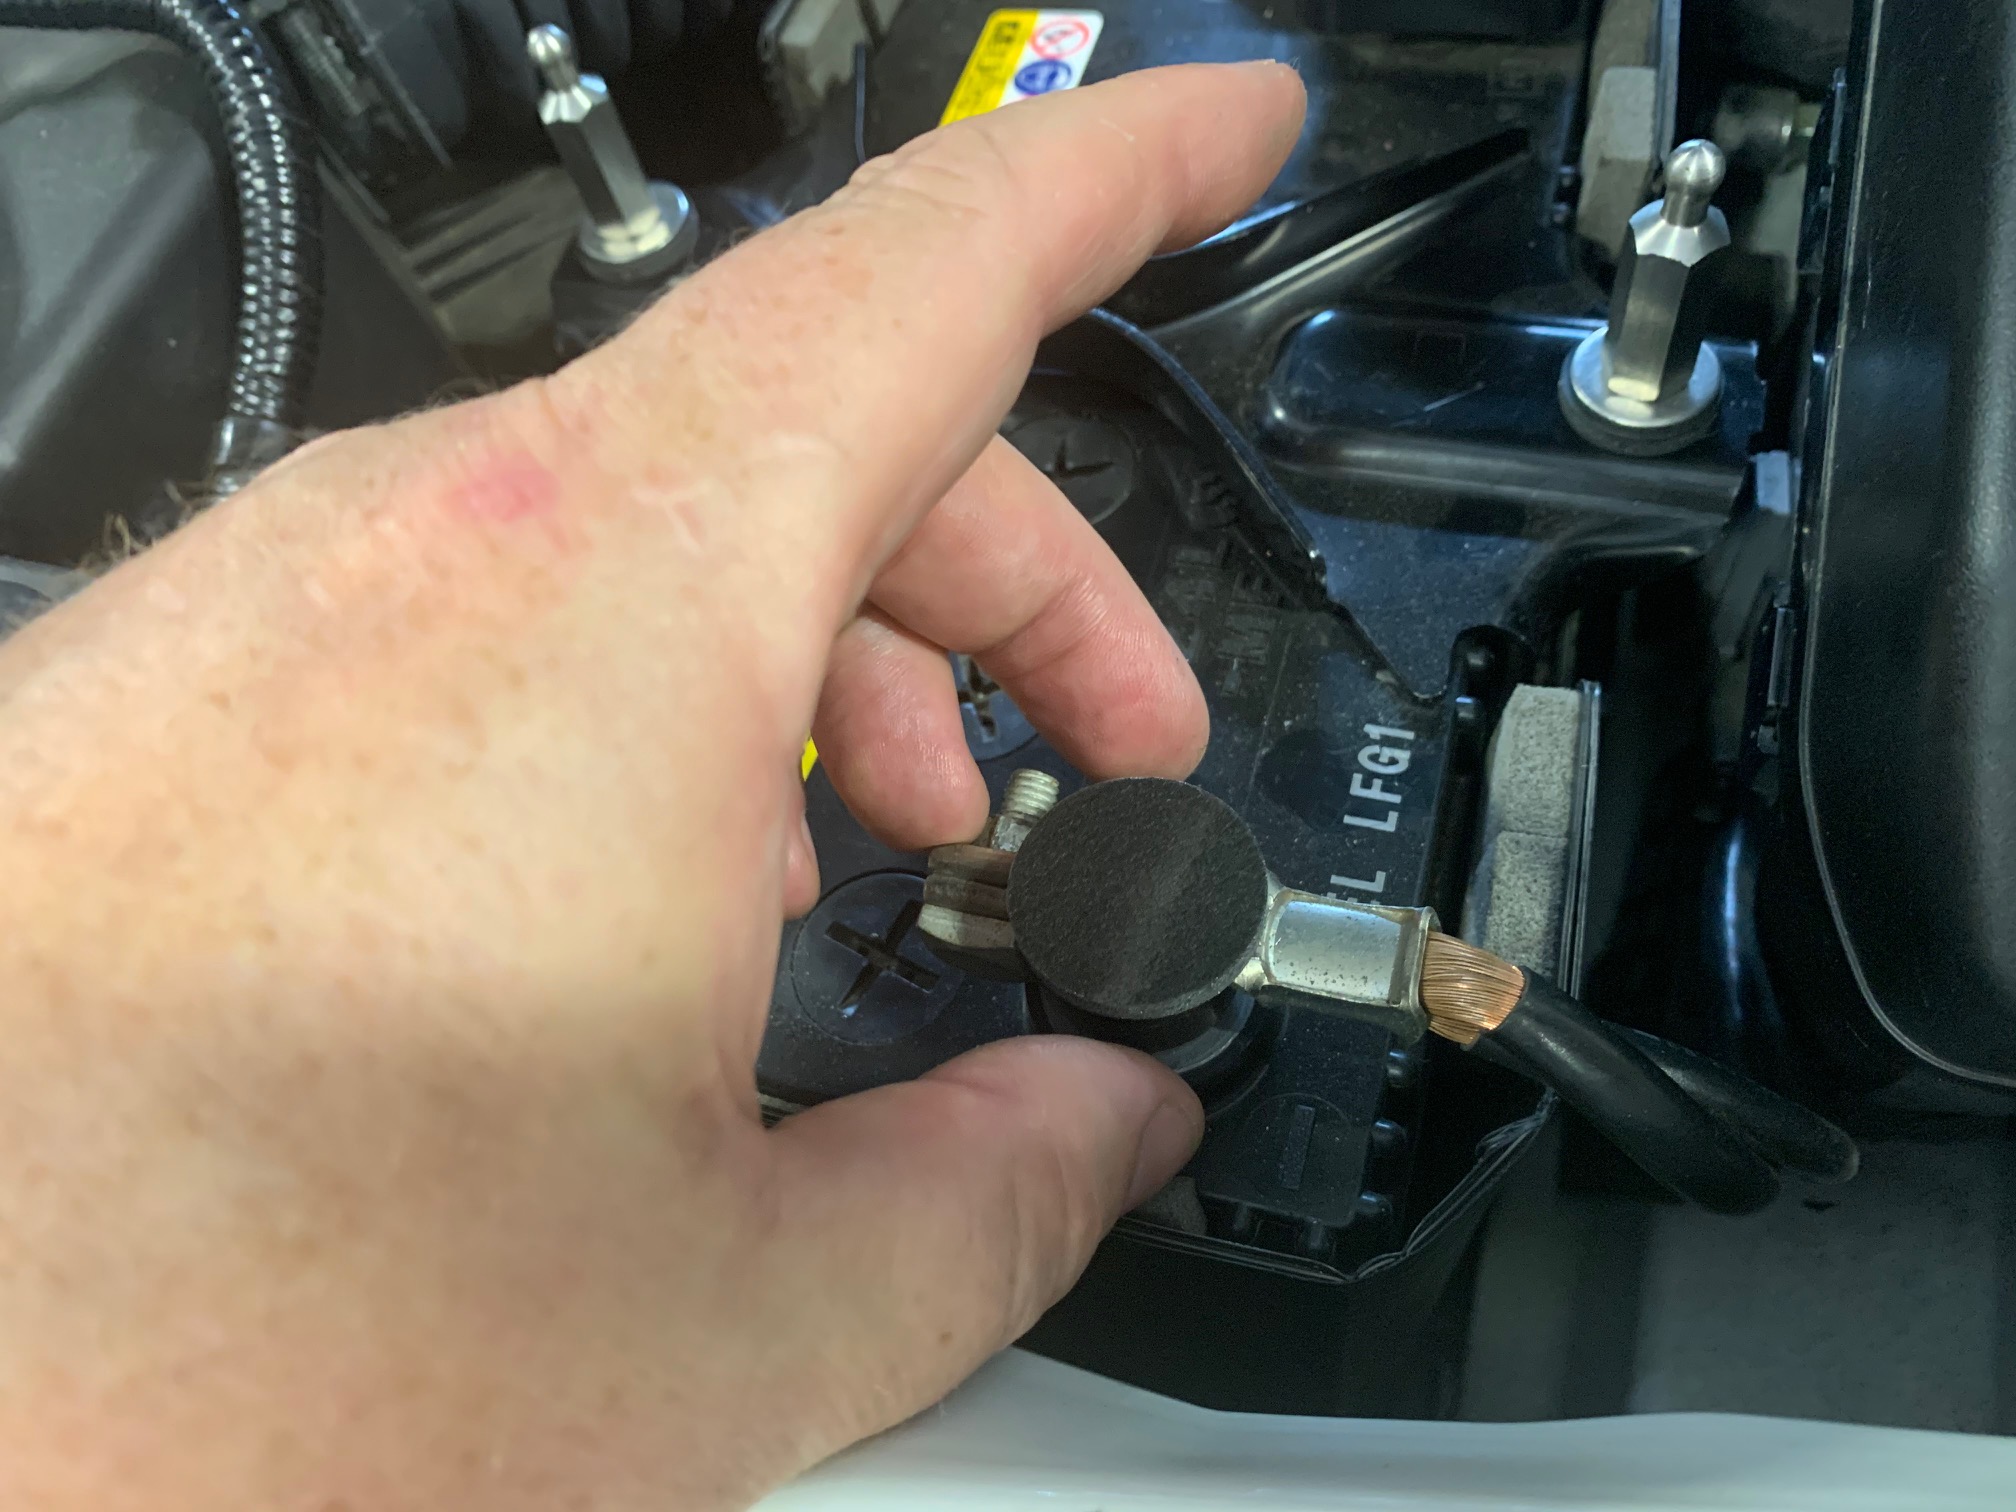
Reinstall the Battery Shield being cautious to not allow the cover to touch the adhesive spacer until the quick-release buttons have engaged. Once they've 'clicked', rock the front edge of the cover down and onto the foam spacer allowing it to adhere to the back side of the cover.

Remove the cover once more and notice the proper location of the front foam spacer over the negative battery terminal.

Perform the same procedure for the positive terminal.
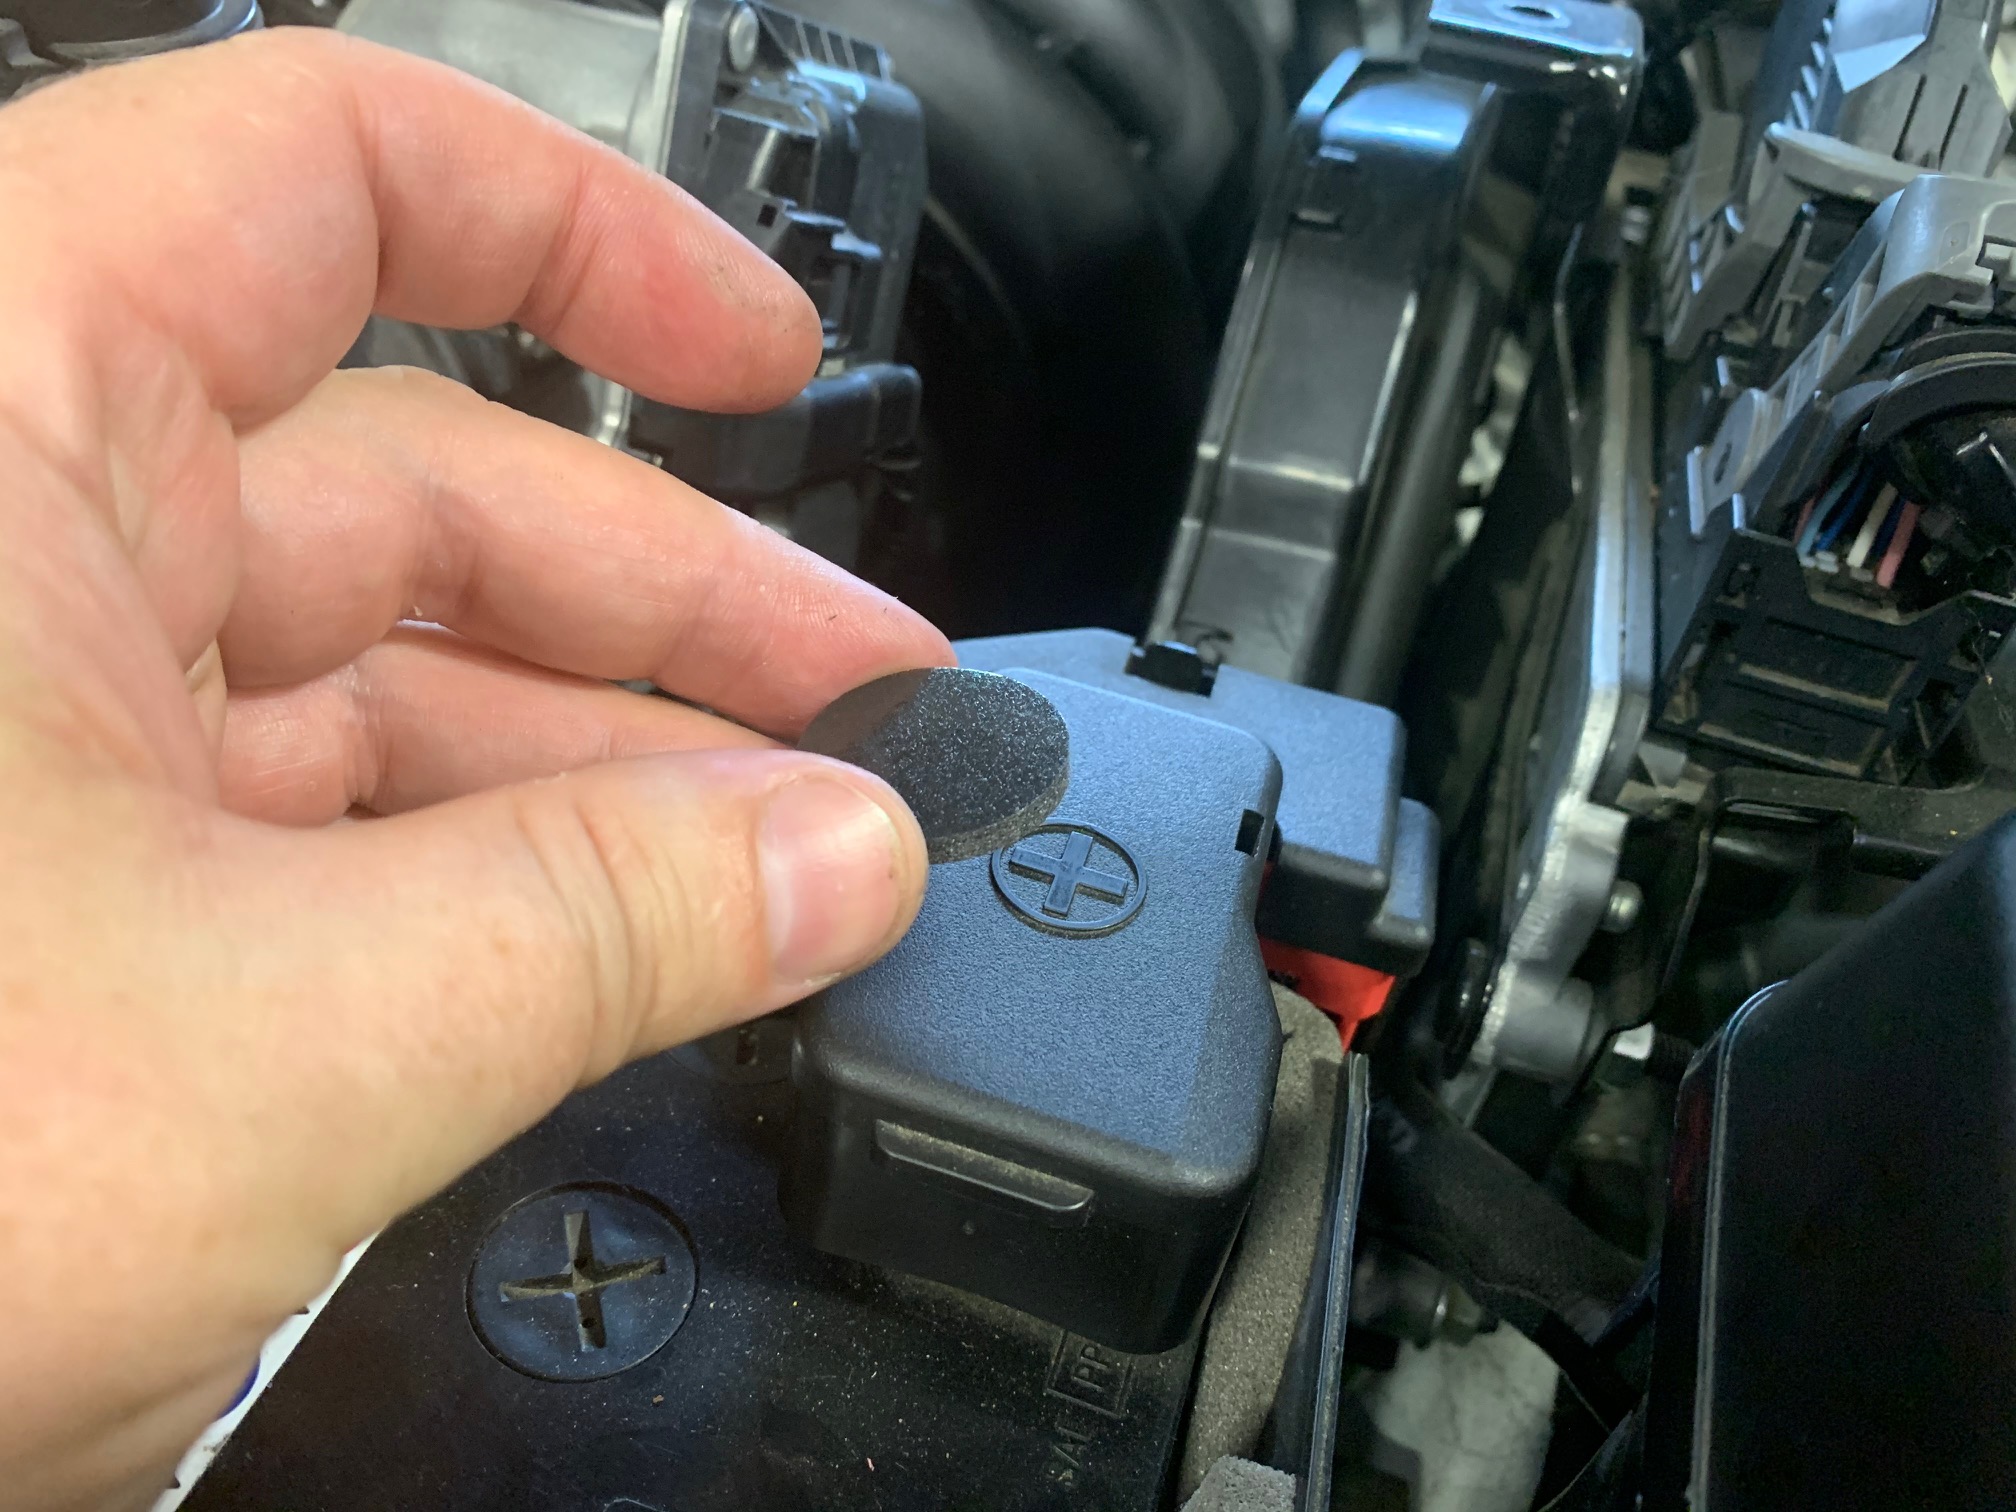


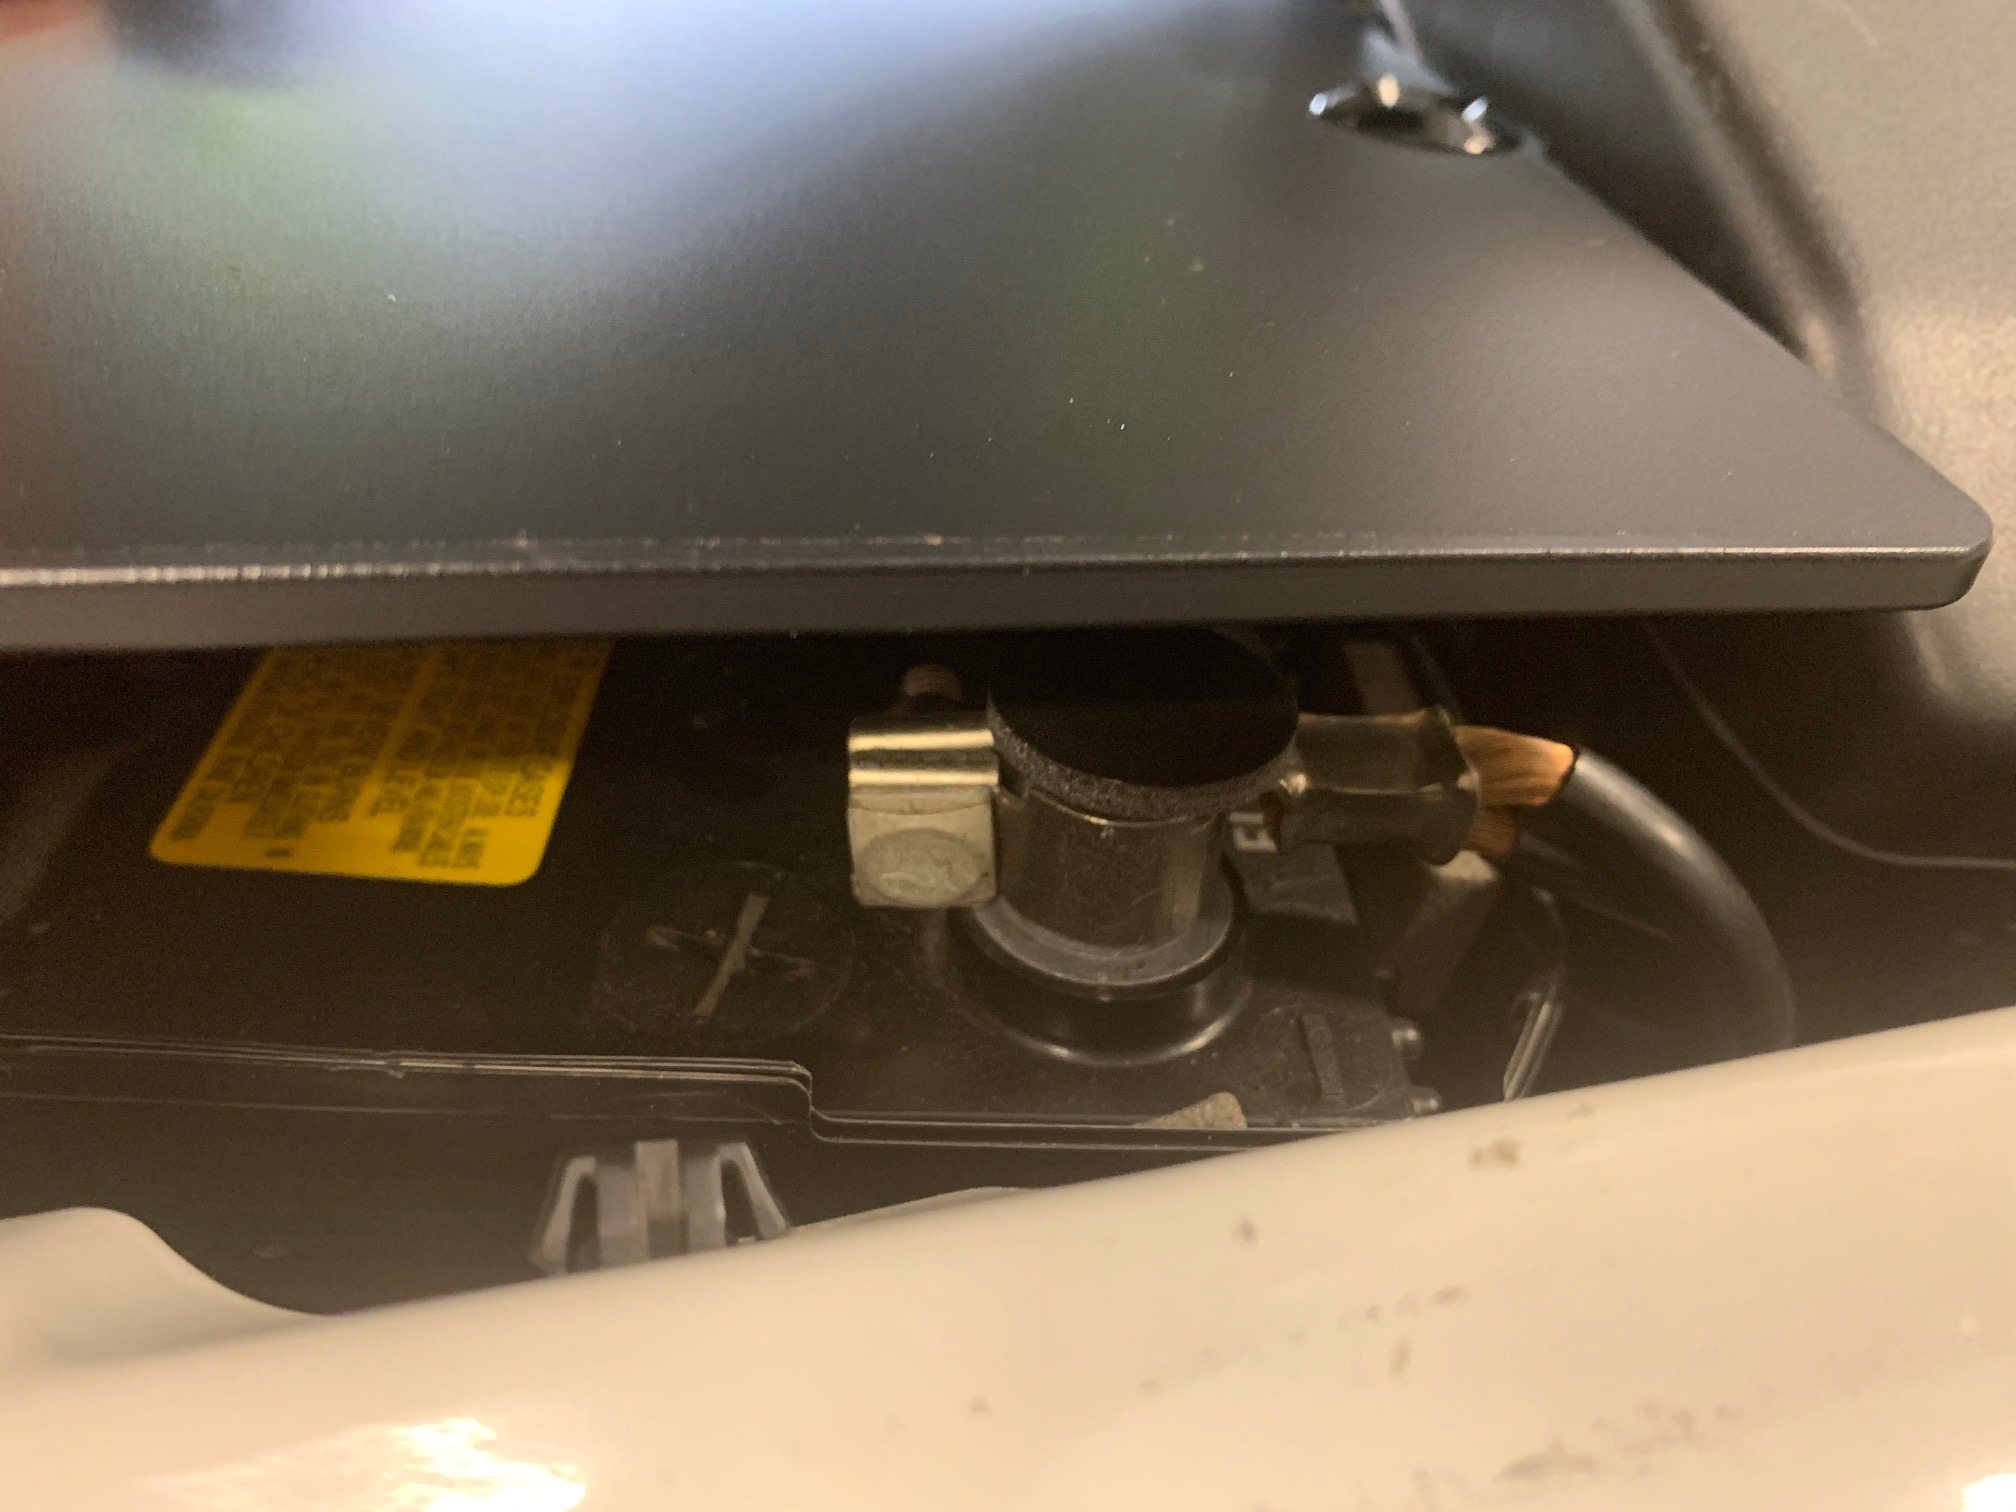
For the cover to have the proper orientation to clear the hood prop rod, we will be stacking a few of these foam spacers over the positive battery terminal, but since it has already been located precisely, all that is needed is to apply them on top of each other. We have determined that 3-4 total spacers is necessary for a snug fit.
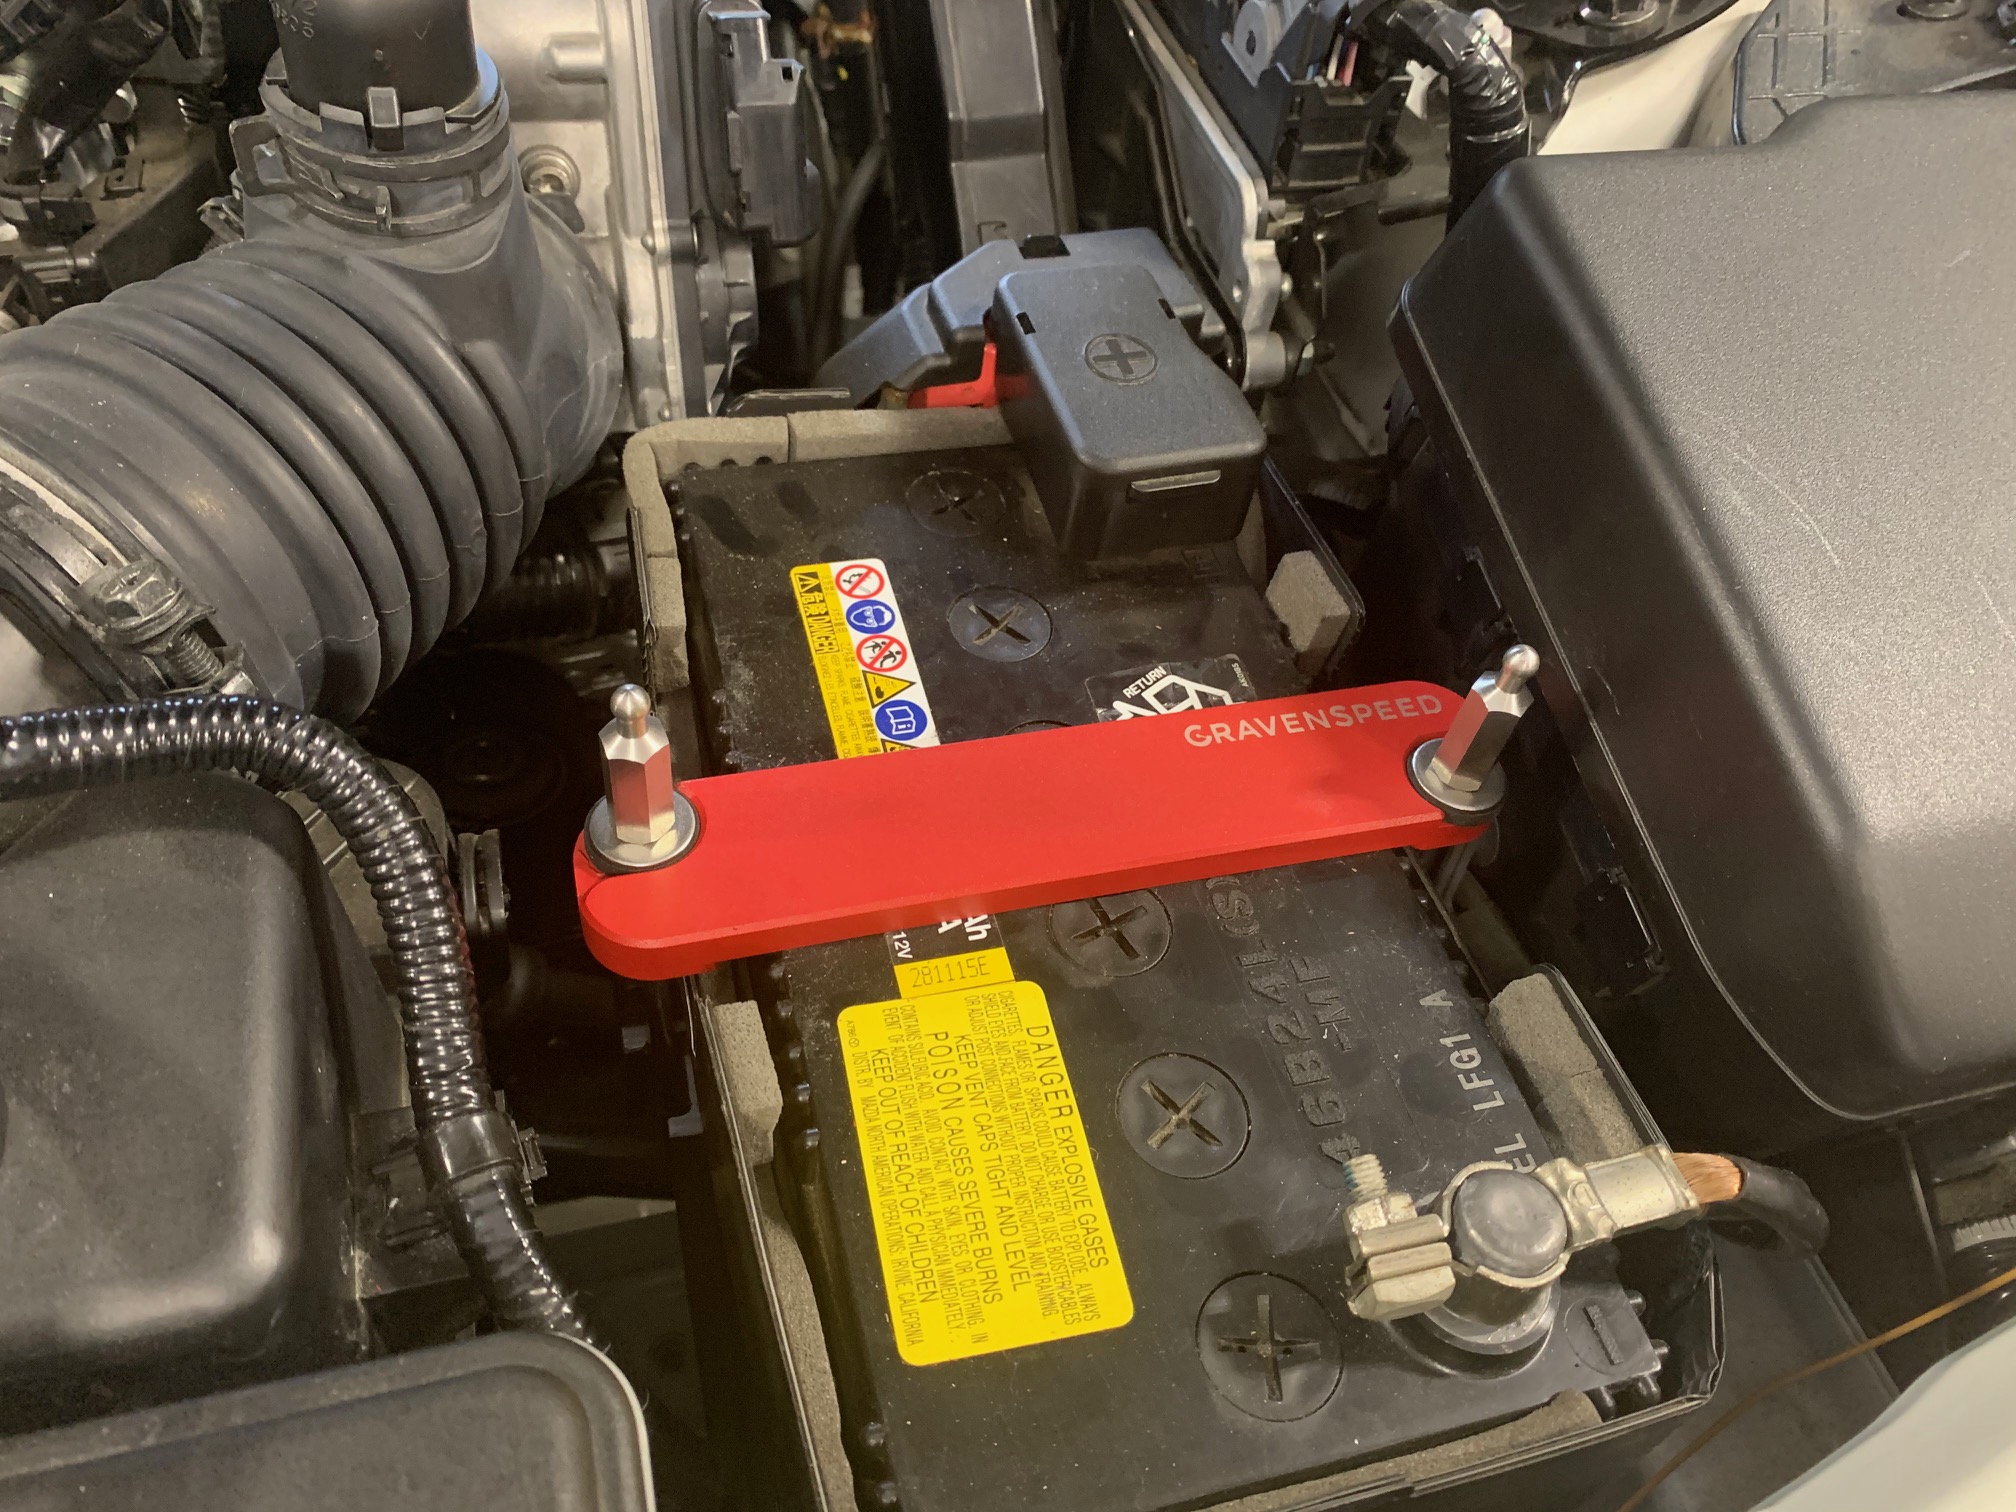
All that is left is to reinstall the CravenSpeed ND Battery Shield and stand back to admire your handiwork!
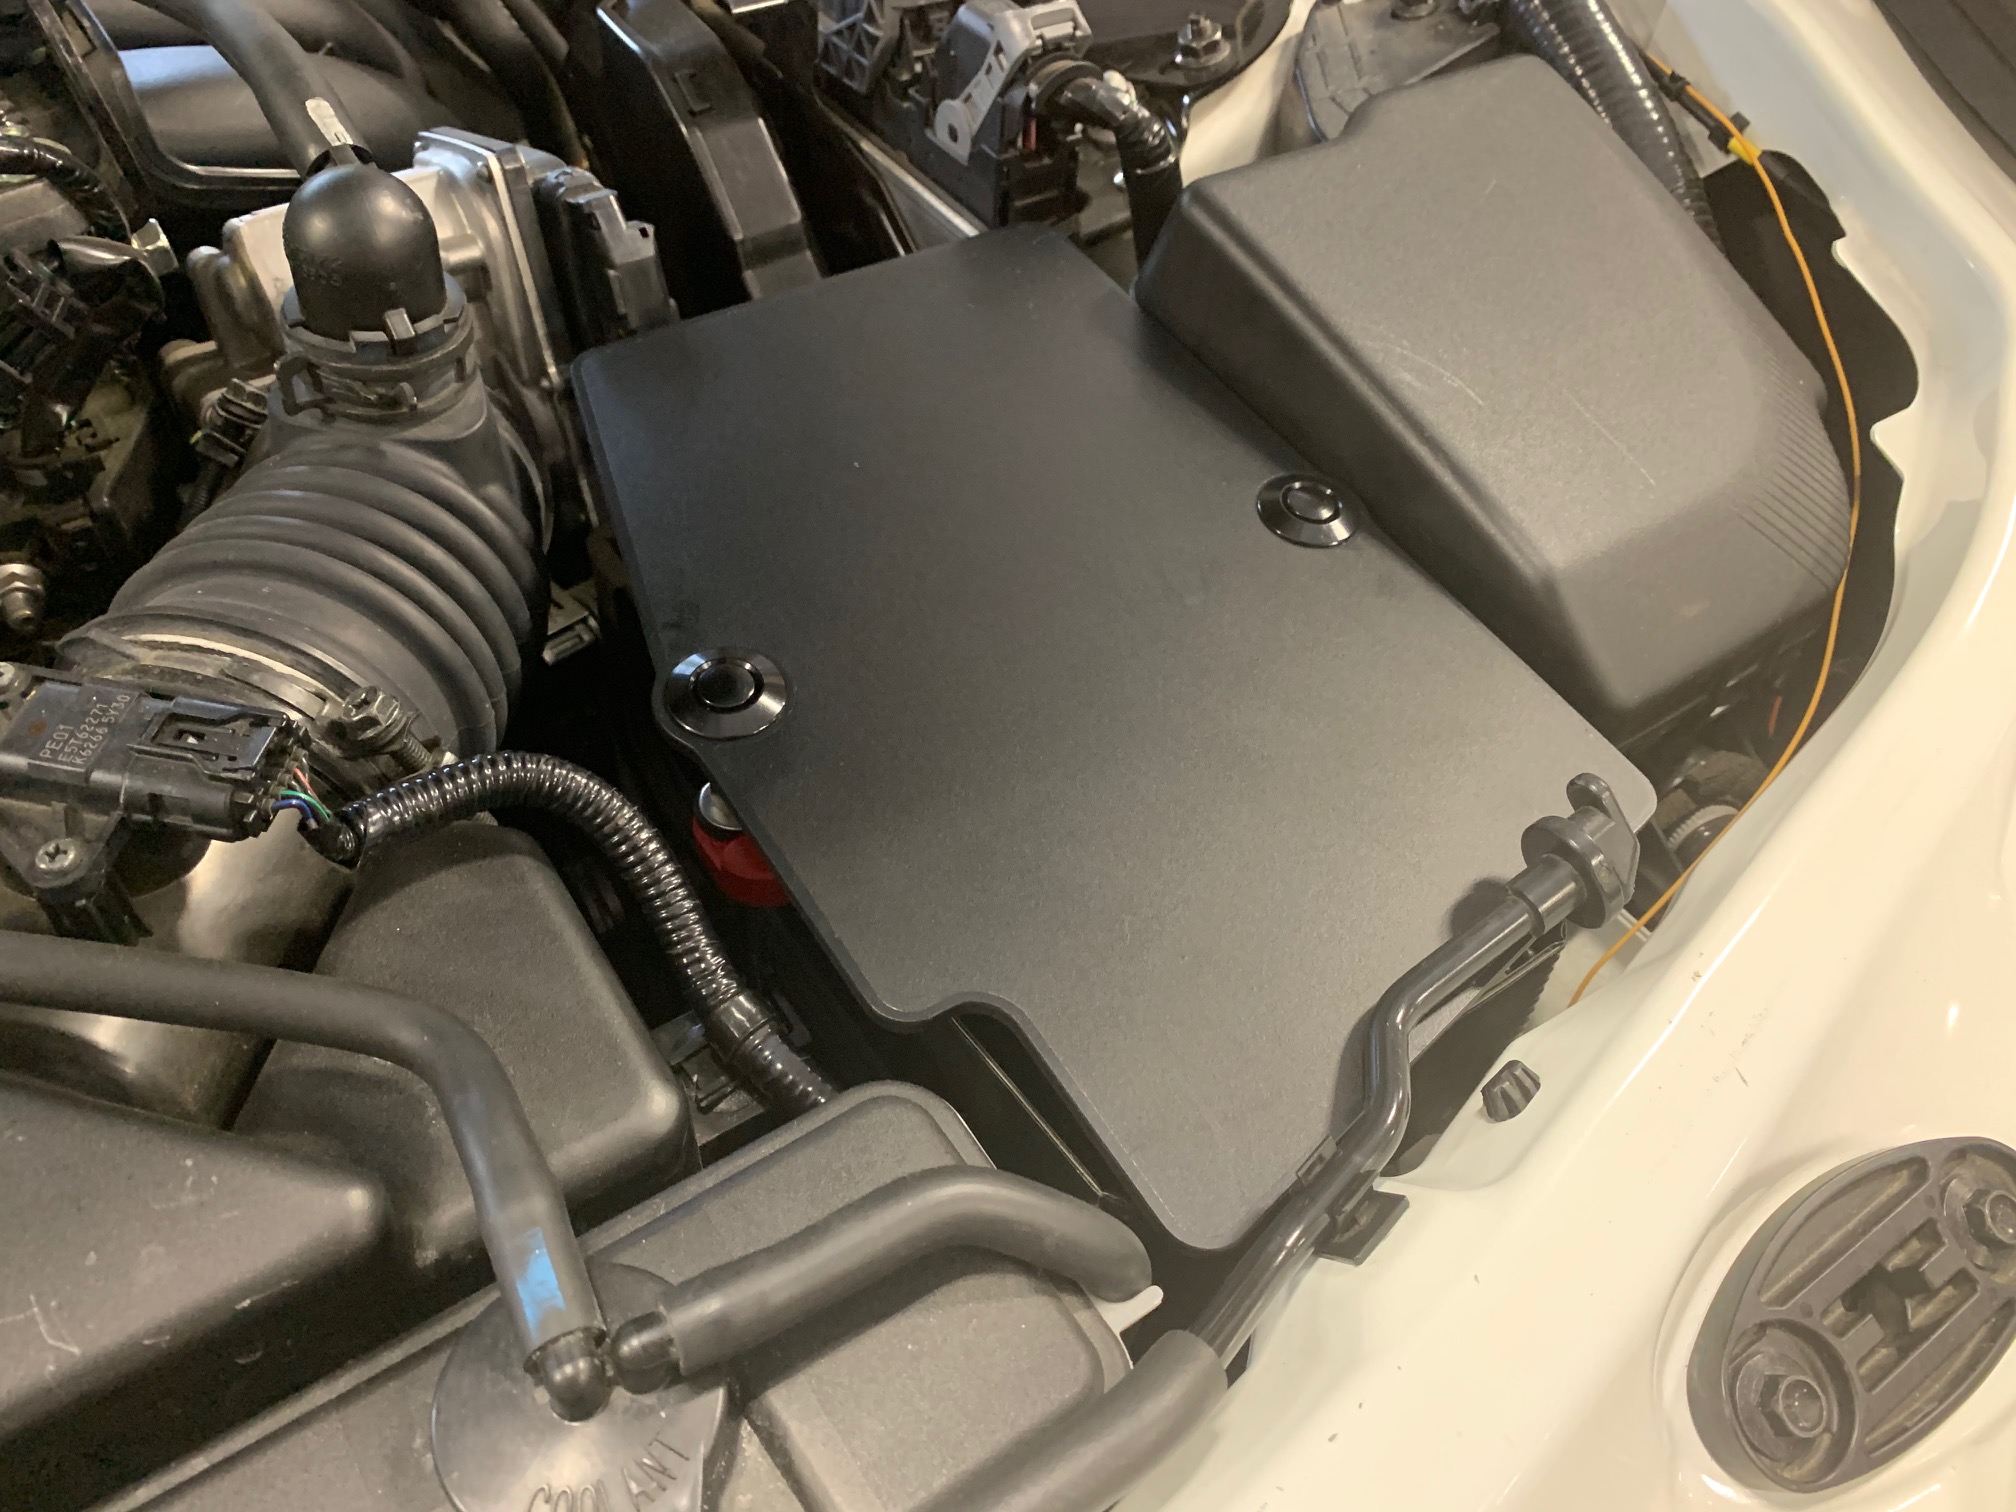
The CravenSpeed ND Battery Shield is also compatible with our Battery Tie-Down for ND Miata.