
A project for us.
Posted by Jacob on 17th Oct 2018
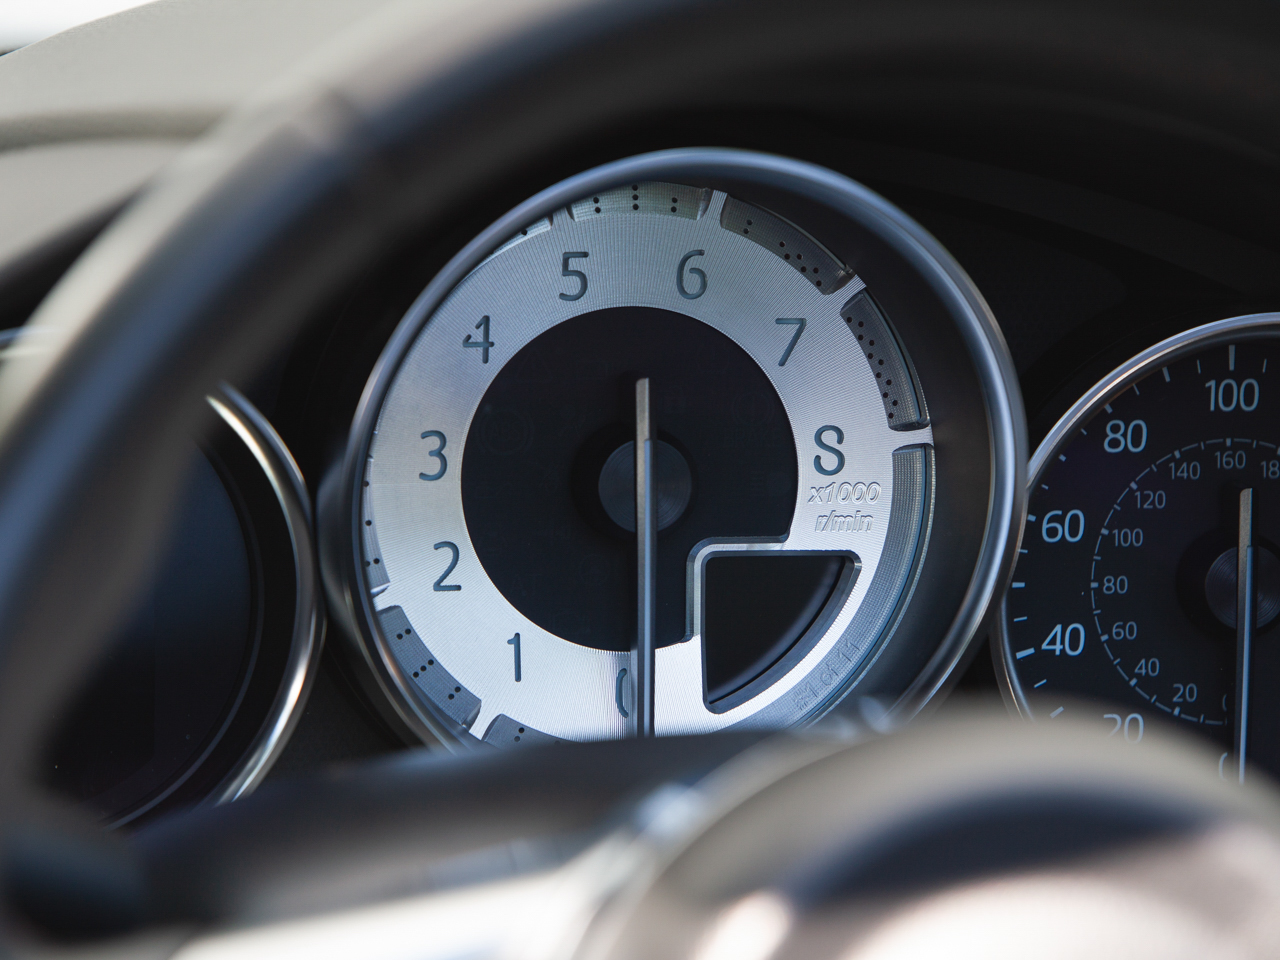
One of the best parts of the newest Miata’s interior is the instrument cluster. The central focus isn’t the information screen or speedometer. Instead, the tachometer sits front and center, with a cutout for the gear indication screen for the manual transmission folks.
The ND Miata’s cousins, the Fiat 124 and Fiat 124 Abarth feature similar interiors, but the Abarth has some really nice red styling to the tachometer and other interior pieces. Inspired by the modified Abarth dial, and the realization that this piece is removable, we investigated making our own custom CravenSpeed dial.
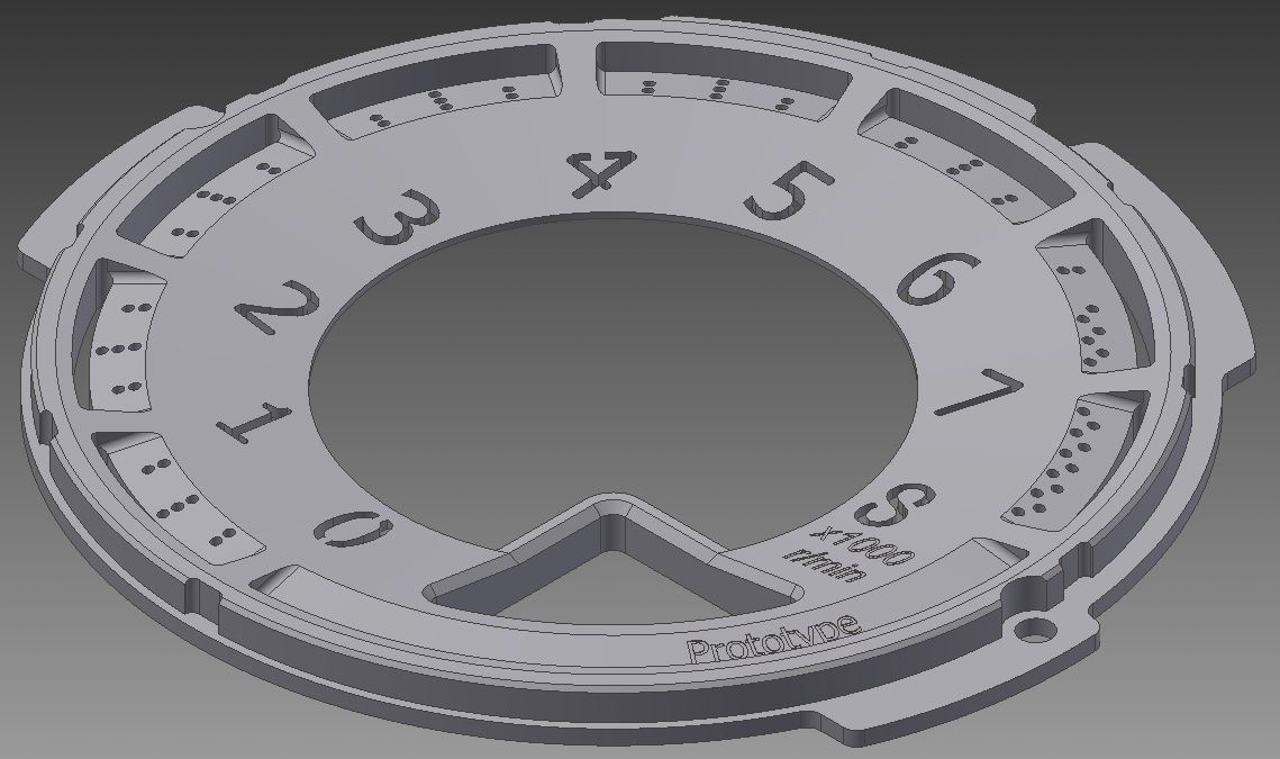
After modeling it up and giving it some stylistic changes we had to figure out exactly how we wanted to make it. Our first try was on the FDM printer. We typically use these to make first article prototypes for checking fitment before sending off a production order to the shops in our neighborhood.
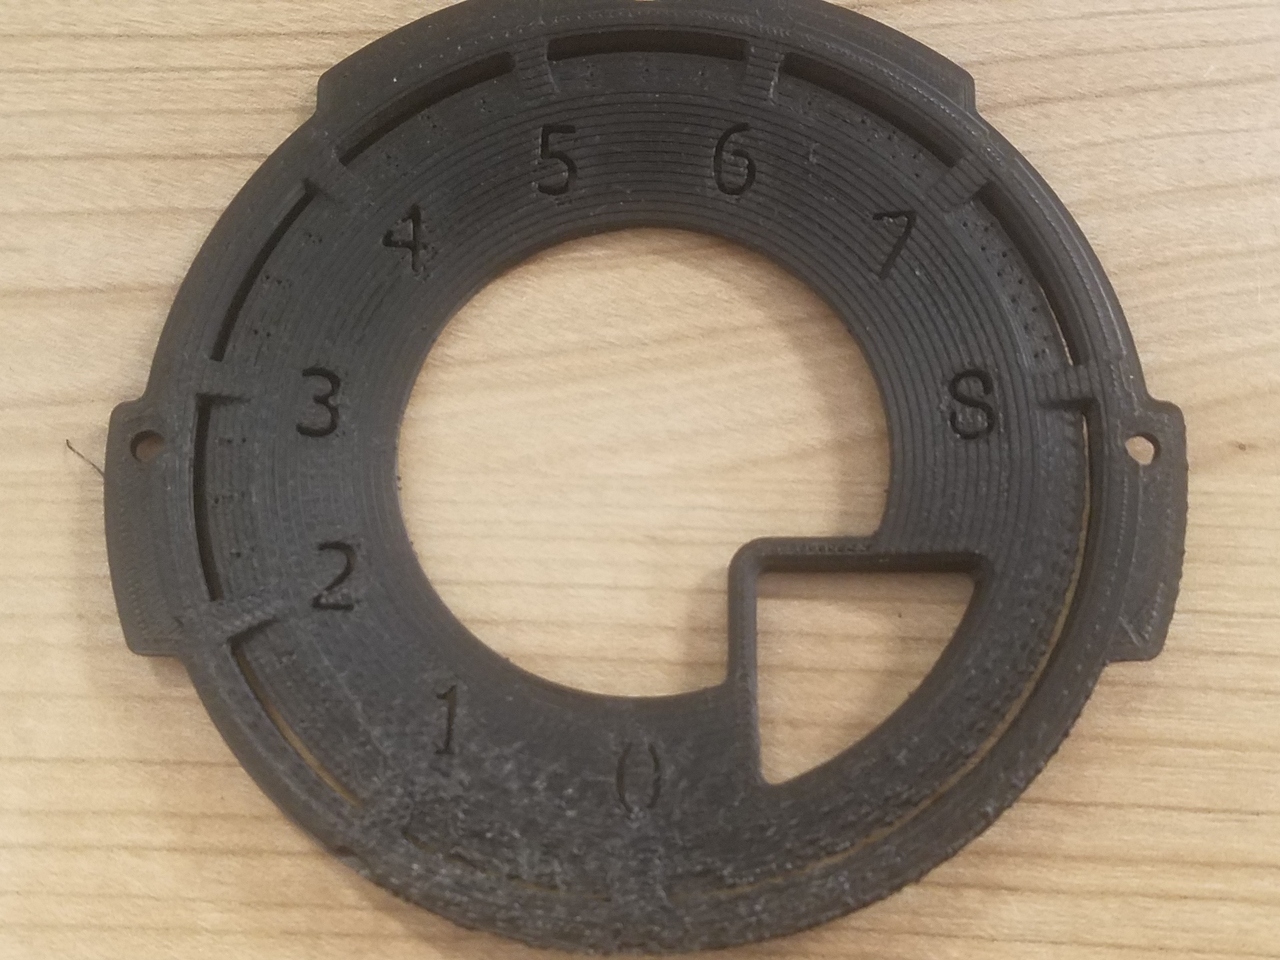
Unfortunately, they didn’t give us the results we were looking for. Even if we were to eliminate the warping and bubbling by tweaking some settings, the resolution would be too low for what we had in mind.
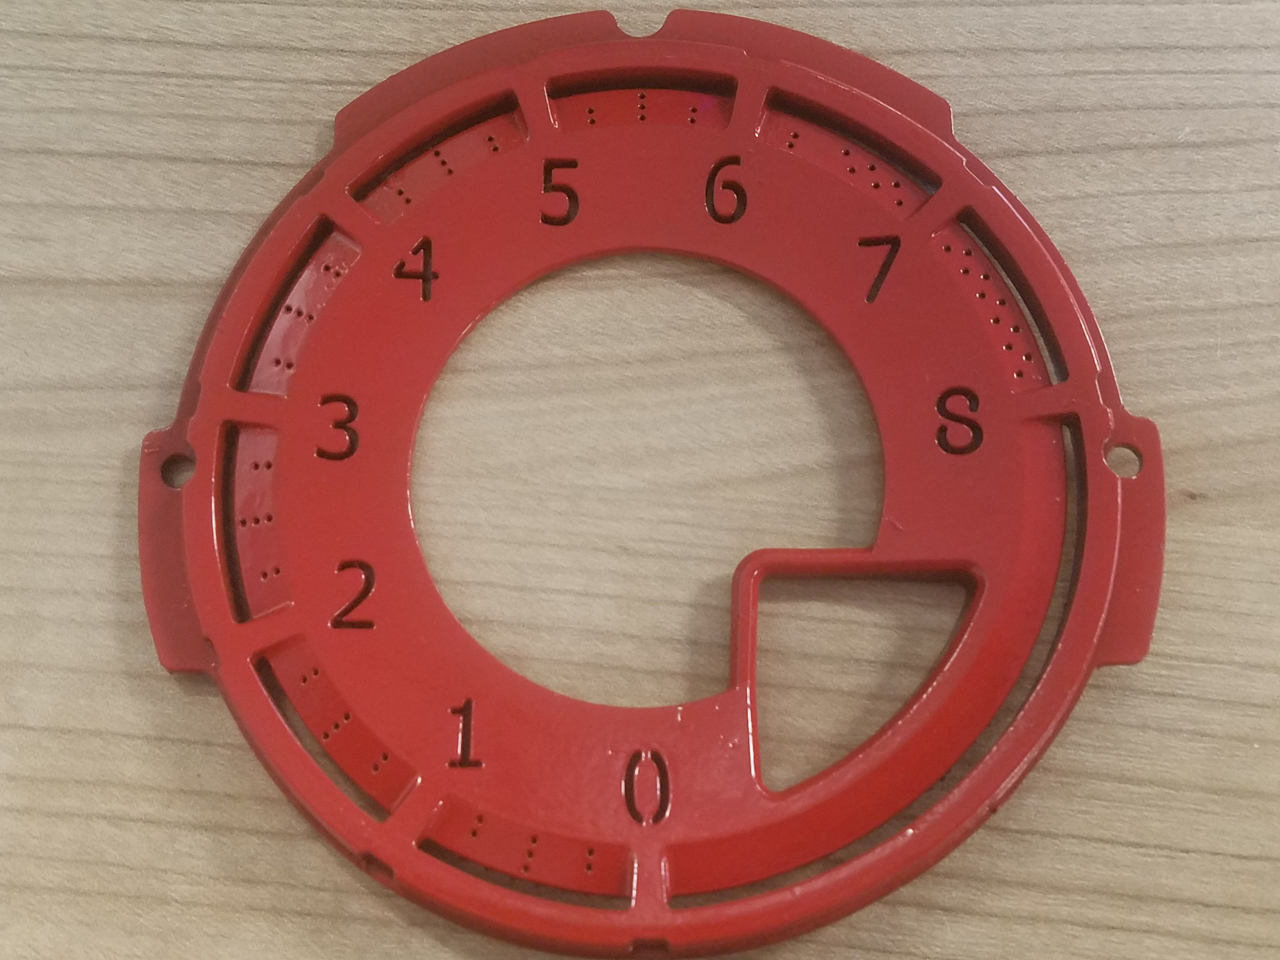
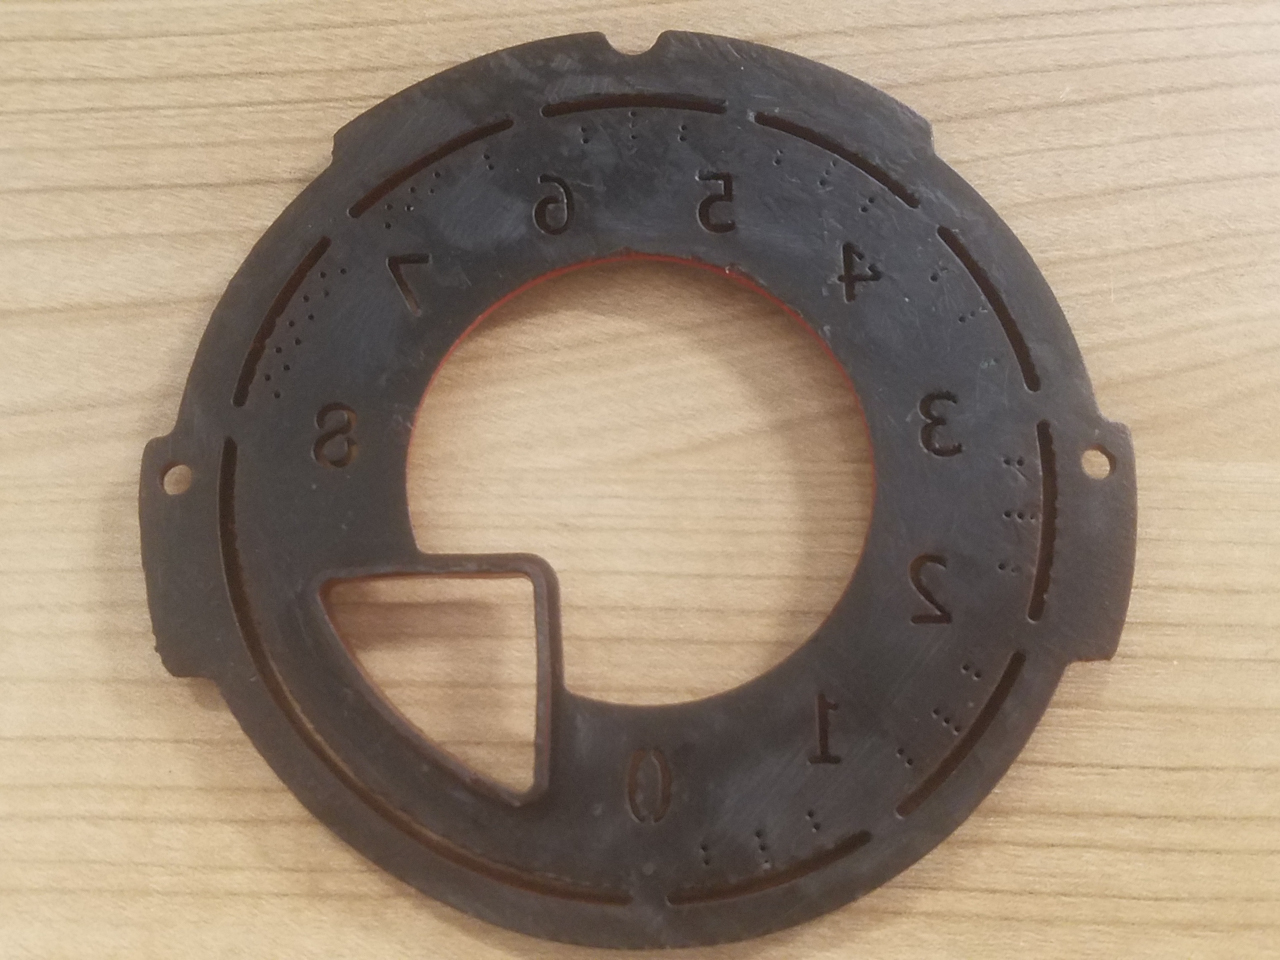
The next attempt was on our SLA printer. This did give better results, and with some hand finishing and painting, the resin based printer was a marked improvement over the filament extrusion printer. However, it was still unable to capture the finer details we wanted to include, and still suffered from warping problems.
Our next option was to try injection molding. While we don’t have these capabilities in-house, several other shops in the area were able to walk us through the process. After a bit of investigating, we decided that it wasn’t for us. There’s a huge amount of resources that have to be put into a mold upfront, with no guarantee that it would even produce anything near the intended results. Even if we could make a promising product that way, we would have to sell a huge quantity just to break even. As a small shop, this was a bit too risky for us, and we moved on…..
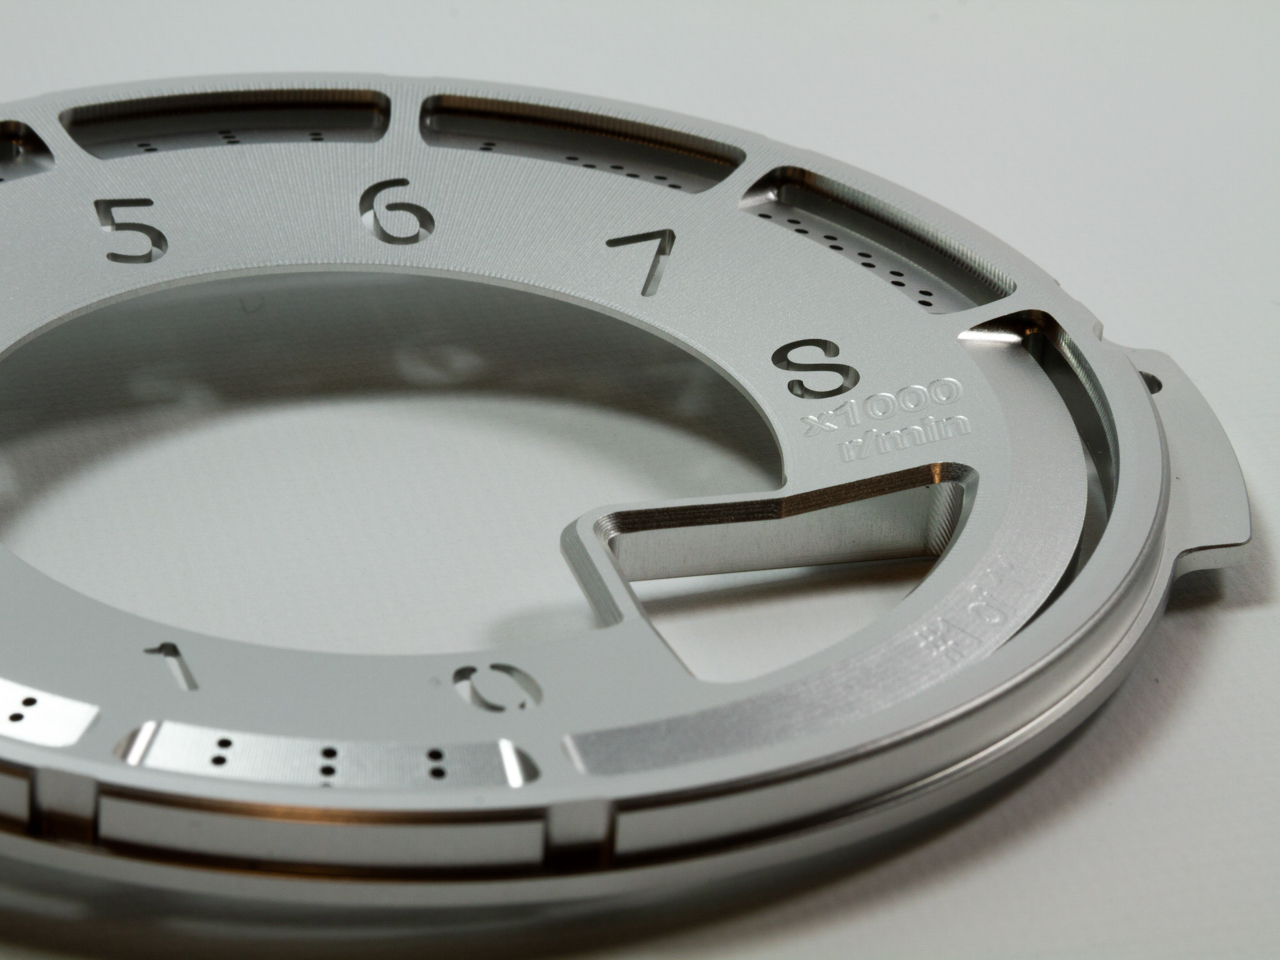
To our CNC Mill! A few minor changes to the model was all it took to make it machineable on a 3-axis mill. After ordering a few very small tools and some billet aluminum, it was up to me to make sure the toolpaths were in order. While I’ve made one-off parts for the medical industry that have required similar levels of detail, they’ve never been appearance parts, and so I knew it would take a lot of experimenting to make something aesthetically pleasing using G-code!
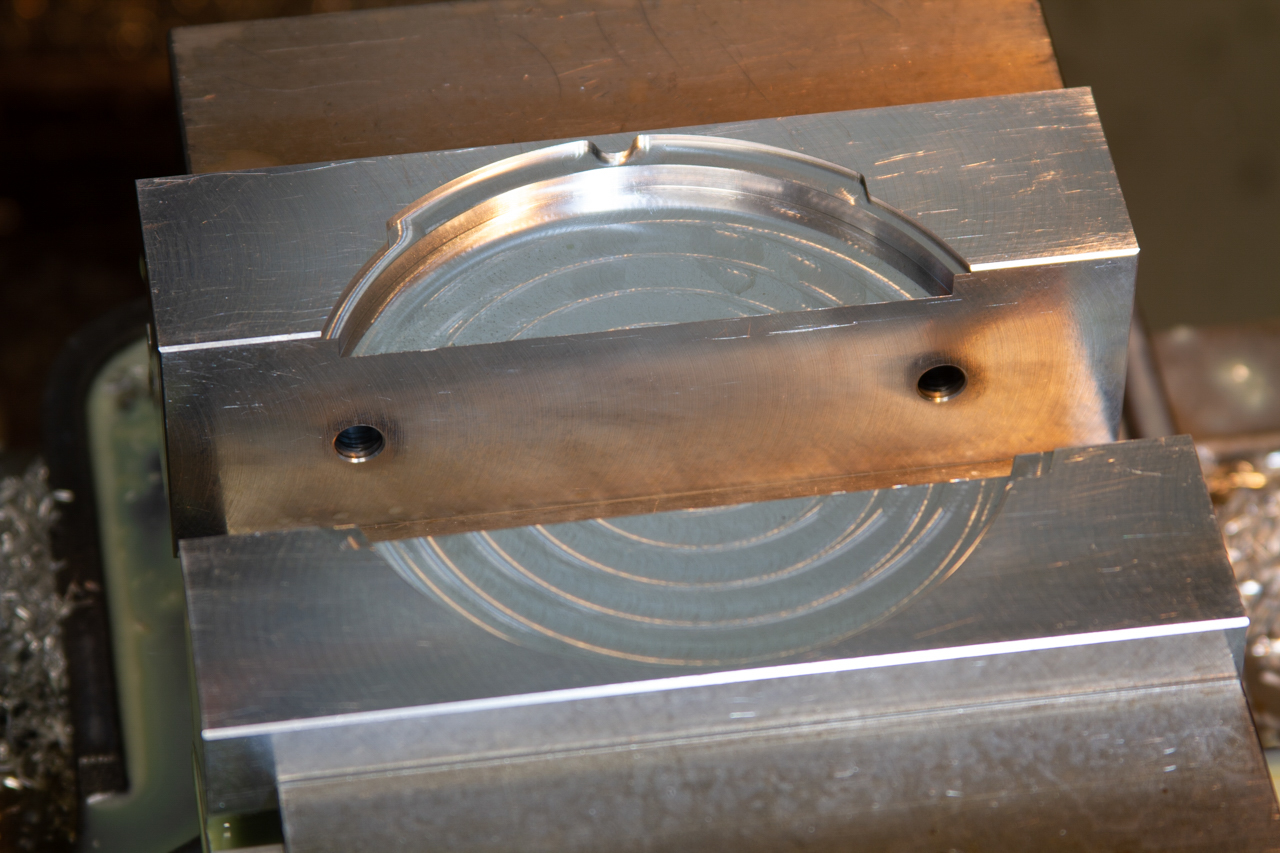
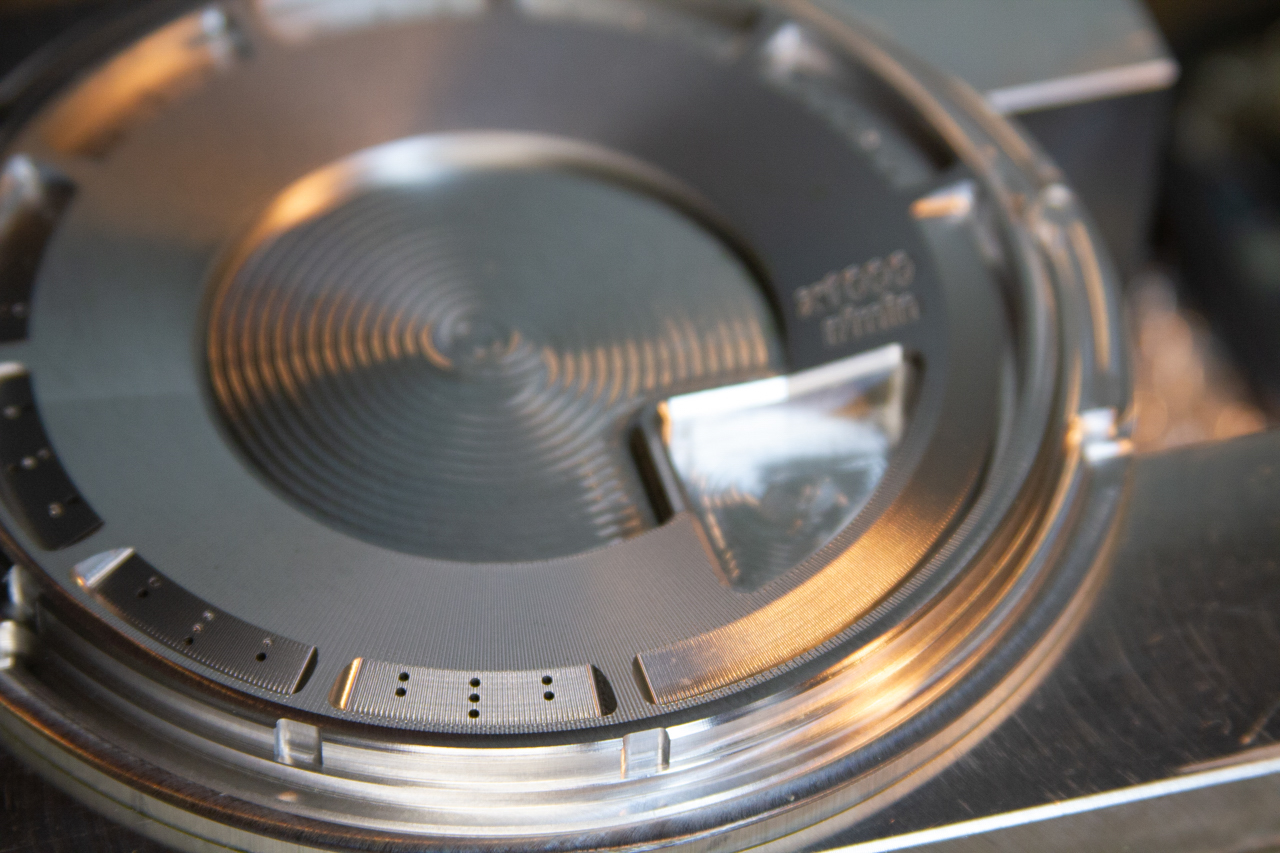
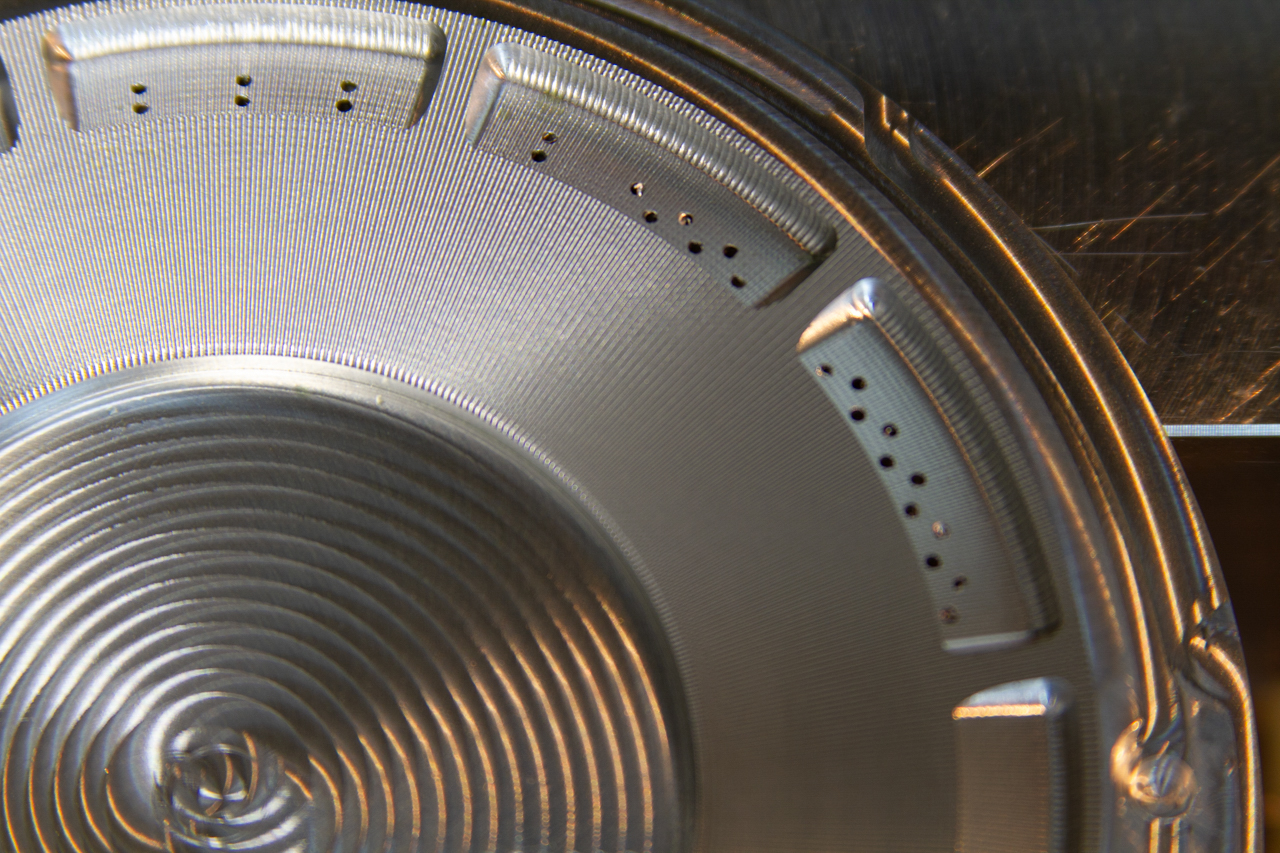
After machining out some fixturing for good rigidity and repeatability, it was time to get roughing away! This did end up producing some pretty hypnotic ridges on the material, but it was time to take some photos and move on to the finishing cycle.
The level of surface finish on this process is directly proportional to the number of passes taken with the tool, and inversely proportional to the tool stepover. All this means is it took a really long time to get it looking nice, and we were super please with the results.
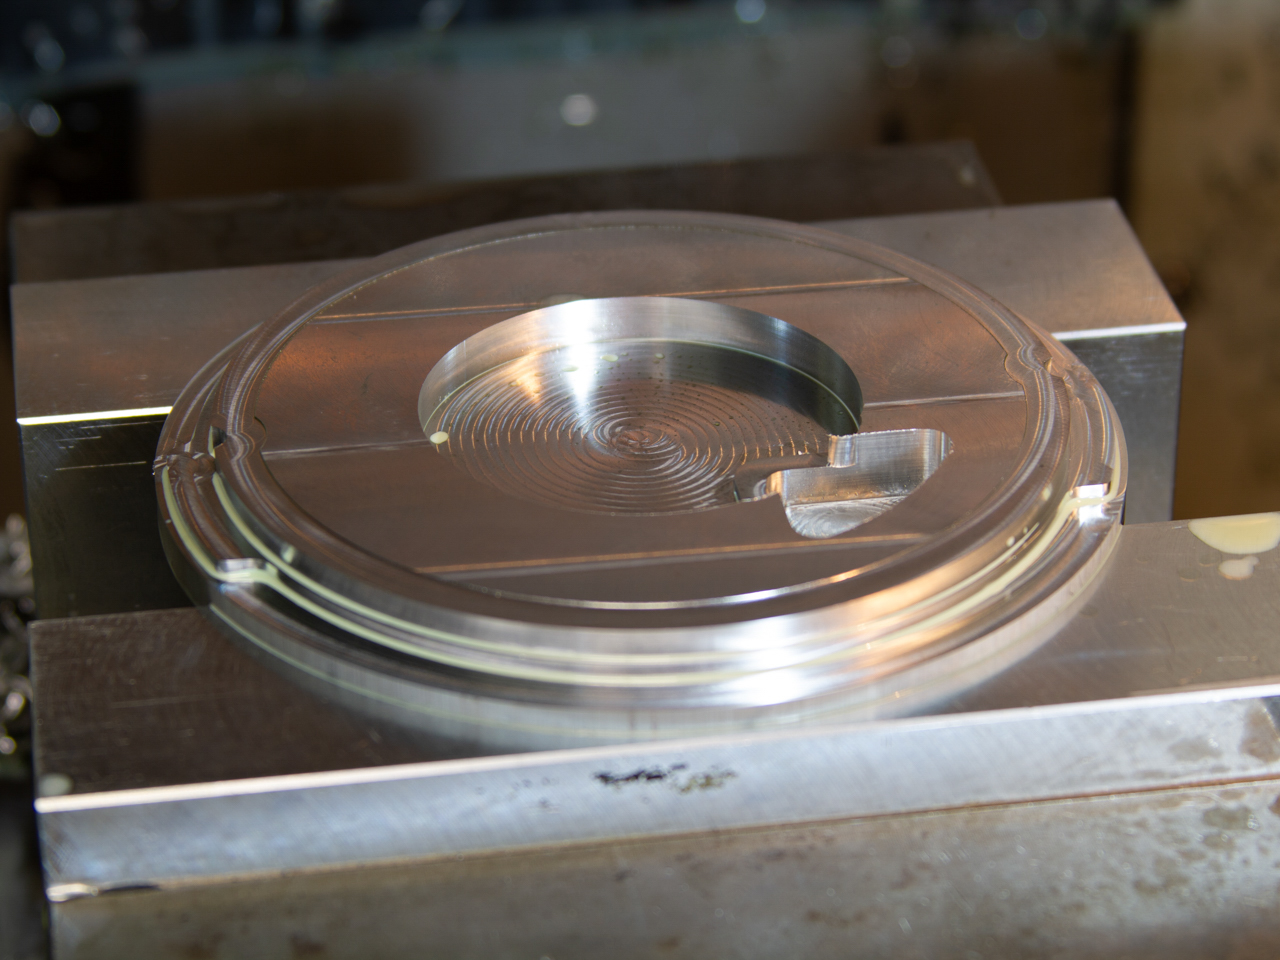
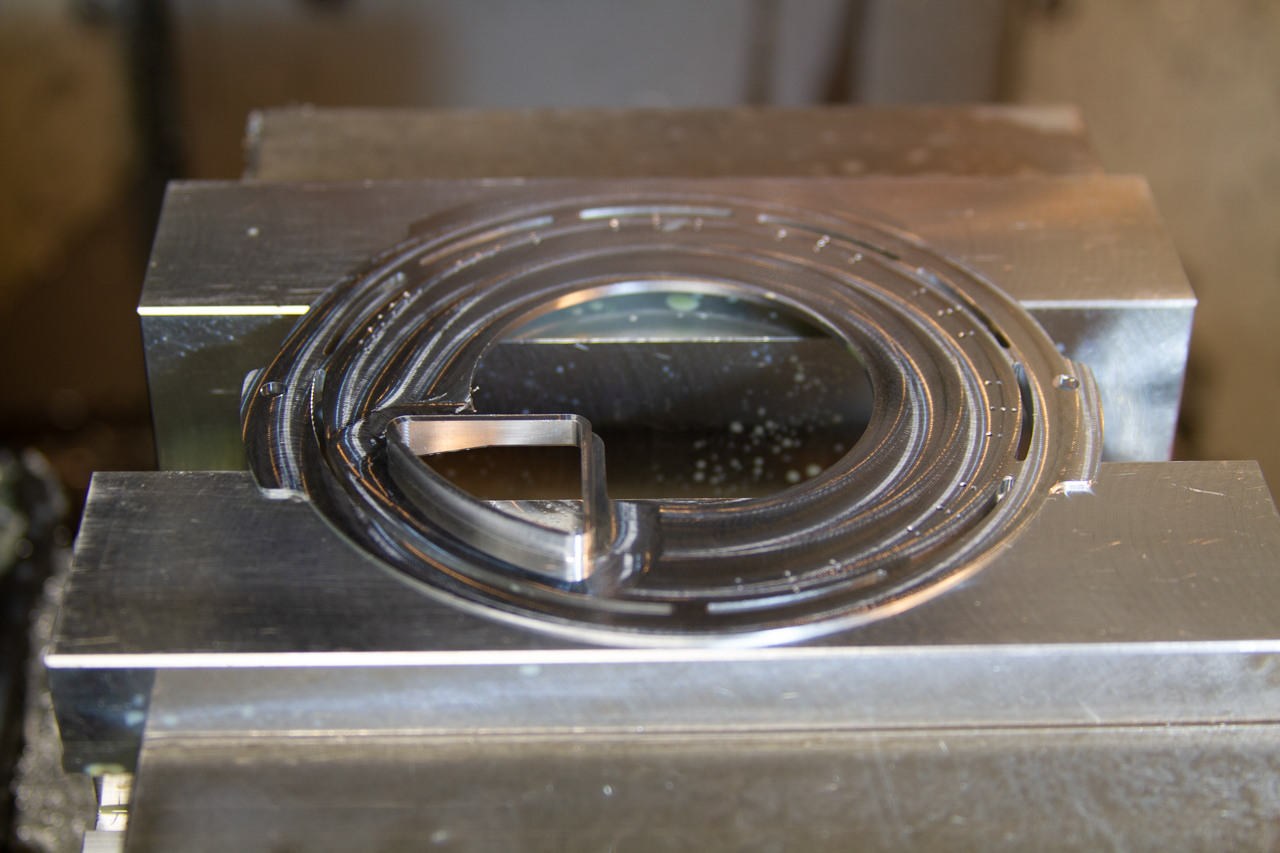
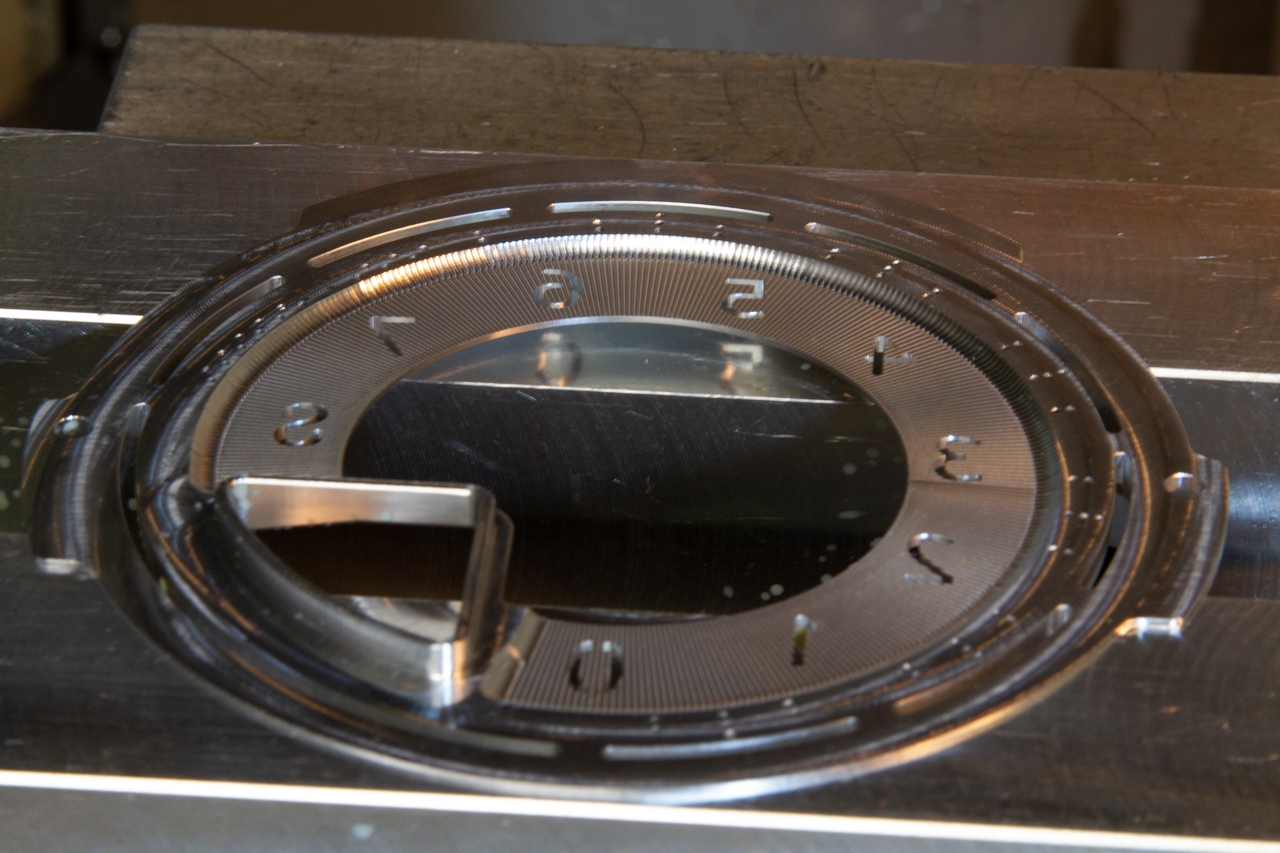
With that step finished, it was time to run the second operation. We had quite a bit of material to take off in this operation, and the rigidity of our setup would determine our flatness. The hardest part of the whole process was getting the numbers cut out properly.
Once finished, we installed our setup piece. We made a few tiny adjustments in order to make sure all of the features lined up with the backlit illumination on the instrument cluster and got back to work.
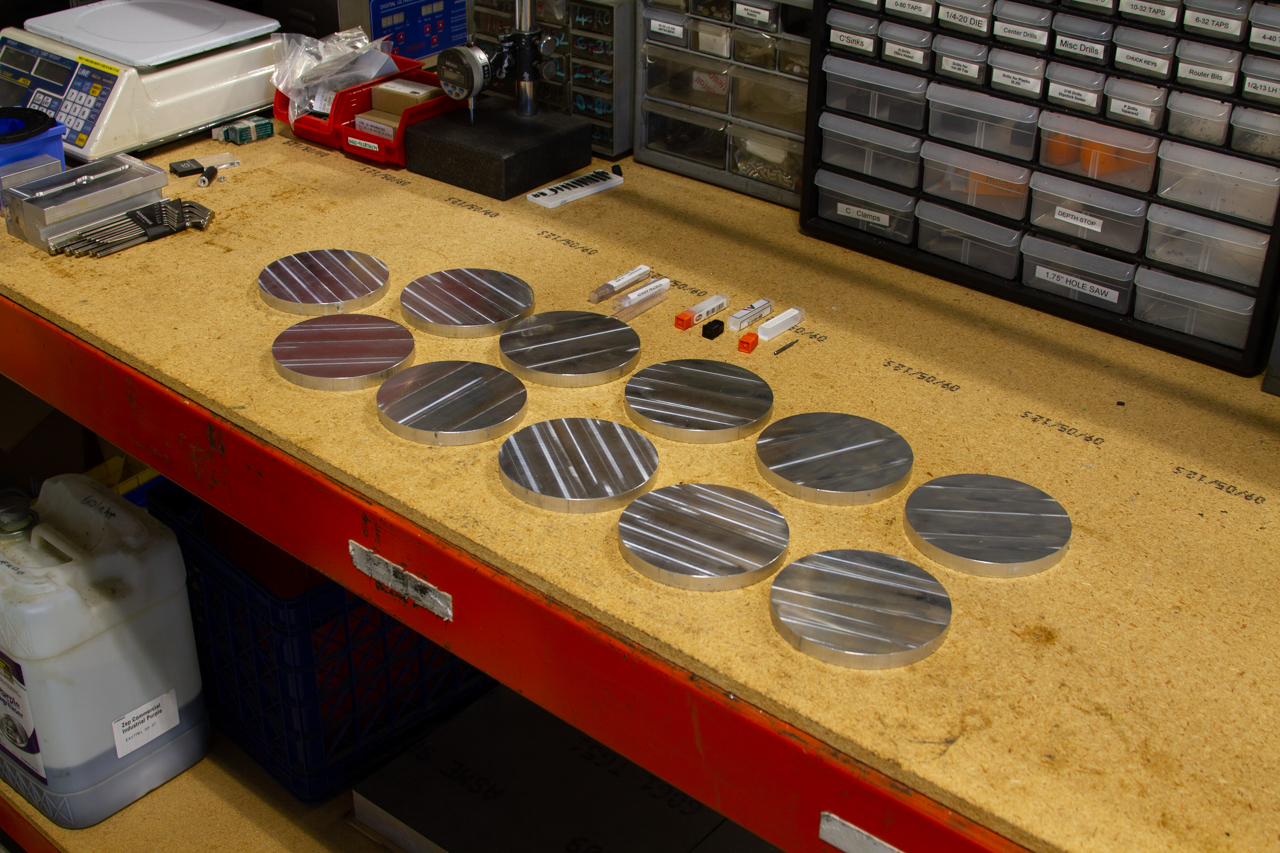
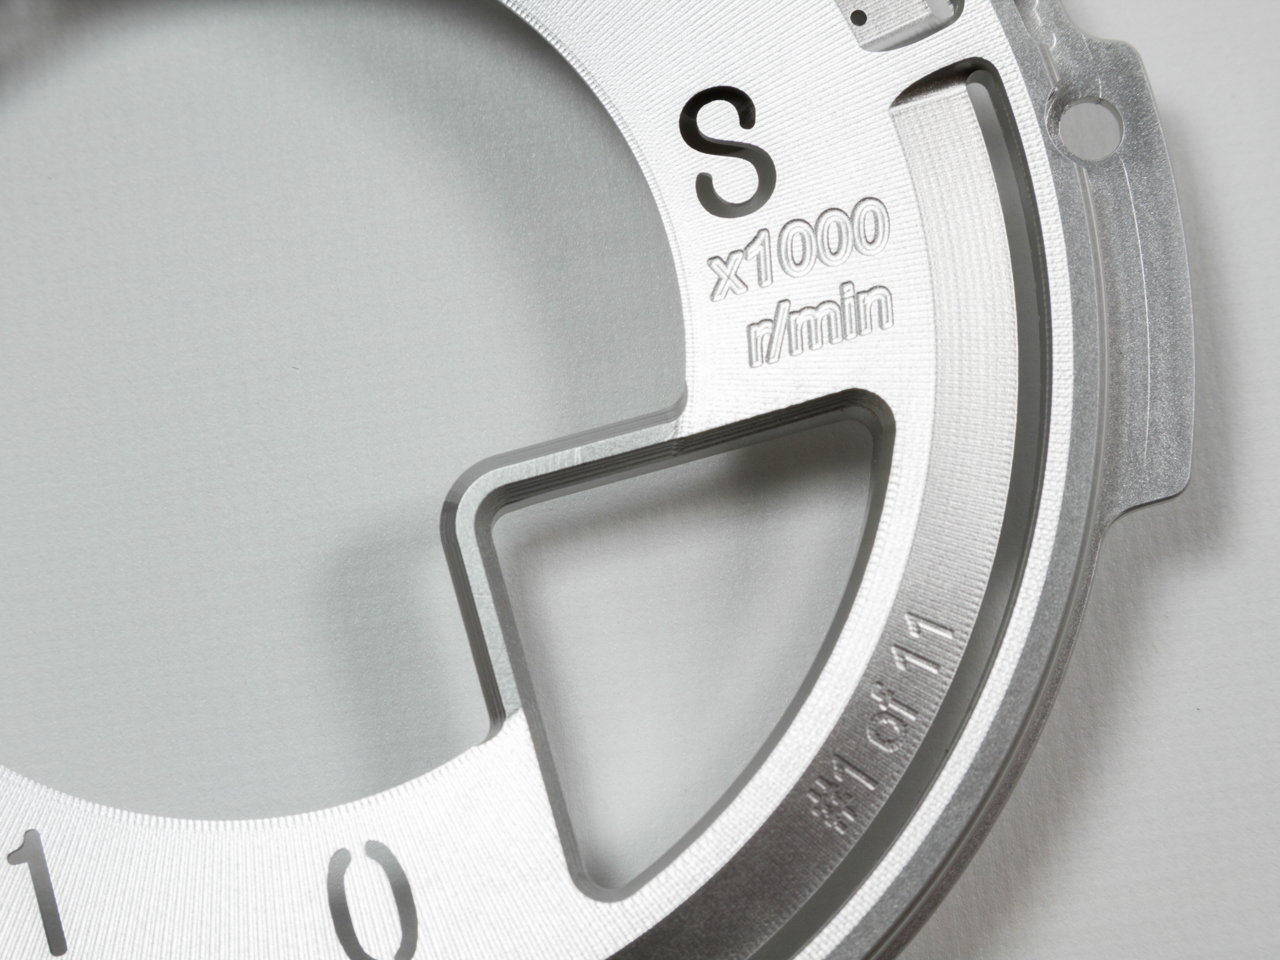
After running the first operation of each part, a unique program was uploaded to the machine to give each dial its own separate serial number. Then once the second operation was completed. each piece was hand deburred to make sure that there aren’t any aluminum flakes tagging along for the ride….
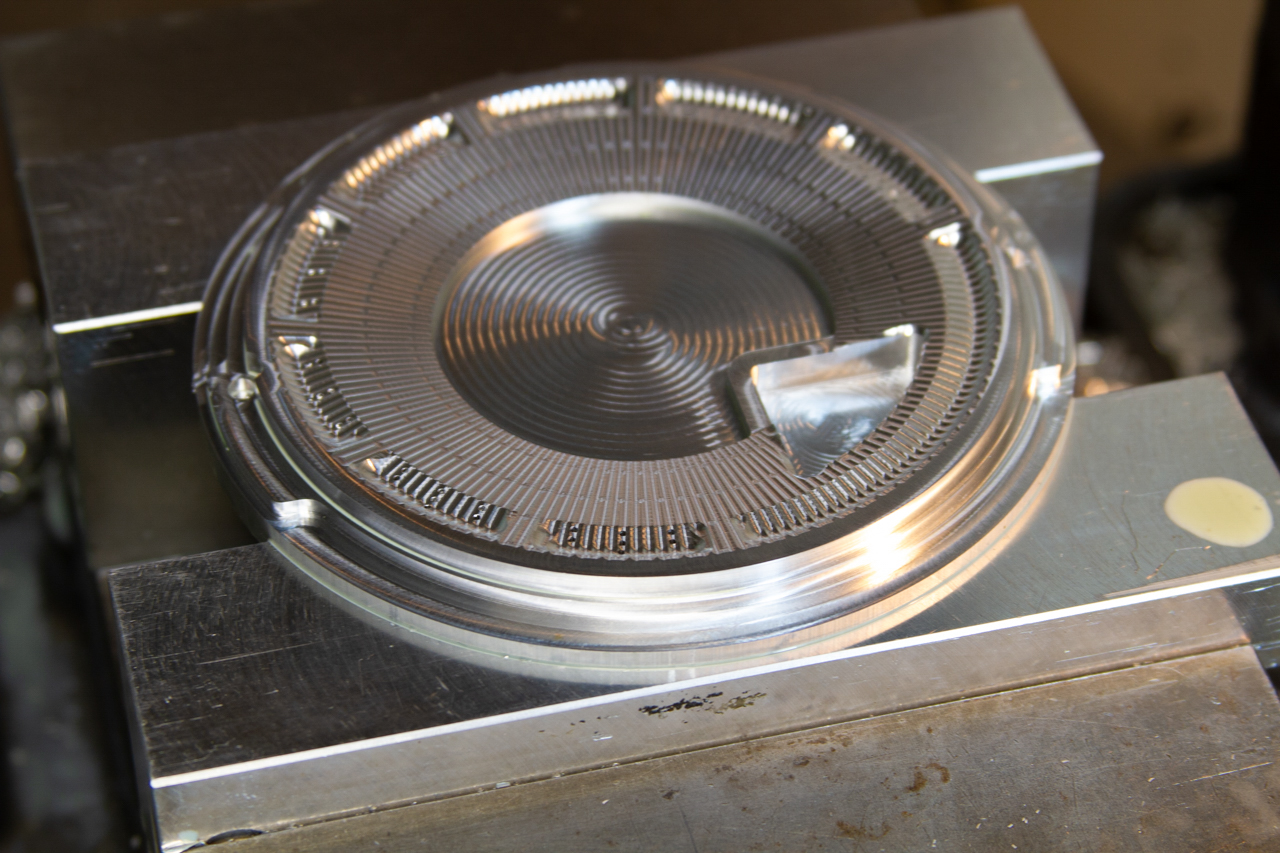
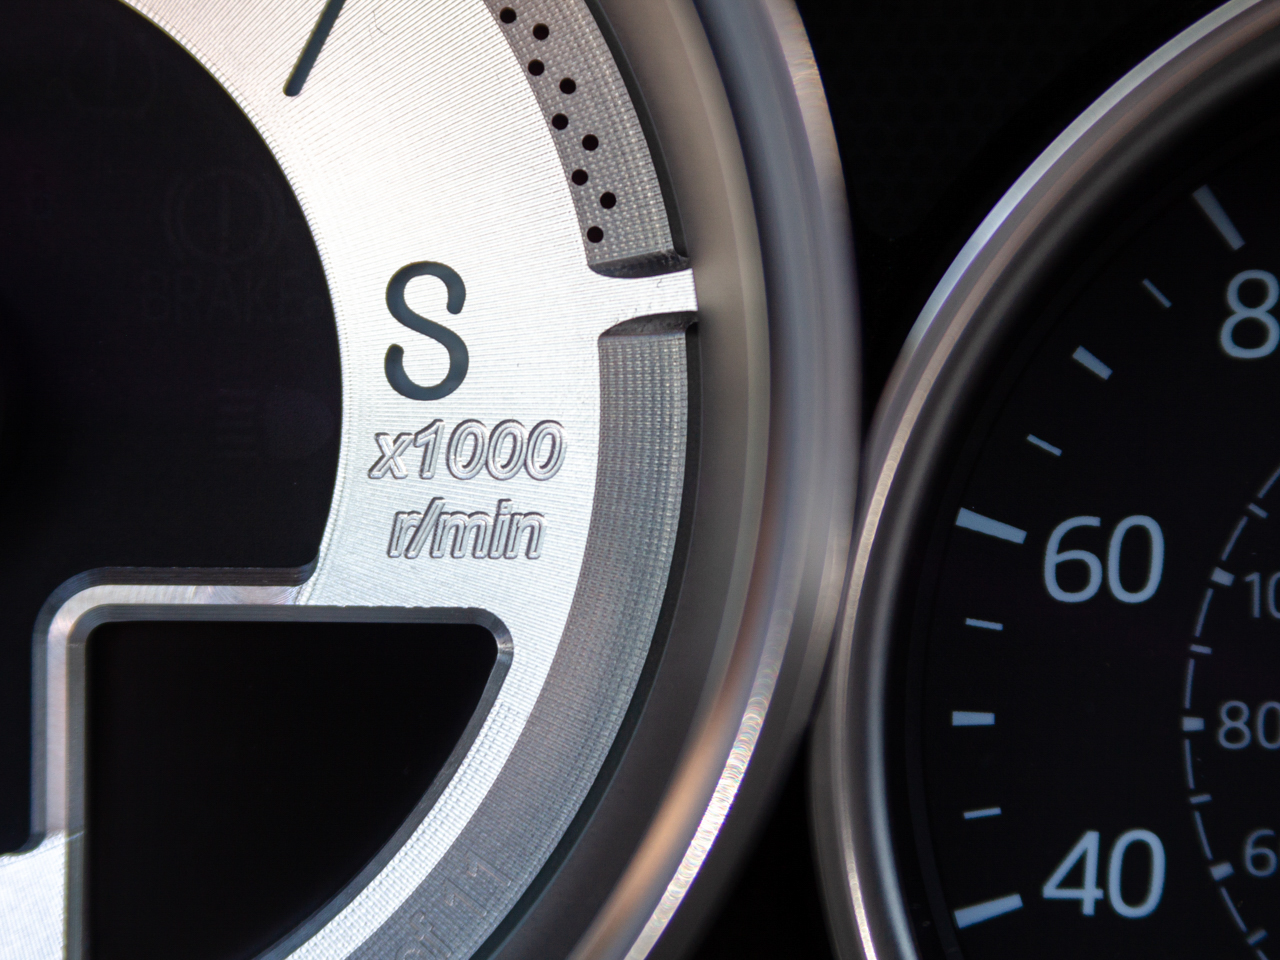
We had a fairly extensive debate about where to take this product stylistically once it was completely machined. Because of the level of detail put into this product, and how crisply our tiny drills and endmills machined in the linework, we decided a clear coat was the only way to go for these parts.
You can see every toolpath plainly and clearly on this piece, and that’s something we’re proud of. This isn’t some rough piece of sheet steel we had laser cut leaving scraggly edges. The linework left by the tools is mathematically elegant, and it would be a shame to cover that up with a powder coat, or even a colored anodize.
Once we got a finished prototype installed in our car, we were all quite surprised at how awesome the parts came out. We knew they would look good, but the final results are beyond anything we could have imagined, and we hope you will feel the same way. This project has been a fun experience for our whole team. It has allowed us to experiment with product development philosophies that we don’t normally get to follow. Throwing cost out the window and just making something with the sole purpose of making it as awesome as you possibly can doesn’t generally lead to highly profitable products, but it does give us a fun learning experience and some great Instagram posts! With each part comes not only an awesome, one-of-a-kind, tach dial, but also a tiny slice of CravenSpeed history.