
Durability Testing Our GR86 Short Shifter - Part 2
Posted by Logan on 5th Mar 2024
Welcome to part 2 of our deep dive into our testing process for our GR86 Short Shifter! When we left off, we had just reprepped the Shifternator 5000 for another 1,000,000 cycle run at an absurd 60 psi! This would equate to shifting with 55 lbs of force each shift. Basically, for this round of testing the intention was to break the shifter. So with the psi cranked up we set the machine loose to run over the weekend.

As you can tell, we did come back to a bit of carnage after this first run! The grommet in the upper linkage was completely gone, and the shifter had eaten into the aluminum link pretty good. There were small pieces of the grommet all over the bench. Everything near the top of the shifter was coated in the most unpleasant sticky black substance, remnants of the dissolved grommet. Nothing we didn't expect to be honest. We had a good supply of grommets so we could keep the machine running without worrying about a different solution. But we decided to try a different rubber and found something in our hardware that would be more compatible with the grease we were using.
Watching the machine flex and twist when it was running at this pressure was pretty fun.
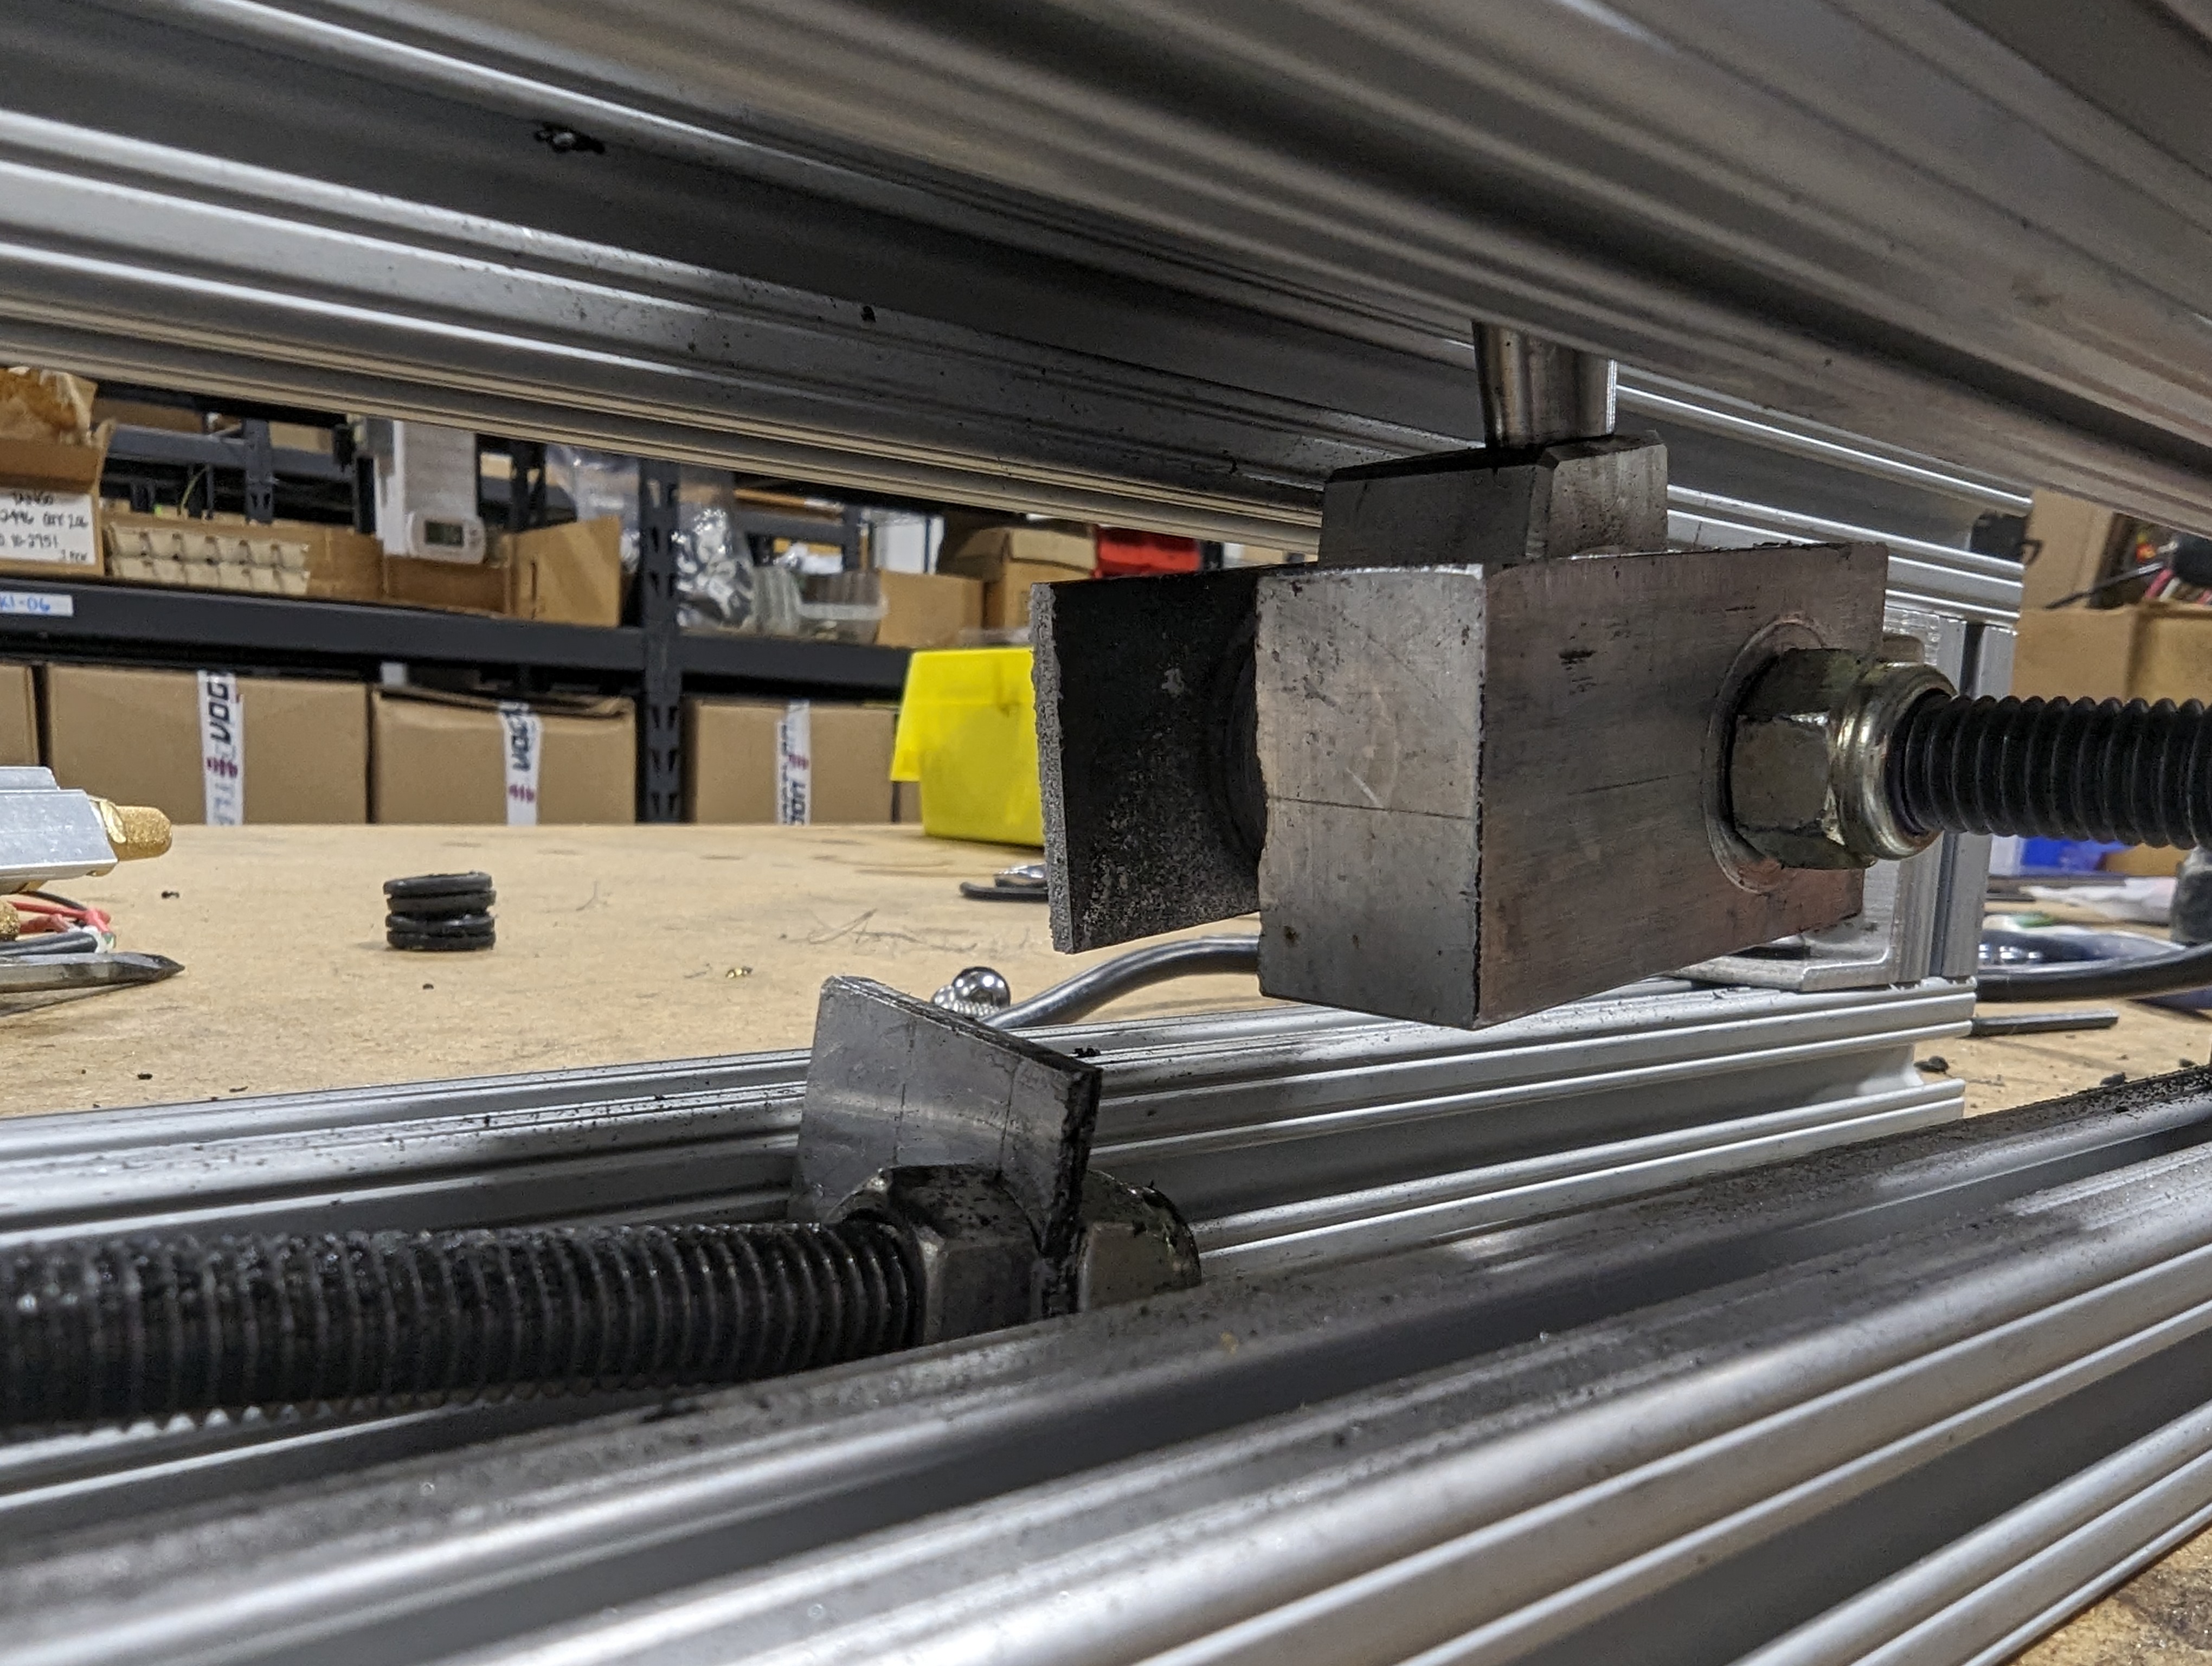
The new grommet was definitely holding up much better. The only issue was that it wasn't really the right size for the link. I had trimmed it up a bit to make it fit, but it was wanting to twist and pop out. Like many things on this project we just left it alone and while the link did end up in a twisted position, the machine worked fine like this.
With this setup the grommet did tend to get chewed up a bit
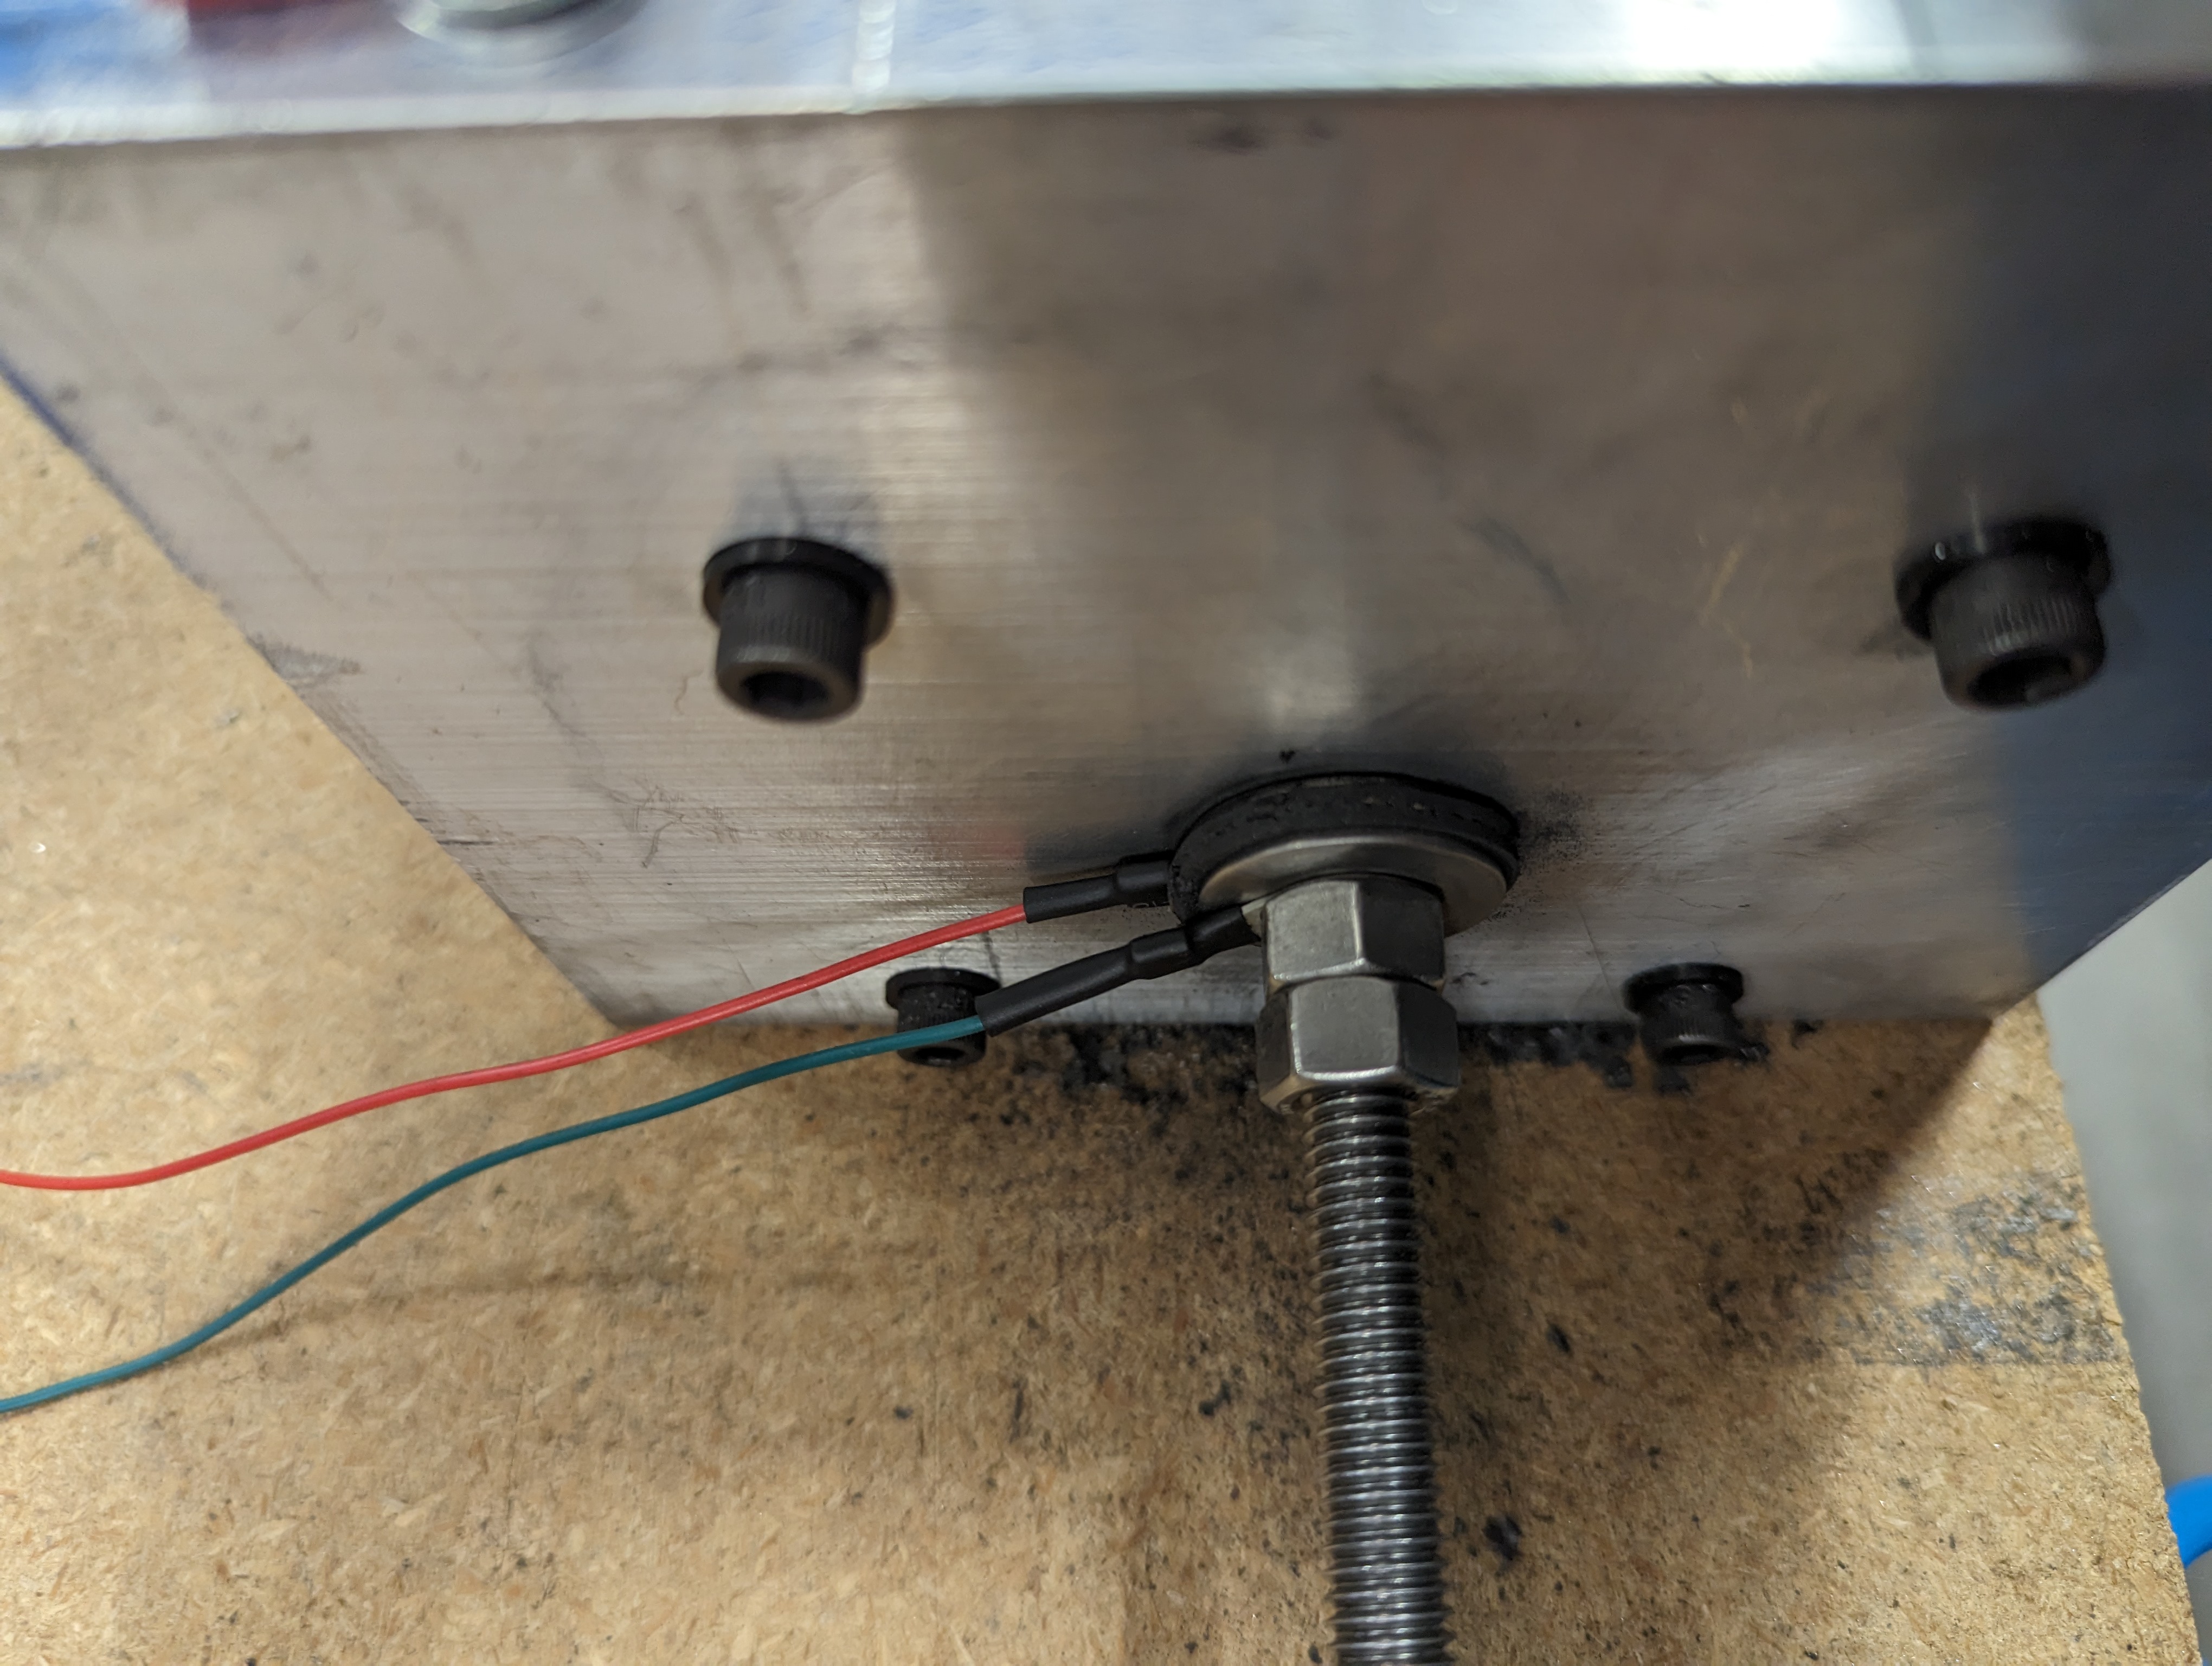
One other issue we were running into is the ground wires that were connected to the machine would tend to break off at the crimp connection. The ring terminals were designed for much larger wire than we needed so after a light crimp I was filling in the joint with some solder. Then to prevent breakage I started adding some heat shrink to the connection and this worked much better.
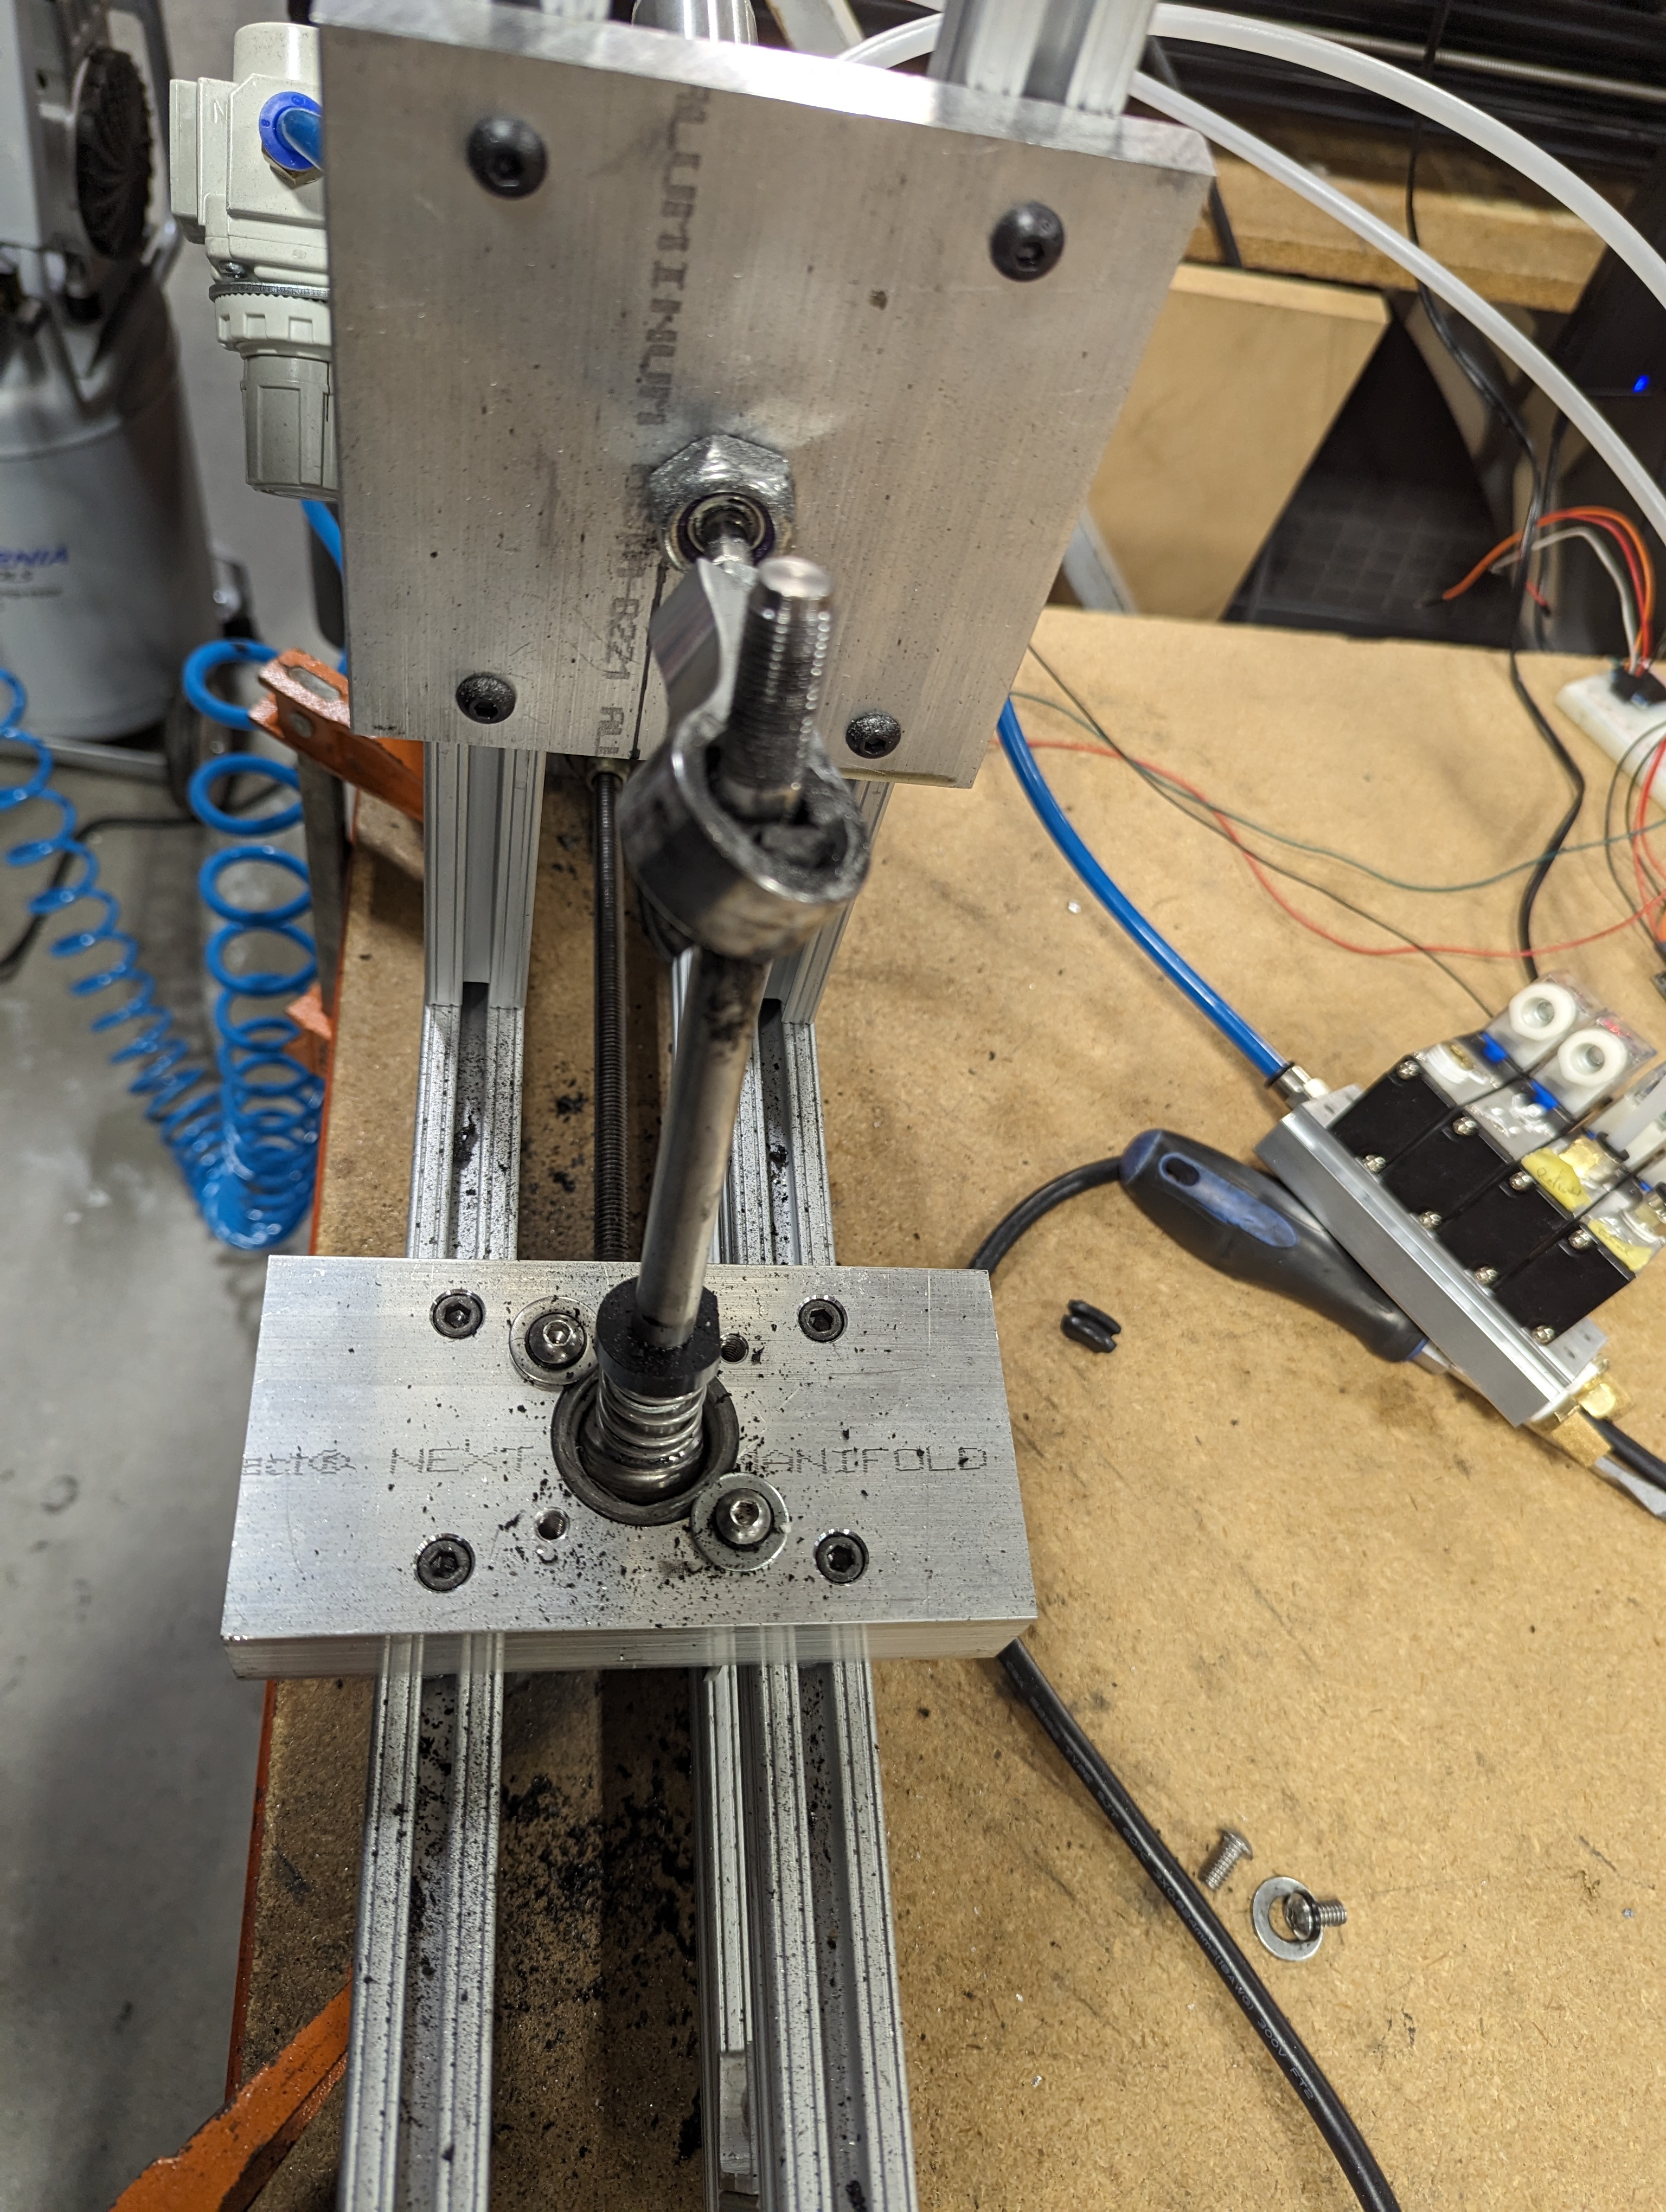
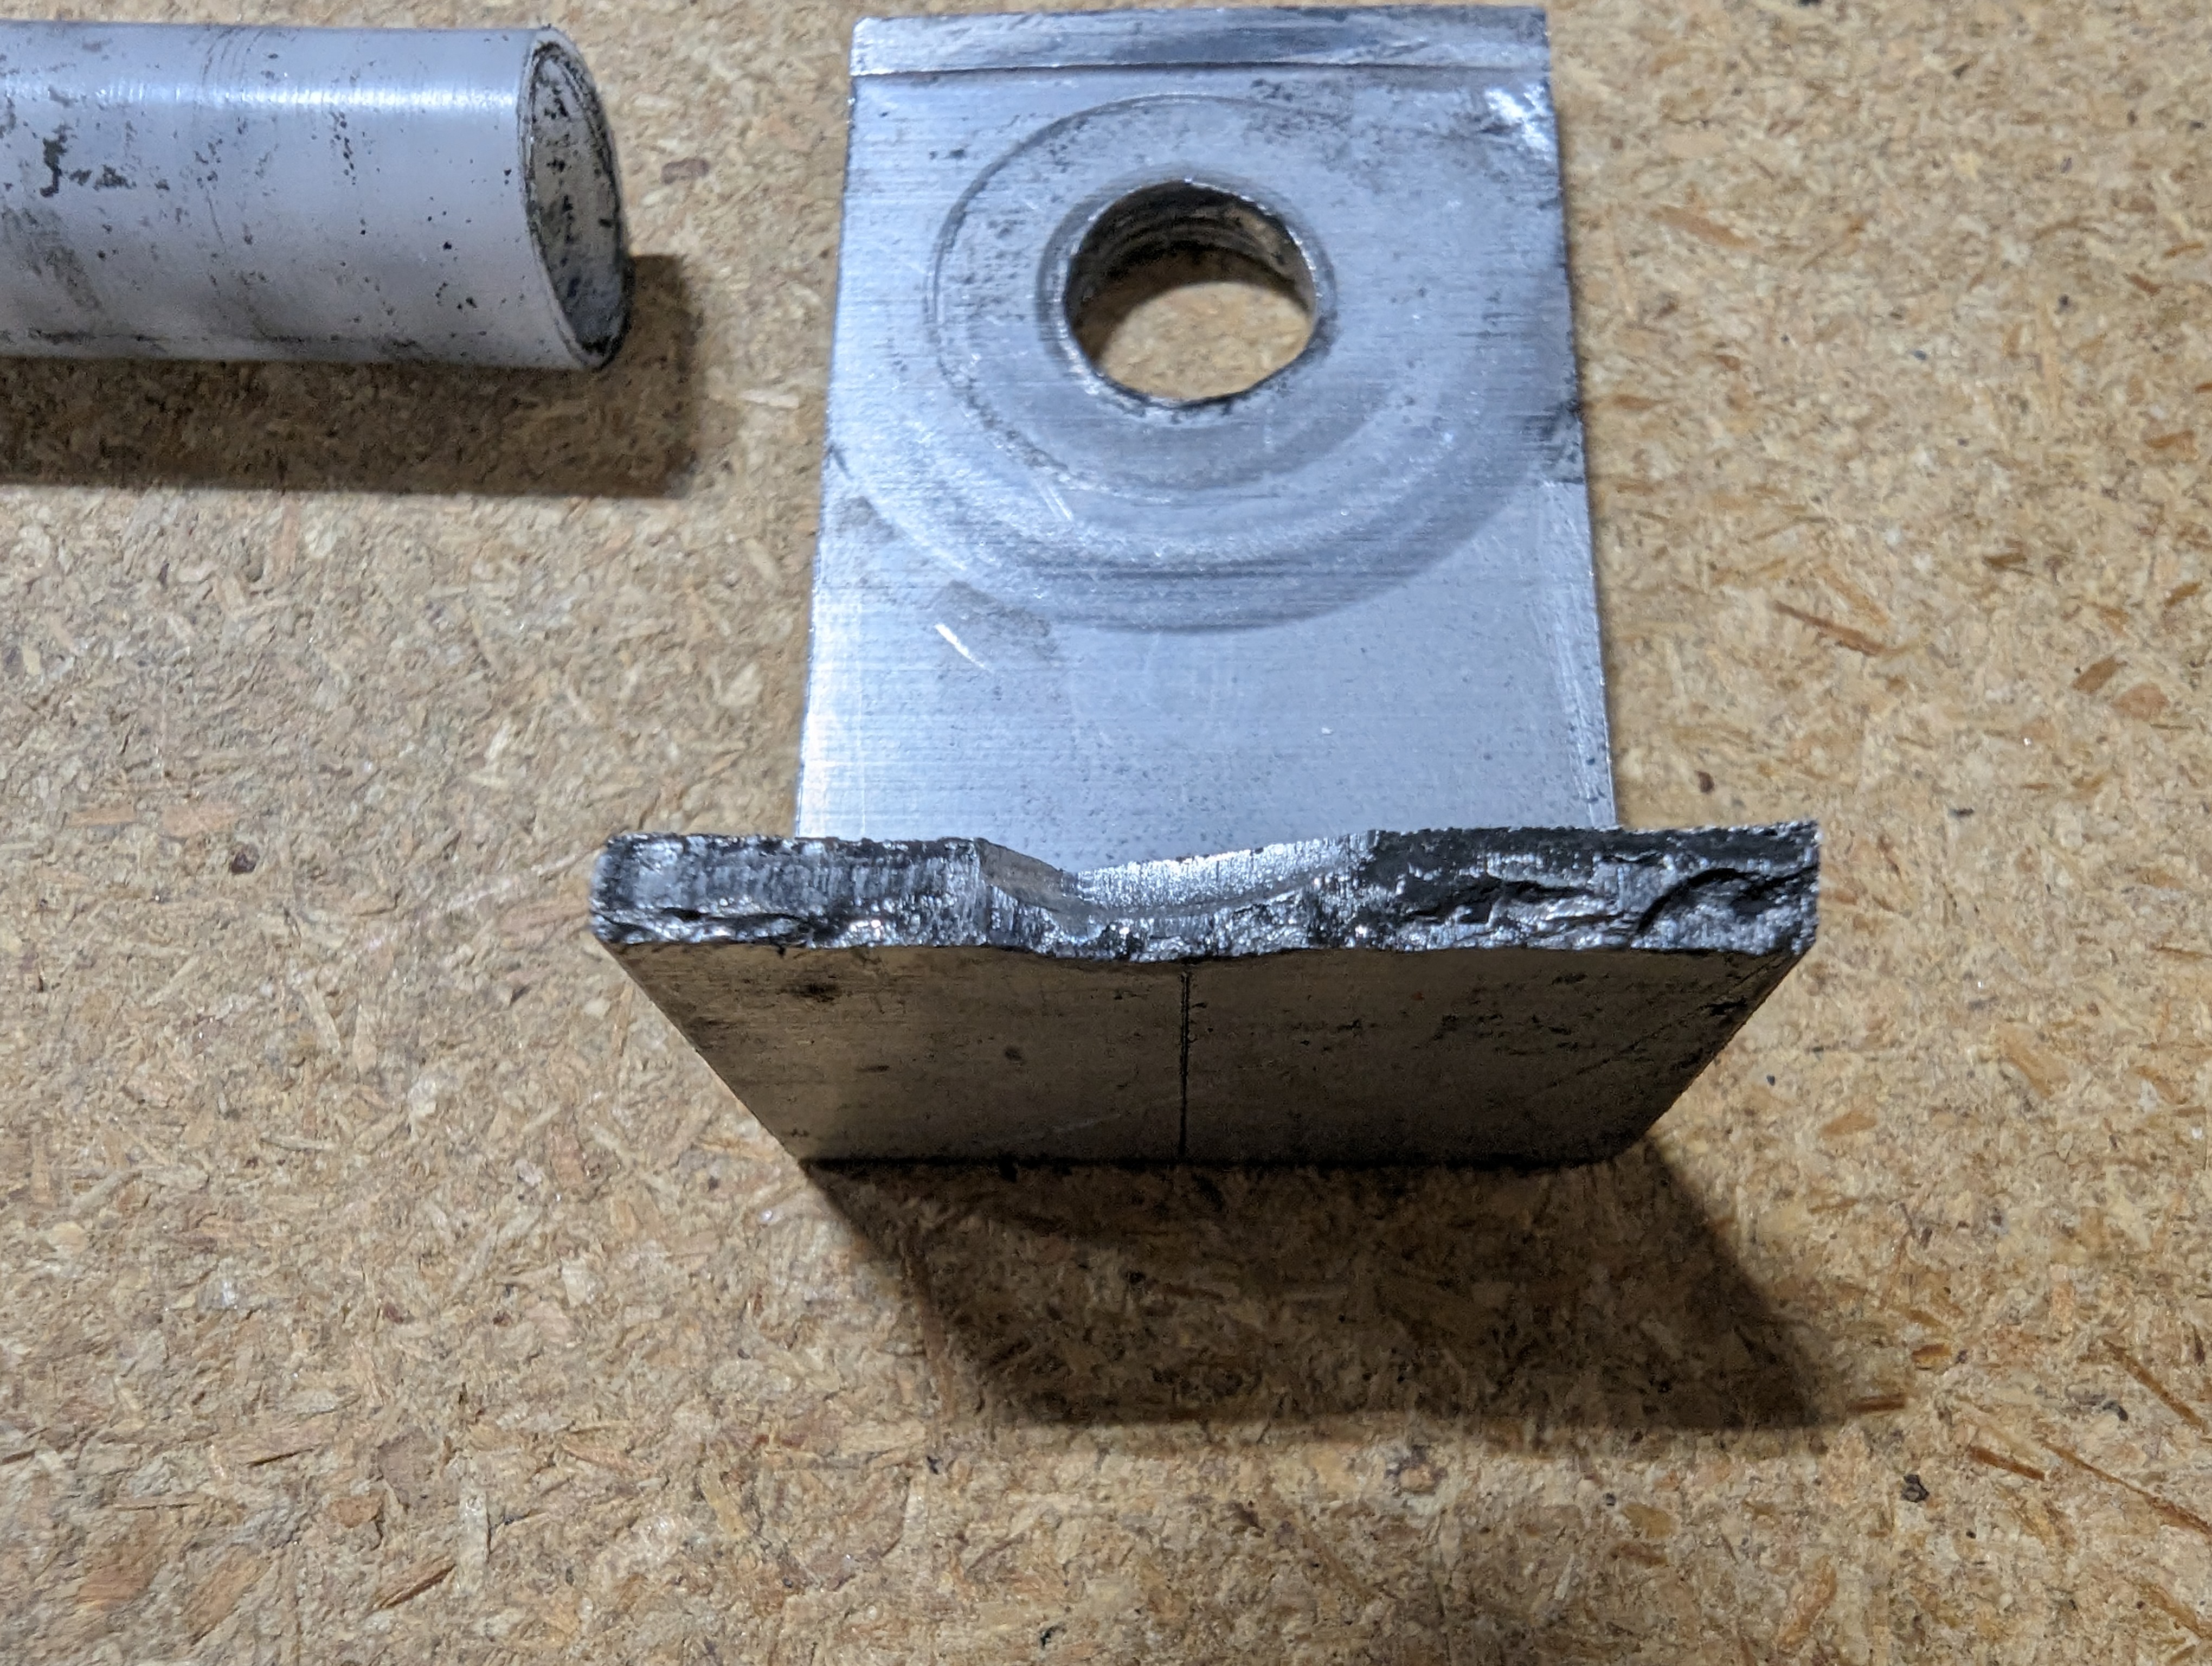
At this point I also noticed a crack in the lower linkage bracket. This was just a piece of aluminum cut from some box tube. We had pinned this as a component that was likely to fail at some point, but again with more material to replace it we just sent it. Turns out we were right. The machine was still running, so we just left it on and prepared a new bracket cut from the same material.
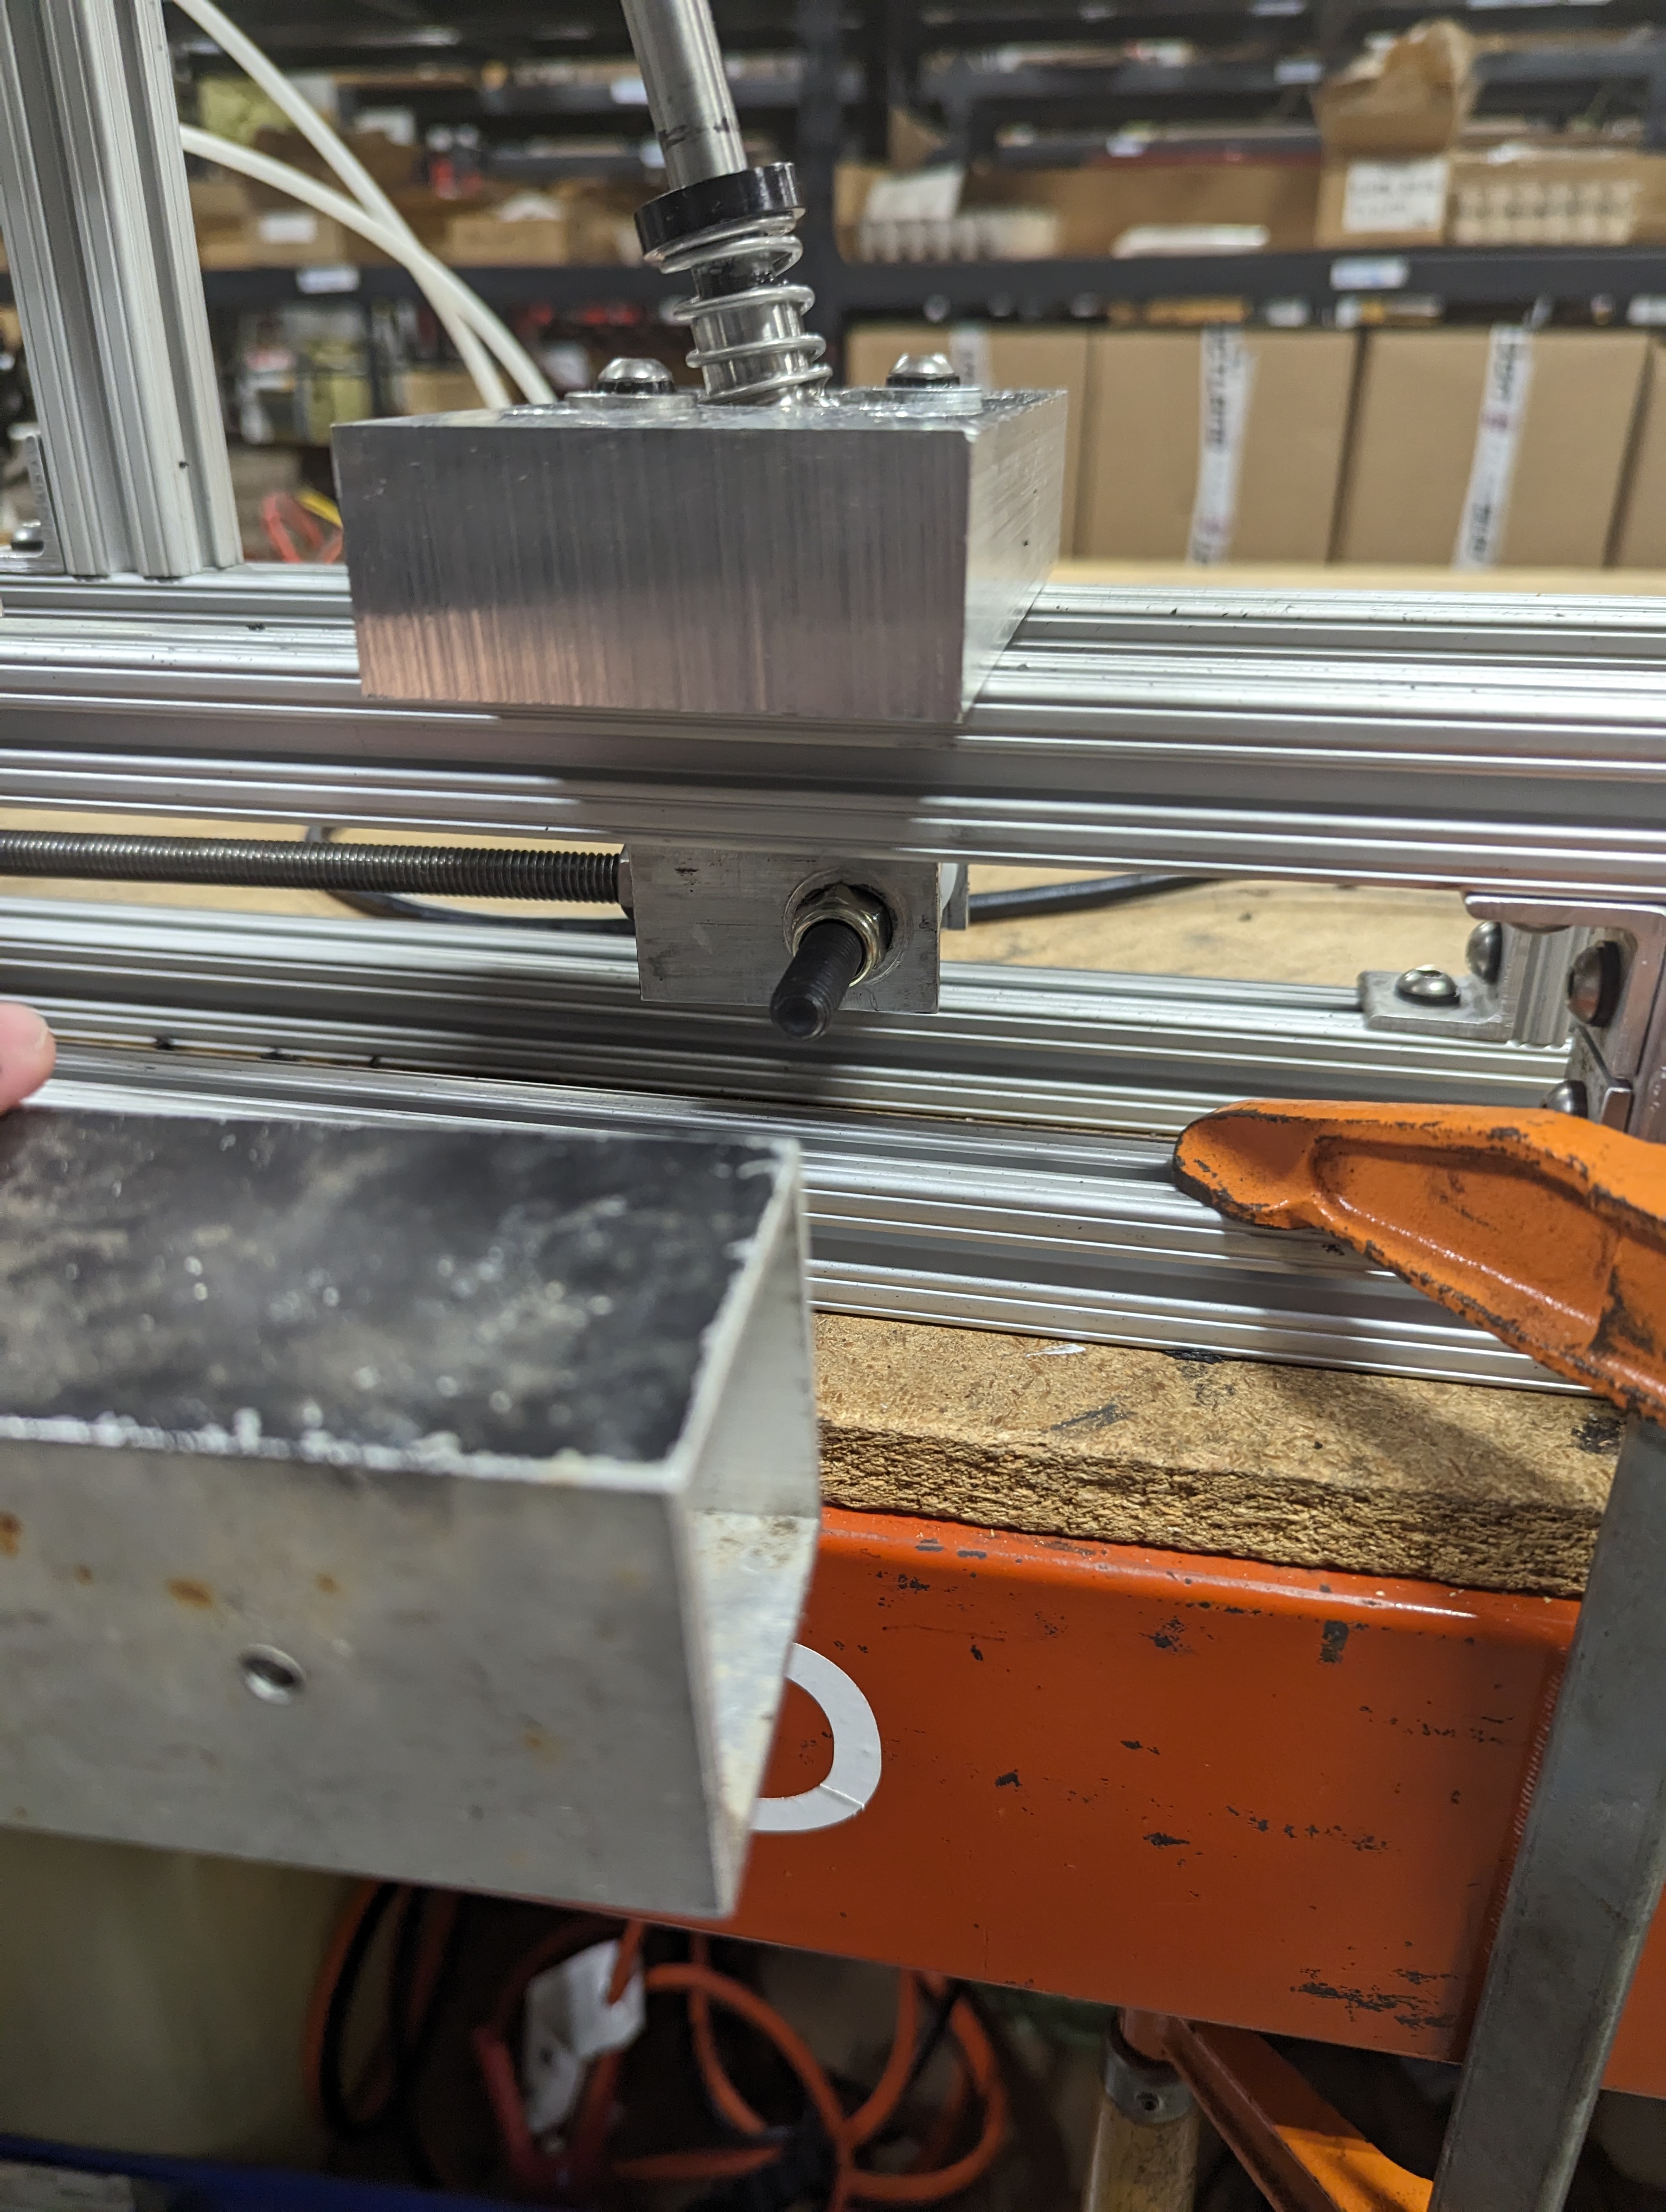
It wasn't long until this piece completely failed.
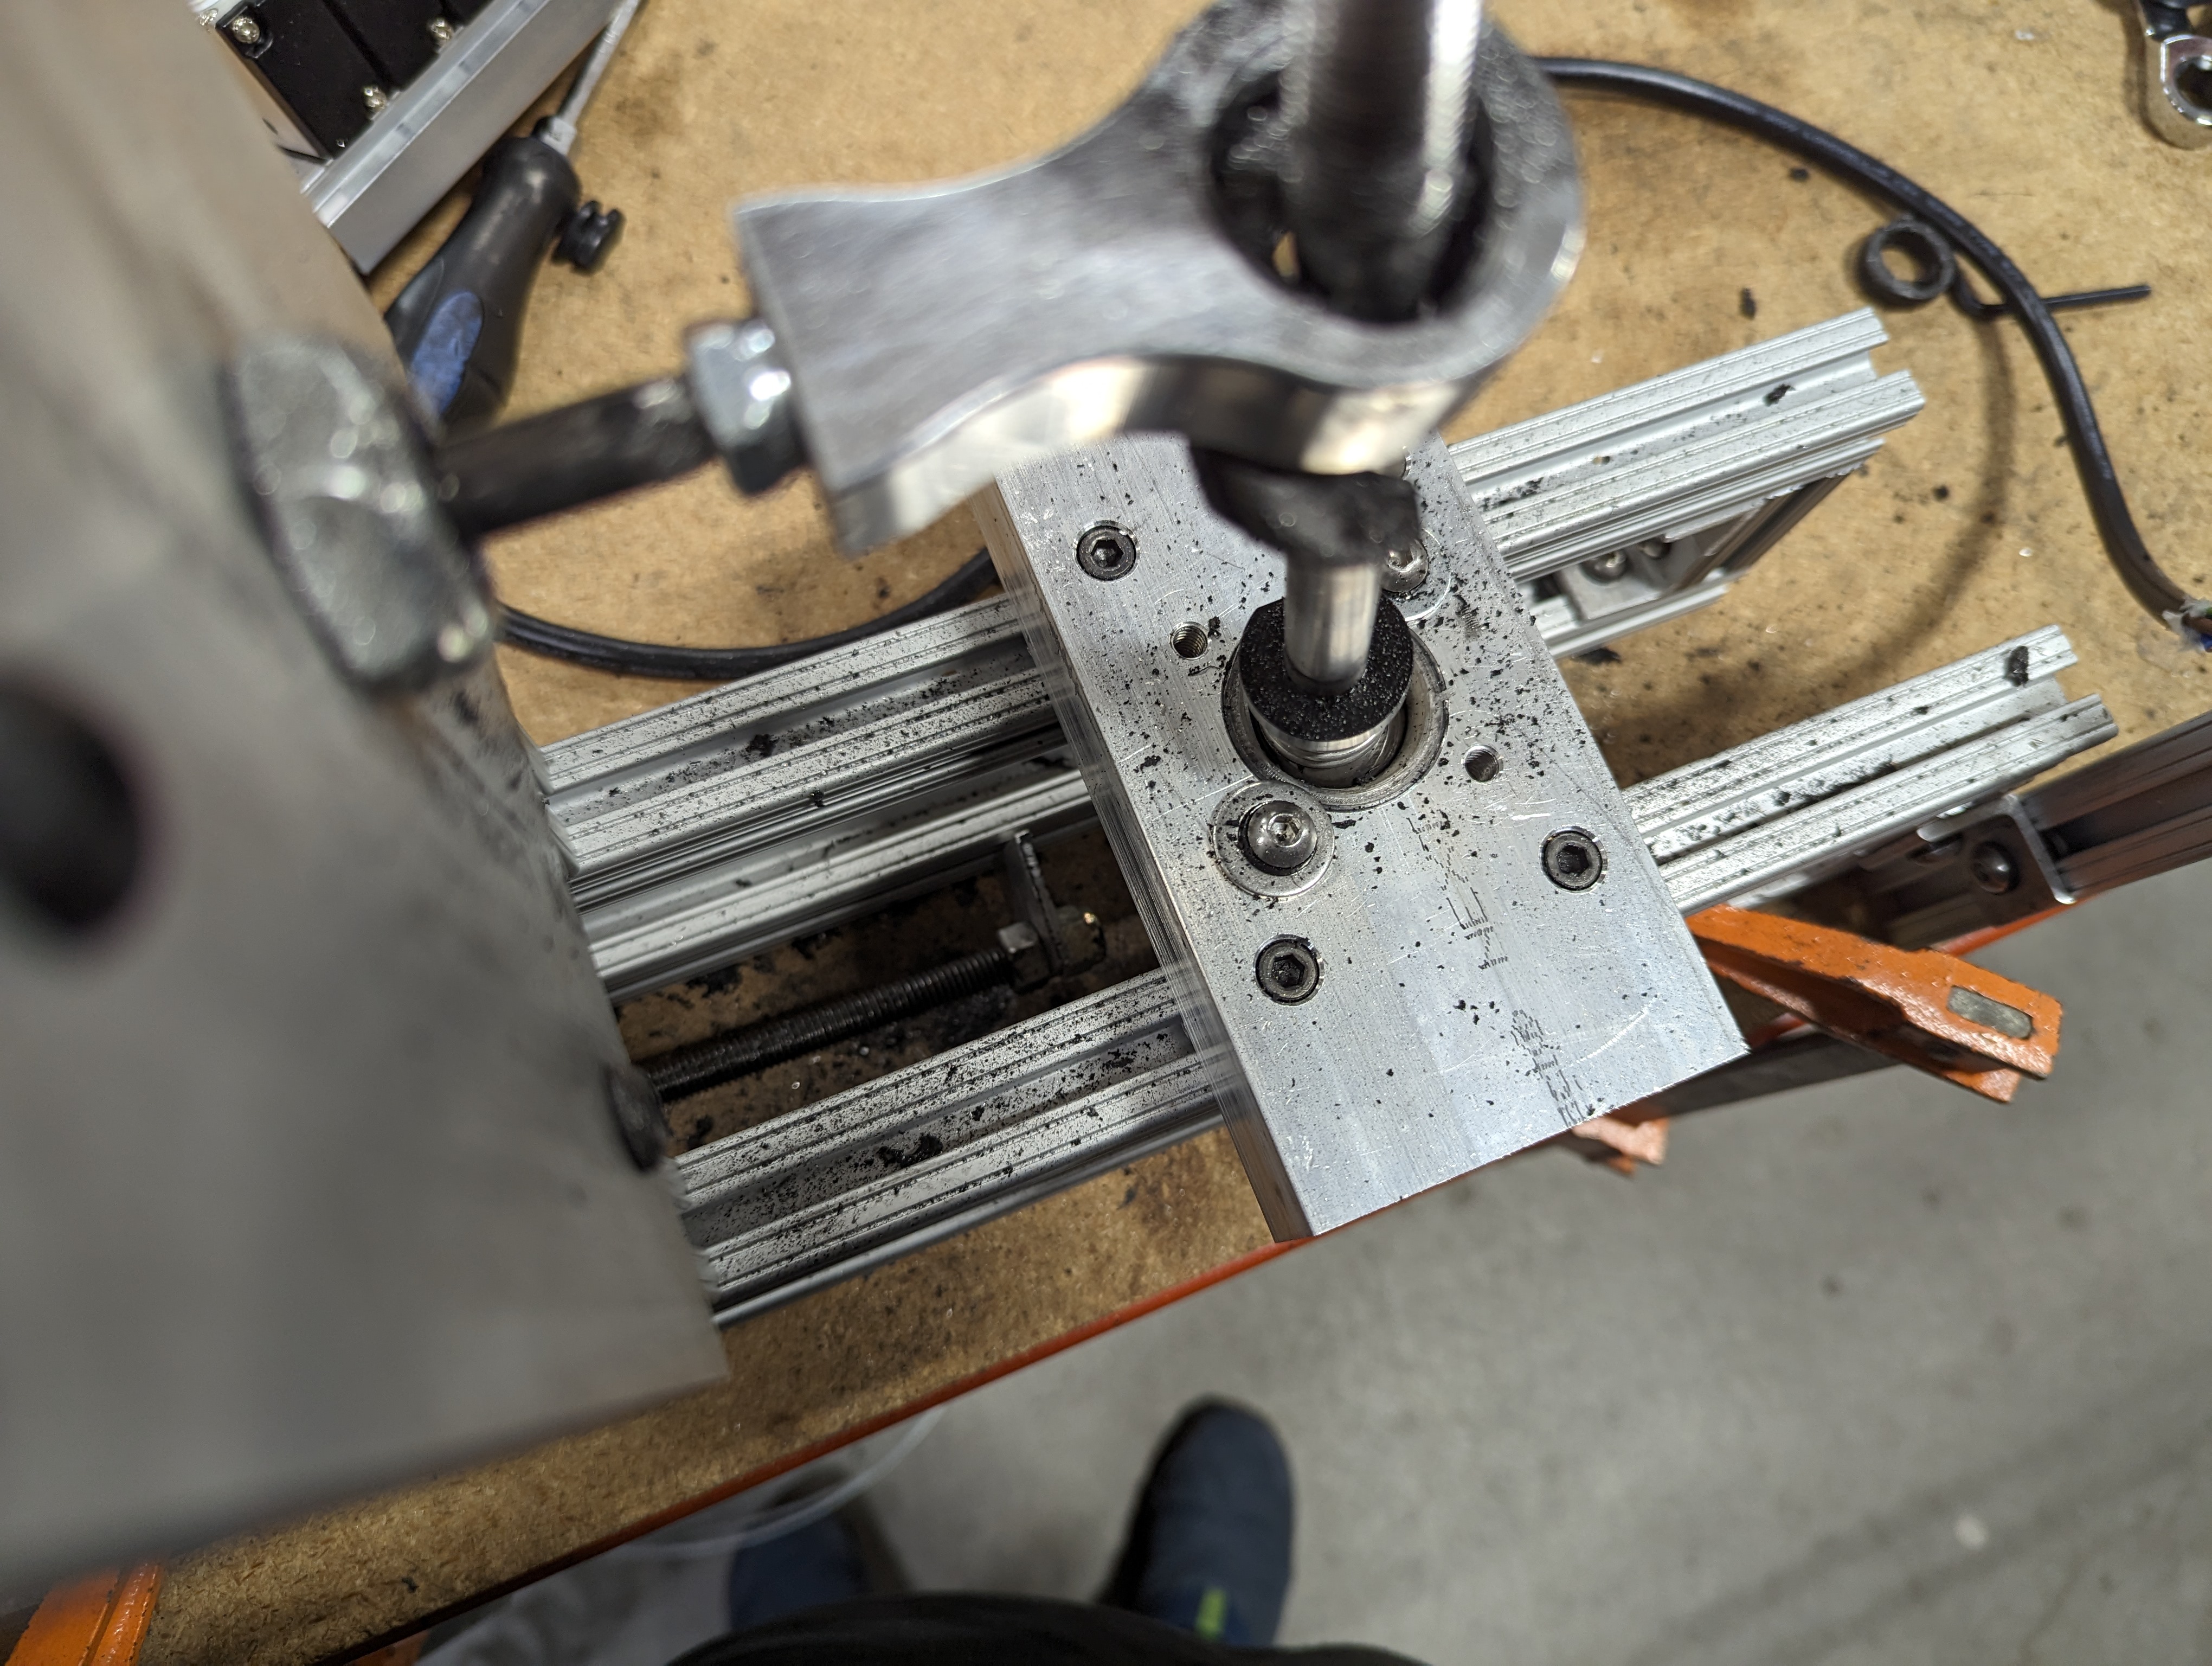
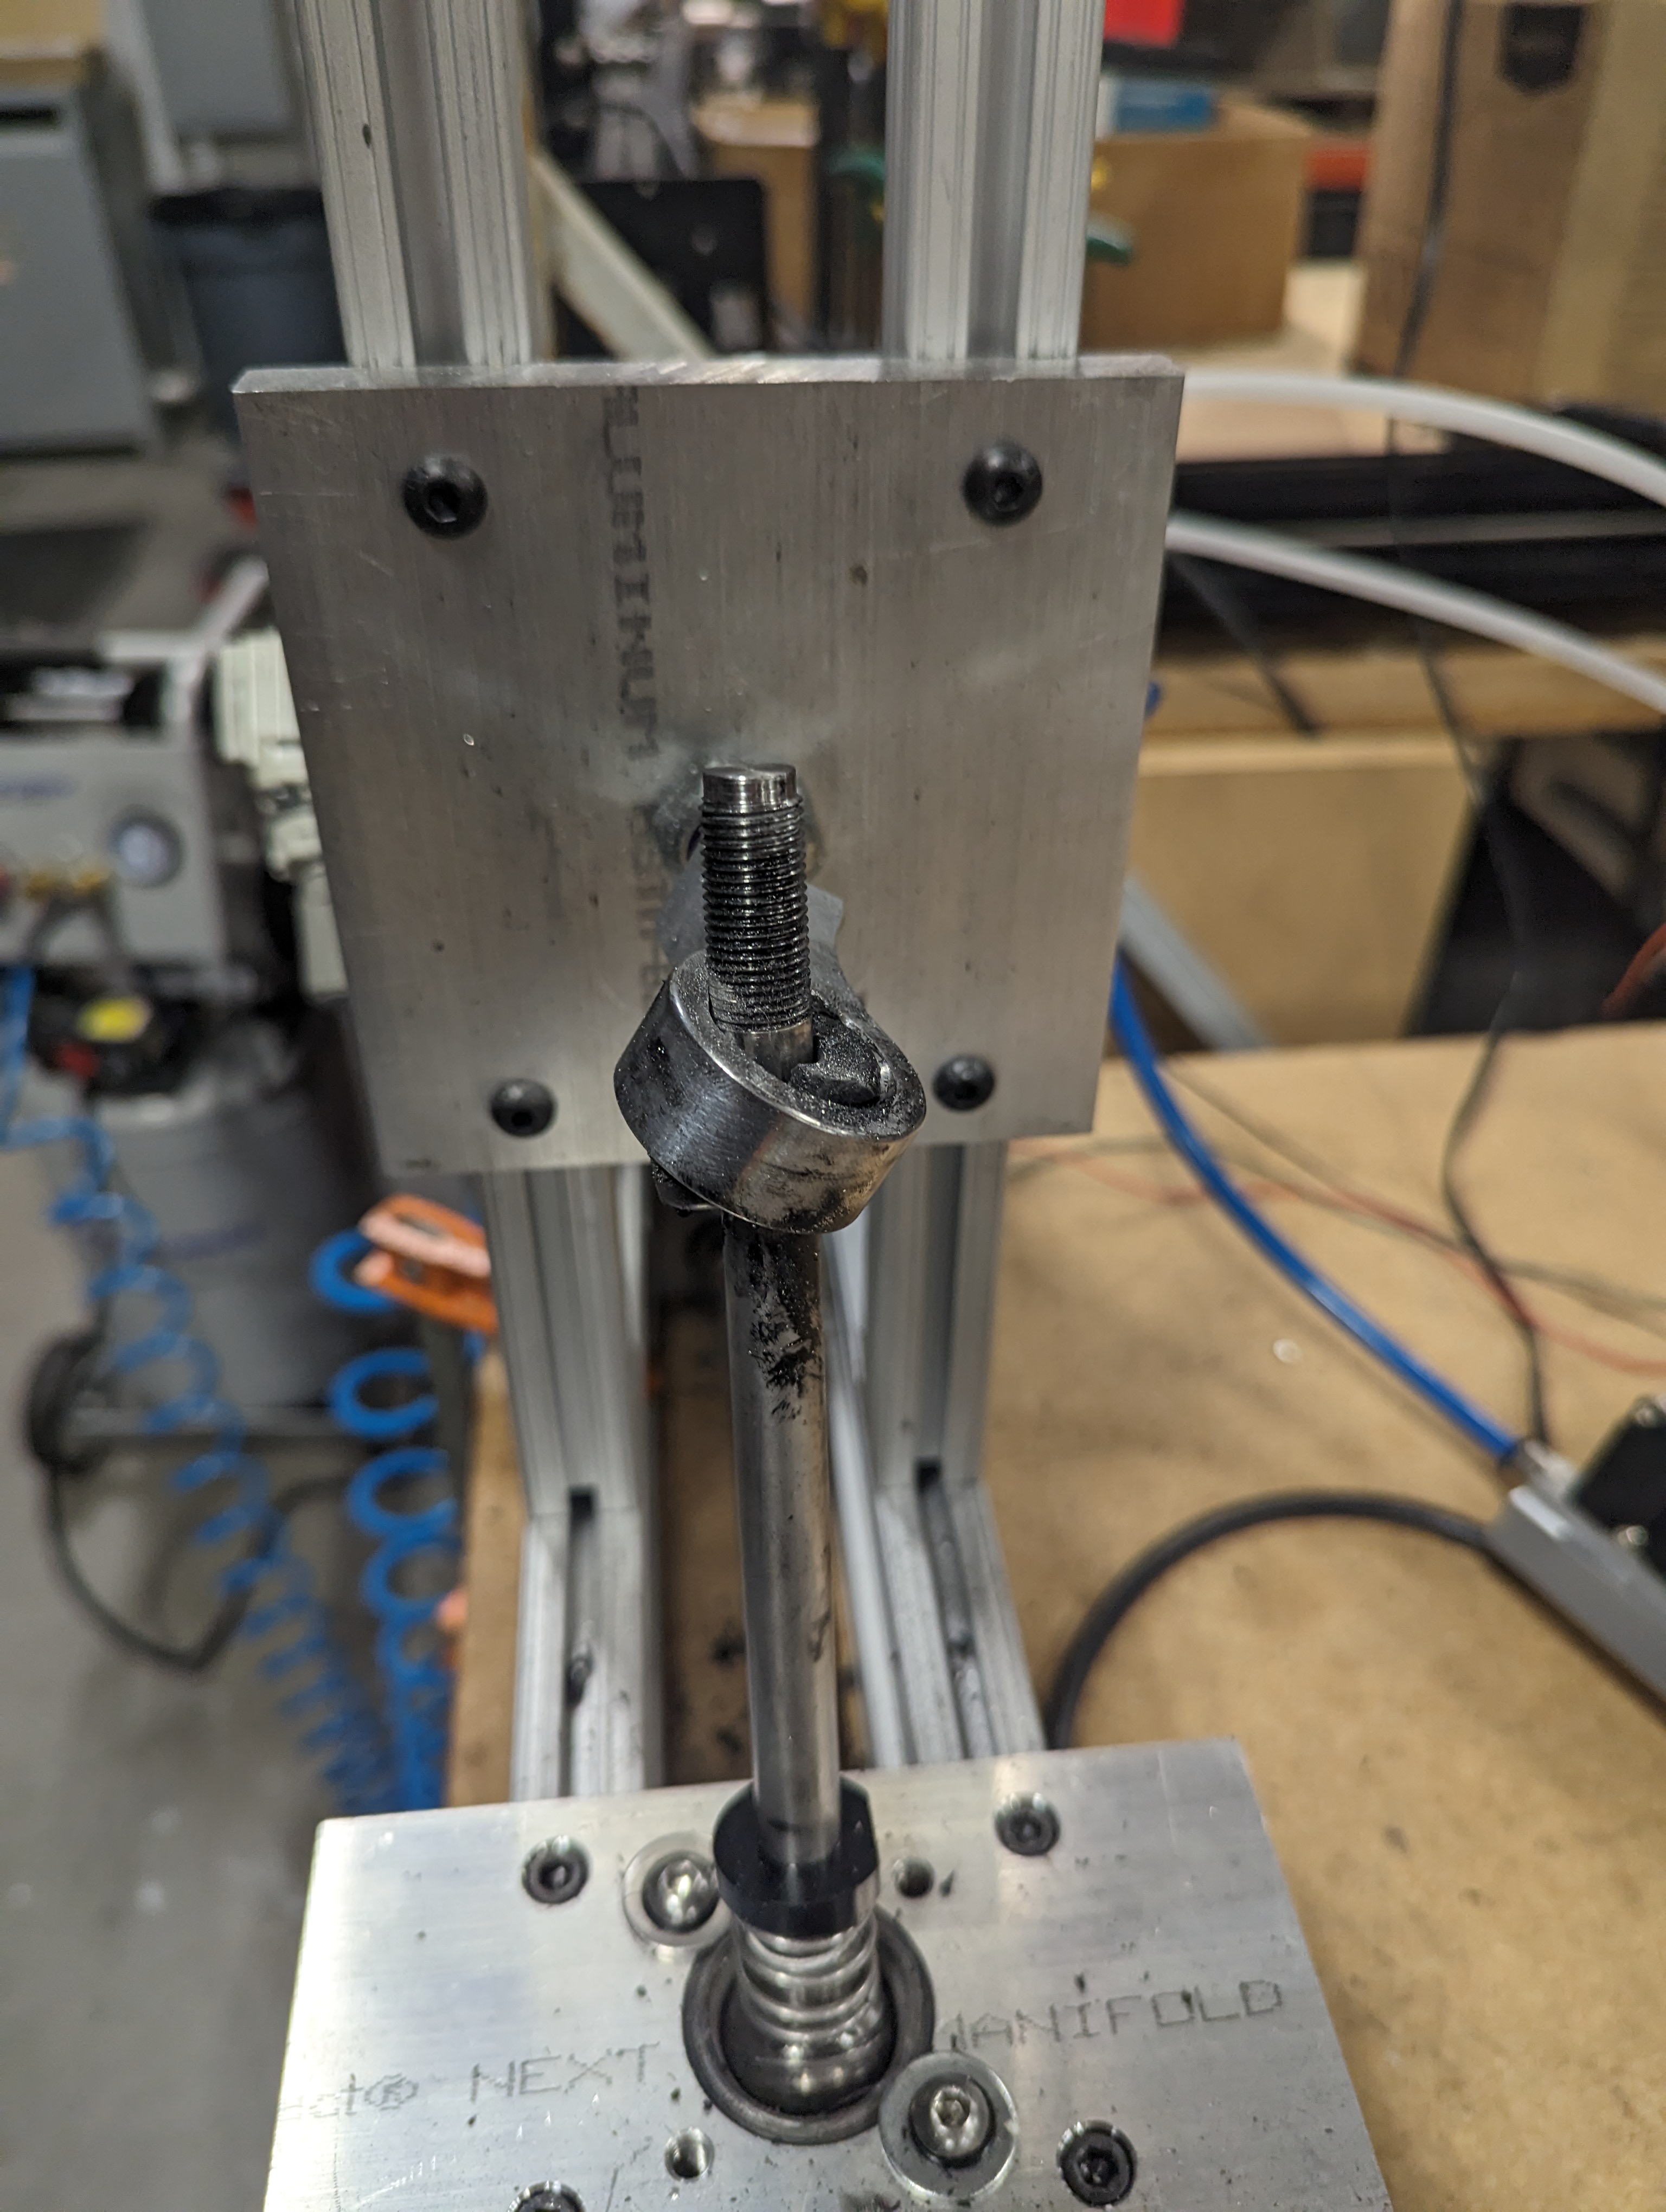
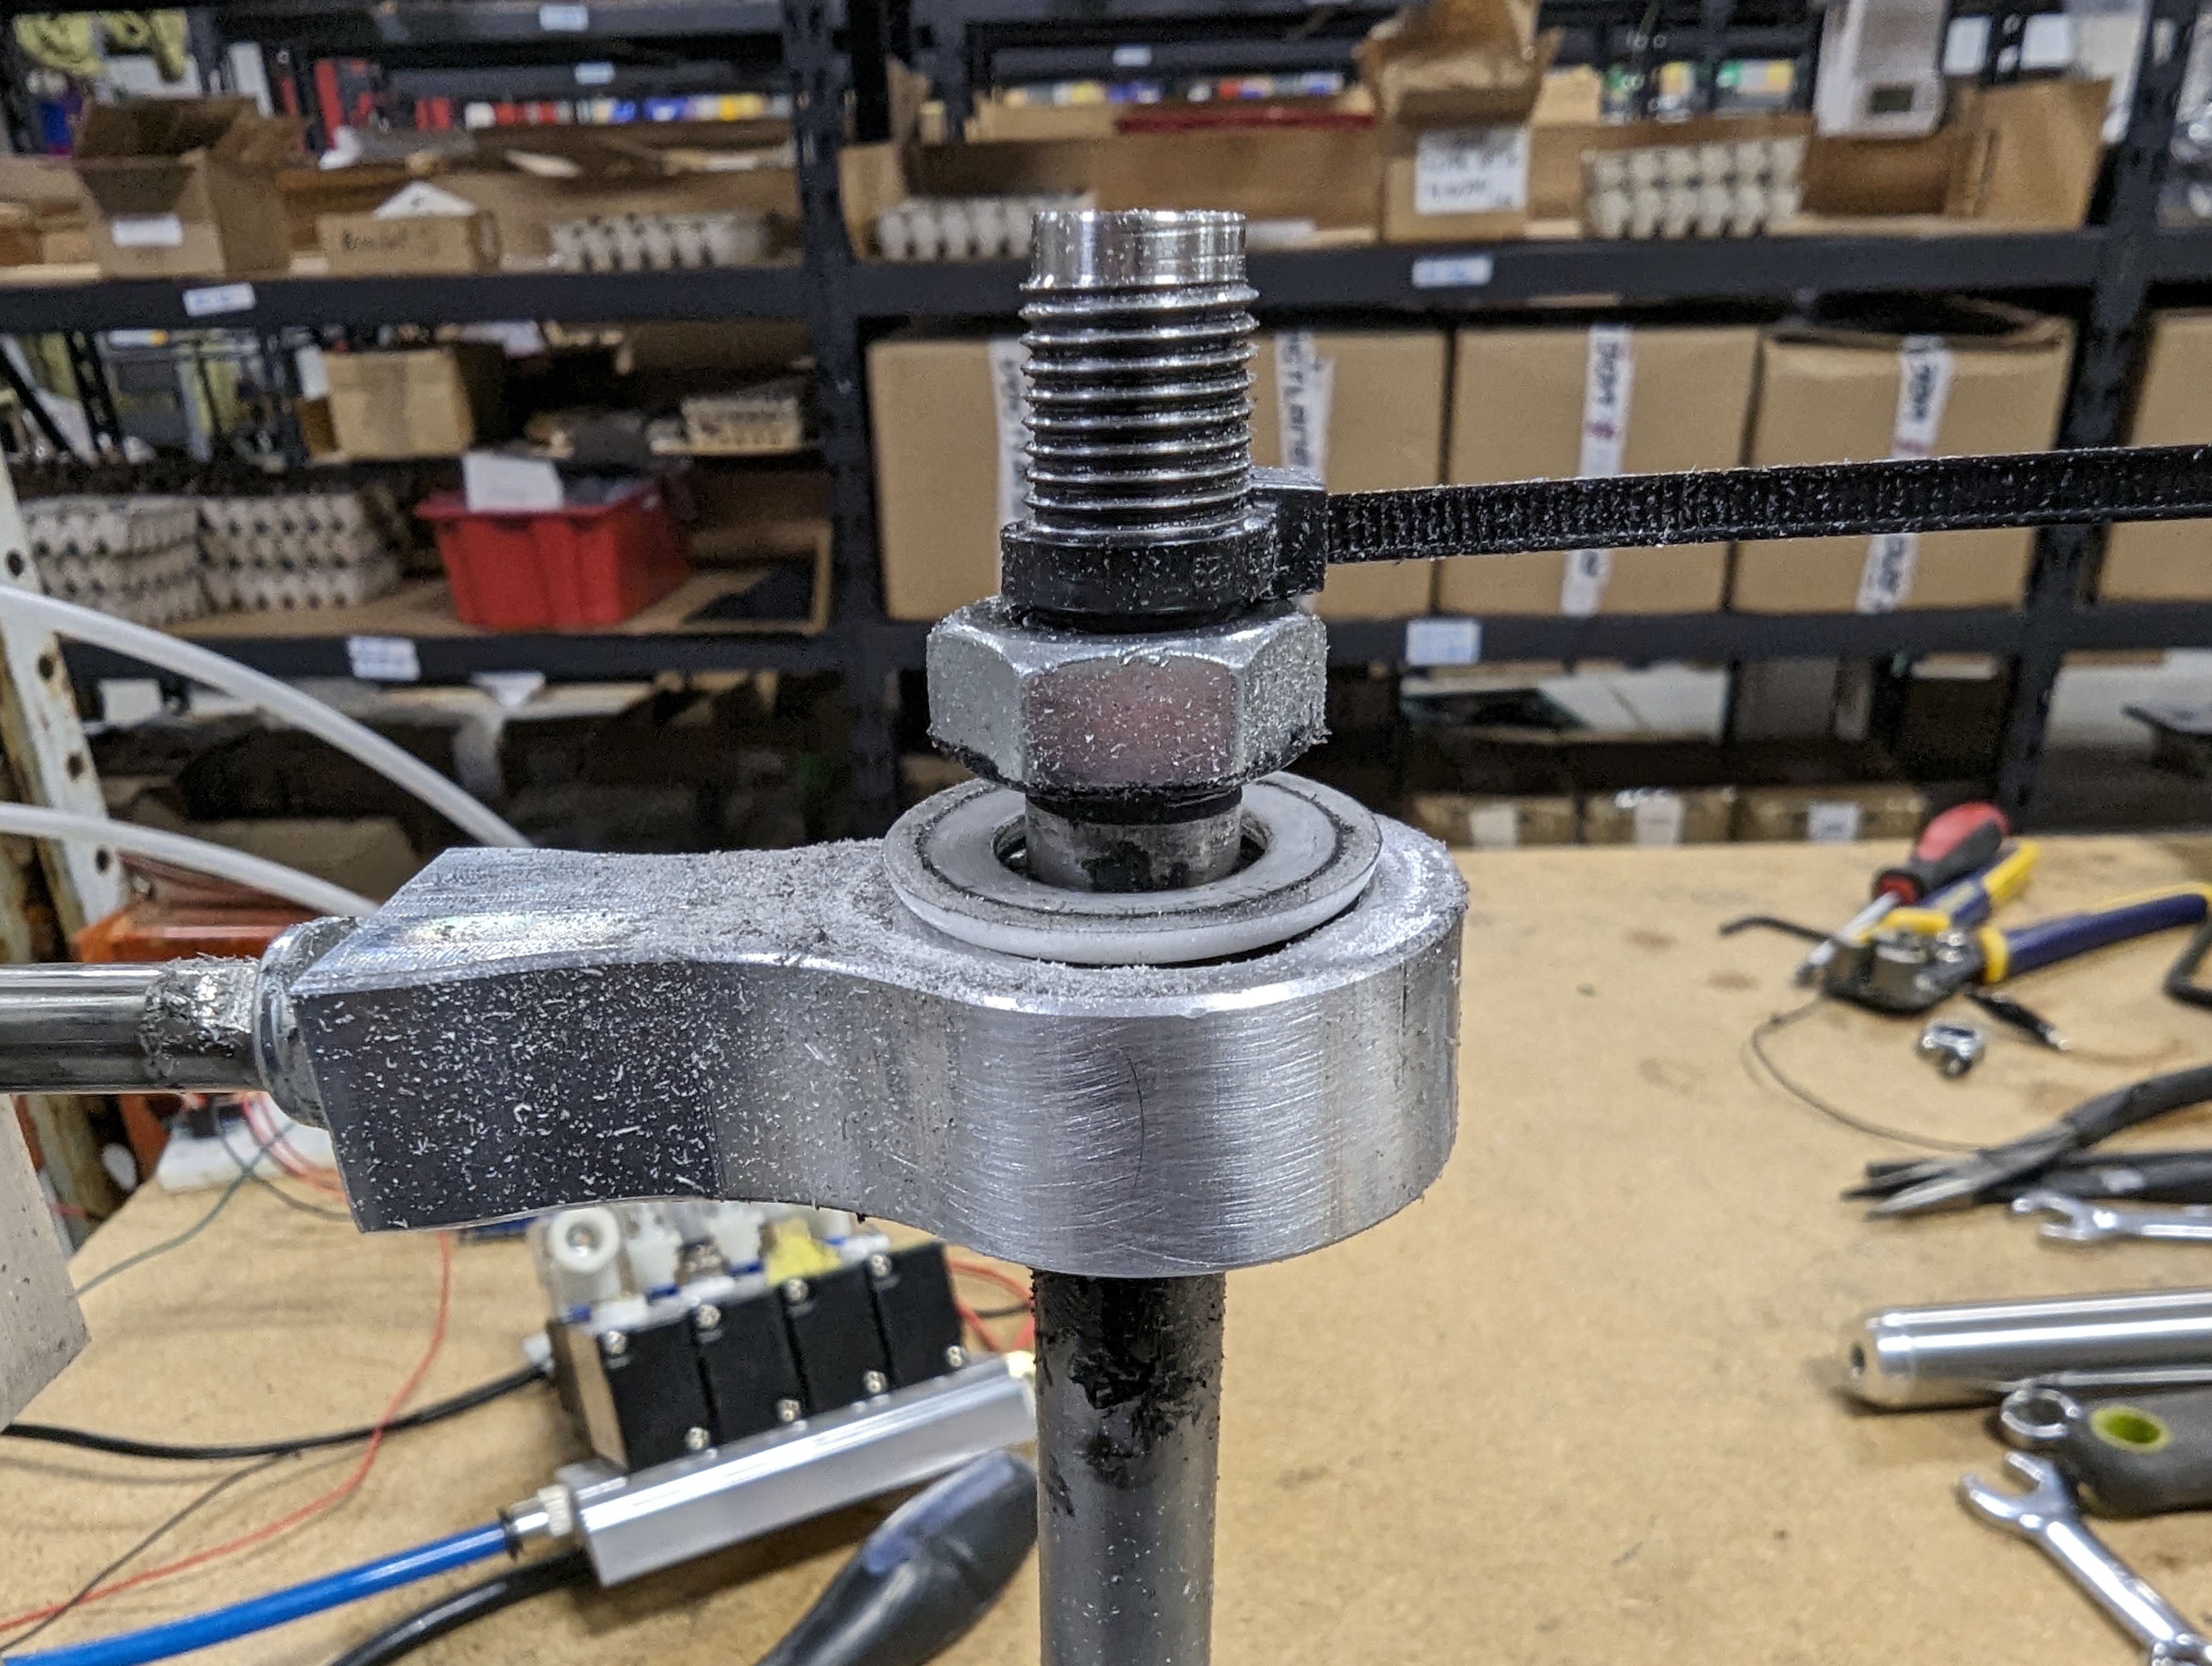
Luckily I had already made a replacement for this piece so I swapped it out and fired it back up! Something I had already begun to notice was that with the well lubricated shifter interface, when the machine bottoms out on the push stroke, the piston rod is deflected upwards as the link slides up the shifter.
I had some awareness of this issue already when we noticed that the rod was slightly bent in the last part, but the increased pressure had a more pronounced effect on the piston rod. This would certainly cause premature wear on the air cylinder.
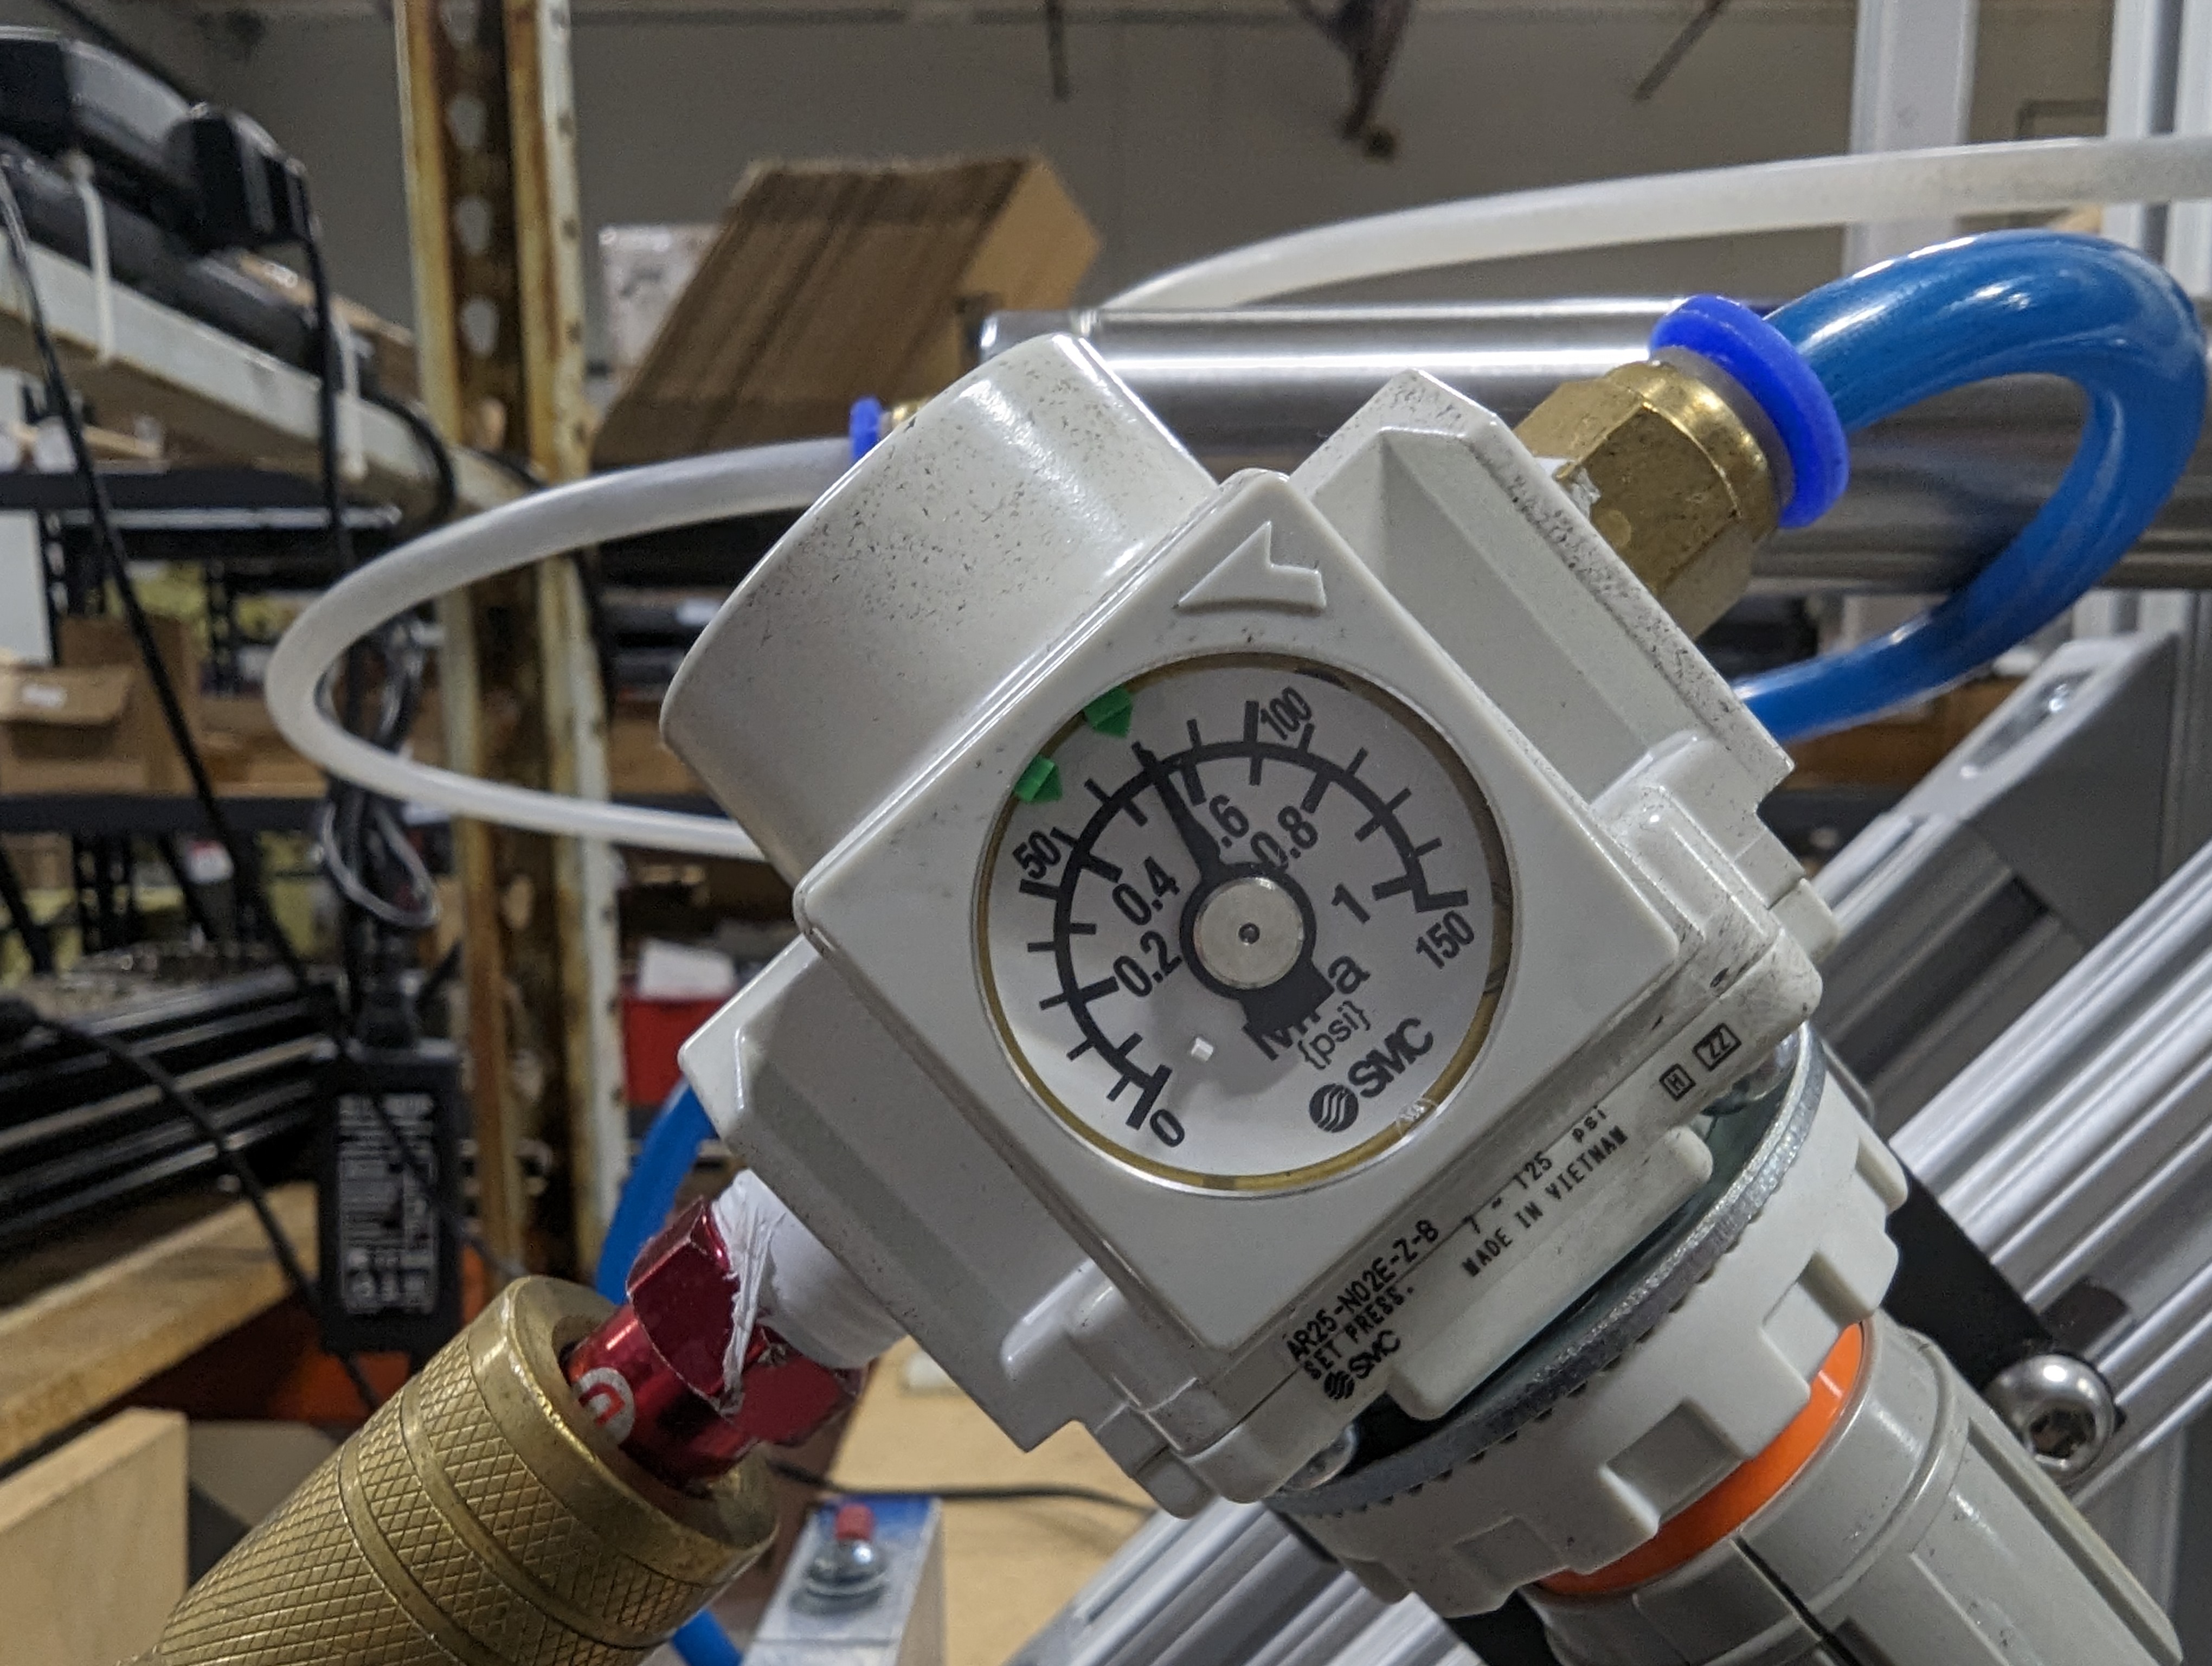
By this point in the testing we had surpassed another 1,000,000 shifts at 60 psi and it was now that I did notice a small amount of play in the shifter between the shifter and the lower pivot piece. At this stage I was really just interested in breaking the shifter, so I decided to do another 1,000,000 shifts at 80 psi! This would equate to shifting with 75lbs of force which is extreme overkill for the shifter, but I was very excited to see if I could break the shifter.
The machine however had other ideas. Not long into this 3rd run I came in one morning to a machine that could barely actuate the shifter. This air cylinder had taken its last stroke, and it was time to send it back to the club house. The issue was quite apparent once I took off the first air fitting.
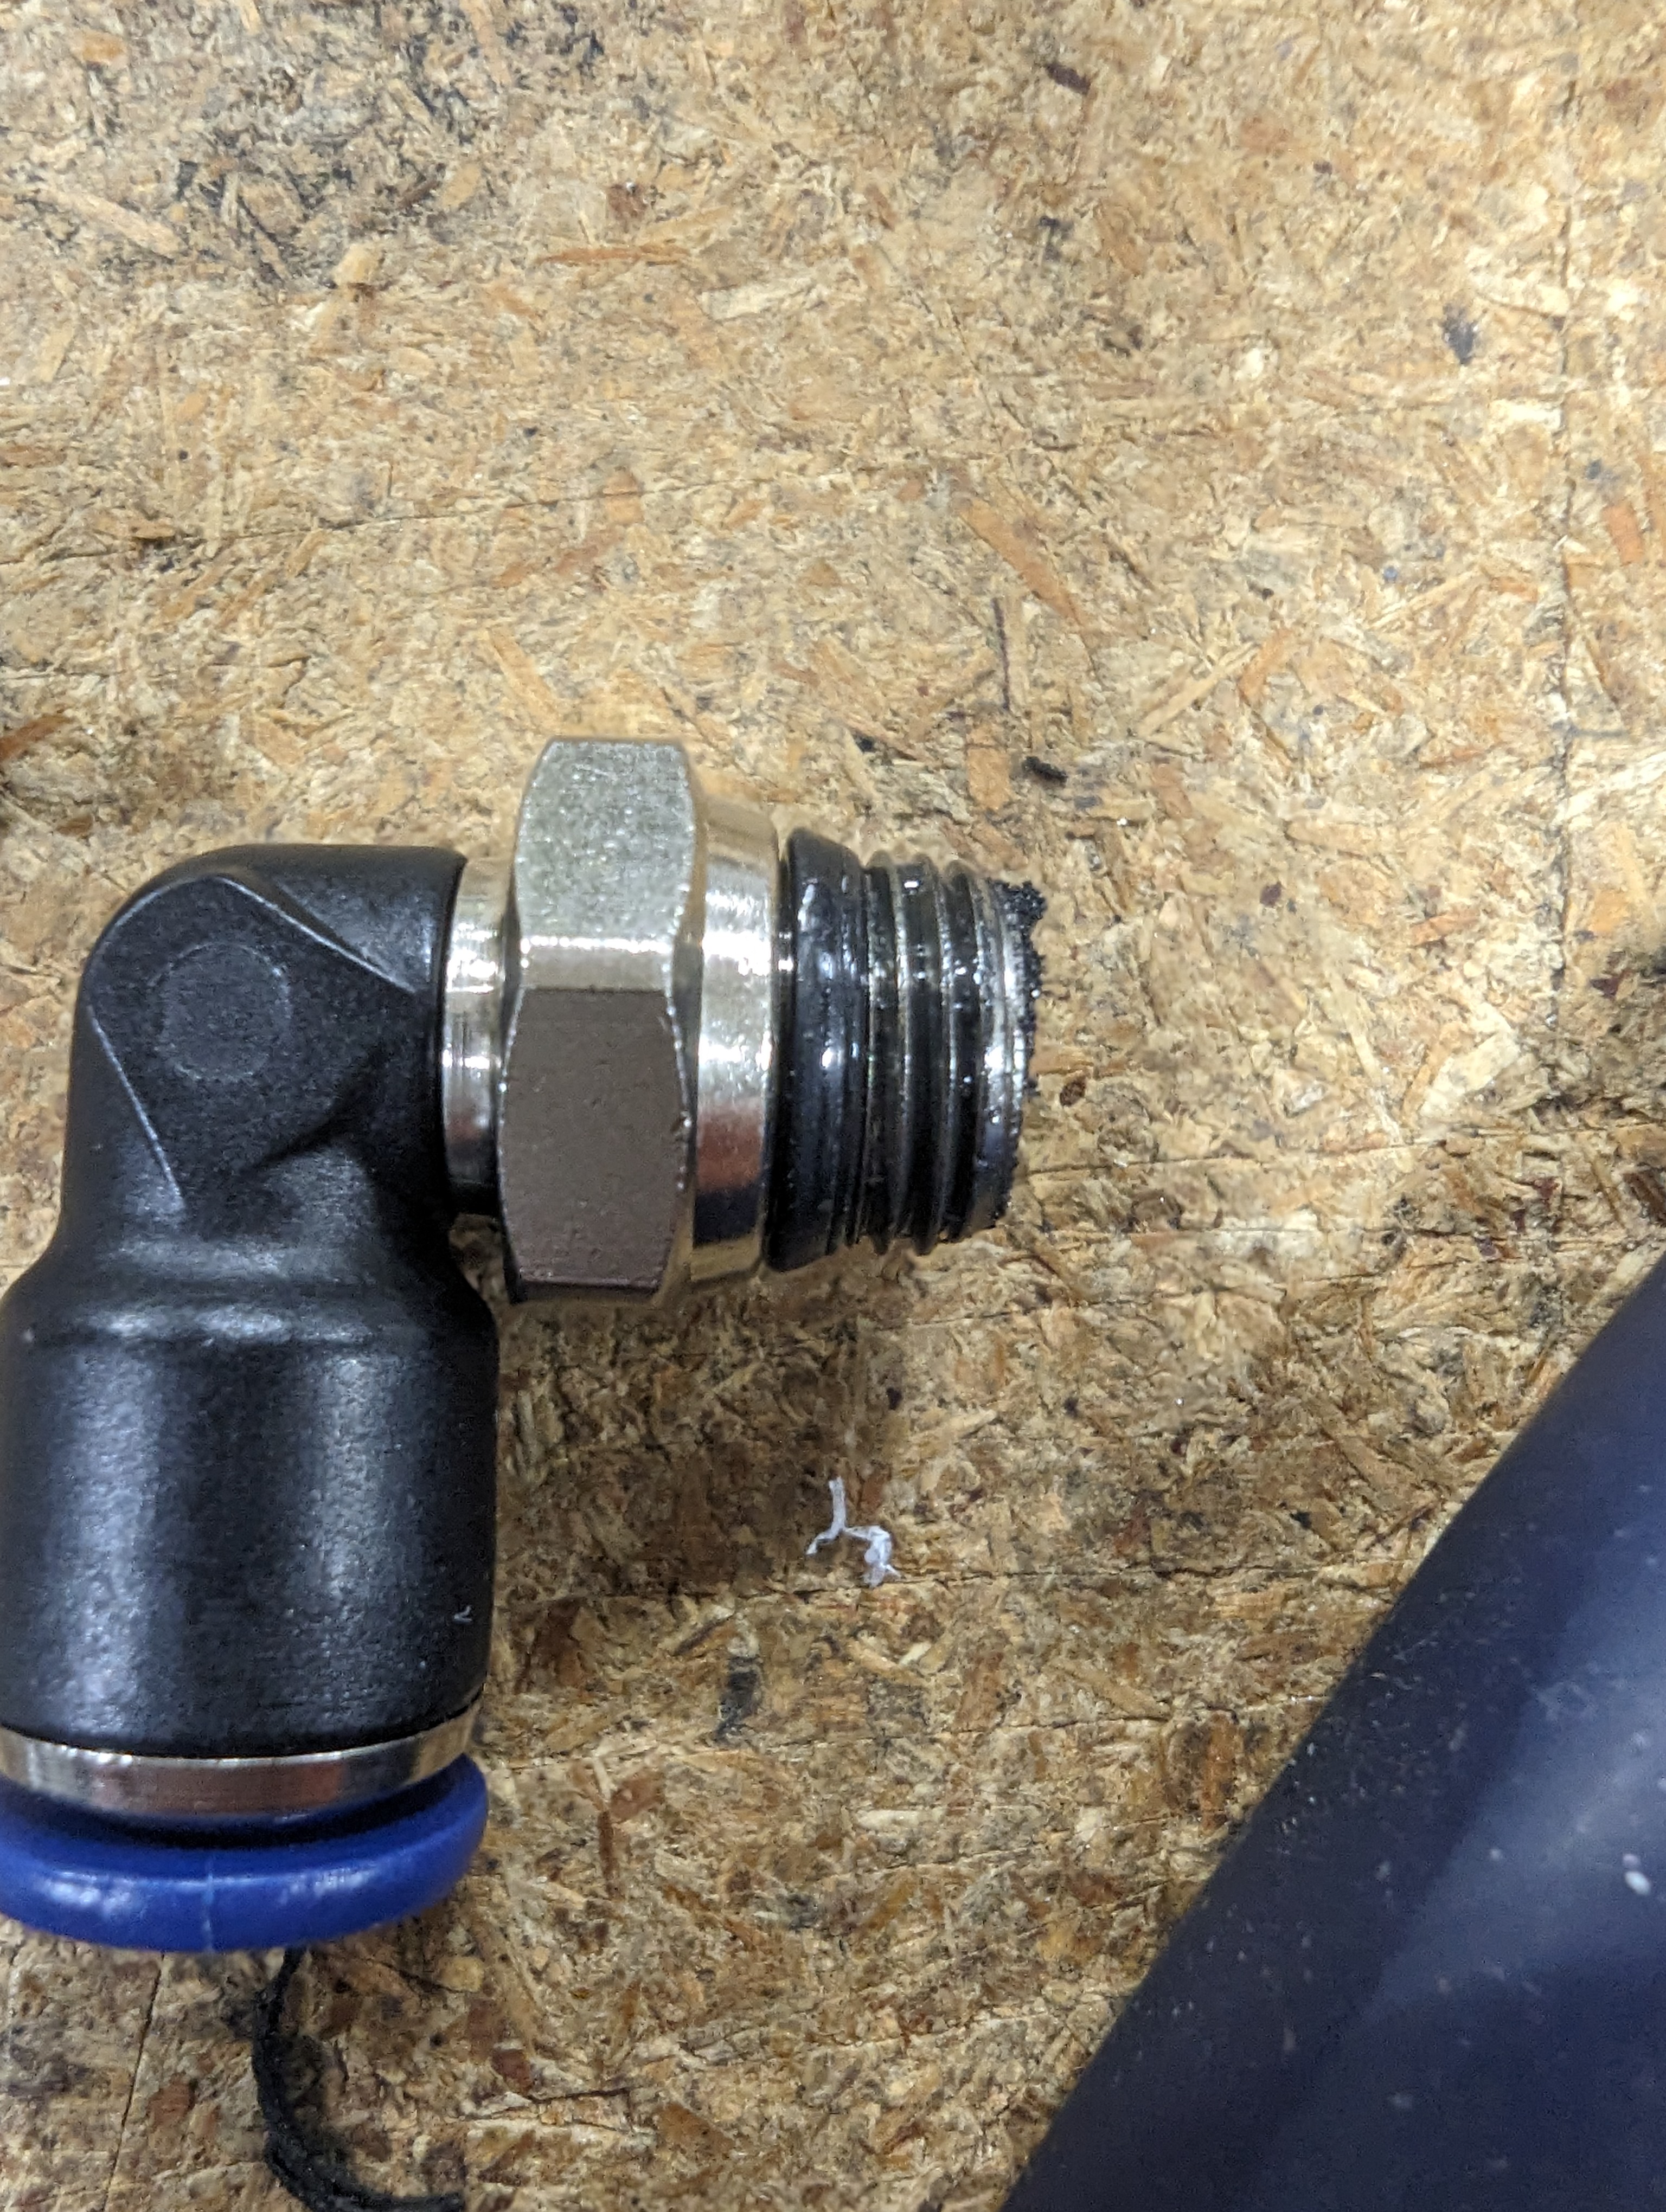
We took a peek inside the cylinder and saw that what should have been a clean polished piston rod was completely coated in a thick grime composed of worn out bushing, various greases, aluminum dust, and who knows what else. With the increased wear rate caused by the rod deflection and the not so clean operating conditions, this cylinder was no longer operational. No big deal though! Slap another one on and keep going!
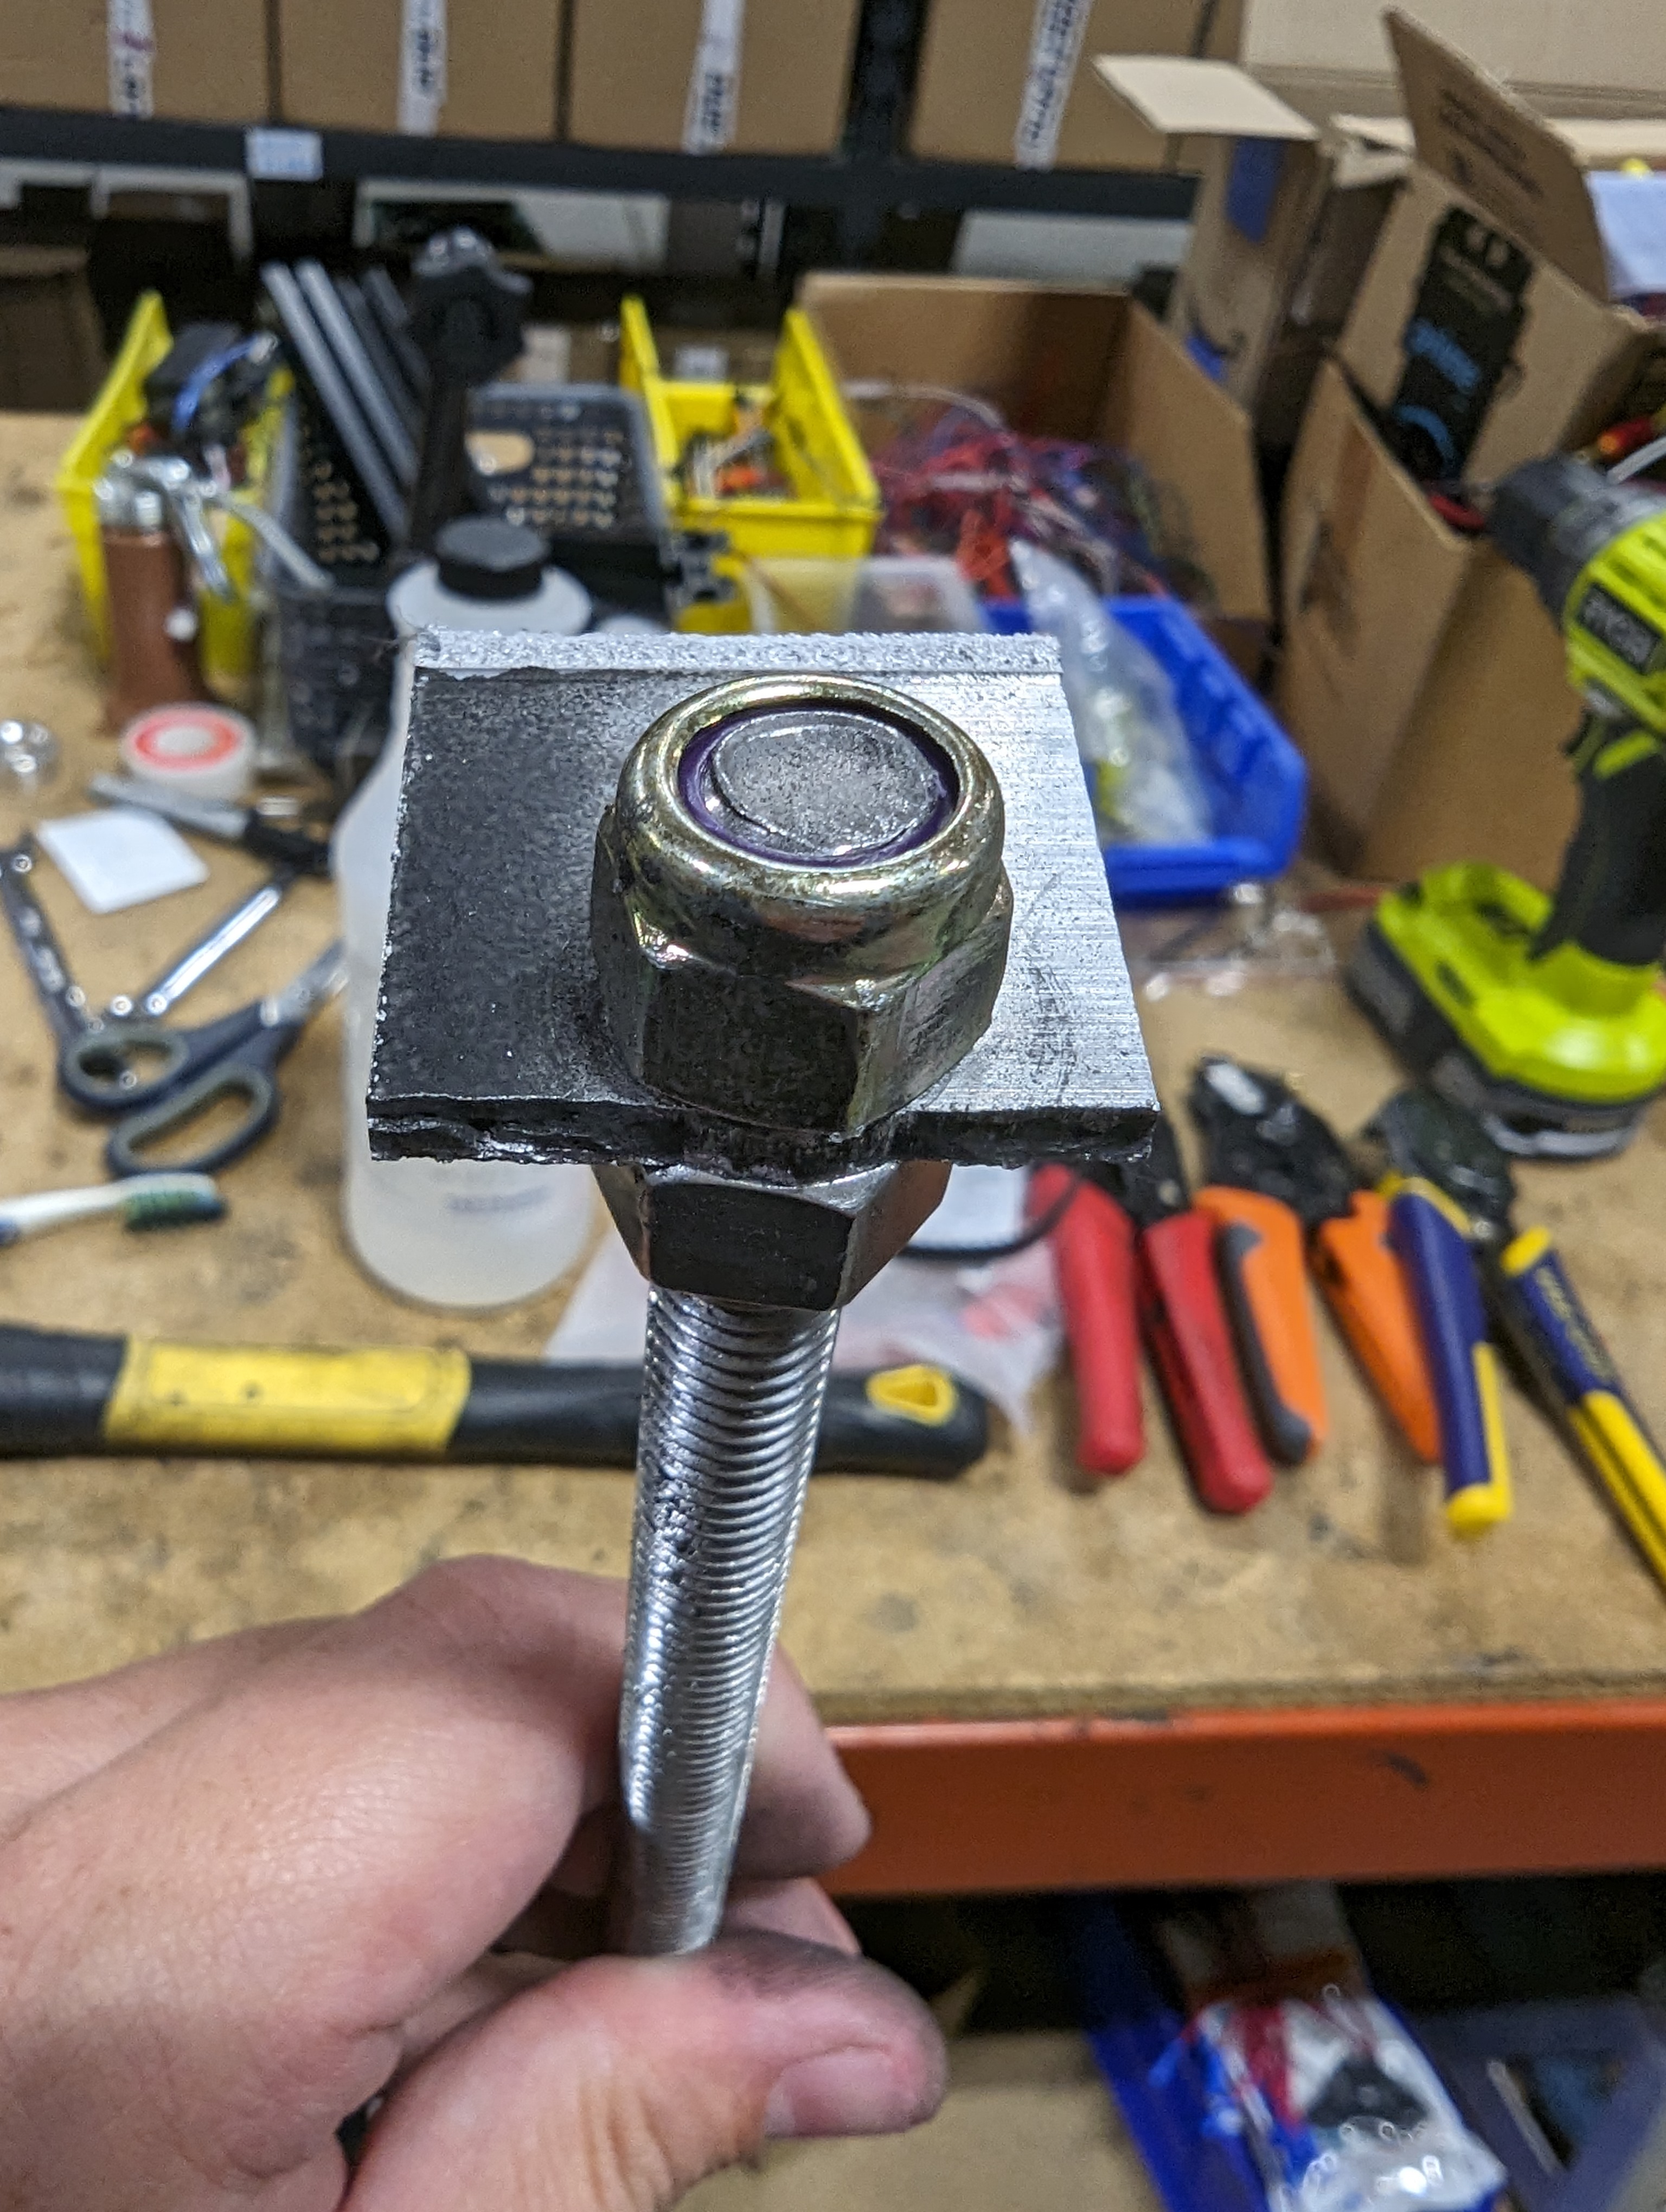
After chewing through several grommets we also made an attempt at keeping the grommet in place by securing a nylon washer onto the shifter above the upper link. This too was a wear item, but it worked enough.
We let the machine run for a few more days, but now a new problem was emerging. We found that the amount of time that the machine could run without faulting became shorter and shorter until it just became too much of a burden to bother restarting it. We couldn't really figure this issue out, but believe it may be to do with electrical interference or wi-fi connectivity issues.
With those troubles, we decided to end this phase here and inspect the shifter. We did about 500,000 shifts at 80 psi! This brings the total to 1,000,000 at 16lbs, 1,000,000 at 55lbs, and 500,000 at 75lbs. Enough of that, let's get to the damage report!
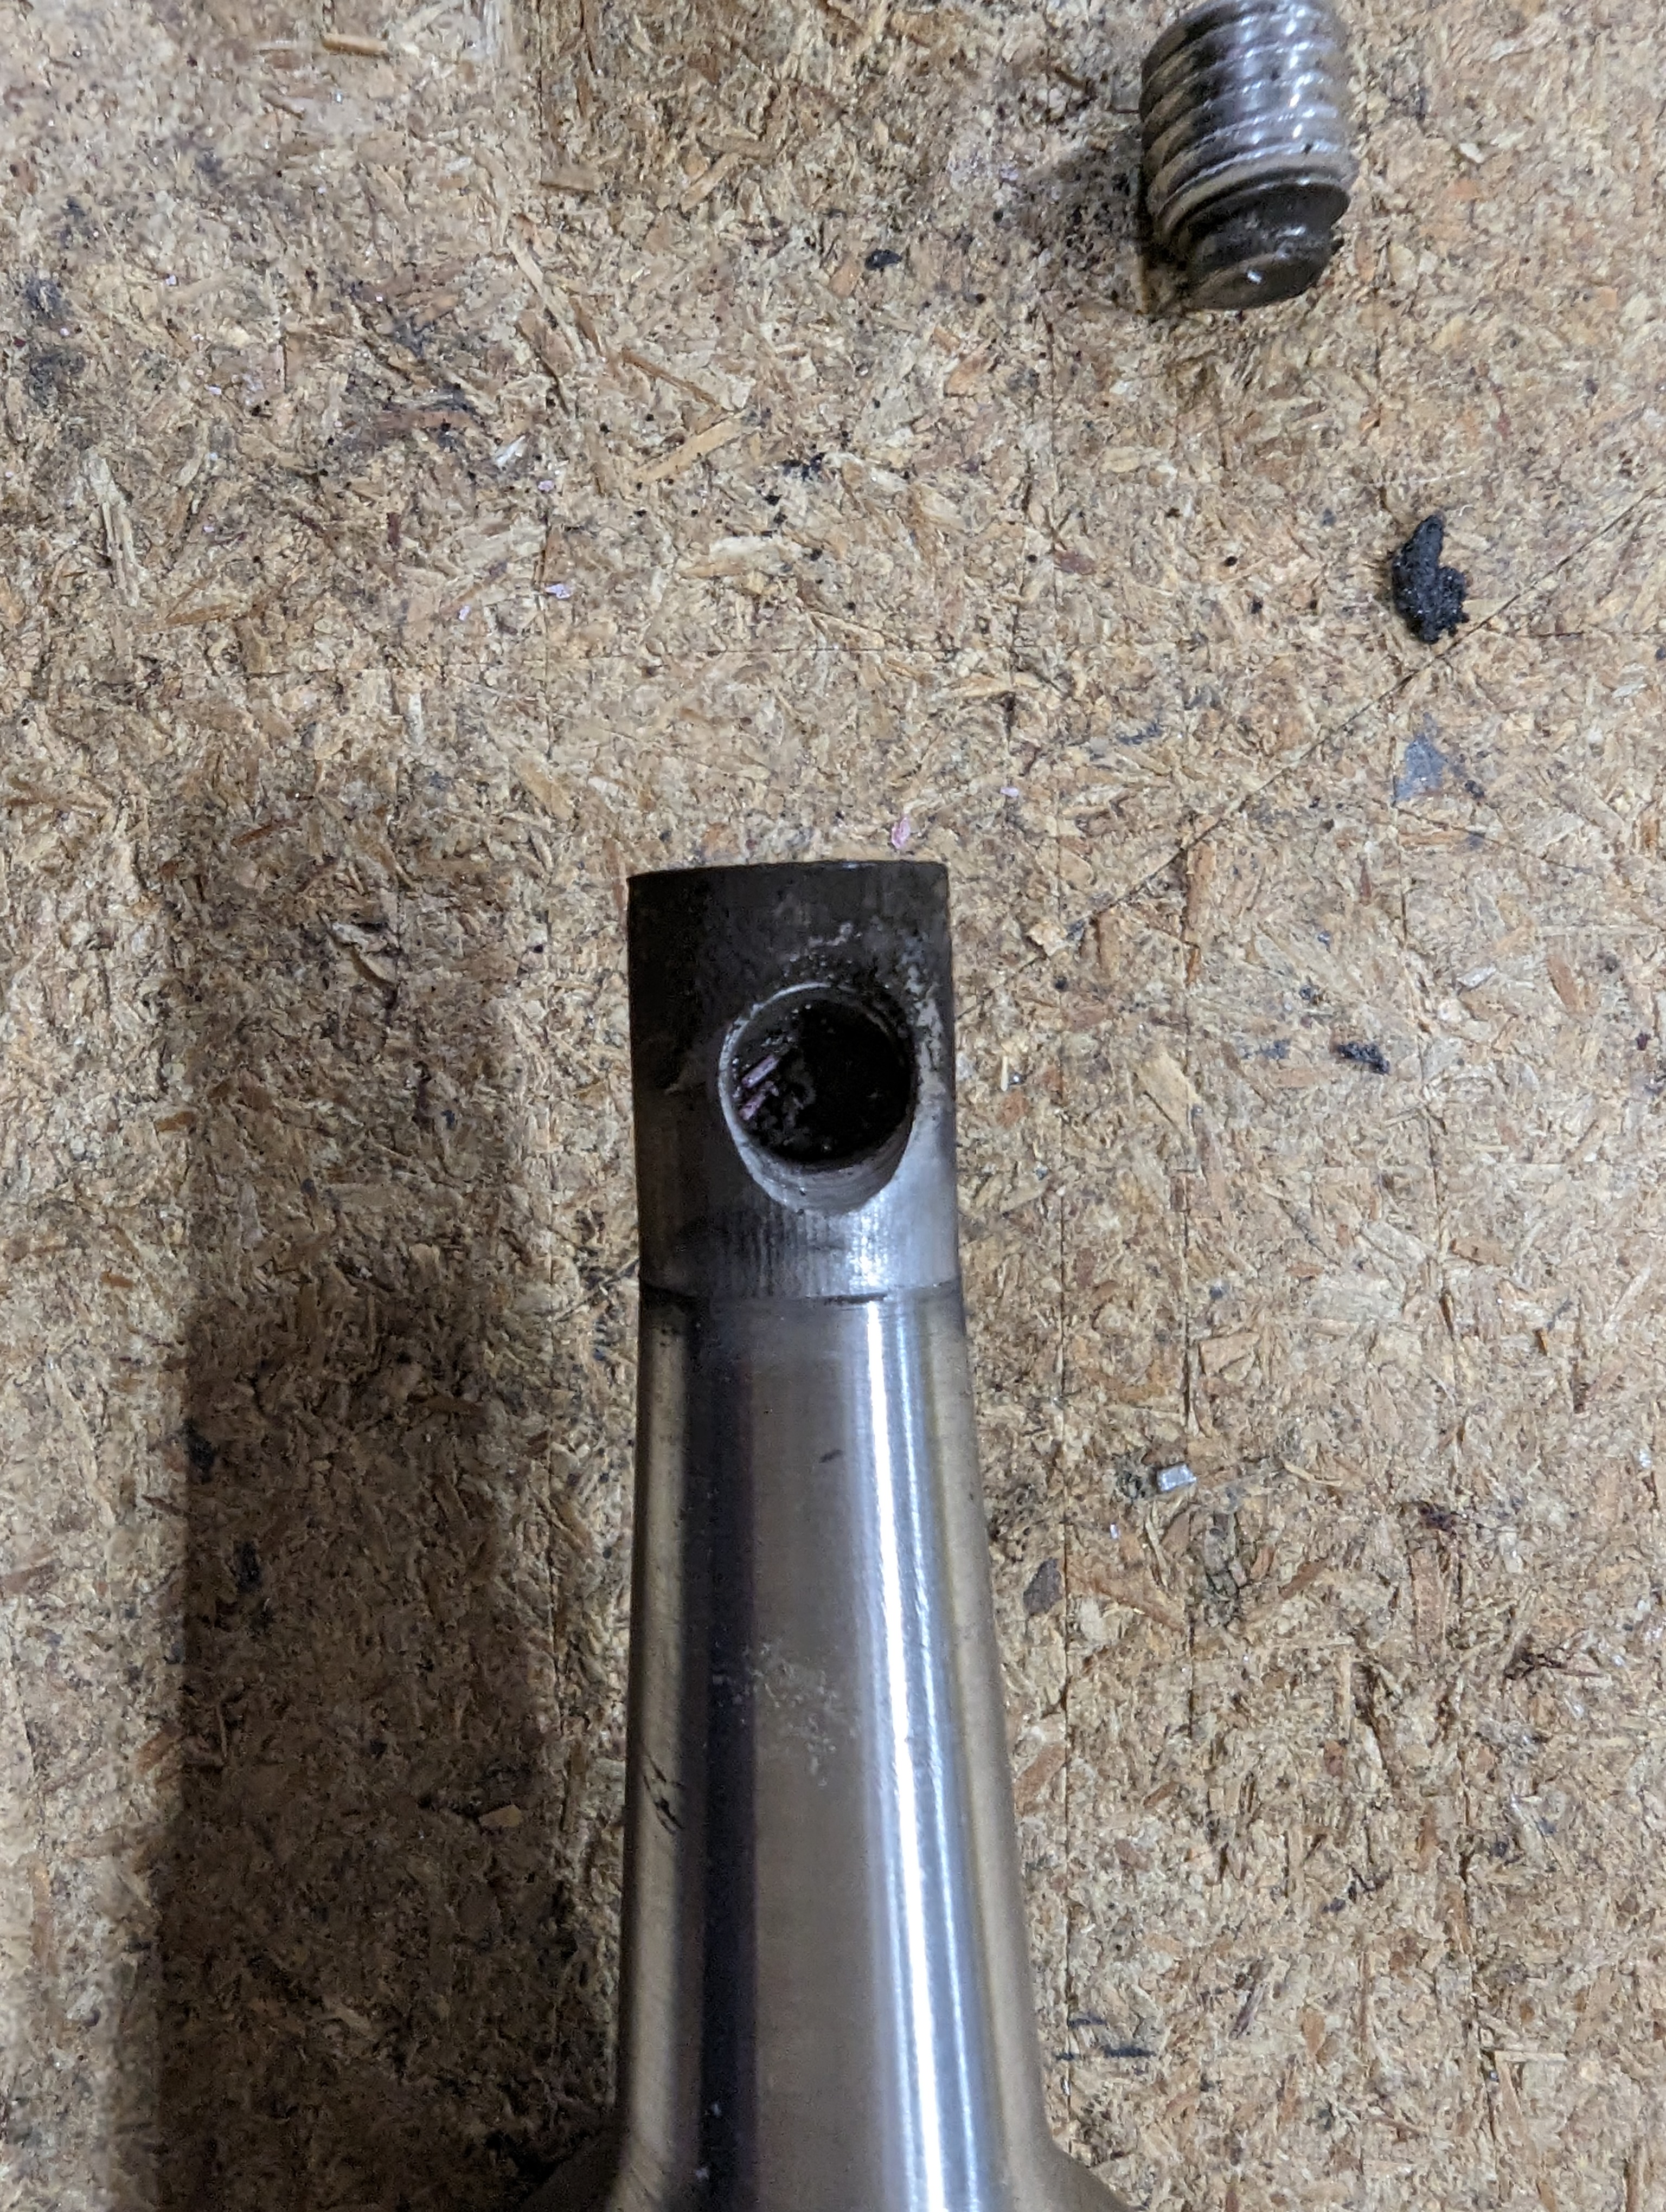
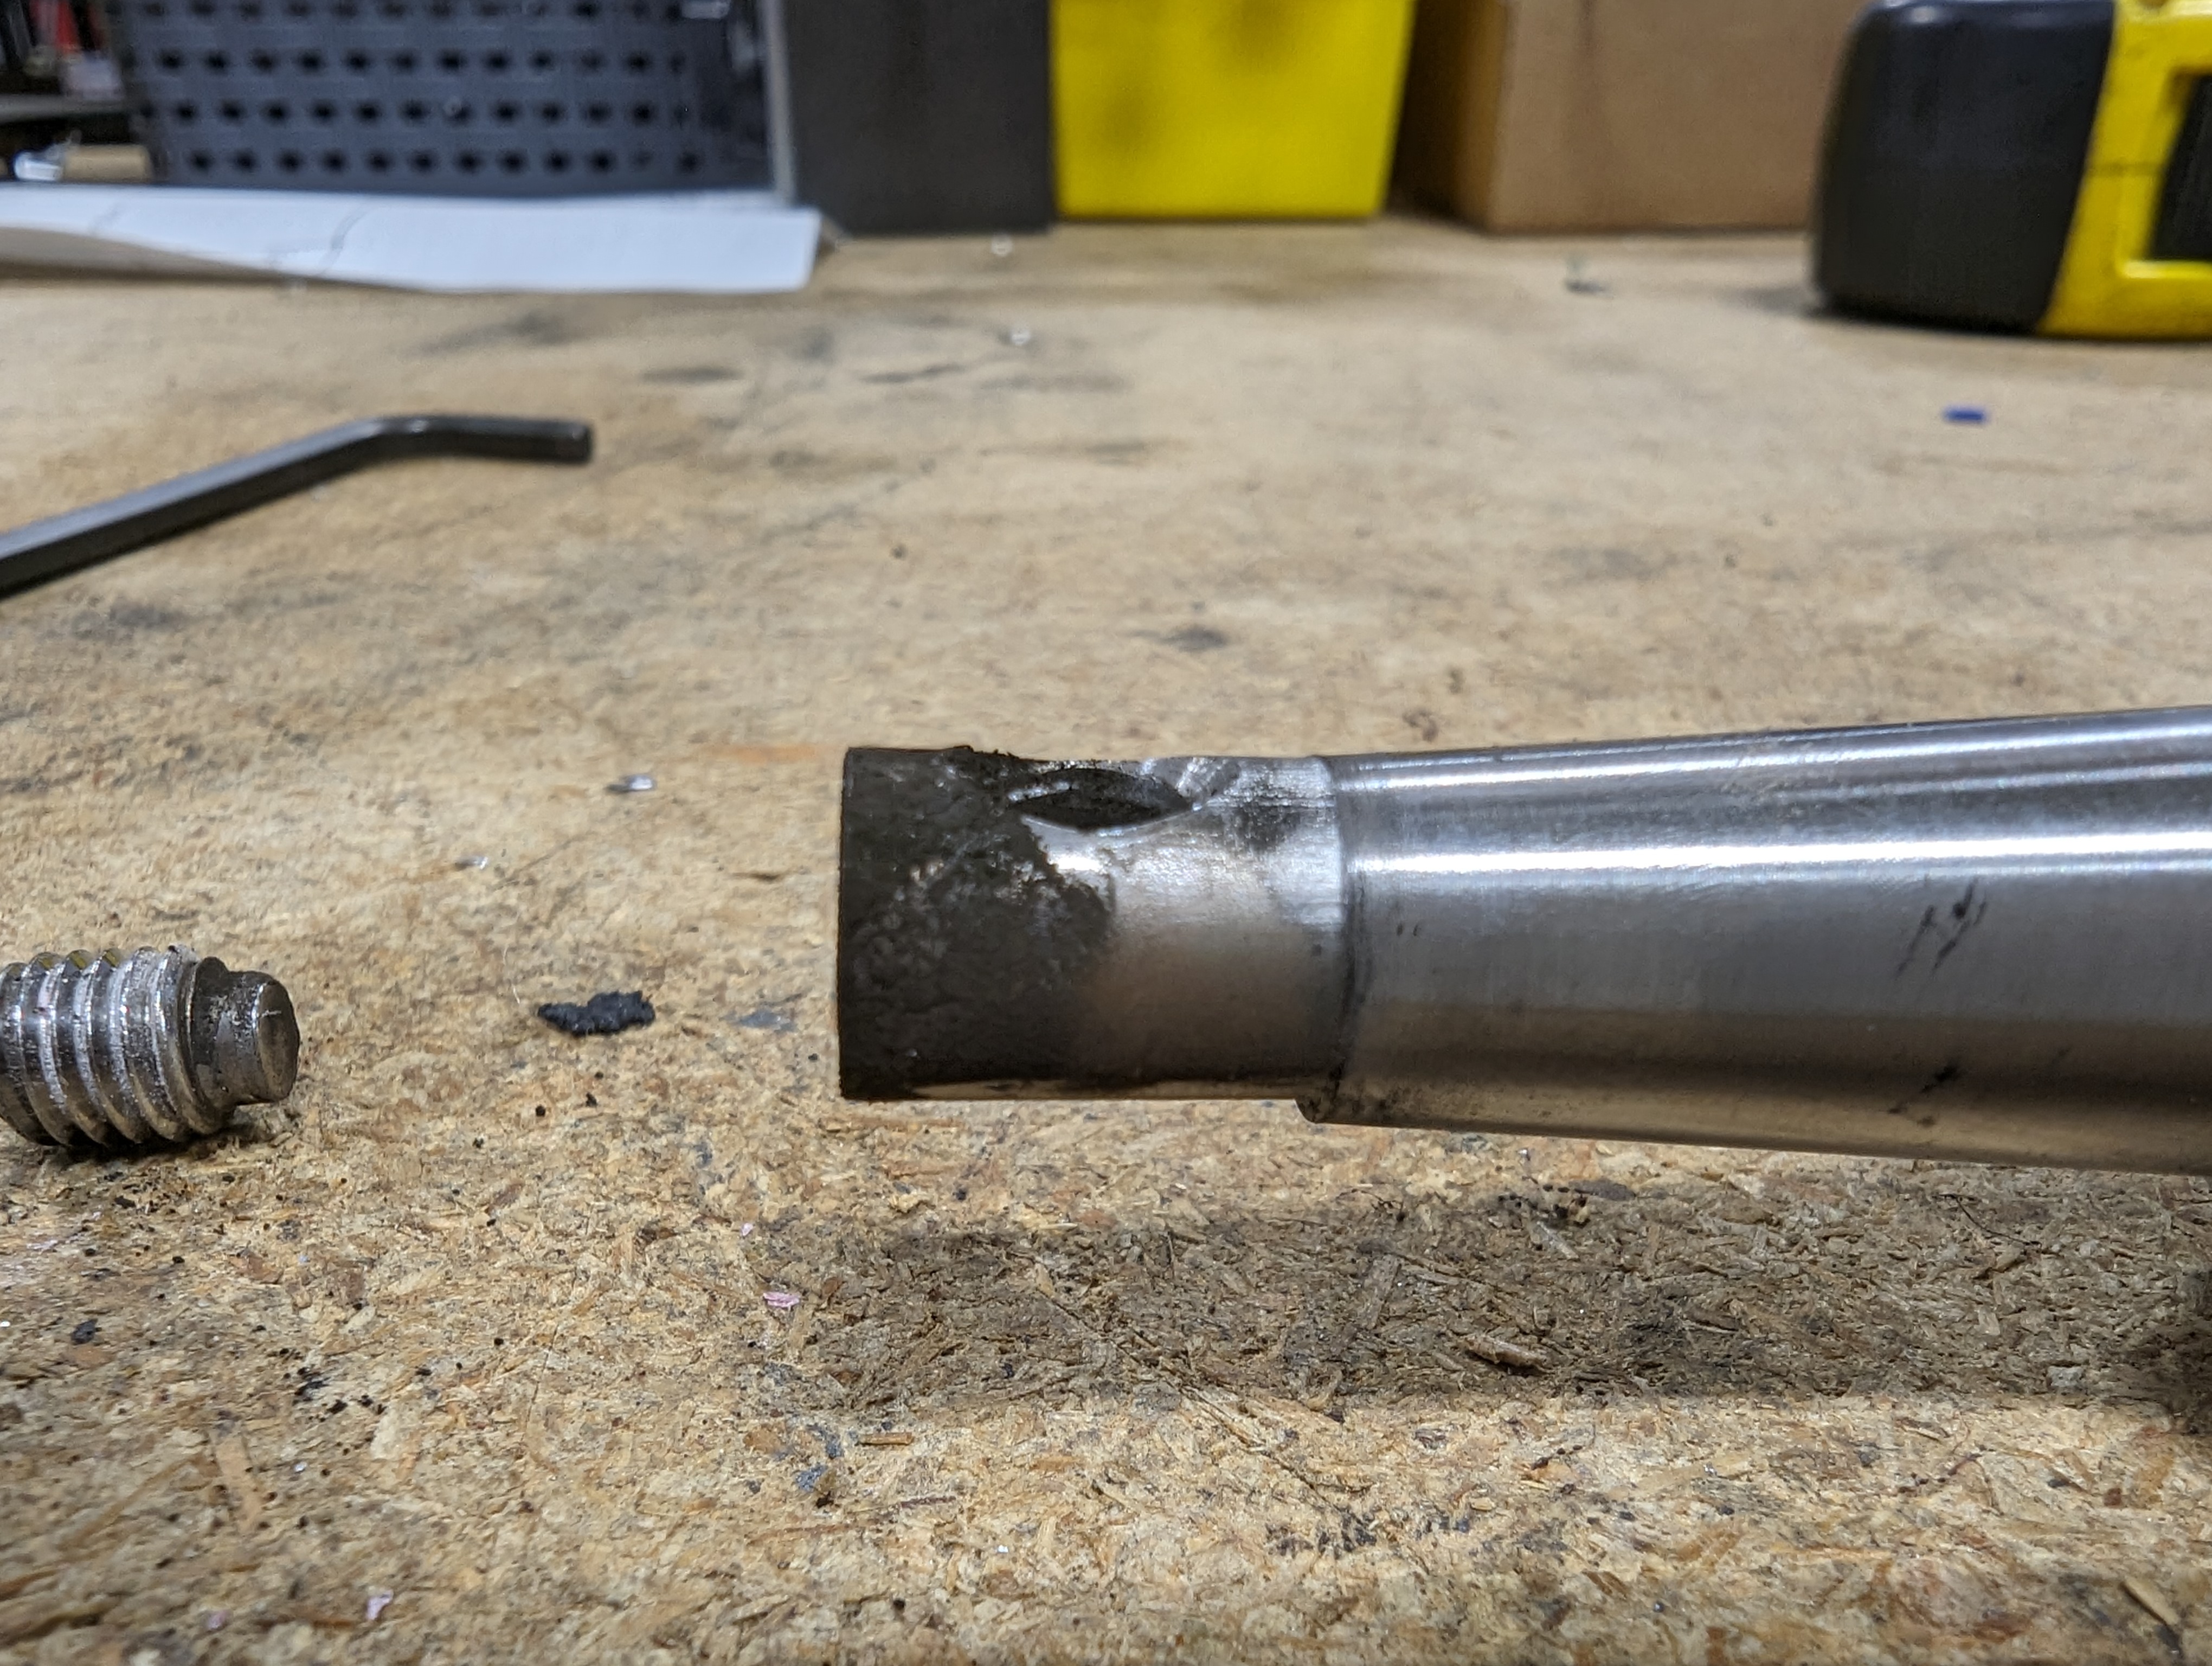
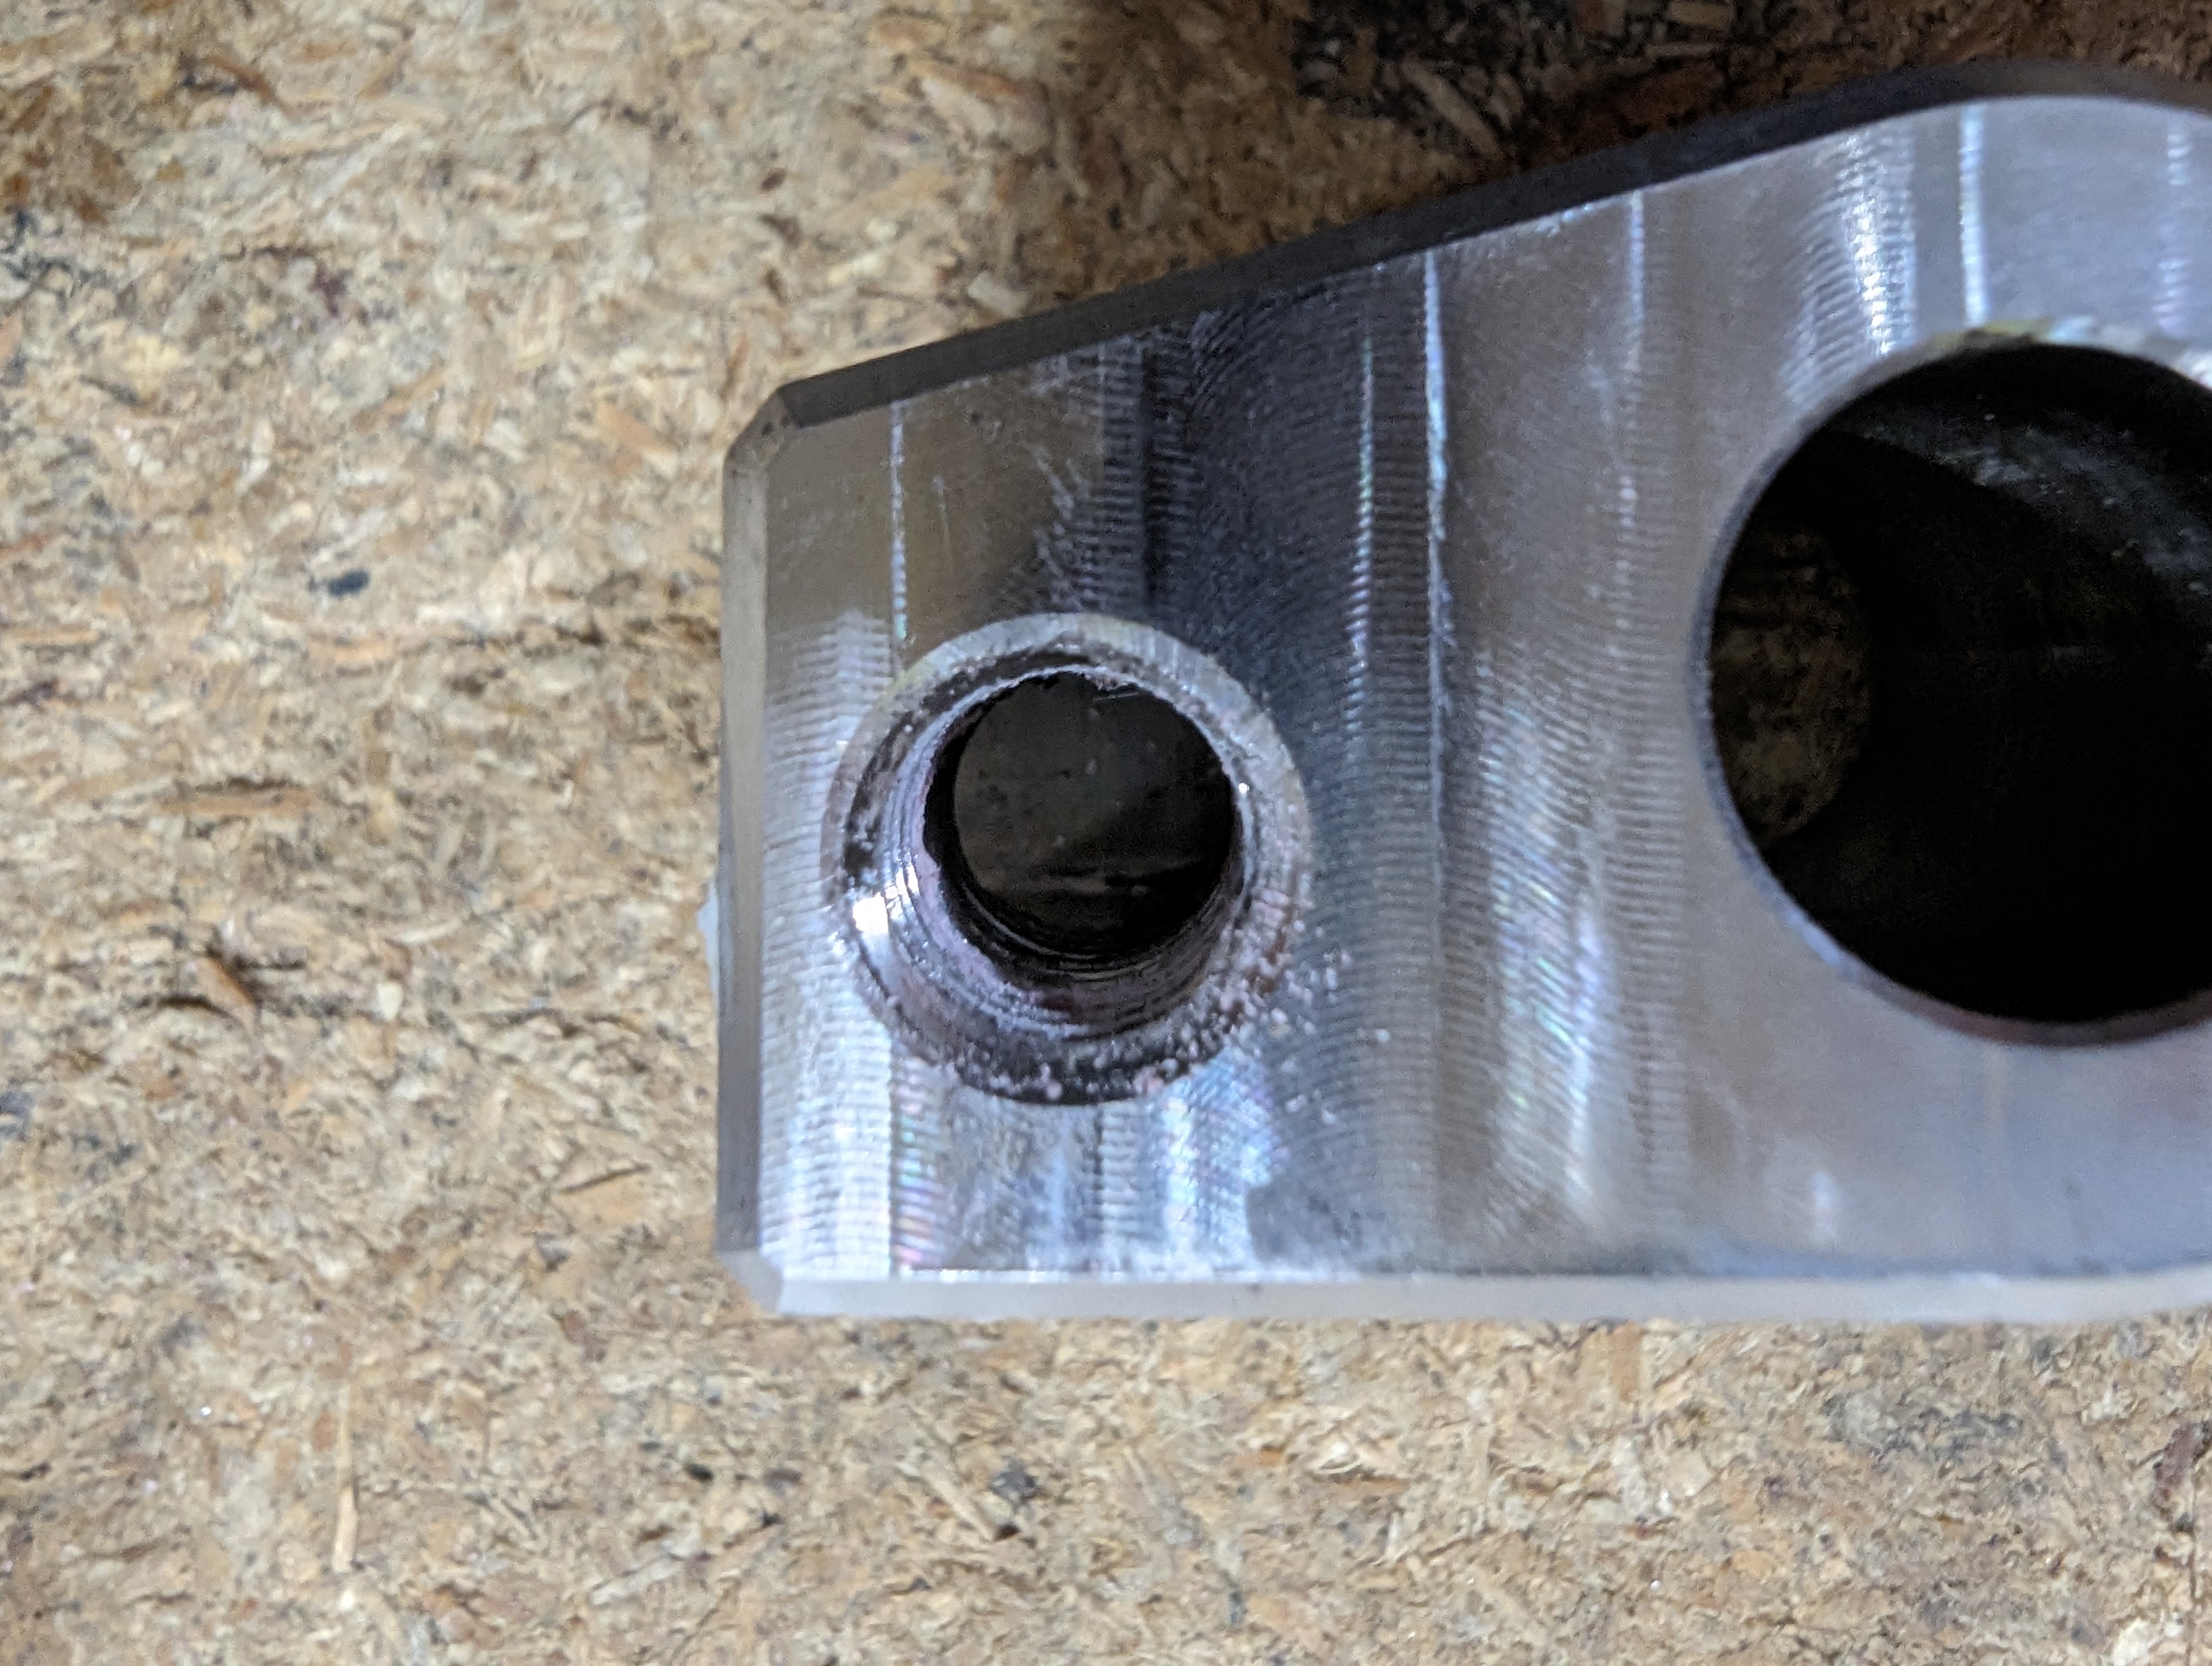
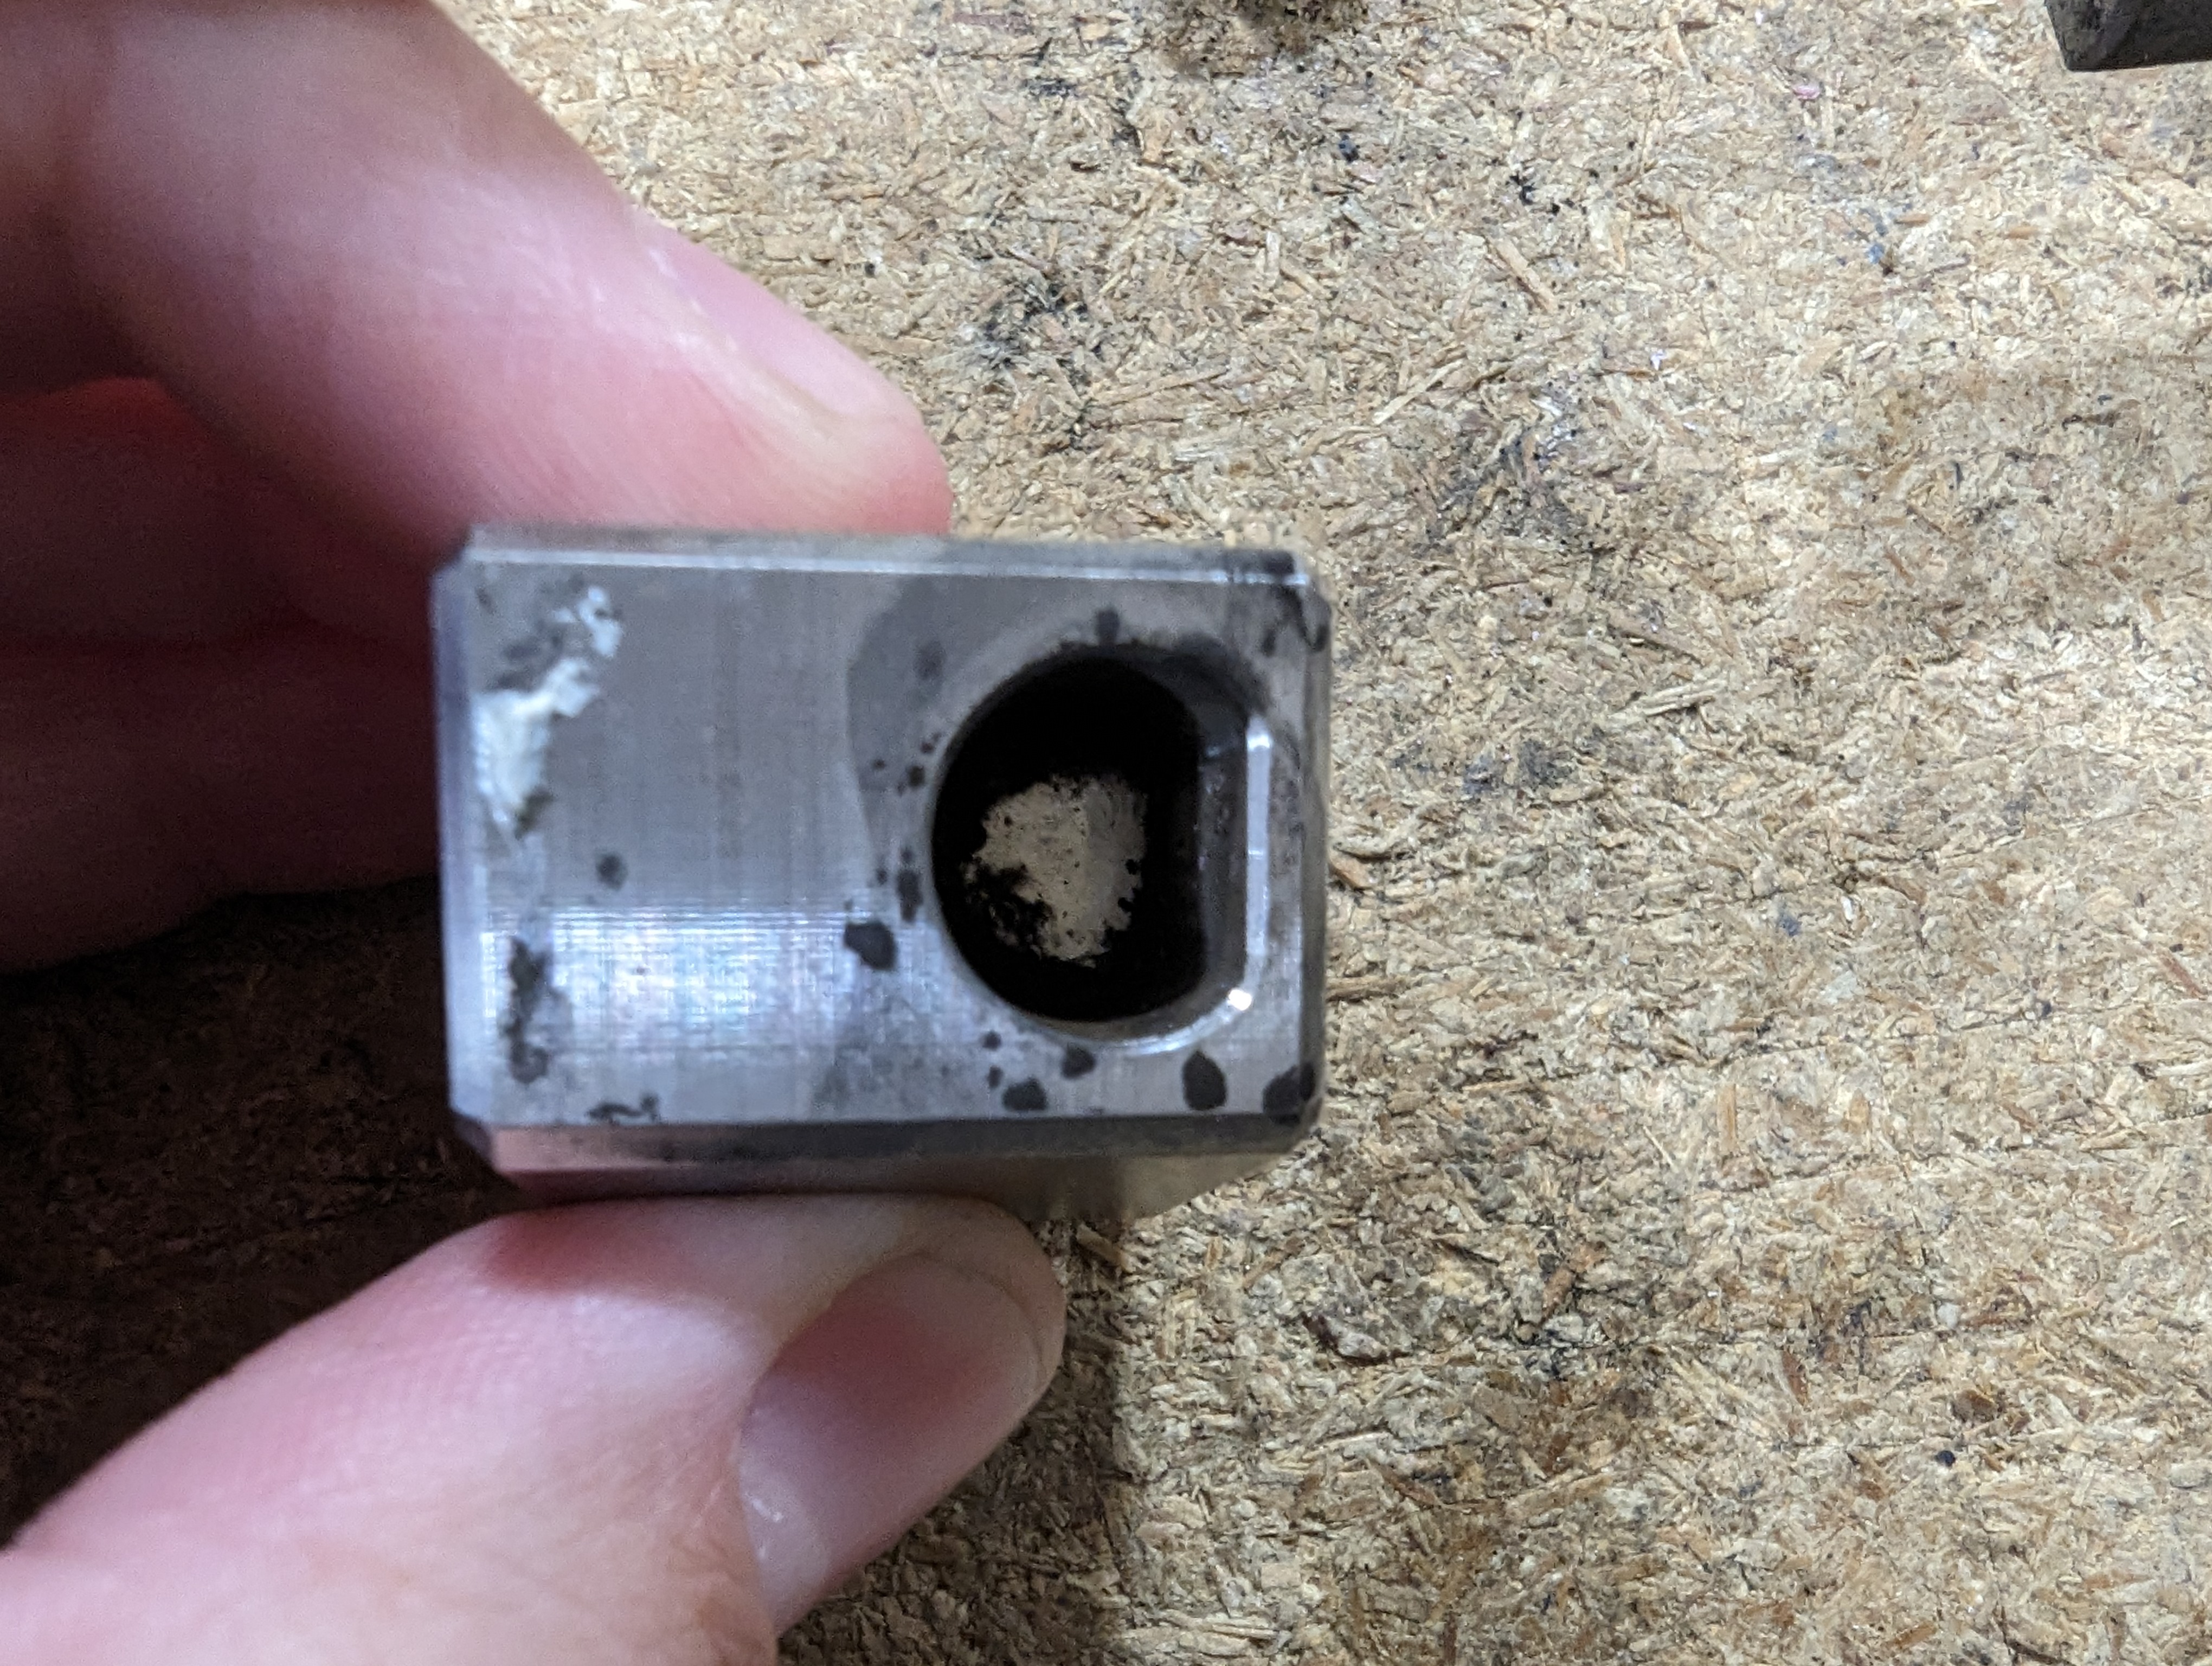
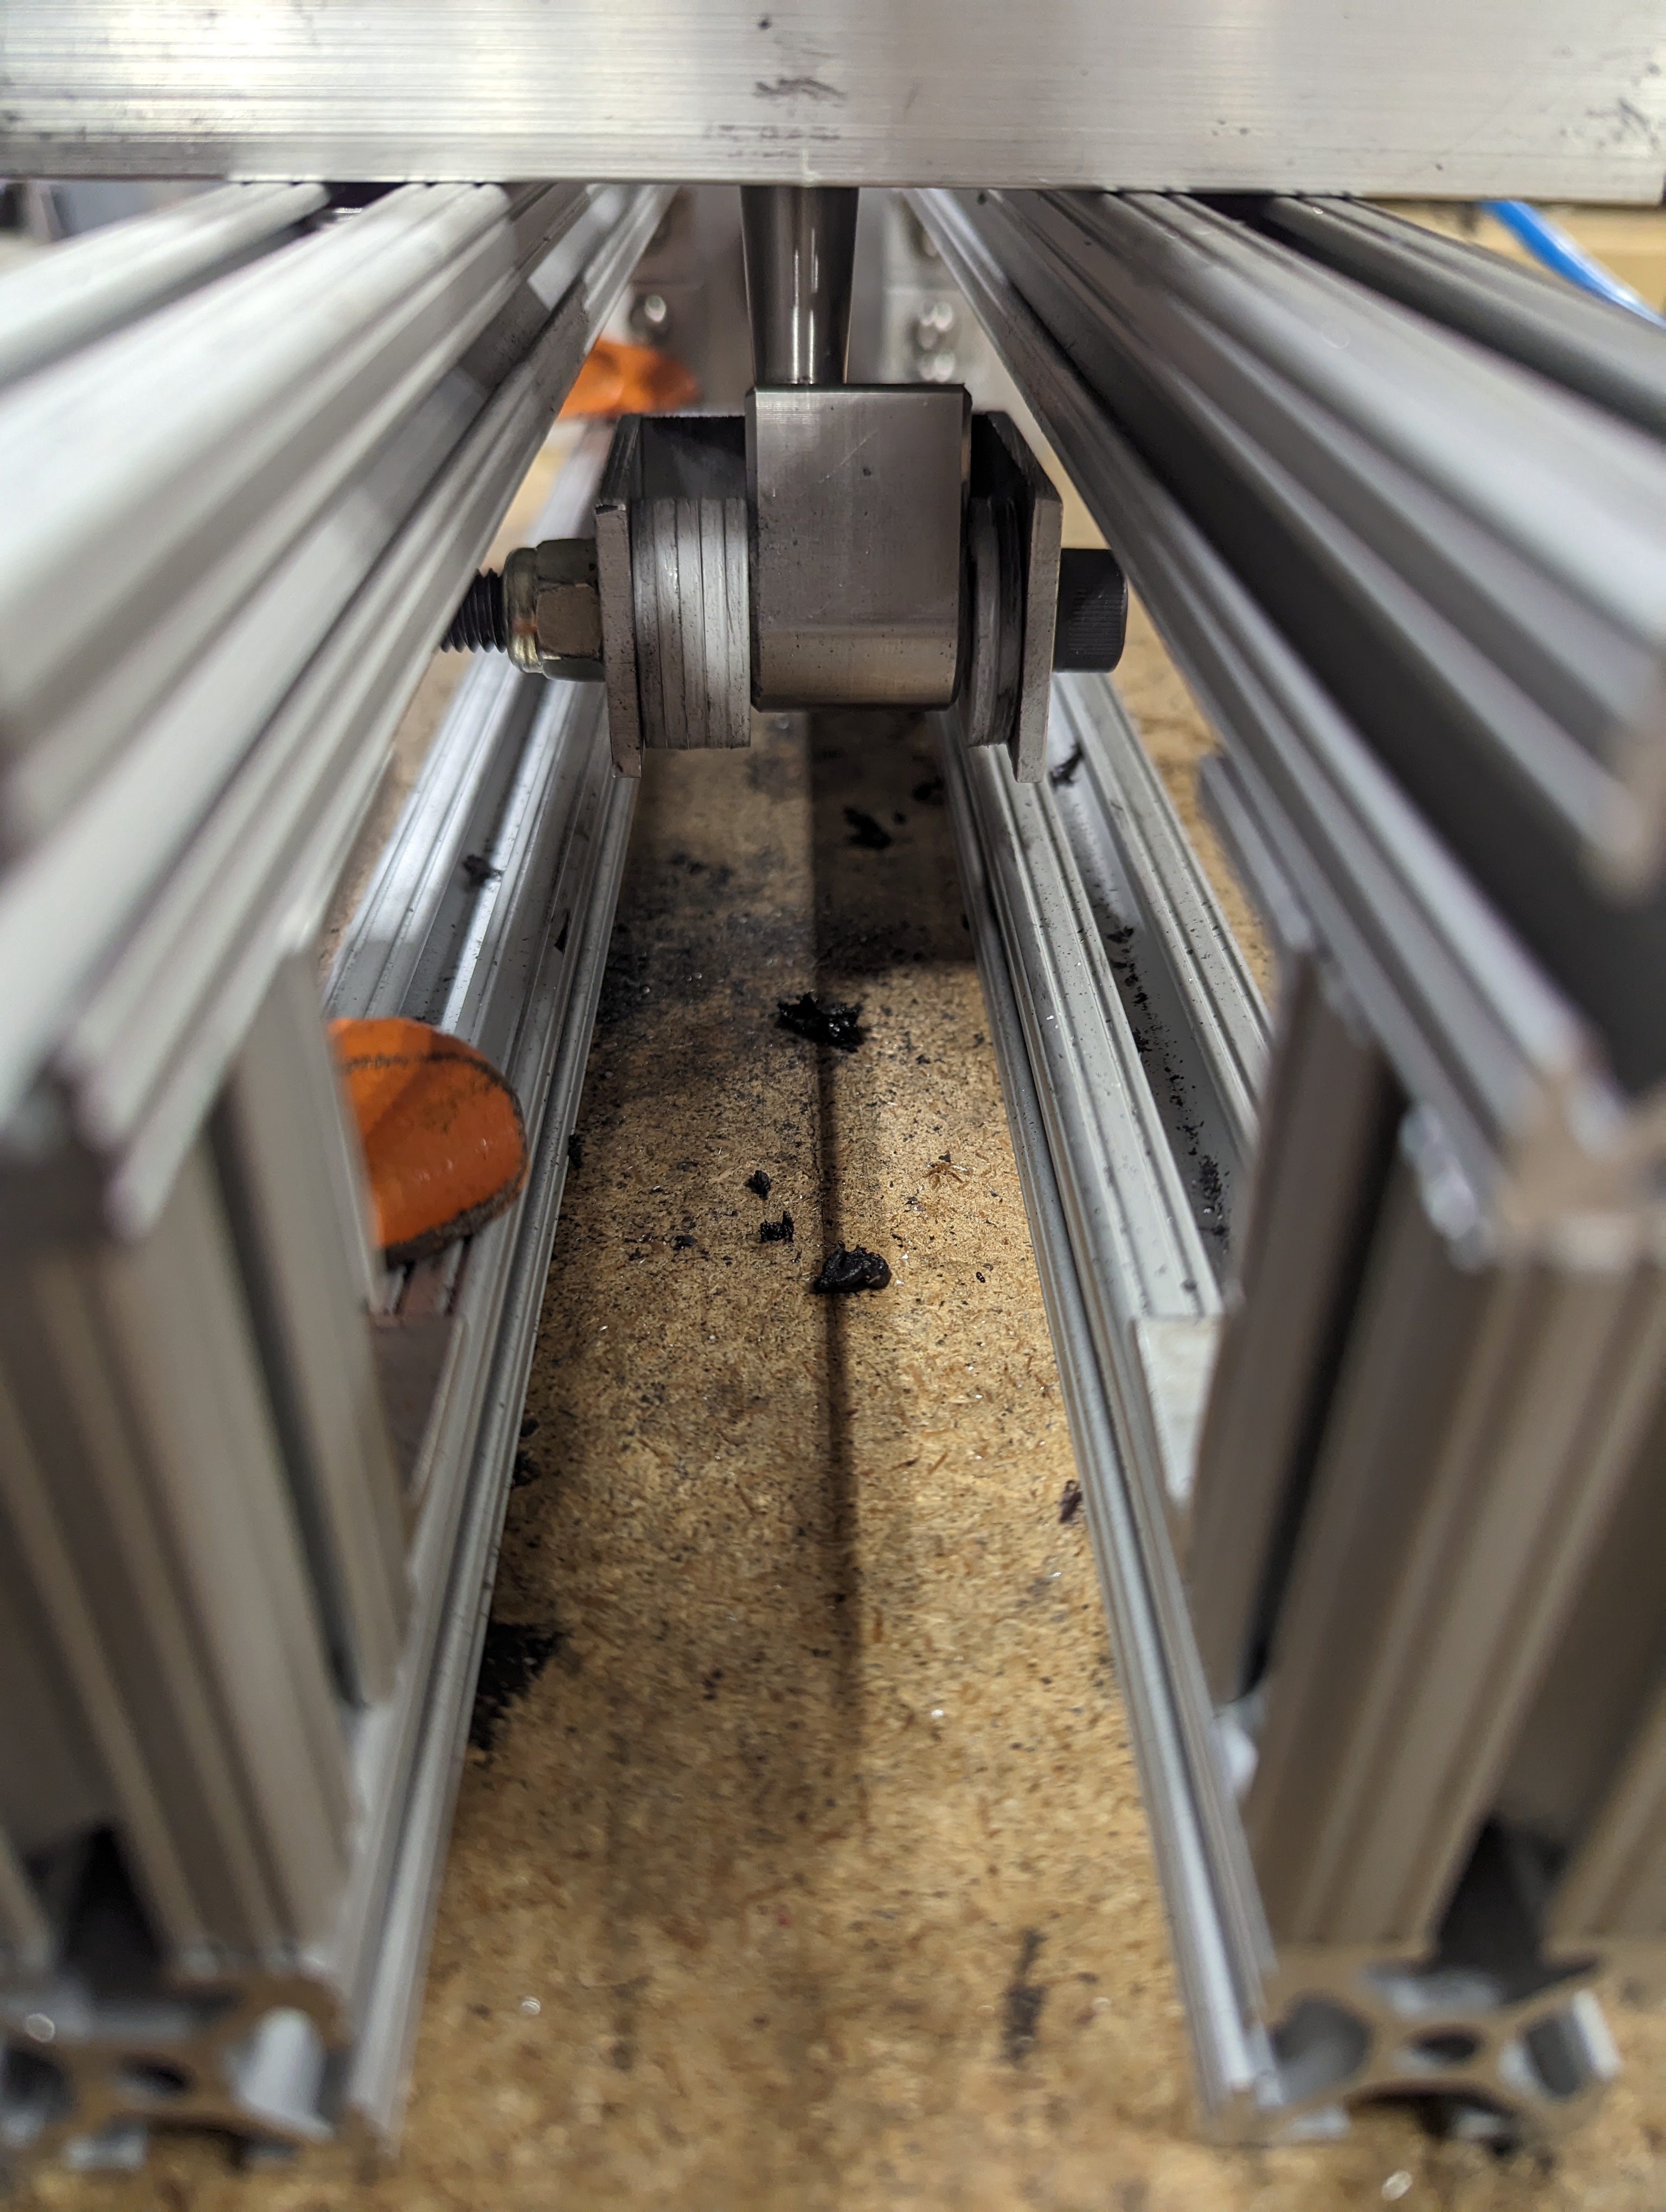
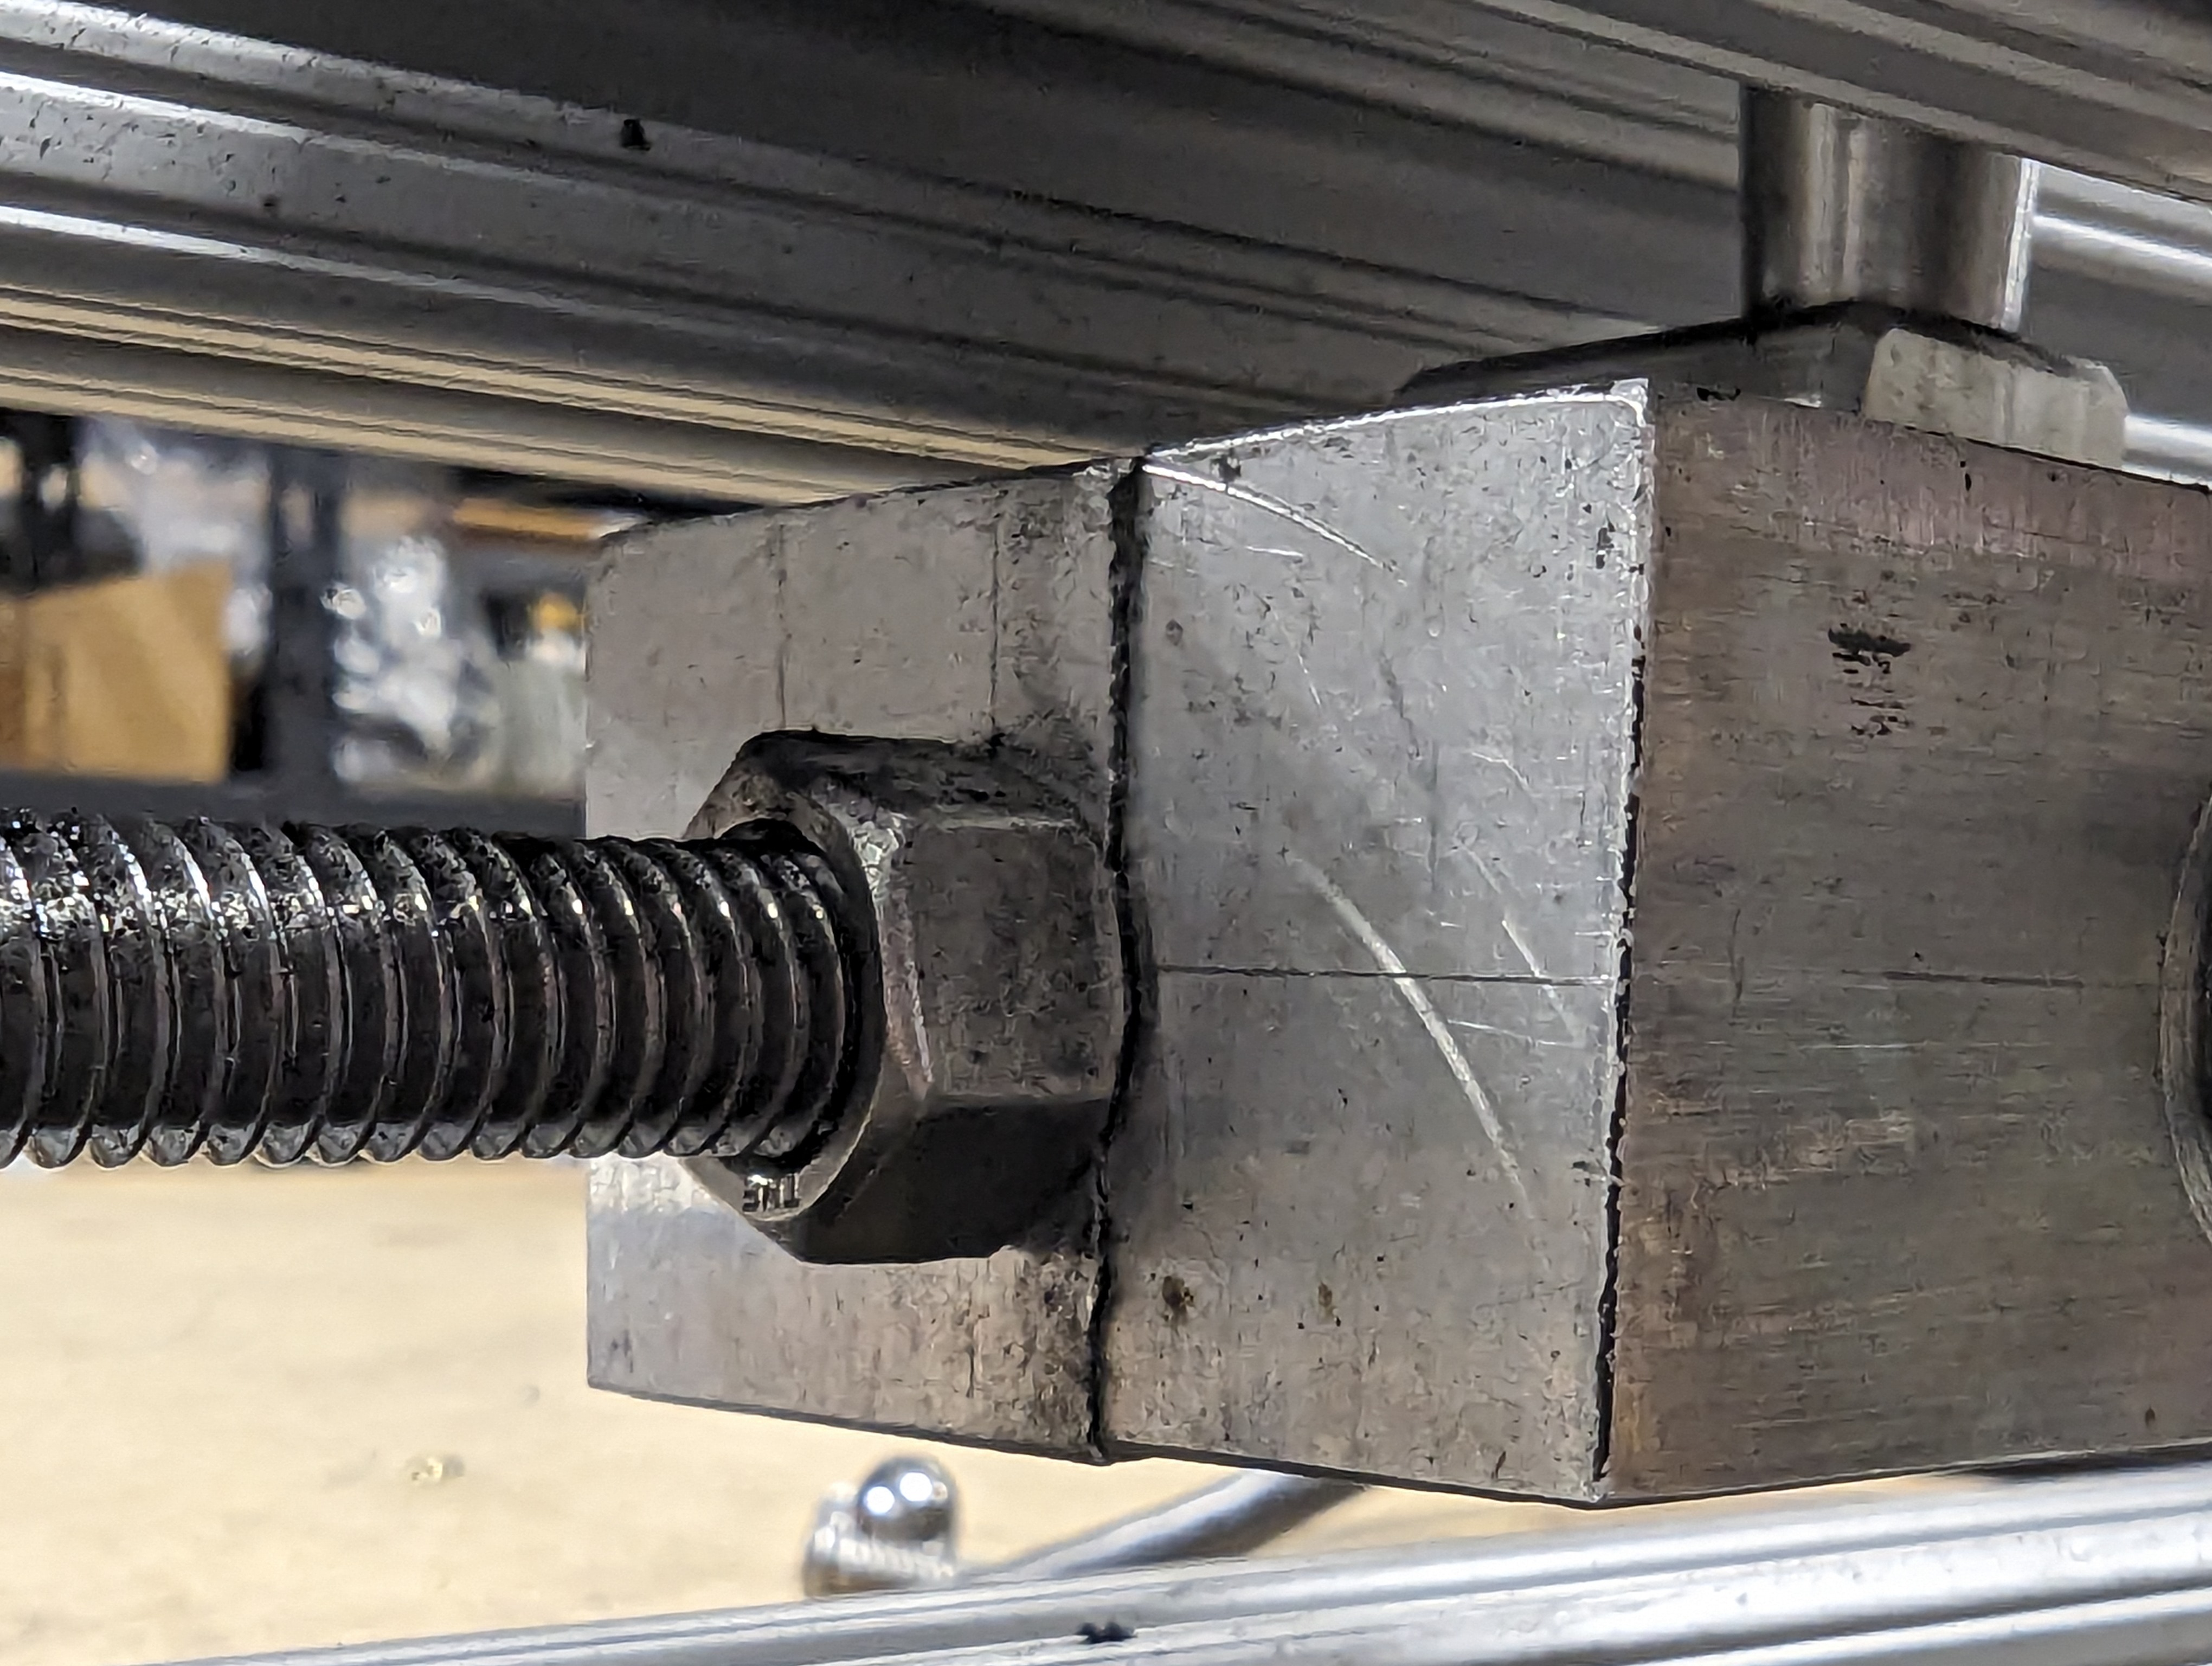
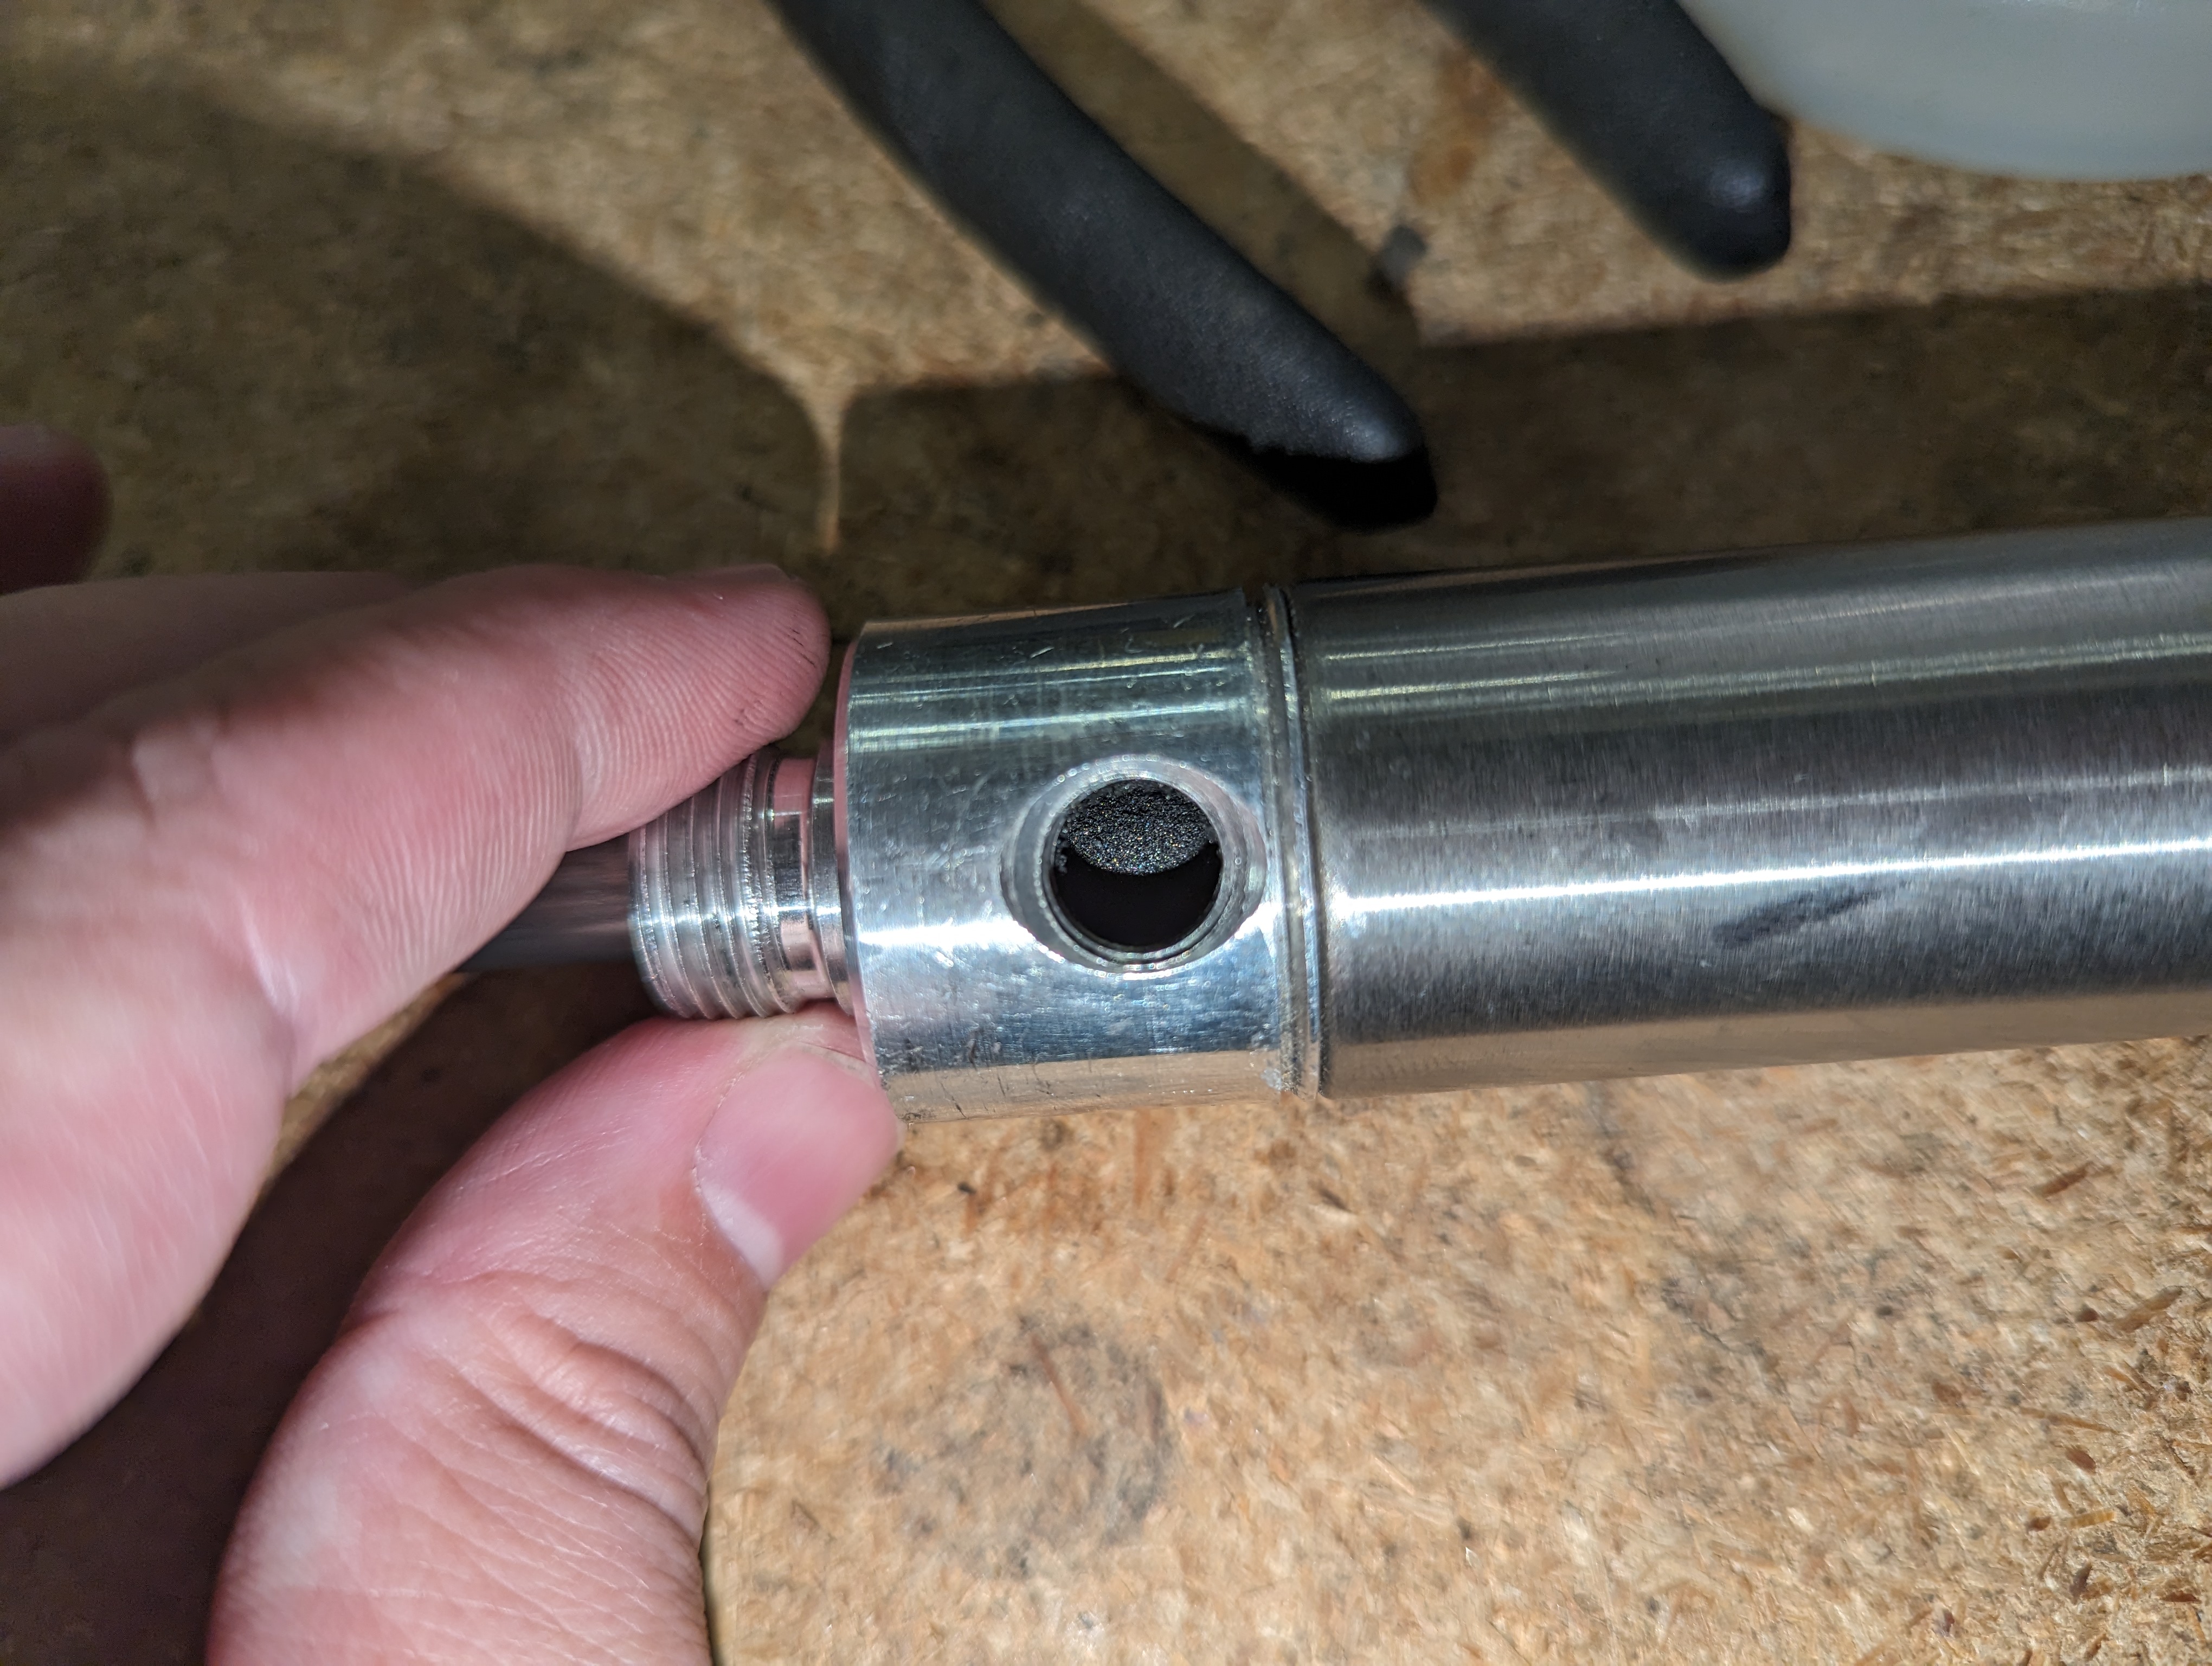
So after 2.5 million shifts at insane forces what's the damage? Surprisingly very little. There was a good amount of play between the lower pivot and the shaft.
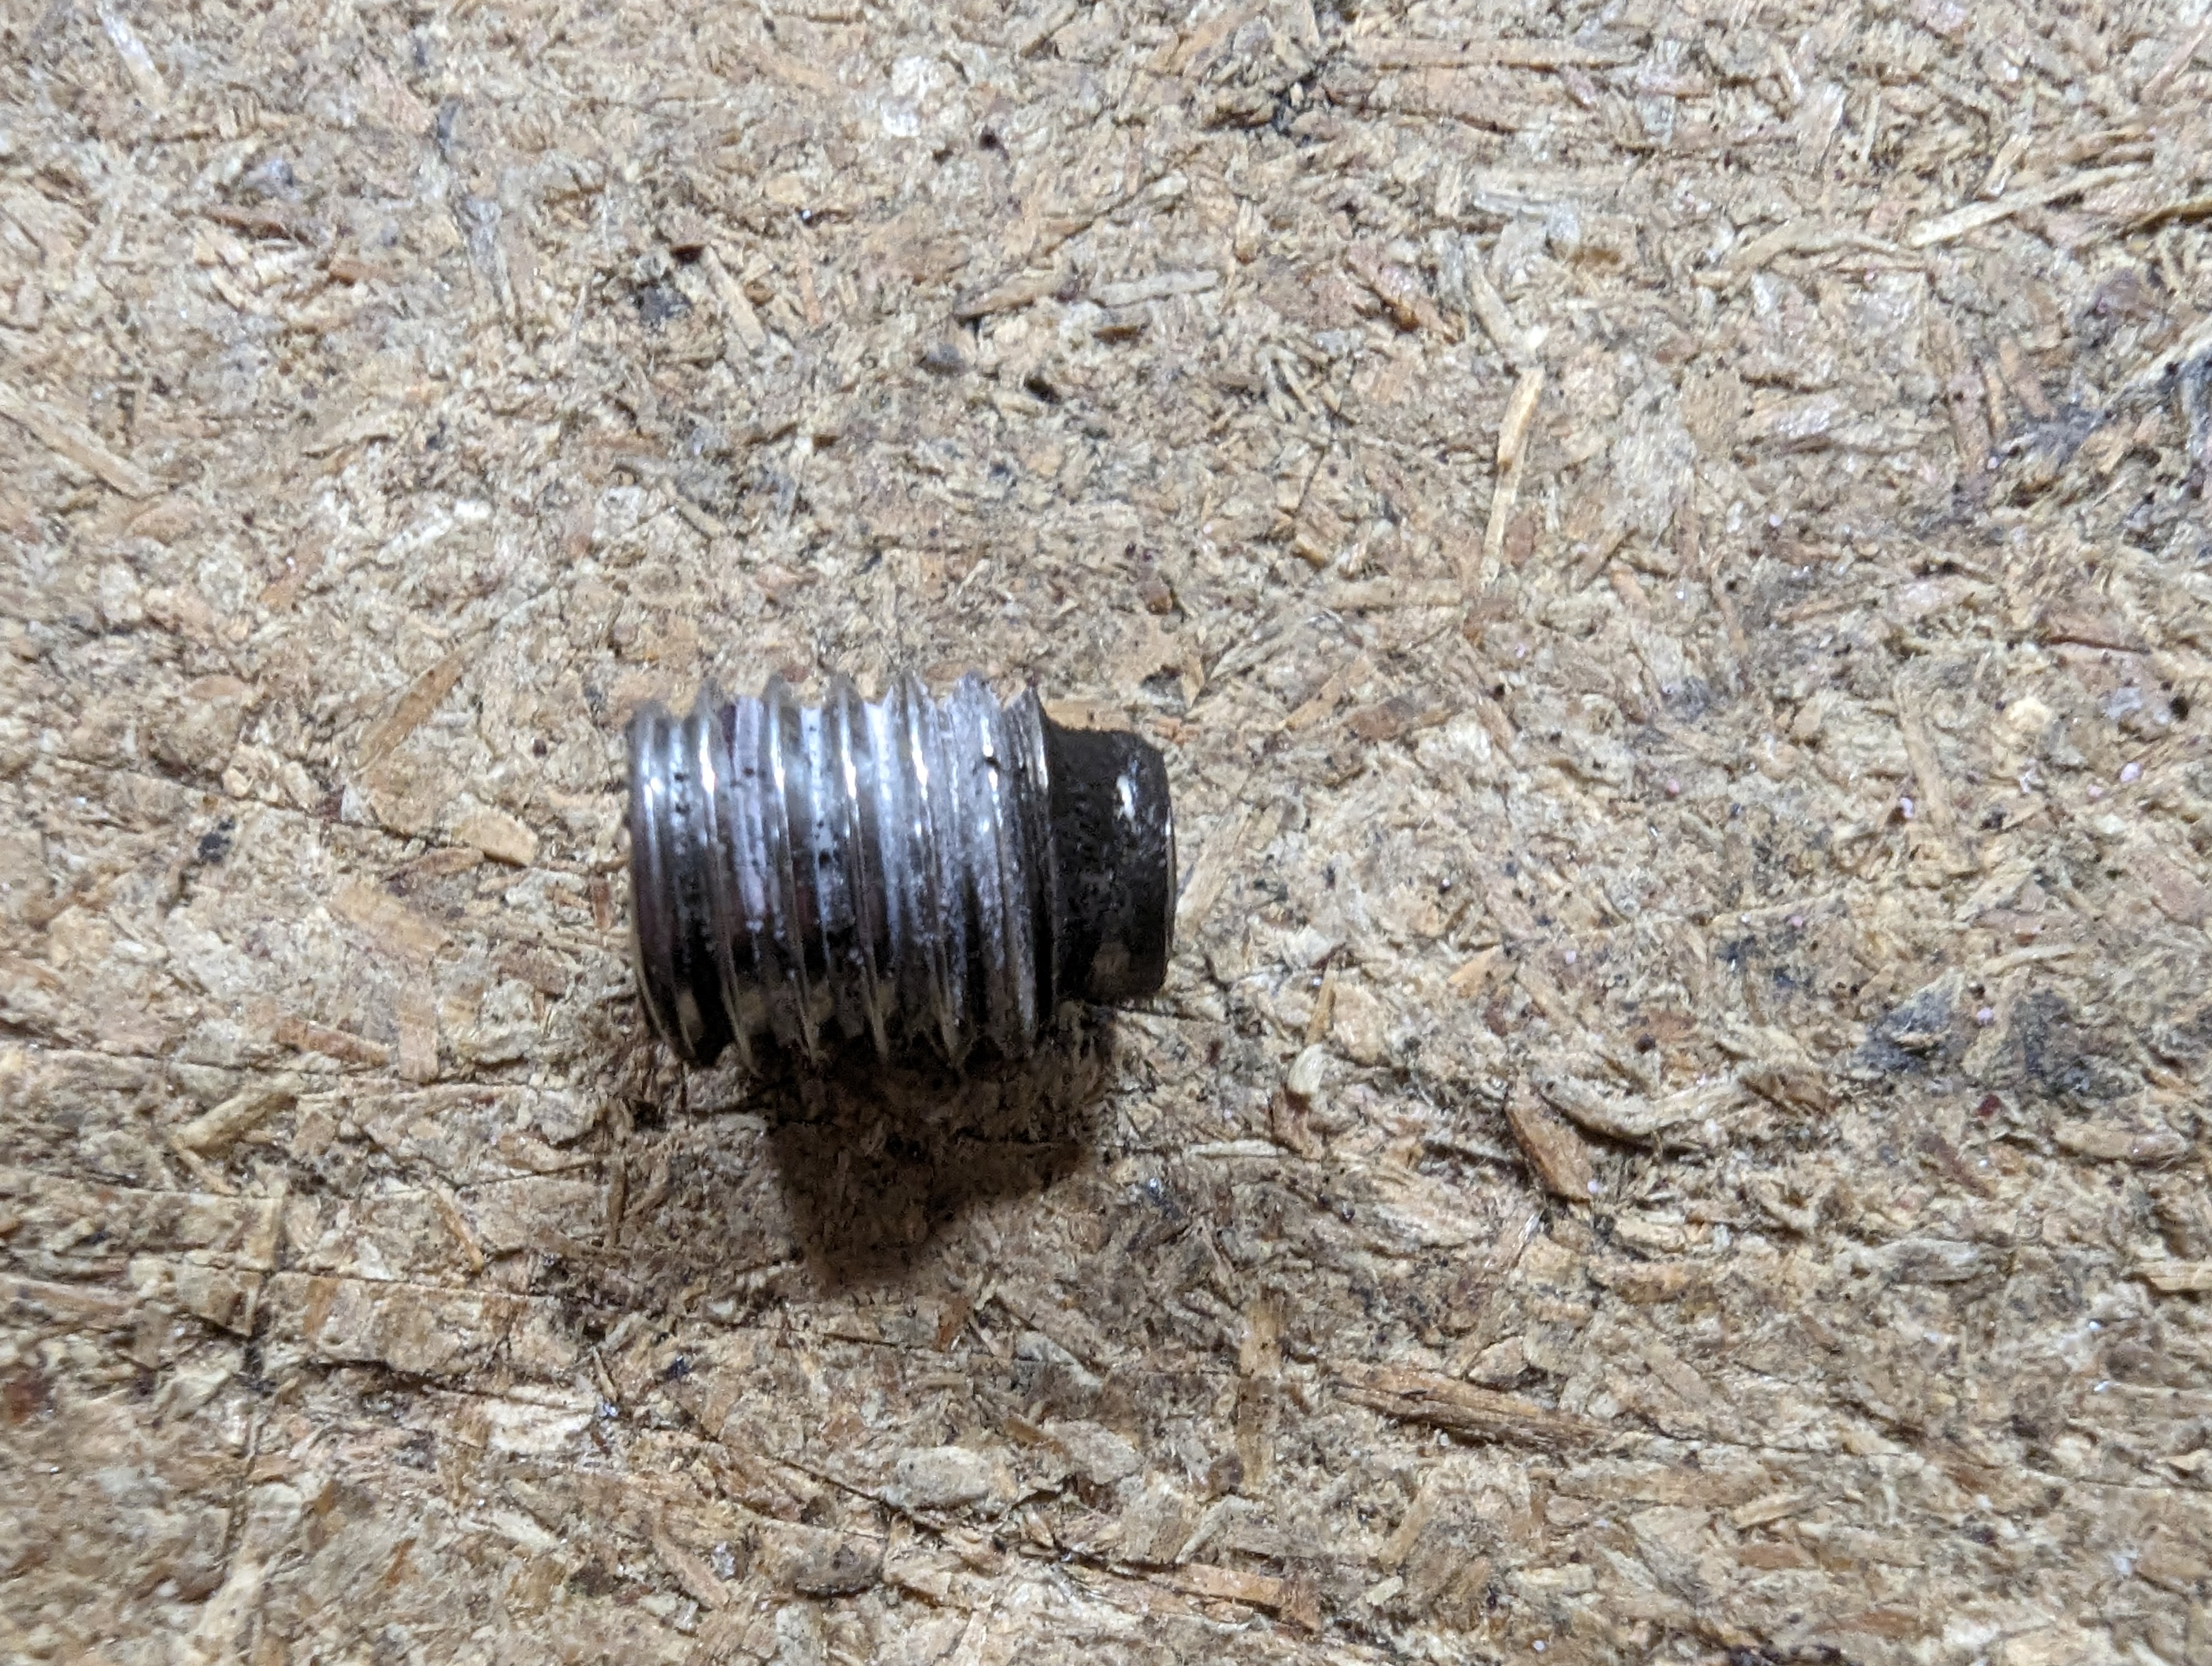
Even in this state the shifter would still function in a vehicle. It wouldn't be fun to drive, but it would get you home. After examining each part it appeared that most of the wear happened on the grub screw itself, which is visible in that last photo. The point of the screw is slightly bent and rounded over. Since the Grub Screw is secured into the lower pivot with red loctite, it didn't back out at all, so a lot more damage would have to occur before the shaft could come out of the lower pivot.
Believe it or not, from here we still weren't satisfied. We wanted to get a better idea of what we could expect from the shifter at sane shifting forces. For that we would need a slight redesign and rebuild of the machine, and you can read all about that next time in part 3, our final blog post in this series!