
Stick'em Up
Posted by Steve on 25th Sep 2019
Who doesn’t enjoy personalizing their vehicle? Maybe the weird dude down the street with the Taurus wagon, but most of us take a little more pride in what we drive and feel that our transportation is also an extension of who we are and what makes us happy. One of the more popular and affordable ways of accomplishing this is with some strategically placed decals. Think of them as ‘tattoos for your car’. Some are just for fun, while others may give questionable performance improvements. After all, it’s a fairly well known fact that for every sticker you add to your vehicle, you get an instant +5 HP gain!
Over the last couple years, we here at CravenSpeed have been diligently working away in our secret sticker lab, concocting some pretty cool designs that we think you folks will really enjoy. When we started out this insanity, I brought in my hobby grade vinyl cutter that was just capable enough to get us into trouble. We were able to produce some fun and interesting things, but I always yearned for bigger and better decals.


Due to its size limitations and wonky software, we soon realized that our little hobby unit just wasn’t going to... ‘cut it’, for us.

Not being satisfied with little logos and random window stickers, I had grandiose visions of hood stripes and sunroof decals! So in the spirit of Tim ‘The Toolman’ Taylor, we needed more power!

After being given the green light for a new vinyl cutter, I set to work weighing the pros and cons of several units. We could have gone with one of the cheapest offerings, but Kellen suggested if we’re going to do this that we needed to do it right! We didn’t go nuts, but we did get a good one… a shiny new Graphtec 6000-60 Plus!

No longer being limited to silly cutting mats and sub-par software. This bad boy comes with an awesome graphics package and will cut as long a decal as you need, so things like hood stripes and side decals are now easy peasy.

I put together a decal prep station and now we’re cooking with gas!

One of the first projects we tackled was putting some sweet new graphics on Tristan’s swanky eGolf.

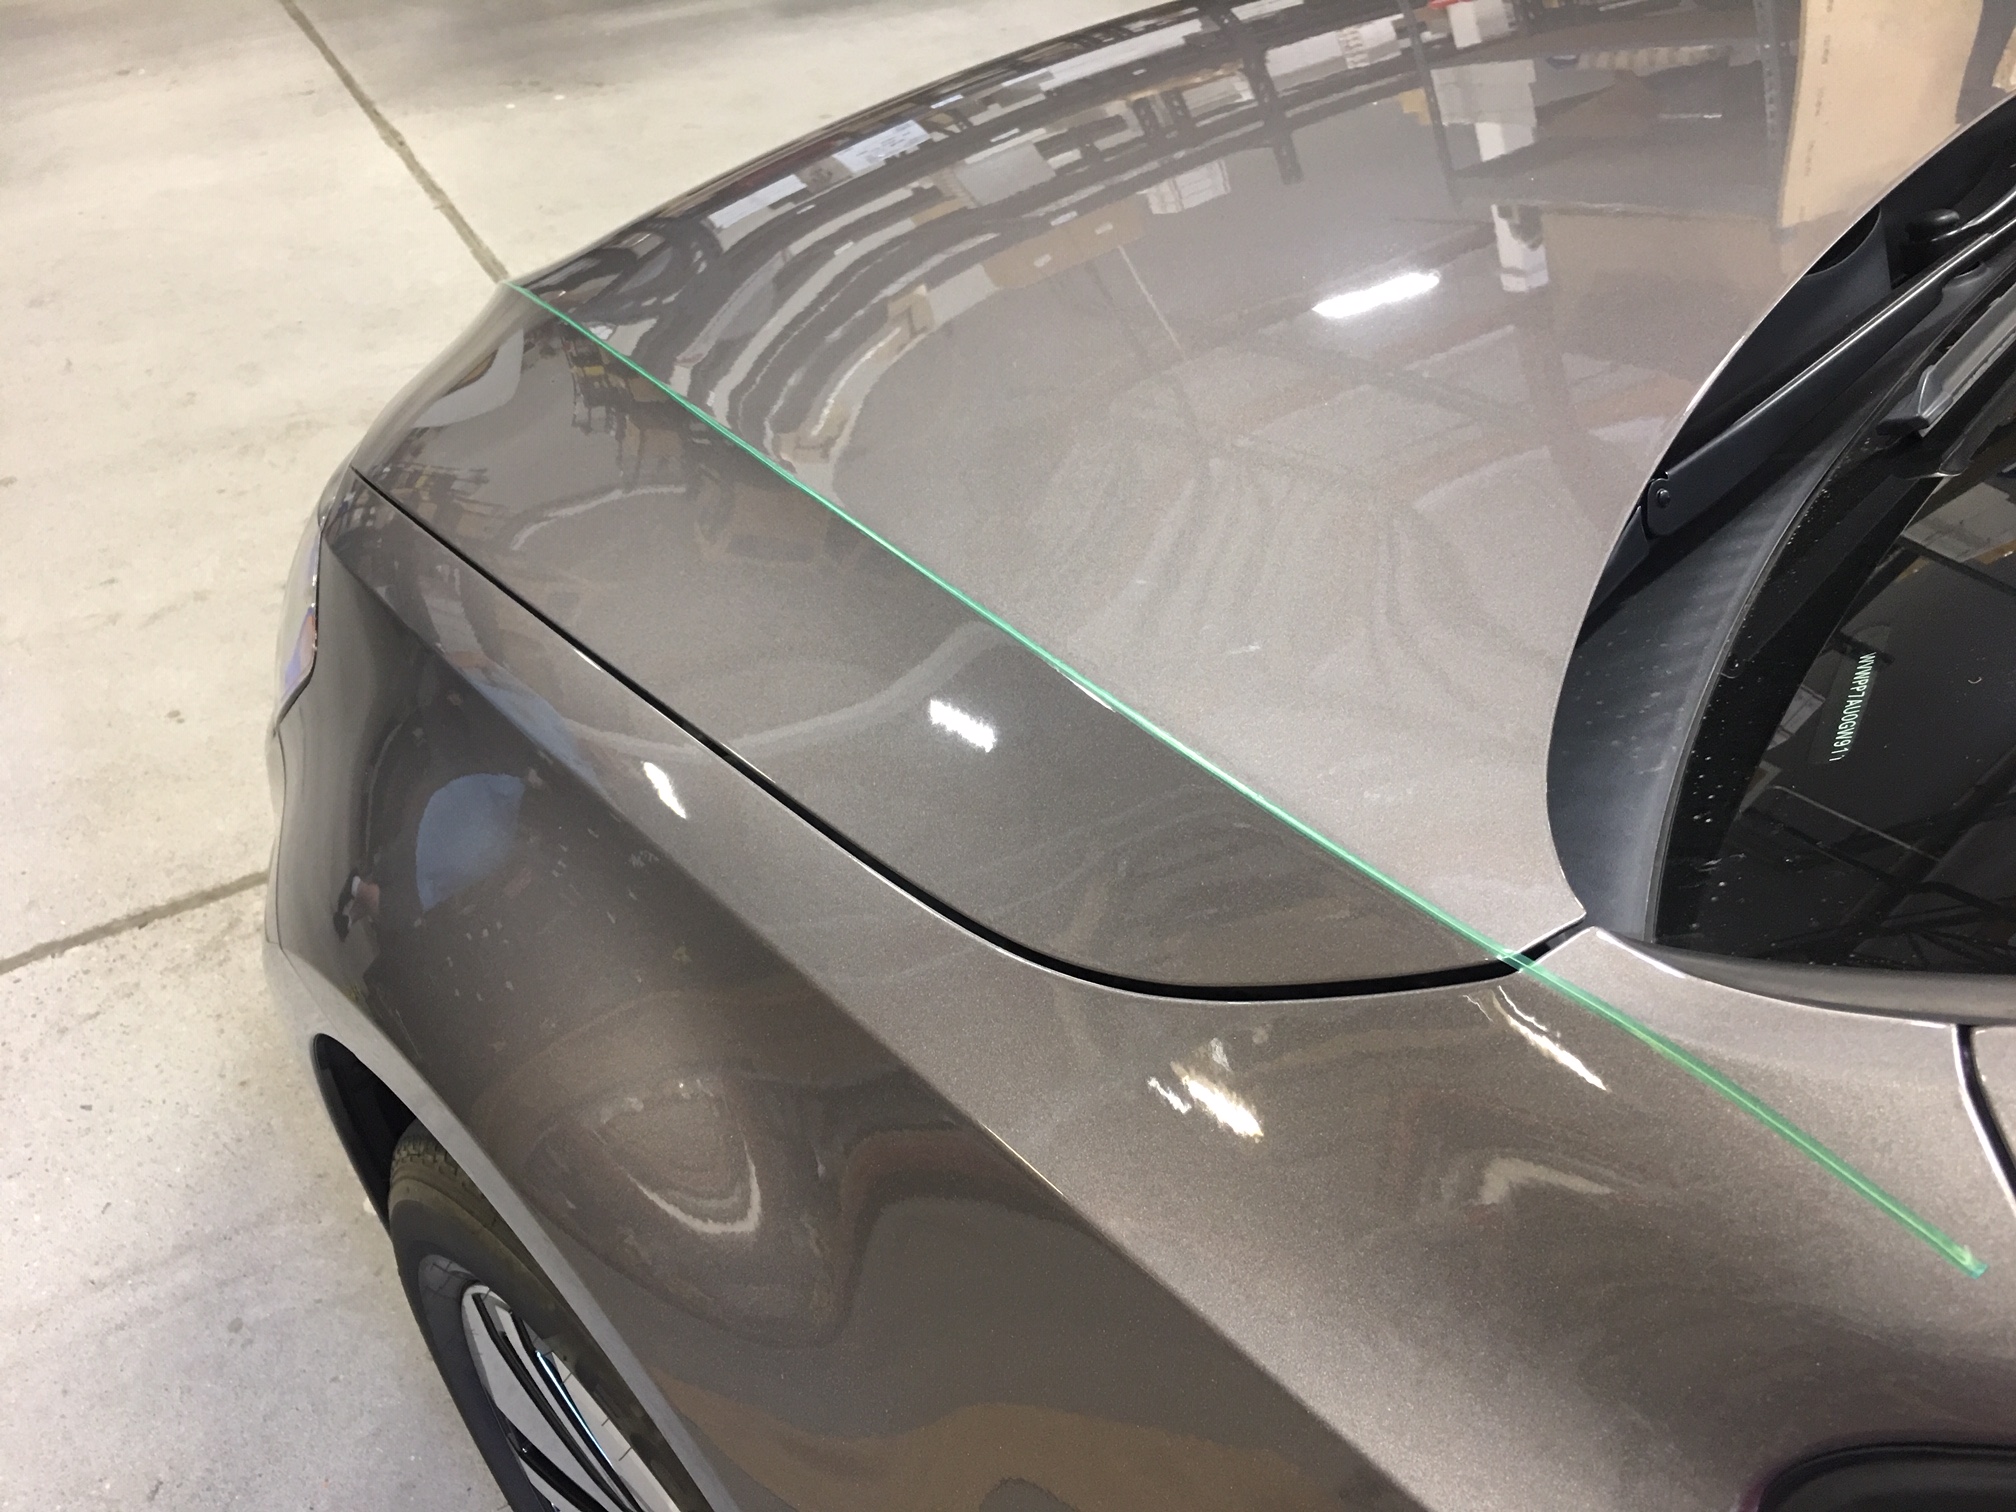
Tristan wanted something subtle that showed off the lines of the car and also gave a nod to it’s electric drive. We gave the VW a look over and came up with a plan of attack. The hood has a nice area of real estate on the side and a little something along the rockers would fit the bill just right. First thing I did was swipe some butcher paper from the shipping dept and have the new vinyl cutter/pen plotter draw a 1 inch grid pattern on it. I then applied a length of 3M Knifeless tape right along the hard edge of the hood panel. You’ll see what that’s for in just a bit.
Next, I laid the paper grid pattern on the hood and taped it in place.

I then ran my fingernail along the panel seams making an impression on the paper.


Using a pencil, I then made the lines a little more visible and made adjustments where necessary.

With the outline complete, I removed the pattern and brought it over to the work surface to make notes of where various curves and lines would be.

Jumping on to the computer, I sketched up a duplicate grid pattern and transferred my curves and lines according to the notes I made from the paper pattern.

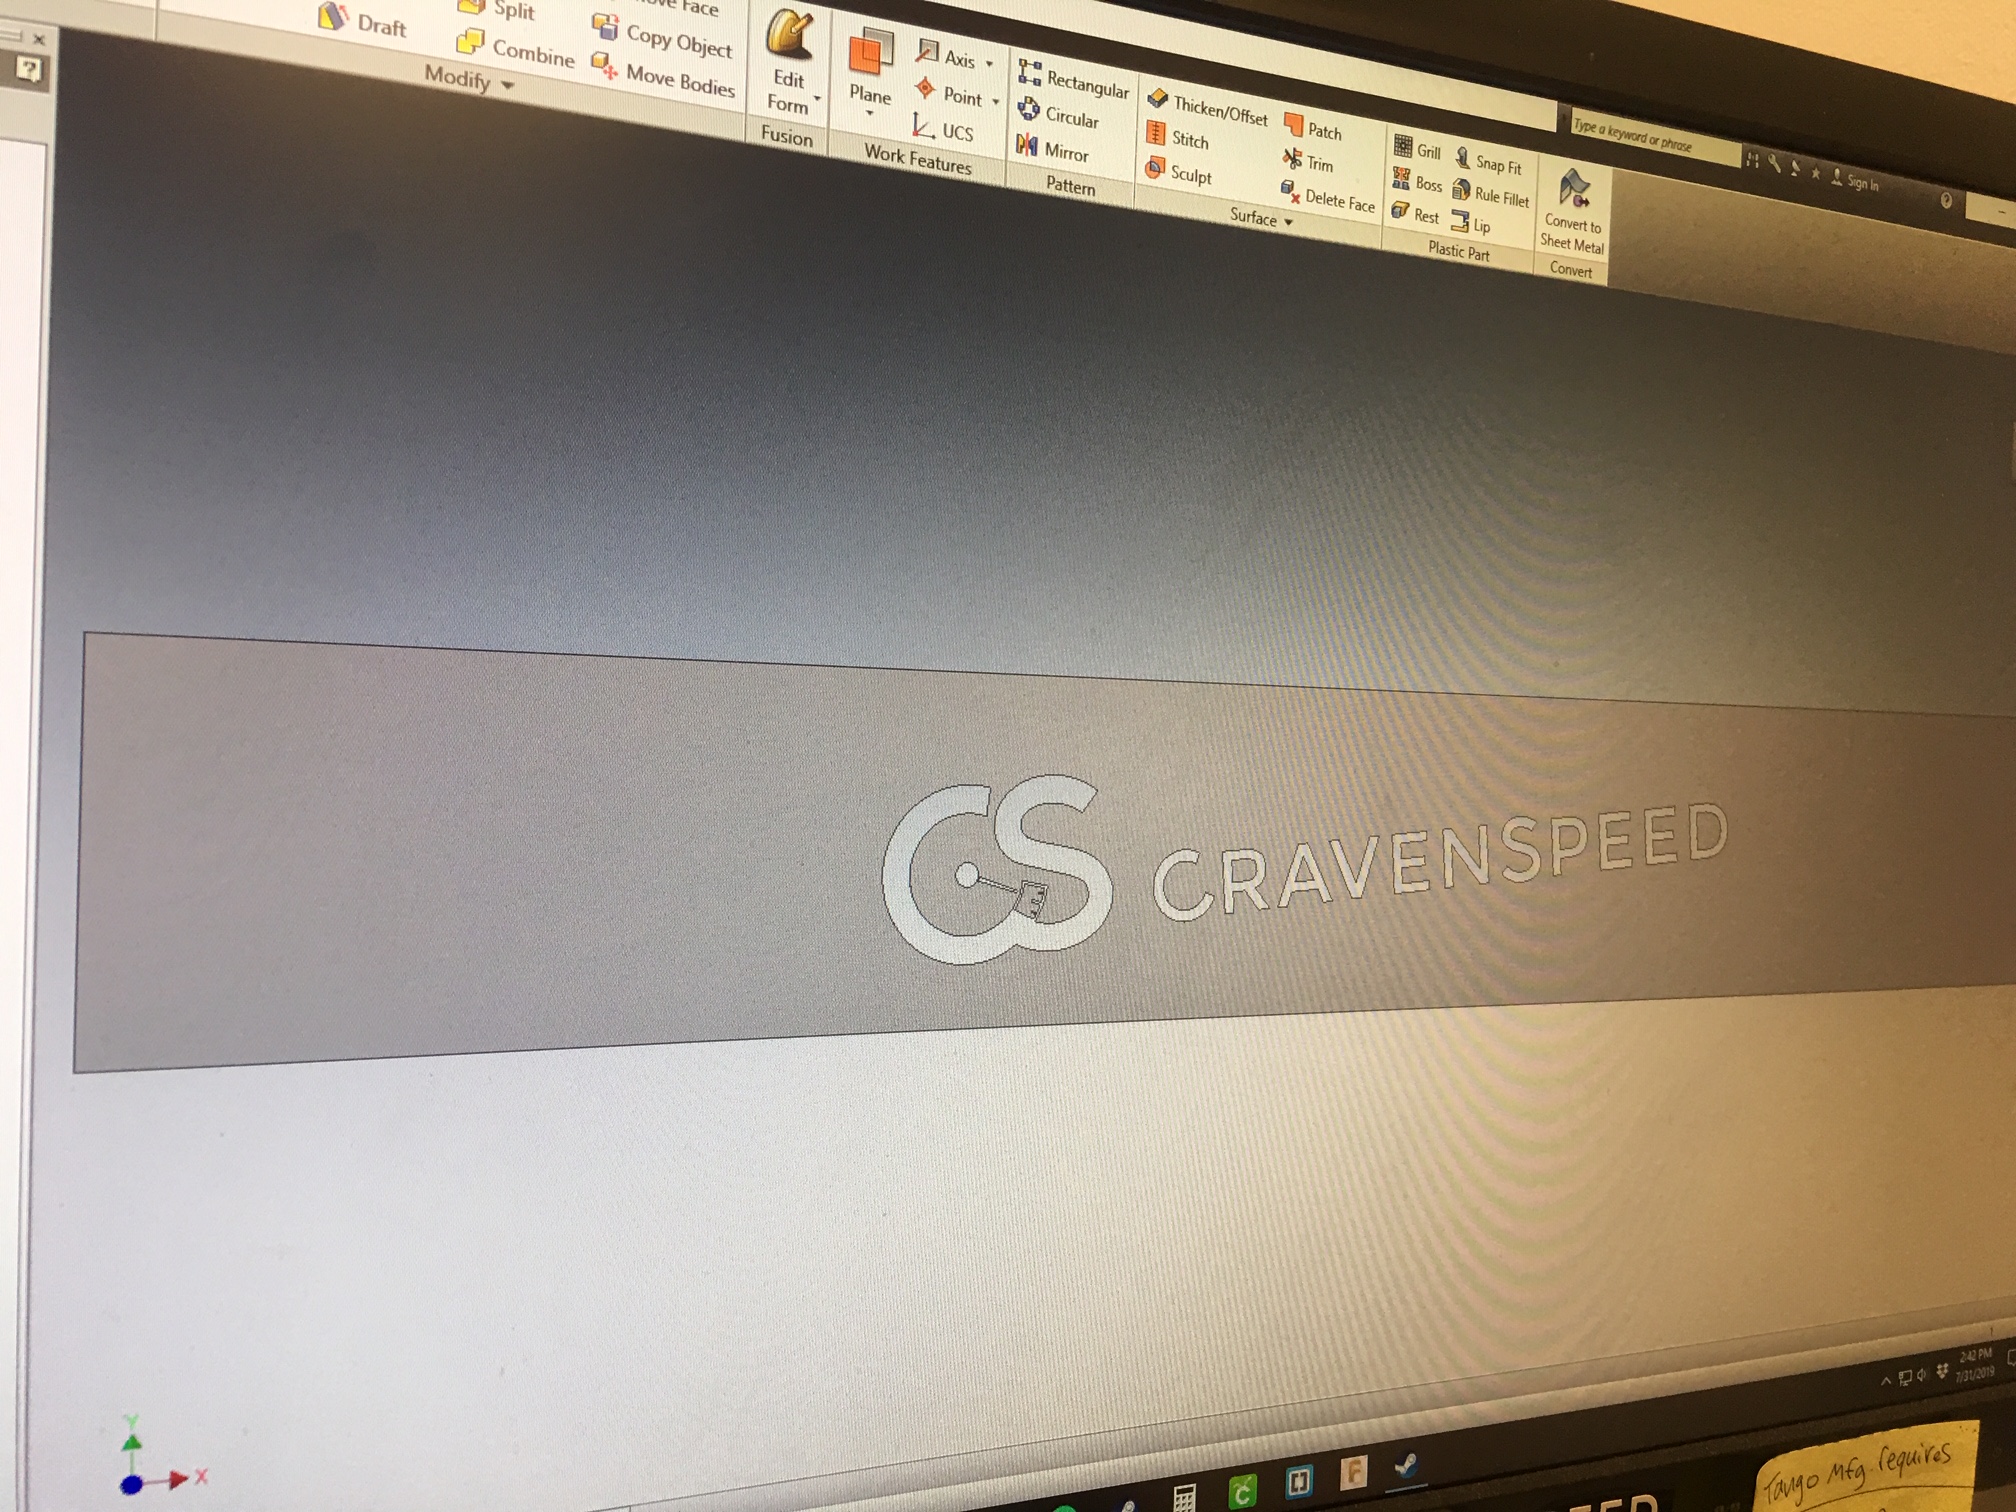
I then brought in a file of the CravenSpeed graphic I would be using and nestled it nicely within the lines I had designated.

Now at this point I could have probably called it ‘good enough’ and just saved the file and sent it to the vinyl cutter, but I wanted the edges of the hood to have a complete wrap from the vinyl, so the logical step would be to create a blank, rectangular sheet with the CravenSpeed logo cut out where I needed it. Viola!
Now the CS design is placed where I need it and the rectangle shape will cover the entire panel. After the vinyl is applied to the hood, I will then go along the panel seams with a razor knife and fold the vinyl under the edges with a heat gun.
Now that the vinyl is cut to size, it needs to be ‘weeded out’. There are fancy tools for this process, but honestly the tip of an X-acto knife works just fine.


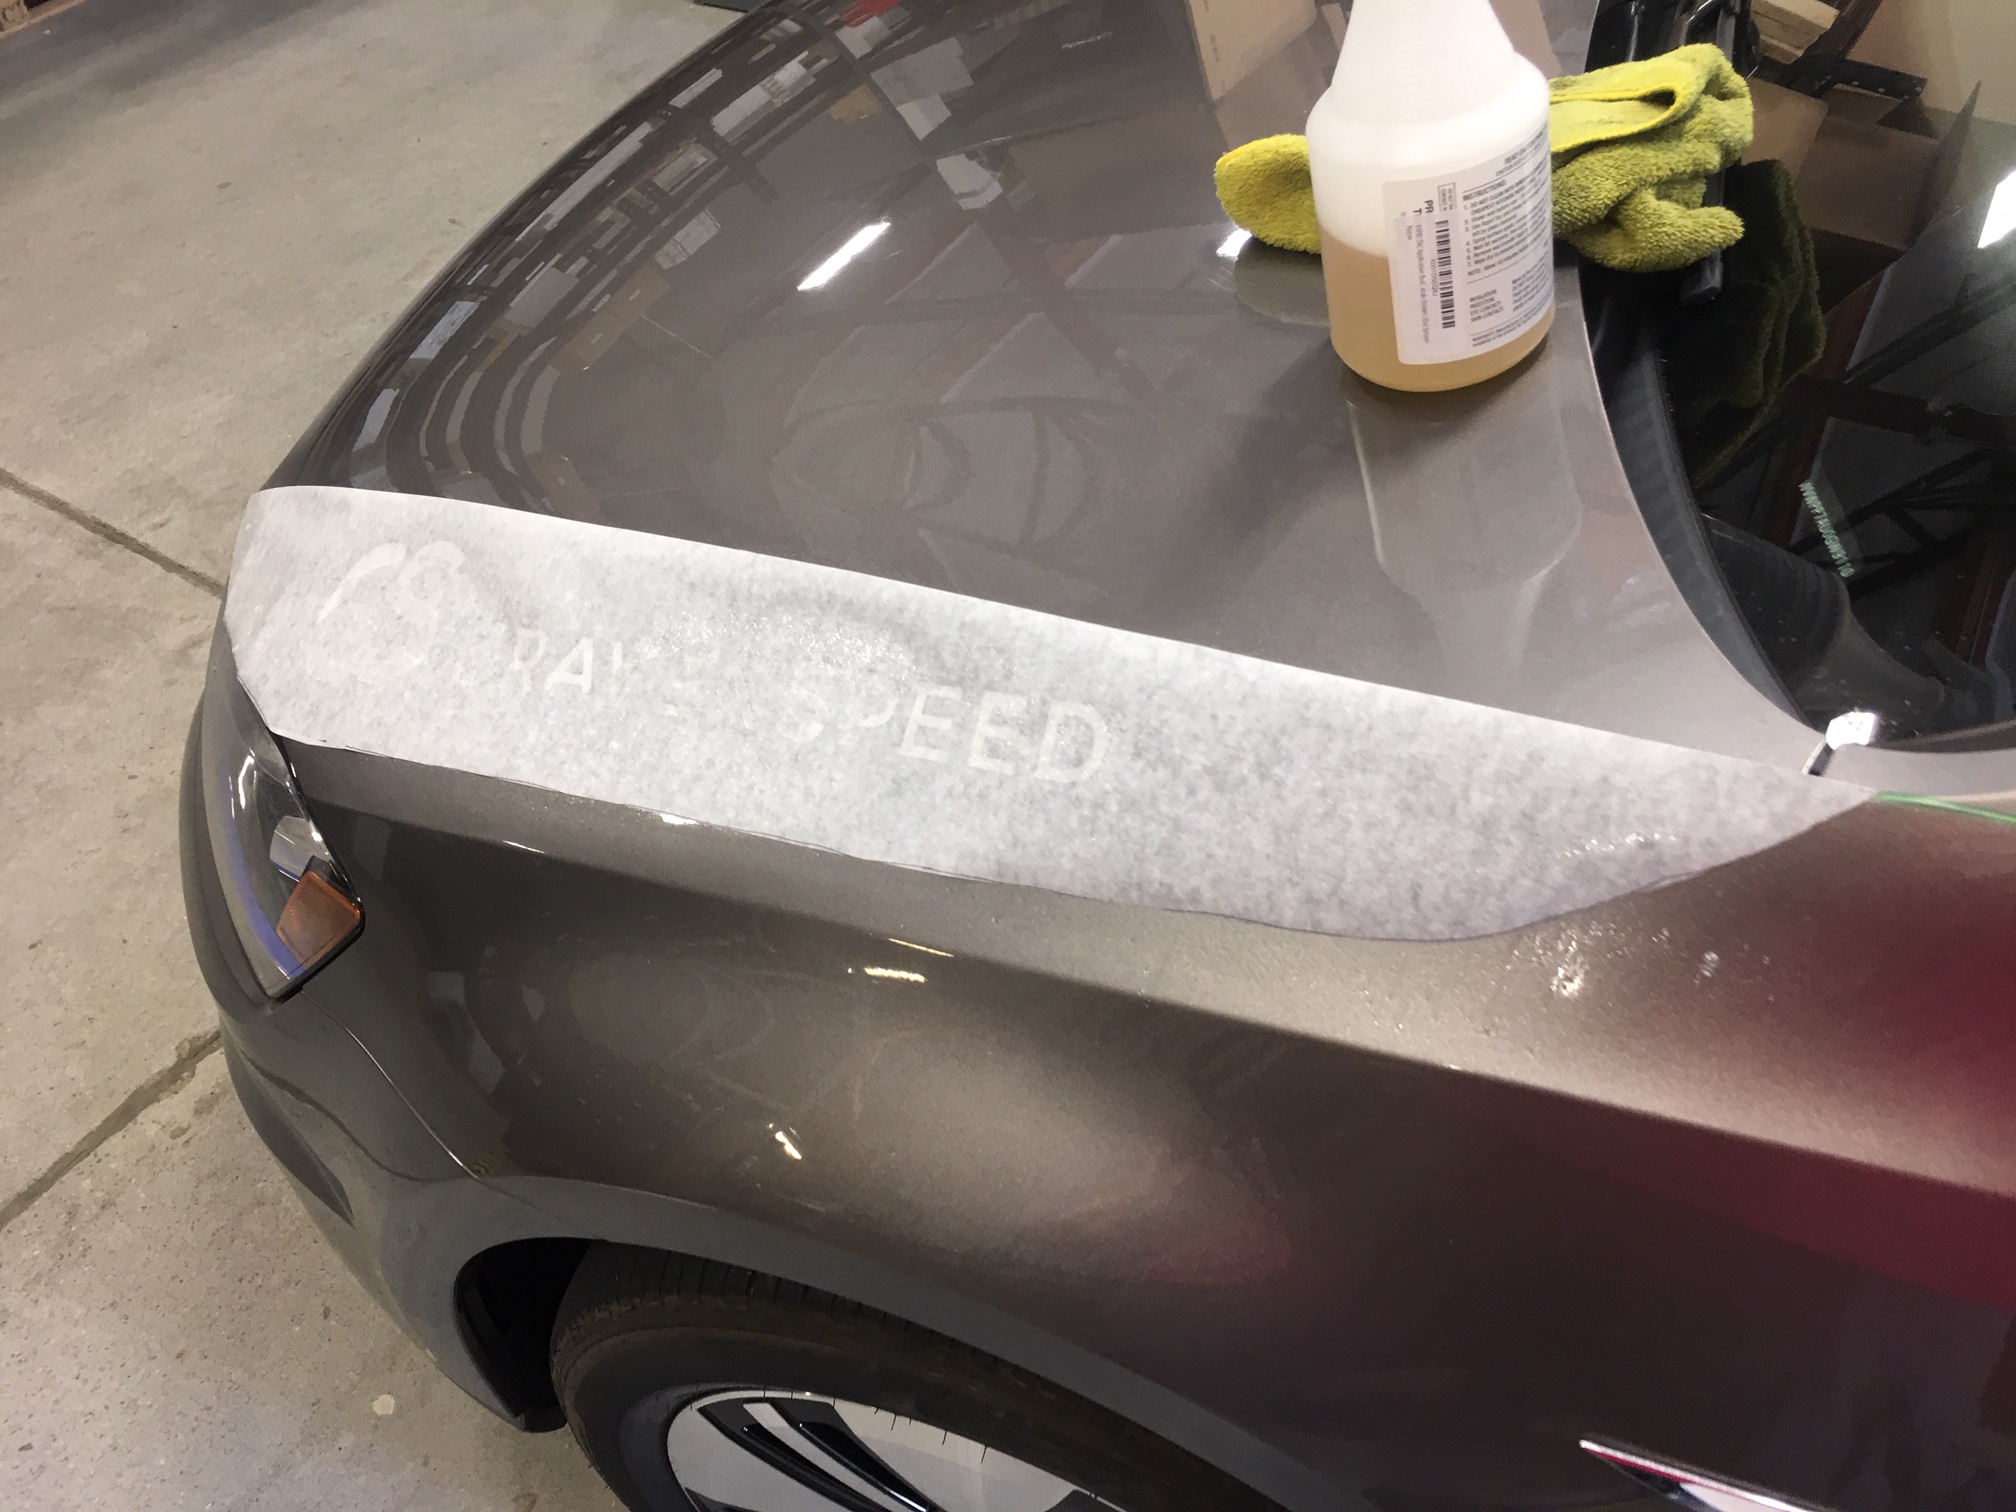
After the vinyl has been weeded, we need to apply the transfer paper that takes it off the backing and applies it to your surface. Line up your decal, pull the length of transfer paper you need, squeegee it down and trim it to shape.


I then trimmed out my original paper pattern a bit oversized so I would have that necessary amount of vinyl overhang required to wrap it around the hood edges. I test fitted it against the VW one last time then trimmed out the vinyl rectangle to match the perimeter of the paper pattern.


I wiped down the surface real well with a lint-free cloth then the fun part begins!
Next, I laid the decal upside down on a clean, dust-free surface and peeled the original backing off the vinyl decal to expose the adhesive side. It is very important that the work surface is clean because the static from the vinyl decal will grab any dust and crud in the vicinity and apply it directly to the sticky side of the sticker. No bueno.

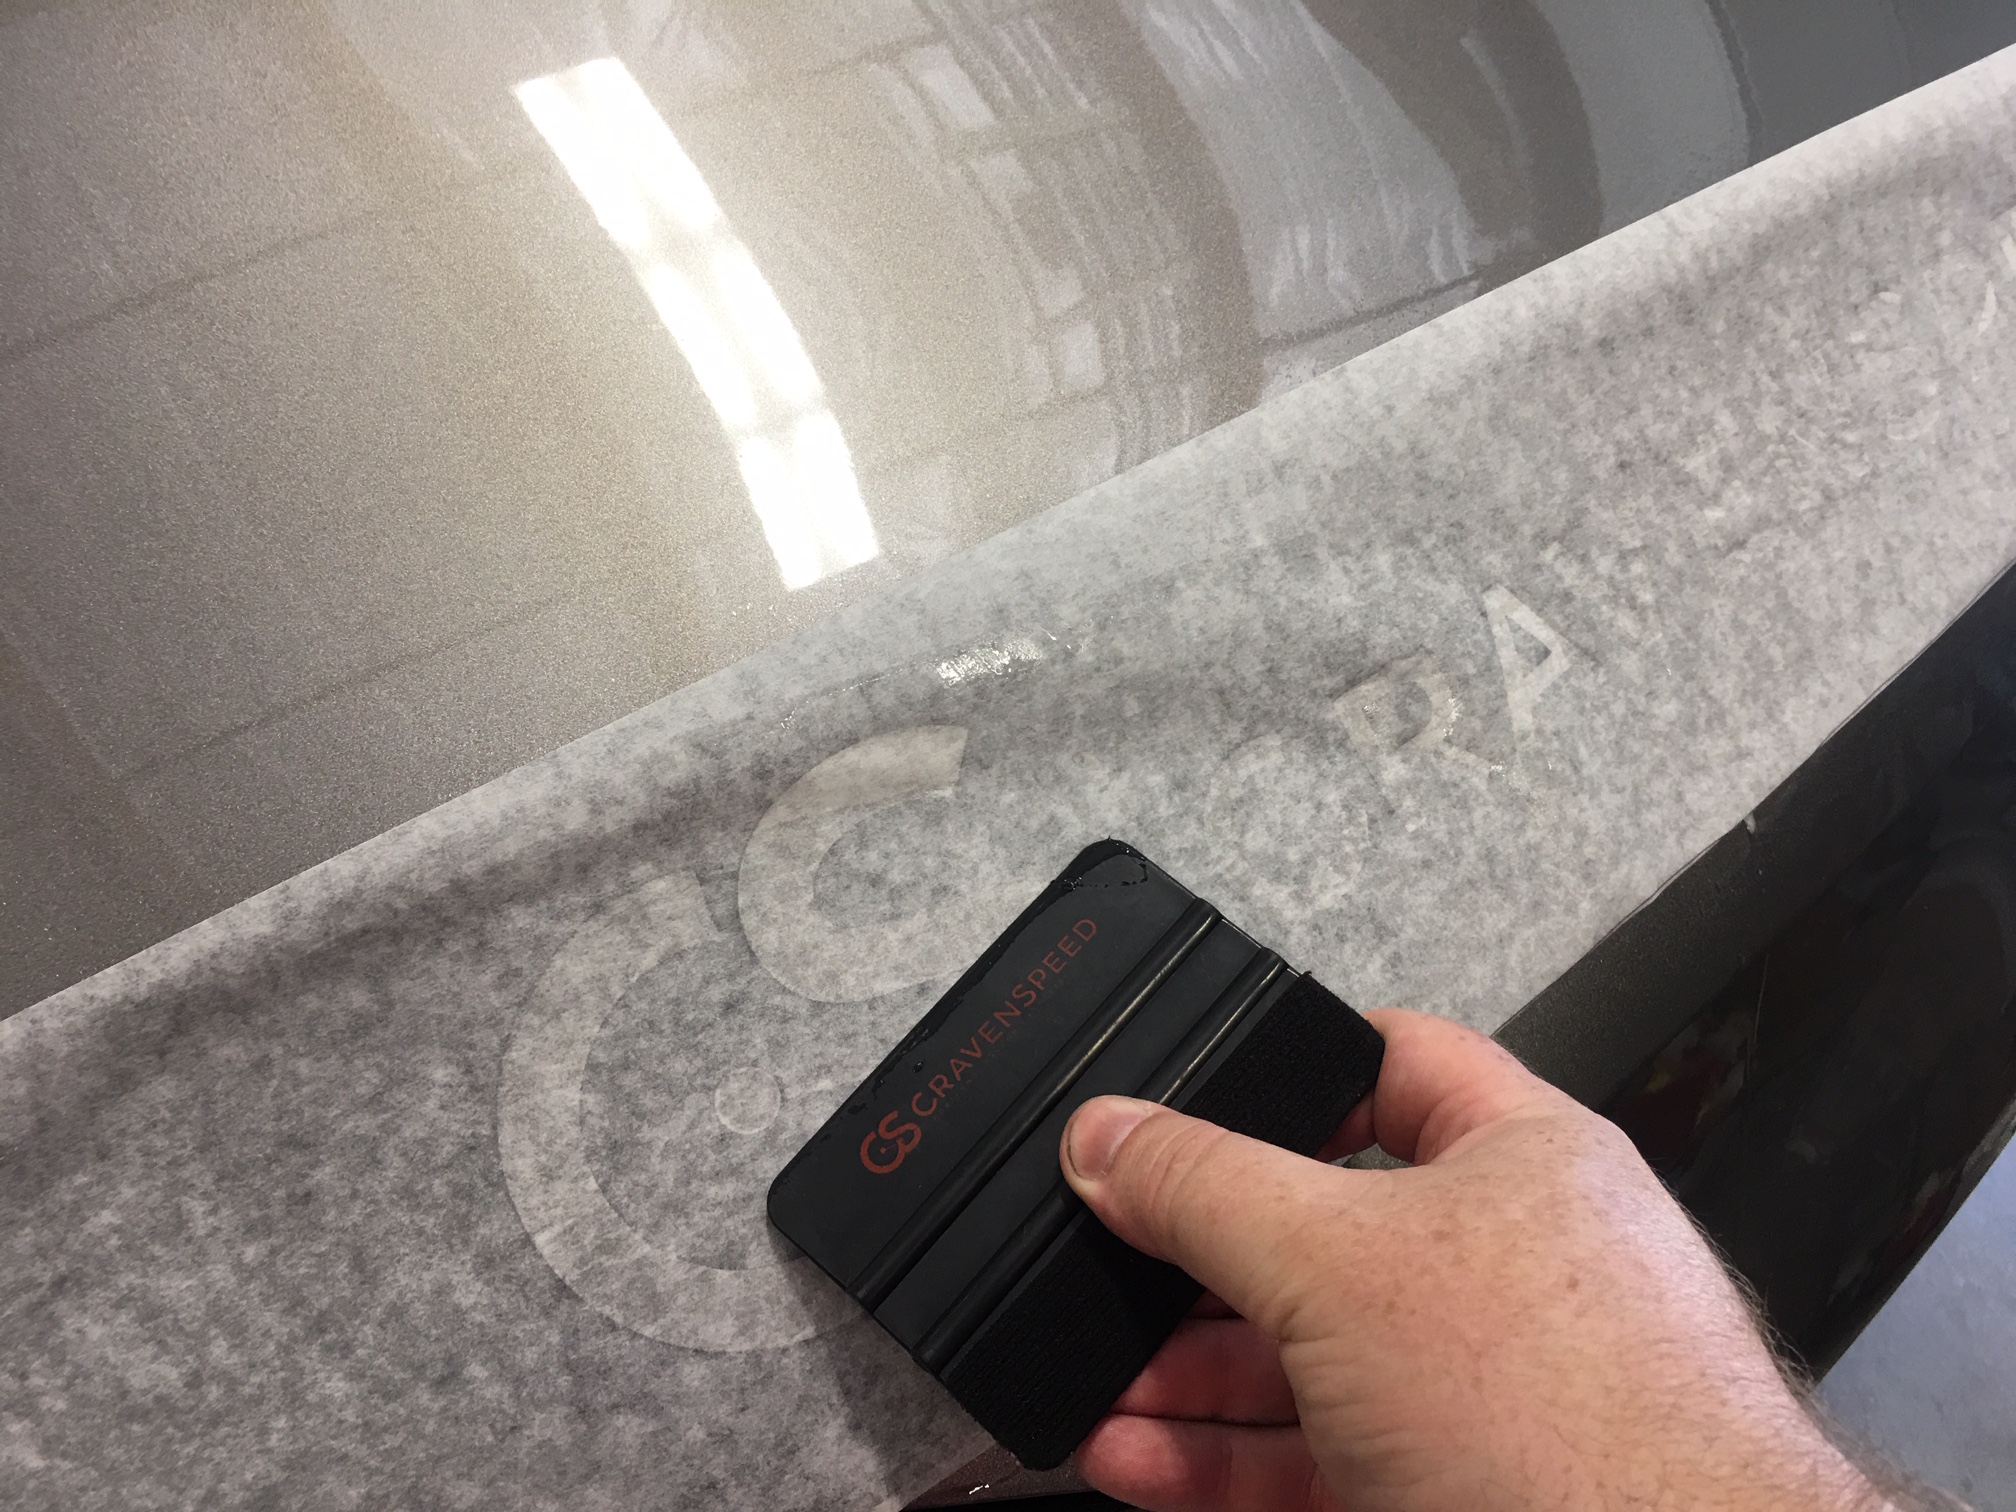
With the decal peeled and ready to apply, I then sprayed both the hood and the adhesive side of the decal with some application spray. Applying a decal like this completely dry would be a lesson in futility because as soon as one tiny section of the decal touches the vehicles surface it would be locked on and any attempt at repositioning it would pretty much ruin the decal. Seems counter-intuitive, but the application spray allows the decal to be moved around a bit and repositioned if necessary. Once the decal has been set, utilizing a squeegee will push out the application spray and allow the adhesive to do it’s thing.


The decal is slapped on and working from the center, application spray and air bubbles are squeegeed out from underneath the decal.
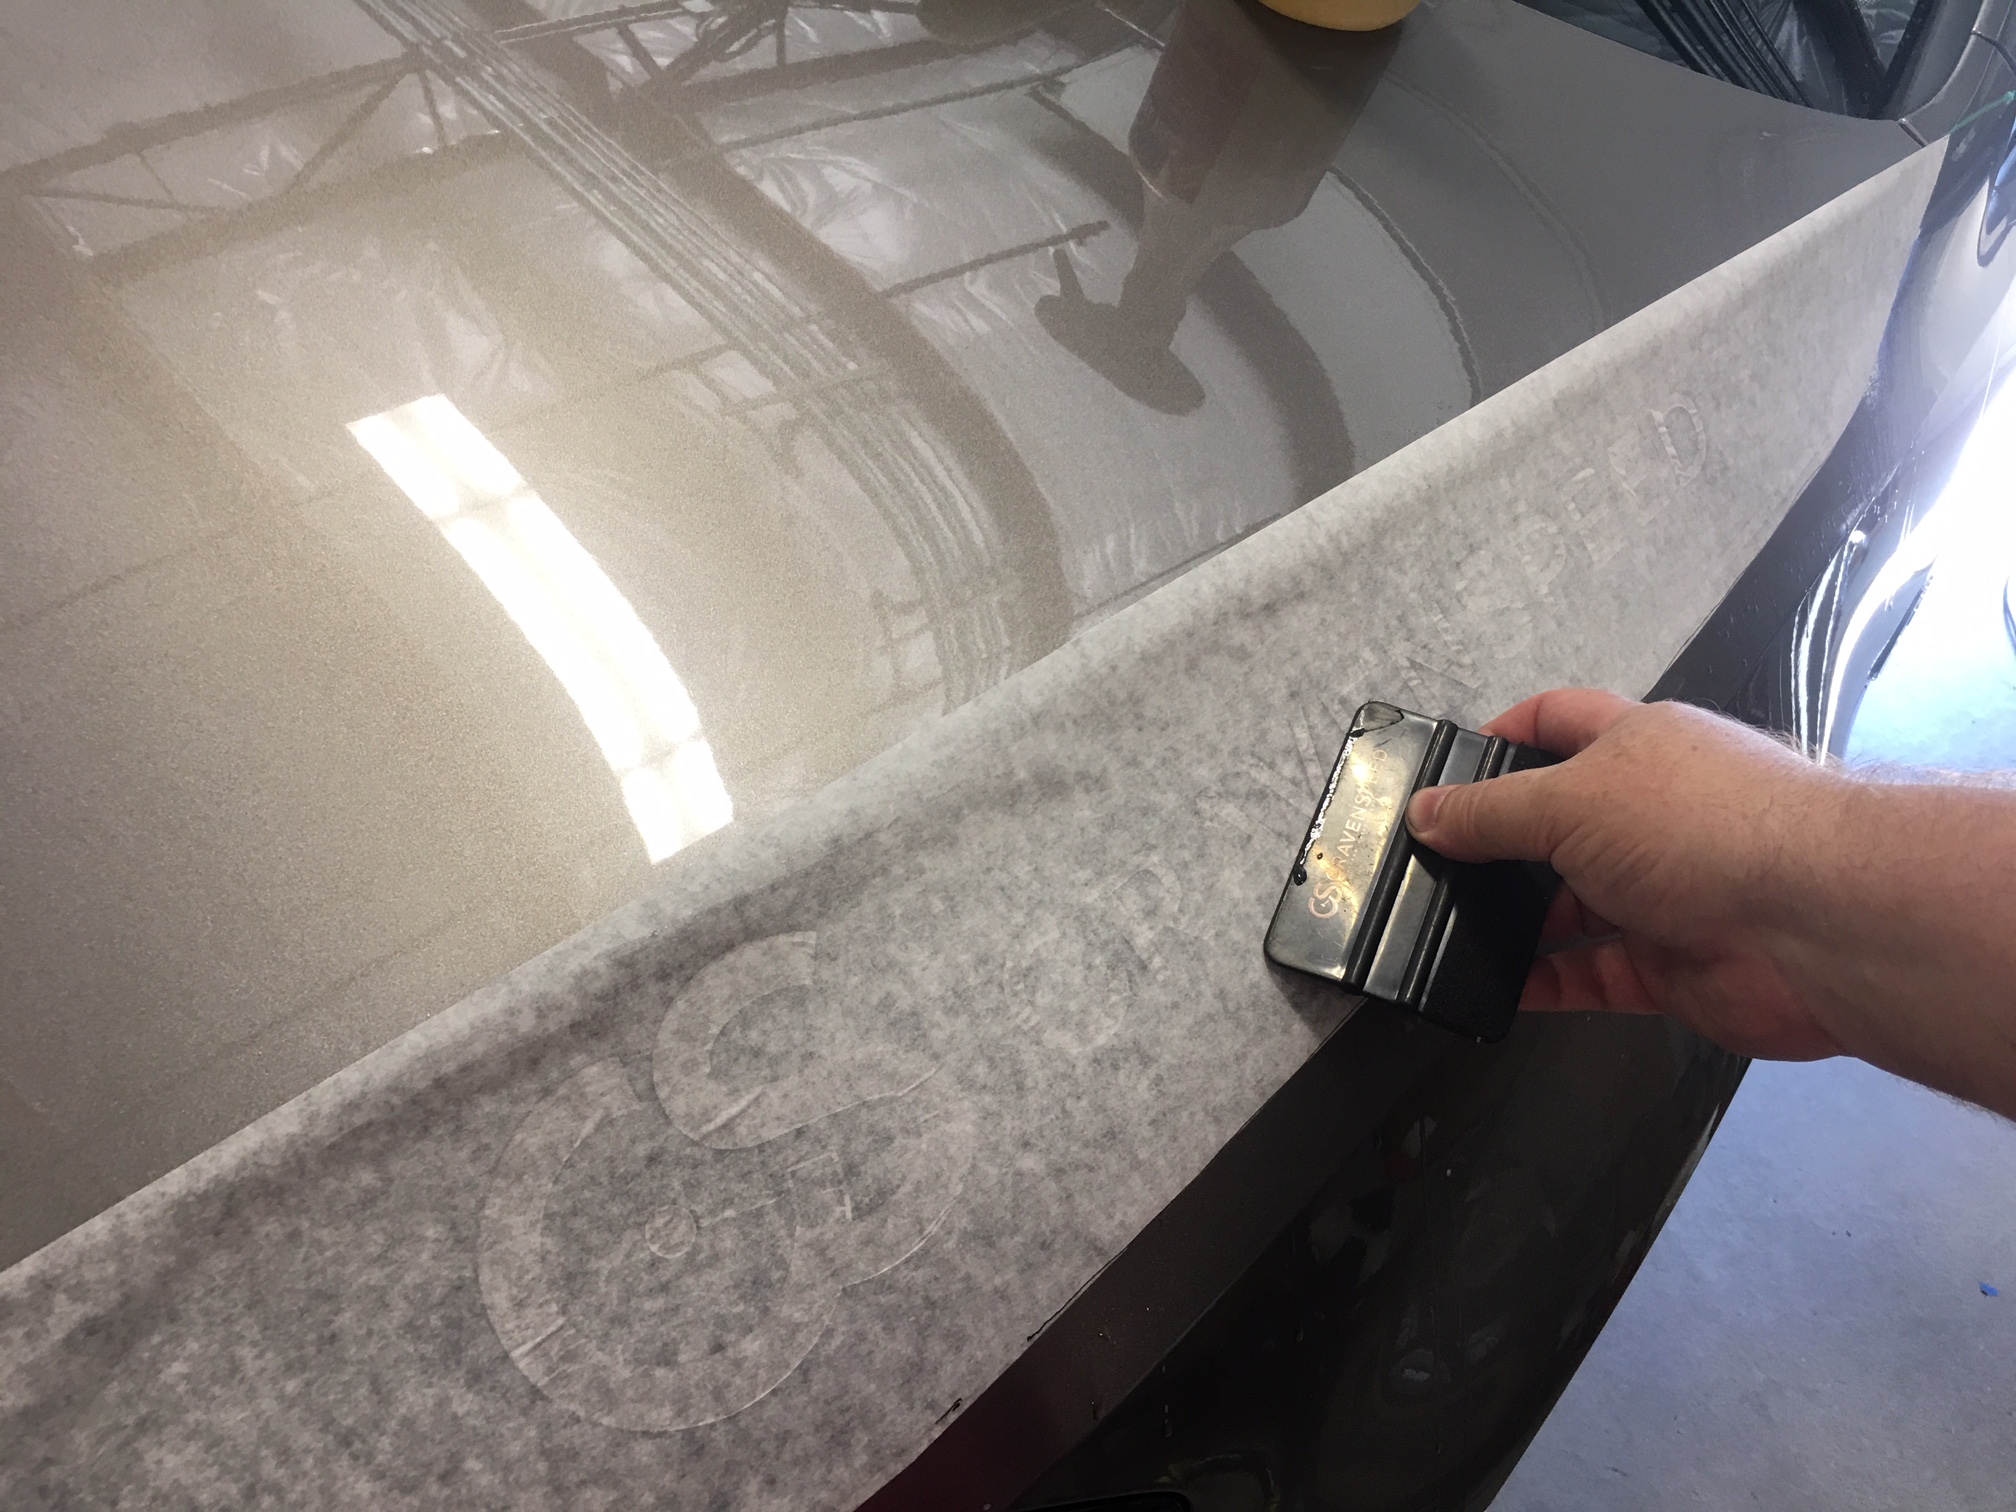
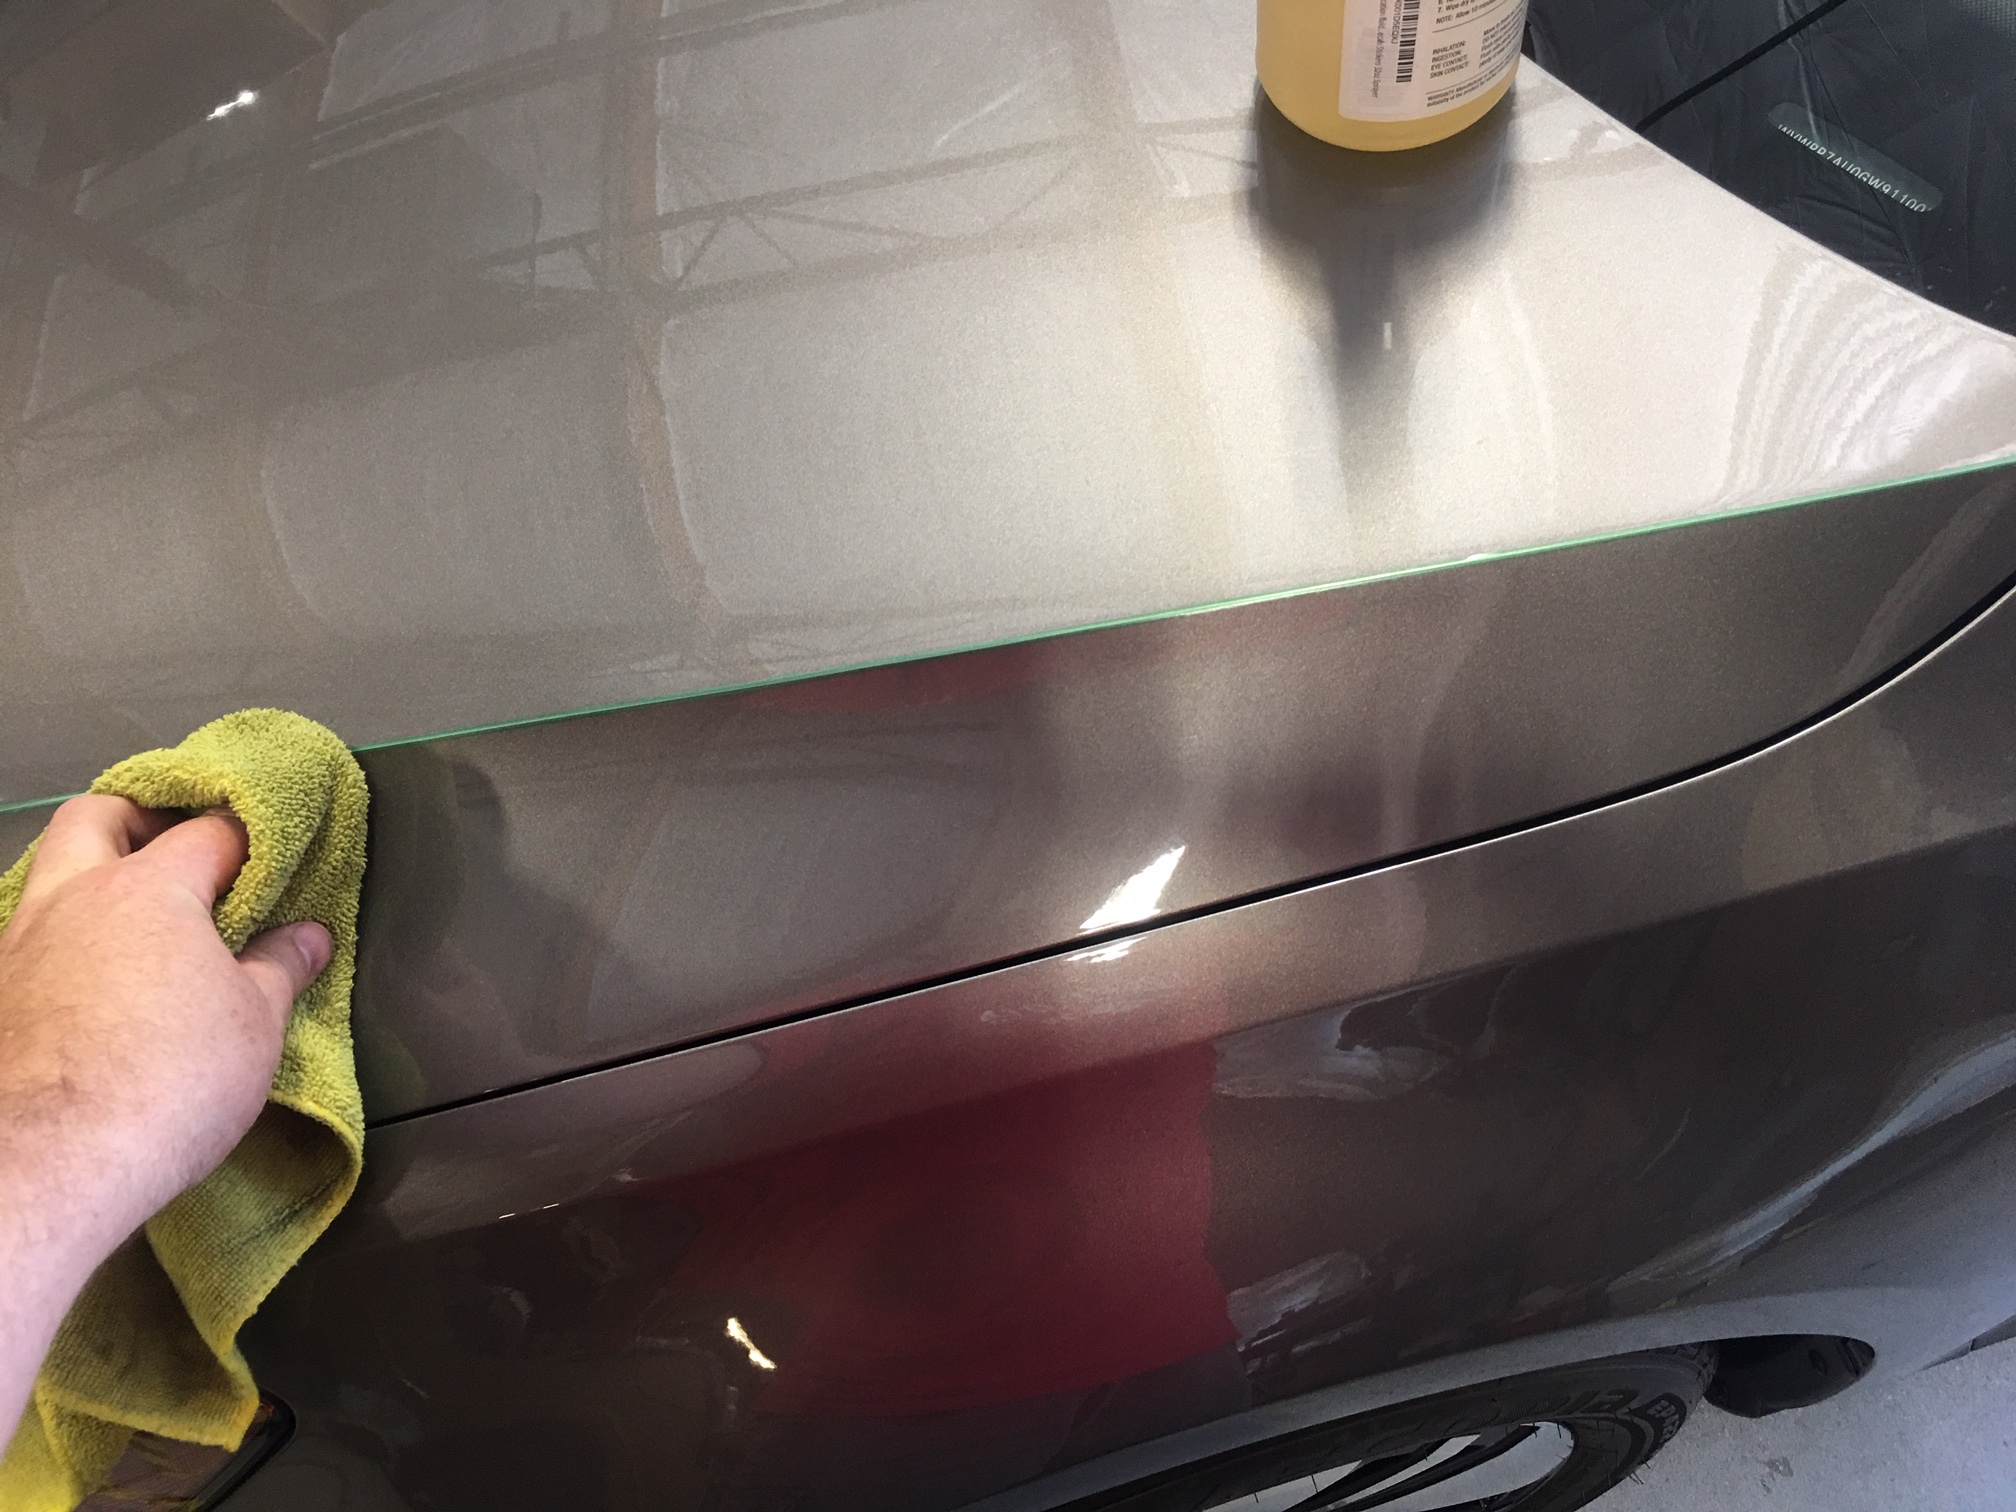
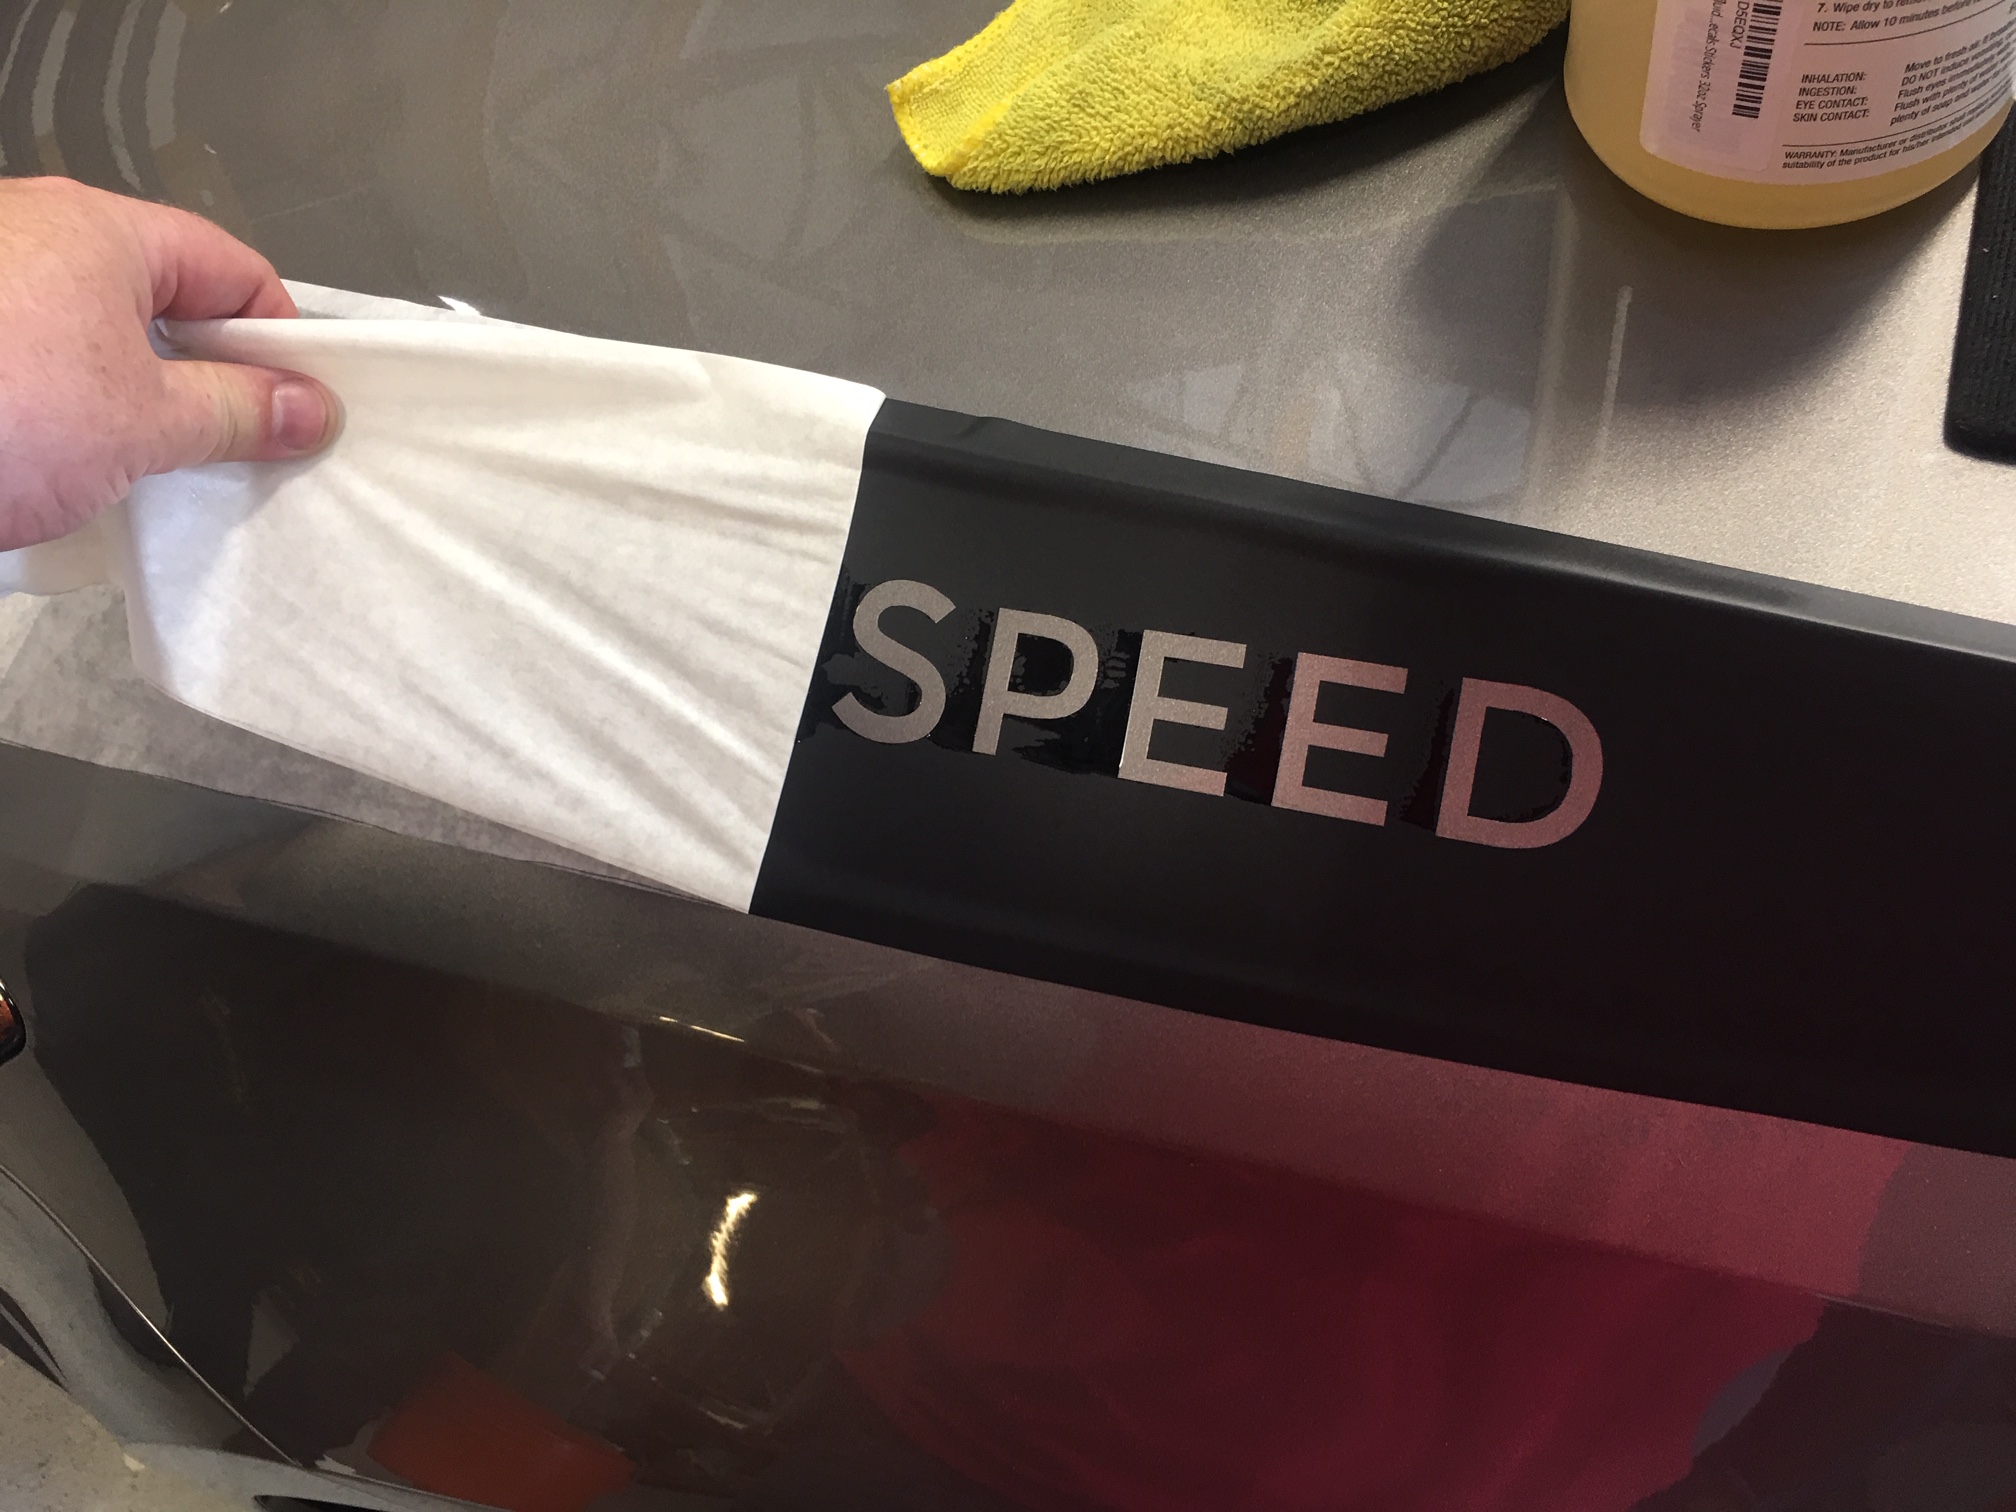
Once the decal had been squeegeed real well, I then peeled the transfer paper off the vinyl to expose the graphic. A few moments more with the microfiber side of the squeegee and the decal was looking very nice indeed!

I then utilized a heat gun and working along the edge of the hood seam, I folded the excess underneath giving a clean and tidy look. The final step is to grab the end of the 3M Knifeless tape and pull it back upon itself to cut the vinyl precisely along the hard edge of the hood.
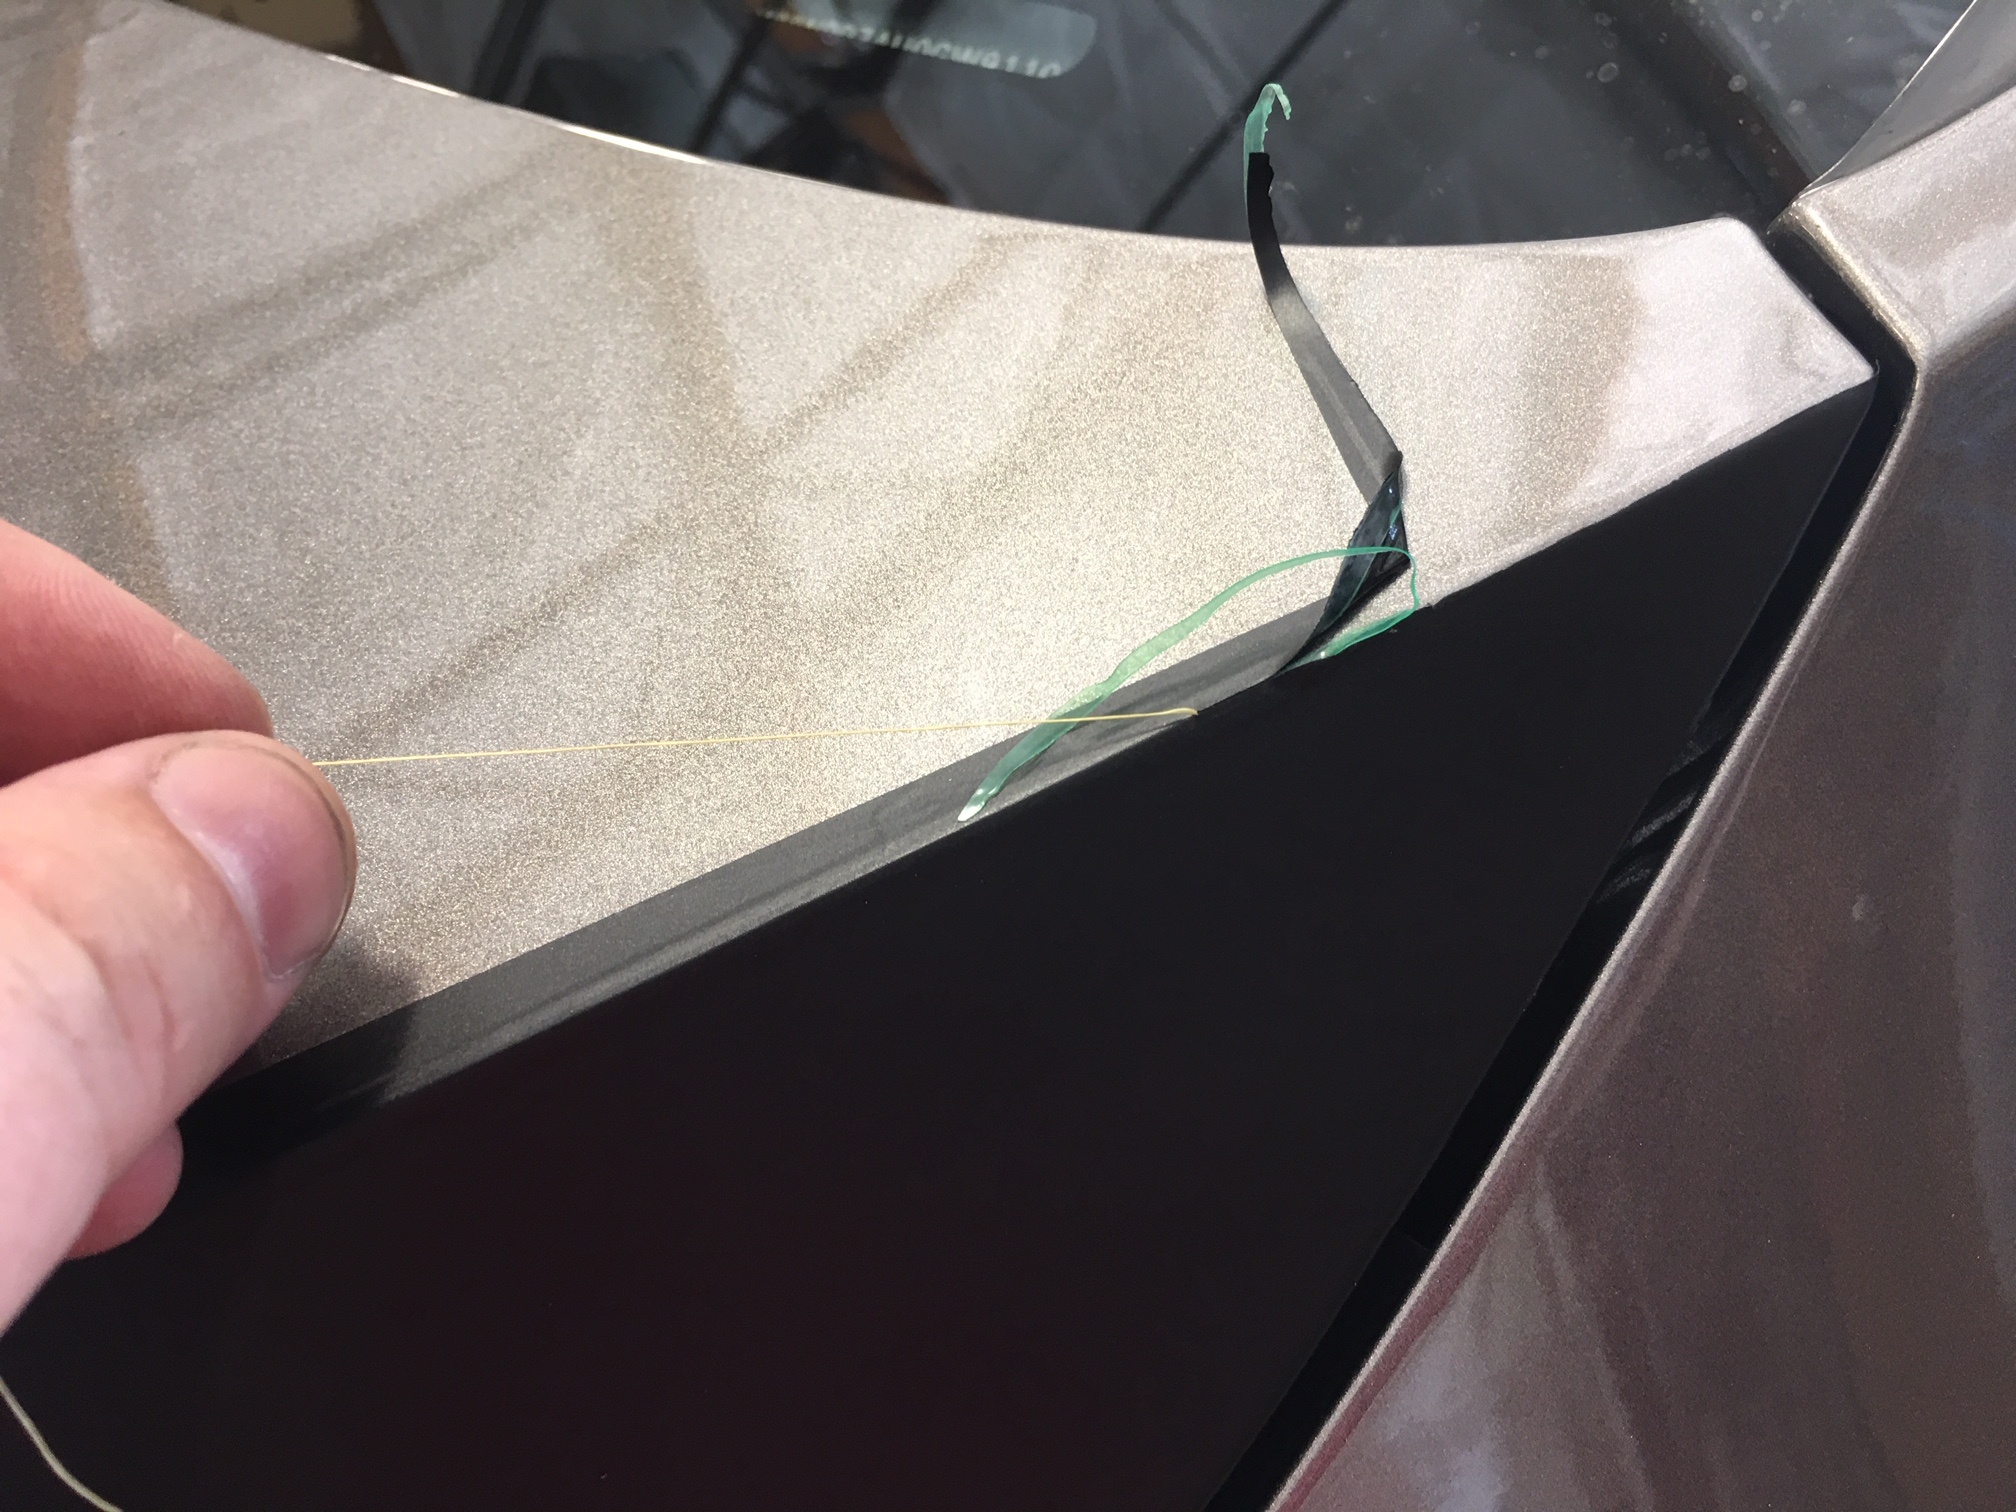
A few touch ups with the heat gun and squeegee and the job is finished.

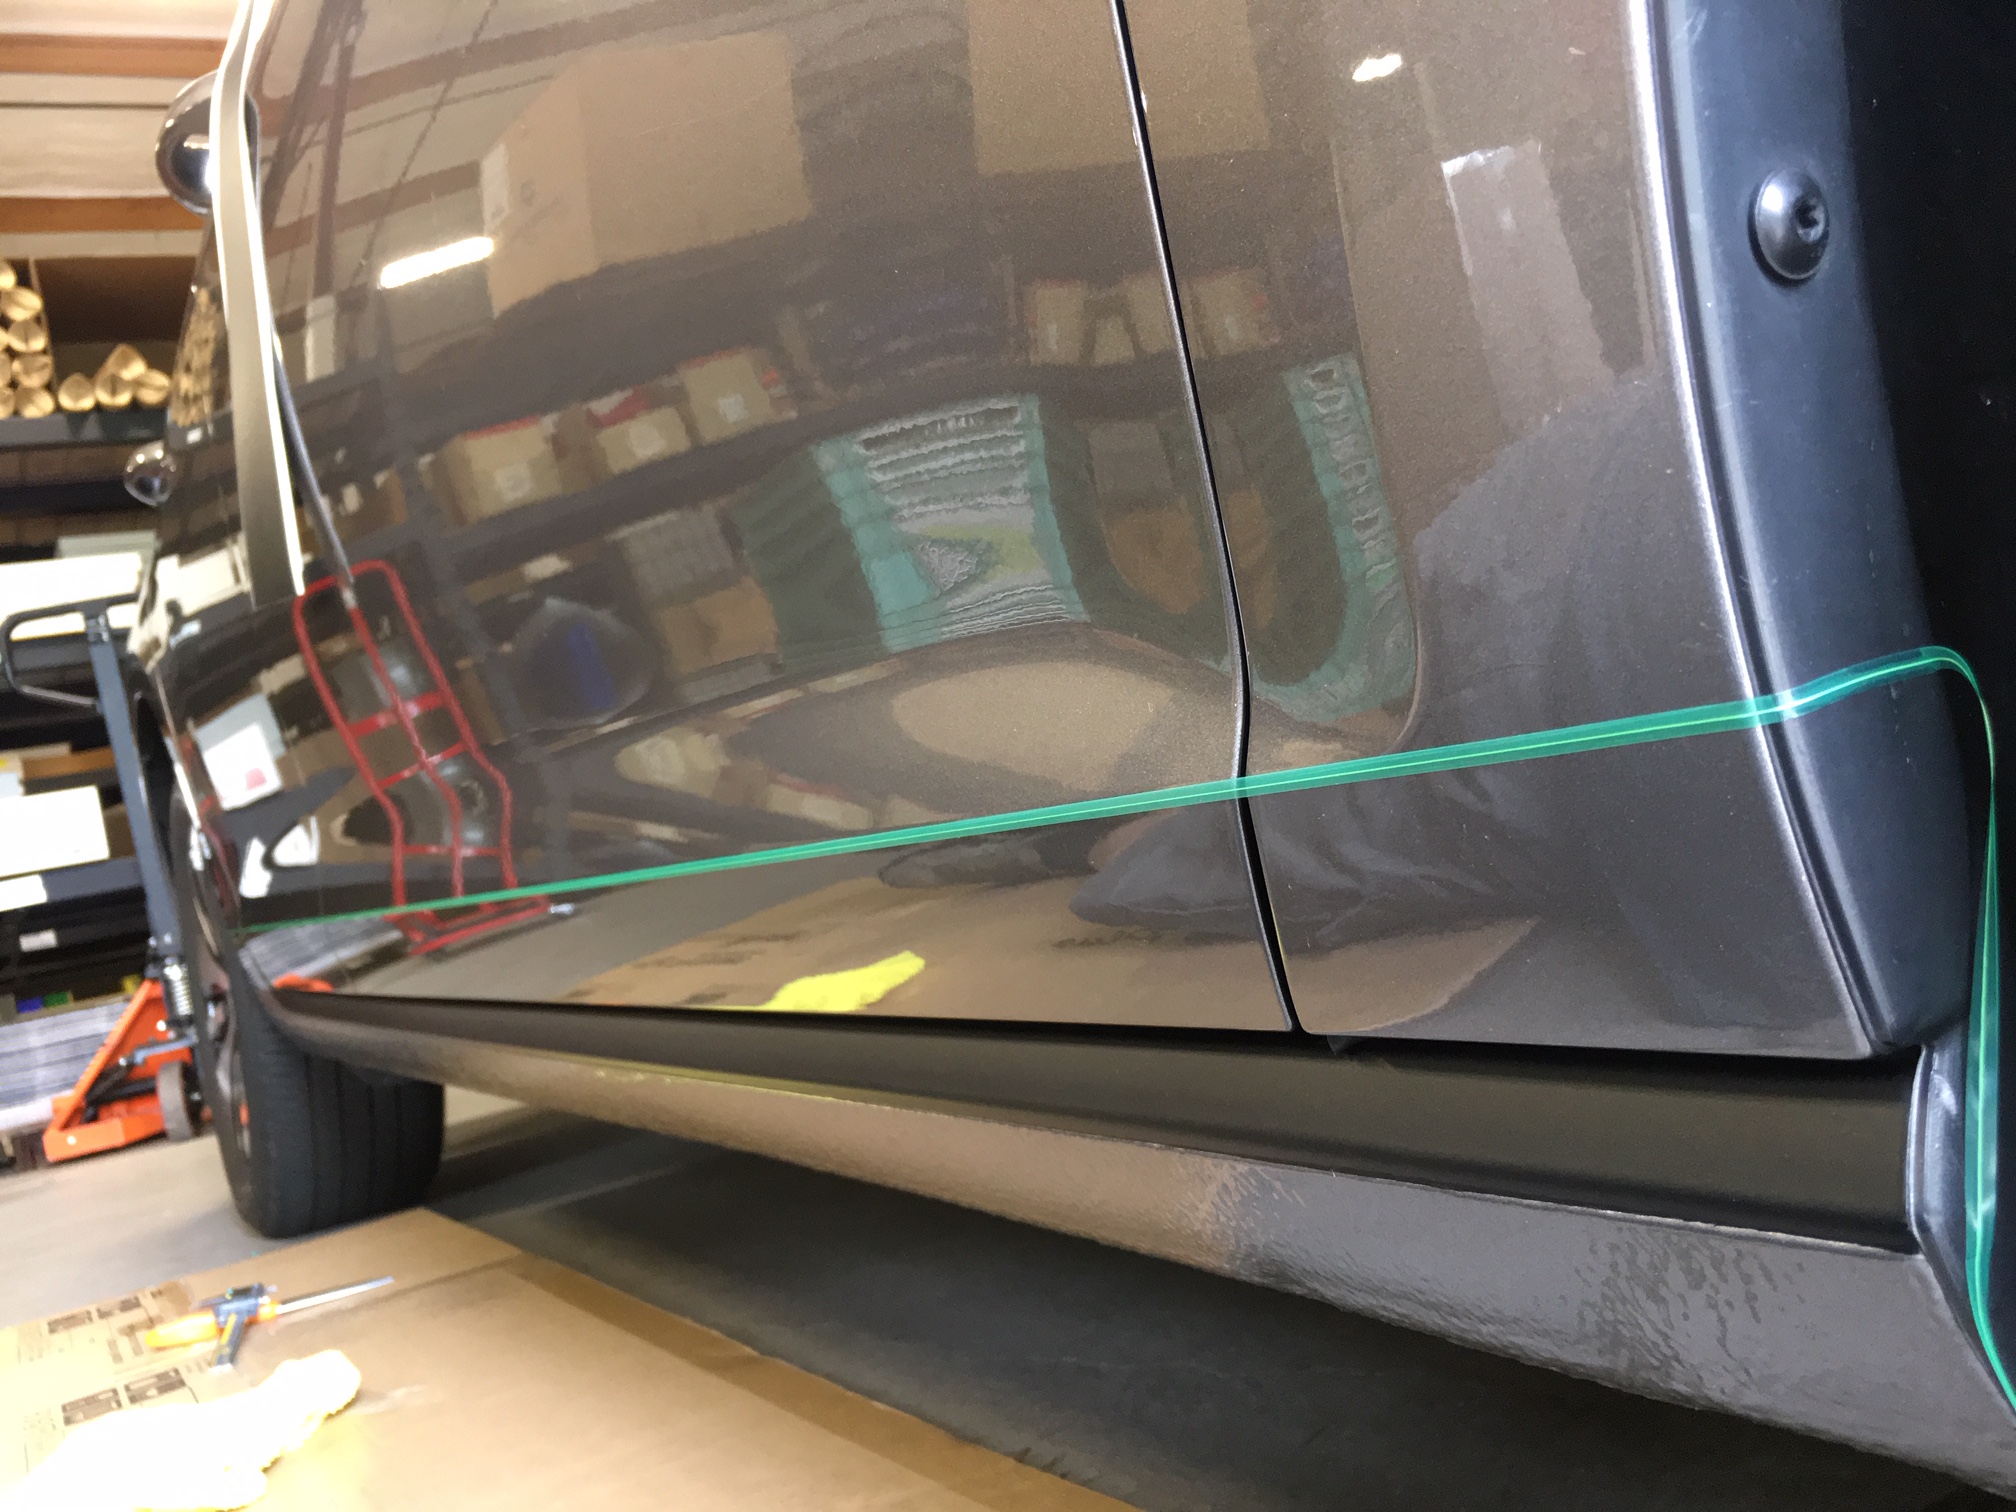
We then moved to the rockers and utilizing the same process, busted out the 3M Knifeless tape again. This stuff works great on straight lines as you pretty much just anchor it on one end, pull it taunt and stick it down. With the knifeless tape in place, we then applied the pieces of vinyl over the rocker sections as needed, then squeegeed them down with the use of a heat gun. Accuracy isn’t important here as once you’ve laid the vinyl down, you just zip trim it with the knifeless tape.


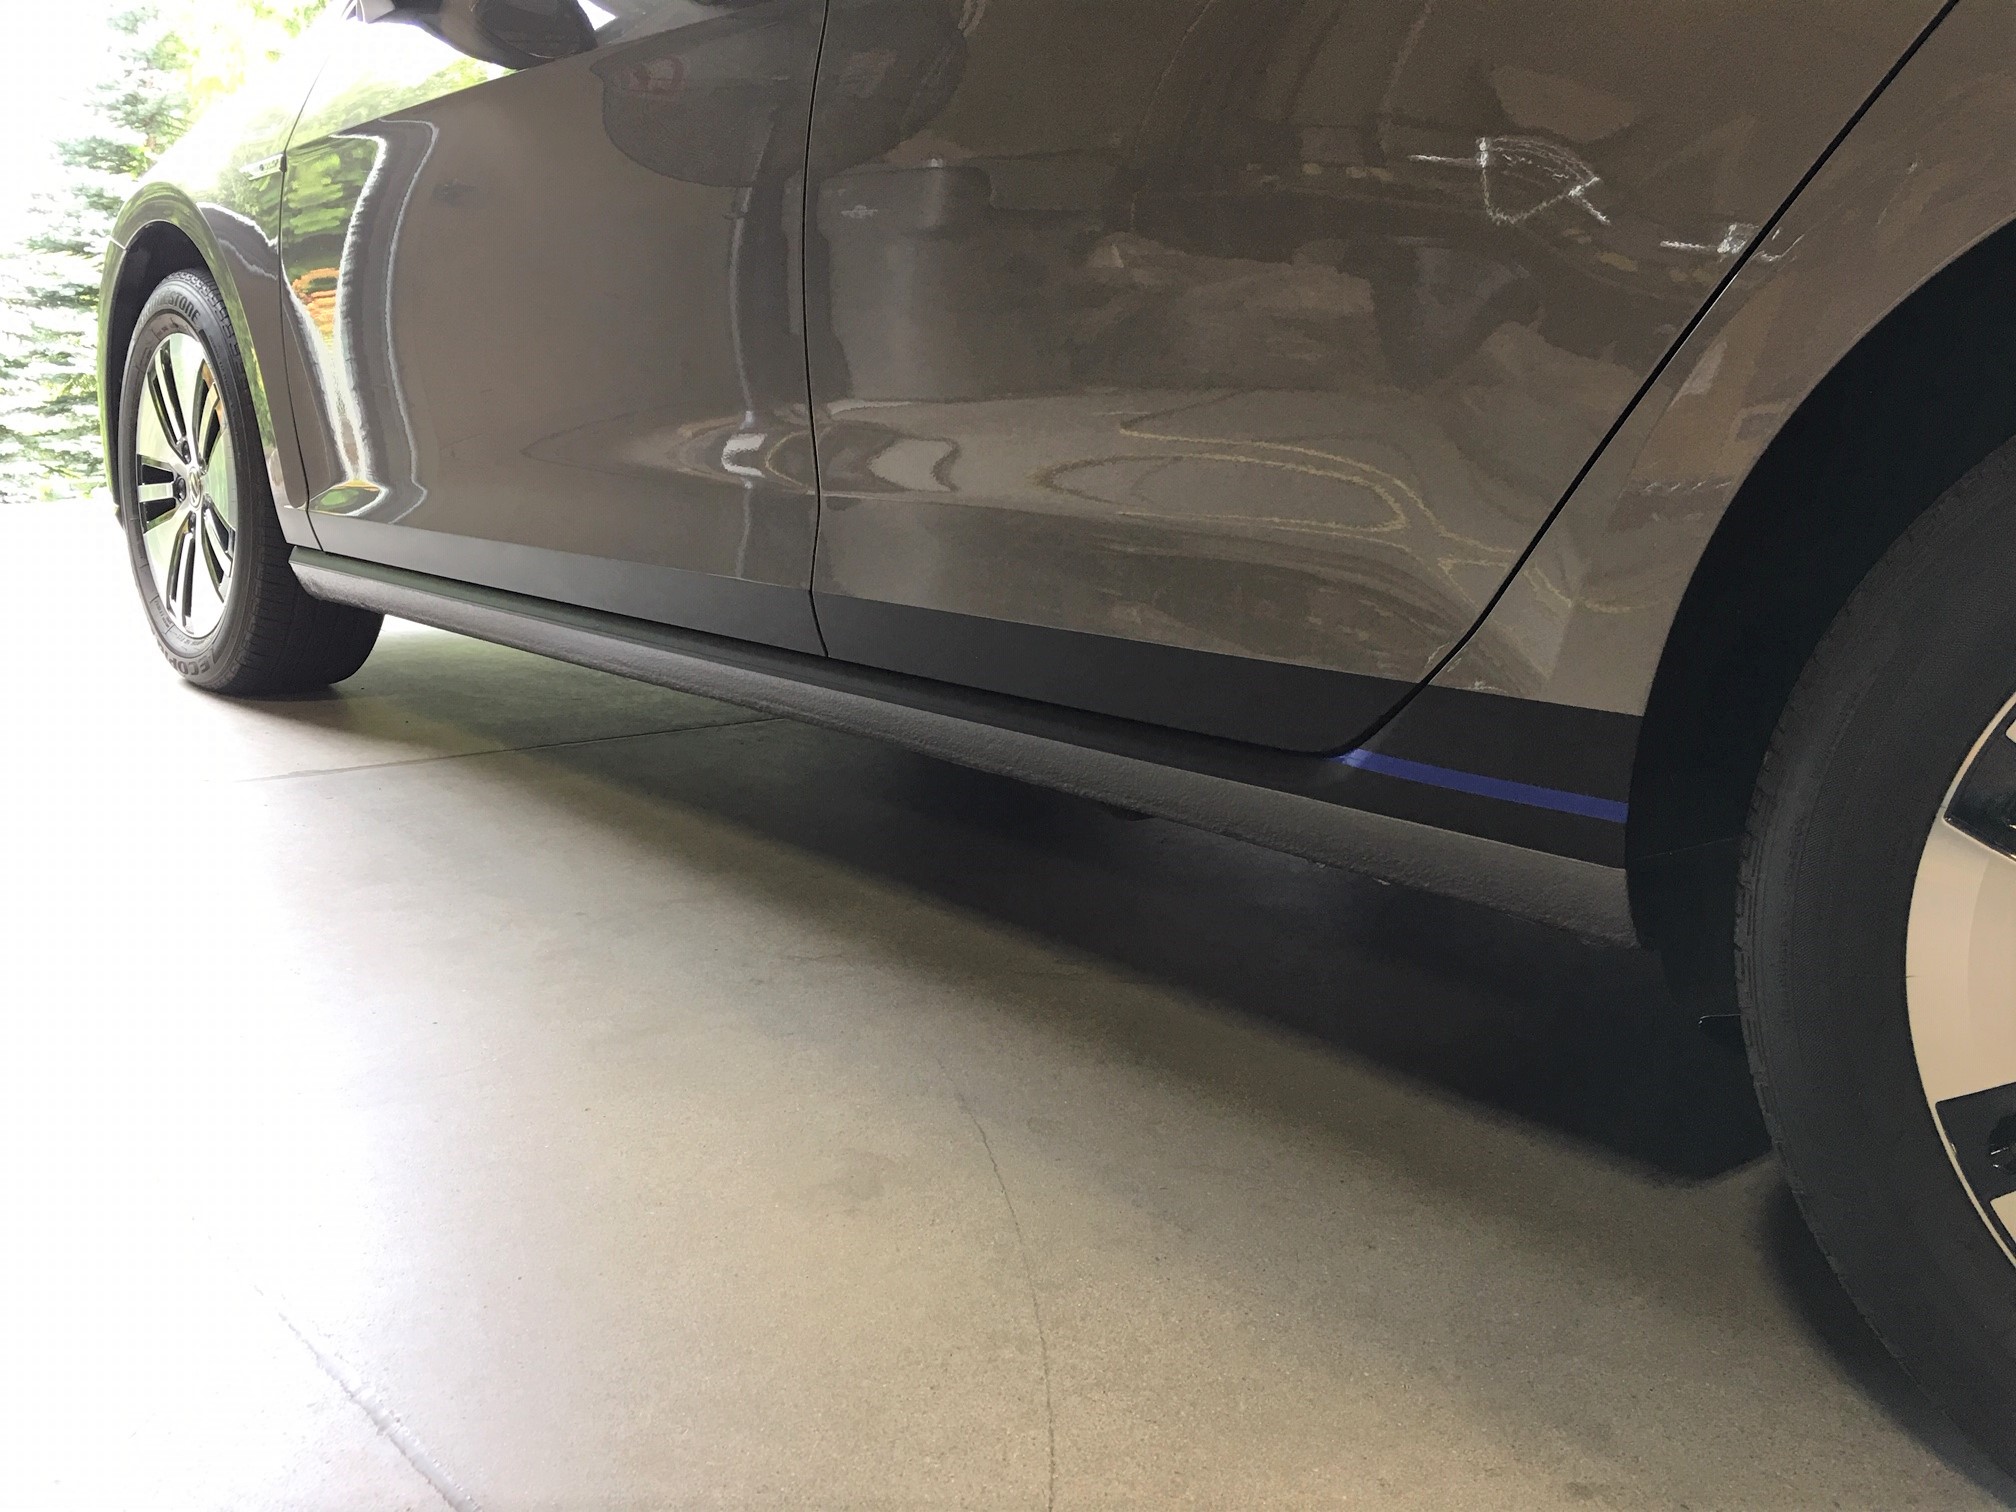
We added a final pop of color as an added bonus and called it good.

To be honest… after getting our new vinyl cutter, I’ve kinda gone a bit bonkers and started creating all sorts of fun trim pieces. I’ll write another blog post soon about them, but here’s a few teasers in the meantime.


Cheers and Happy Motoring! -Steve