THANK YOU for purchasing the MINI R53 Cold Air Intake from CravenSpeed. This product is made from the highest grade materials, and is guaranteed to be free from defects.
You can buy our CravenSpeed Cold Air Intake for MINI R53 here
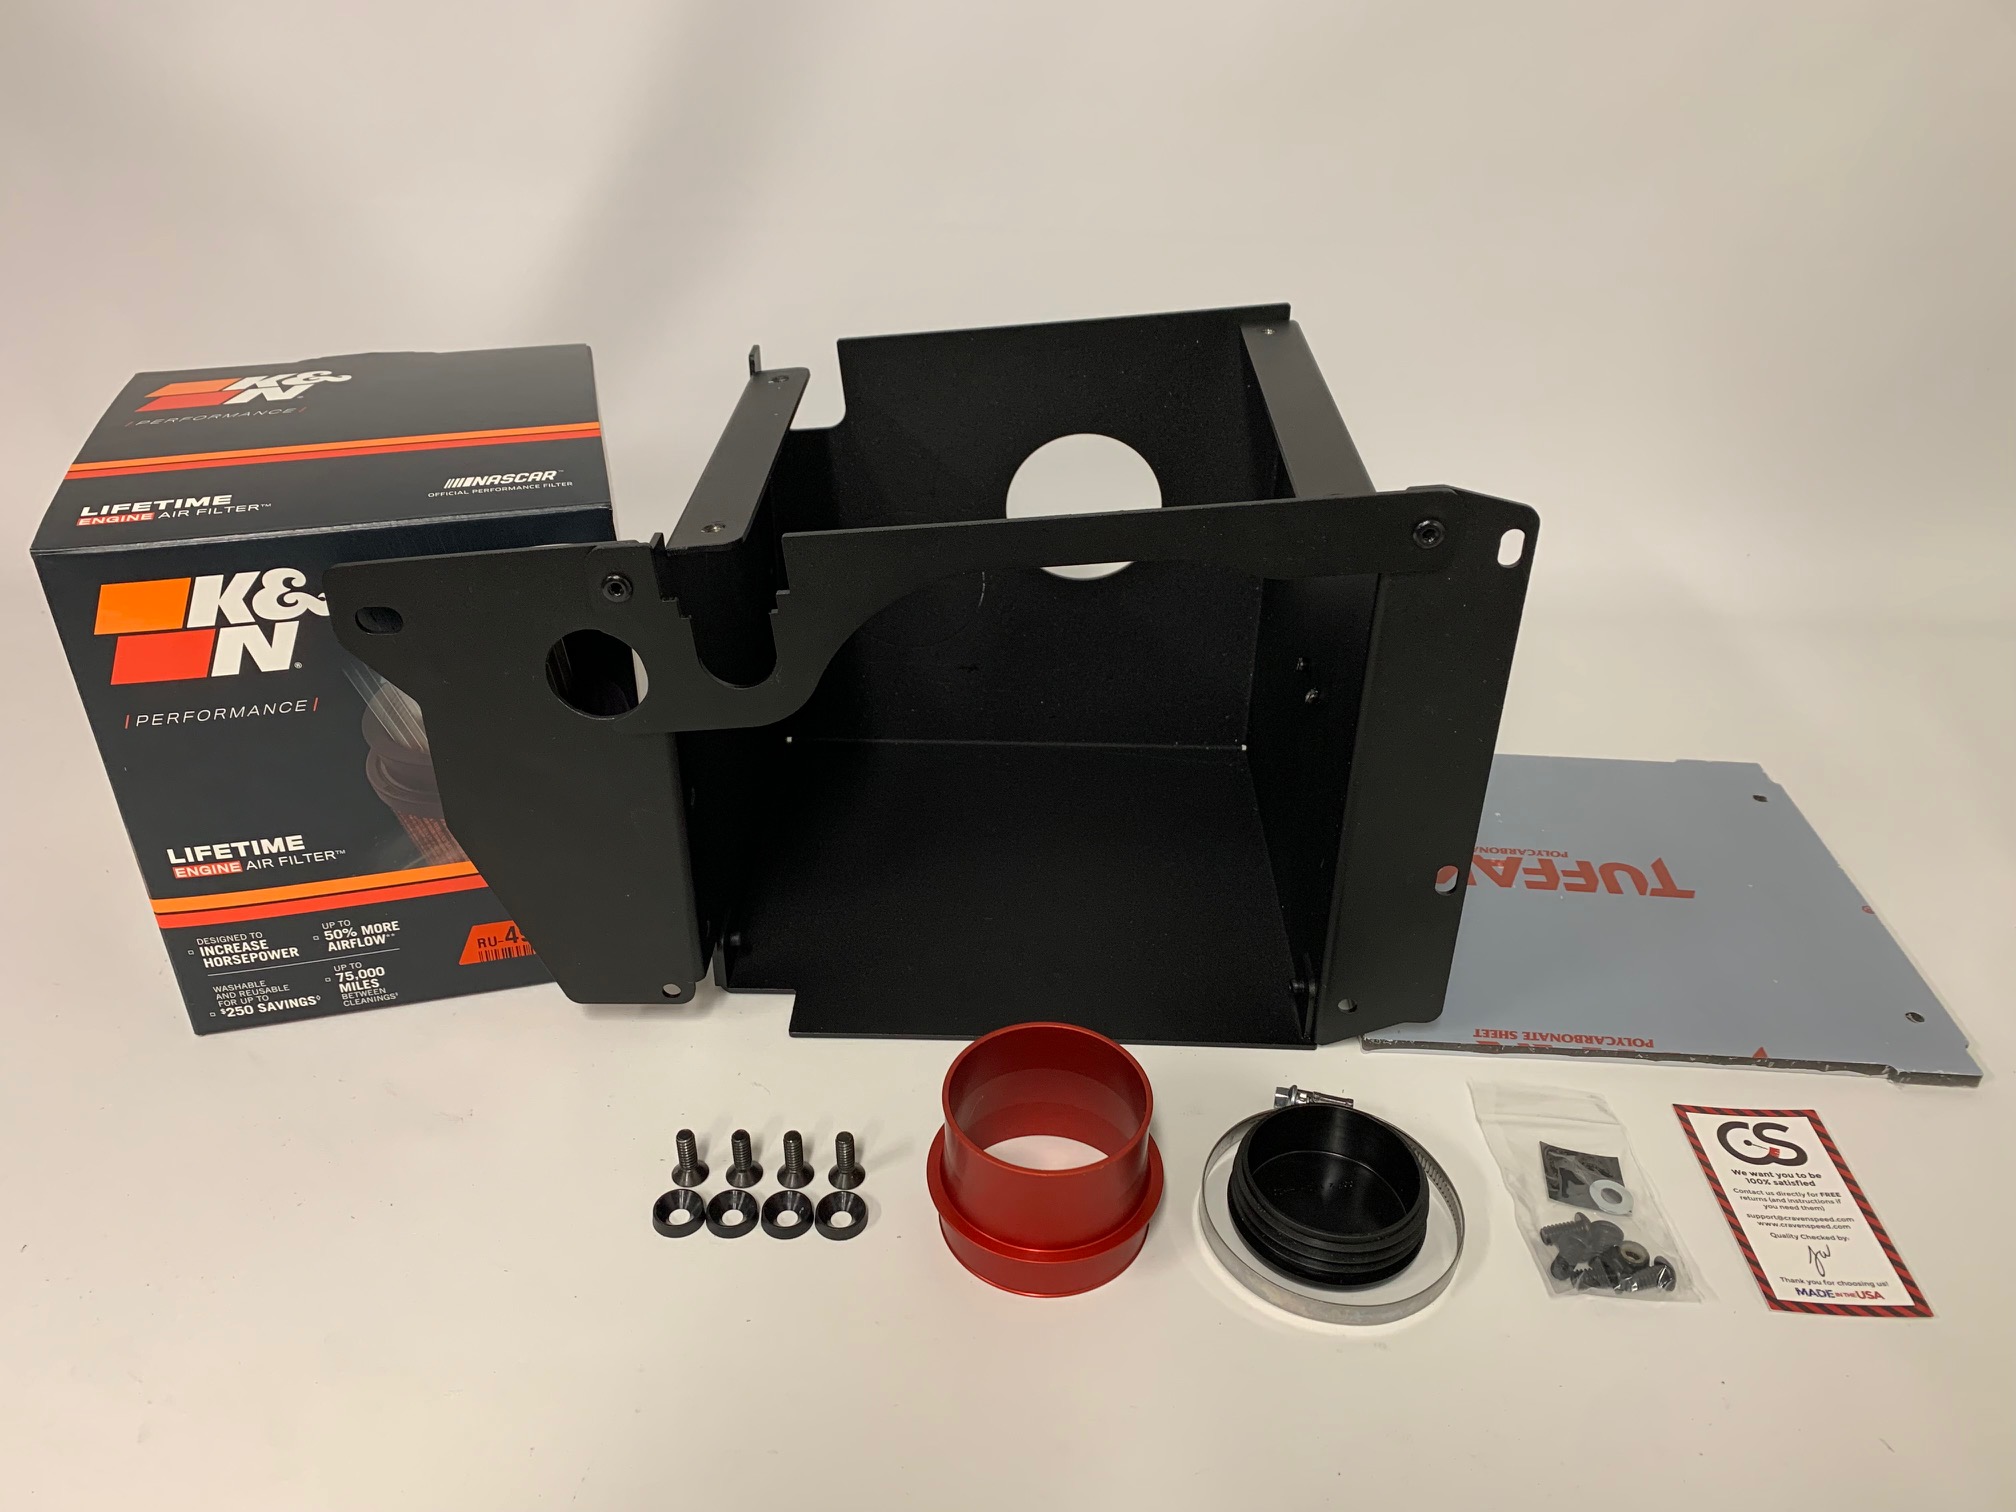
Parts Included:
- Airbox Assembly
- K&N Air Filter
- Air Filter Coupler, Anodized Red
- Polycarbonate Top, Smoked Grey Tint
- Hose Clamp
- Cold Air Intake Plug, Black Plastic
- Thin Adhesive Anti-Scratch Pad, Black
- (4) Cone Washers, Black Plastic
- (5) 1/4-20 Stainless Button-Head Screws, Black
- (4) 1/4-20 Stainless Flat-Head Screws, Black
- 1/4-20 Nylock Nut, Black
- 1/4 Stainless Flat Washer
Tools Required:
- T25 Torx Driver
- T30 Torx Driver
- Philips Head Screwdriver
- Standard Screwdriver
- 10mm Socket w/ Wrench
- 7/16" Open-Ended Wrench
- 3/16" Hex Driver
For a video instructional please visit R53 CAI Instructional Video
Procedure
1. Remove the stock intake
1. Begin by visiting the boot of your MINI and disconnecting the negative battery terminal. We don't want to damage anything by mucking about with a live electrical system.

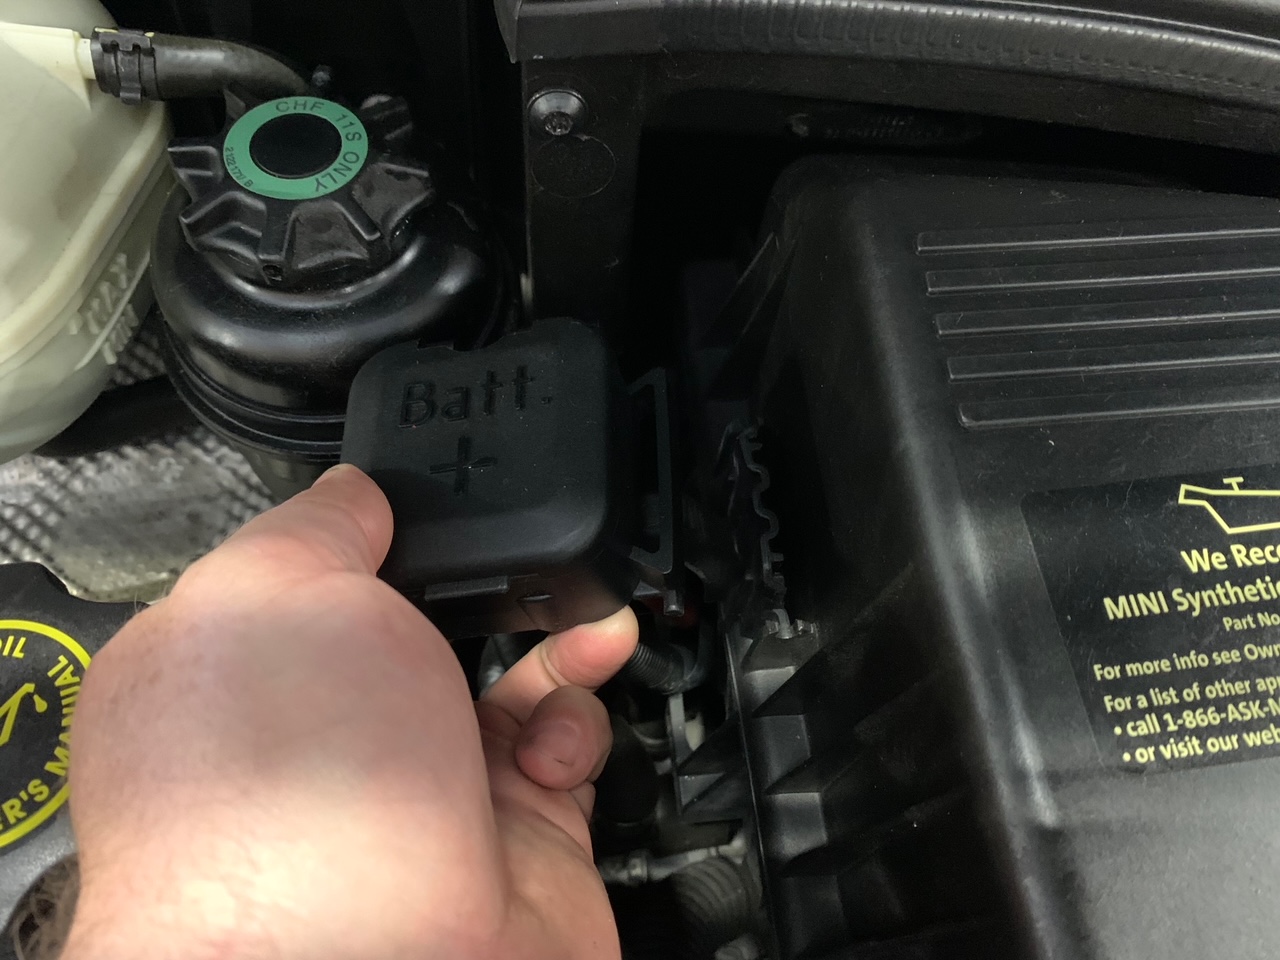
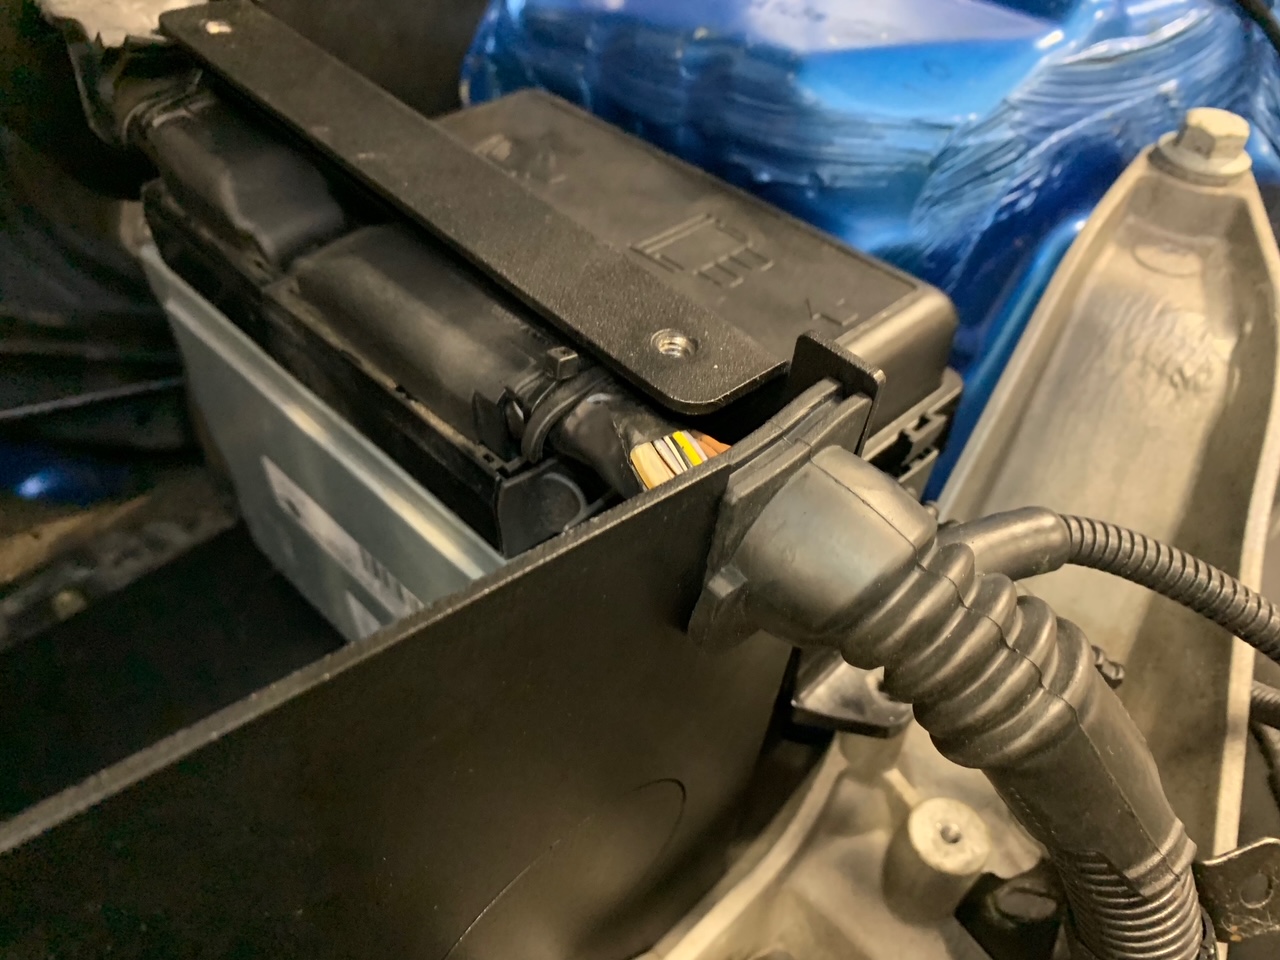
2. Back to the engine compartment, remove the positive (+) battery terminal block from the side of the factory airbox. It just pulls up/off the mount simple as can be. The two cables from this block also pass thru two tabs molded onto the factory airbox. Maneuver the cables free of the tabs and push the positive (+) battery terminal block to the left to create some space to move around for the following steps.
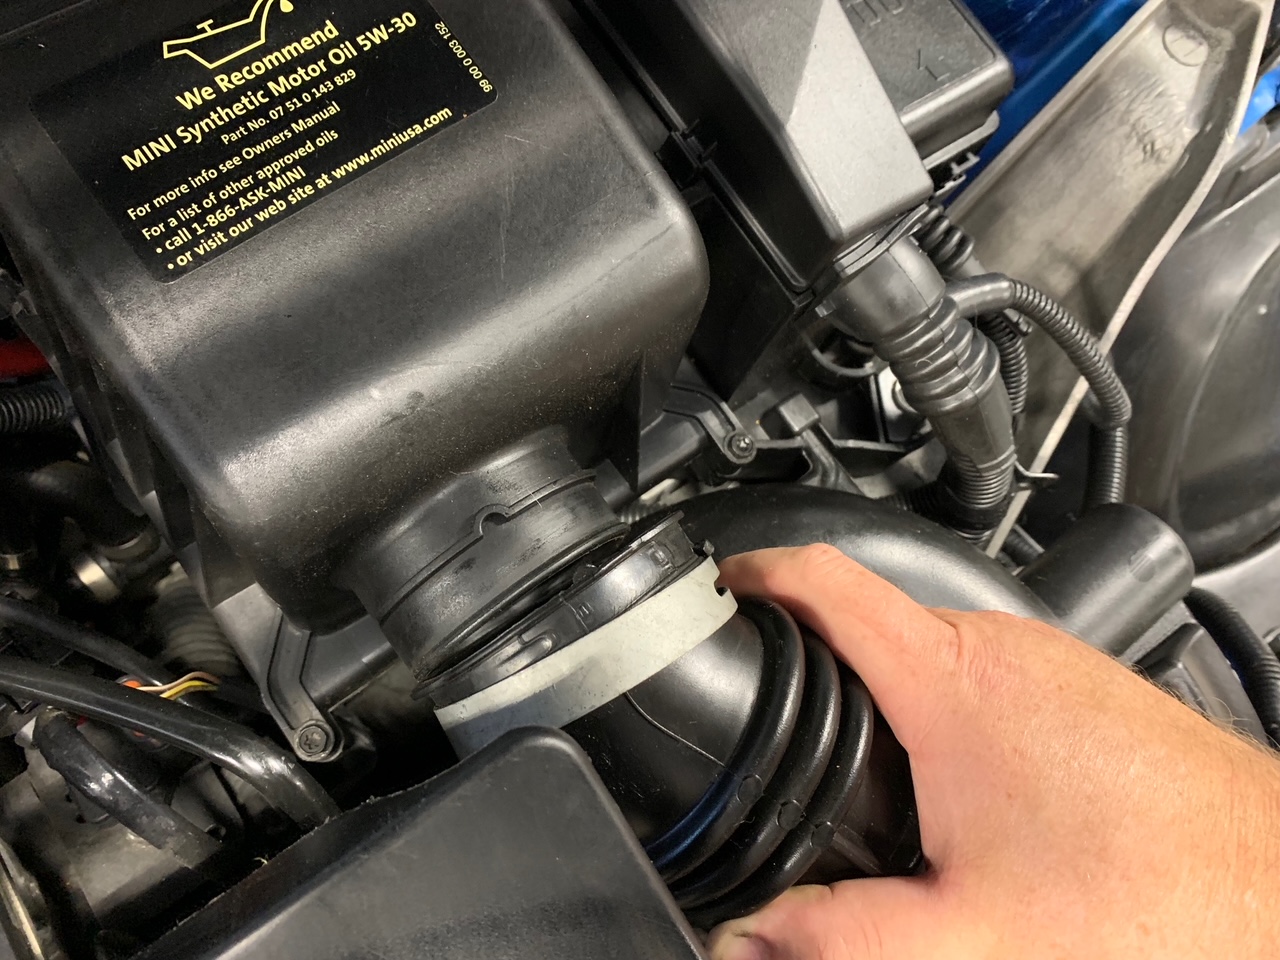
3. Loosen the intake hose clamp and slide it back upon the intake hose. We'll be reusing this clamp.
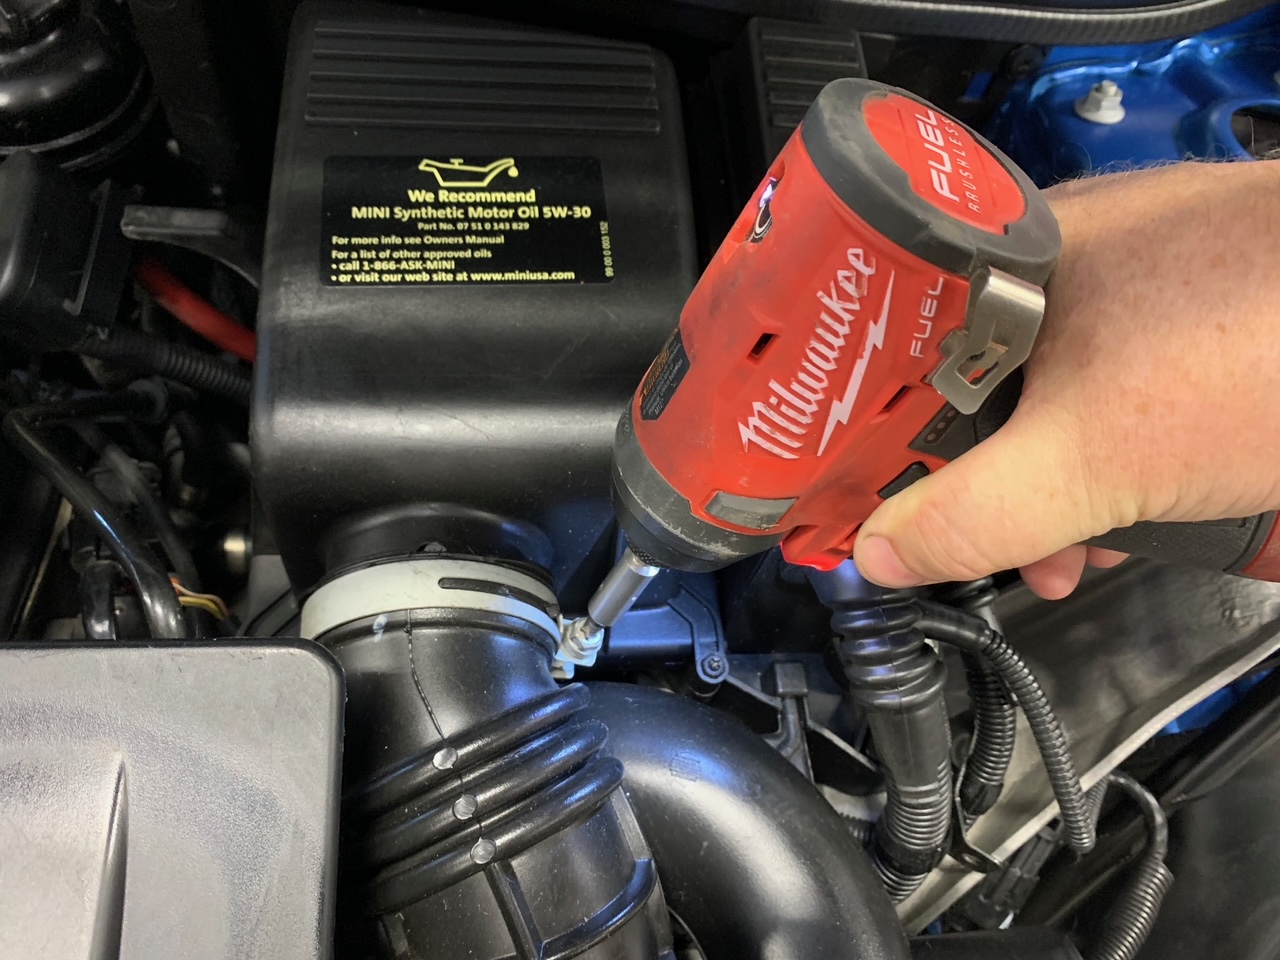
4. Remove the two T25 torx screws along the front edge of the factory airbox and remove the lid and filter.

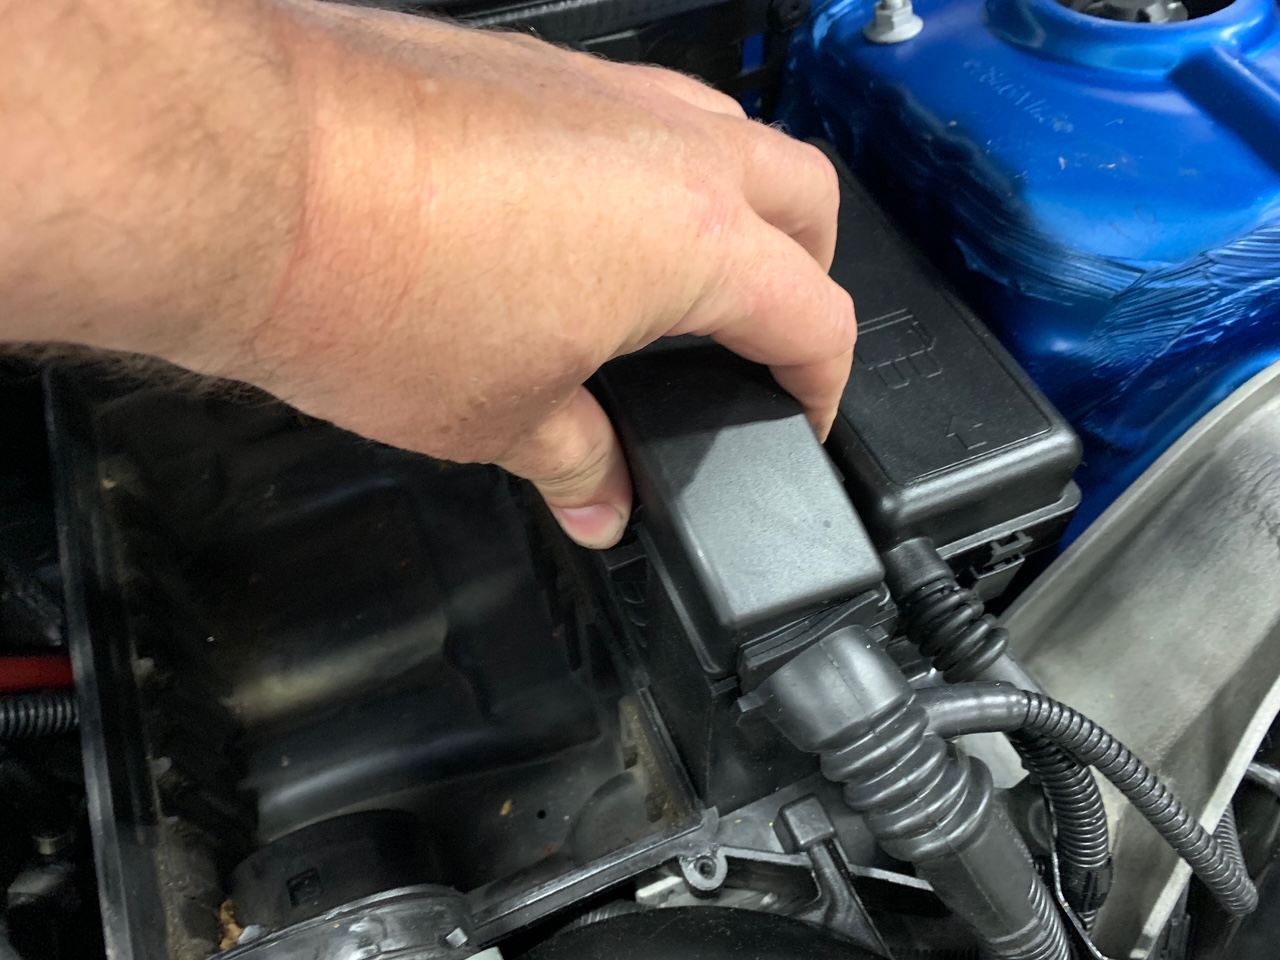
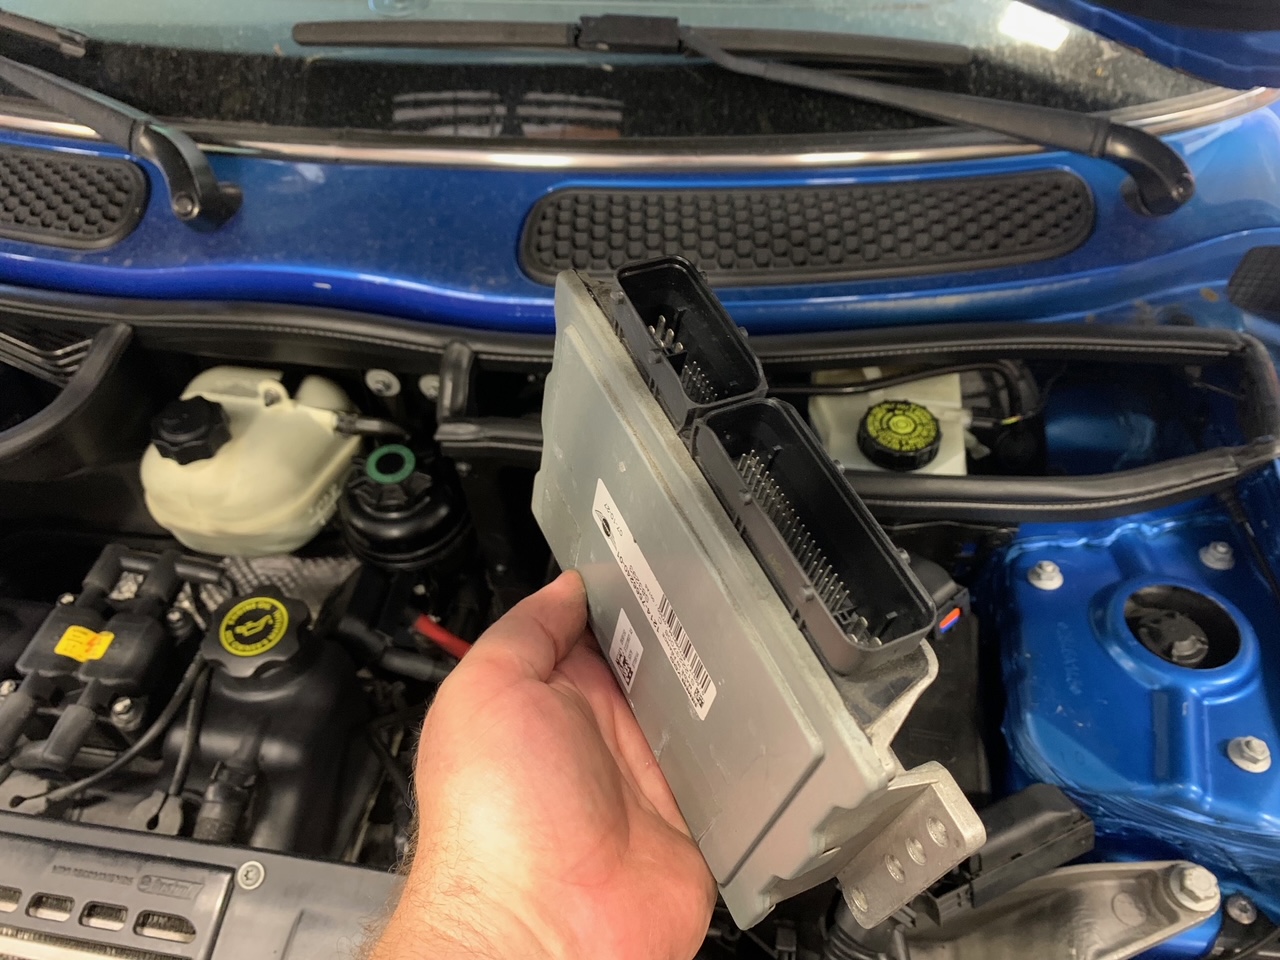
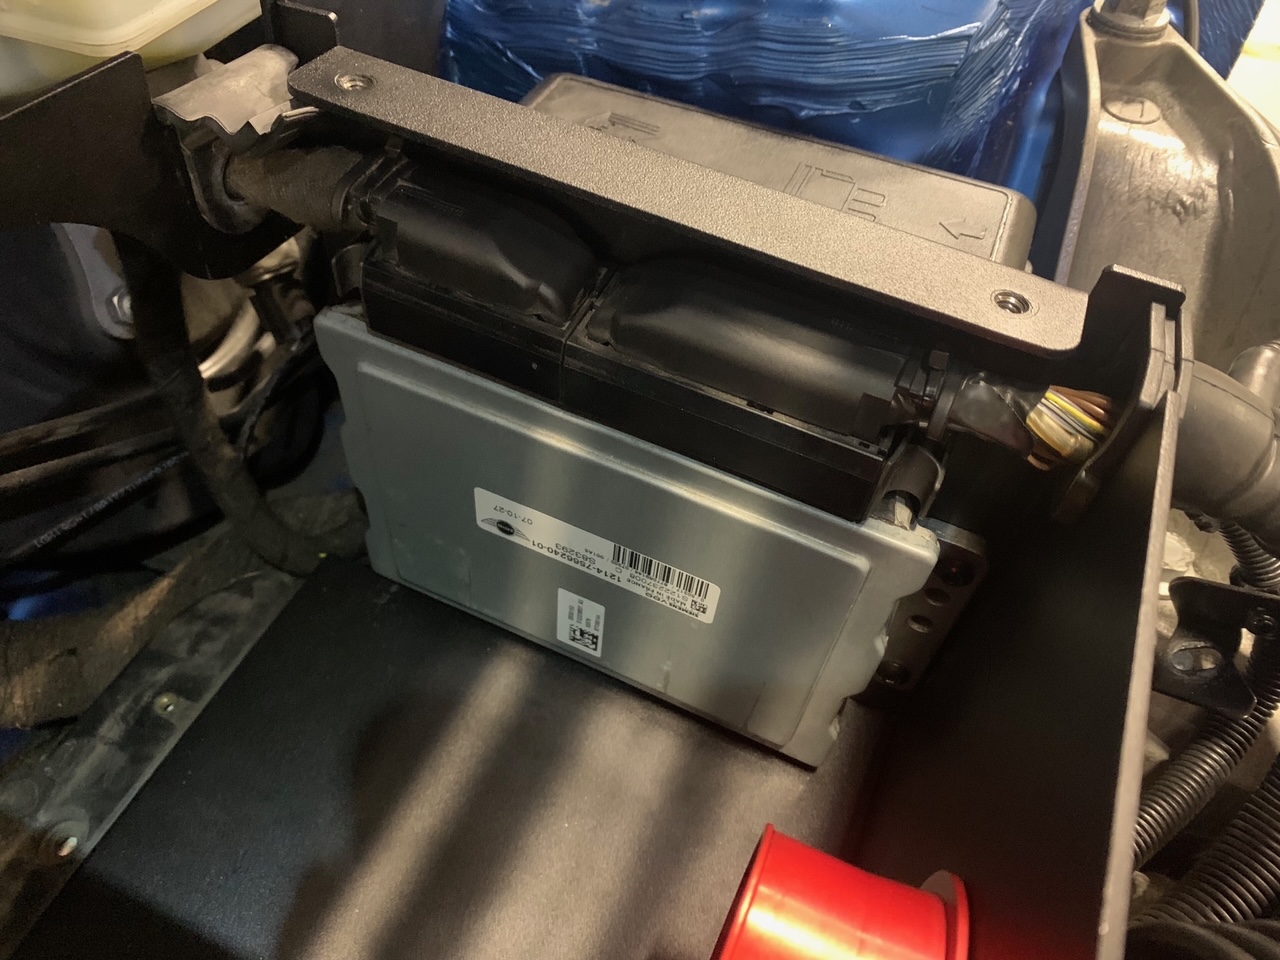
5. Remove the ECU cover. It just has two tabs on each side that squeeze together and lift off.
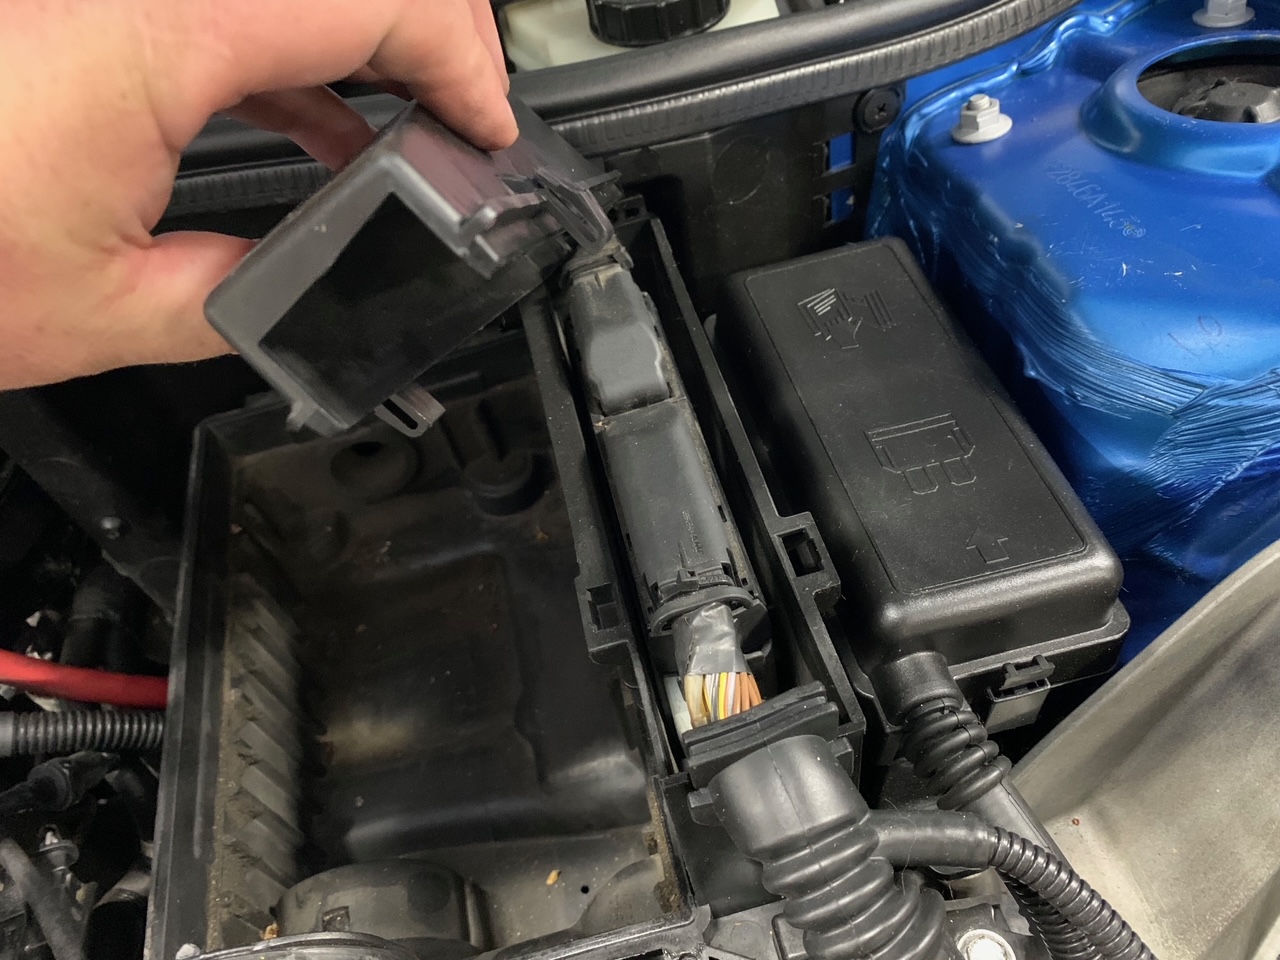
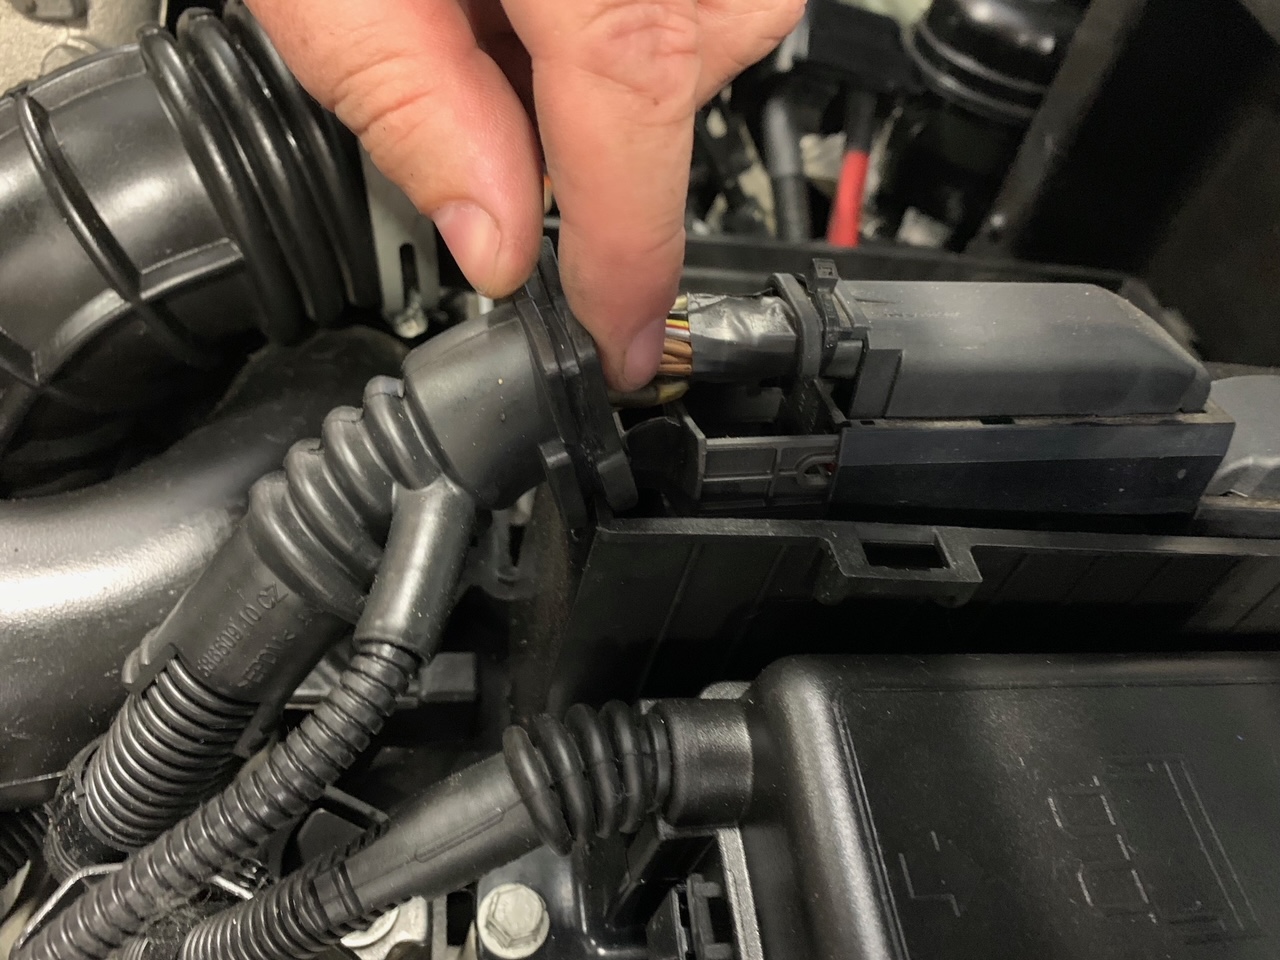
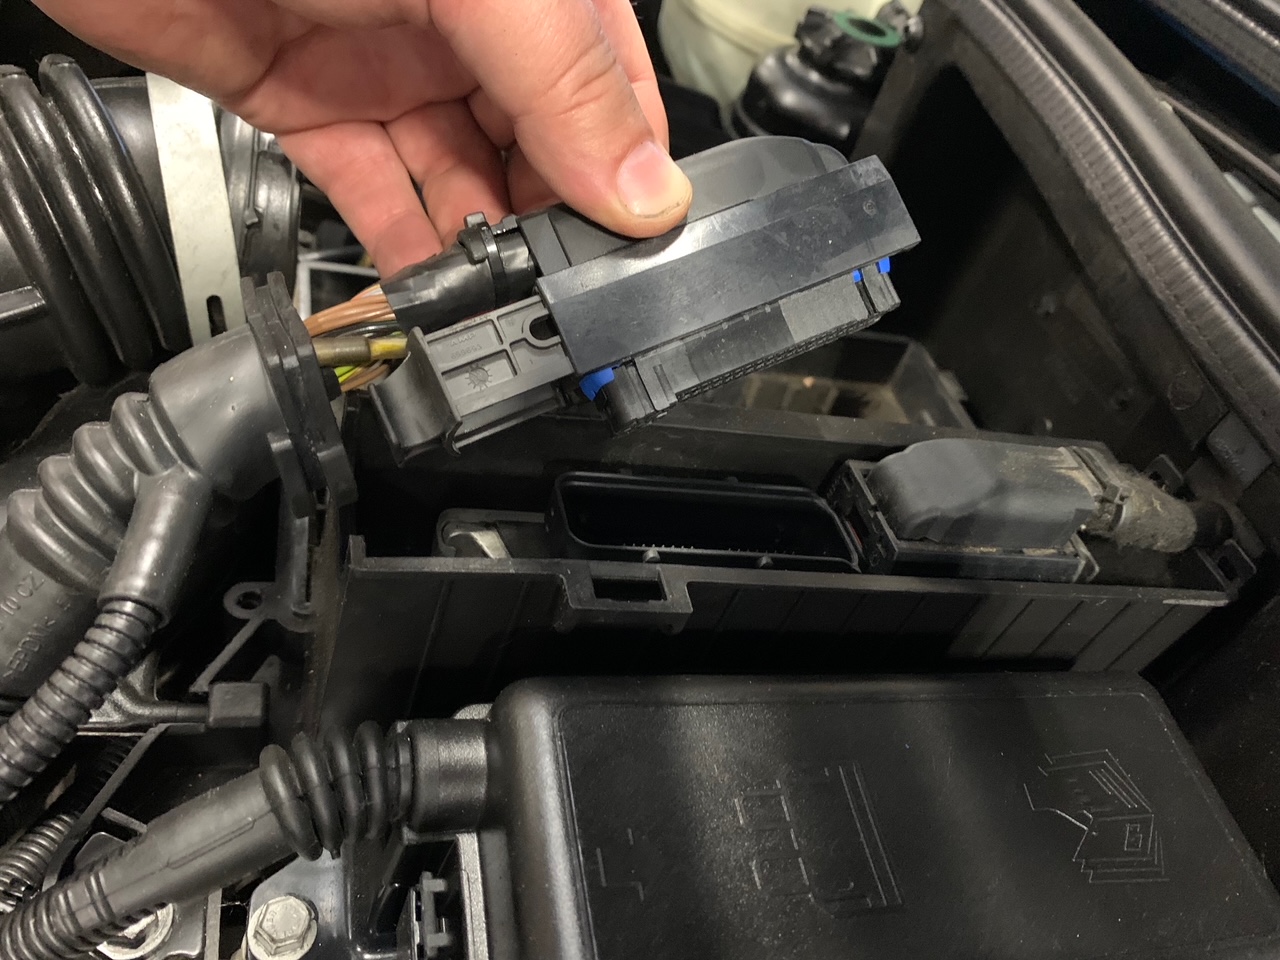
6. Disconnect the two ECM plugs. These can be a little tricky because the space is a bit limited here. They each have a locking pull tab on the end of the plug that as you slide it, forces the plug up and off the ECU. It may be easier to use two small screwdrivers and carefully to push/slide these tabs away from the plug.
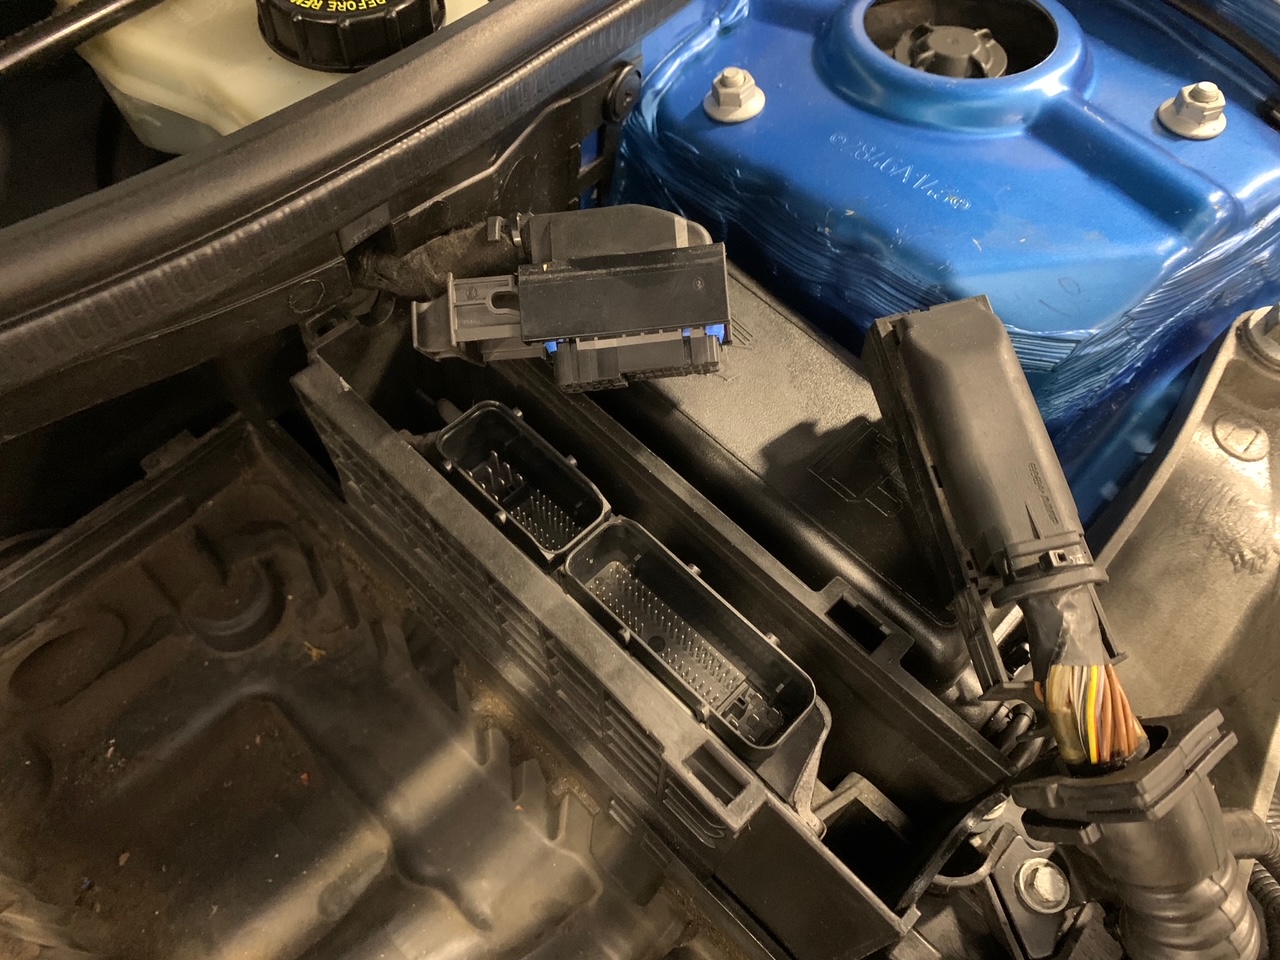
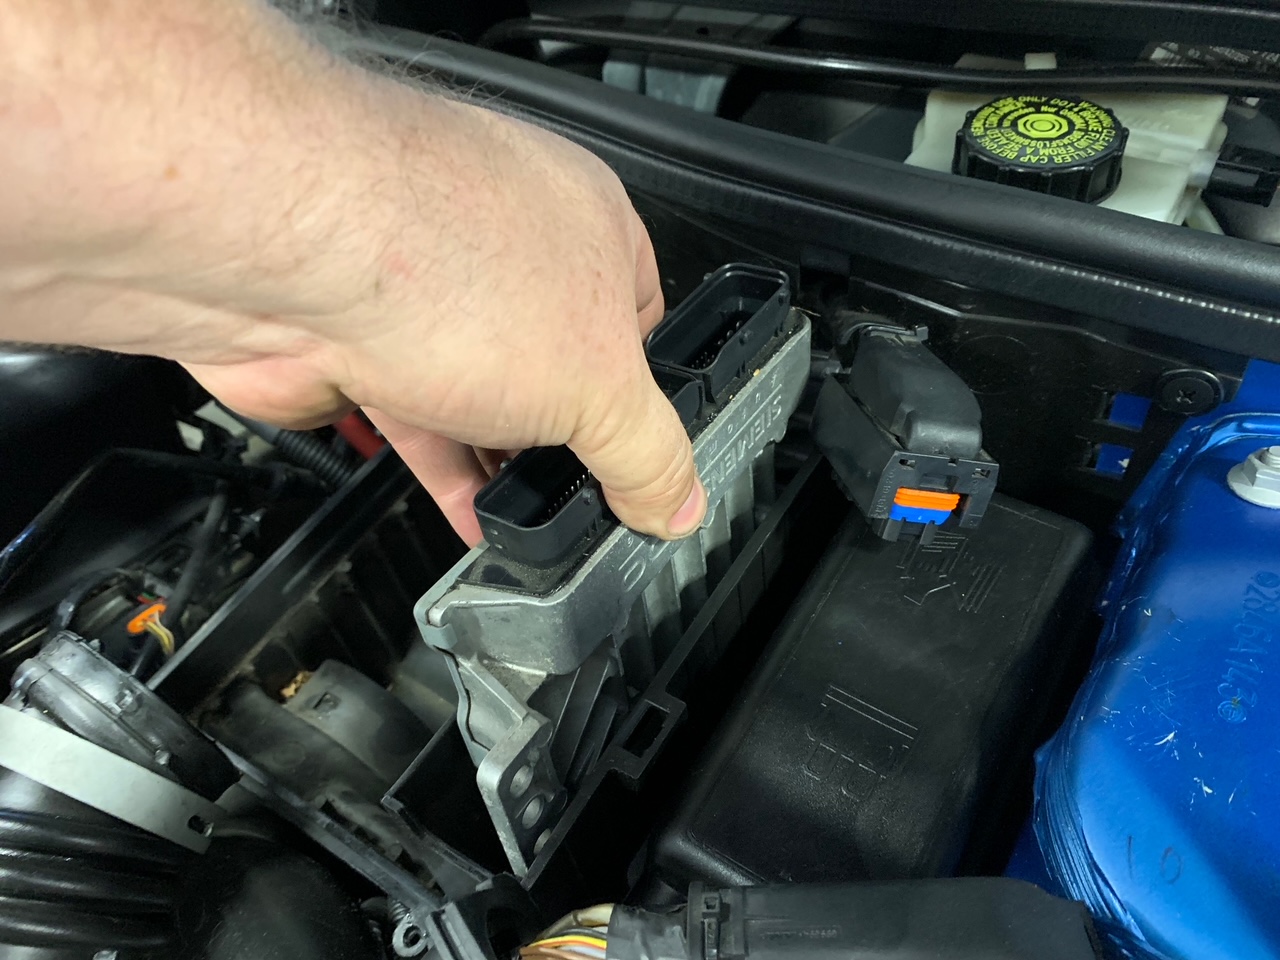
7. Simply lift out the ECU.
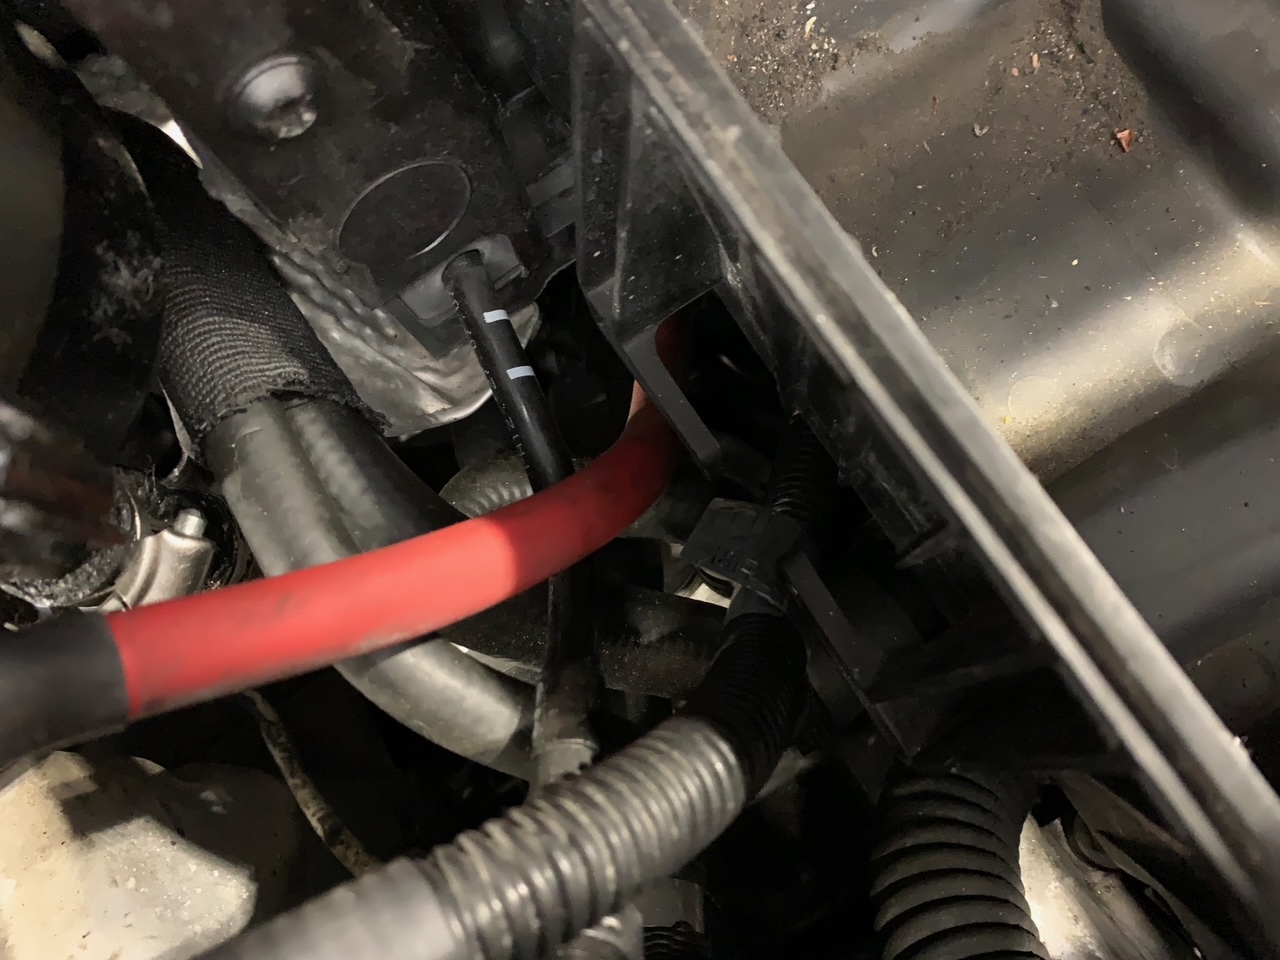
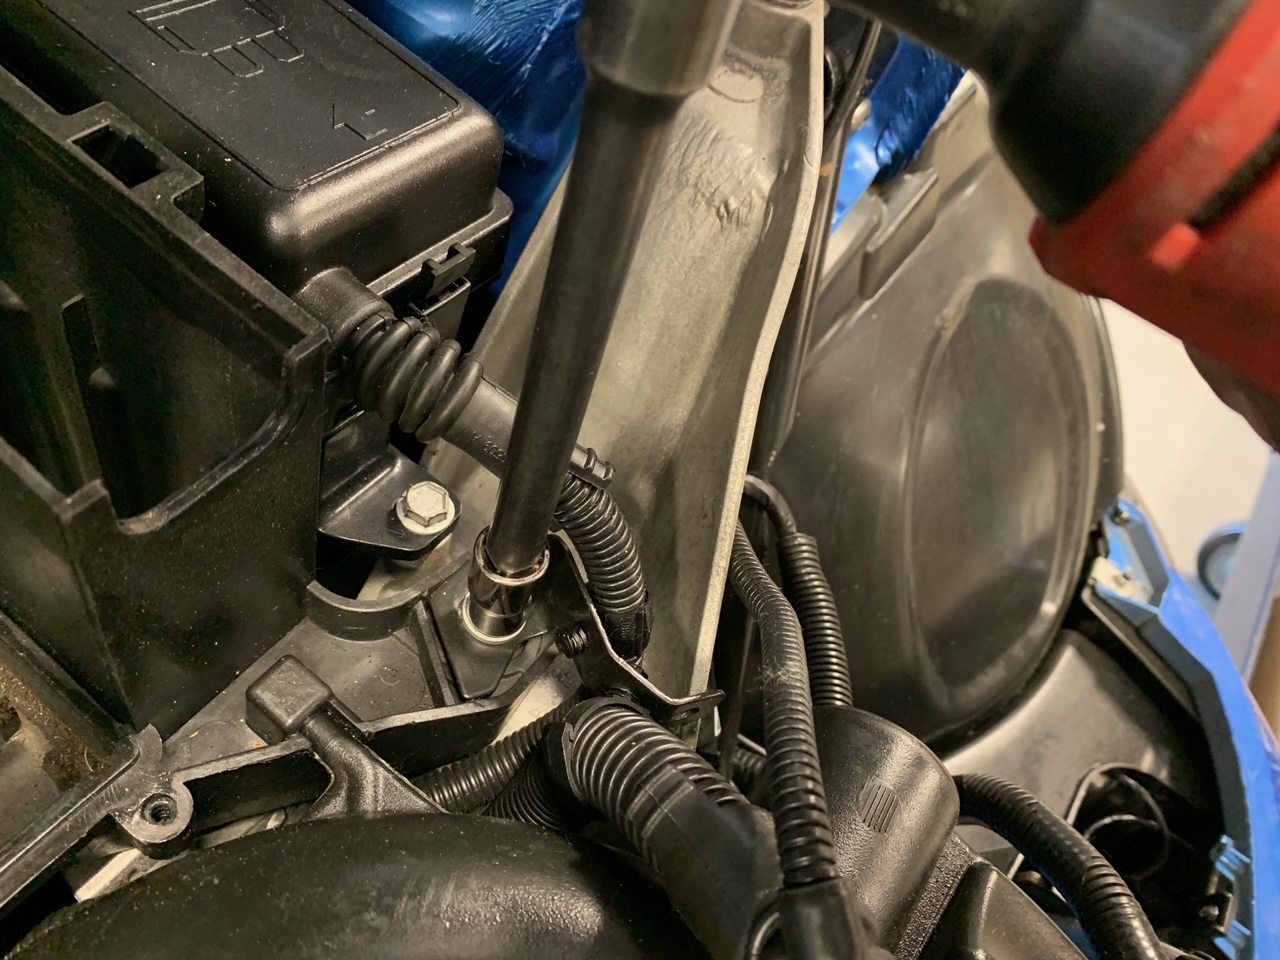
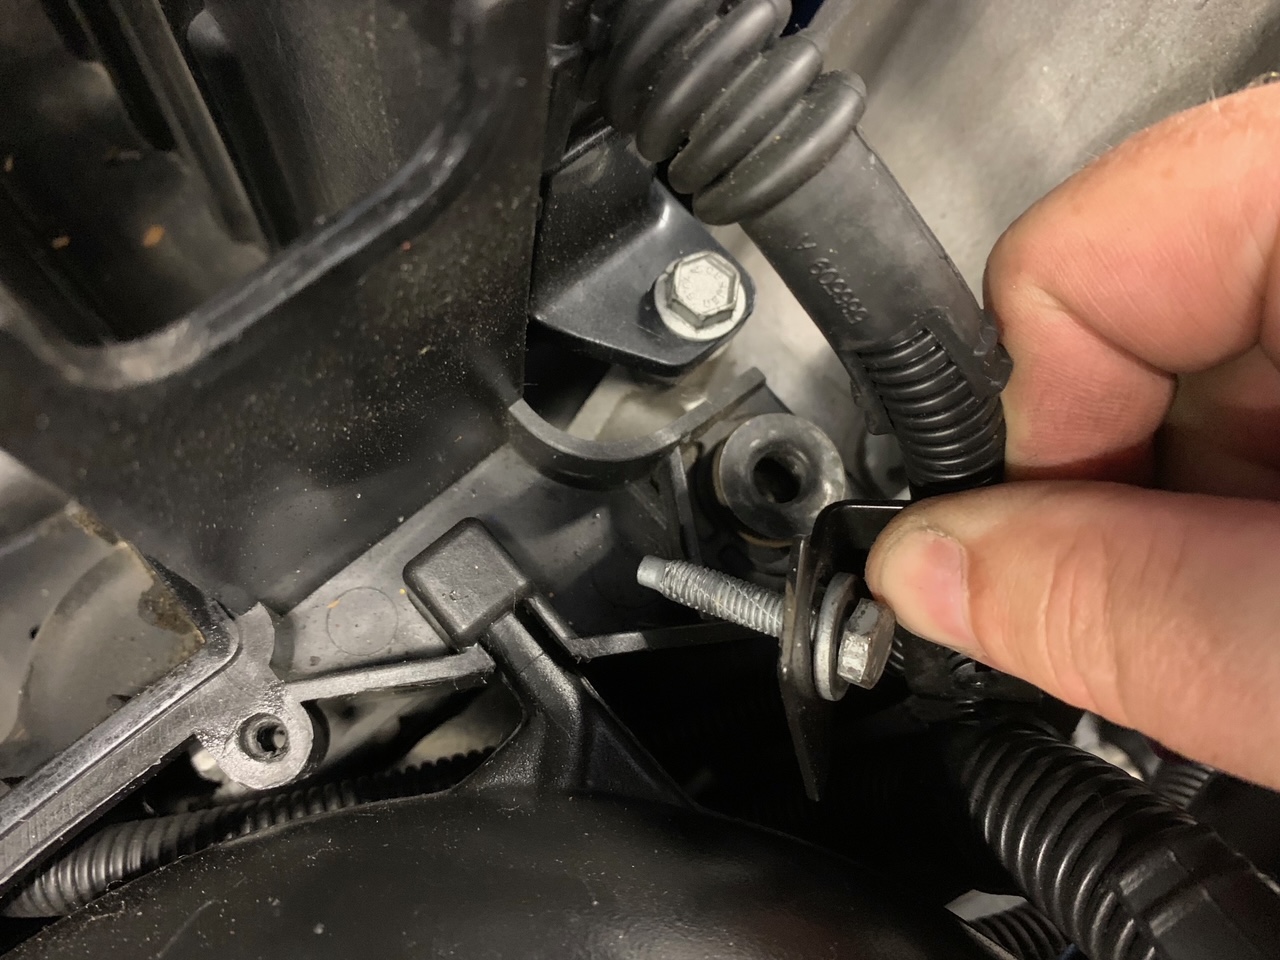
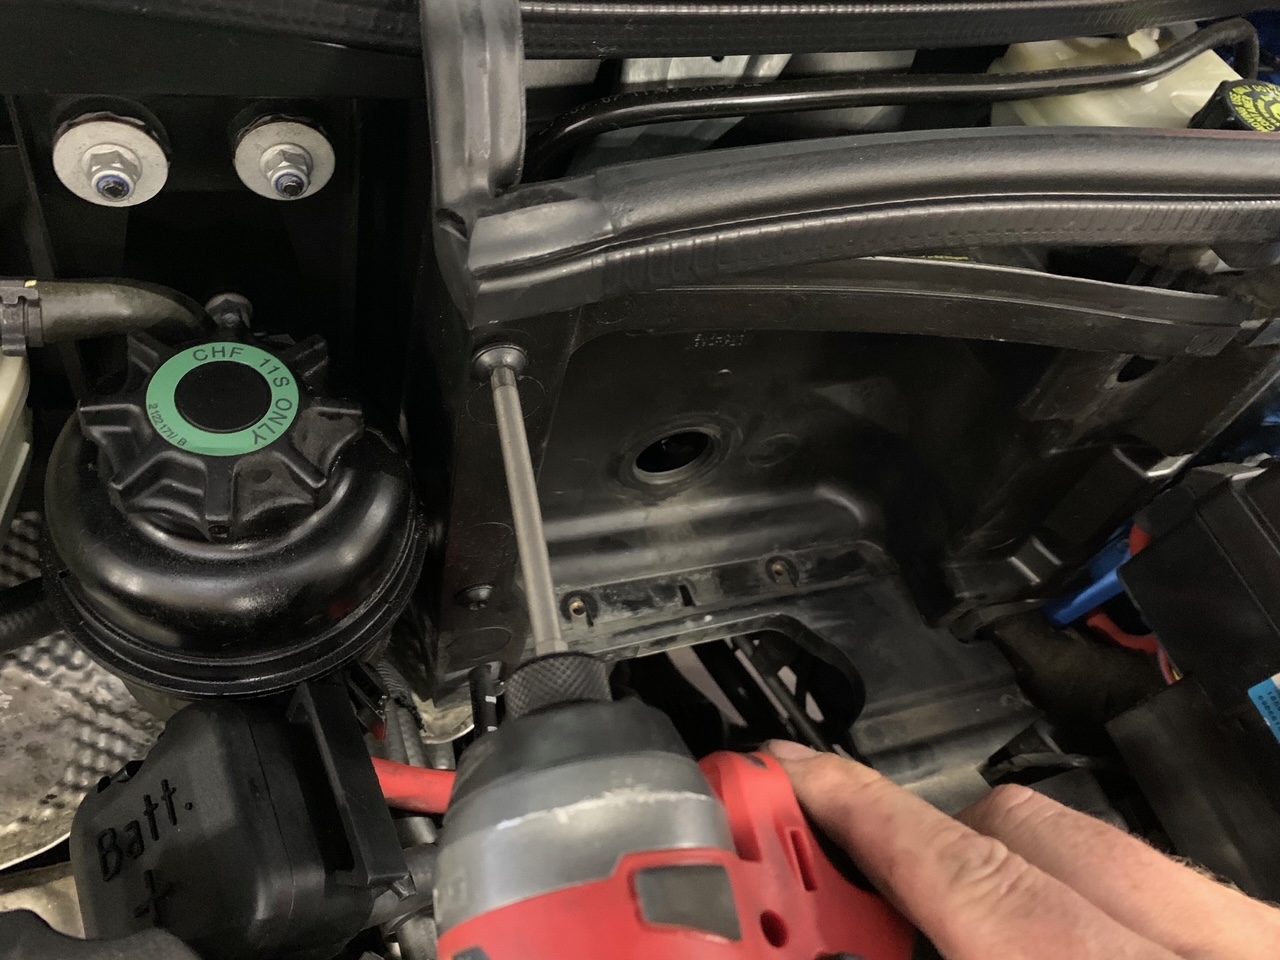
8. Looking at the front, driver side of the factory airbox, remove the 10mm screw that holds the bottom half of the factory airbox down. There is also a small steel bracket holding a wiring loom in place with the same 10mm screw. You will need to move this loom slightly out of the way to remove the airbox.
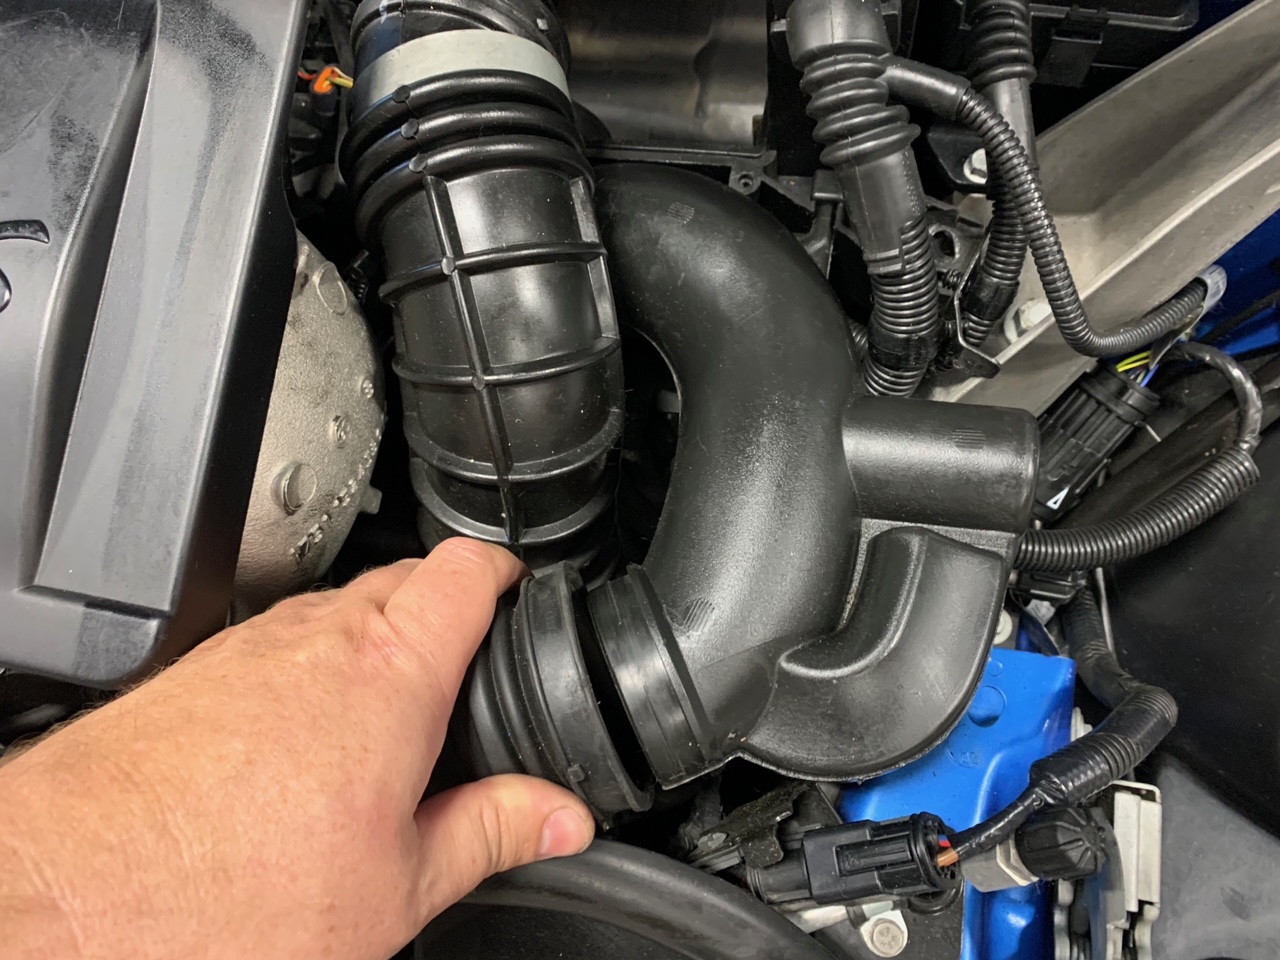
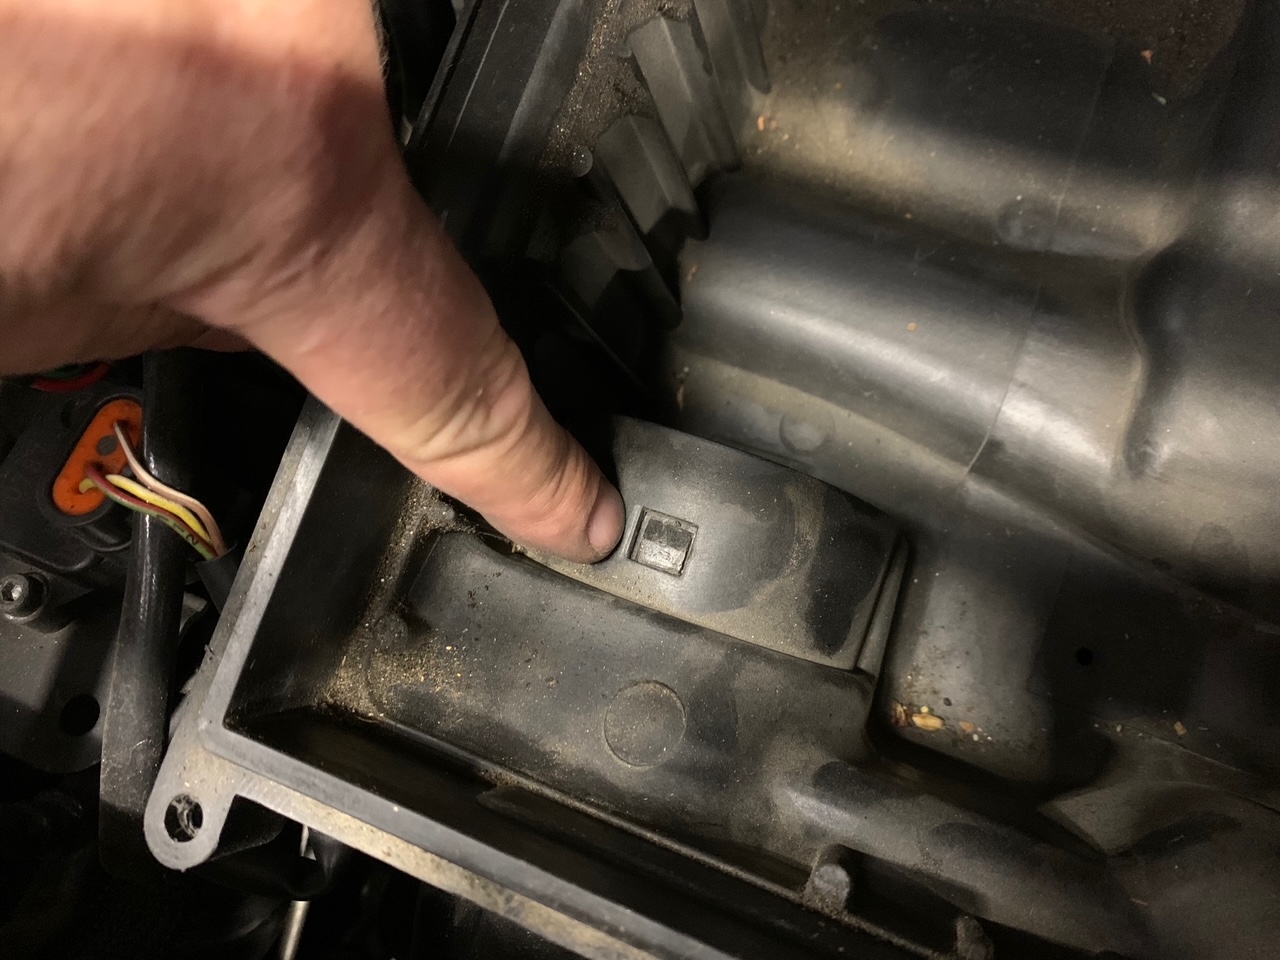
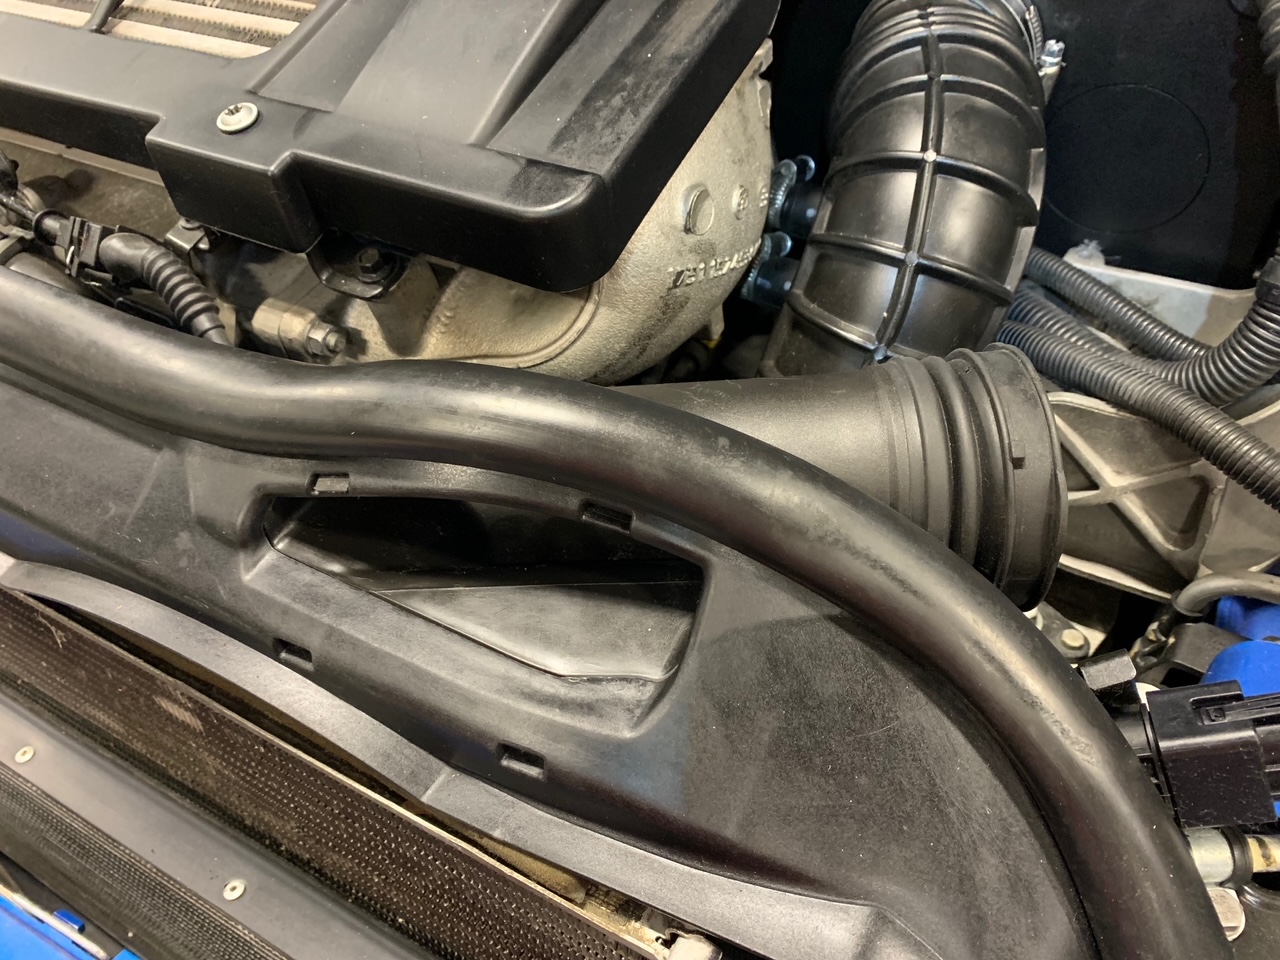
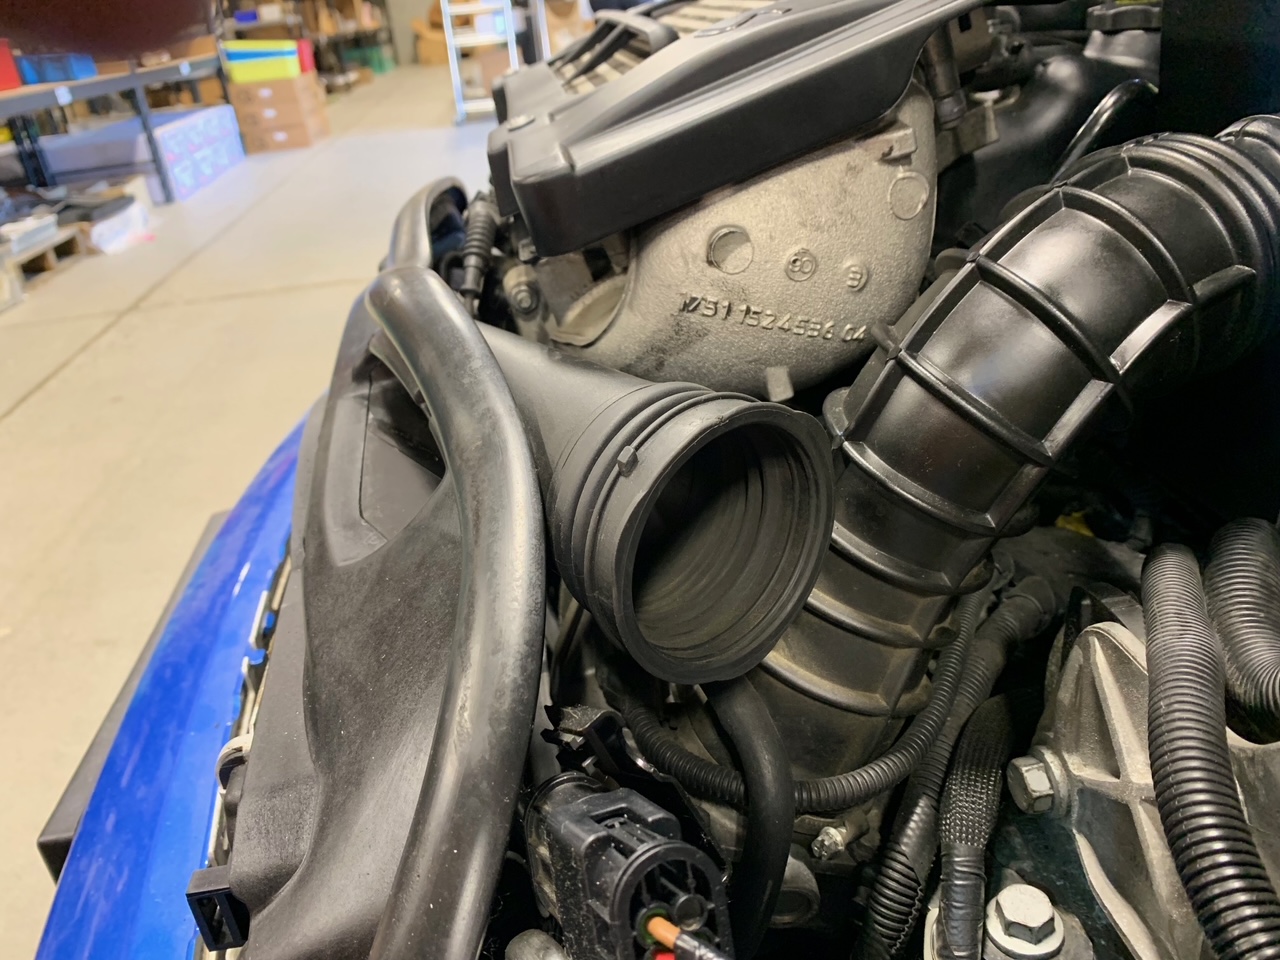
9. Next, remove the pinch hose clamp on the rigid intake duct to the bottom half of the airbox. If you still have the original clamp, pry it off with a screwdriver and some pliers. Don't worry if you end up destroying it as we have provided a worm-gear style clamp to replace it. Press down on the tab inside the bottom of the airbox that holds the rigid intake duct in place and remove it from the MINI.
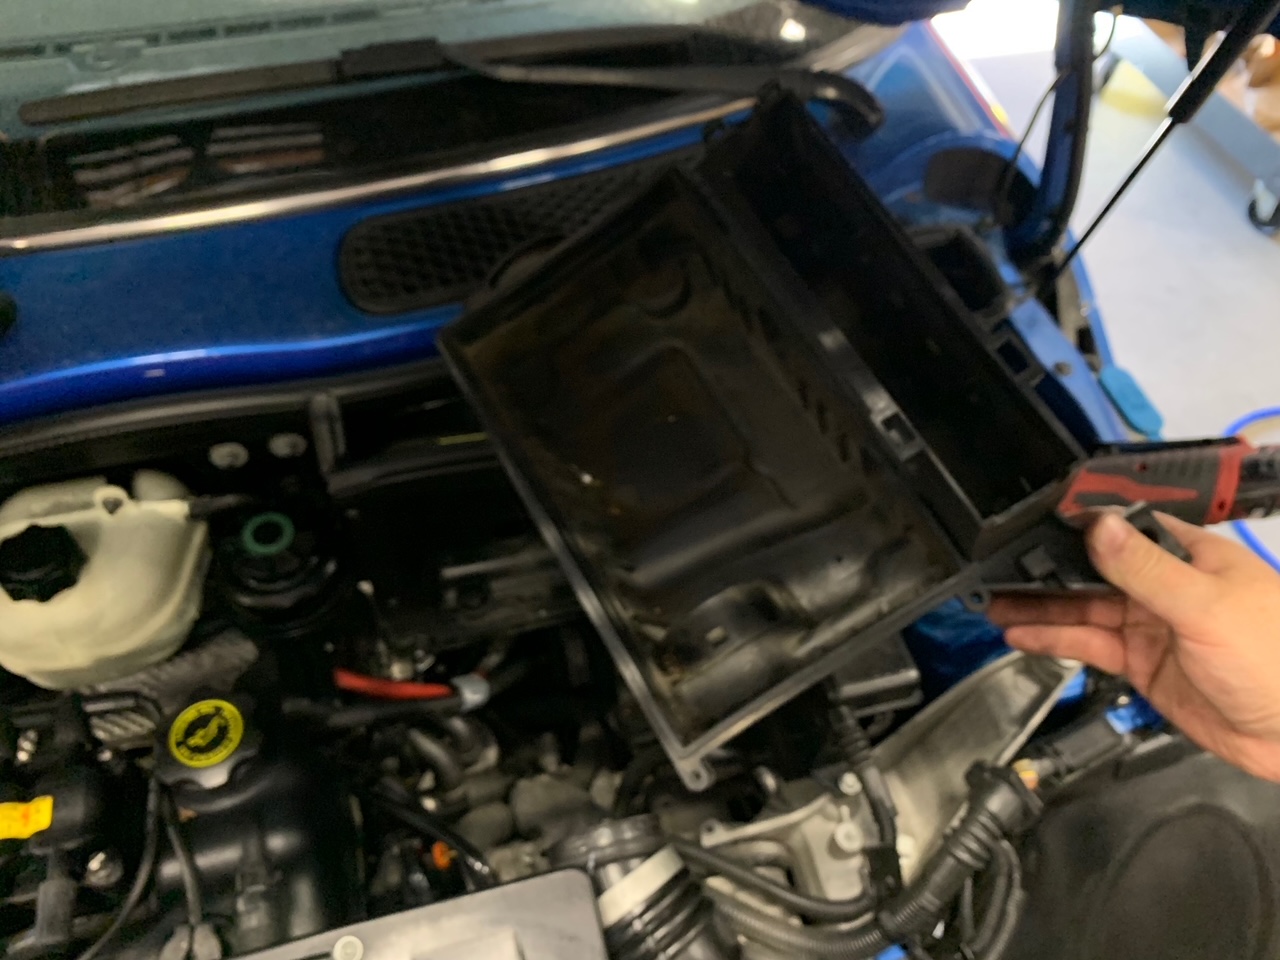
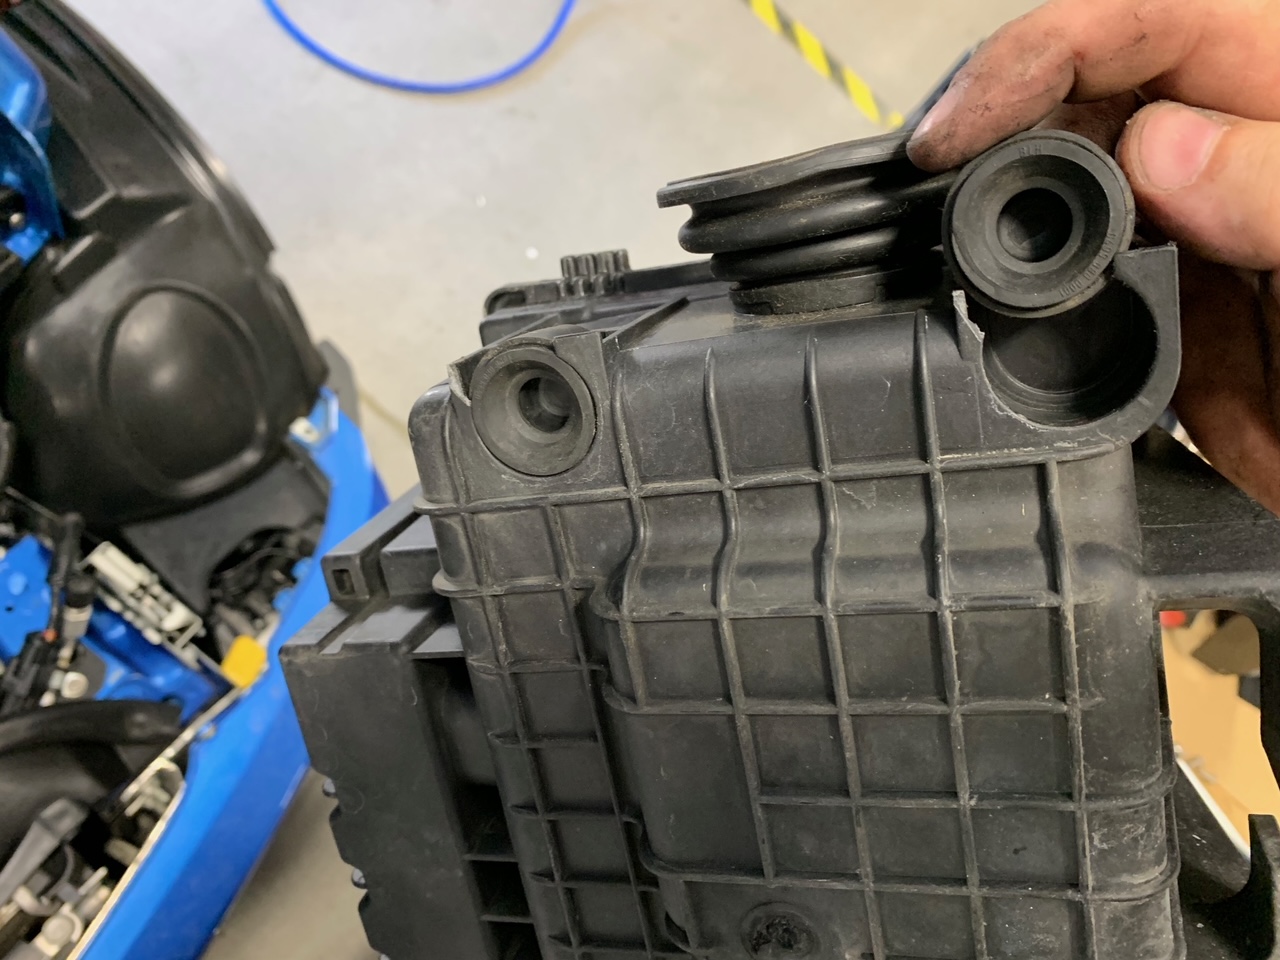
10. You can now remove the lower airbox half by pulling up till it releases off two ball studs and then out.
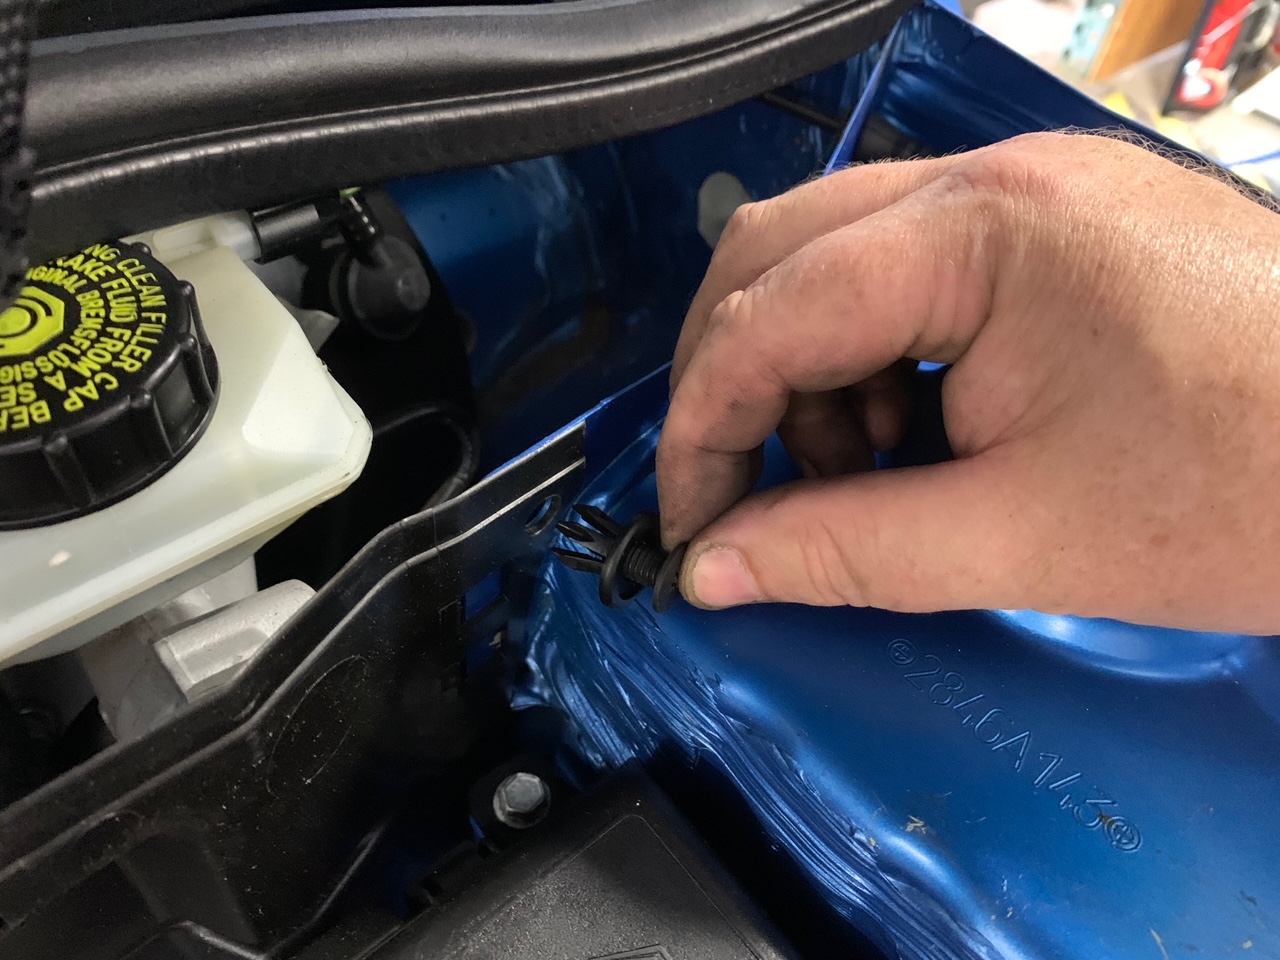
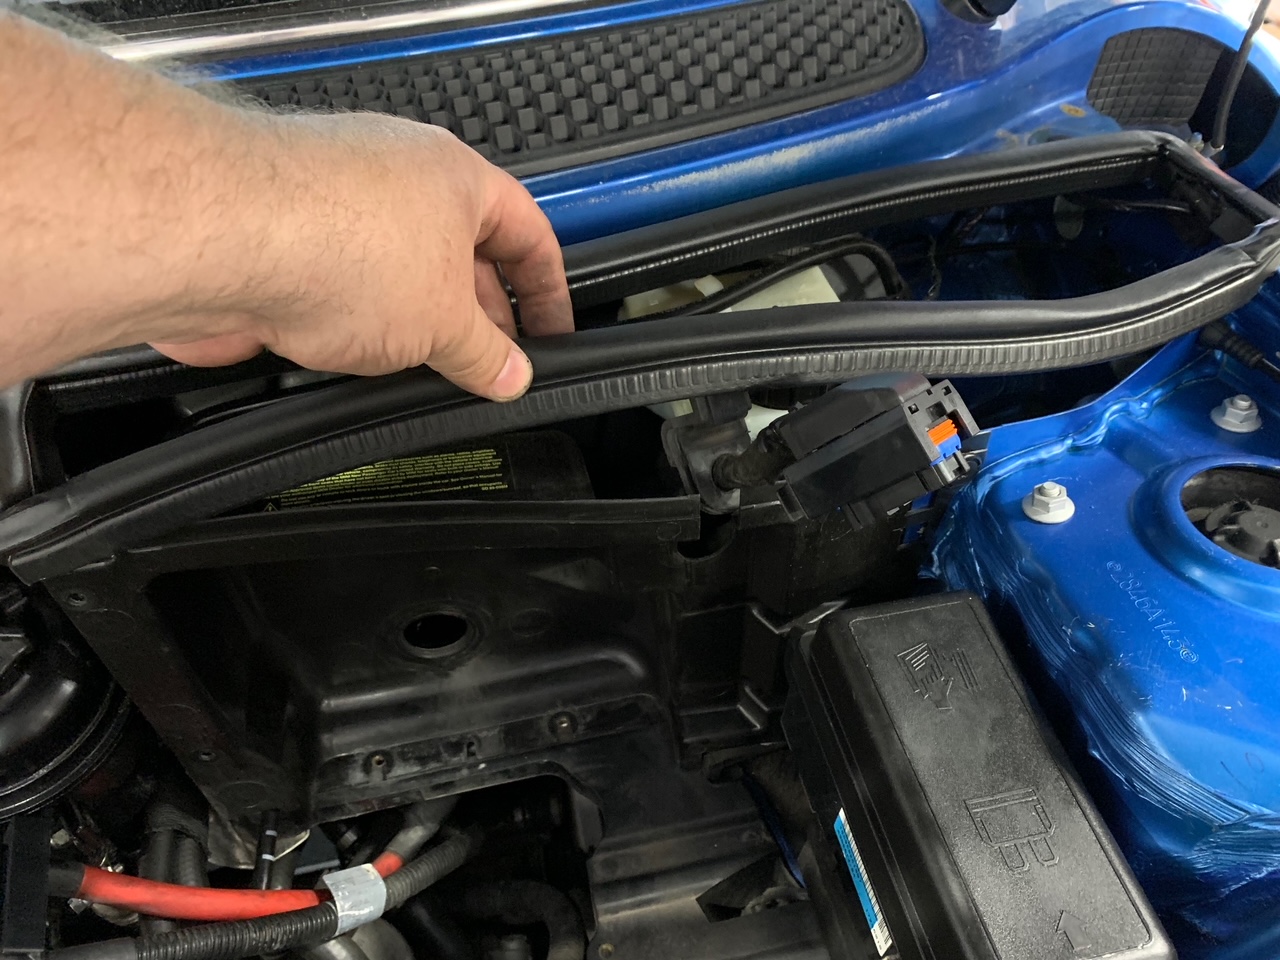
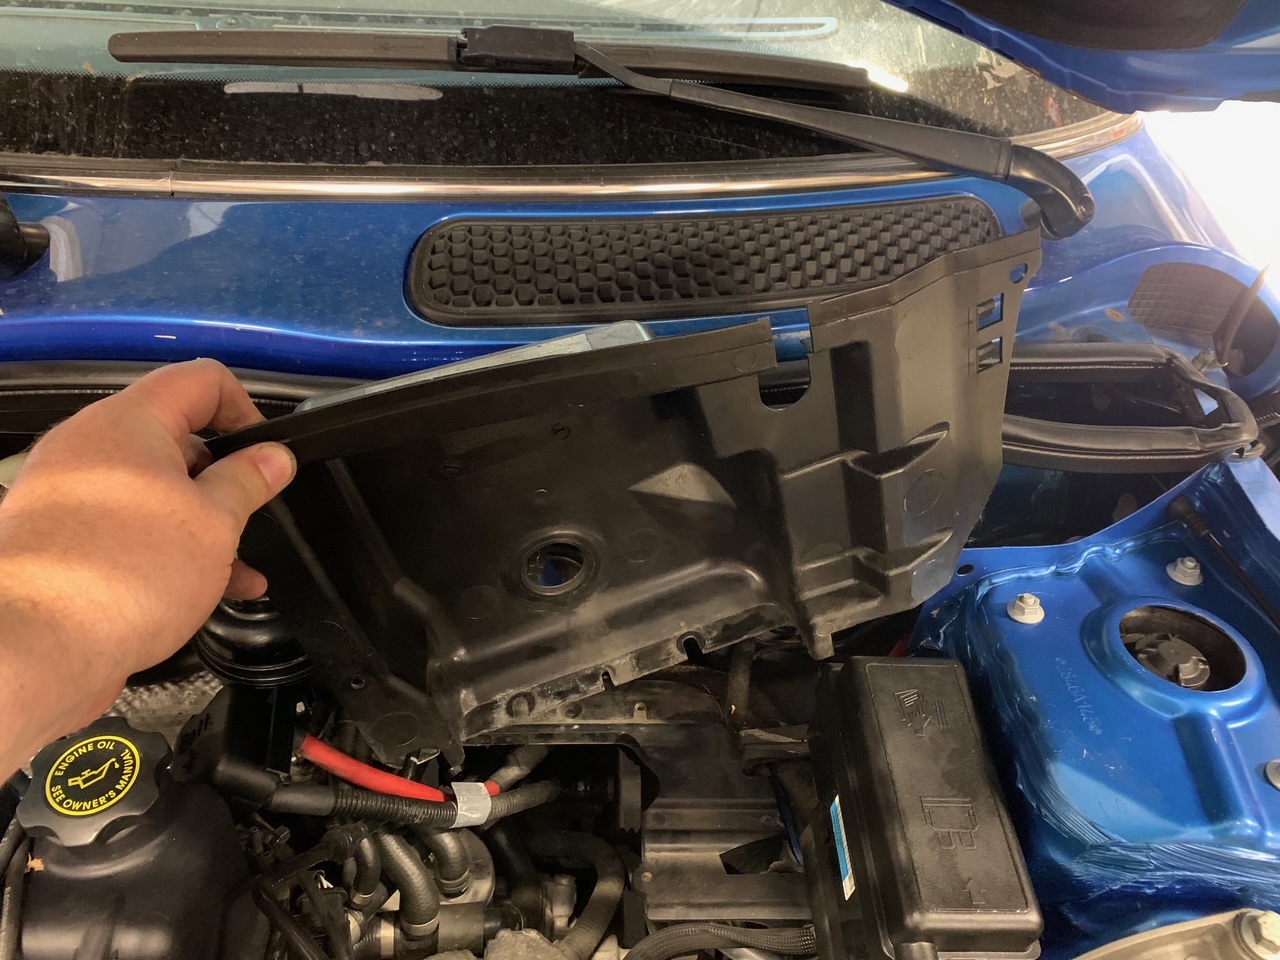
11. Remove the two T30 torx screws on the left side of the plastic partition and the single plastic panel fastener on the right side. Next, pull off the weatherstrip seal along the top and push it aside. Lastly, you can remove the plastic partition to create more space for your new CAI to breathe air from the cowl vent.
3. Install the Airbox
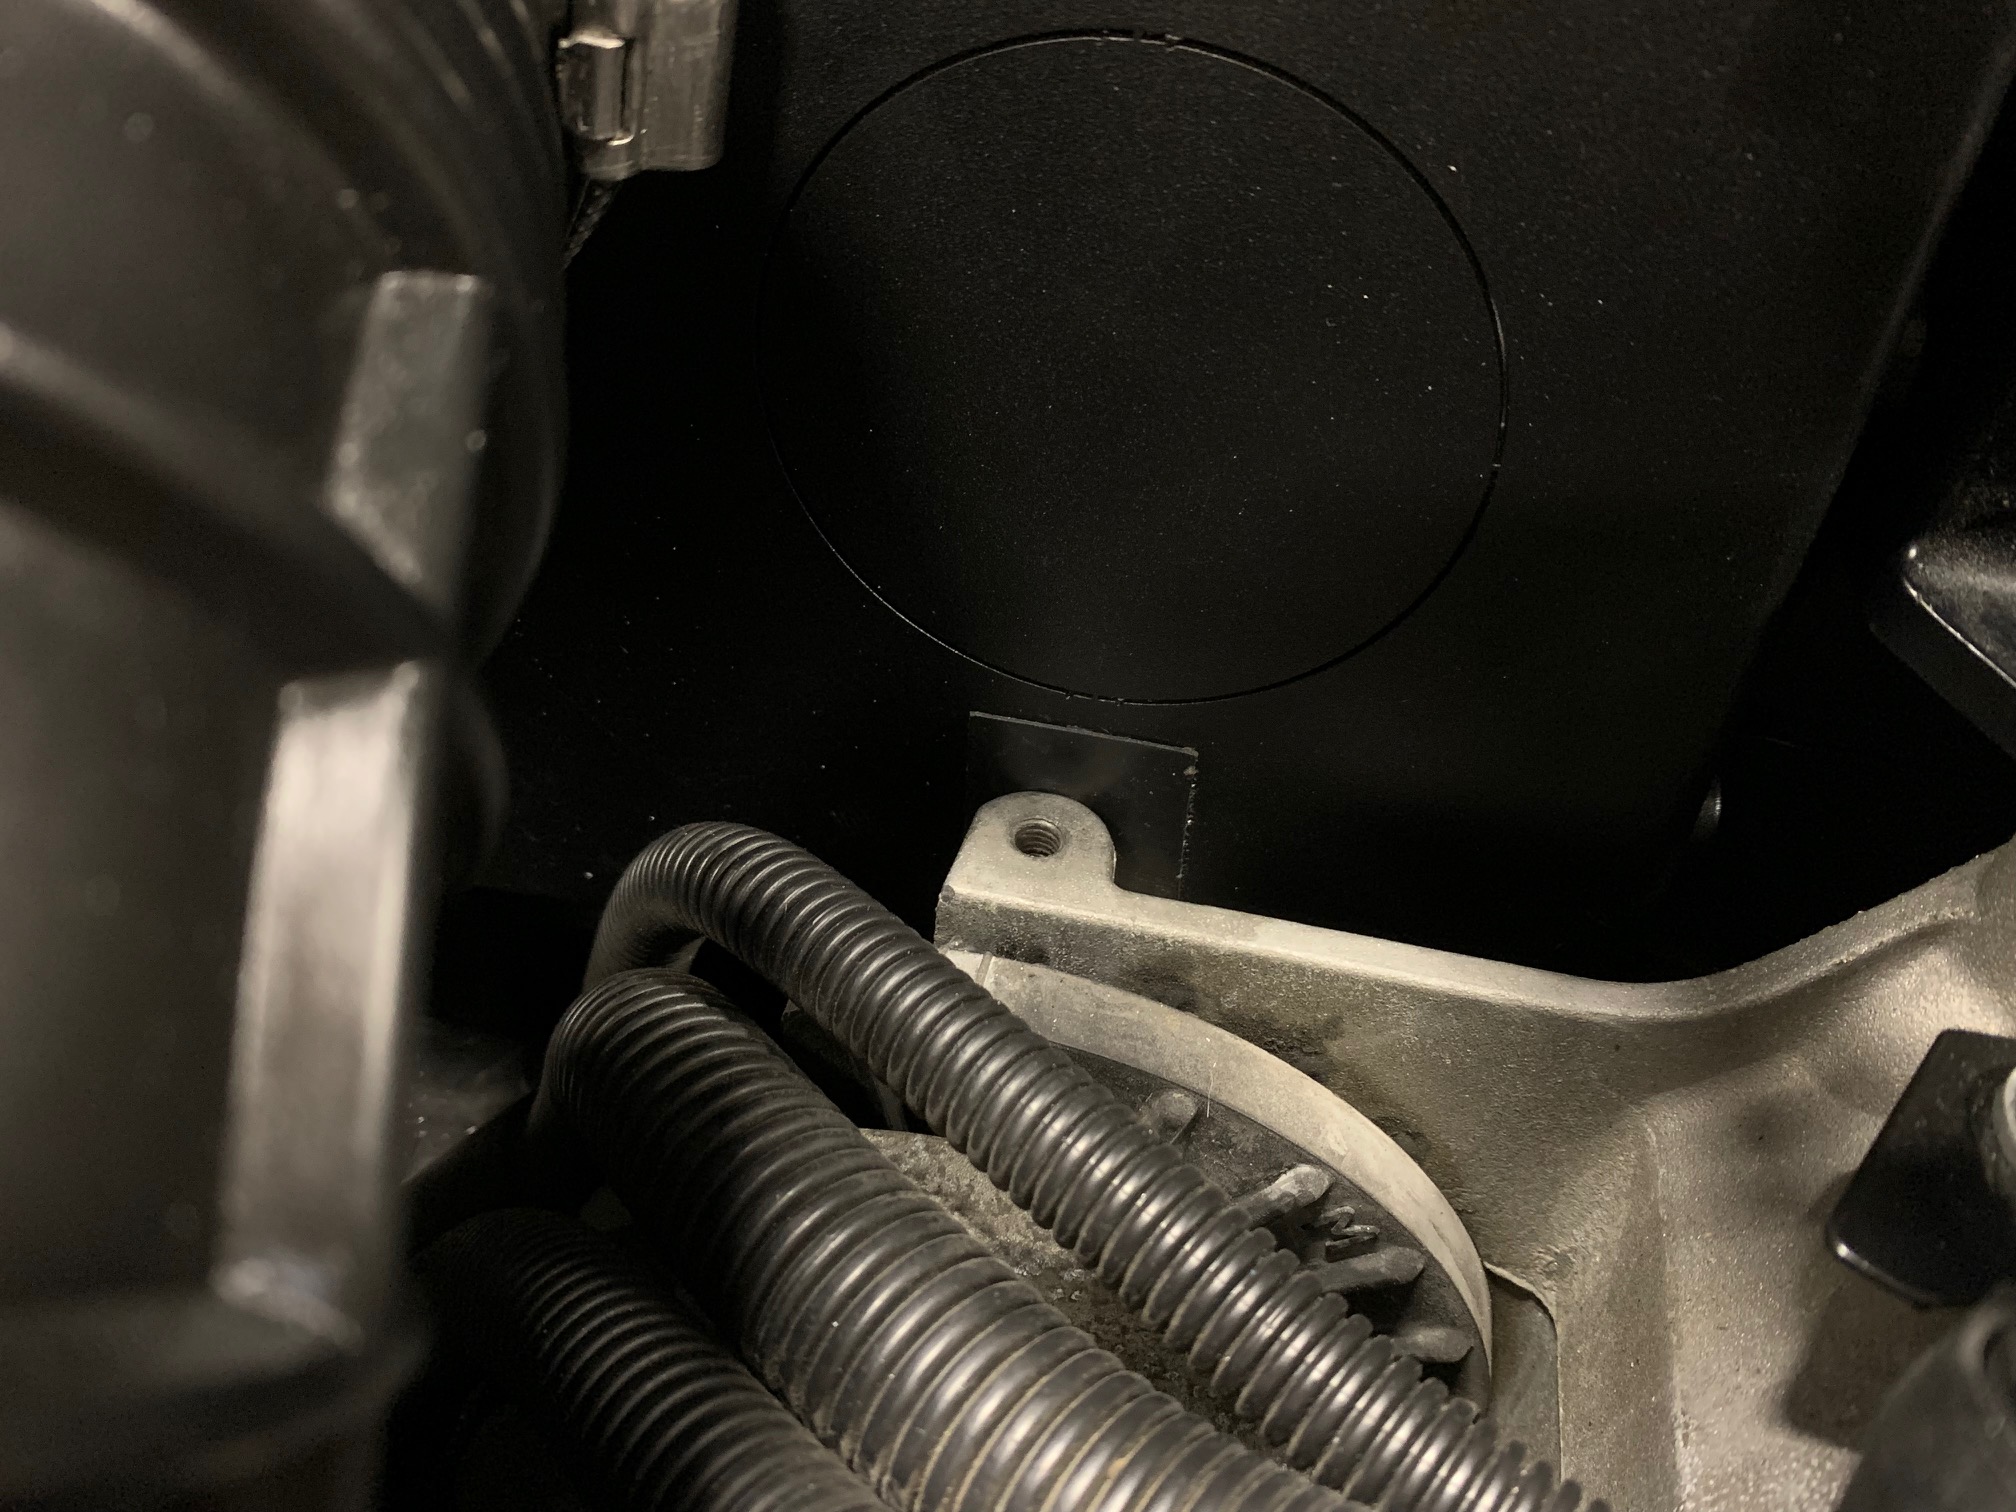
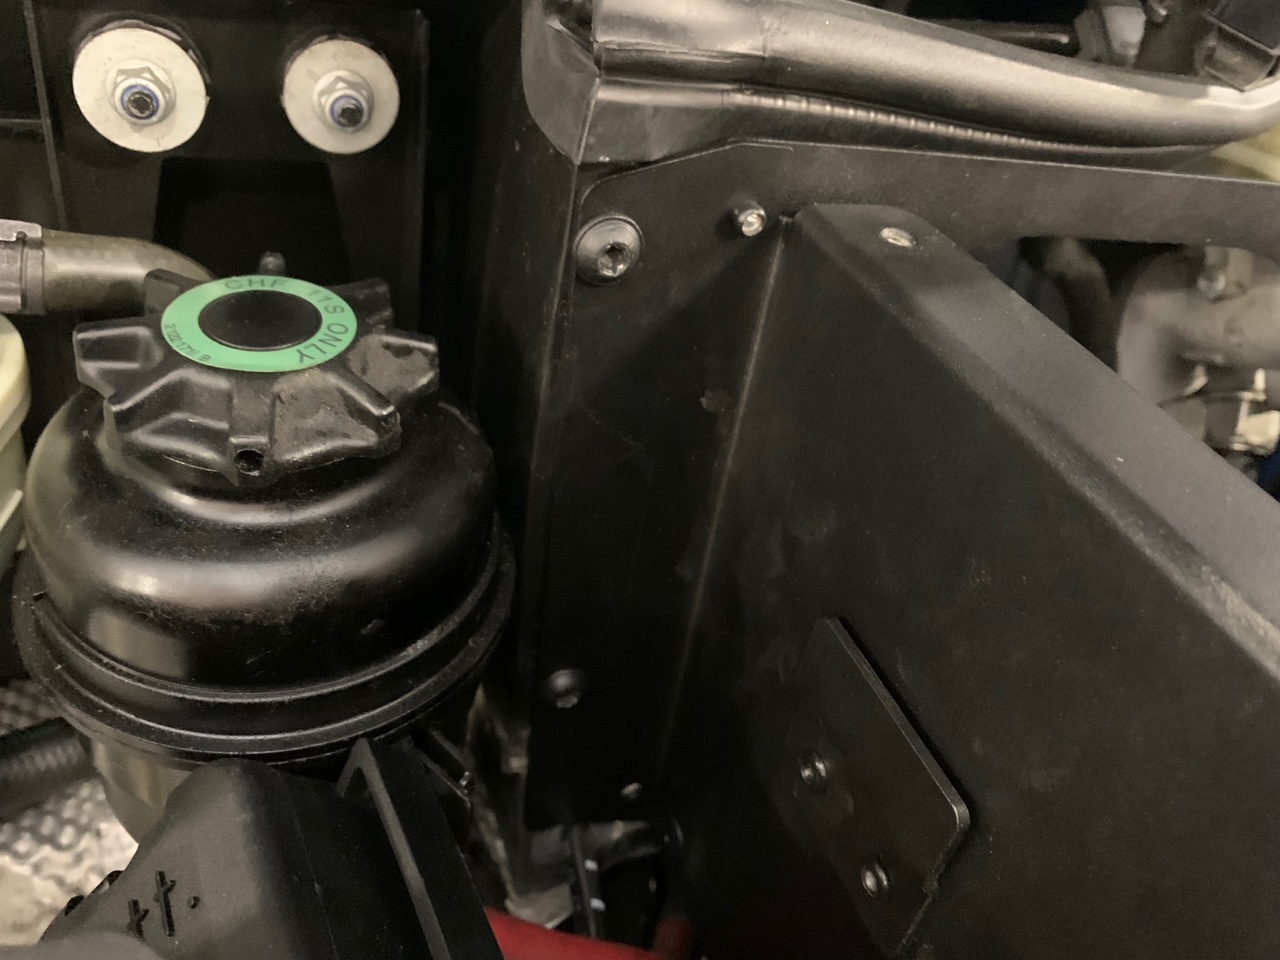
1. Before fitting the CravenSpeed airbox into place, take the small anti-scratch adhesive pad provided and stick it onto the front of the airbox, centered inline with the punch-out panel and approx .250" (quarter inch) below it's bottom edge. There is a subframe brace in the engine compartment of your MINI that can potentially scratch the powder coating of the airbox, so we provide this thin rubber pad to help prevent this.
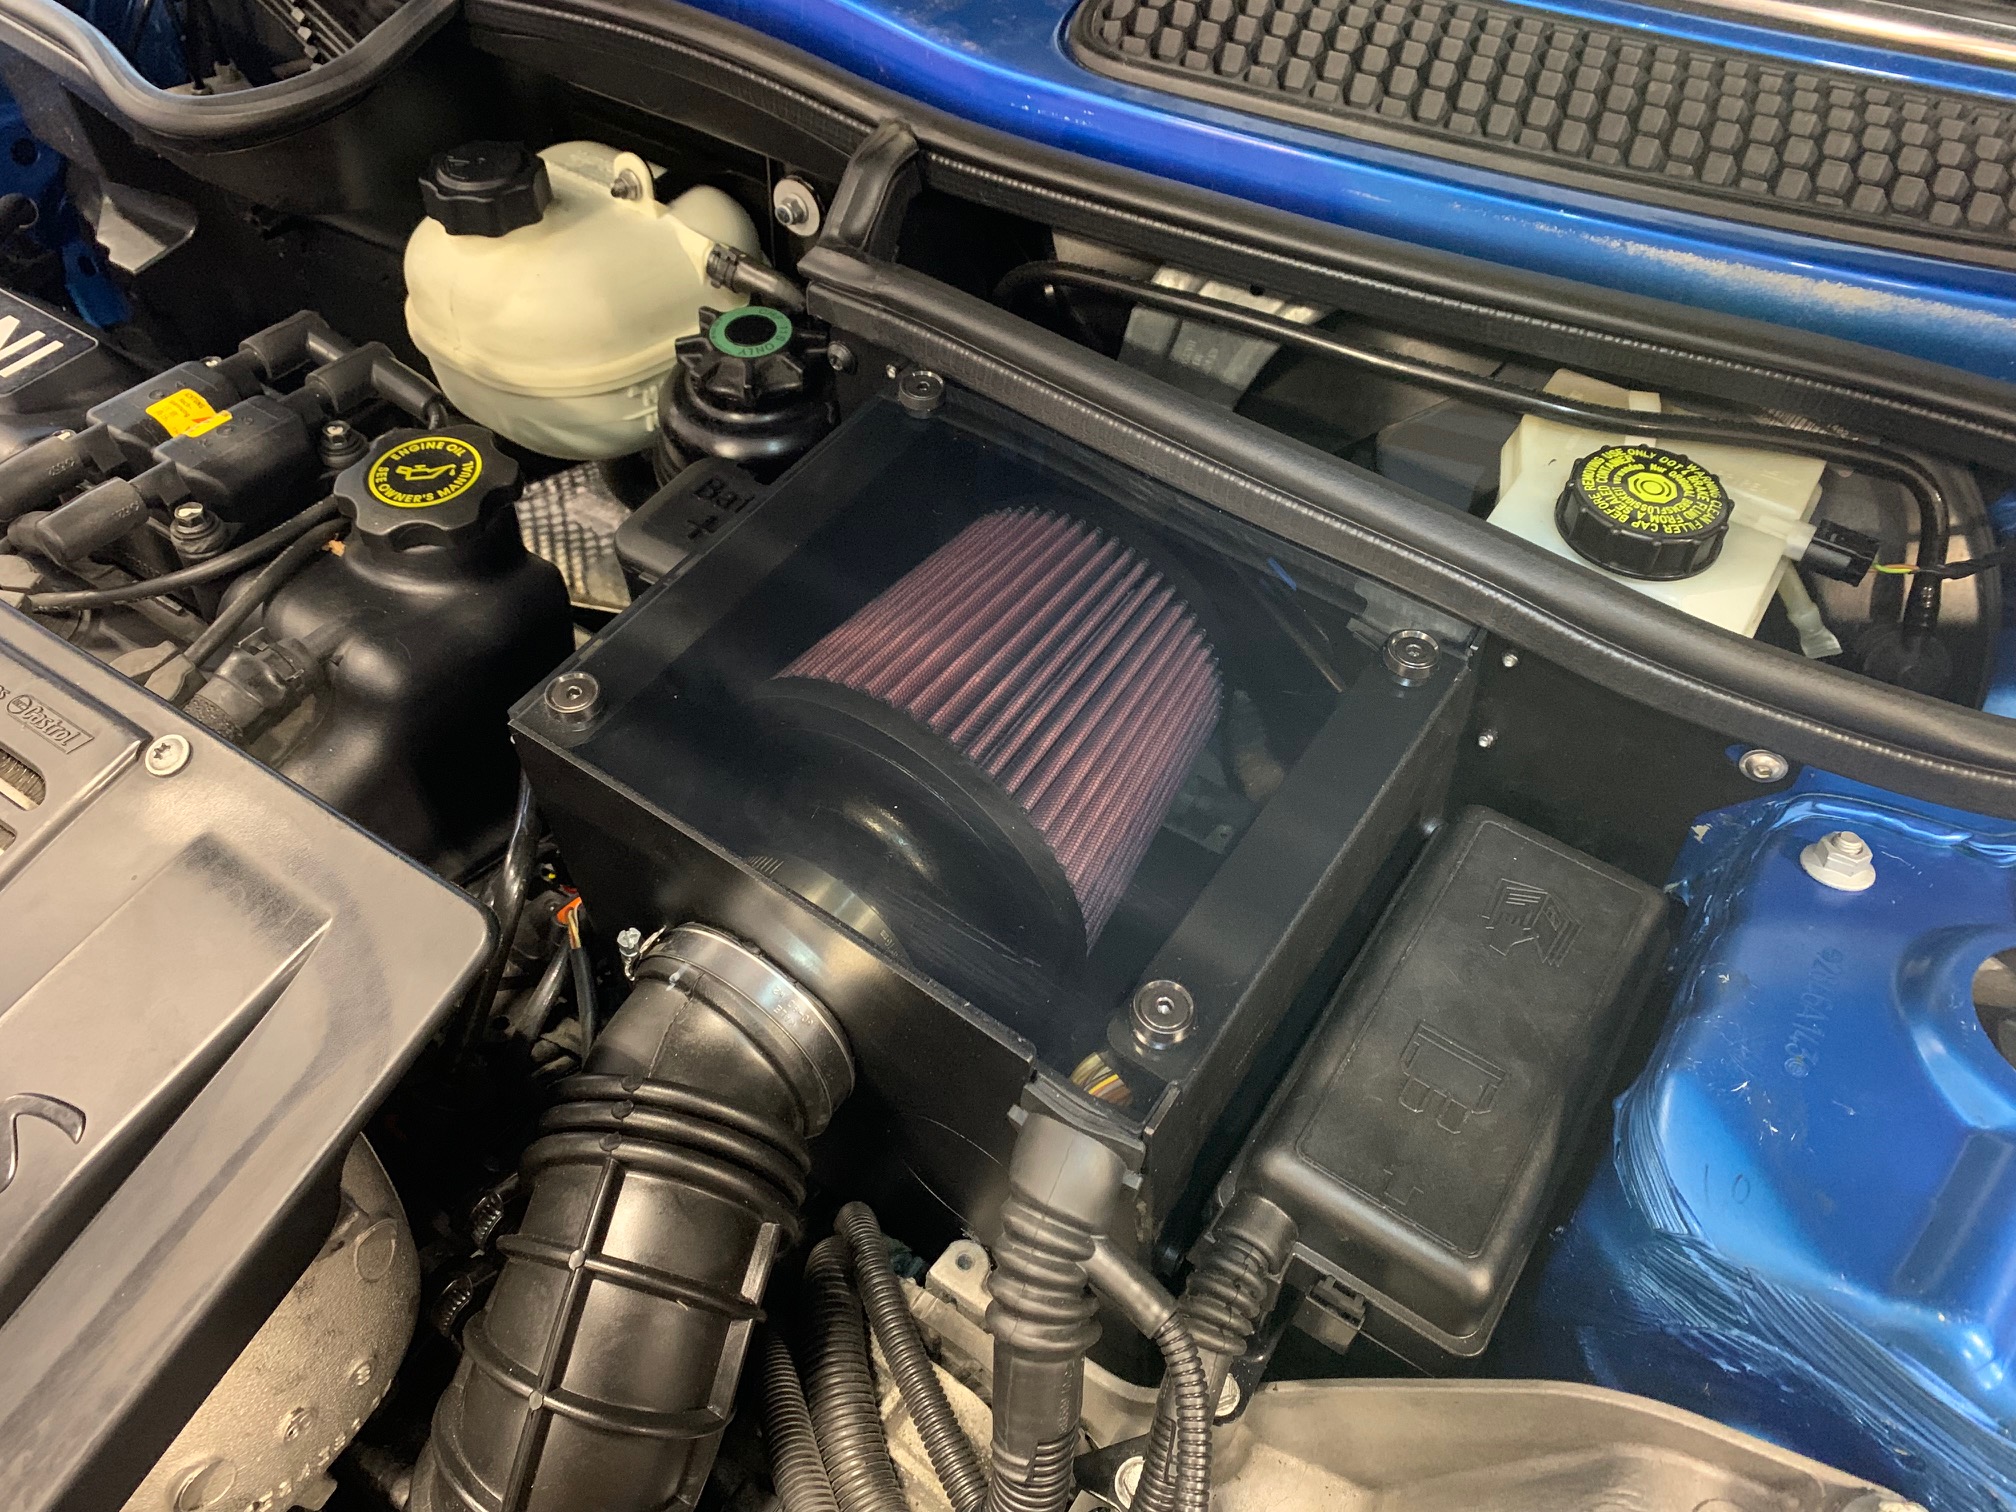
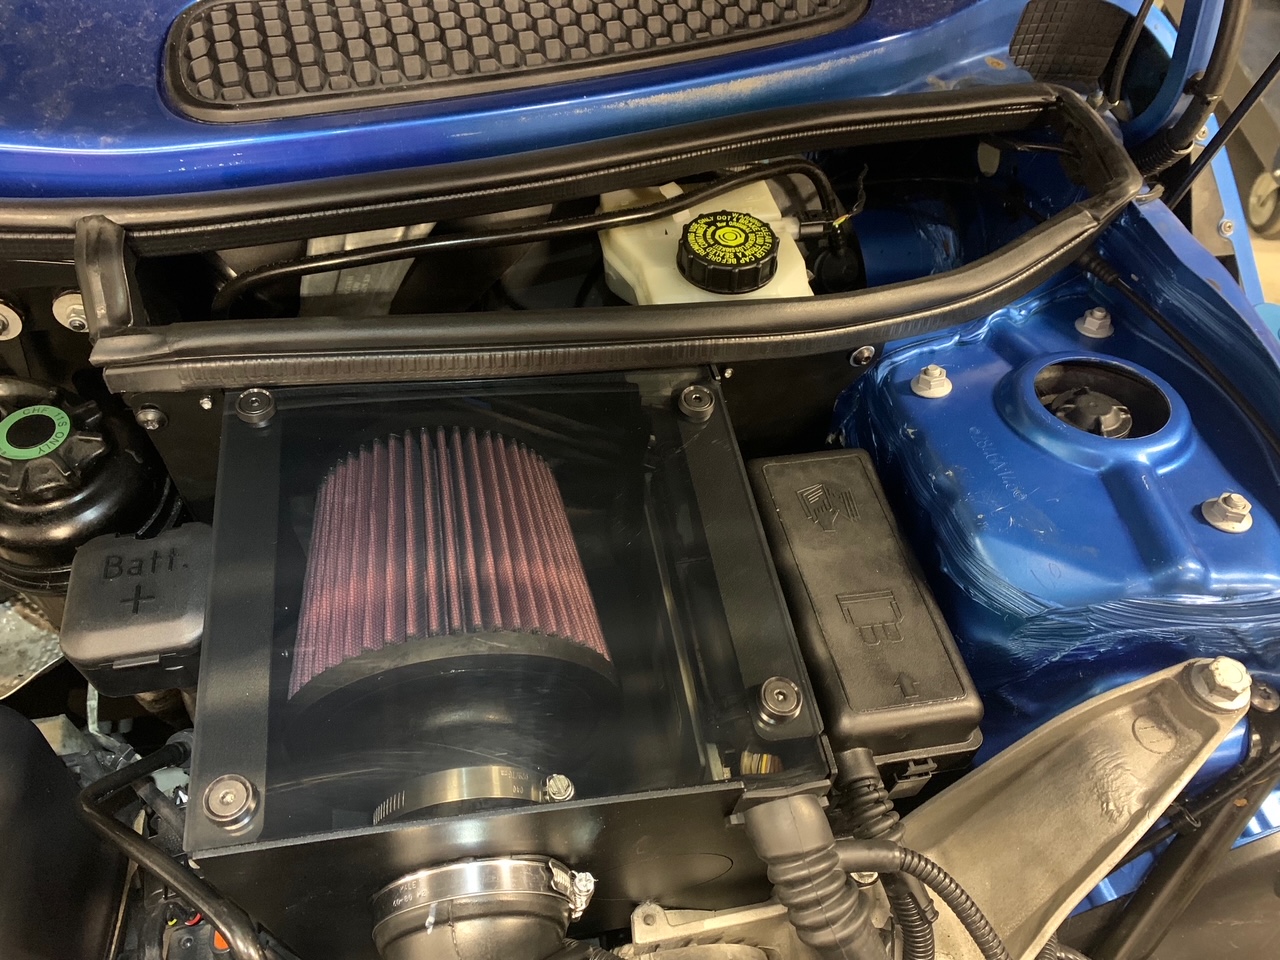
2. Set the CravenSpeed airbox with the open side up and the intake filter hole facing forward into the same location where you removed the factory airbox.
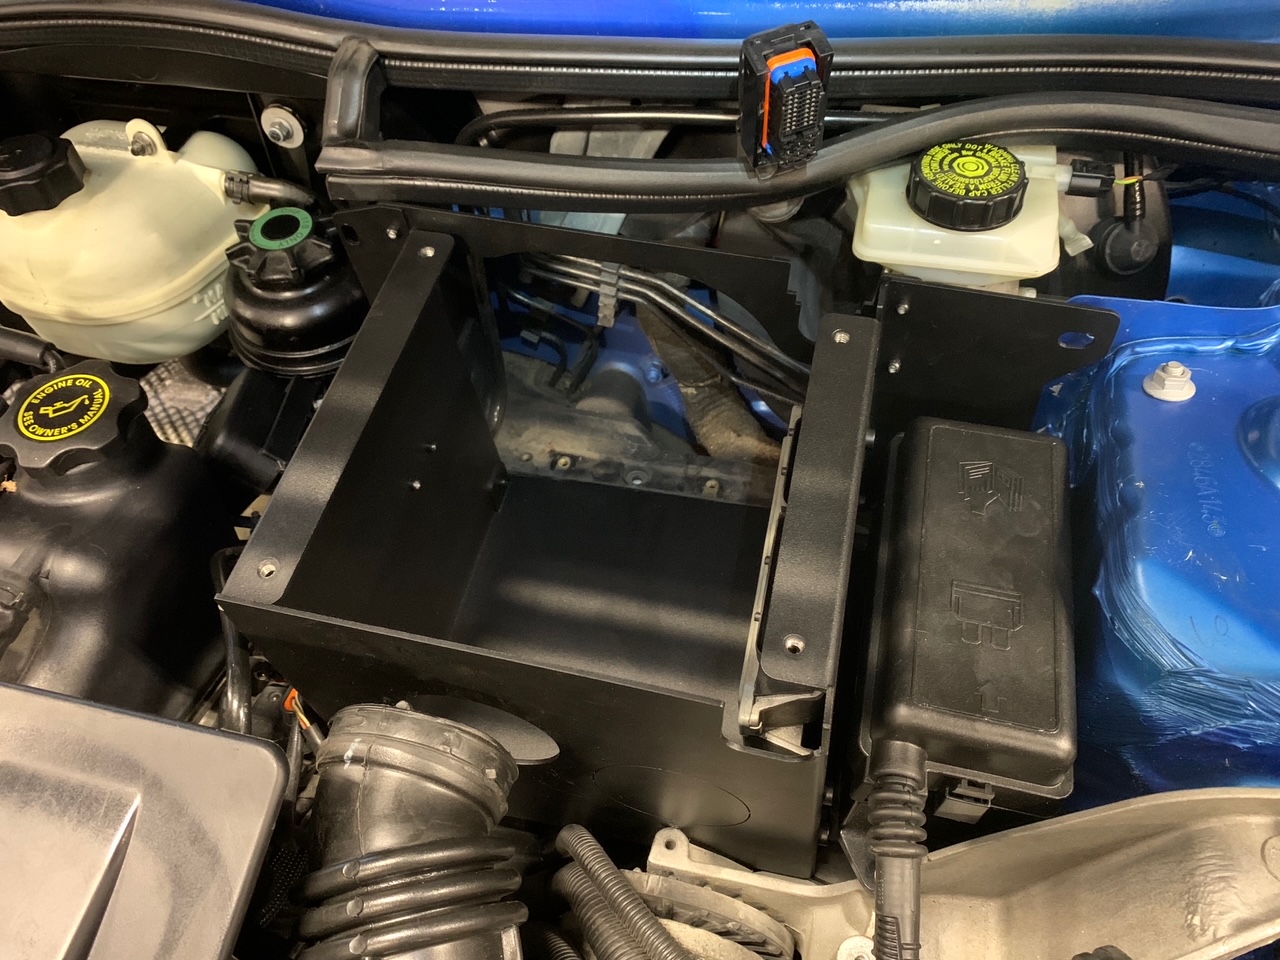
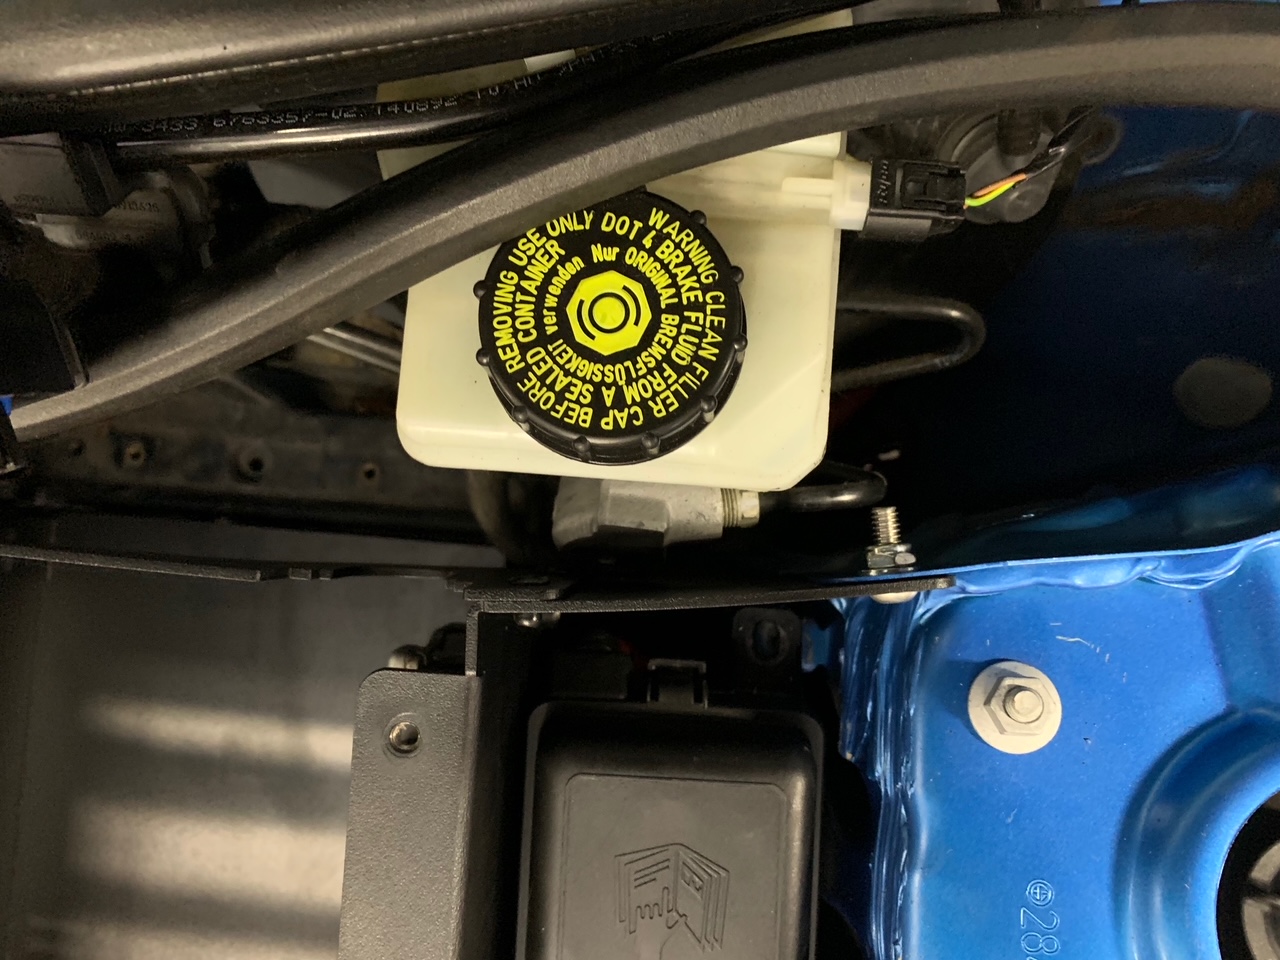
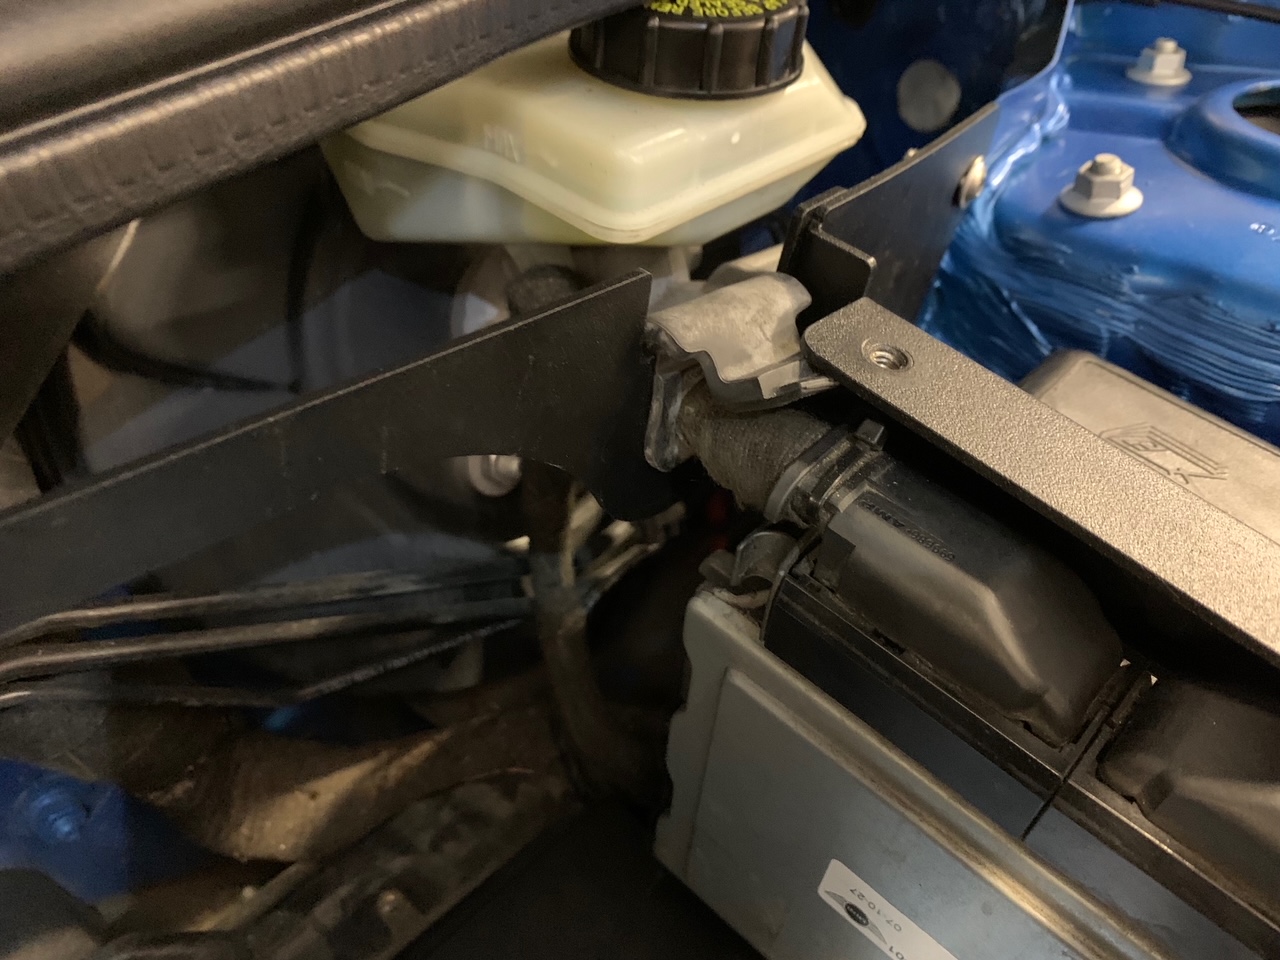
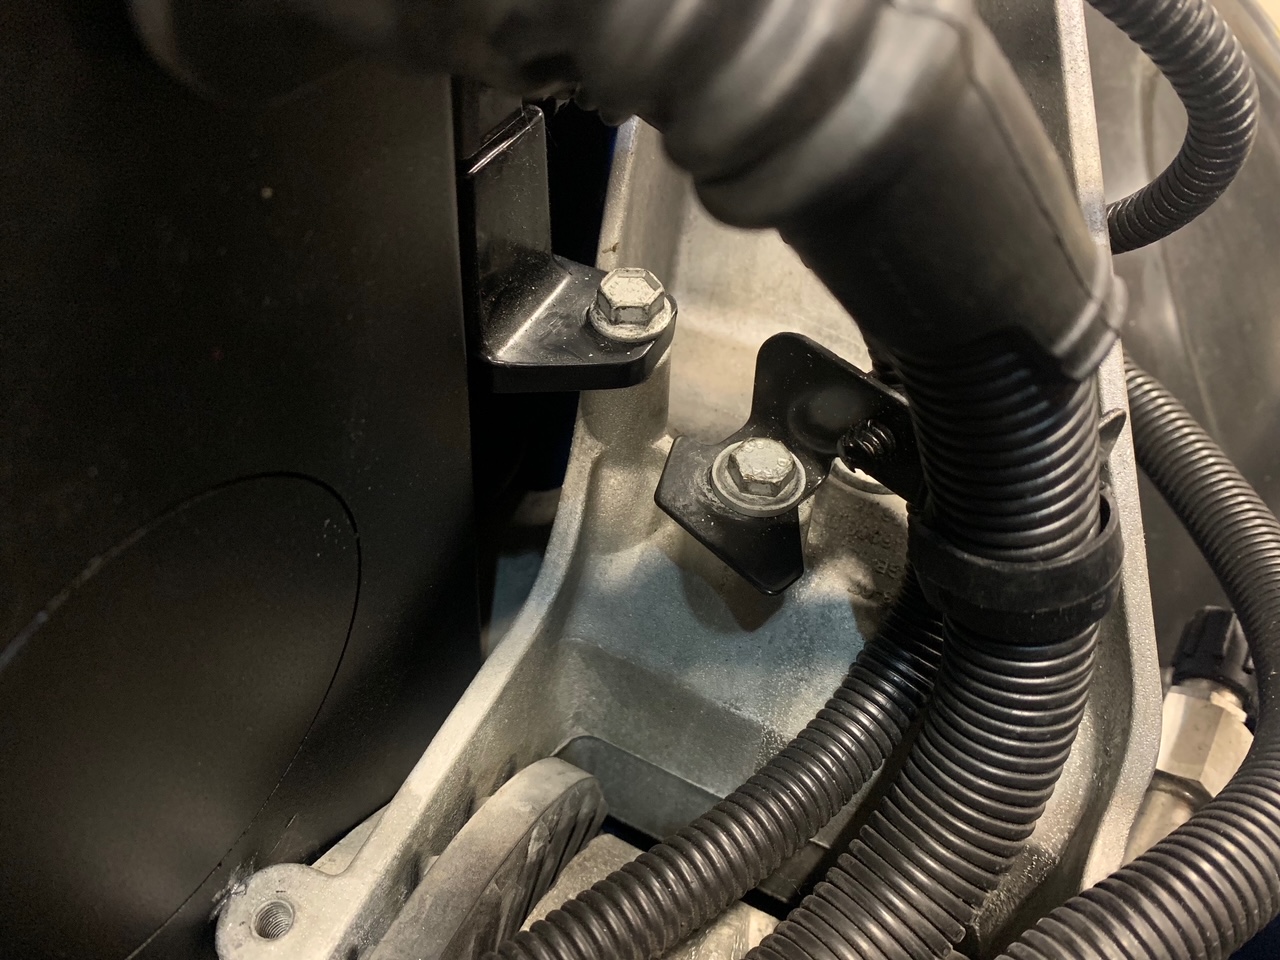
3. There is a clearance hole thru the right side of the CravenSpeed airbox mounting flange that will locate around the factory brake master cylinder. Push the airbox back against the cowl mount surface and use the provided 1/4-20 black stainless button-head screw, washer and locknut to loosely attach the right side of the airbox mounting flange to the sheet metal flange on the backside of the MINIs strut tower. Go over to the left side and reinstall the two T30 torx screws through the airbox mounting flange and into the plastic panel. Use caution here so you do not strip out the threads of this plastic panel. Finish by going back and tightening up the 1/4-20 hardware on the right side.
4. Feed the ECU plug cables into the CravenSpeed intake airbox thru the u-shaped cutouts on the right side of the airbox. With the plugs inside, reinstall the ECU being mindful of the plugs and how they reattach. Ensure that the pull lock tabs are extended fully before attempting to affix the plugs. Apply slight pressure to the ECU plugs while slowly pushing the lock tabs and you should see them gradually set back into place.
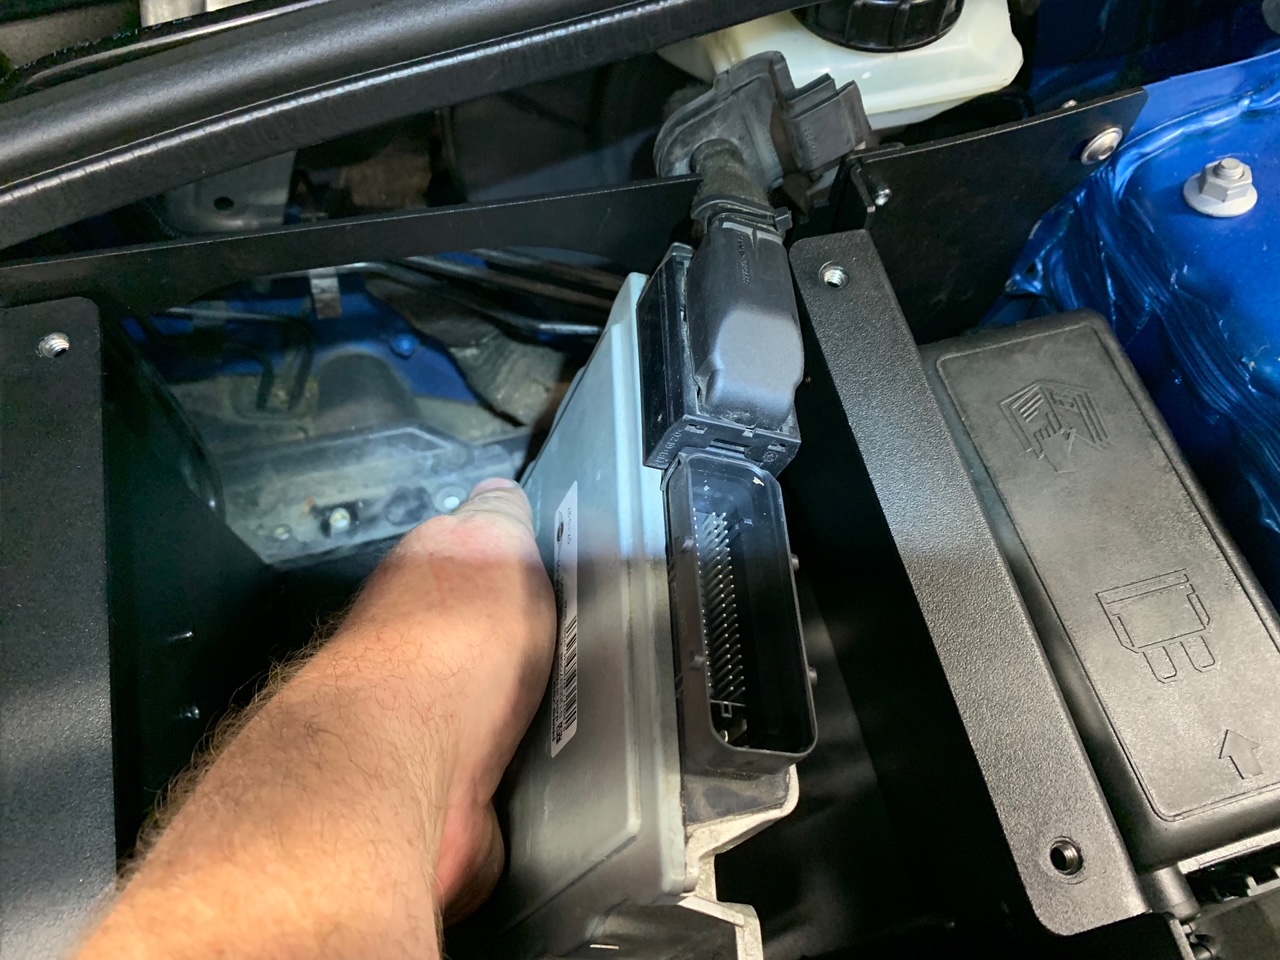

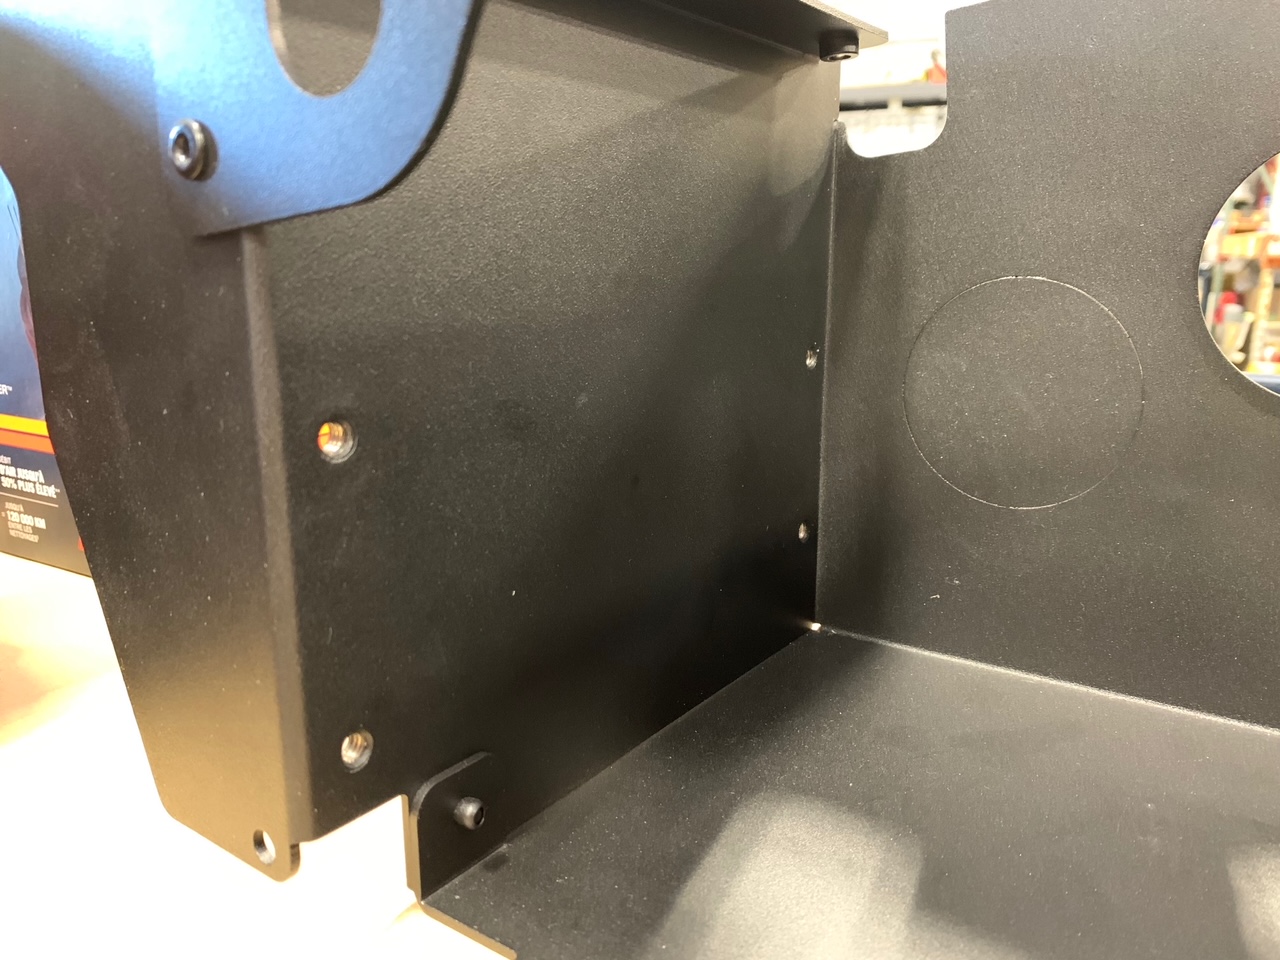
5. Utilizing a 3/16" hex driver, use the remaining four (4) 1/4-20 button-head screws to attach the ECU to the inside of the airbox where the threaded inserts are provided.
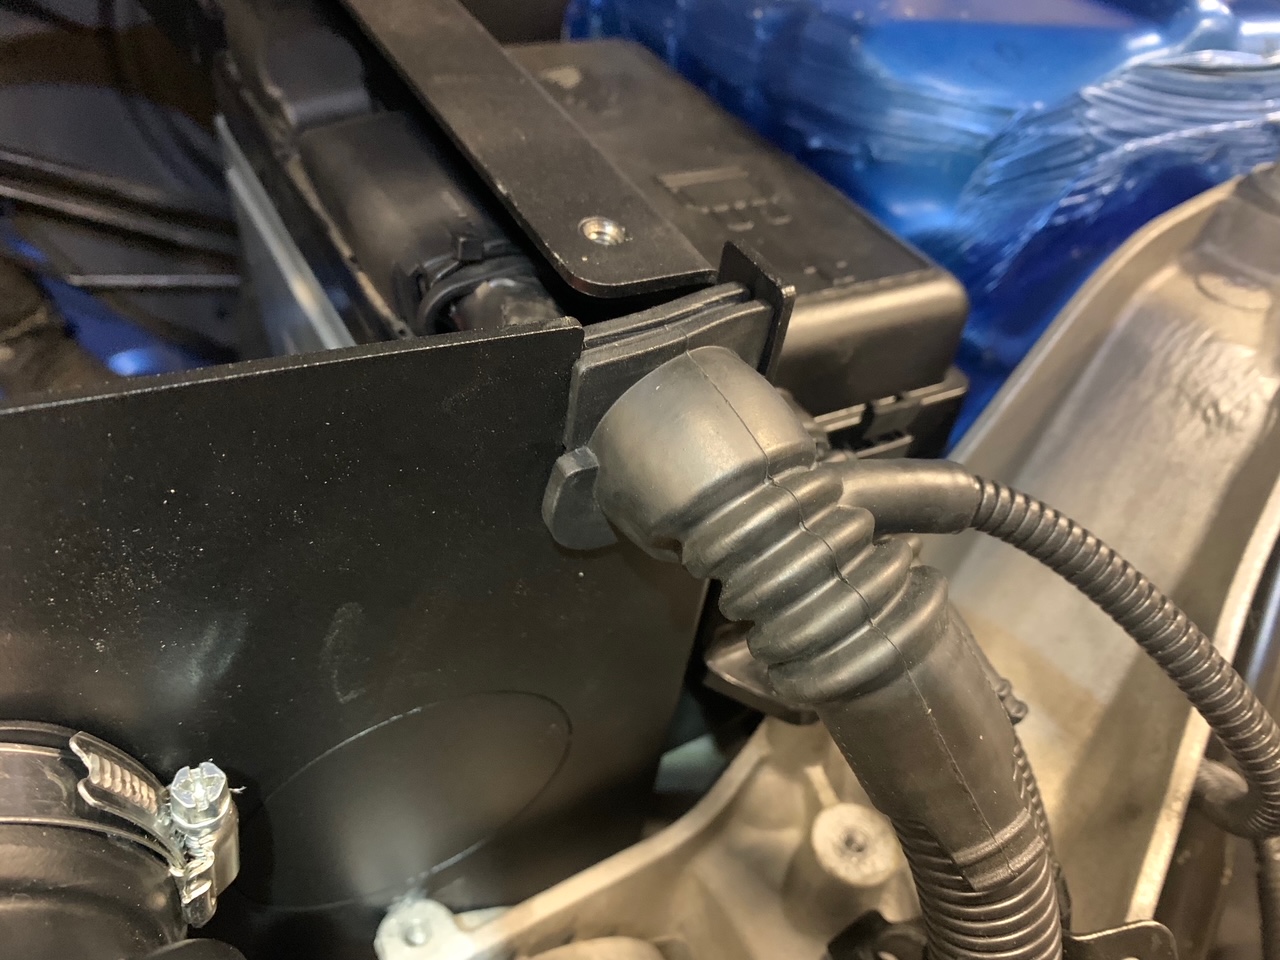
6. Work the ECU plugs rubber wiring grommets into the cutout areas of the airbox. For the rear grommet, tuck the extended tab underneath the folded flange that the airbox top attaches to.
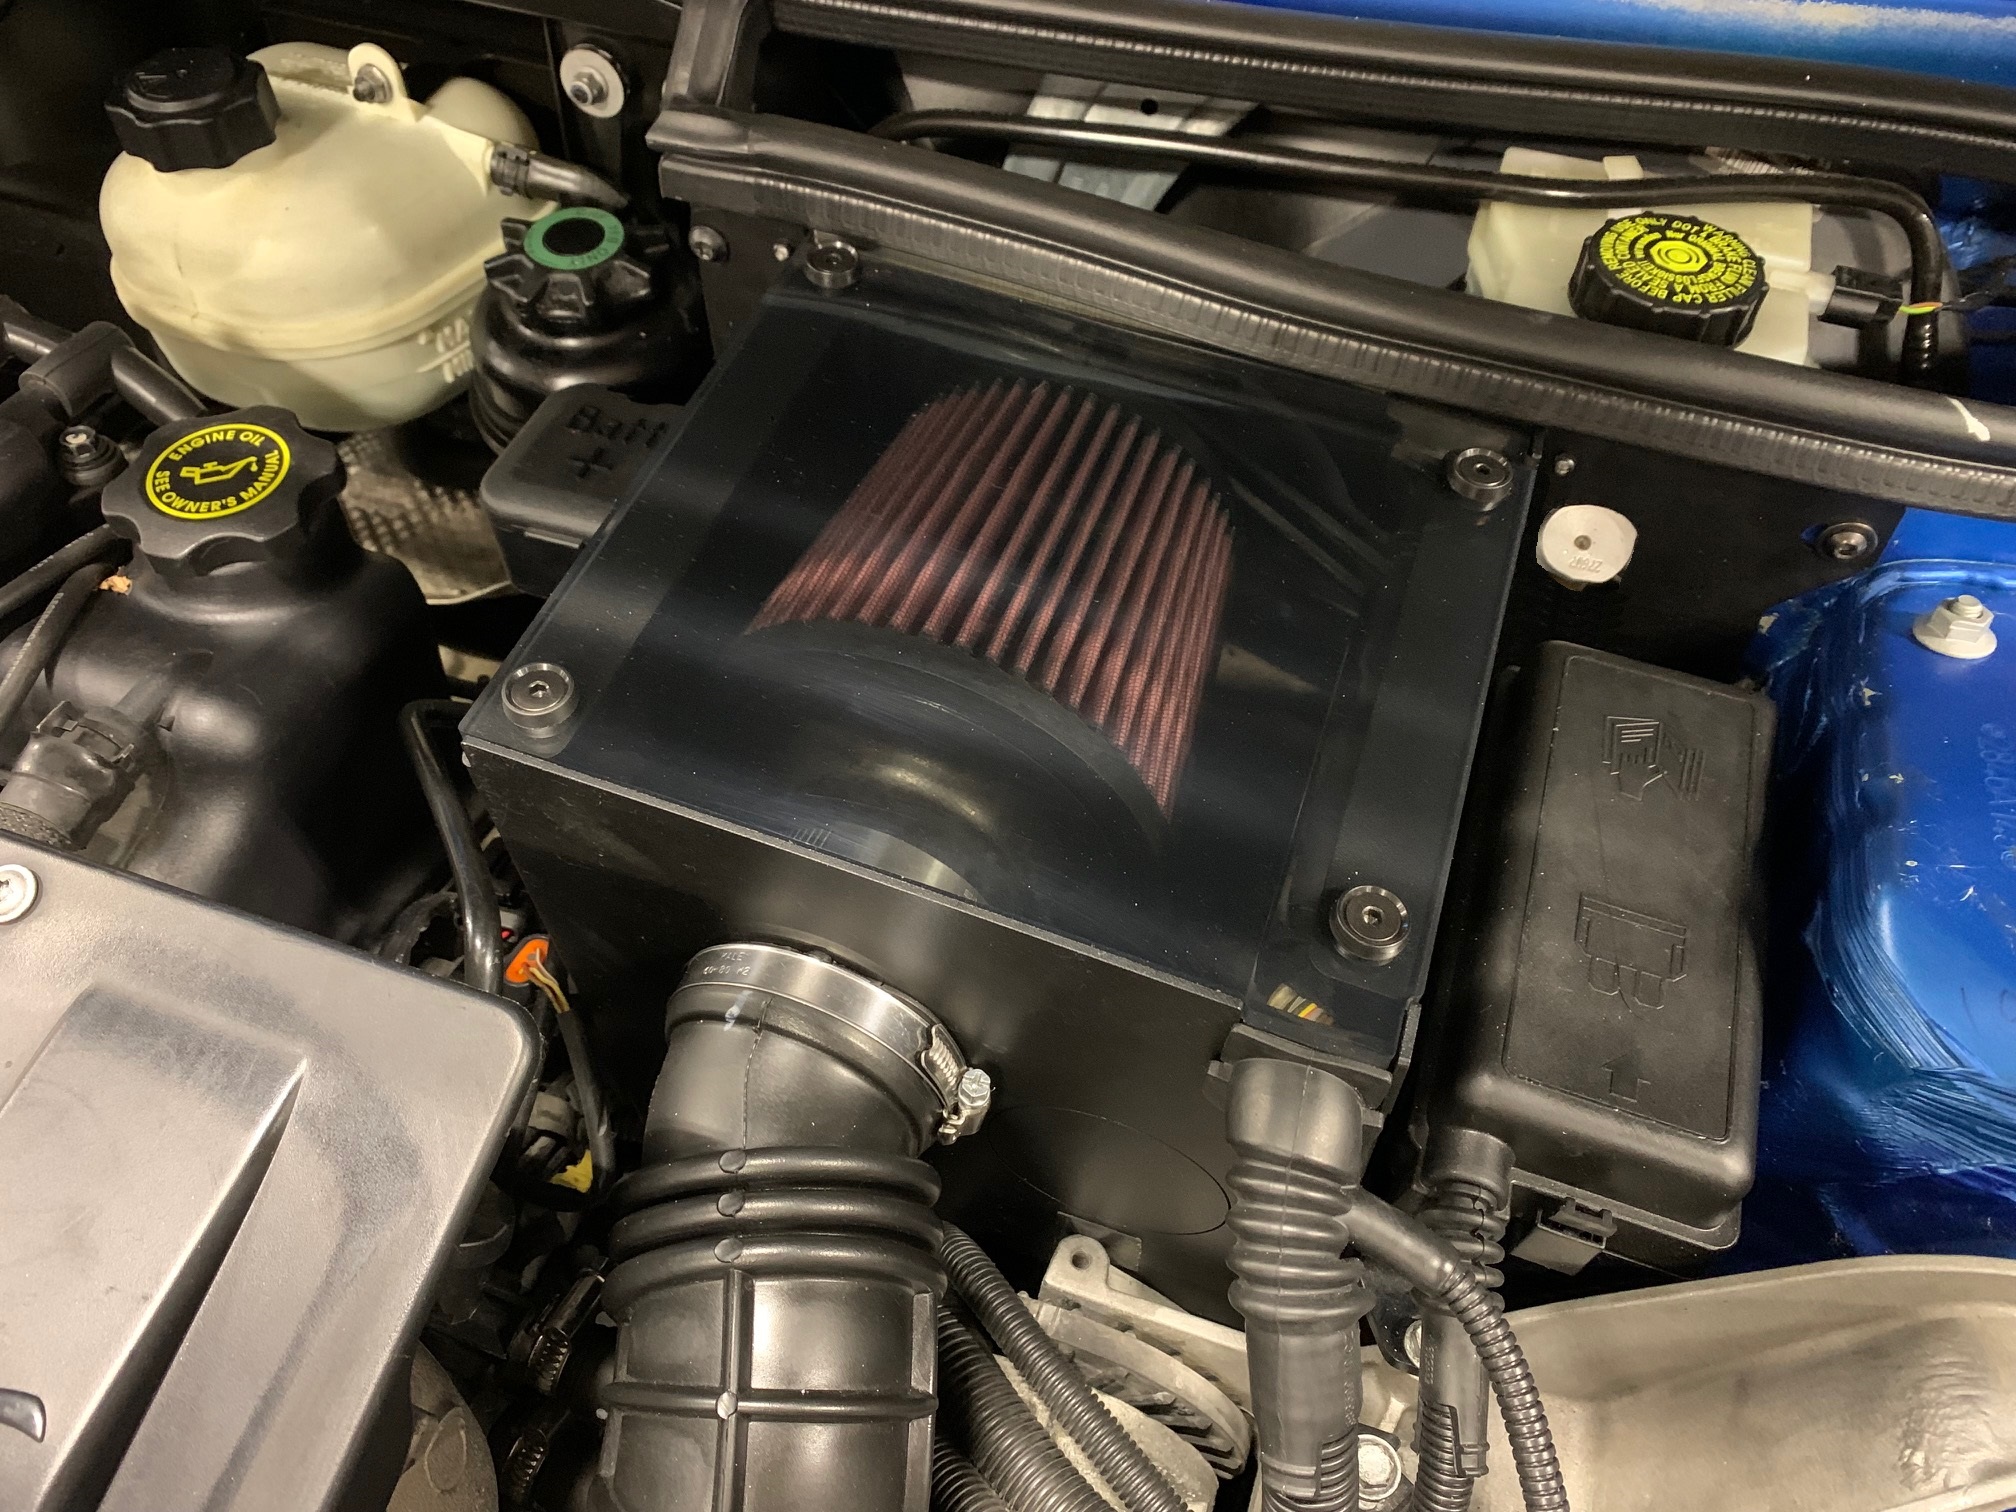
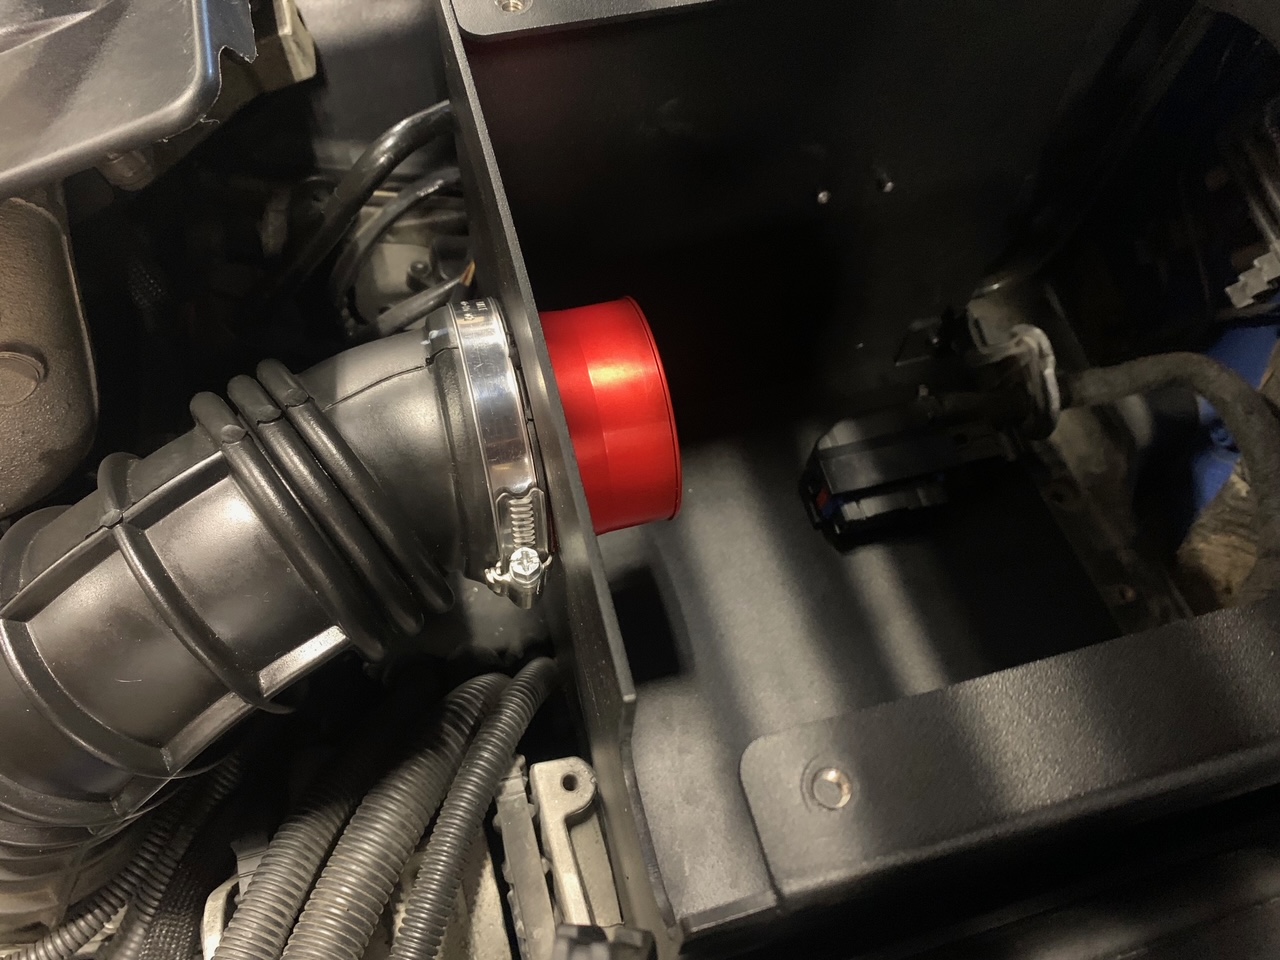
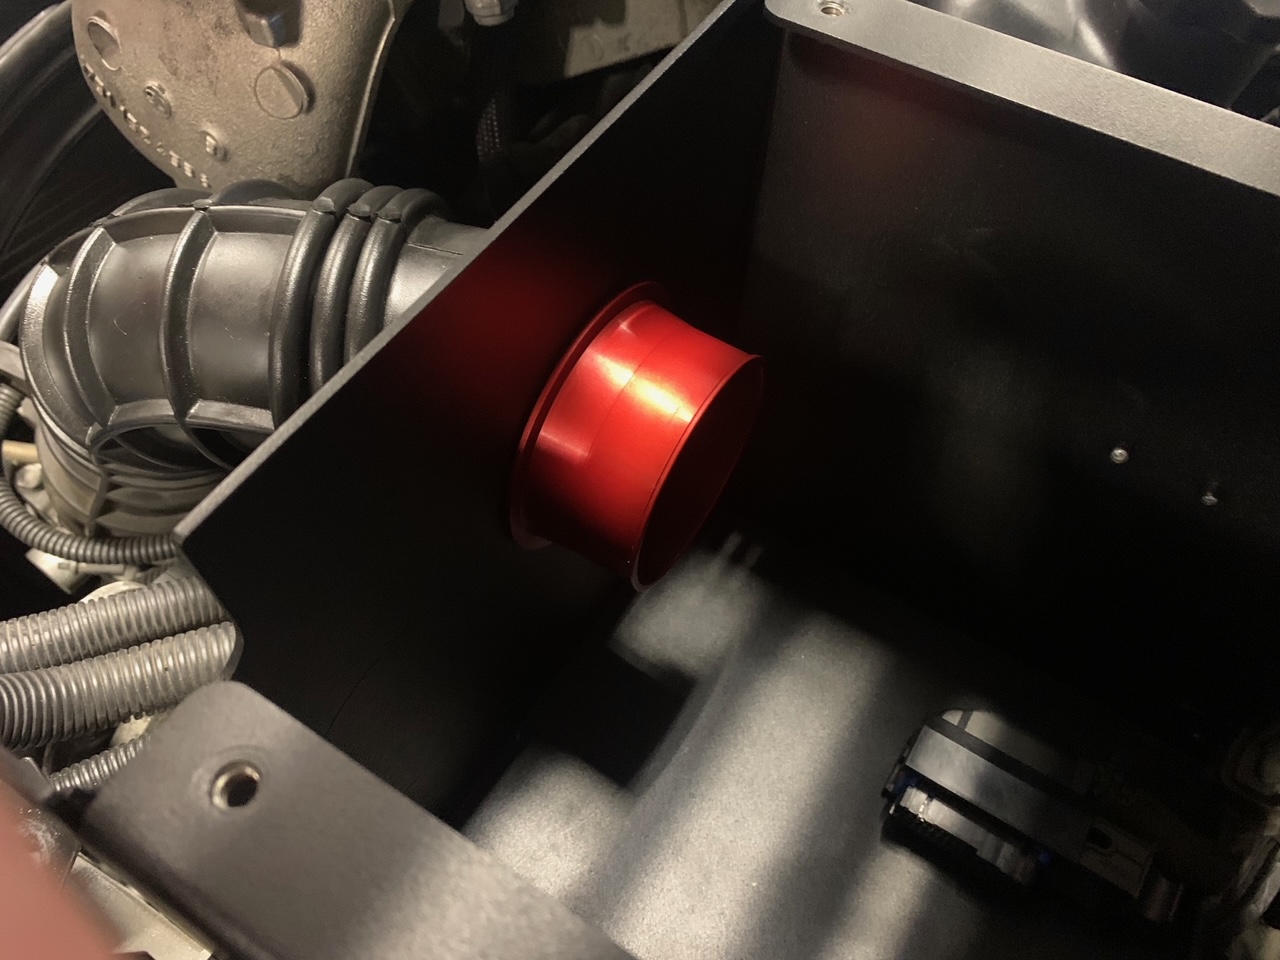
7. Take the red anodized air filter coupler and notice that one end has a larger opening than the other. With the larger end facing the front of your MINI, place it into the airbox, through the intake hole and push the factory intake hose over the flange and tighten the hose clamp to snug it into place.
8. Install the K&N rechargeable cone air filter provided with your kit.
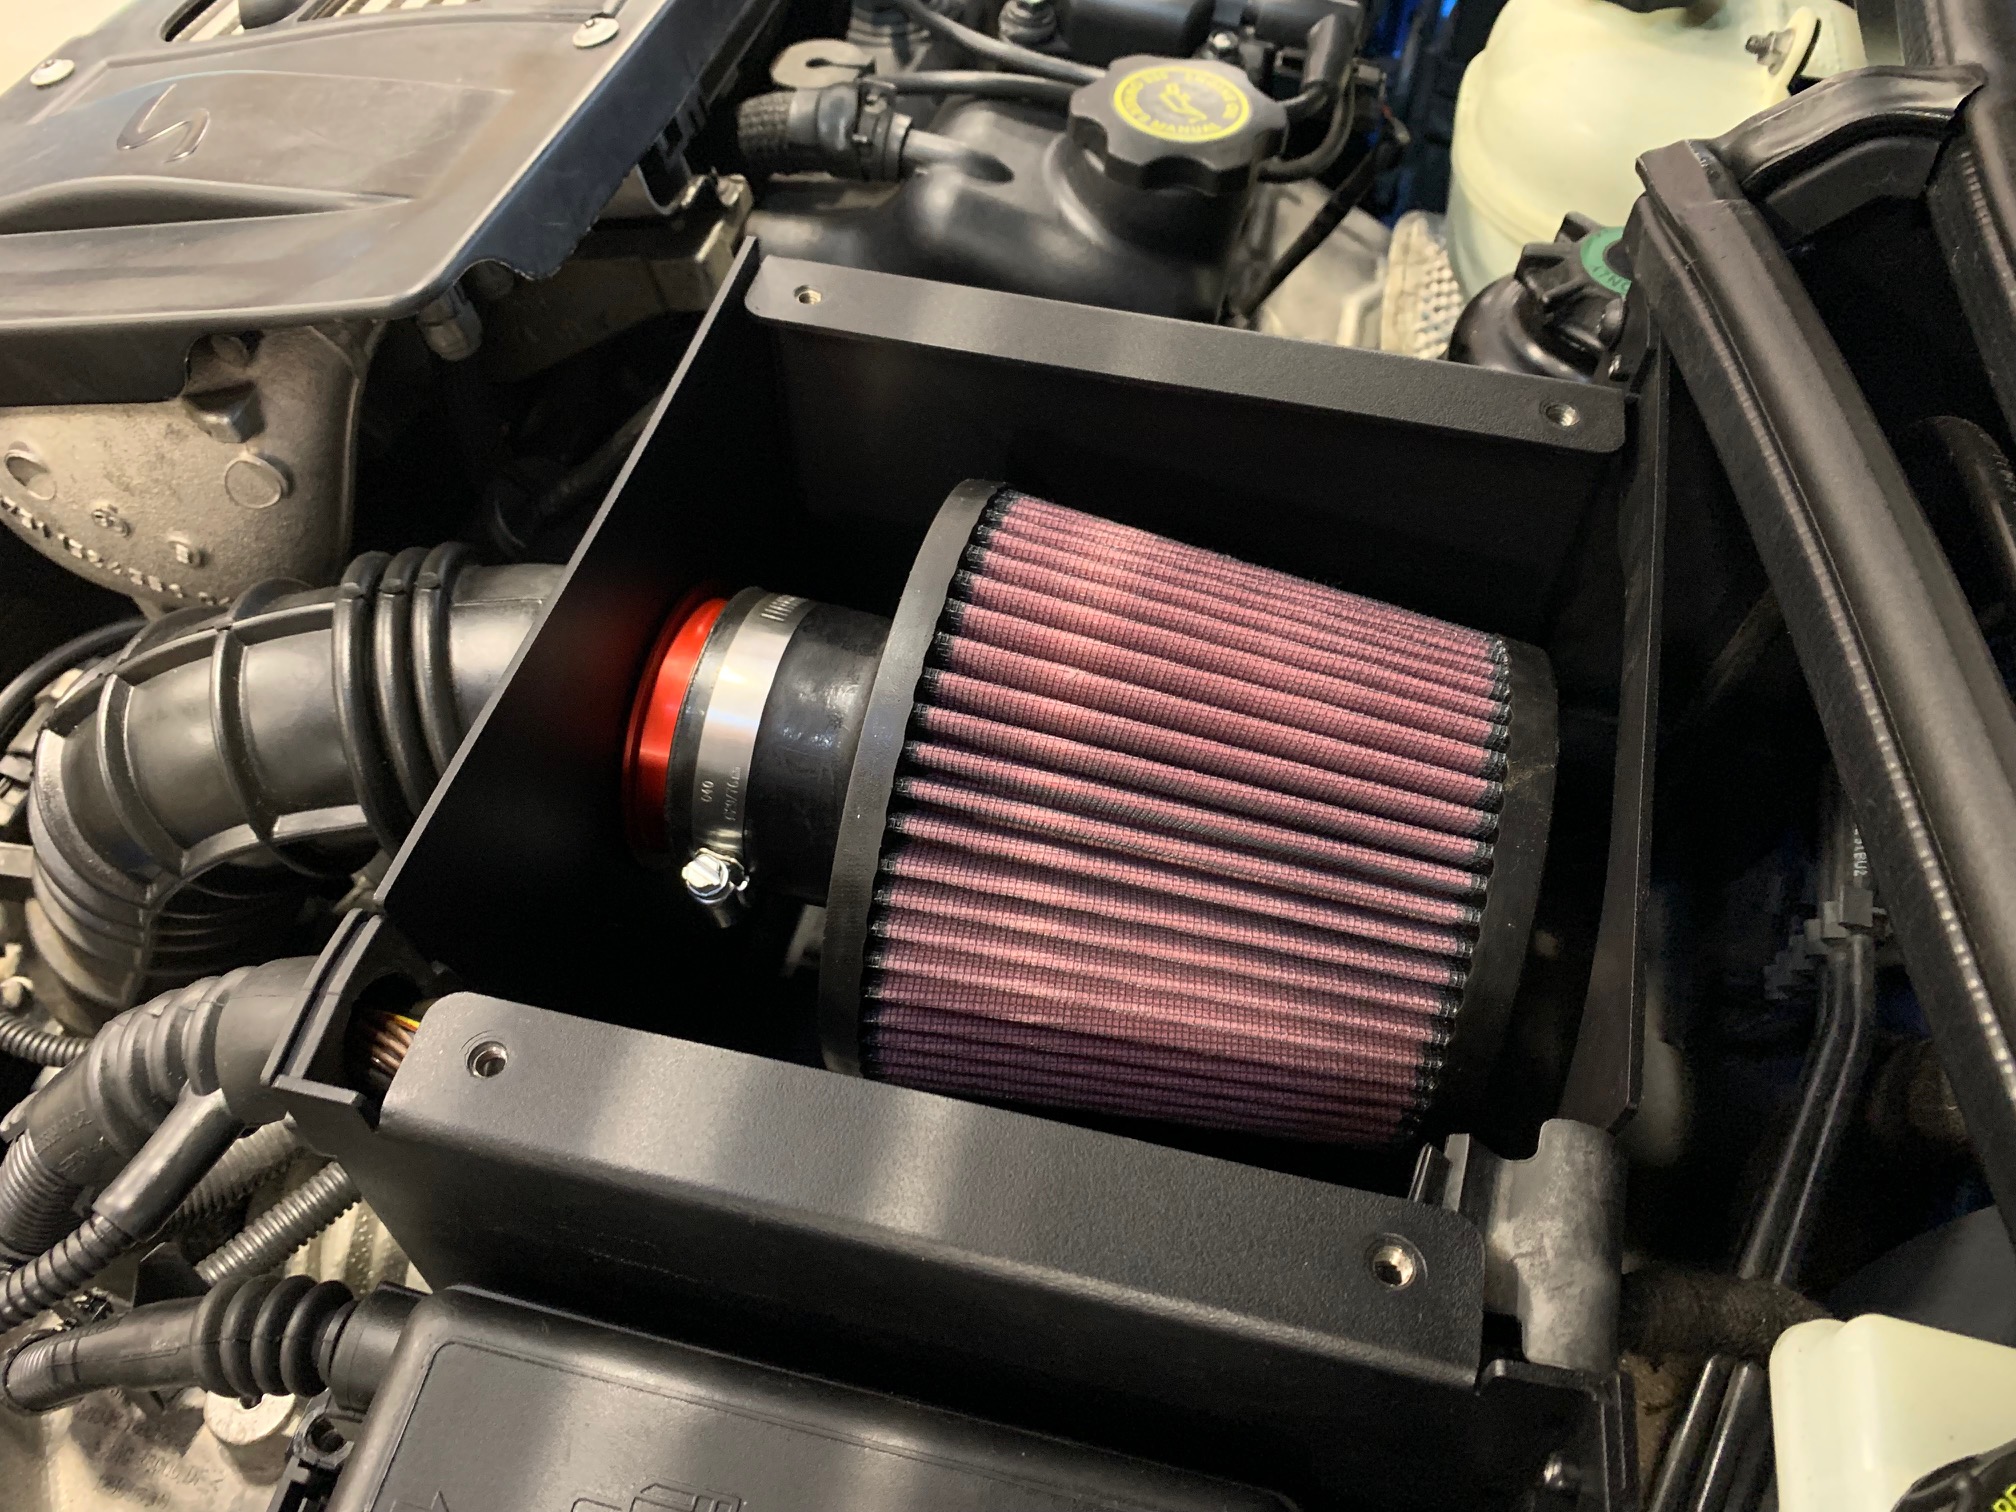
9. Peel off the protective film and fit the polycarbonate airbox cover taking note of the integrated tabs that only allow the top to fit one way. Use the four (4) 1/4-20 black stainless flat-head screws and plastic cone washers to attach the poly carb top.
10. Re-attach the weatherstrip seal along the top of the cowl panel and airbox.
11. Reinstall the ECU wire loom bracket at the right front of the airbox with the 10mm screw. If necessary, you can open up the plastic loom clip and slide the wiring loom up a bit to take some tension off of the front ECU cable in case it wants to pull the grommet out of the airbox cutout. Snap the clip back closed around the loom to keep the grommet in place.
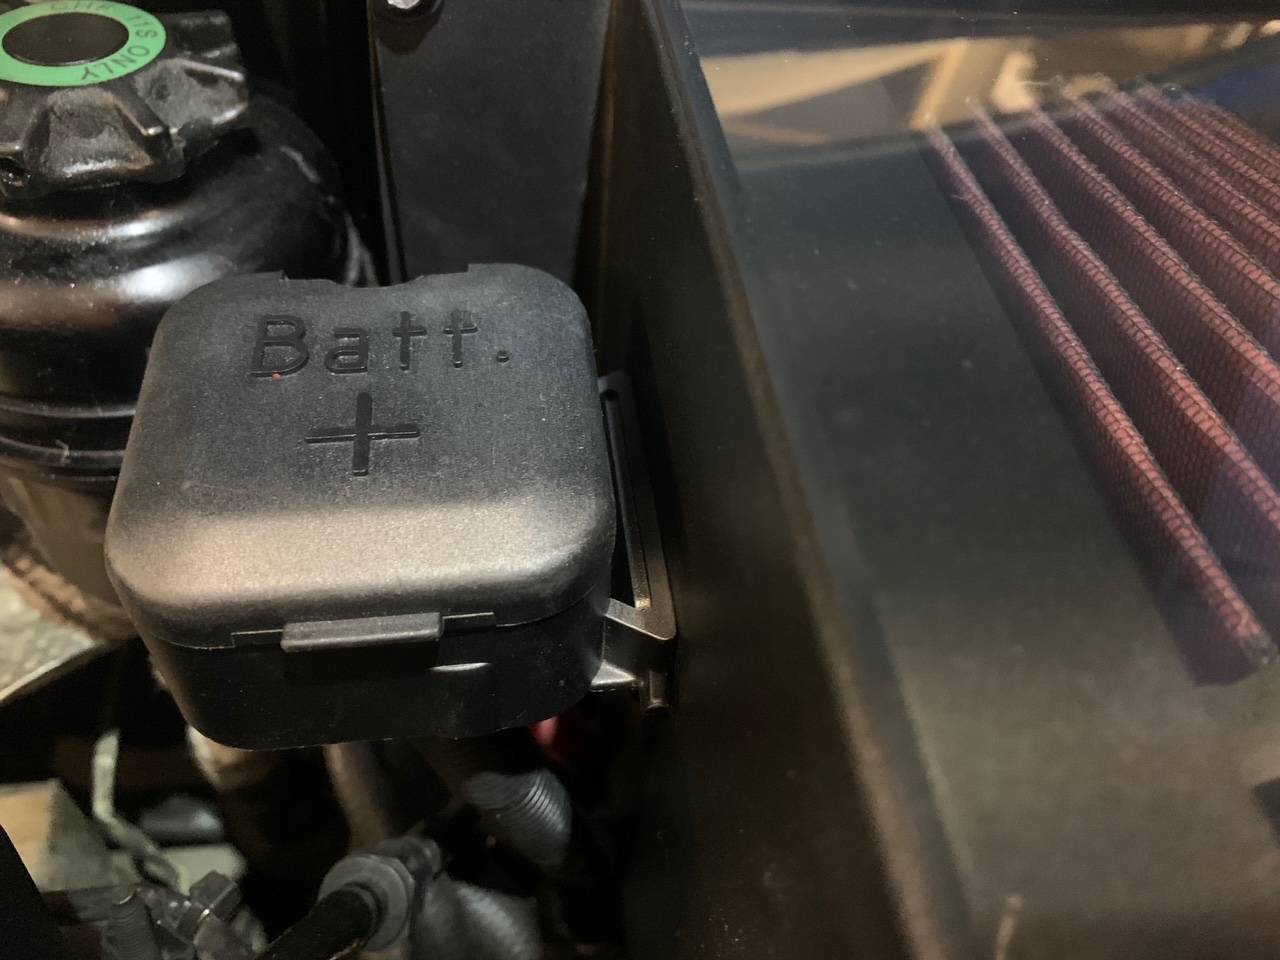
12. Fit the positive (+) battery terminal block back onto the side of the Cravenspeed intake airbox where a bracket has been provided.
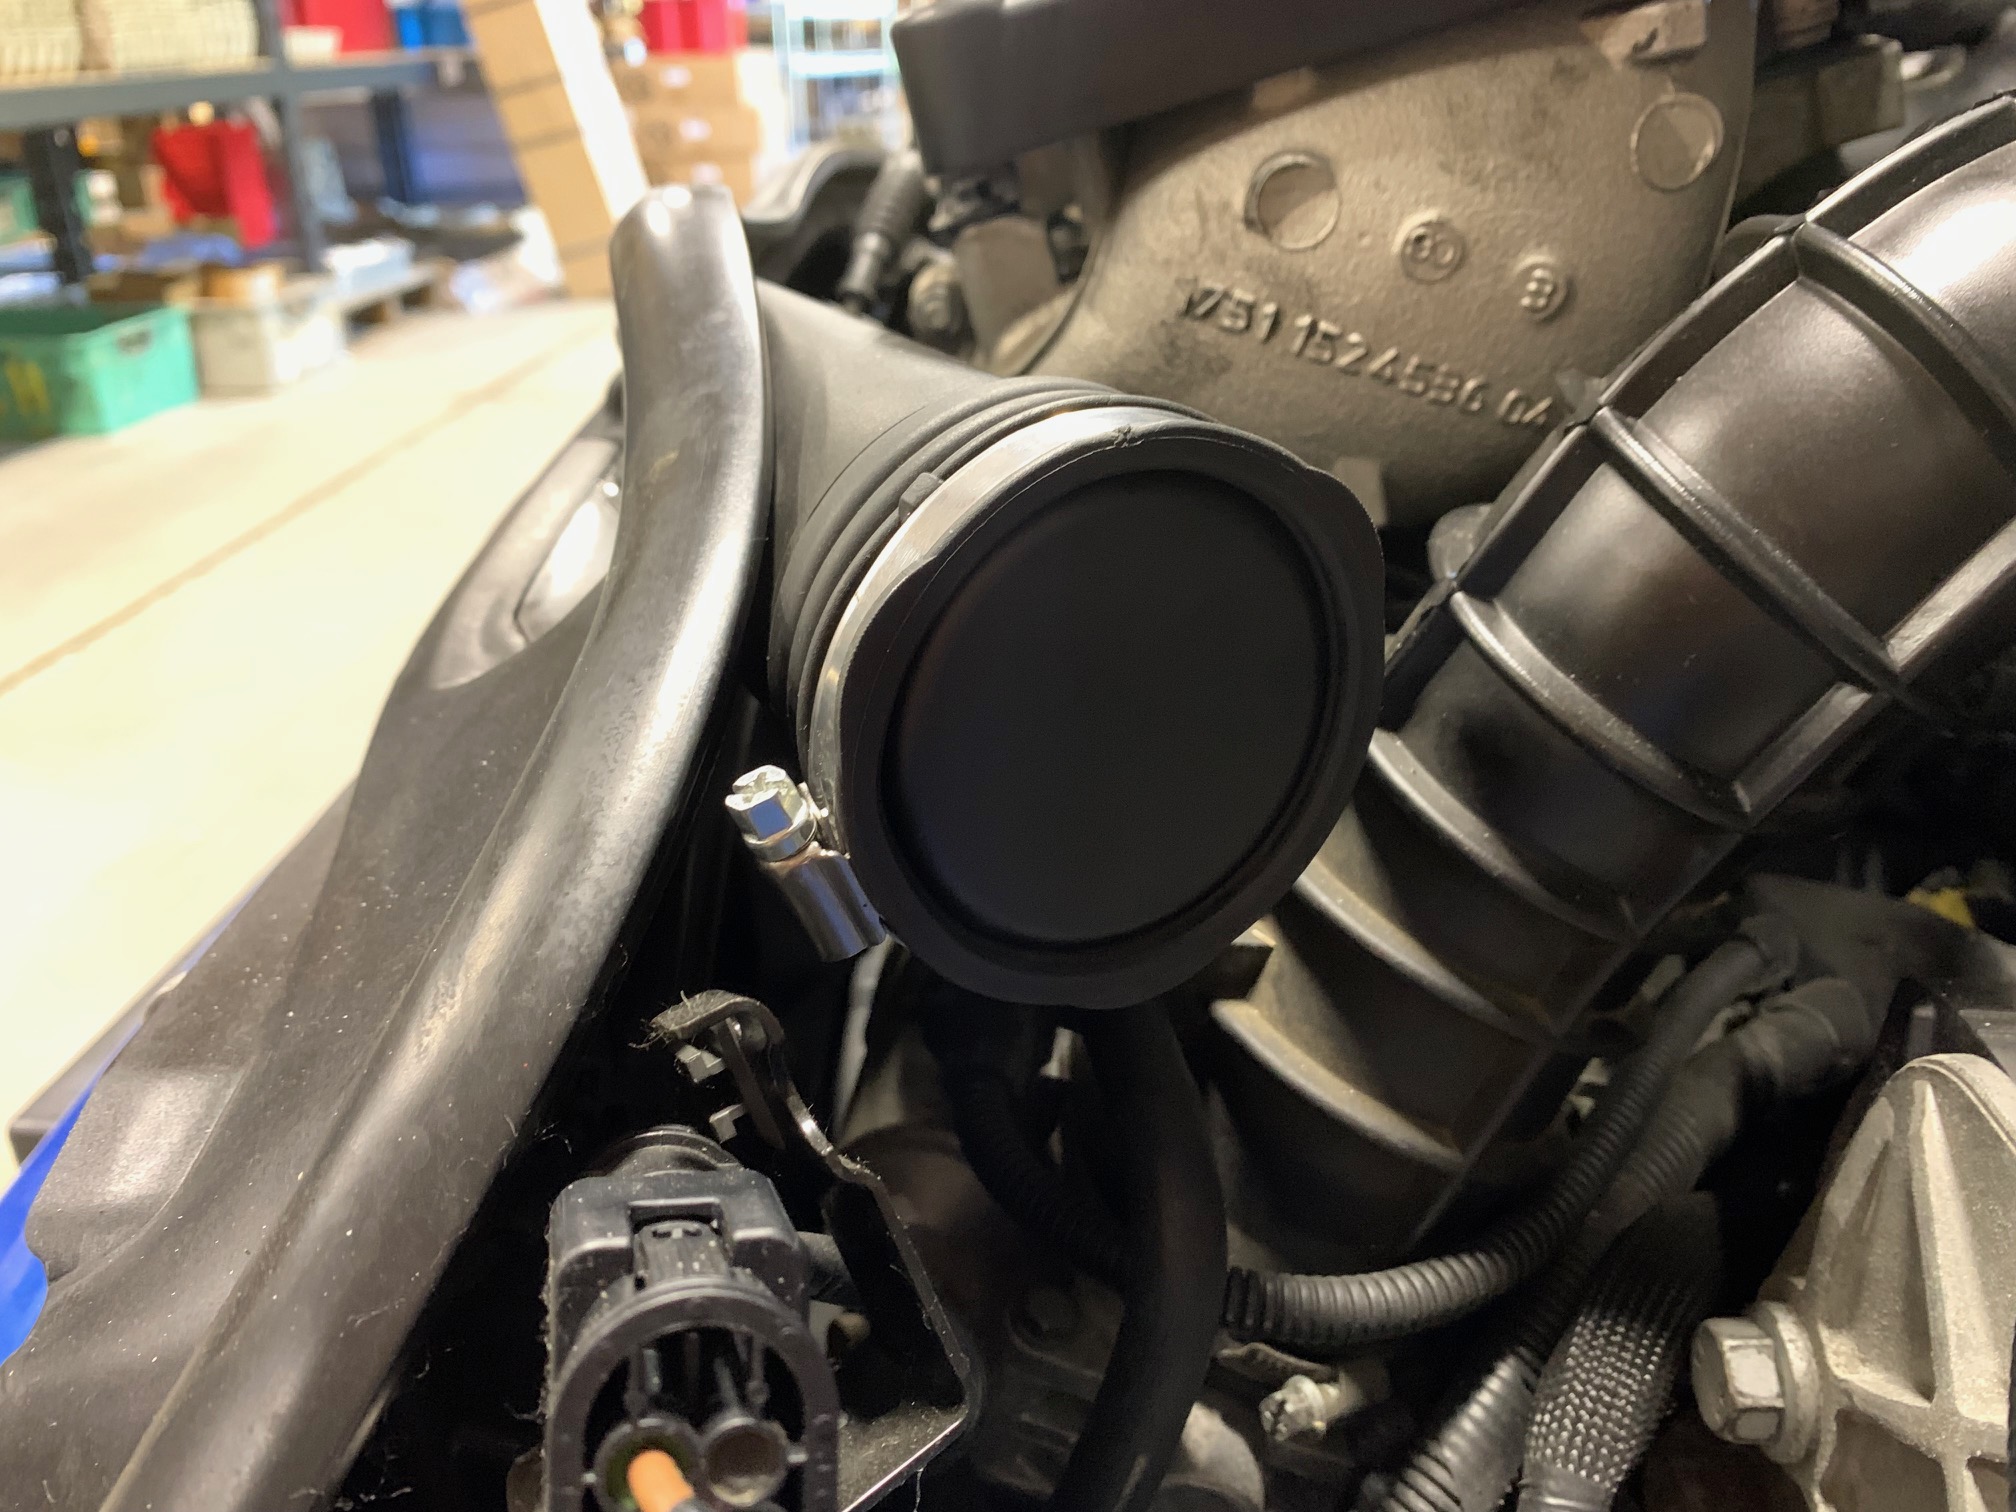
13. Since we've removed the rigid factory intake duct, you now have an opening into your engine compartment through the radiator core support. One might think to leave this duct open, but it will just collect a lot of dust and debris and wouldn't really benefit anything. The CravenSpeed CAI will already receive much more air thru the cowling vent in front of the windshield, so we've included a block off plug to minimize the filth that would accumulate through there. Fit the plug into the rubber tube section (smooth side out) and fix into place with the included worm-drive hose clamp.
14. Head back to the boot and re-connect your negative battery terminal.
15. Turn the ignition key on to accessory mode for approx 10 seconds to re-initialize the ECU and then start the car. Check to see that nothing is out of place, check hose and wire loom alignment and listen for any new odd sounds or air leaks. If everything is to your satisfaction, go take your MINI for a spin and enjoy your new CravenSpeed Cold Air Intake!