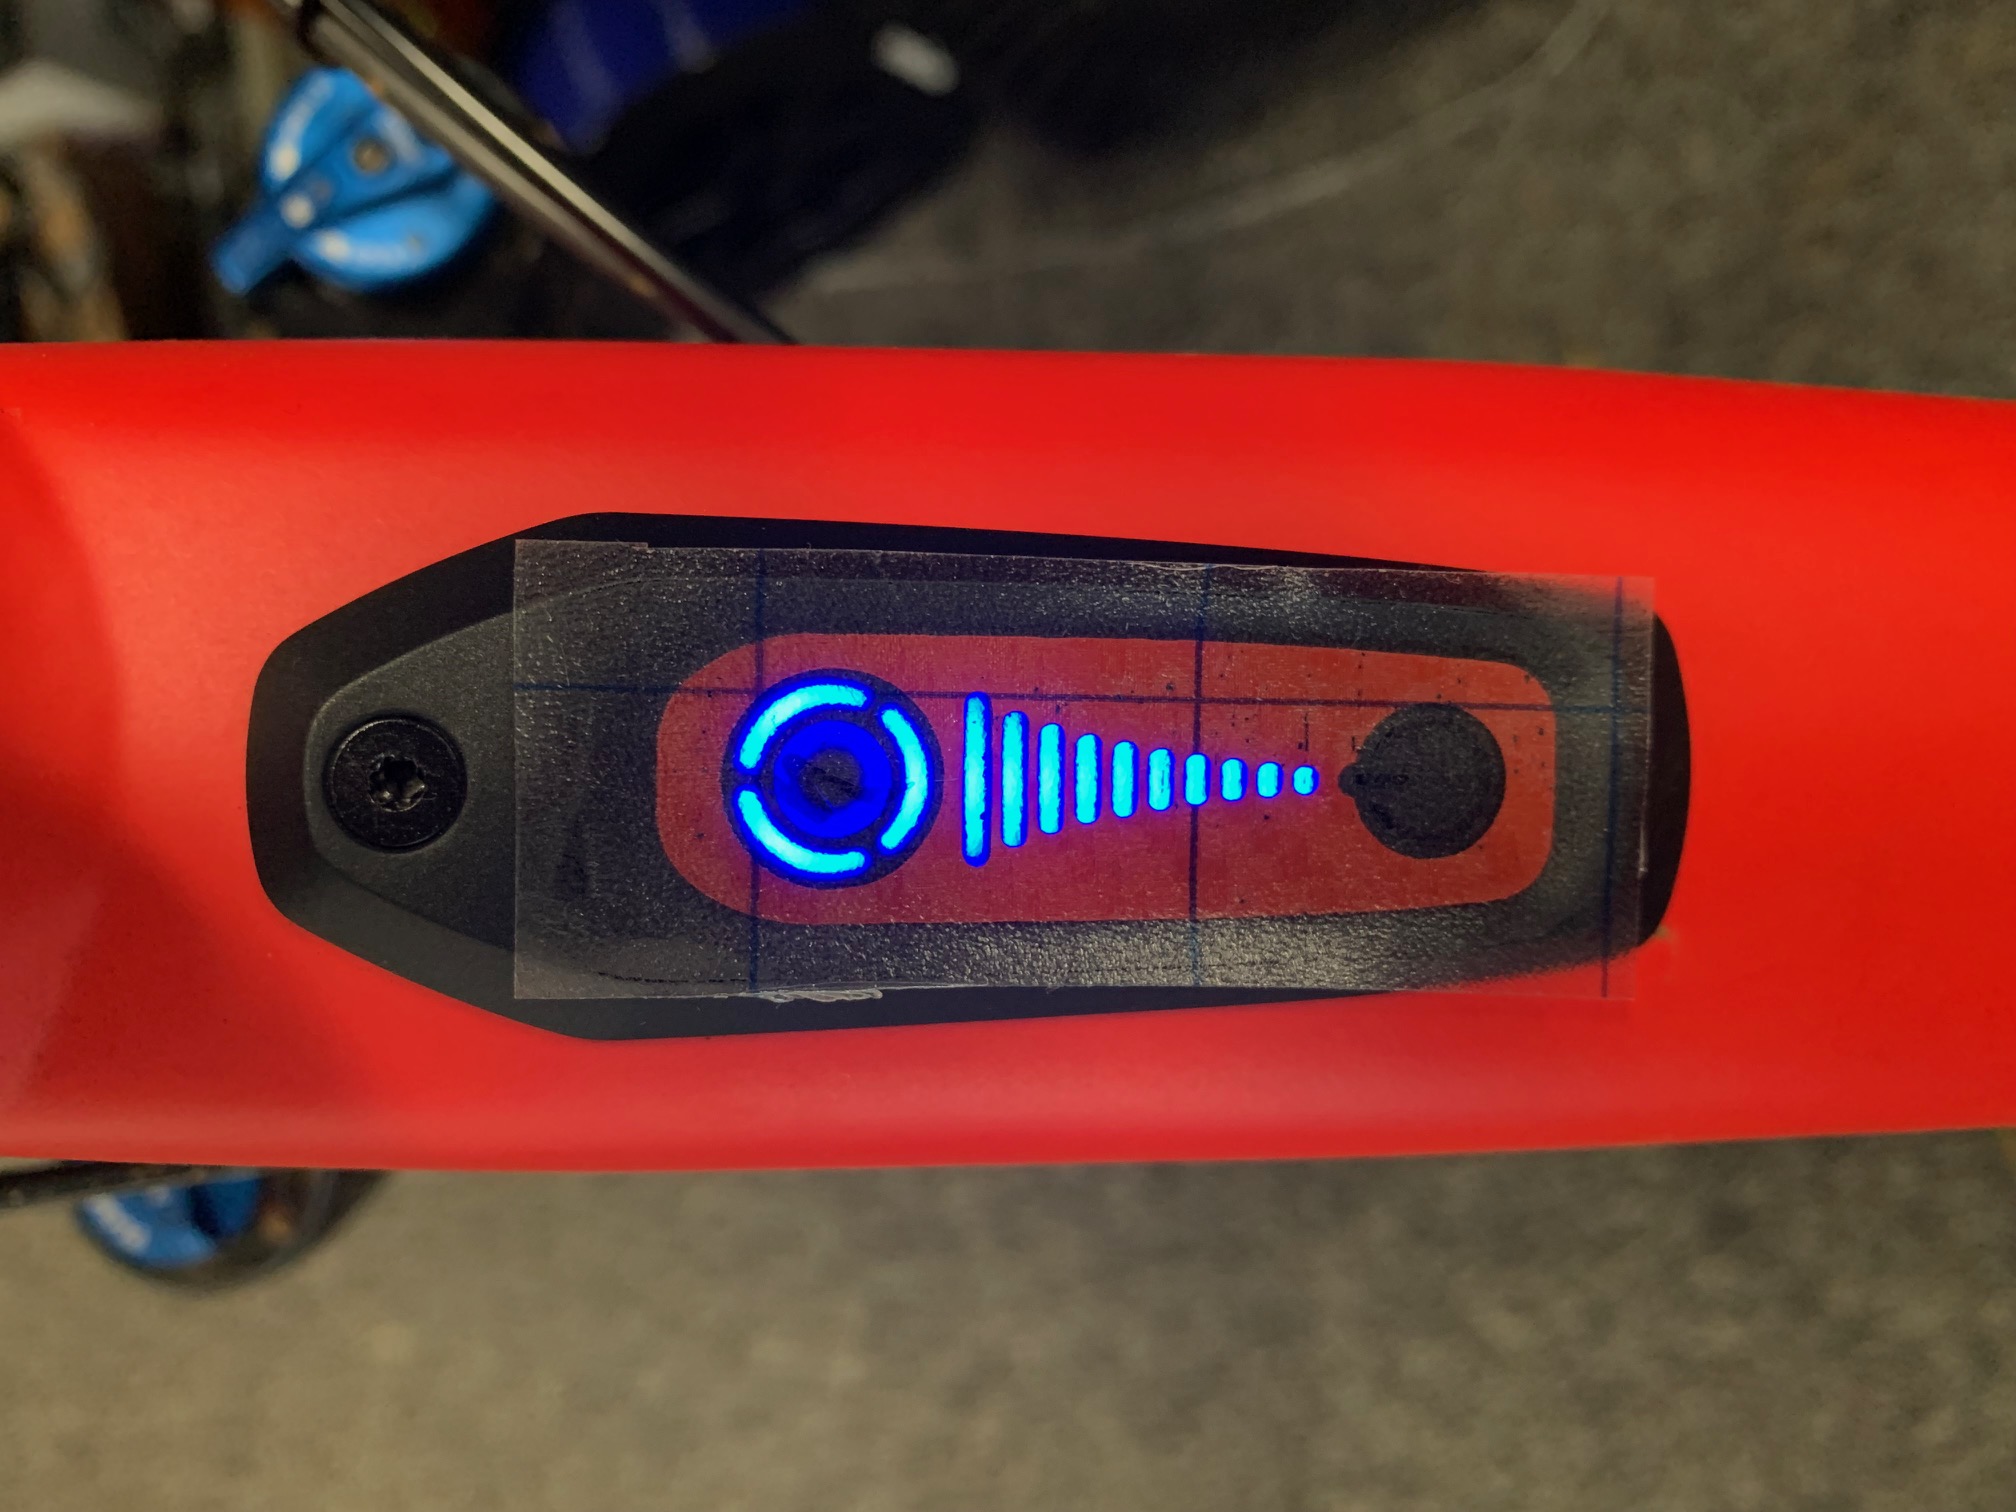
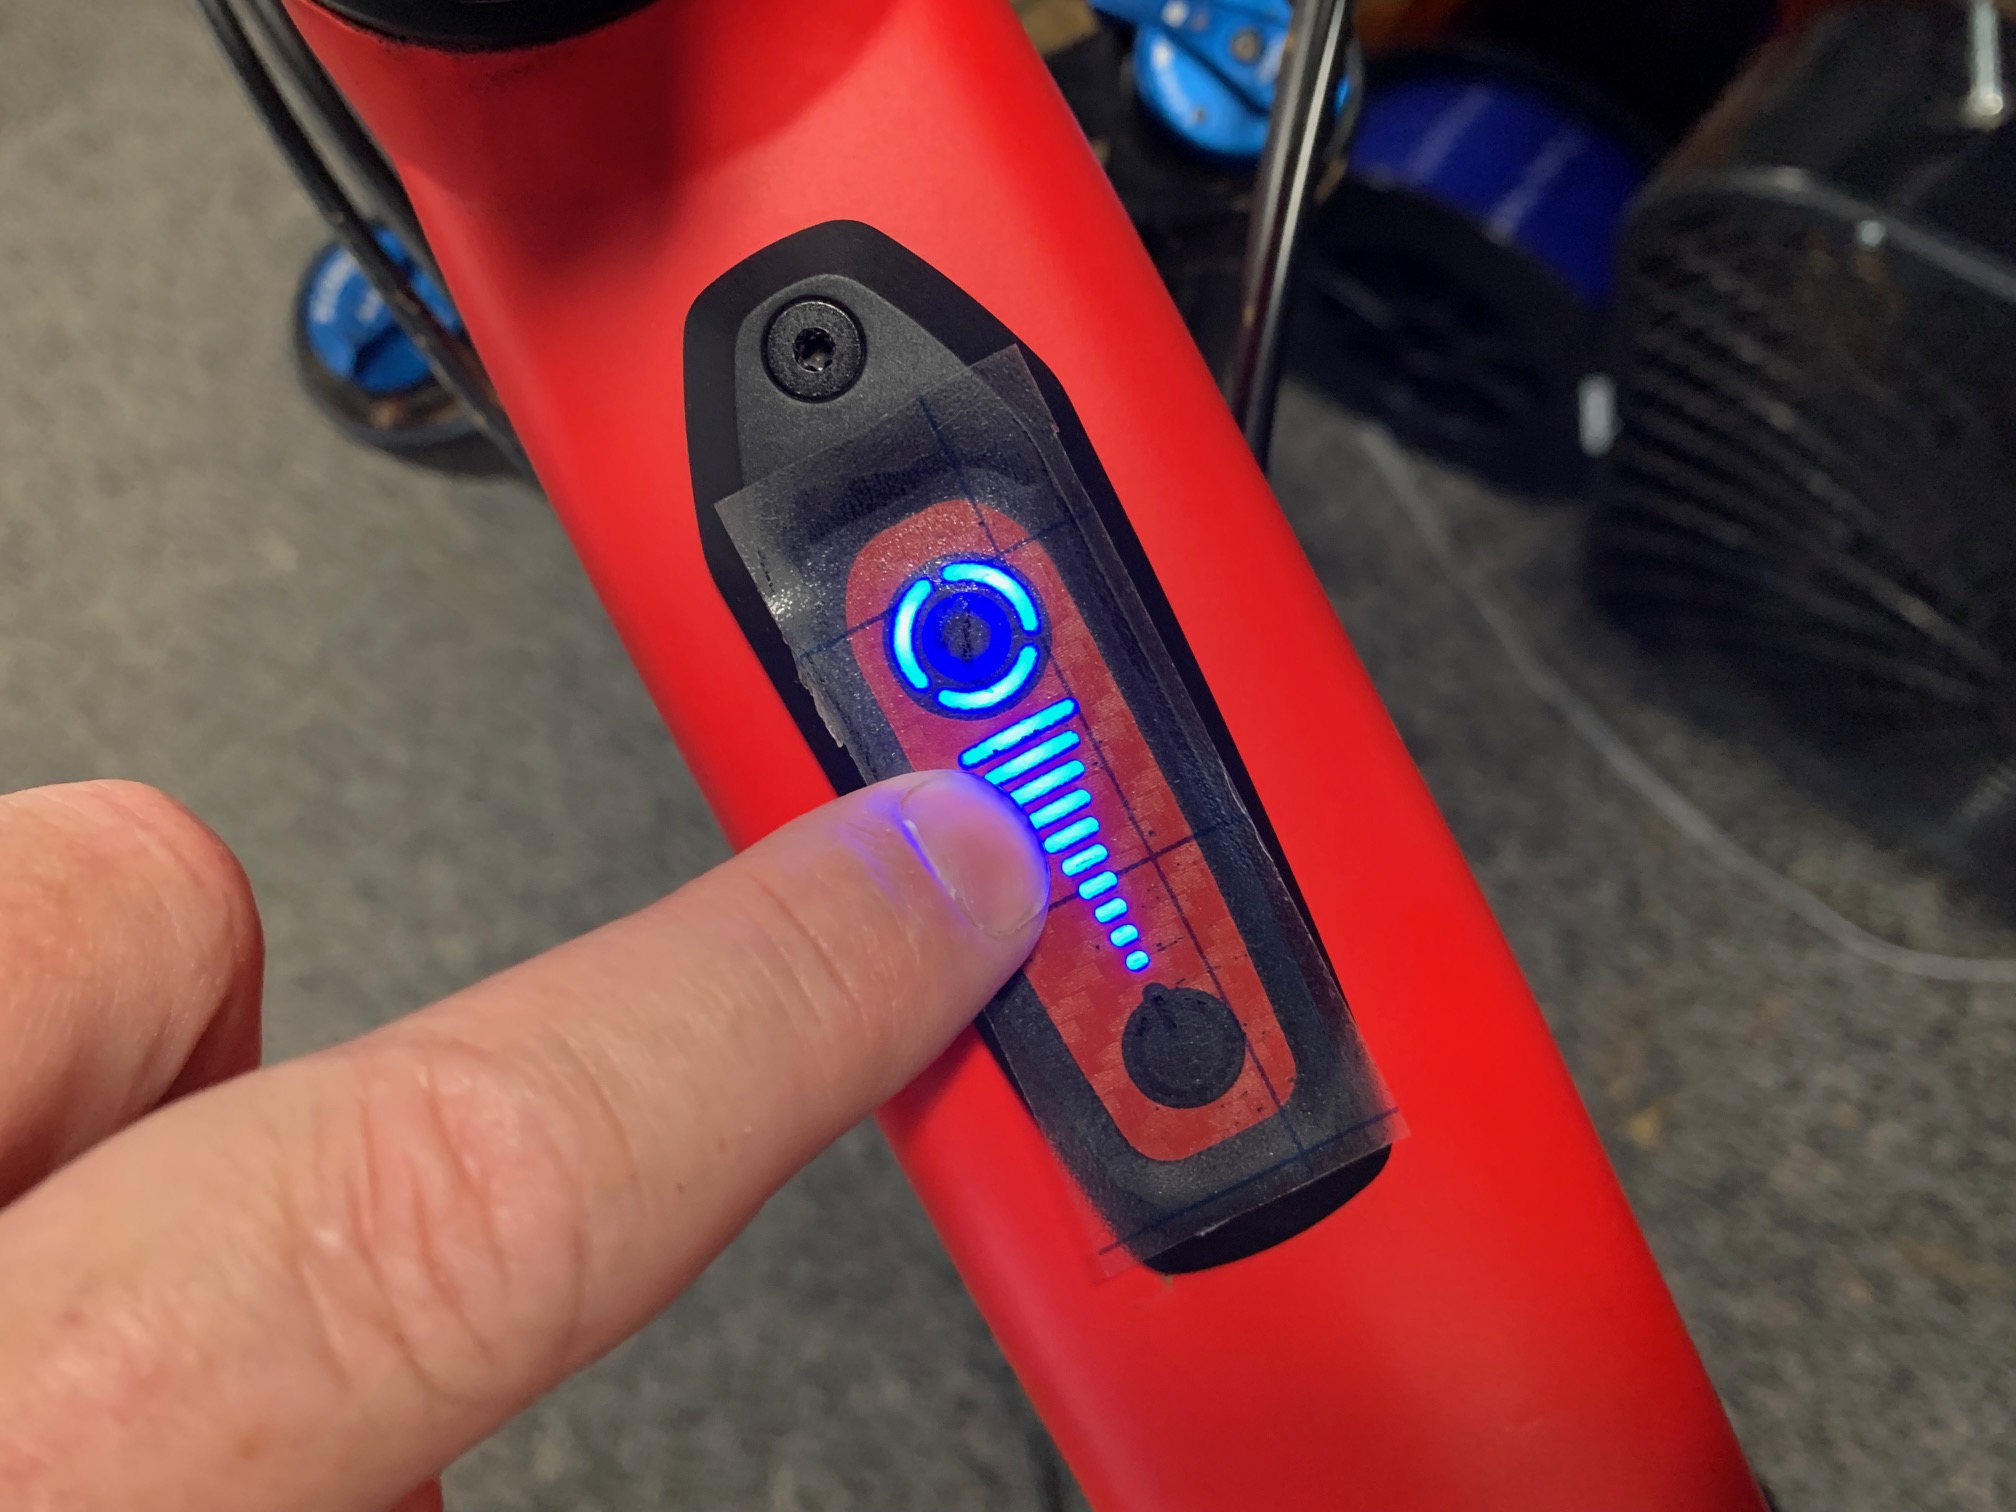
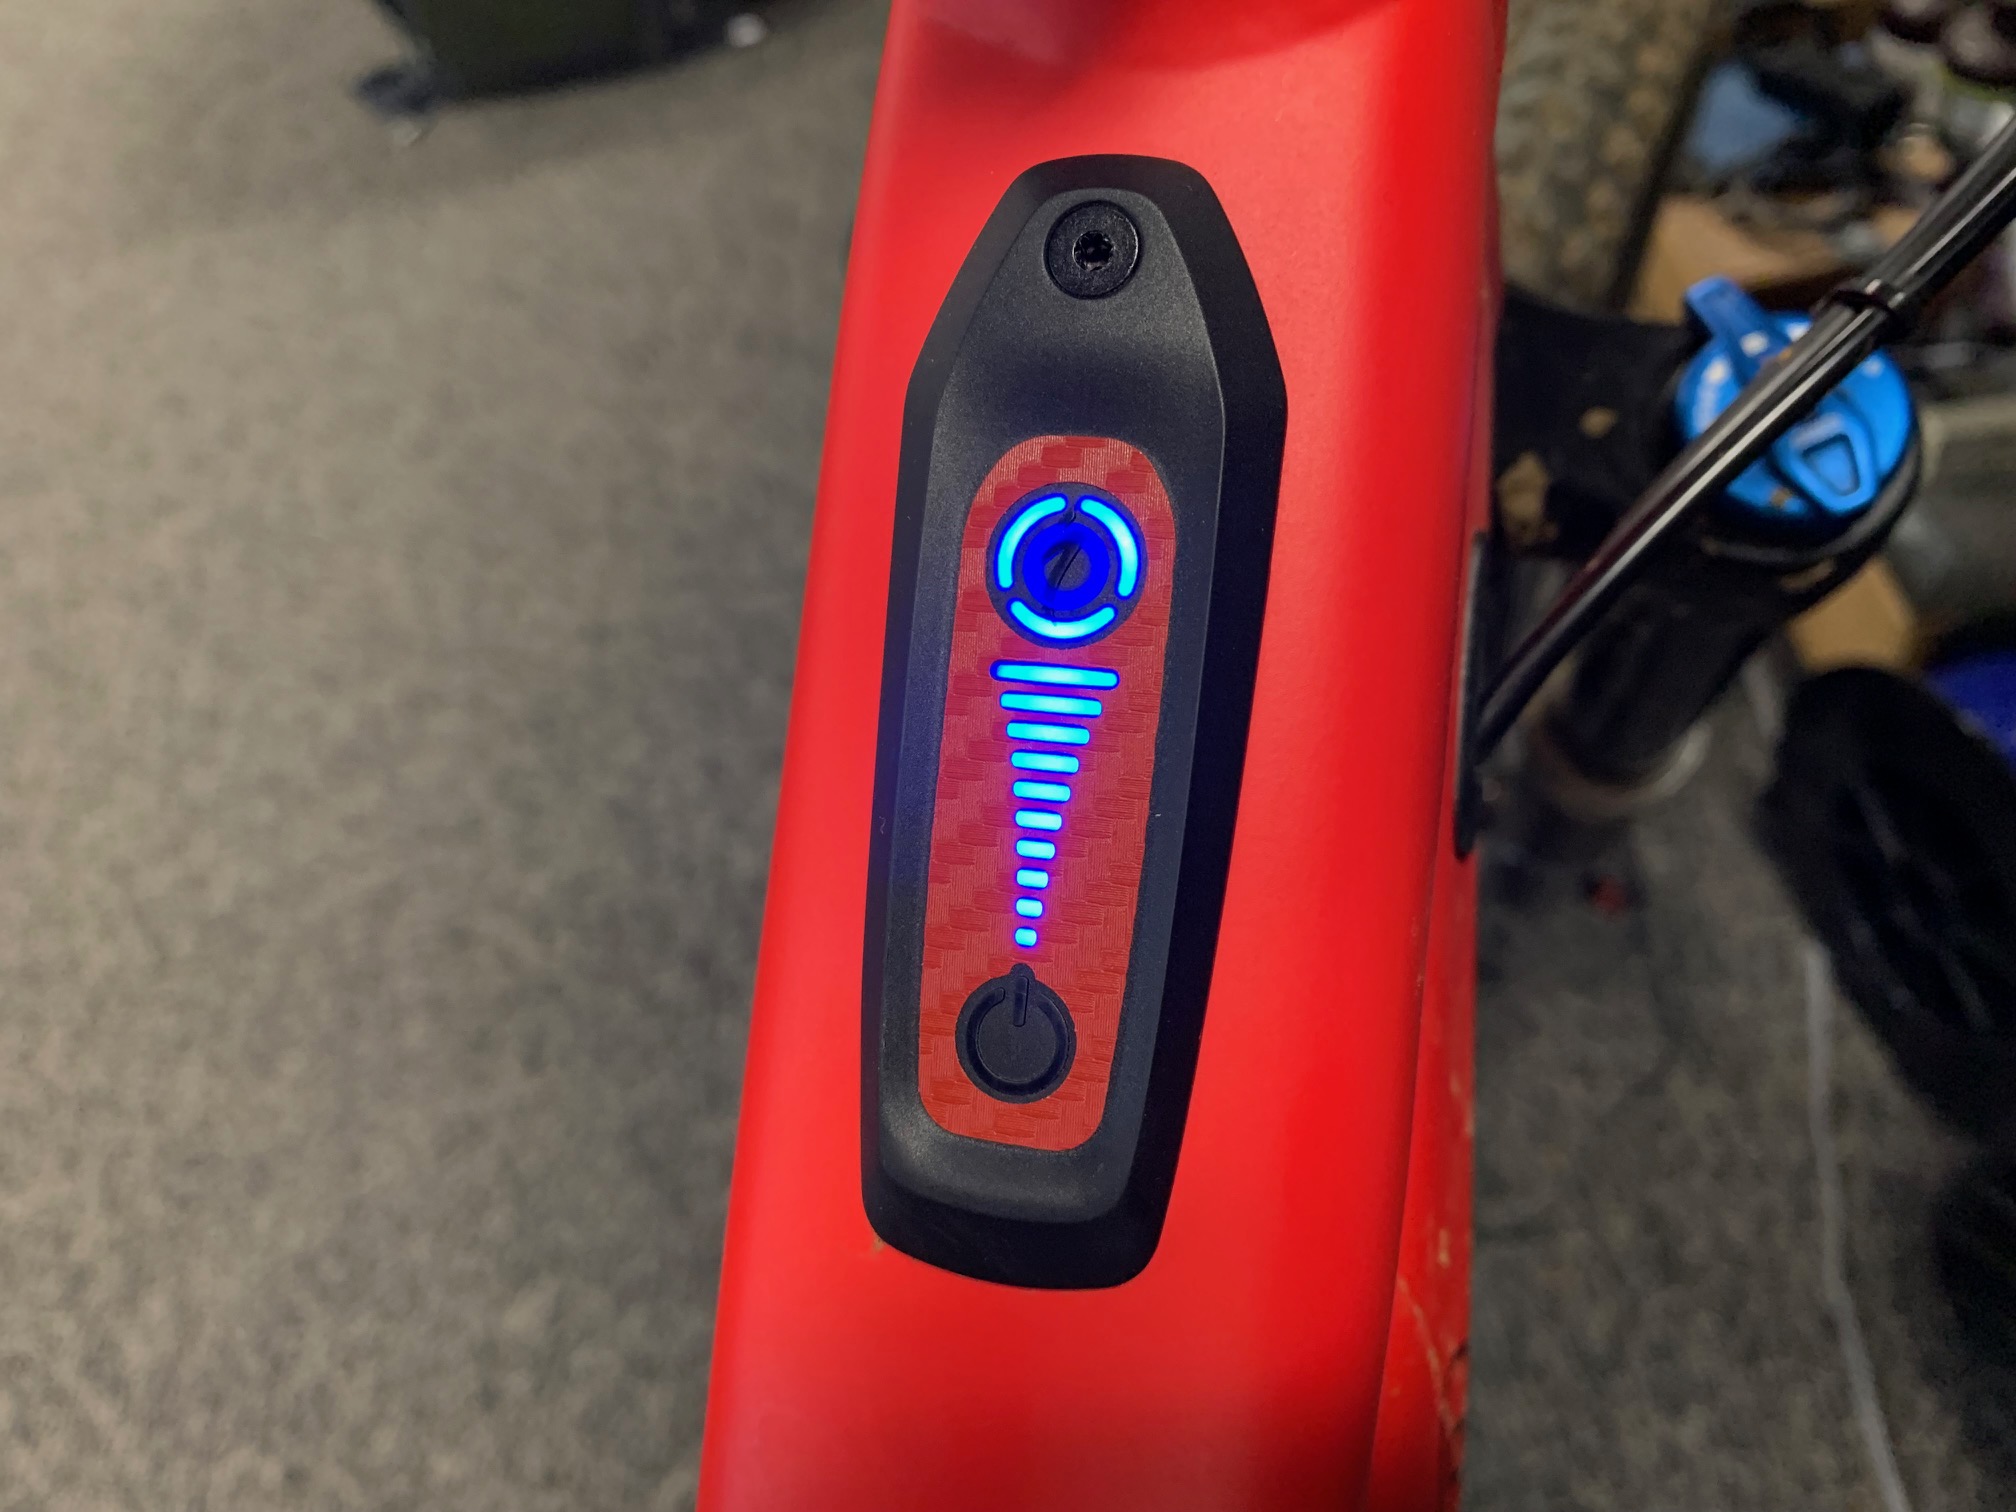
THANK YOU for purchasing the Power Level Overlay Decal for Specialized eBikes from CravenSpeed. This product is made from the highest grade materials, and is guaranteed to be free from defects. Perform a final pressing down all around the decal to ensure it's entirely affixed and your job is complete! Congrats!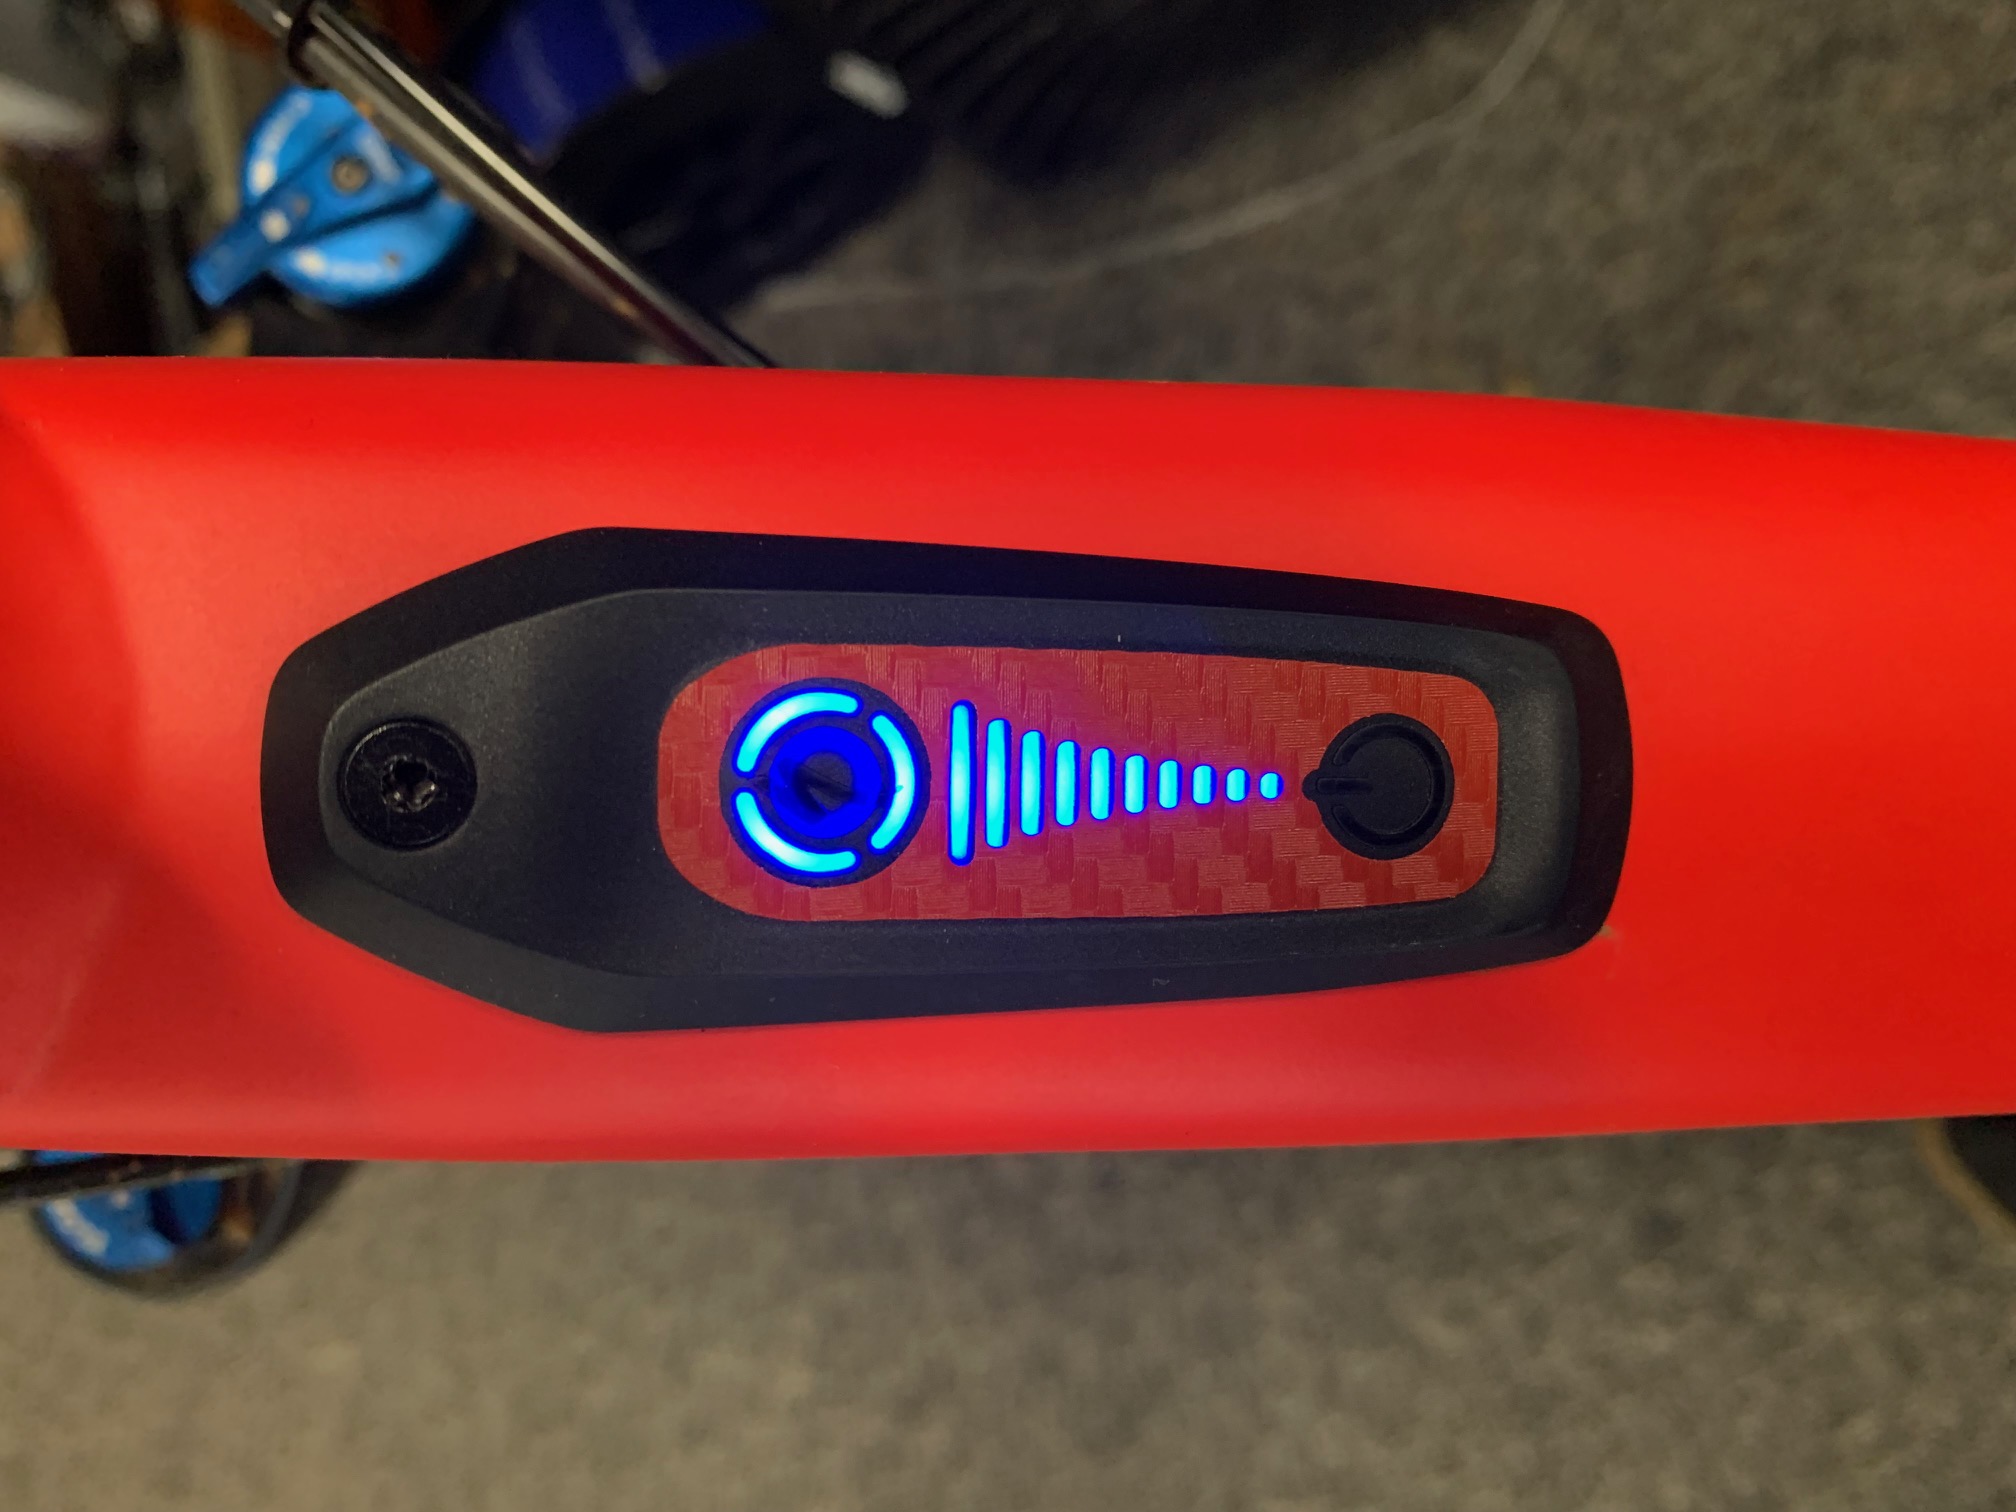
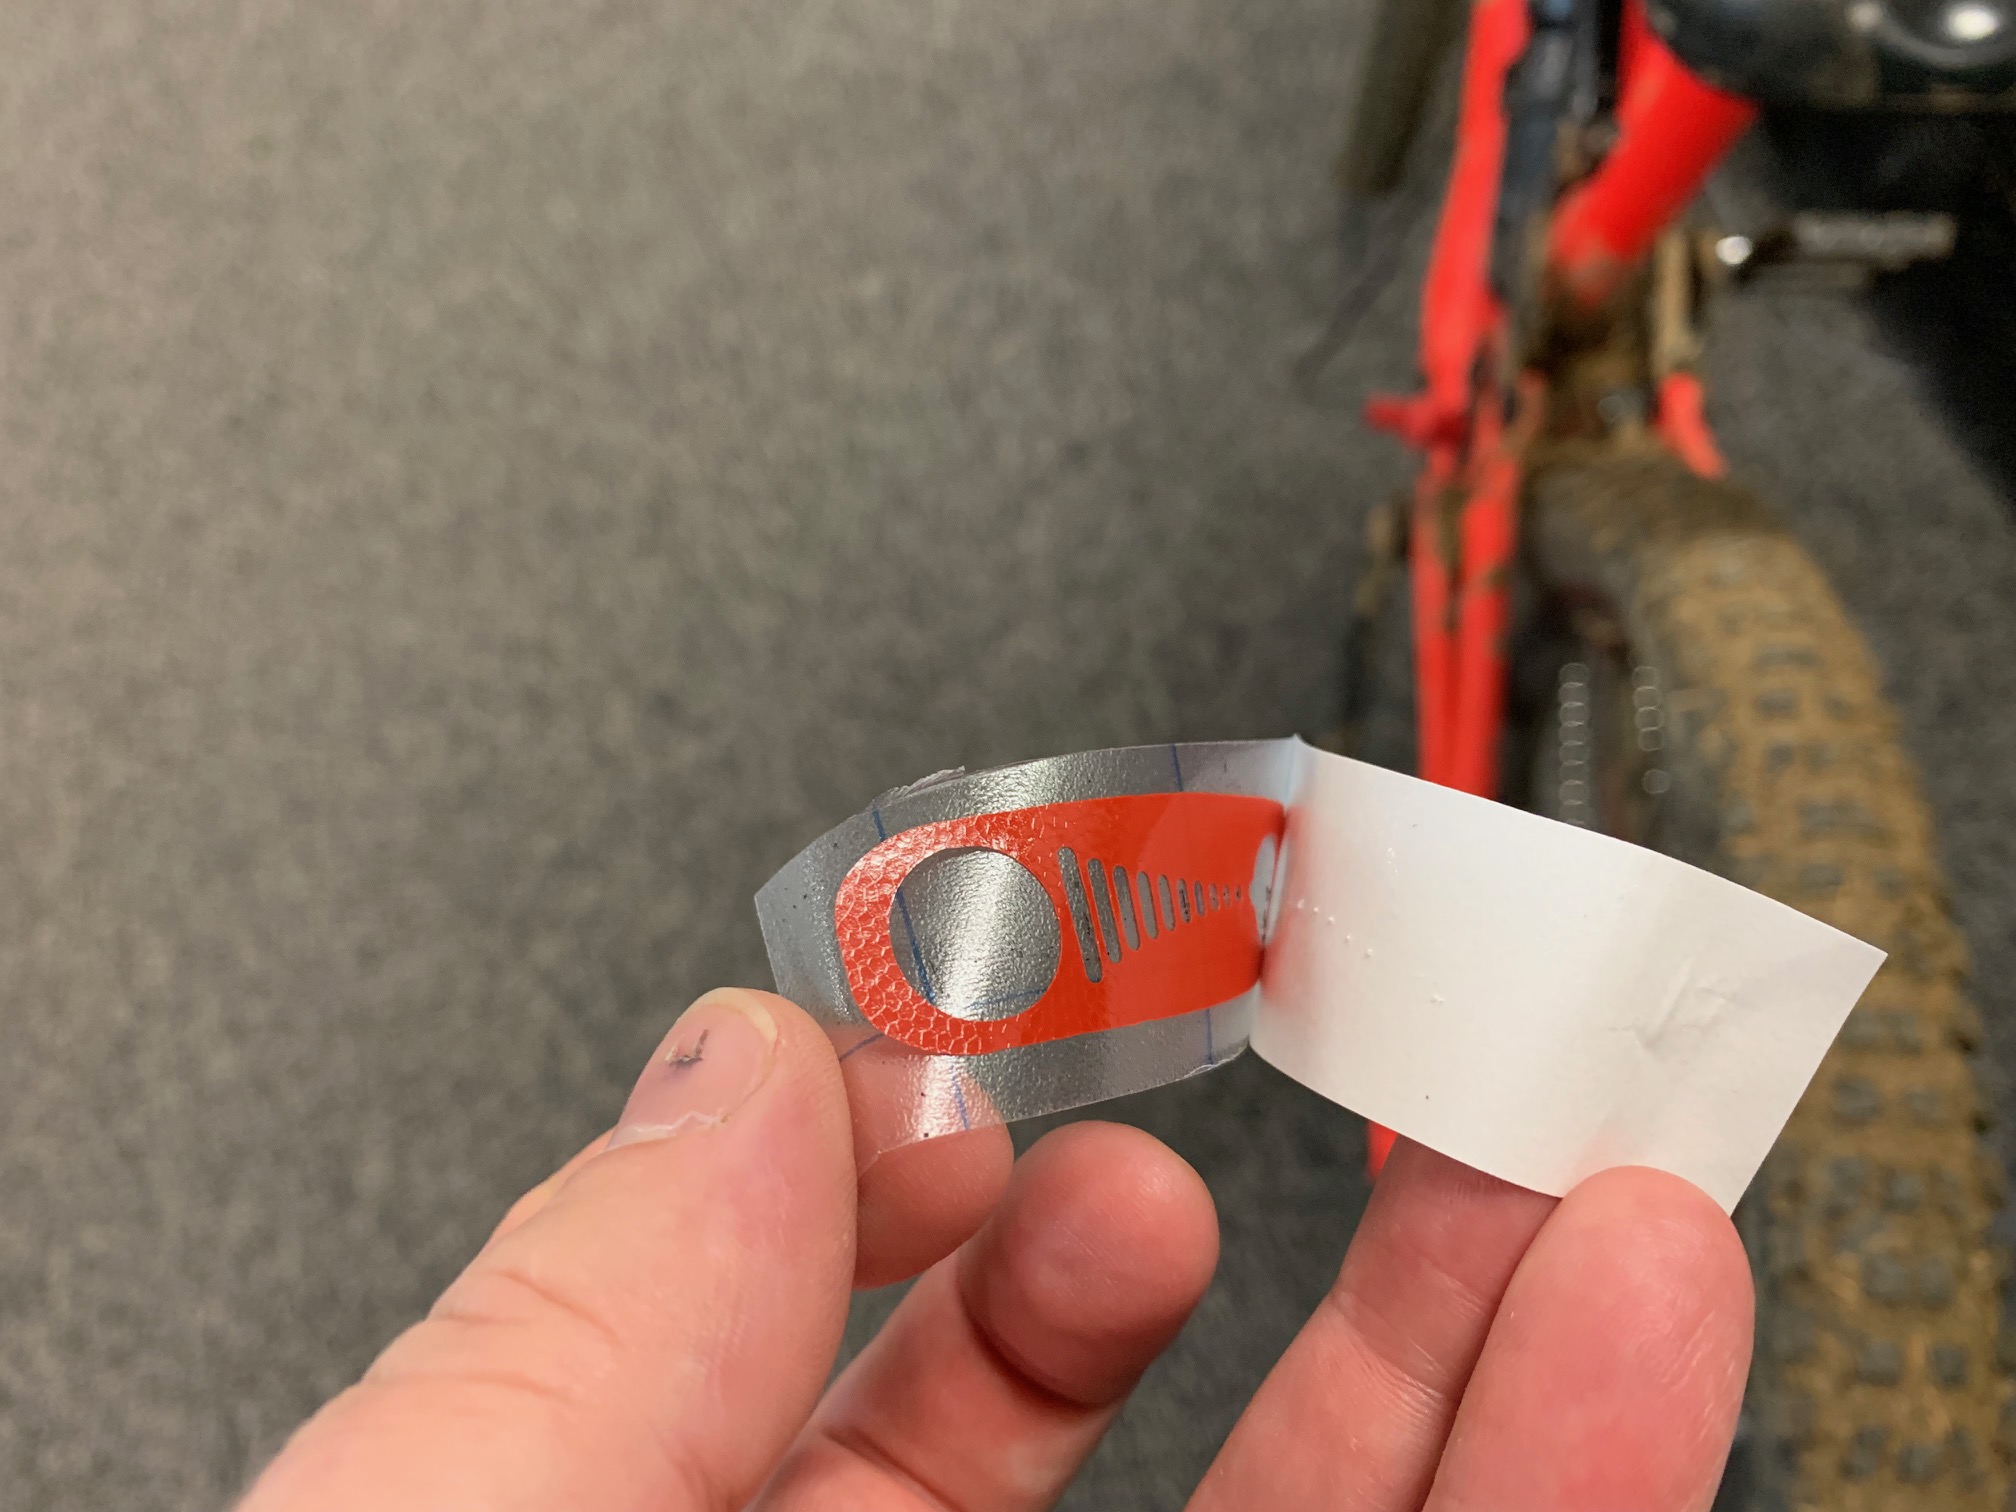
Parts Included:
Tools Required:
Procedure
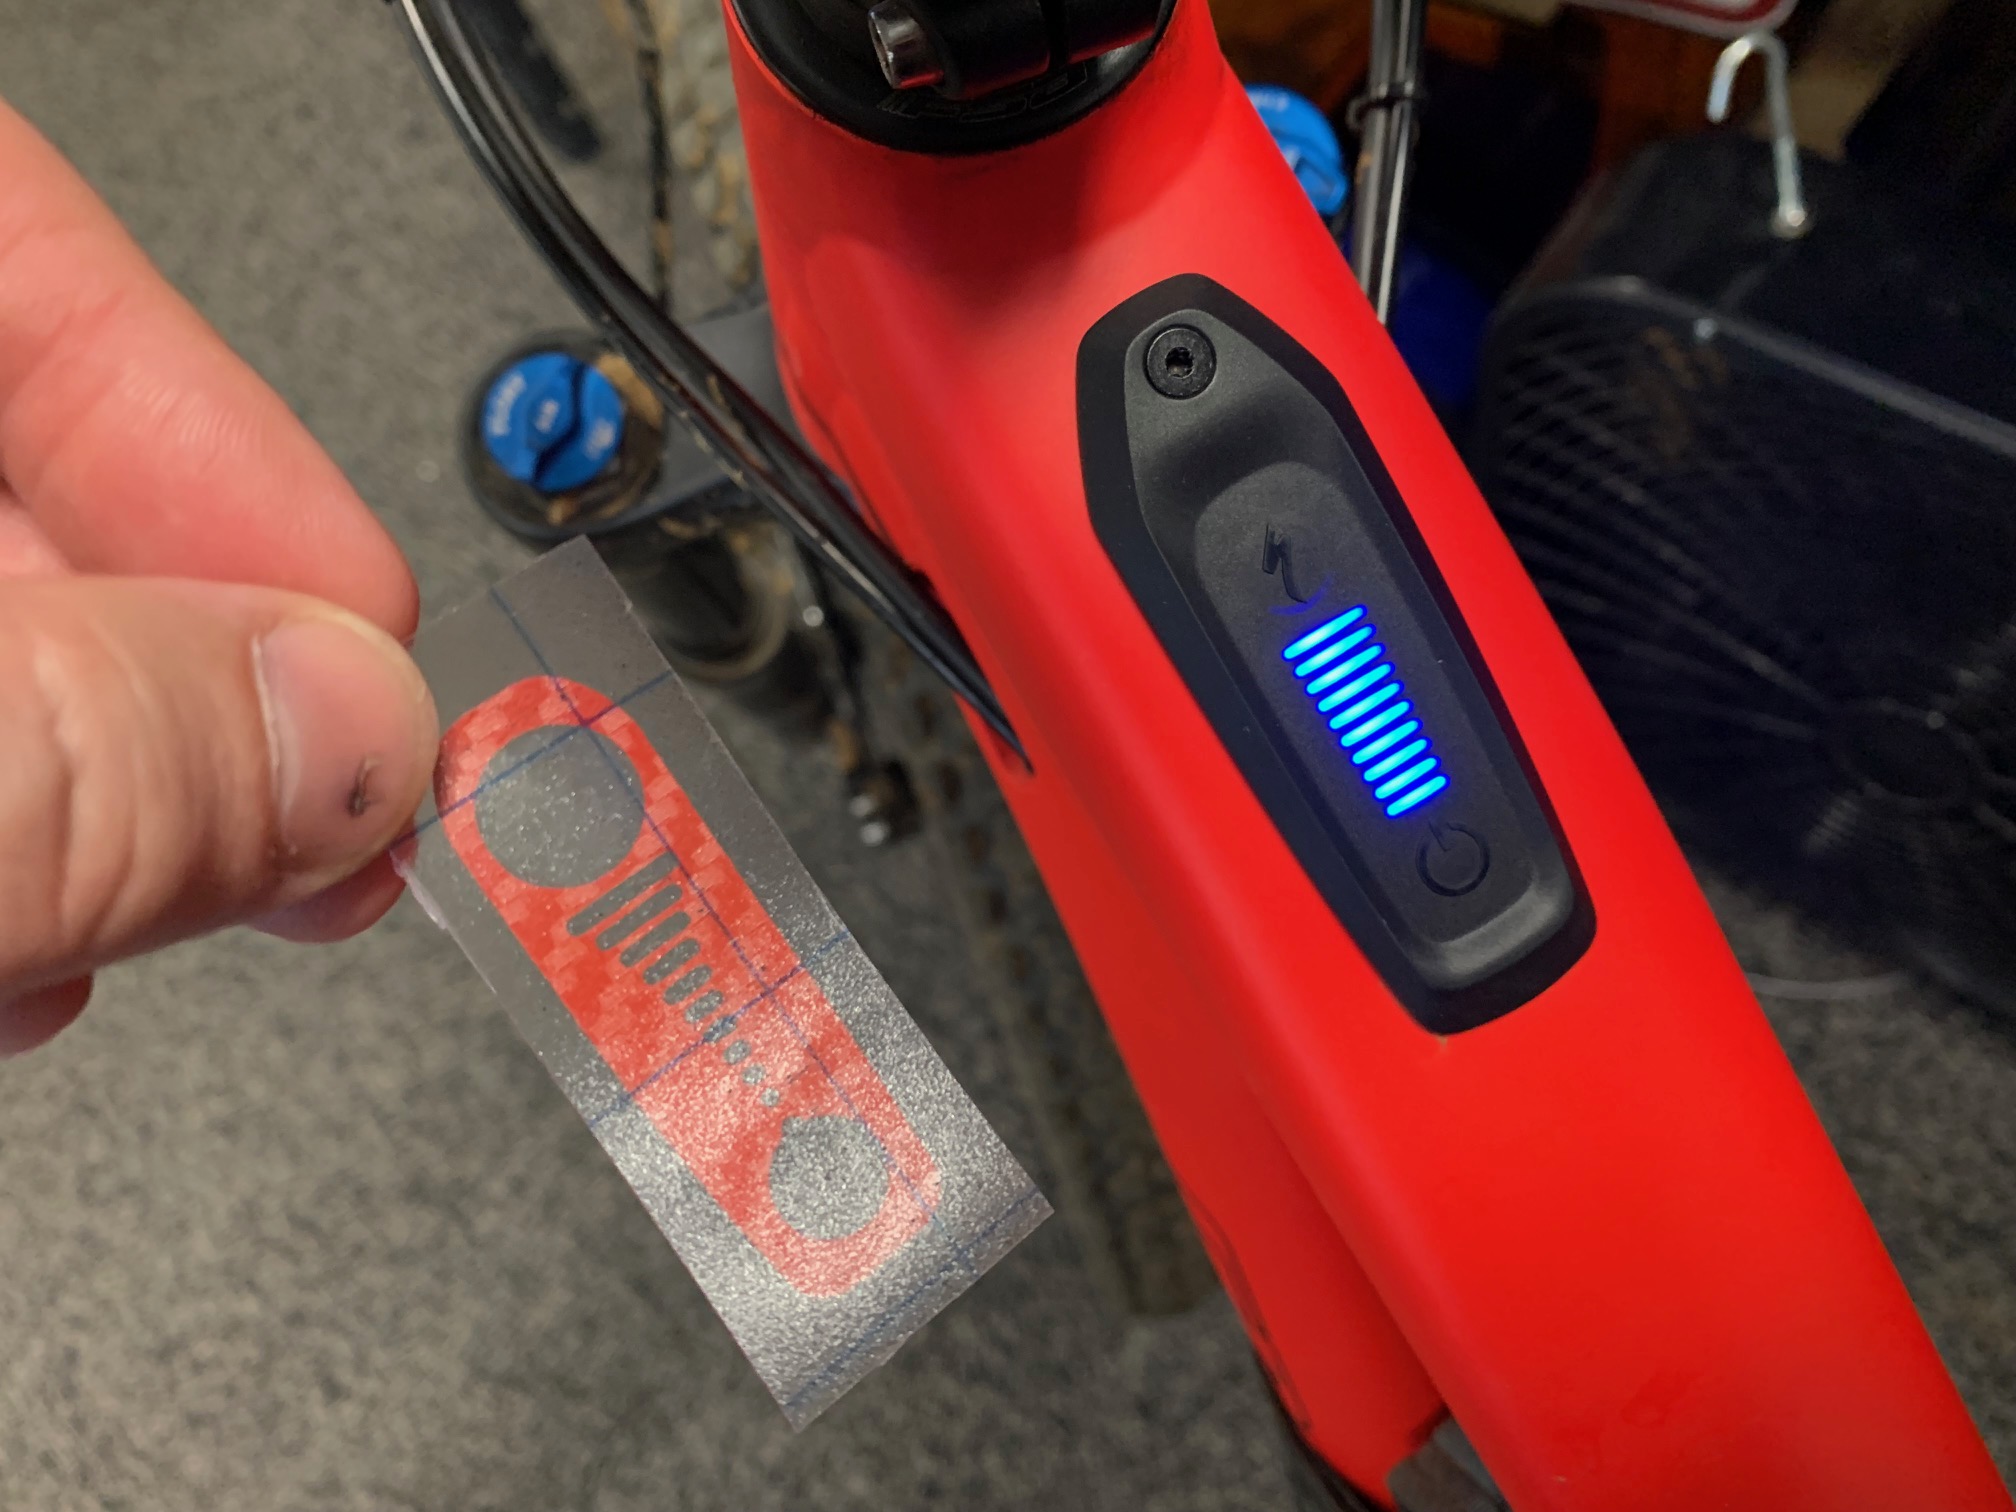
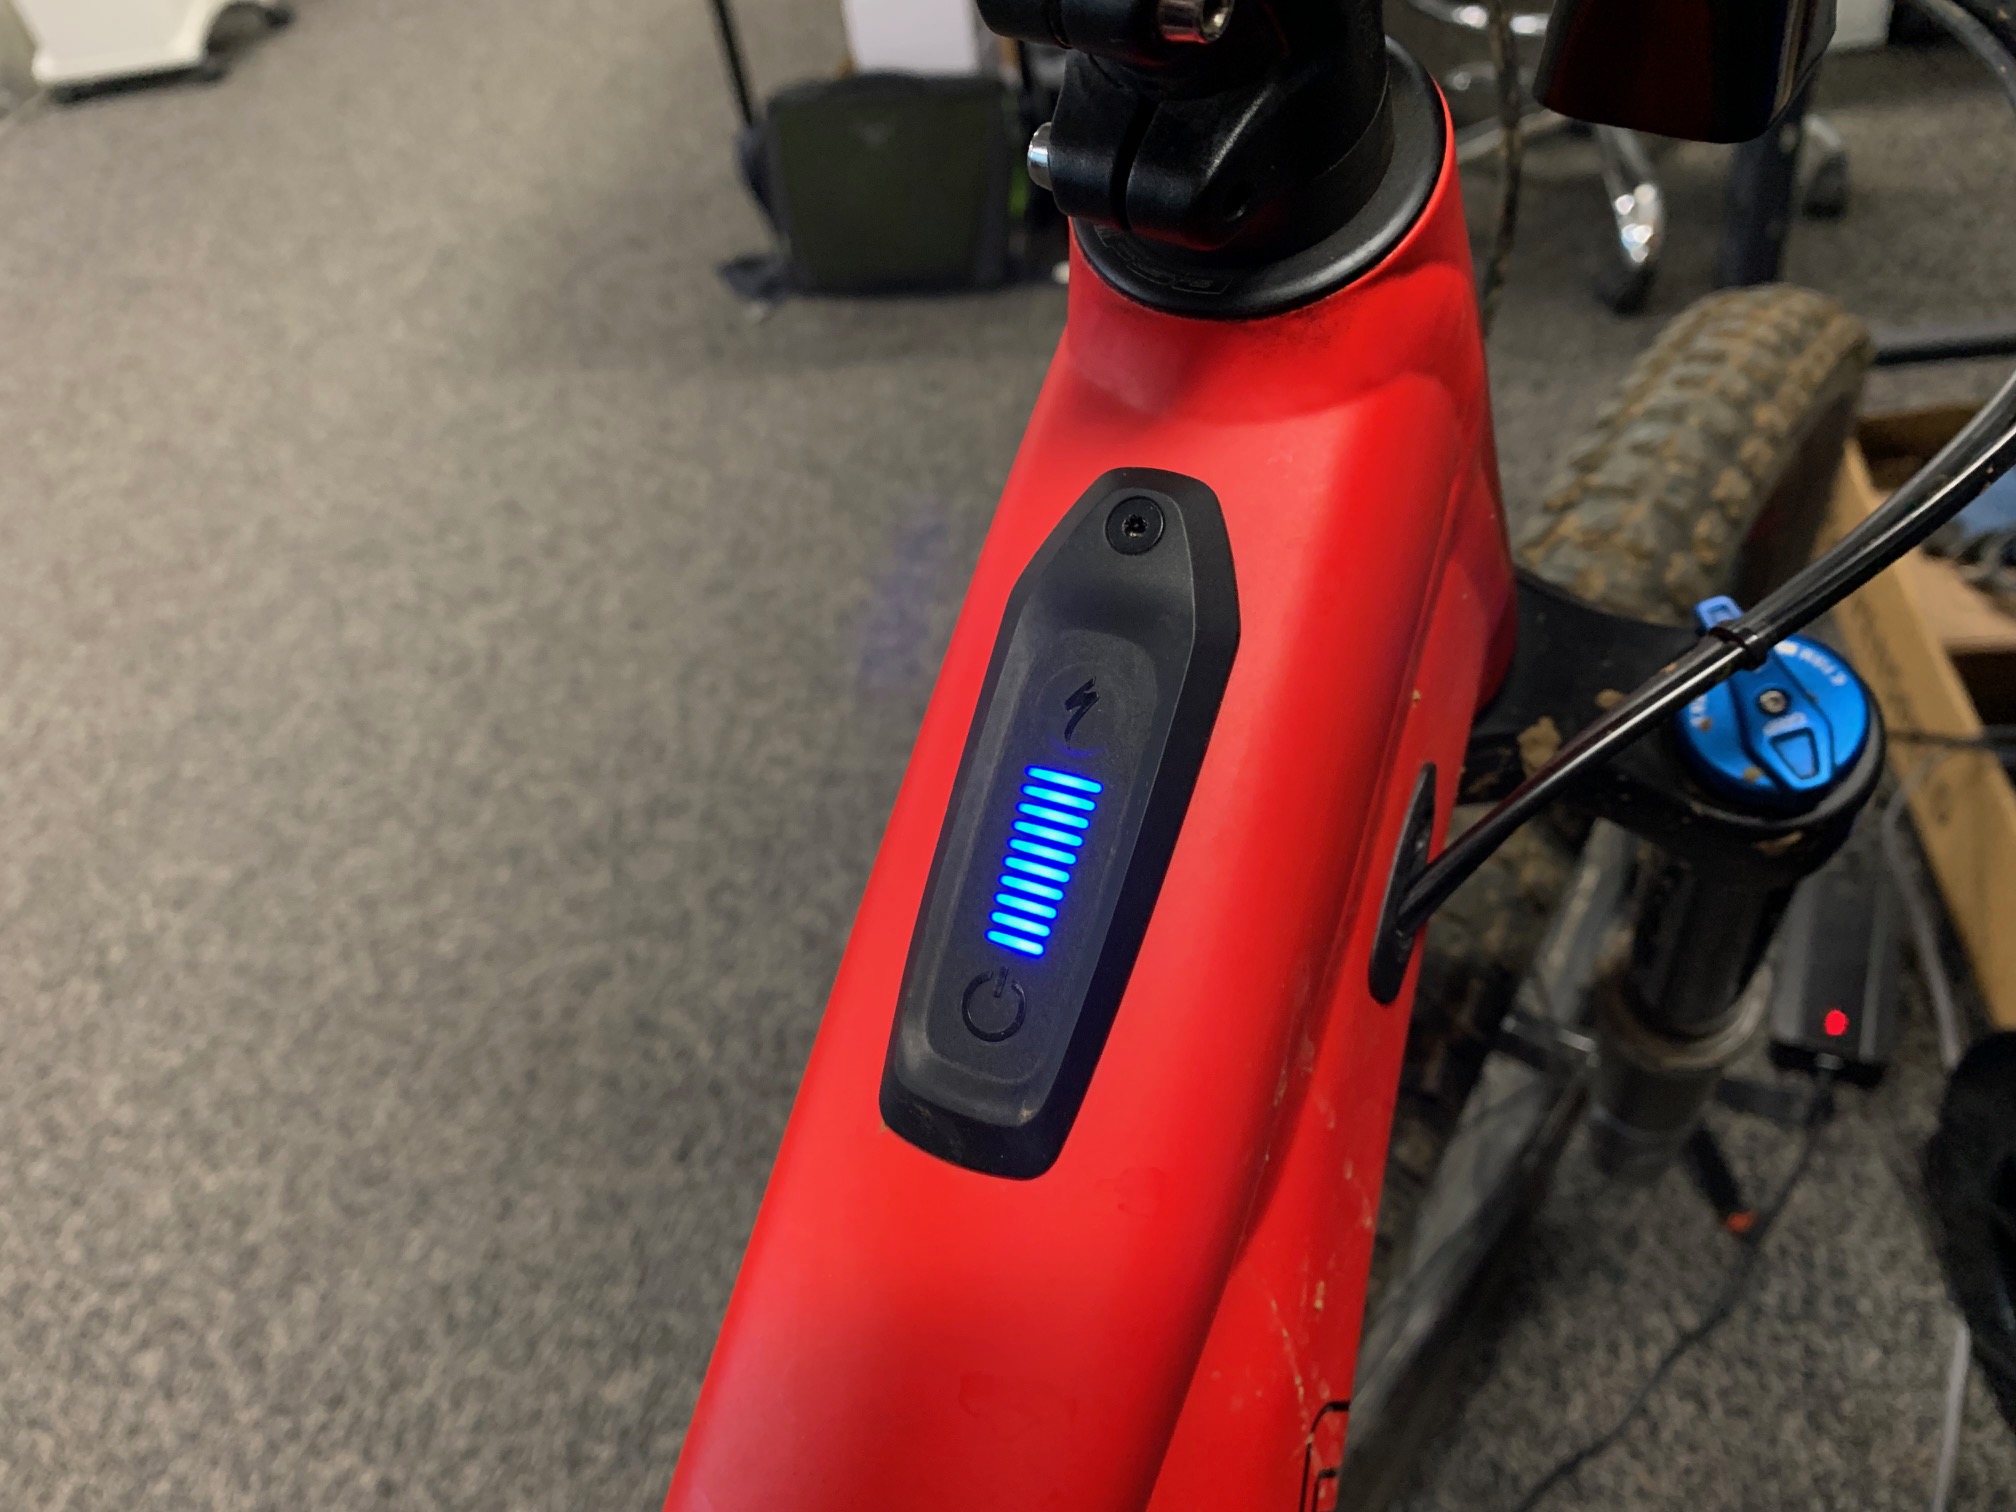
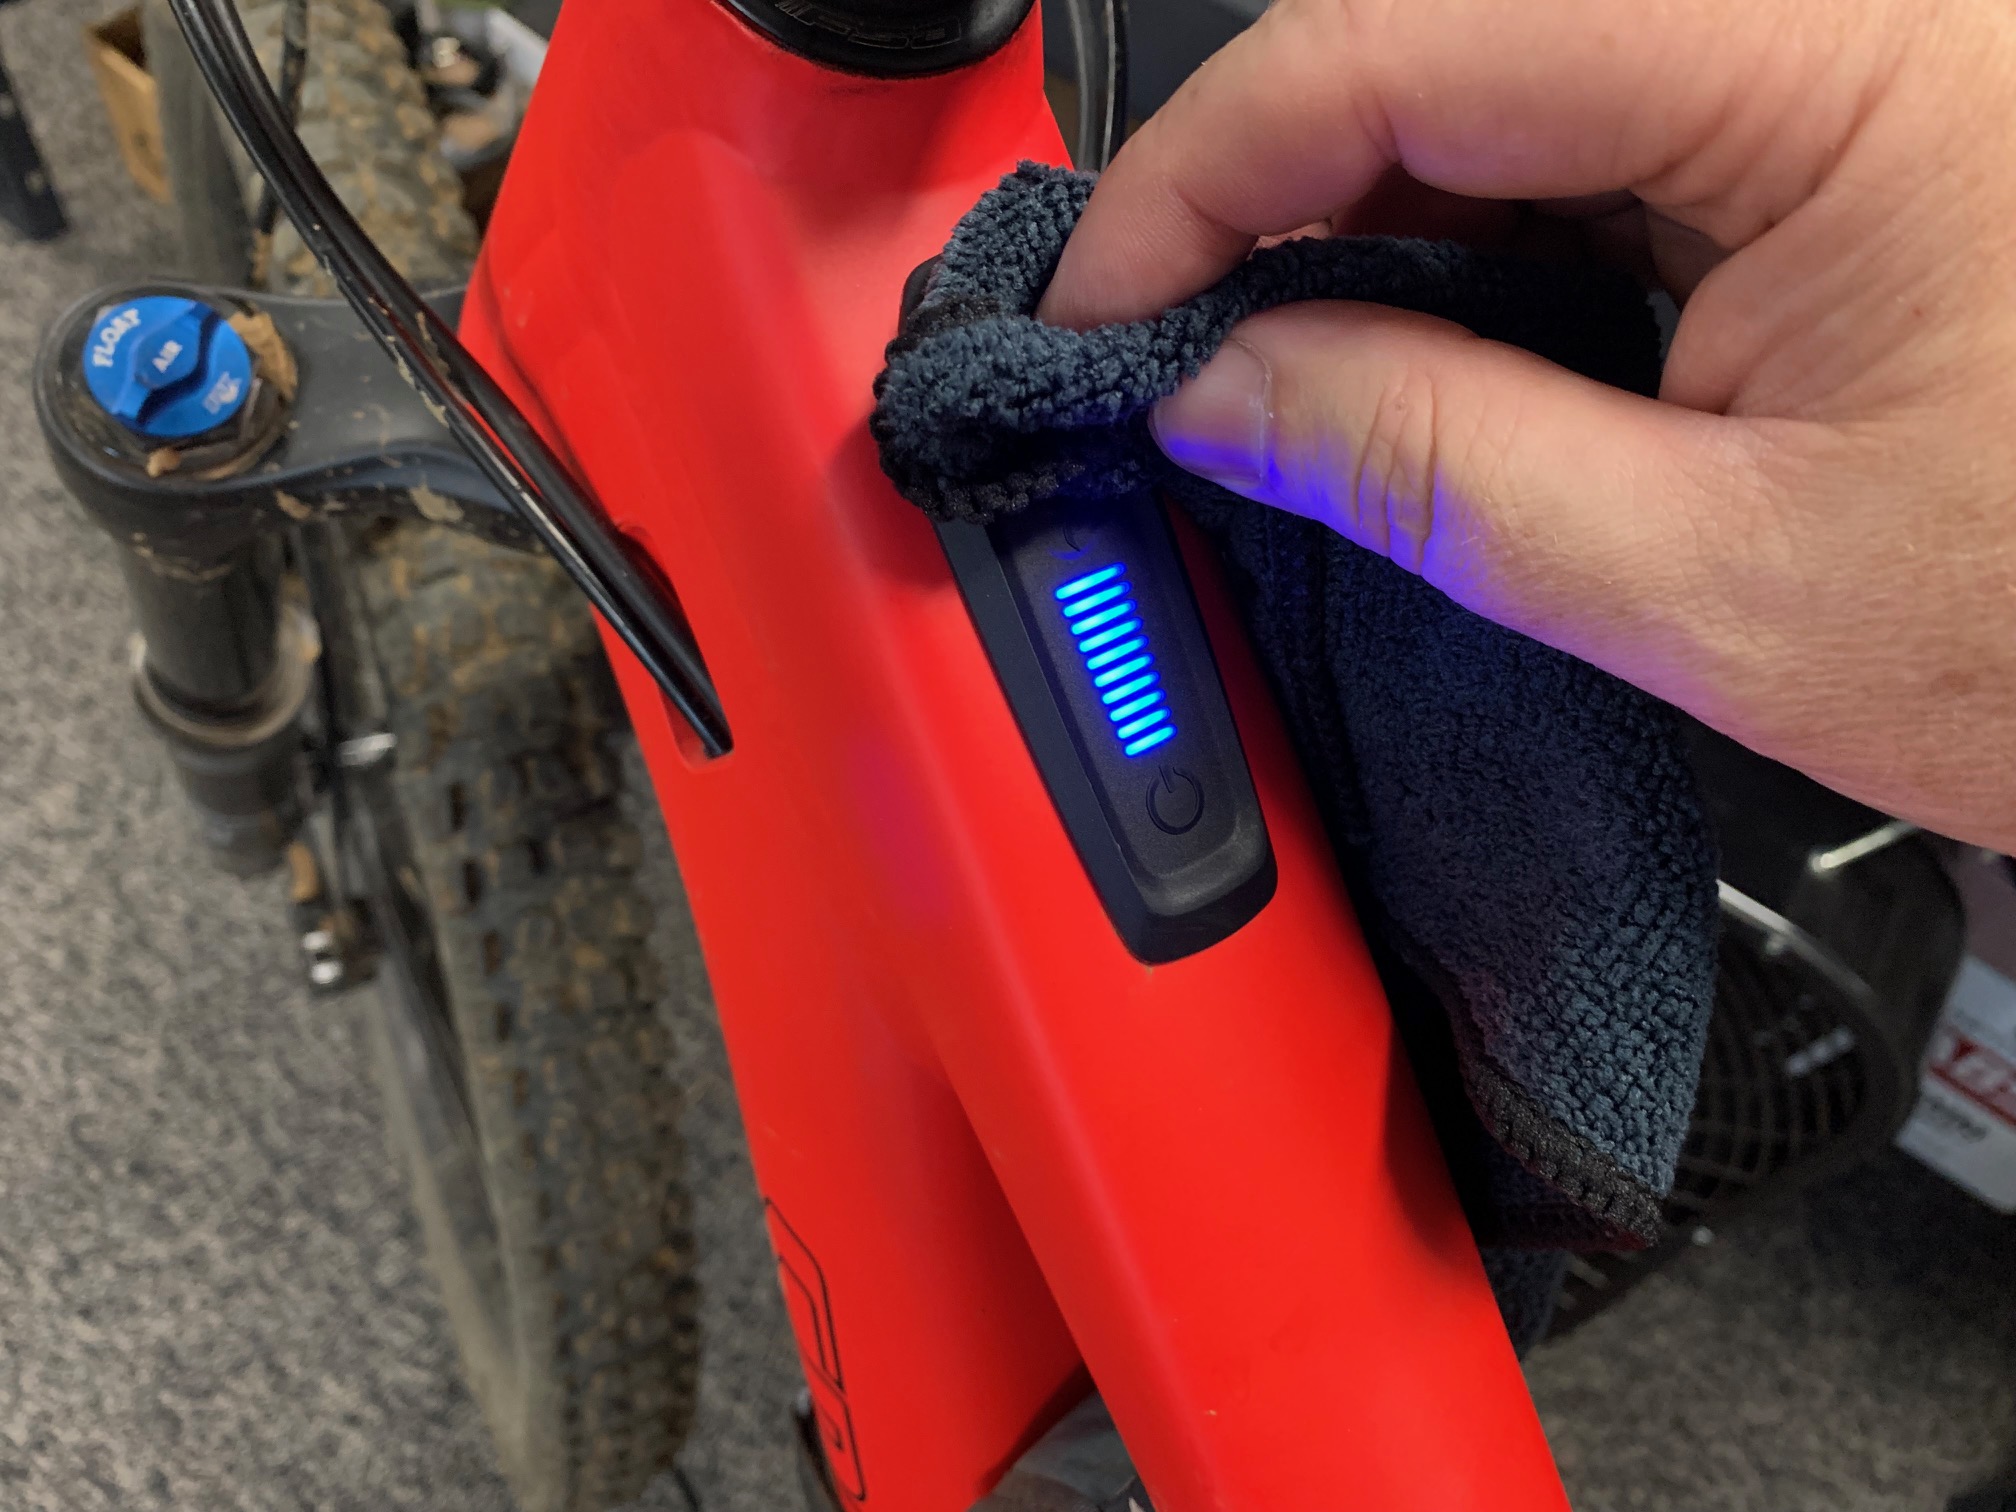
Prepare the Surface
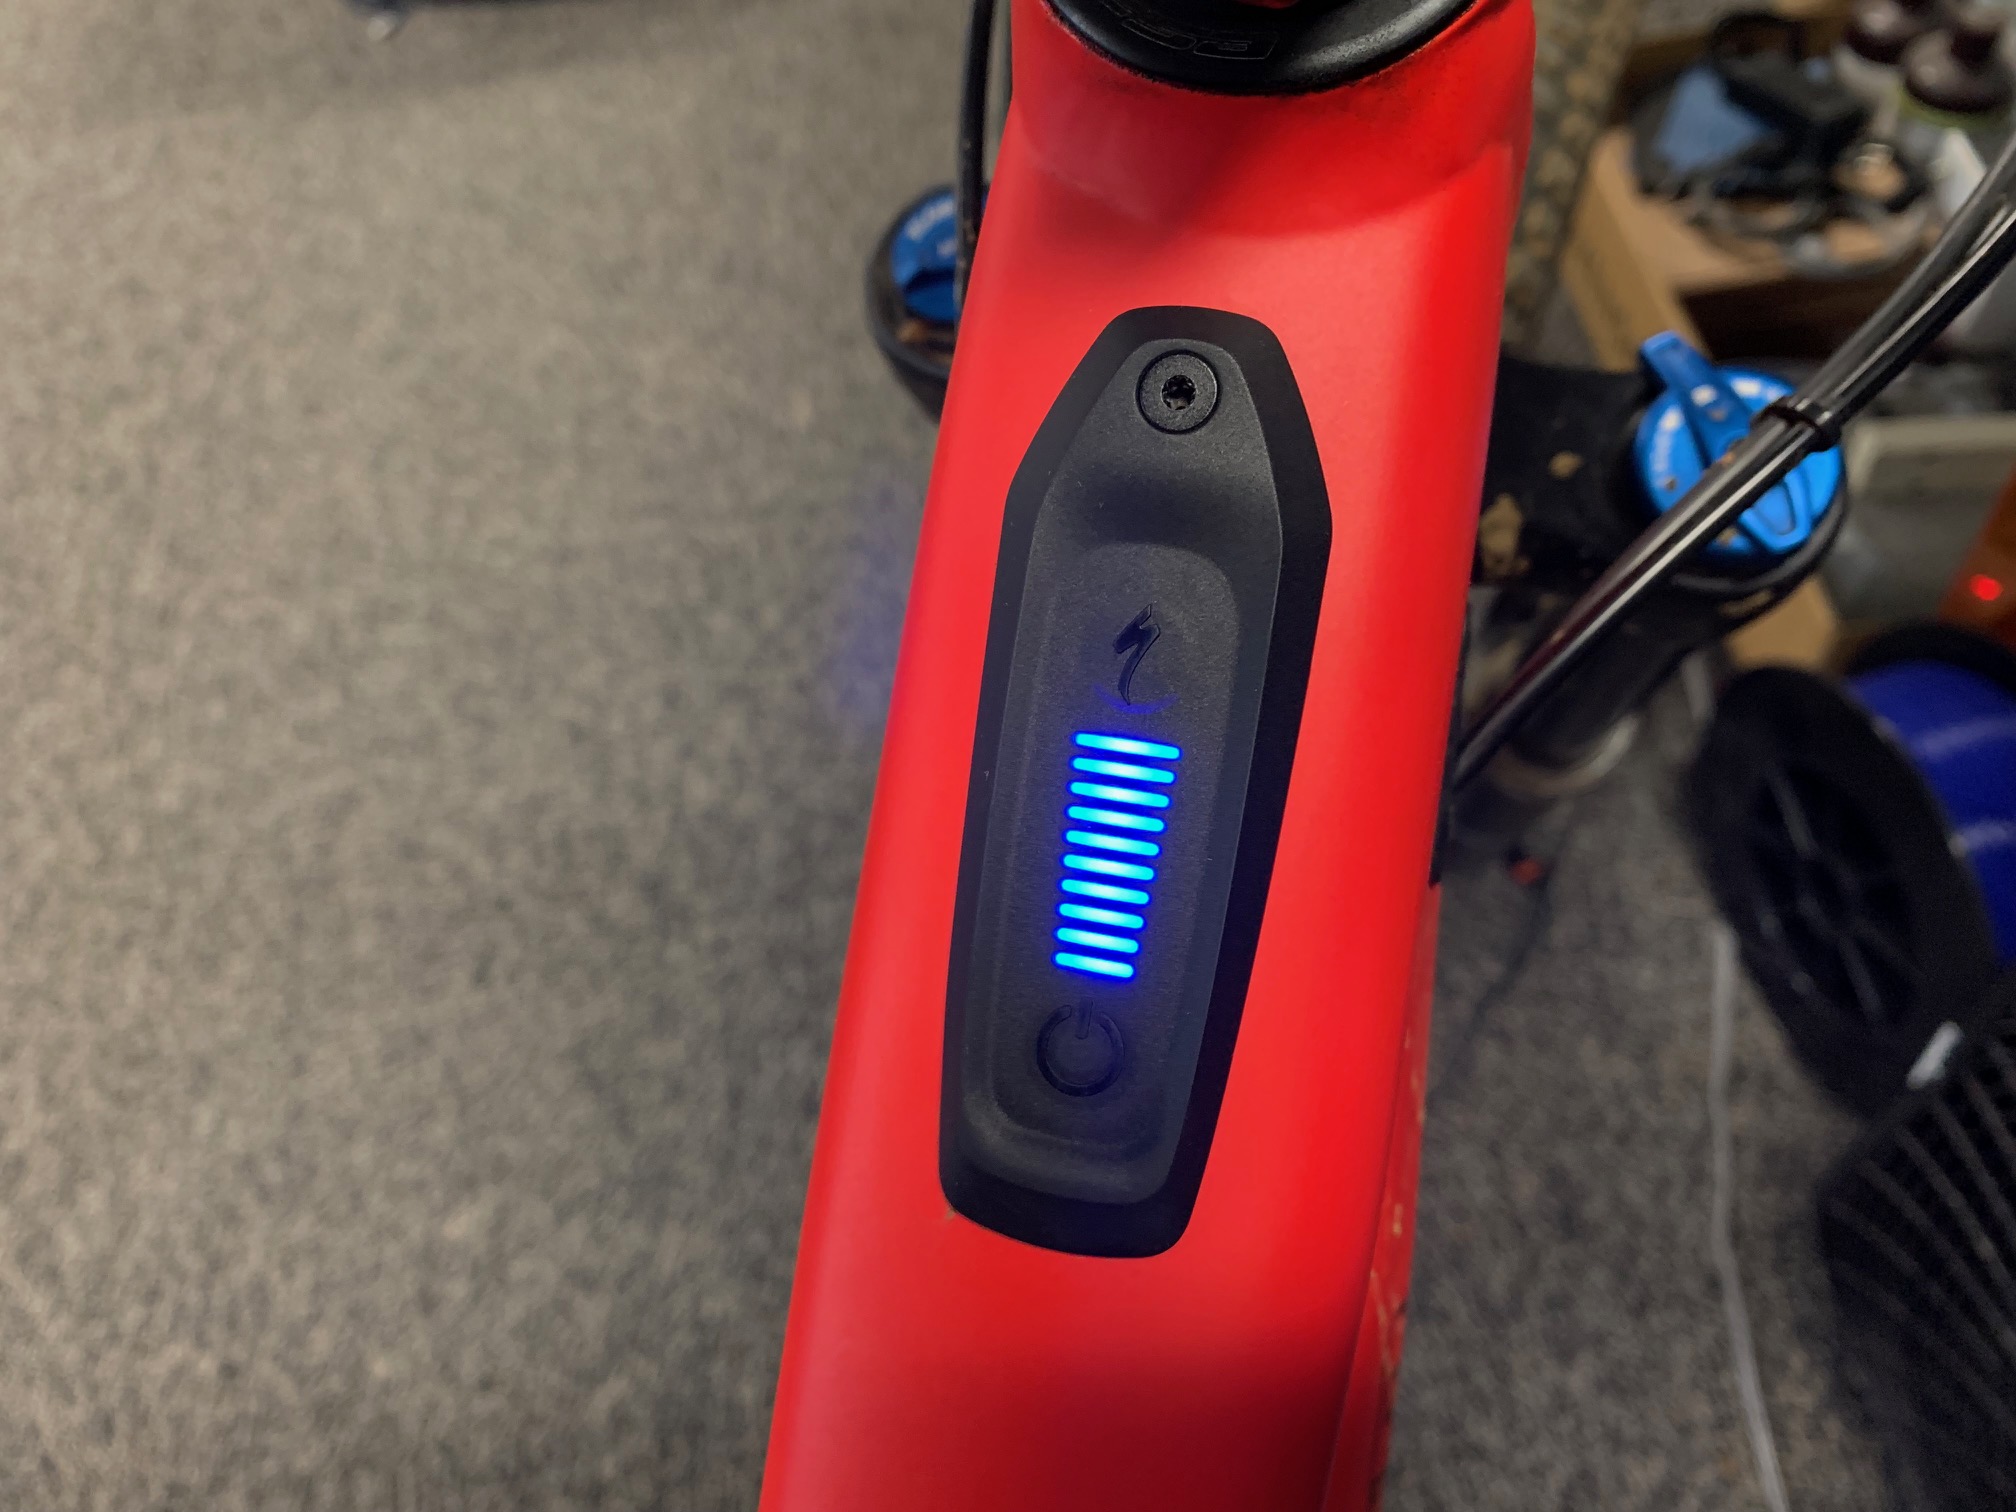
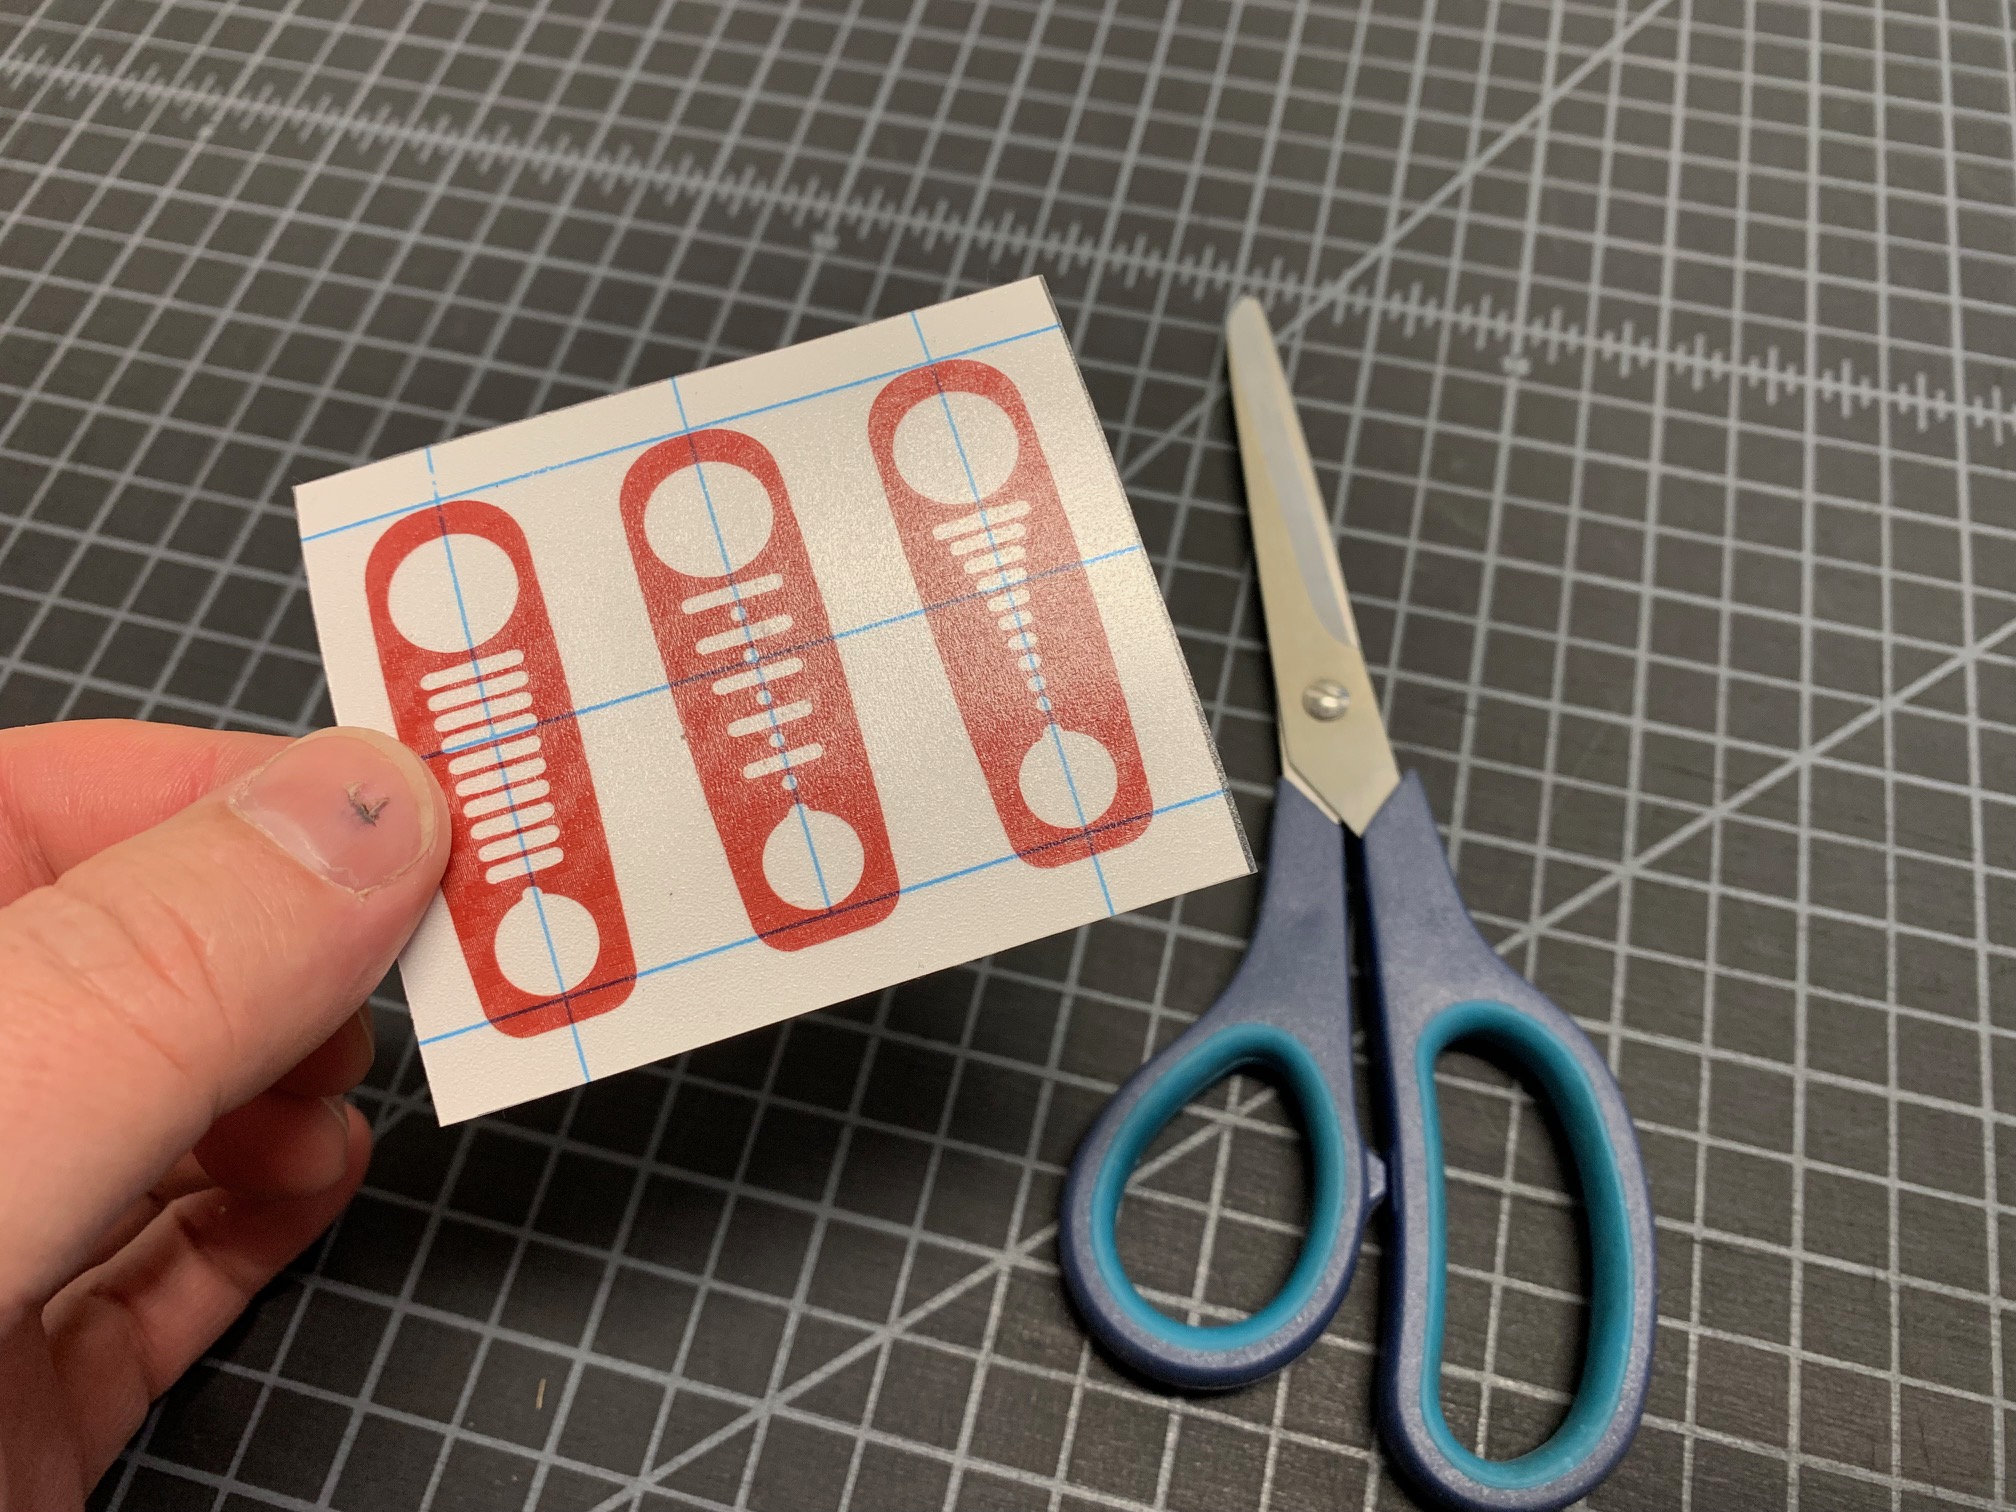
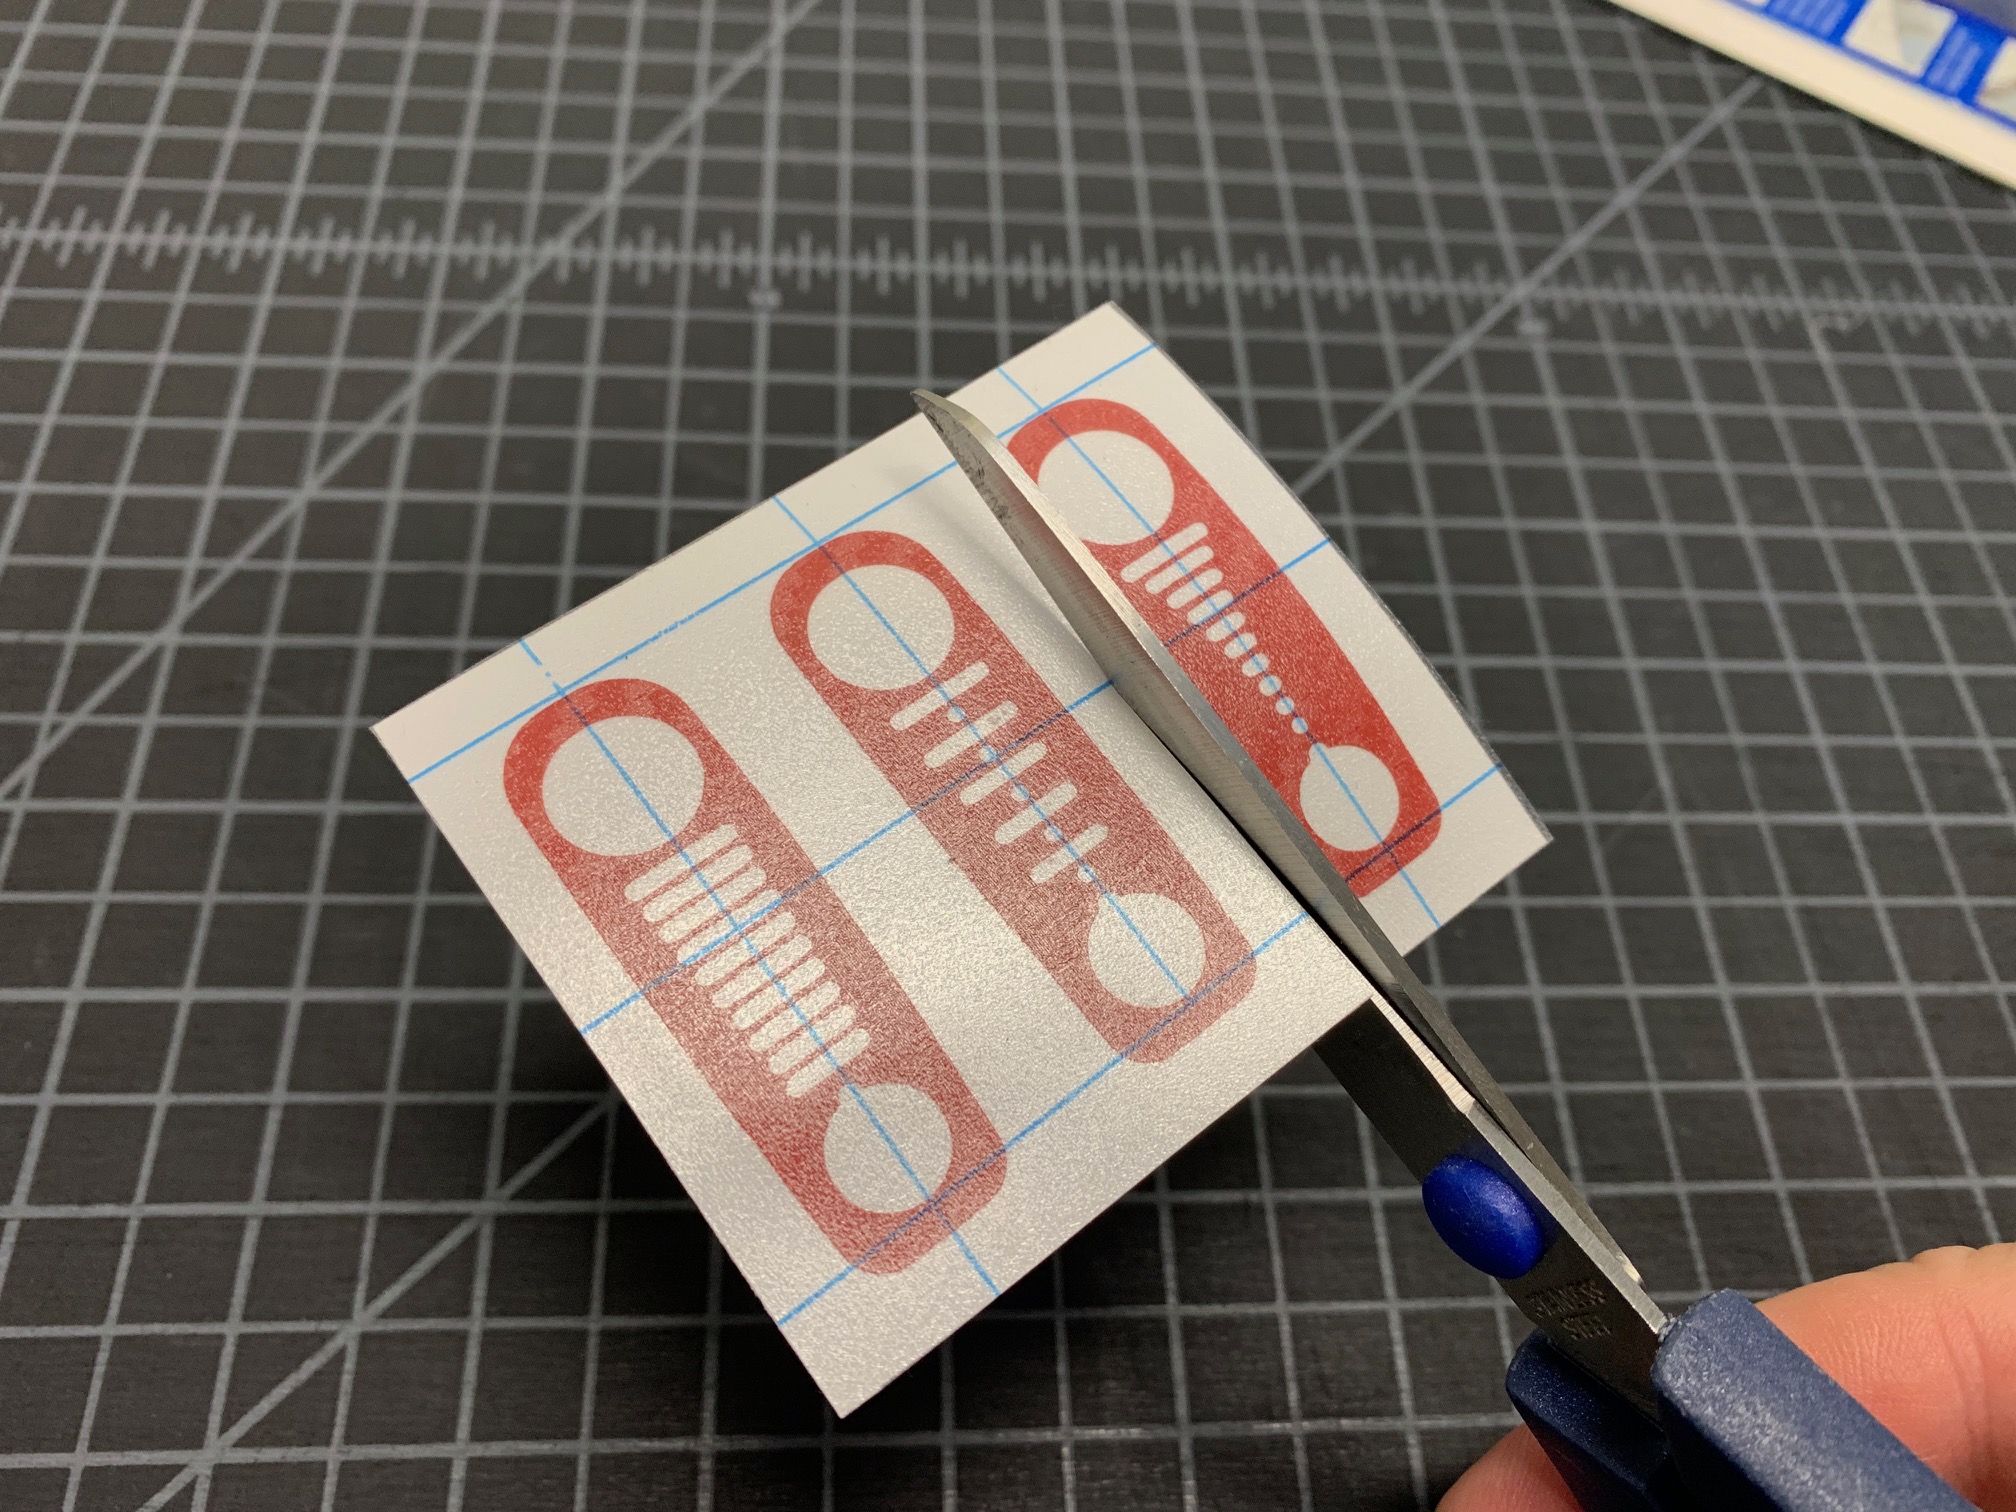
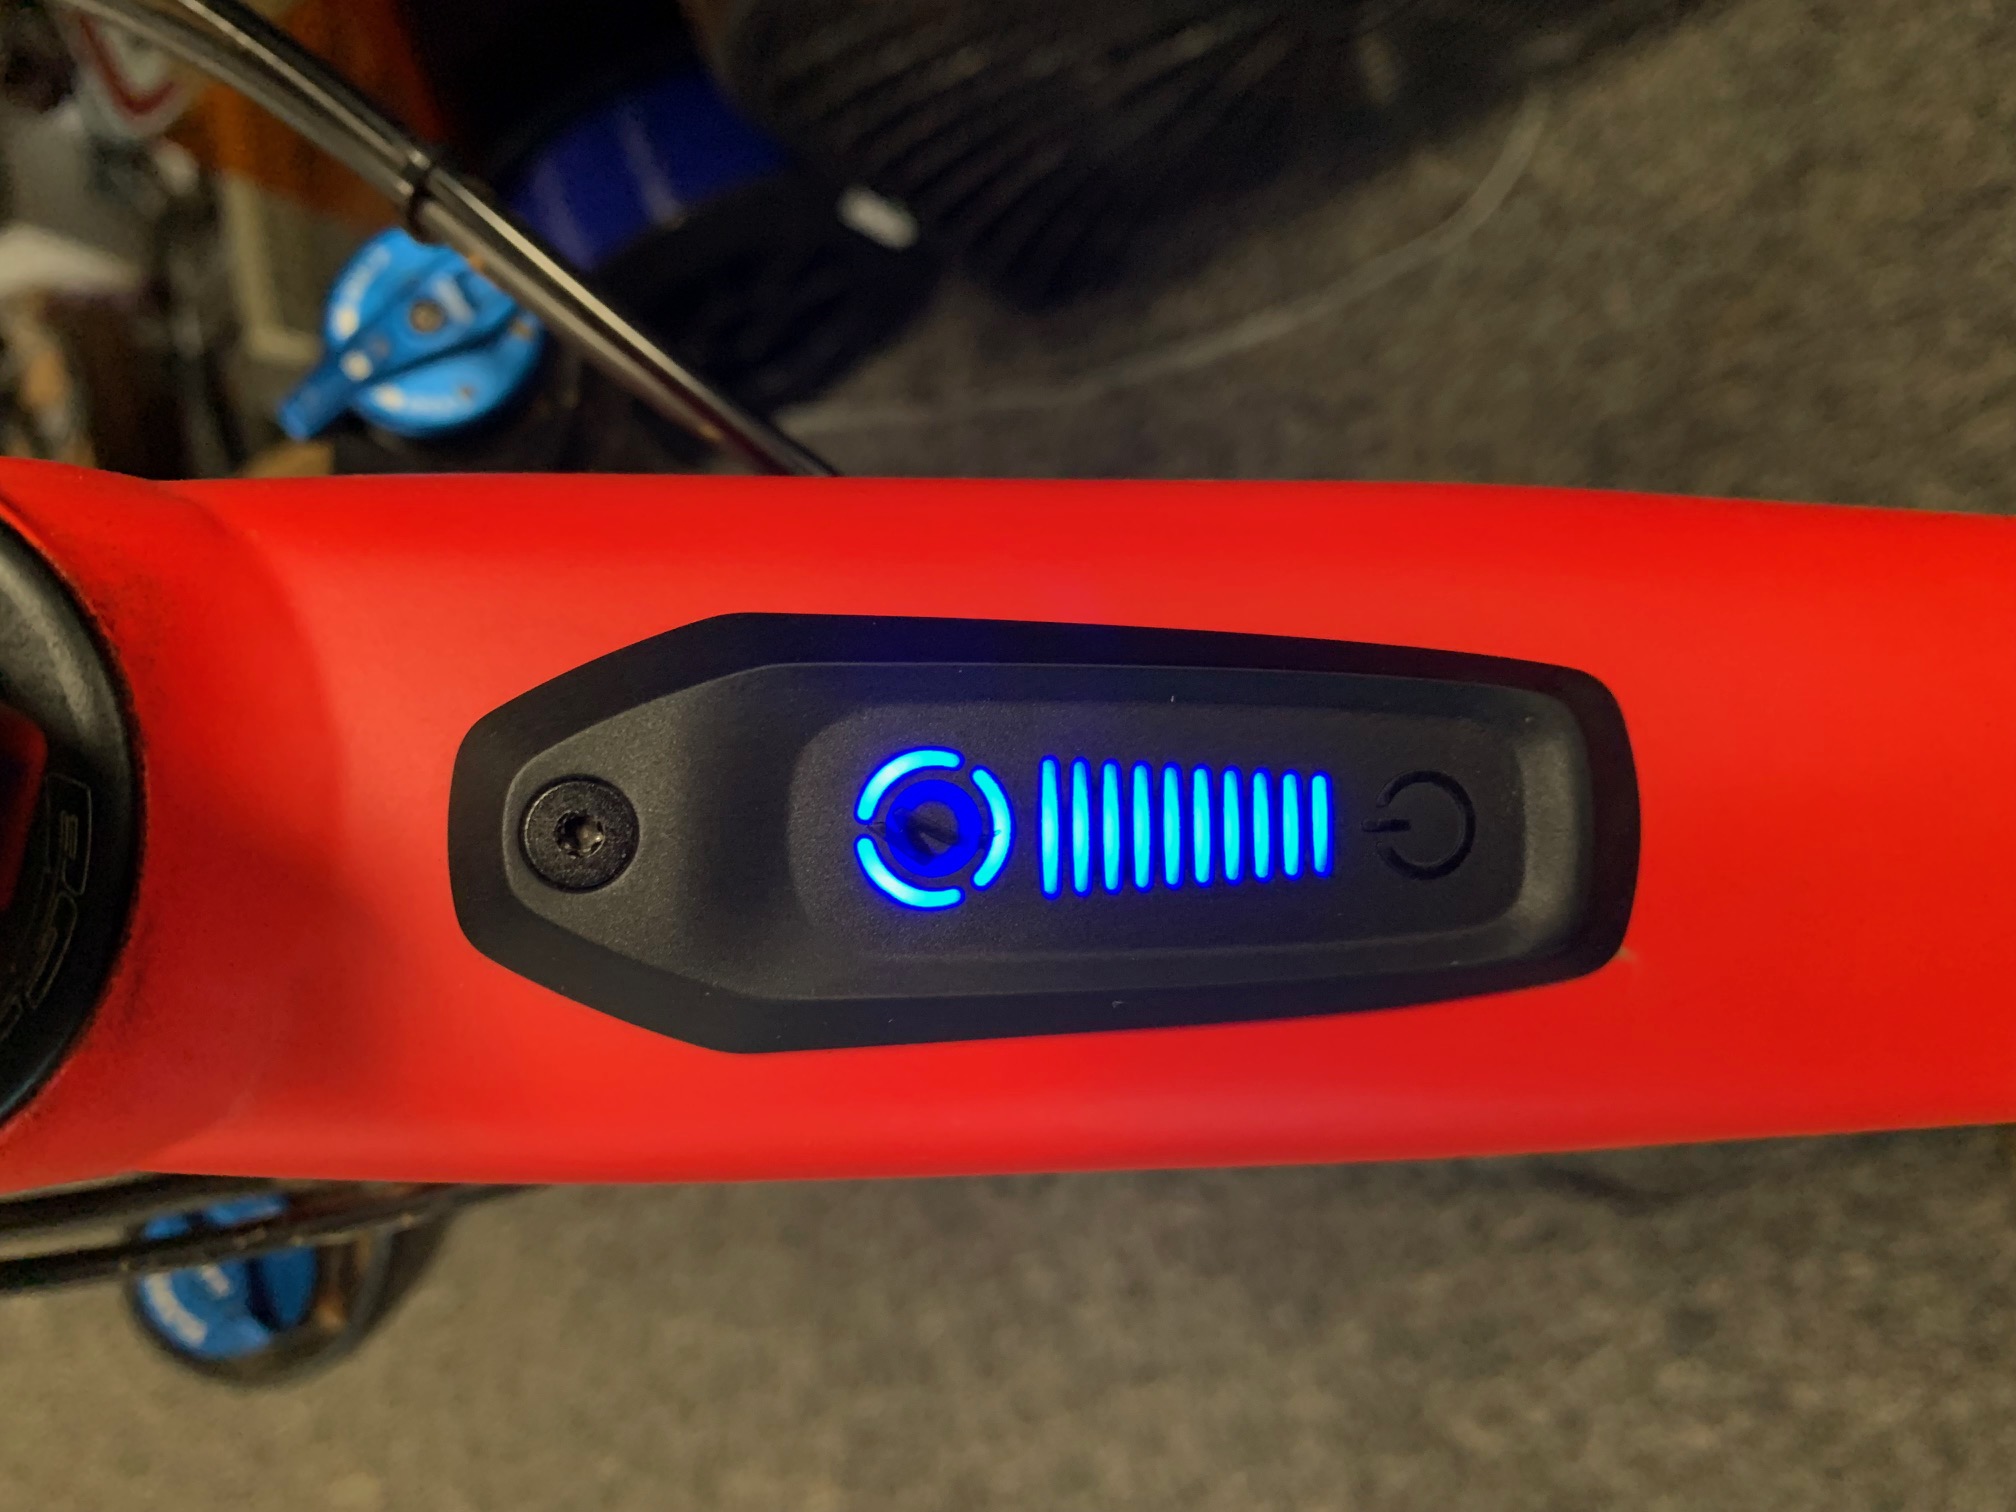
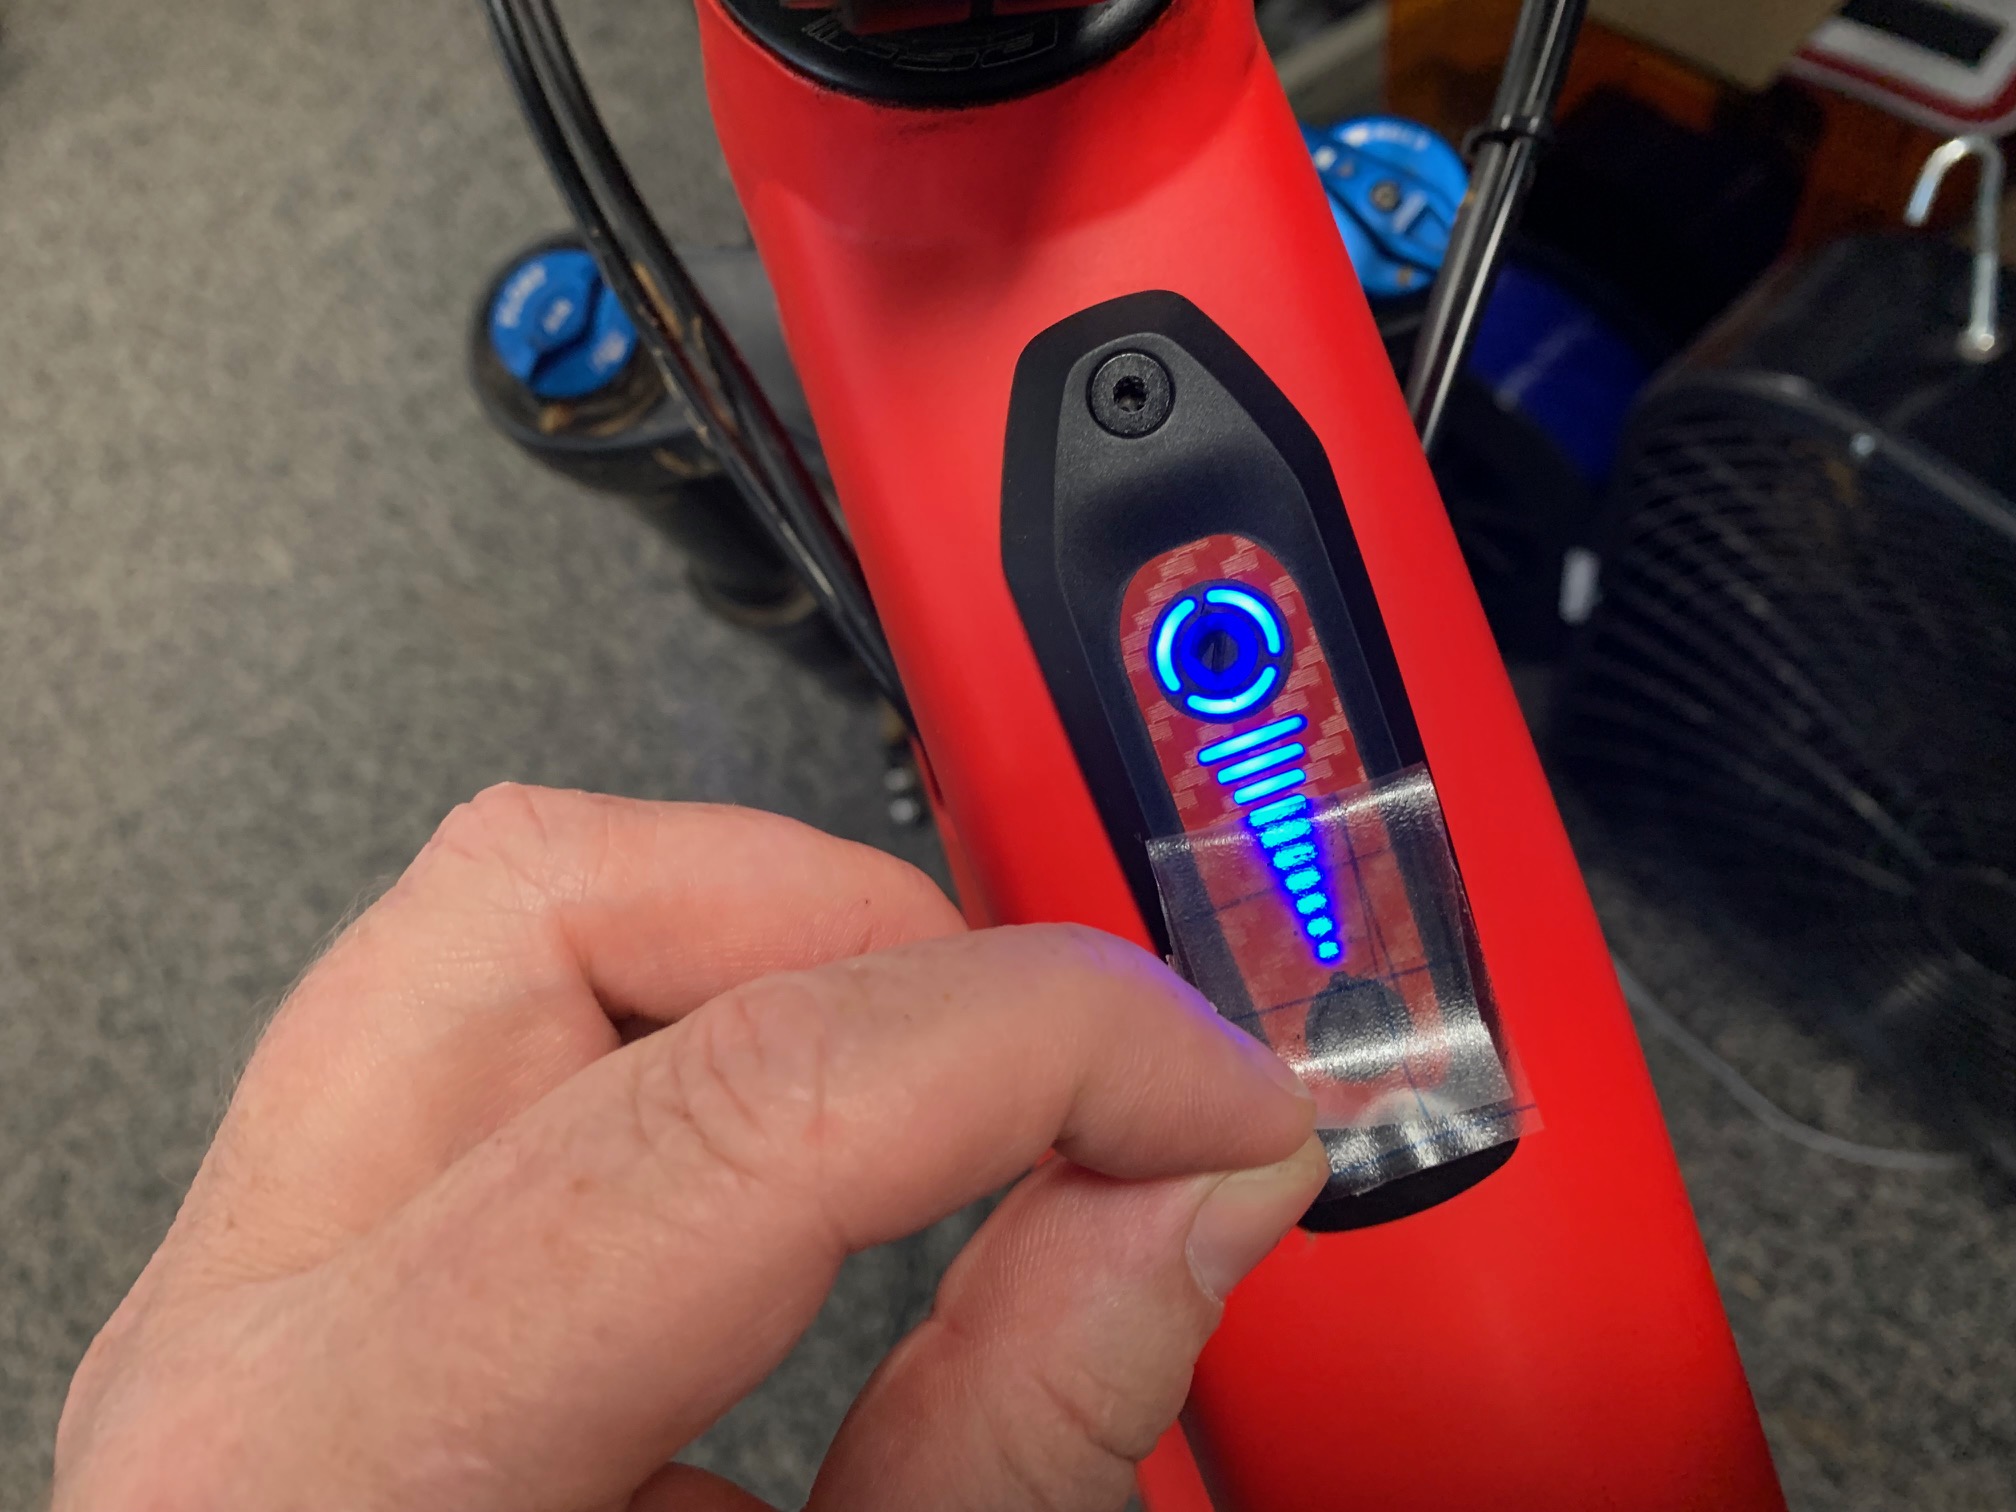
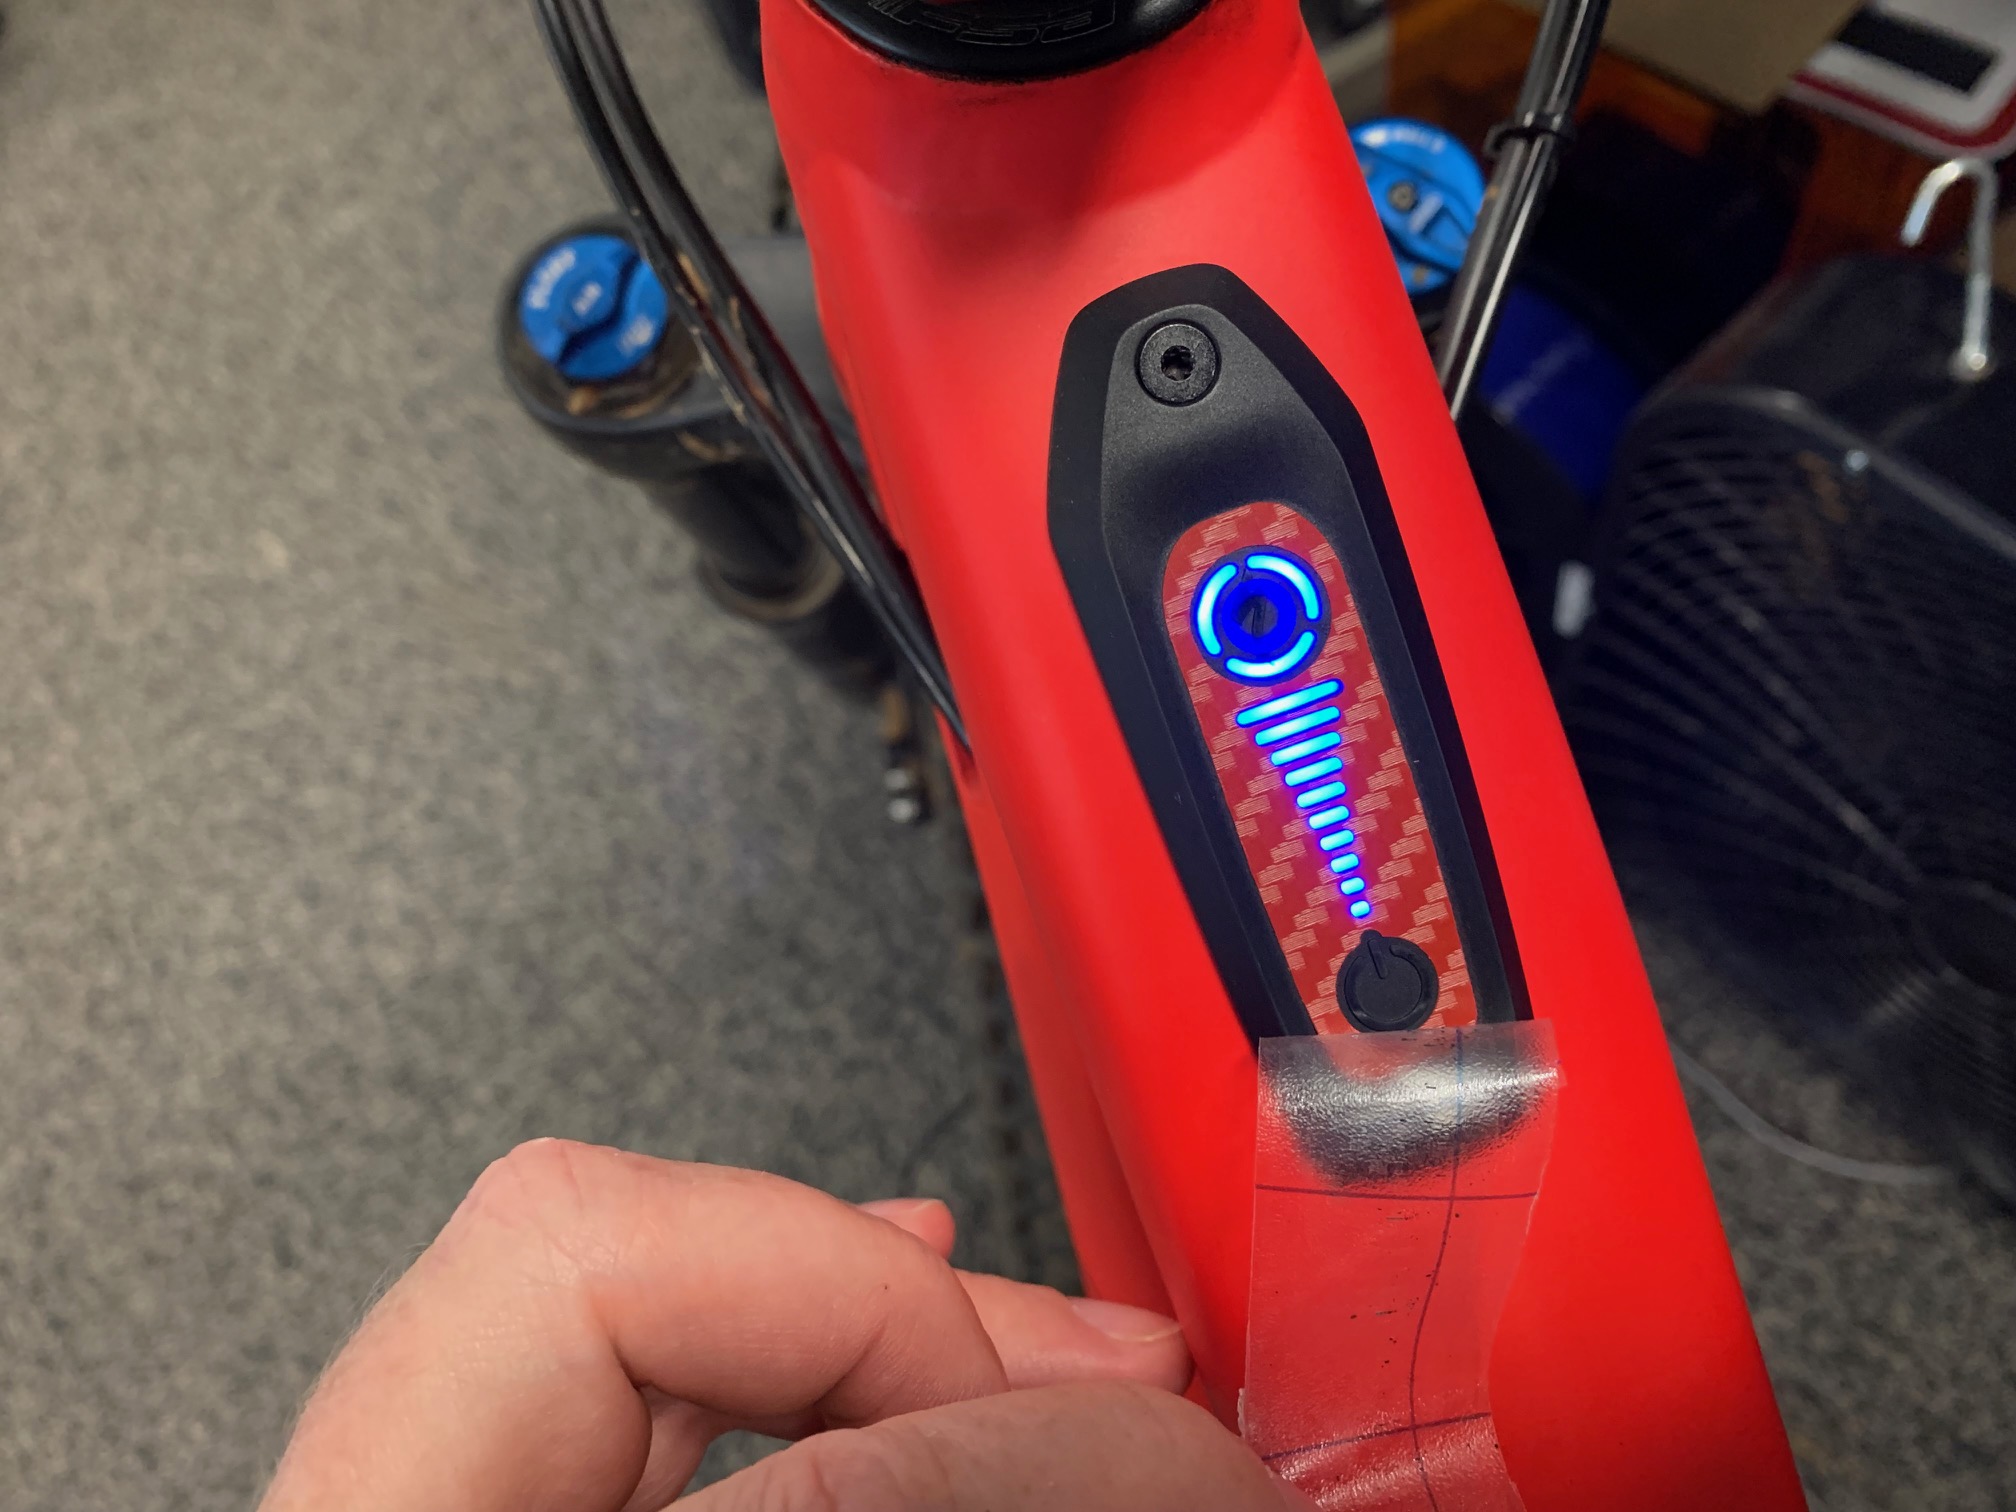
Apply the Decal