THANK YOU for purchasing the FlexPod Bracket Z from CravenSpeed. This product is made from the highest grade materials, and is guaranteed to be free from defects.
You can buy our CravenSpeed FlexPod Bracket Z for MINI Gen 1 here
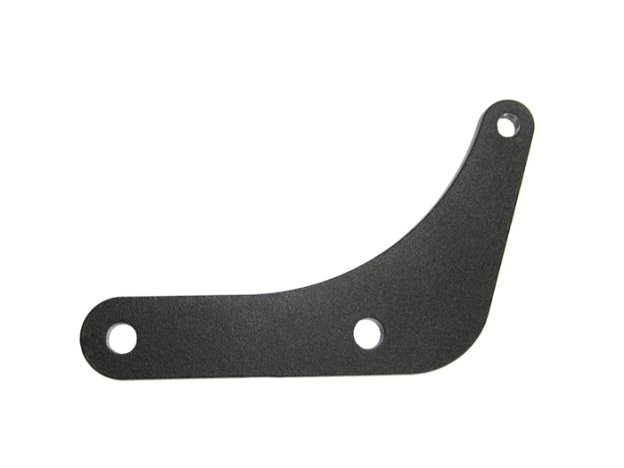
Parts Included:
- 1 x Bracket Z
- 2 x Plastite Screws
- 2 x Spacers
- 2 x Washers
Tools Required:
- T-25 Torx Driver
- Phillips Head Screwdriver
Procedure
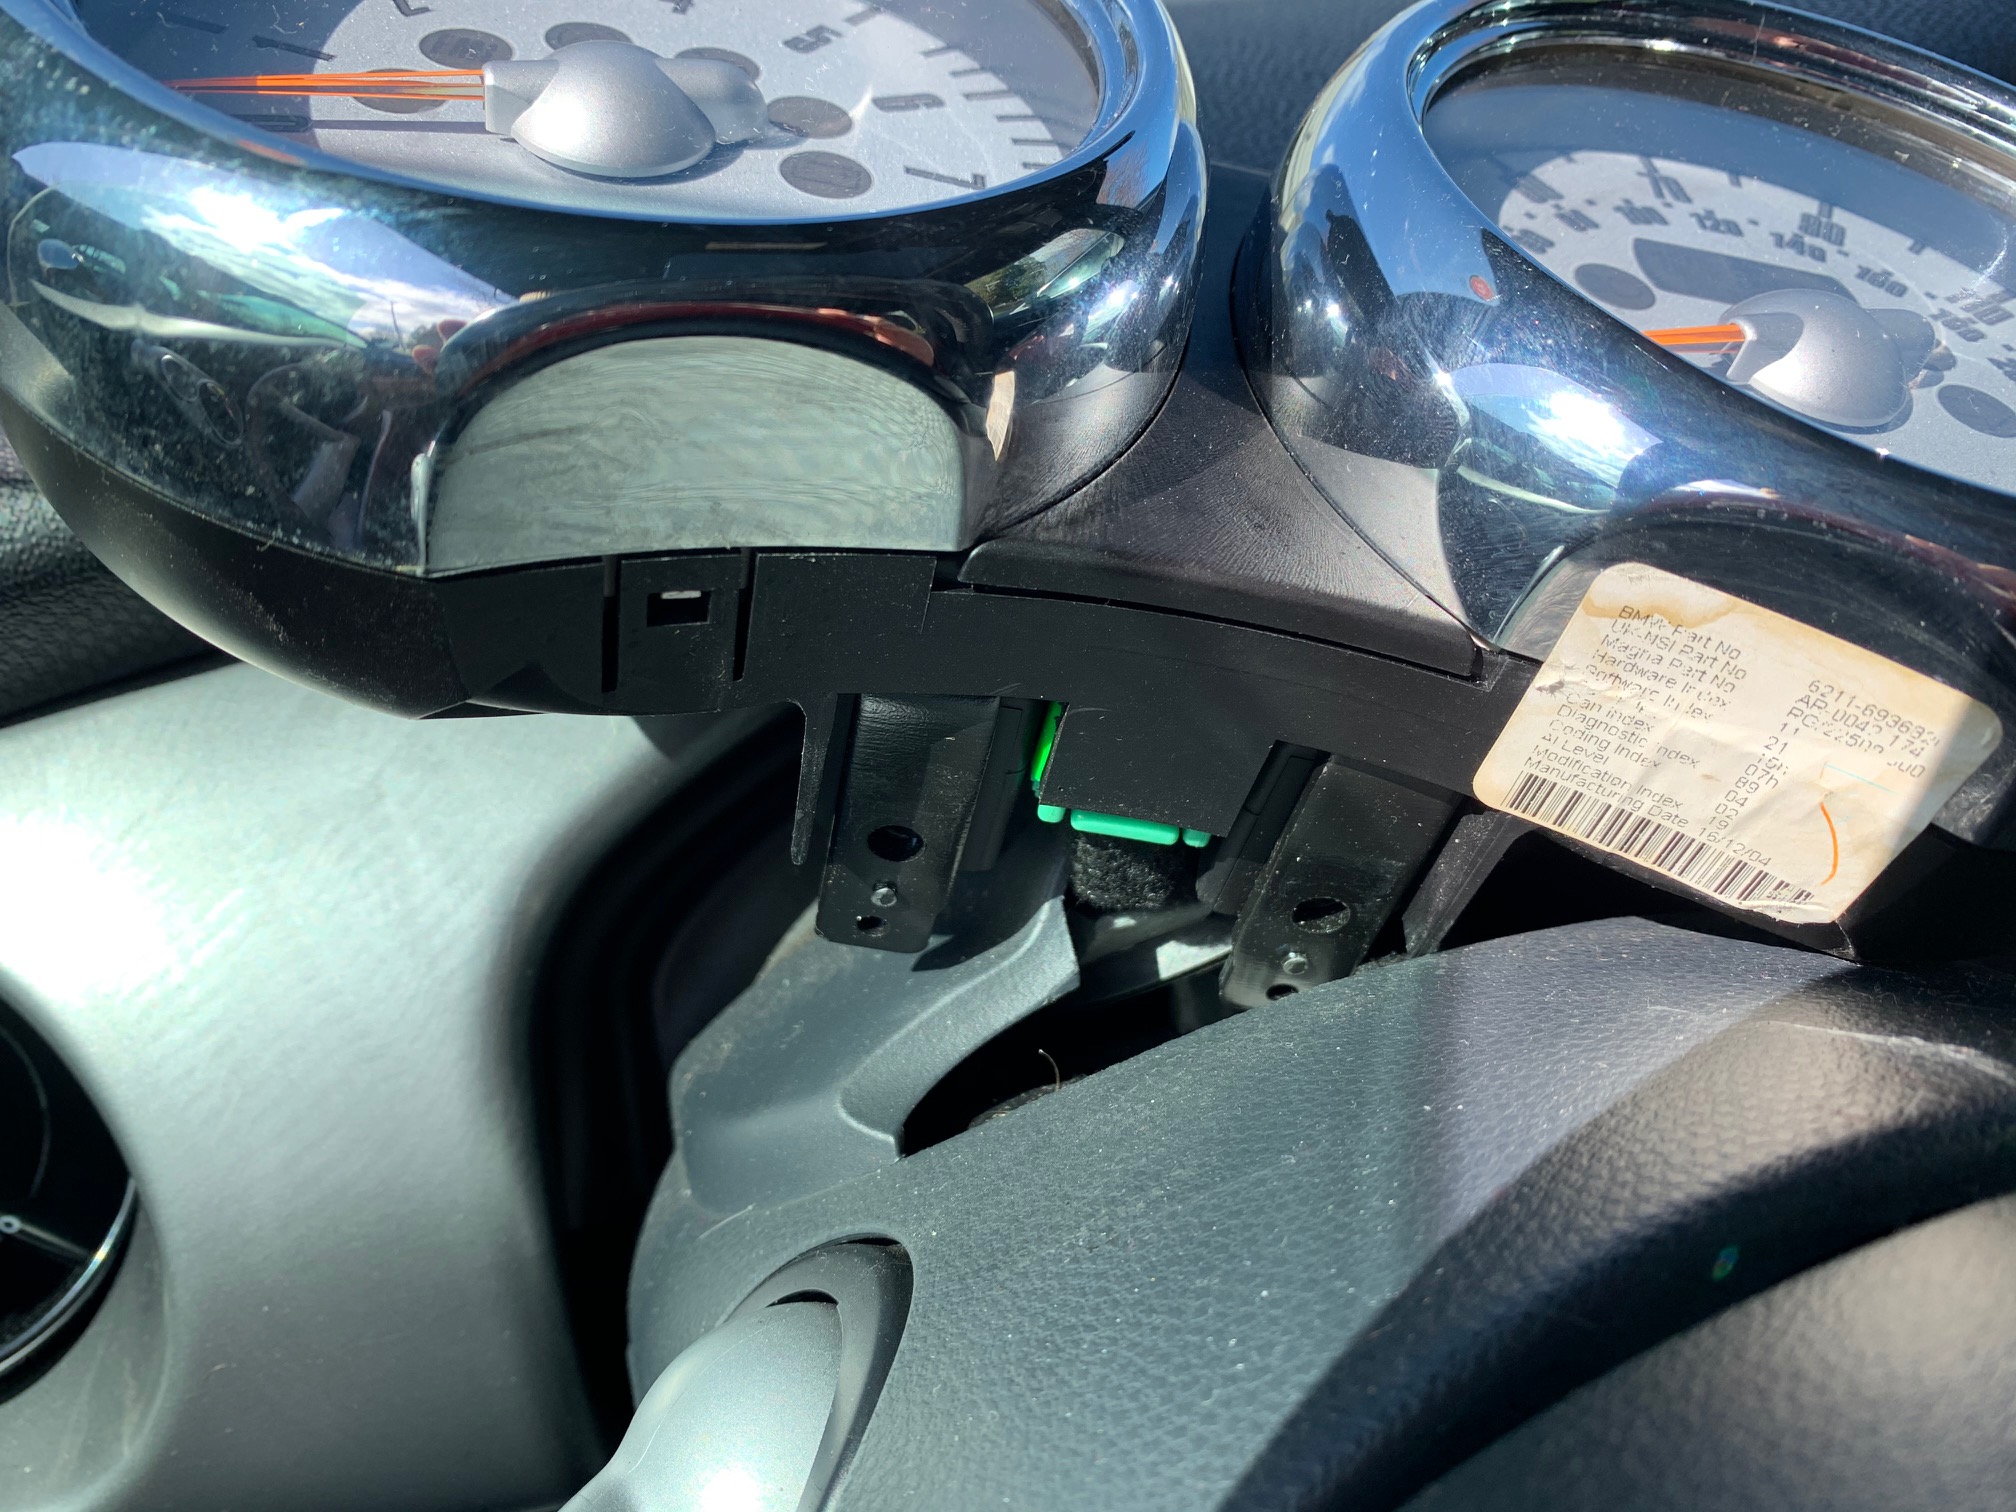
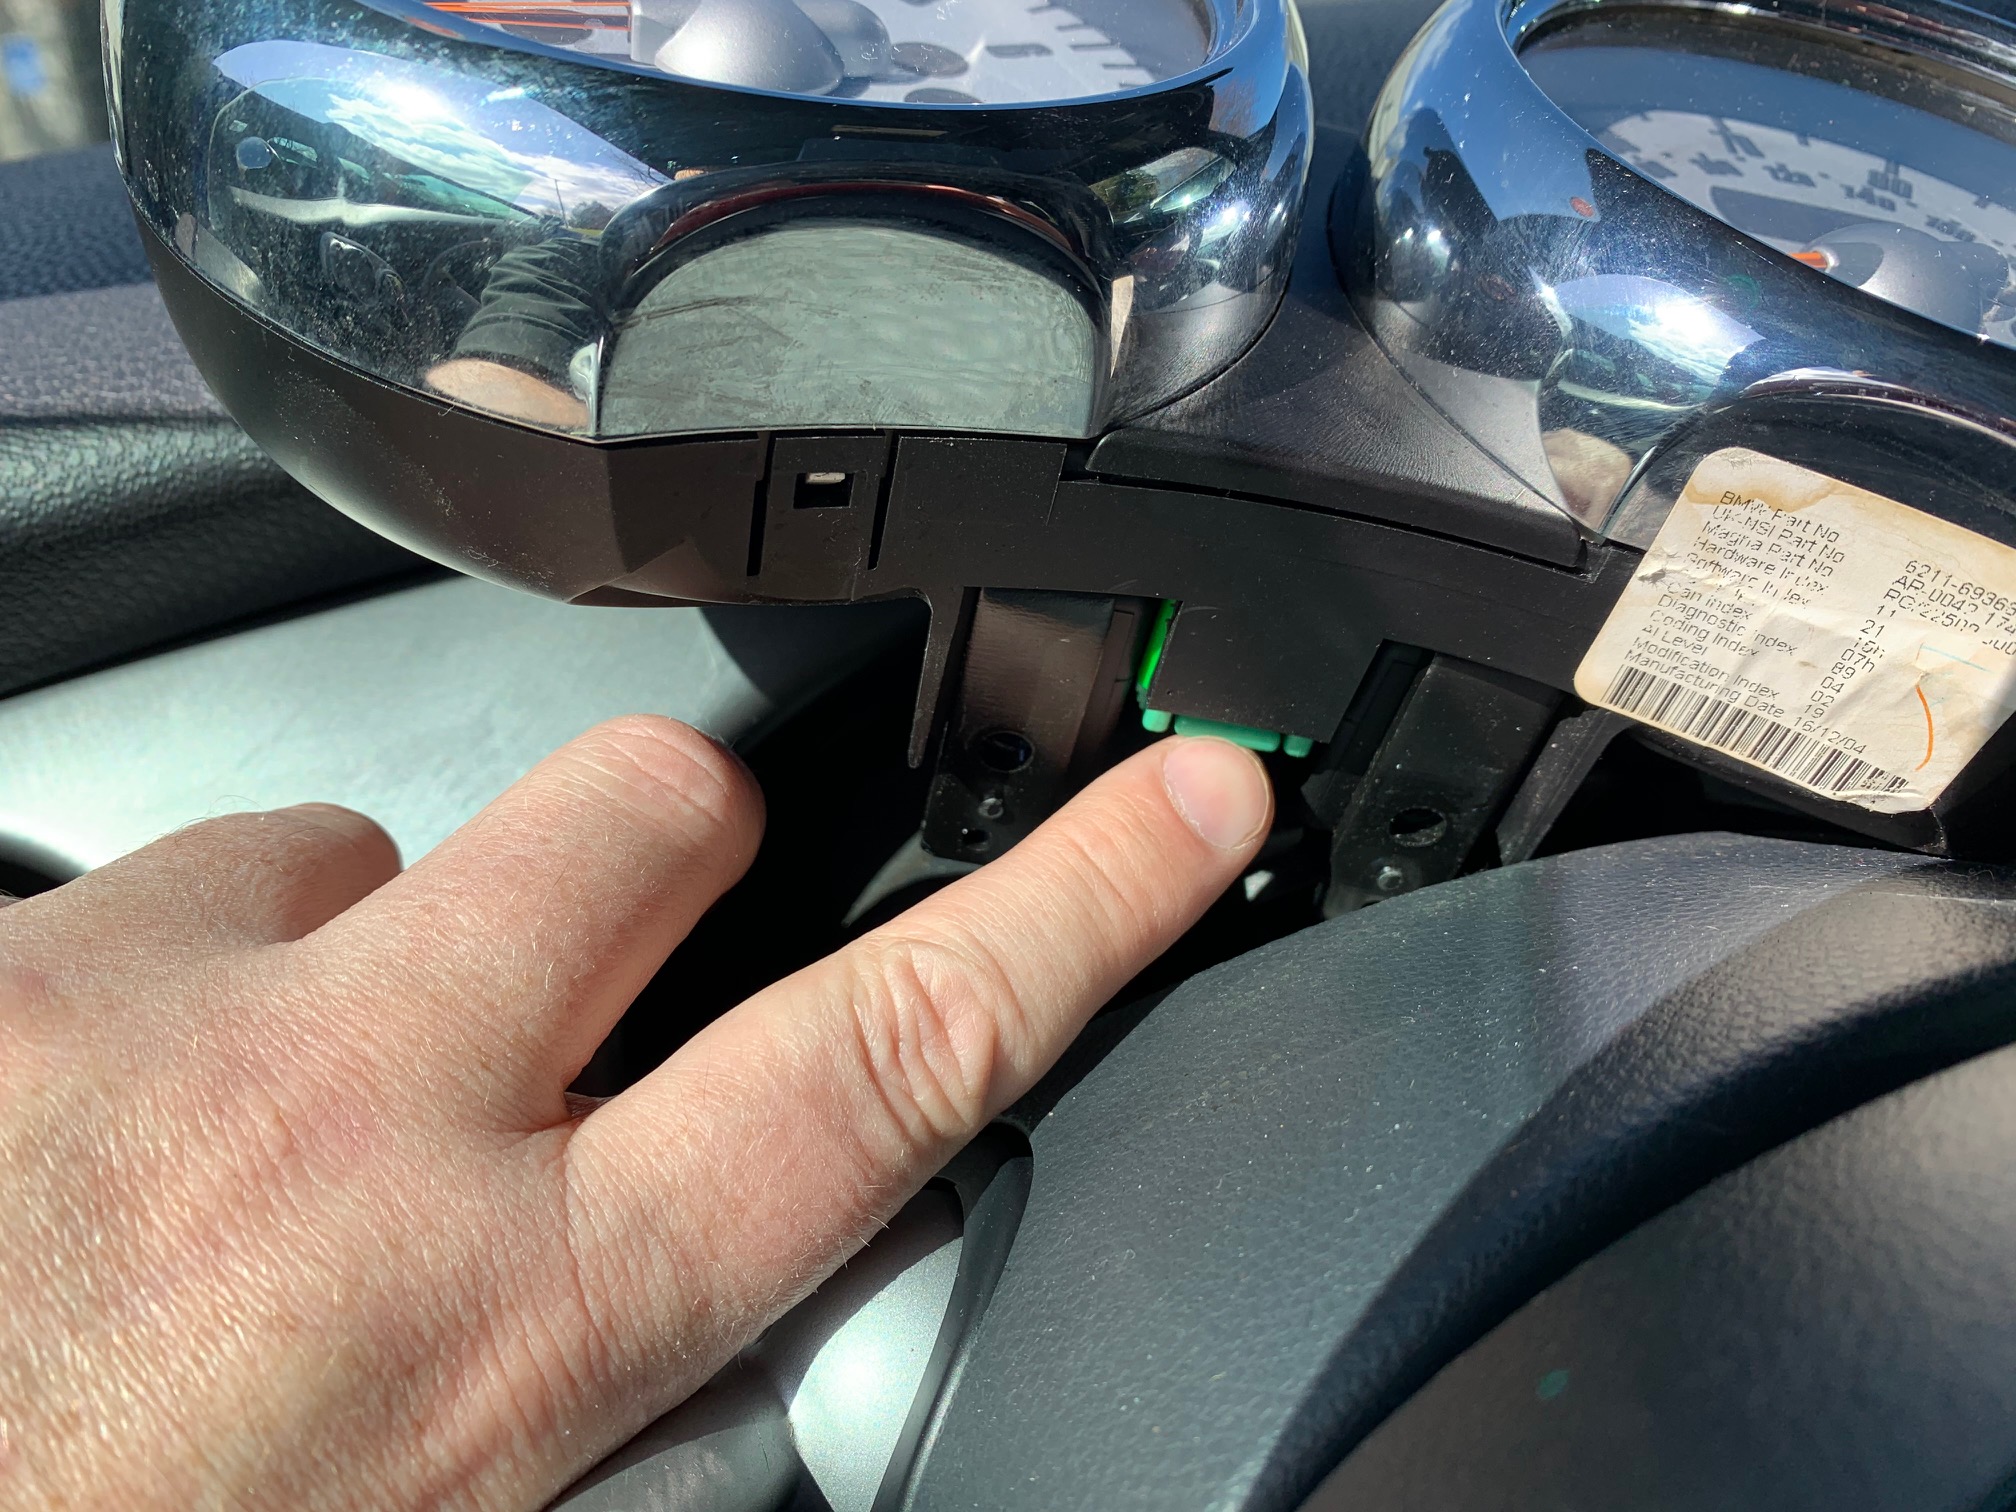
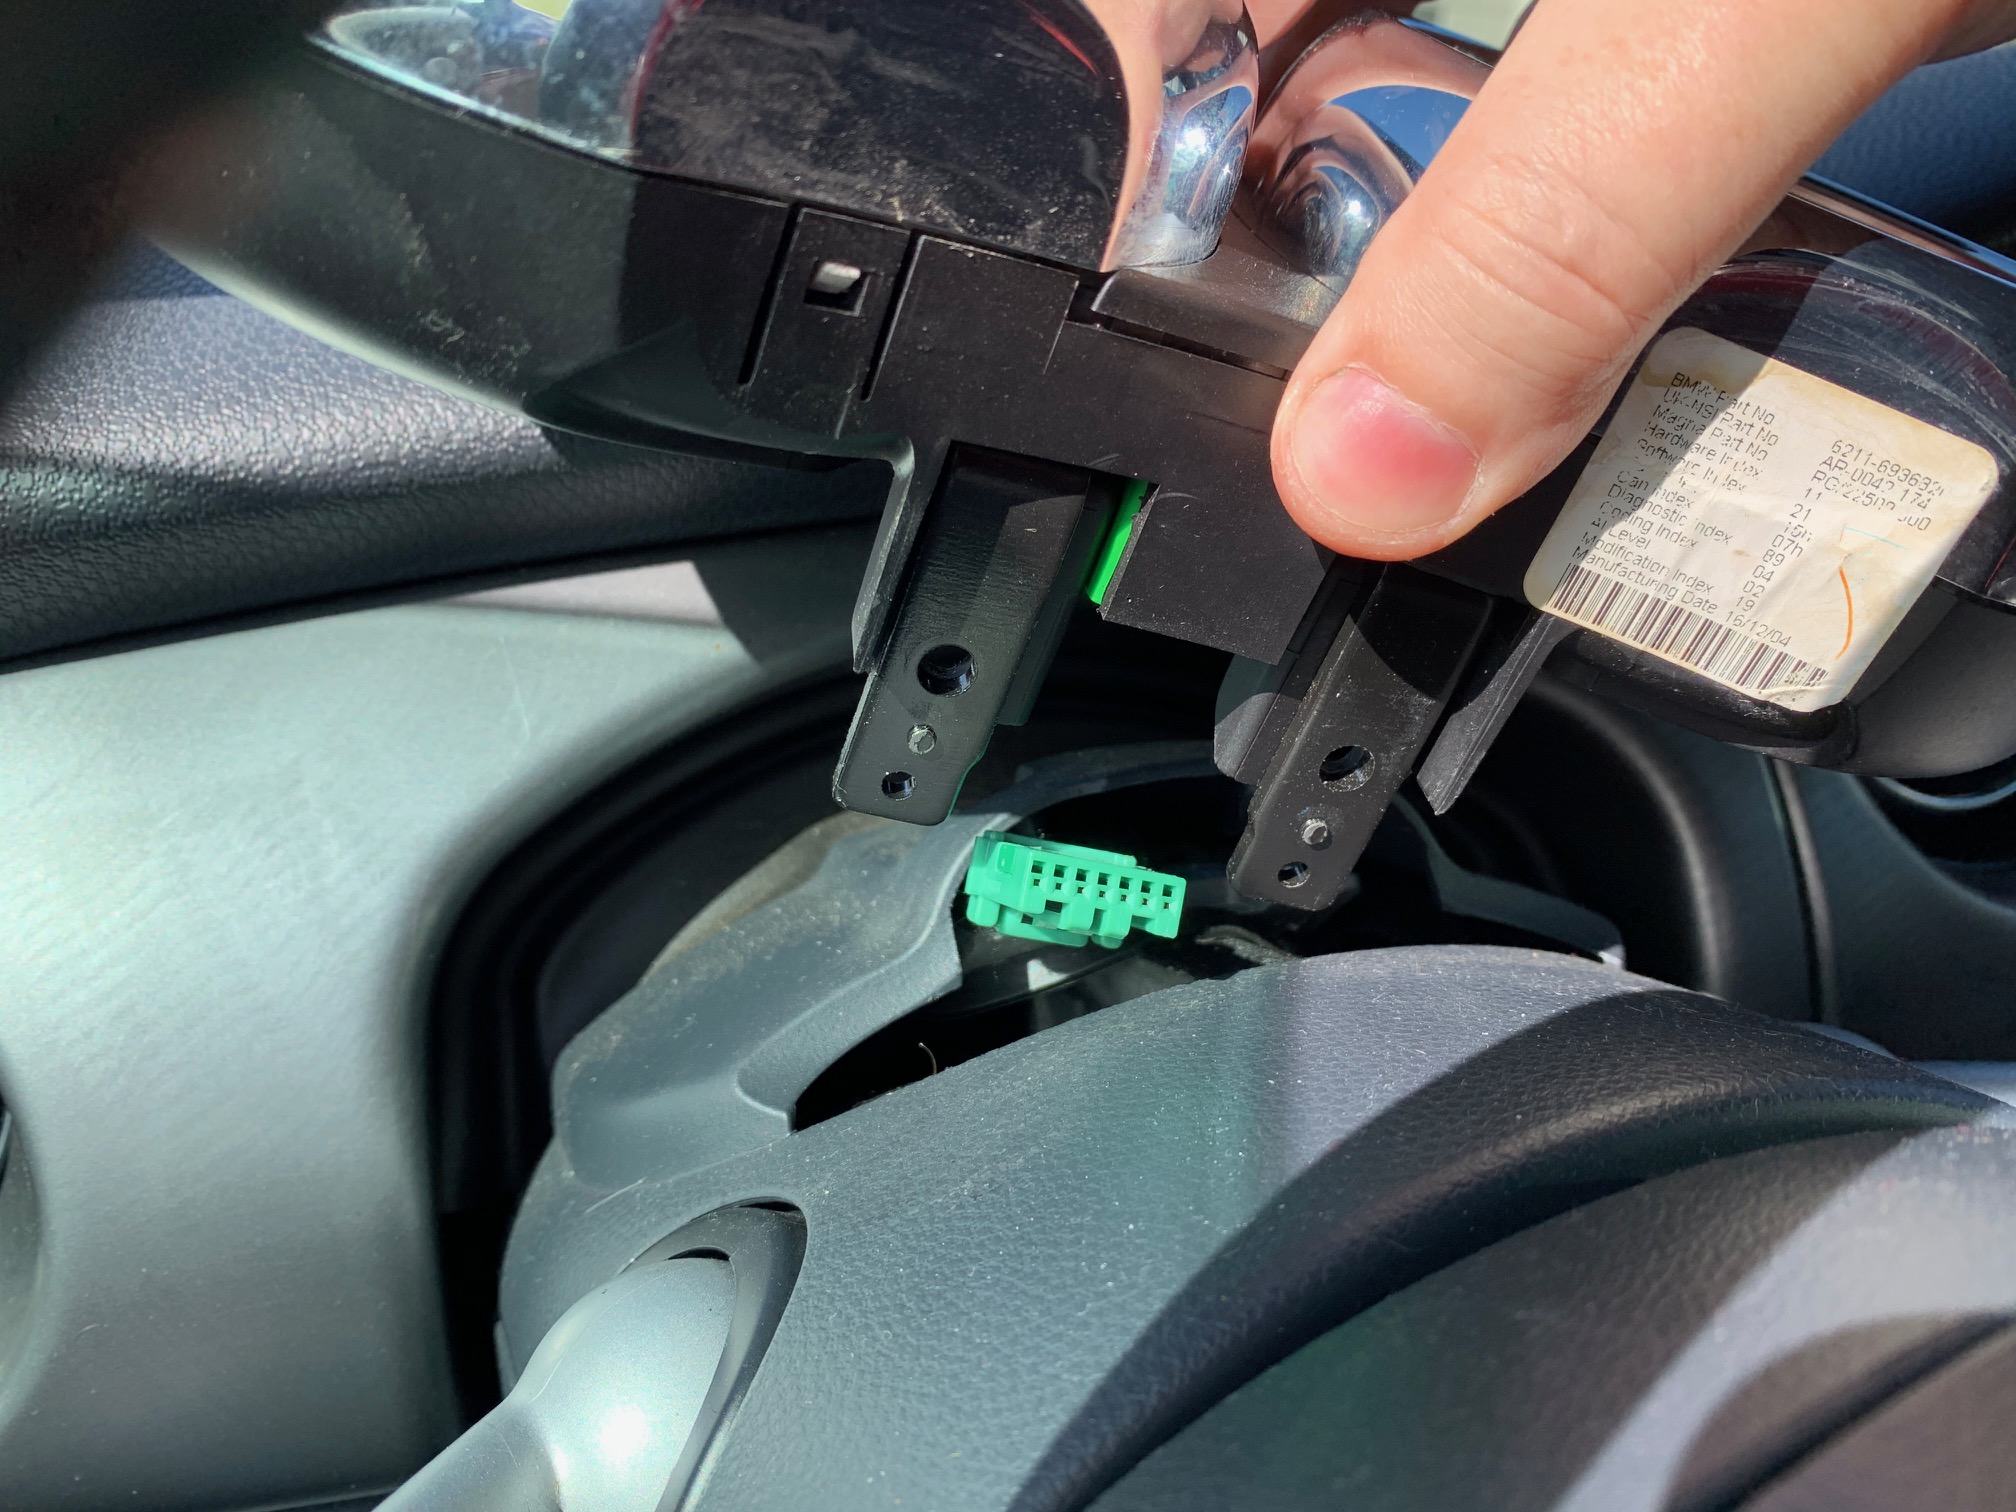
- Utilizing a T-25 Torx driver, remove the factory mounting screws from behind tach/speedometer unit. Press the release button on the green wiring harness to detach it from the back of the unit and lift it off the steering column. Keep the factory T-25 Torx screws as you'll need them for the re-installation.
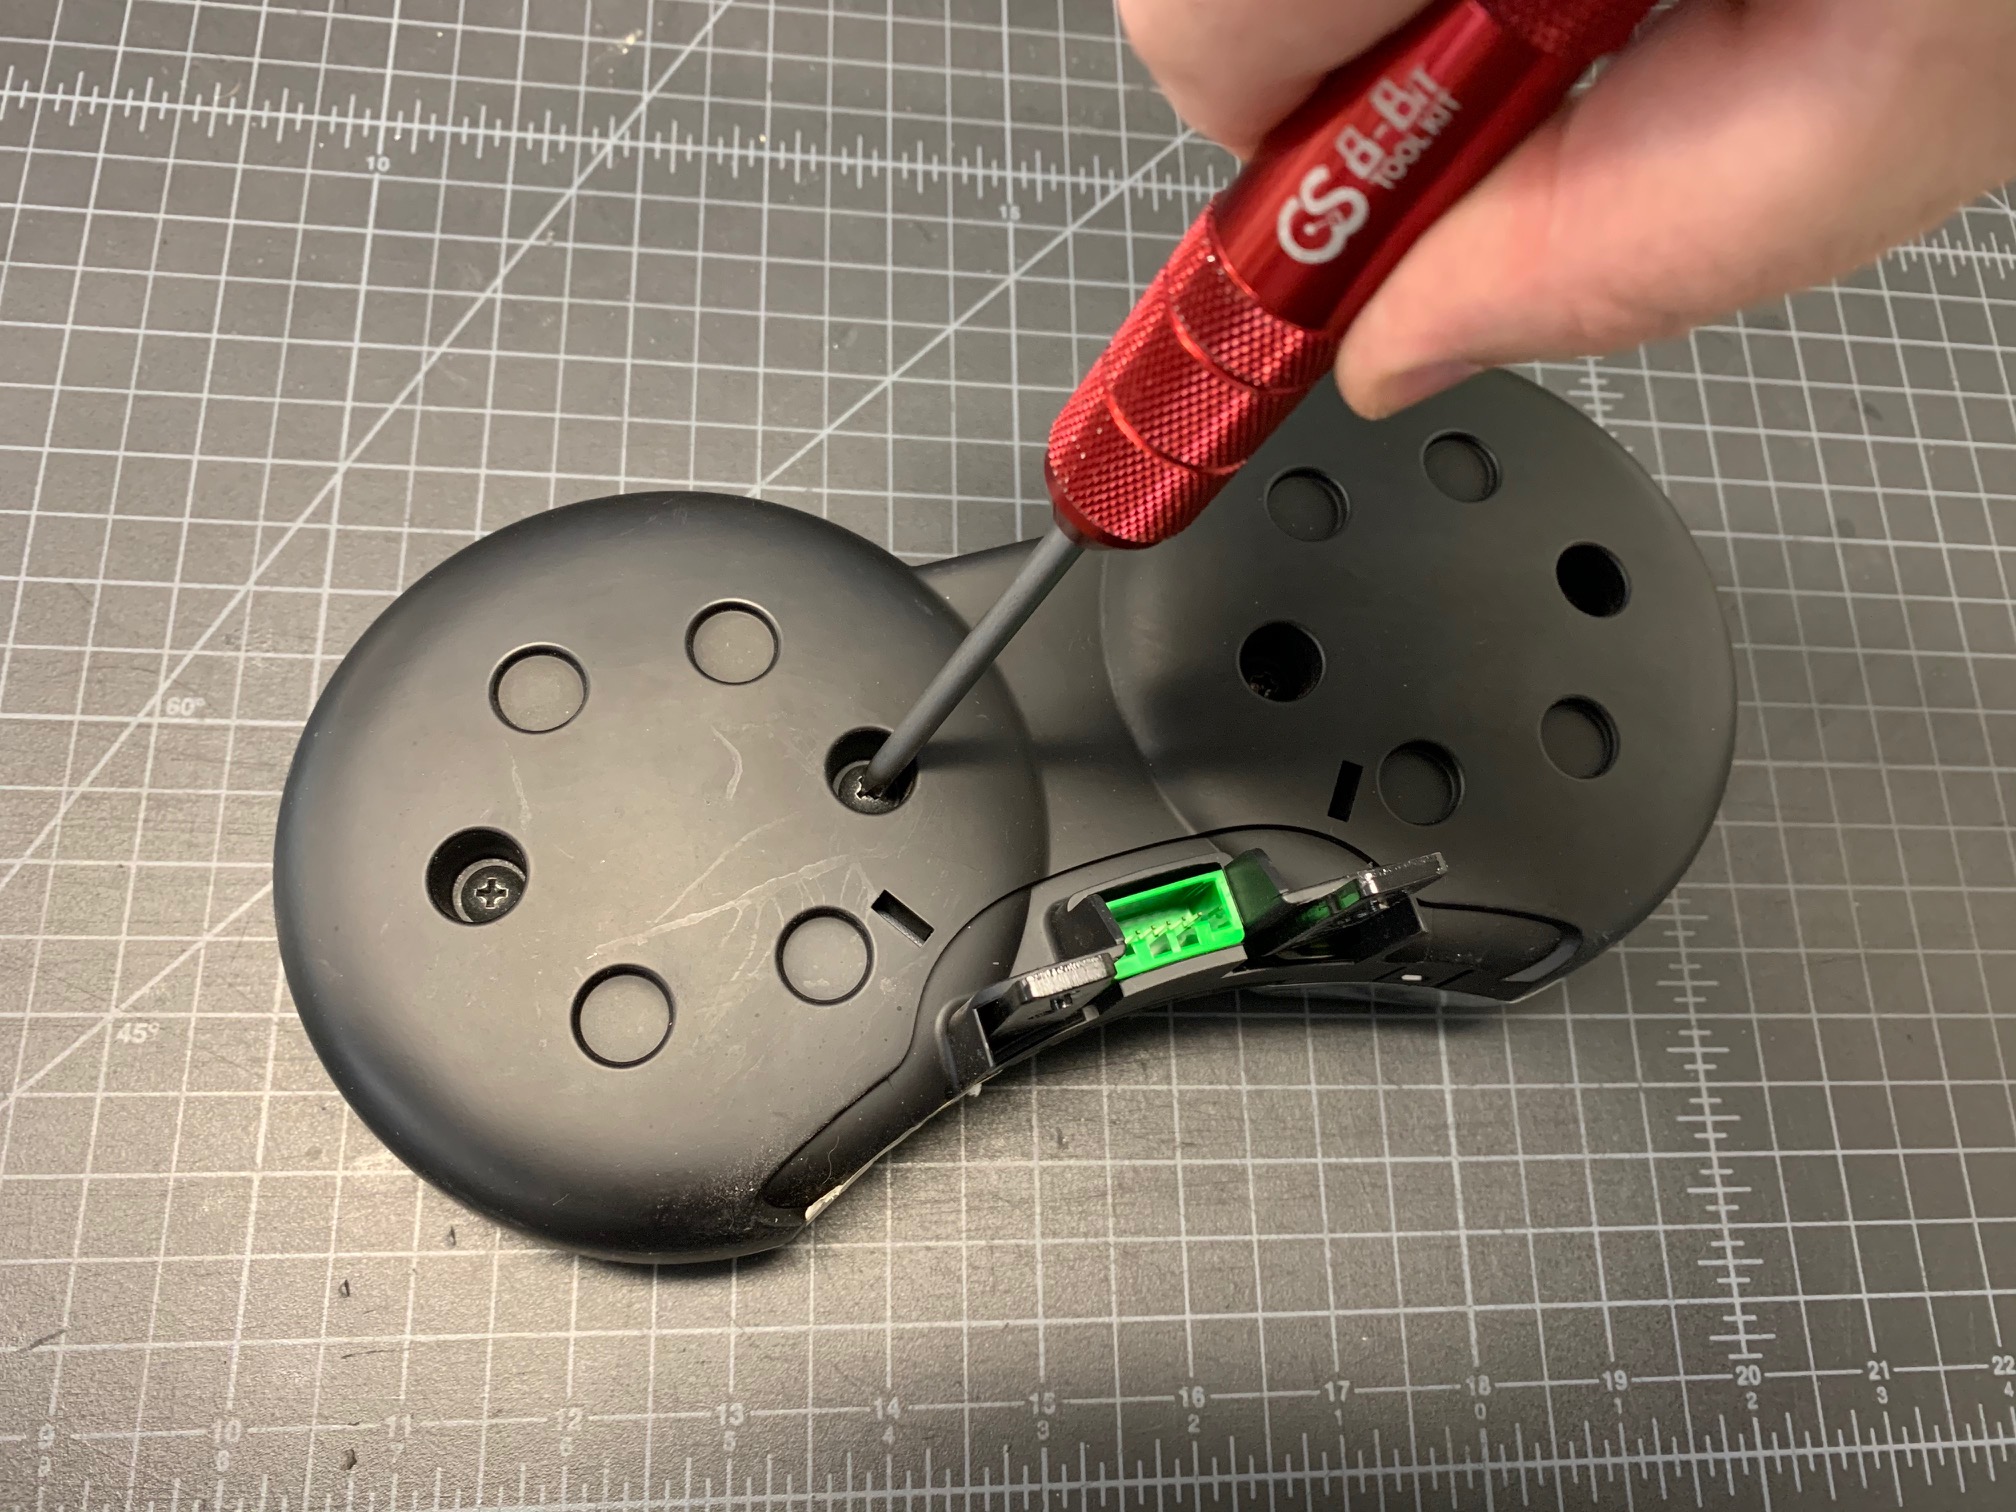
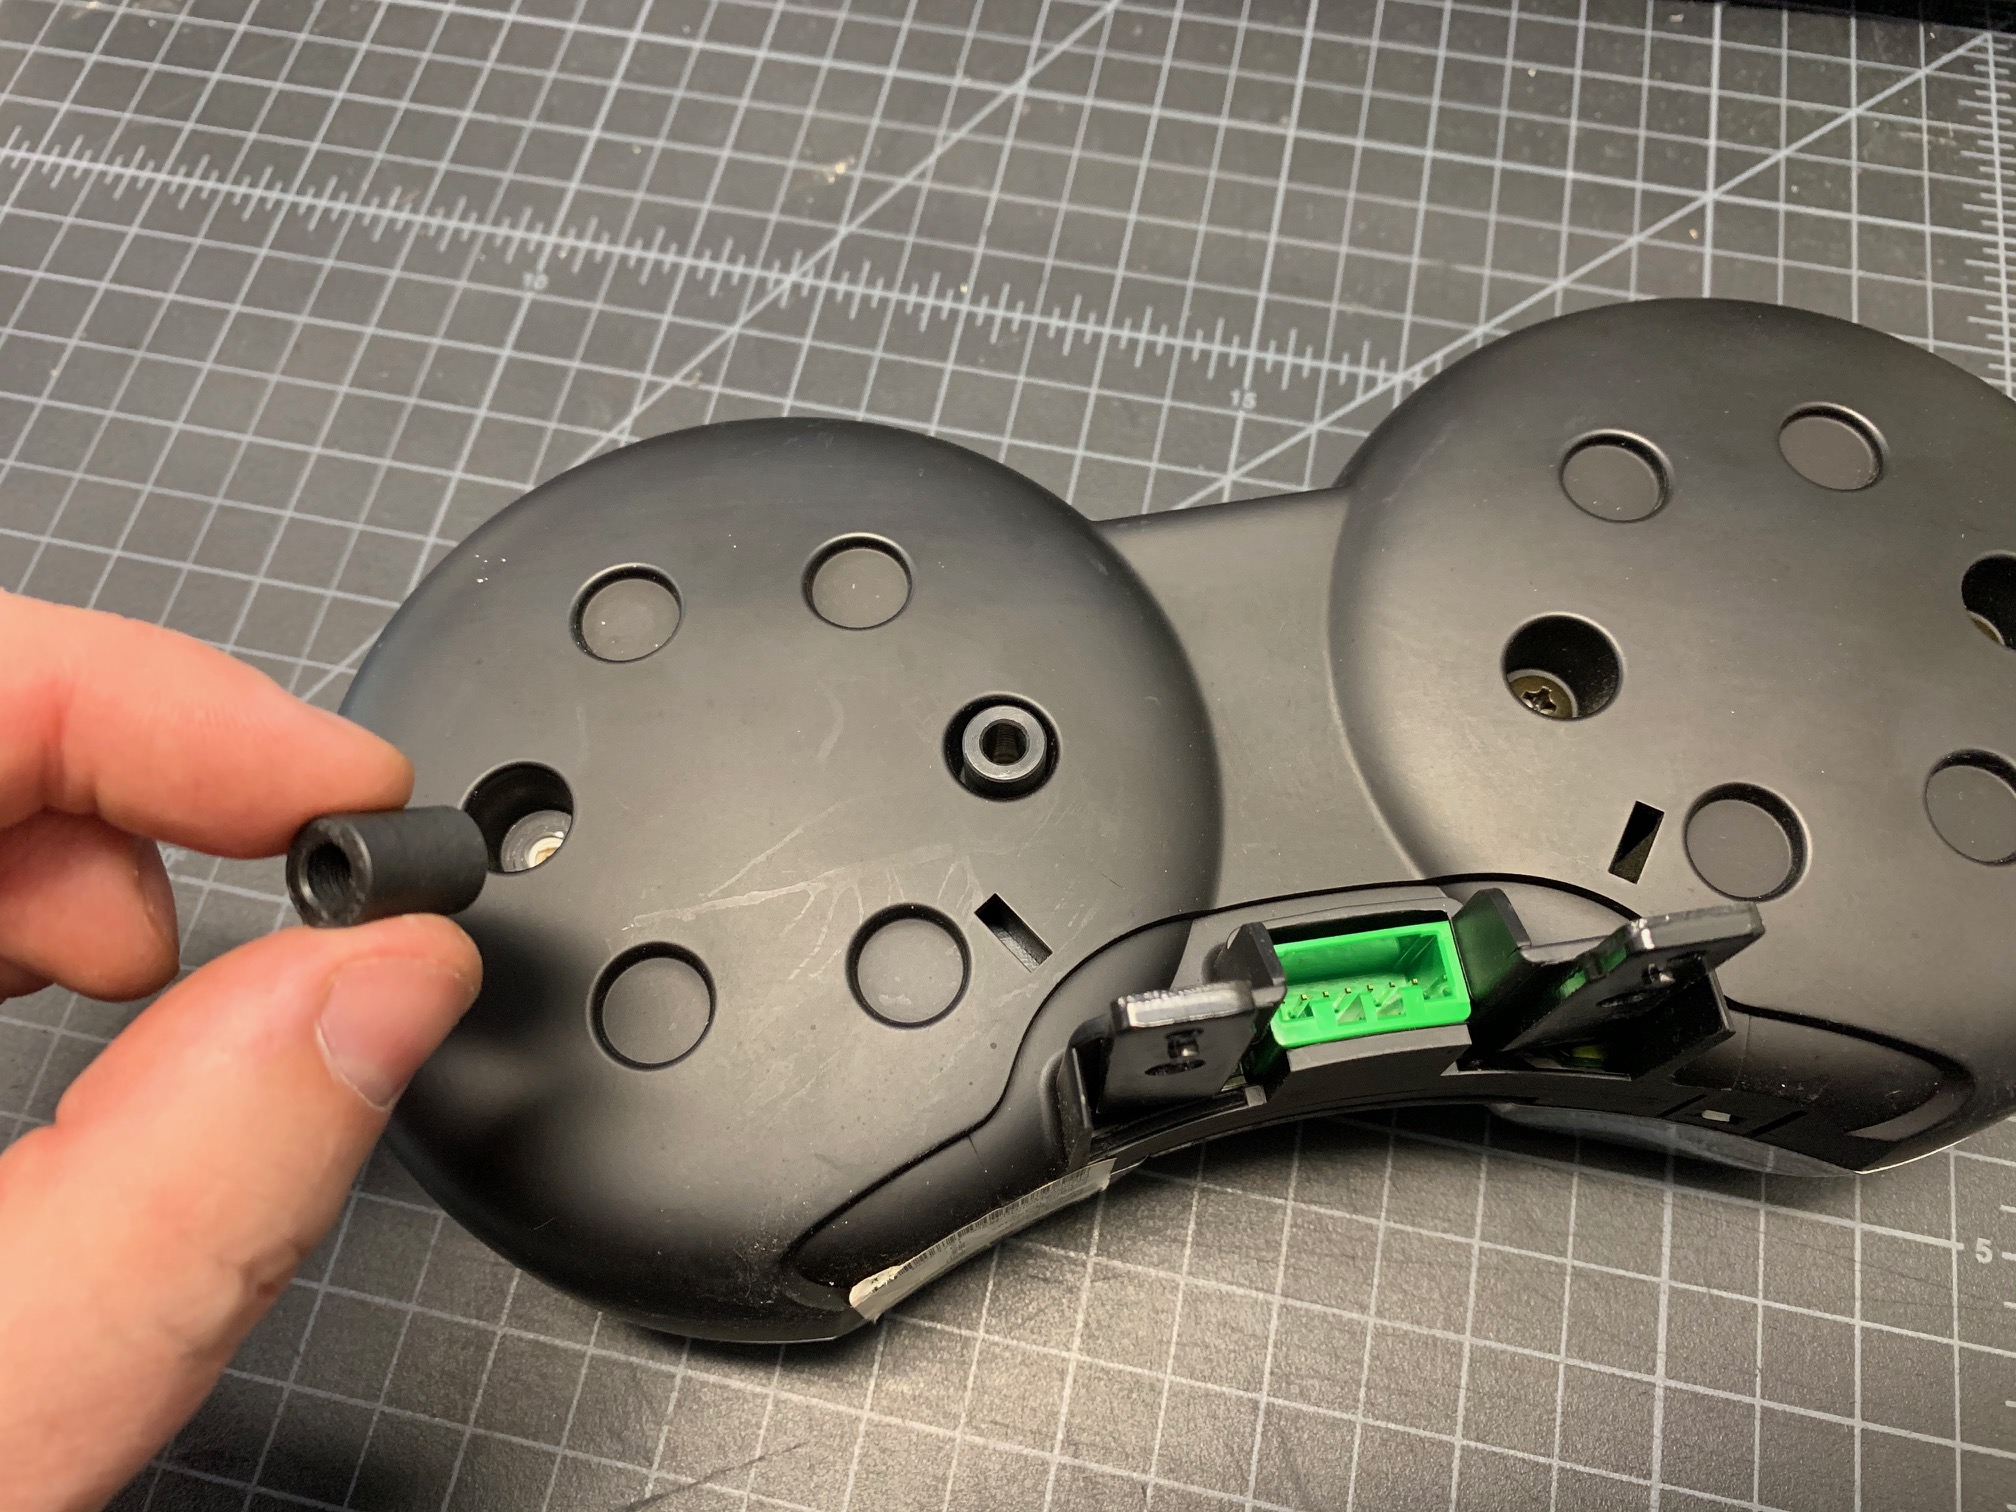
- Using your Philips head screwdriver, remove the two factory screws from the back of the tachometer or the two from the back of the speedometer (If you have the Chrono Package and want to mount your device on that side).
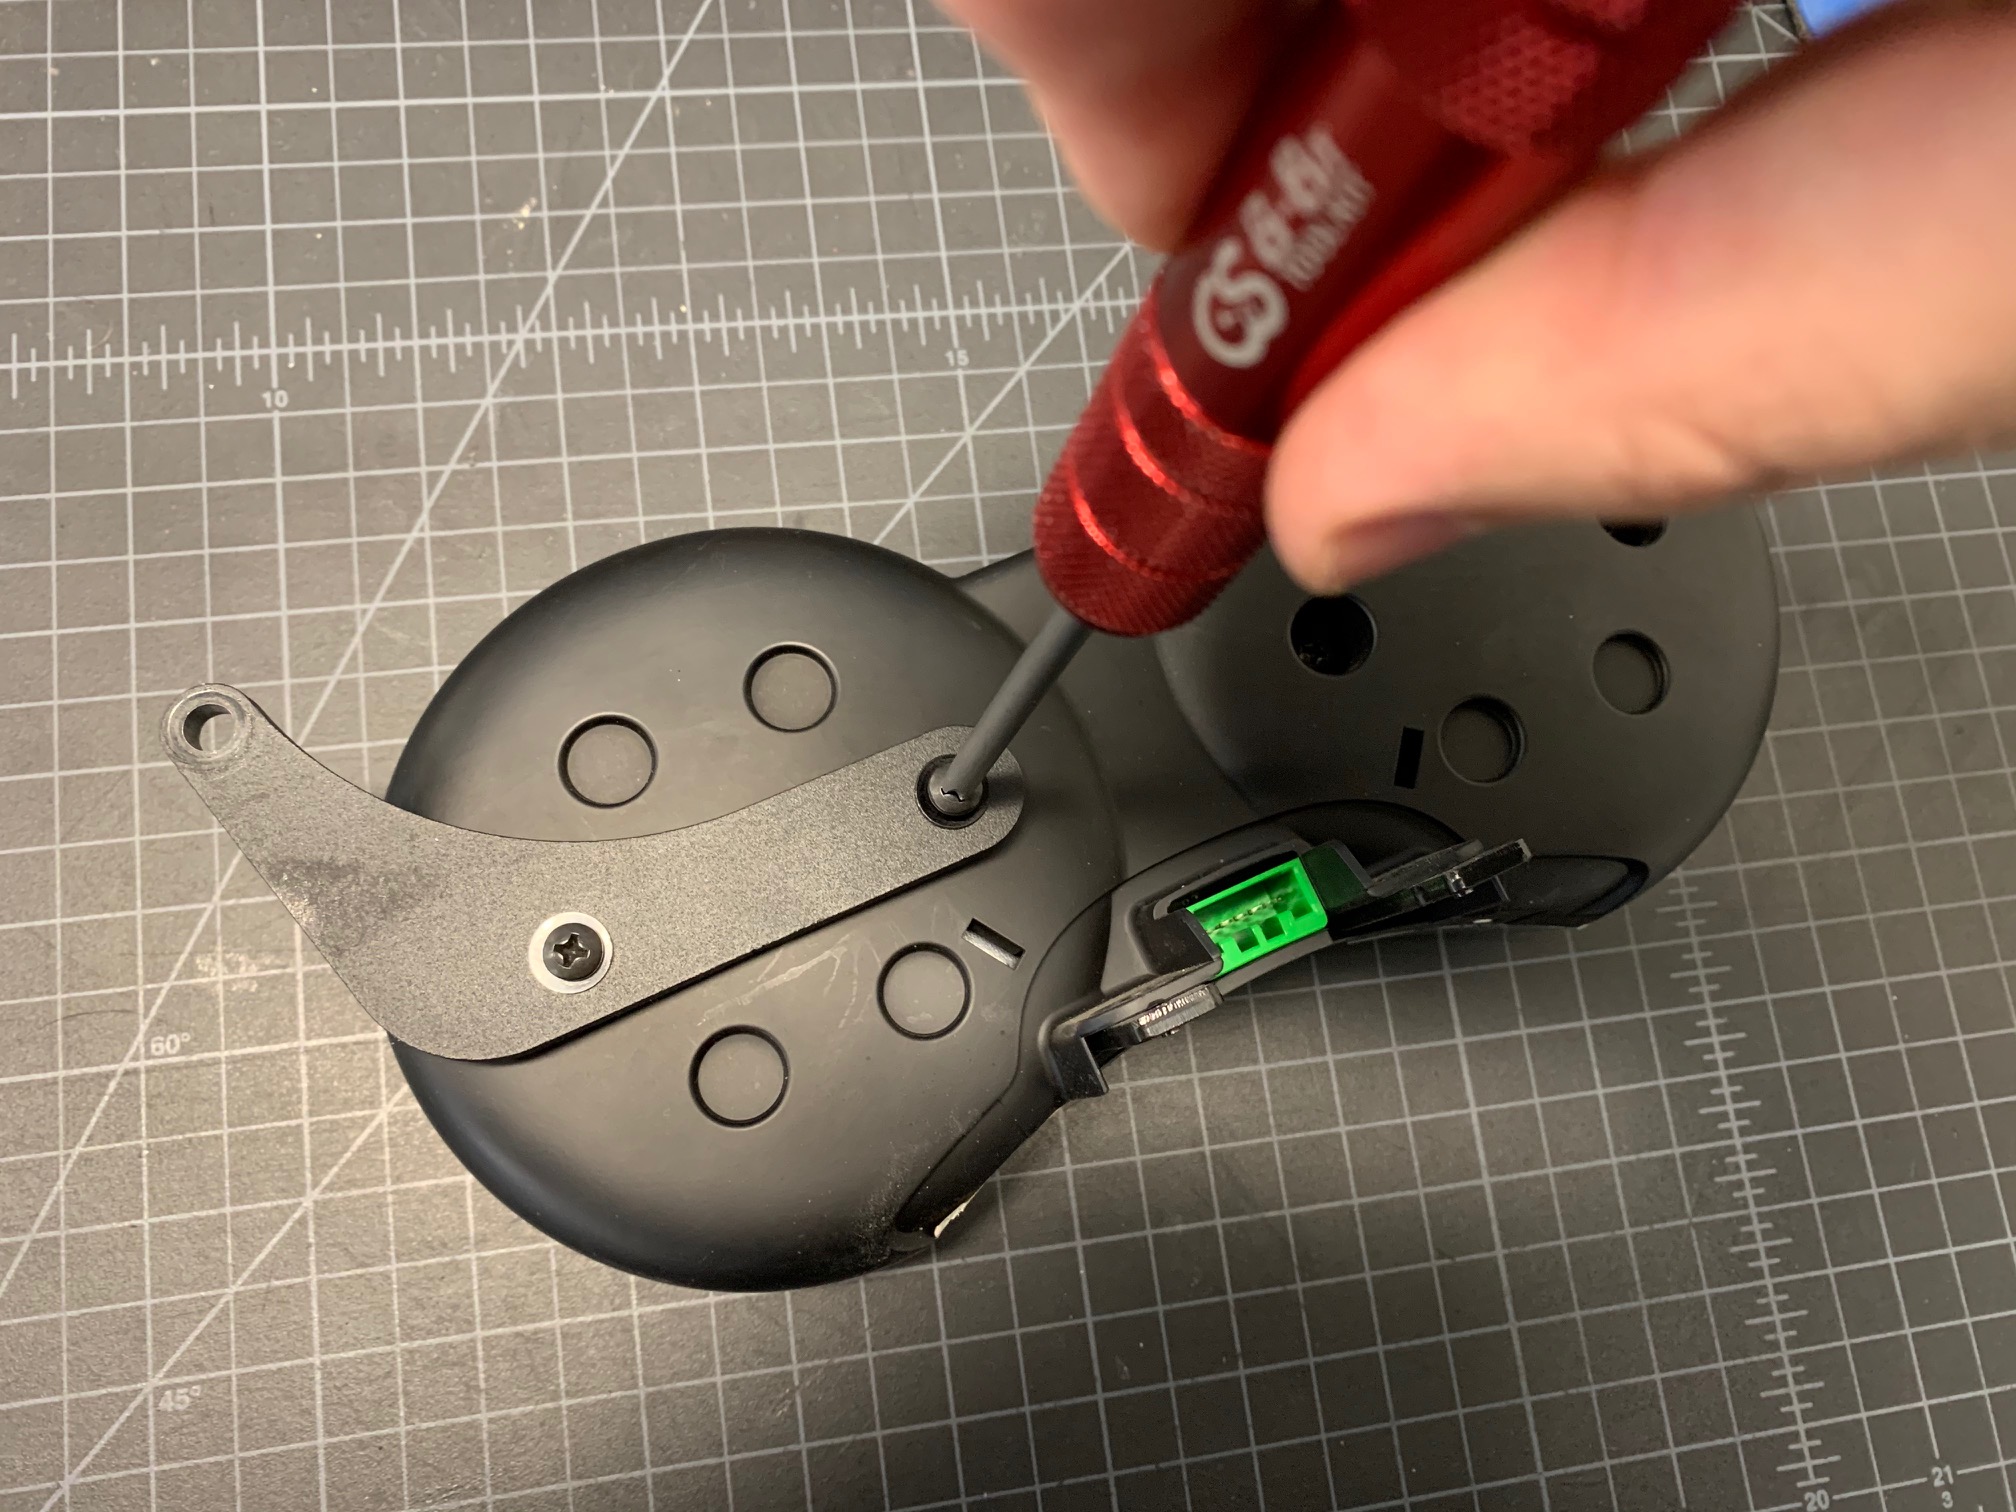
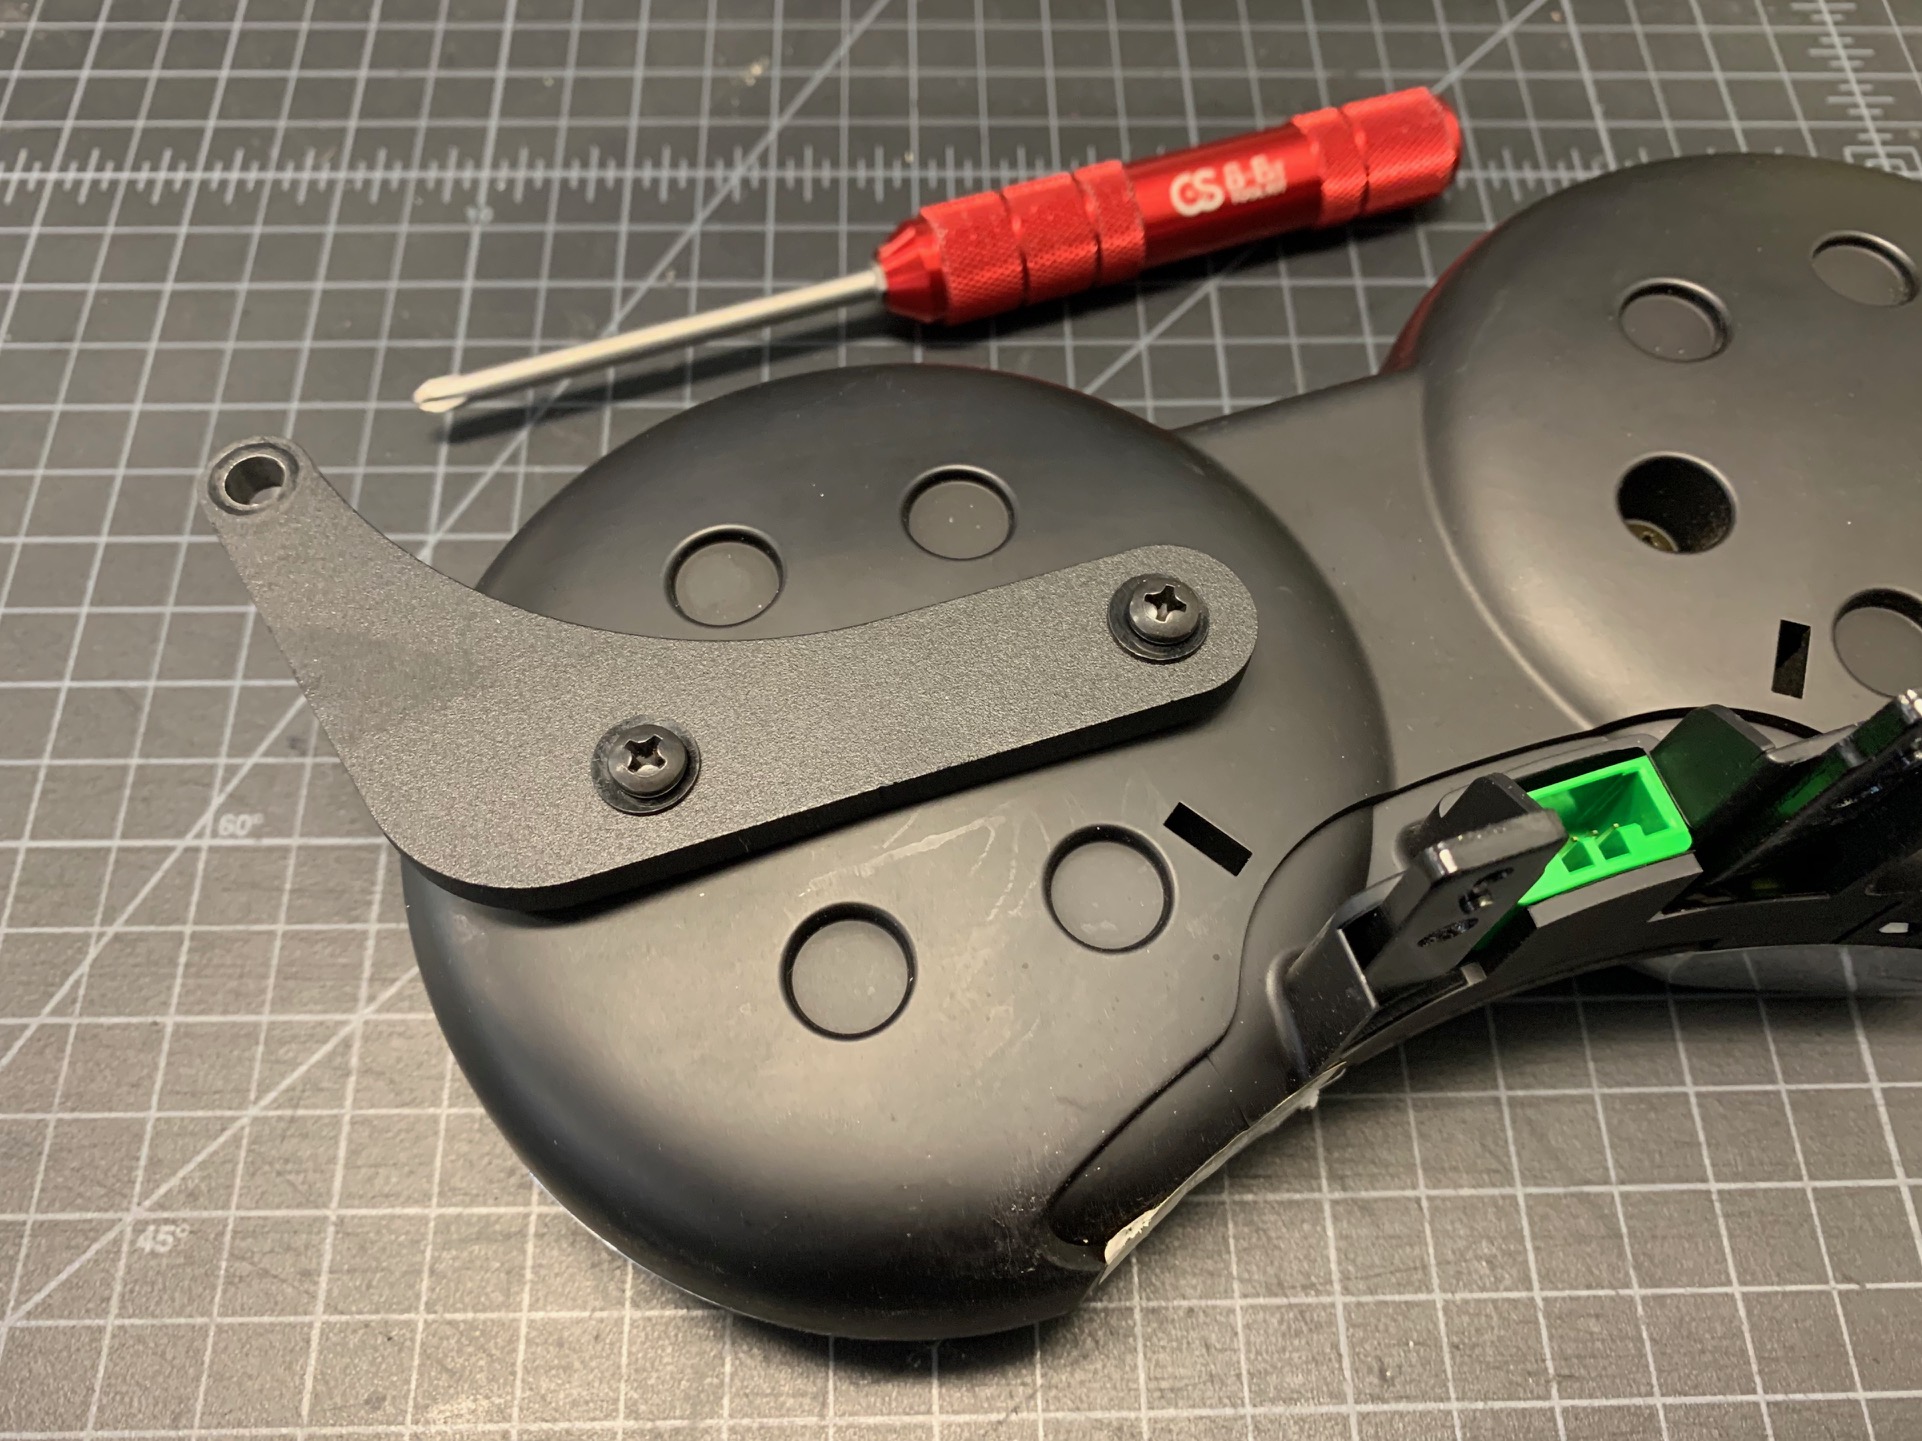
- Set the two plastic spacers into the holes where the screws were and secure the mounting bracket with the included washers and Plastite screws. Do not over tighten and risk stripping out the threads of the housing.
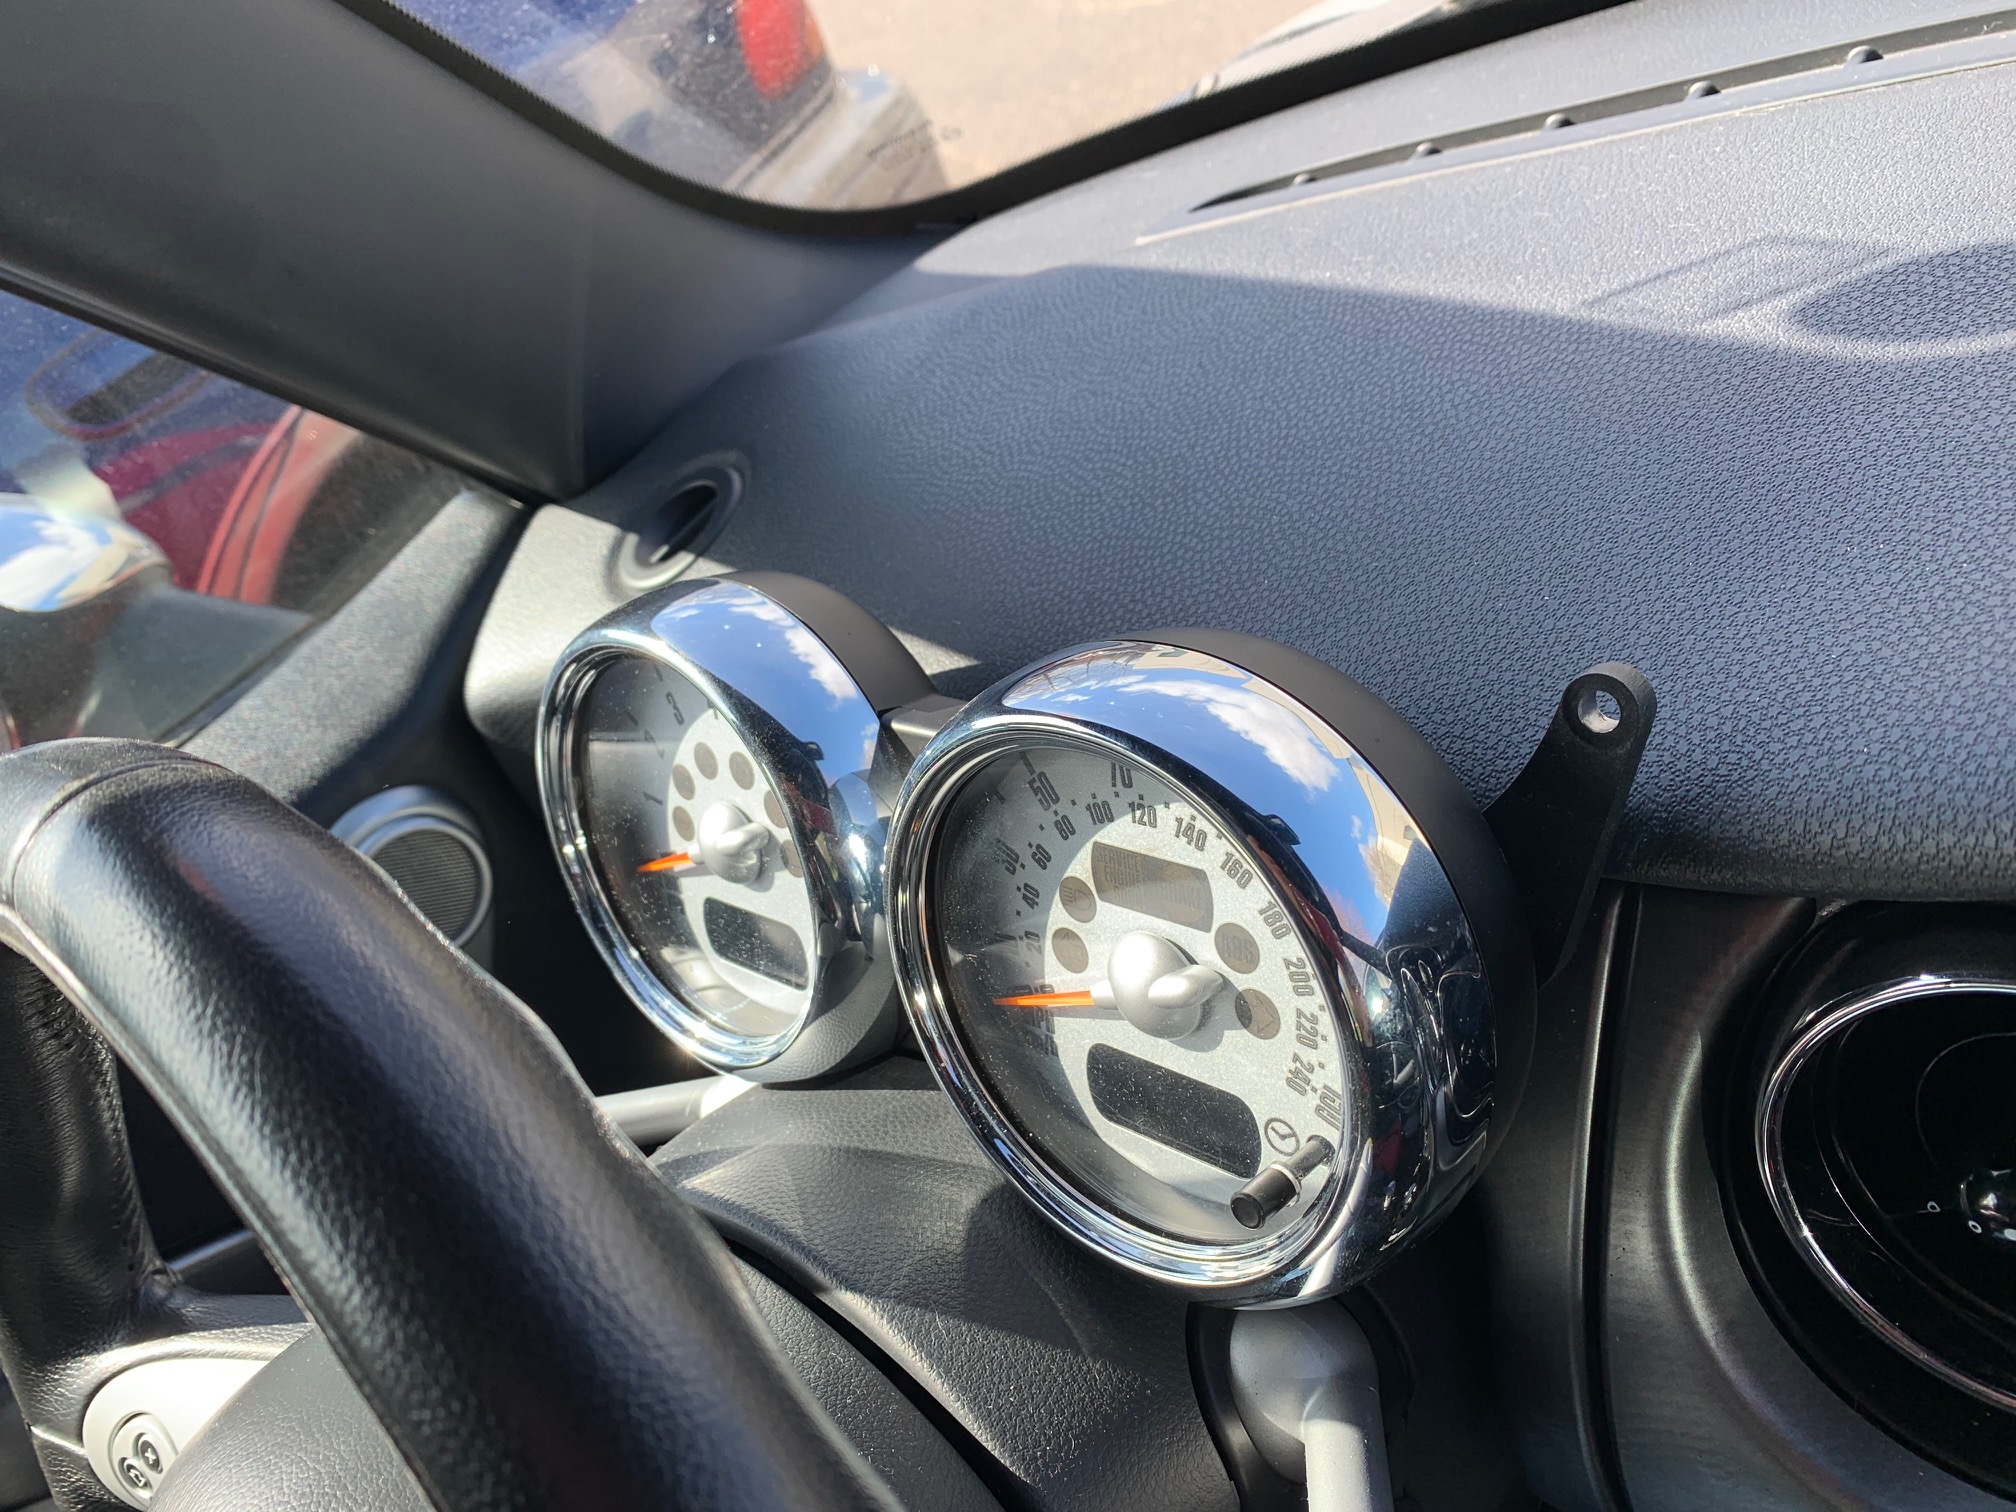
- Re-connect the wiring harness onto the back of the tach unit and set it onto the steering column. Re-install and tighten the factory T-25 Torx screws to finish the job.