THANK YOU for purchasing the Gauge Cup from CravenSpeed. This product is made from the highest grade materials, and is guaranteed to be free from defects.
You can buy our CravenSpeed Gauge Cup for here
Parts Included:
- 1x Gauge Cup
- 2 ea ¼-20 Bolts
- 1x Spacer
- 1x Plastic Plug
- 1x Back Plate
- 3 ea Rubber Pads
Tools Required:
- 3/16" Allen Wrench
Procedure
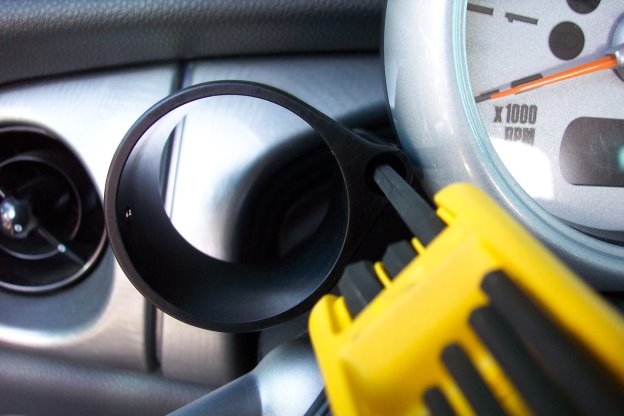
1. Attach gauge cup to mounting hole in bracket using a ¼-20 Bolt and adjust to desired height. Use spacer if desired. Repeat.
2. Use included plastic plugs to hide mounting screws.

3. Insert gauge, allowing the studs on the back to poke through the holes in the back plate. Tighten the nuts included with your gauge to the studs.

4. Alternately, for gauges that do not have mounting studs, you may use the included rubber pads to create a resistance fit; stick the rubber pads to the inside of the gauge cup and slowly, but firmly insert your gauge. Start with one rubber pad and if it is not tight enough, add a second and so on.