THANK YOU
for purchasing the MINI Grille Badge Holder - Gen 2 from CravenSpeed. This product is made from the highest grade materials, and is guaranteed to be free from defects.
You can buy our
CravenSpeed Grille Badge Holder for MINI Gen 2 here
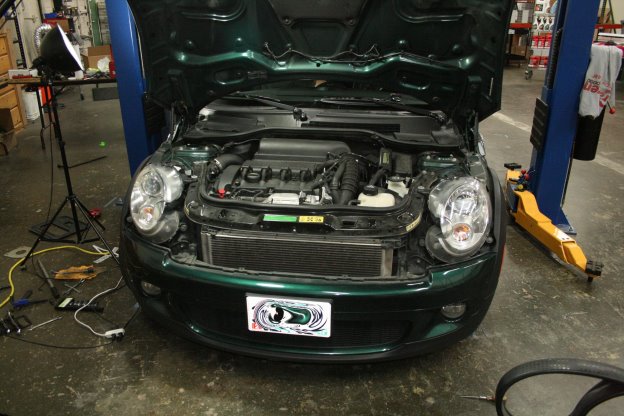
1. Open the hood of your MINI.
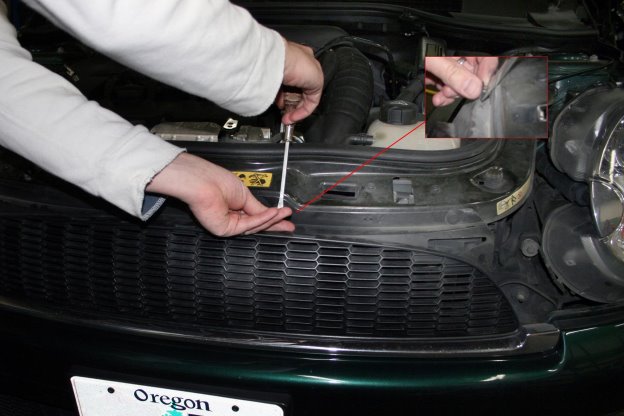
2. Use the flathead to pop out the four plastic pins above the grille.
3. Put pins aside for reassembly.
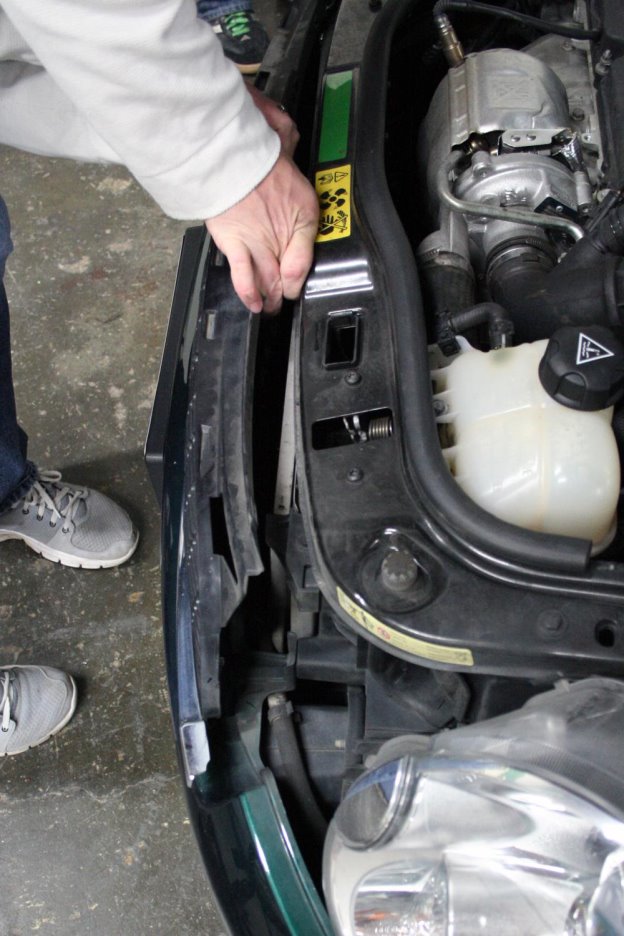
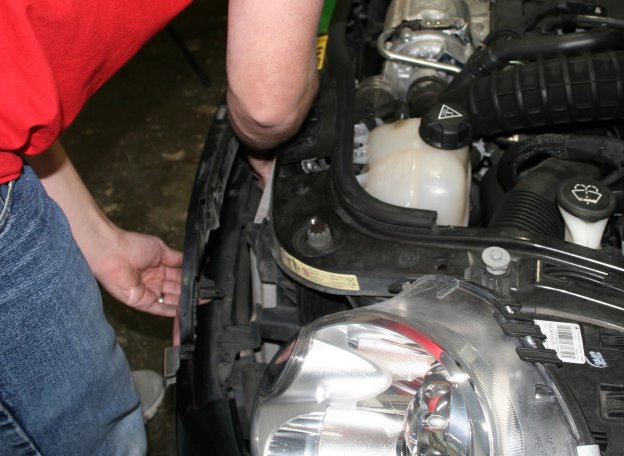
4. Reach around the side of the grille and squeeze the lower tab. (work from one side)
5. Pull the grille forward until the tab comes free of its’ socket.
6. Repeat on the opposite side of the grille.
7. Reach from above to release the lower center tabs.
8. Pull the grille forward to remove it completely.
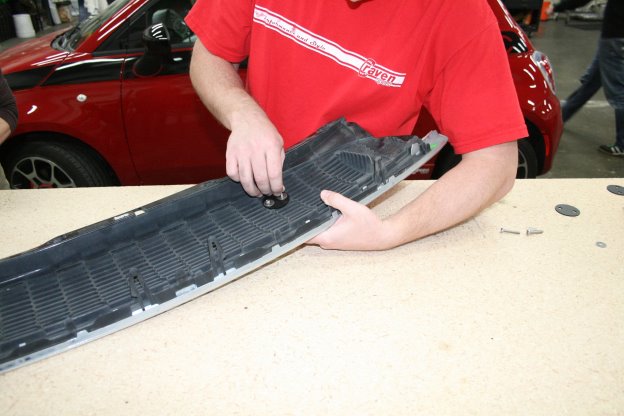
9. Slide the two screws through the Front Plate so that they sit flush with the Front Plate.
10. Place the Front Plate on the raised grille with the screws protruding through to the backside.
11. Place the back plate behind the grille so that the screws protrude through the holes in the plate. *It may be necessary to adjust the initial positioning to find a spot where the back plate fits onto the back of the grille.
12. Put a washer and nut on one screw and twist it on, repeat with the other screw.
13. Hold the nut with the adjustable wrench and use the Phillips head to turn until tight. Repeat with the other screw.
14. Align the grille by matching the lower tabs with their sockets.
15. Press firmly to lock lower tabs in place.
16. Pull the pins so the bottom and top end are attached but separated.
17. Place the lower part of the pins back into in their holes.
18. Push the tops in to lock them in place.
Parts Included:
Tools Required:
Procedure
