THANK YOU
for purchasing the MINI Gen 3 Grille Badge Kit from CravenSpeed. This product is made from the highest grade materials, and is guaranteed to be free from defects.
You can buy our
CravenSpeed Grille Badge Kit for MINI Gen 3 here
Park your MINI in a well-lit and clean area where you’ll have access to the front end and engine compartment.
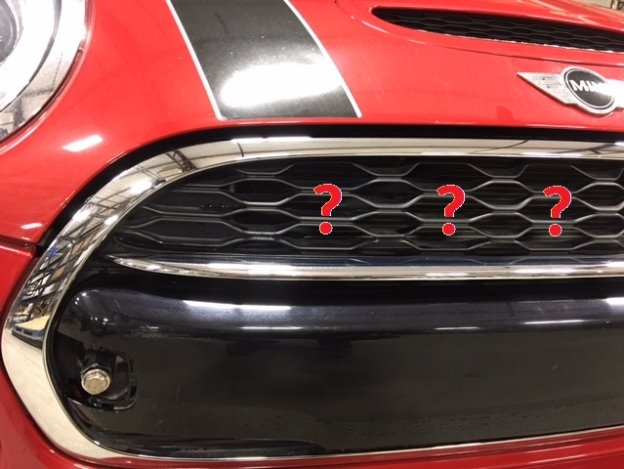
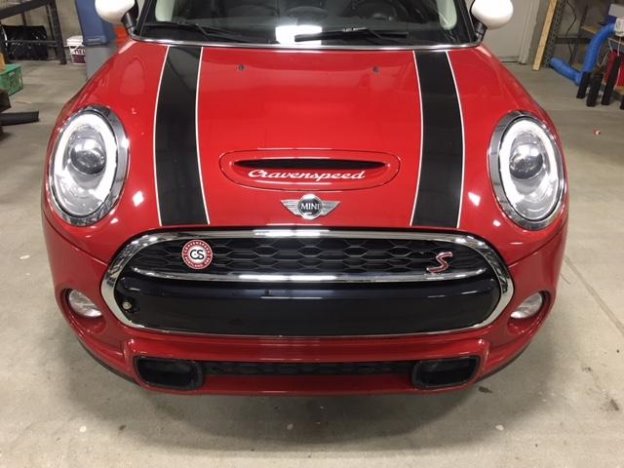
Decide where you’d like to mount your badge…
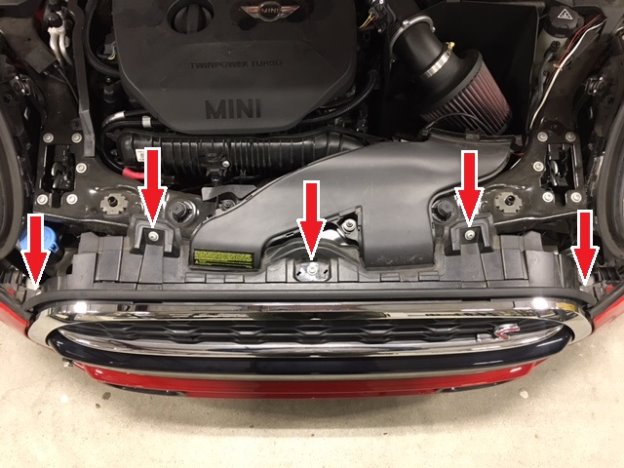
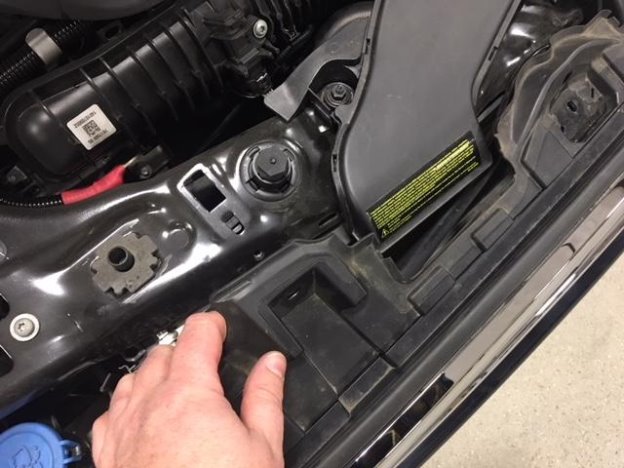
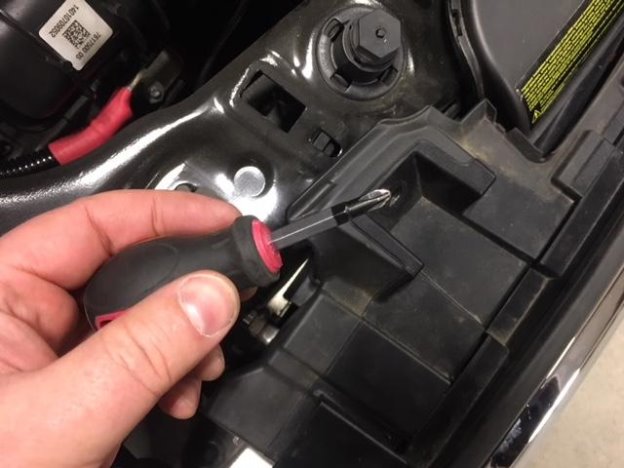
Let’s pop the hood and take a gander on the inside. There are five T30 Torx screws we want to remove.
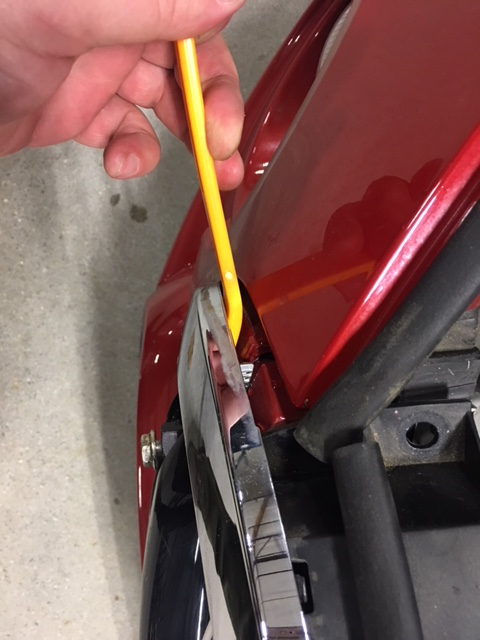
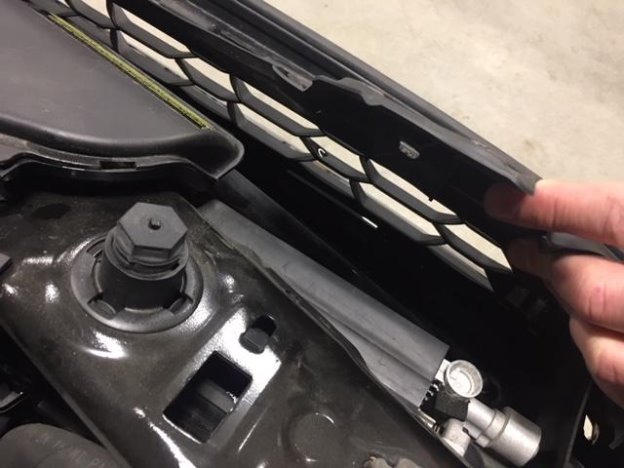
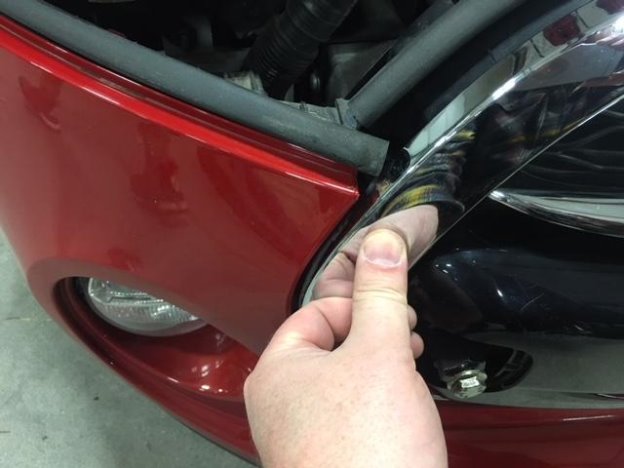
We’re not completely removing this section of the grille, but we are going to release a couple of the side clips so we can access the backside. If you have a Platypus License Plate Mount, go ahead and remove the plate holder from the stud. Use your trim panel removal tool and disconnect a couple of the side tabs that hold the chrome section to the body.
The grille should now be detached enough for you to get your mitts behind it.
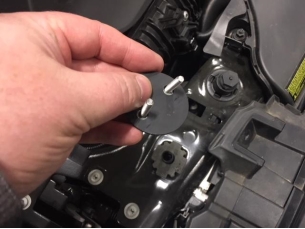
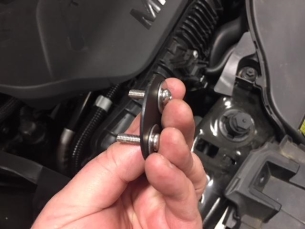
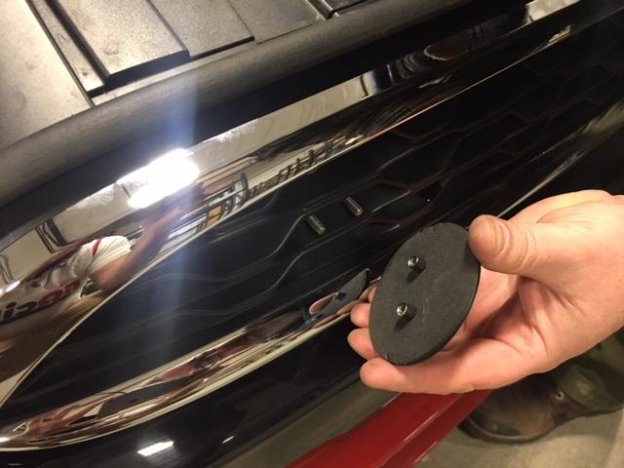
Prepare the hardware from your kit and assemble it in the order shown in the image. The F56 MINI will utilize the shorter screws within the kit. Screws>washers>backplate
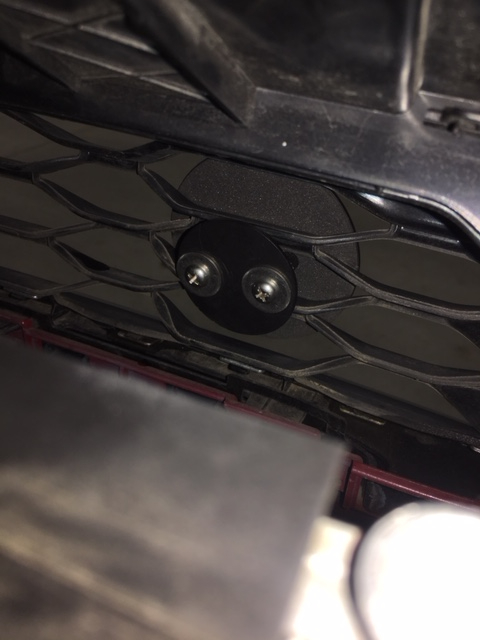
Reach behind the grille with your backplate assembly in hand (while trying not to drop anything) and place it in the cutout you’ve predetermined. While holding it in place, set the Badge Holder Plate onto the front of the grille and thread the screws into their proper inserts. Try to have a little patience… it can be a bit of a bugger juggling all the various pieces while the grille clamps down upon your forearm.
After you’ve threaded the screws on as far as they’ll go by hand, take your stubby Phillips screwdriver and finish tightening them evenly.
Finish by pushing the chrome grille surround back onto the body till you hear it ‘click’ into place and reinstall the five T30 Torx fasteners. Ensure that the engine compartment is free of any stray tools and close the hood.
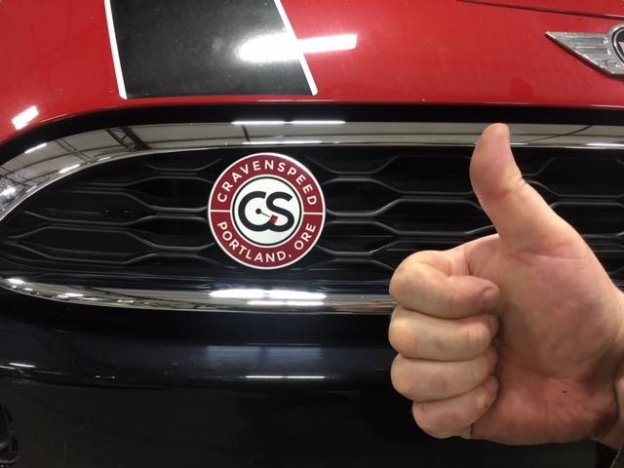
Affix your magnetic badge-of-choice into place and marvel at your handiwork!
Oh! And put your Platypus plate holder back on! Cheers and happy motoring!
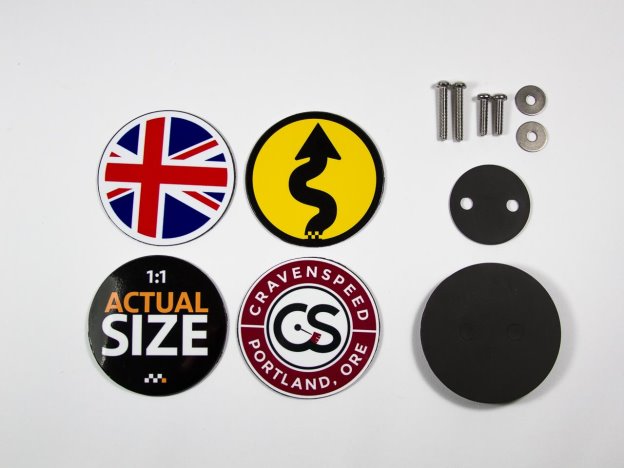
Parts Included:
Tools Required:
Procedure
