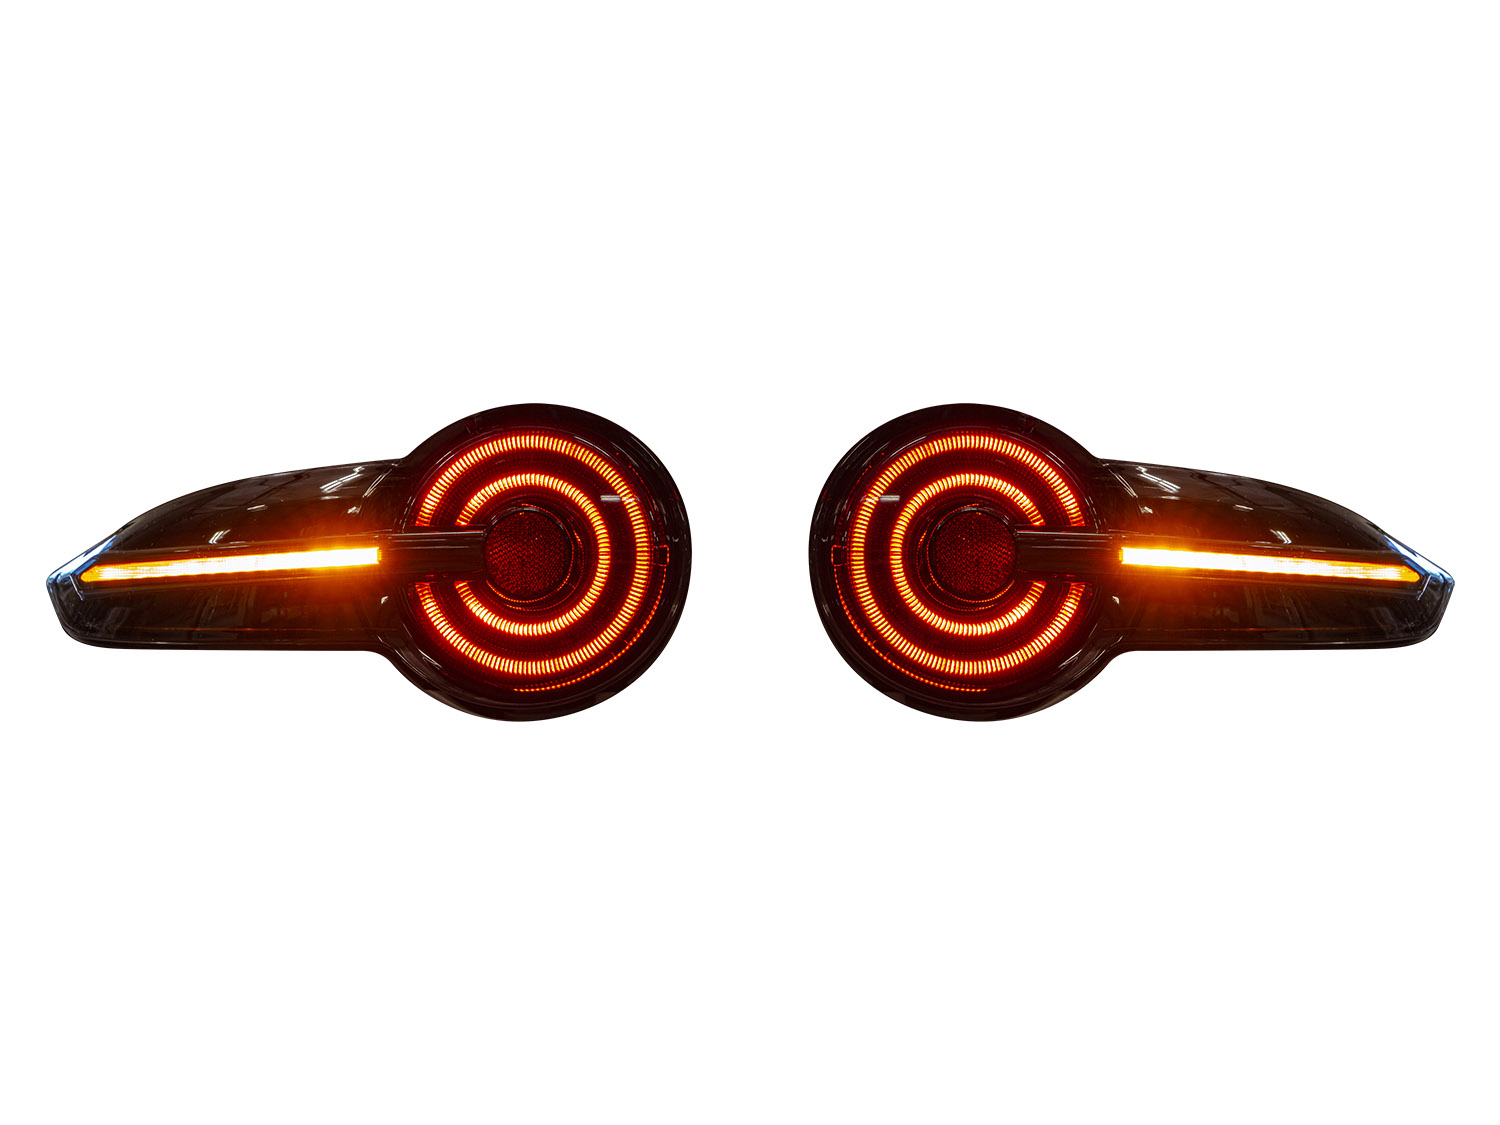
THANK YOU for purchasing The Zymexx LED Tinted Sequential Tail Lights. This product is made from the highest grade materials and is guaranteed to be free from defects.
You can buy our CravenSpeed LED Tinted Sequiential Tail Lights for ND MX-5 Miata here
Parts Included:
- 2 x Tail Lights
- 1 x Resistor Ballast pigtail
Tools Required:
- Phillips Screwdriver
- 10mm Wrench
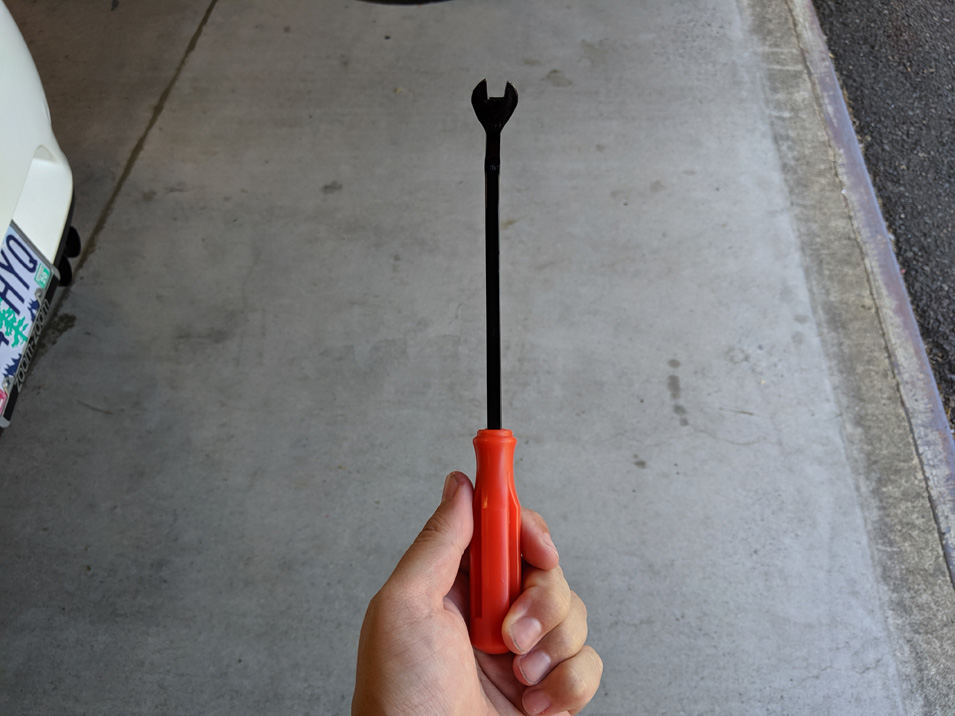
- Thin Prying Tool
NOTE: This installation process is very simple, and should take around 10 minutes. Please read through the entire instructions before you begin.
Procedure
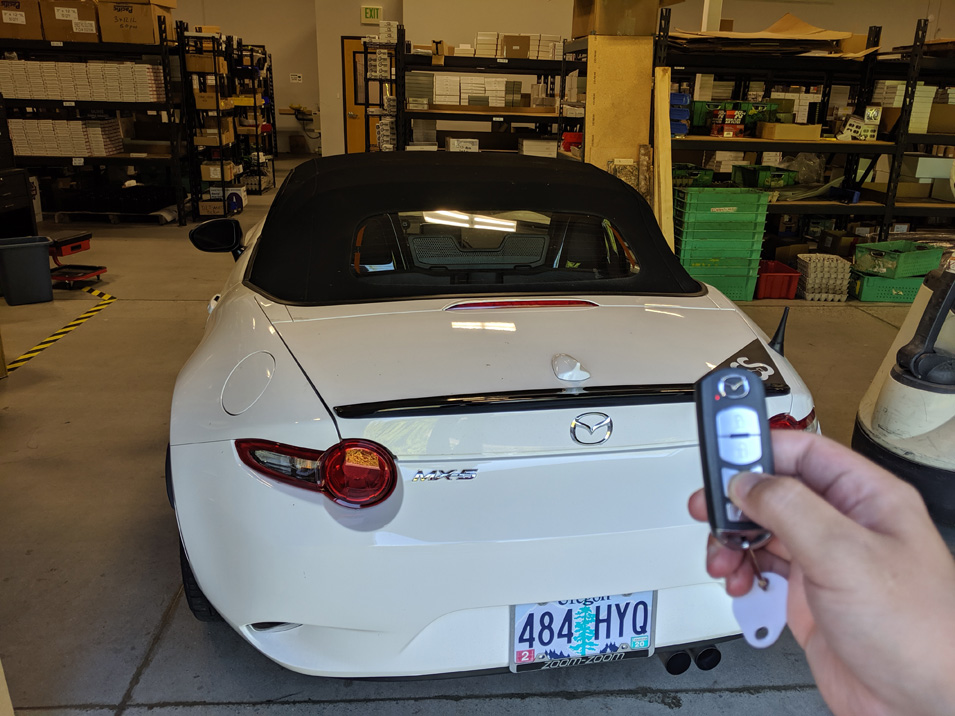
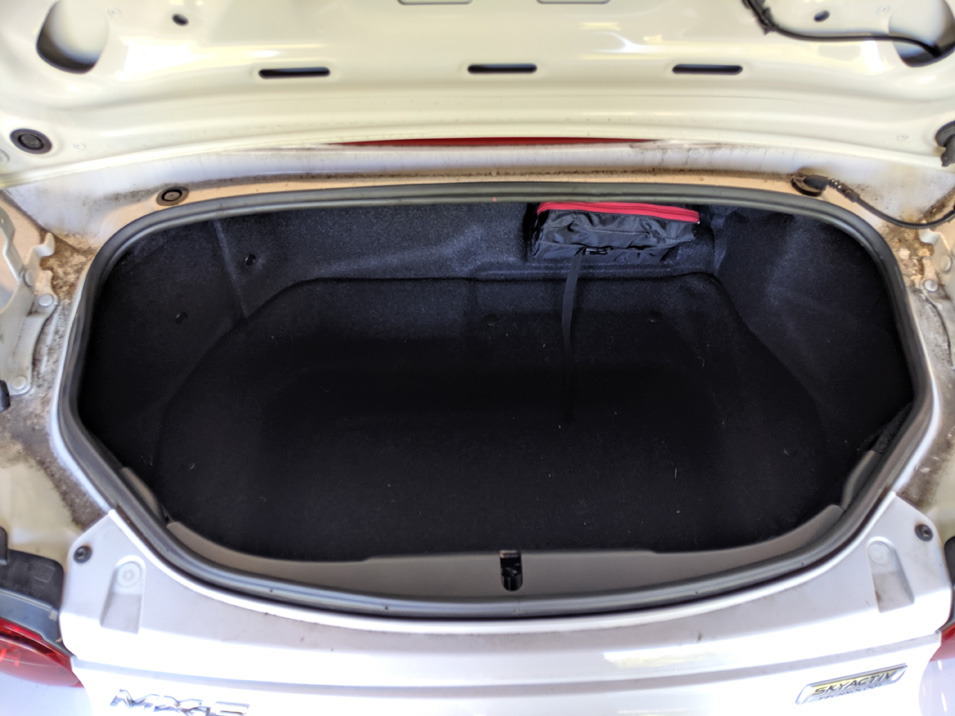
First things first, pop the trunk. It’ll help to empty it as well.
We'll need to partially remove the rear plastic panel, and both side panels. We'll start with the plastic panel, which is secured with four plastic clips:
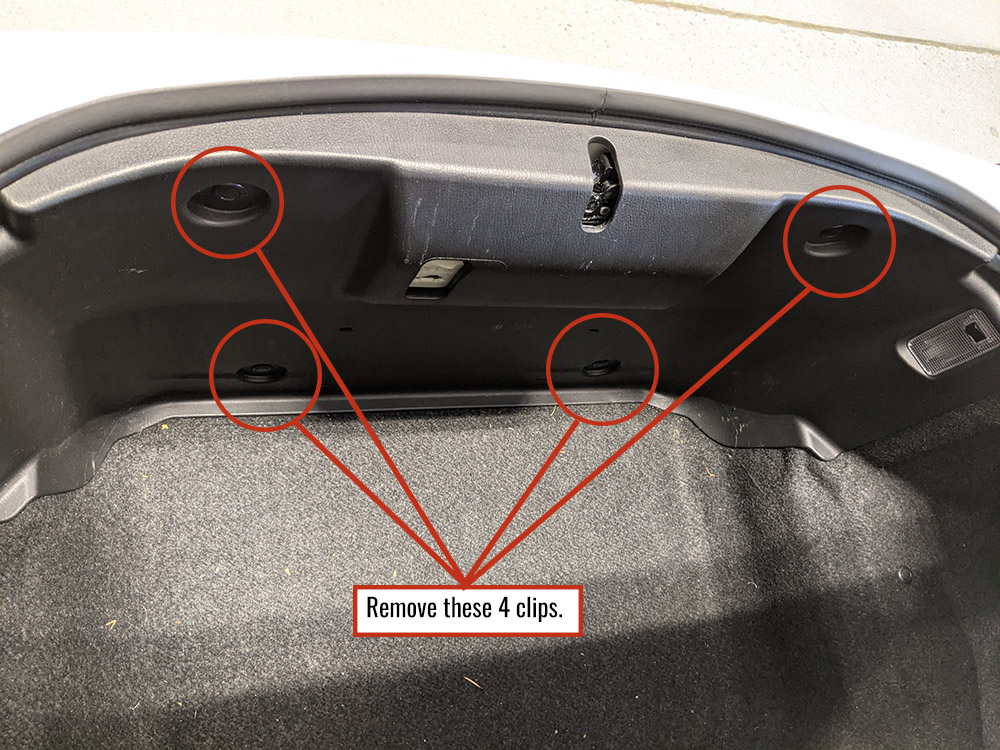
To remove these clips you just need to pop up the center section and then pull the clip out of the panel. These clips should be easy enough to remove by hand, but you can use a clip removal tool as well.
We just need this panel loose in order for us to access the side panels. Don't worry about unplugging the interior light.
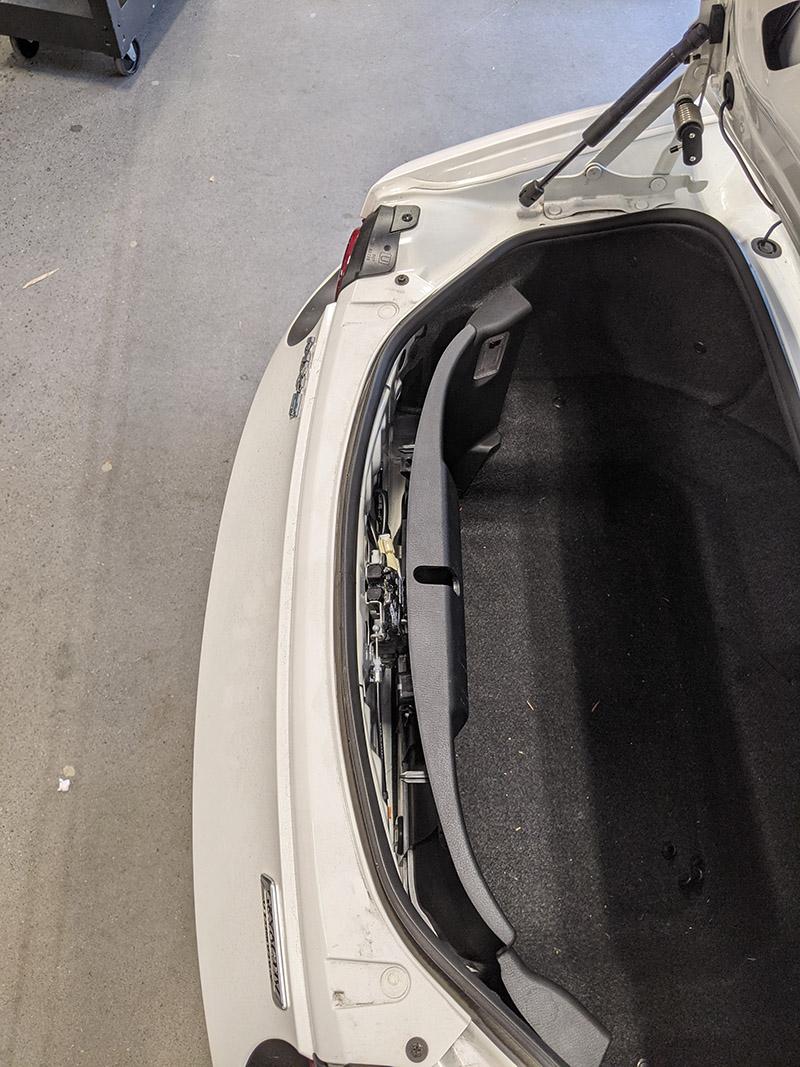
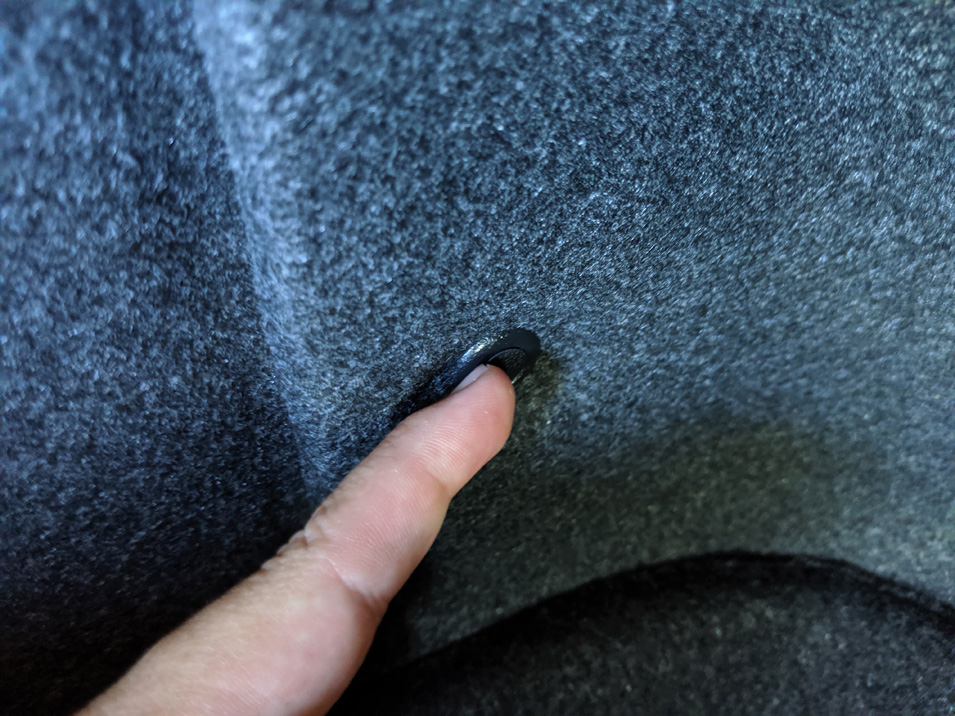
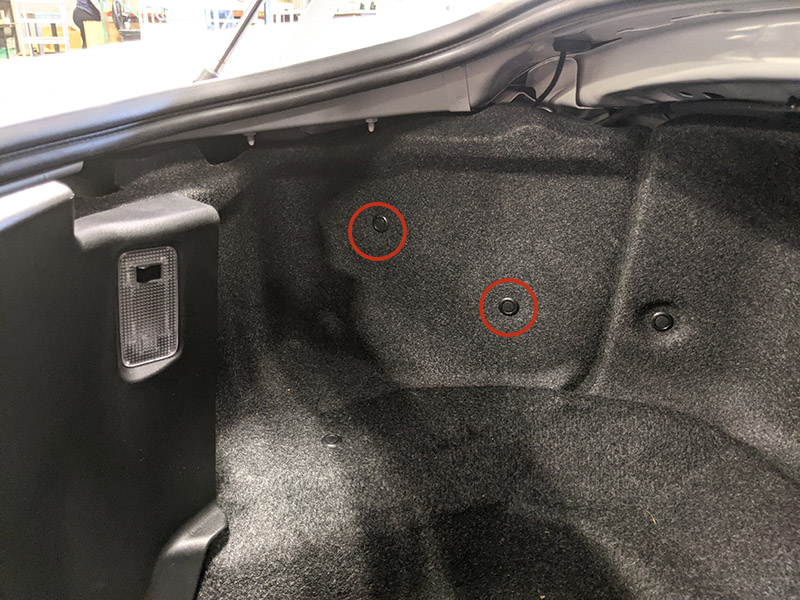
Now we can access all of the clips that secure the side panels. There are three on each side. One behind the plastic panel we just loosened, and two in the side. We don't need to take the panel out of the car, just remove the clips and pull the panel back so we can access the back side of the tail light.
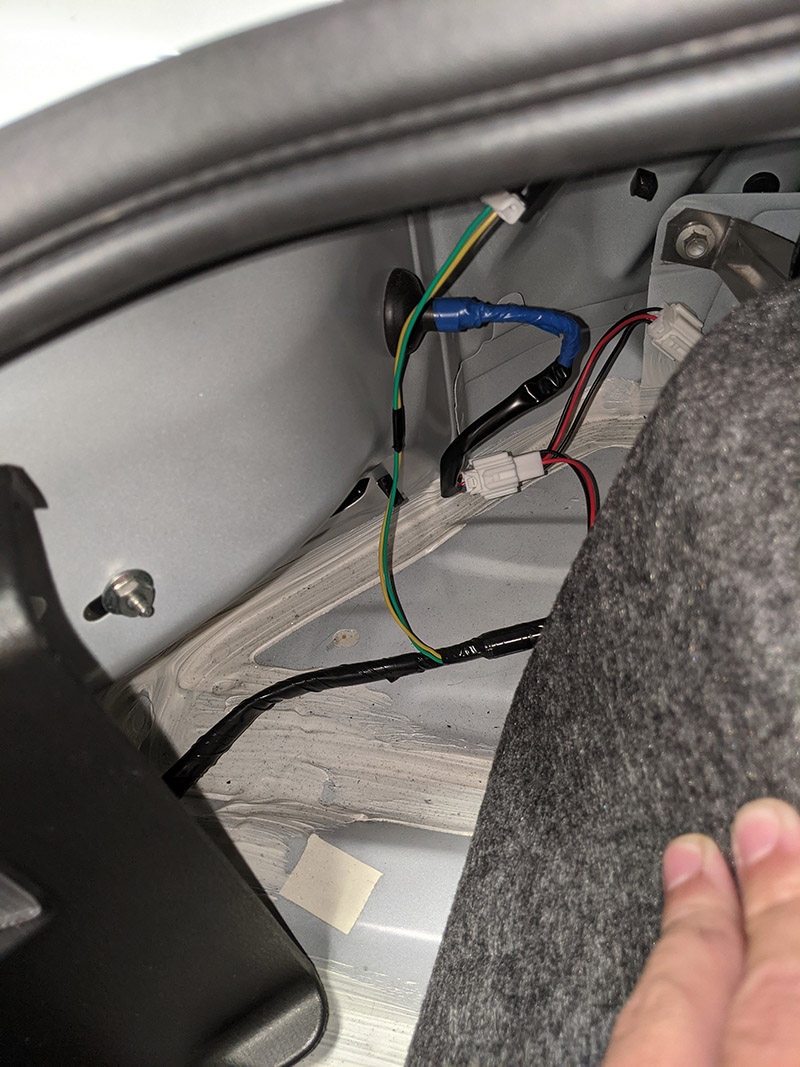
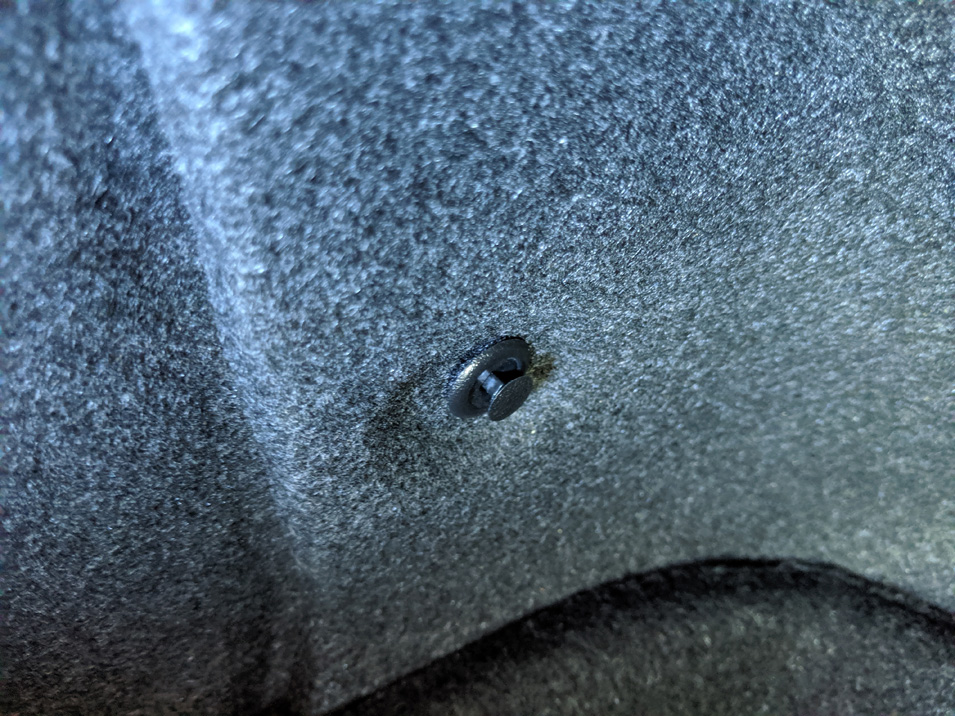
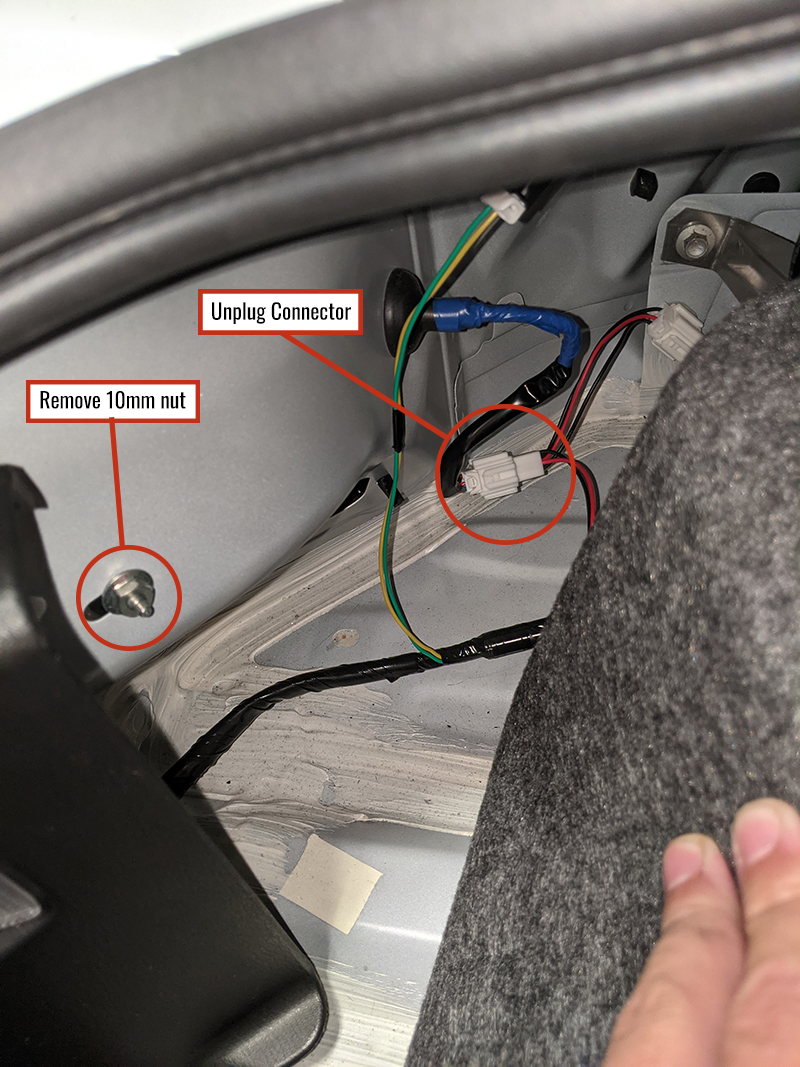
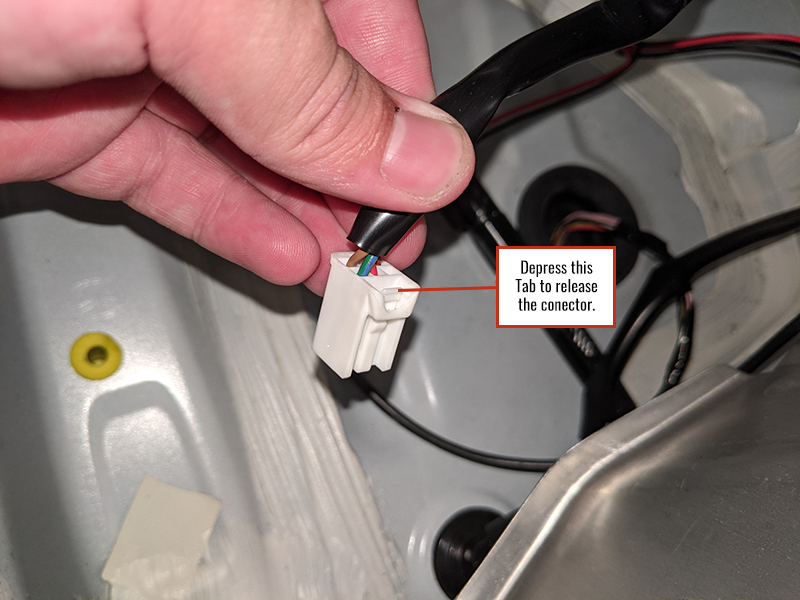
Next we will remove the 10mm nut and unplug the connector for the tail light. Our ND has the MX5 Things LED Running Light installed, so the harness will look slightly different, but we just need to unplug the connector for the tail light. Depress the tab and it will come out easily.
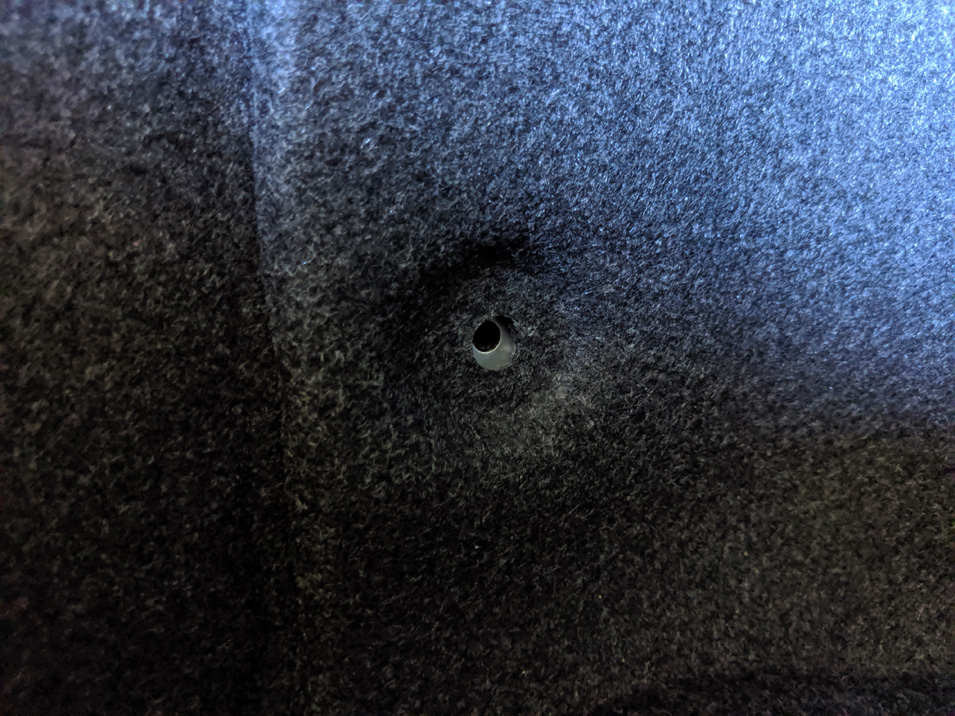
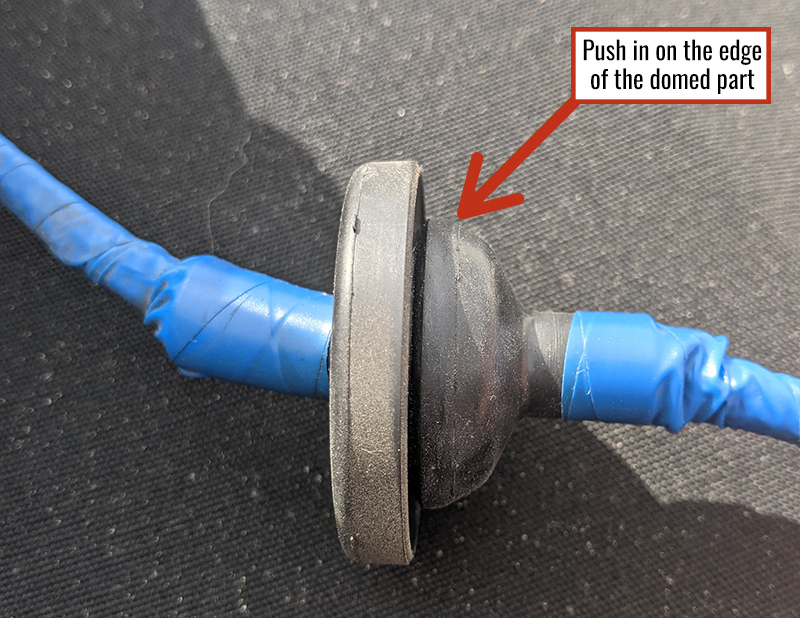
Next we need to push the rubber grommet out of the hole in the tail light bucket.Using your finger, work your way around the edge of the grommet pushing into the hole until it comes free. Go ahead and push the rest of the harness through as well. Later we will also use this hole to put rearward pressure on the light itself.

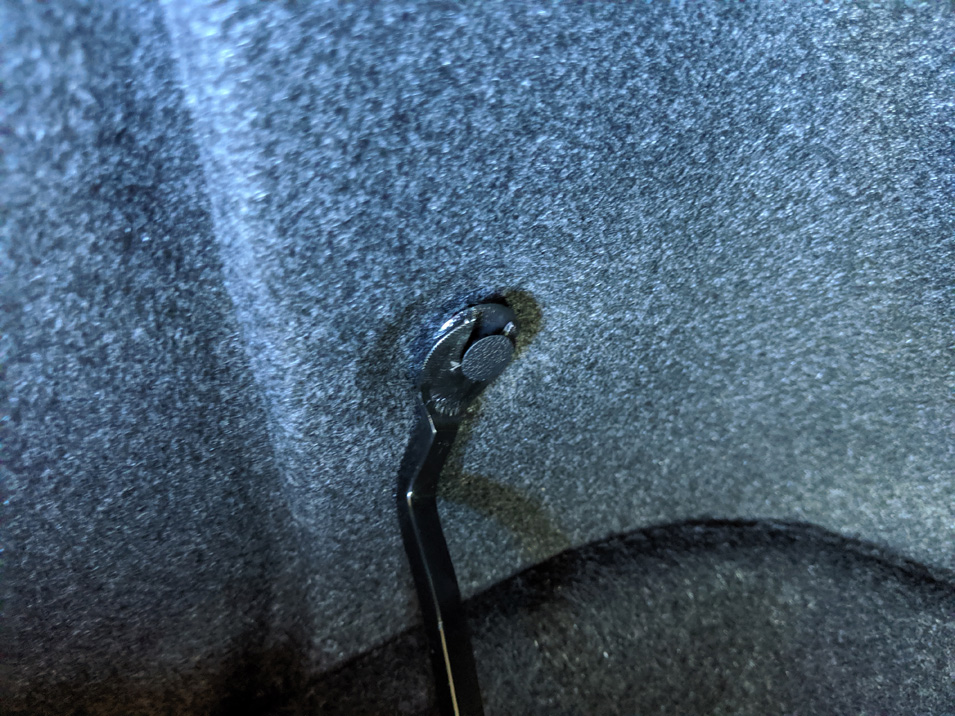
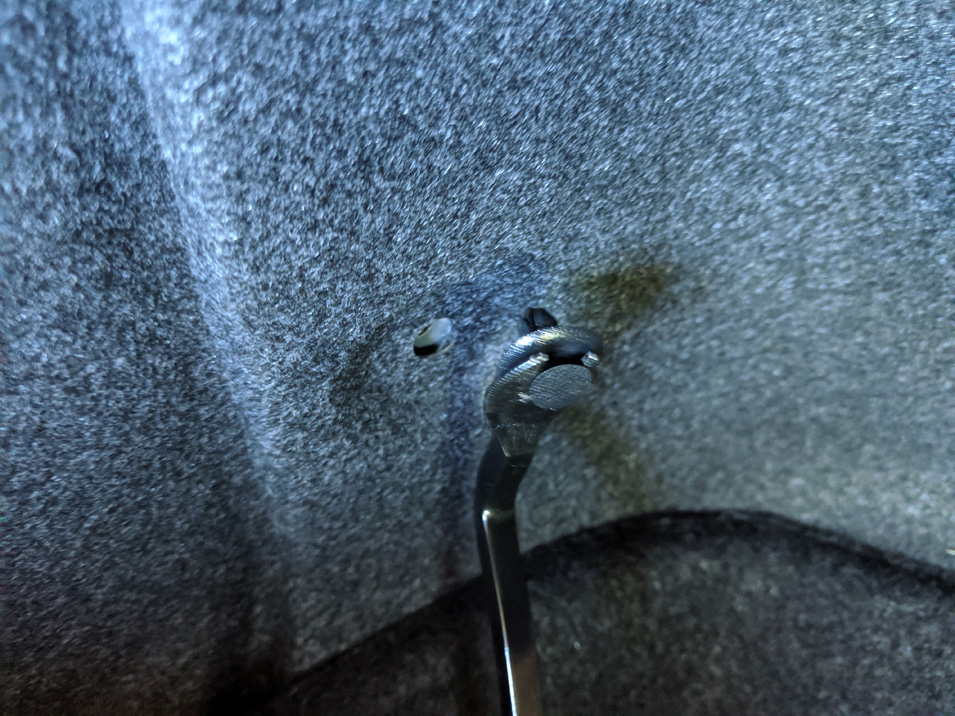
 Now we can remove the Phillips head screw on top of the tail light.

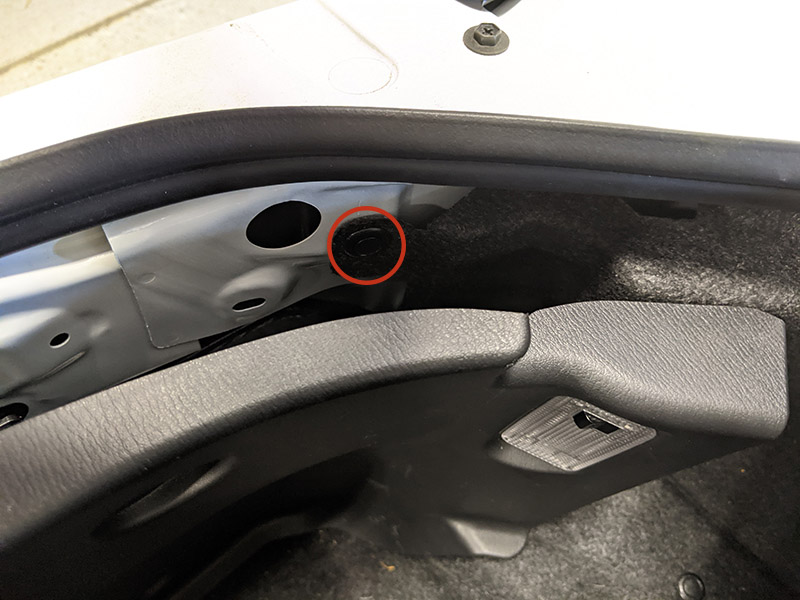
There is one last fastener securing the light, but we do not need to remove it. At the outer end of the light the head of a screw pops into a slot molded into the tail light housing. To disengage the screw head from the slot, reach into the trunk through the hole for the wiring harness and push on the light firmly toward the rear of the car with one hand while pulling on the other side of the light with your left hand.The light should pop out, at which point you can remove it entirely. Be careful with the harness as you pull the light out, it may snag on the hole.


Once you have the light out, simply reverse this process to install the new light, and repeat on the other side!