THANK YOU for purchasing the MINI Gen 1 Oil Temp Gauge Sender Adapter from CravenSpeed. This product is made from the highest grade materials, and is guaranteed to be free from defects.
You can buy our CravenSpeed Oil Drain Plug Sender Adapter for MINI Gen 1 here
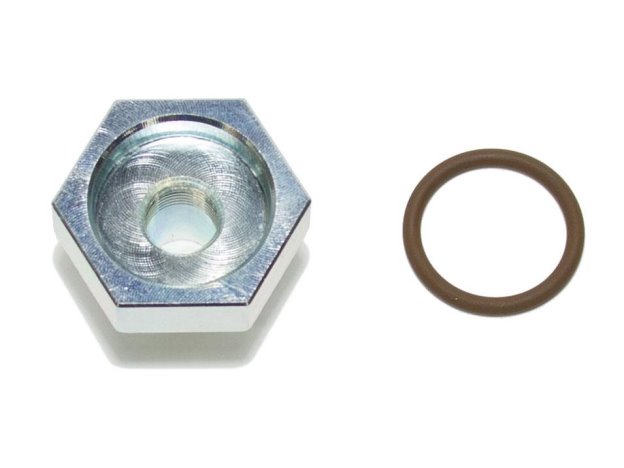
Parts Included:
- 1x Oil Temp Gauge Sender Adapter
- 1x O-Ring
Tools Required:
- Floor Jack
- Jack Stands
- Wheel Chocks
- Ratchet Wrench
- 27mm Socket (Oil Filter Housing)
- 29mm Socket
- 13mm Socket
- 10mm Socket
- Torque Wrench
- Oil Drain Pan
- Shop Paper Towels
- Temperature sensor or any related gauge components
- Teflon Thread Sealant or Tape
- Zip-ties
- Awl
NOTE: We all know it is more pleasant working on a cool car, but if you’re planning on changing the oil/filter at the same time as this install (Hey! Great idea!), you may proceed with a warm engine as it will allow for a more efficient draining of the oil. Utilize common sense around hot engine bits and you’ll be fine. Even if you’re not working directly on the electrical system, it is a good habit to disconnect the negative (-) battery terminal while working around your MINI, so grab your trusty 10mm socket and do this now. Depending on your model of MINI, the battery will be located in either the boot or the bonnet.
Procedure
1. Raise the front of your MINI, place it onto jack stands and chock the rear tires to prevent any backward movement. Consult your owner’s manual for the recommended locations. Pop your hood and let’s get to work!
2. NOTE: If you’re planning on changing your oil during the course of this adapter install, loosen the oil filler cap as this will allow the engine oil to flow out and into the drain pan more efficiently. If you are NOT changing your oil, leave the oil filler cap in place and tight.
3. Pre-assemble the gauge oil temp sensor onto the CravenSpeed Oil Temp Gauge Sender Adapter so you have a complete, leak free oil drain plug ready to go for when the time comes to make the quick swap. Utilize some thread sealant or teflon tape on the threads of the gauge sensor.
4. Don a pair of latex gloves, grab your trusty 13mm socket and wrench, slide underneath your MINI and loosen the factory drain plug. Place your oil drain pan so that it will collect any oil that may sneak past.
5. For an oil change ; Finish removing the factory drain plug and let all the oil drain out. Give it a good 5-10 minutes for it to do it’s thing.
6. When you install the CravenSpeed Oil Temp Gauge Sender Adapter, use the included o-ring or factory crush washer from the OEM plug. We recommend a new crush washer whenever possible, but if yours is too far gone, go ahead and use the included o-ring.
7. If you’re not changing your oil ; Have the pre-assembled sender adapter drain plug in hand and prepare yourself for your best impression of an Indiana Jones idol swap. Finish loosening the factory drain plug, remove it and temporarily place your finger over the hole while you get the CravenSpeed unit up into place.
8. Spin the new CravenSpeed unit into the oil pan and torque spec it to 22 ft/lbs with your 29mm socket and torque wrench. You should be able to tuck the sensor wire leads into the 29mm socket while you perform the necessary tightening.
9. With the CravenSpeed drain plug unit now in place, if you drained your oil, it’s good form to install a new filter element at the same time. When you’ve finished with that, refill your MINI with the manufacturers recommended quantity and weight of oil according to your model. See owners manual if you’re not certain. Tighten the oil filler cap and you’re done with this portion of your install.
10. Attach your wires to the oil temp sensor and strategically route them along existing OEM wires until you end up at the firewall plug behind the brake booster. Zip-tie the wires into place as you go so that they stay away from hot or rotating components in the engine compartment.
11. Utilize a tool such as an awl to poke a hole through the rubber firewall plug, being careful that you do not damage anything on the other side.
12. Back inside the car, the firewall entry point can be accessed by dropping the drivers side lower dash panel. Place your fingers in the gap under steering column and pull/push down. This will unsnap the lower panel along the top and it will pivot down on hinges.
13. Look up into the dash and locate where the wires are coming into the vehicle. Carefully pull the wires through, being mindful to leave a bit of slack in the wires. It helps to have an assistant let you know when you’ve pulled enough of the wires through.
14. Proceed with the wiring installation instructions enclosed with your gauges. When you’ve finished with the gauges, reconnect the negative (-) battery terminal and check their functionality. While running the engine, take a look at the installation area of the CravenSpeed Oil Temp Gauge Sender Adapter to ensure there are no oil leaks. If you’re good to go, tidy up, lower your MINI and take it for a spin! You’re done!