THANK YOU for purchasing the MINI F56 Performance Springs from CravenSpeed. This product is made from the highest grade materials, and is guaranteed to be free from defects.
You can buy our CravenSpeed Performance Springs for MINI F56 here
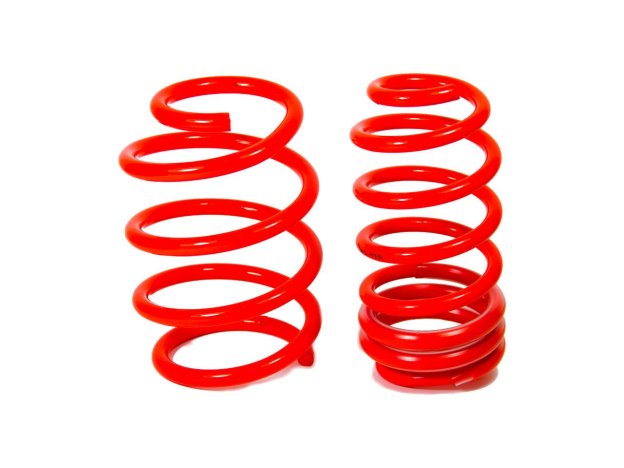
Parts Included:
- Front Performance Springs - x2
- Rear Performance Springs - x2
Tools Required:
- T27 Torx Socket / Ratchet Wrench
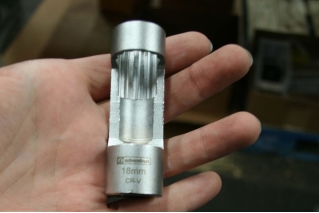
- 18mm Deep Socket
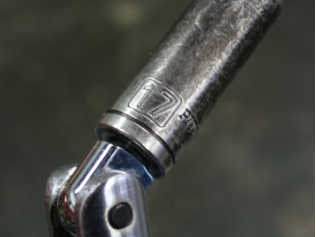
- 17mm Deep Socket
- 16mm Deep Socket
- 13mm Socket
- E20 External Torx
- Ft/lbs Torque Wrench
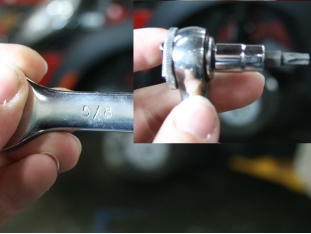
- ⅝ Open Ended Wrench
- 18mm Strut Nut Socket (specialized tool)
- 6mm Hex Driver
Please Follow All Directions Carefully . Jack stands MUST be used with any jack. It is highly recommended to have an experienced mechanic on hand at all times. Installation of automotive springs is considered potentially dangerous, so if you doubt your abilities please have an experienced mechanic install them.
NOTE: After installation, as with any suspension modifications, we recommend a professional alignment.
Procedure
Front End
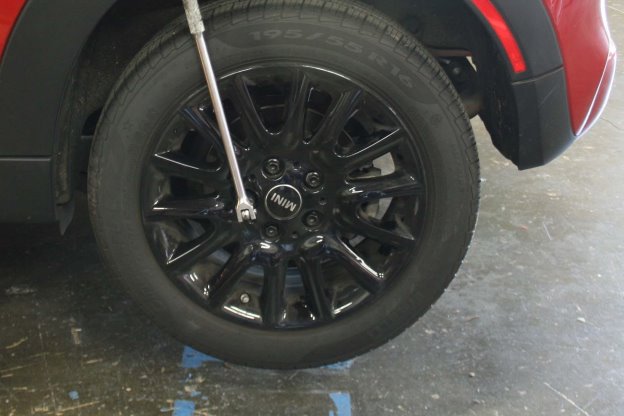
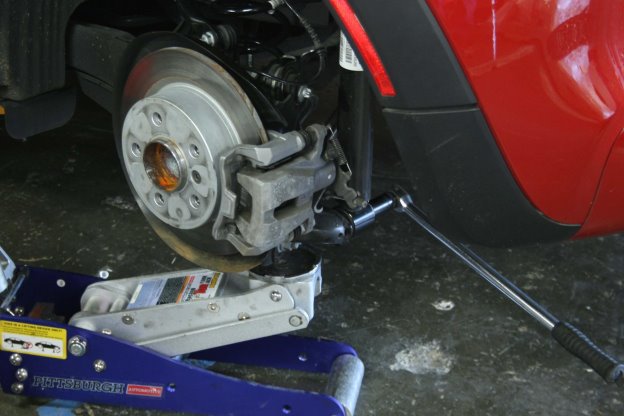
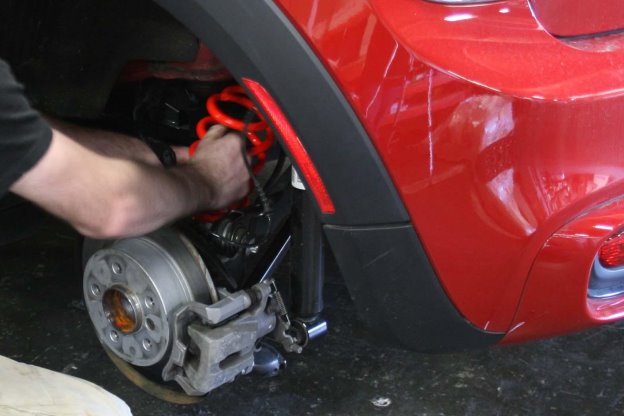
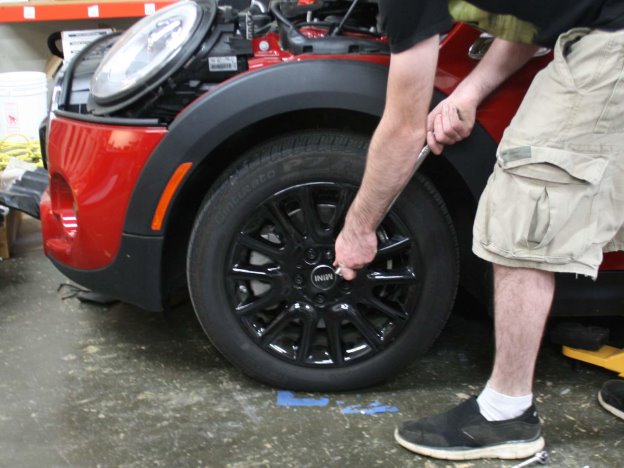
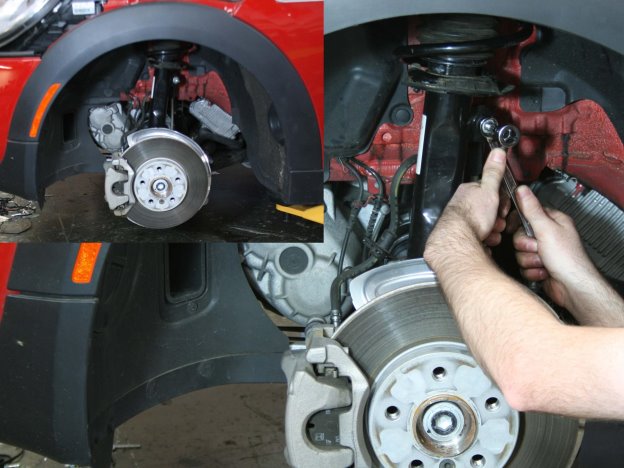
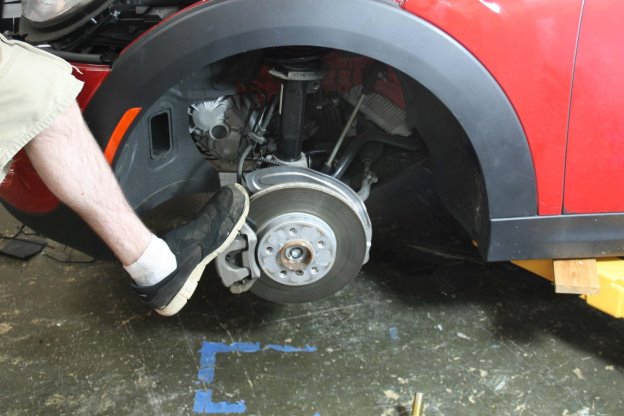
- Remove the front wheel. After getting your car on jack stands or a lift, use your 17mm deep socket to remove the 5 lug nuts from your MINI.
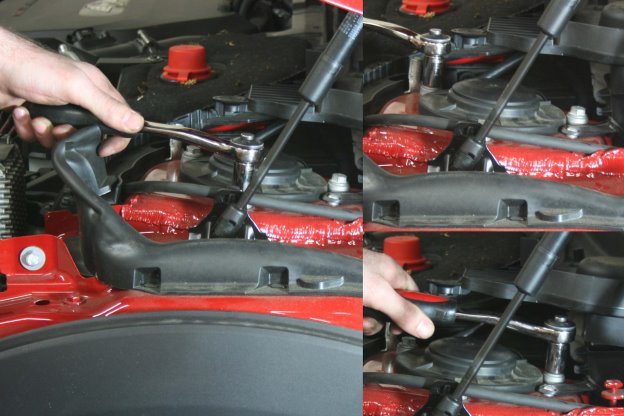
- Remove the front strut. Using a 5/8 wrench, and T27 Torx socket/ratchet, loosen the top of the sway bar end link.
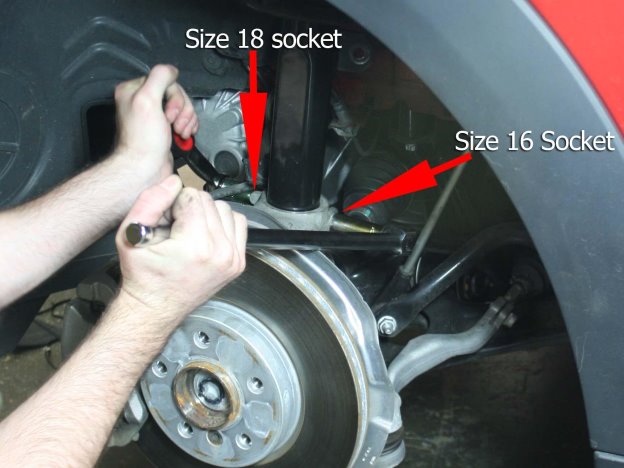
- Now, using the 16mm and 18mm sockets, loosen the bottom of the strut.
- Once the bottom is loose, you’ll want to loosen and remove the 3 top bolts holding the strut to the car with your 13mm socket.
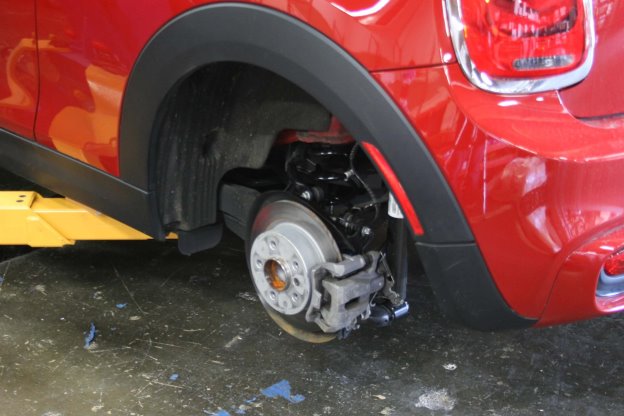
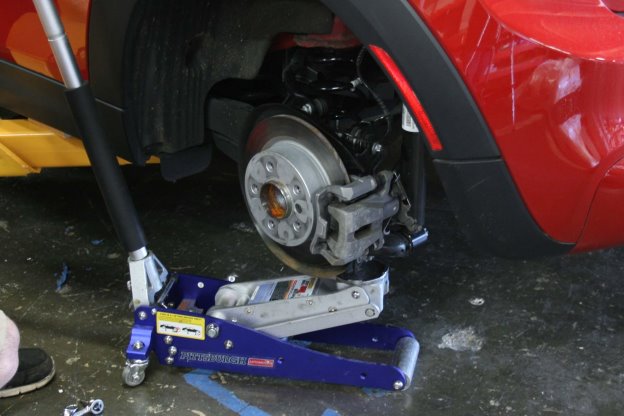
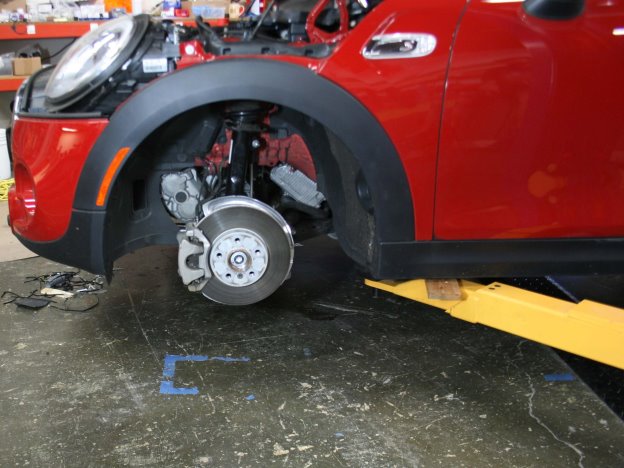
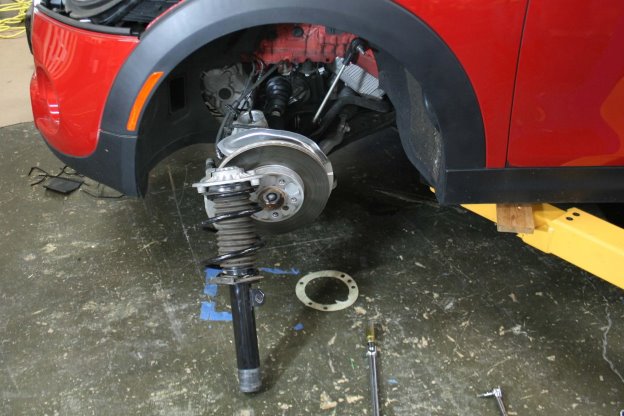
- Here’s where it gets tricky. Using your foot (or a friend) push in and down on the rotor/brake assembly while holding the strut up to remove the bottom of the strut and set it free.
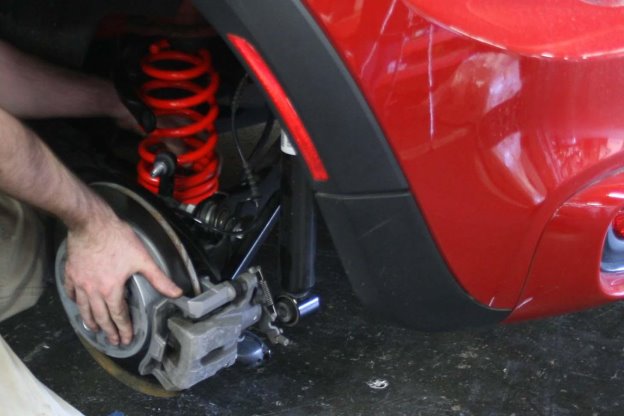
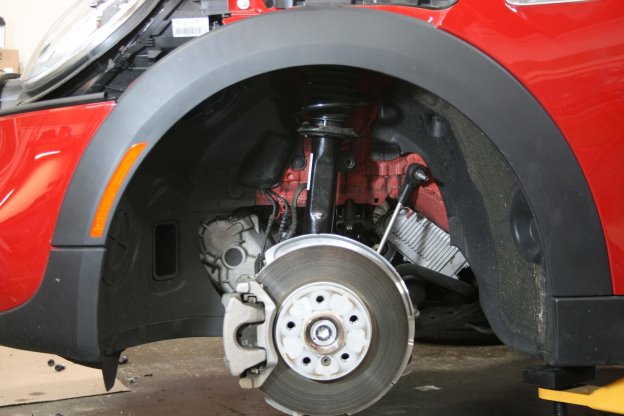
- This is what you should end up with.
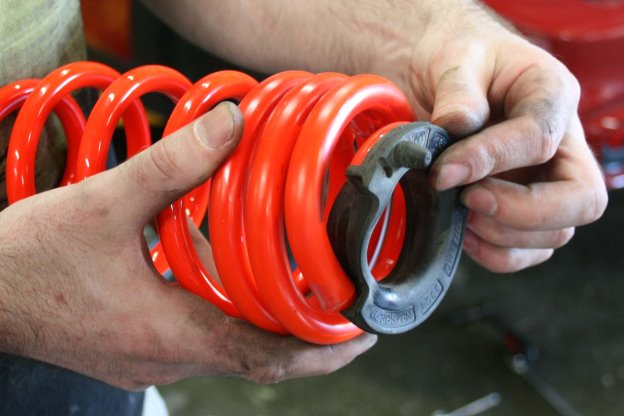
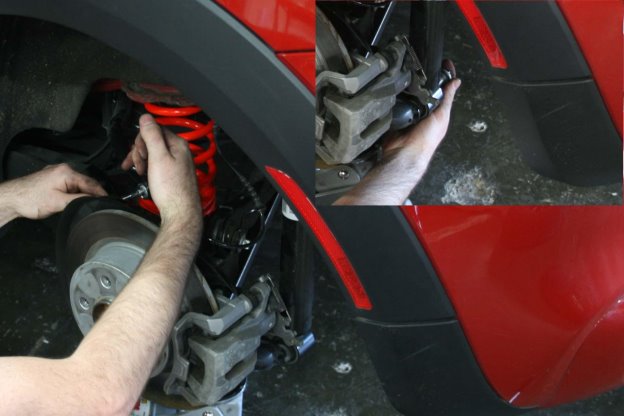
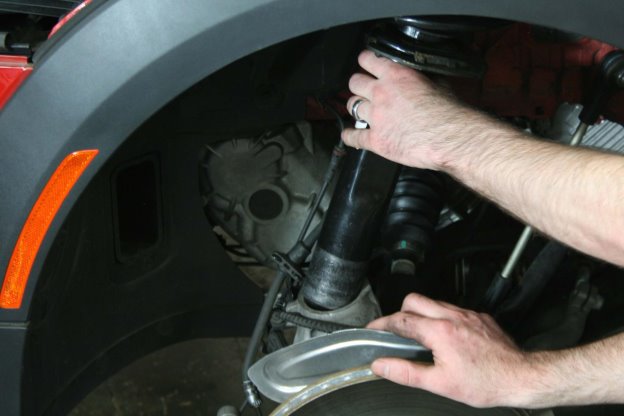
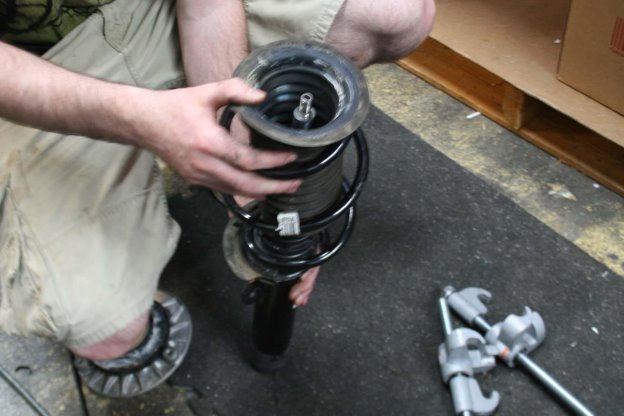
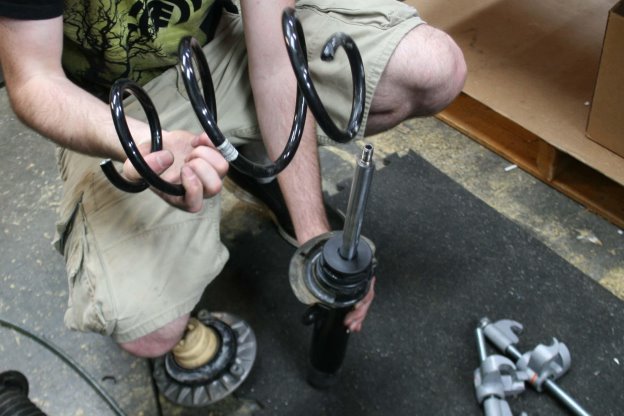
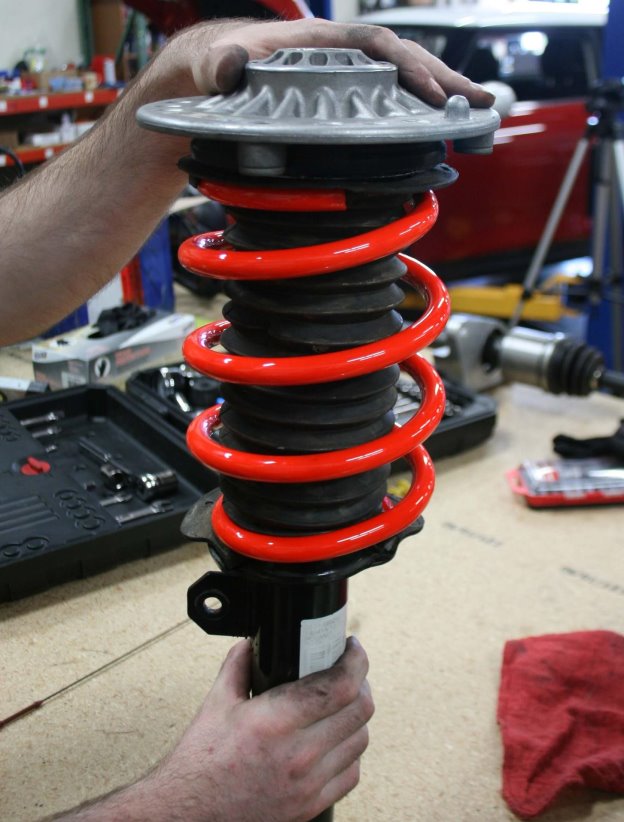
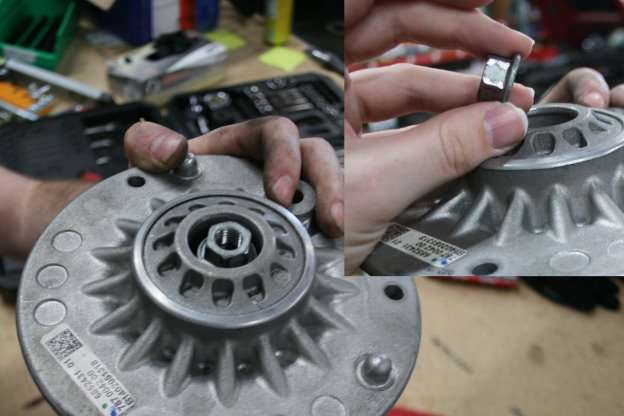
- Remove OEM spring from strut. Using an 18mm strut nut socket and hex key (you may have to special order this tool), you will loosen the top of the strut assembly to free the spring. Remember, although this can technically be done without a spring compressor, we do not recommend it as it can be somewhat dangerous.
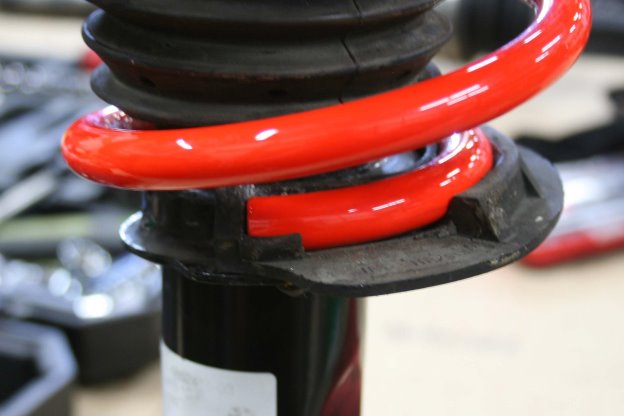
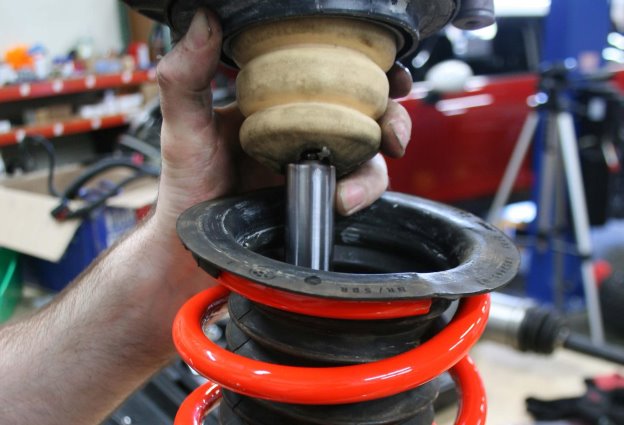
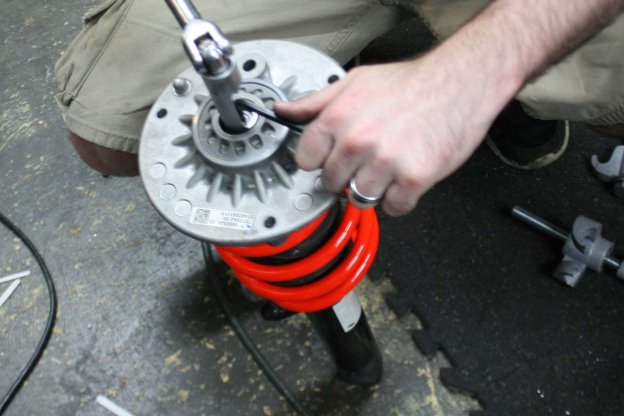
- Install Cravenspeed Performance Spring. Swap the Cravenspeed Performance Spring in place of the OEM spring, making sure the spring is properly seated on both the top and the bottom of the strut assembly. Remember, label writing on the spring go upright.
- Using the special socket and allen key from earlier, refasten the top of the strut assembly together with the new spring installed.
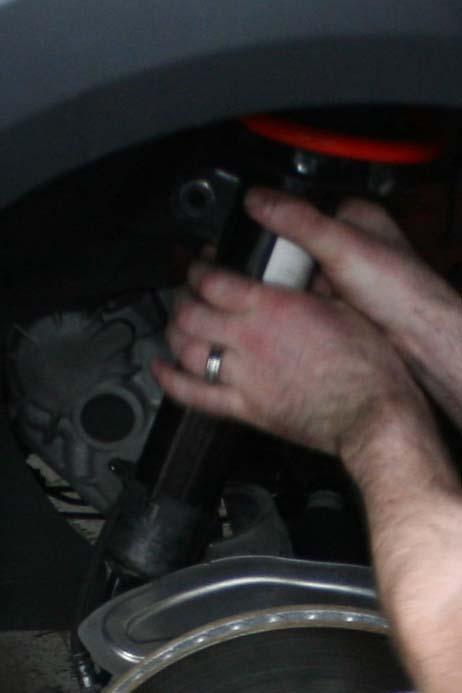
- Install front strut with Cravenspeed Performance Spring. In the reverse order of our earlier steps, put the top of the strut into the wheel well, then slide the bottom into position.
- Refasten the 3 bolts holding the top of the strut in place.
- Reattach the top of the sway bar end link.
- Tighten the strut into position with your 16mm and 18mm sockets.
- Now put your front wheel back on, torque the lugnuts to 101 ft/lbs and you’re ready to tackle the back end.


Rear End
- Remove the rear wheel.
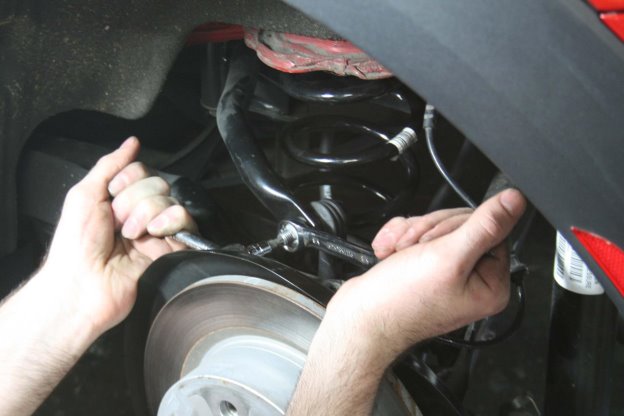
- Using your E20 socket, we’re going to unattach the rear strut.
- We prefer using a jack for stability (in tandem with jack stands or a lift, trust us, it helps)
- With the same ⅝ wench and star ratchet from the front wheel, detach the rear sway bar.
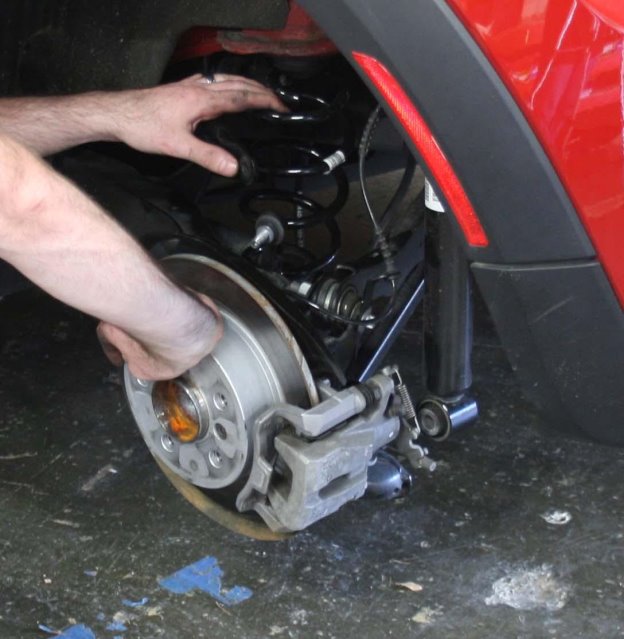
- Now you’re safe to push down on the rotor/brake assembly and remove the rear spring. You can push it up, and pull the bottom out first. (It should be much easier than removing the entire strut assembly in the front).
- Just like the front, you’ll want to make sure the new Performance Springs are properly seated.
- Put them back in place of the OEM spring.
- Reattach the sway bar and strut.
- You’re now safe to put your rear wheel back on and enjoy those springs. Don’t forget to torque the lugnuts to 101 ft/lbs. After installation, as with any suspension modifications we suggest a professional alignment.