THANK YOU for purchasing the Rear Wiper Delete from CravenSpeed. This product is made from the highest grade materials and is guaranteed to be free from defects.
You can buy our CravenSpeed Rear Wiper Delete for MINI F60 here

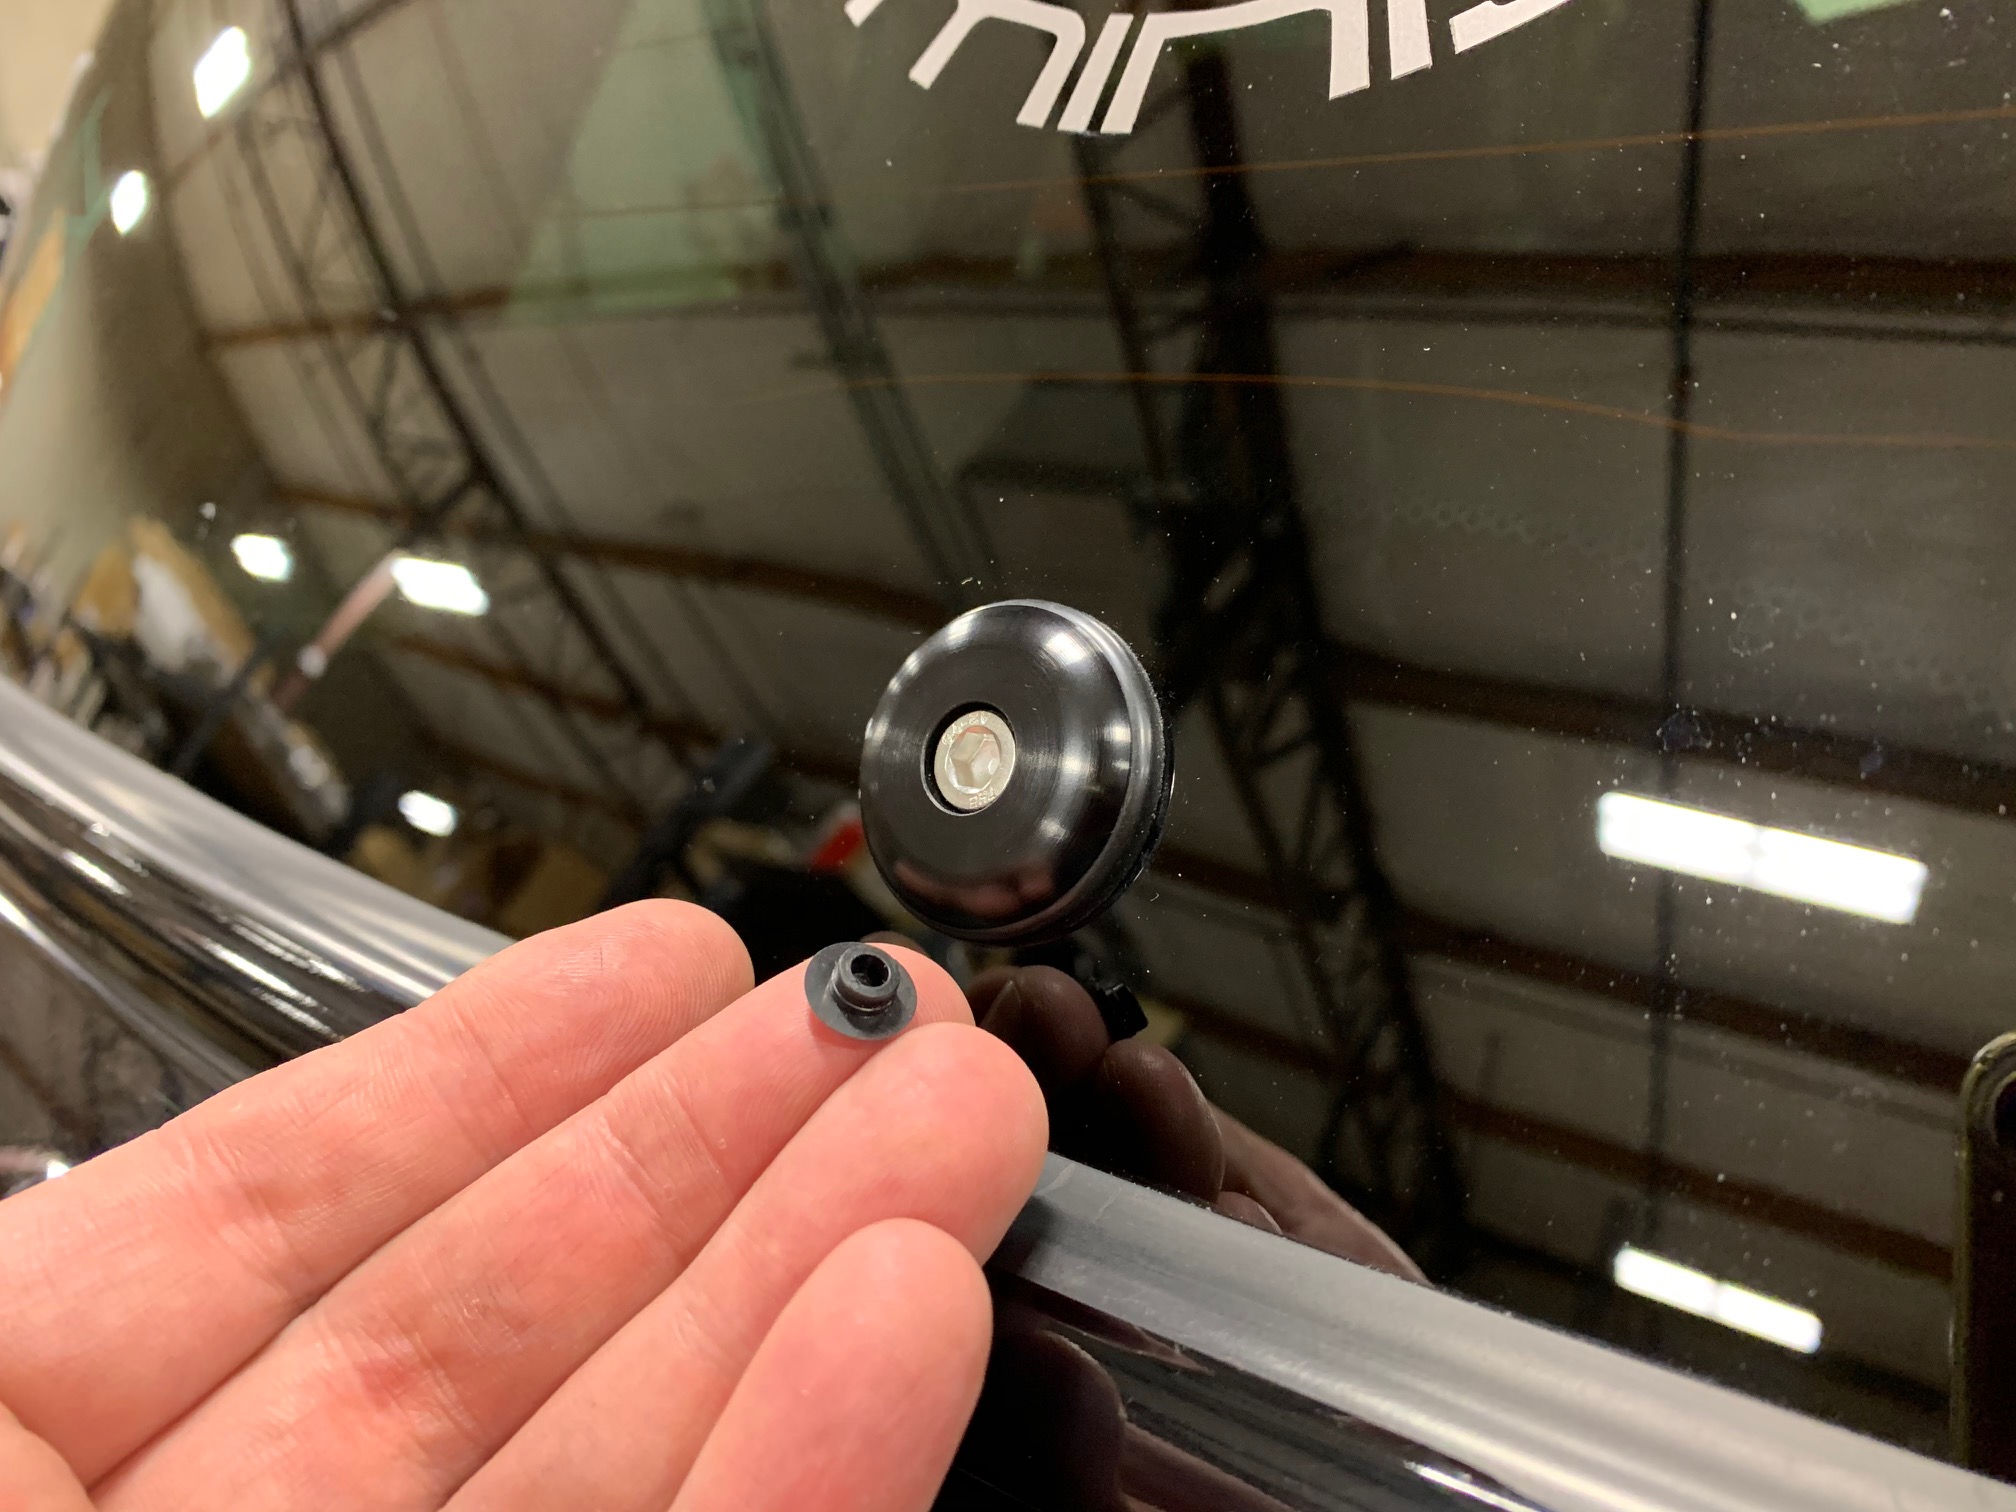
Parts Included:
- 1x Anodized Aluminum Delete Cap
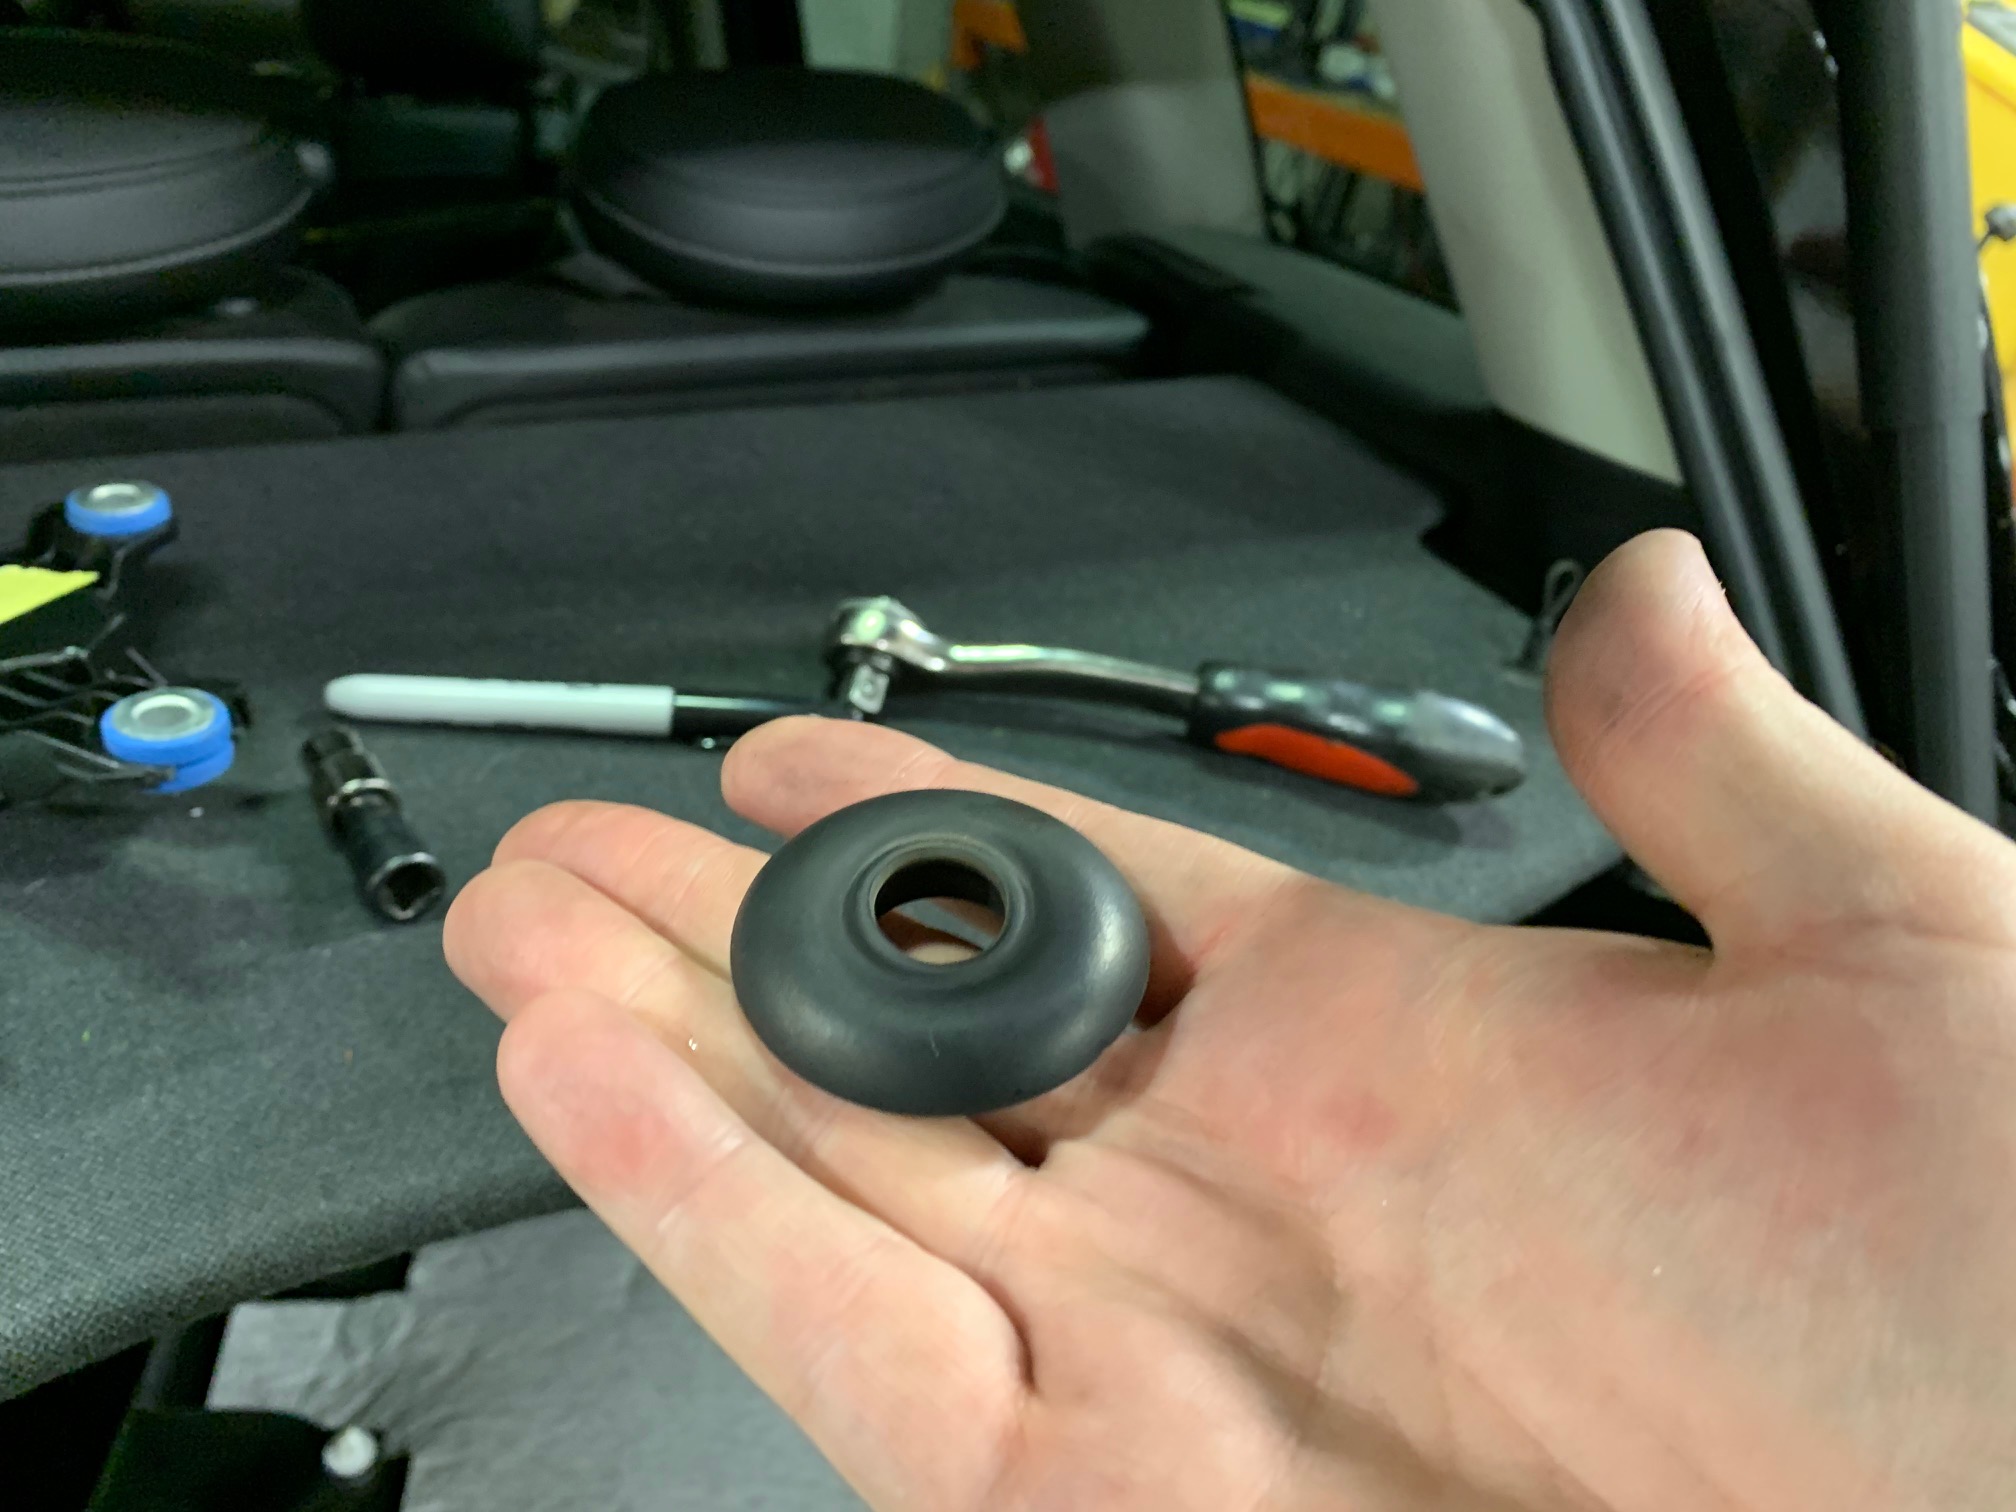
- 1x Rubber Grommet
- 1x M6 Stainless Steel Cap Screw
- 1x O-Ring, Square Profile
- 1x Stainless Steel Washer
- 1x M6 Lock Nut
- 1x Wiper Tube Plug (Not used with the F54 Clubman or F60 Countryman install)
- 1x Plastic Appearance Cap for M6 Screw
Tools Required:
- T25 Torx Driver
- Trim Panel Removal Tool
- Socket Wrench
- 13mm Socket
- 10mm Socket
- 5mm Hex Key
The Rear Wiper Delete kit from CravenSpeed is a purpose-built solution that quickly and cleanly eliminates your rear boot wiper assembly. Superb, black-anodized aluminum design that looks sleek and fits tight to ensure there will be no leaks.
Procedure
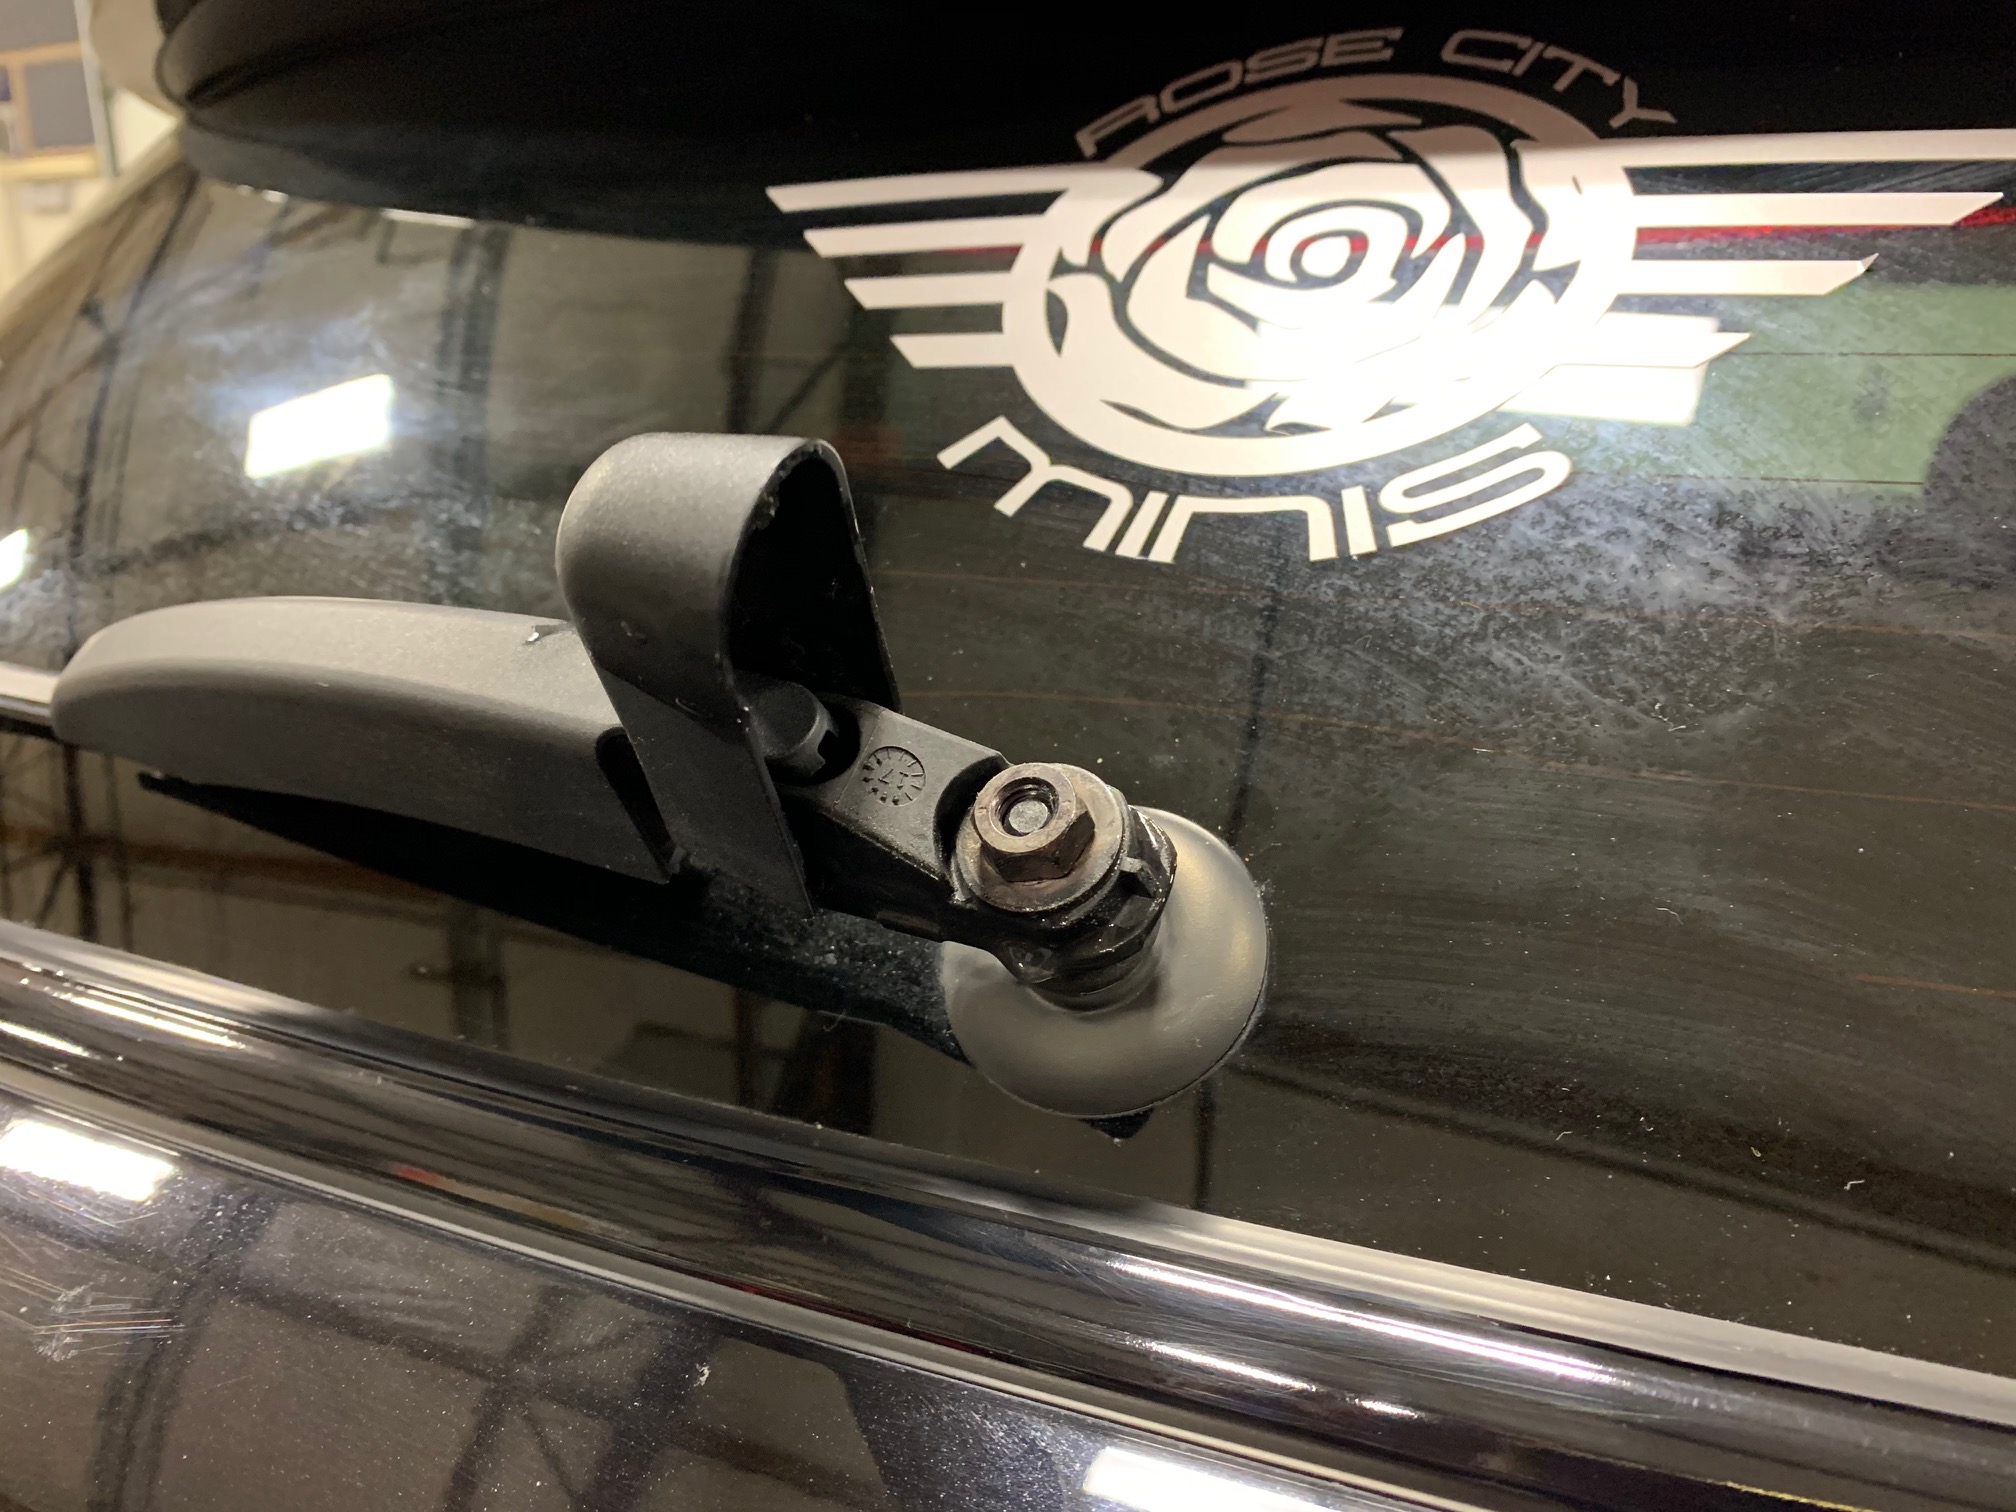
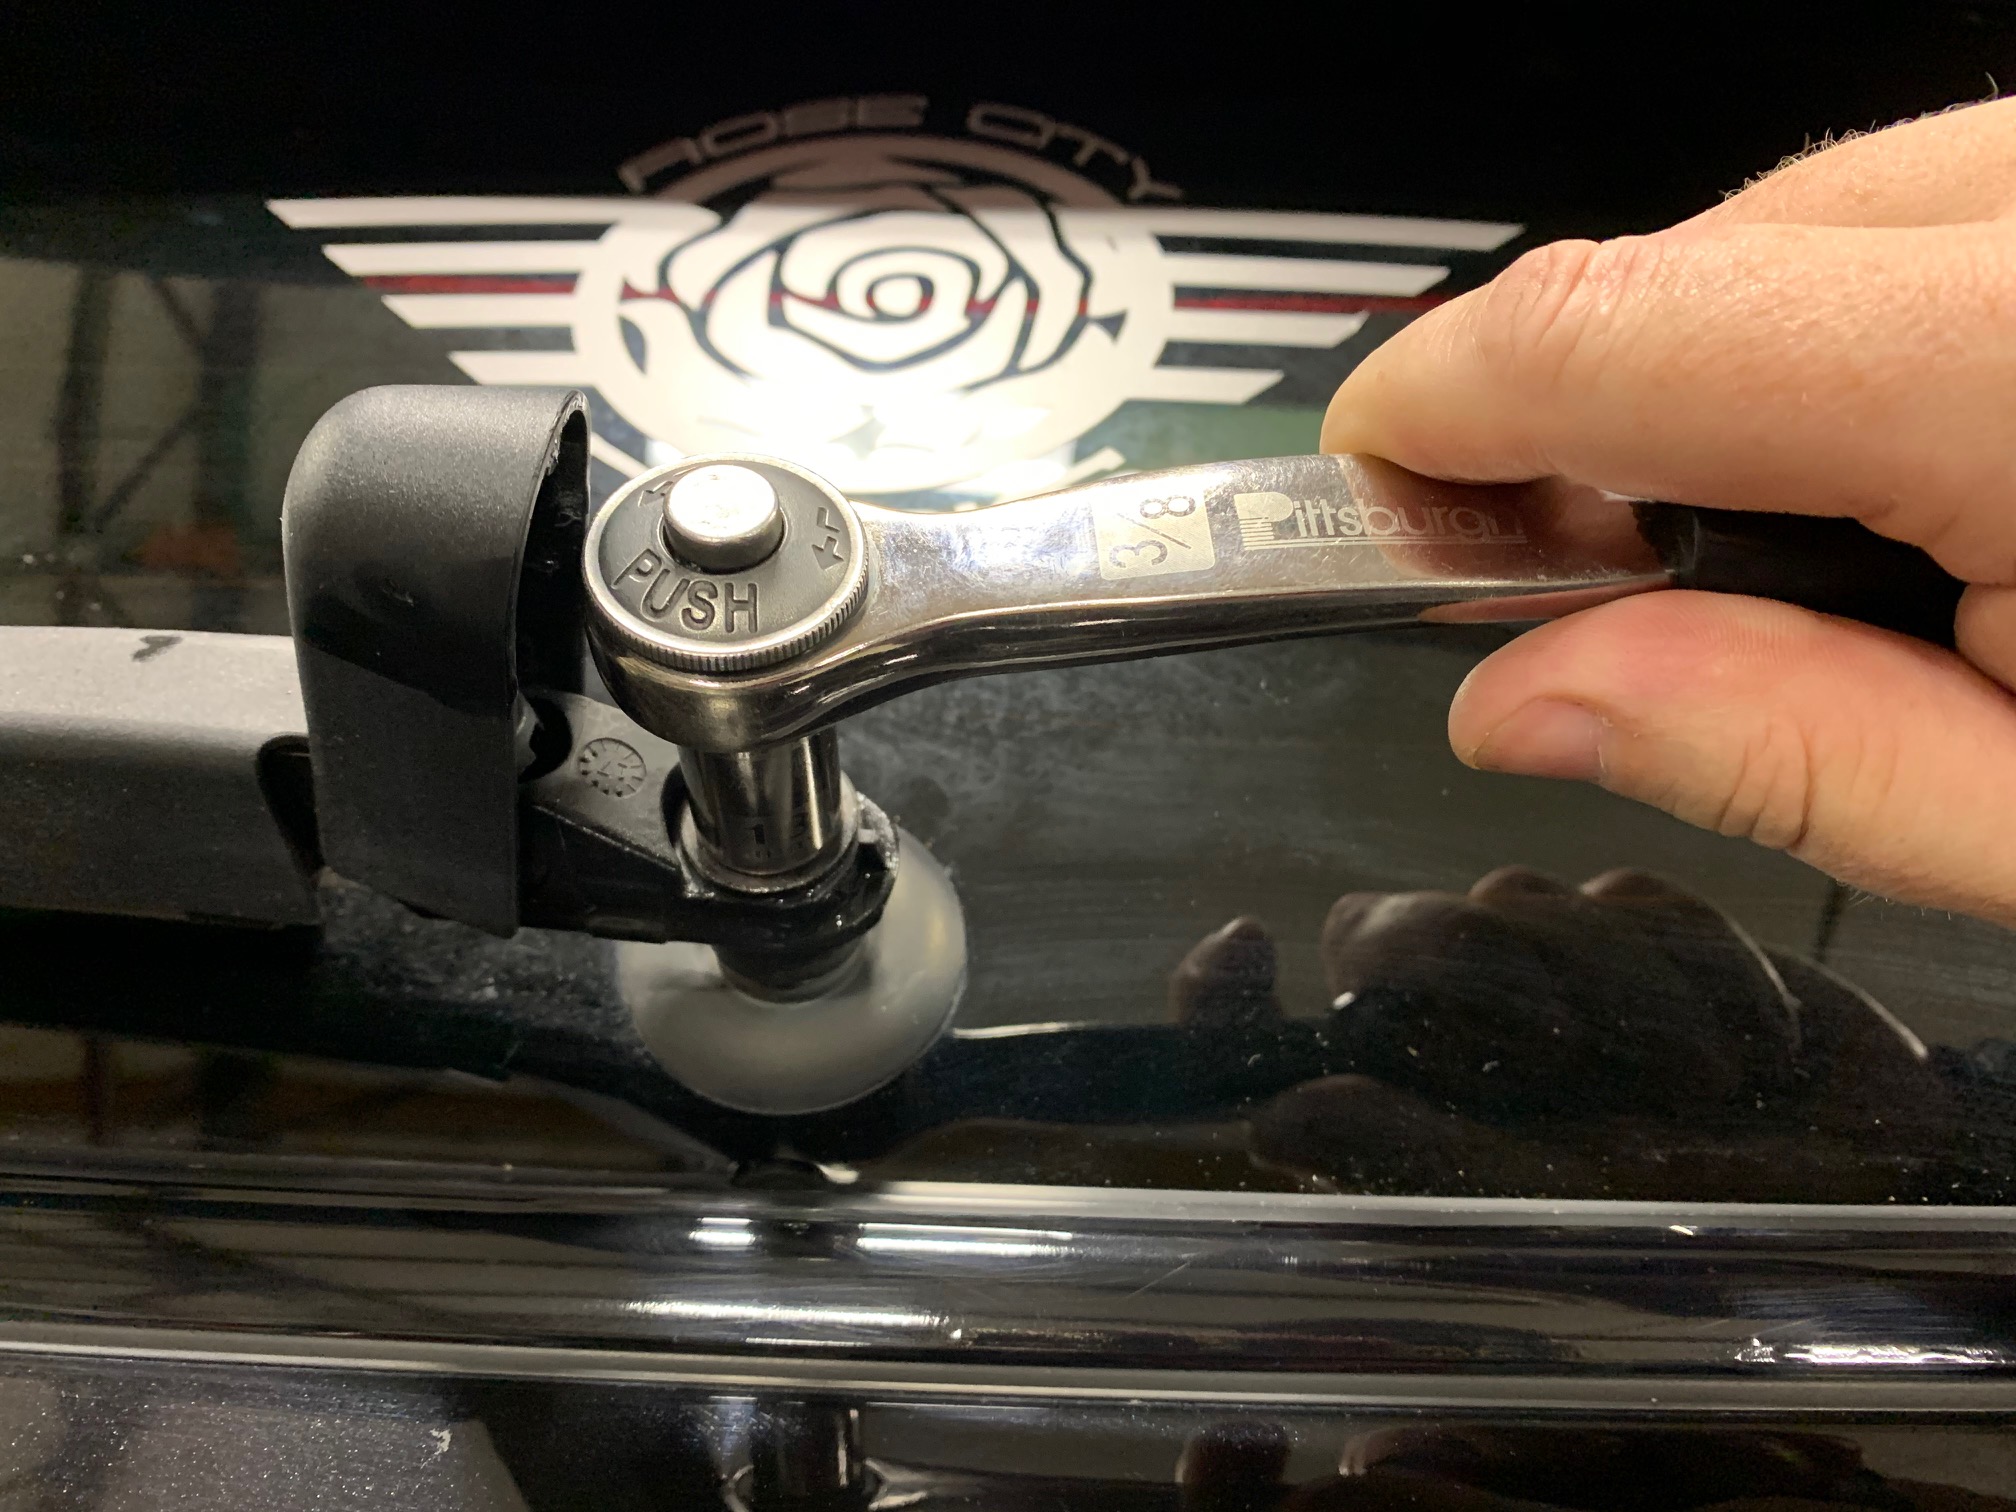
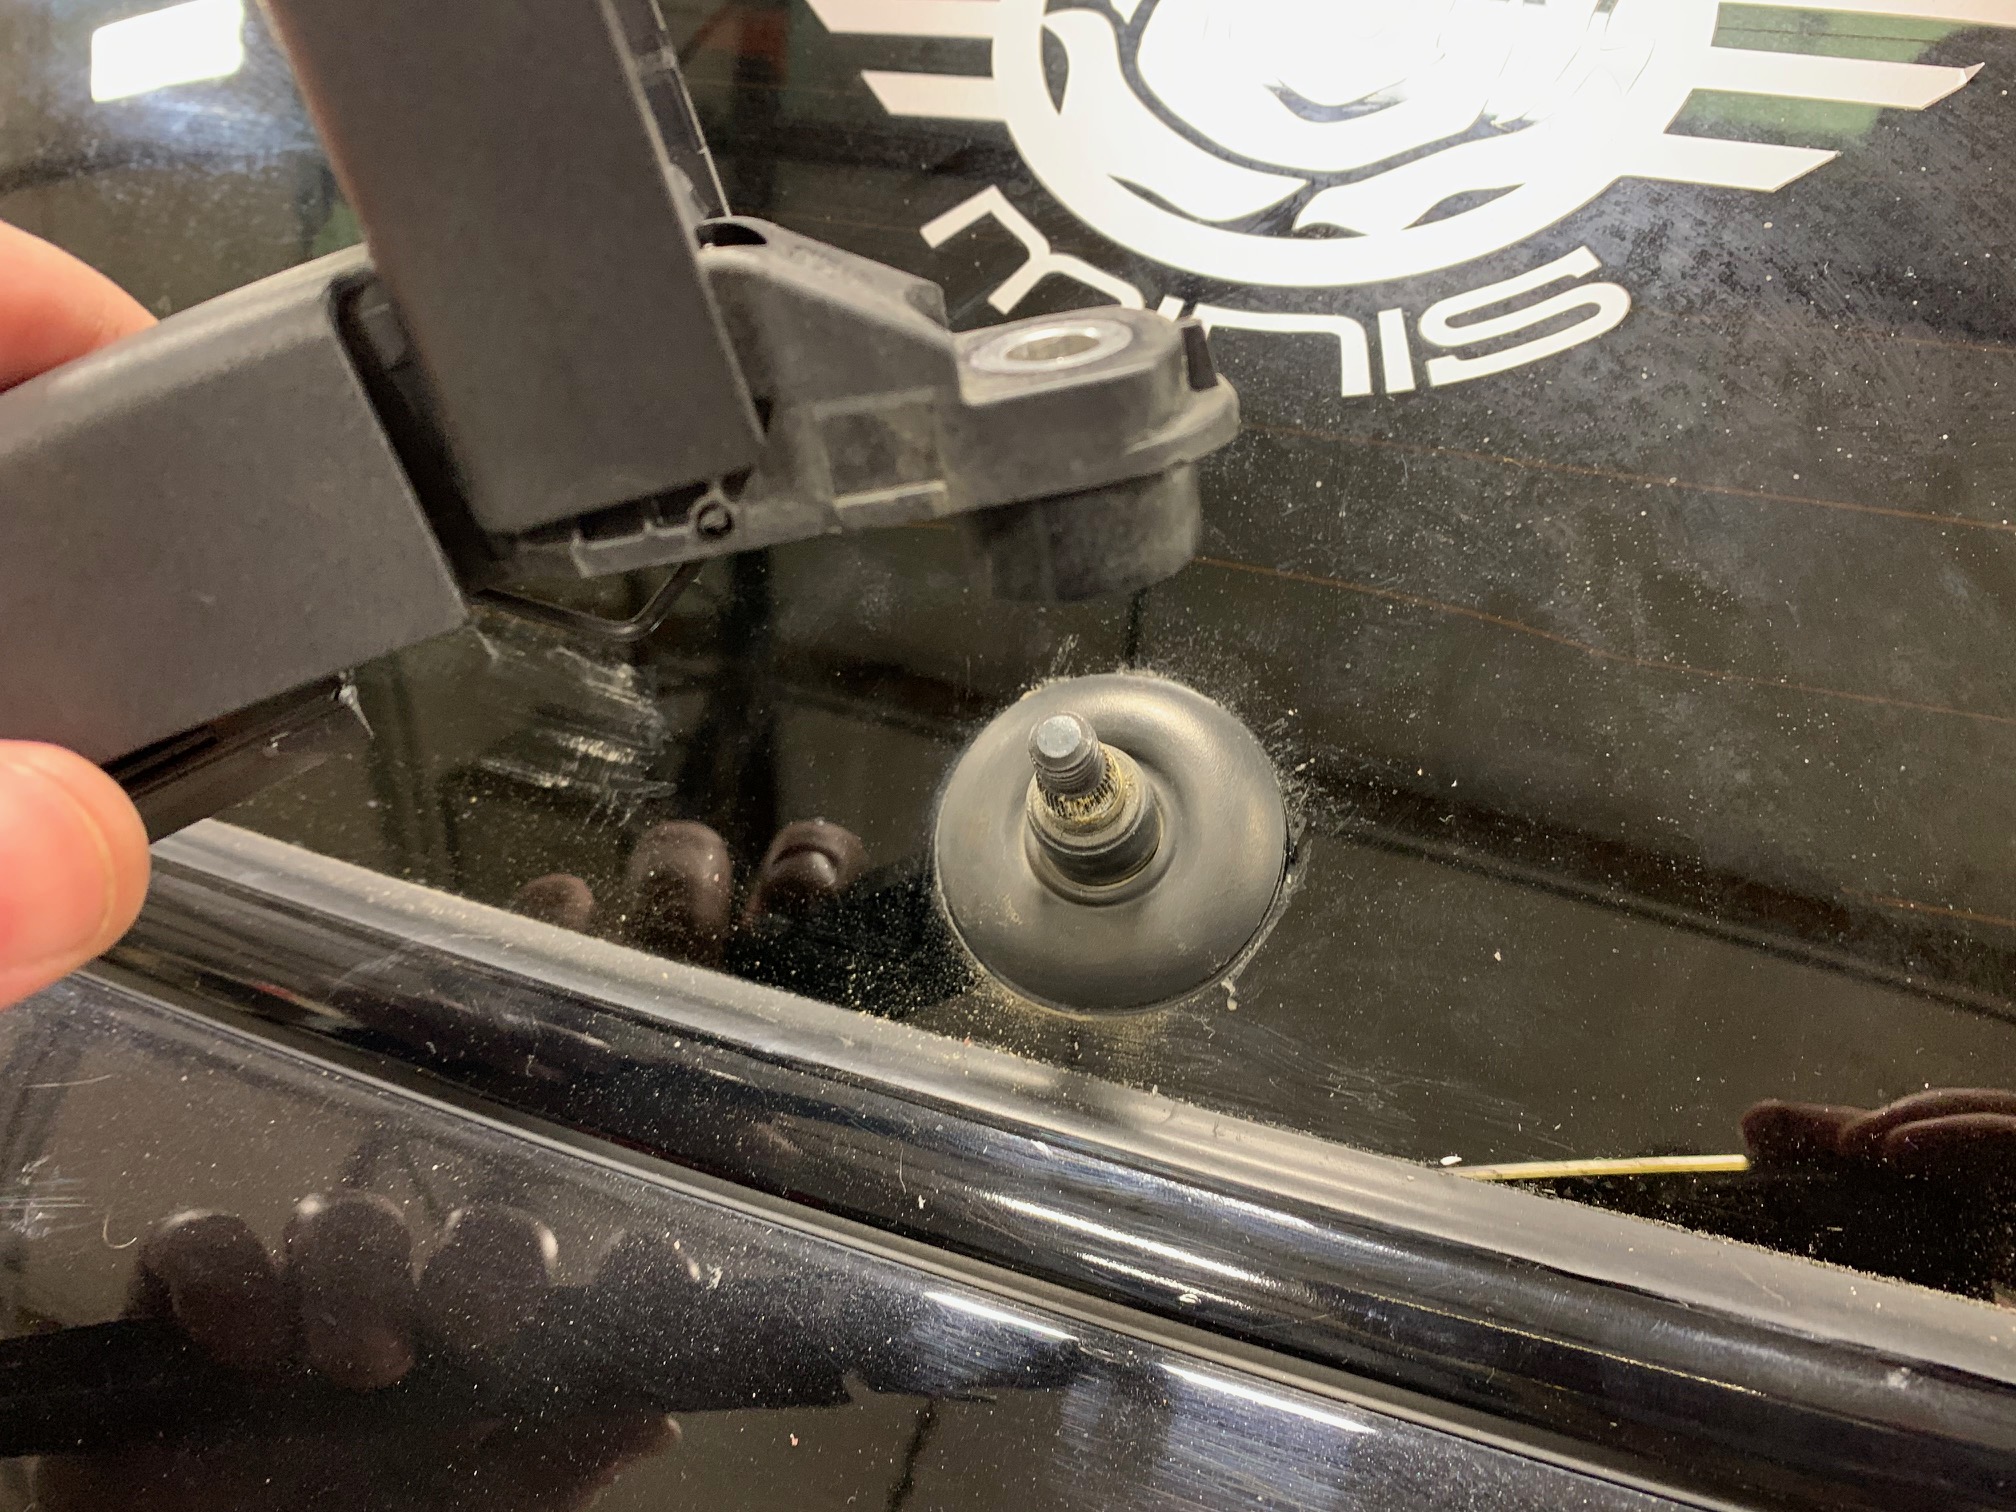
On the outside of the boot, lift the wiper nut cover and remove the 13mm nut. A socket extension is helpful, but not absolutely required. The wiper blade assembly should pull straight off the wiper motor shaft. If it is stuck on, gently rock the wiper arm from side to side while pulling.
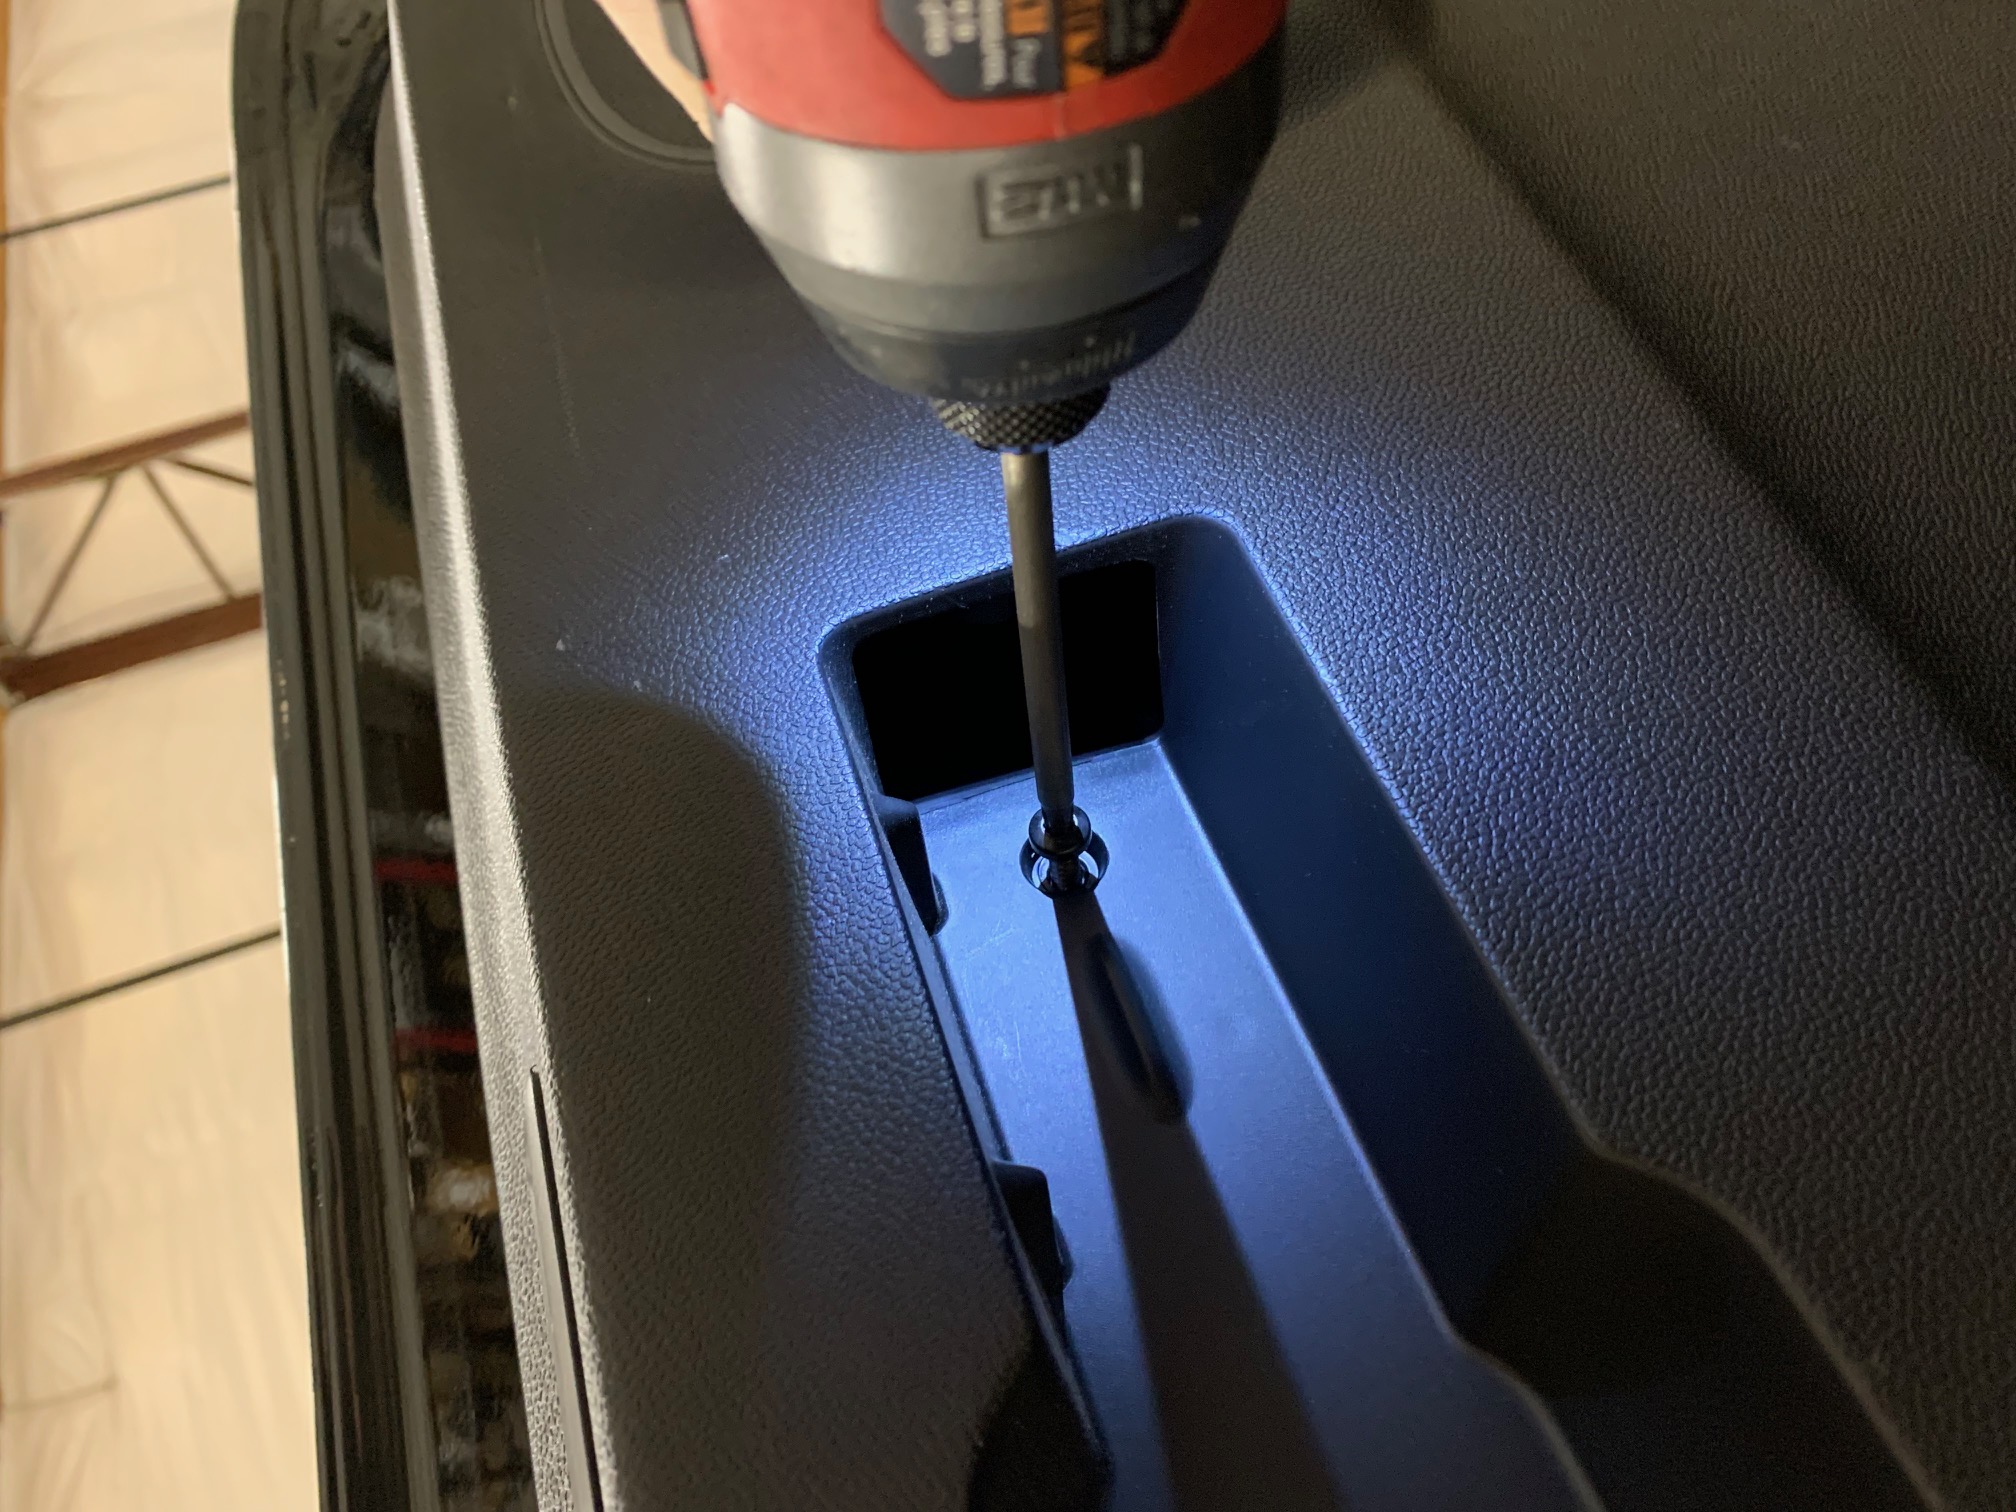
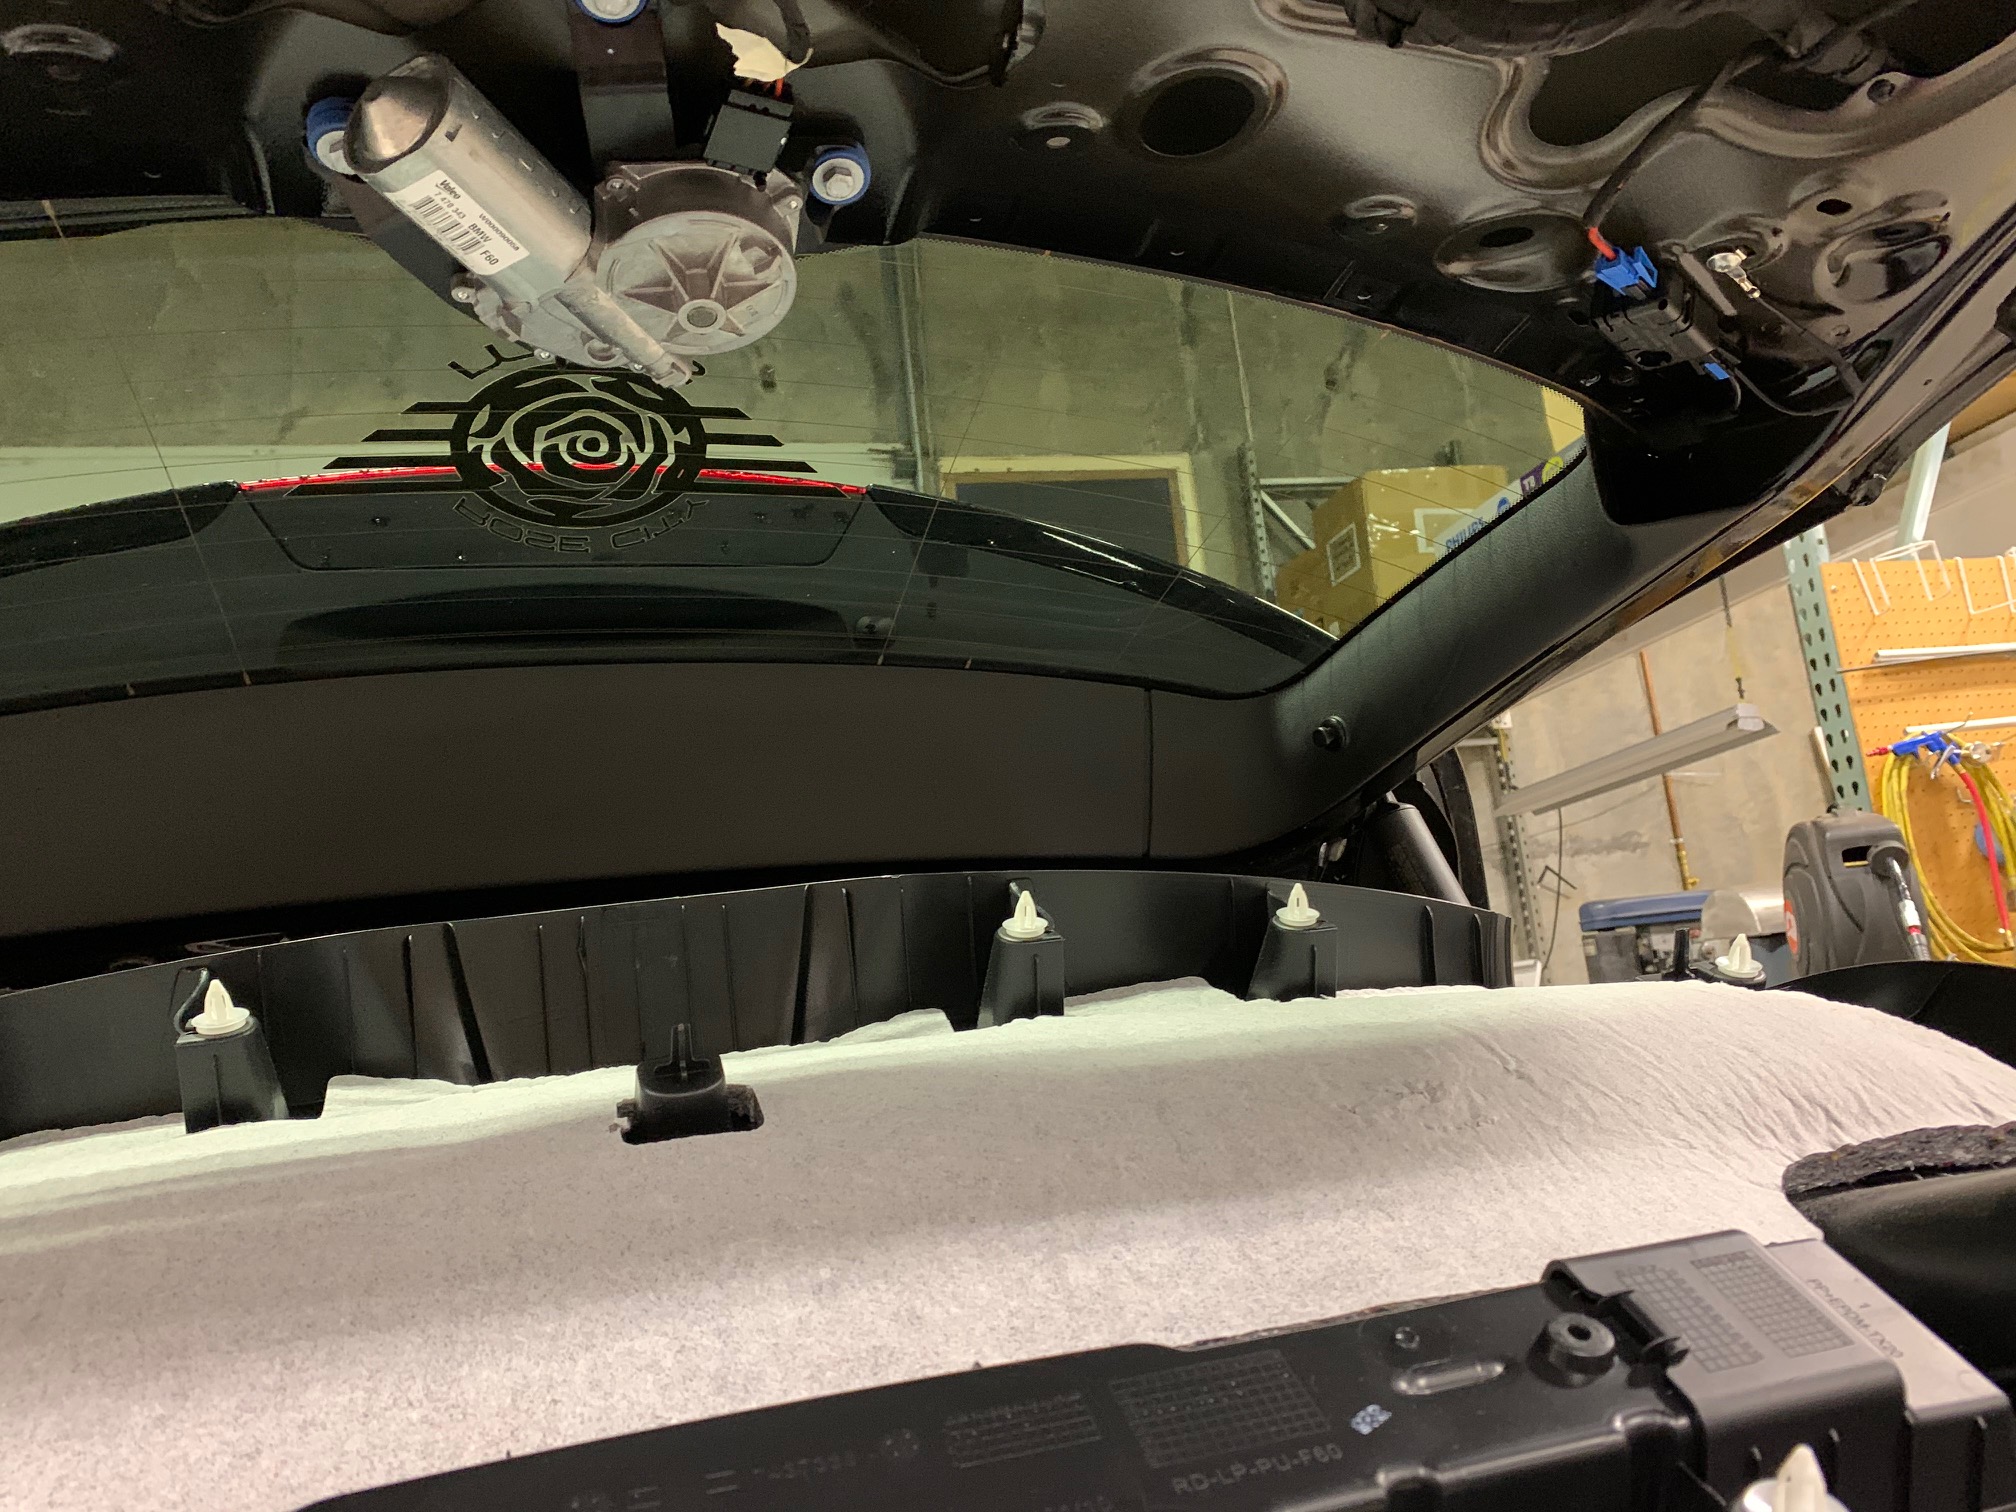
Remove inner boot panel from the liftgate. For the F60 Countryman, this will require removing (2) T25 head screws inside the lower recessed channel.
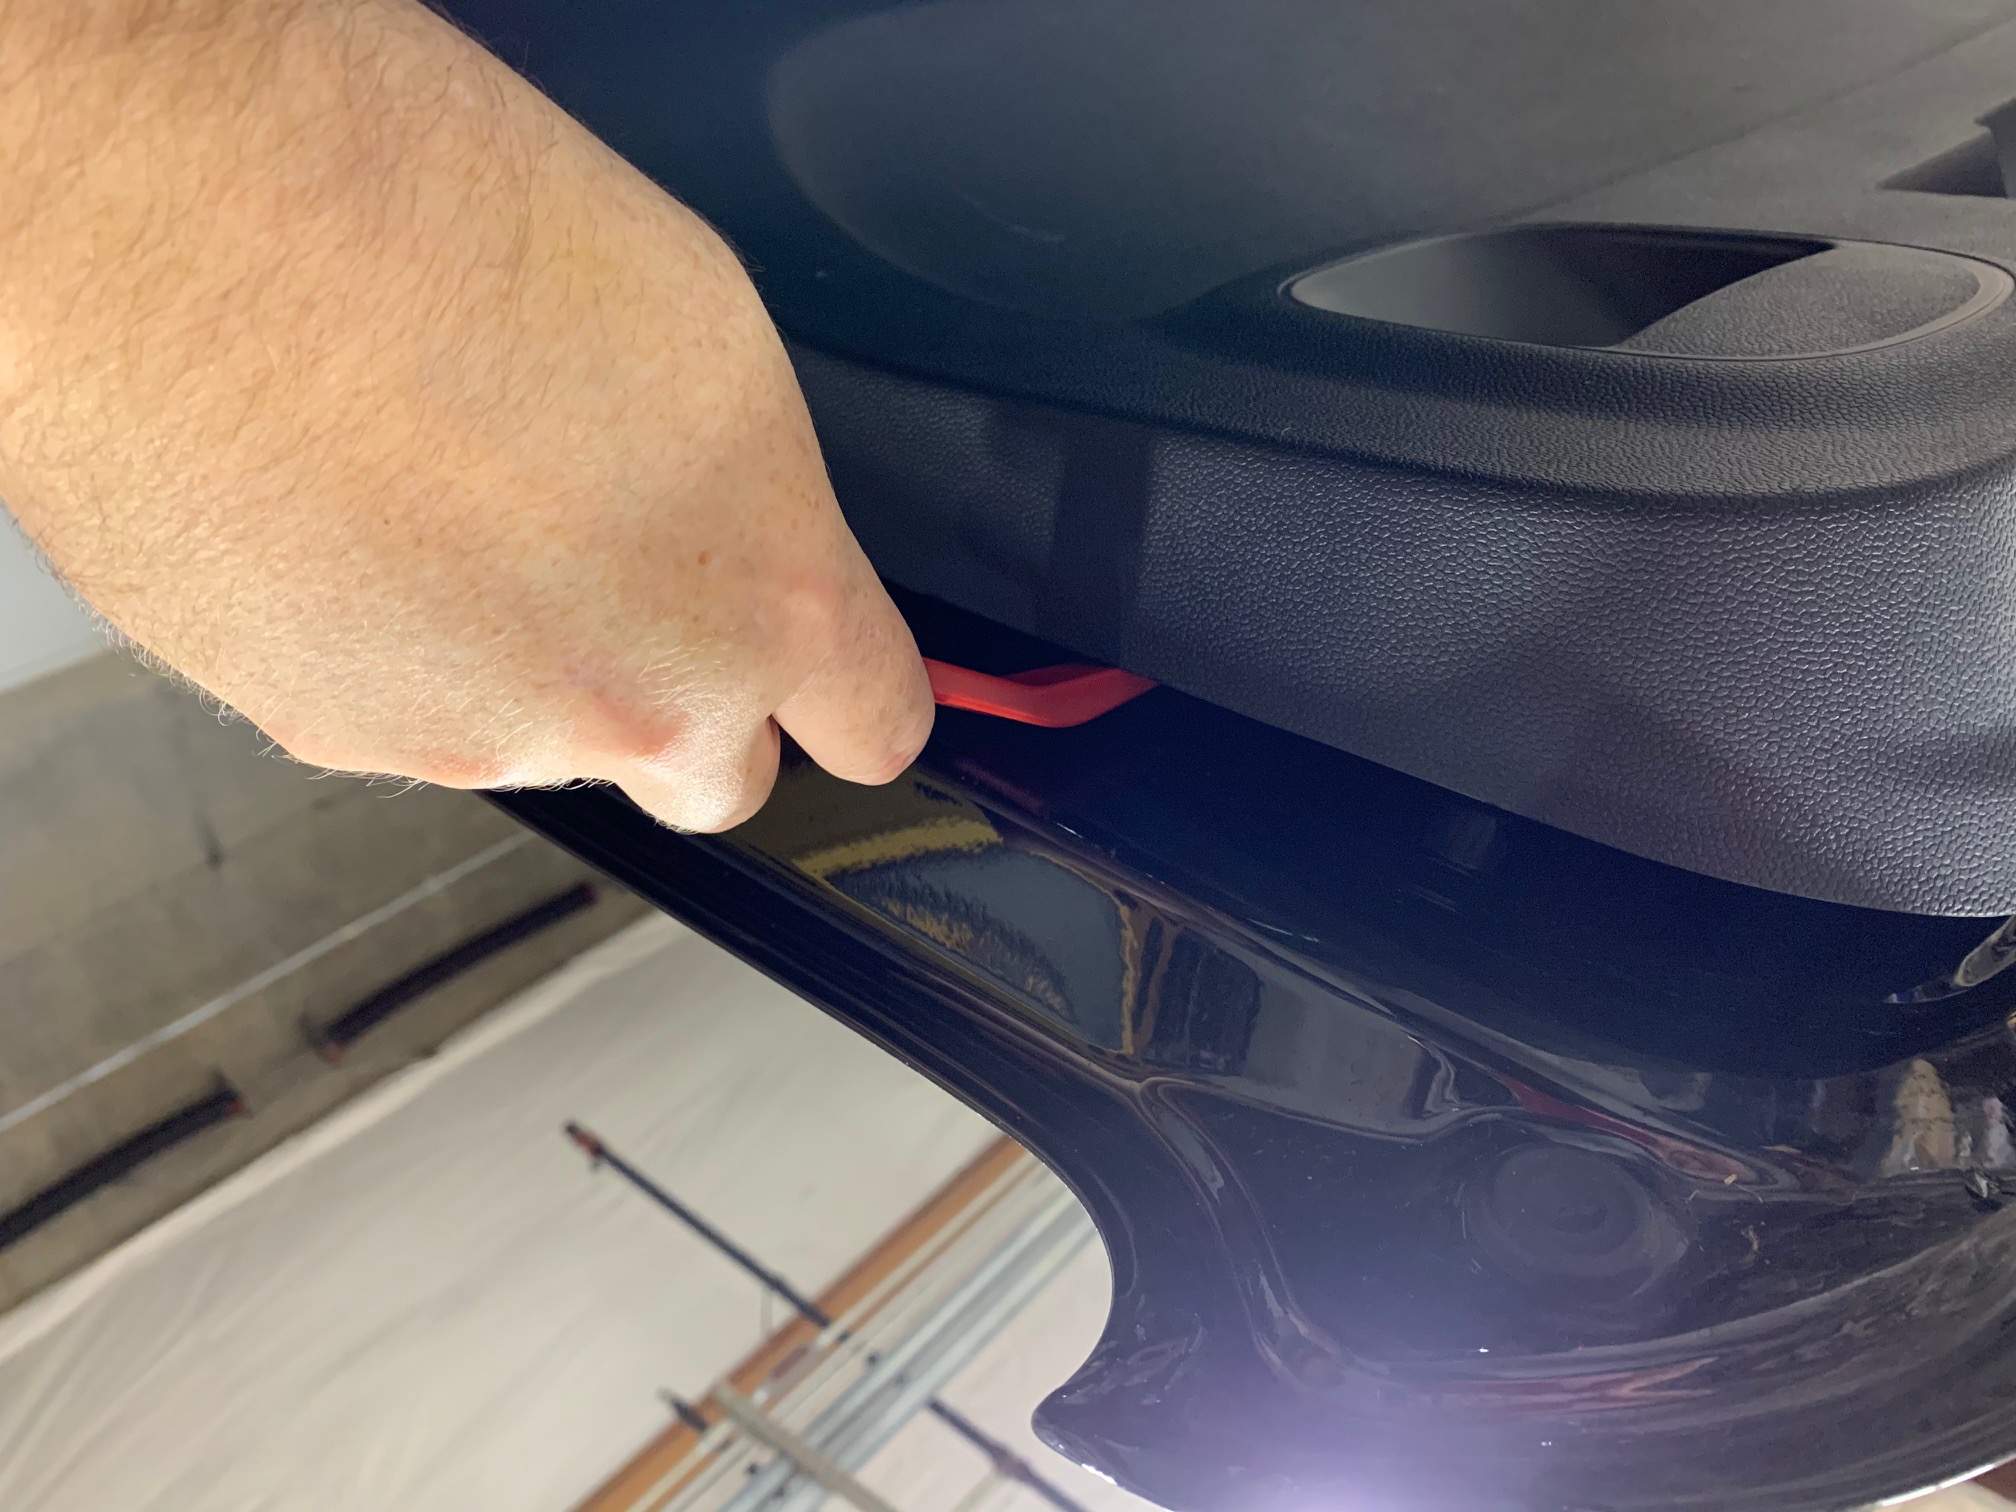
Once the T25 screws have been removed, the inner panel is now just held on to the liftgate with a handful of clips that mostly pull straight off. Utilize a plastic trim panel removal tool around the perimeter of the panel and you should hear the clips release as you go along. There's some clips in the center area of panel as well.
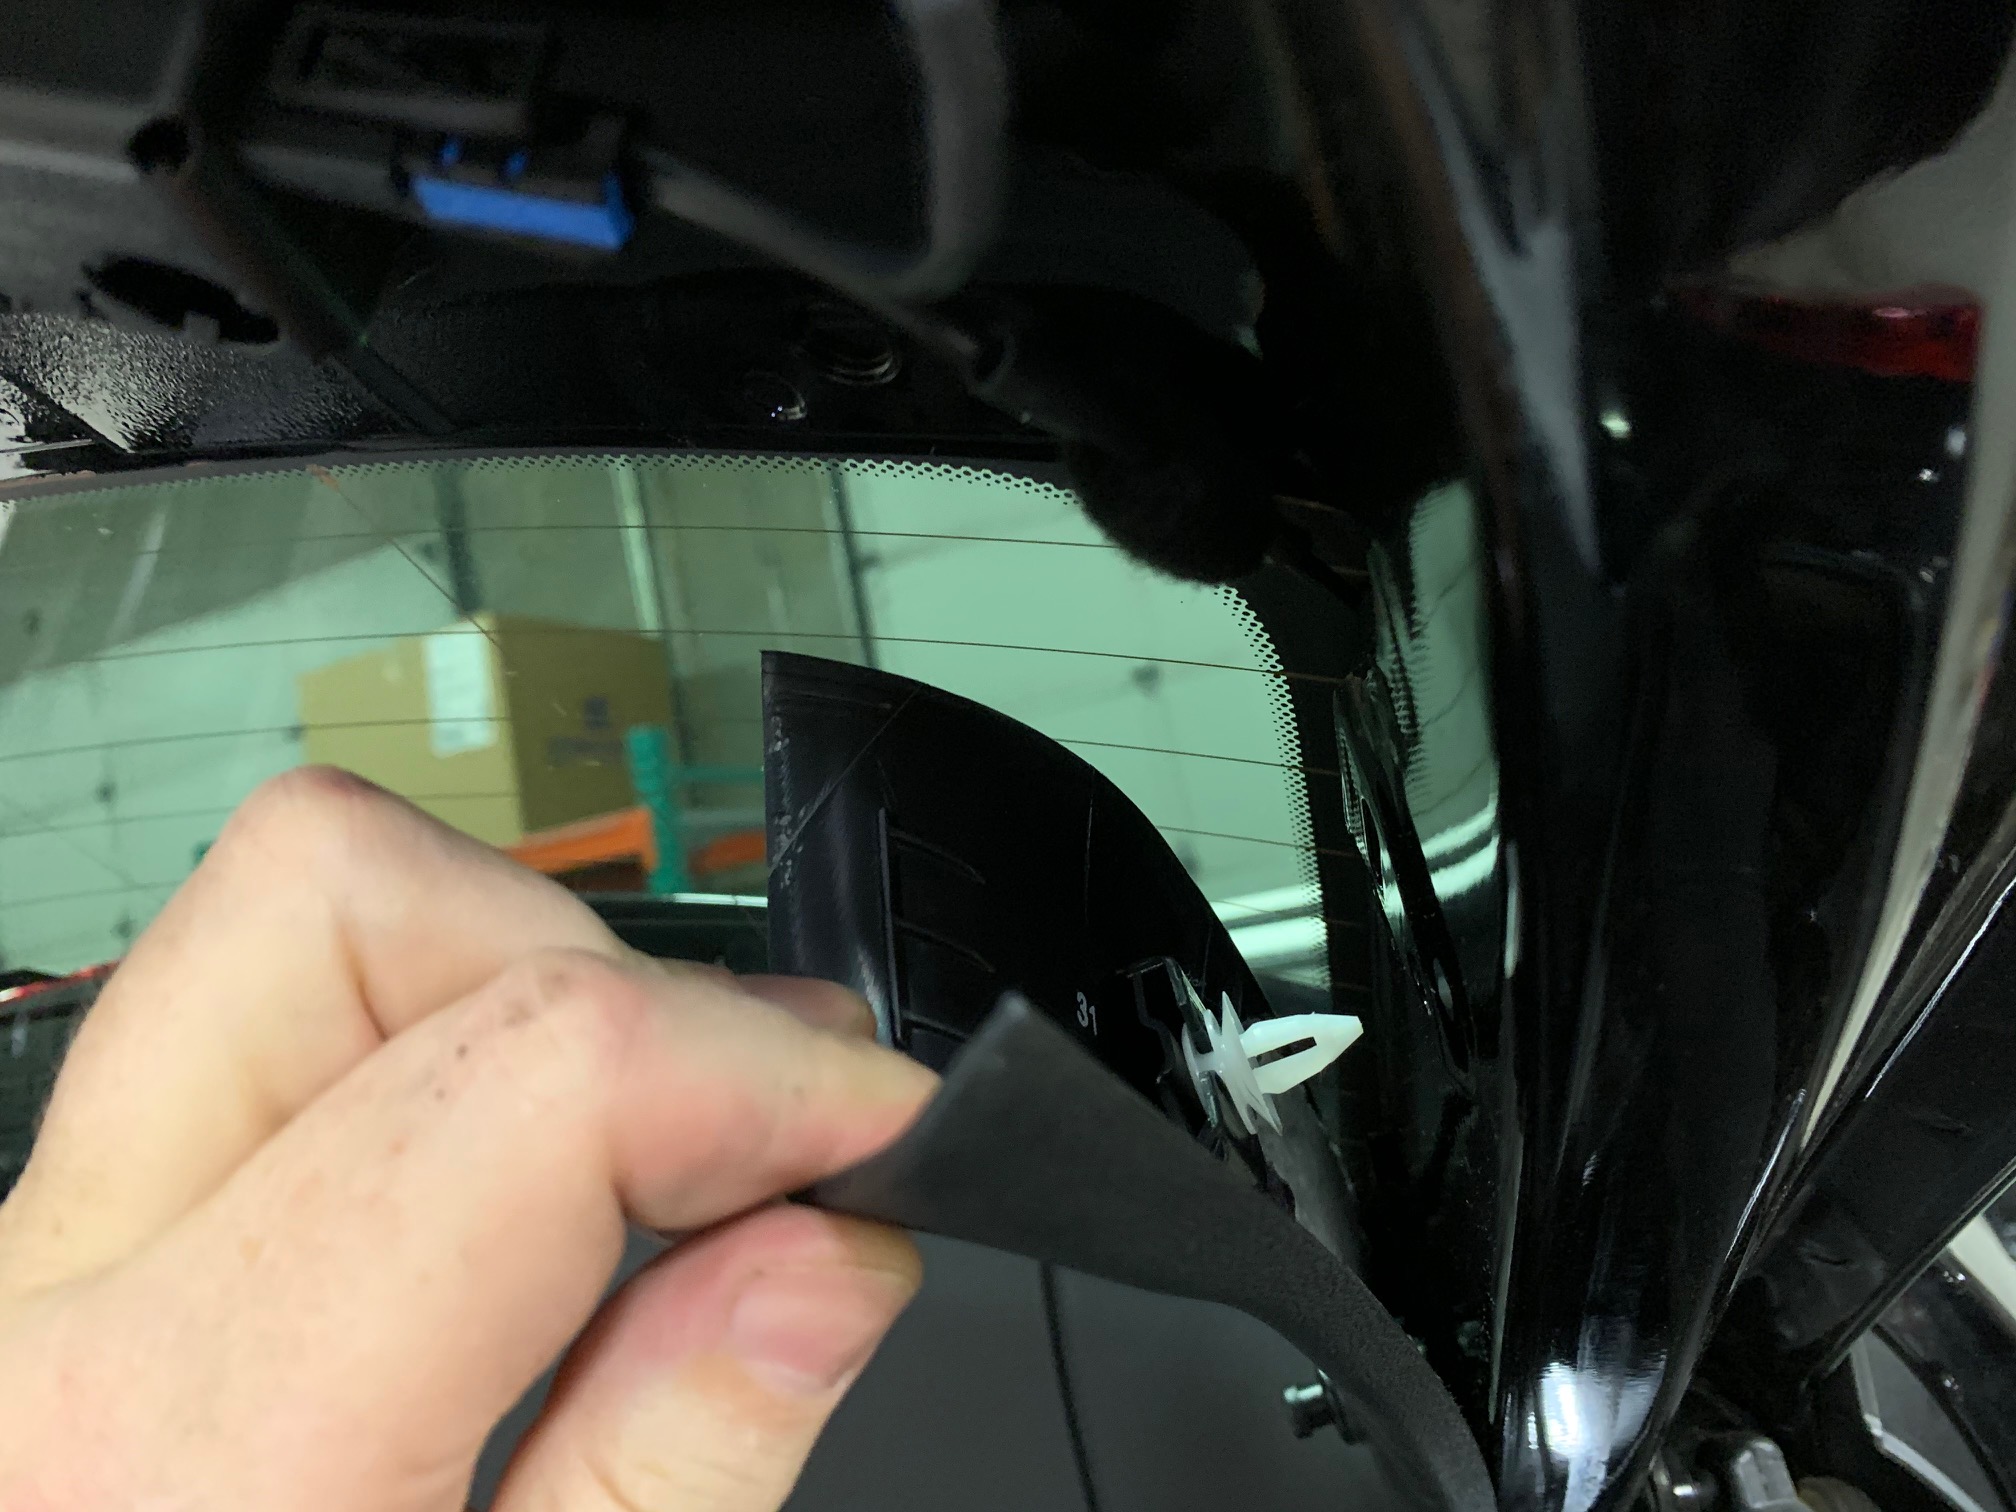
Lastly, there will be (2) panel clips integrated into the separate upper window trim that snap through the upper section of the boot panel. Work these loose and take care not to break their delicate mounts. Once loose, the whole lower boot panel should pull free from the liftgate. Take care around the latch loop and wiper motor assembly.
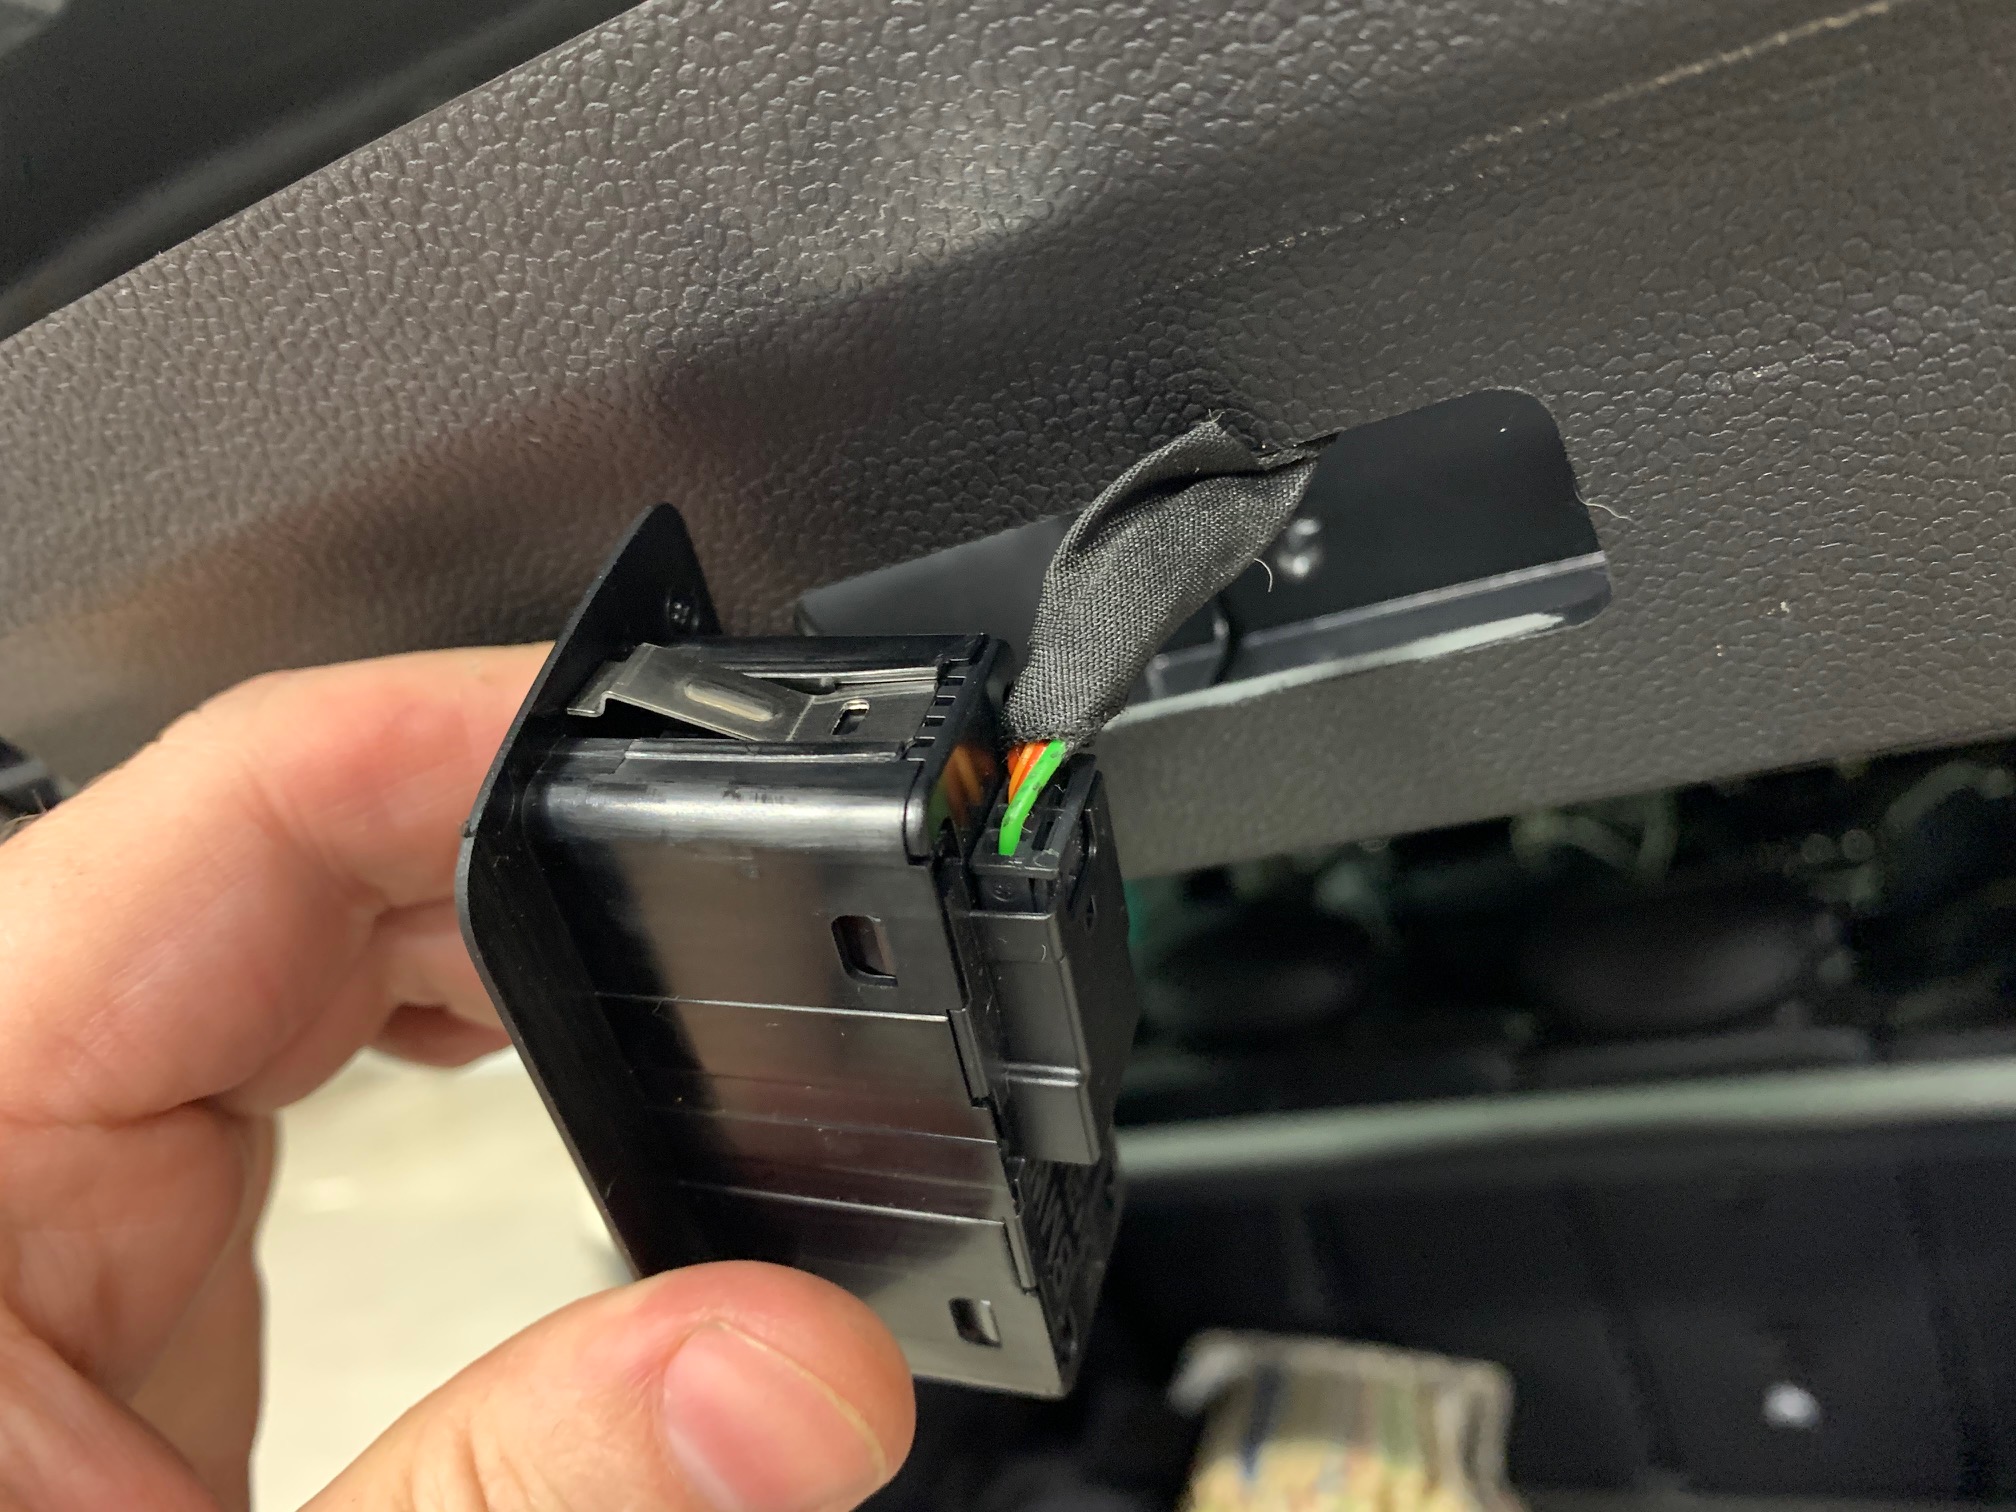
If your MINI is equipped with the automatic liftgate switch, reach inside and depress the clips holding it into the inner panel. Pull it through along with it's wiring and unplug the switch.
With the boot panel removed, set it aside and make sure all of the white plastic clips are accounted for, unbroken, and in their respective mount locations.
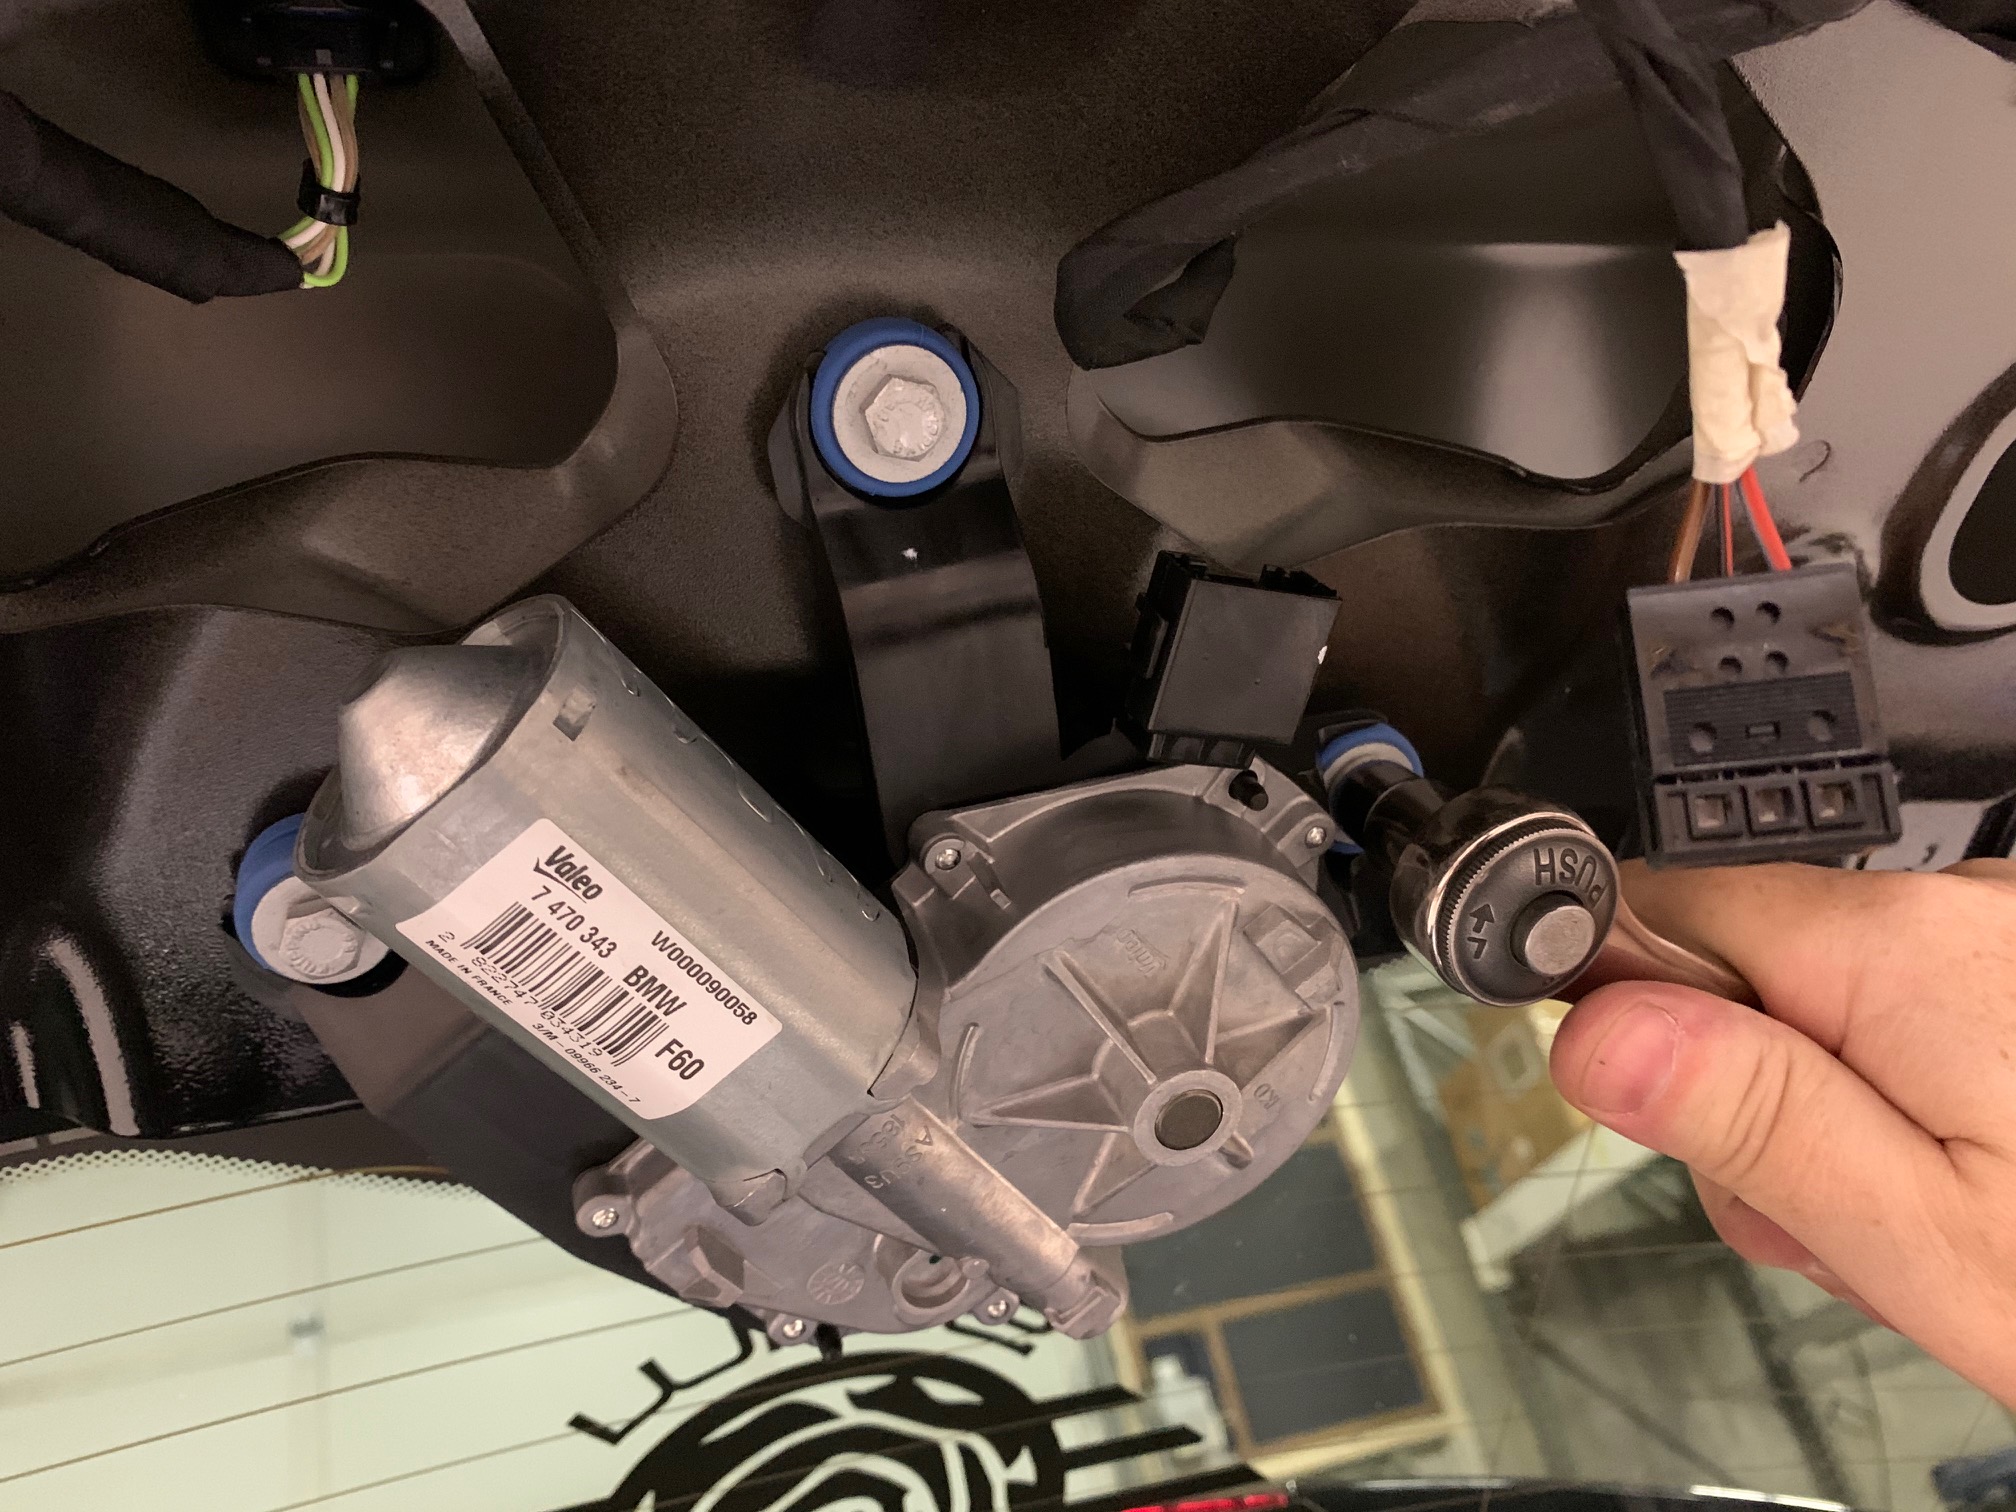
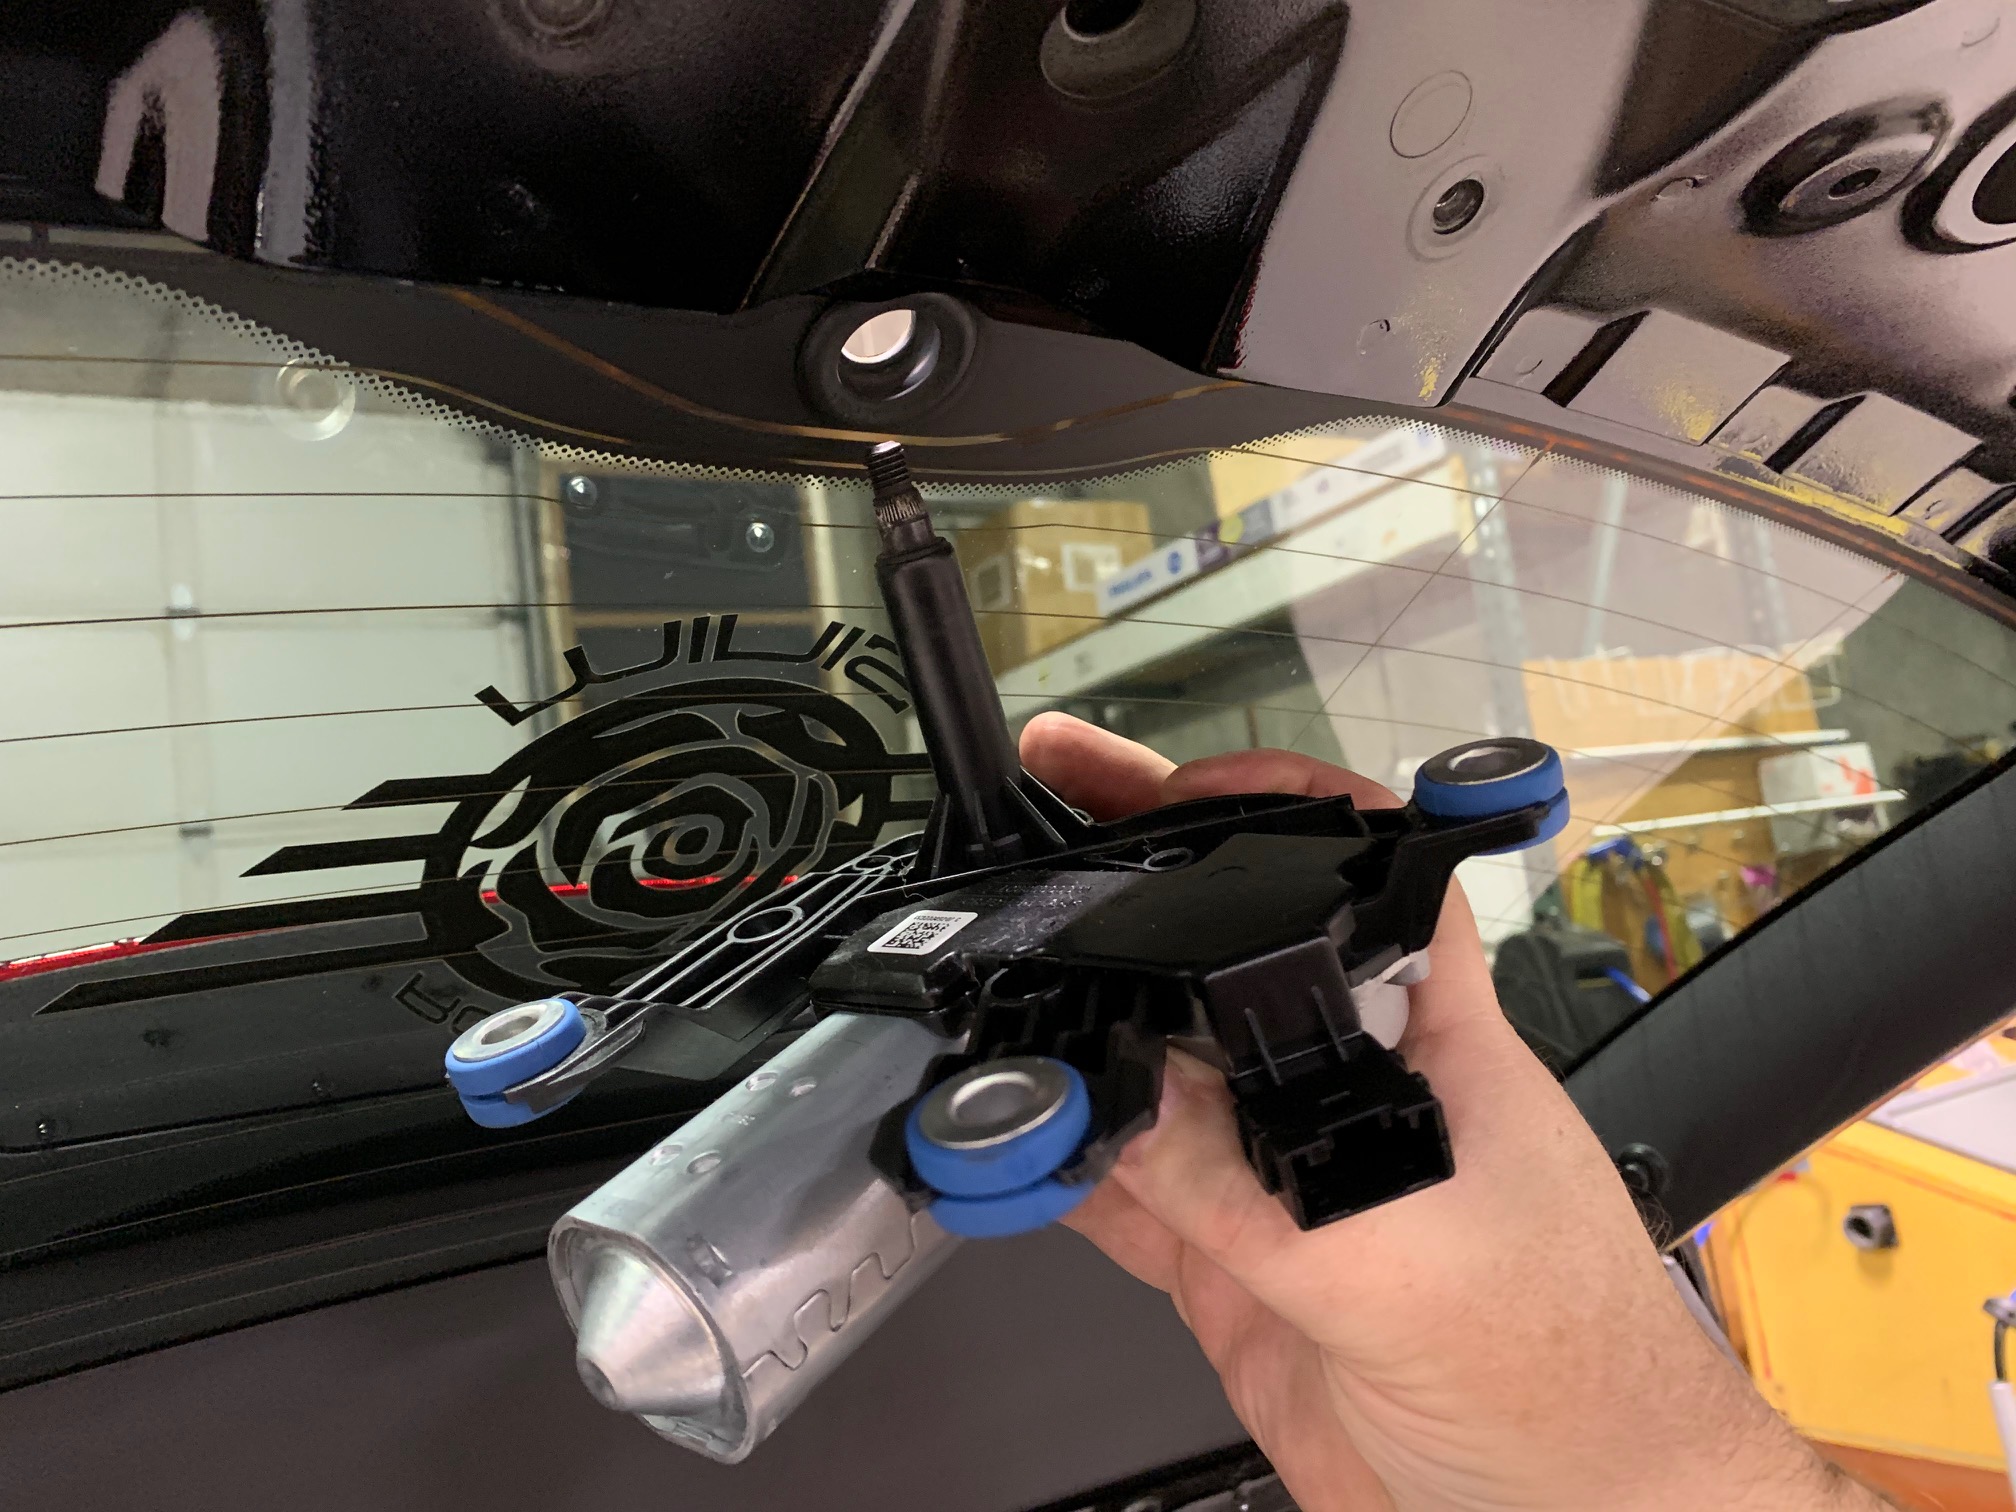
Unplug wiper motor wiring harness. Utilize a zip-tie or piece of tape to affix the now loose plug back to it's wiring so the plug doesn't rattle against the inside of the boot panel.
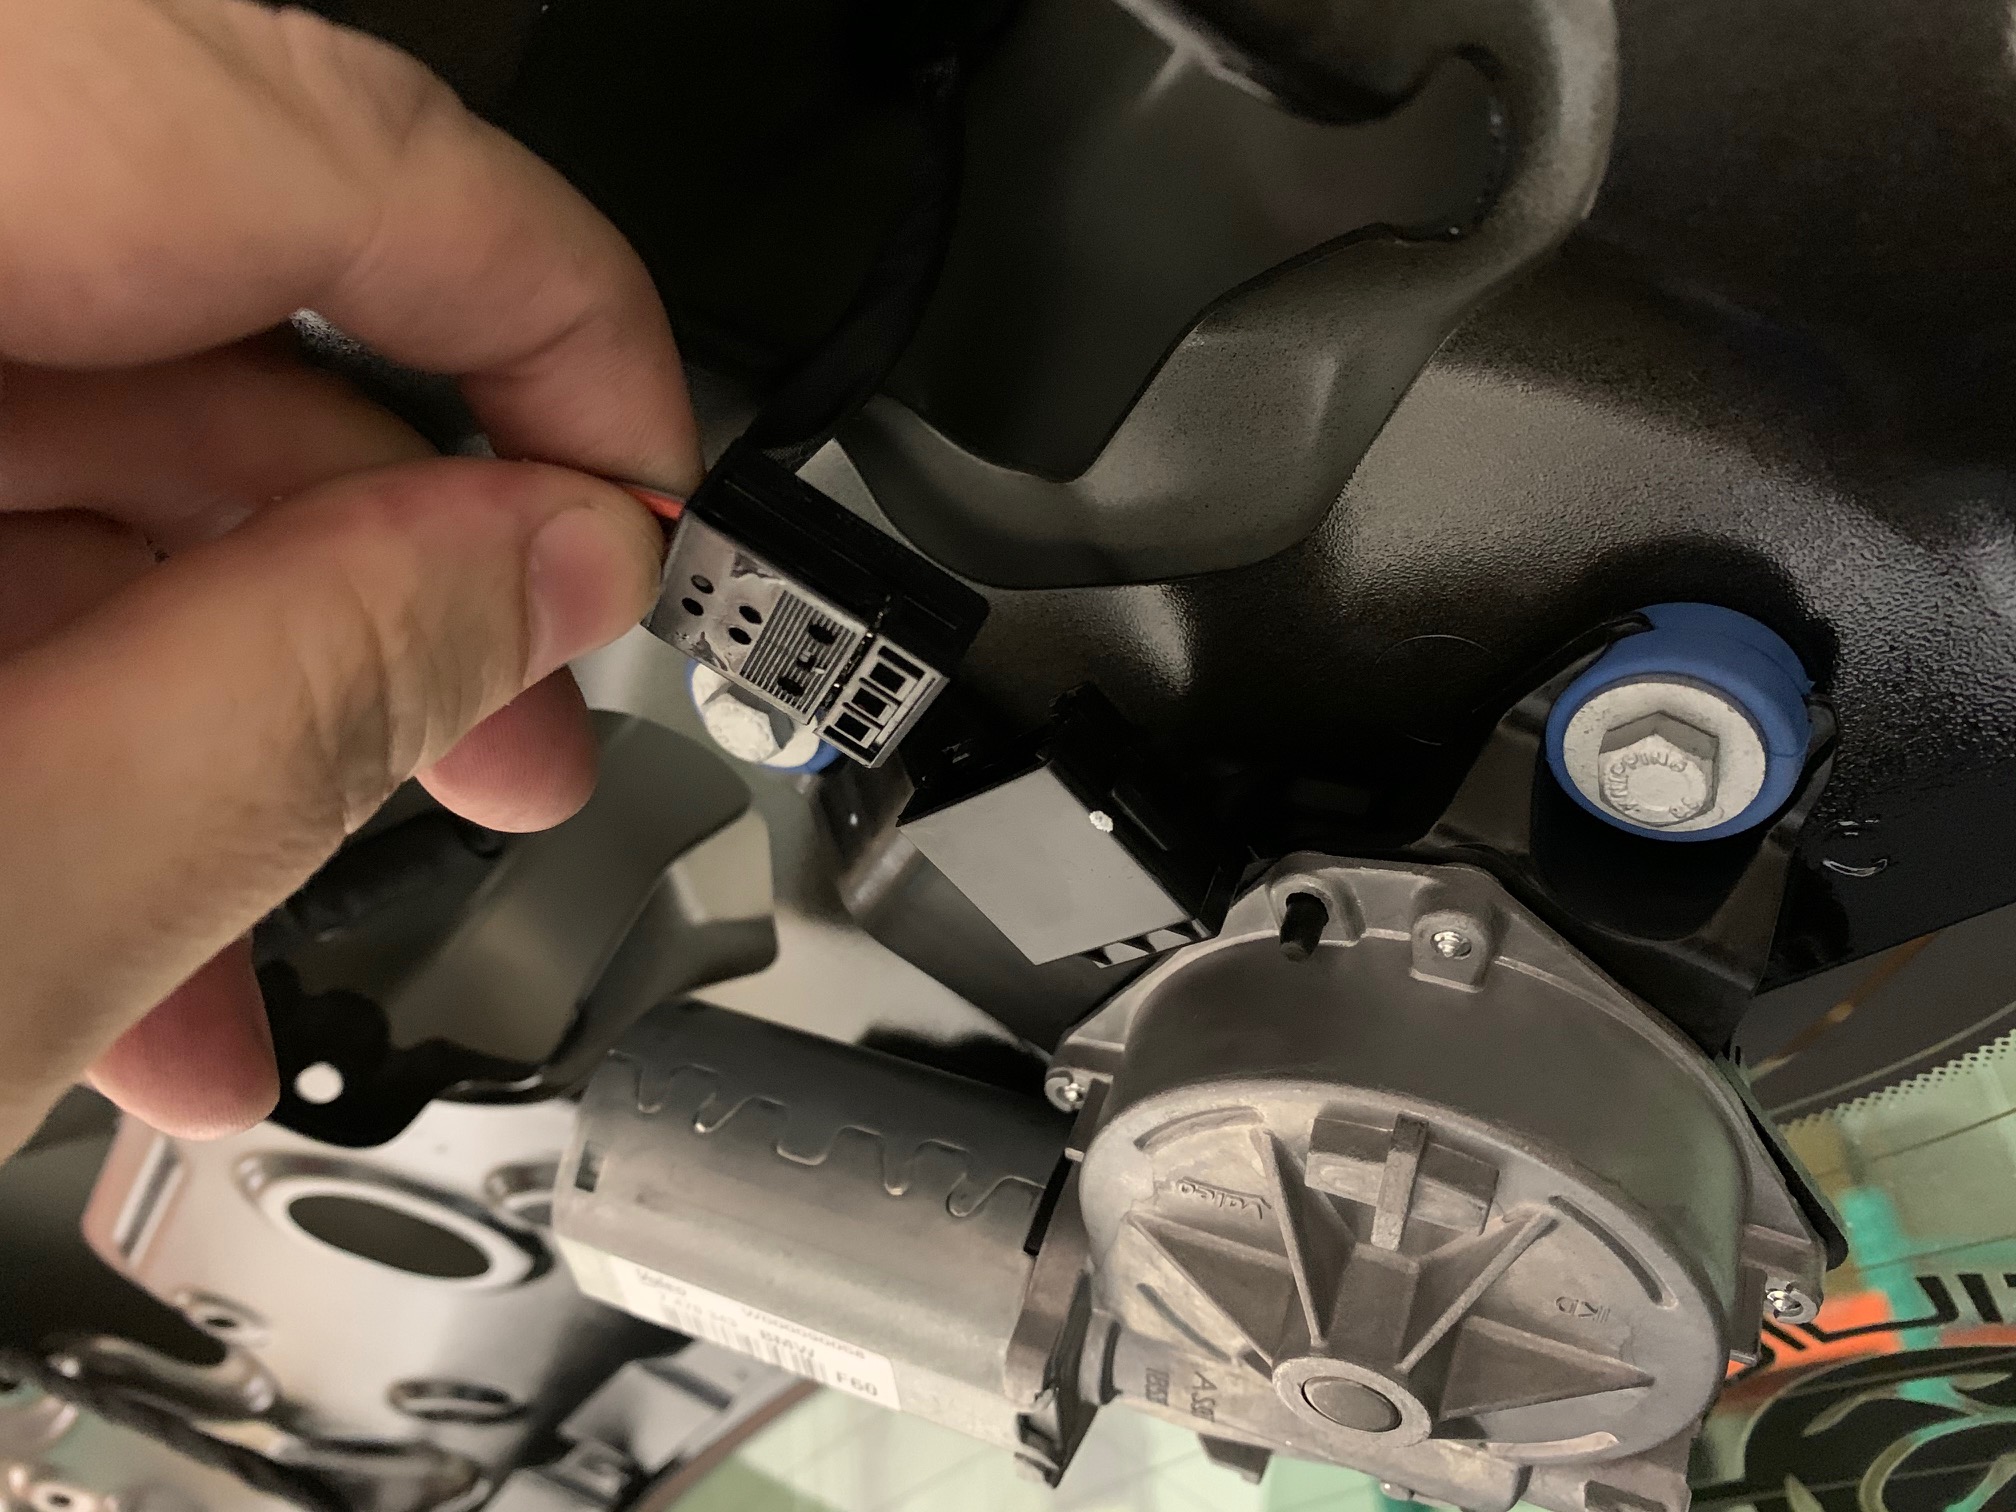
Remove (3) 10mm screws that hold the wiper motor assembly to the boot hatch, being careful to support the assembly with your free hand. Pull the wiper assembly out of the window grommet and place it in your parts bin. You may wish to reinstall the 10mm screws just to keep them from being lost.
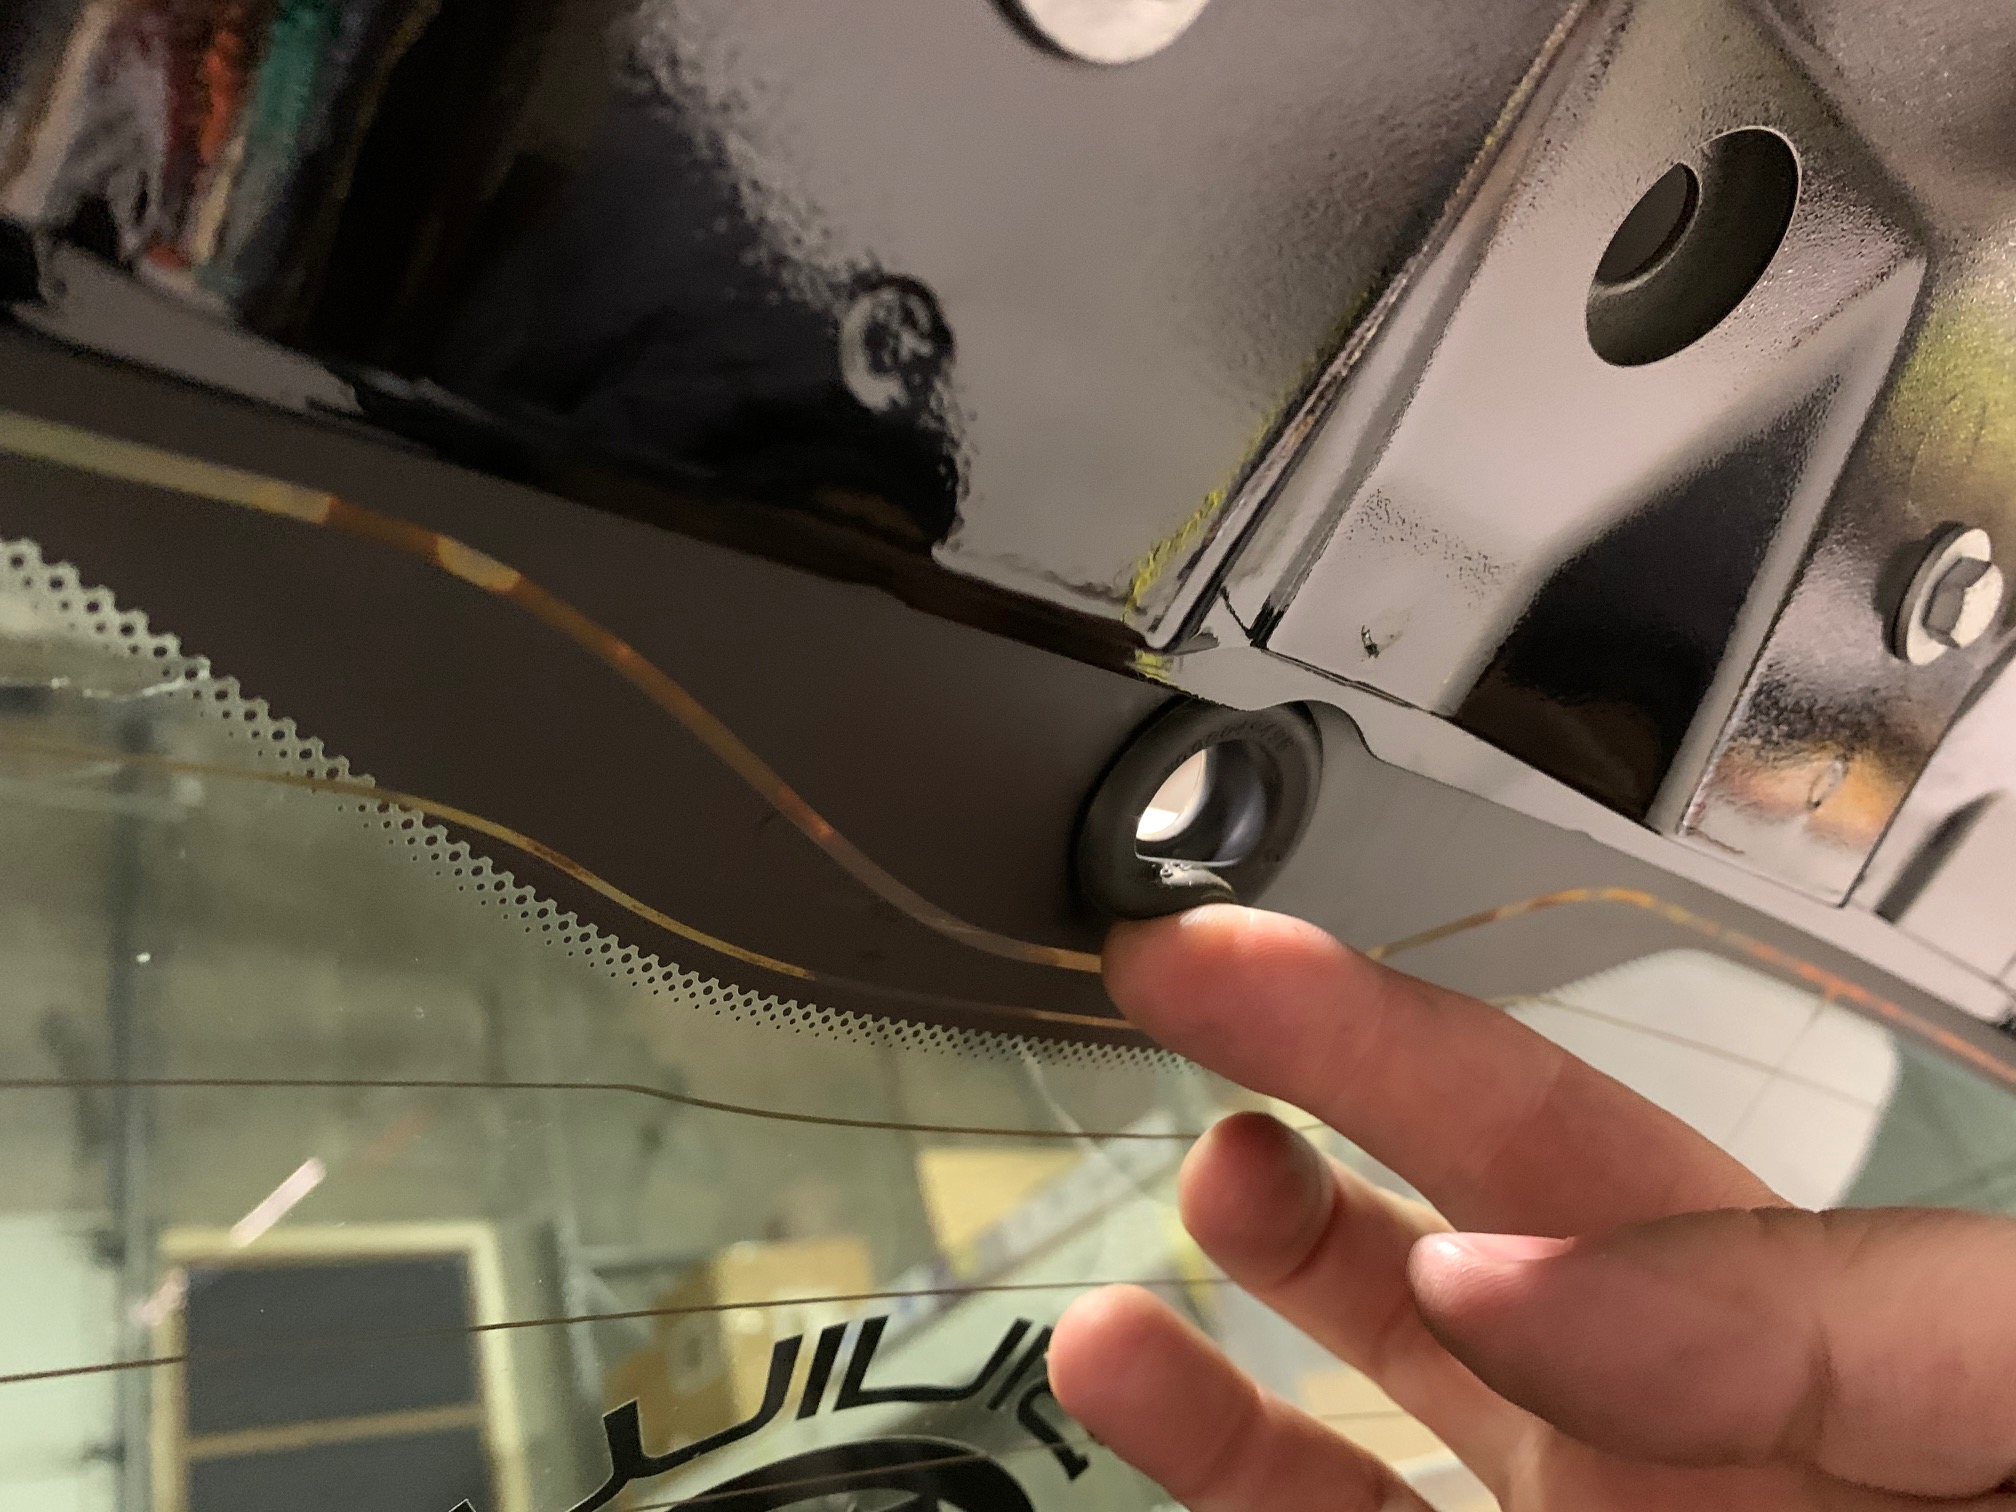
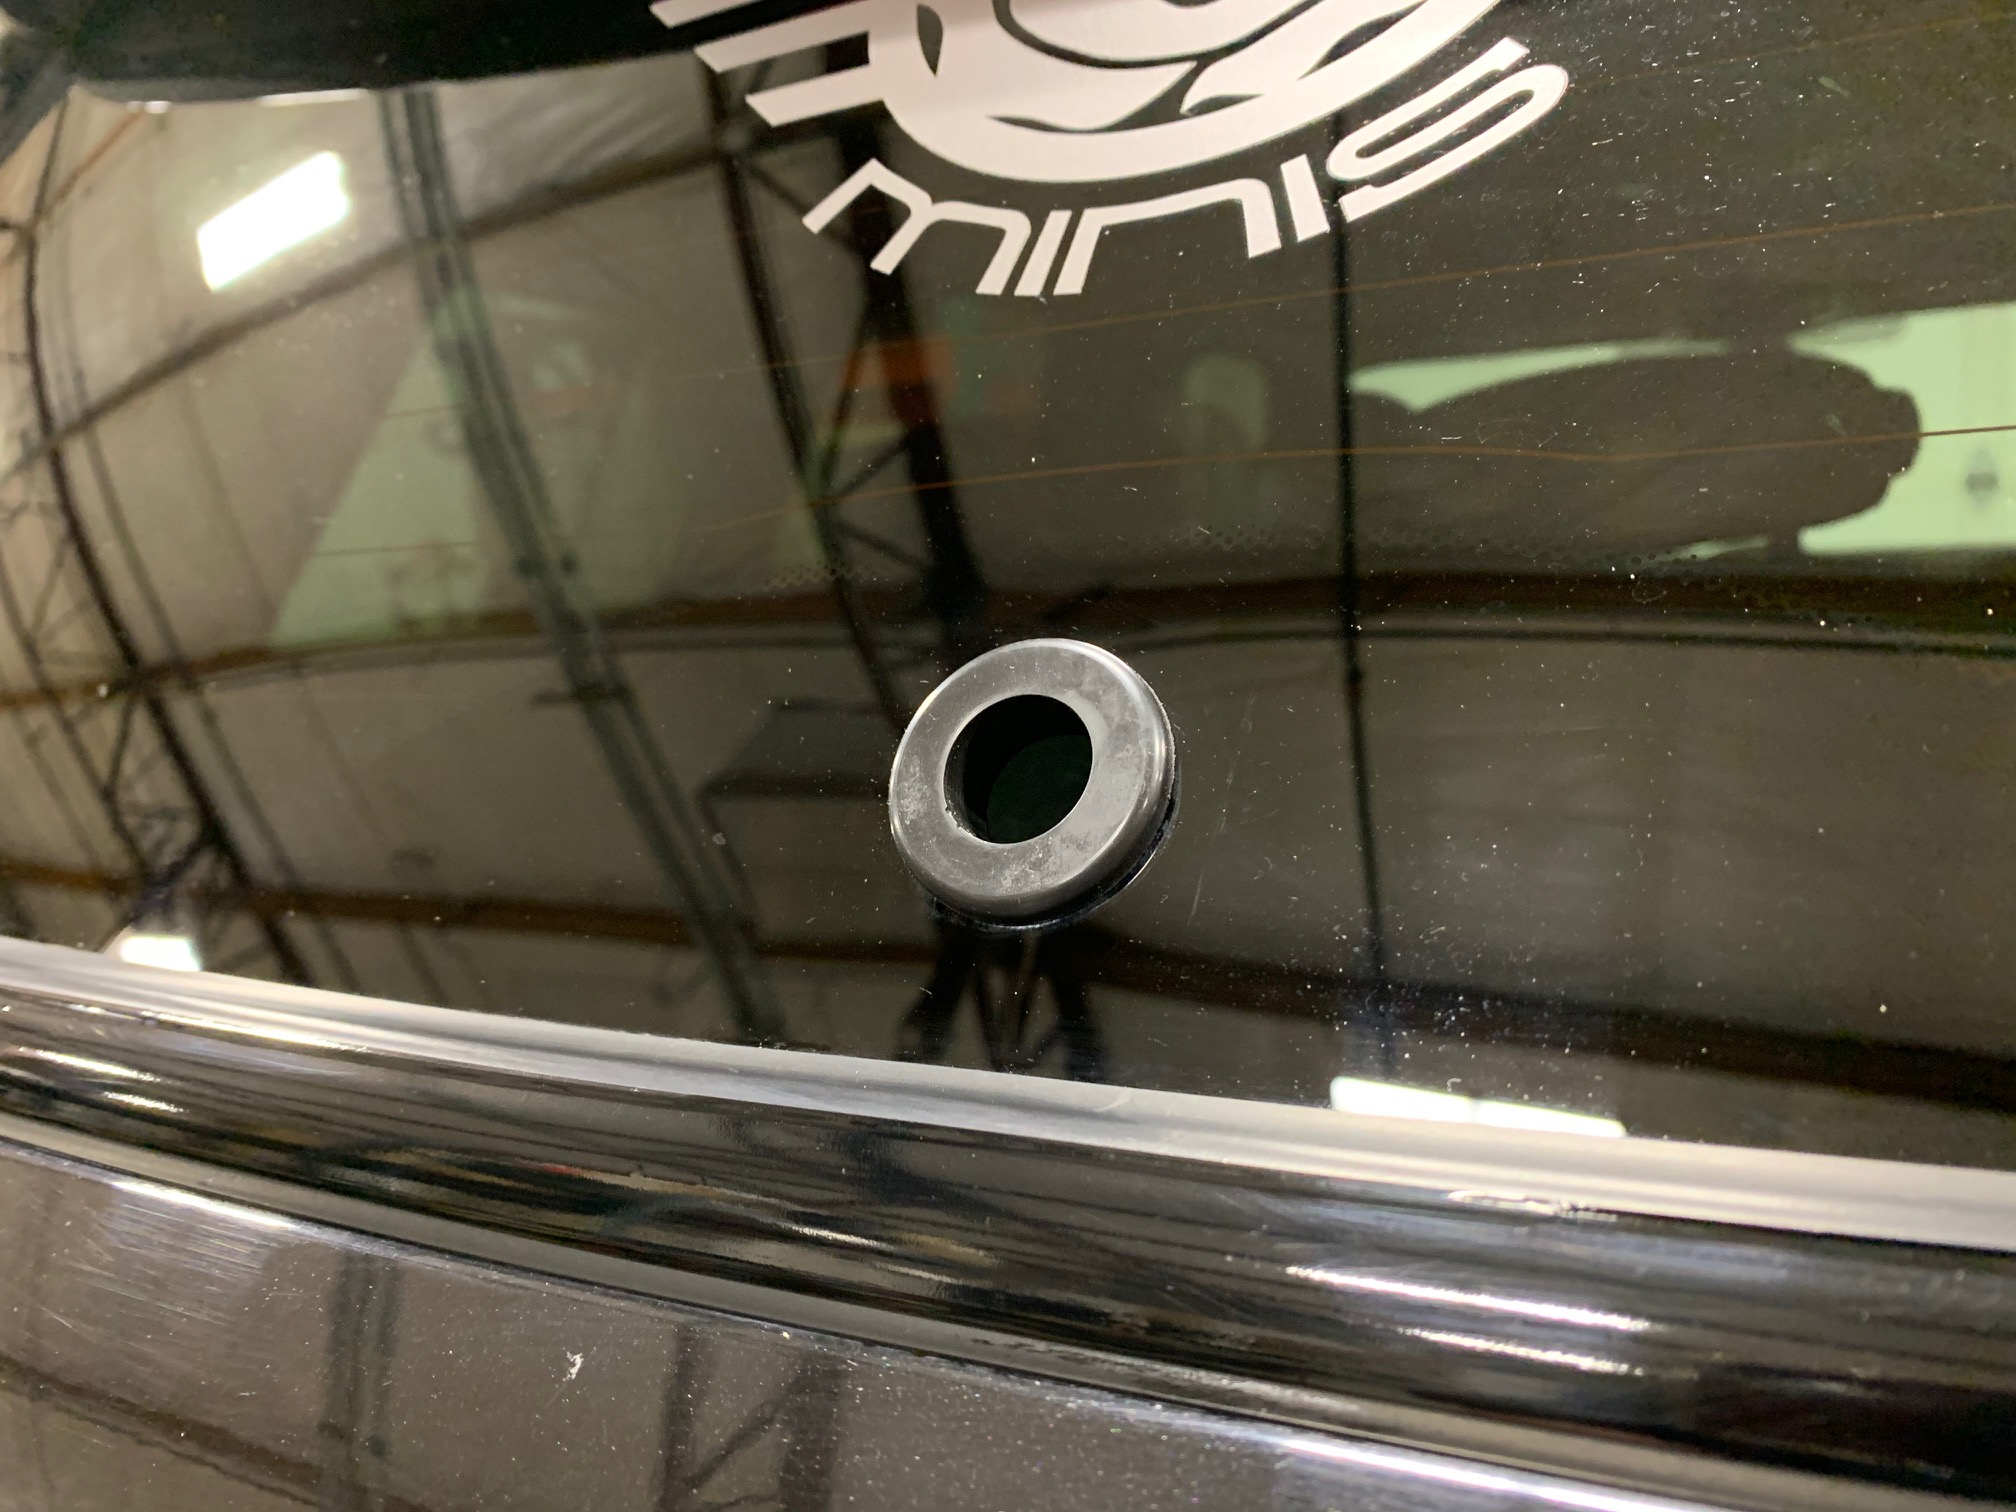
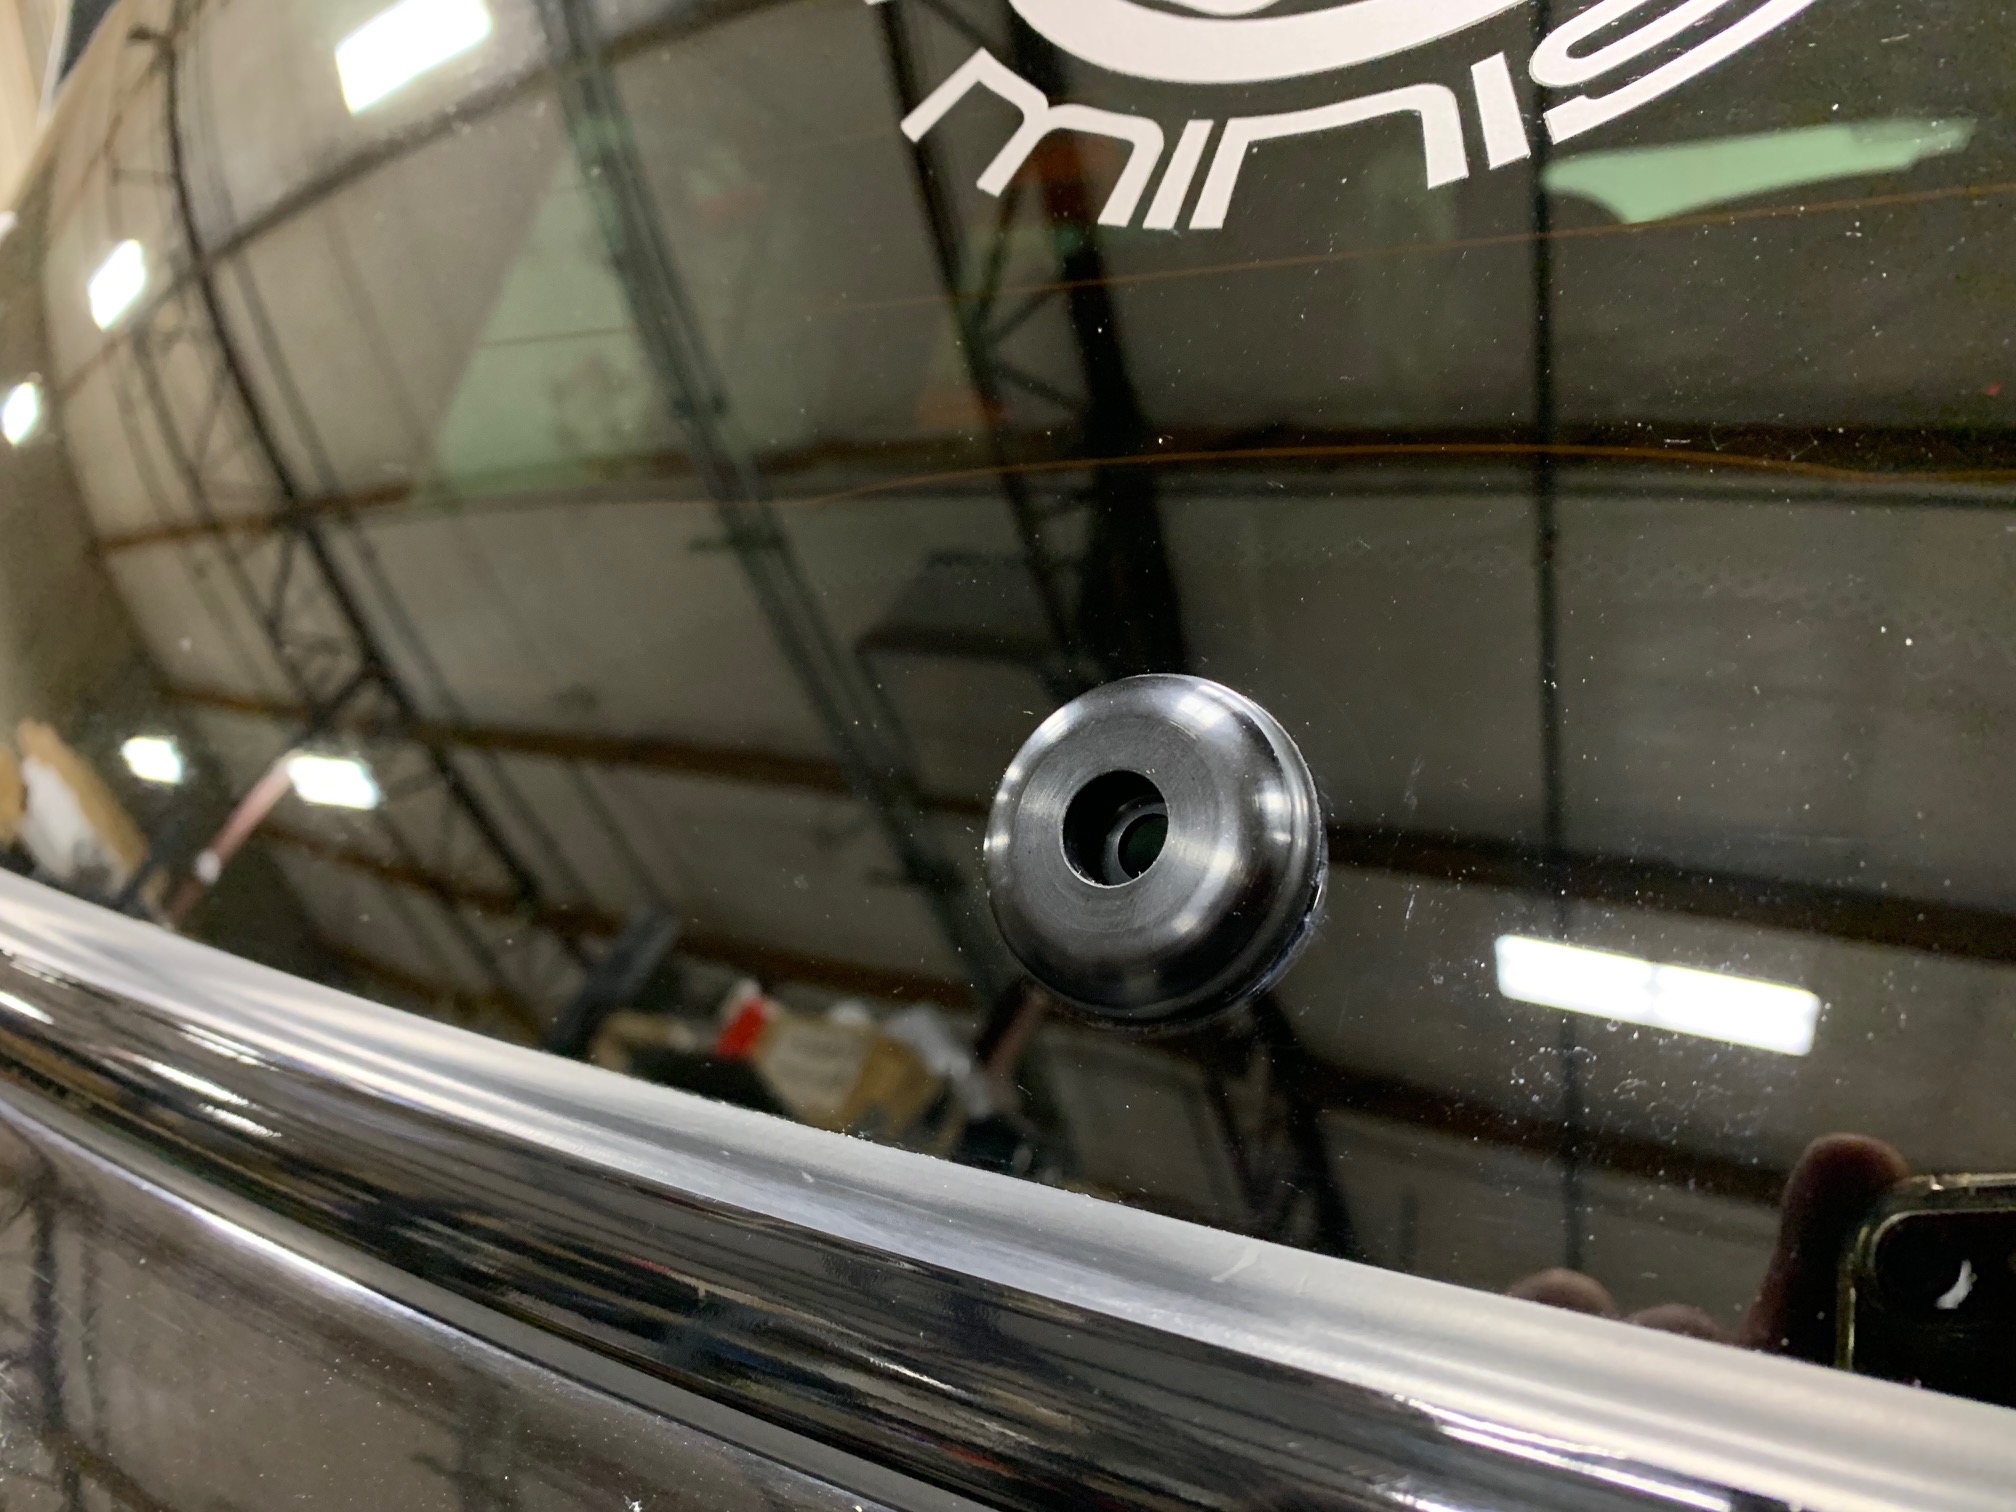
Remove the factory window grommet from the hole in the glass. It just pulls out with not much effort. Clean the surrounding glass and install the grommet supplied in the wiper delete kit.
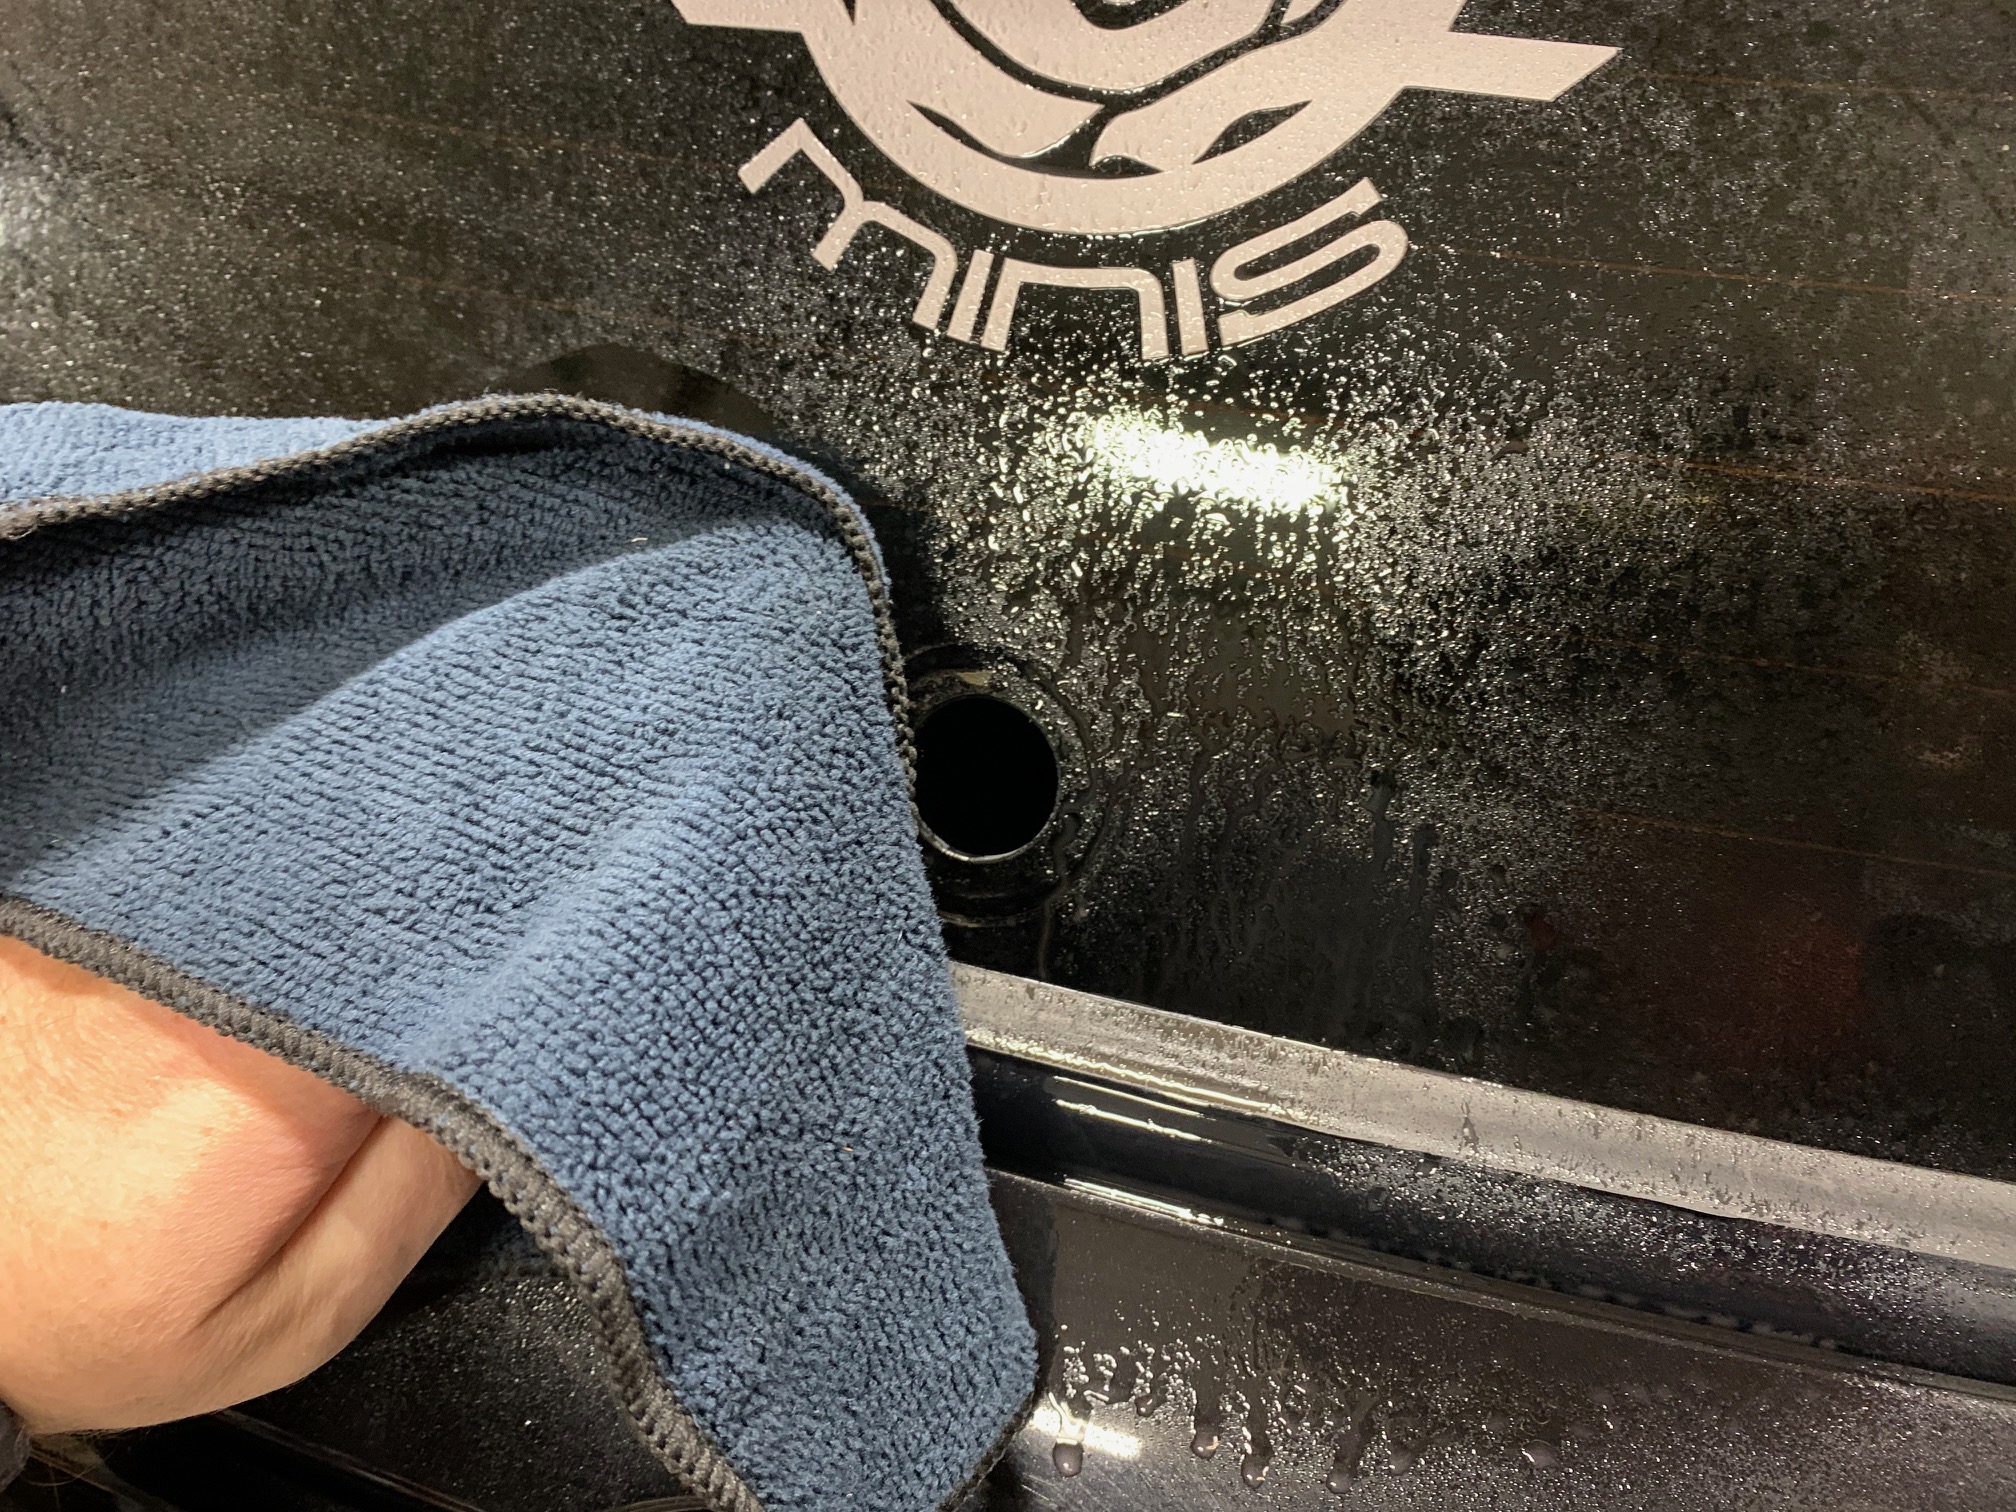

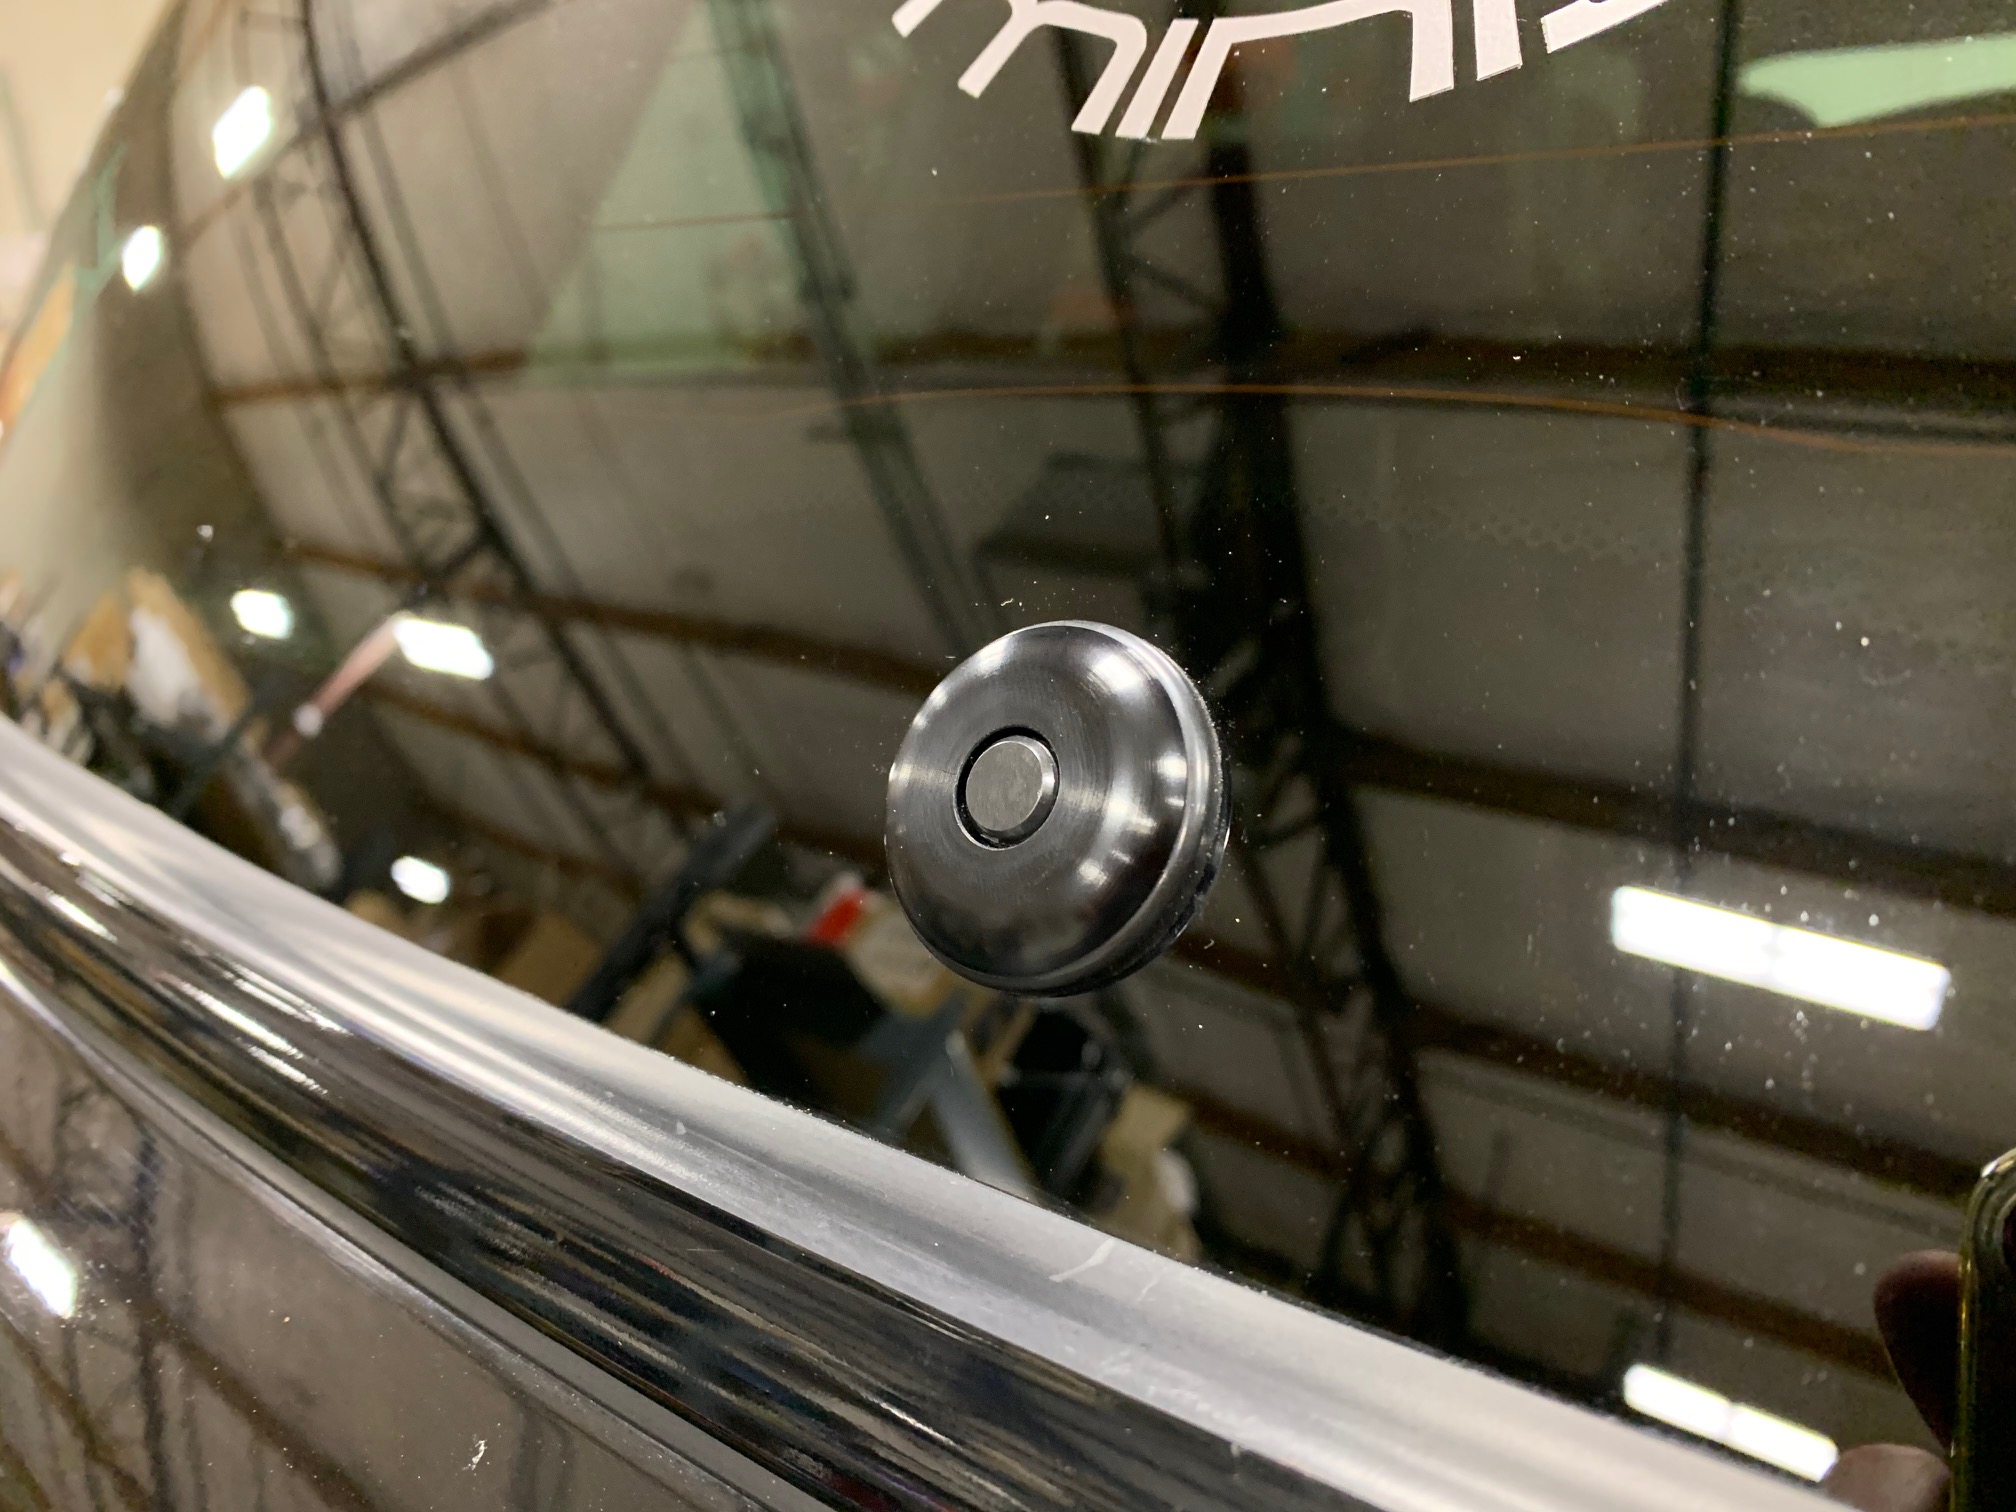
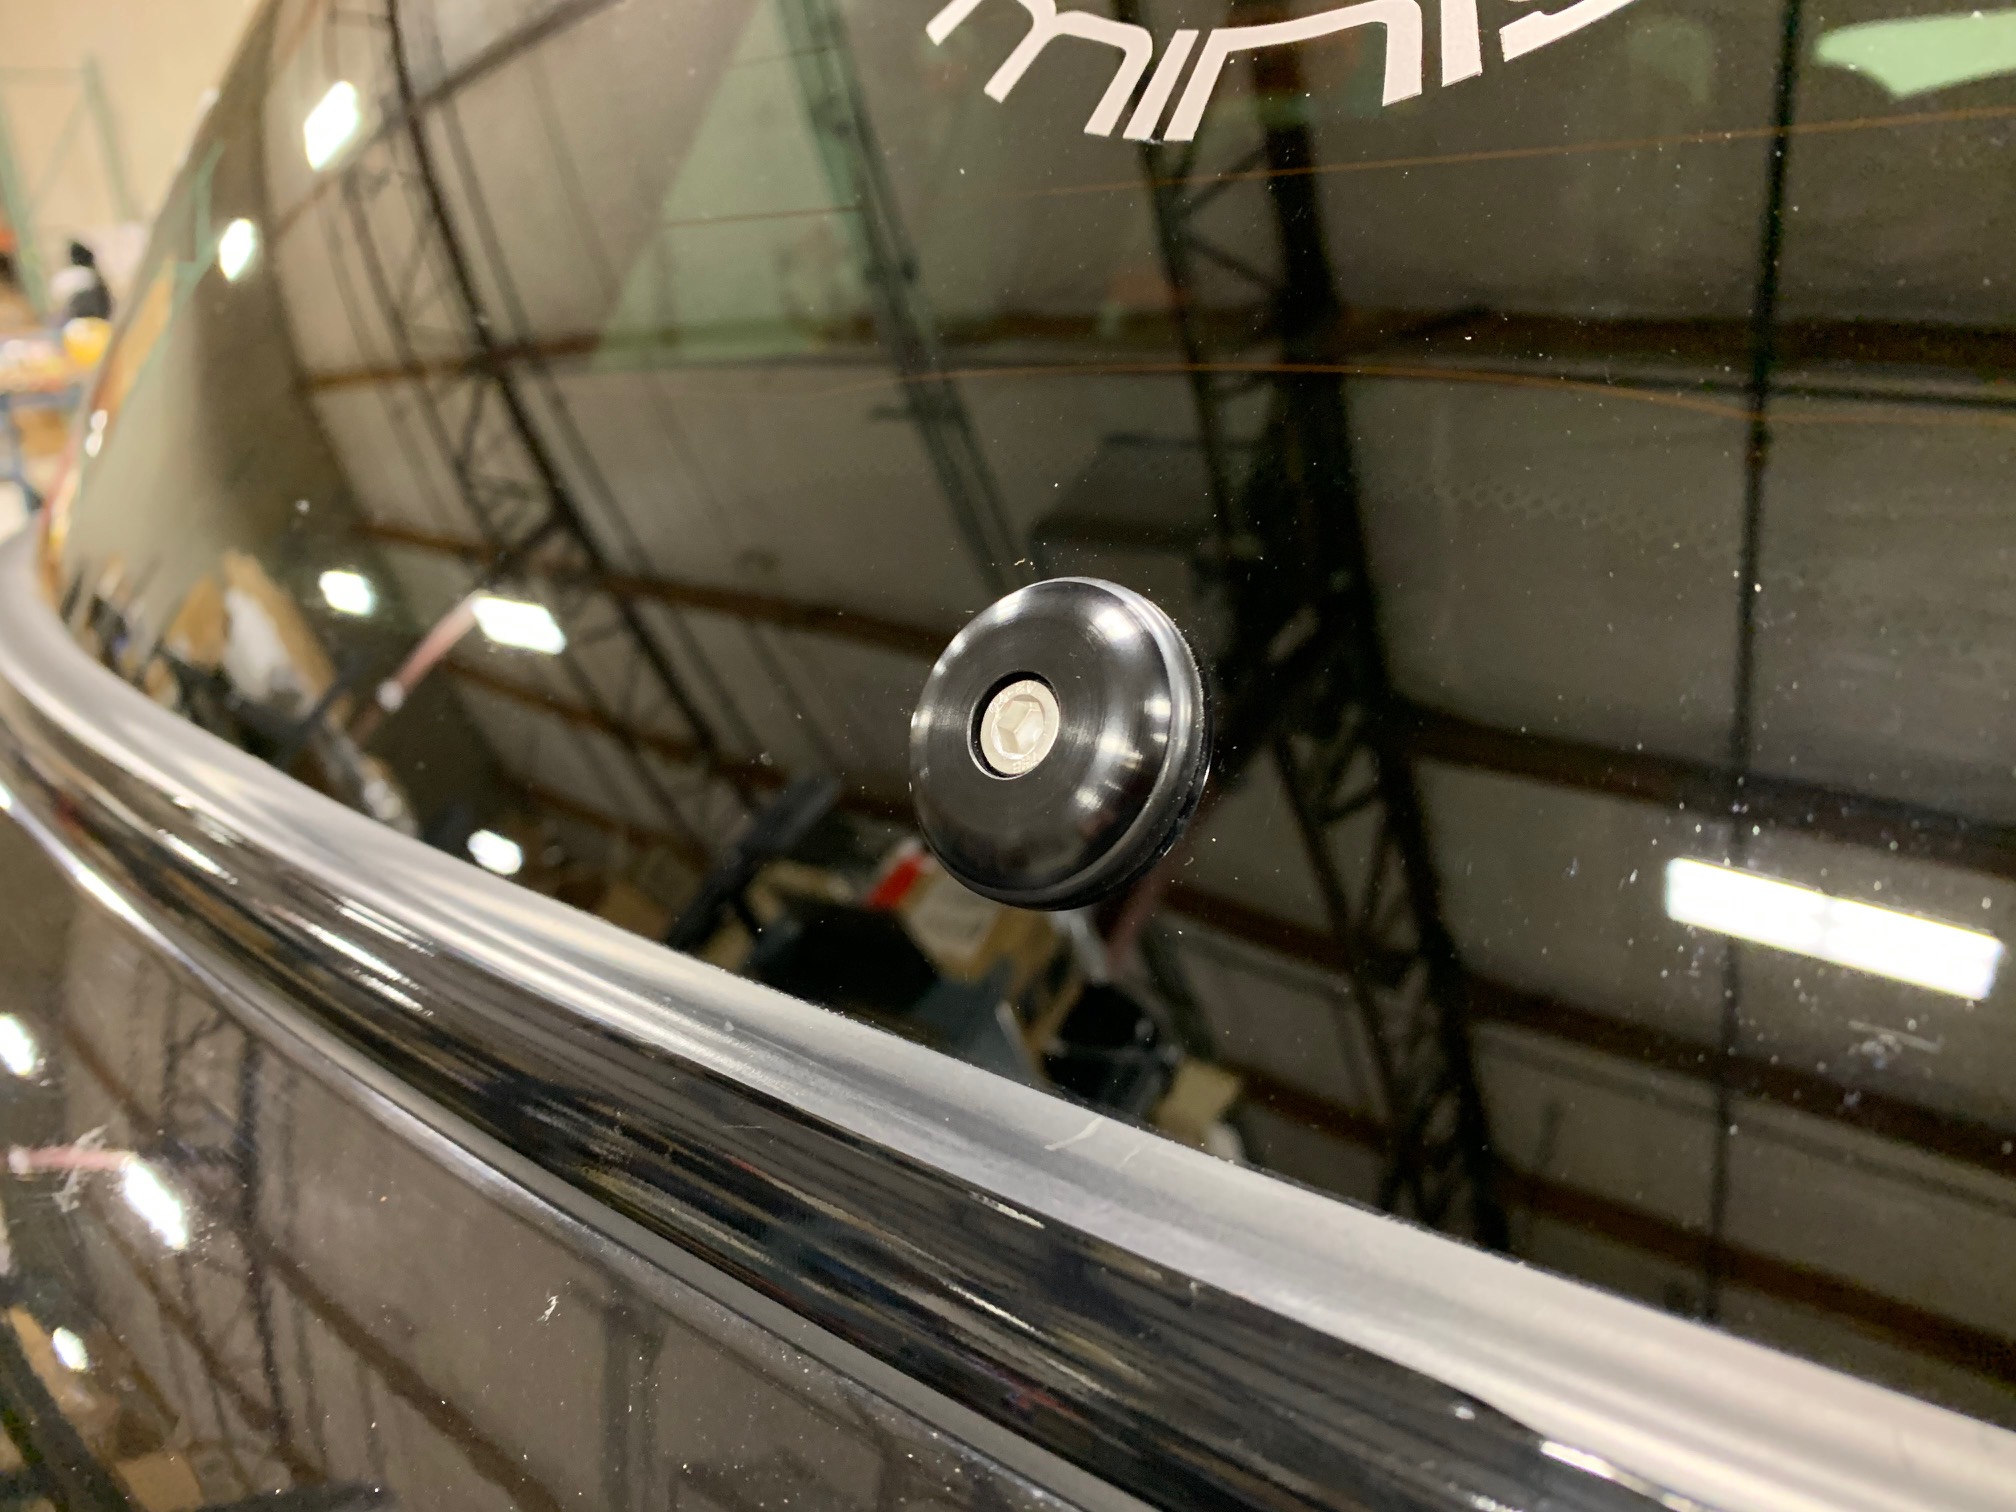
Place the black-anodized wiper delete cap into the grommet and then install the o-ring onto the M6 stainless screw and insert it into the center of the wiper delete cap.
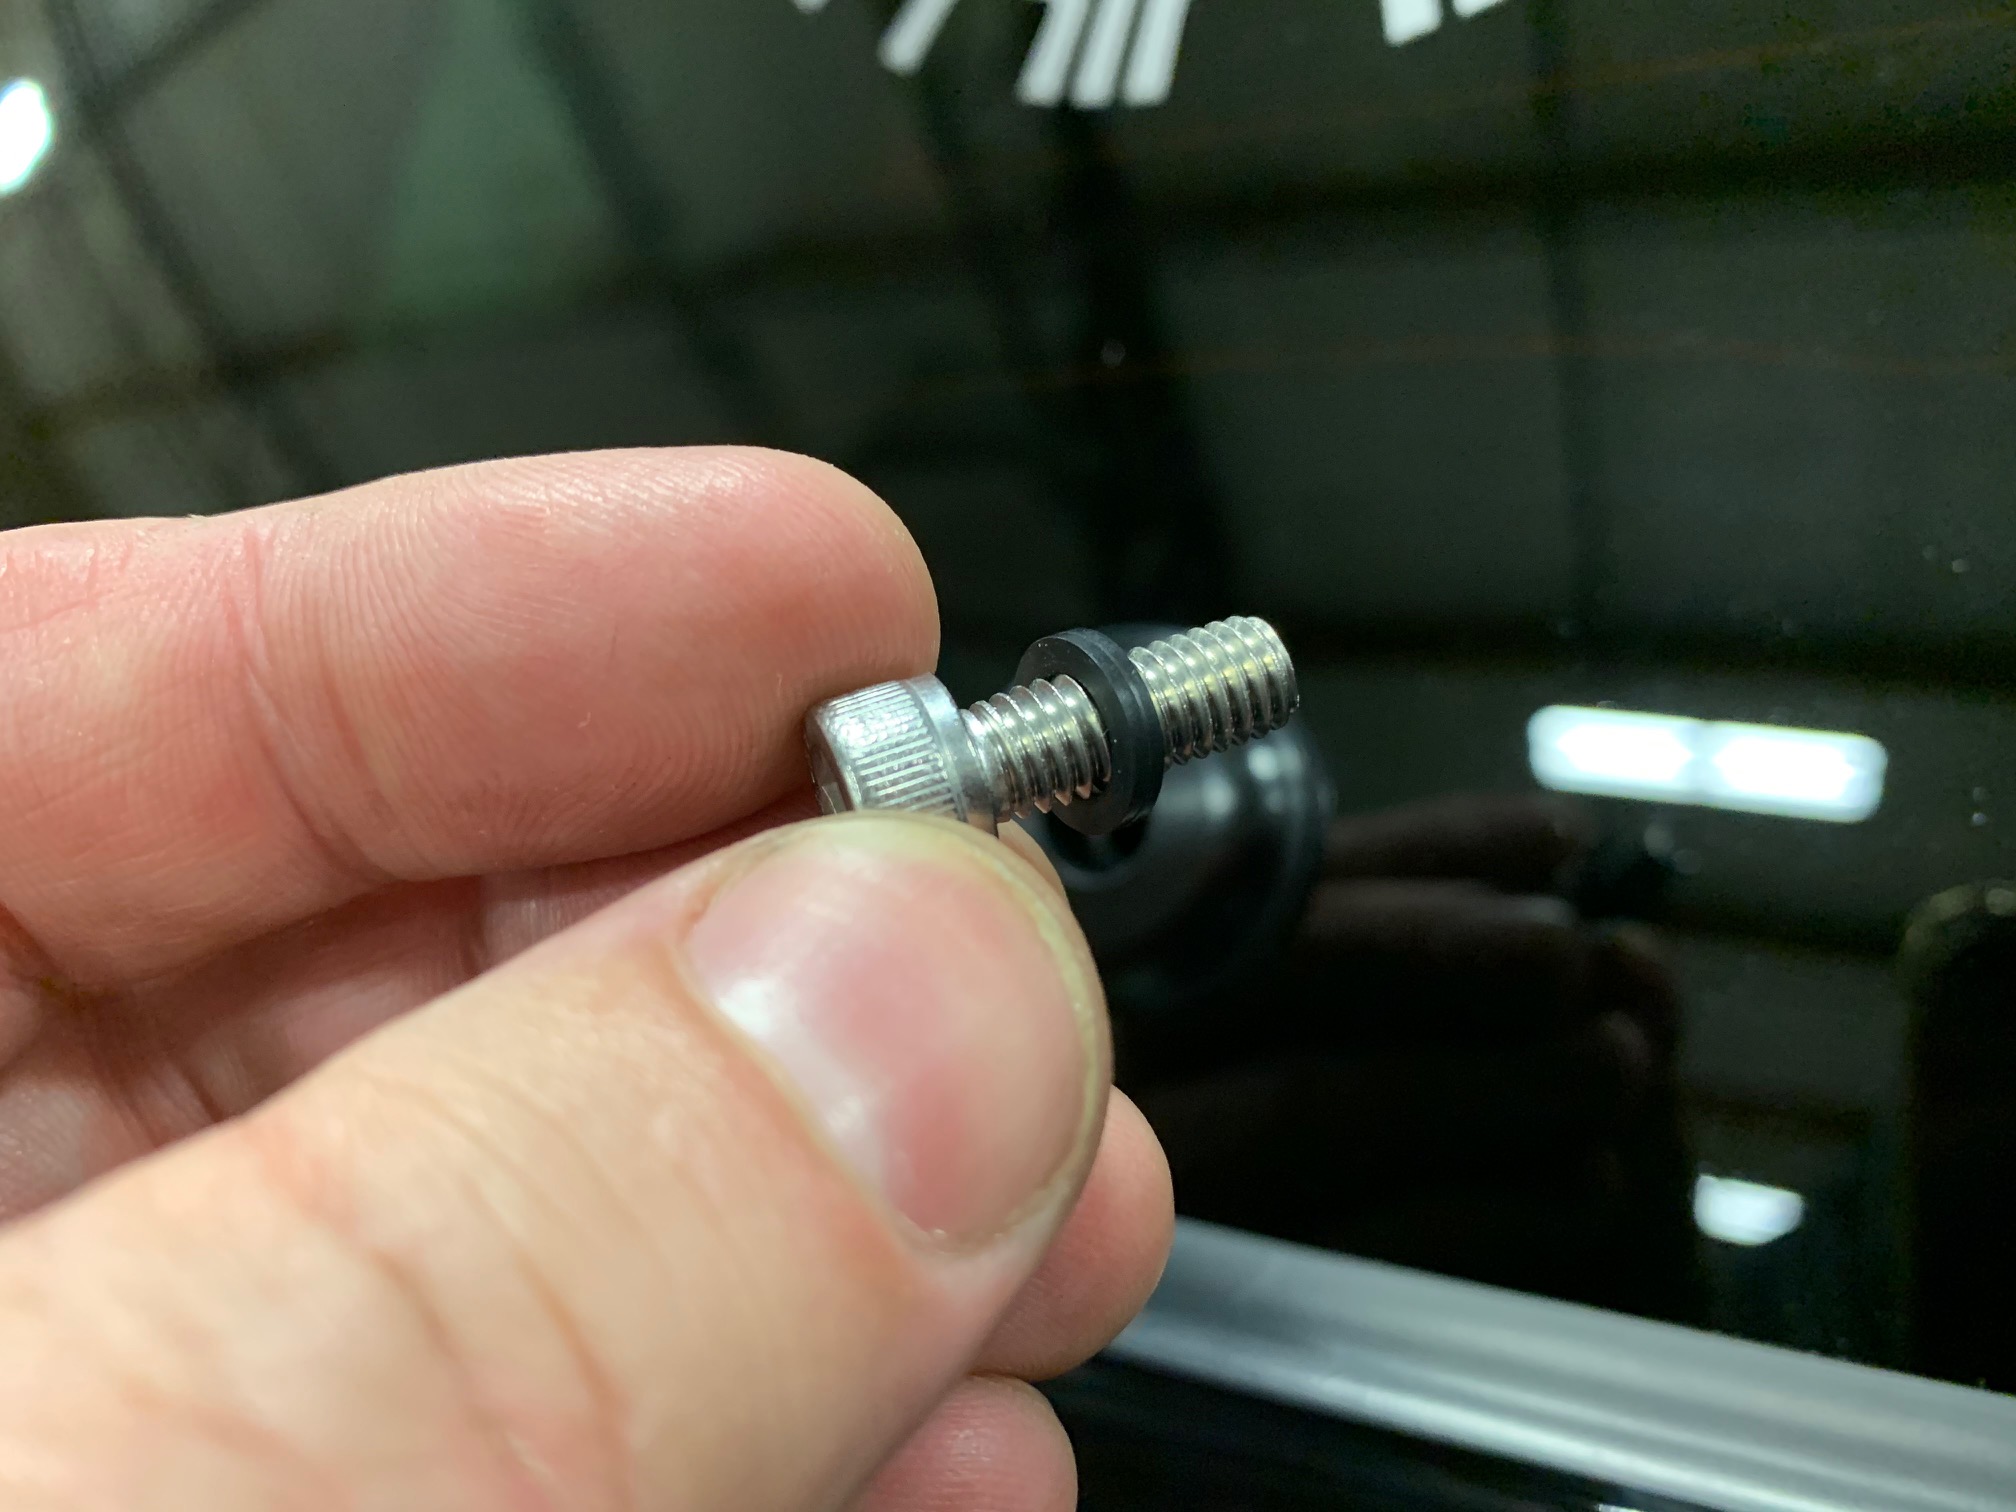
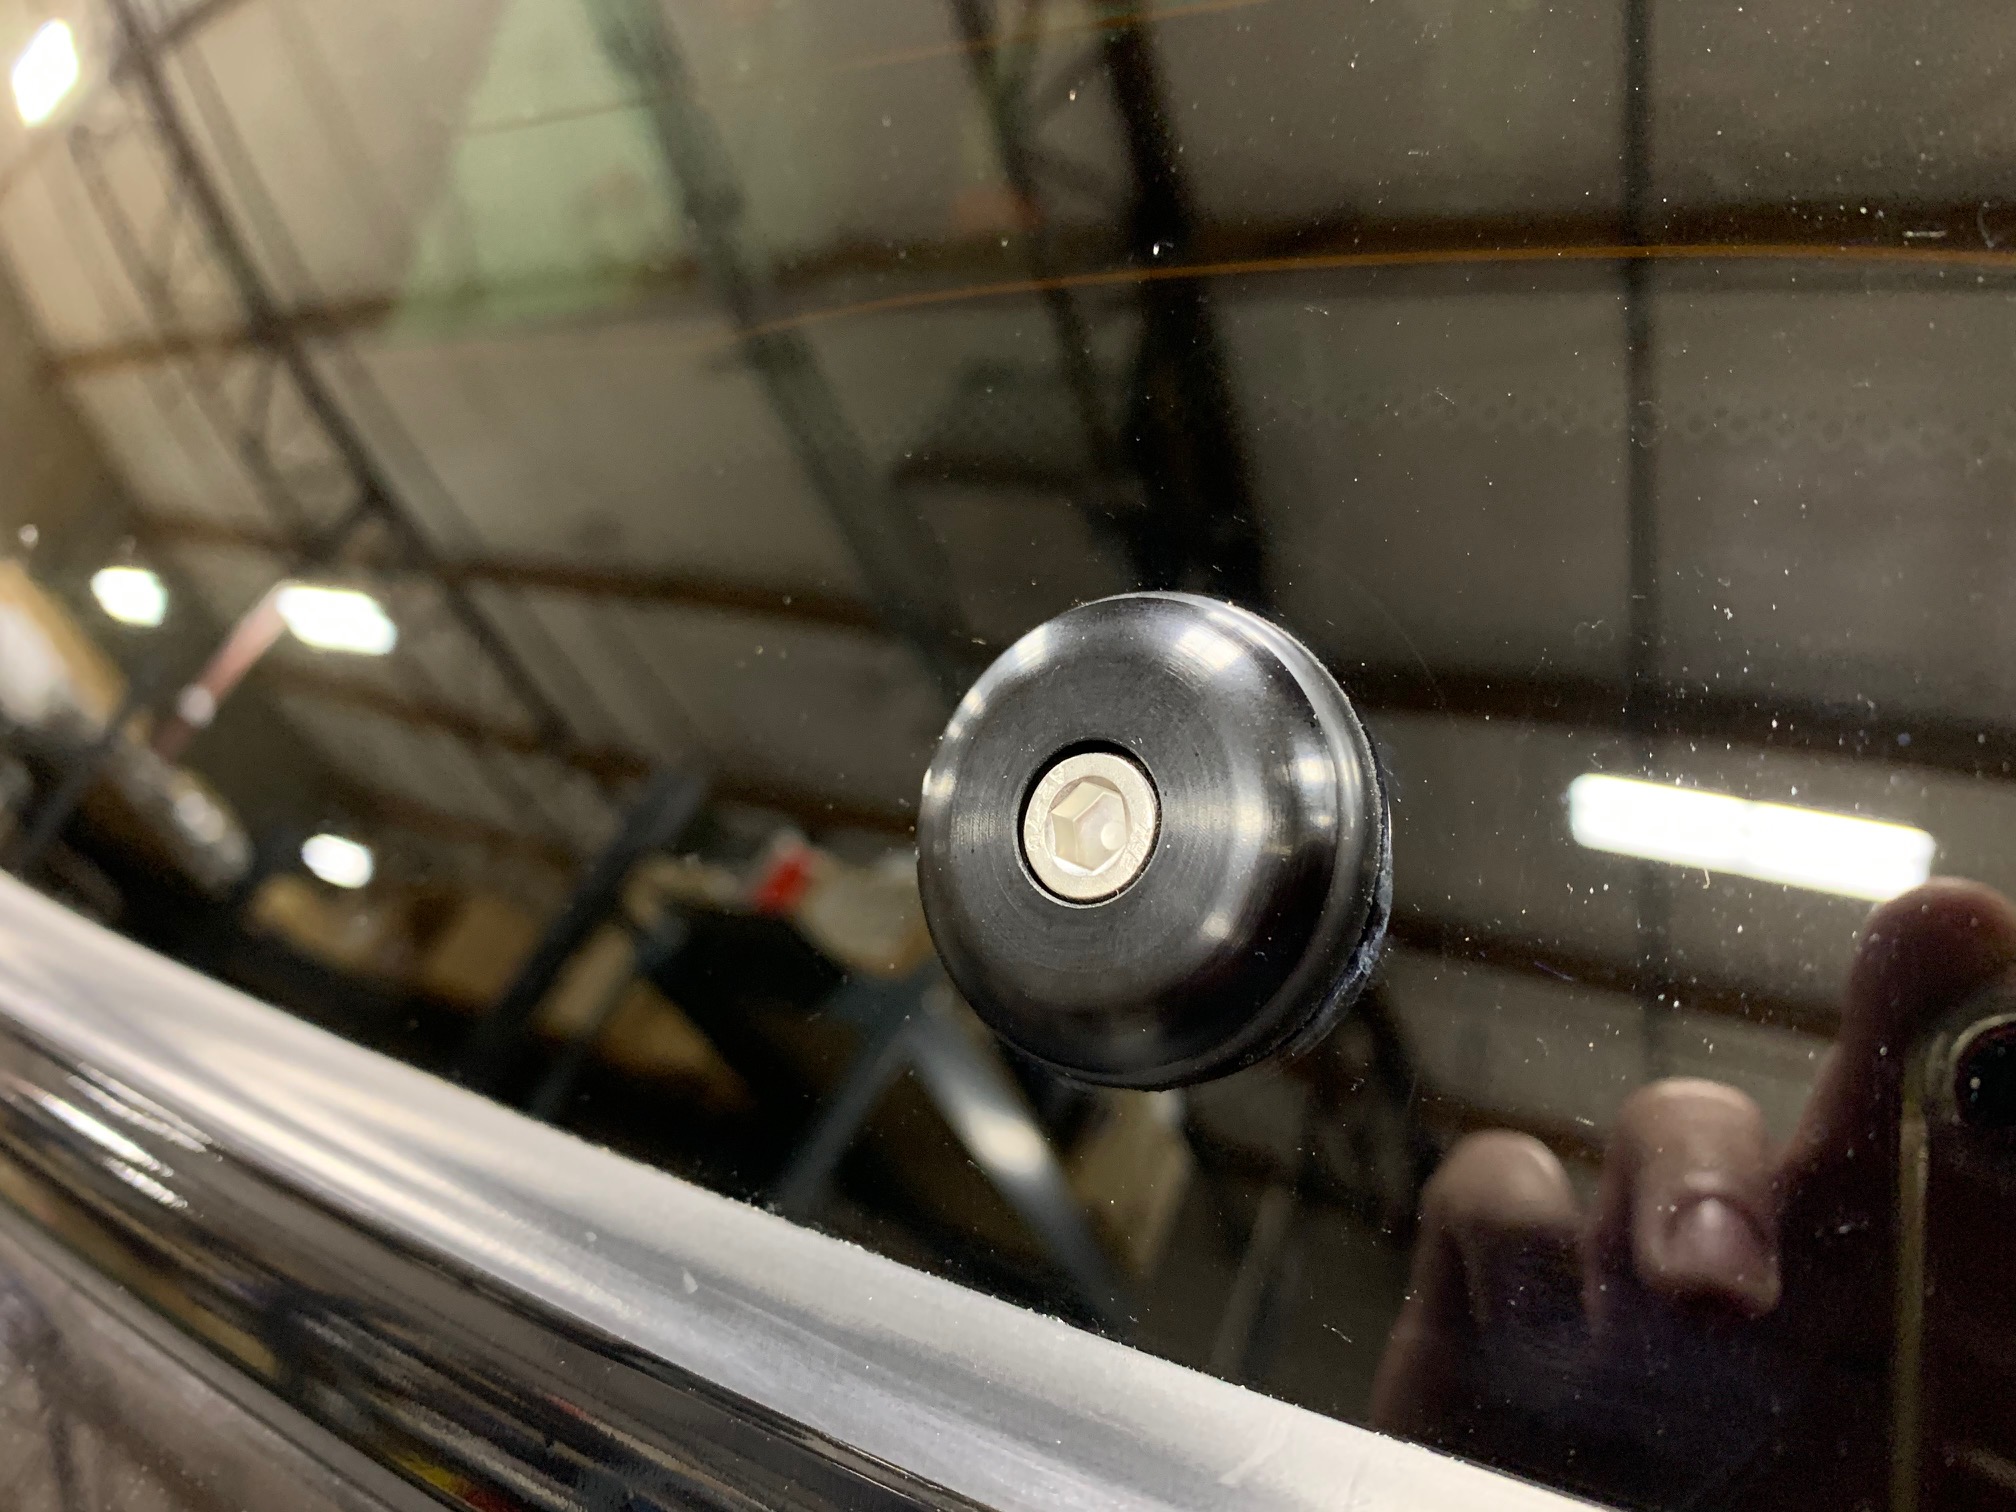
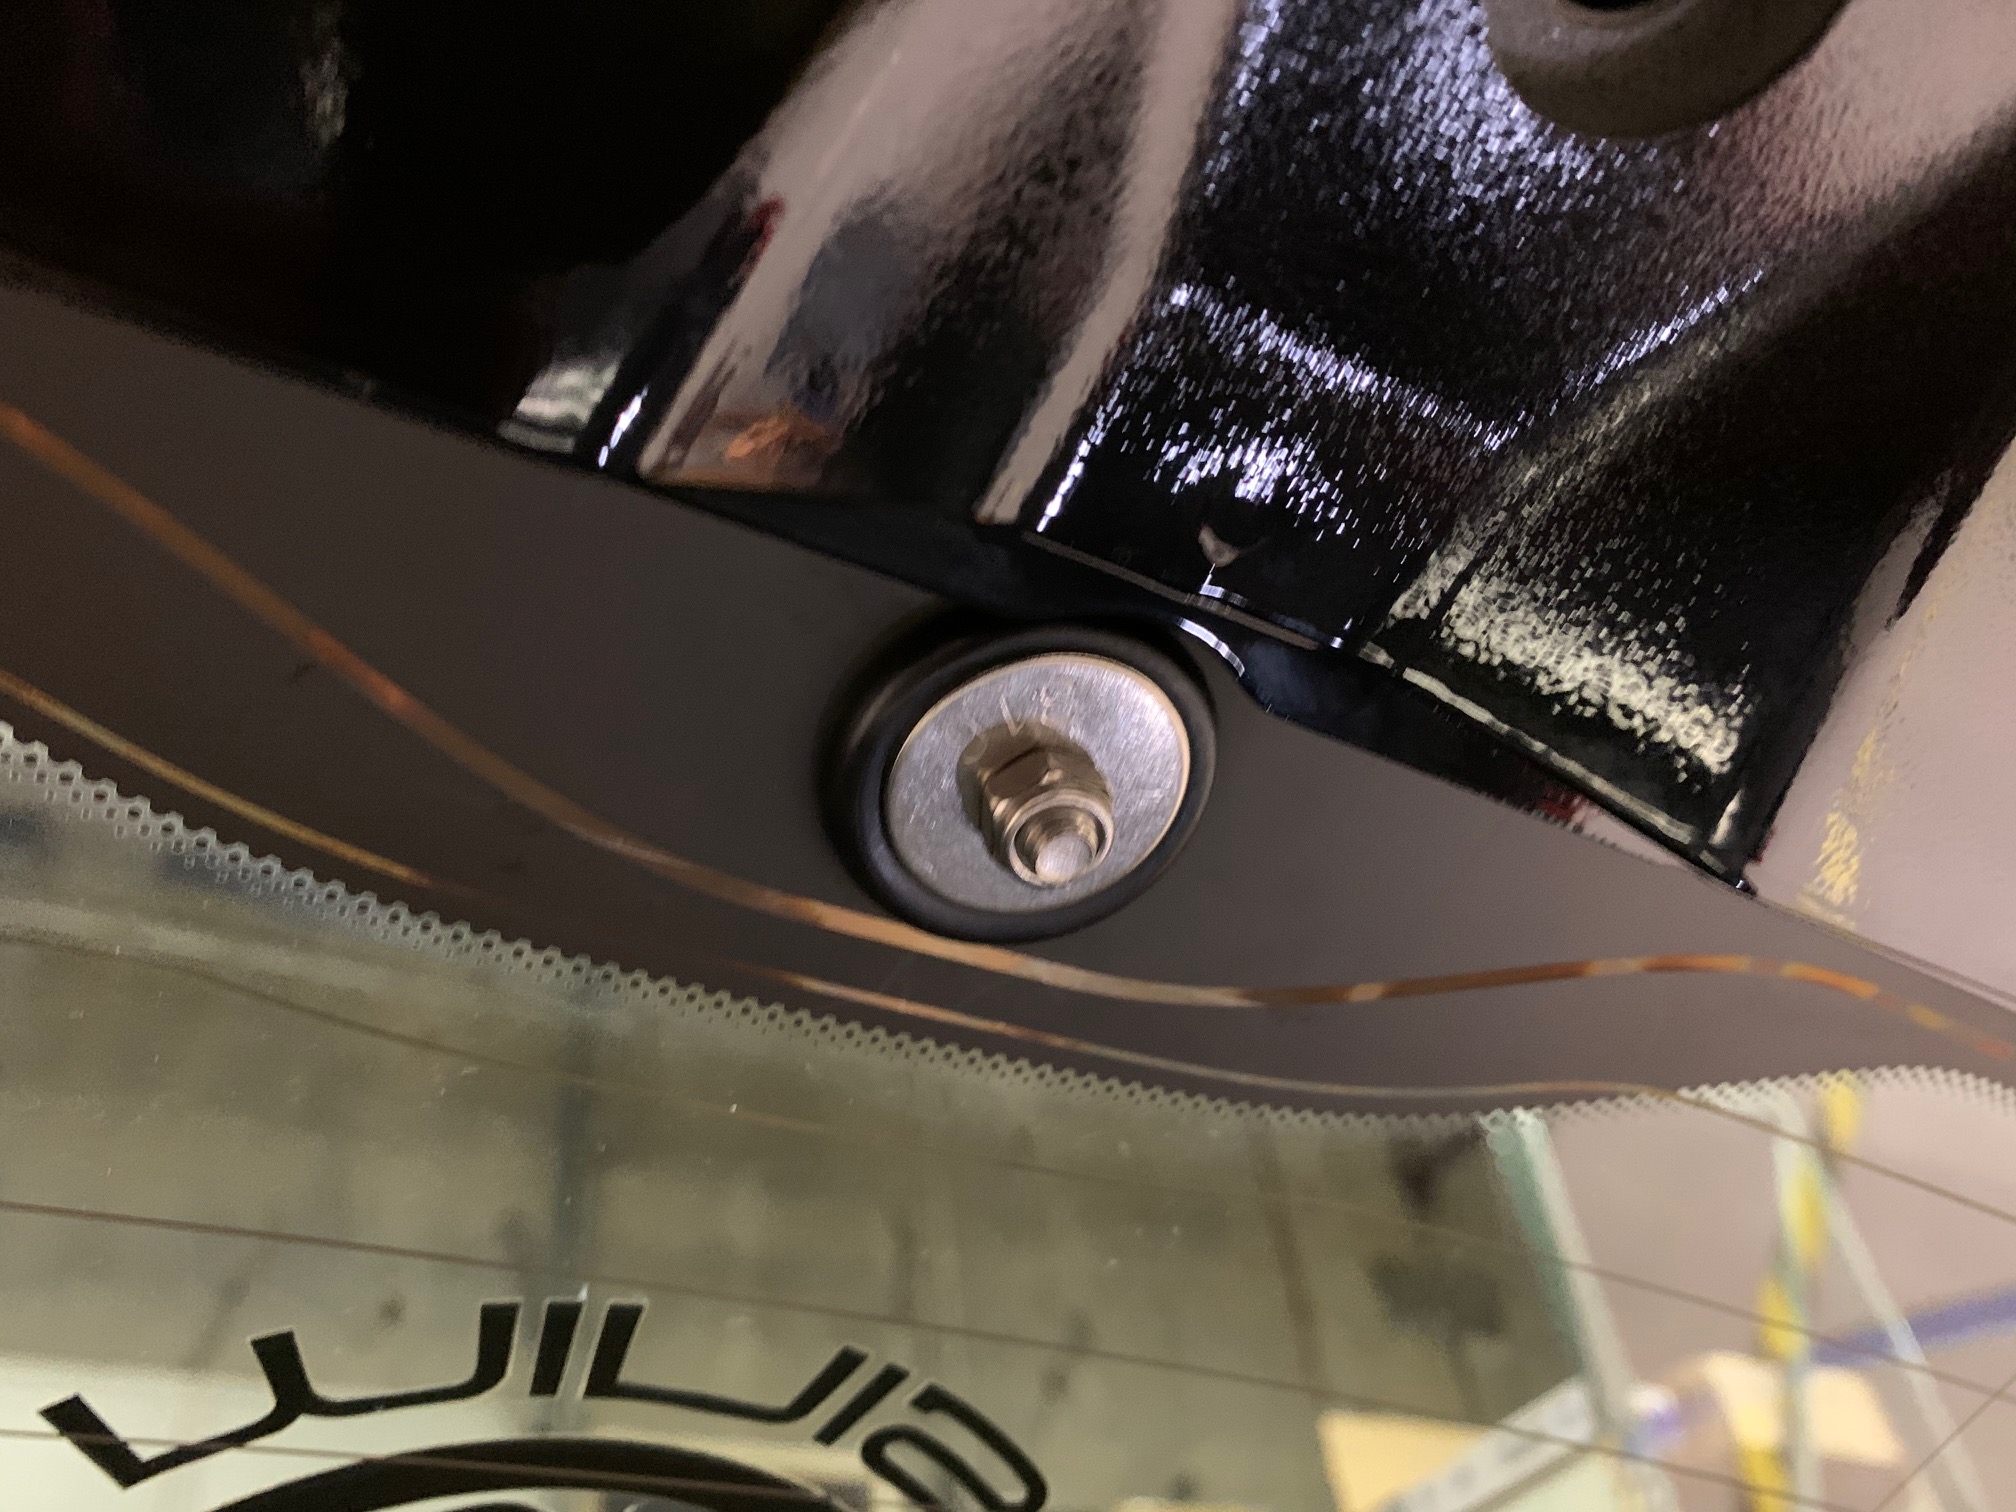
Open the rear boot and while holding the M6 screw in place with a 5mm hex key, place the large washer over the M6 stainless screw on the underside of the boot and thread on the lock nut. Tighten with your 10mm socket until the M6 screw is located approx. 1mm below flush with the delete cap.
Replace inner boot panel of the rear liftgate. Start along the top edge by the rear window ensuring that the clips are engaging in their proper locations. Plug the automatic liftgate wiring back into the switch and install it back into the lower edge of the boot panel.
NOTE: If you’d prefer to hide the stainless screw, we now include a black plastic cap that snaps into the hex and provides a clean, finished look.