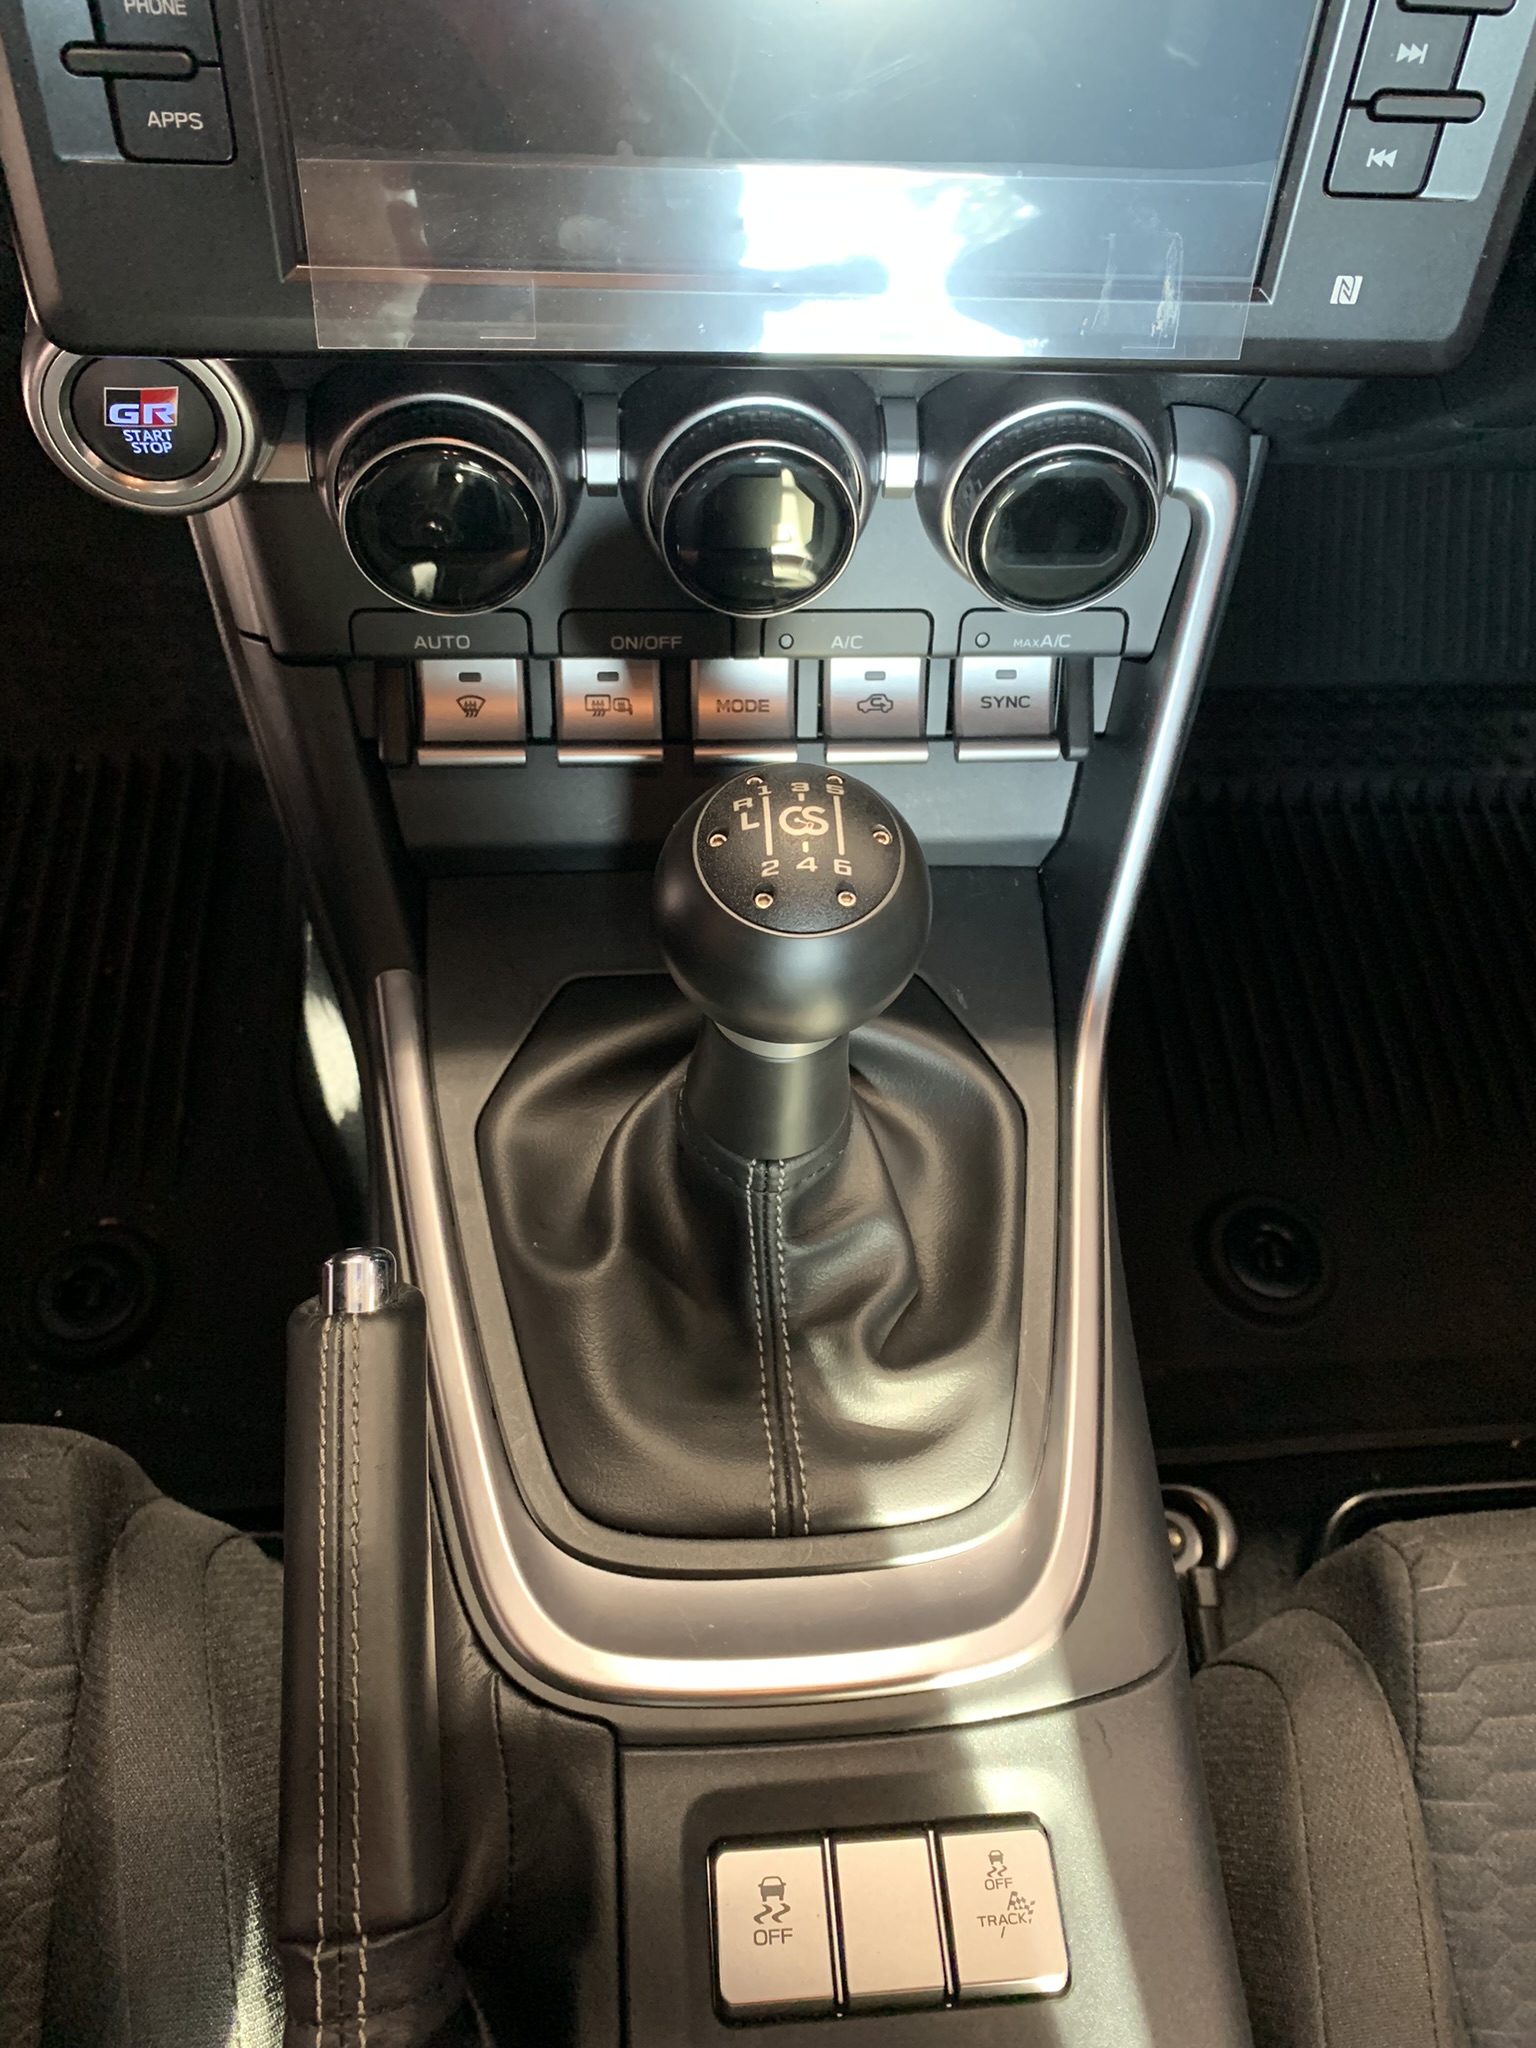
THANK YOU
for purchasing the GR86 Short Shift Kit from CravenSpeed. This product is made from the highest grade materials, and is guaranteed to be free from defects.
You can buy our
CravenSpeed Short Shifter for Toyota GR86 here
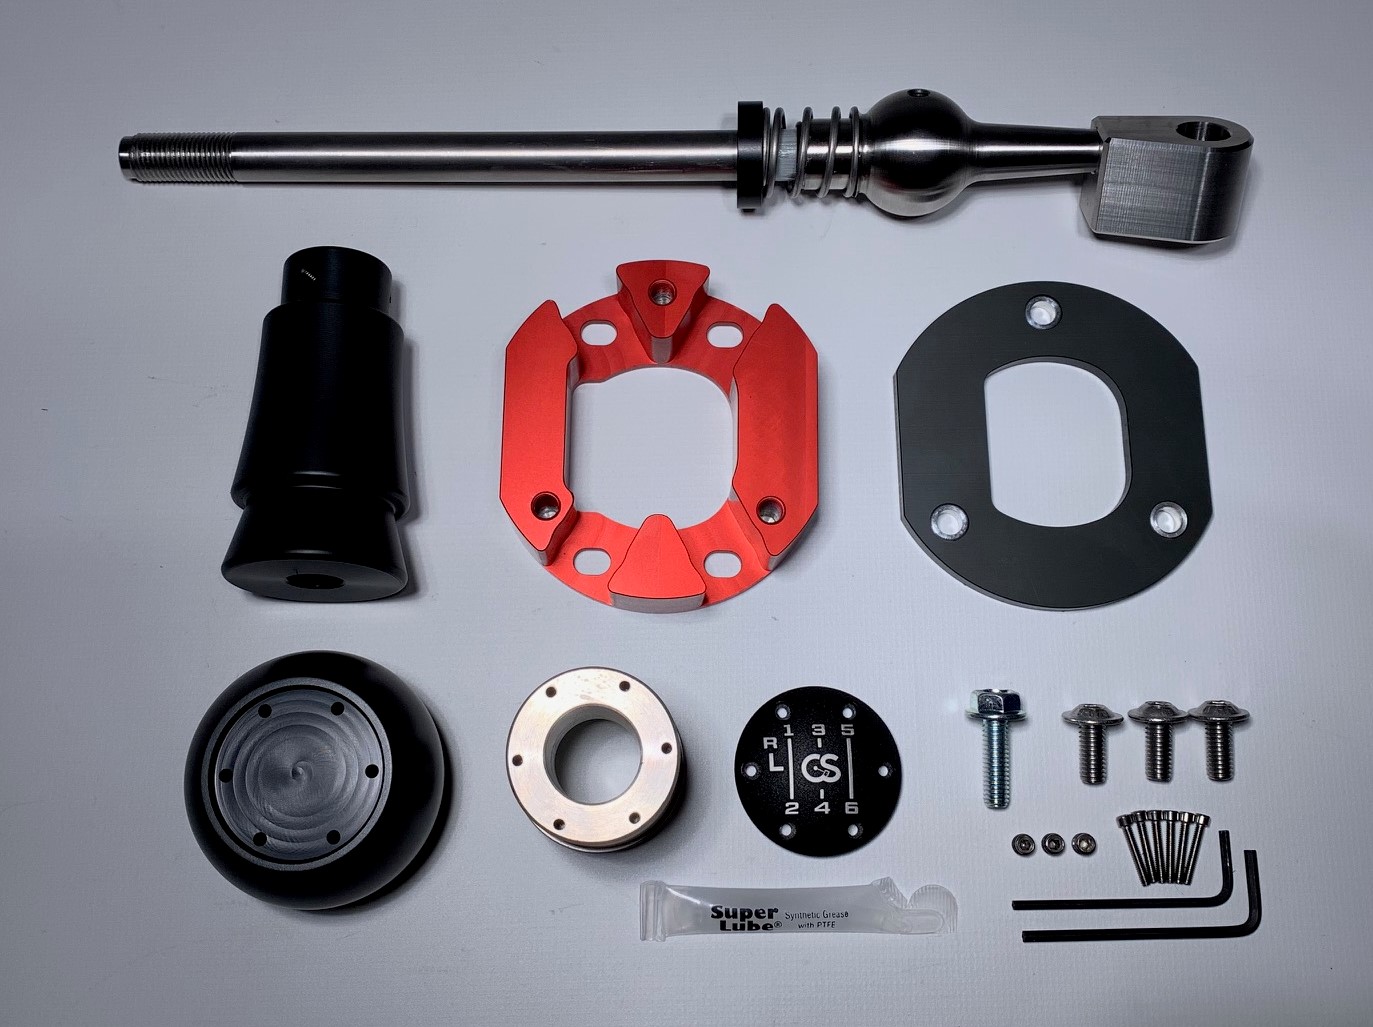
Parts Included:
-
1x Short Shifter Sub-Assembly
-
1x Reverse Lockout Plate (black Acetal)
-
1x Lockout Plate Mount (red anno)
-
1x Shift Knob Boot Collar (black Acetal)
-
1x Shift Knob Body (black Acetal)
-
1x Stainless Steel Shift Knob Core
-
1x Shift Knob Cap
-
6x 2-56 Stainless Steel Socket Head Cap Screws
-
3x 10-32 Set Screws
-
3x M6 x 14mm Flange Button Head Screws
-
1x M6 x 20mm Flange Hex Head Screw
-
1x White PTFE Multipurpose Grease Packet
Tools Required:
-
Trim Panel Removal Tool (flat-bladed screwdriver may be used with care)
-
Philips Screwdriver
-
Ratchet Wrench w/ Extension
-
10mm & 12mm Sockets
-
Snap Ring Pliers
-
4mm Hex Key
-
3/32" Allen Key (included)
-
5/64" Allen Key (included)
NOTE:
This install may seem a bit intimidating at first glance, but honestly it is fairly simple and straightforward. We recommend reading entirely through the instructions a few times before you begin. If you are unsure of your mechanical abilities, please seek out a friend that can assist you or a professional shop that can perform this install for you.
Removing the Center Console
-
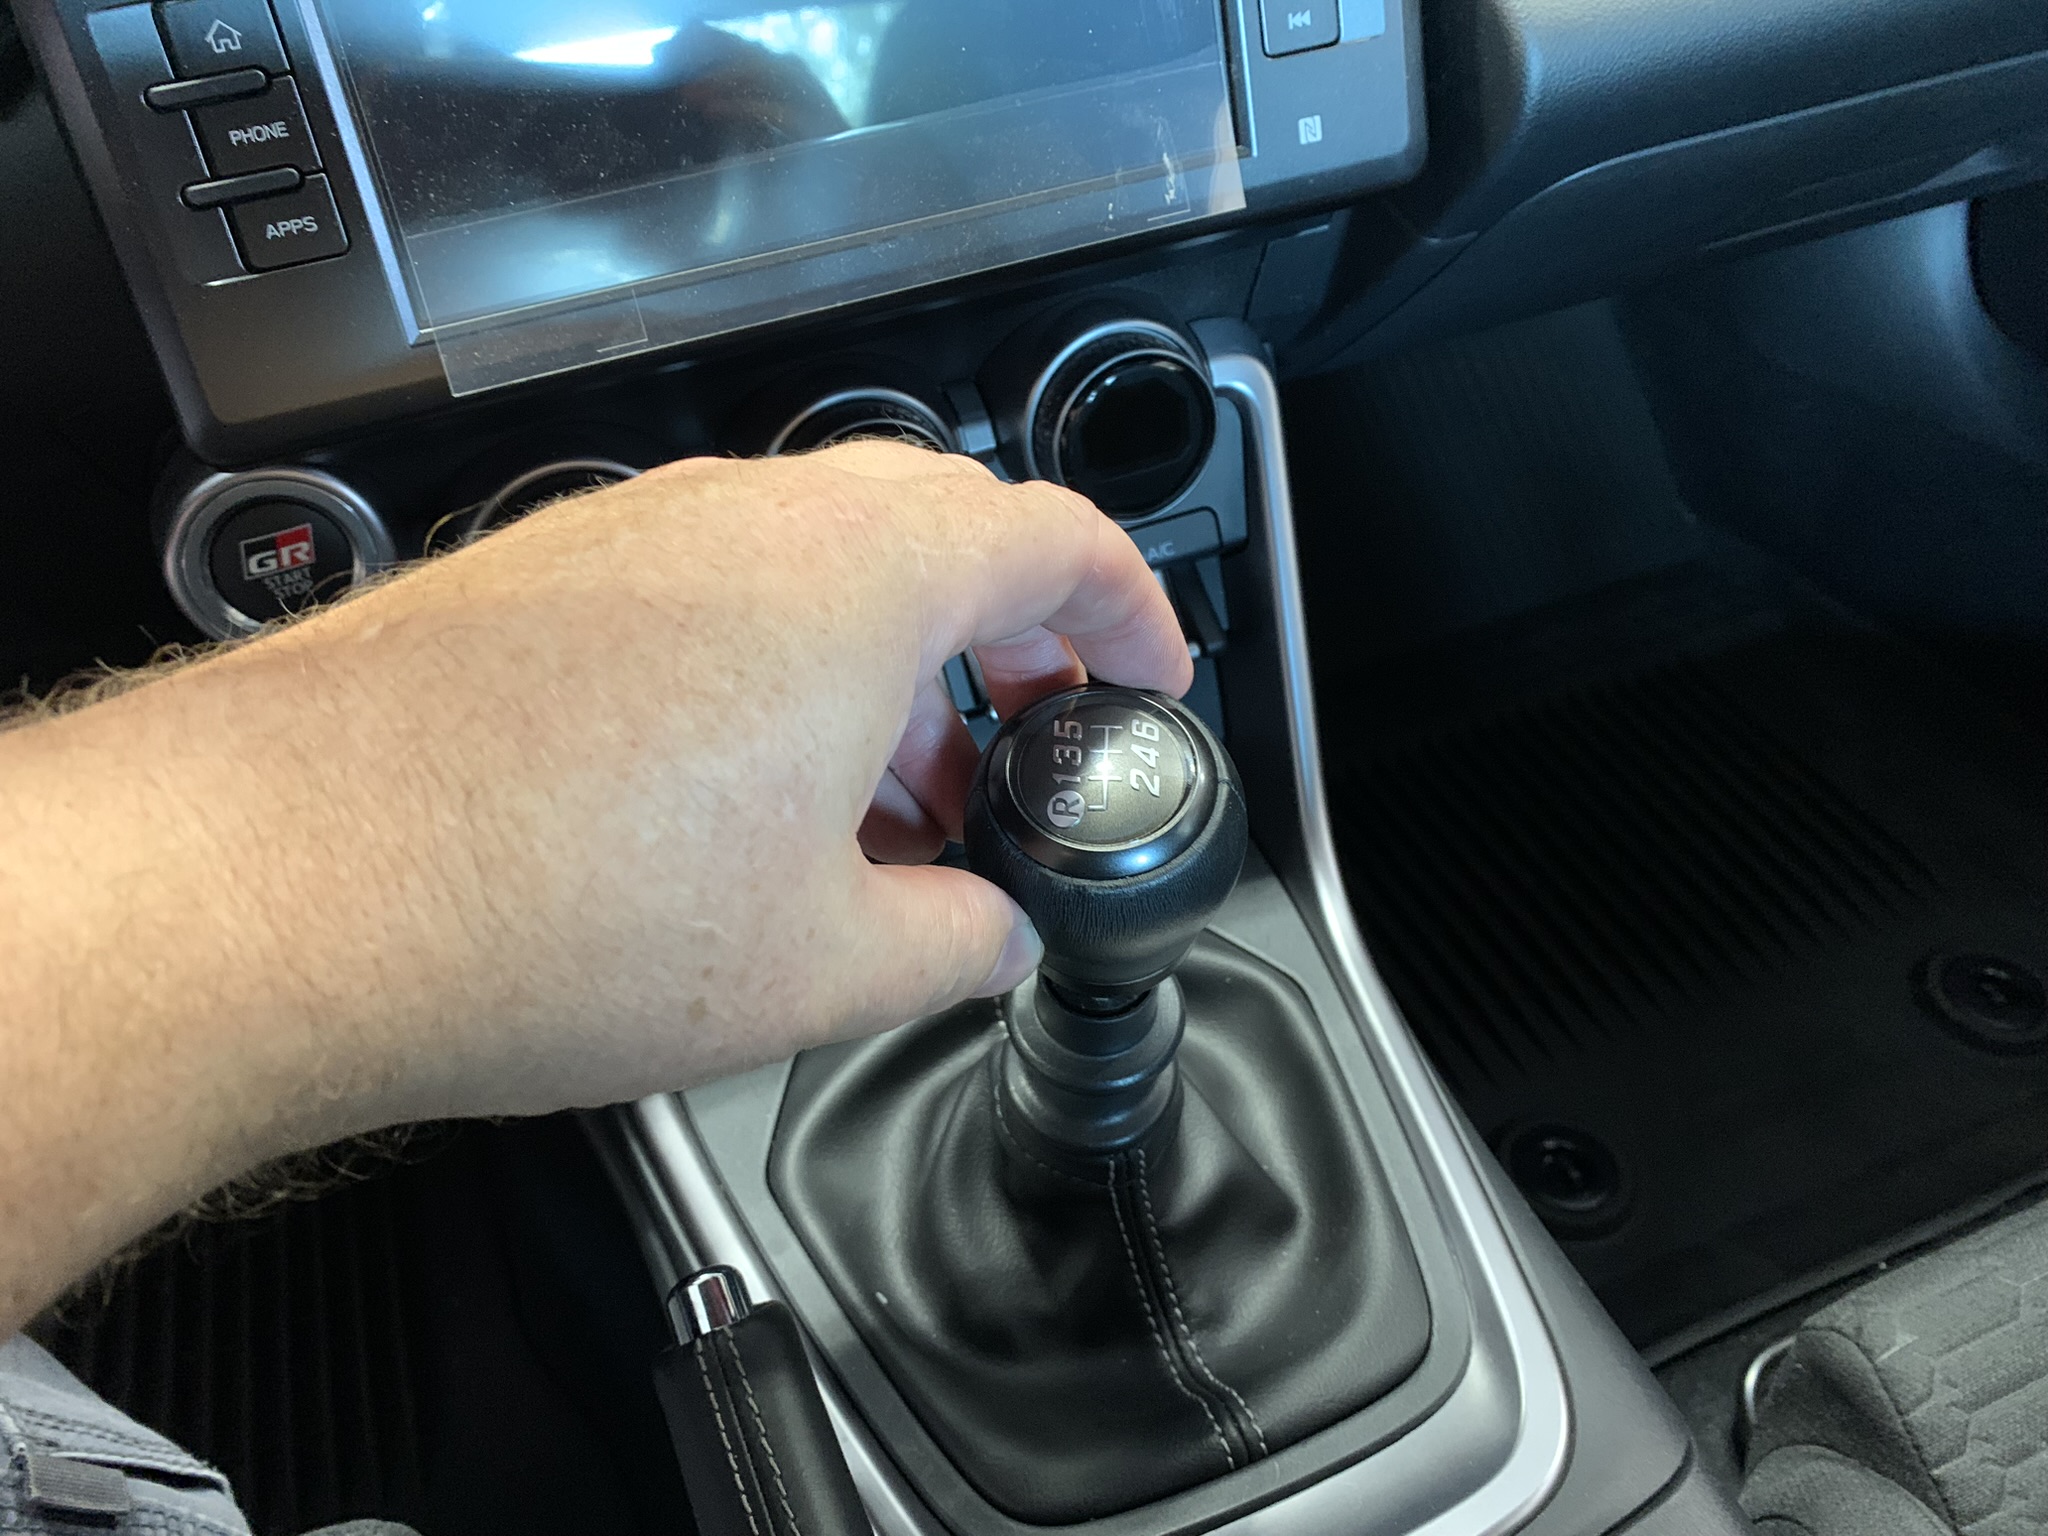
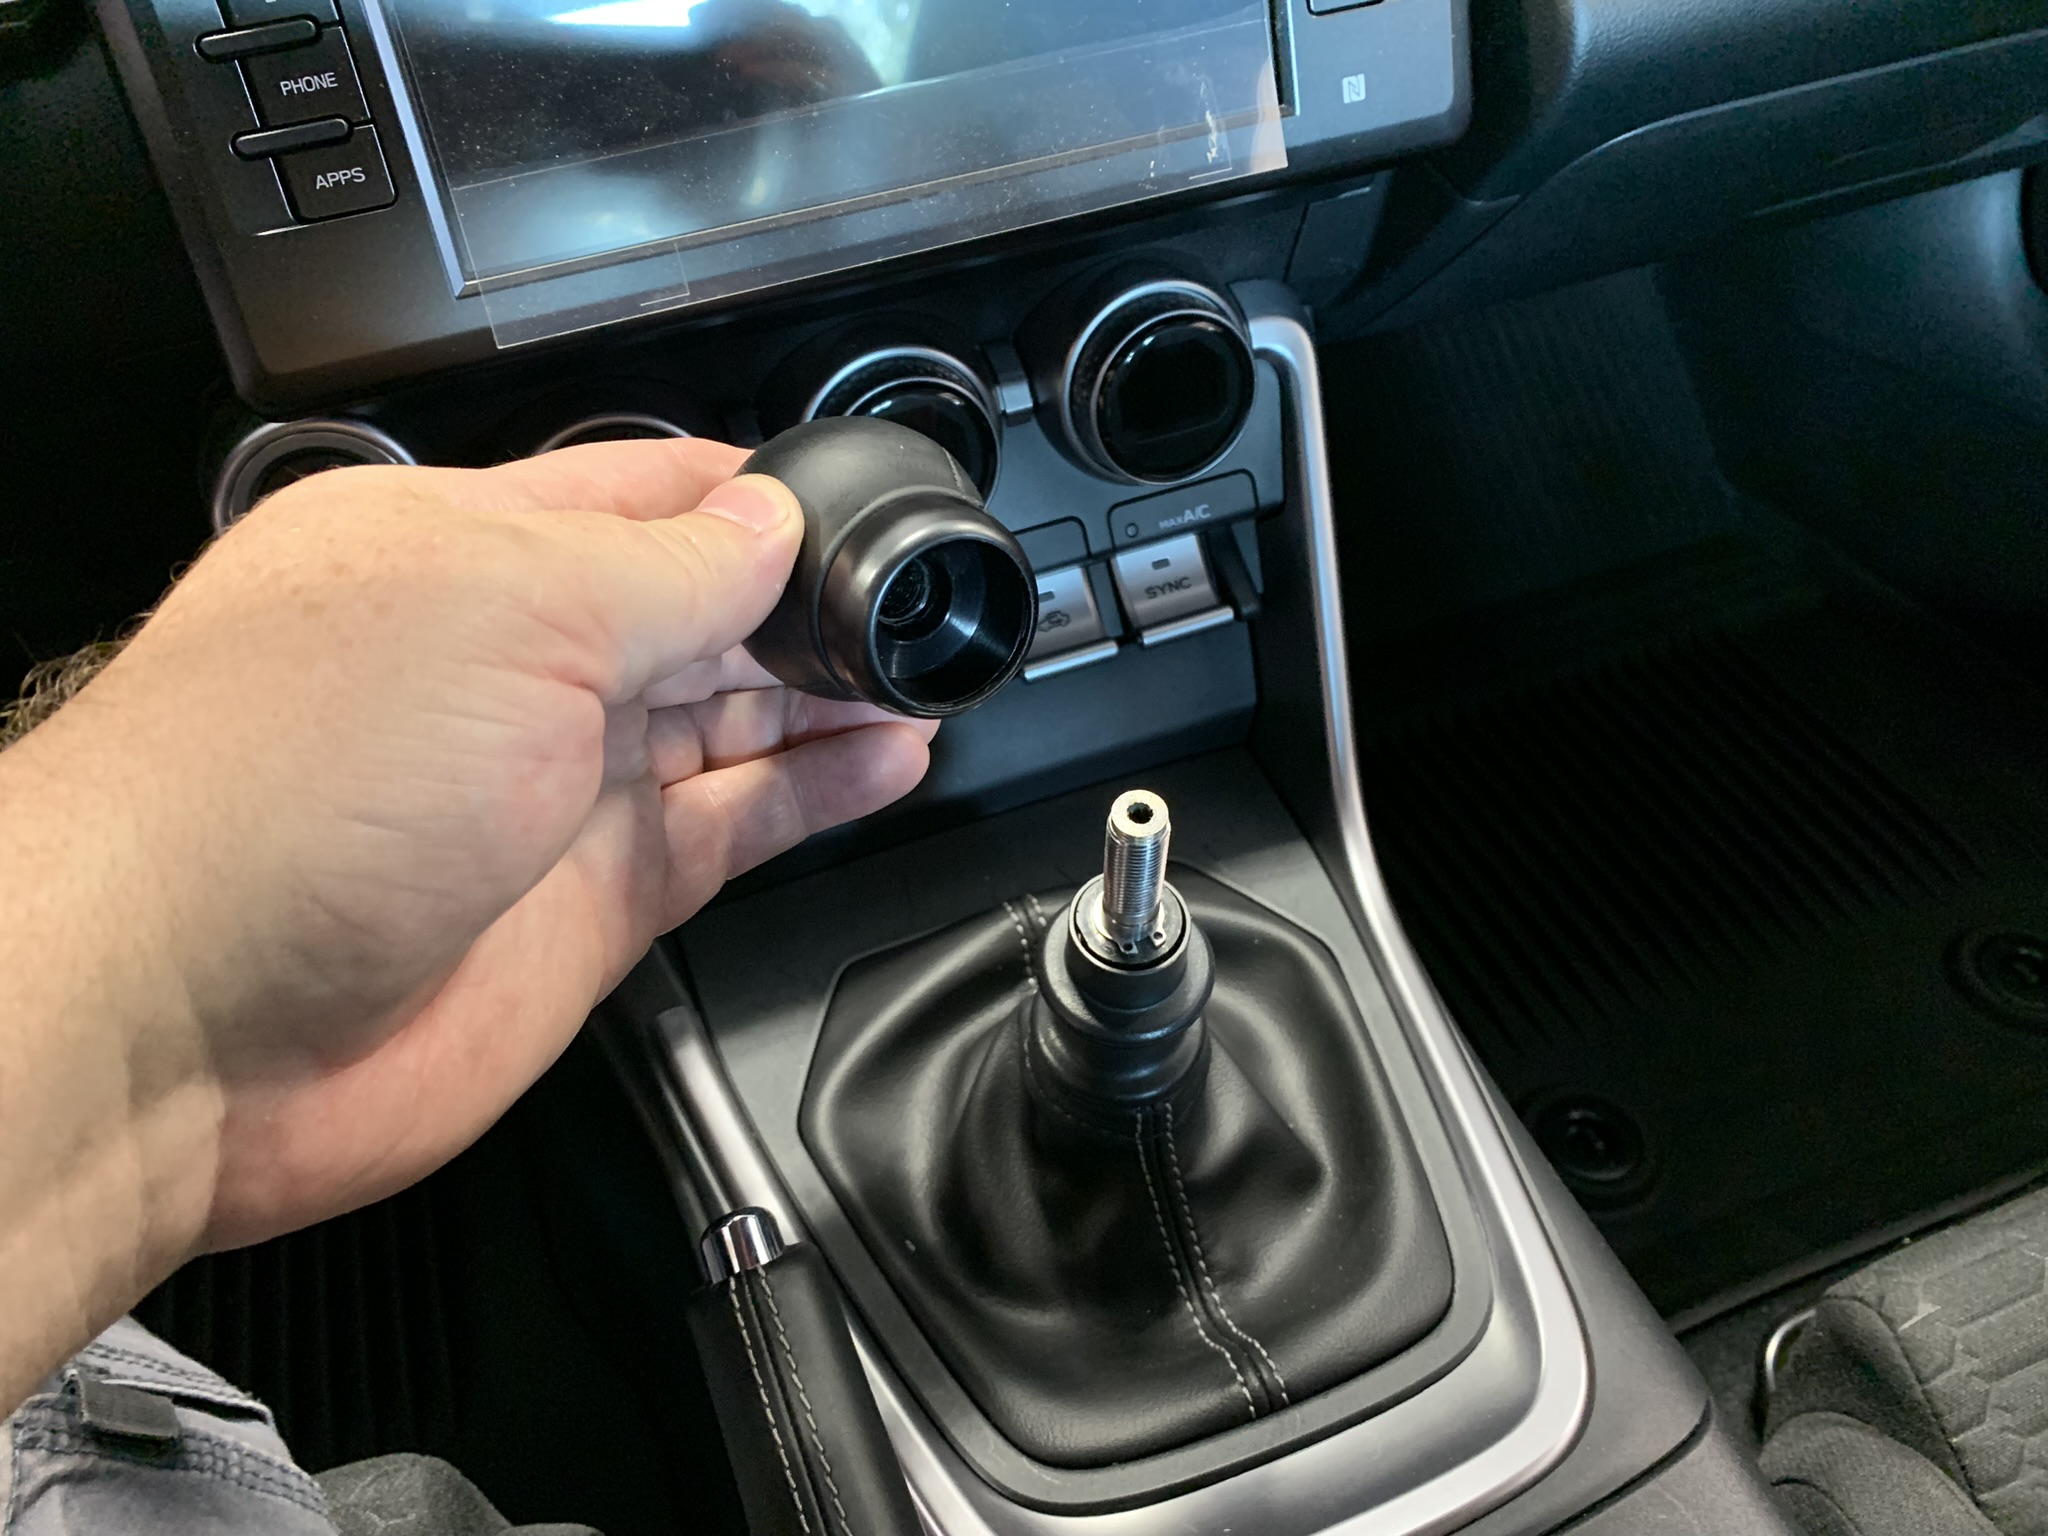
Sit down in the driver’s seat, engage the parking brake, and remove the OEM shift knob by unscrewing it counter-clockwise. It may be installed very tightly, but it does unscrew.
-
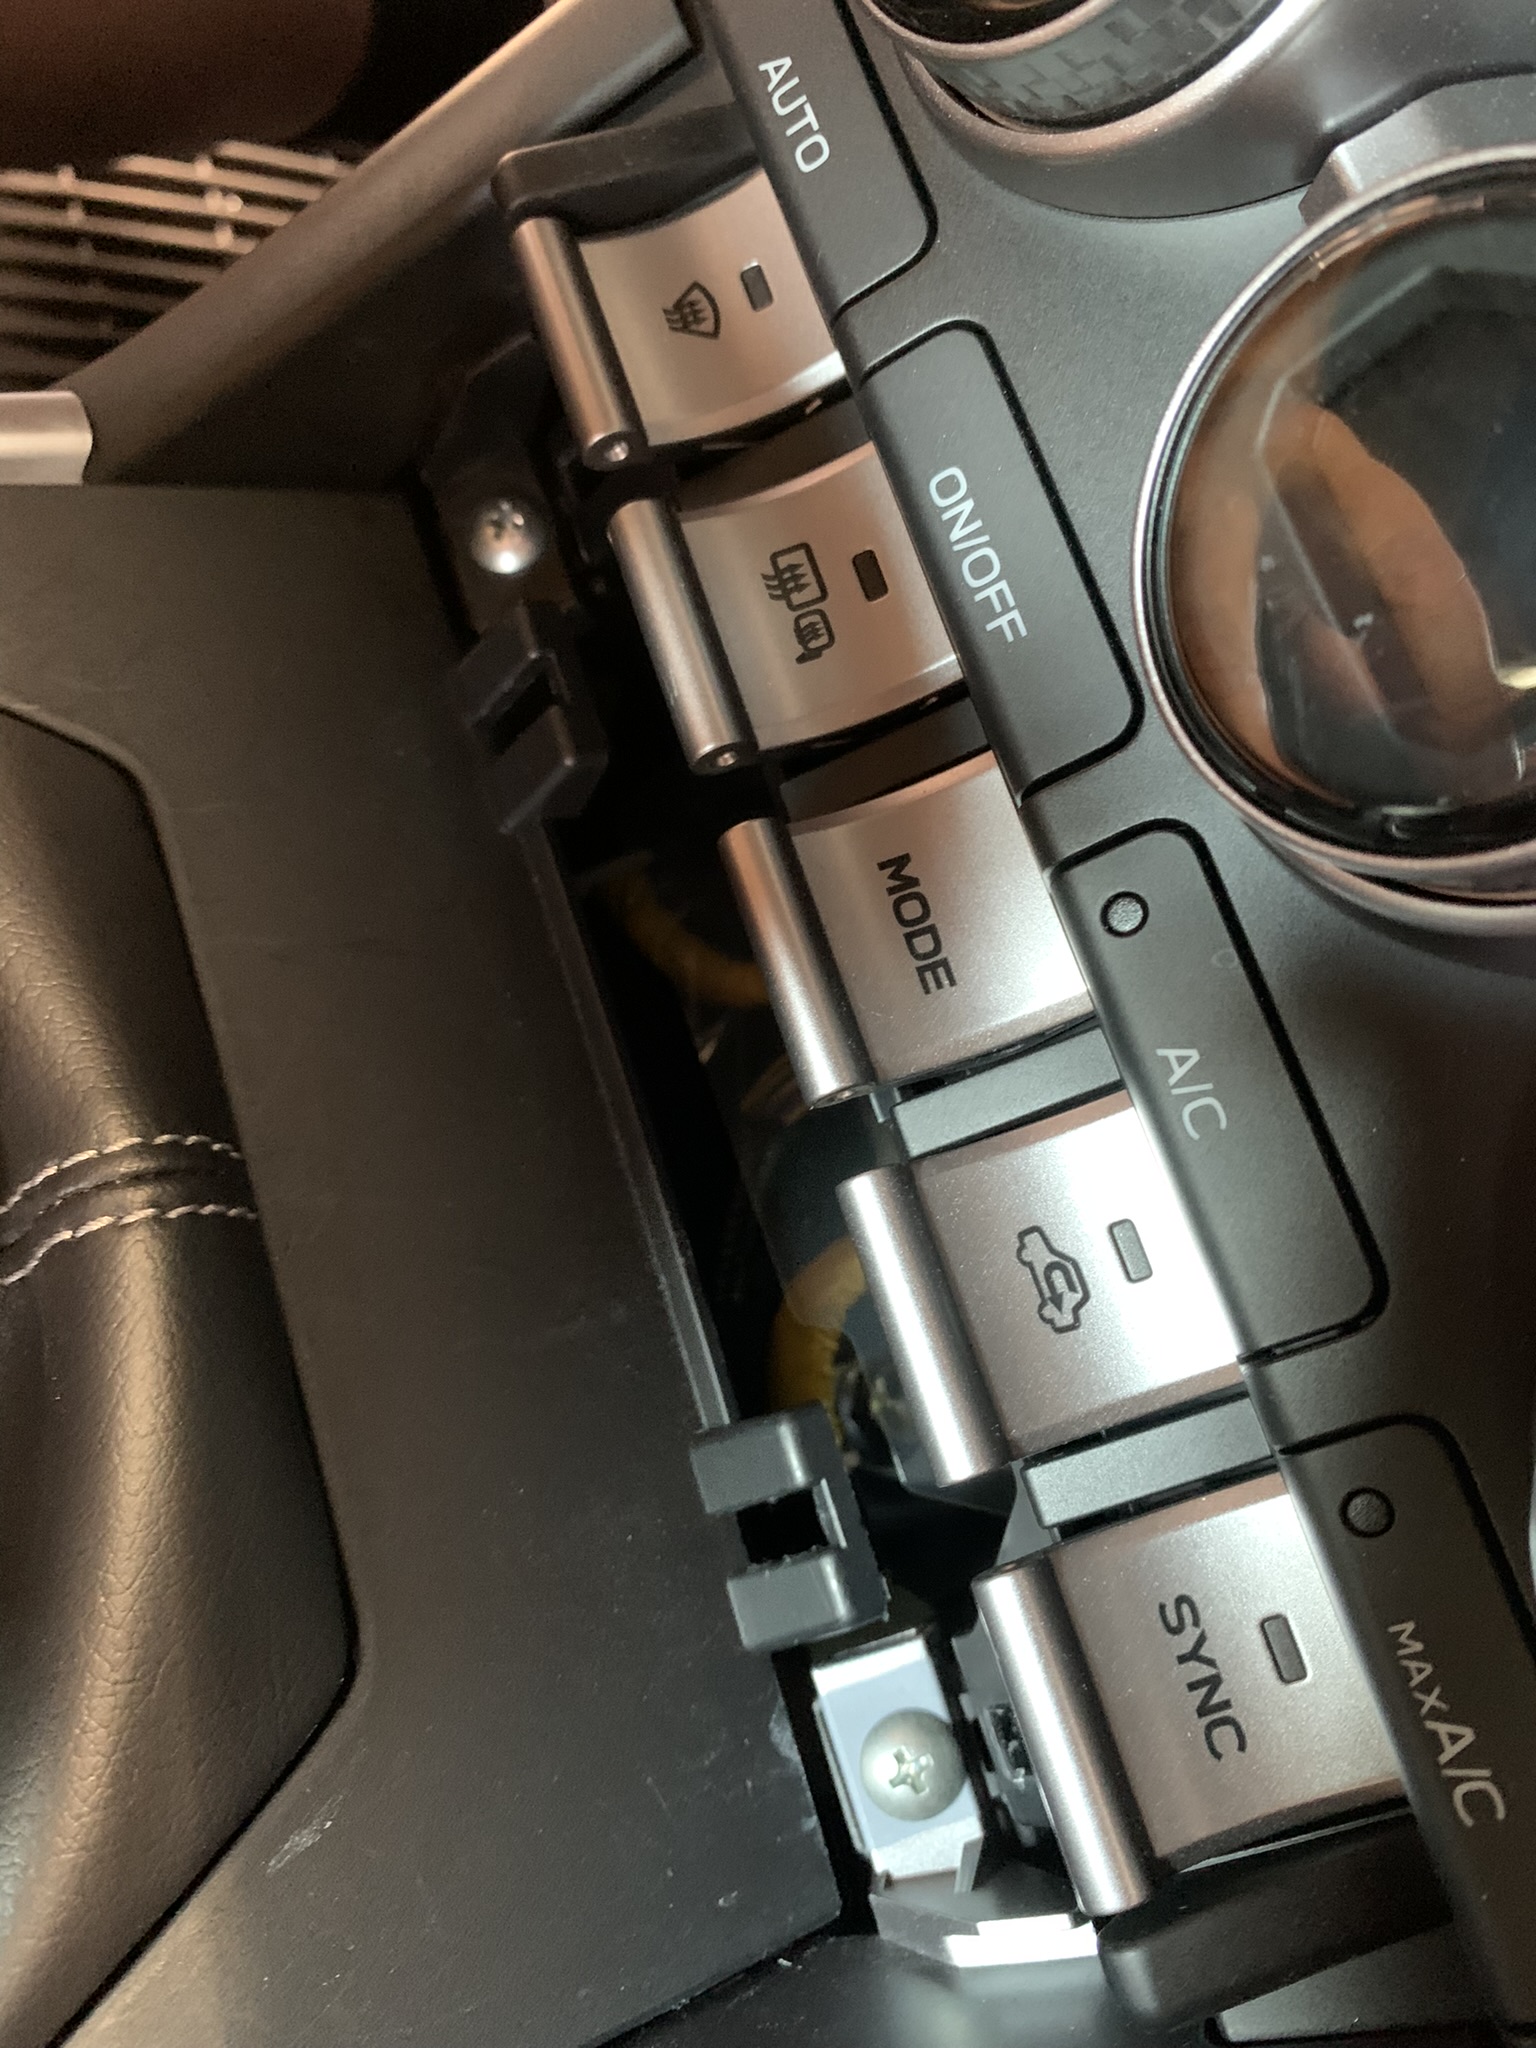
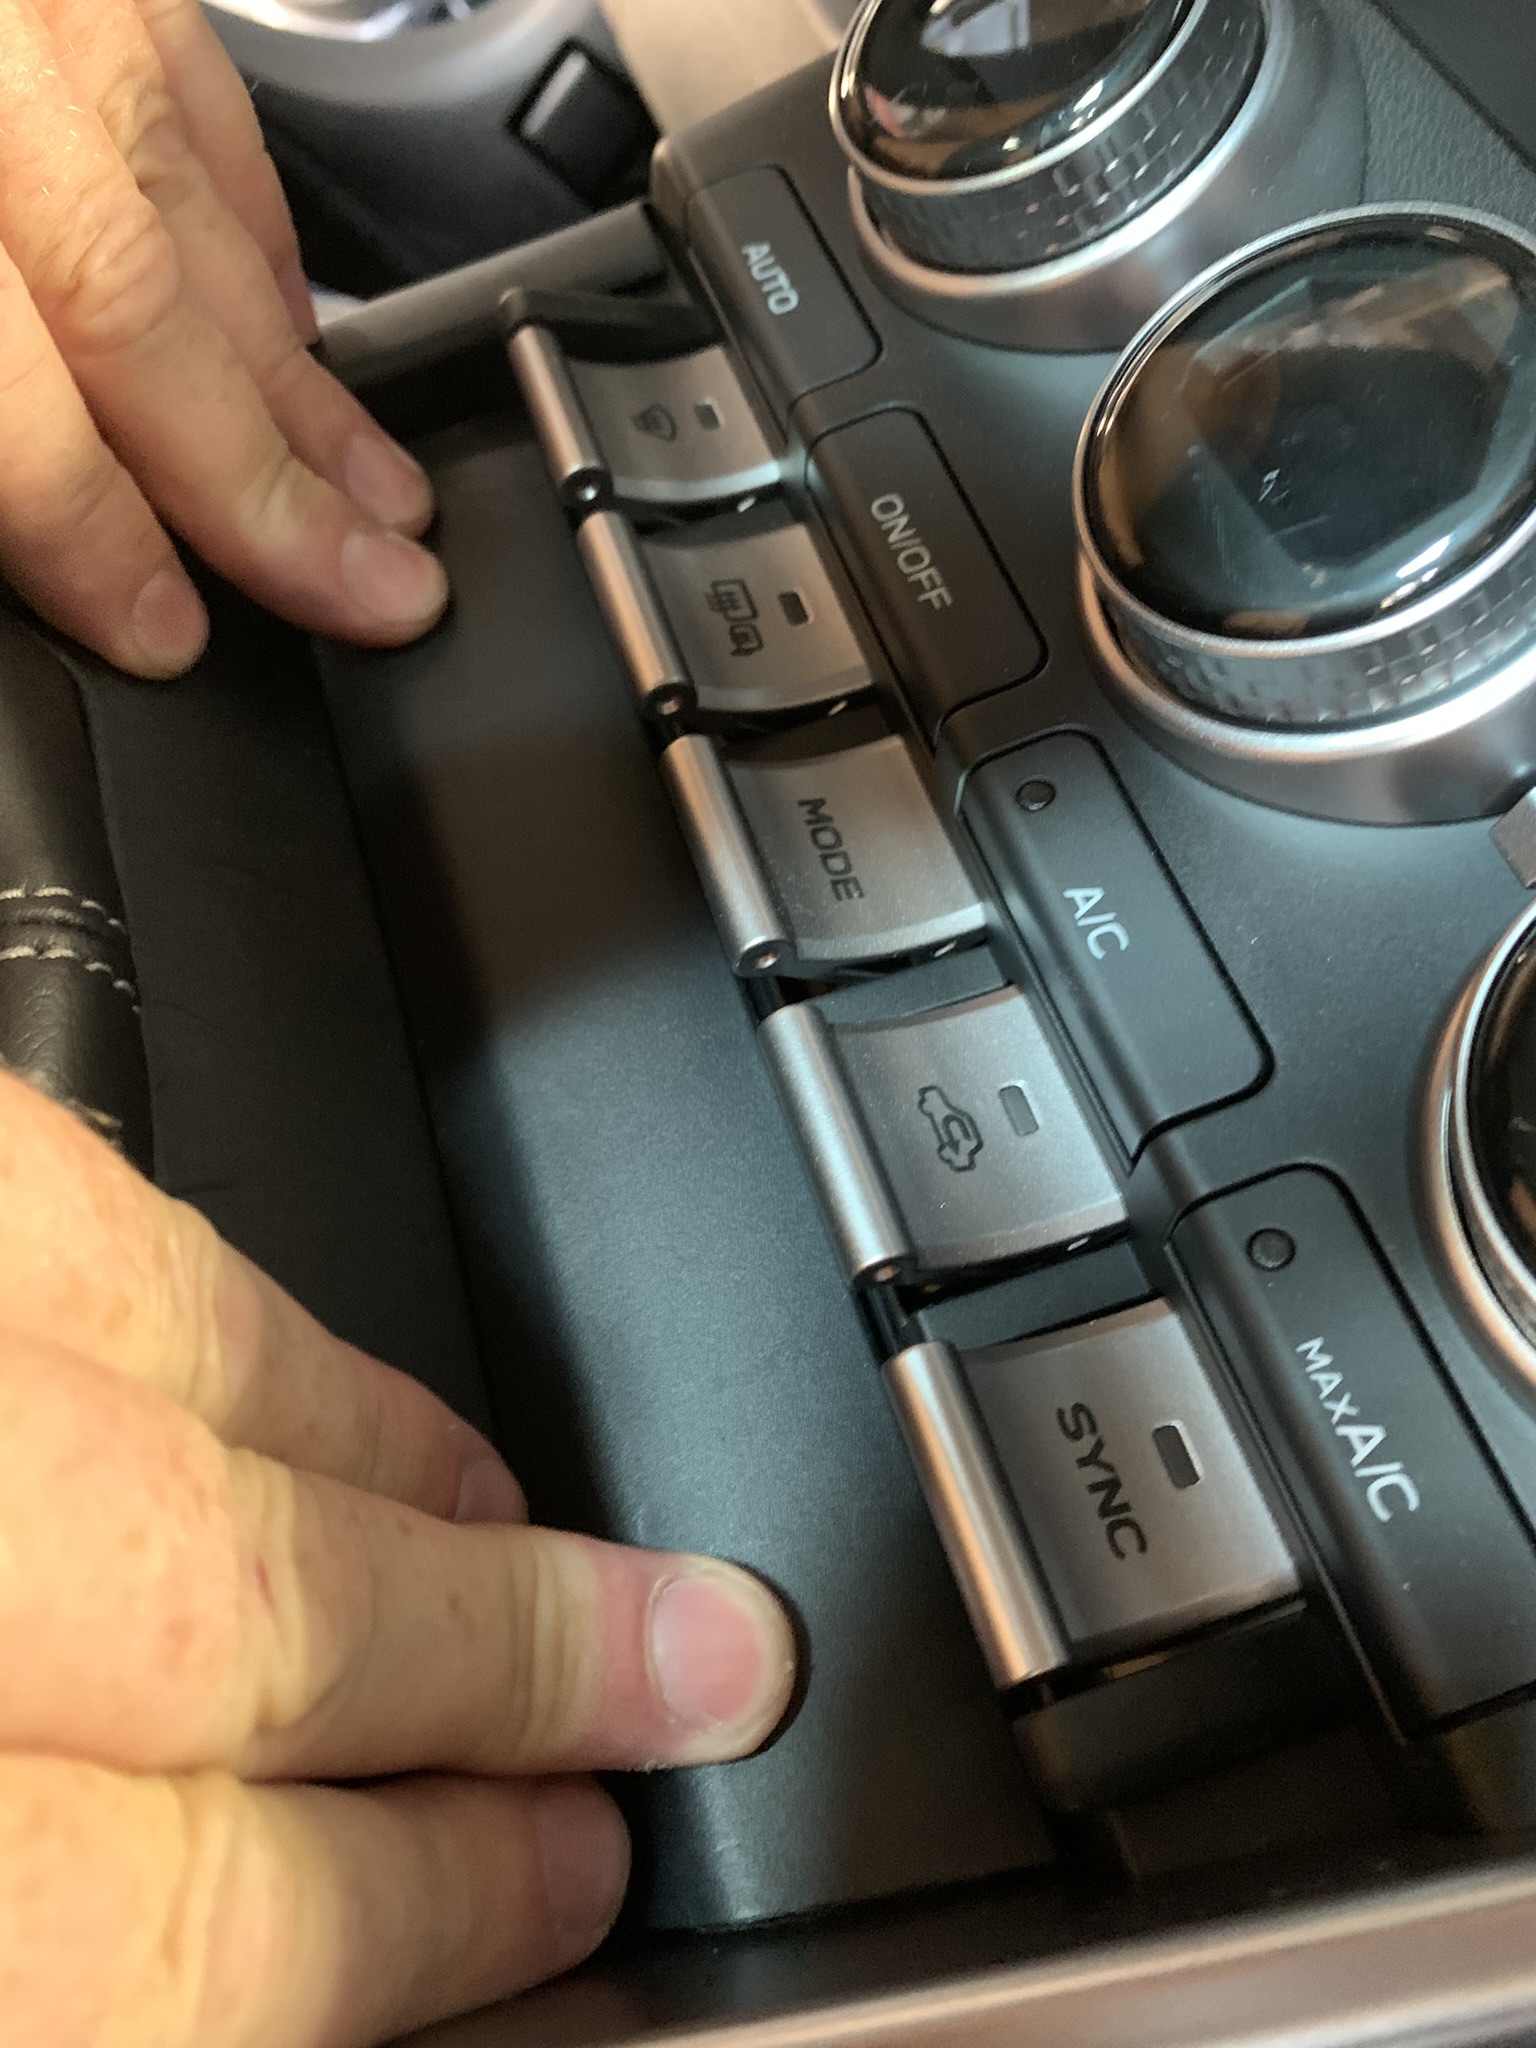
Utilizing a trim panel removal tool or hook, pry off the small panel just under the climate controls to expose two (2) Philips screws. Remove the screws and place them in a parts tray for safekeeping.
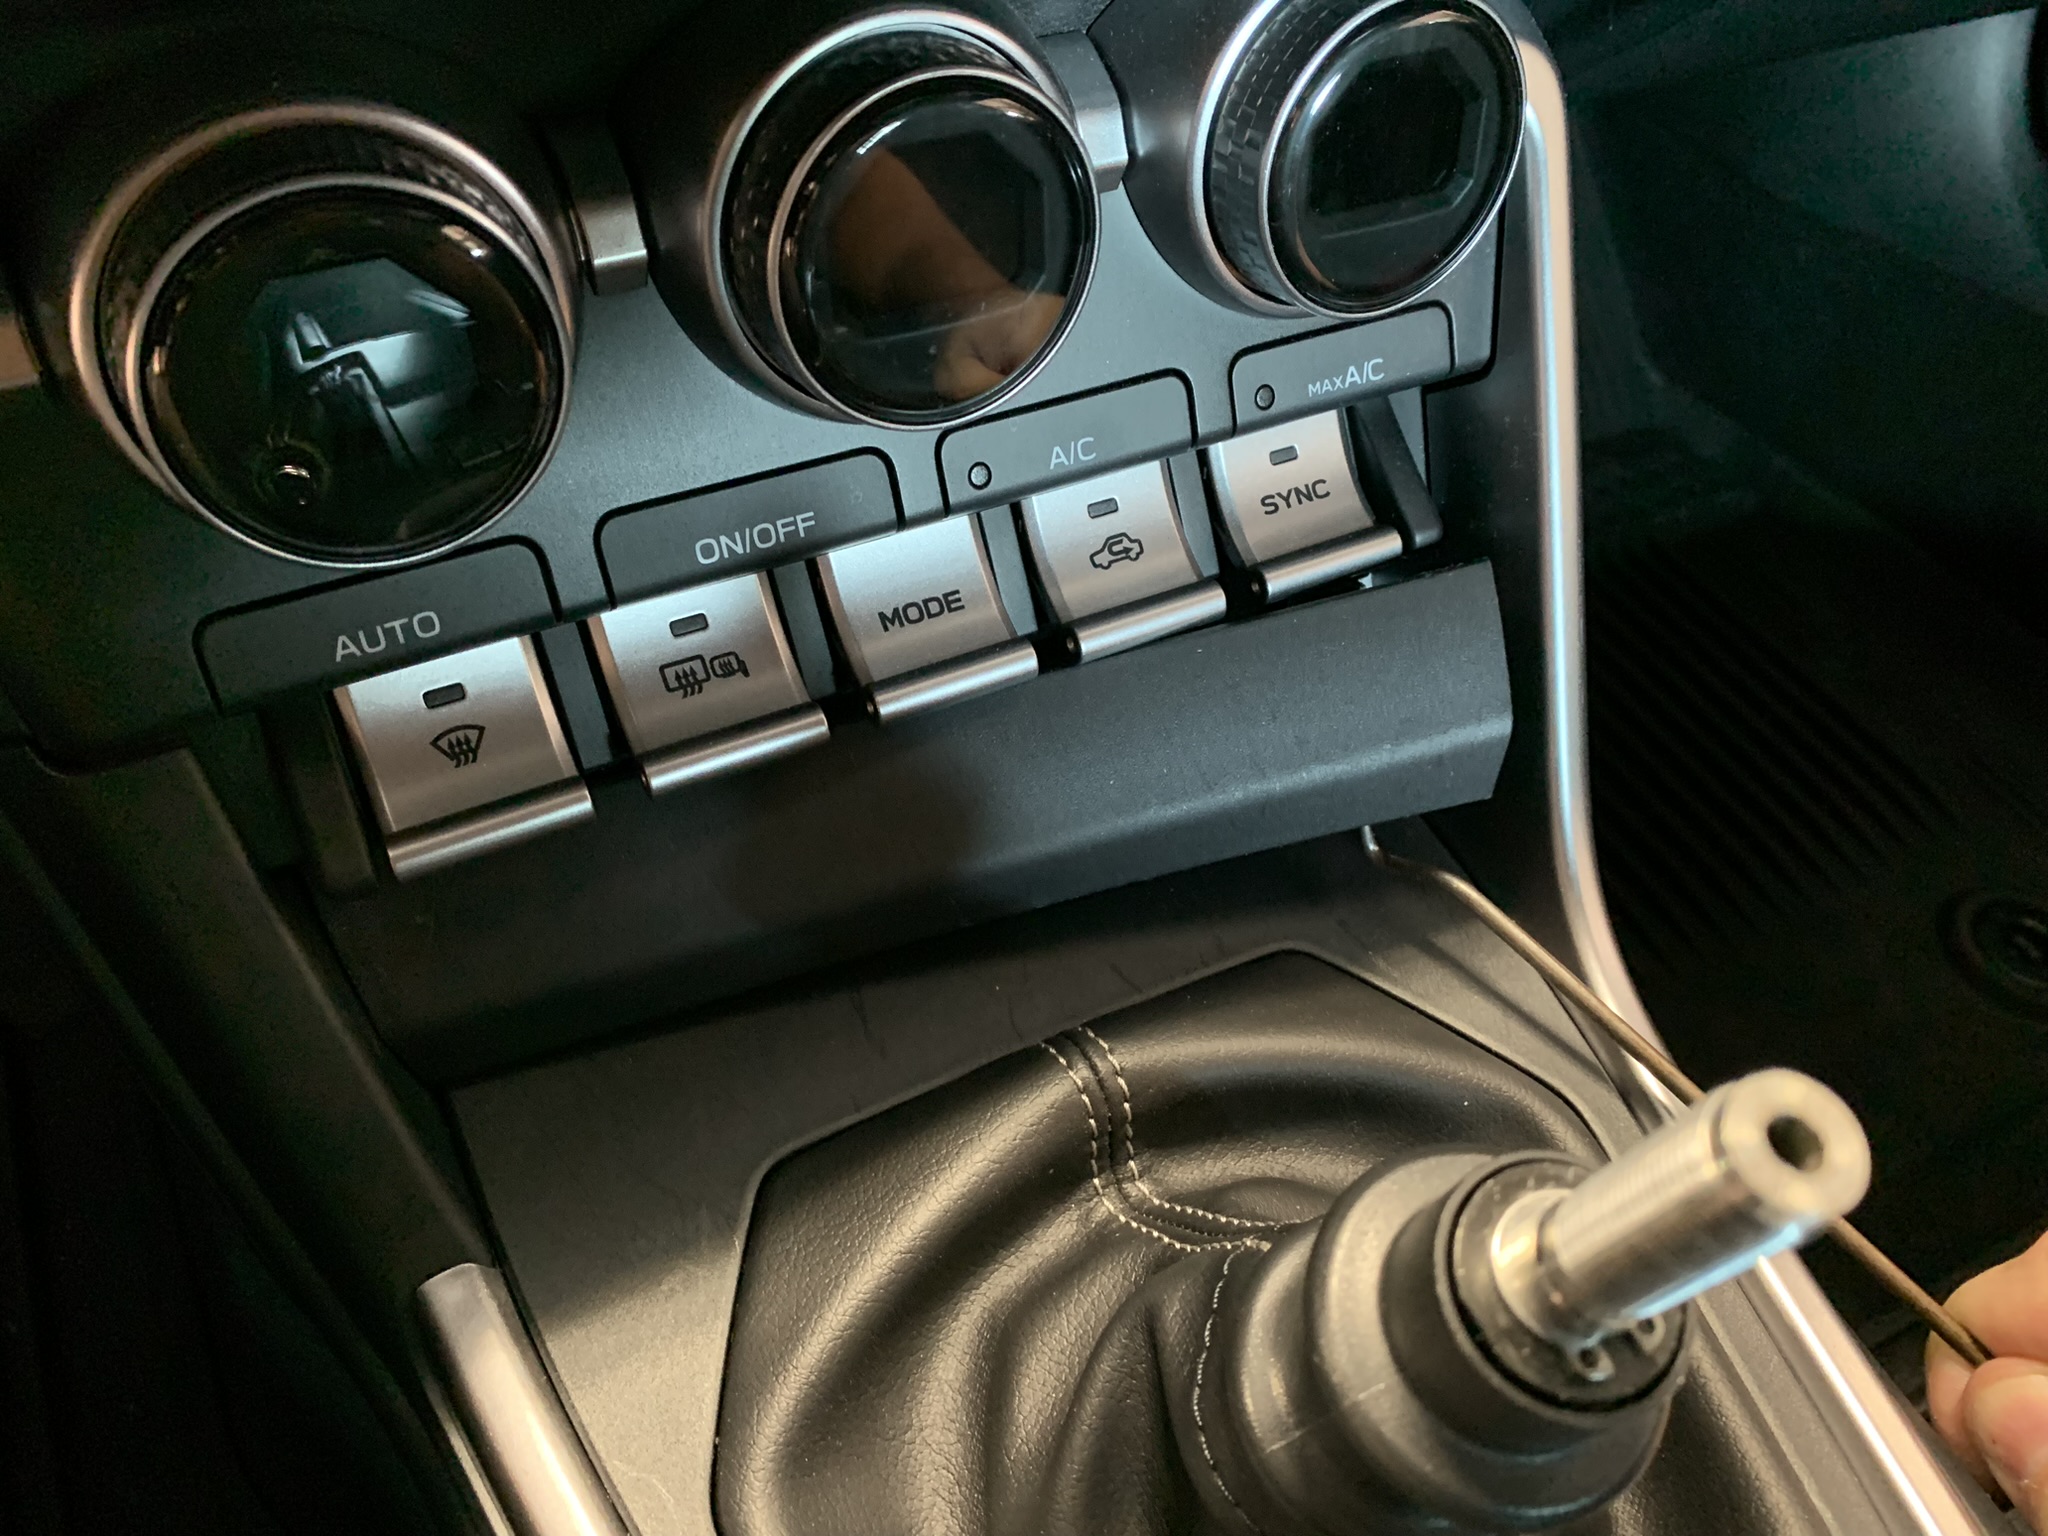
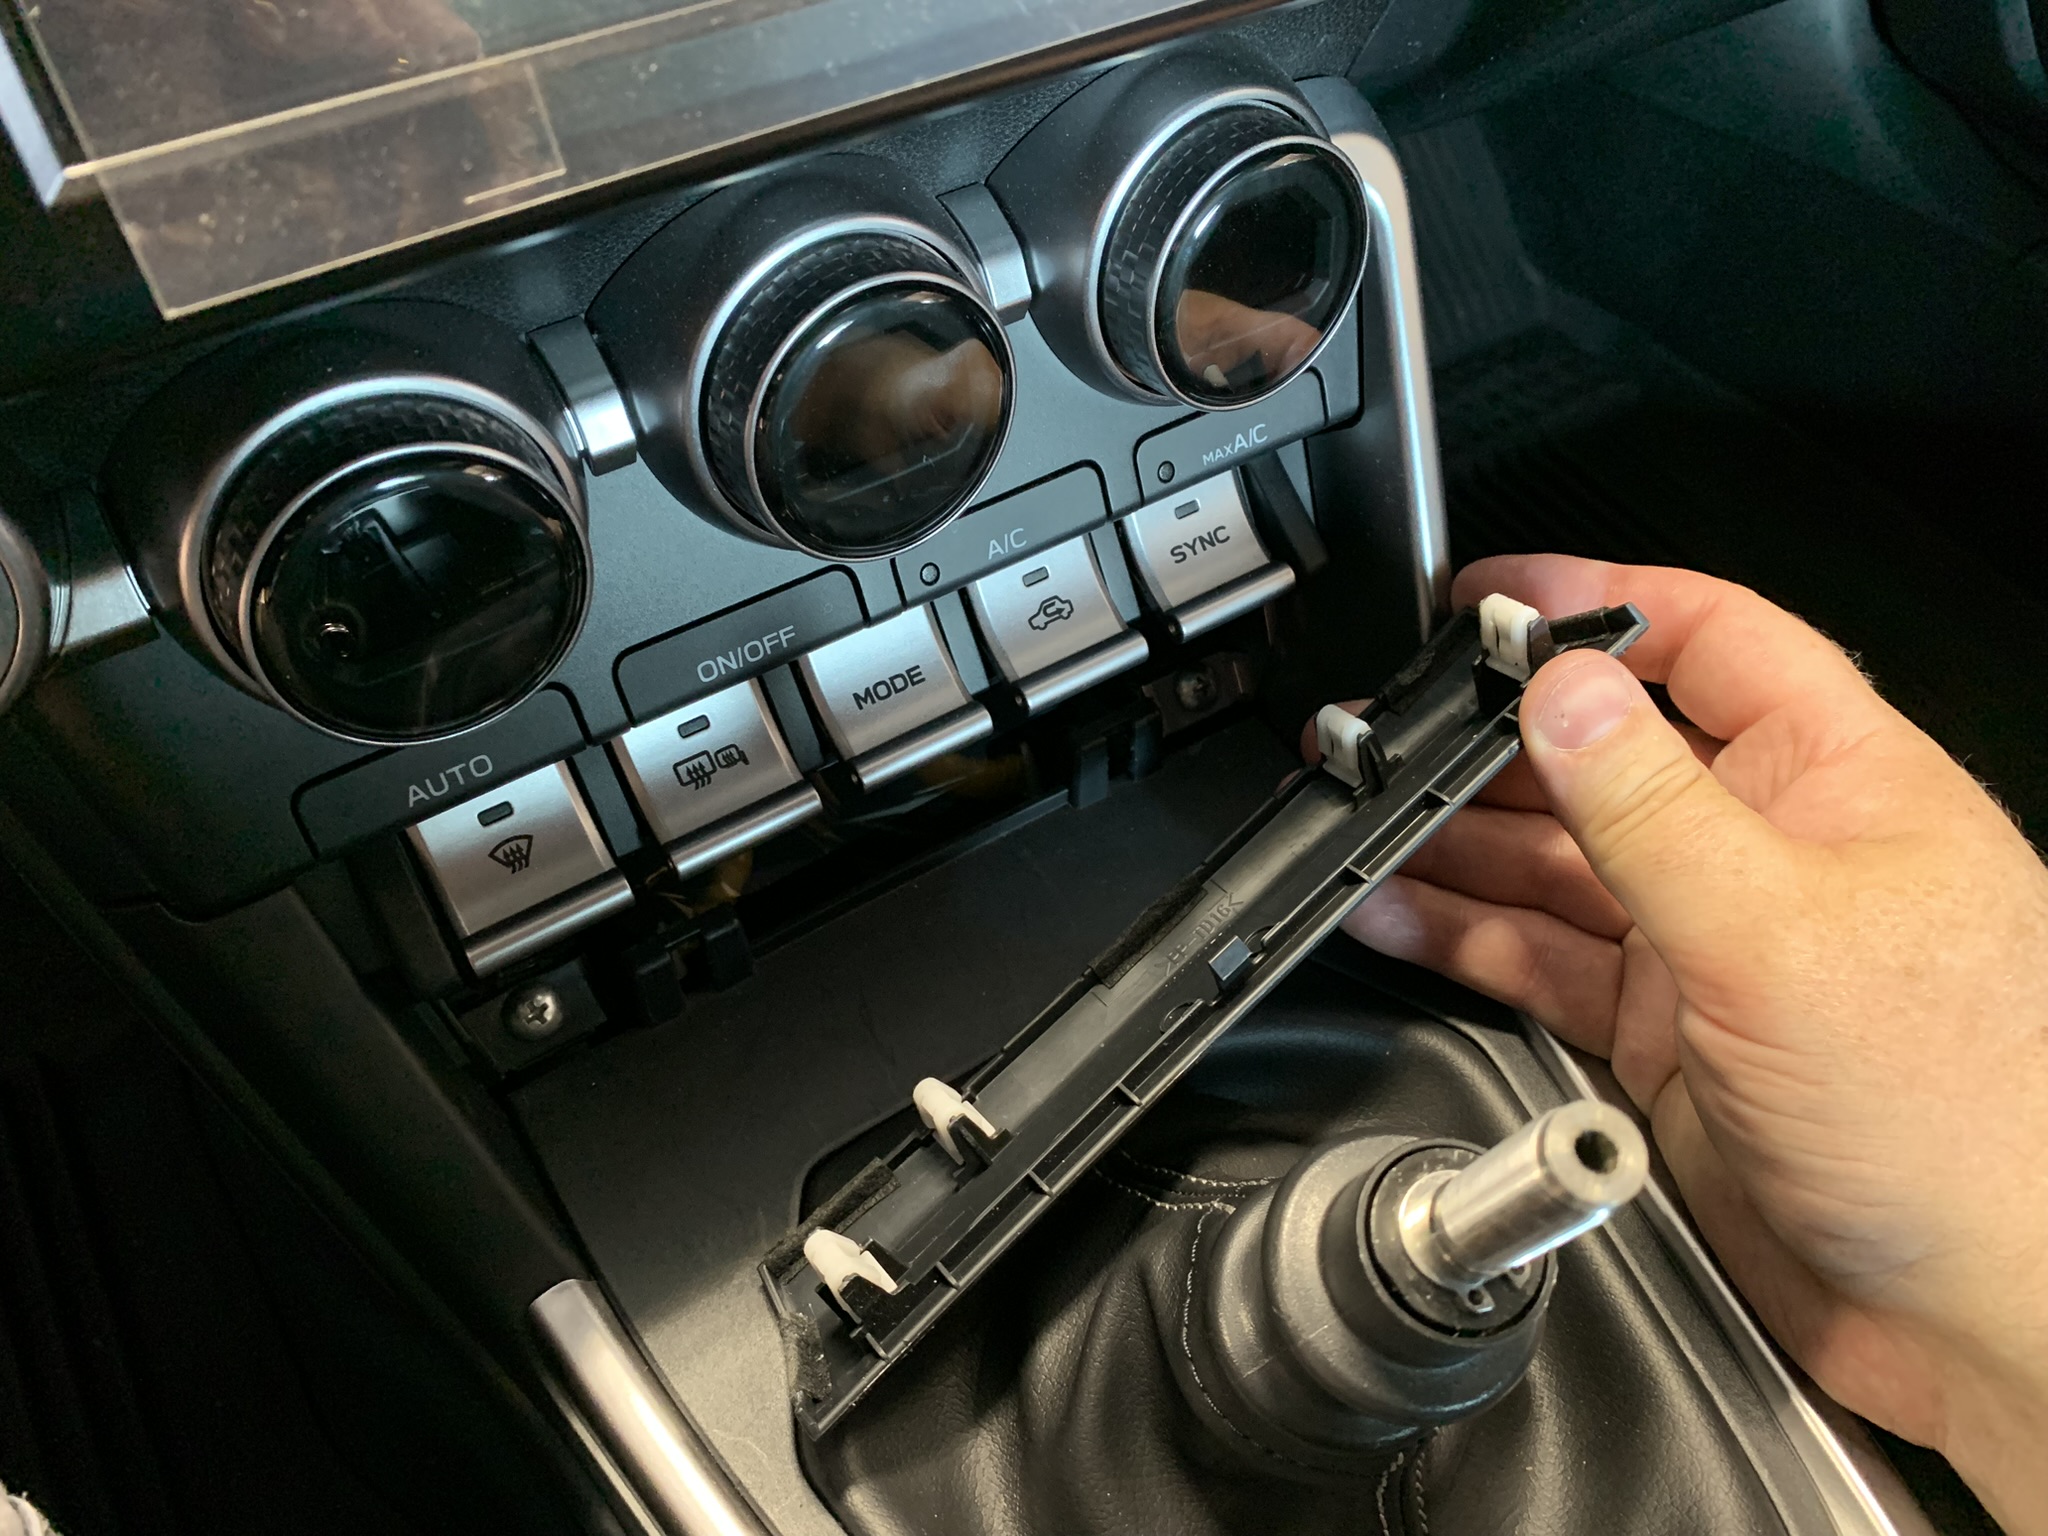
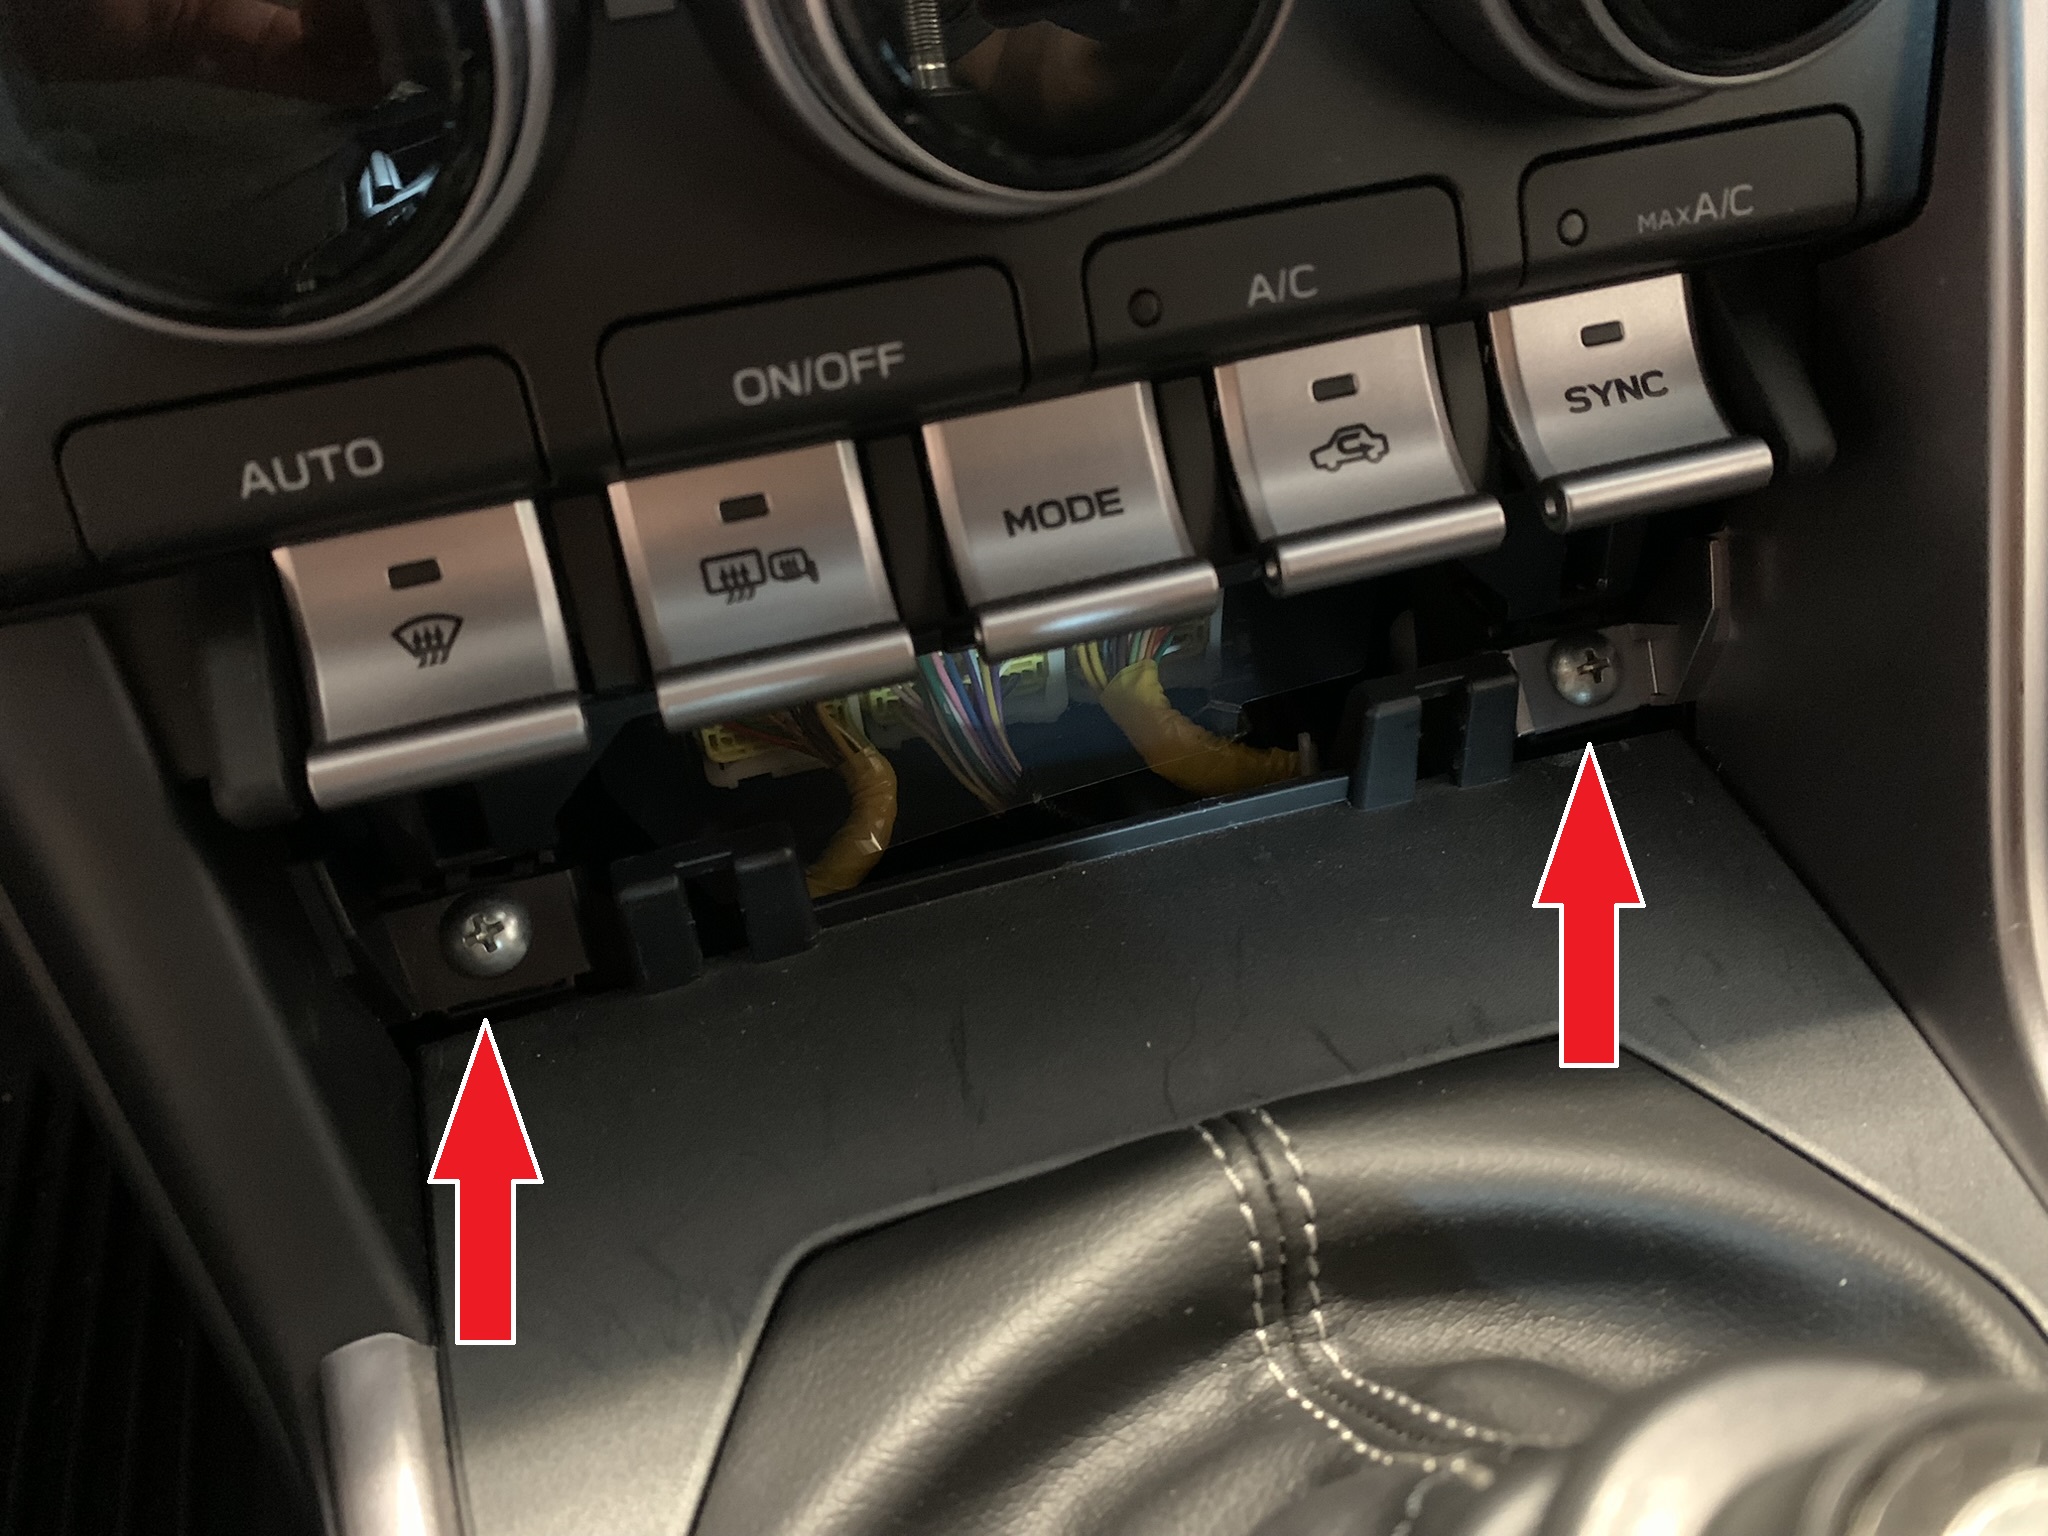
-
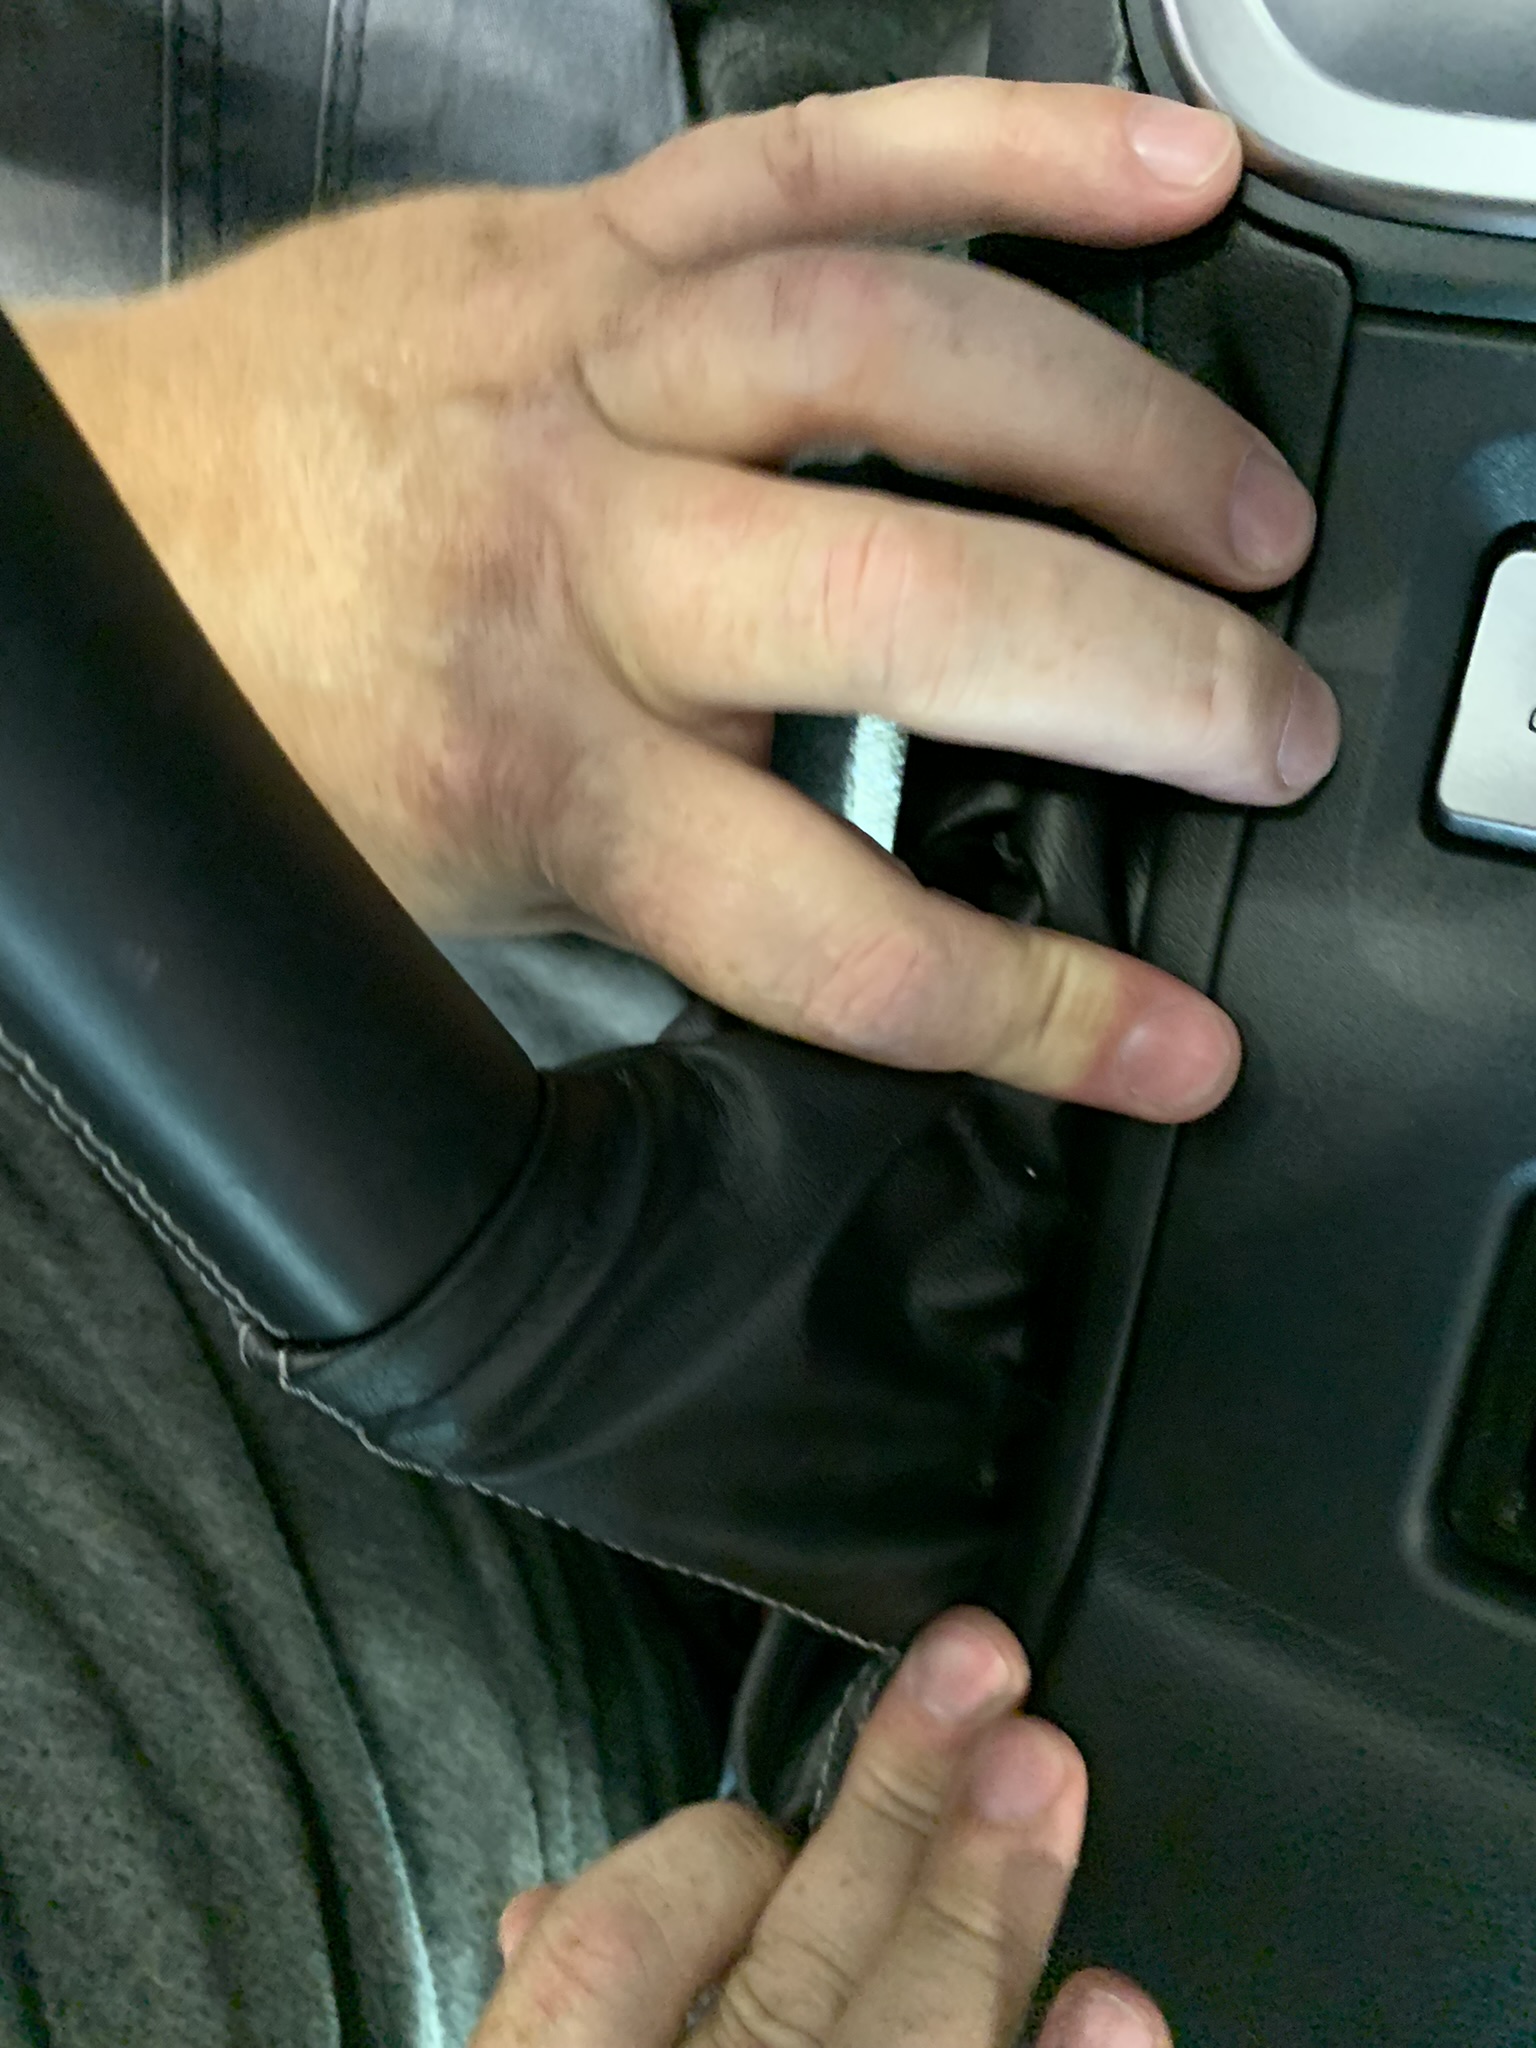
Use your fingers to pry up and release the ebrake boot surround.
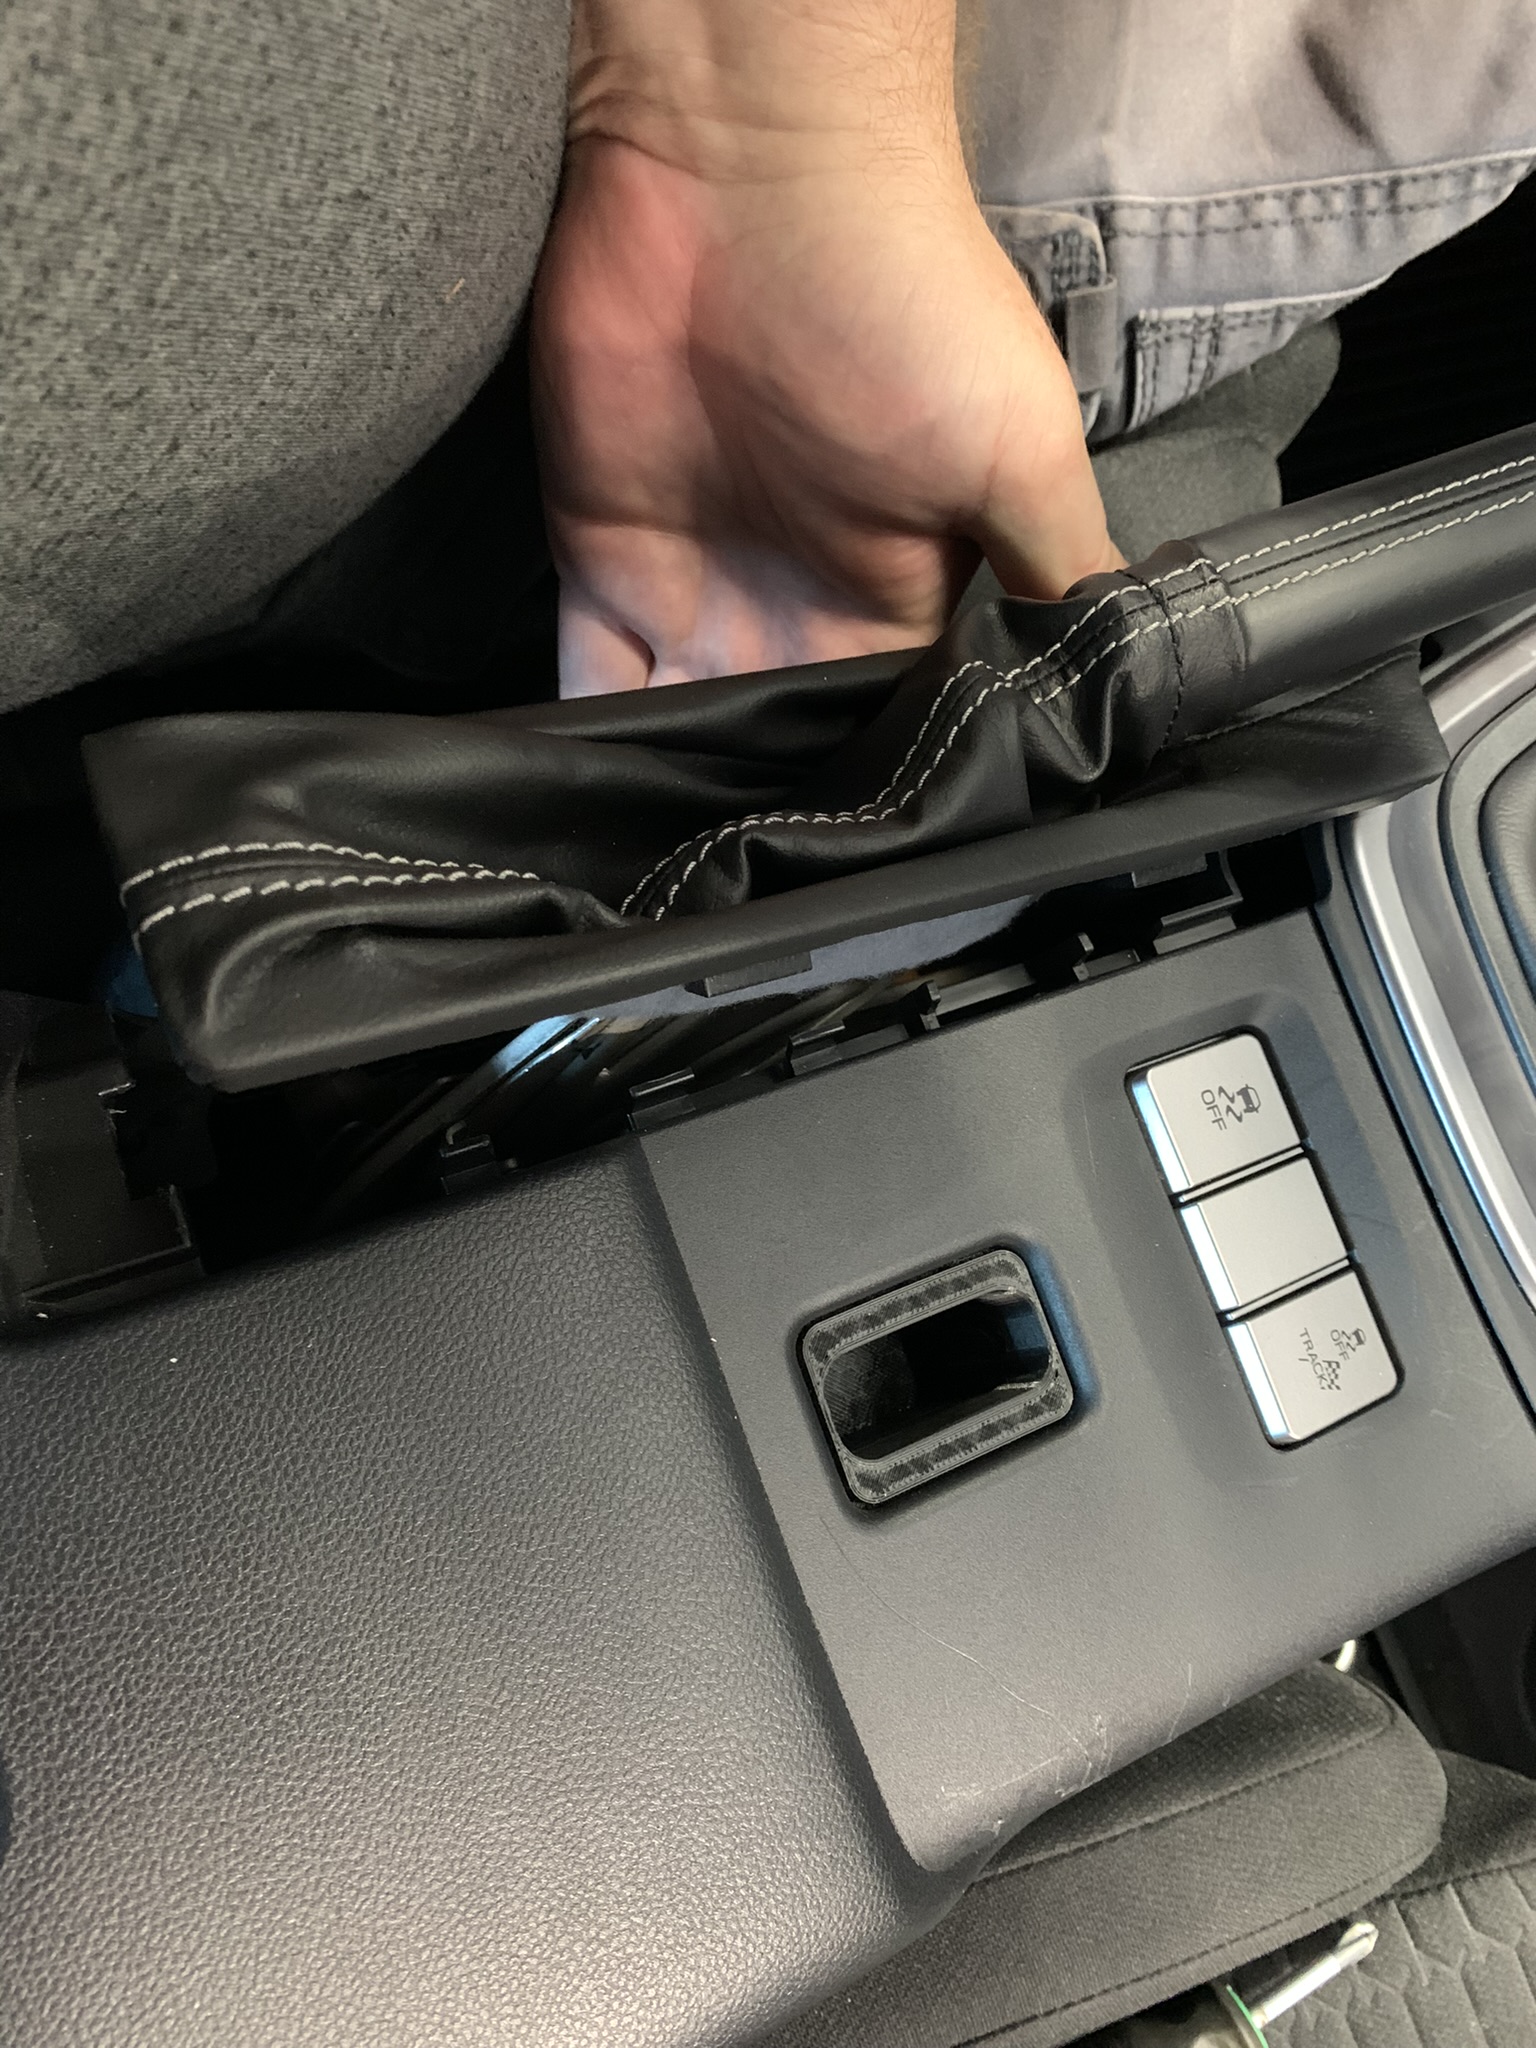
-
Use your trim panel removal tool and loosen the center console section that fits around the perimeter of the shift boot trim. Once you can get your fingers underneath it, continue to pop it loose and remove it from the tunnel structure.
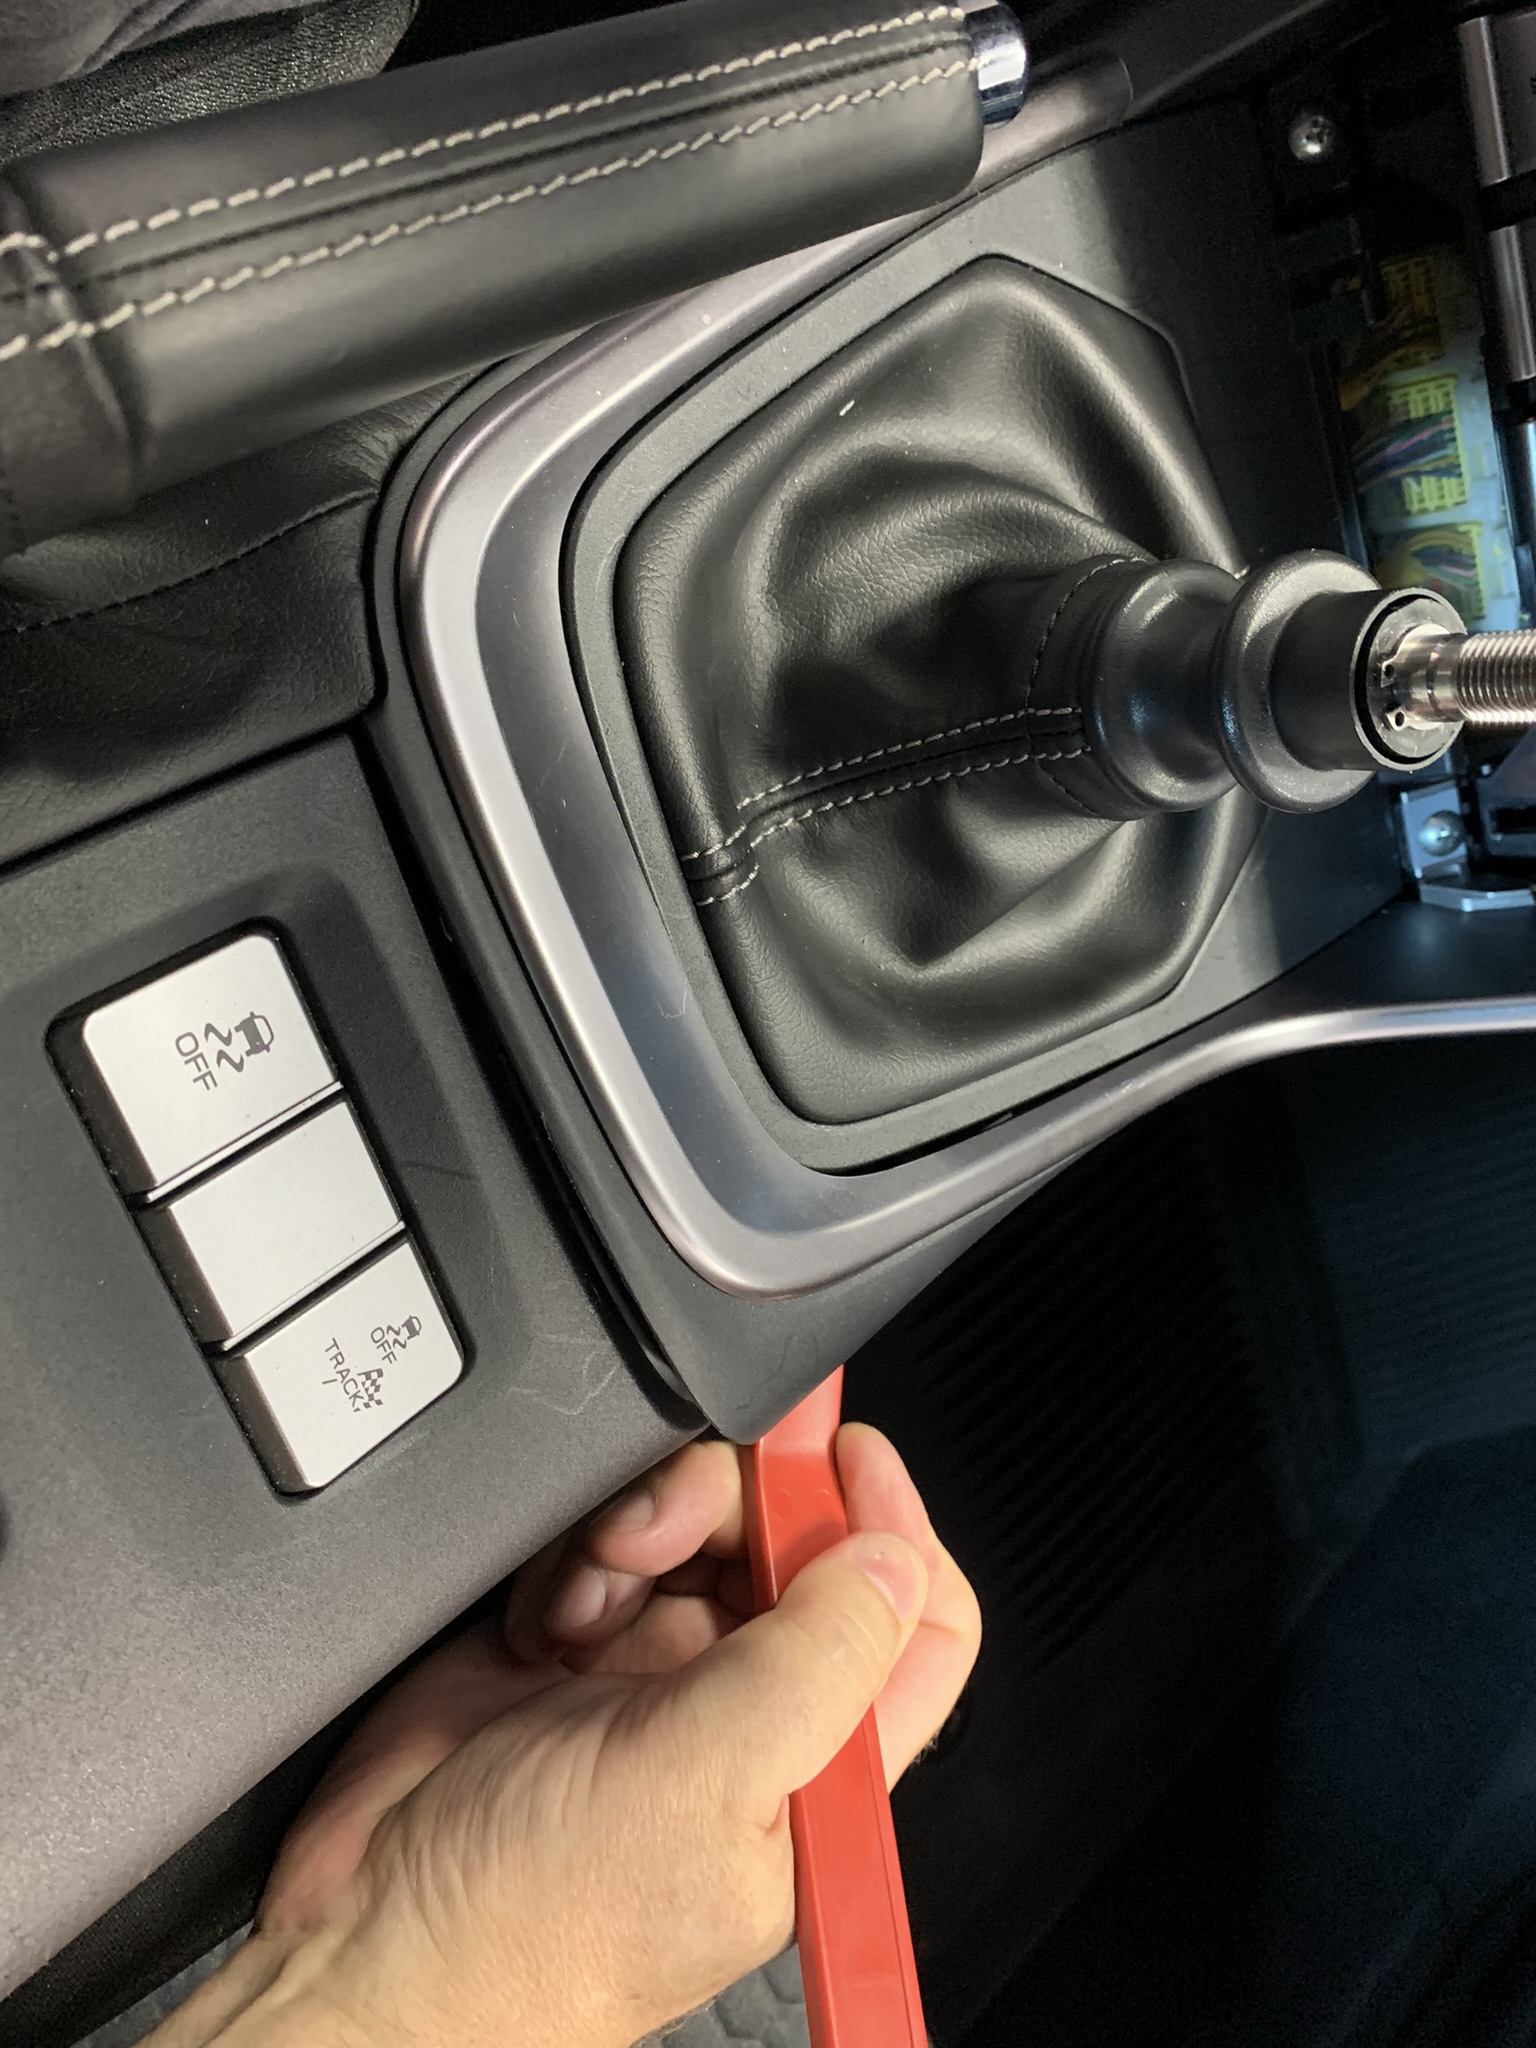
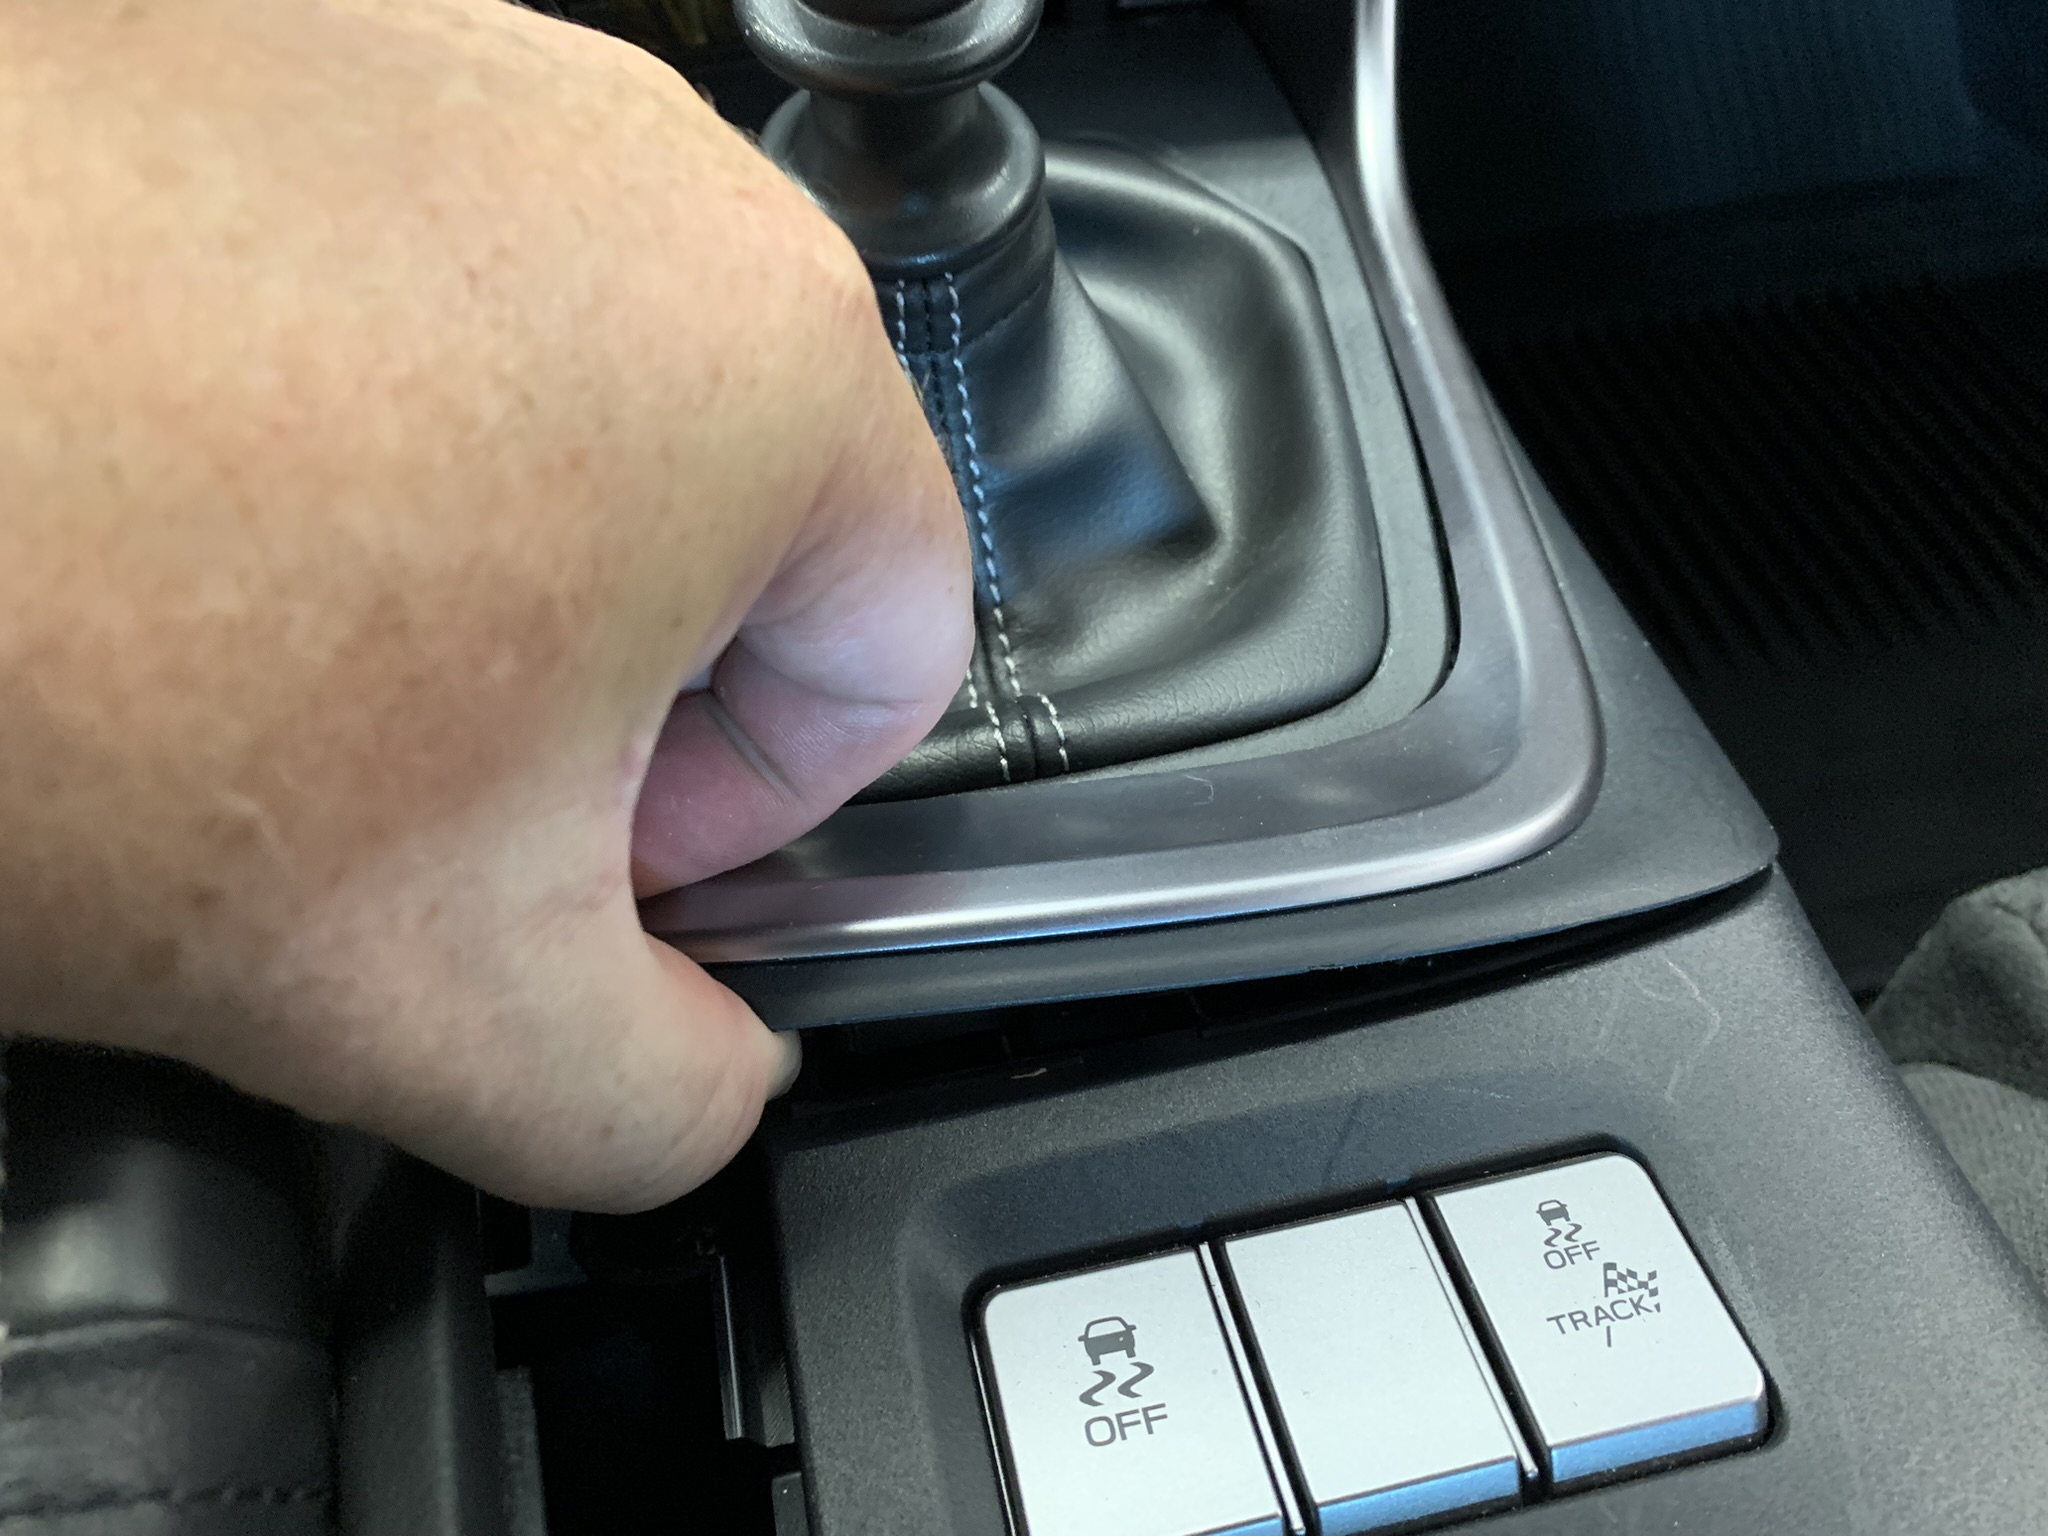
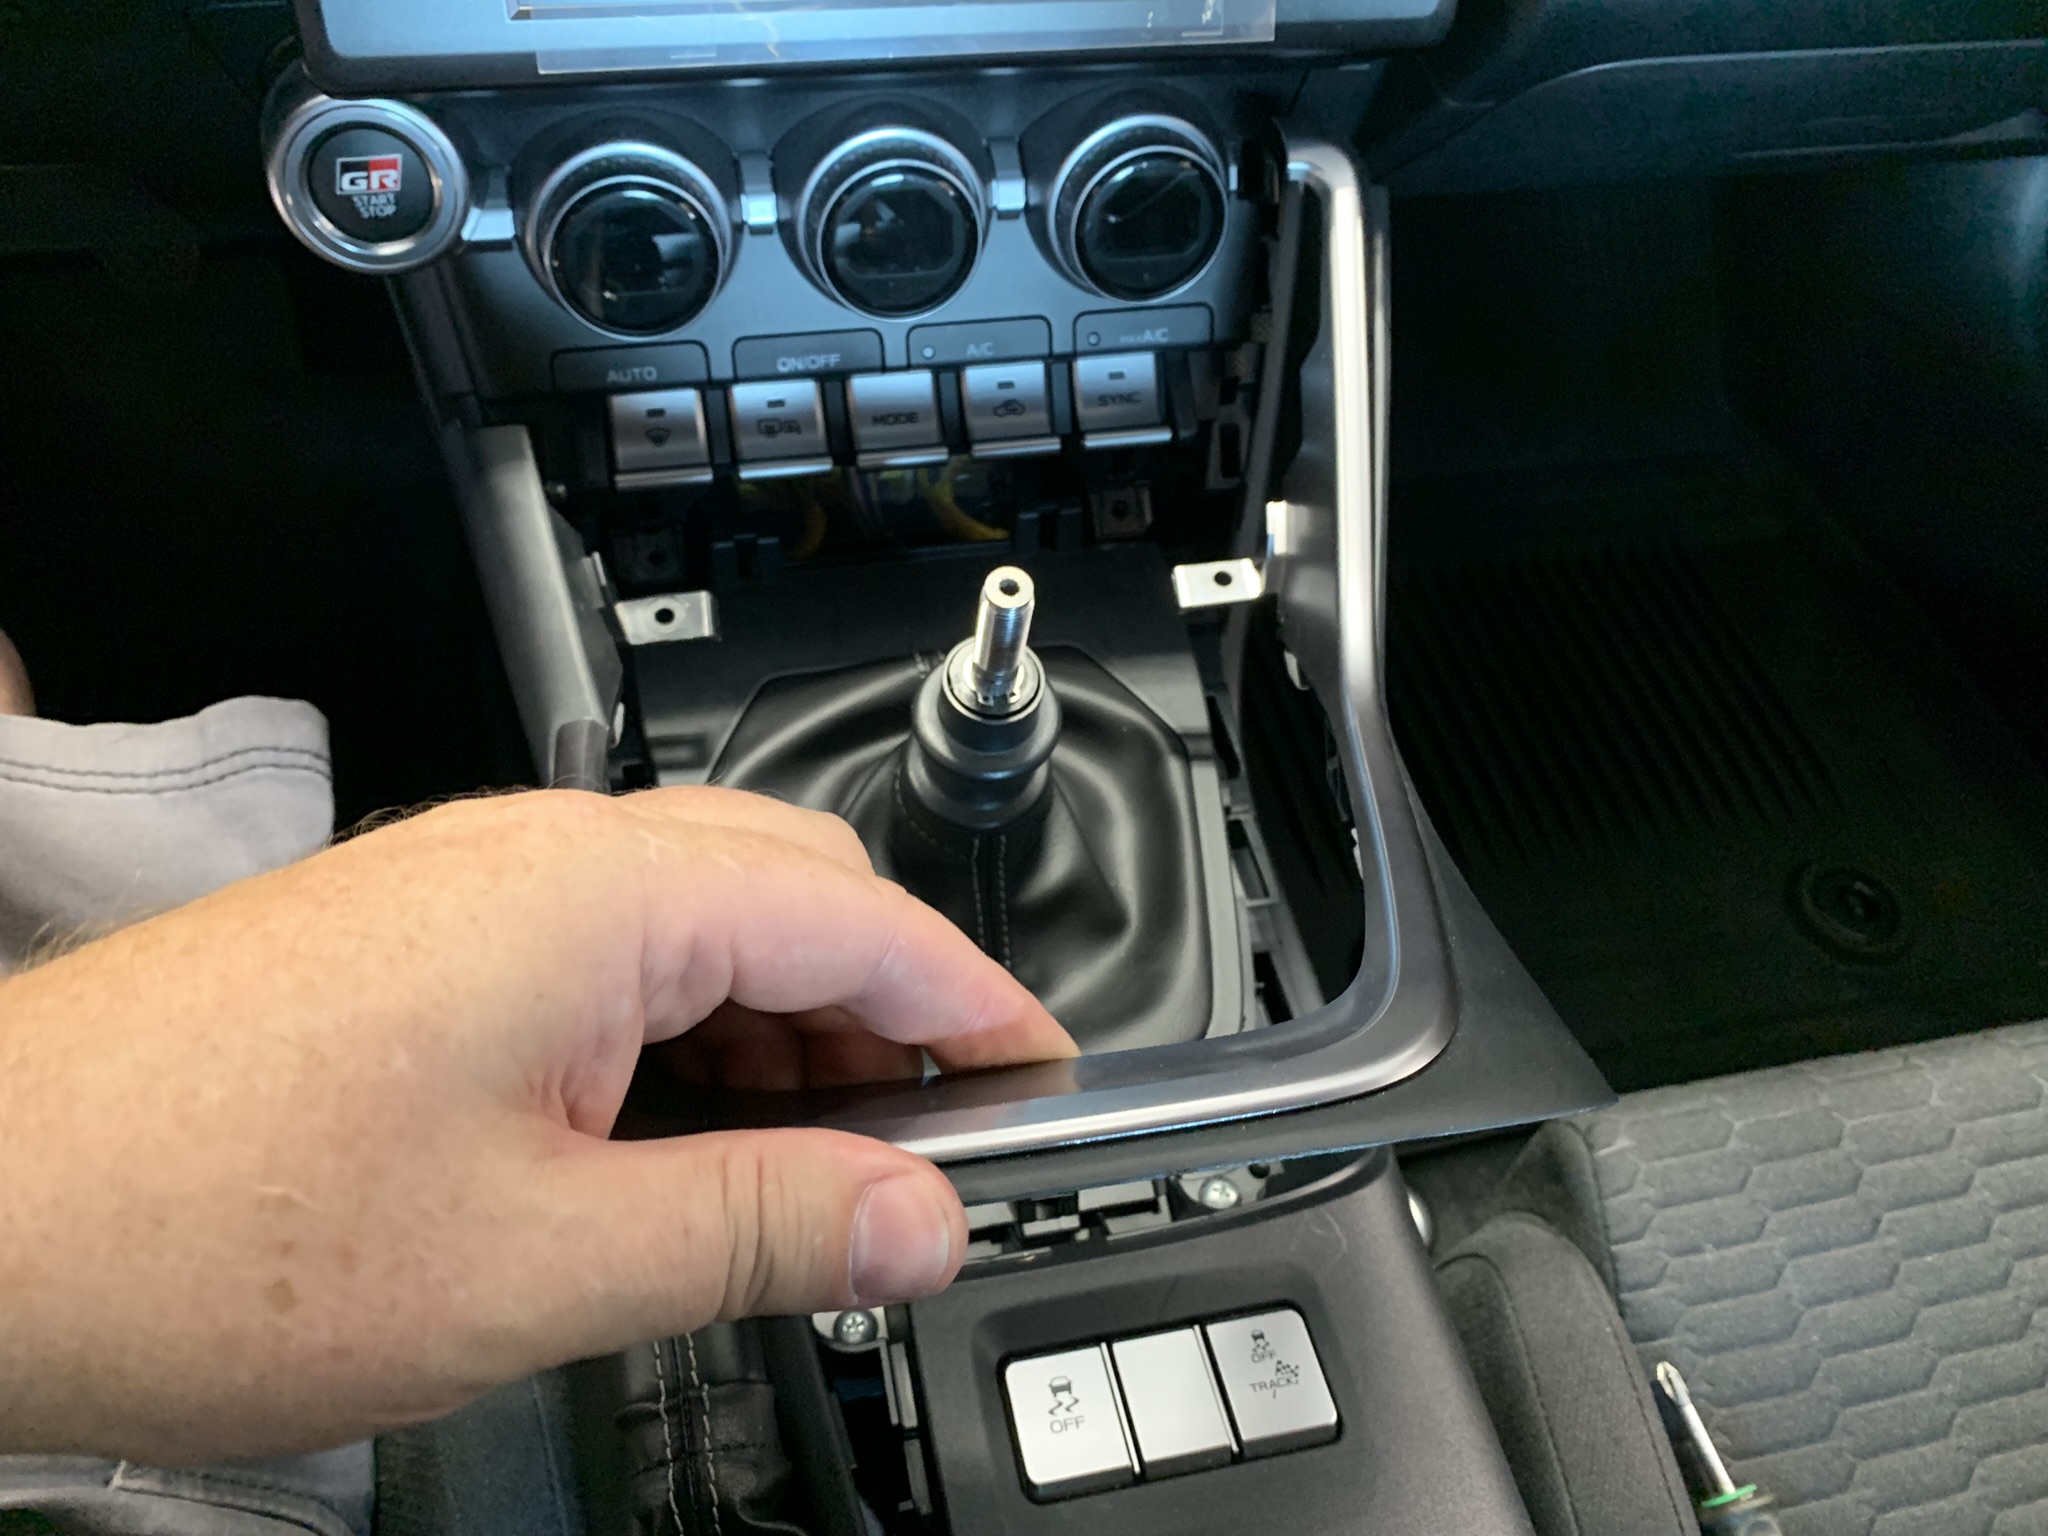
-
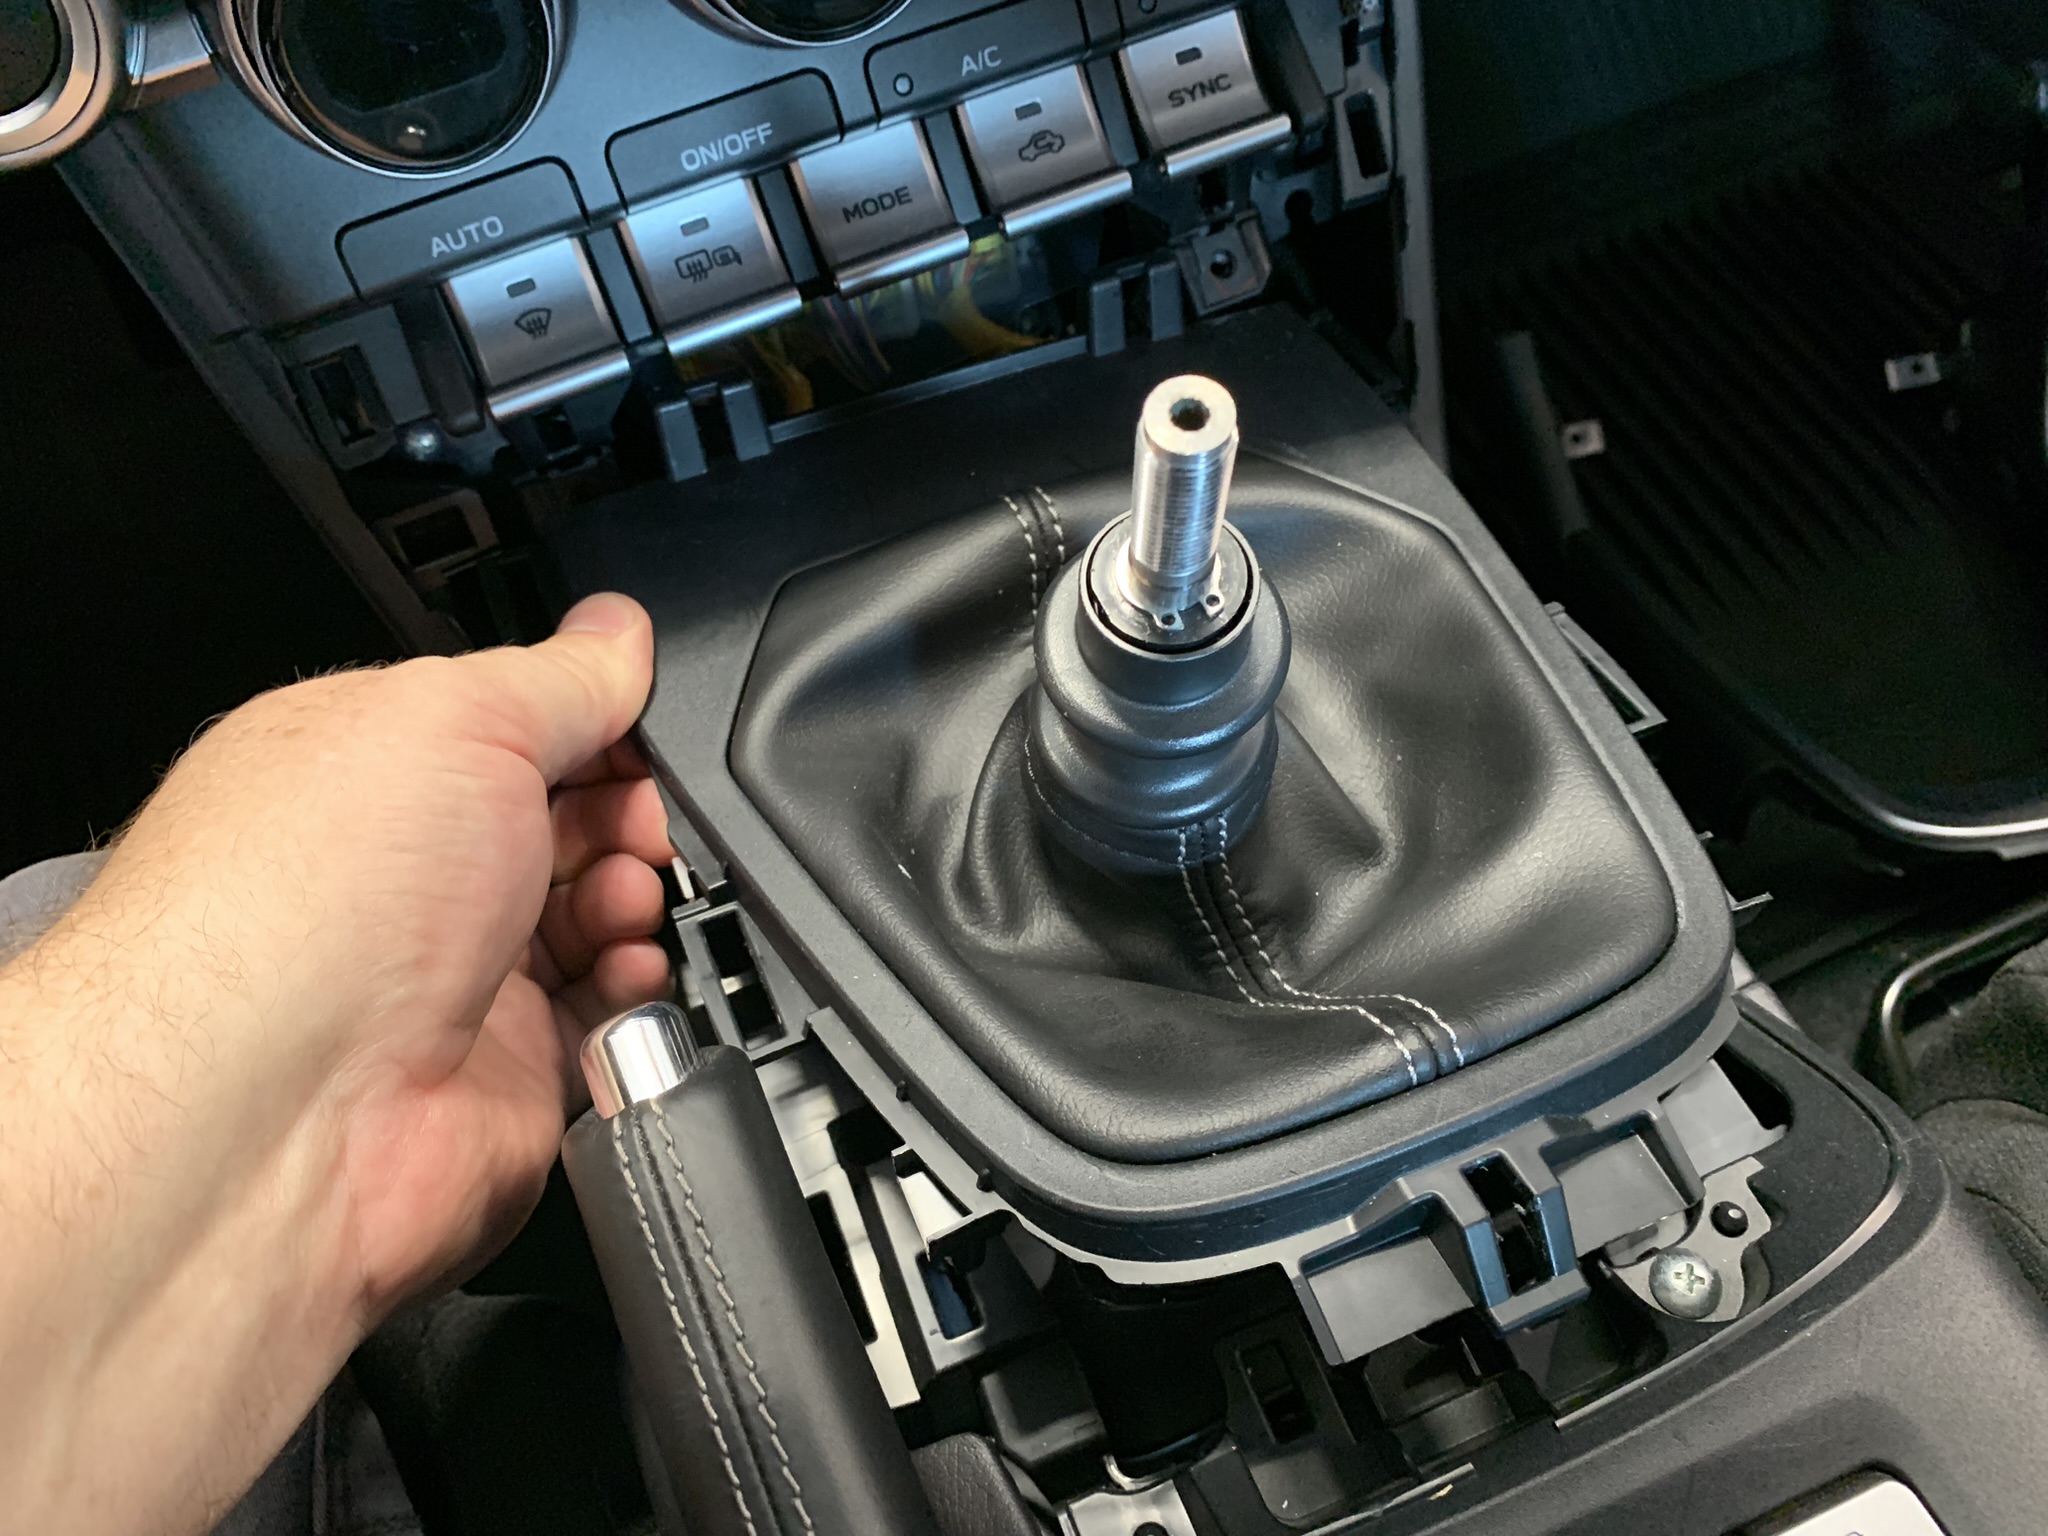
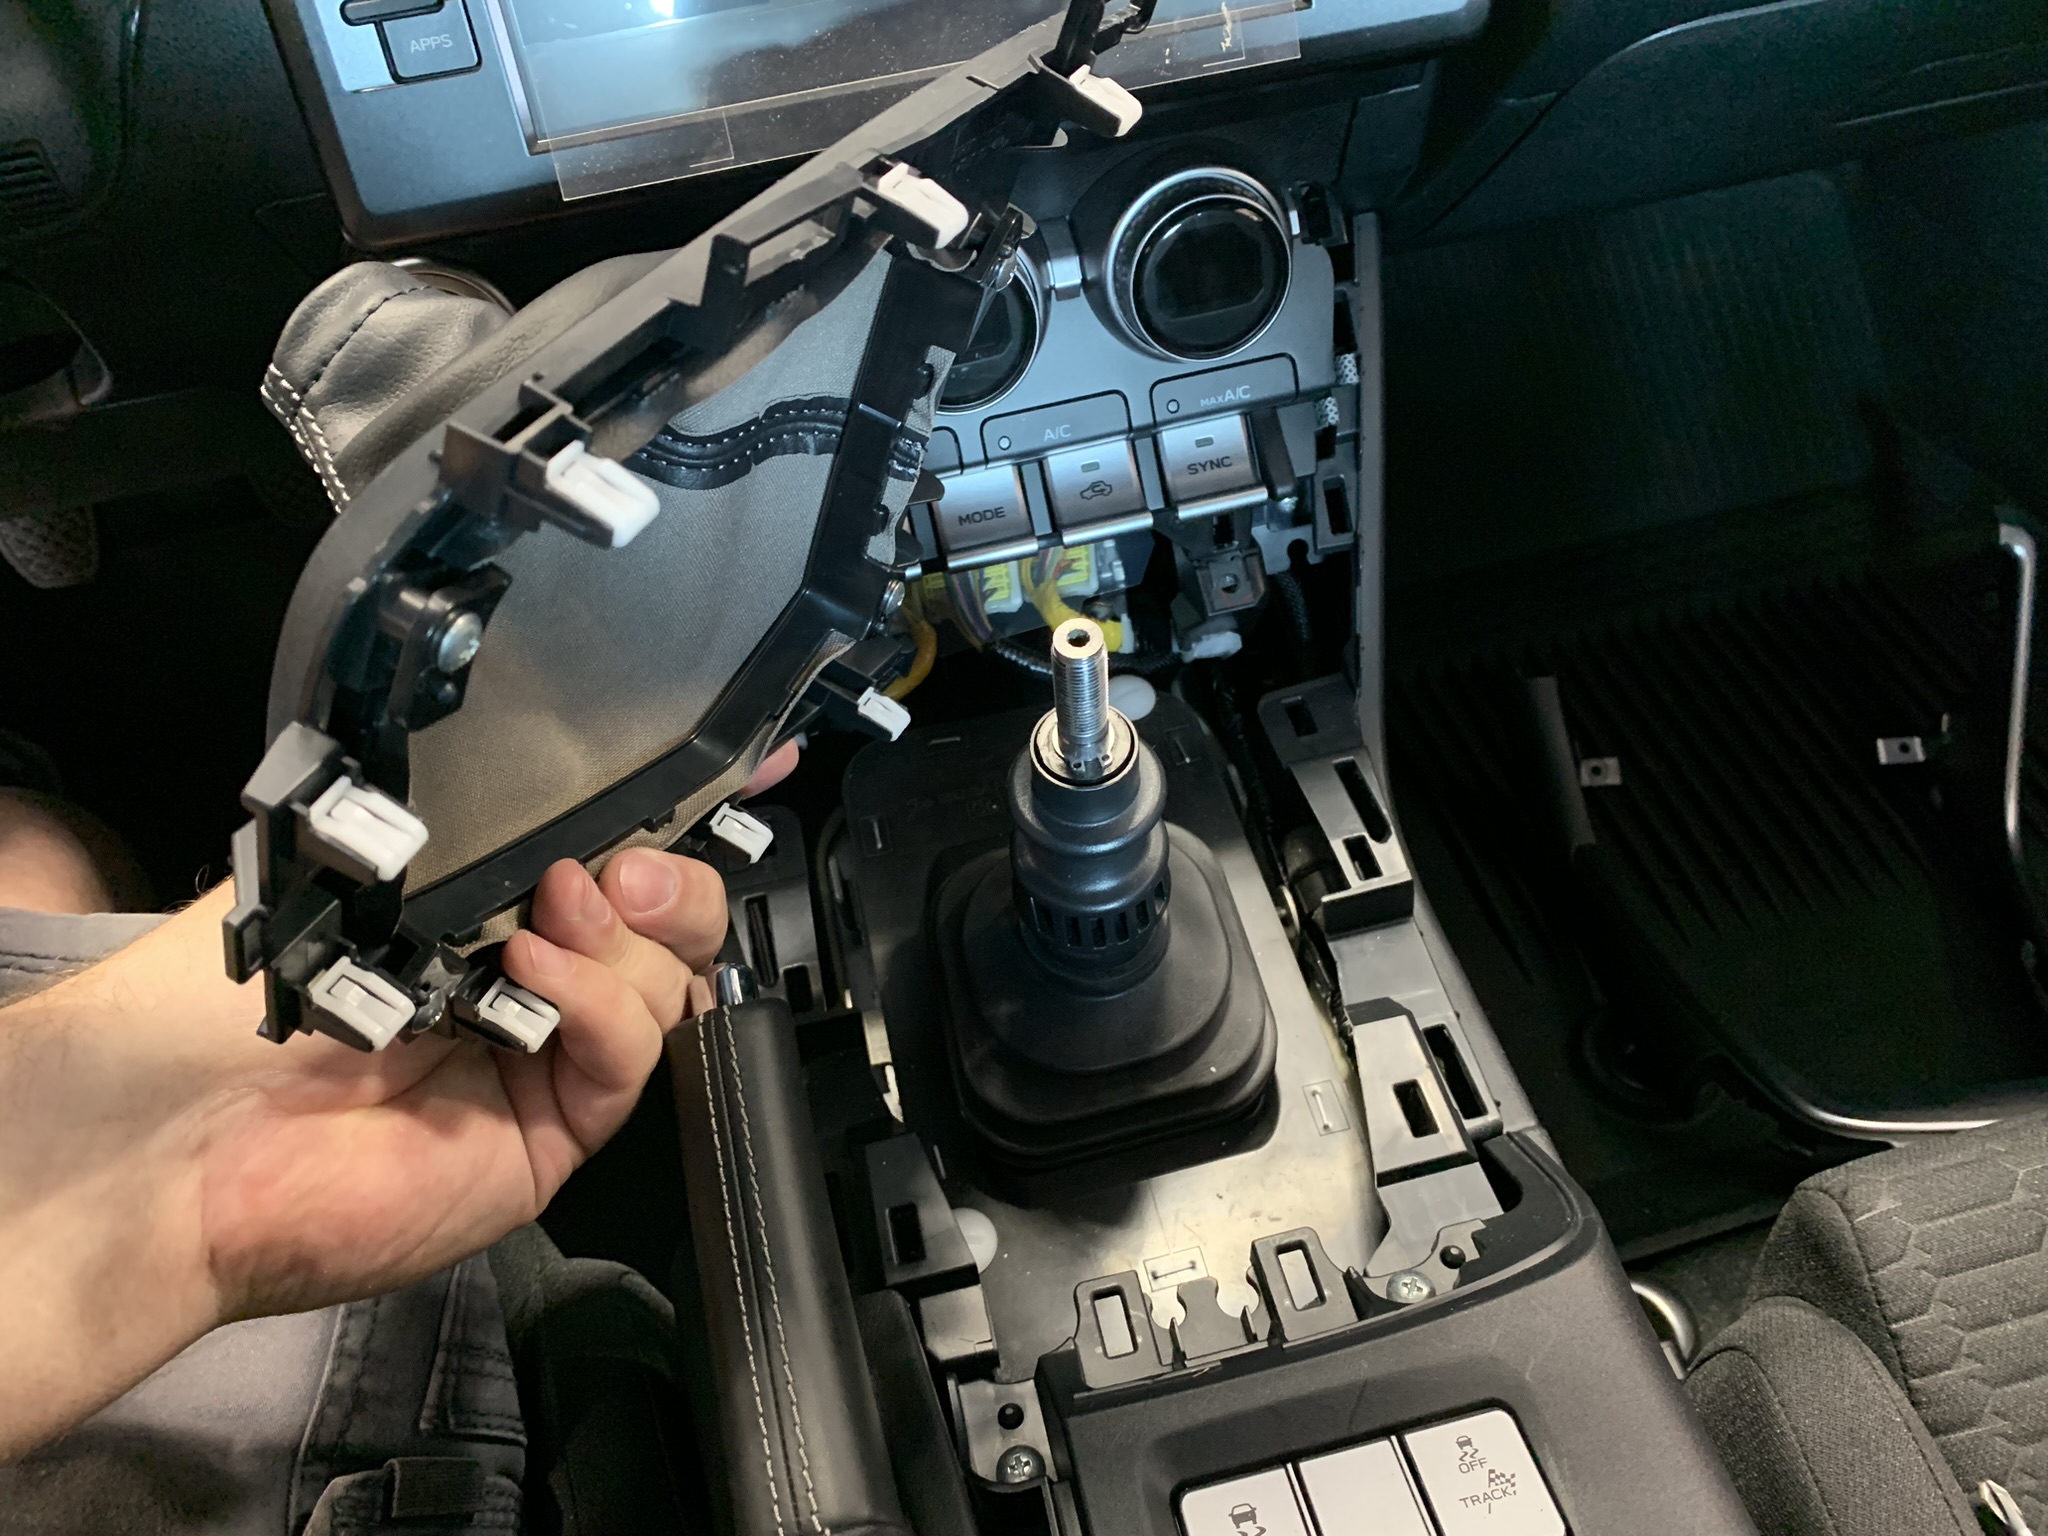
With the shift boot trim now exposed, pop it loose and pull it up and off the tunnel structure and shift lever.
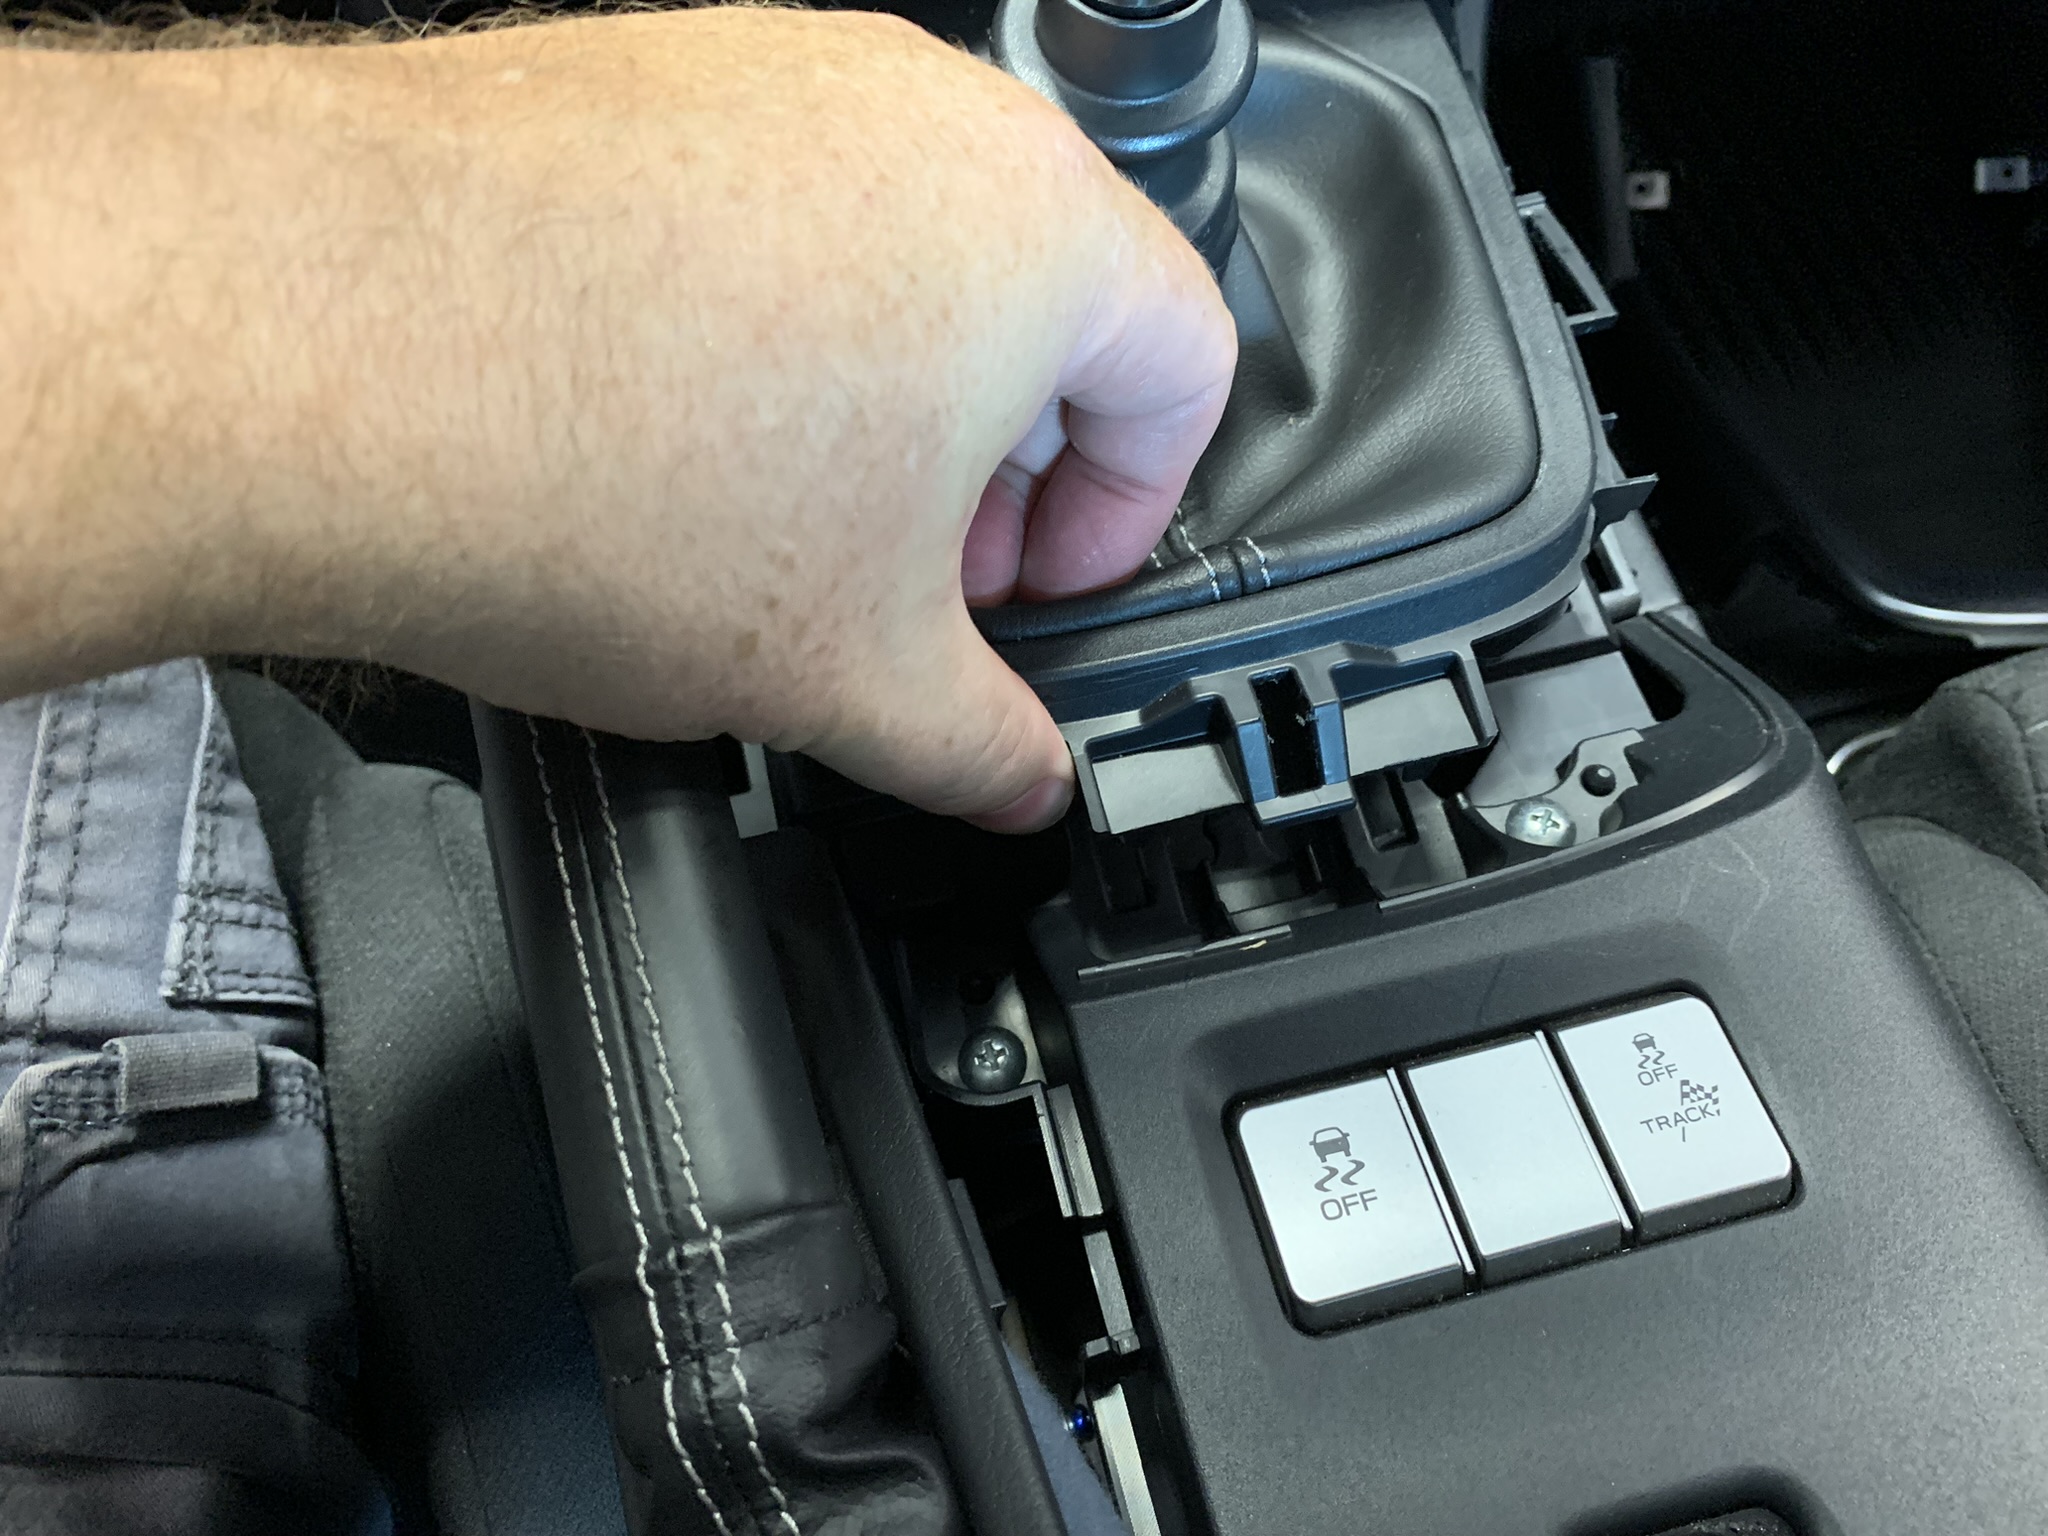
-
Remove the two (2) Philips head screws now exposed and place them into your parts tray for reinstallation later.
-
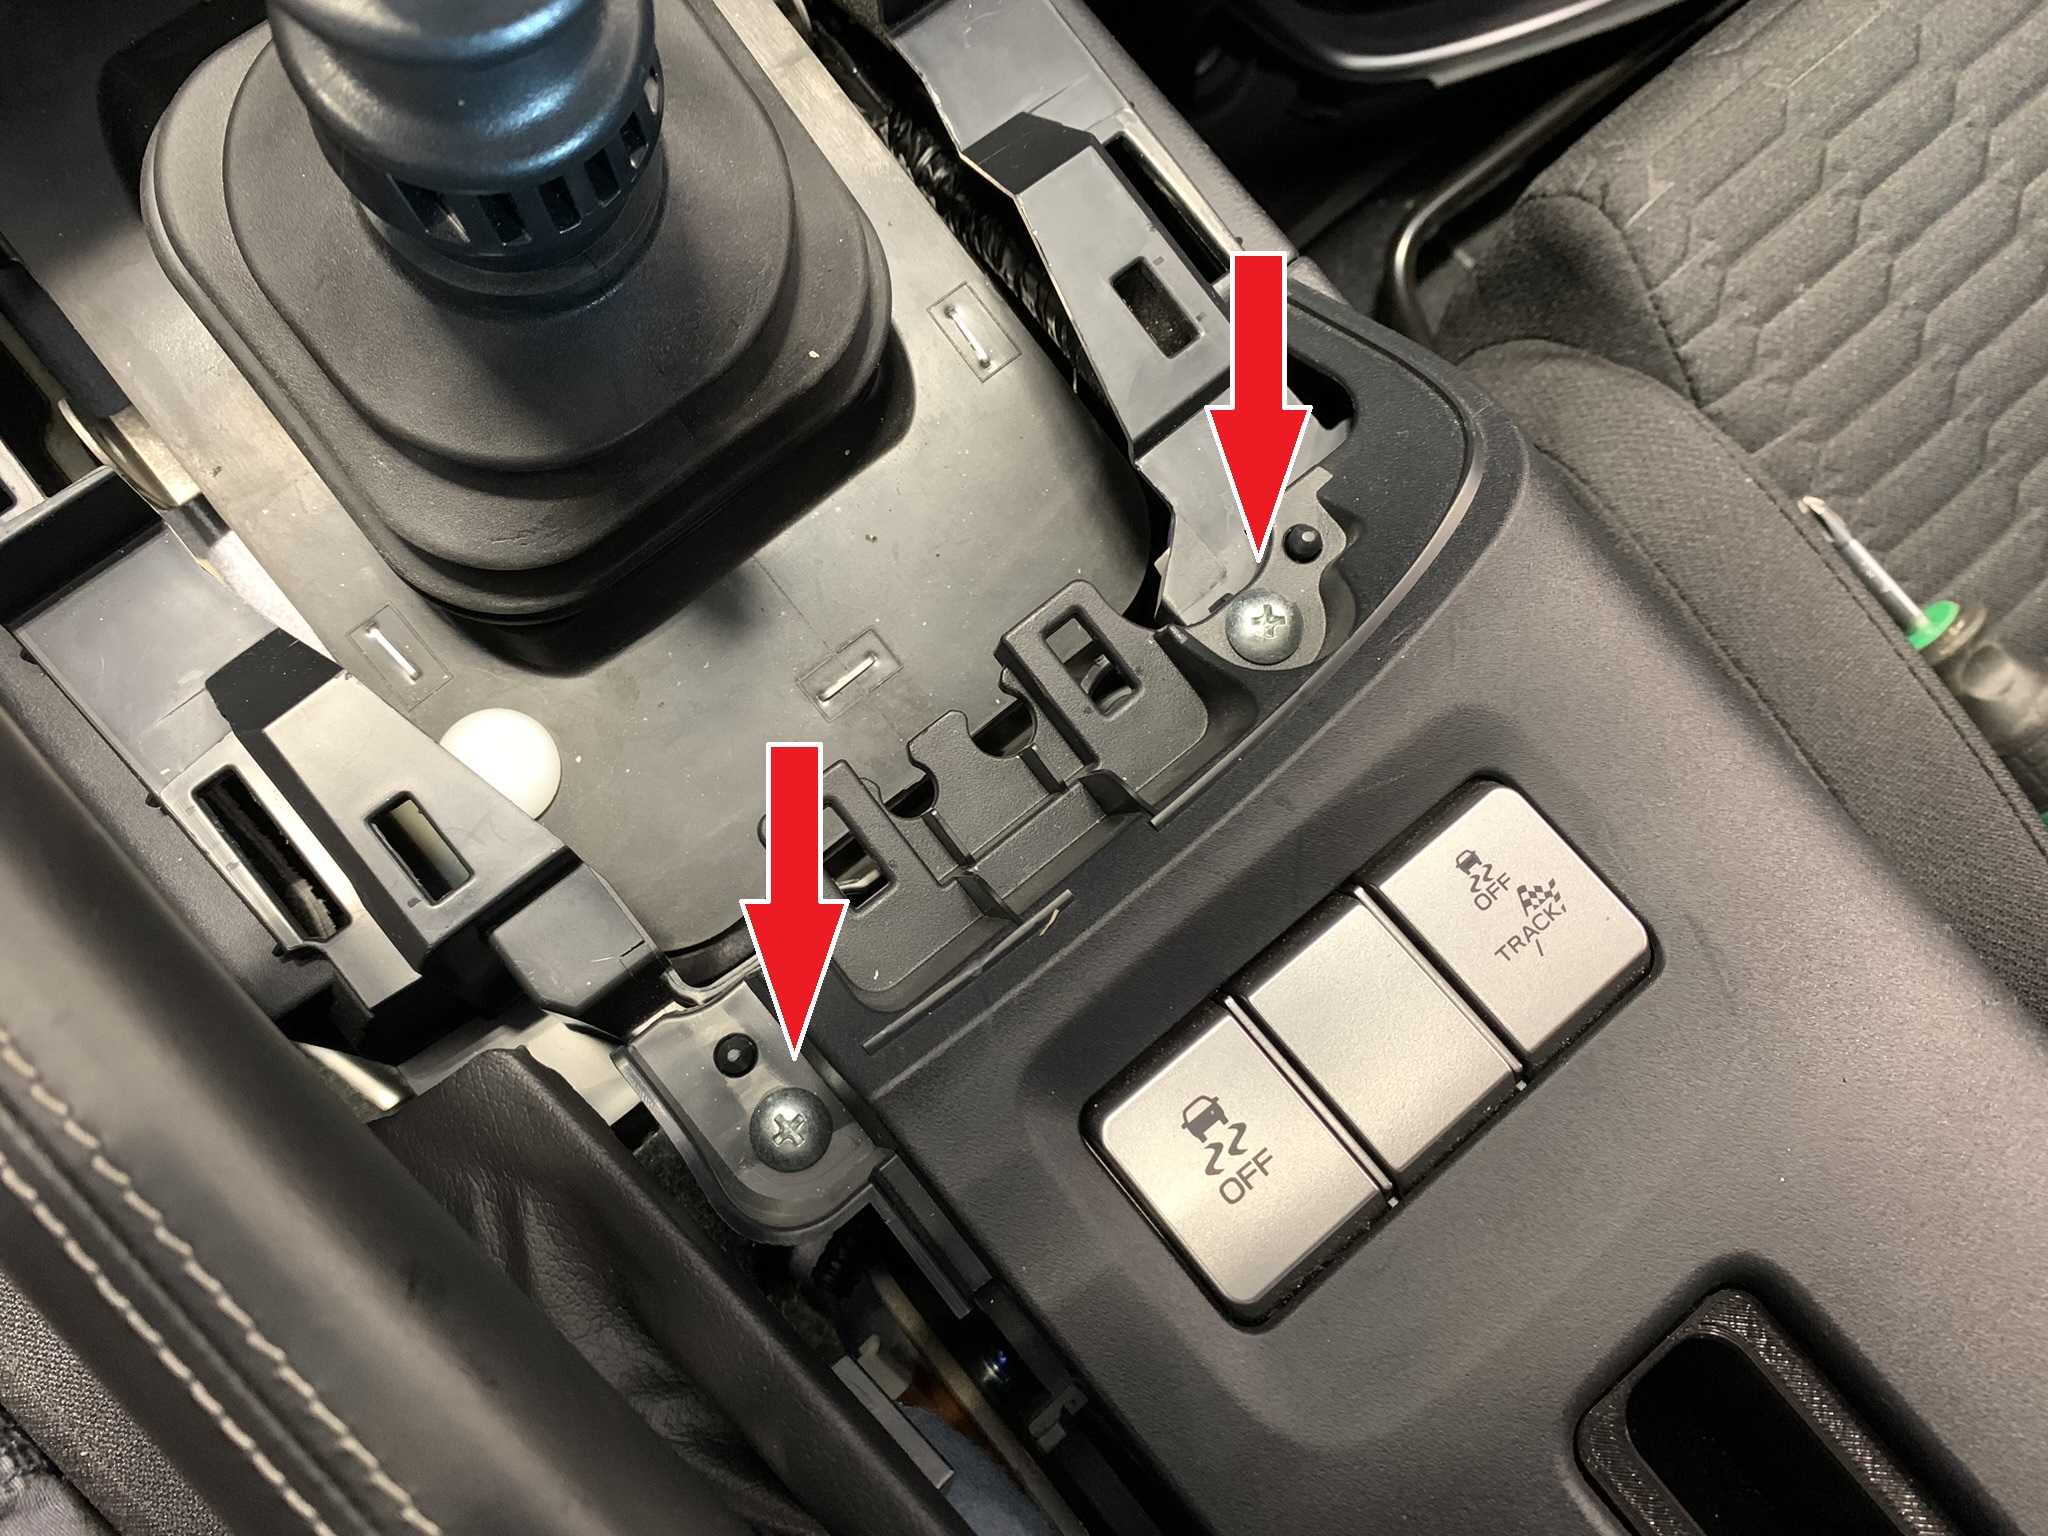
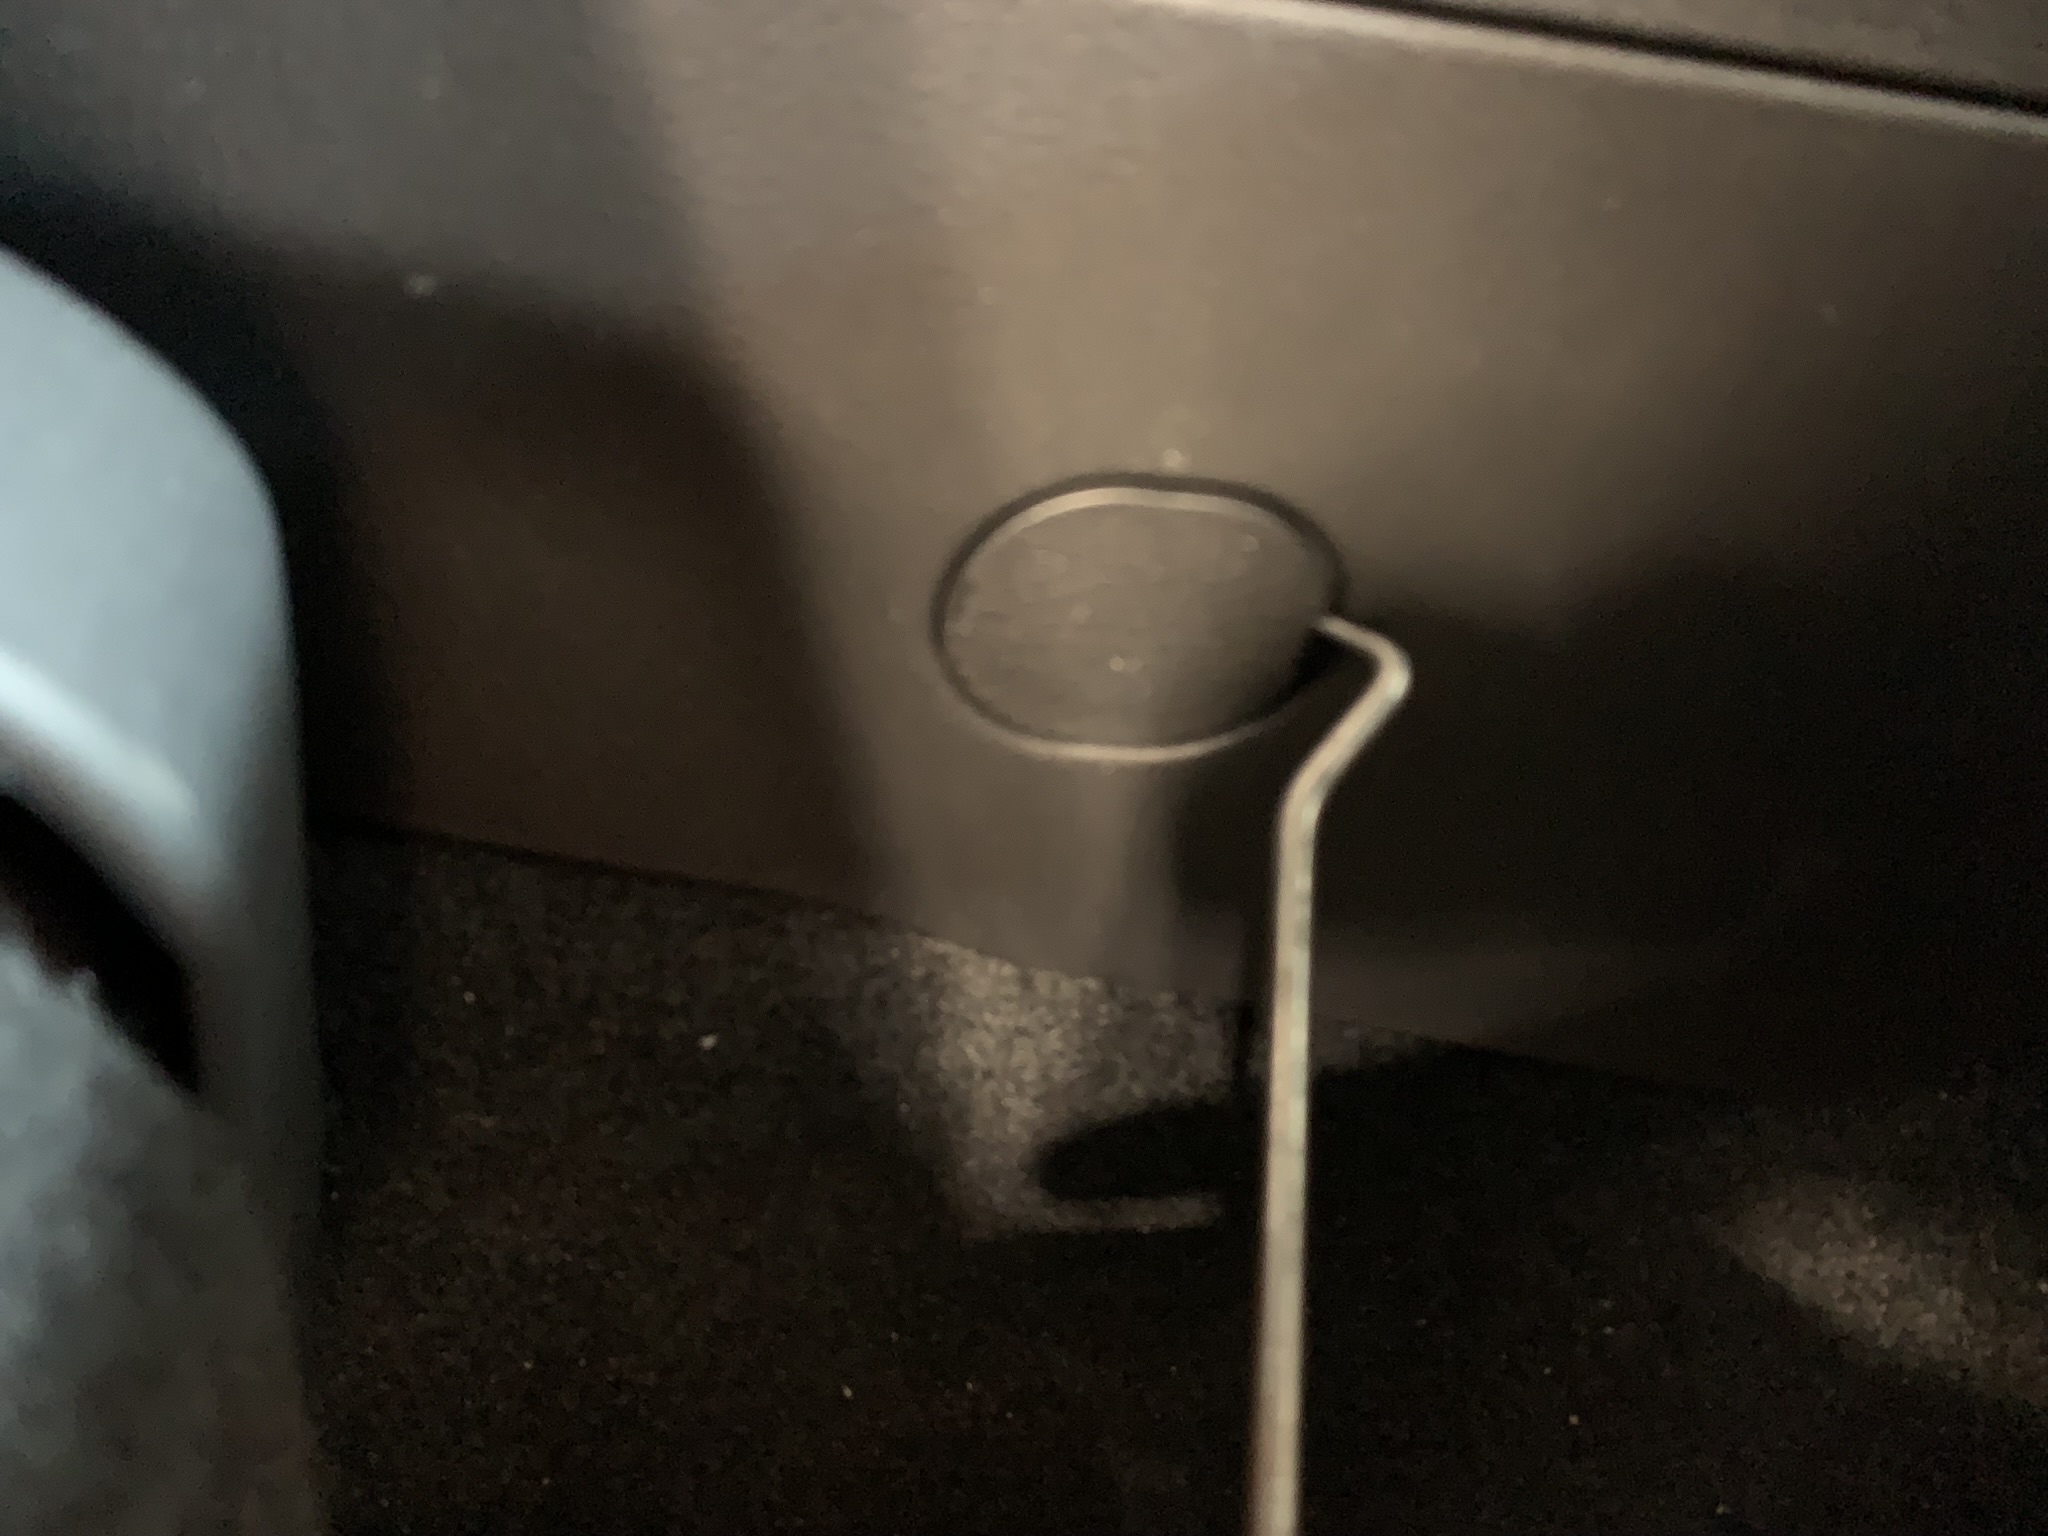
Step out of the vehicle and slide your seats as far forward as they'll go so you can access the rear screw mounts for the center console tunnel cover. Pop the covers off and use your Philips head screwdriver to remove them (one per side).
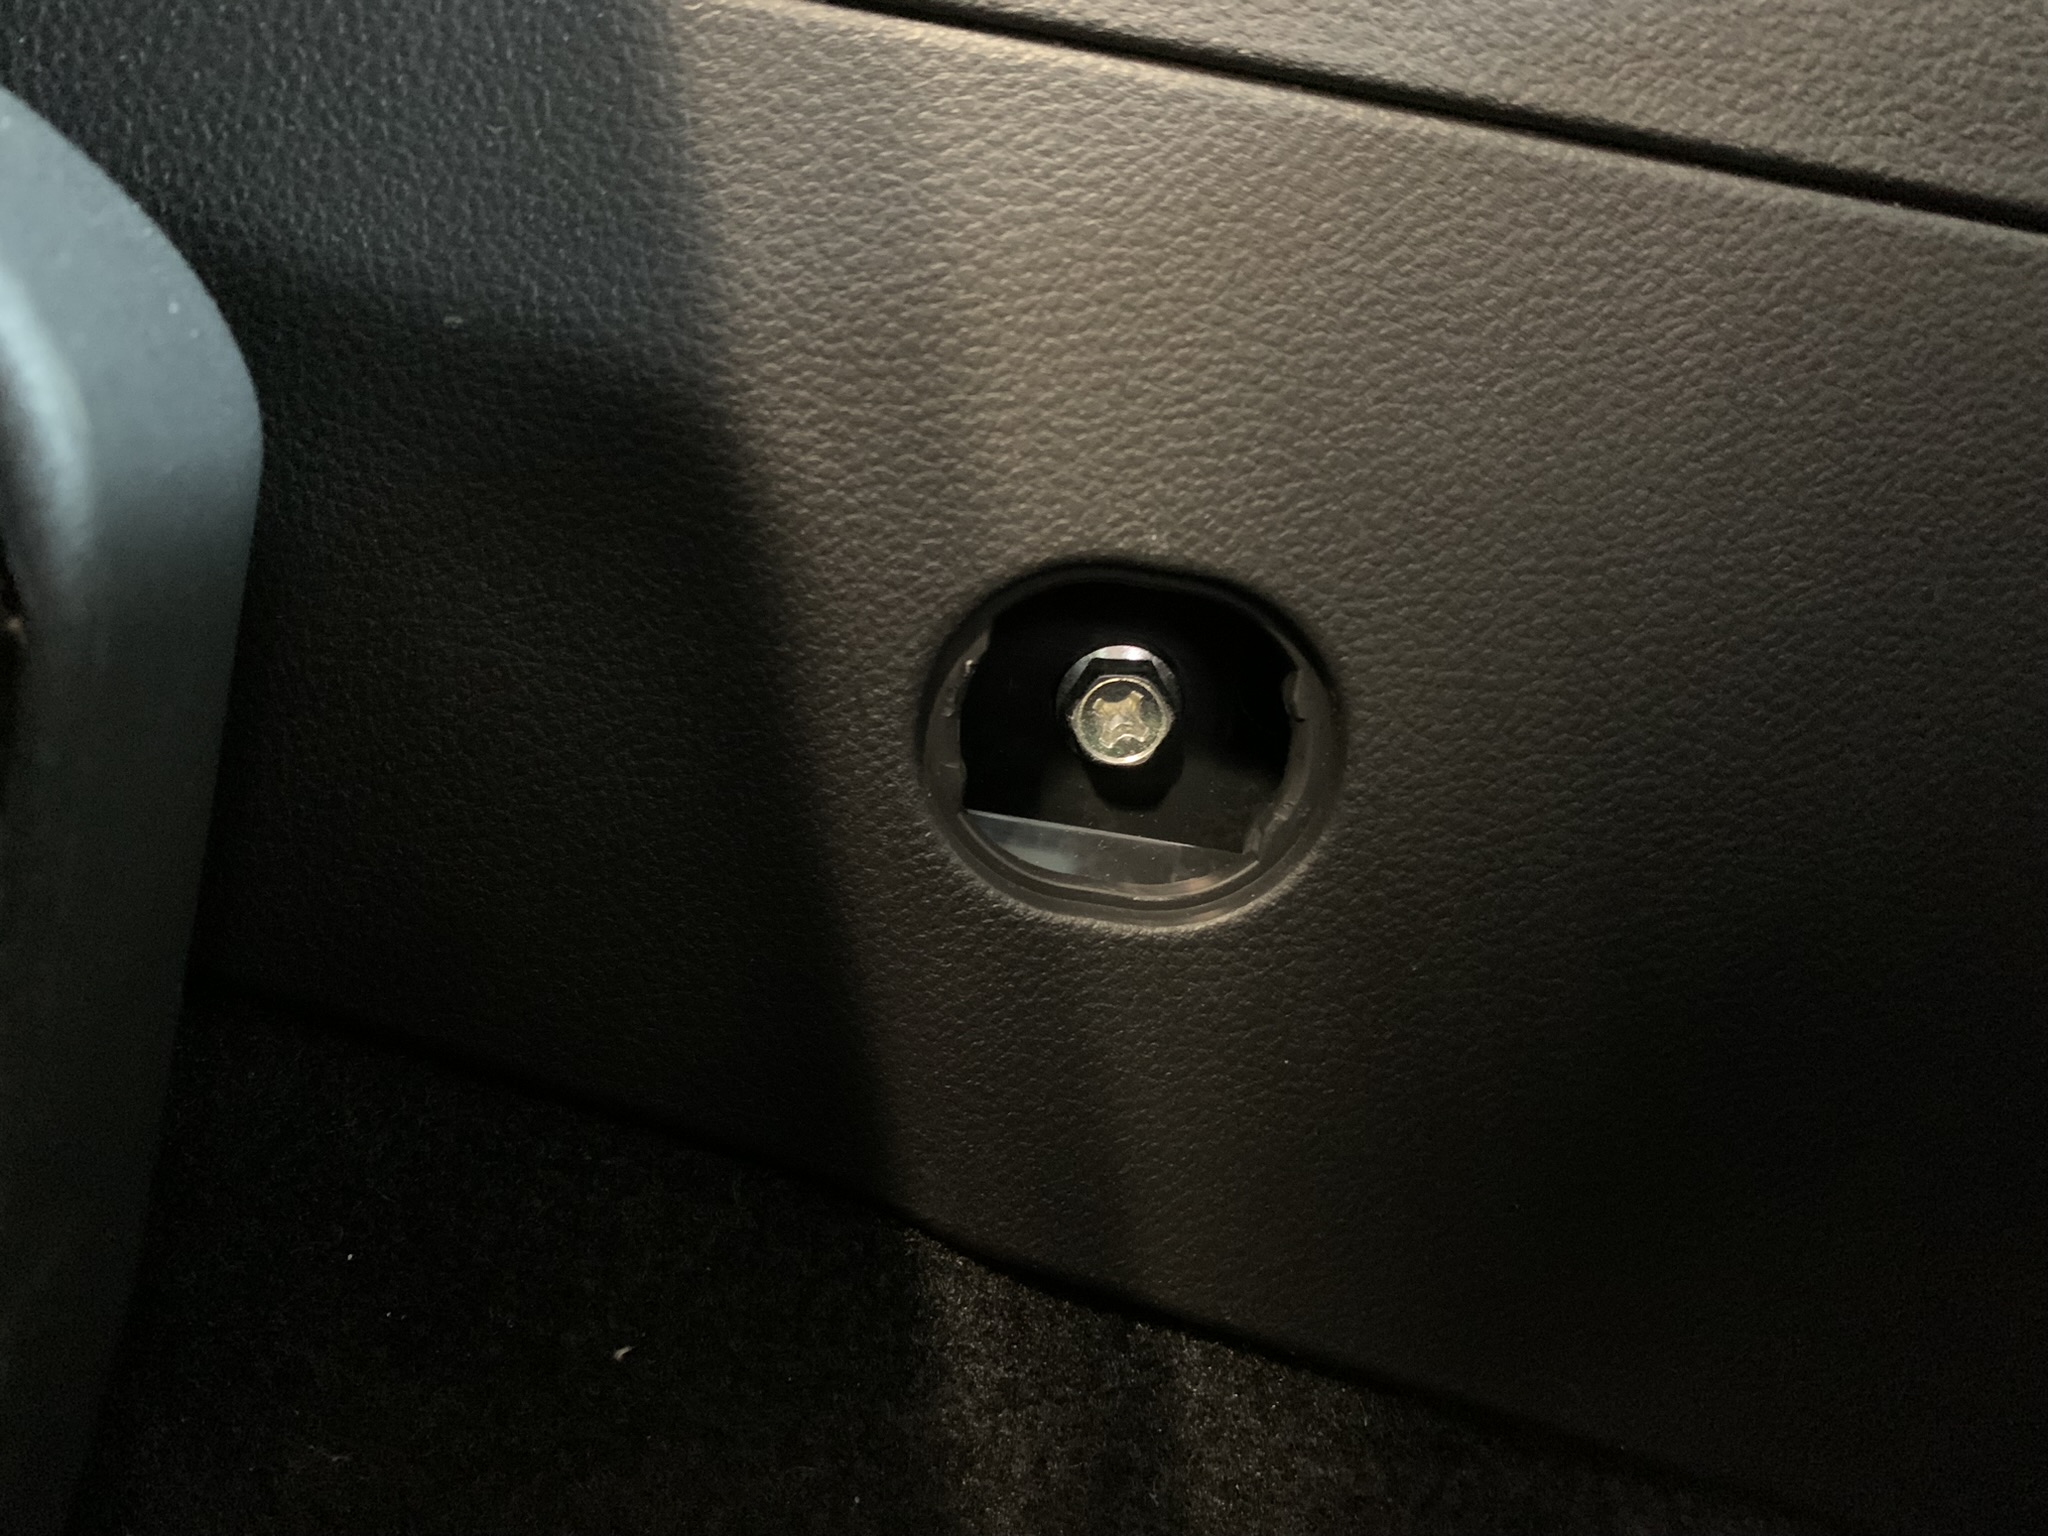
-
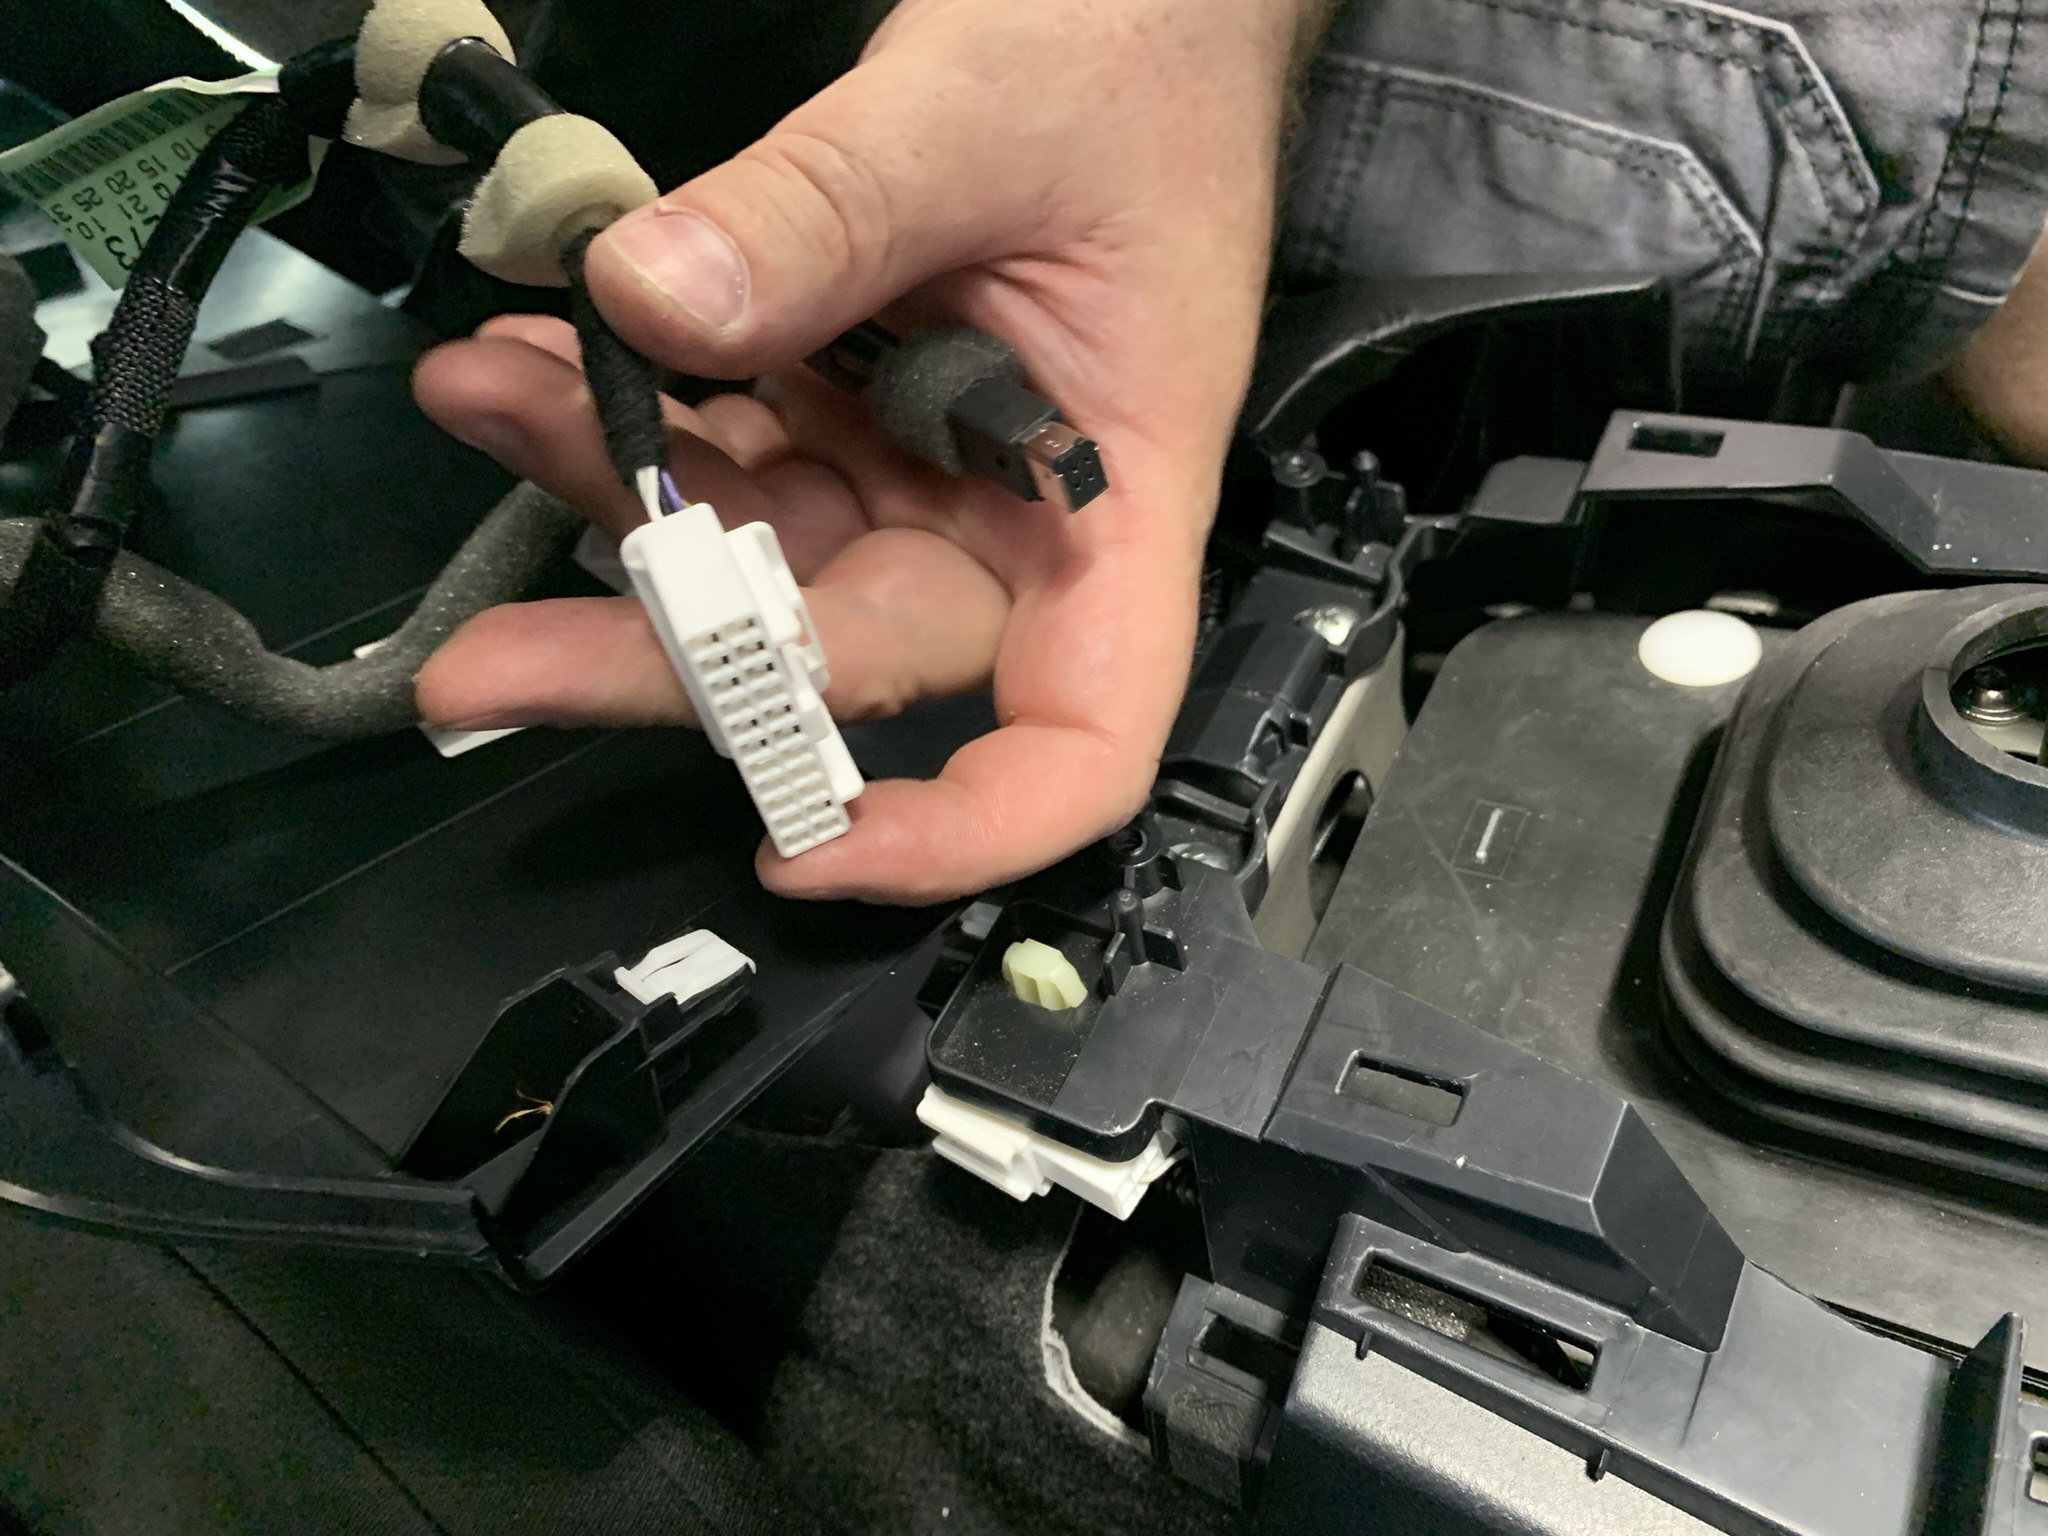
Once these two screws are removed, the entire center console cover can now be lifted up, but don't try to remove it completely just yet as there are a couple wiring connectors that we'll need to disconnect. A wide white multi-pin connector and a smaller USB-B type connector. Both have locking tabs that need to be depressed before they'll release.
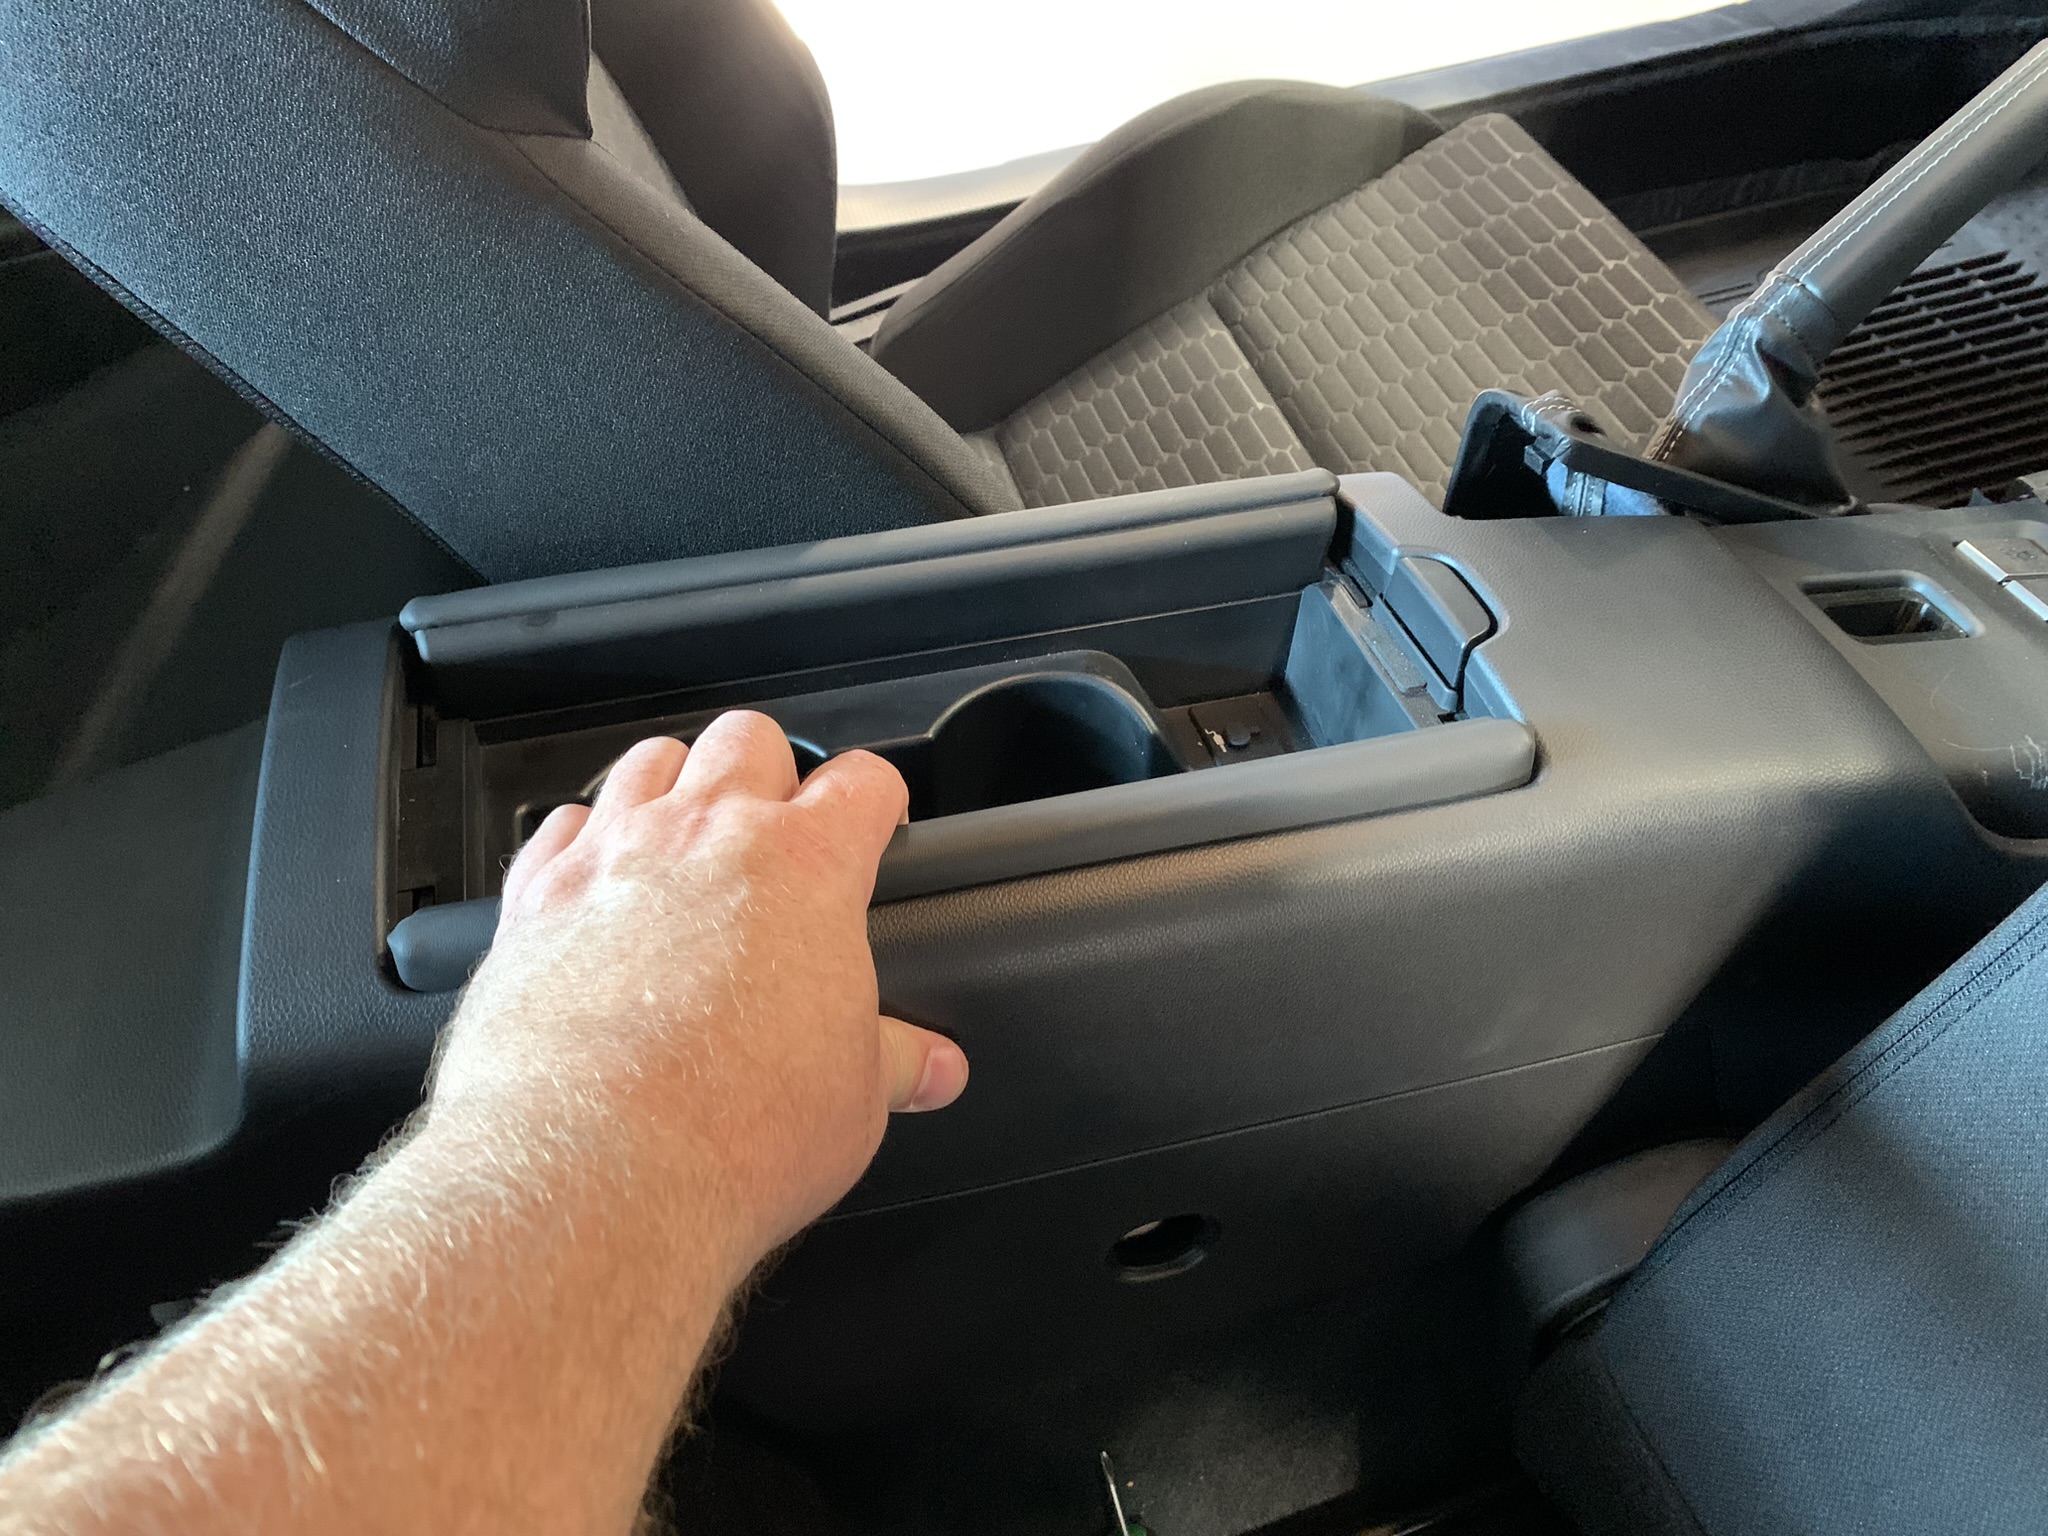
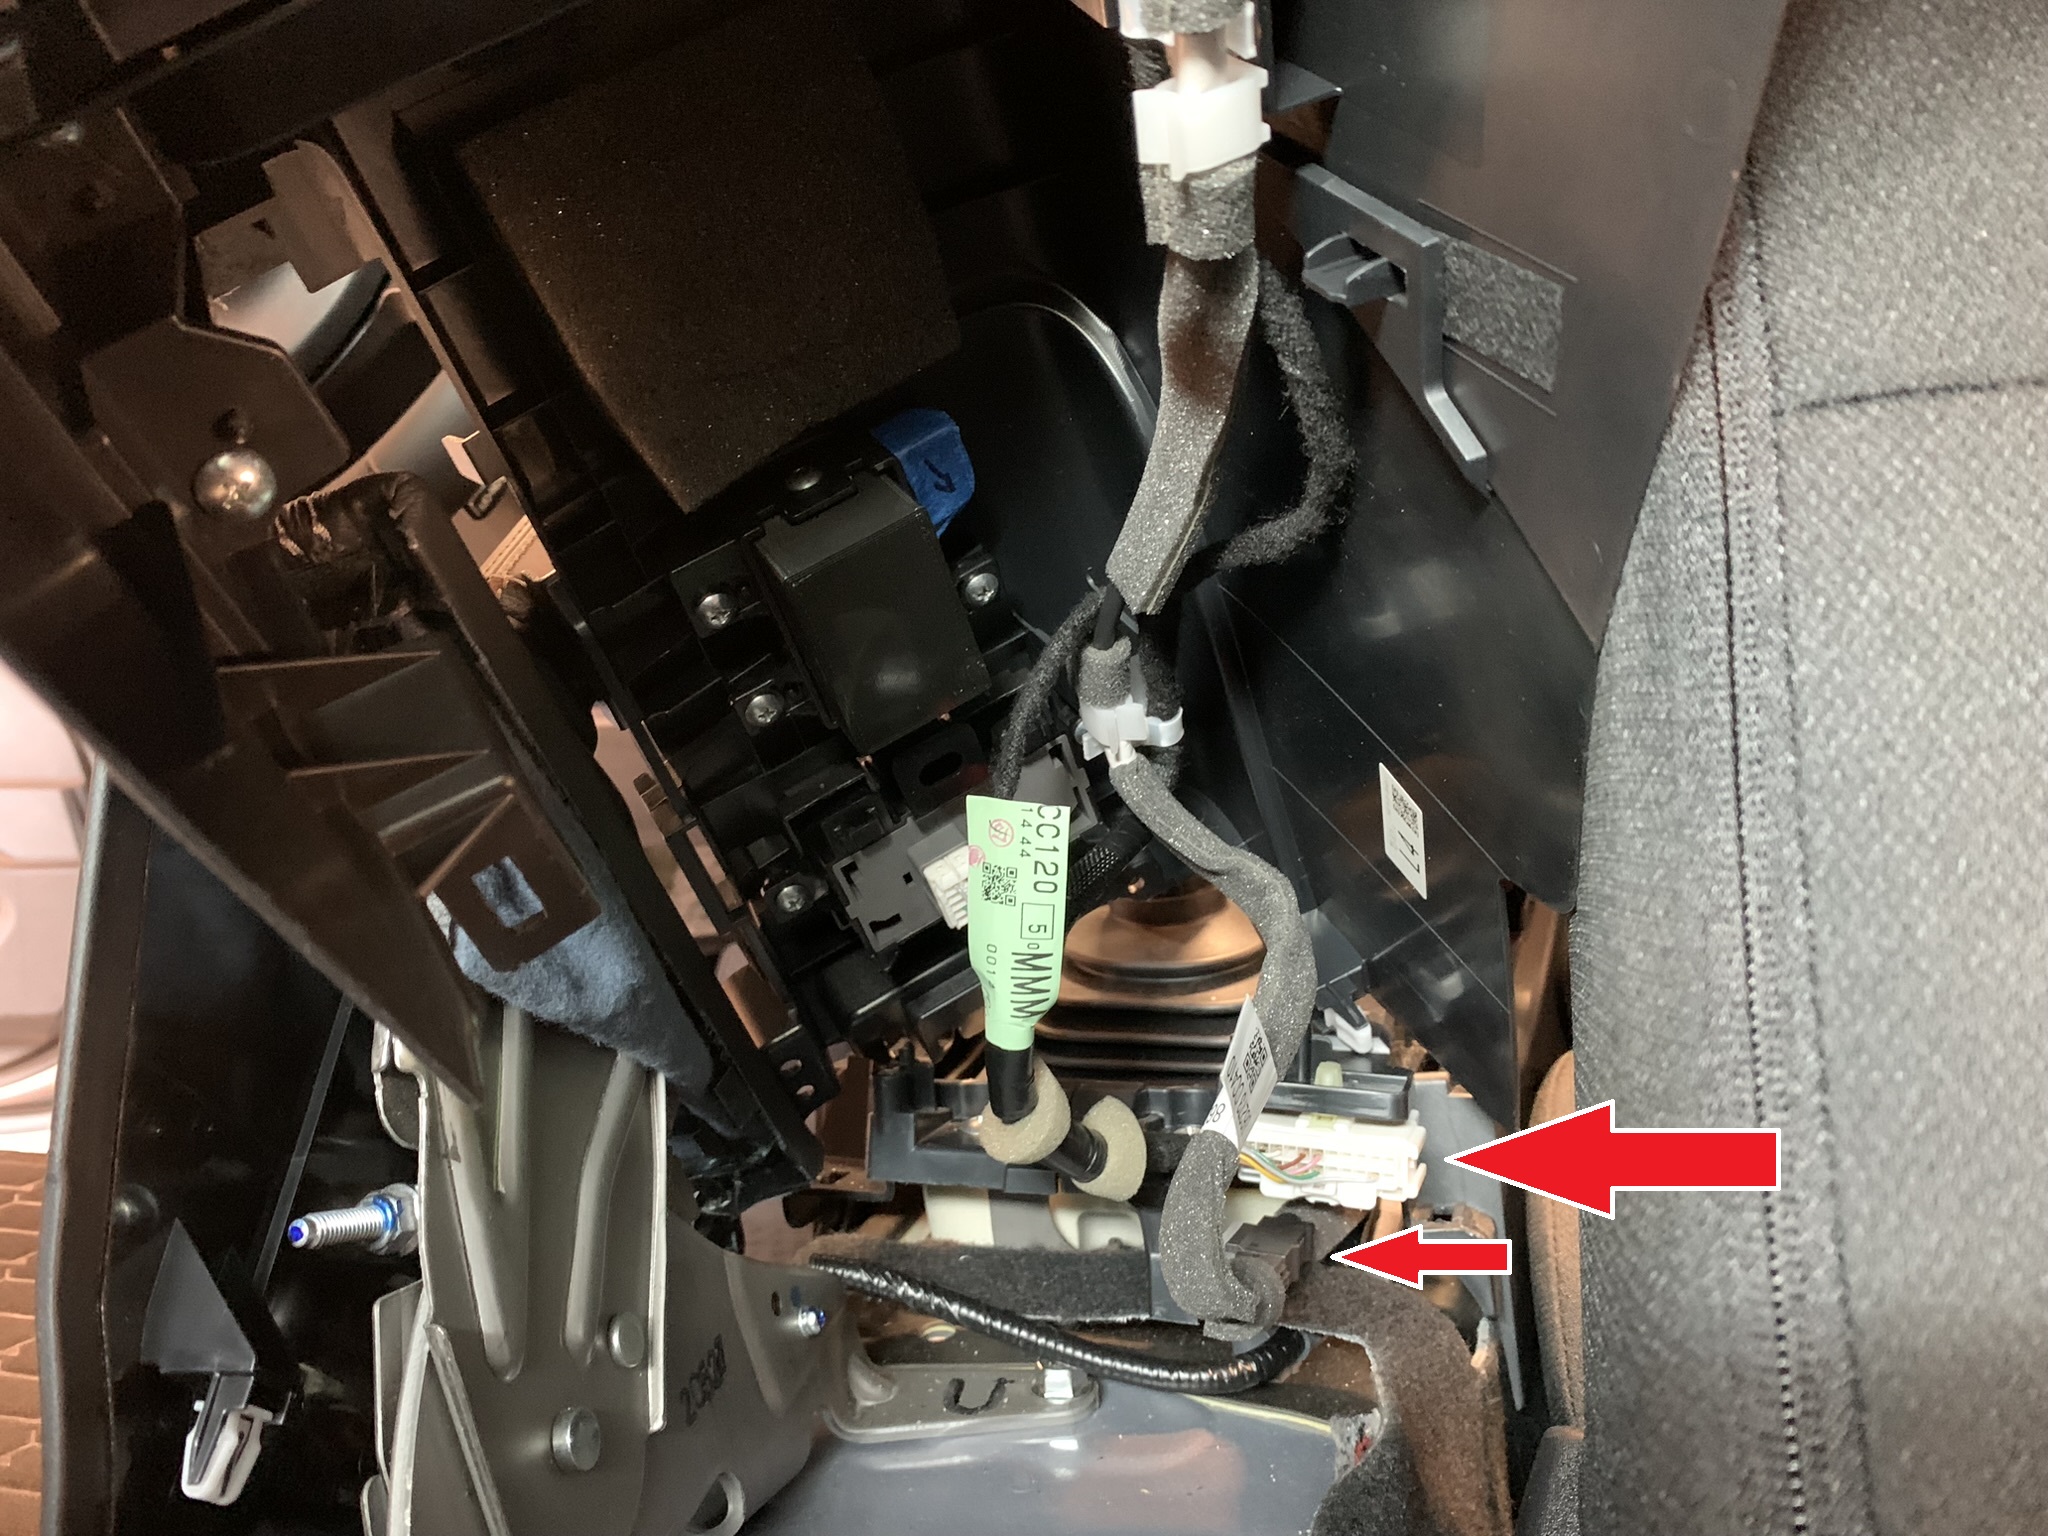
-
Upon disconnecting the plugs, lift off the center console tunnel cover and set it aside.
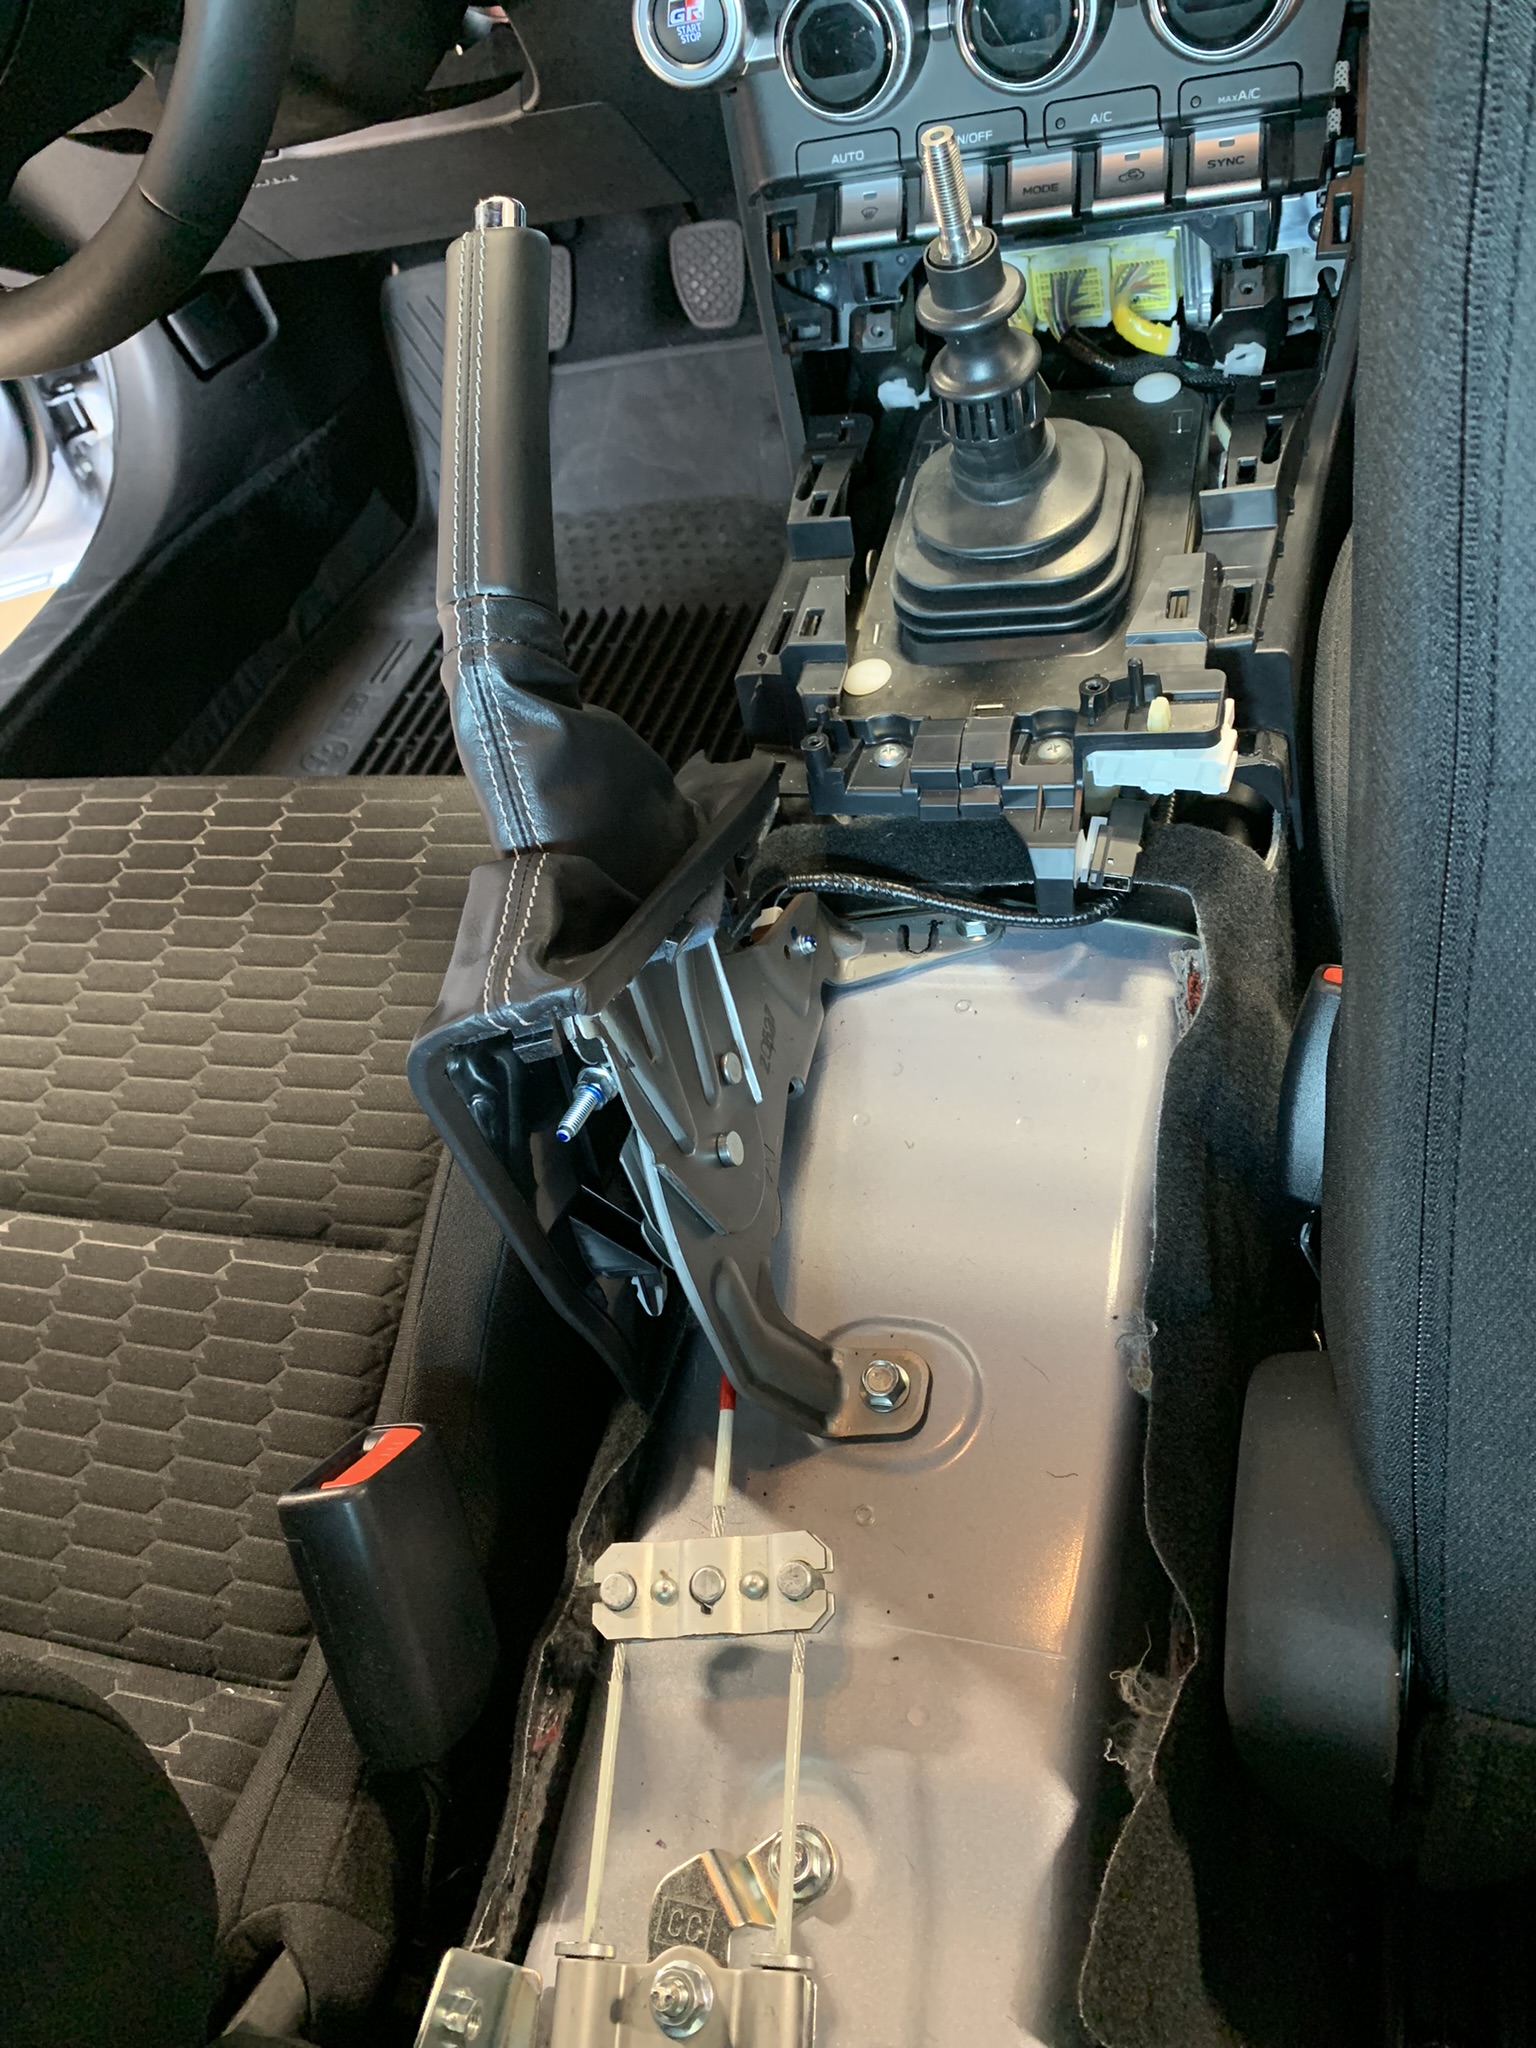
-
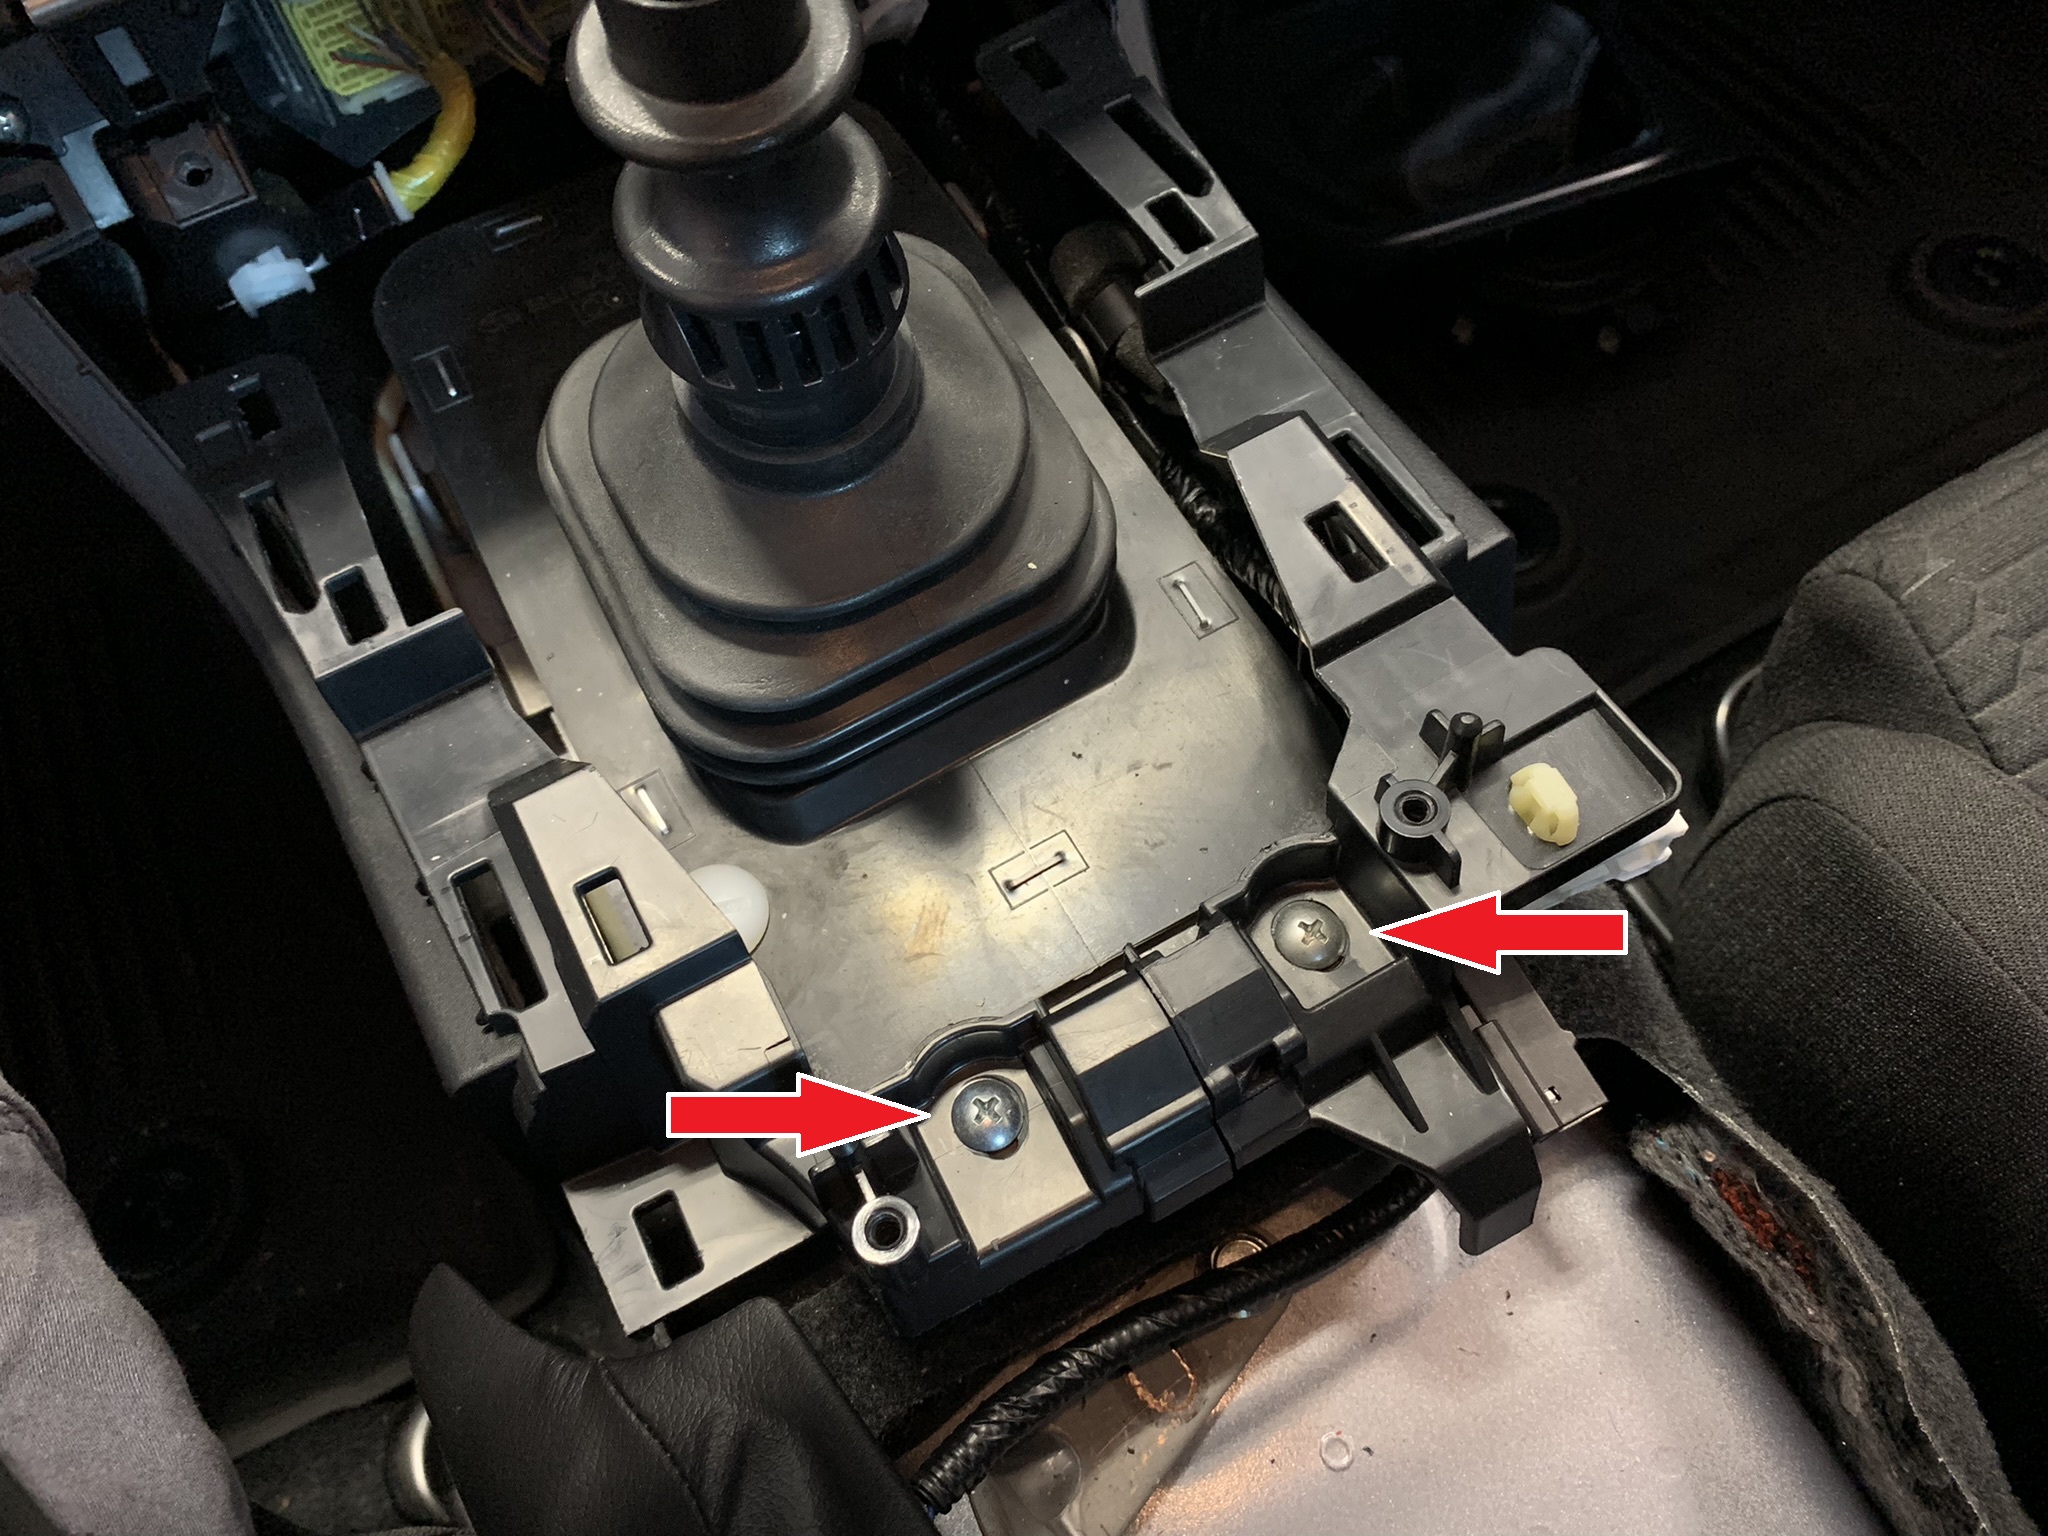
Push the seats back to their normal positions and sit back down in the driver's seat. You will now see two (2) final Philips head screws that need to be removed. Don't worry about mixing these Philips head screws up as with the ones you've already removed as they are all the same size.
-
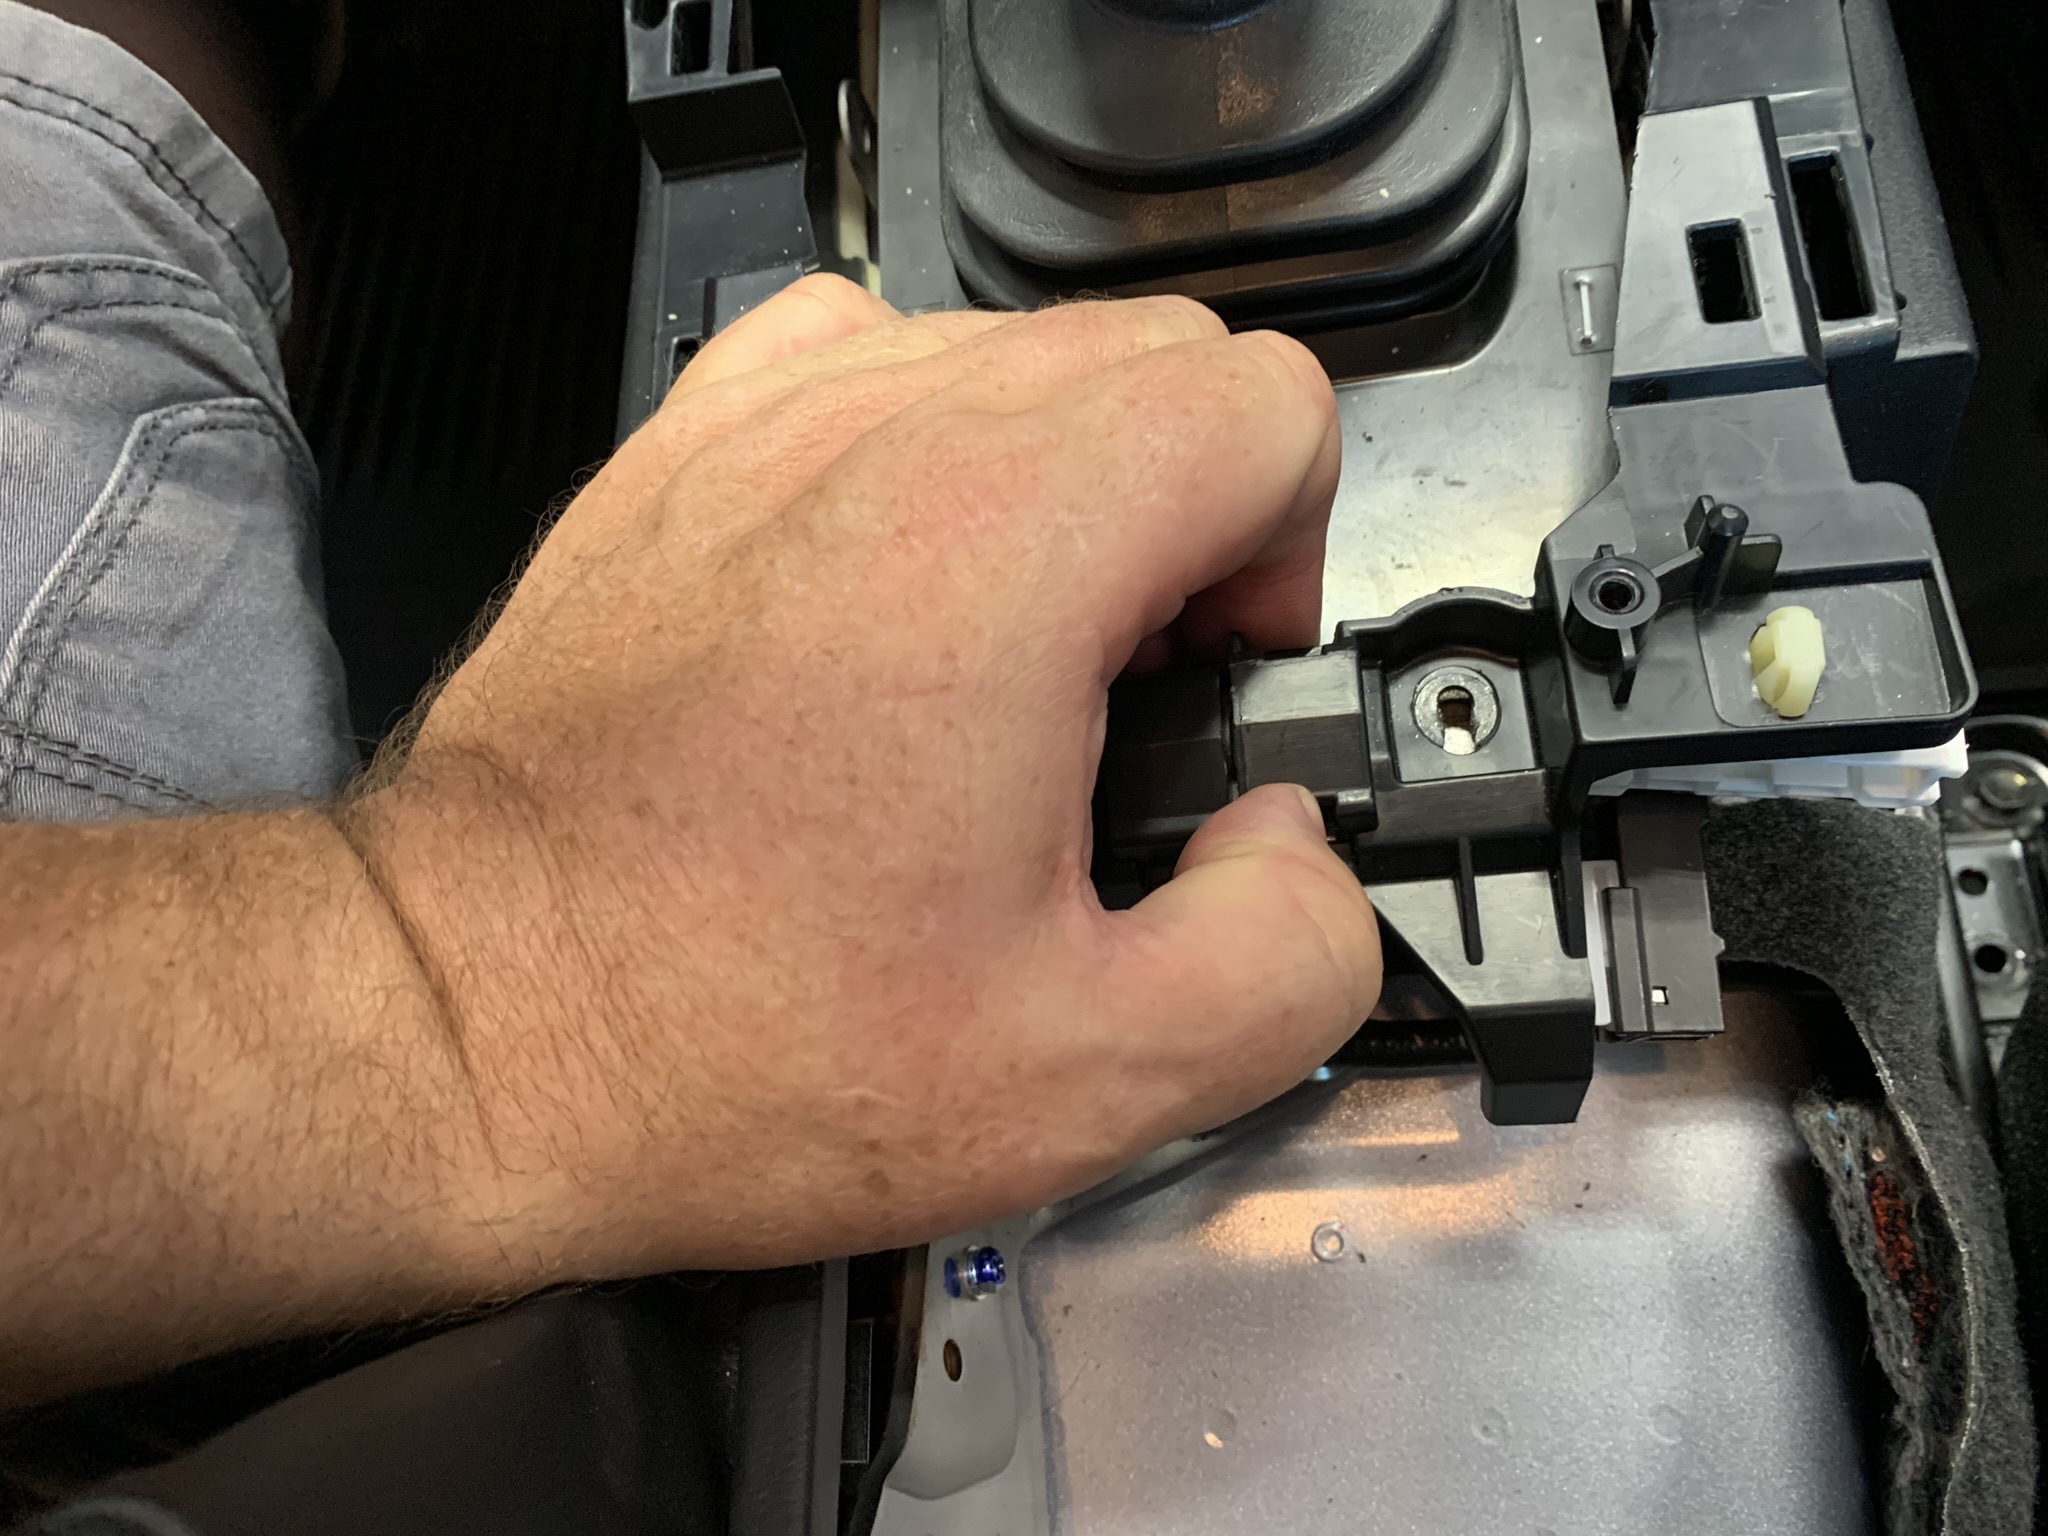
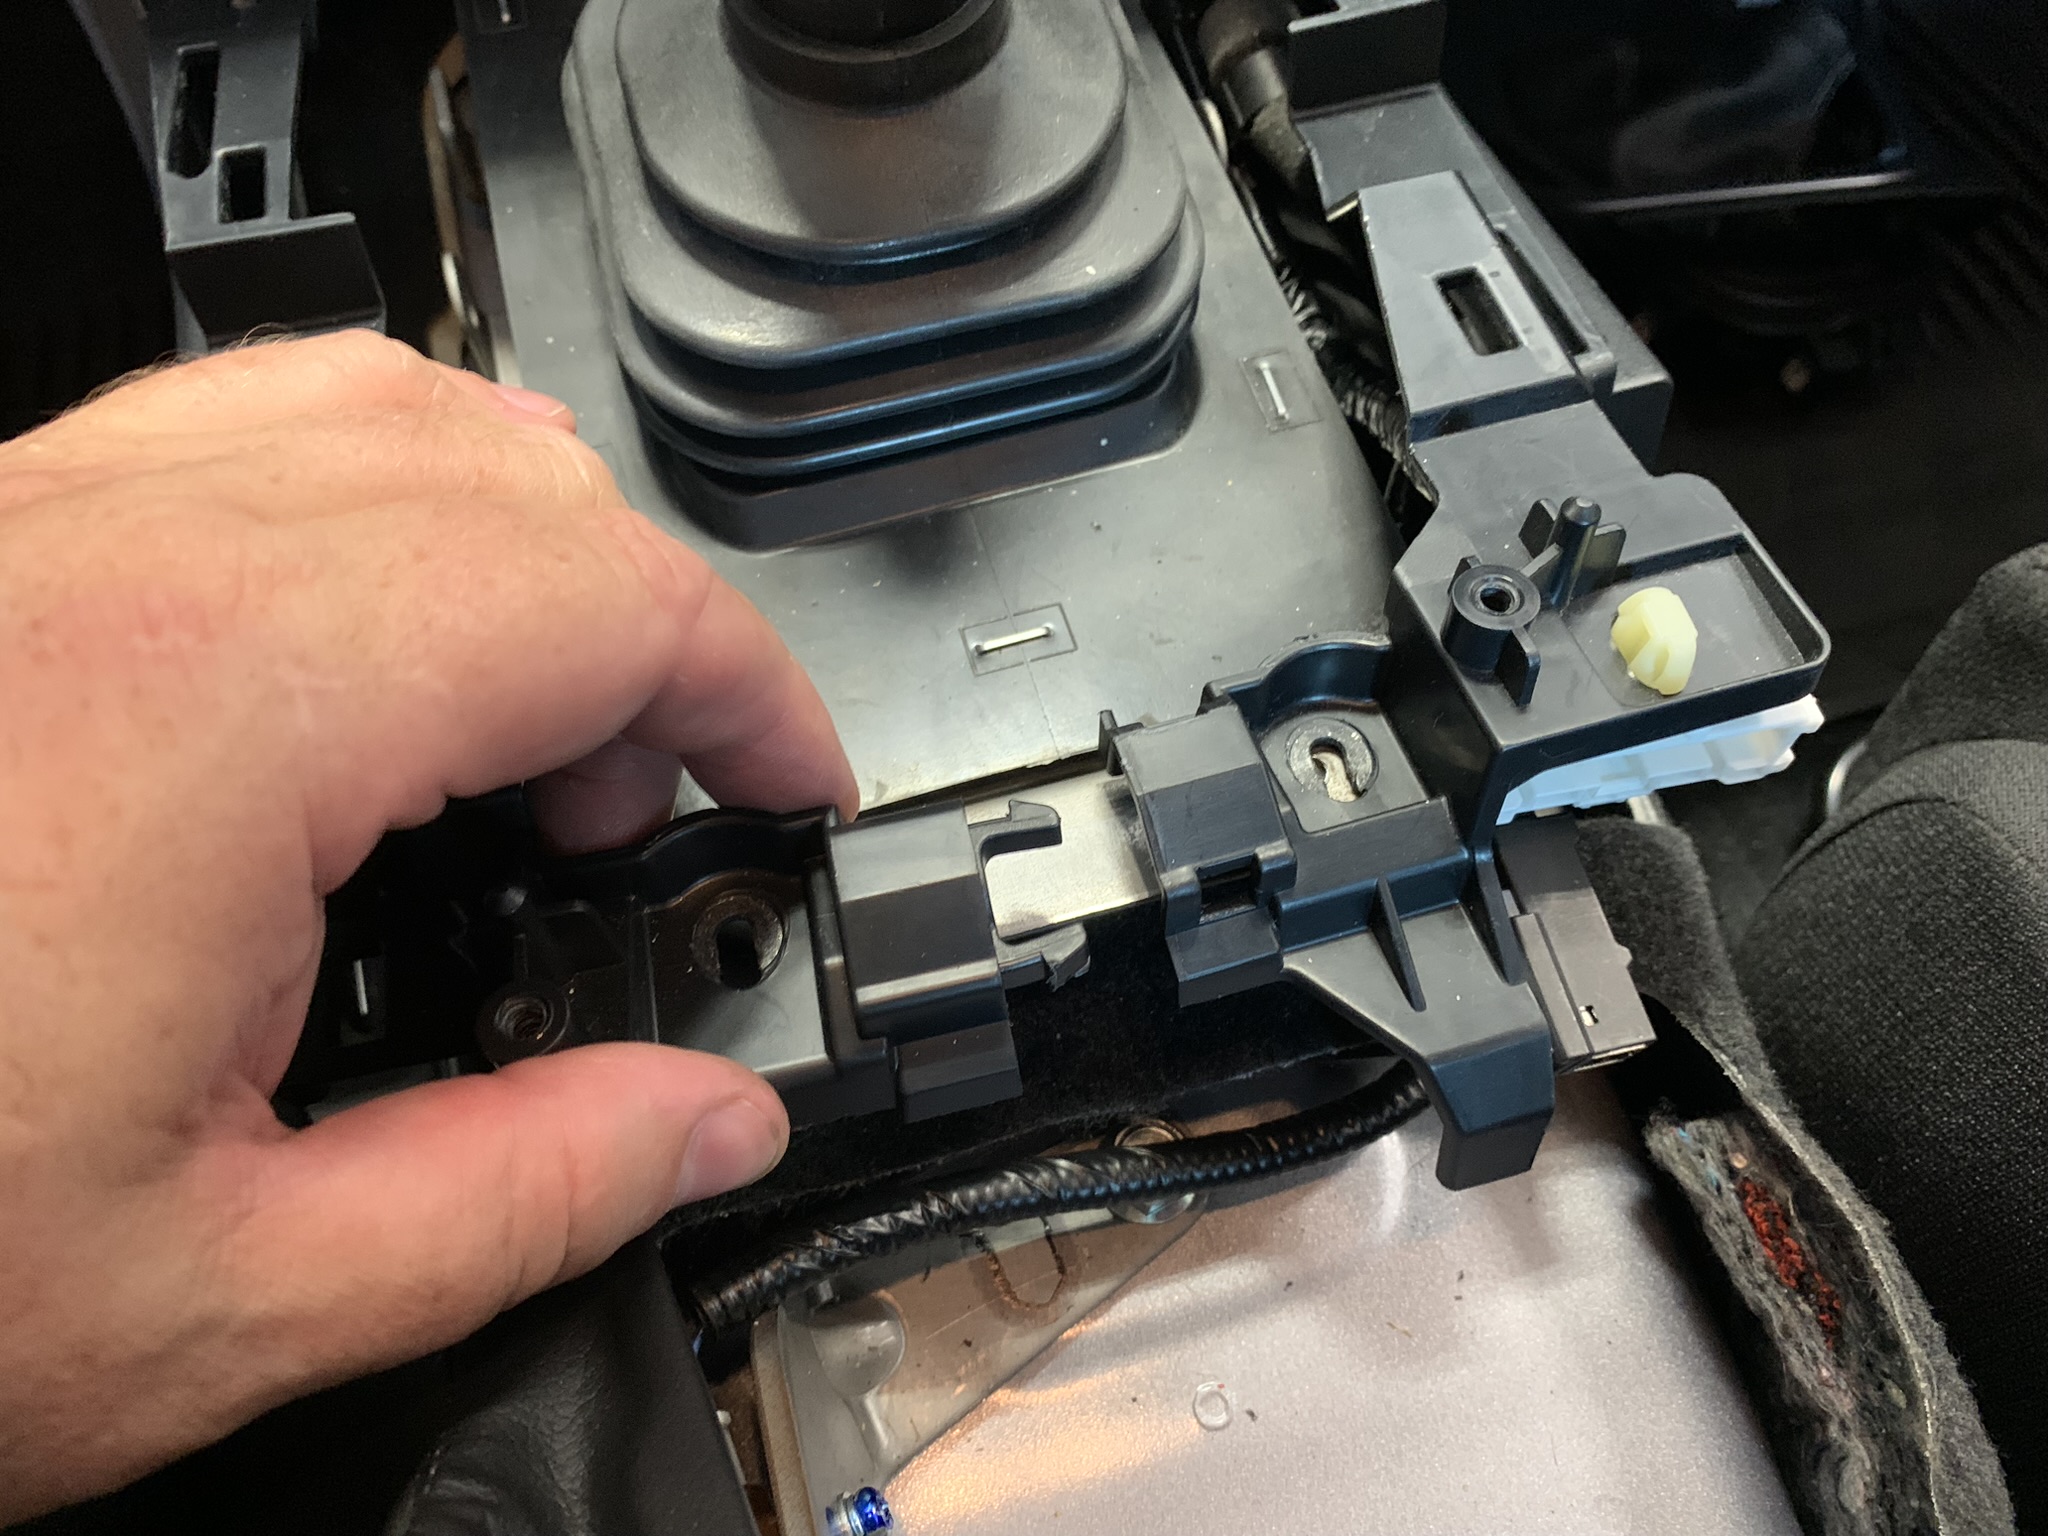
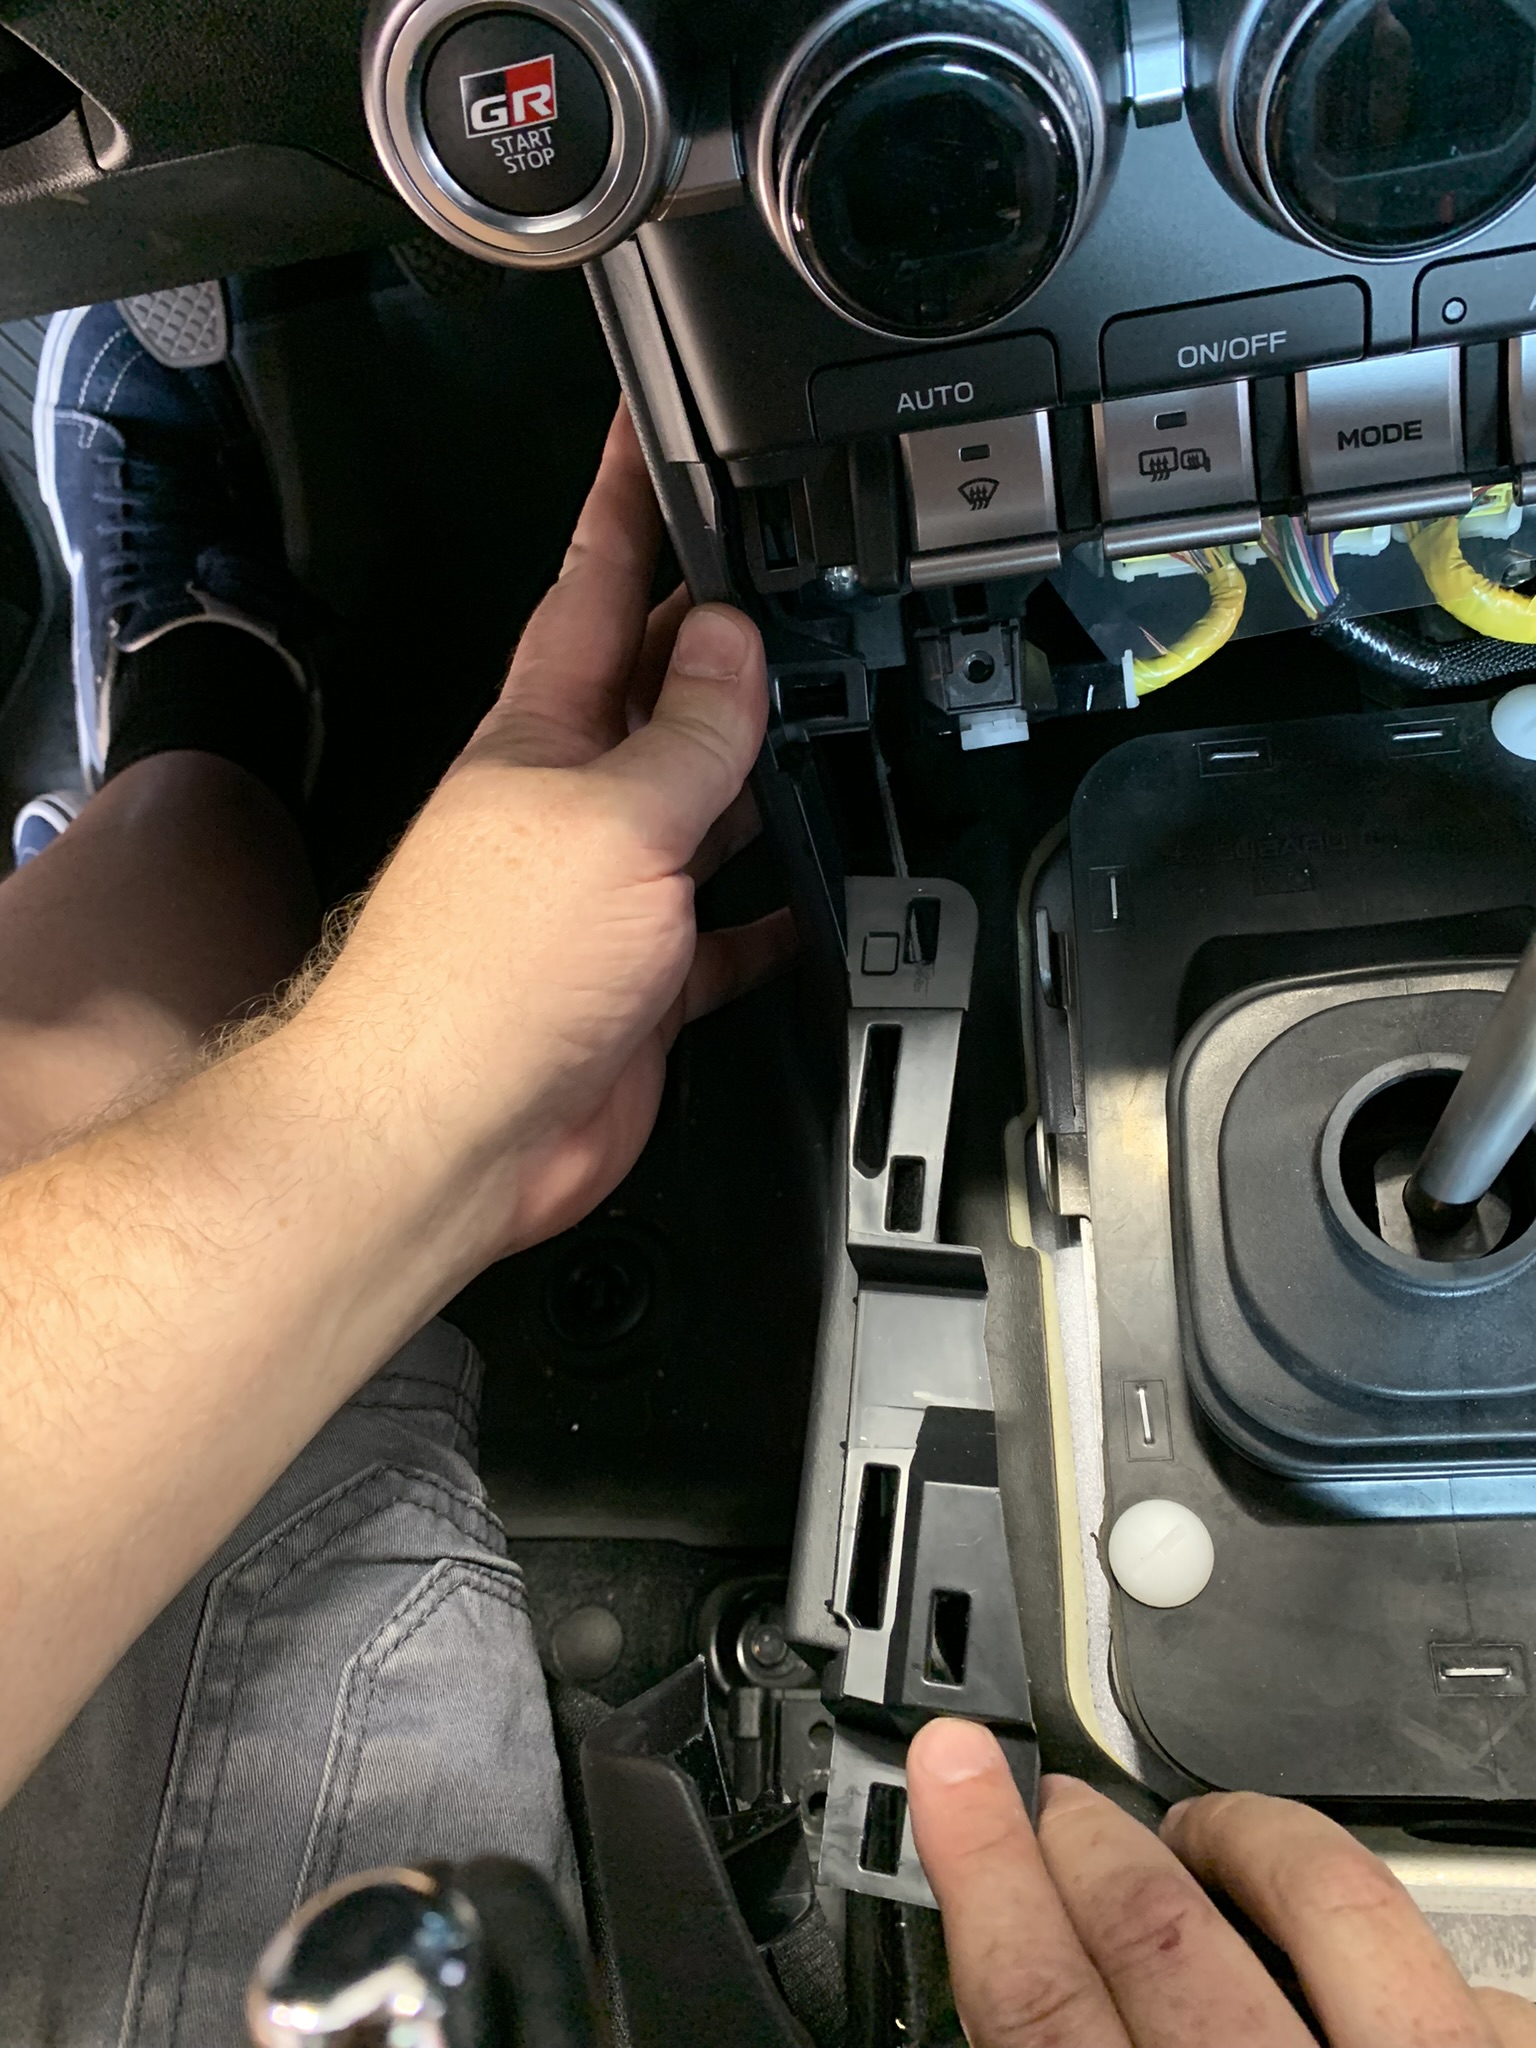
We now need to separate and remove the two (2) side panels of the center console. There is a tabbed connection between those last two screws you just removed, so press them both together and disconnect the parts.
-
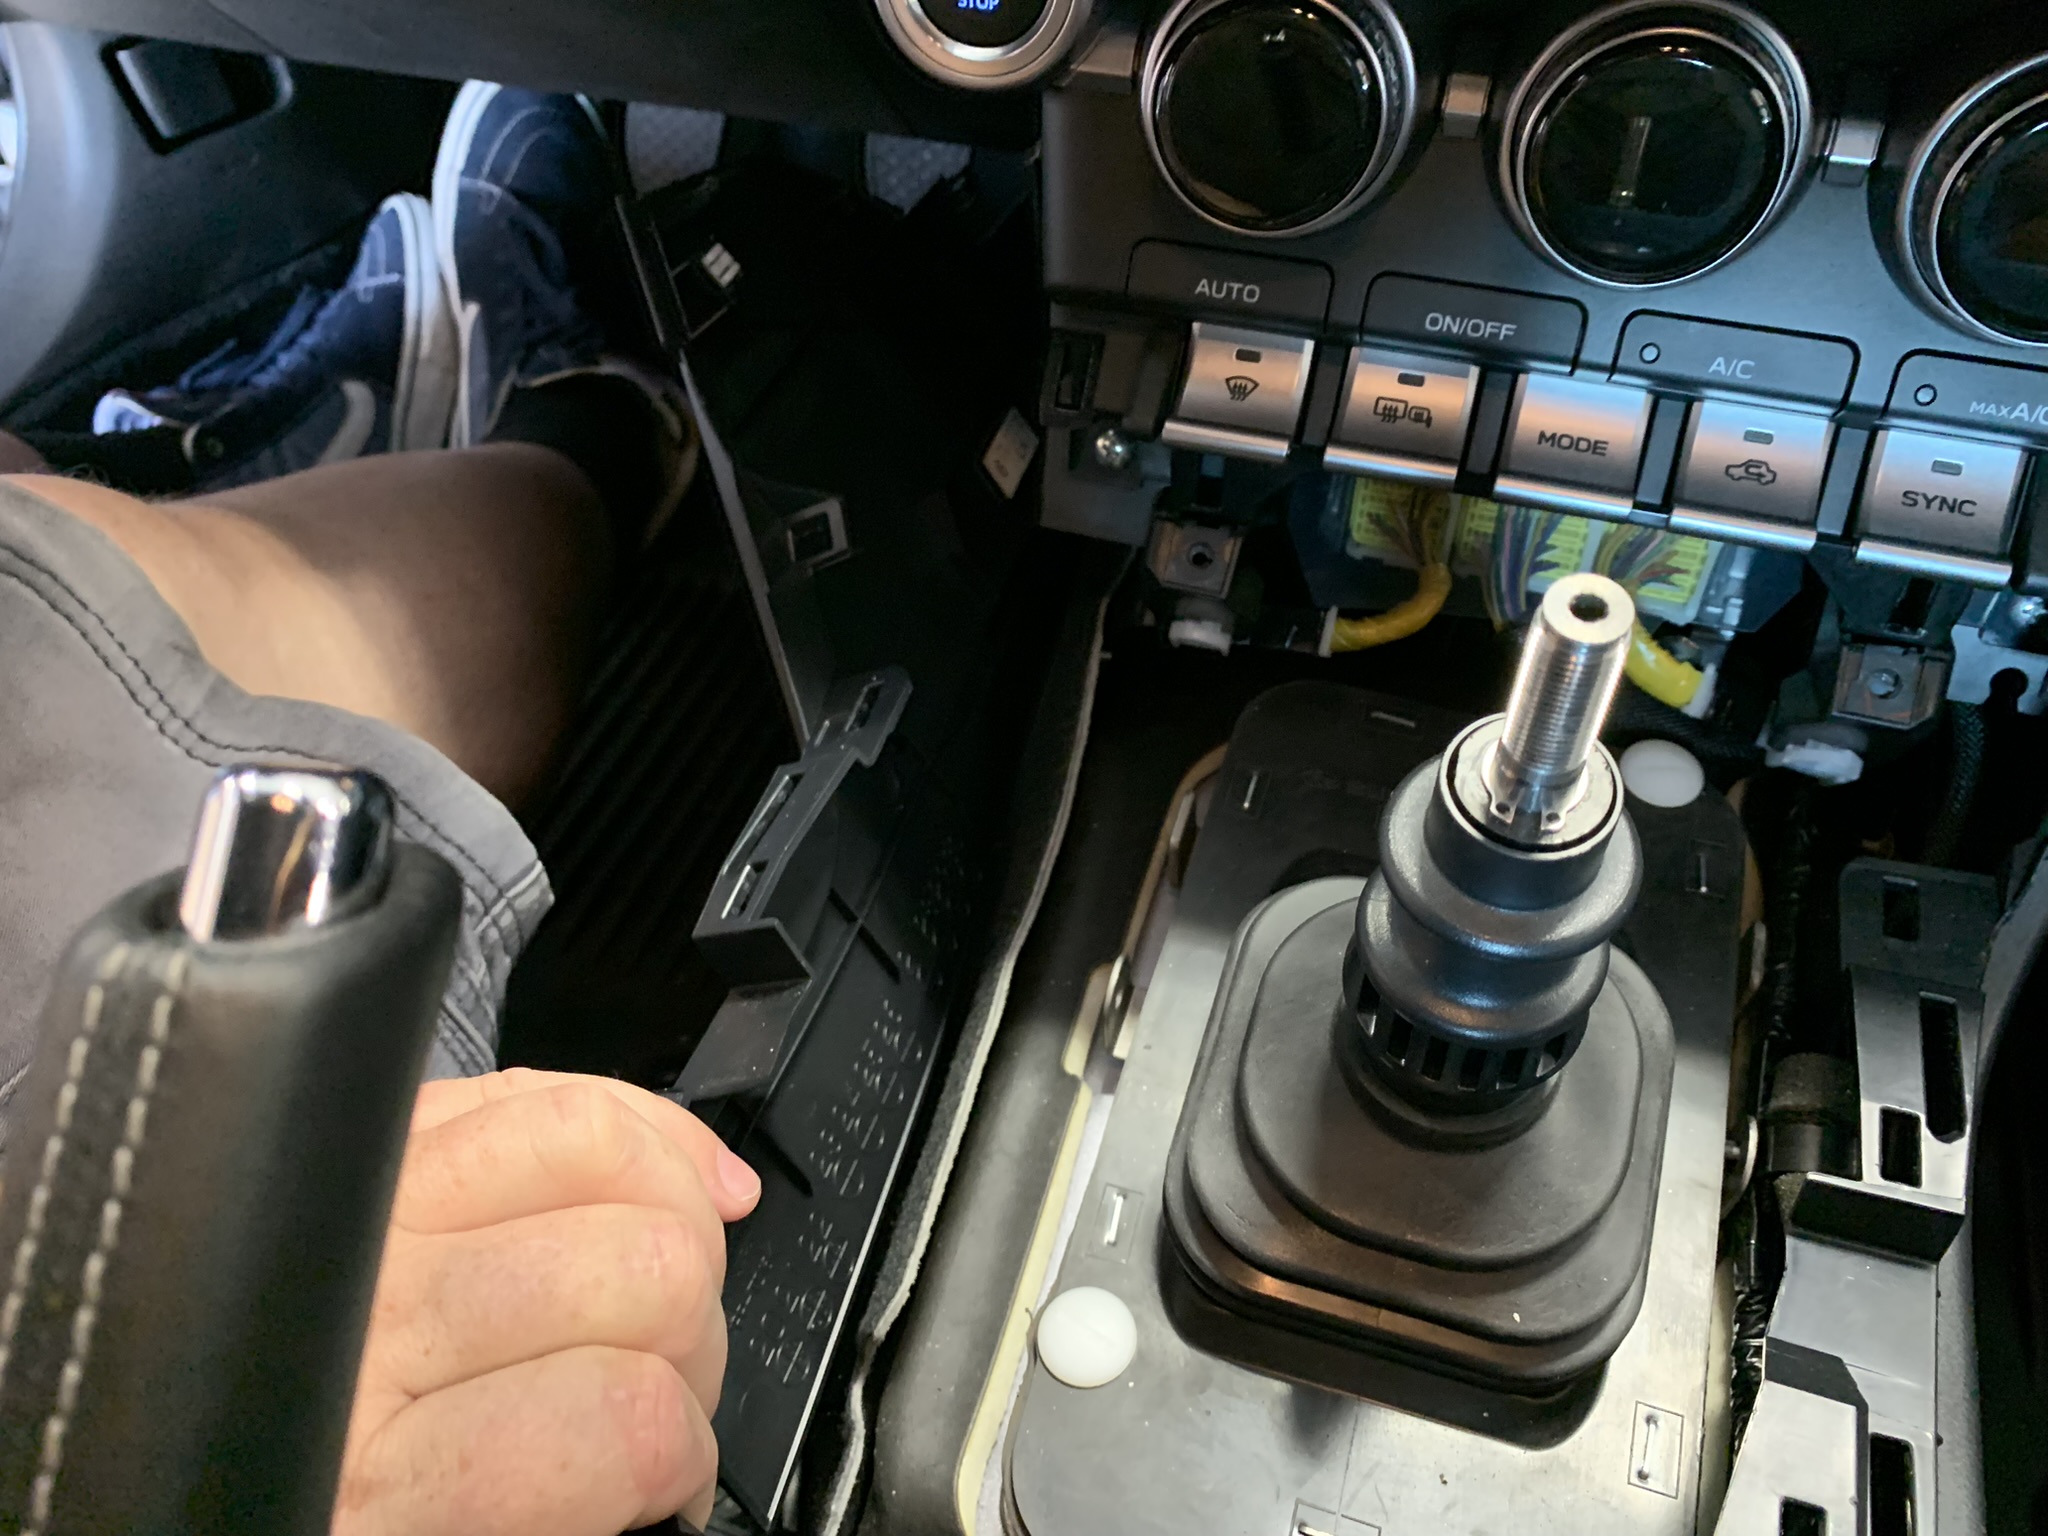
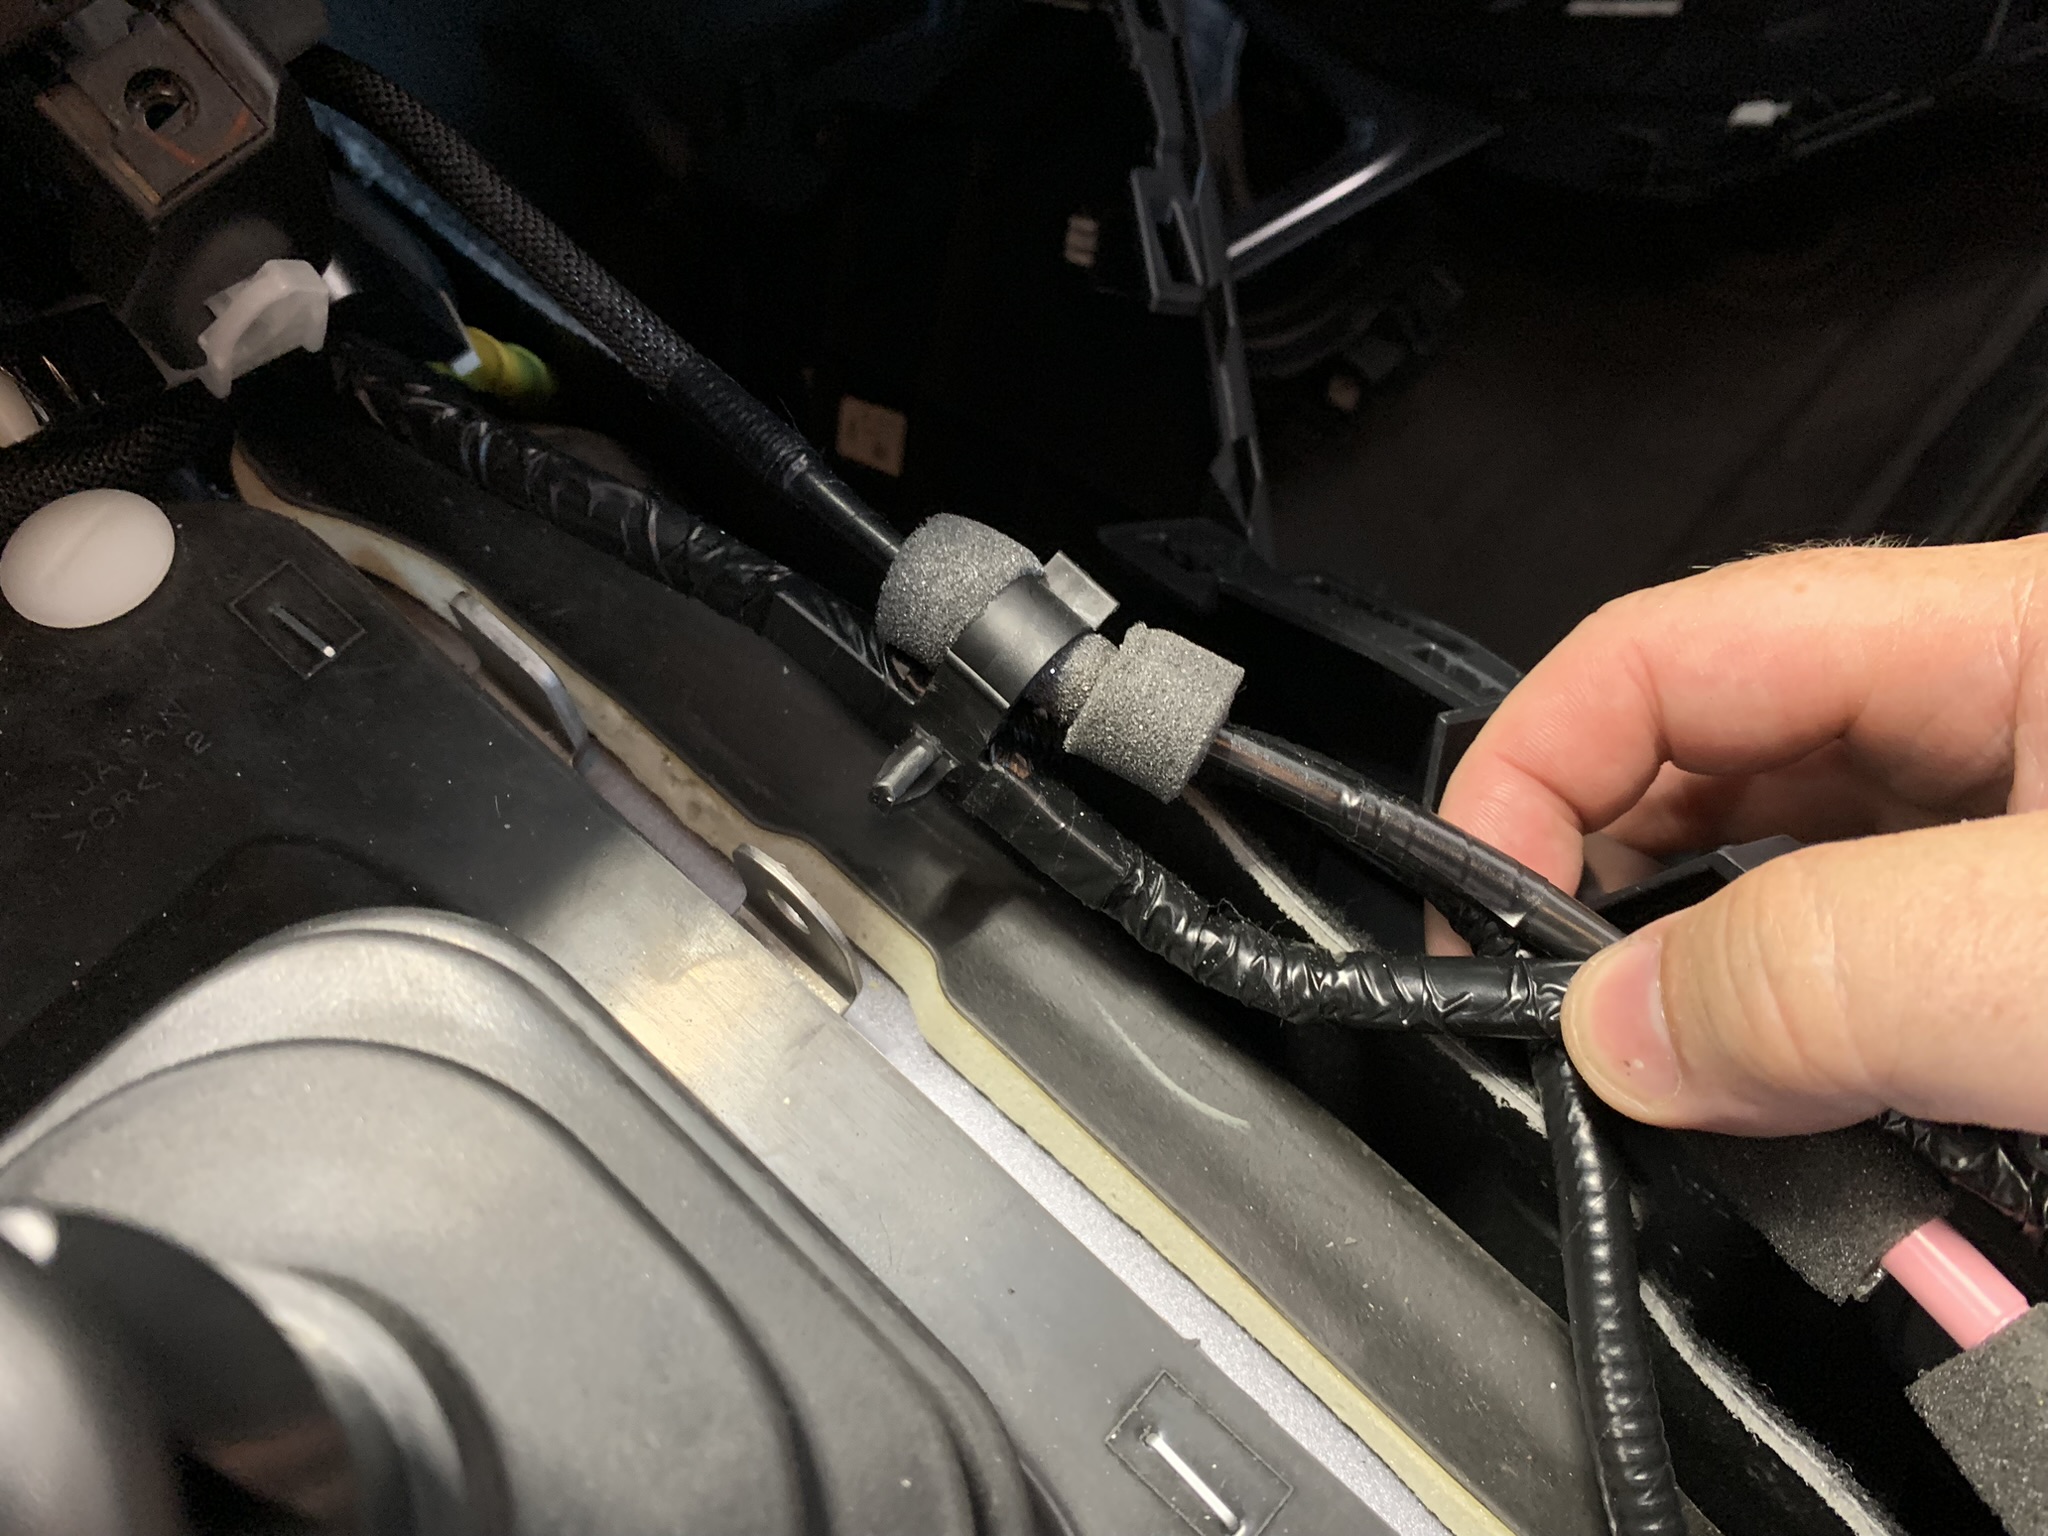
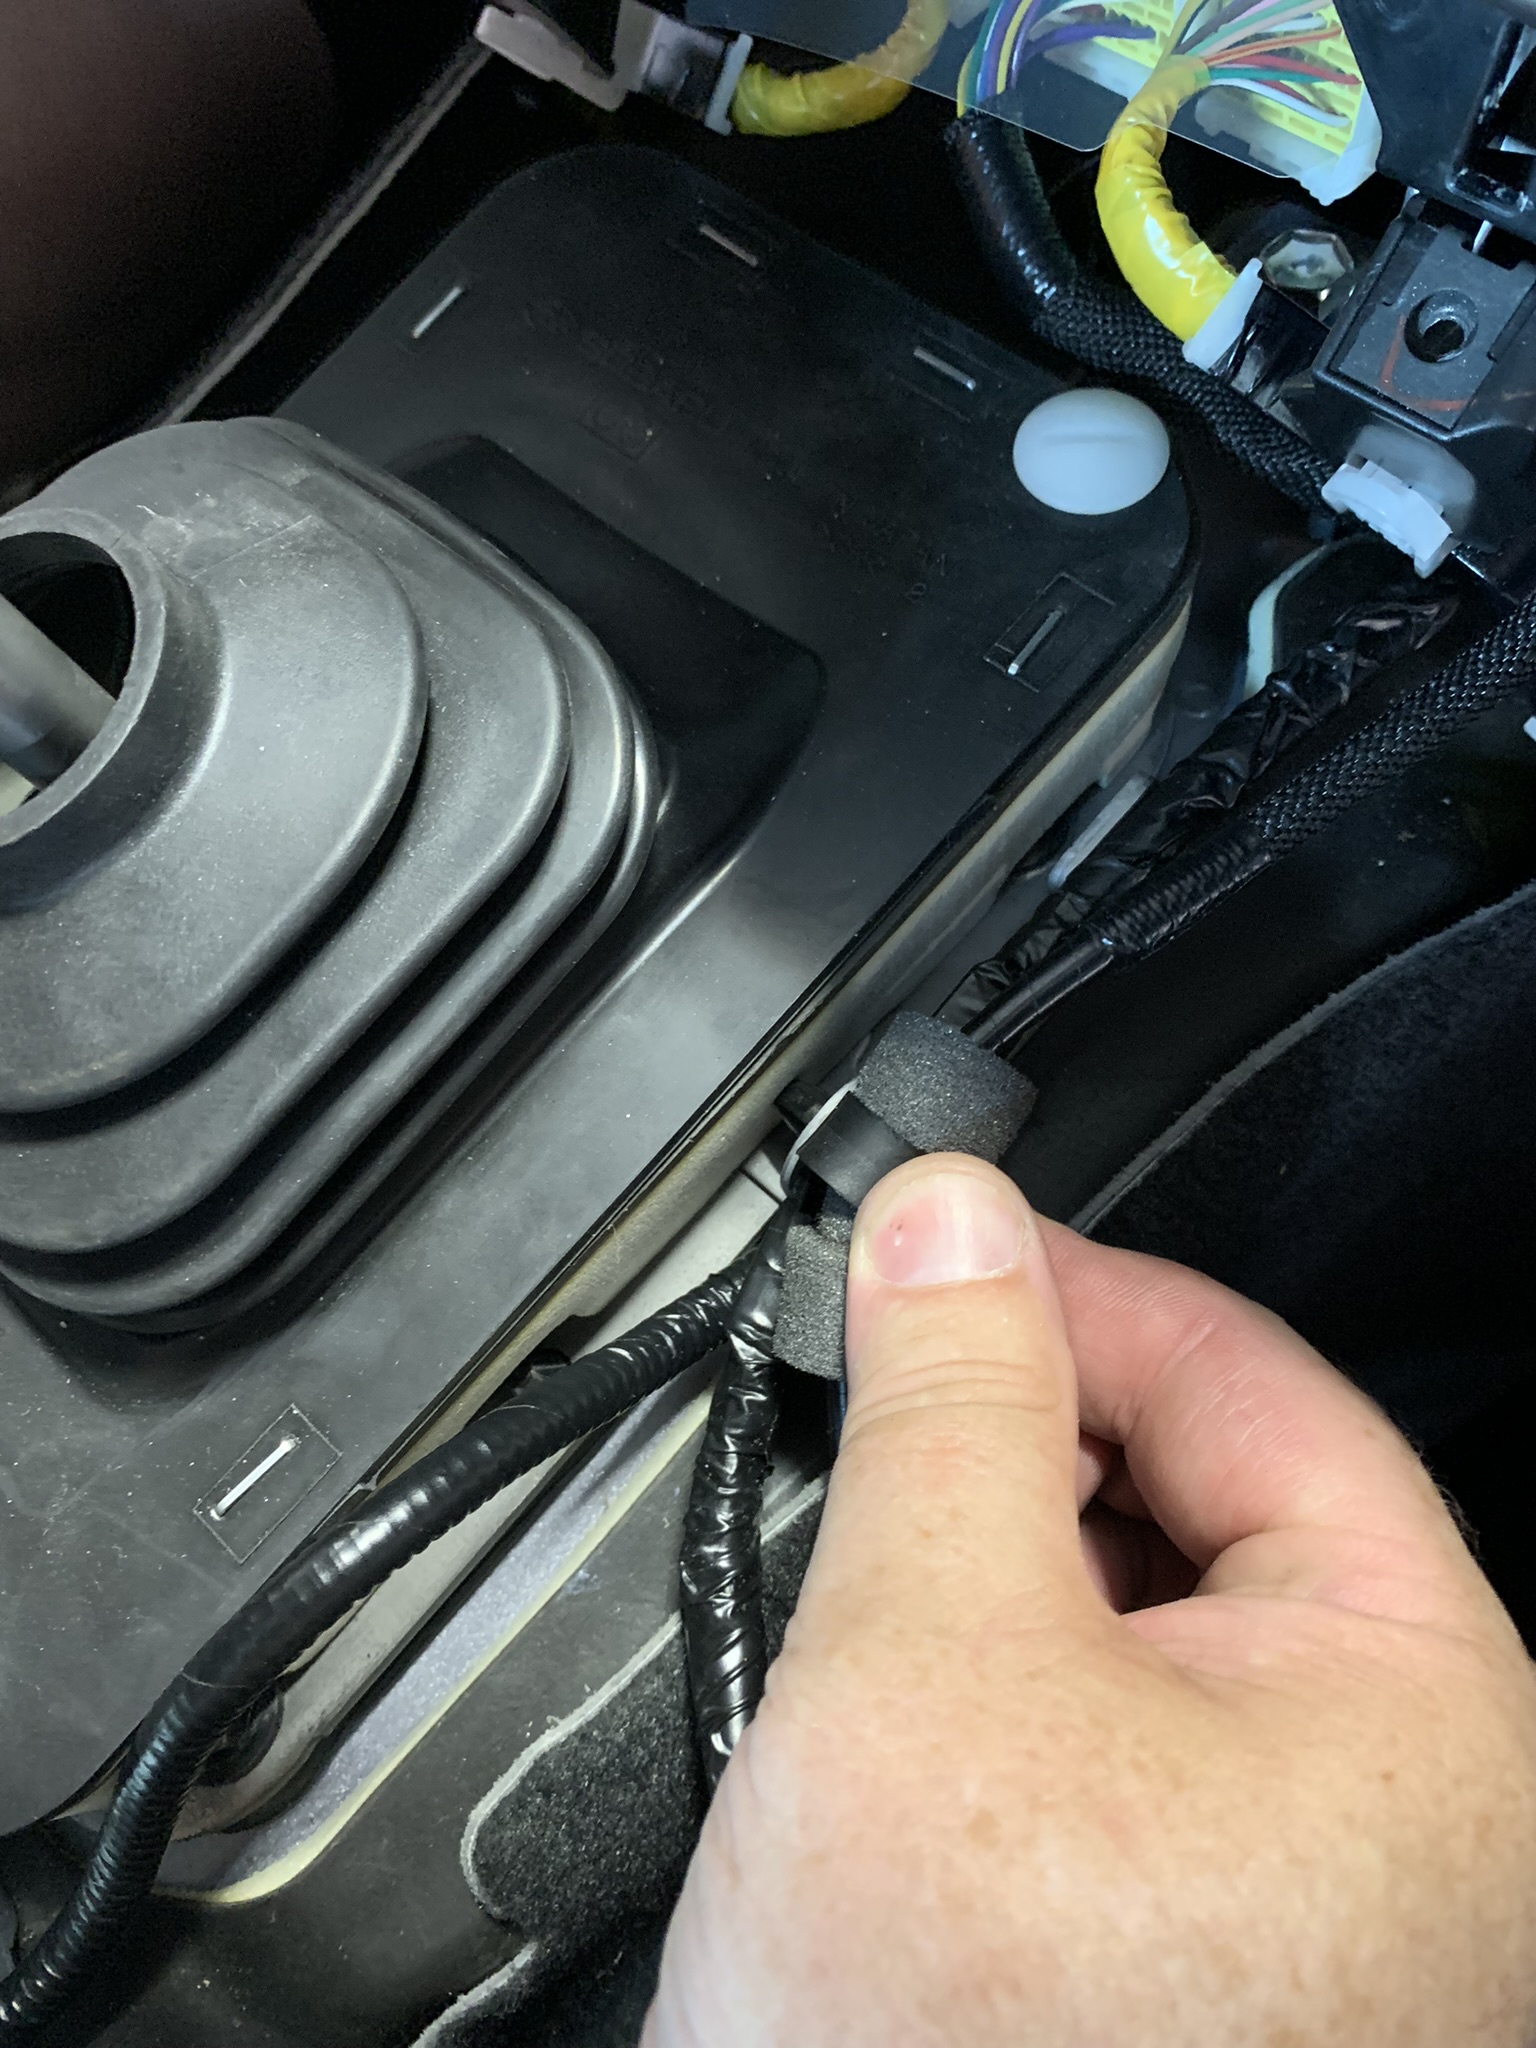
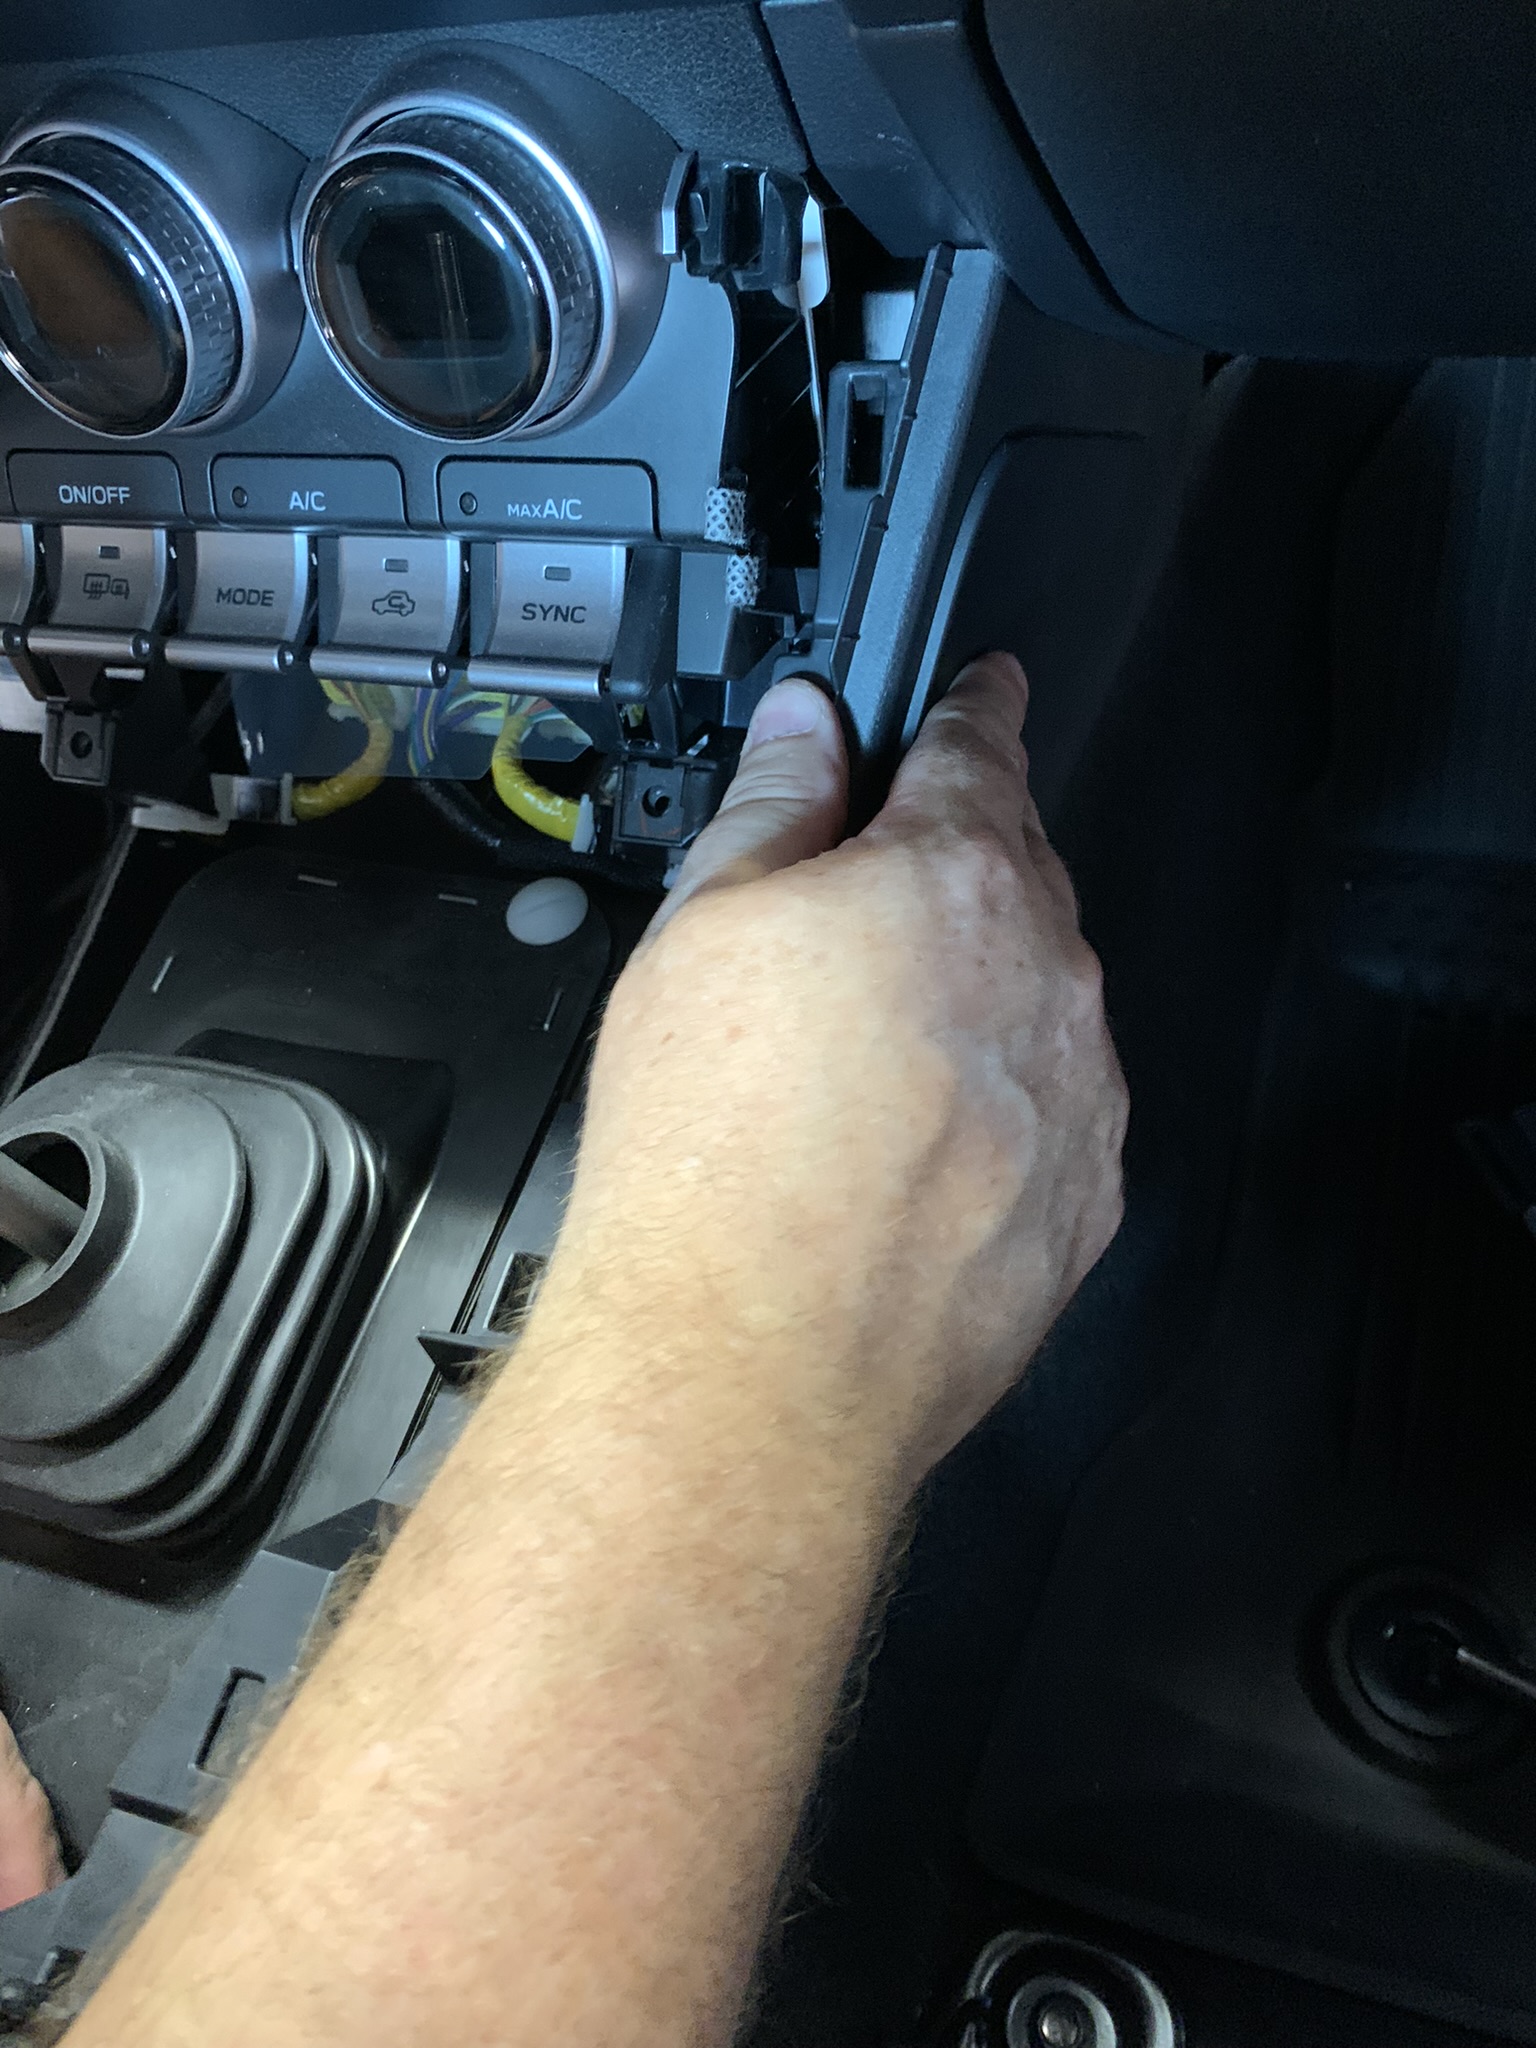
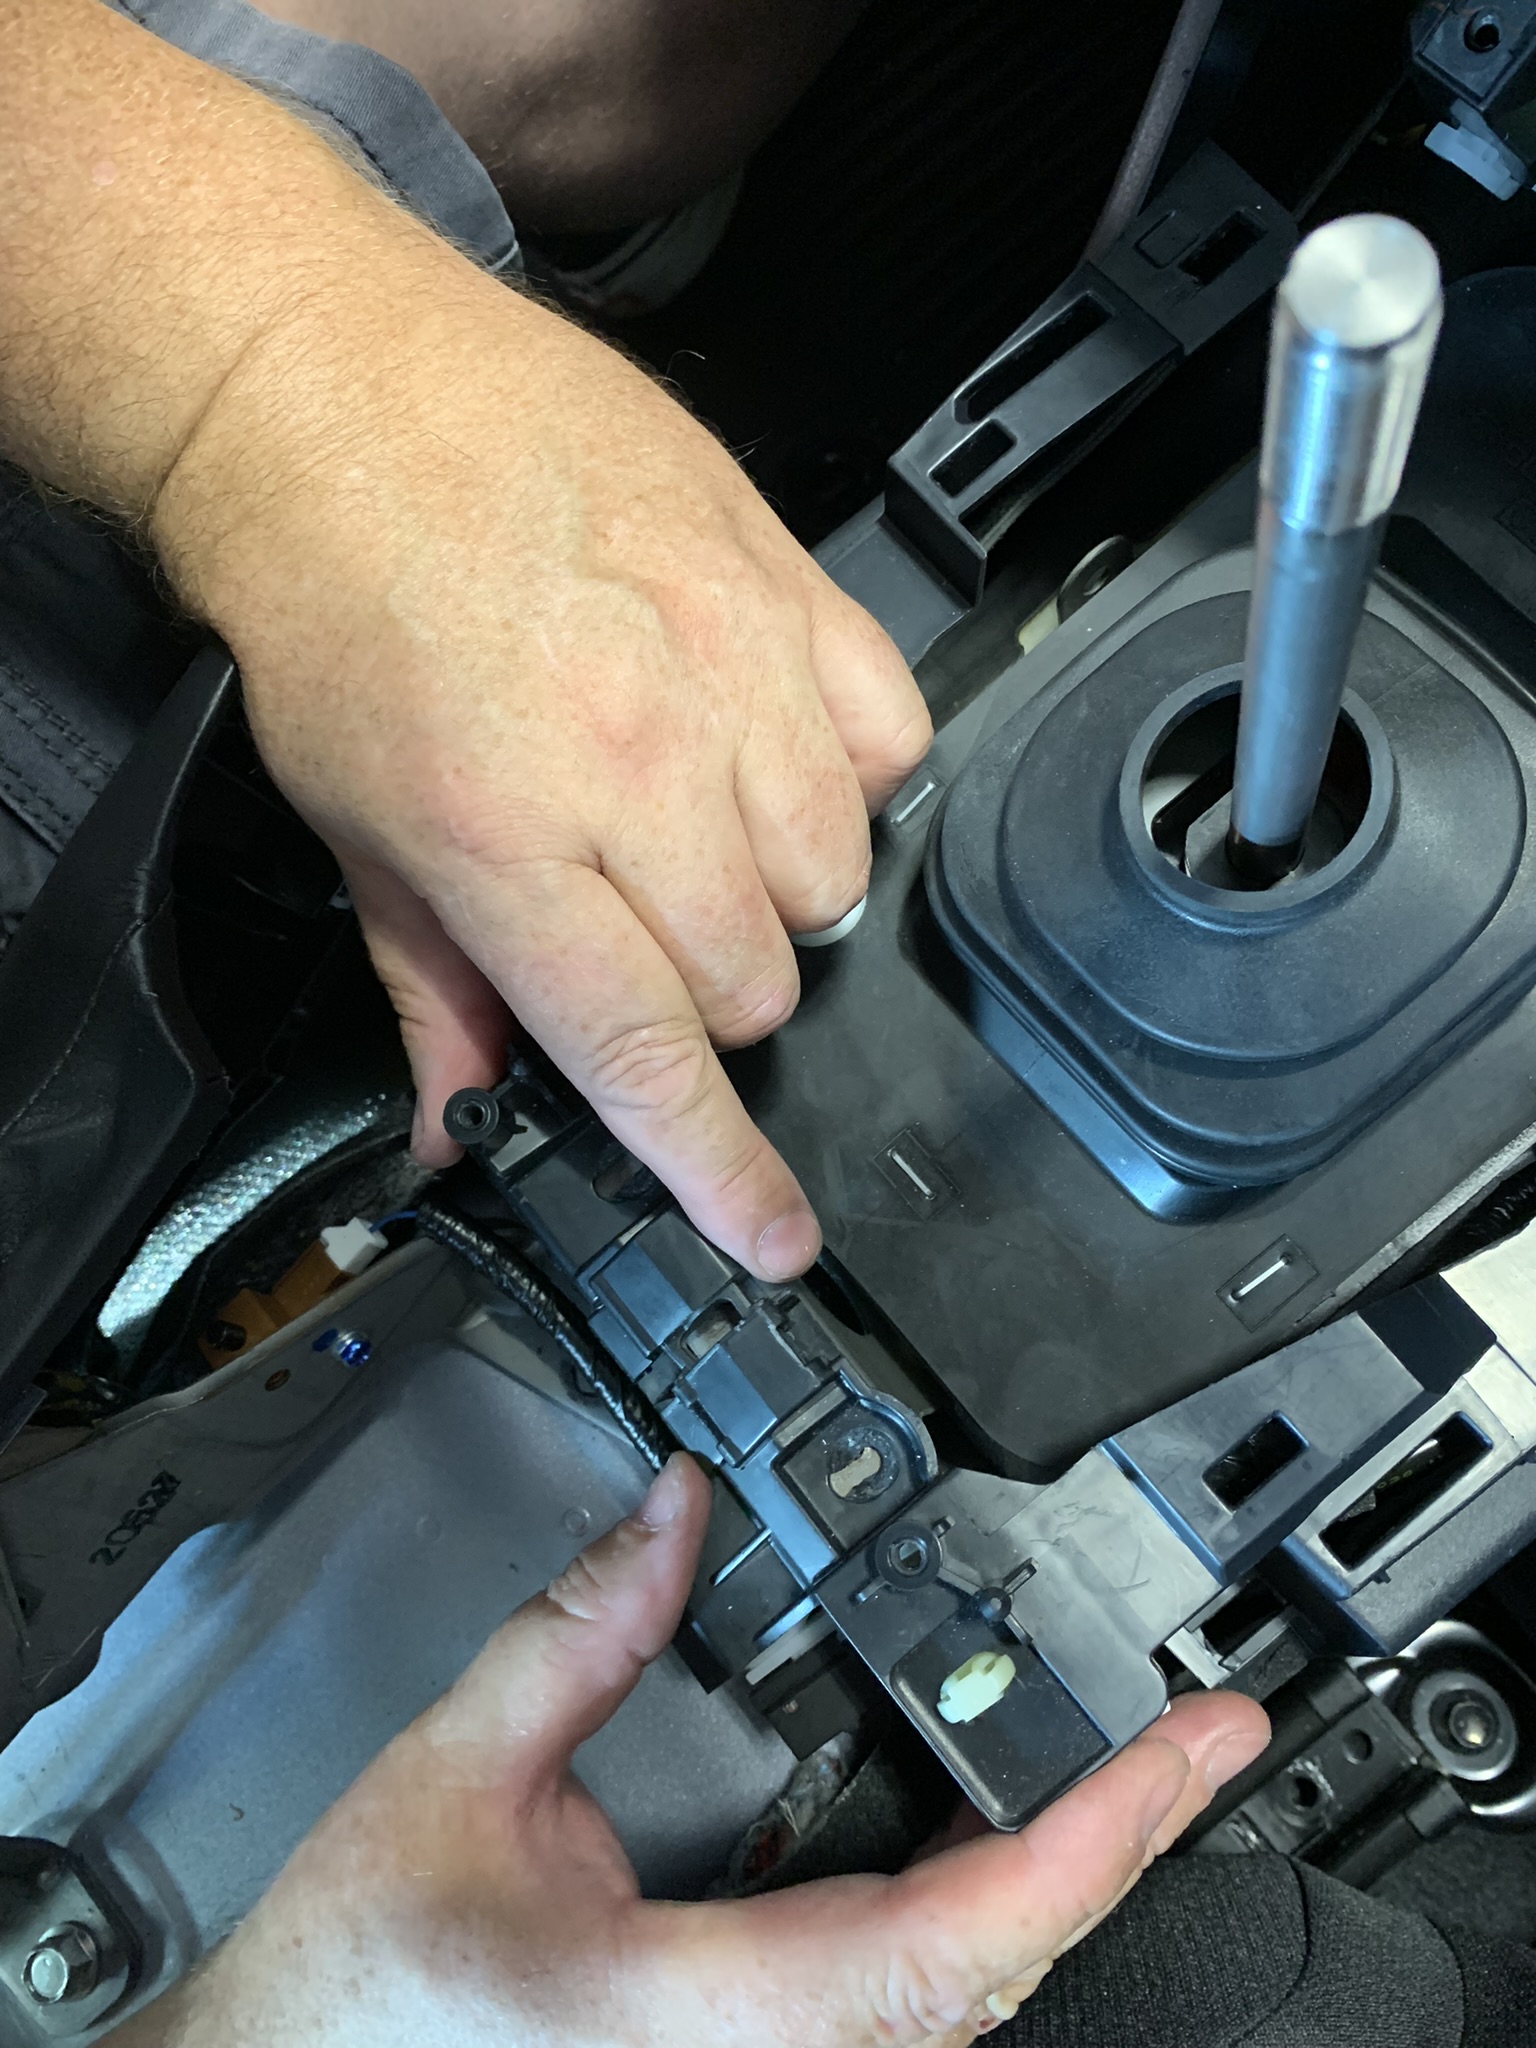
Removing each side panel is as easy as grasping the side and giving a slight tug to disengage them from the dash structure. The passenger side panel will have a wiring anchor connection that when disconnected, makes it easier to navigate around the next few steps.
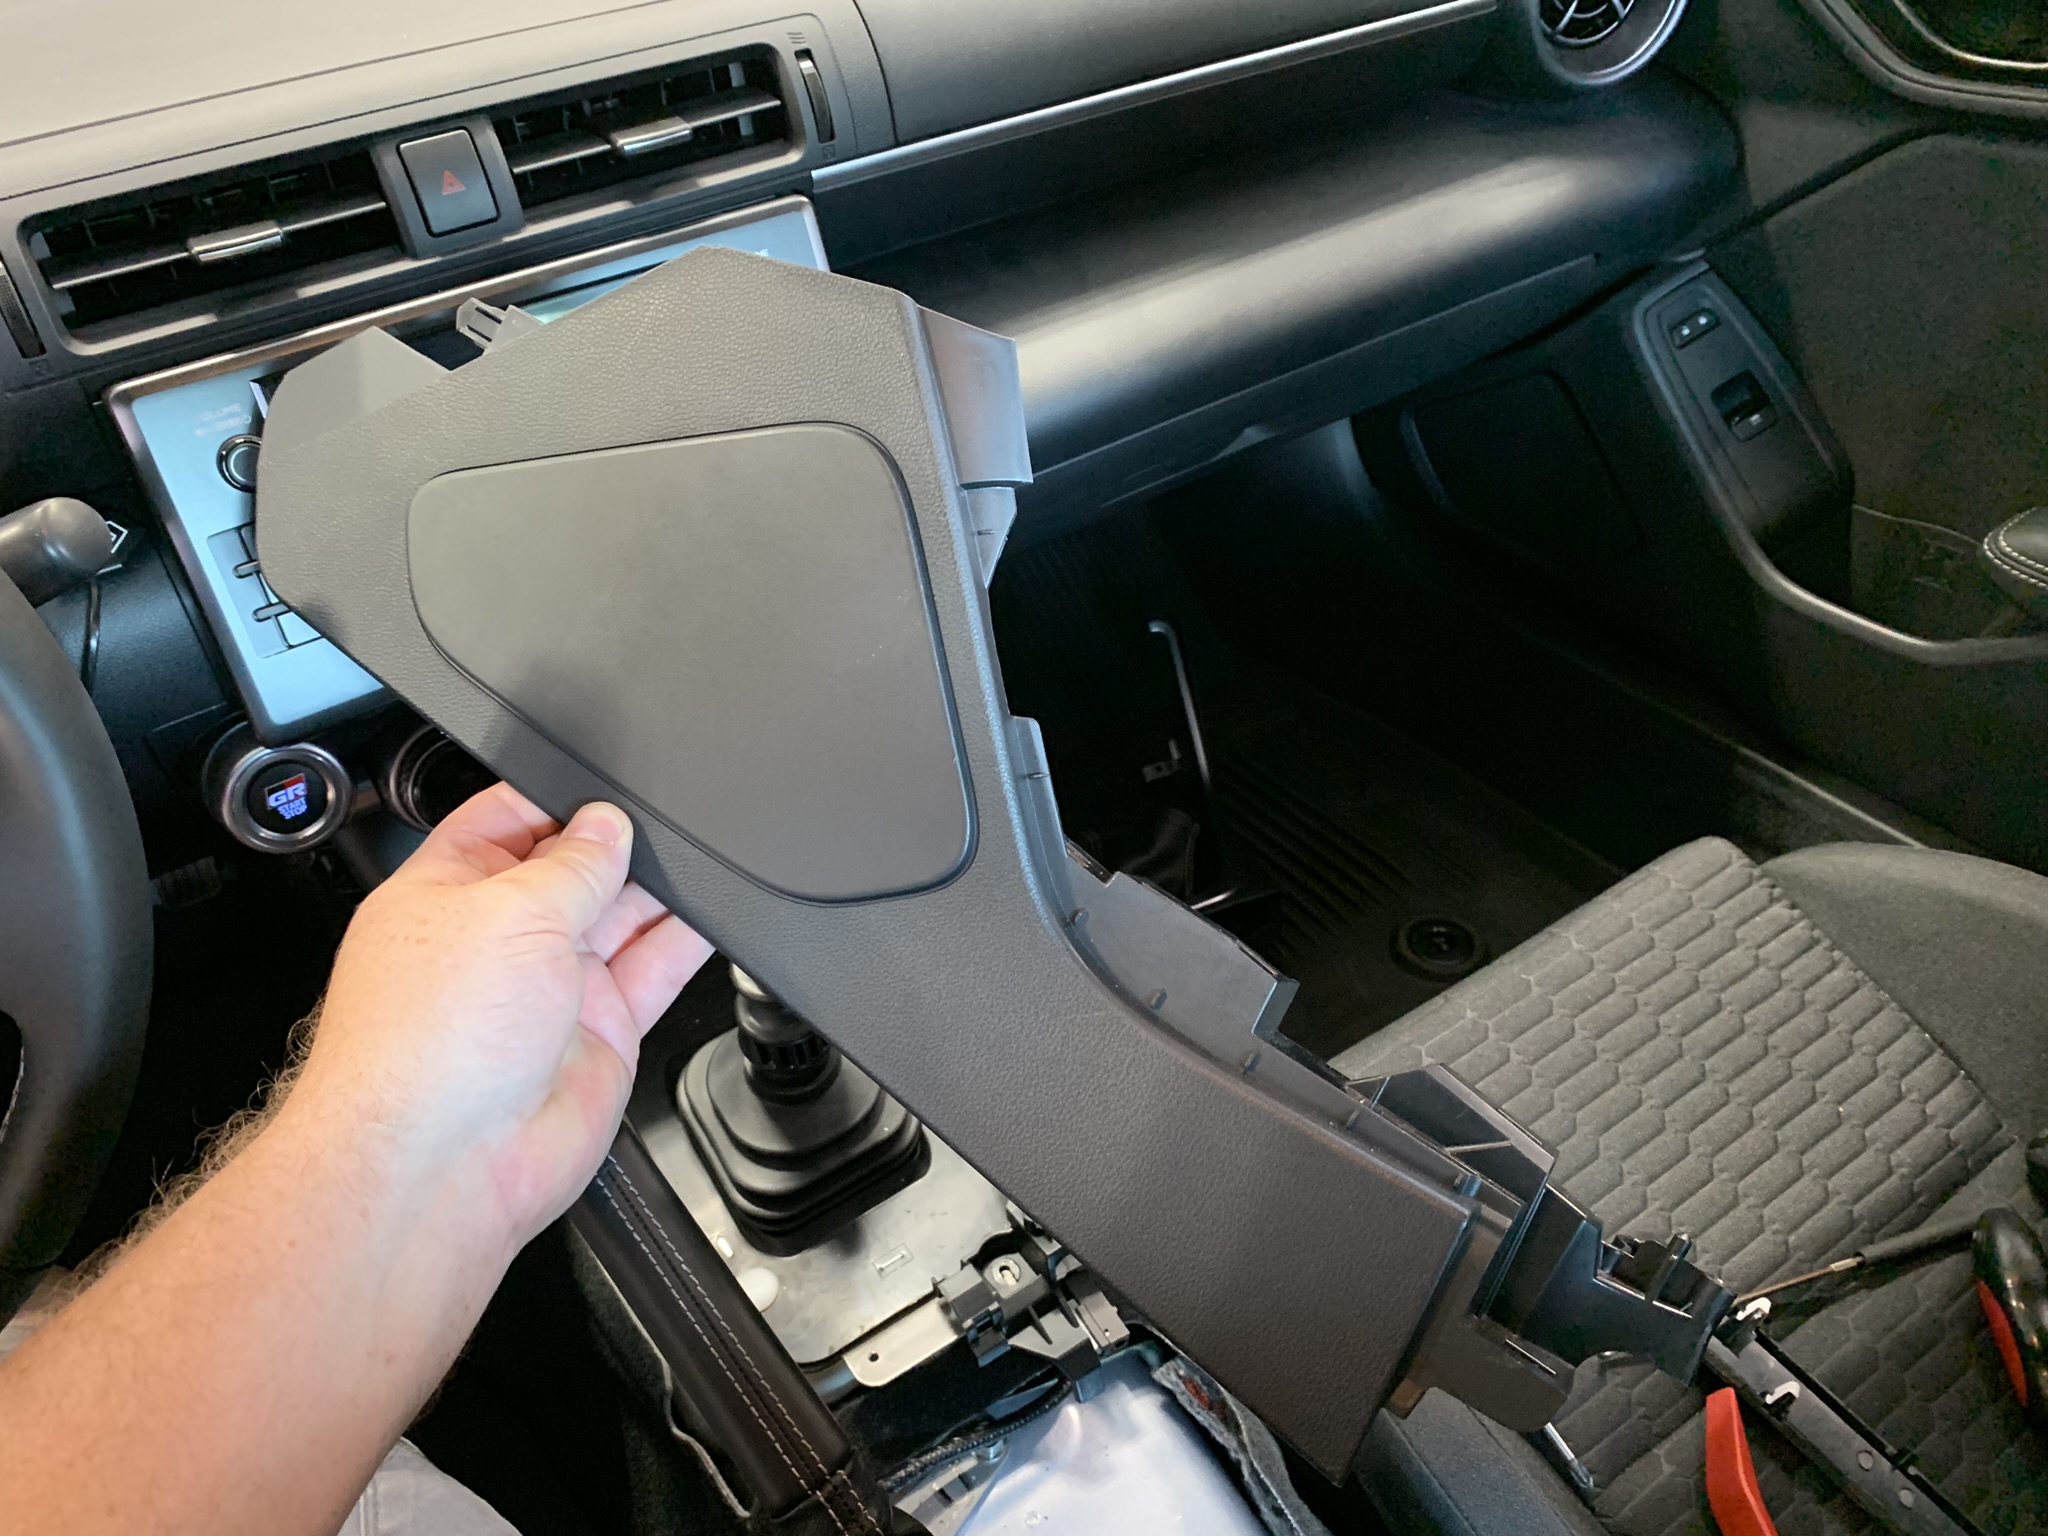
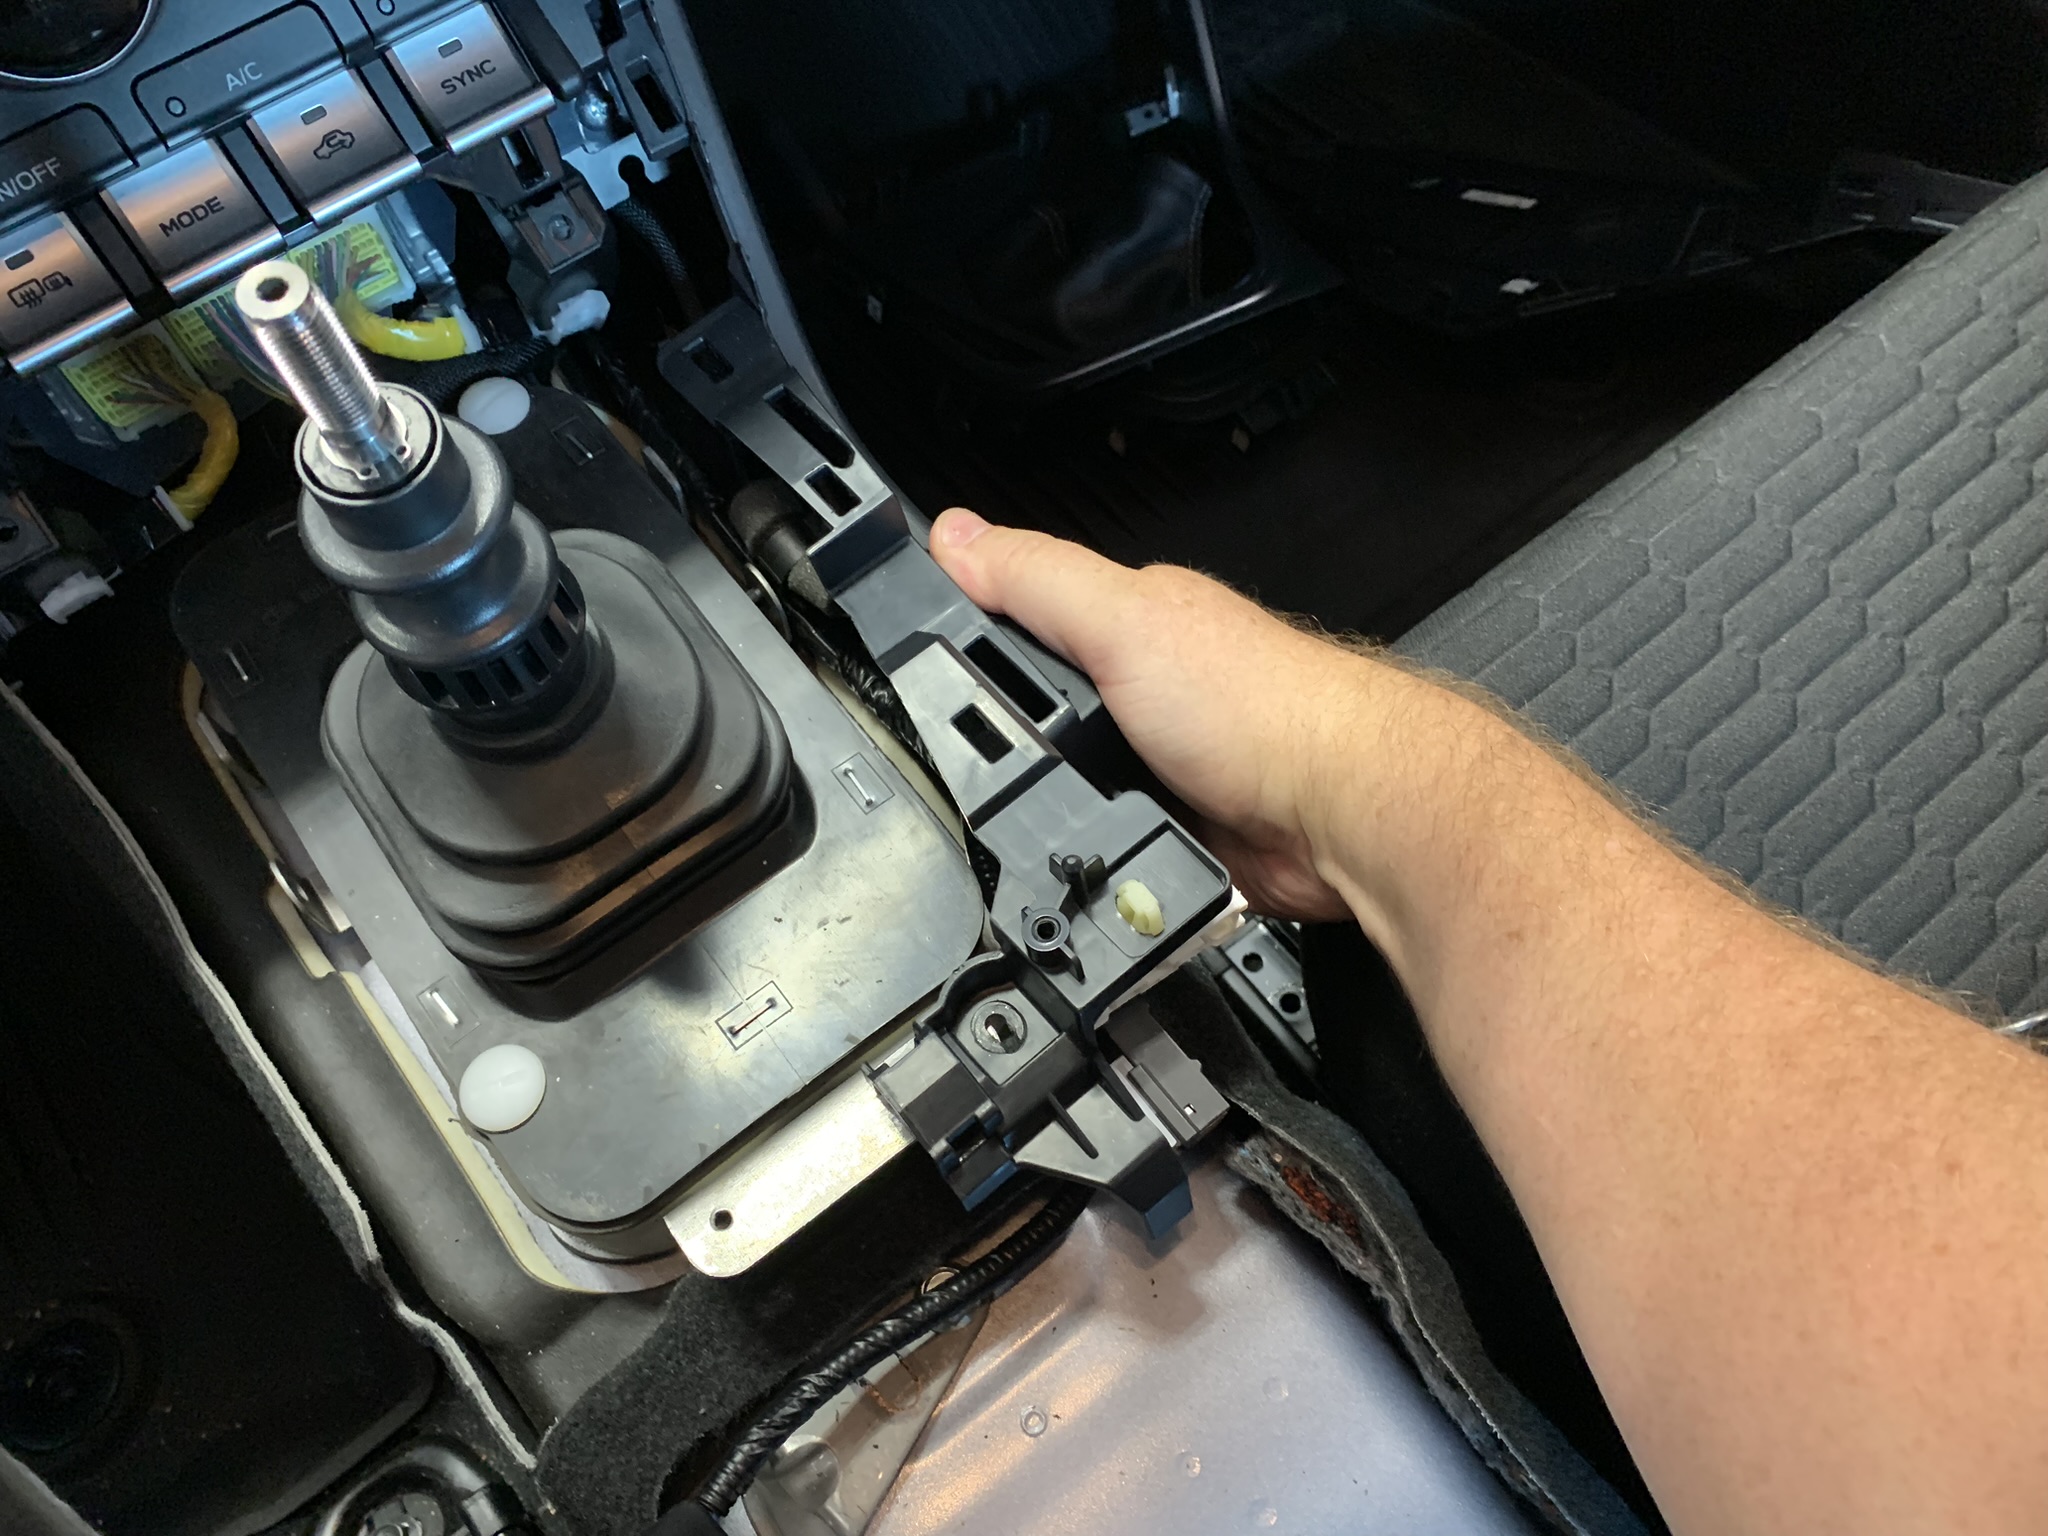
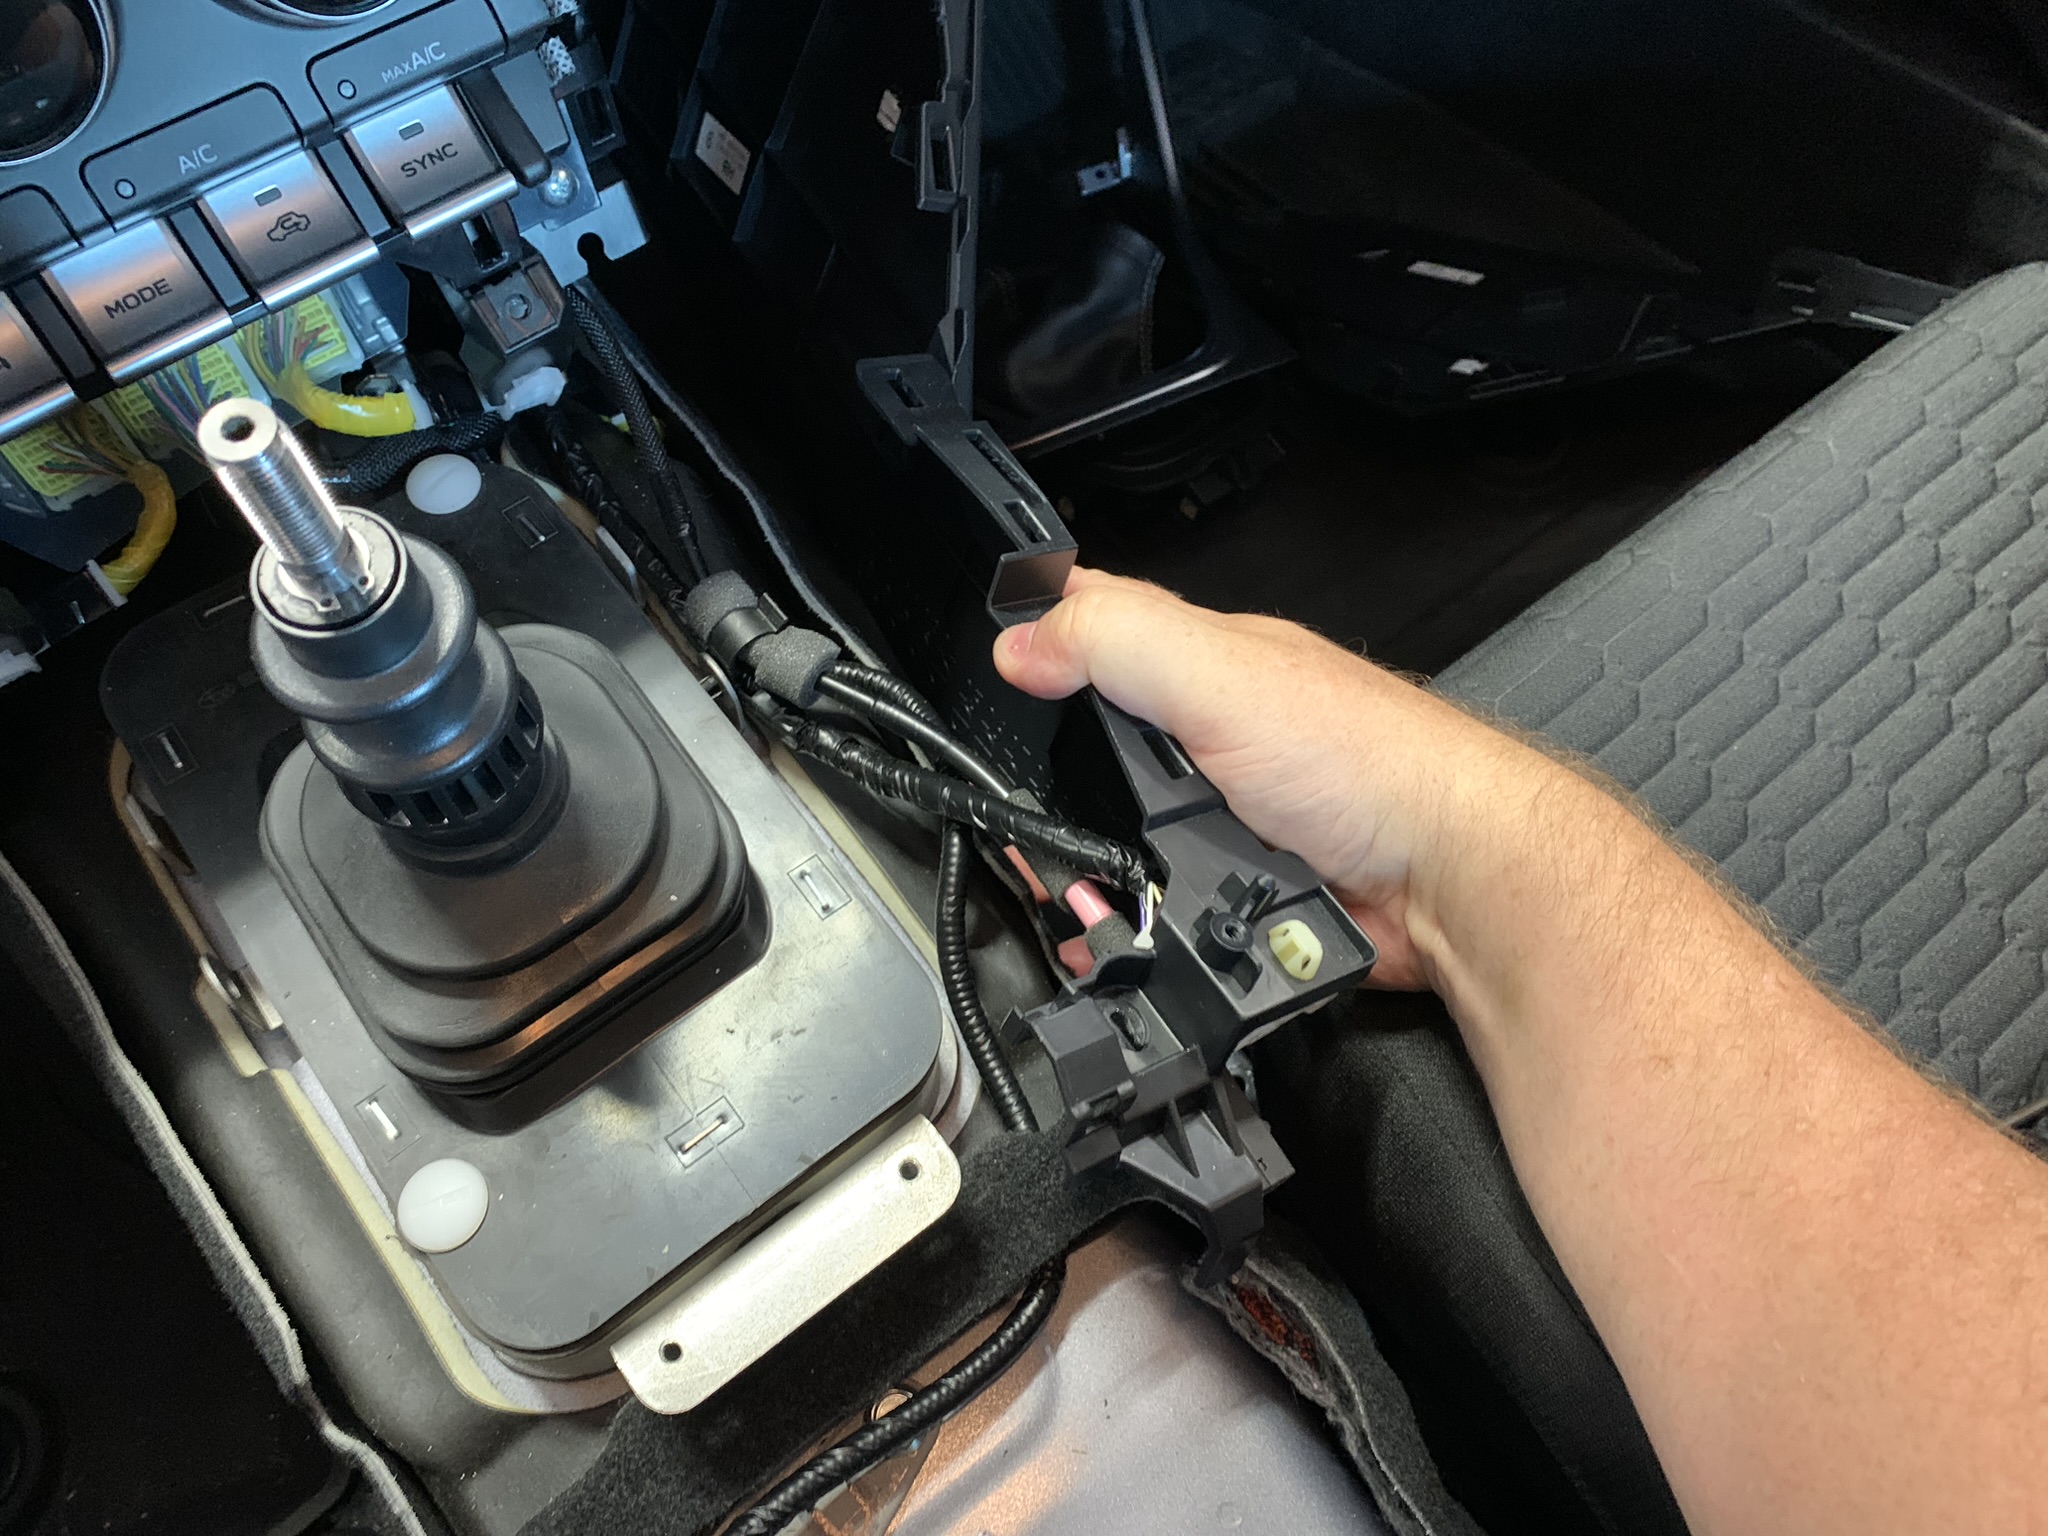
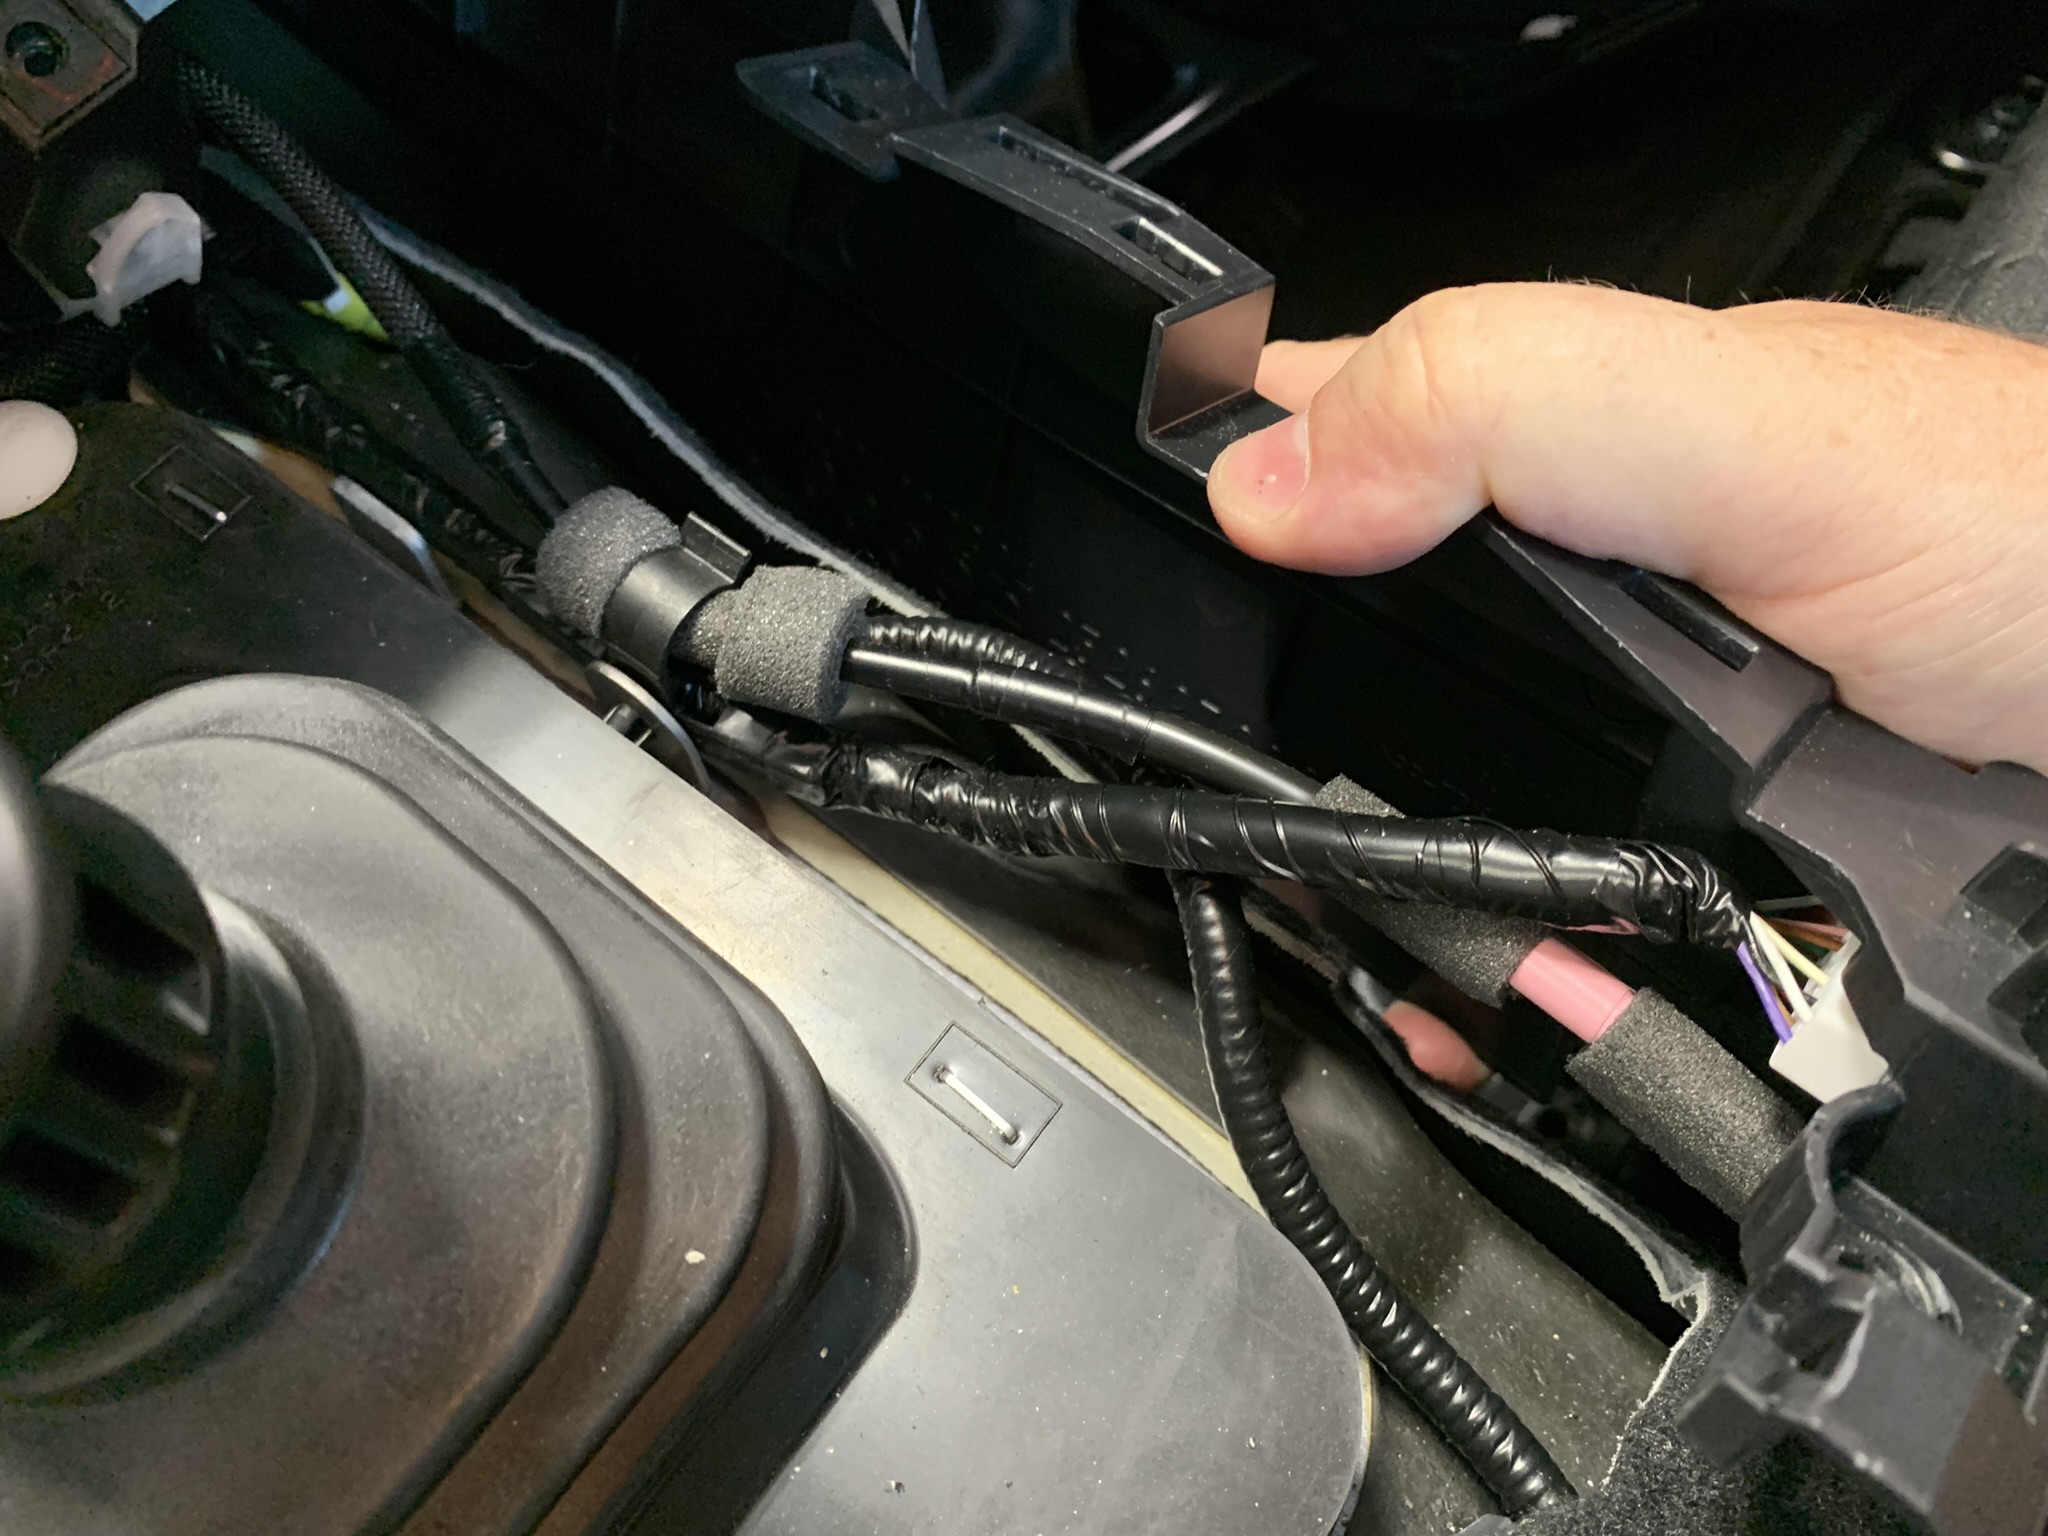
-
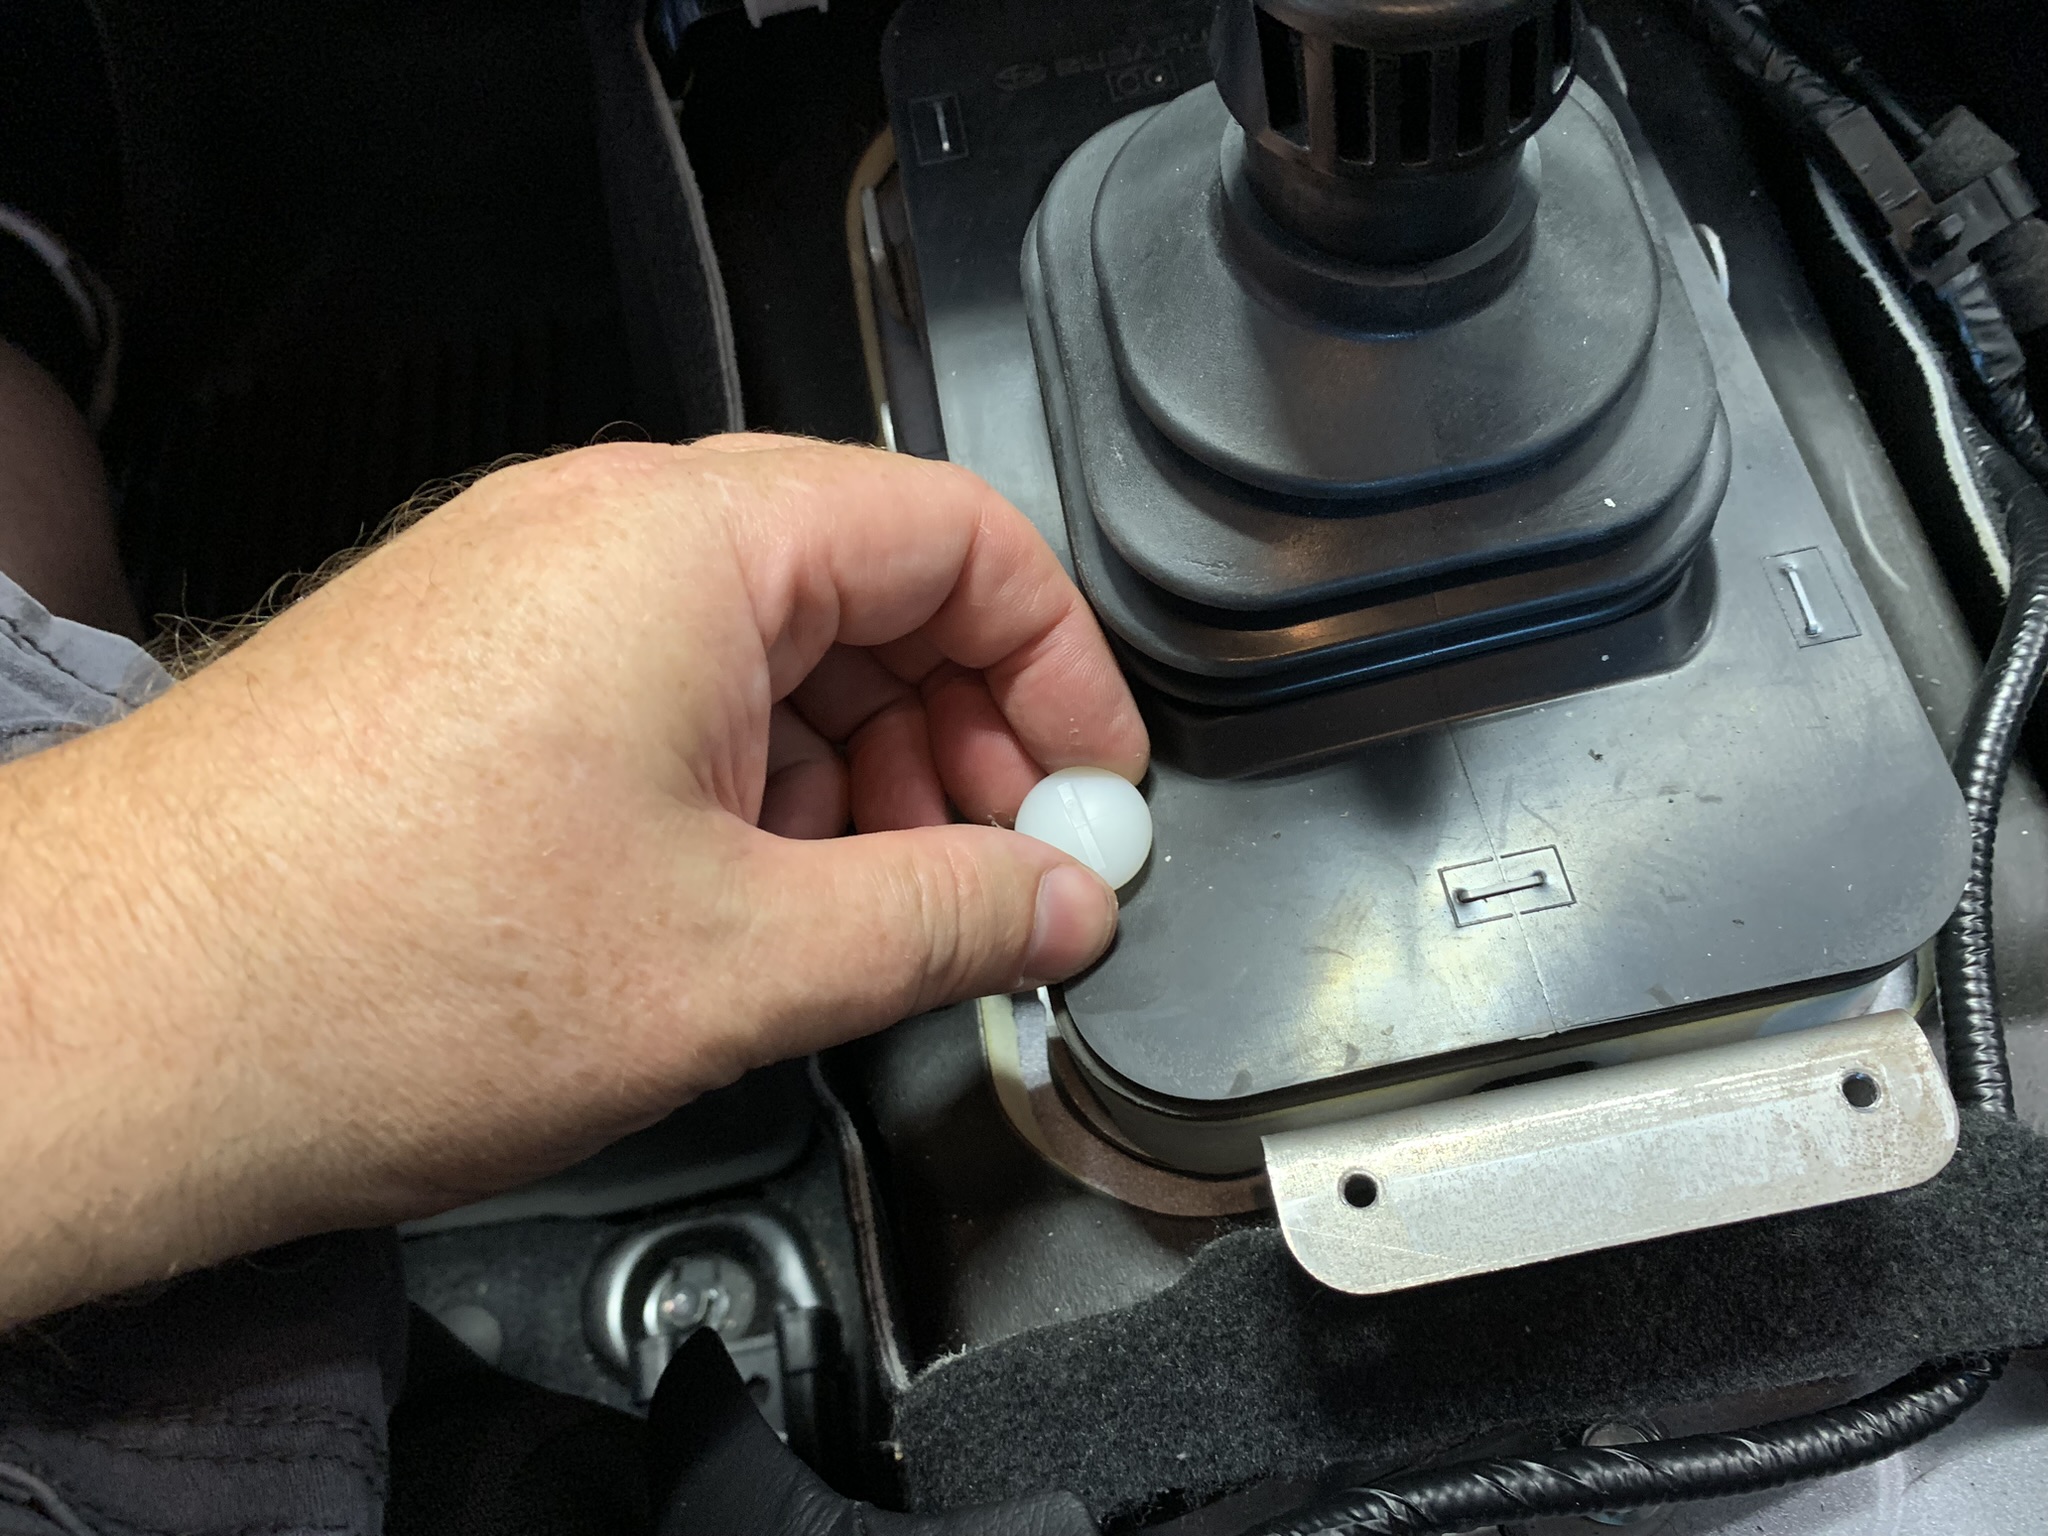
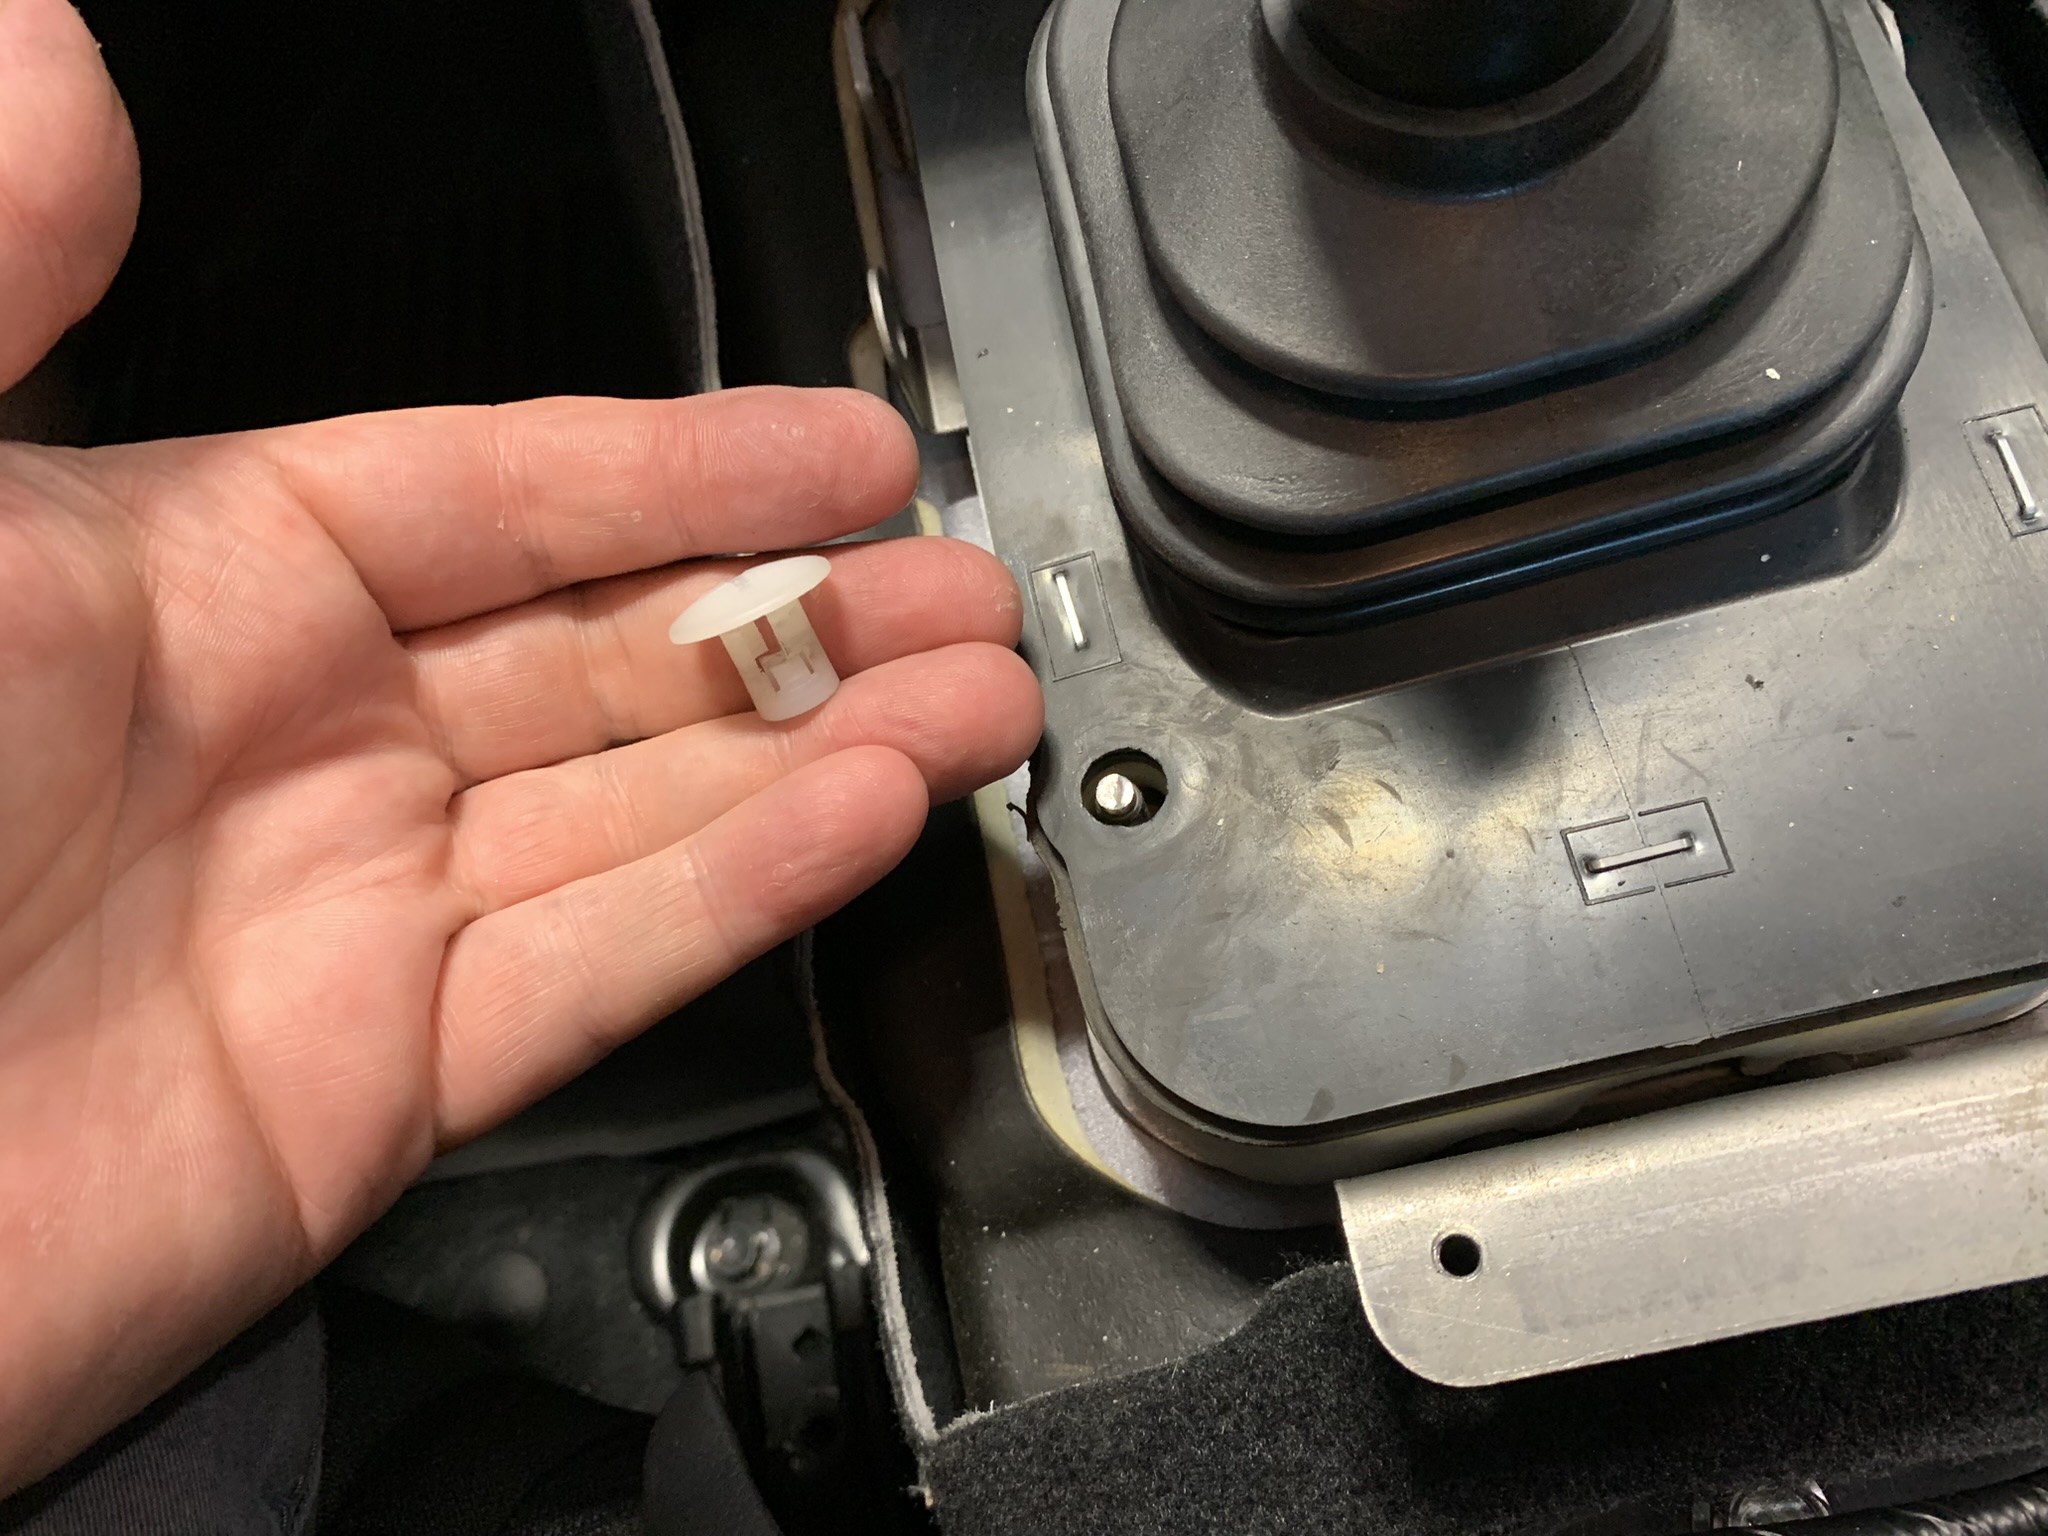
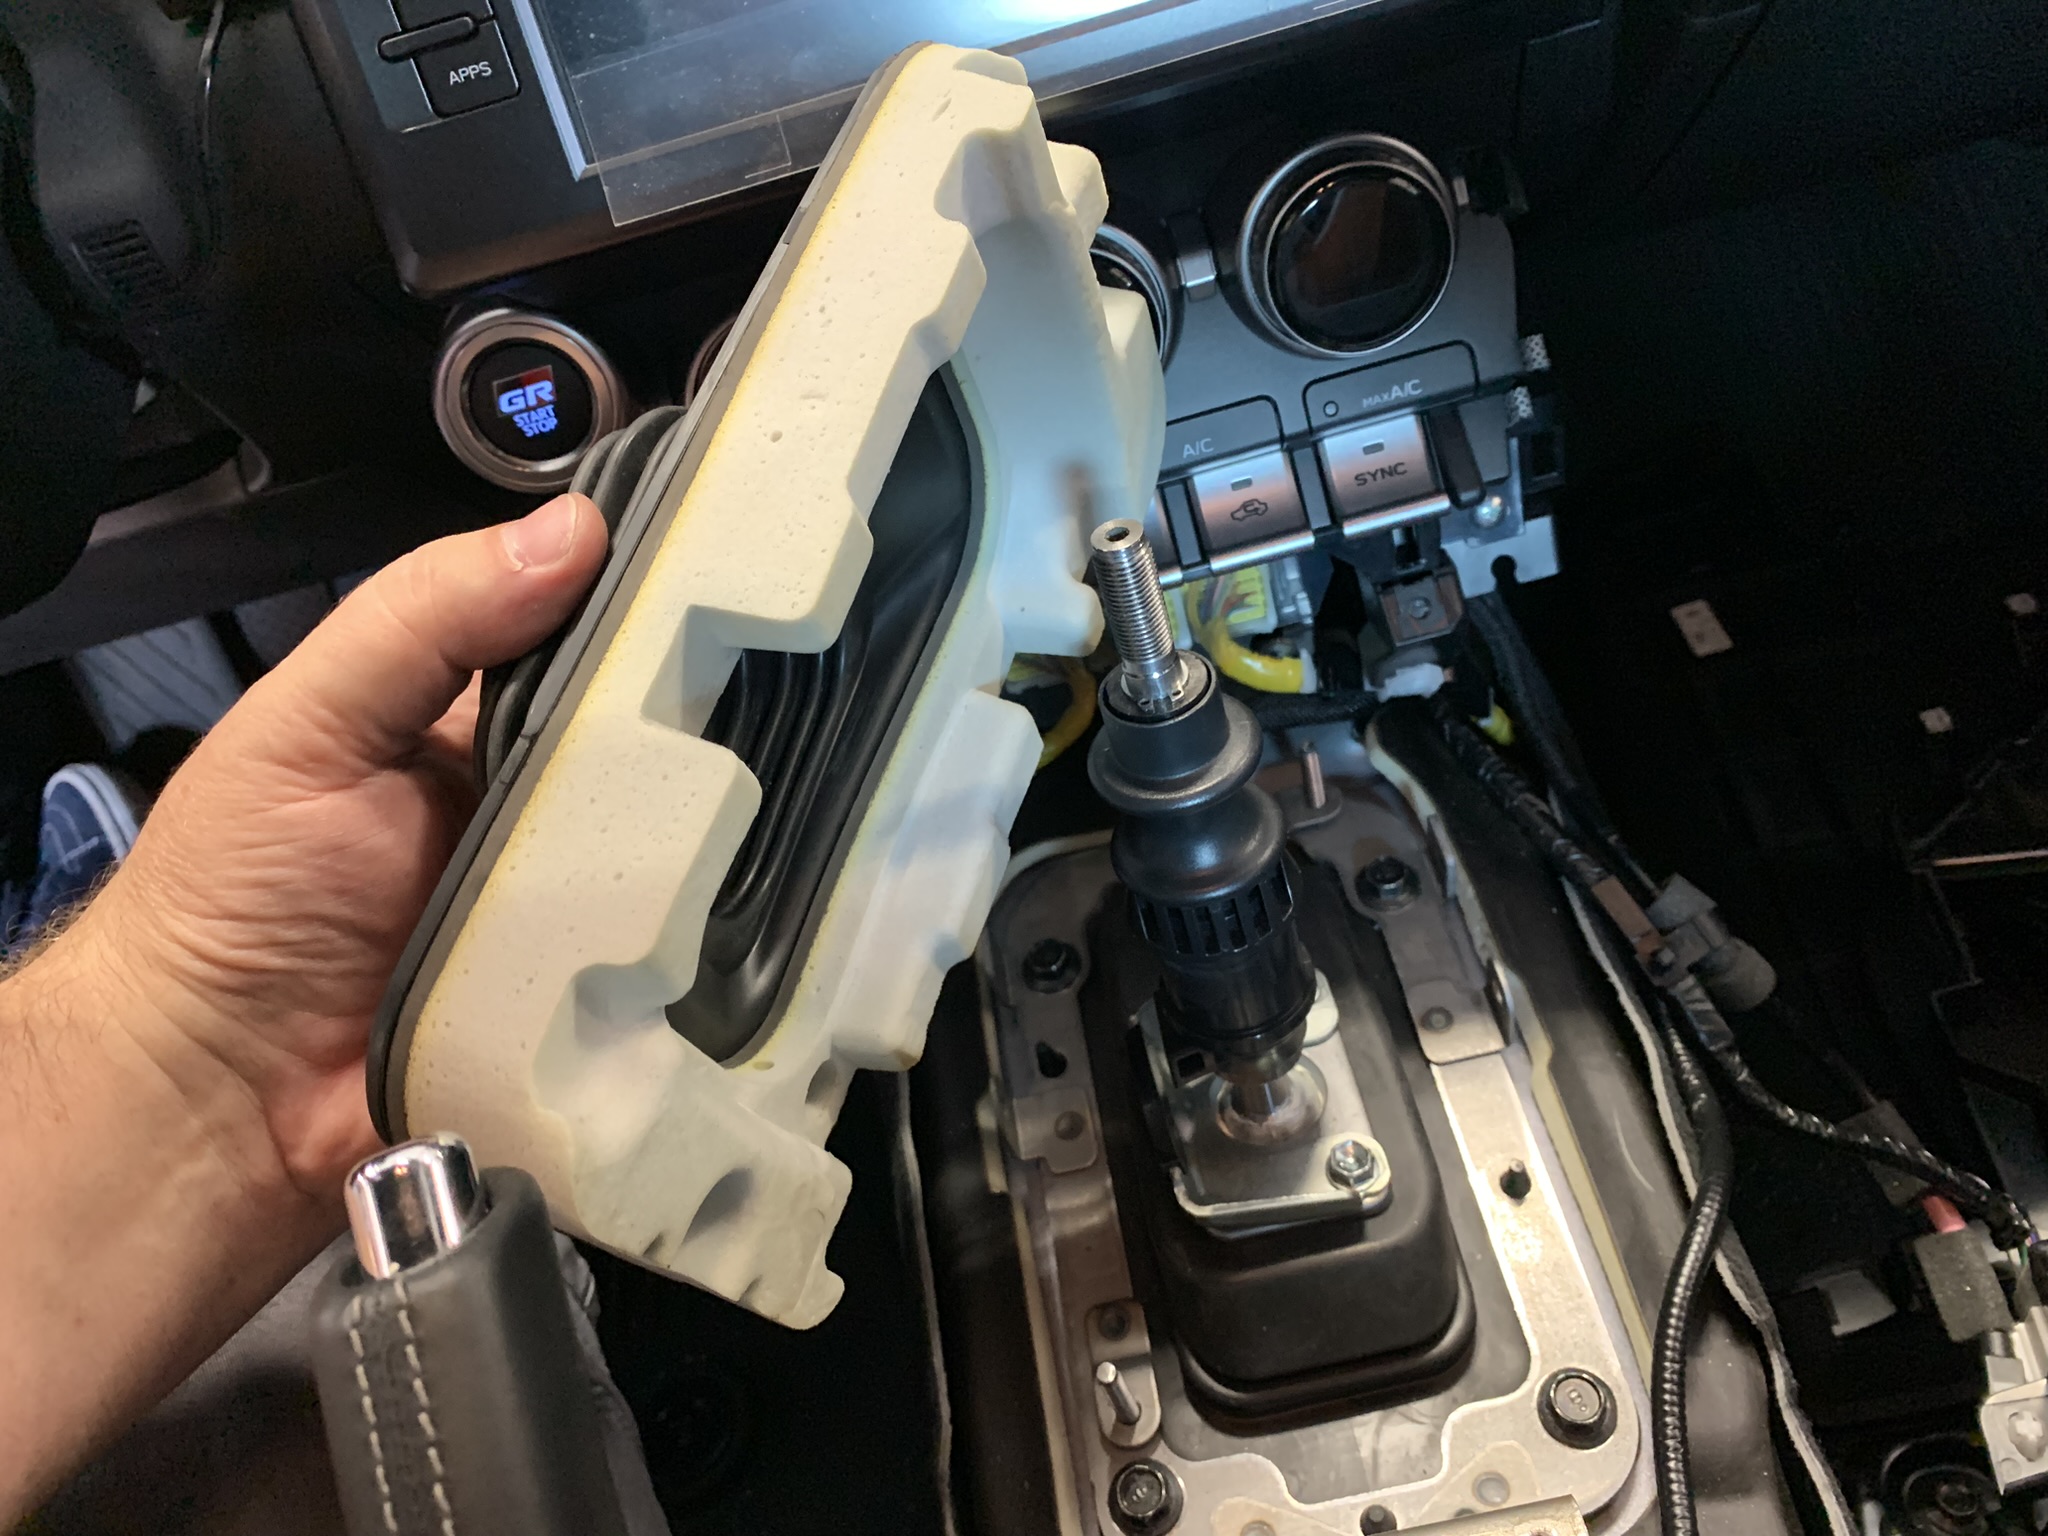
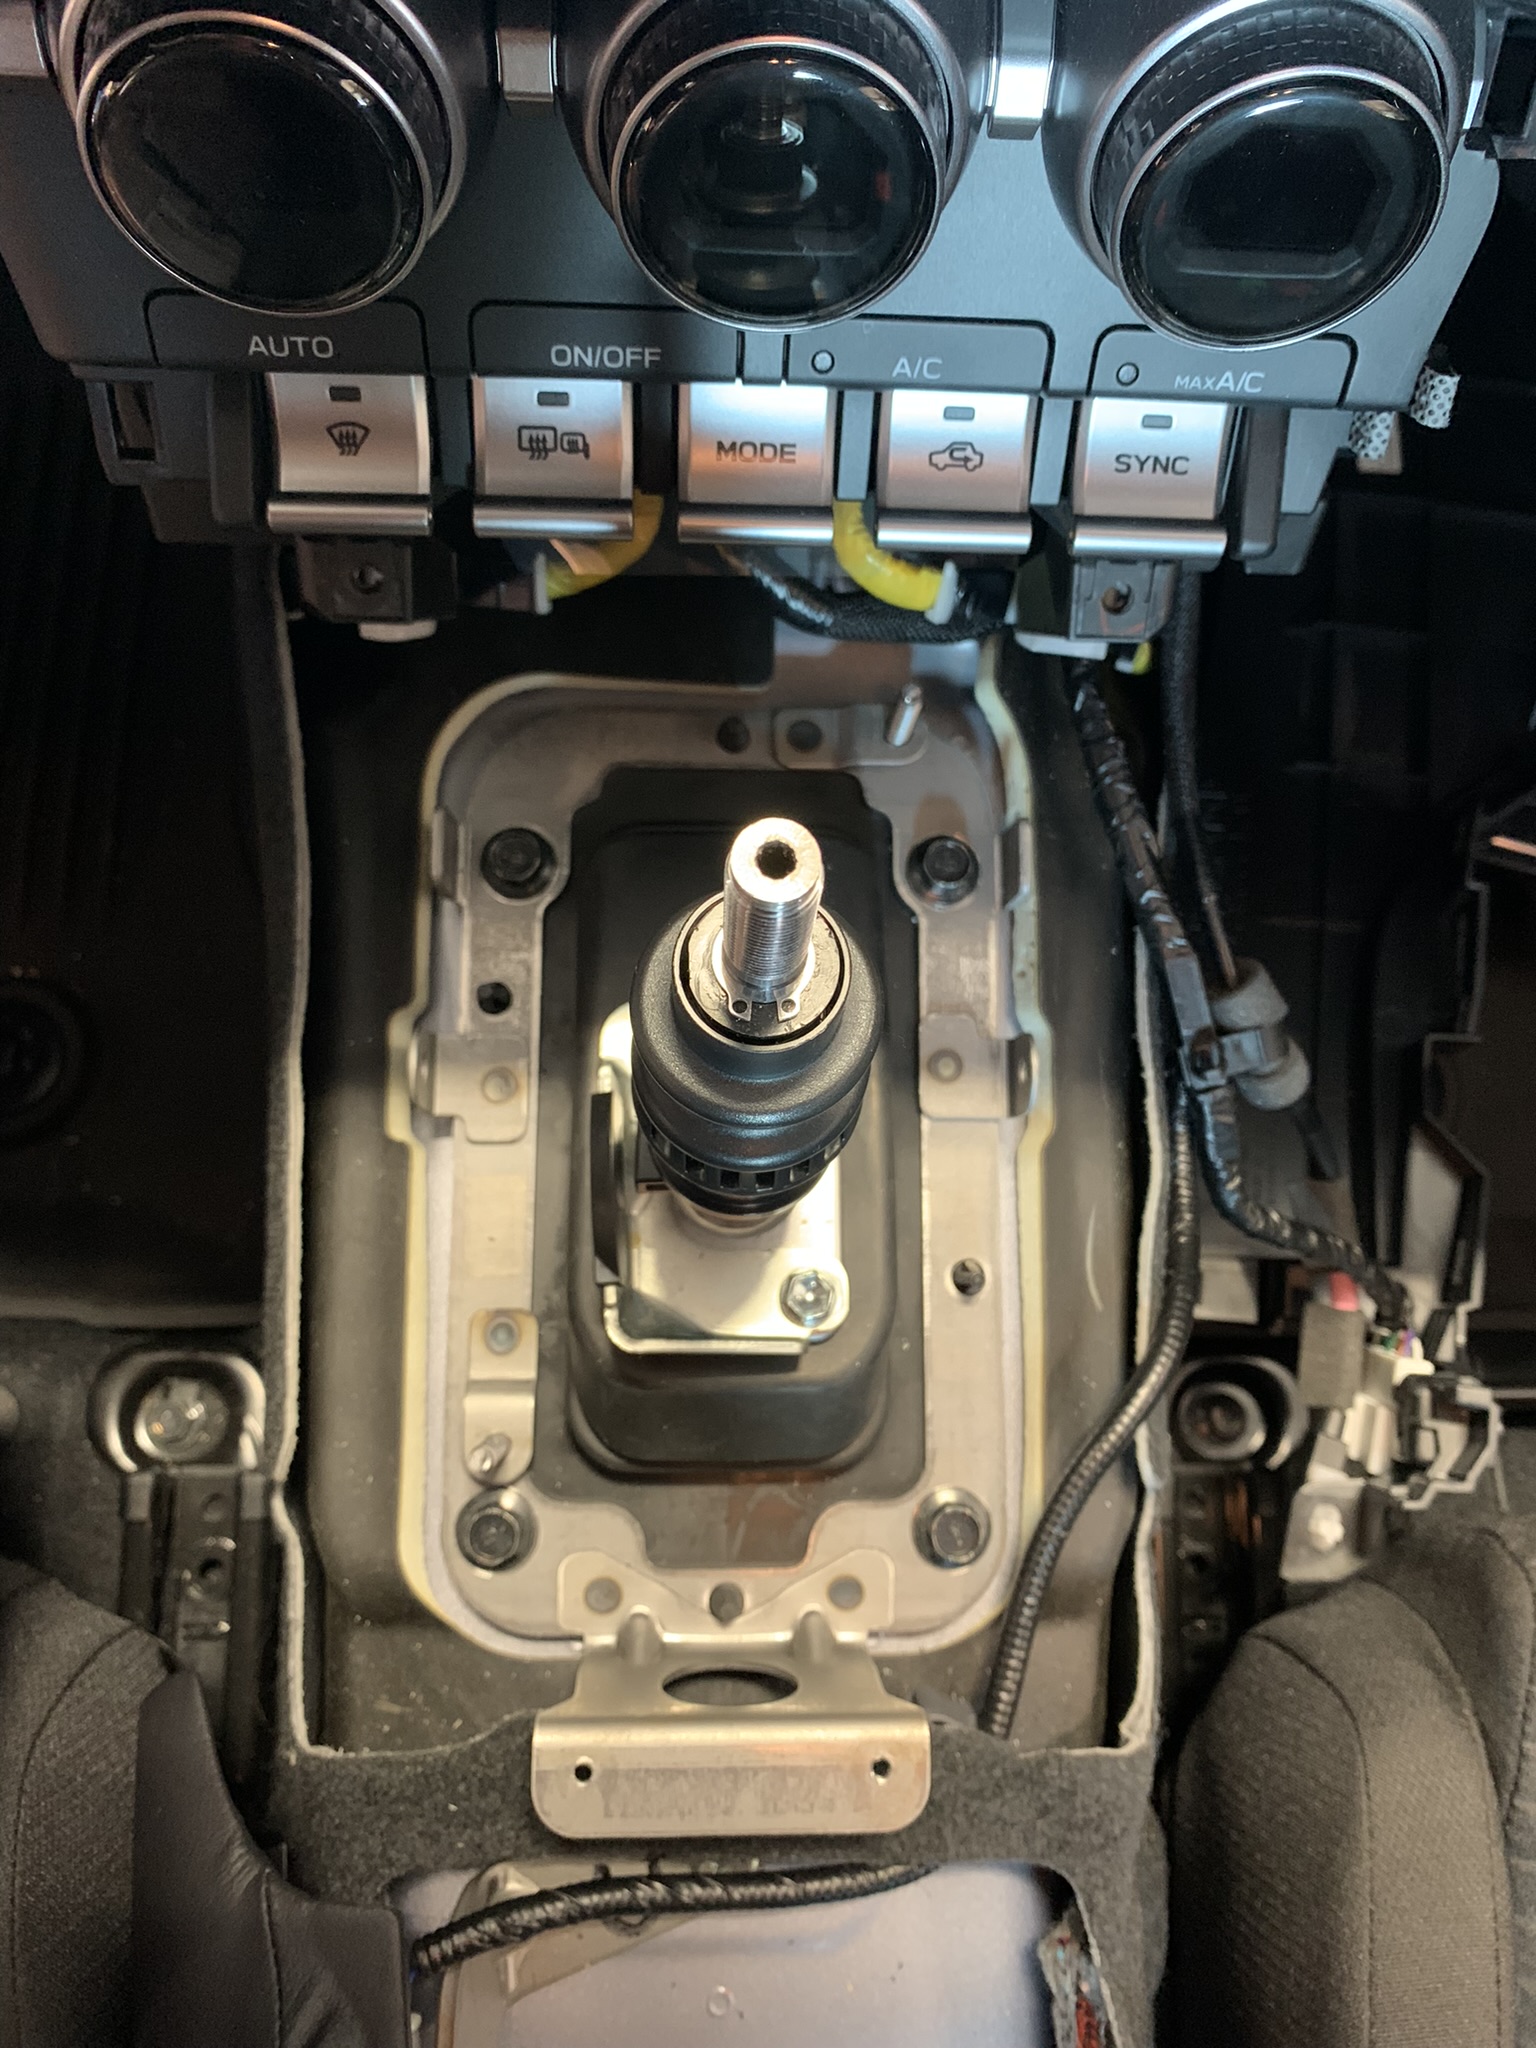
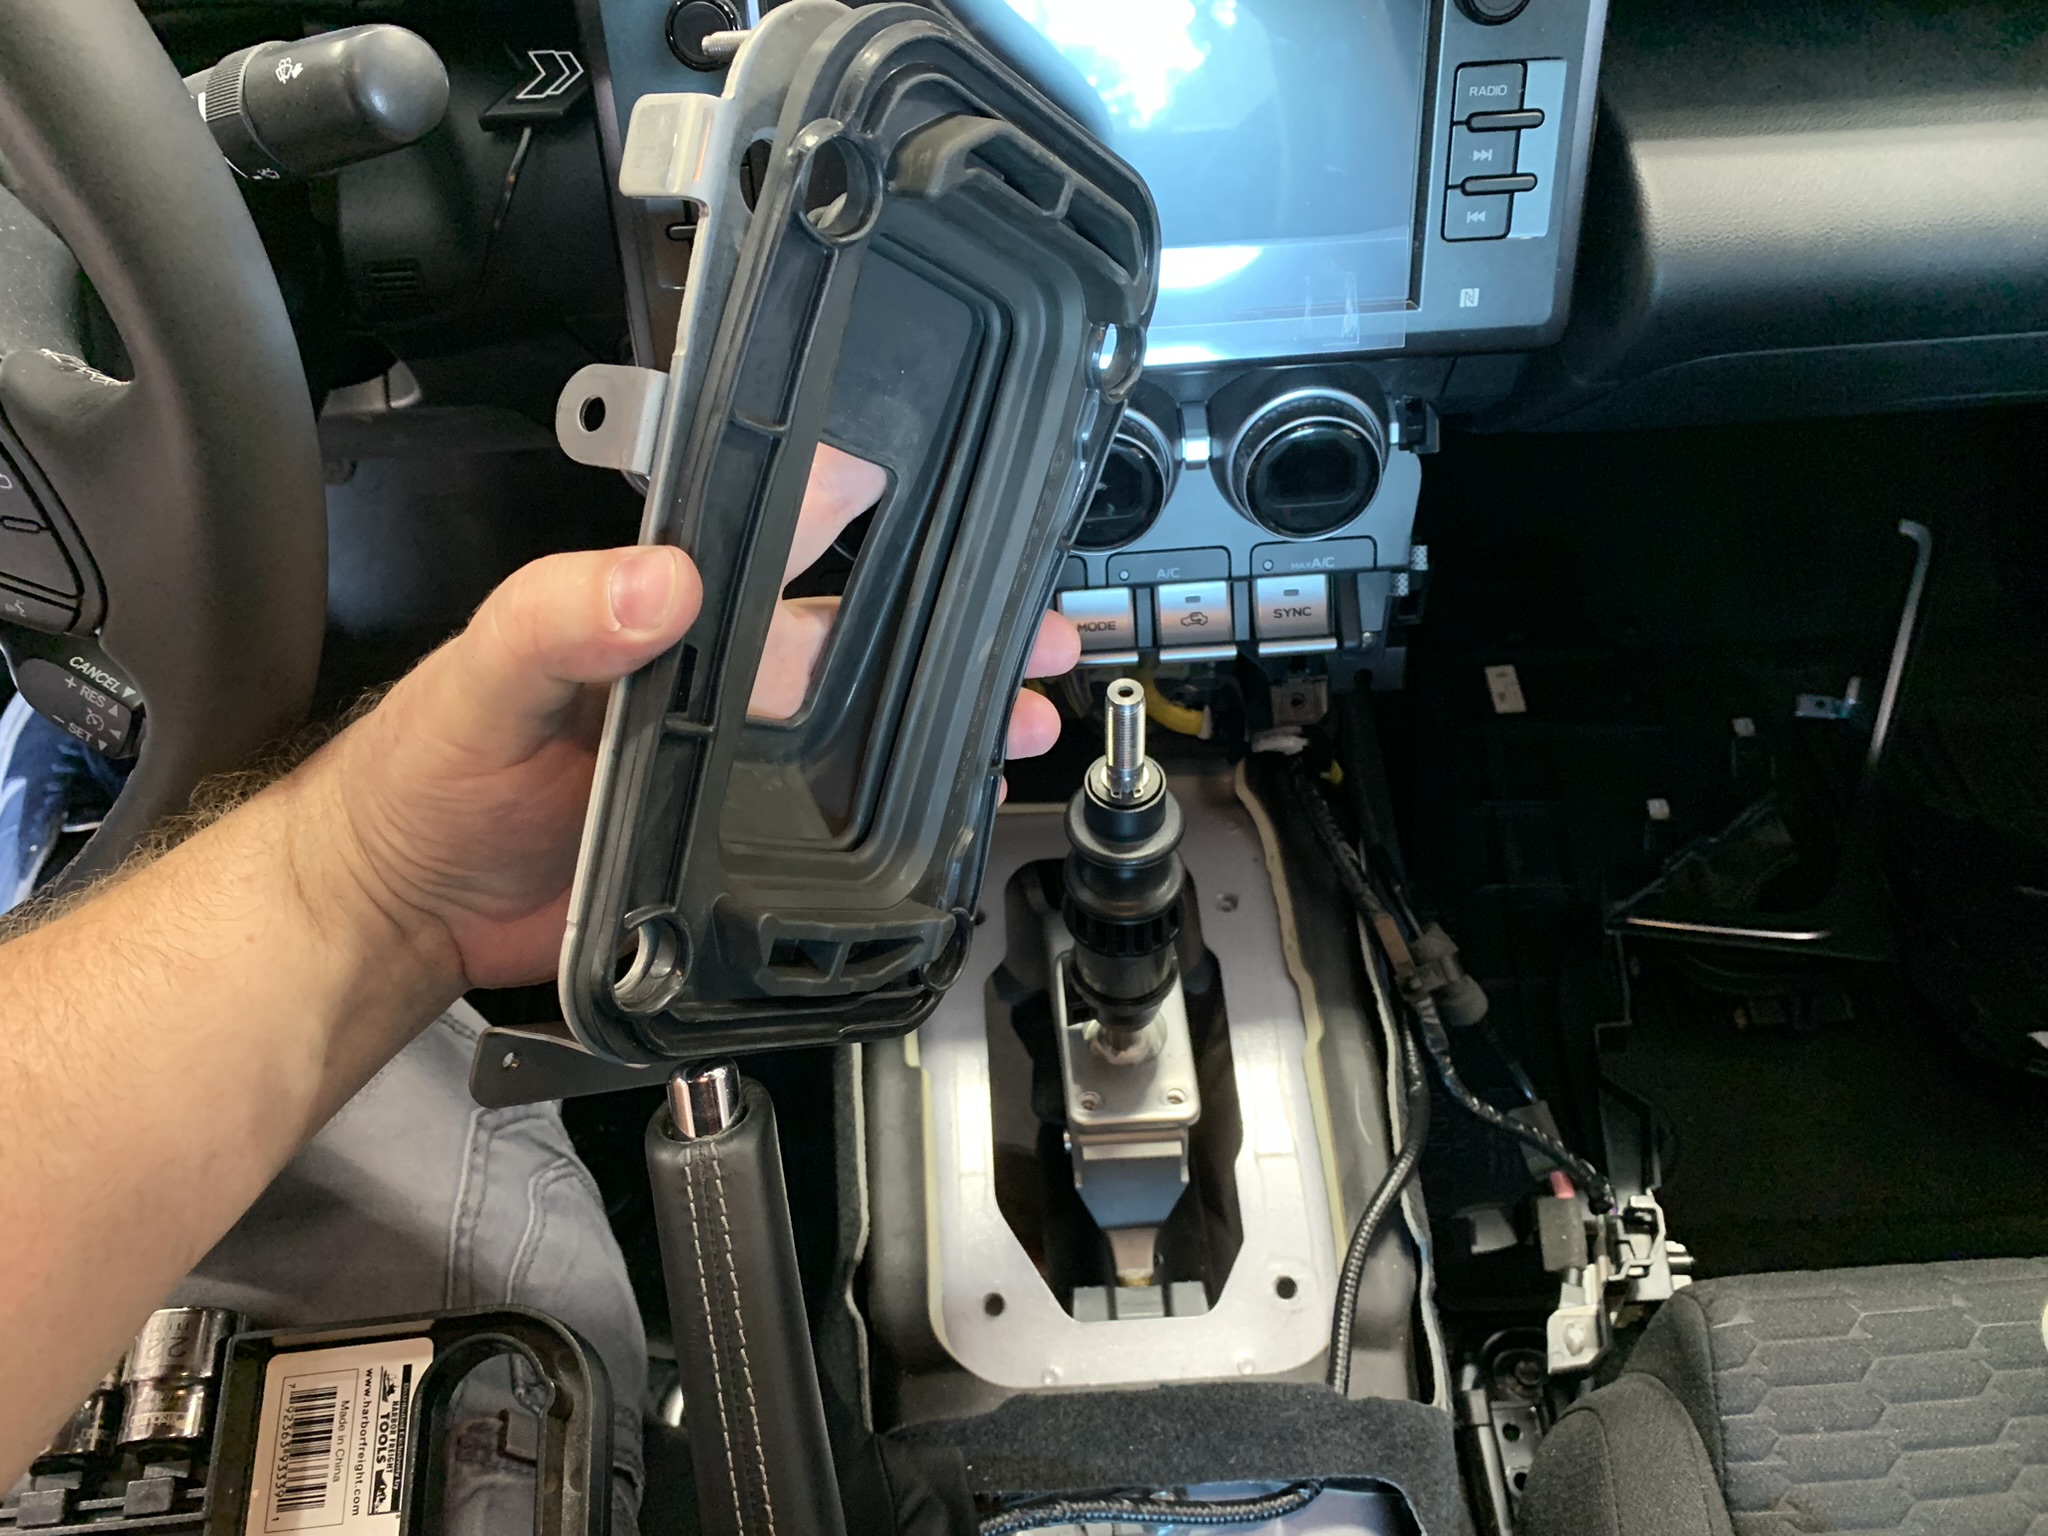
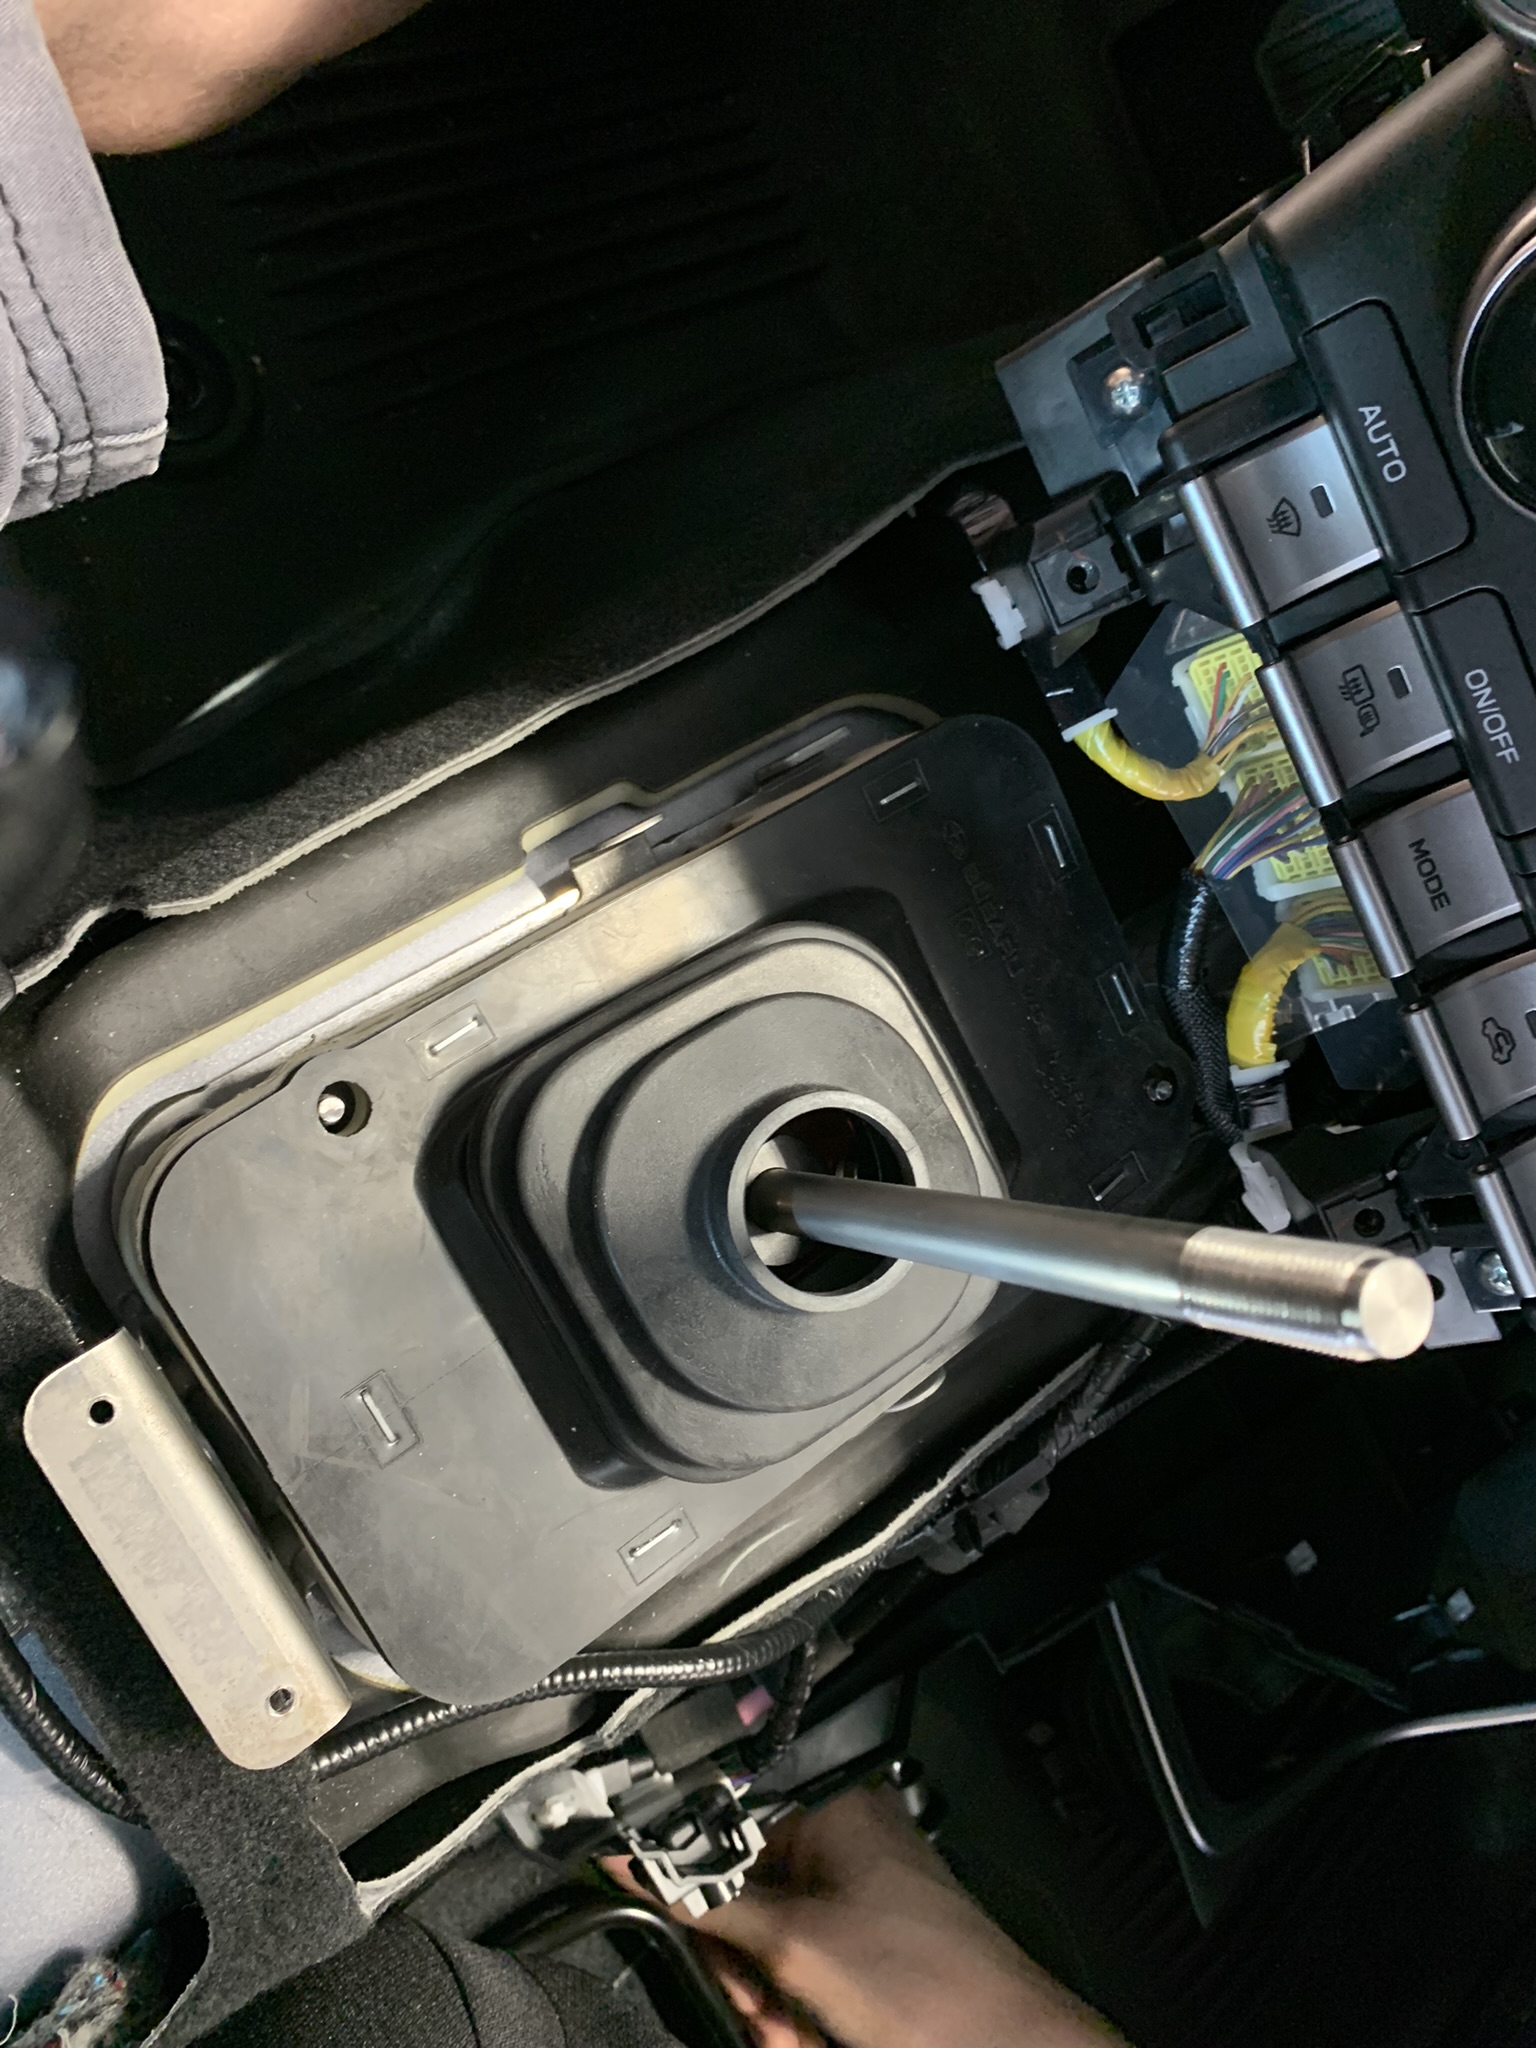
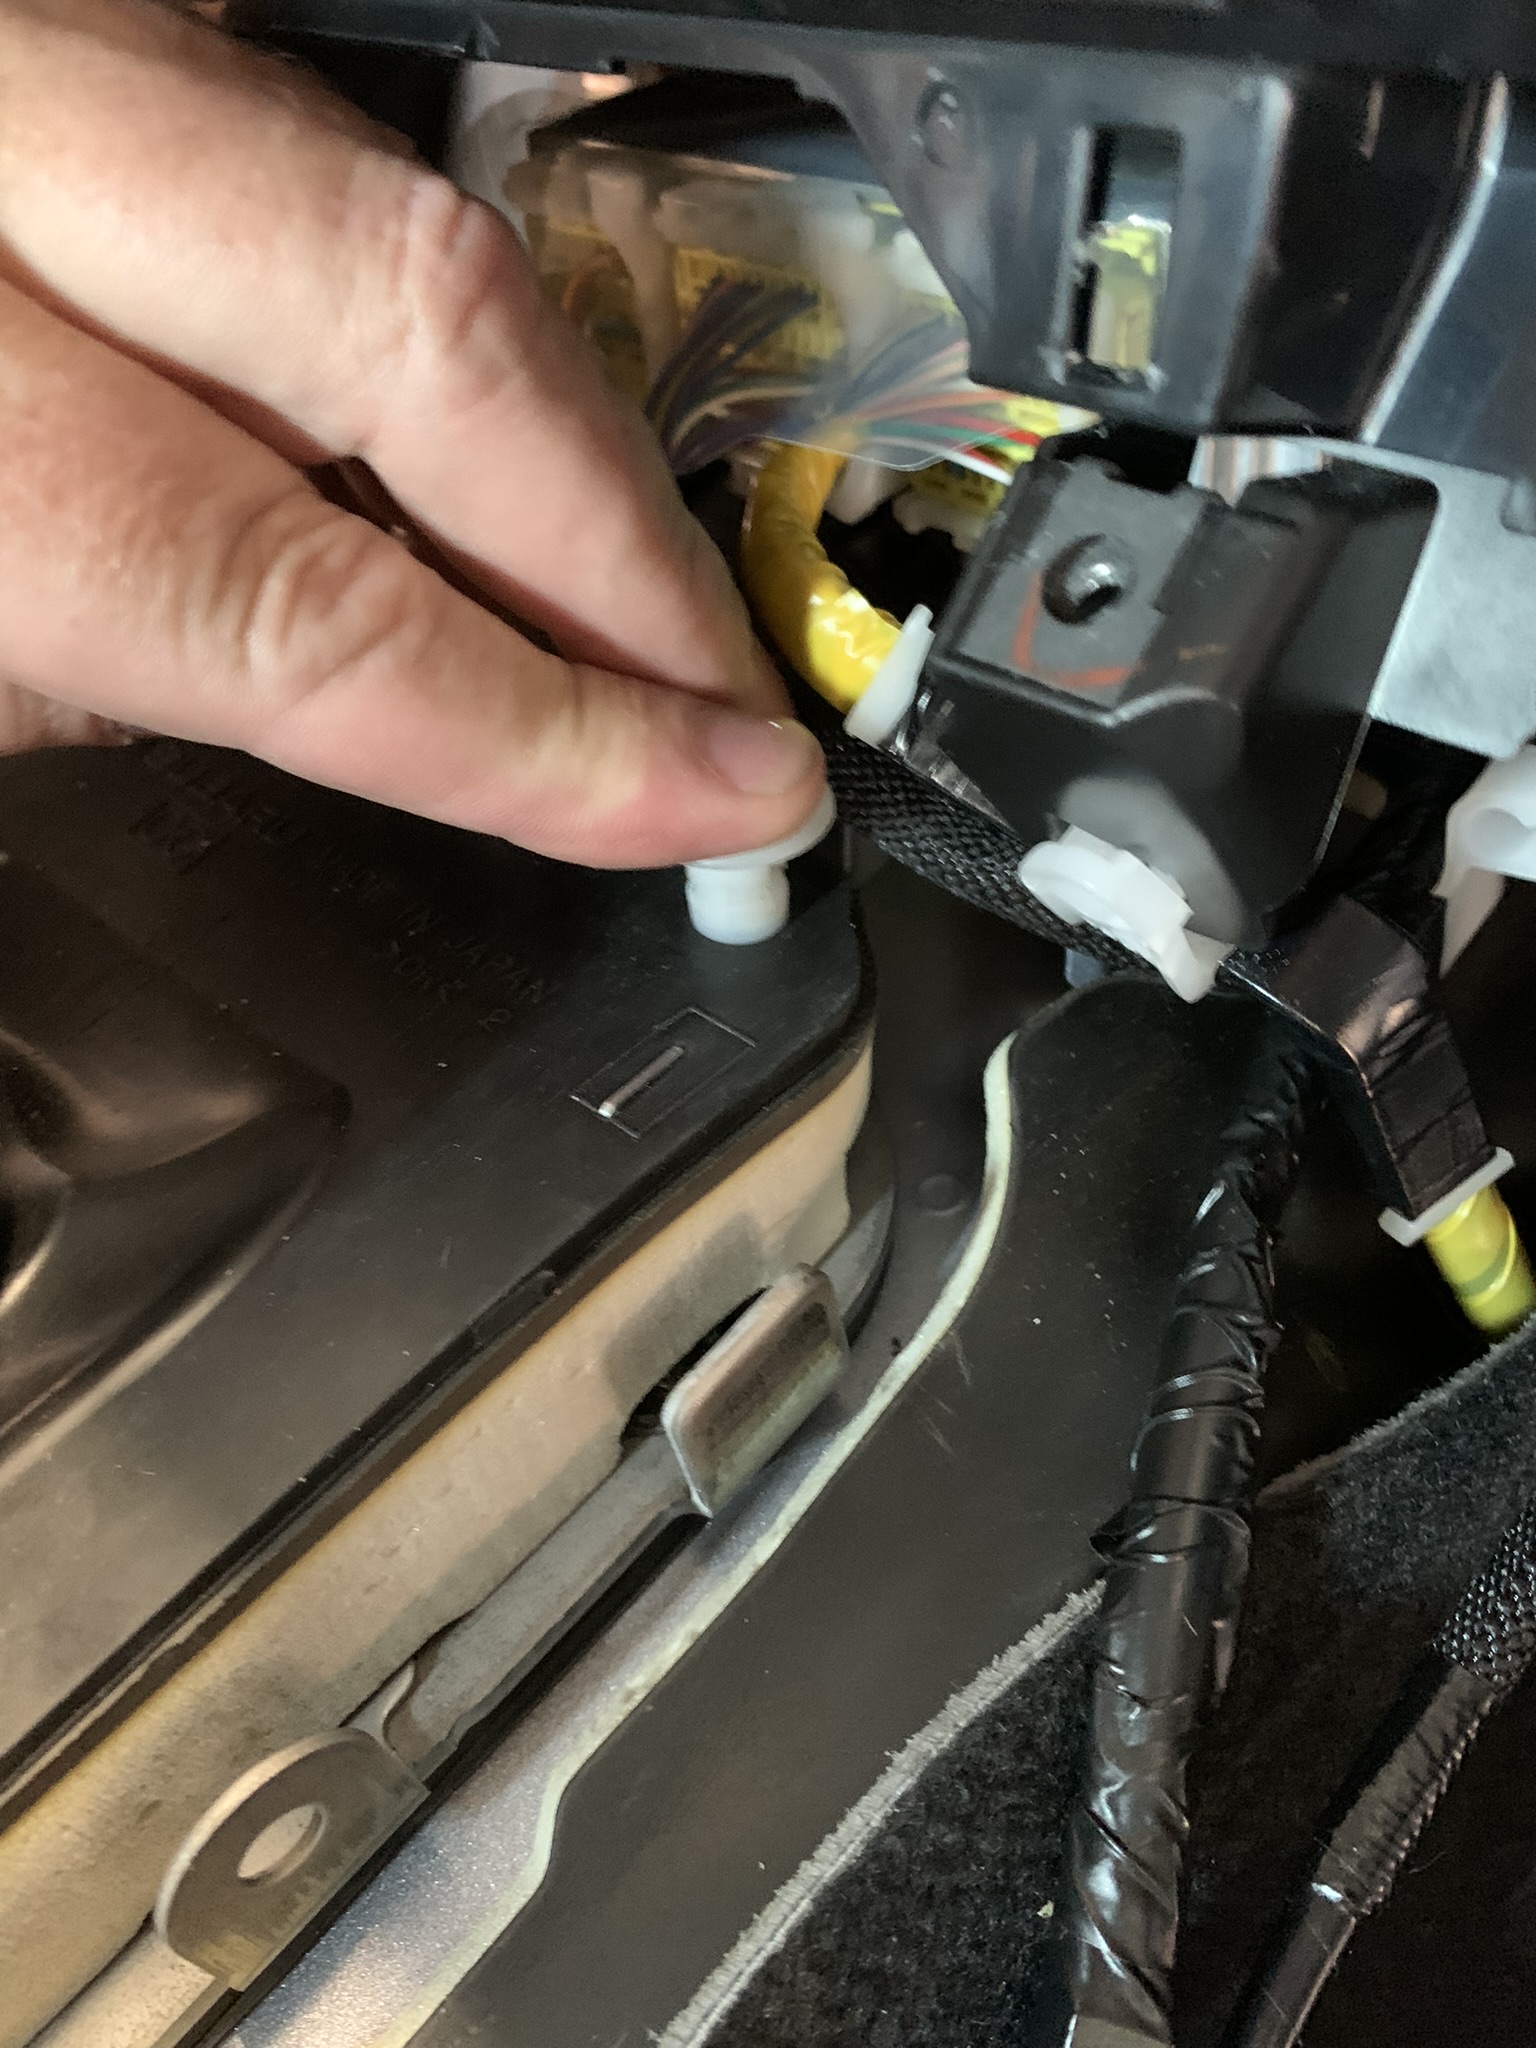
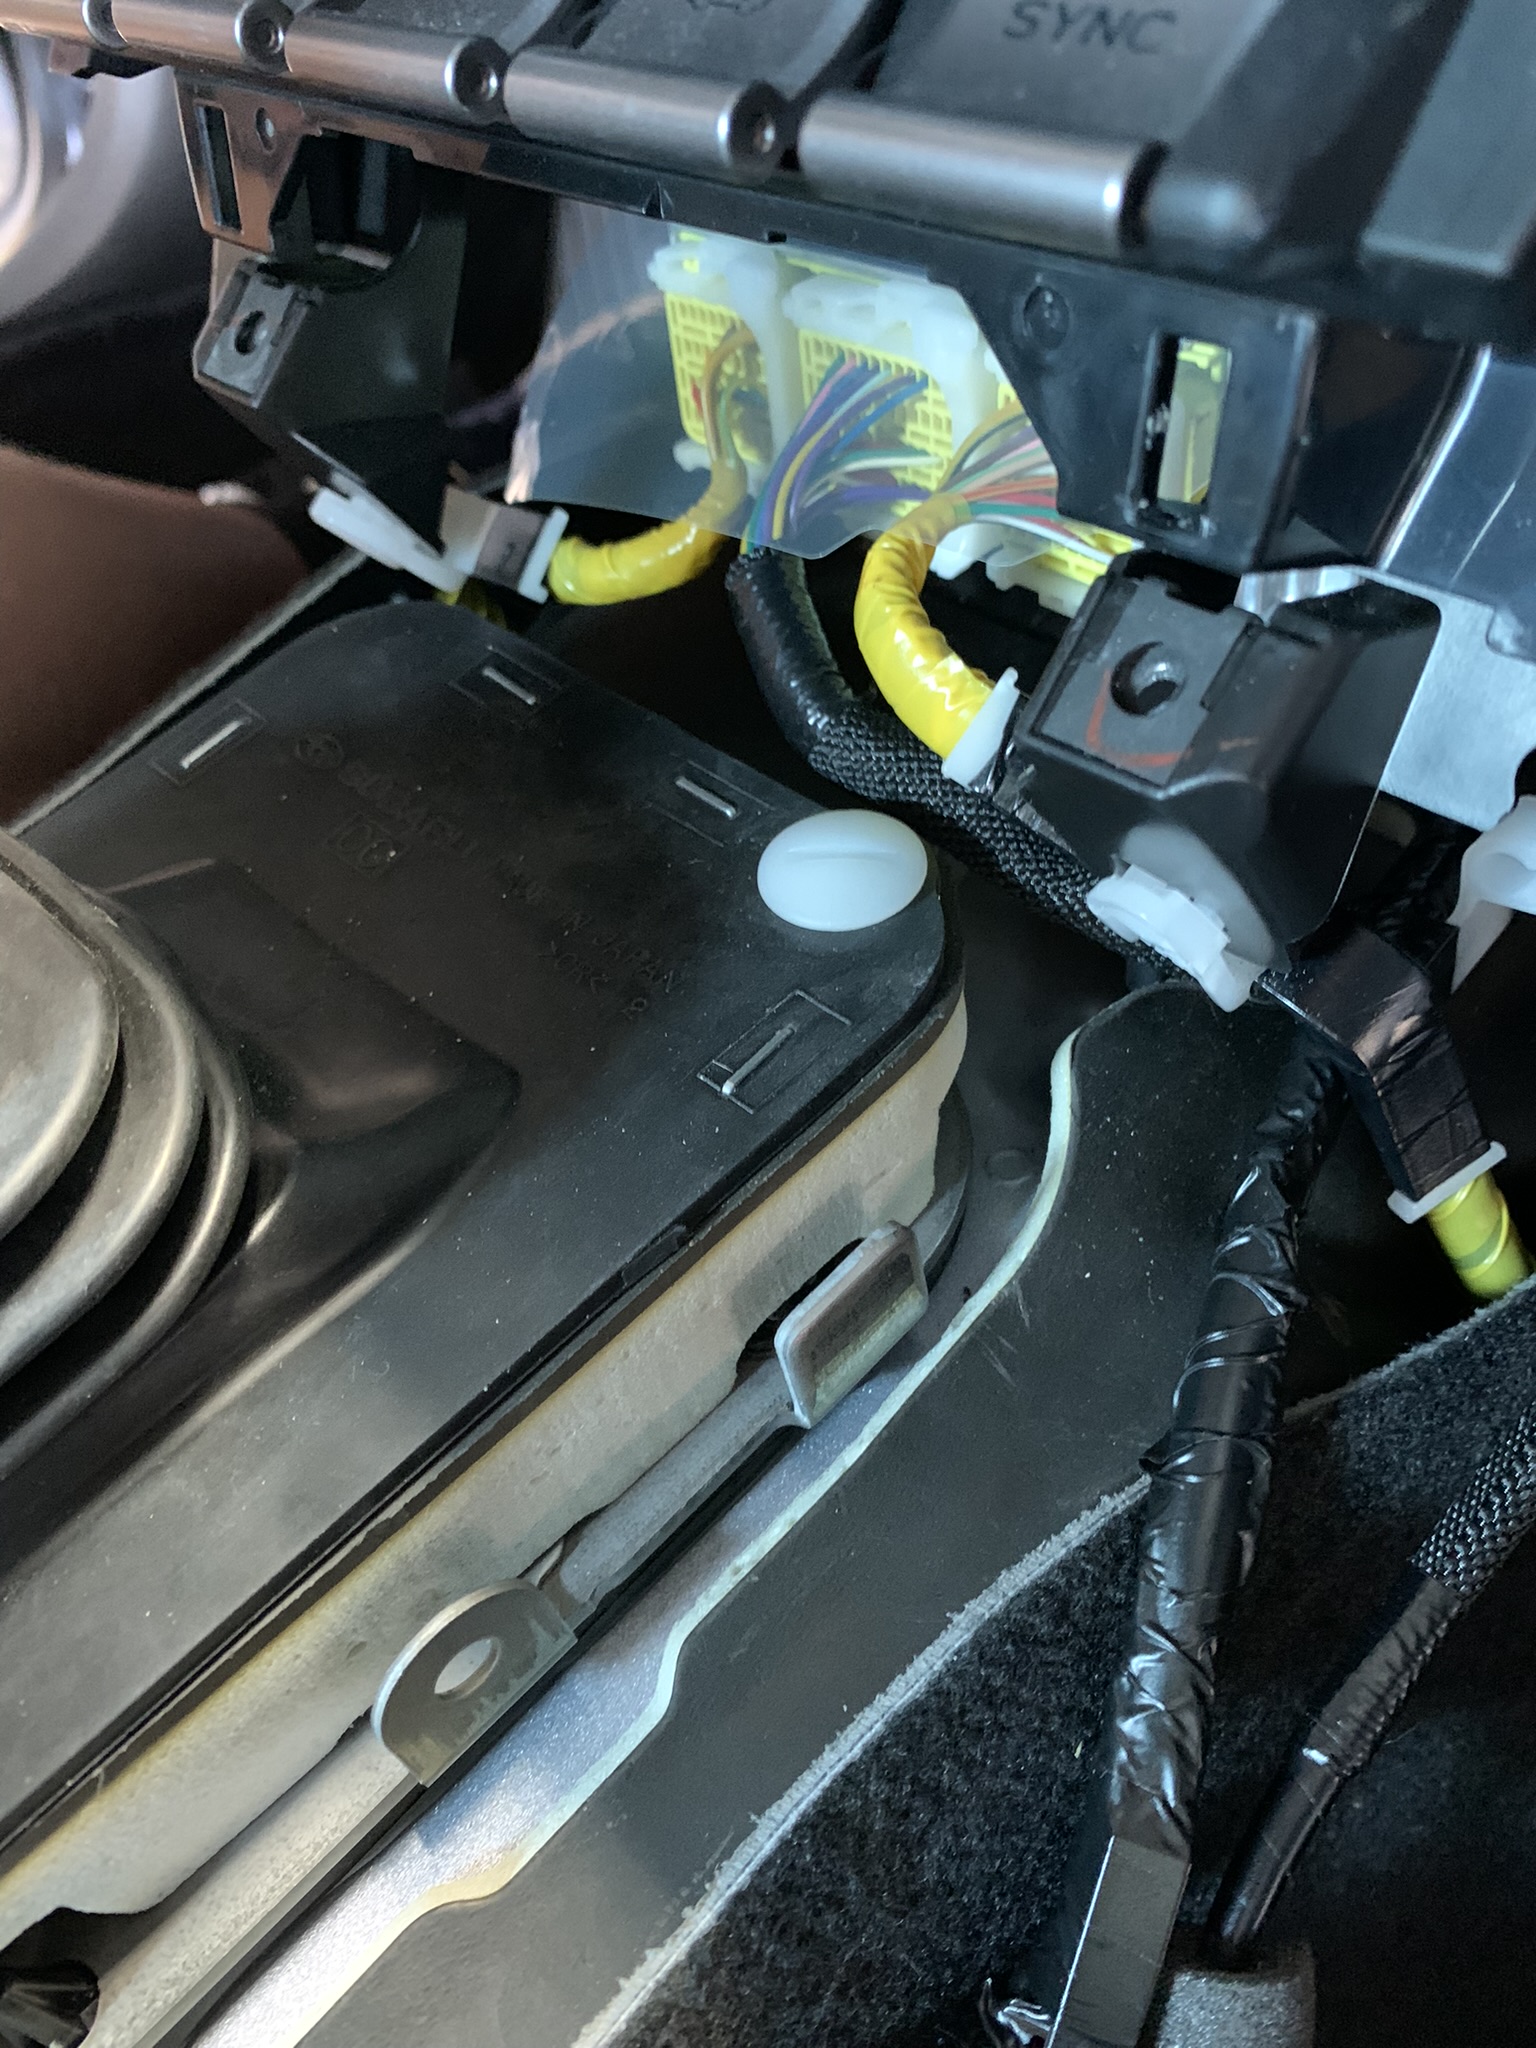
Next, remove the two (2) white plastic push-on fasteners at opposite corners of the rubber/foam shift lever gasket. You should be able to spin them off by hand and then lift off the gasket assembly to expose the lower rubber gasket and frame.
-
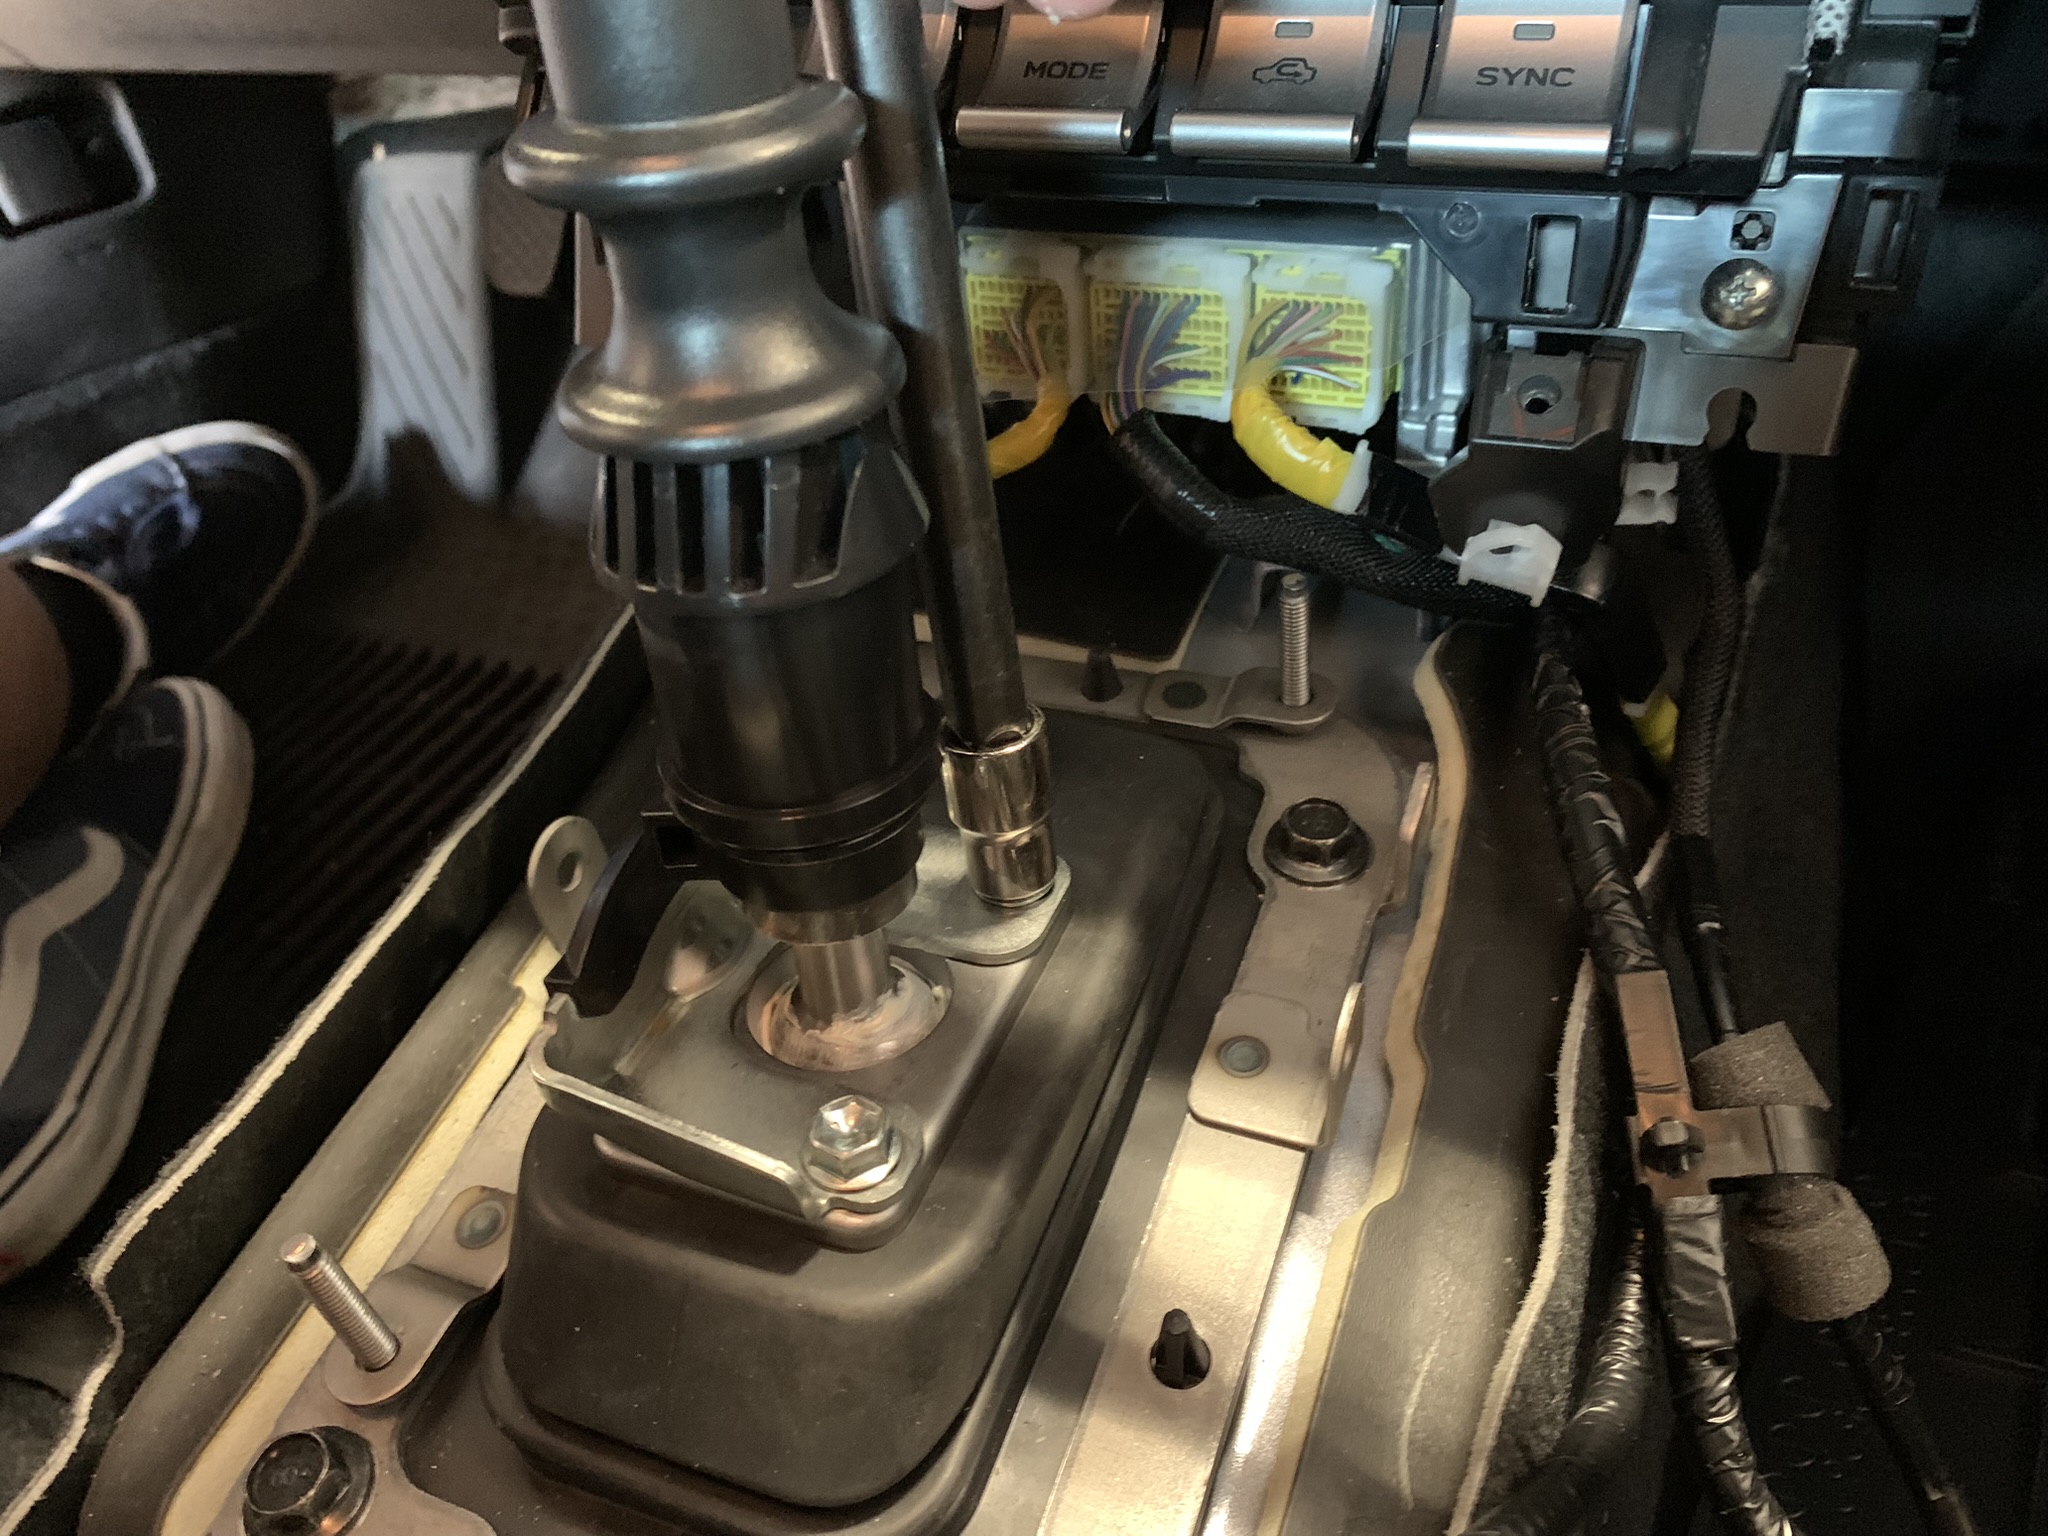
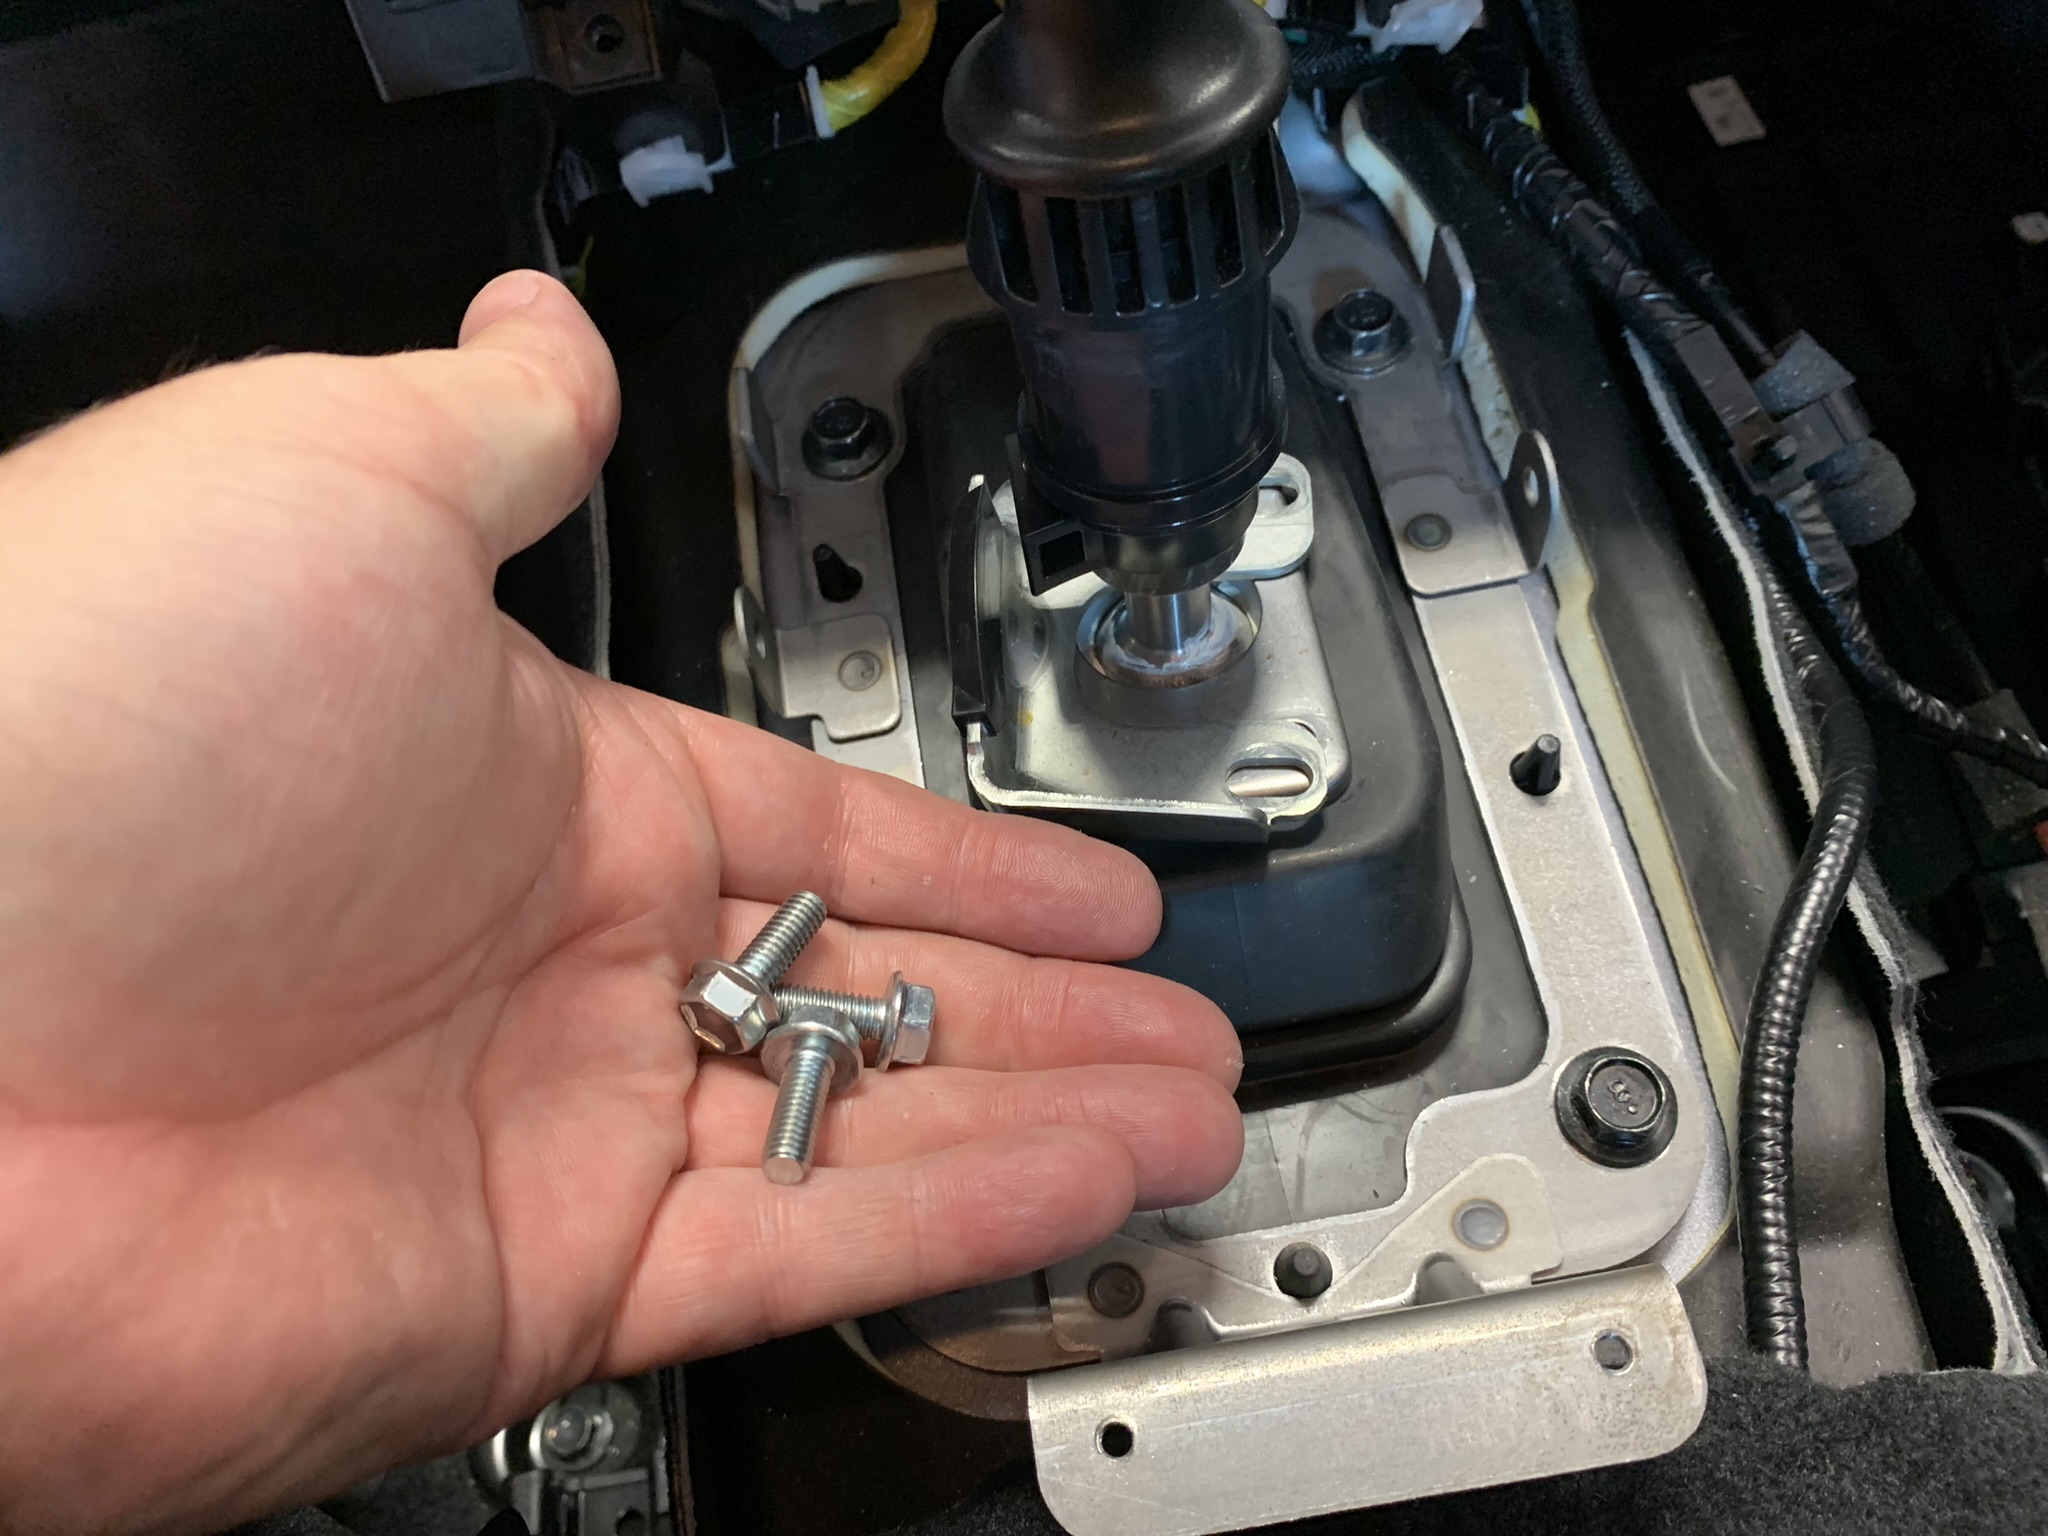
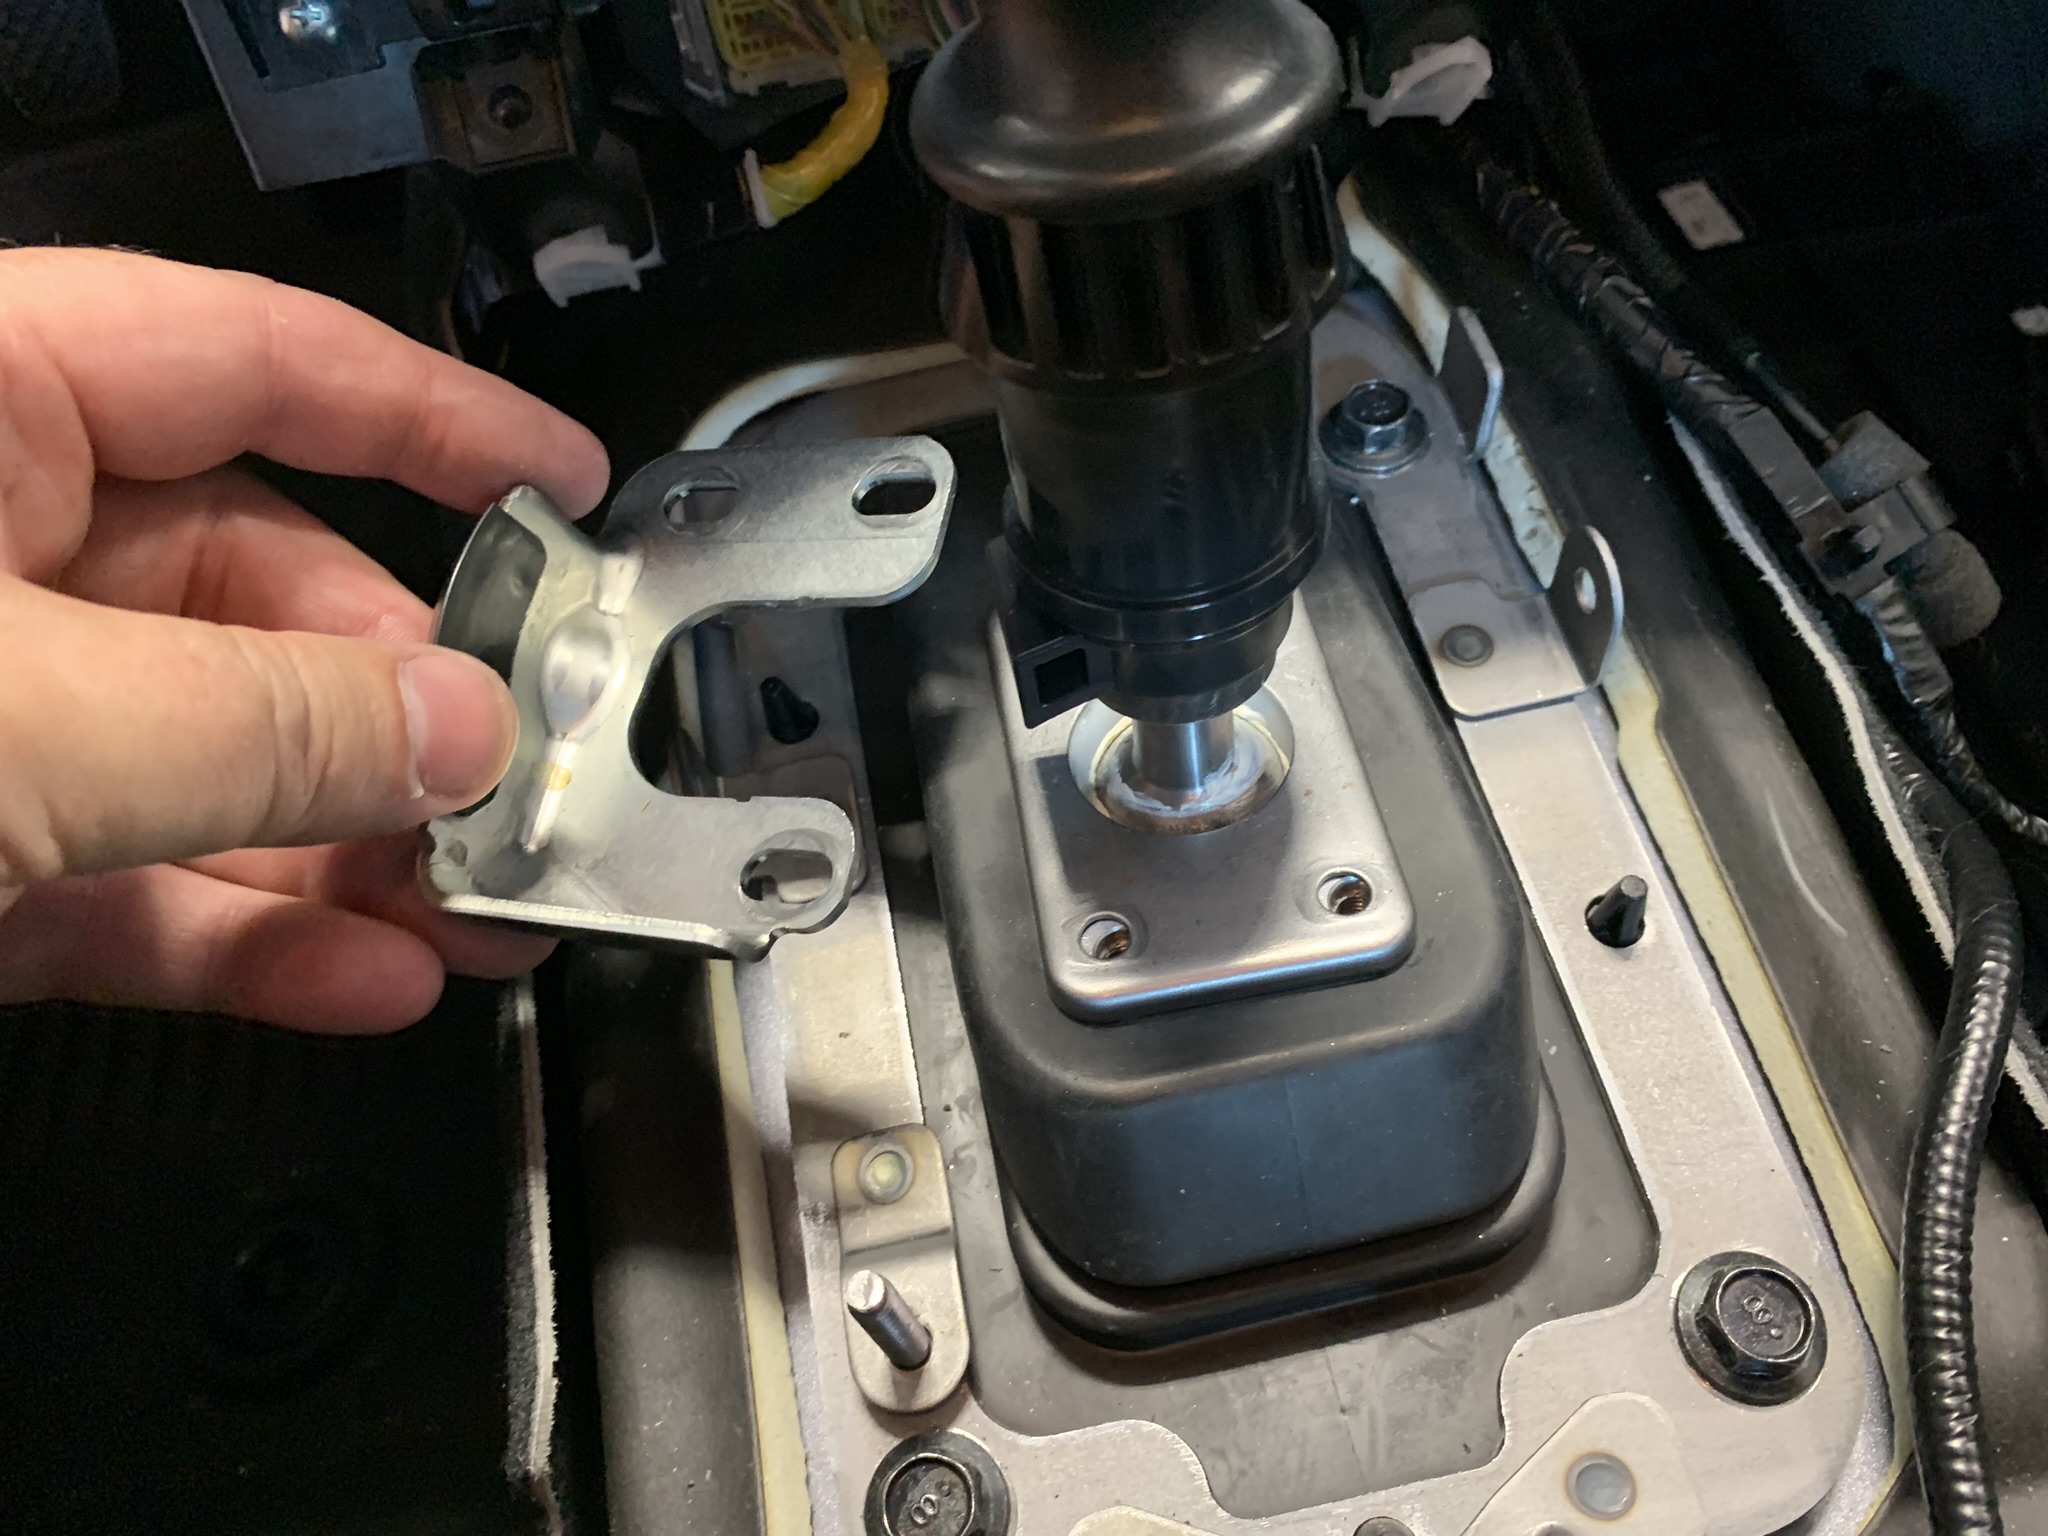
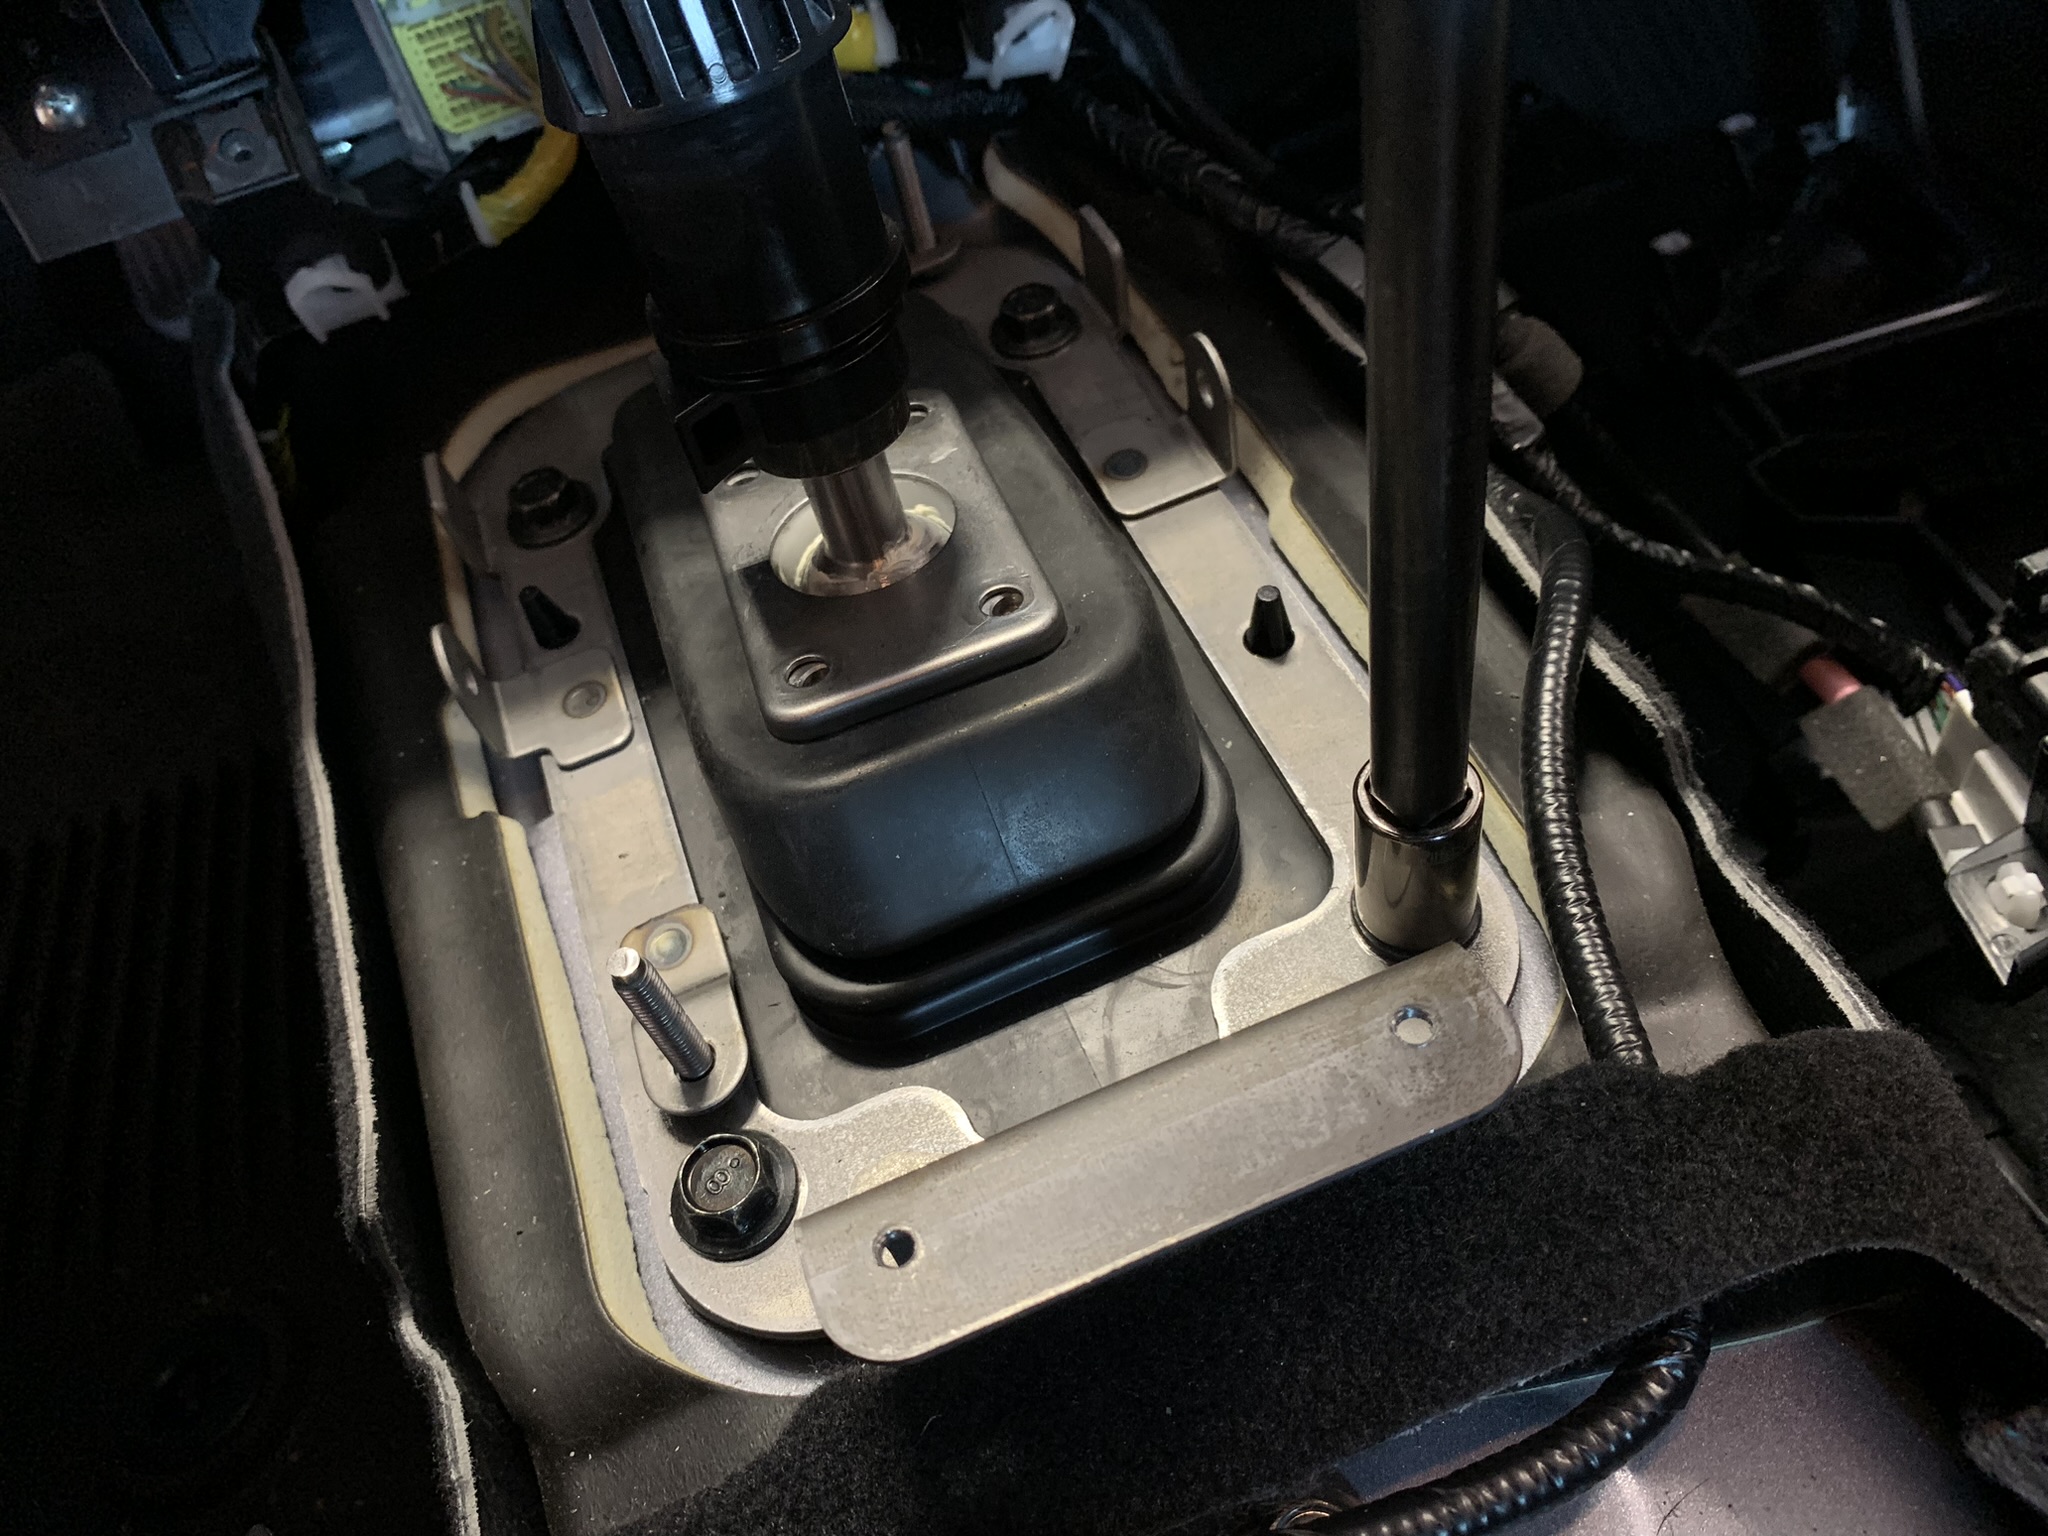
With the reverse lockout mechanism now exposed, remove the three (3) 10mm screws affixing the reverse stop in place. Remove the reverse stop and place it in your parts bin as we will not be reinstalling this component.
-
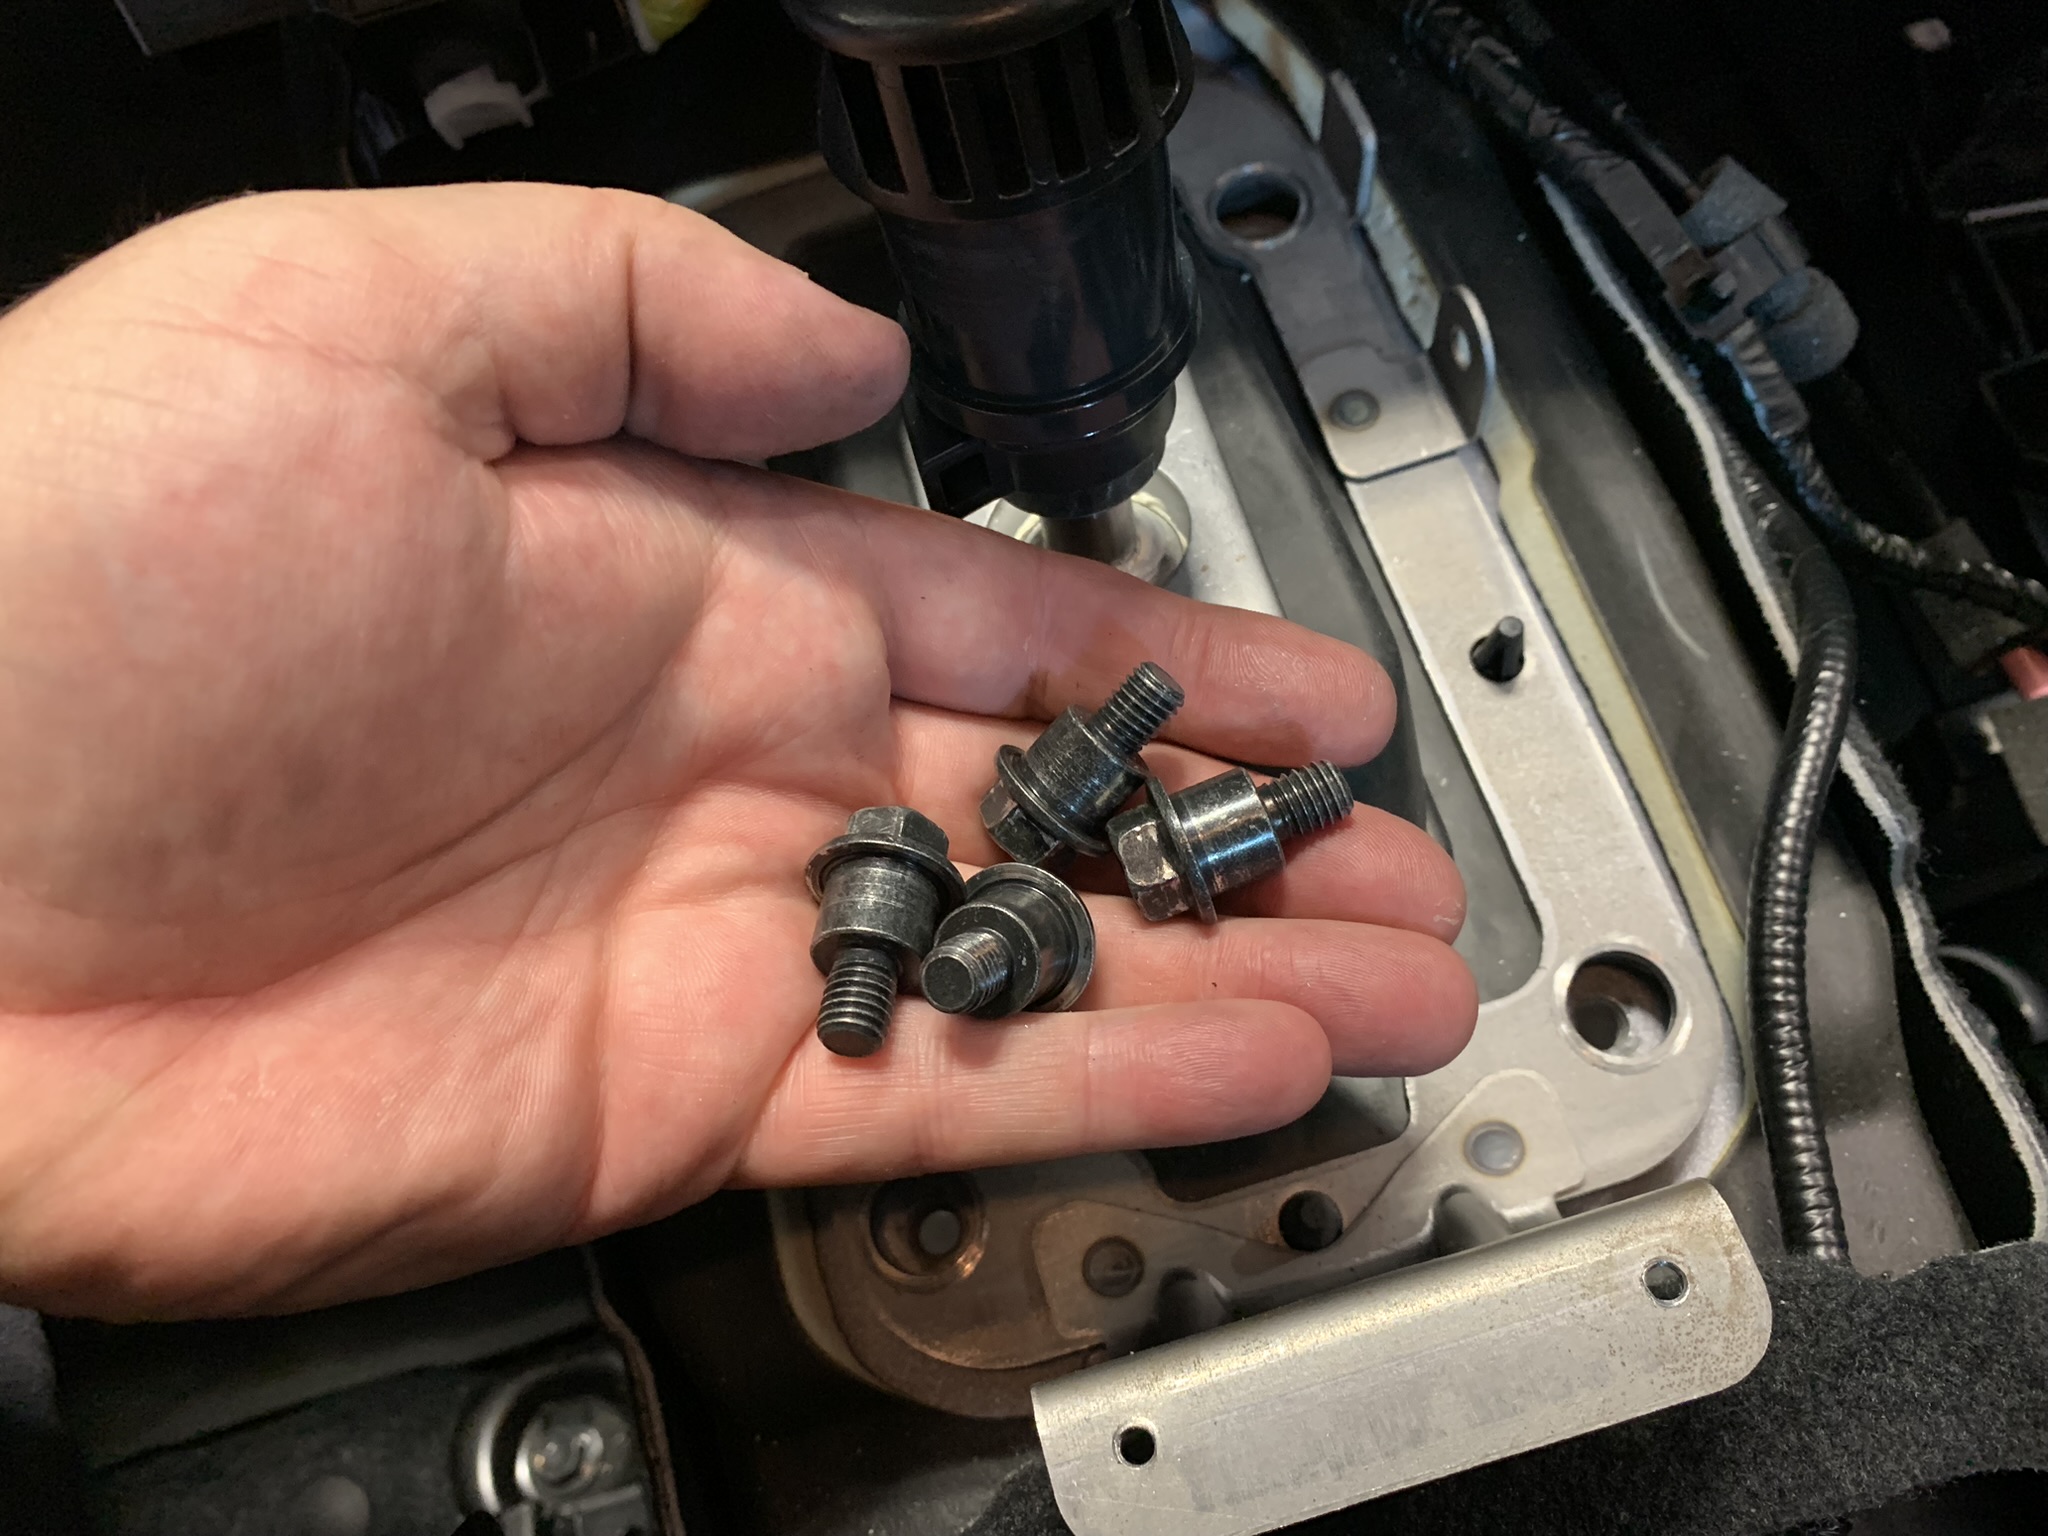
Remove the four (4) 12mm shoulder bolts that hold the lower rubber gasket and frame to the tunnel. Lift it up and off of the shifter pivot structure.
Removing the Factory Shifter Assembly
-
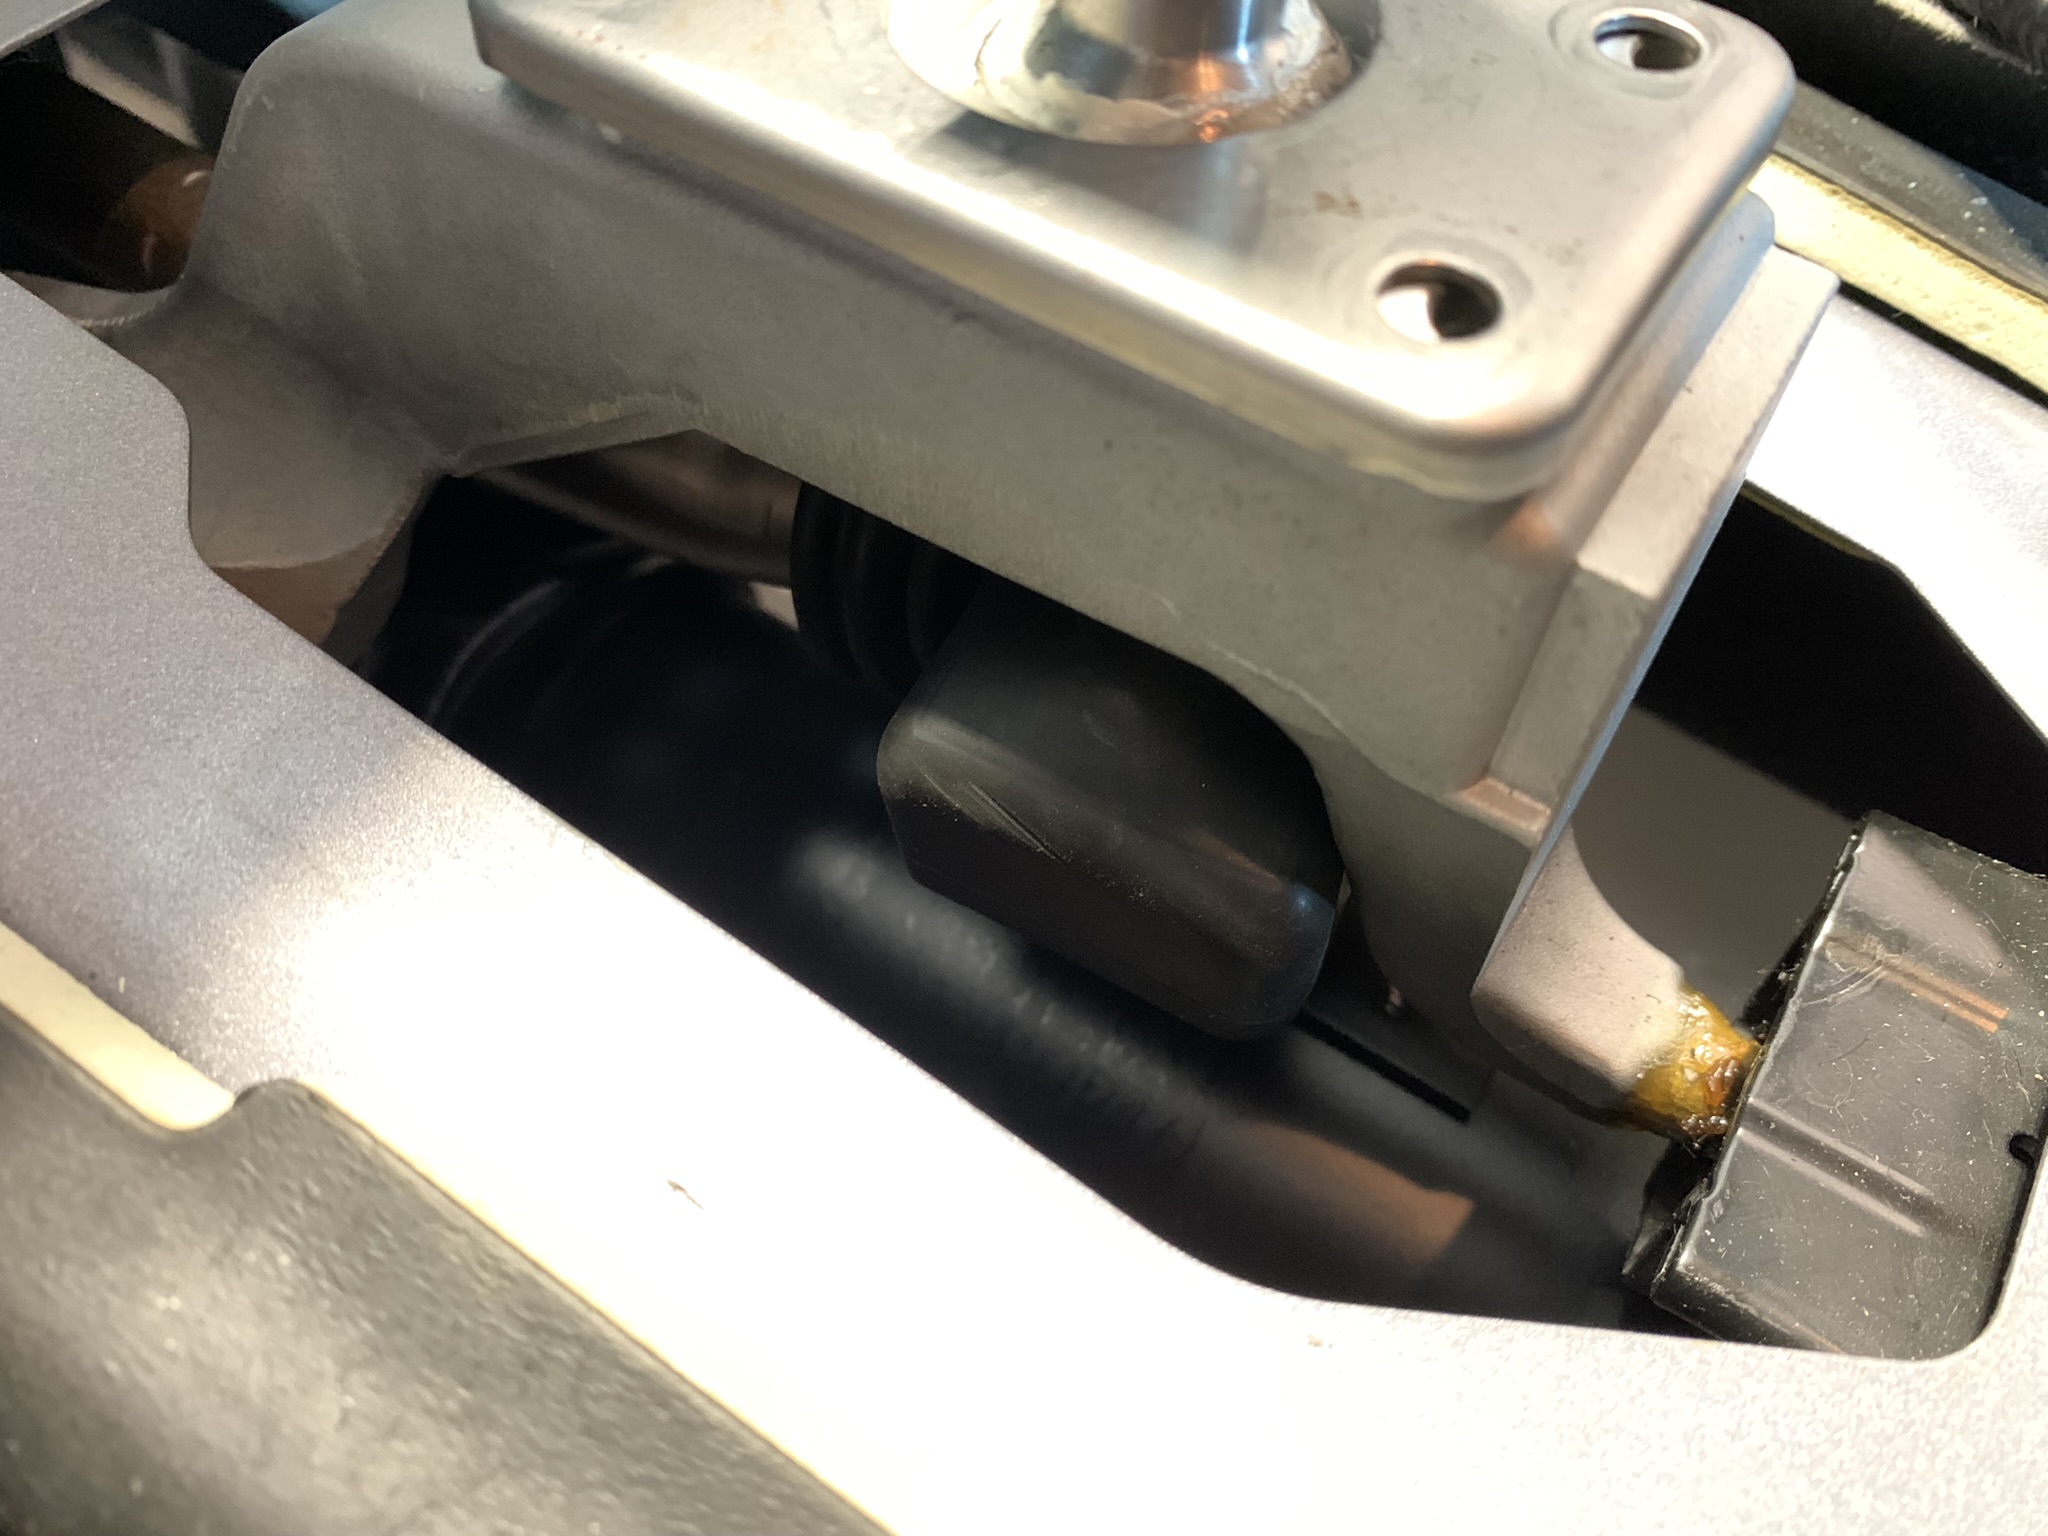
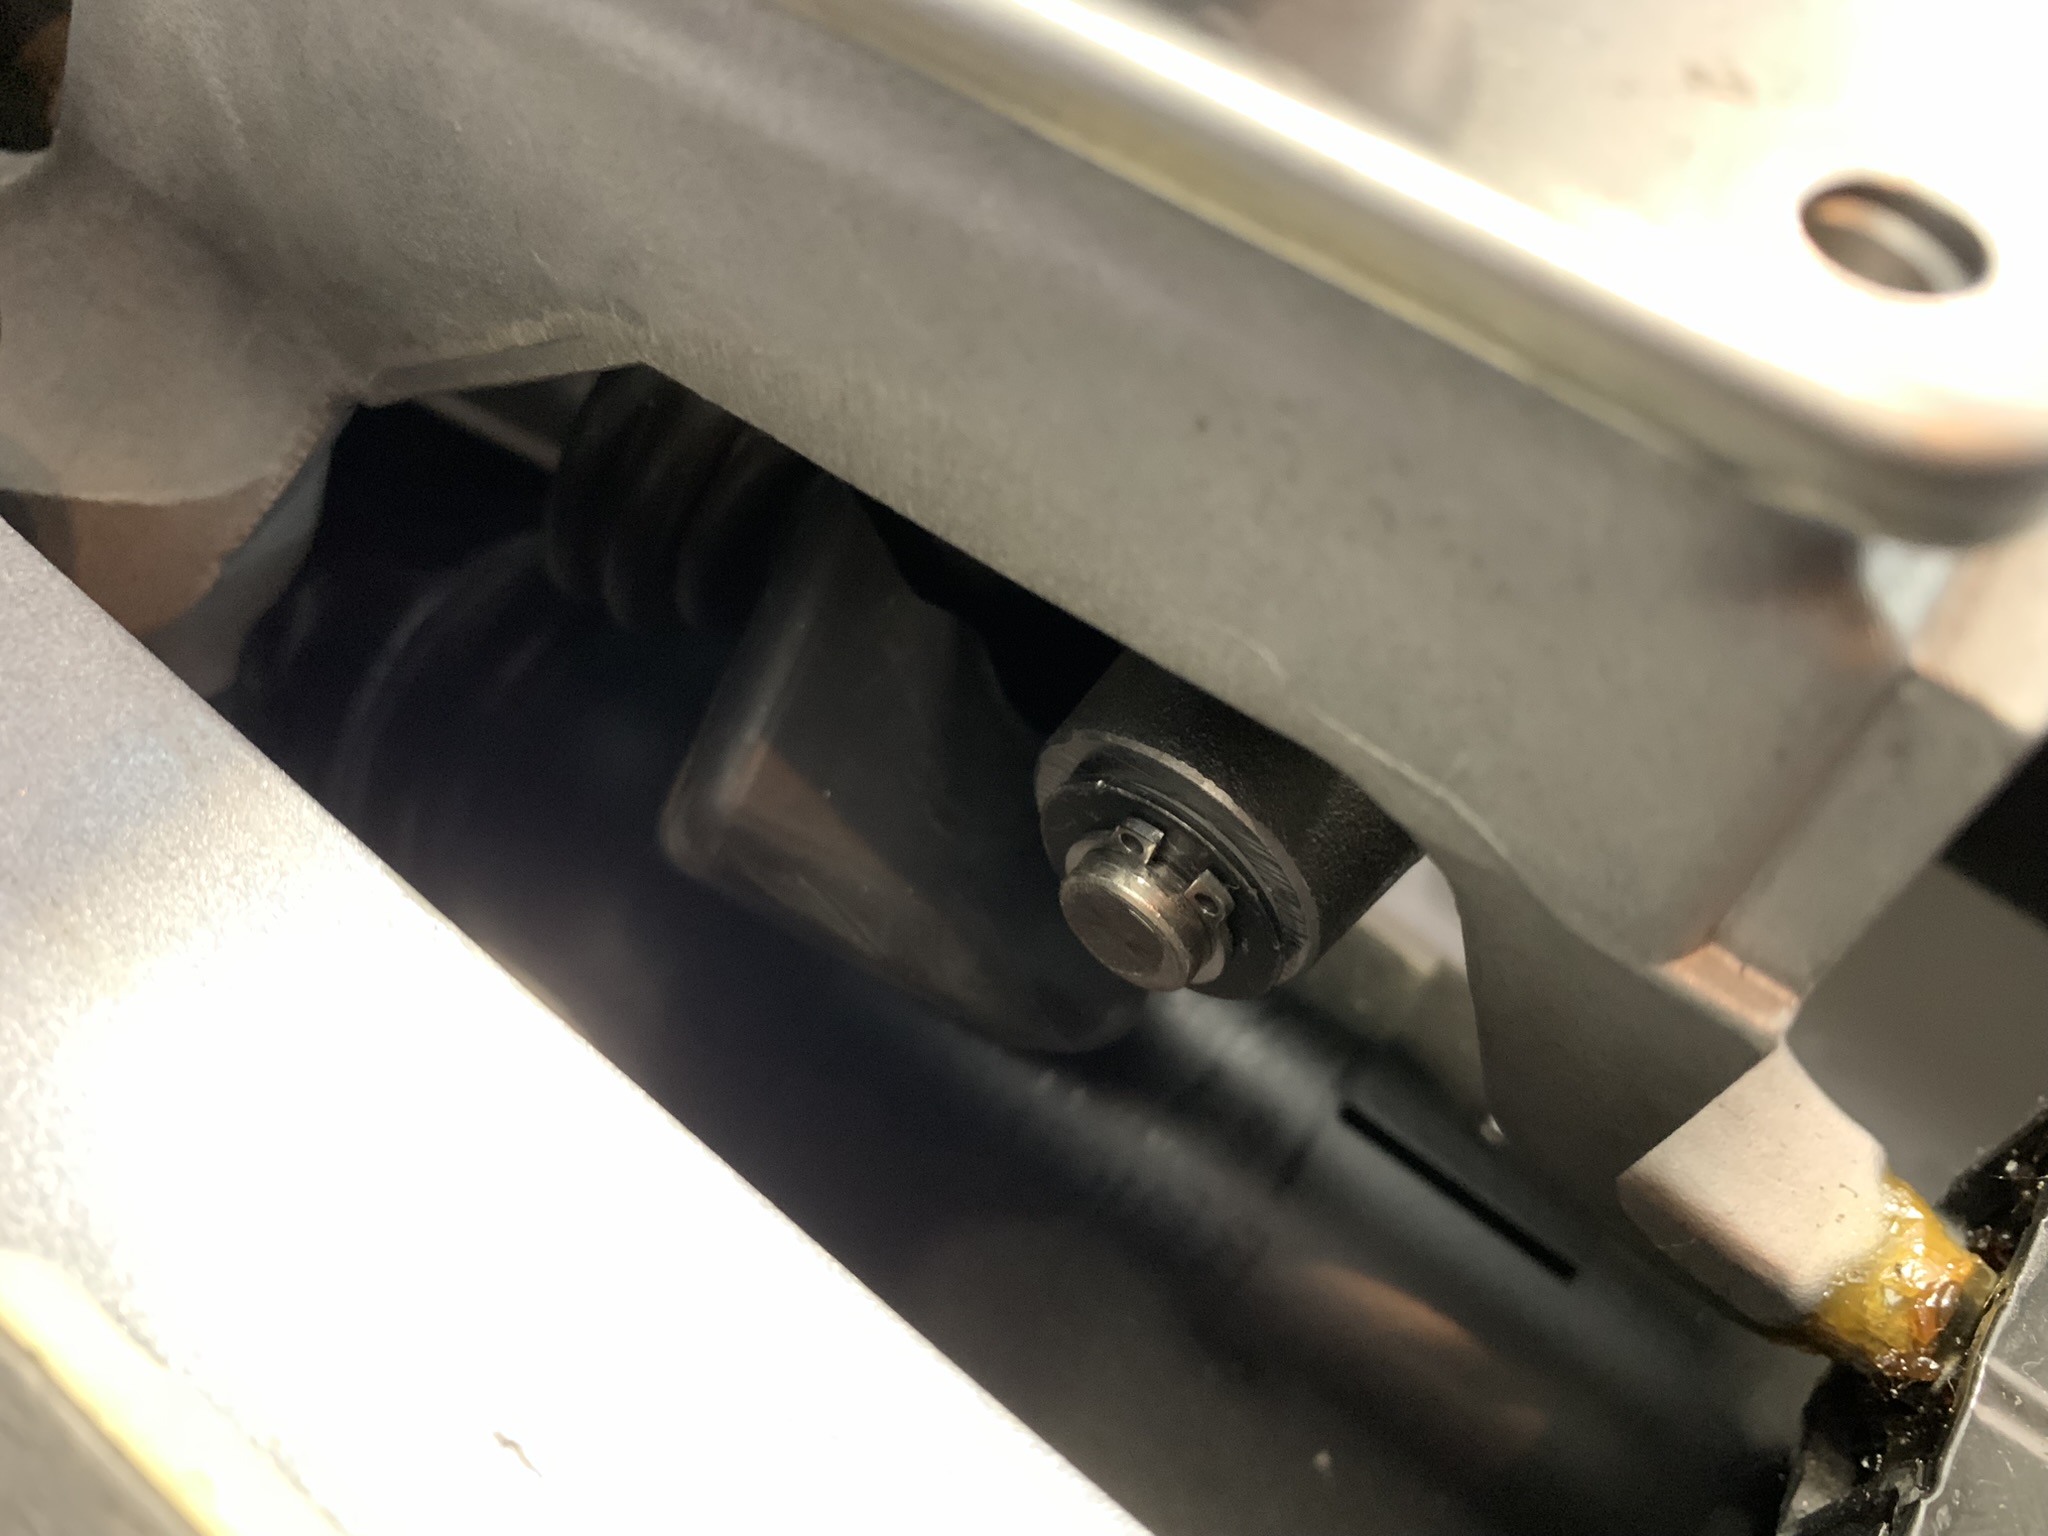
Look down into the tunnel opening and observe a rubber boot that covers the lower shifter pivot/linkage connection. Pull this rubber cover down and off this connection and push it up toward the front of the car along the linkage.
-
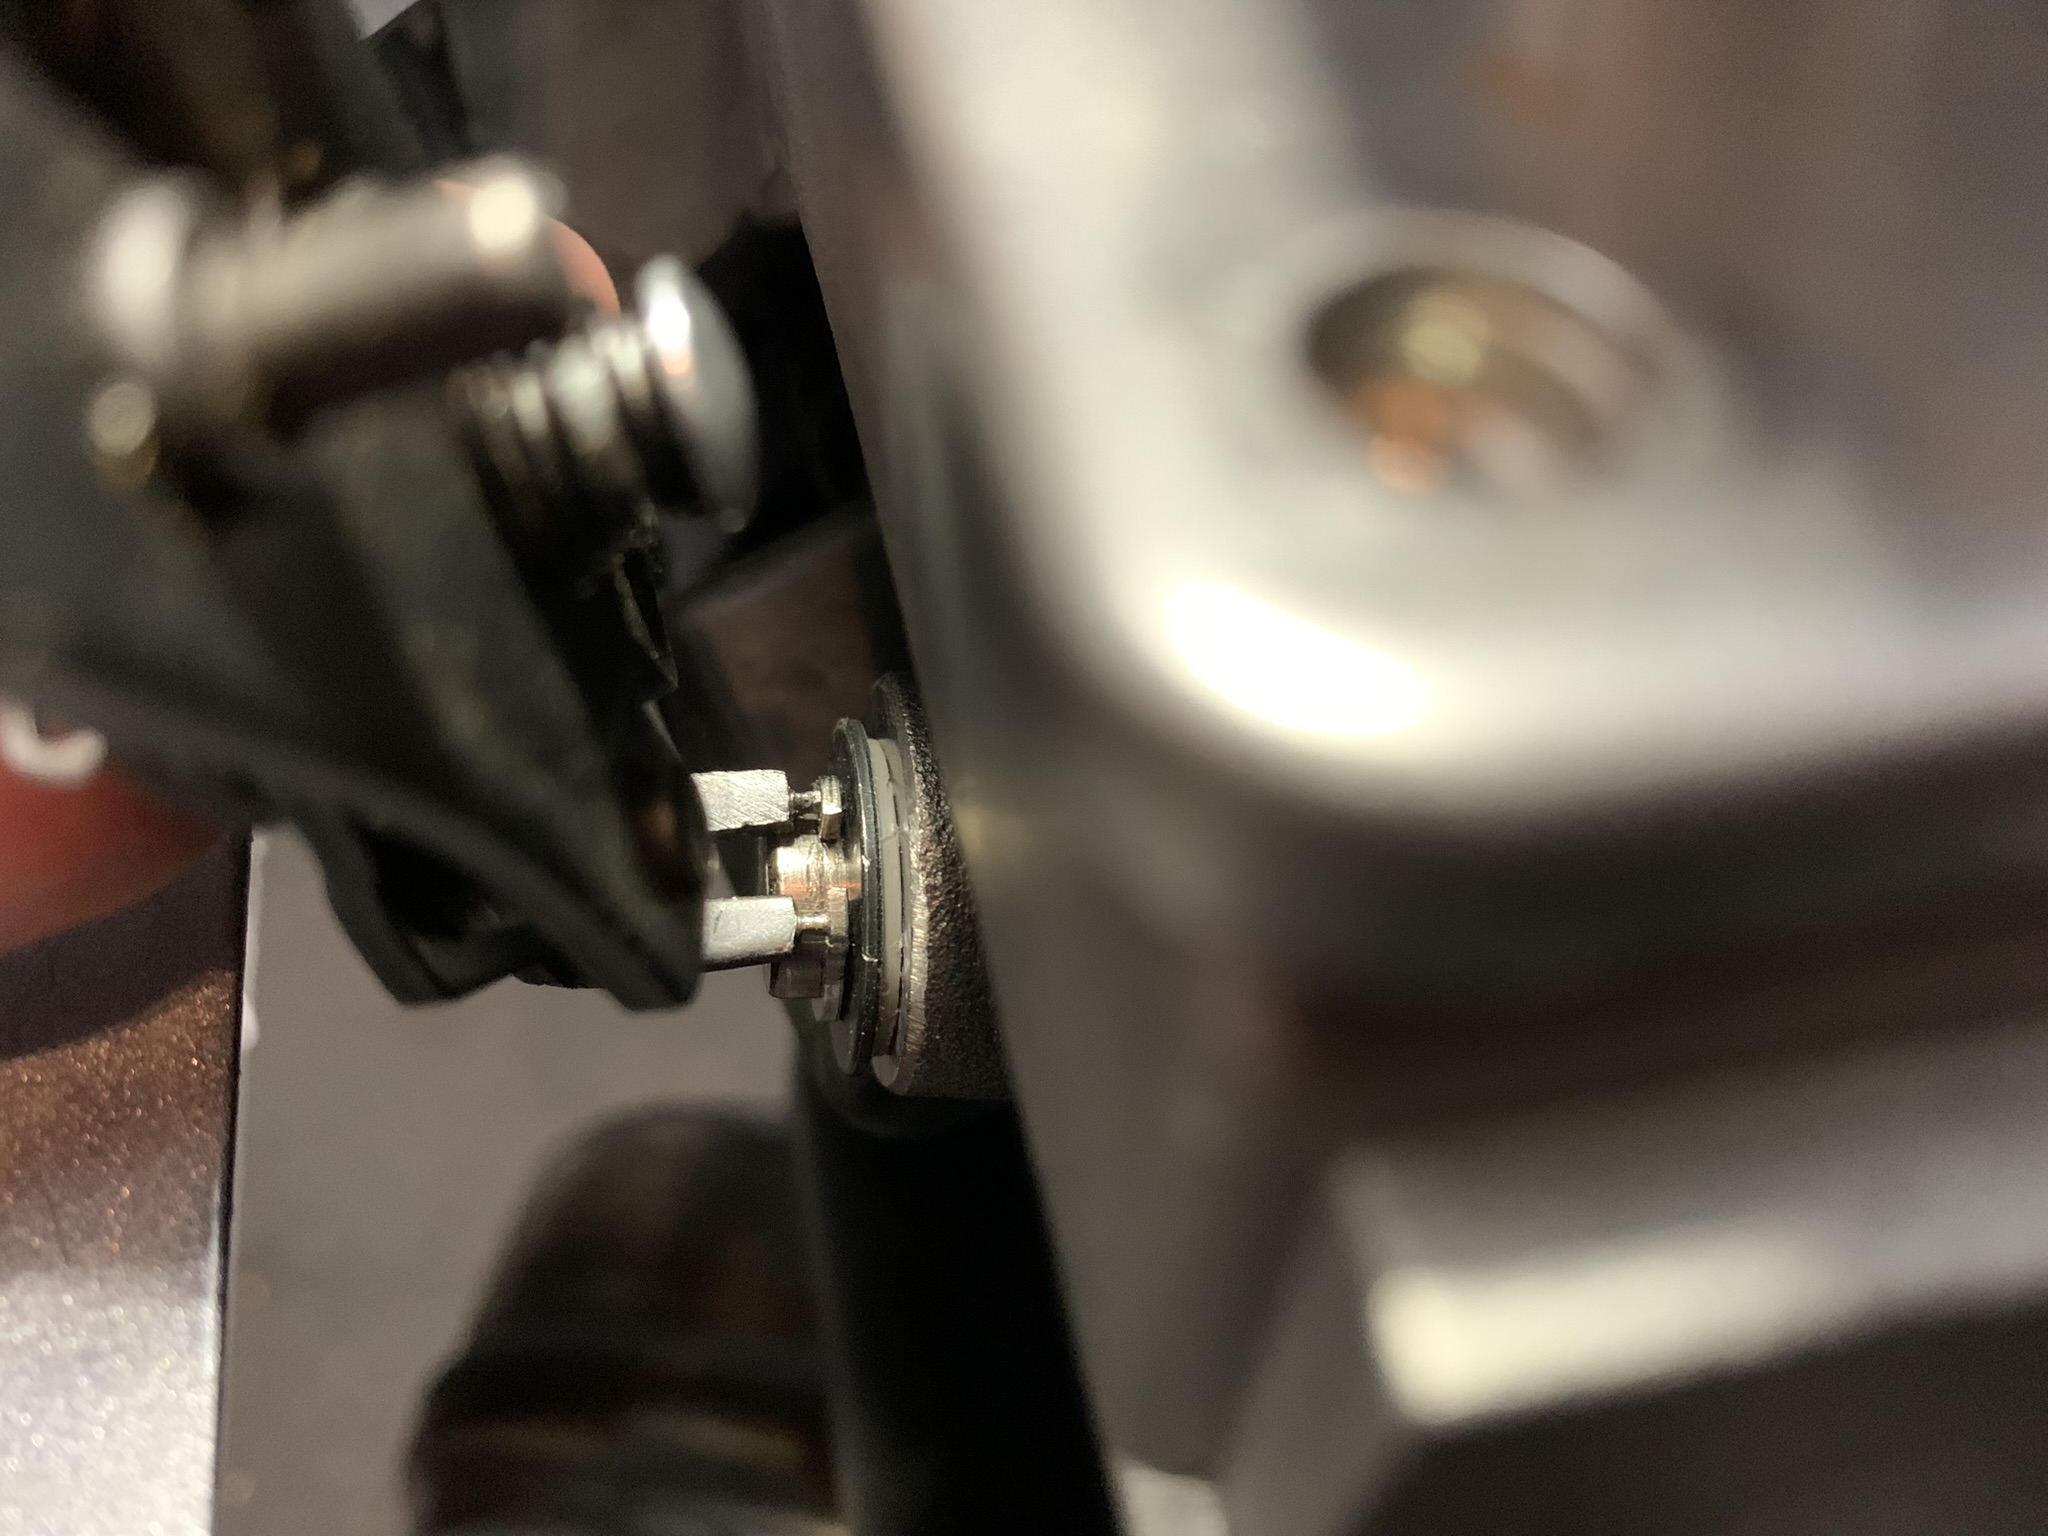
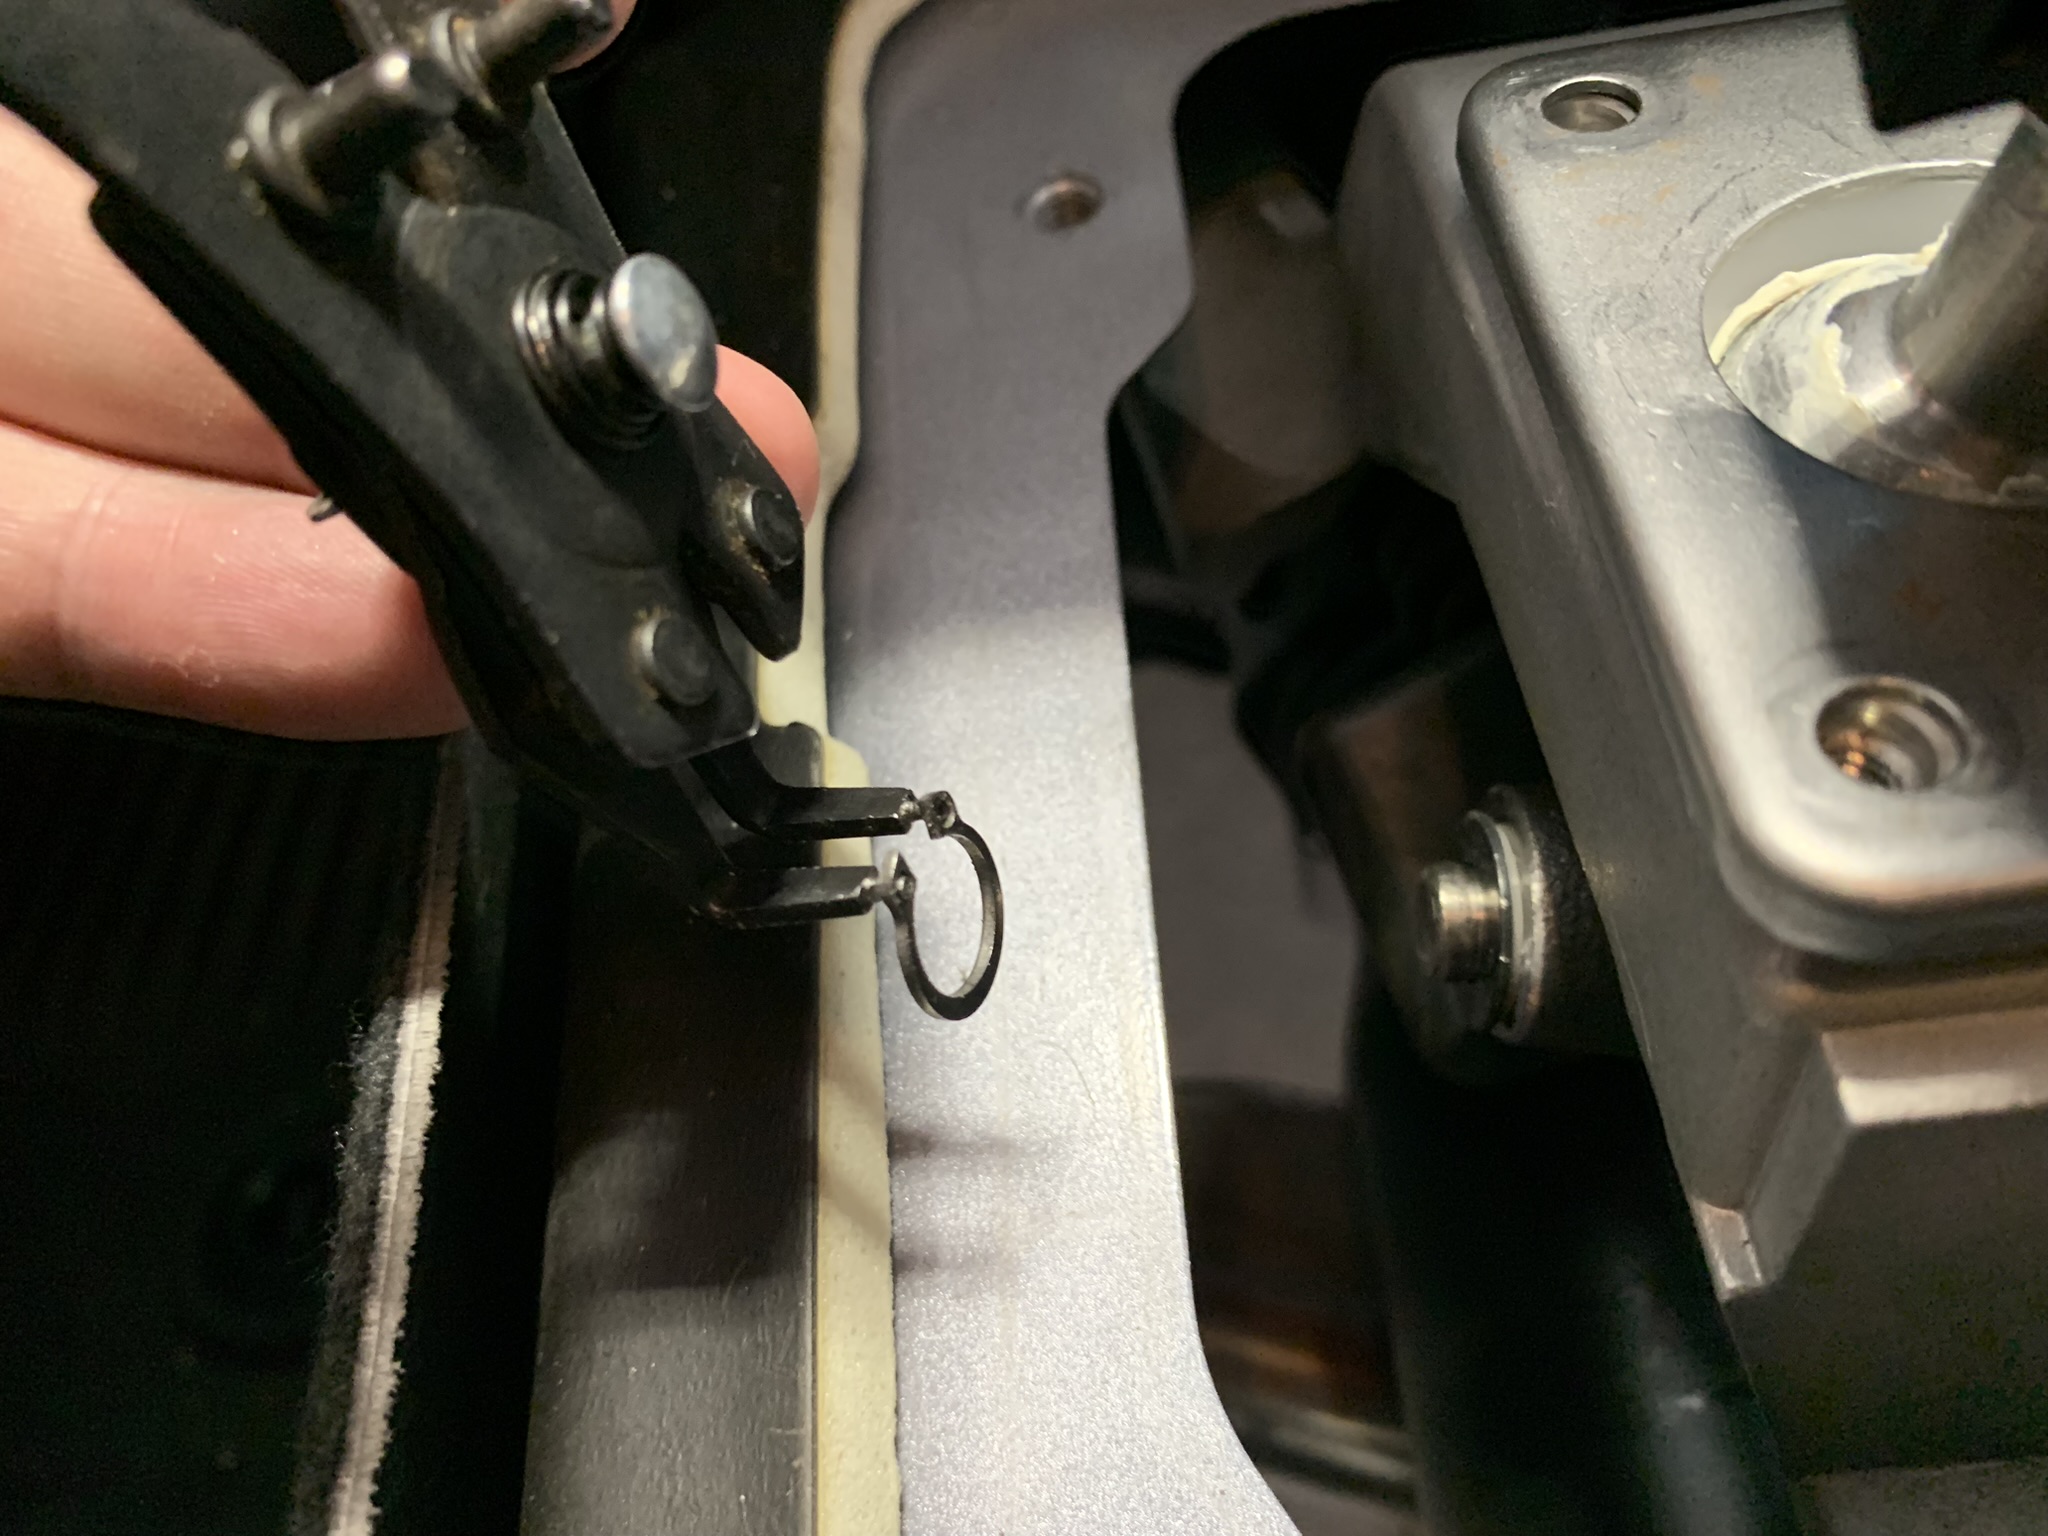
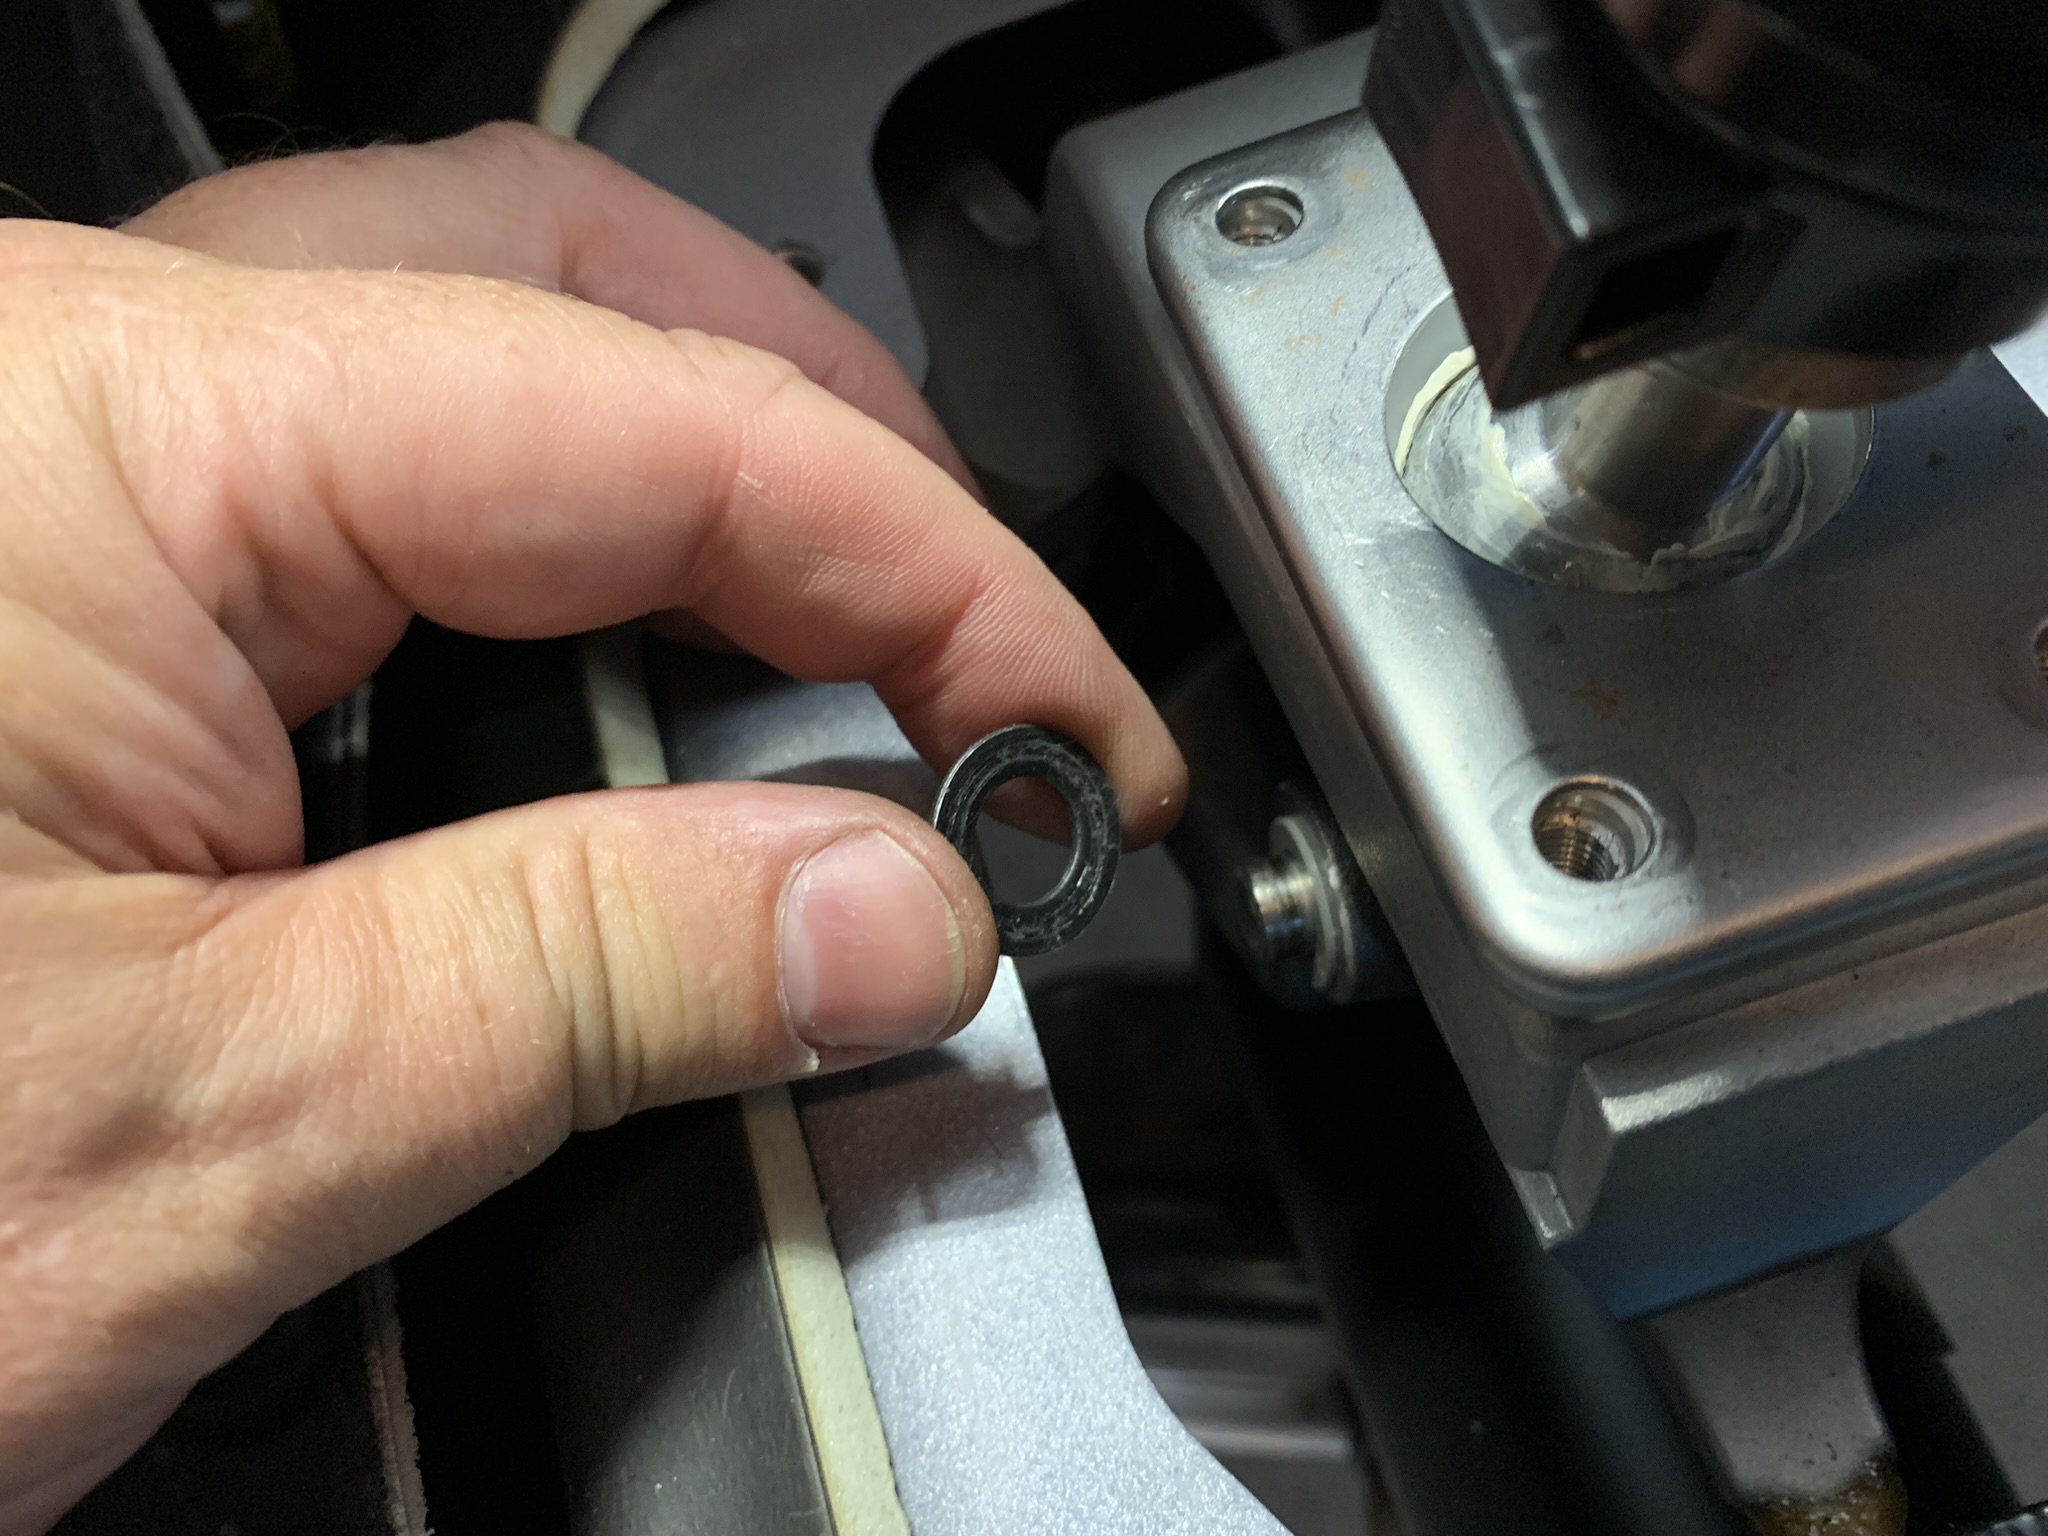
You will now see a snap ring that connects these two components together. Utilize some snap ring pliers to remove it and the washer just behind it. Save these parts for reinstallation.
Note: If you happen to drop anything down into the tunnel opening, fret not as it is now on the ground under the car. To alleviate this situation, place a sheet of cardboard underneath so if anything falls you can just pull the sheet out and retrieve your dropped item.
-
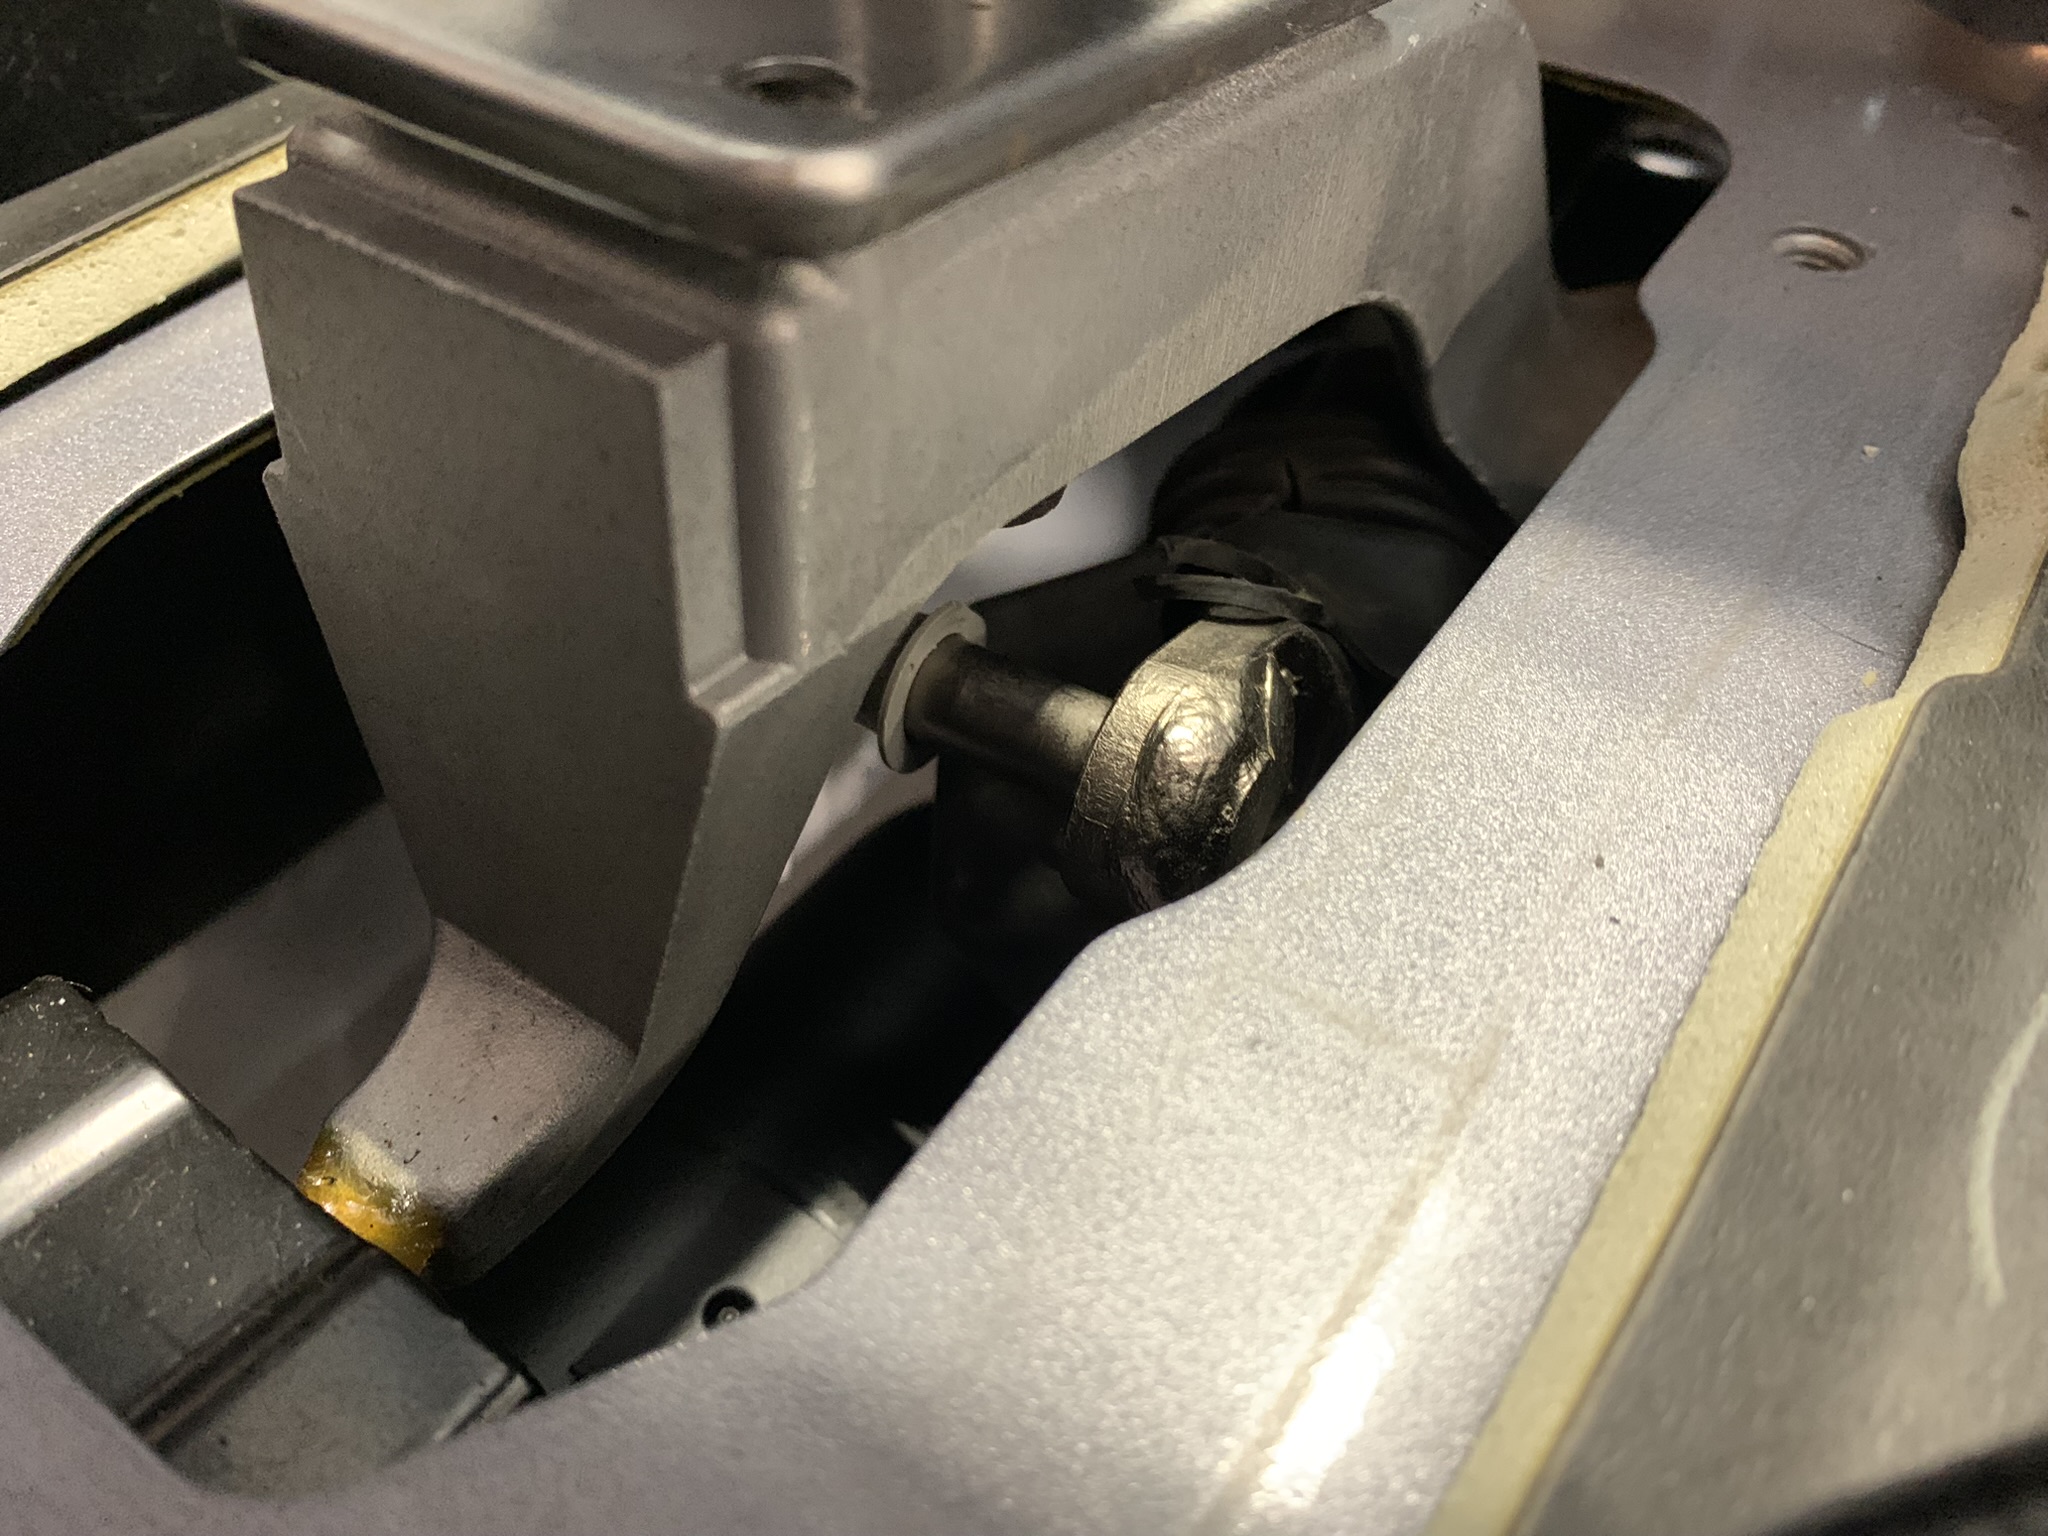
Push the linkage pin connection out of the lower pivot of the shift lever, but be mindful of the two (2) top hat shaped plastic bushings as you will be reusing these. They may or may not stay located in the lower pivot of the shift lever.
-
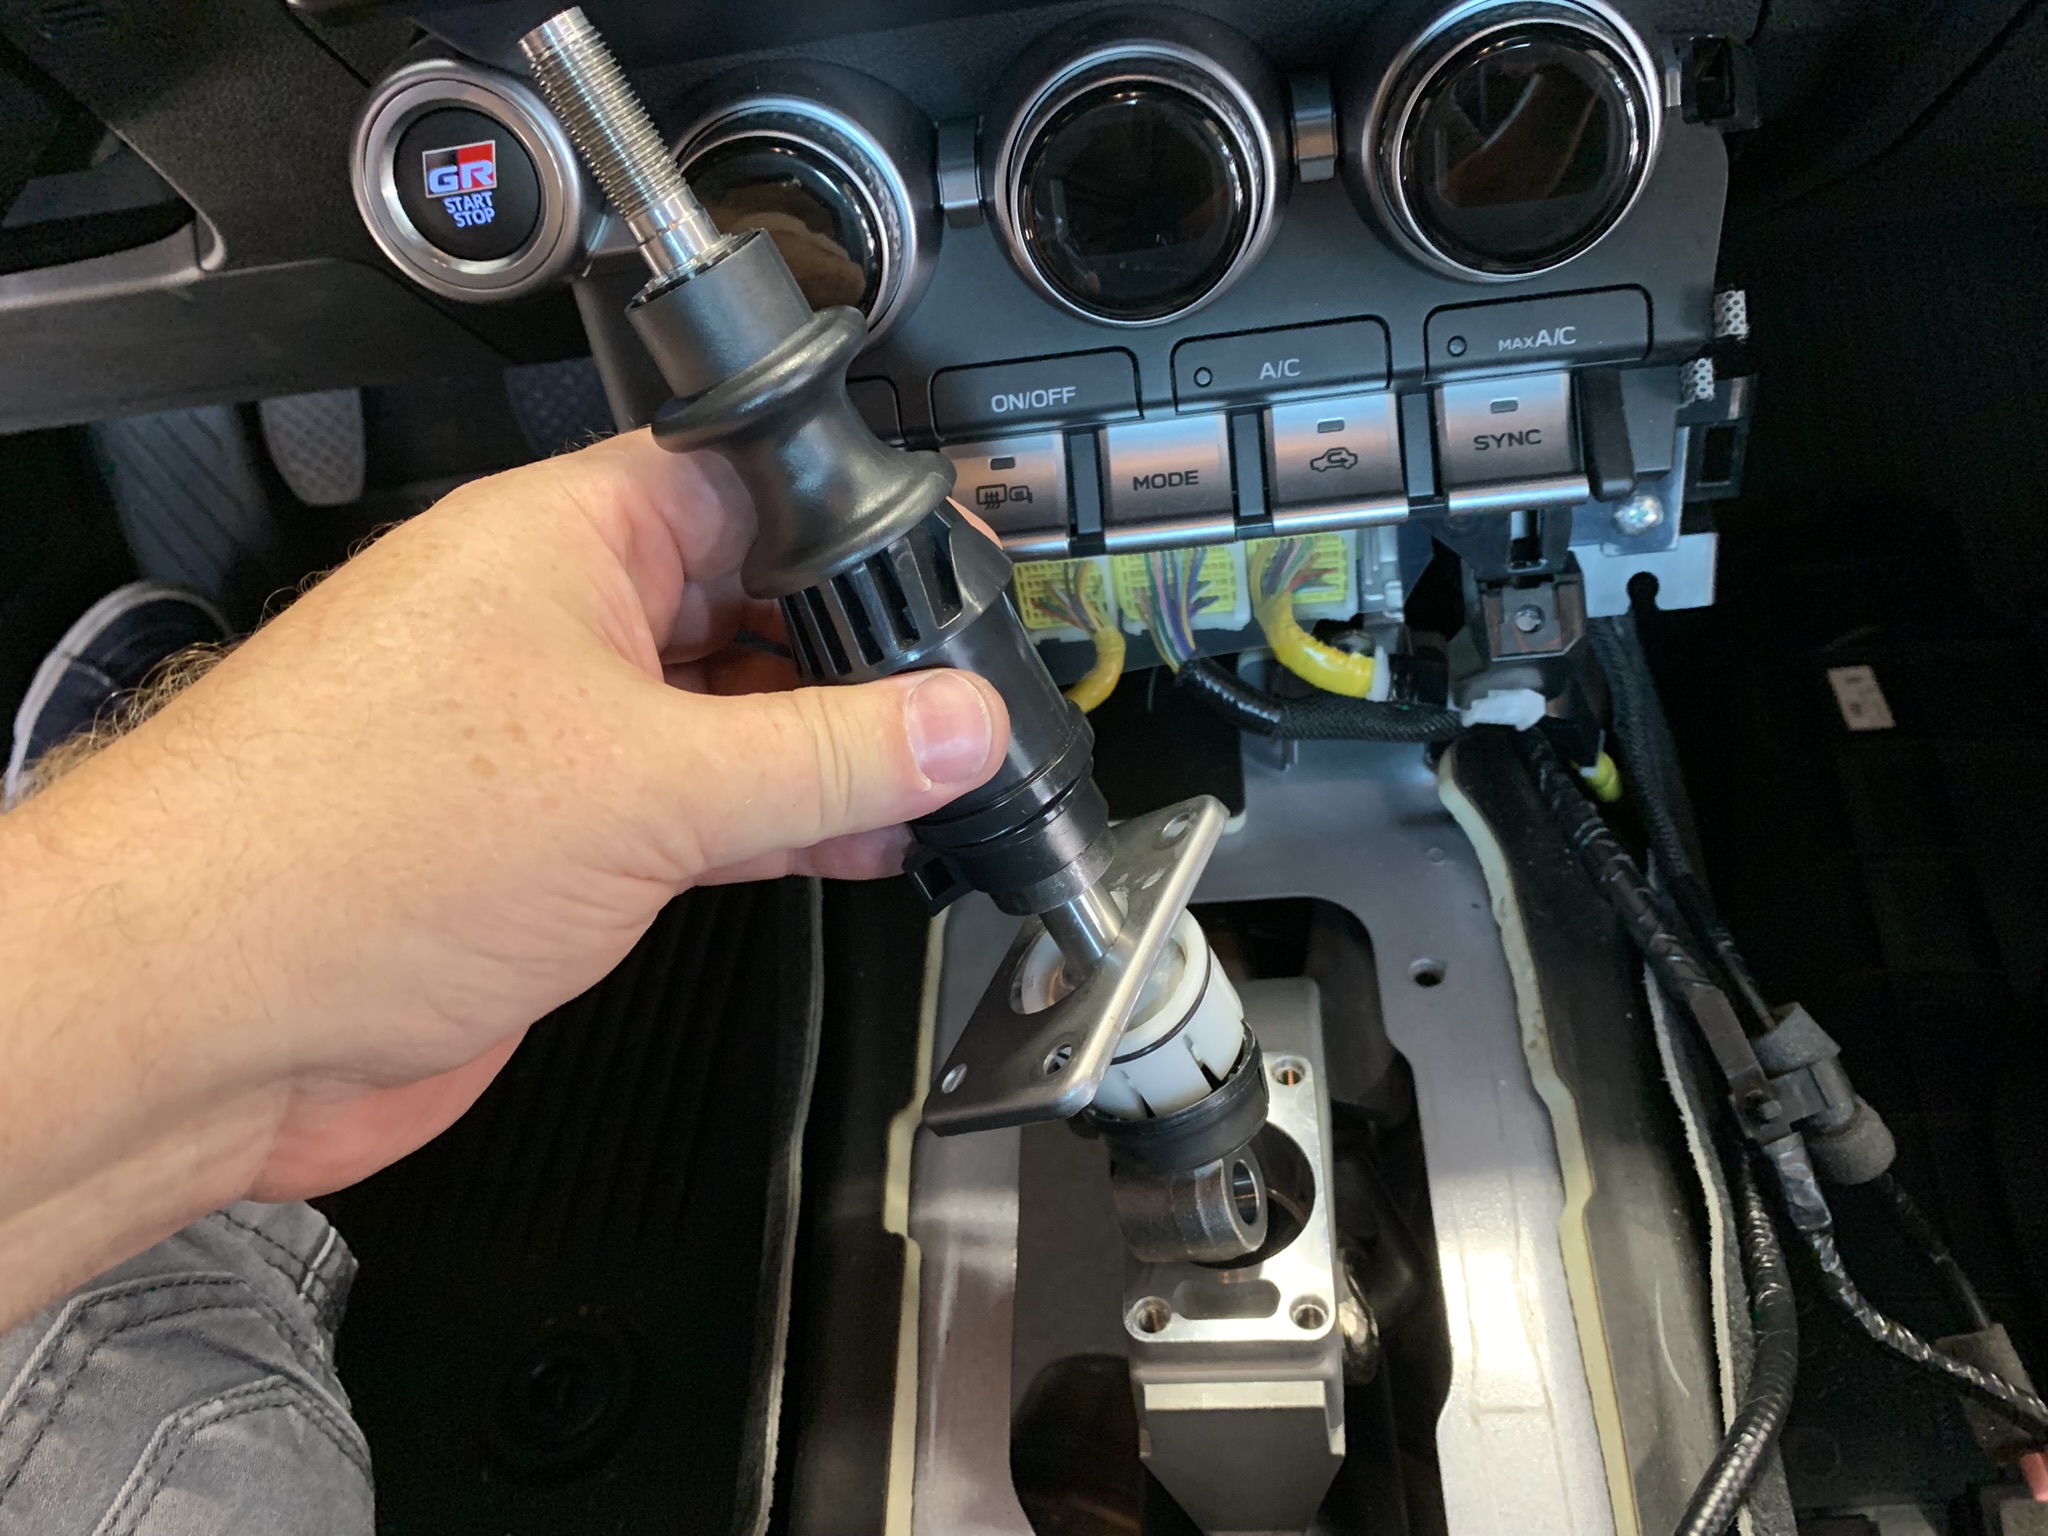
The factory shift lever assembly will now lift right out of it's mount.
-
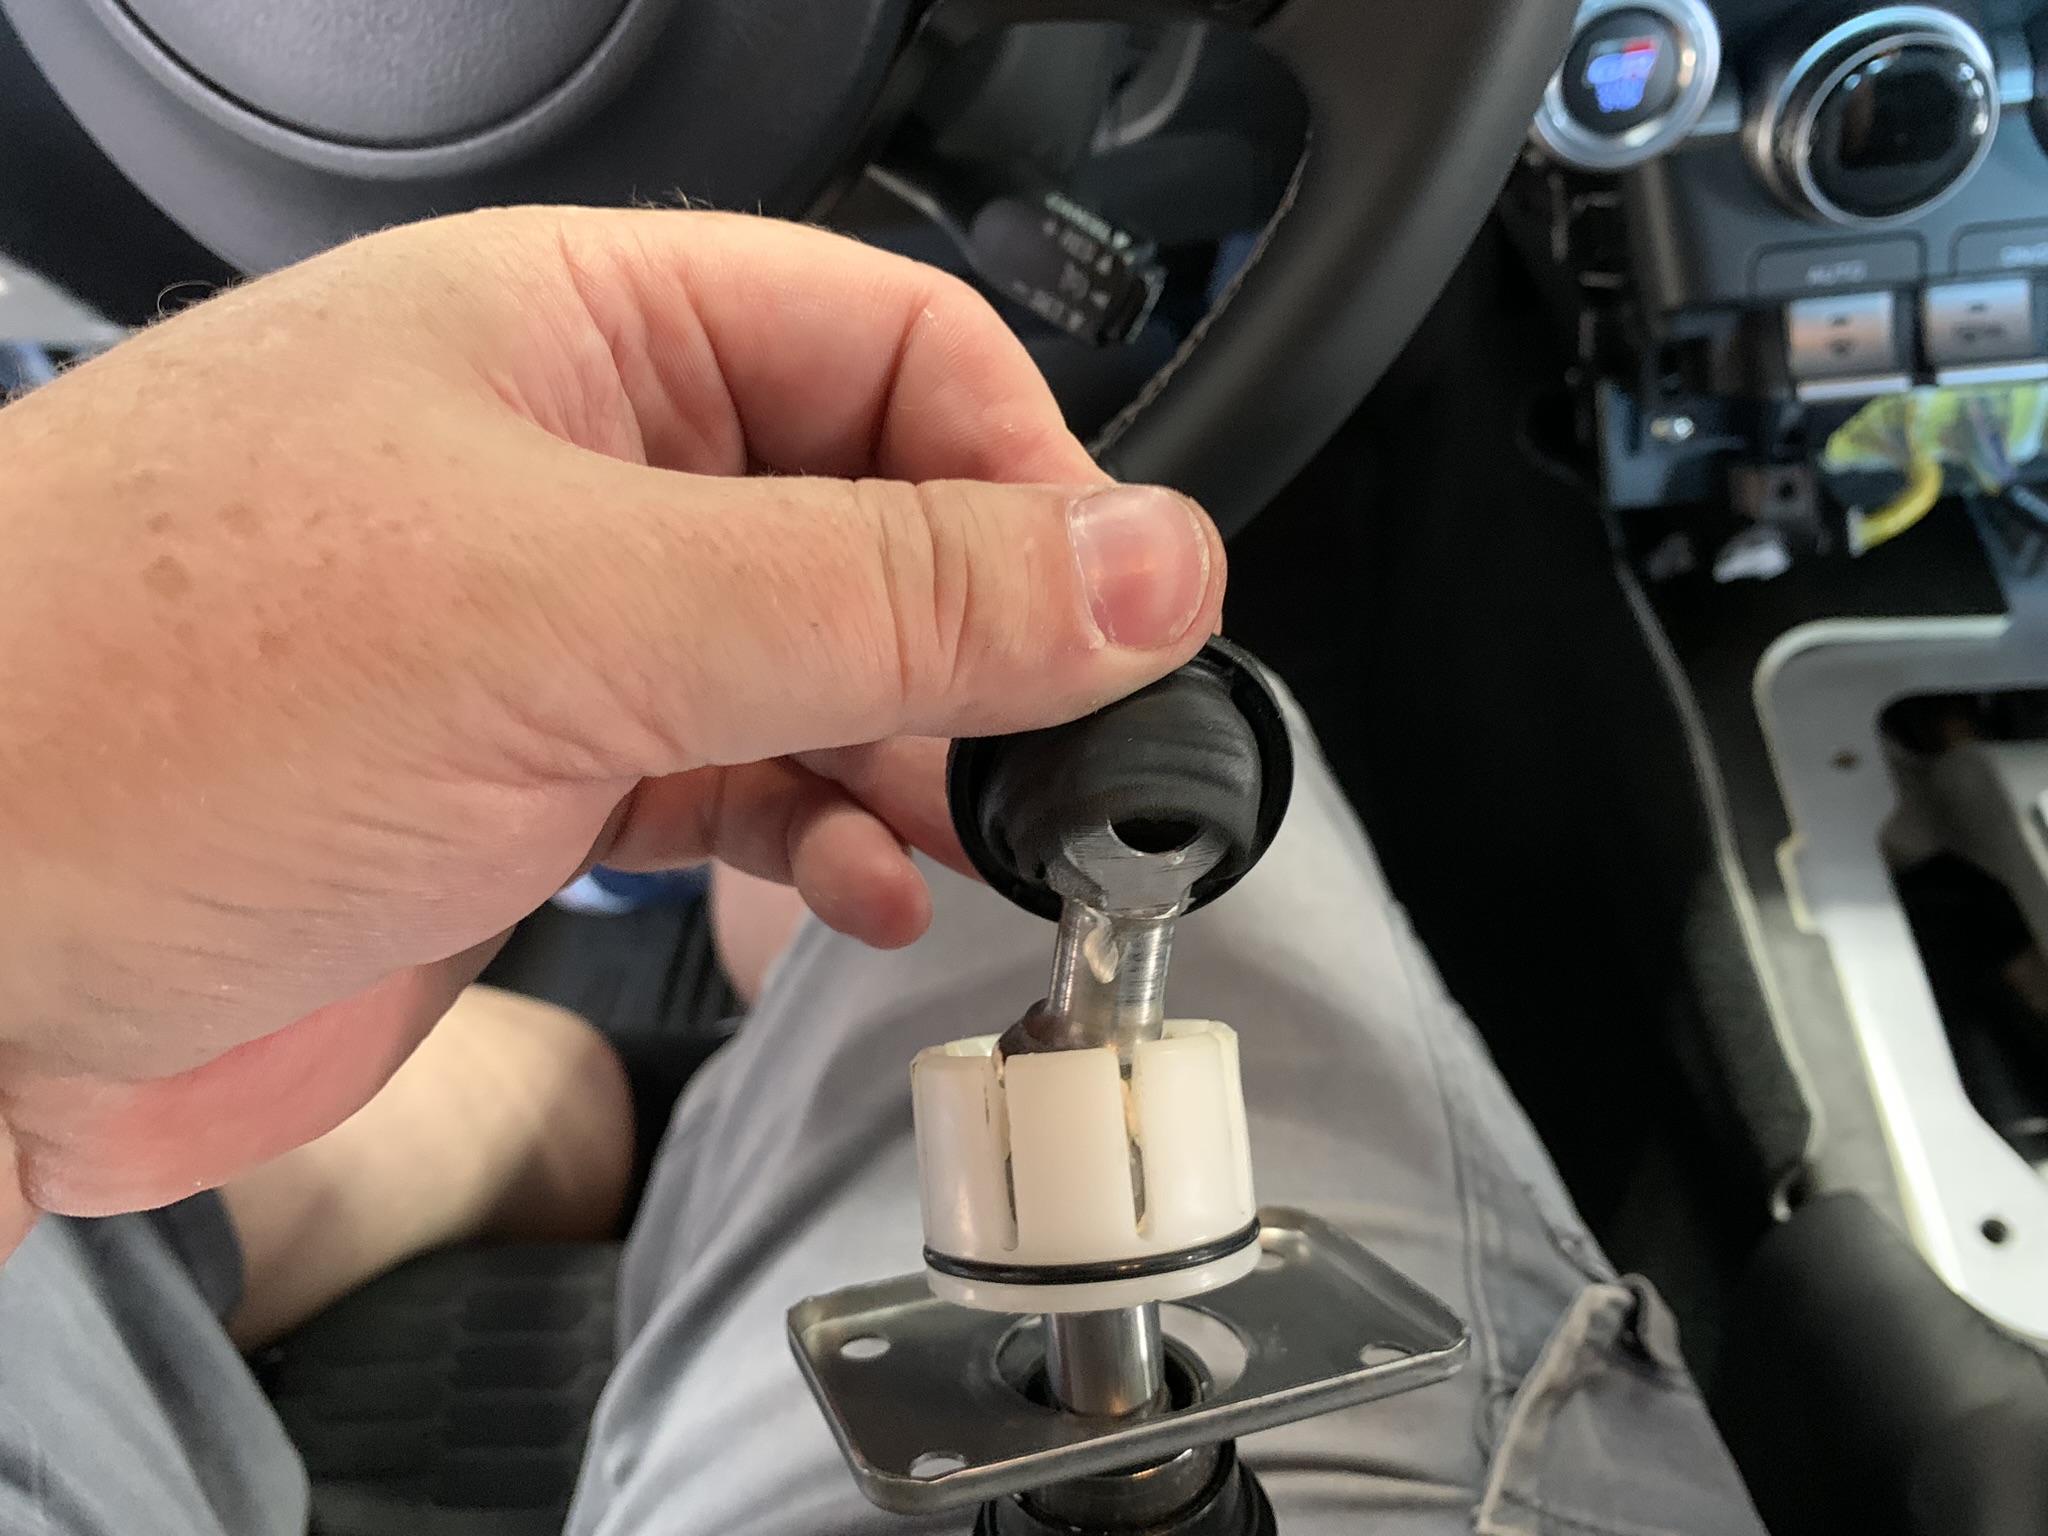
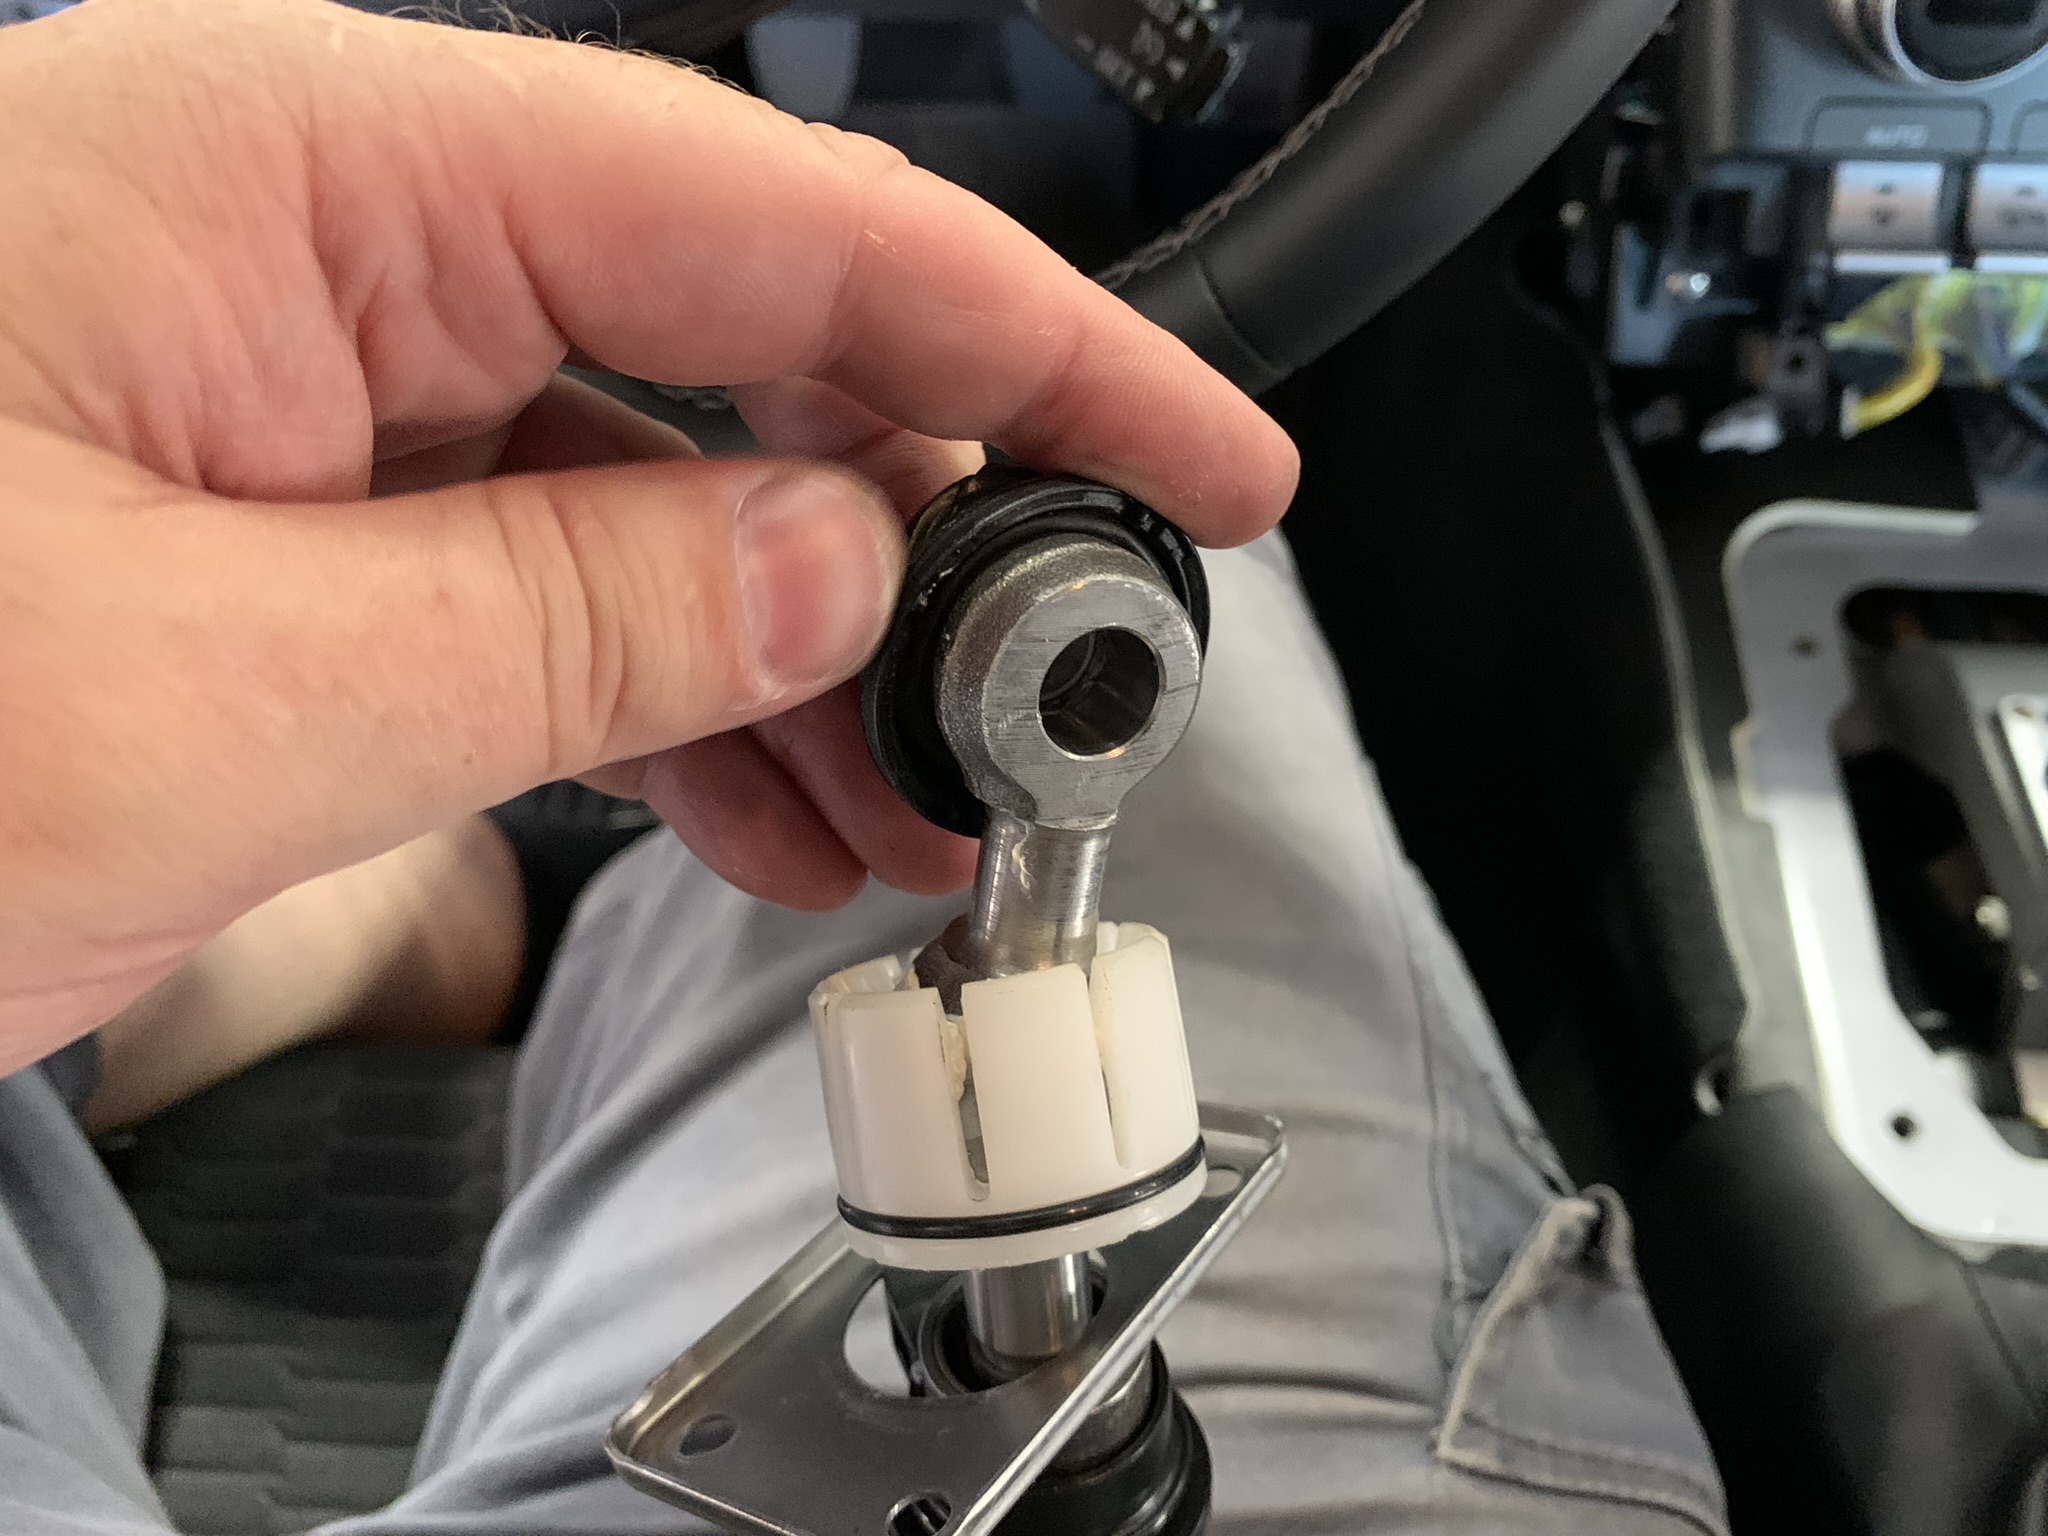
Remove the main pivot rubber gasket from the factory shift lever assembly by gently peeling it up, over and off the lower pivot.
-
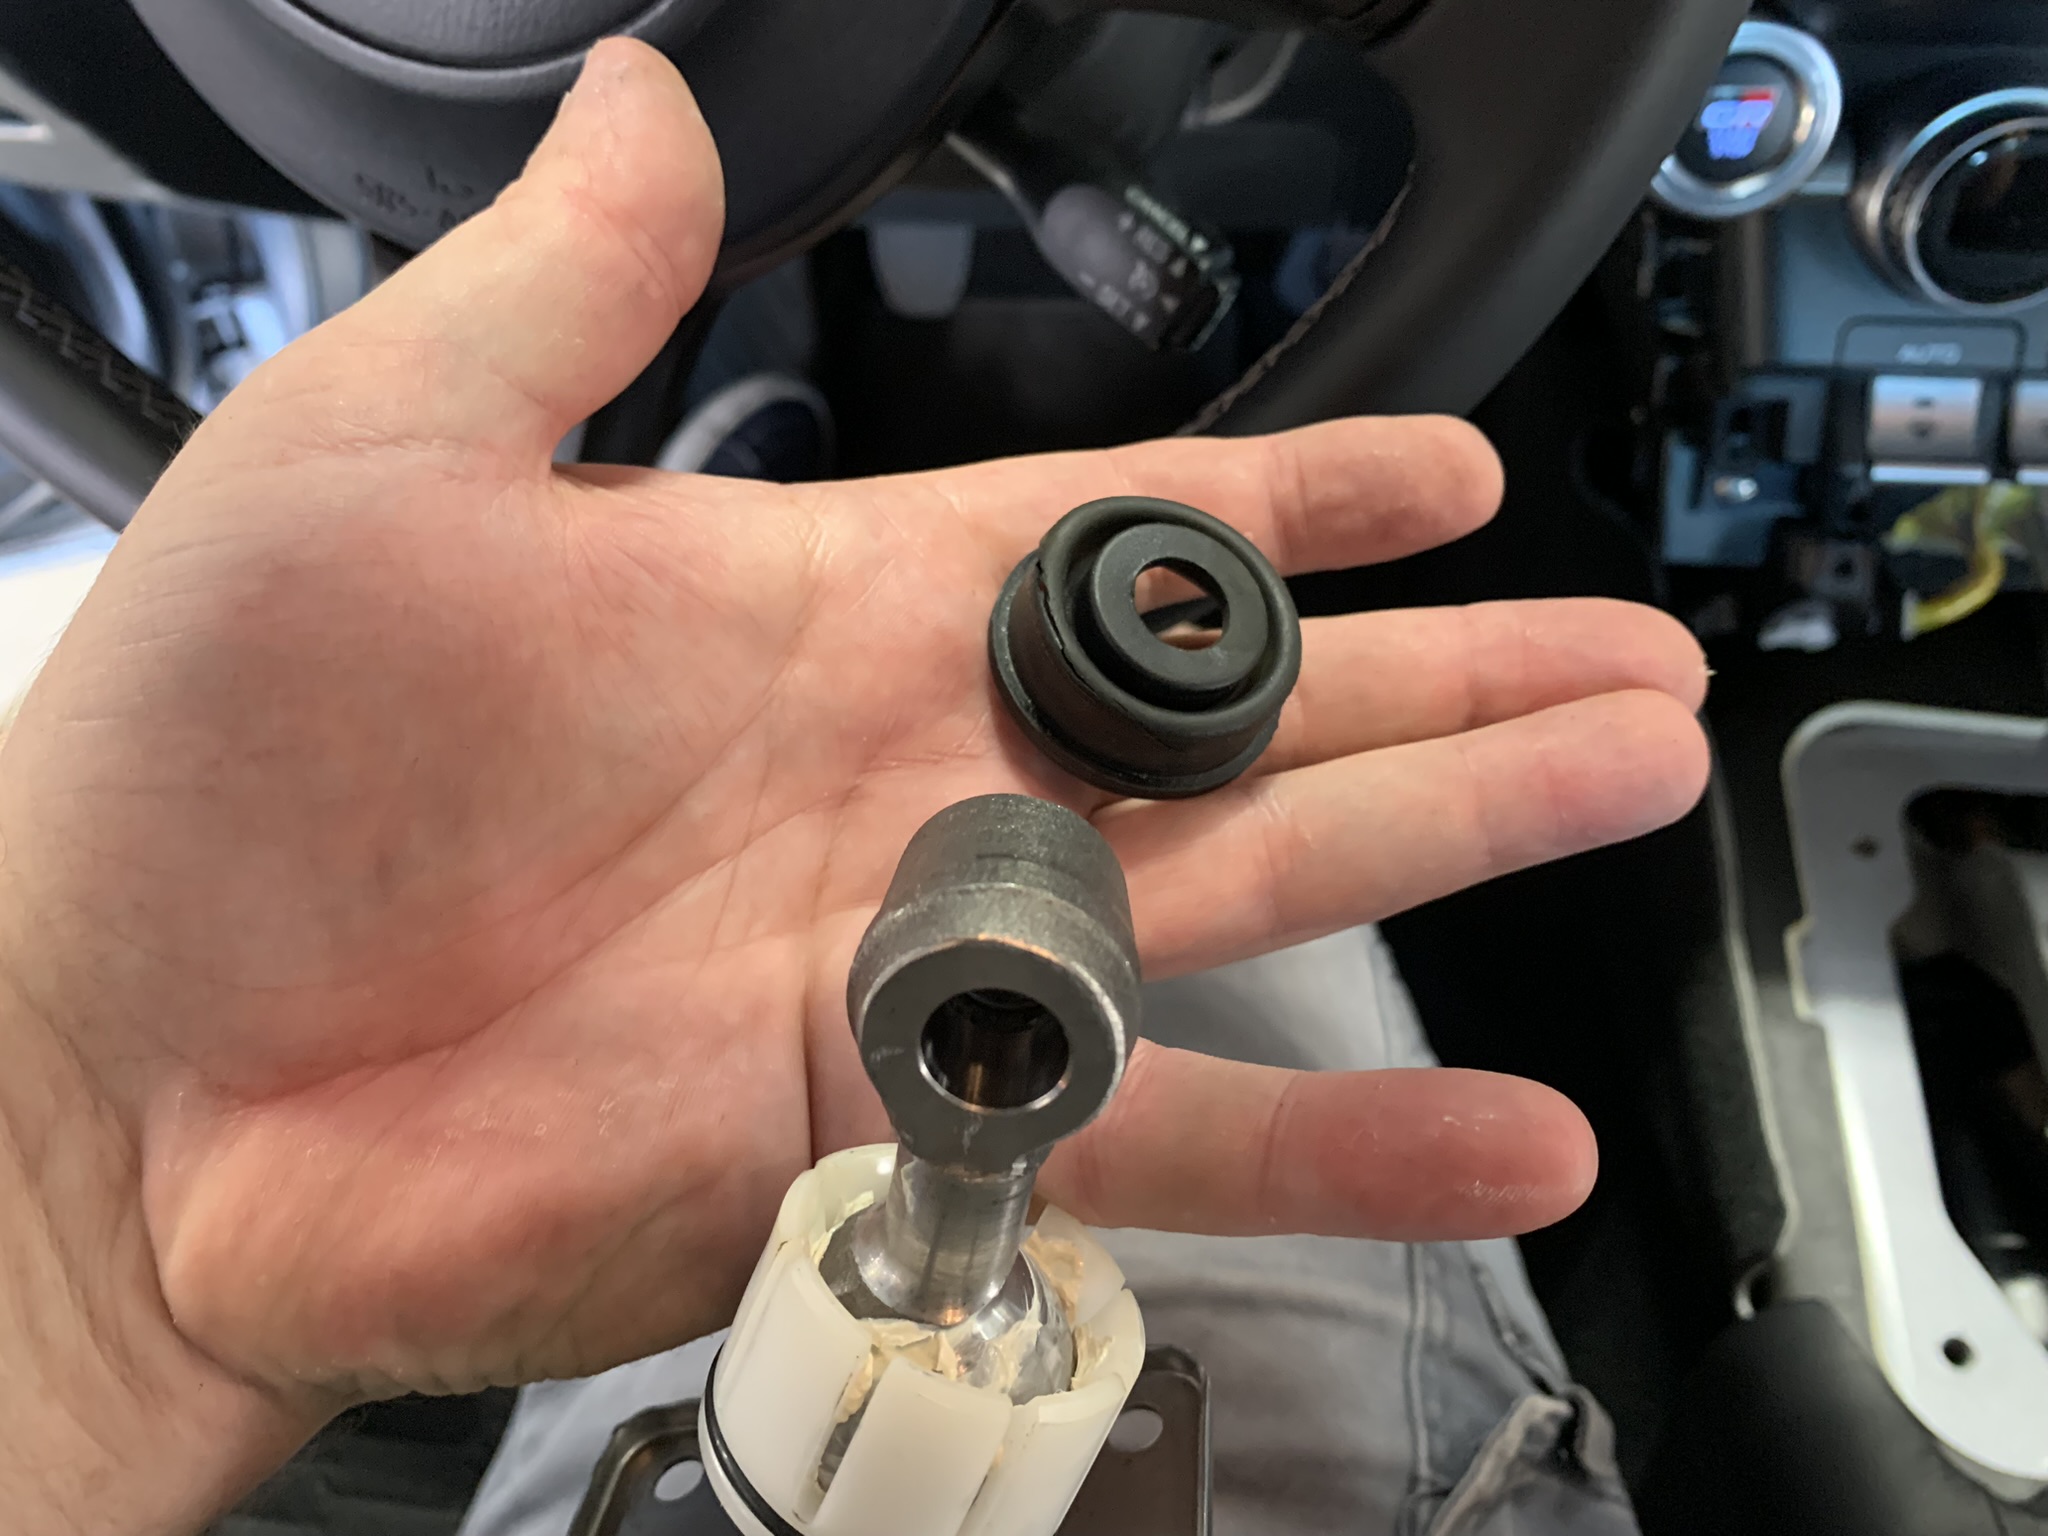
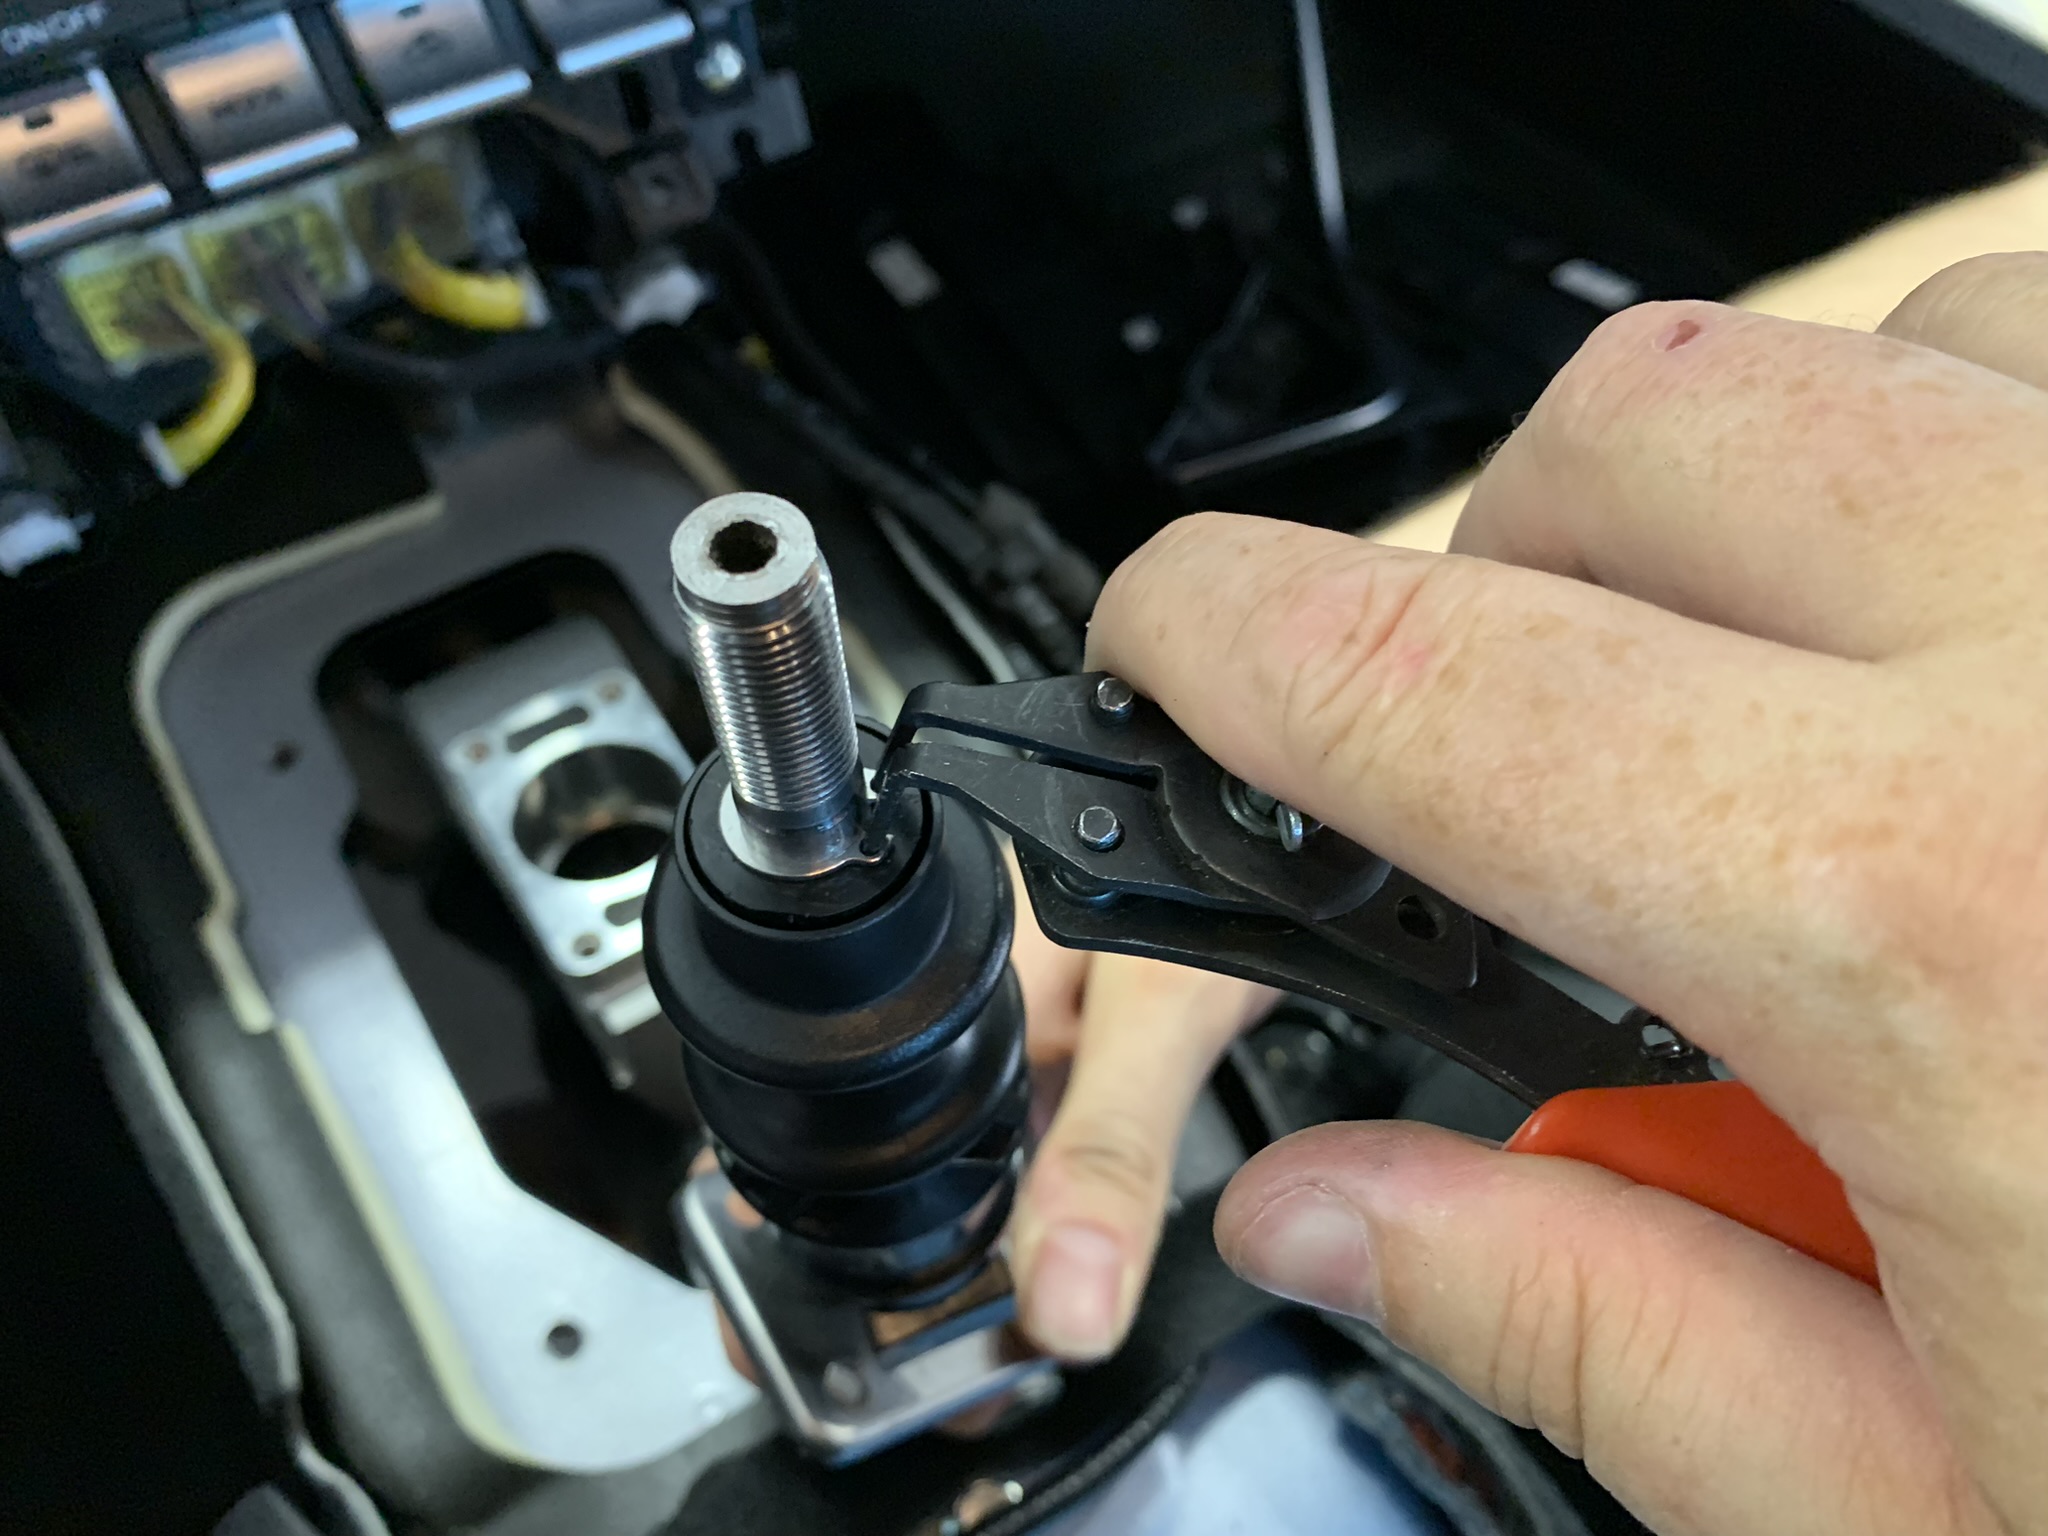
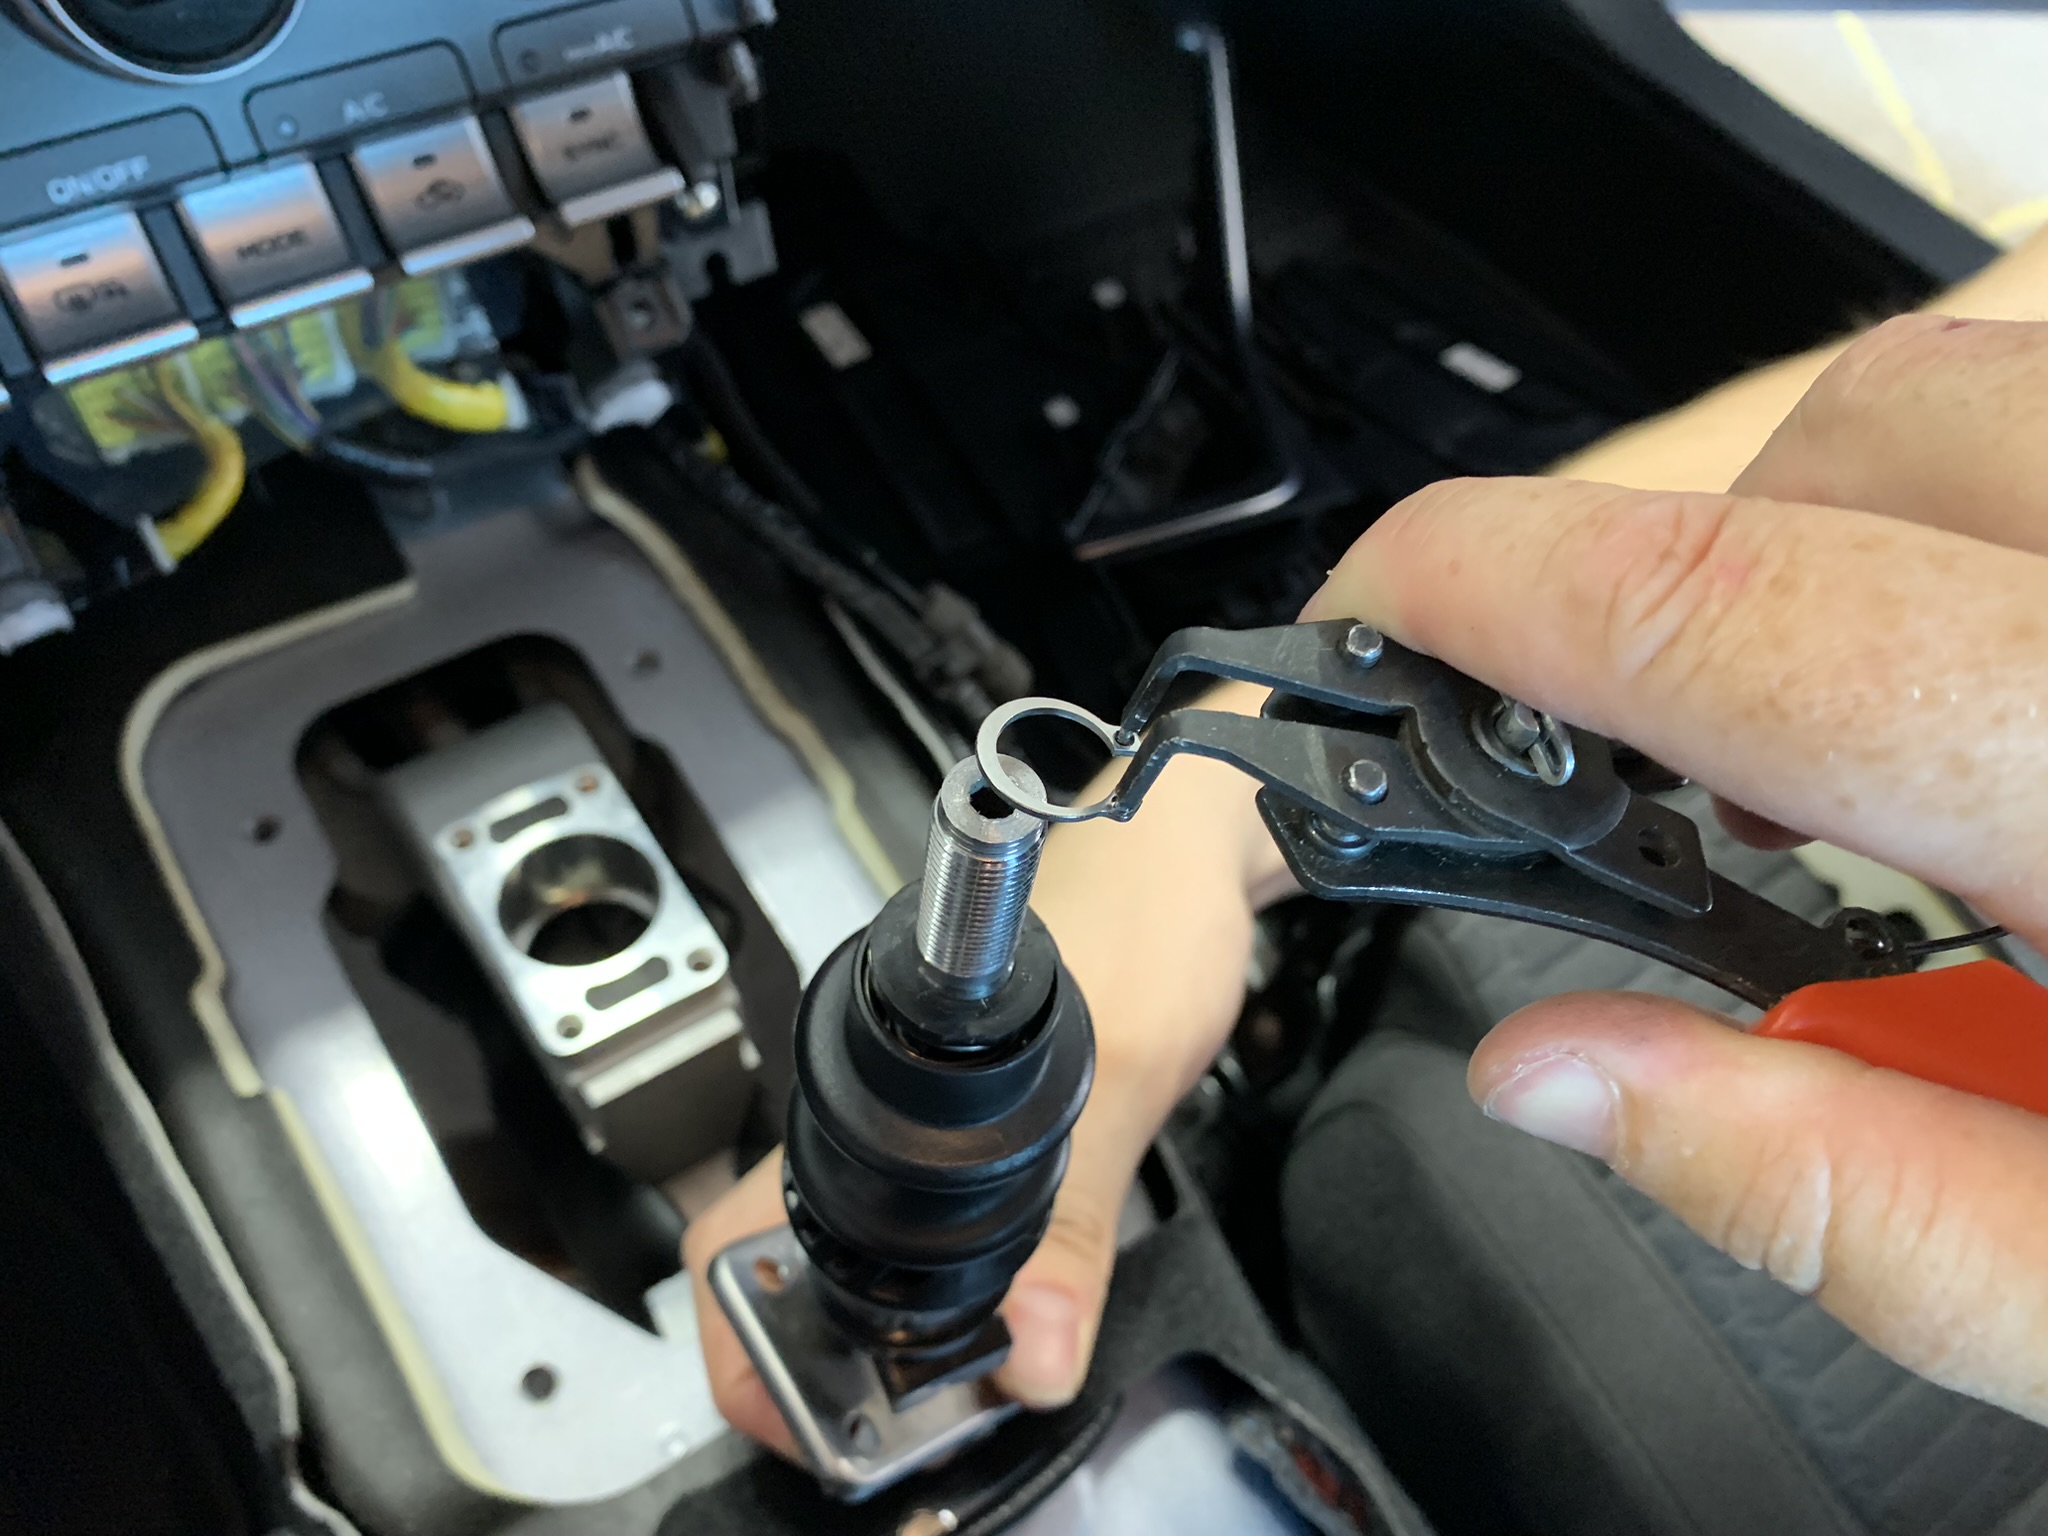
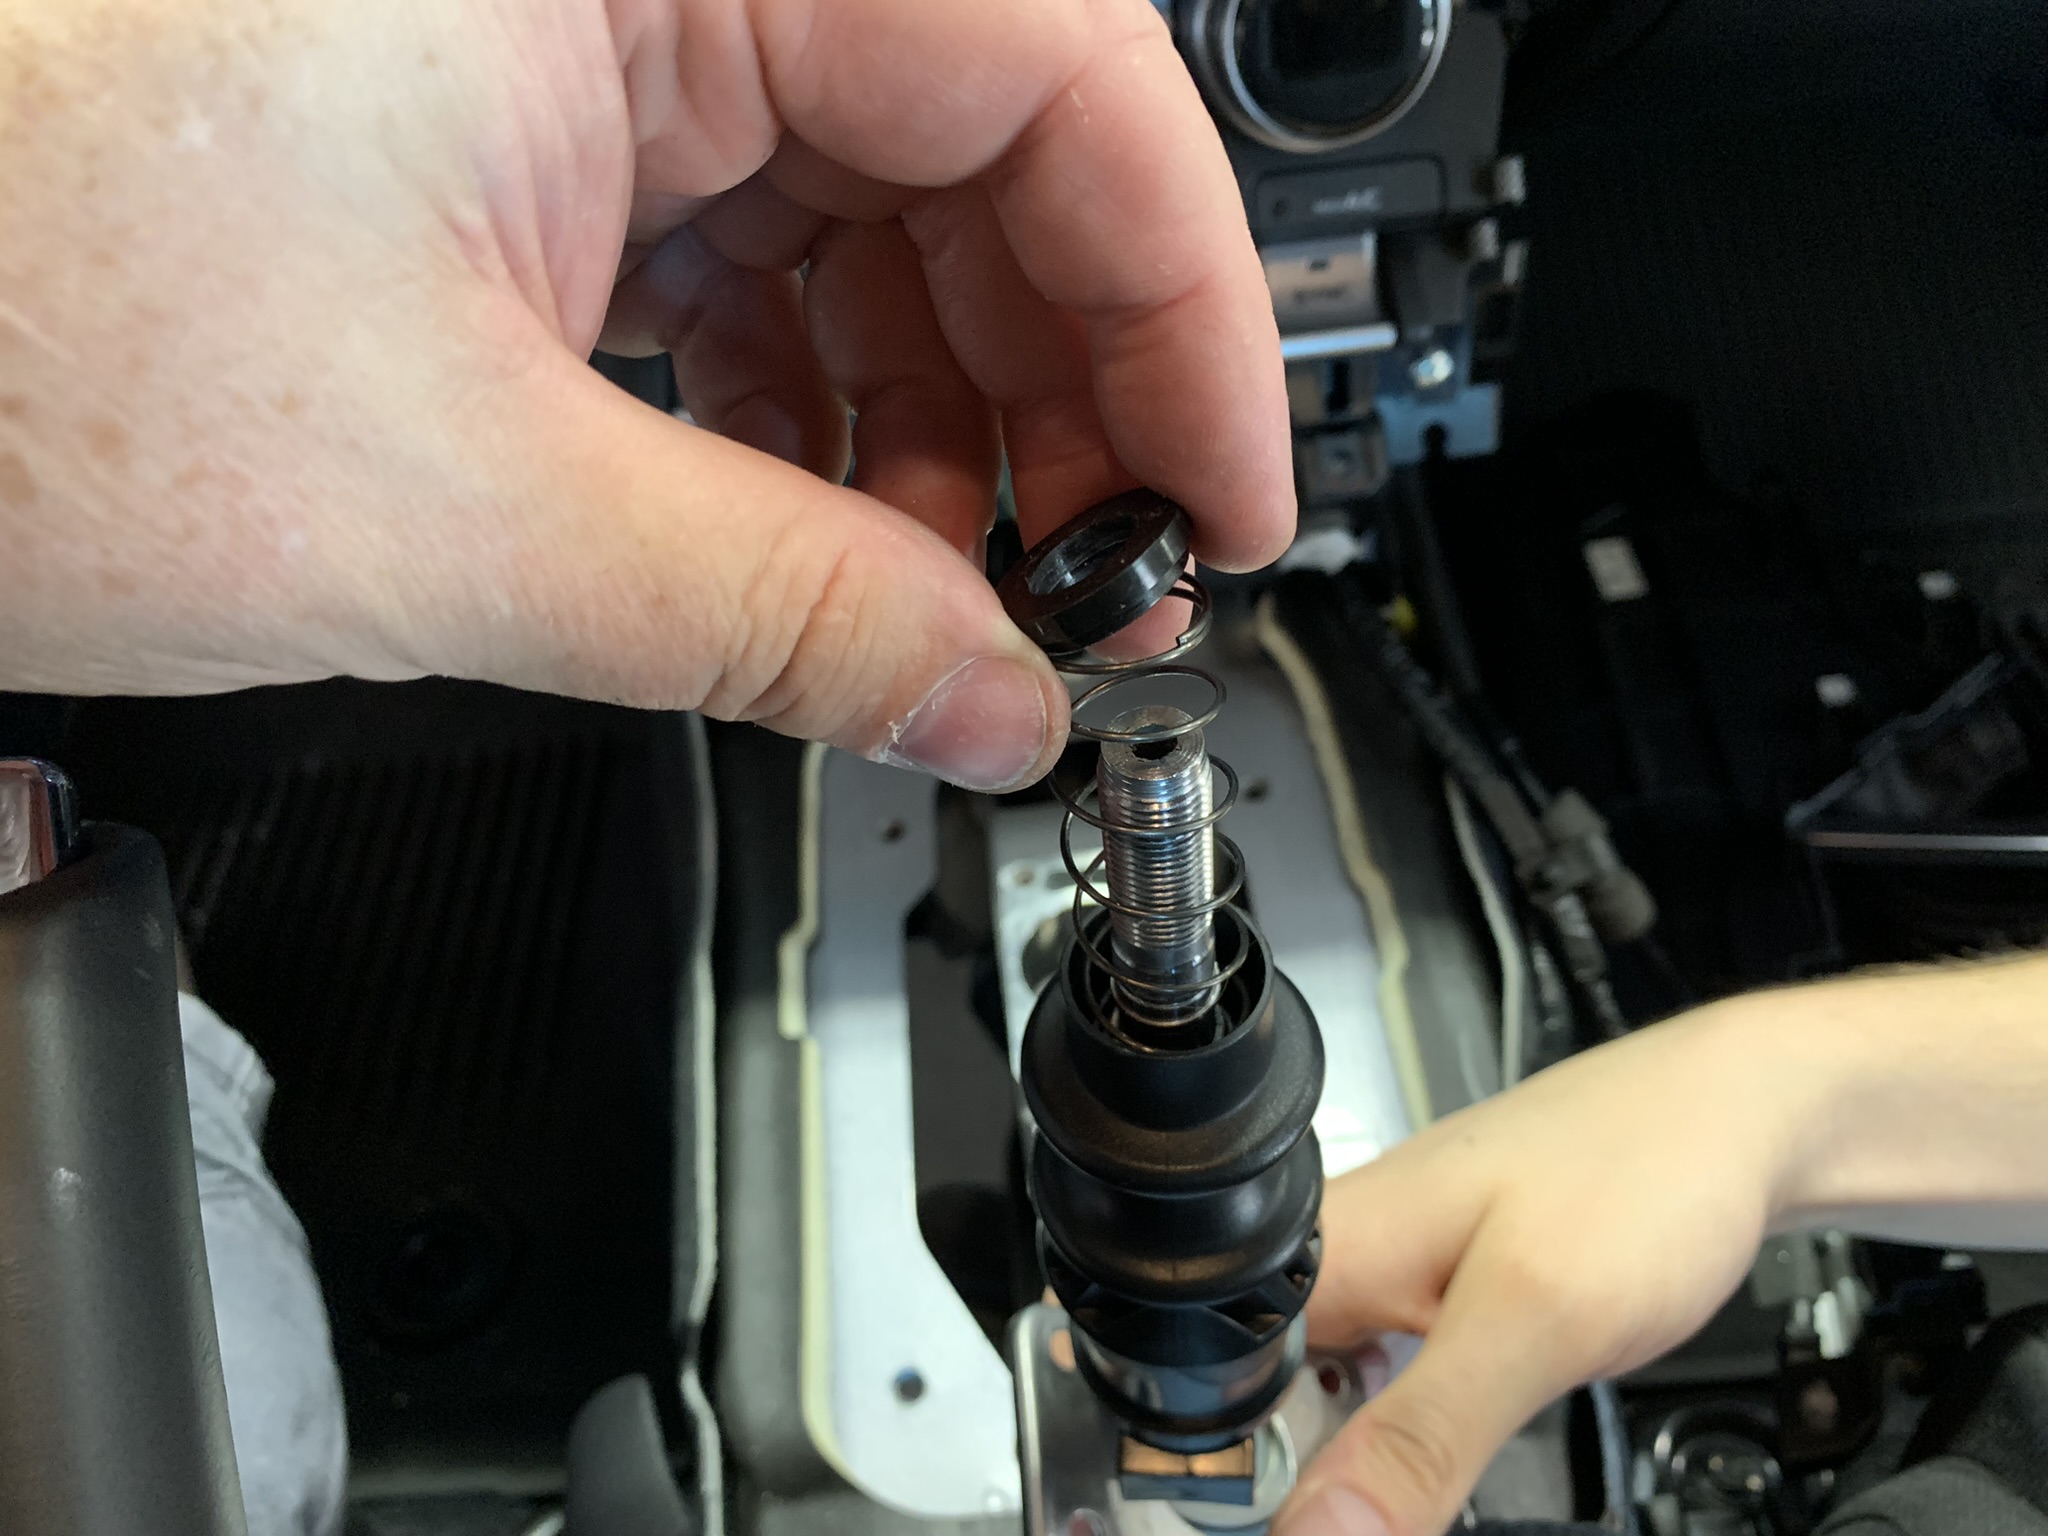
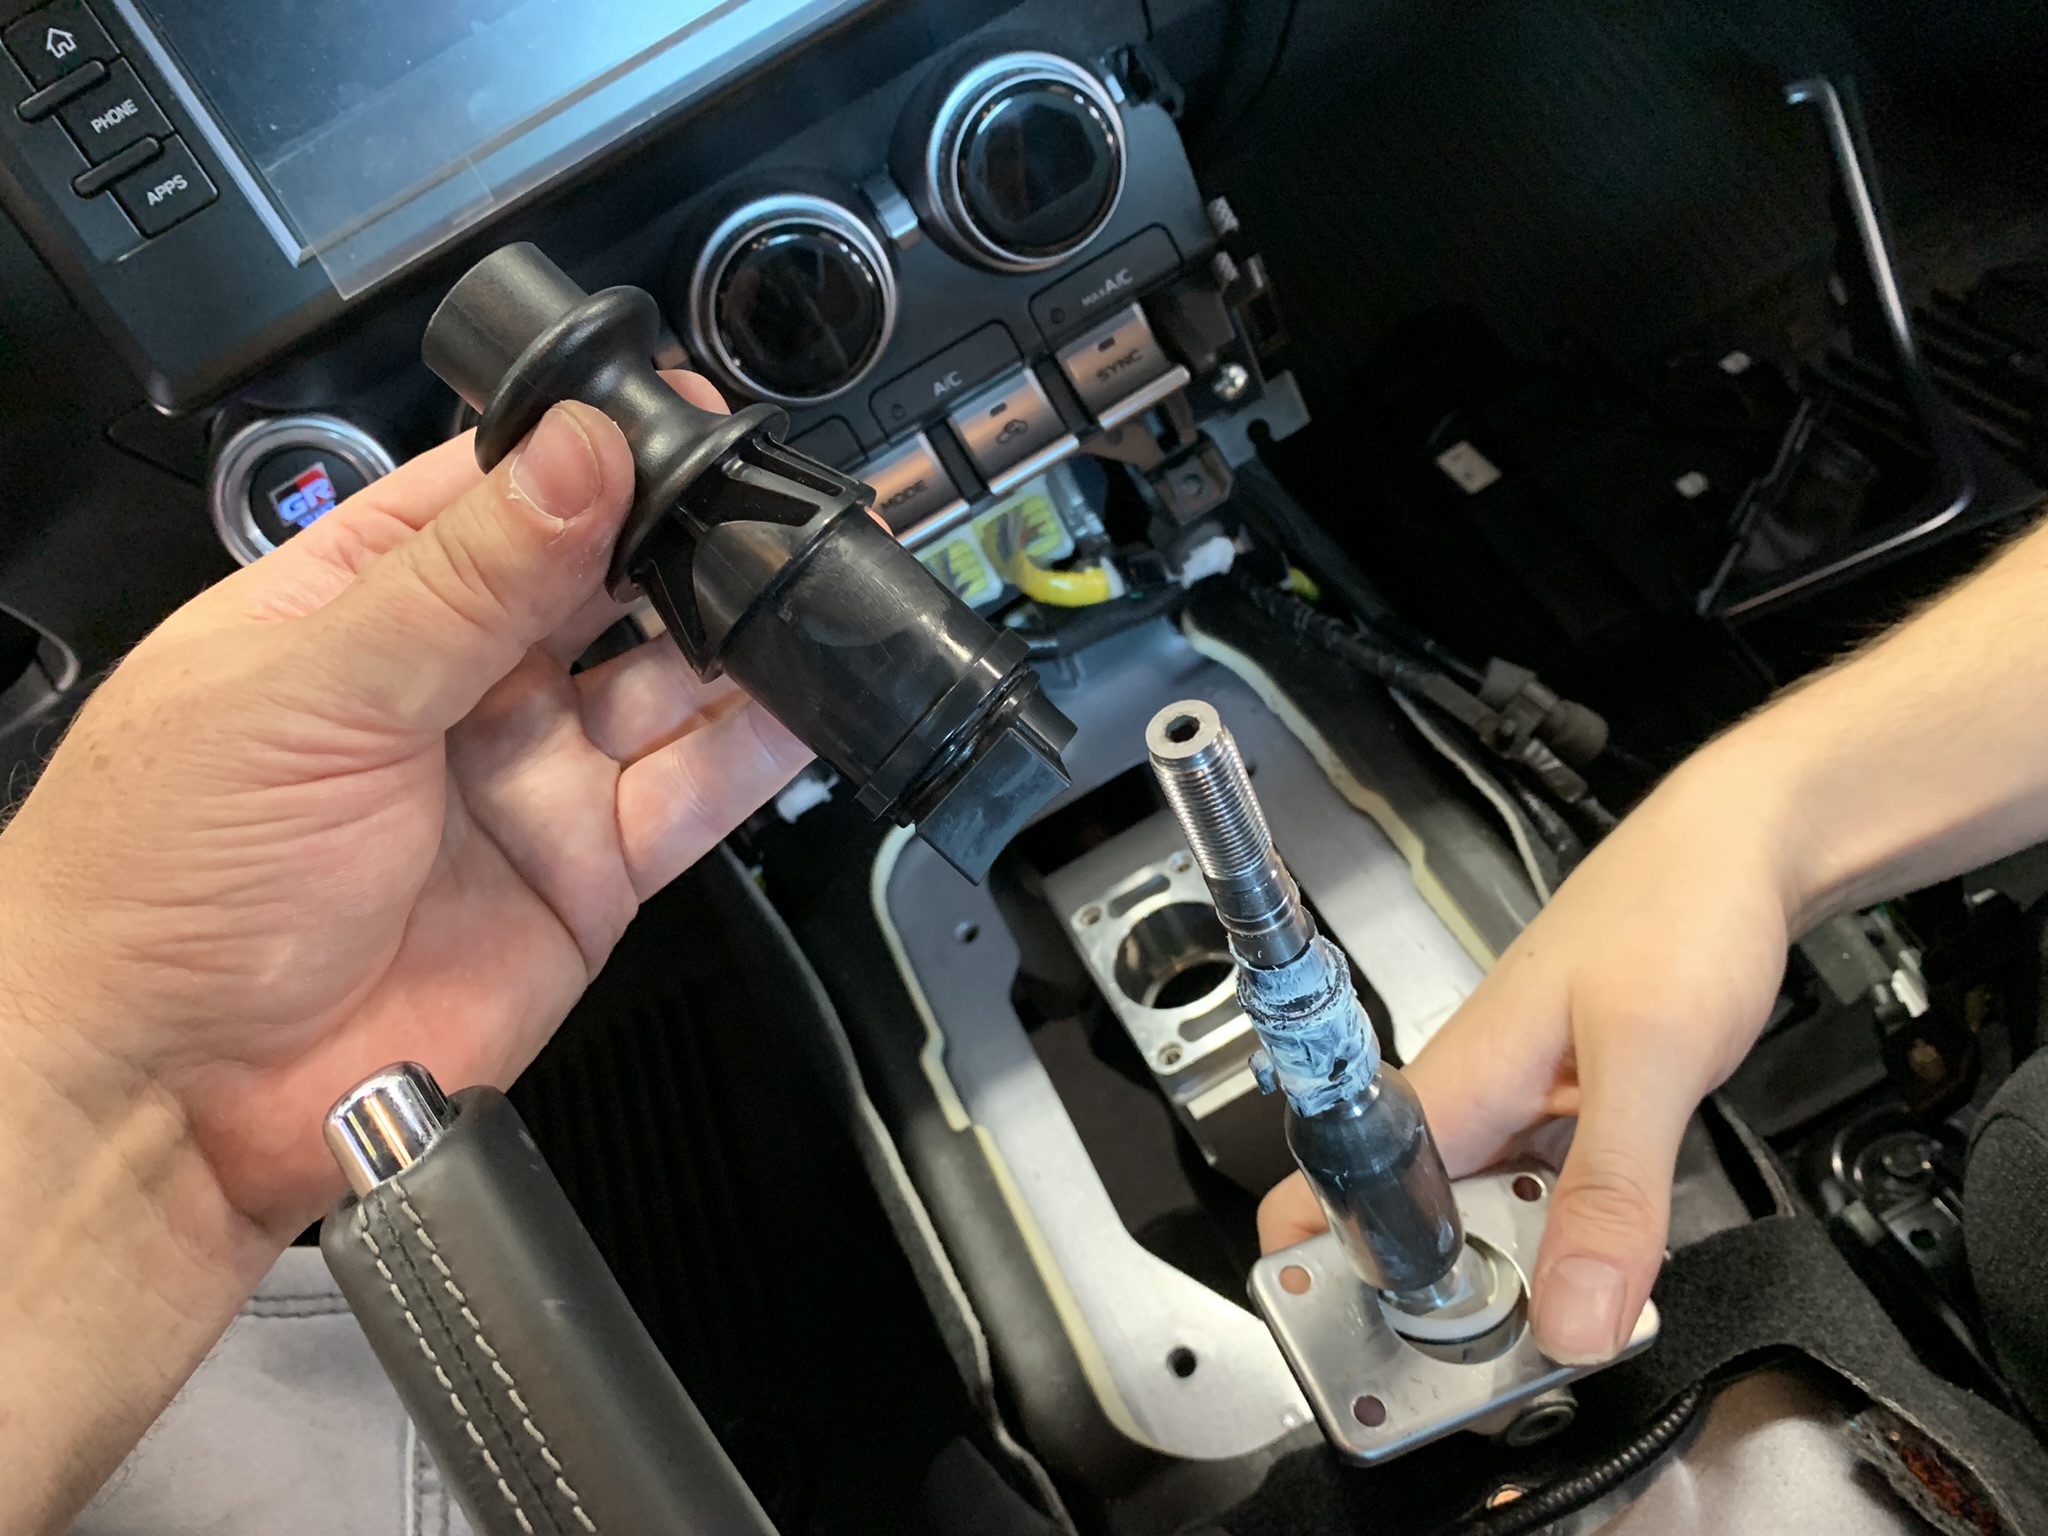
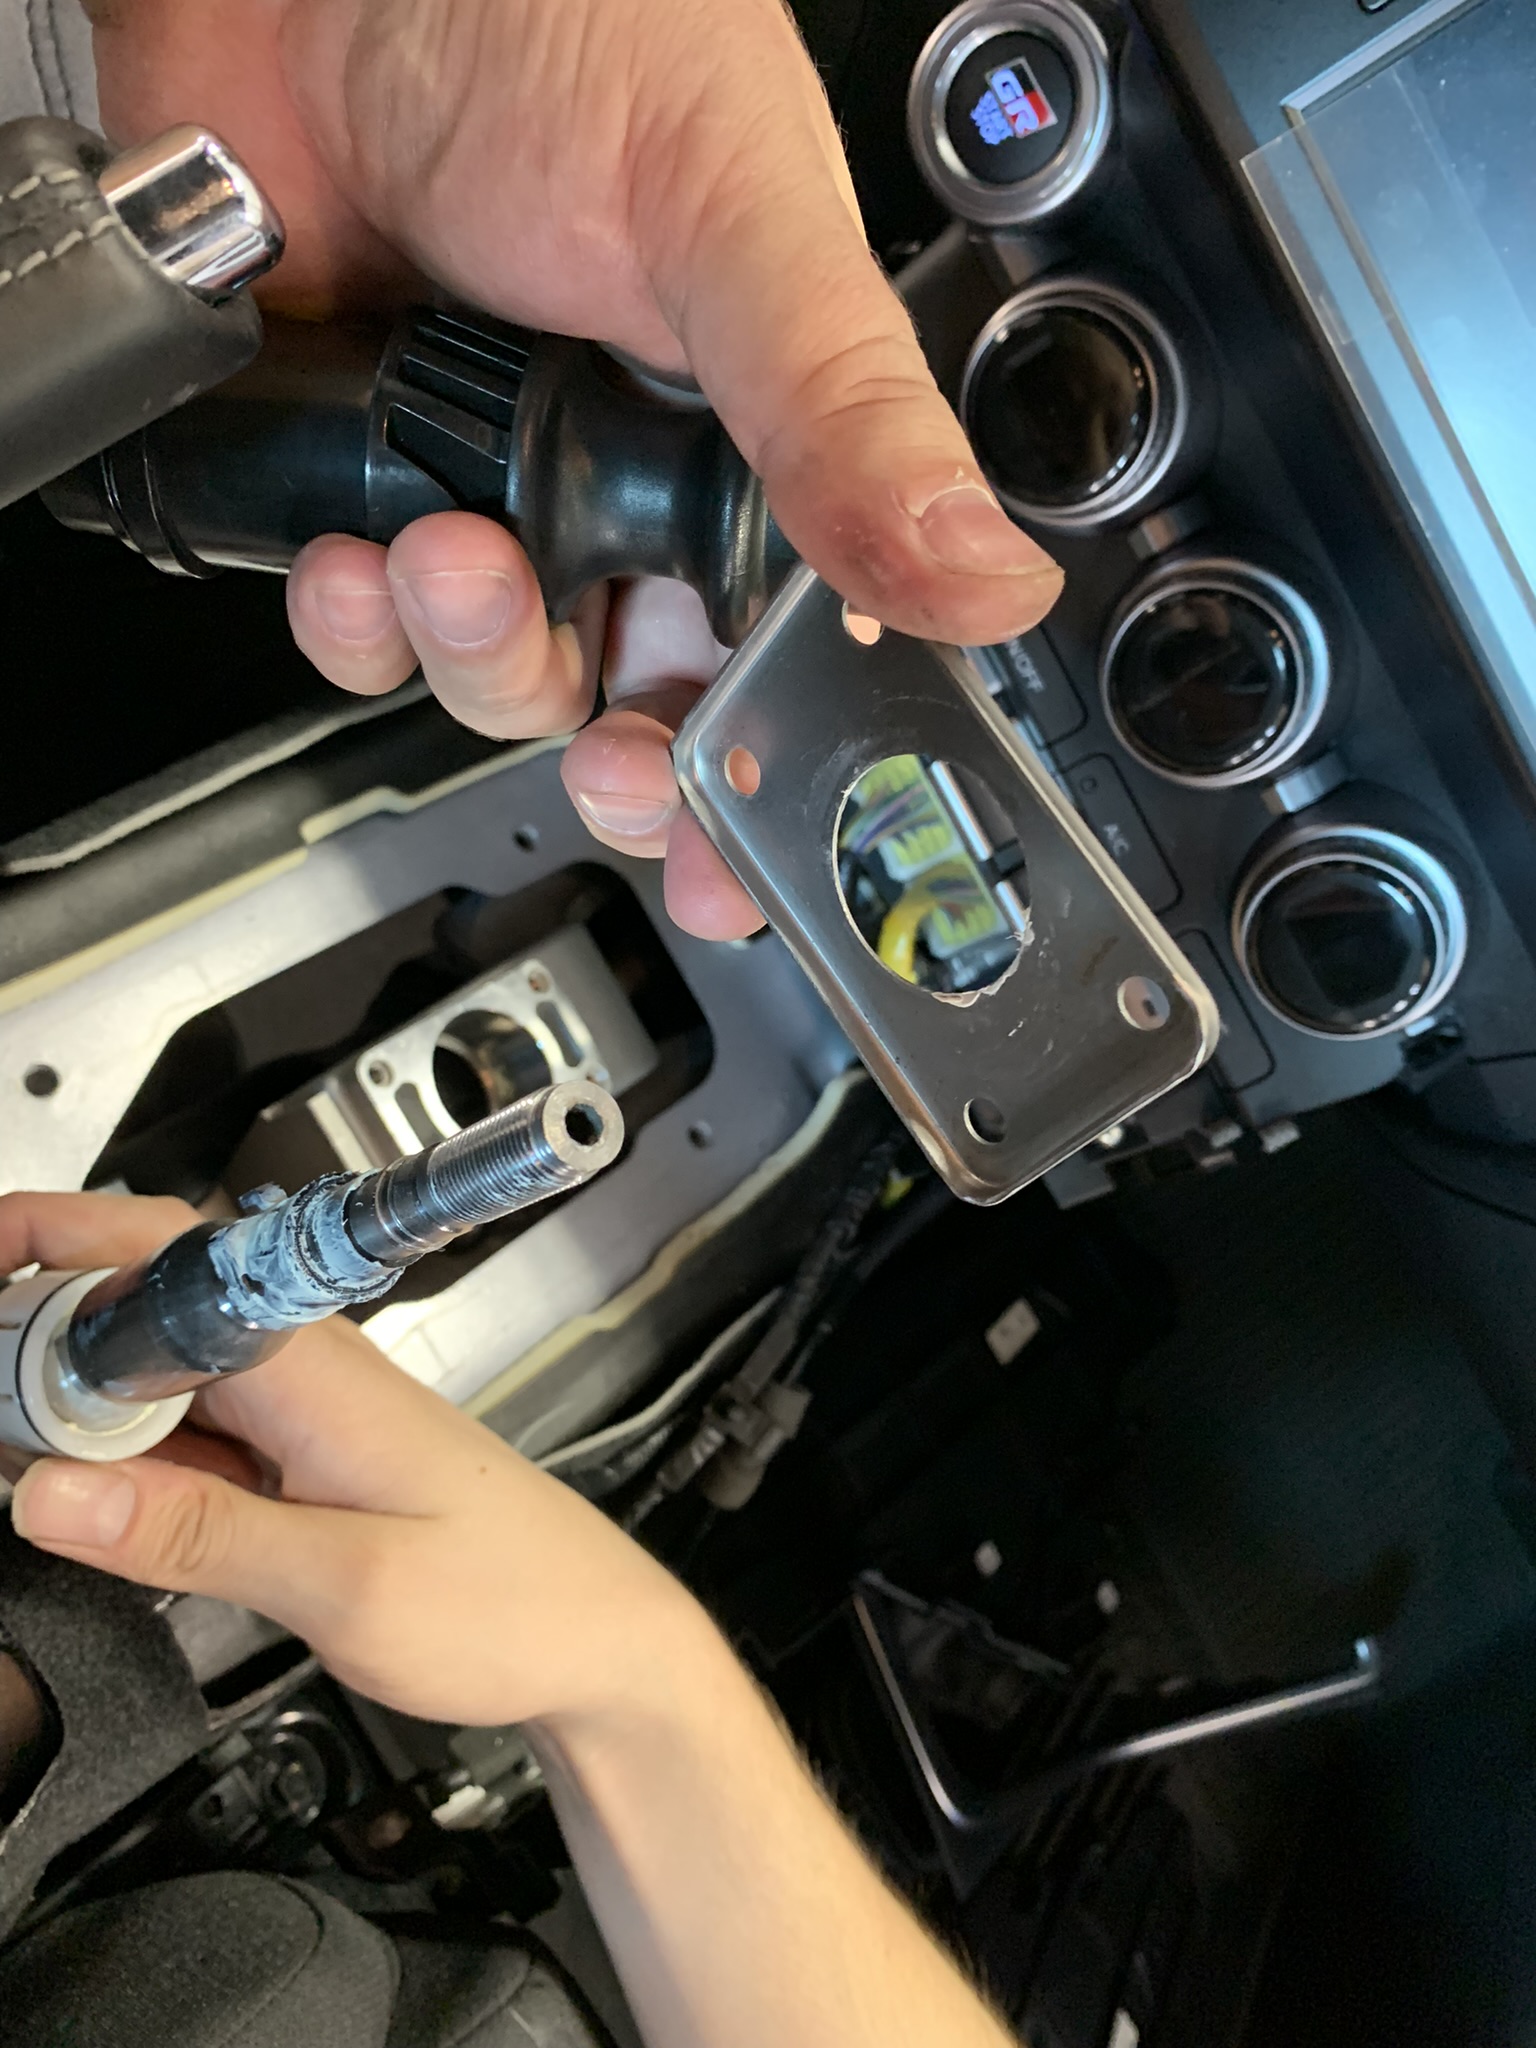
We will be reusing the factory shift lever main pivot bushing and the rectangle metal plate, so we will need to disassemble the shifter to remove them. Take off the snap ring that captures the plastic reverse lockout and inner spring components. Slide these parts up and off the shift lever.
-
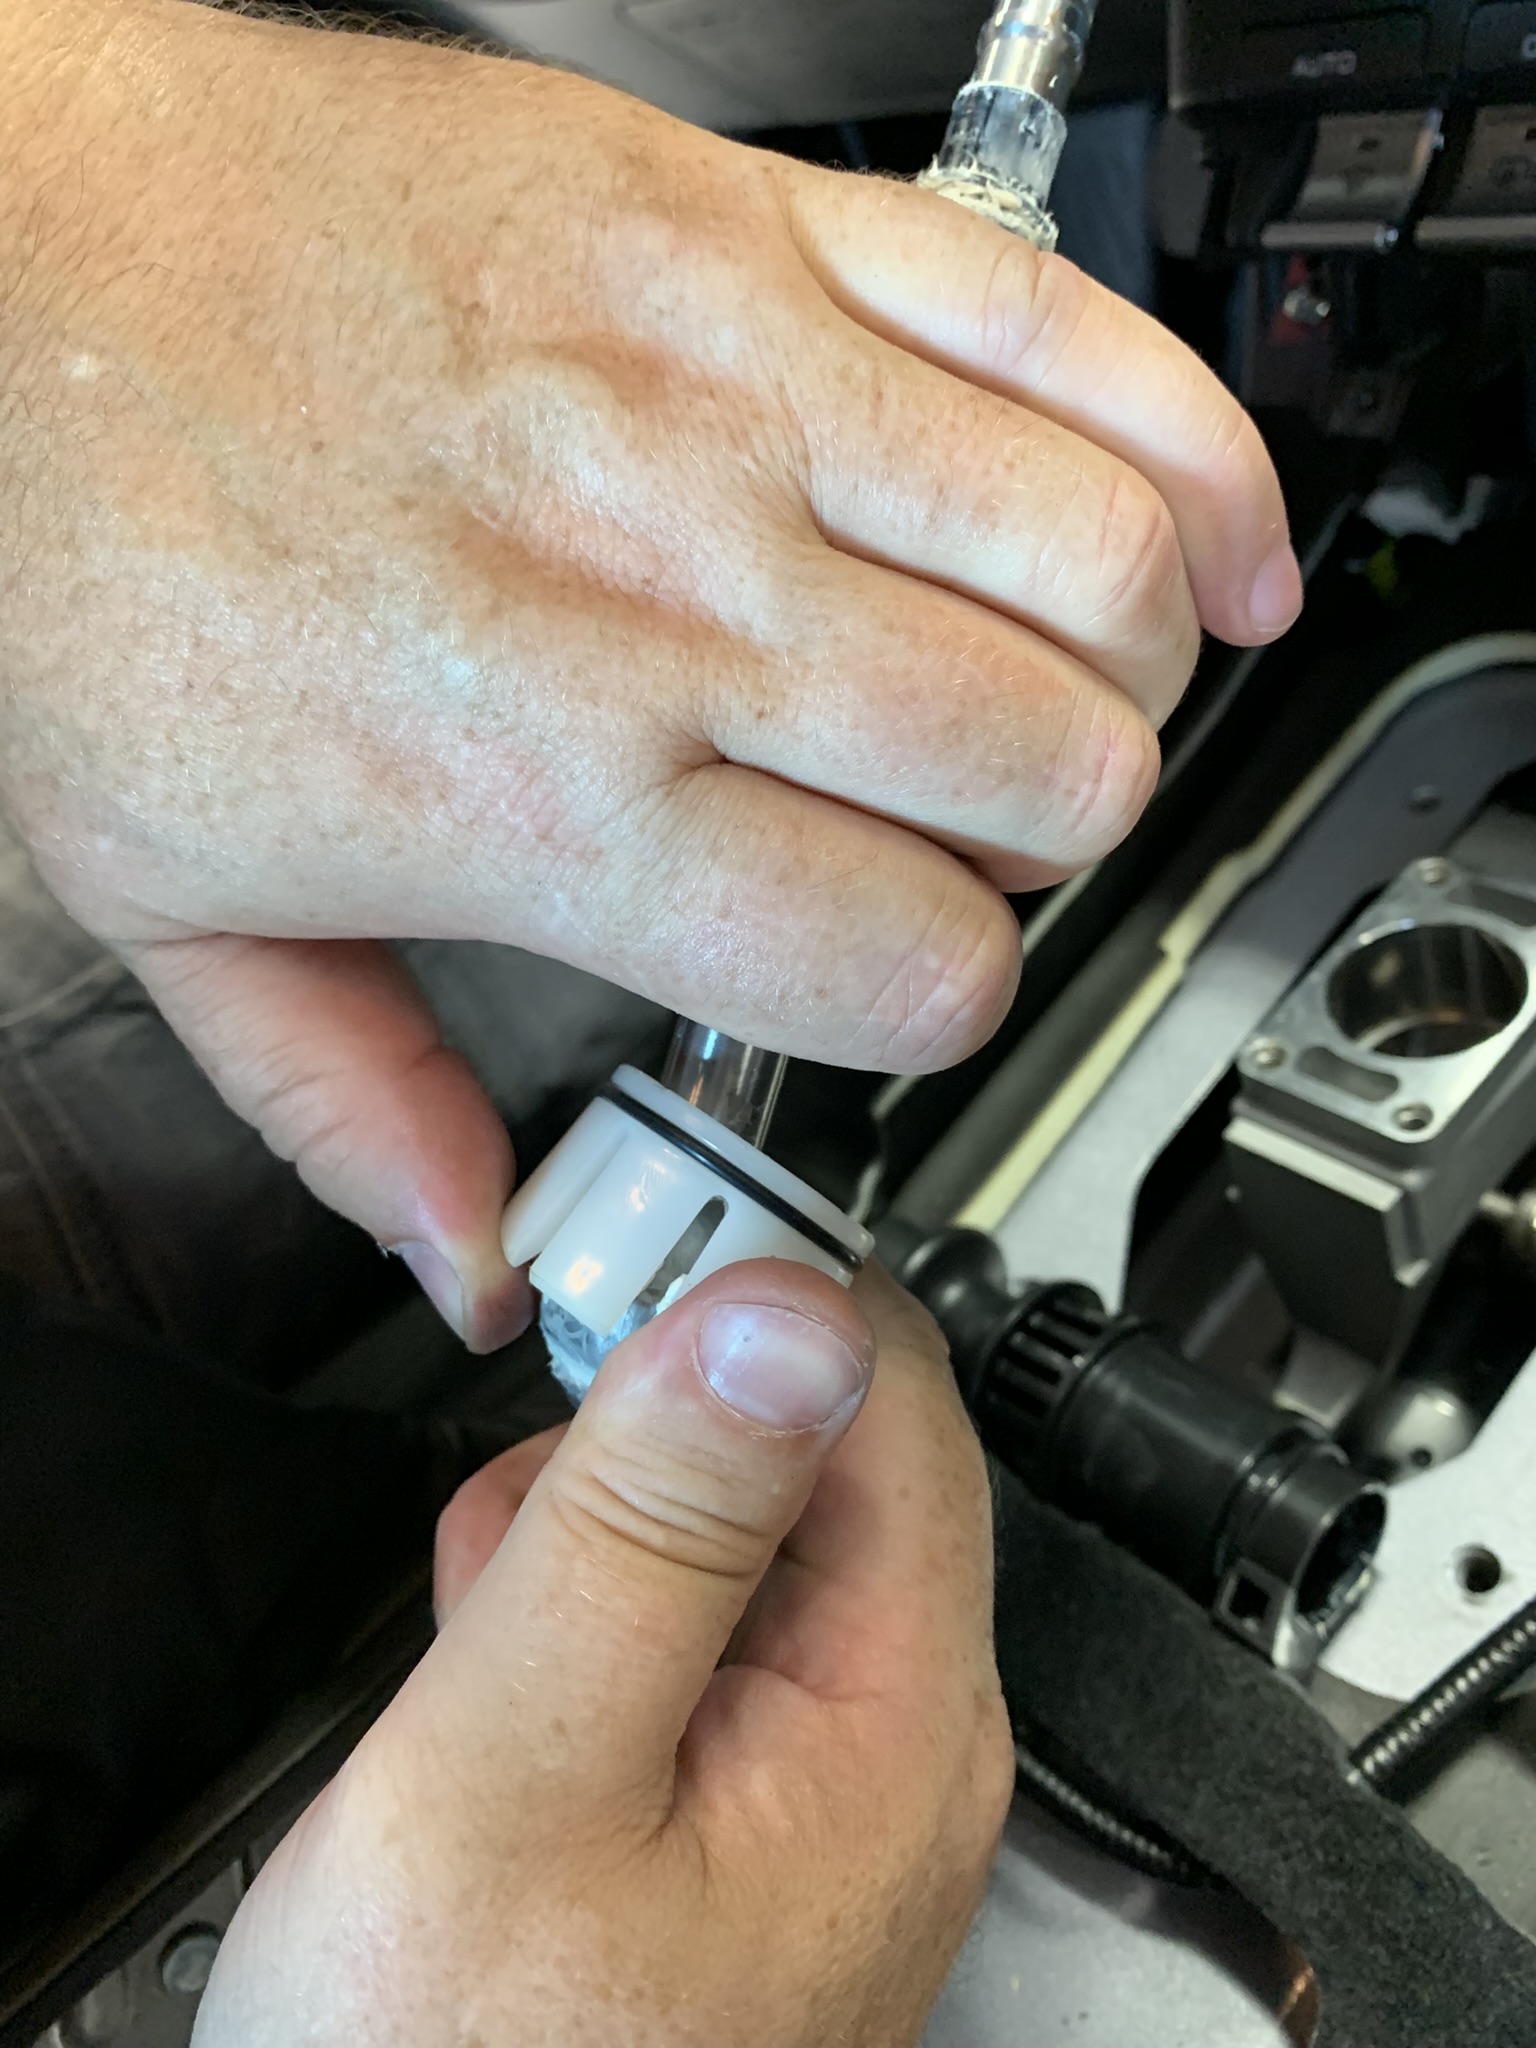
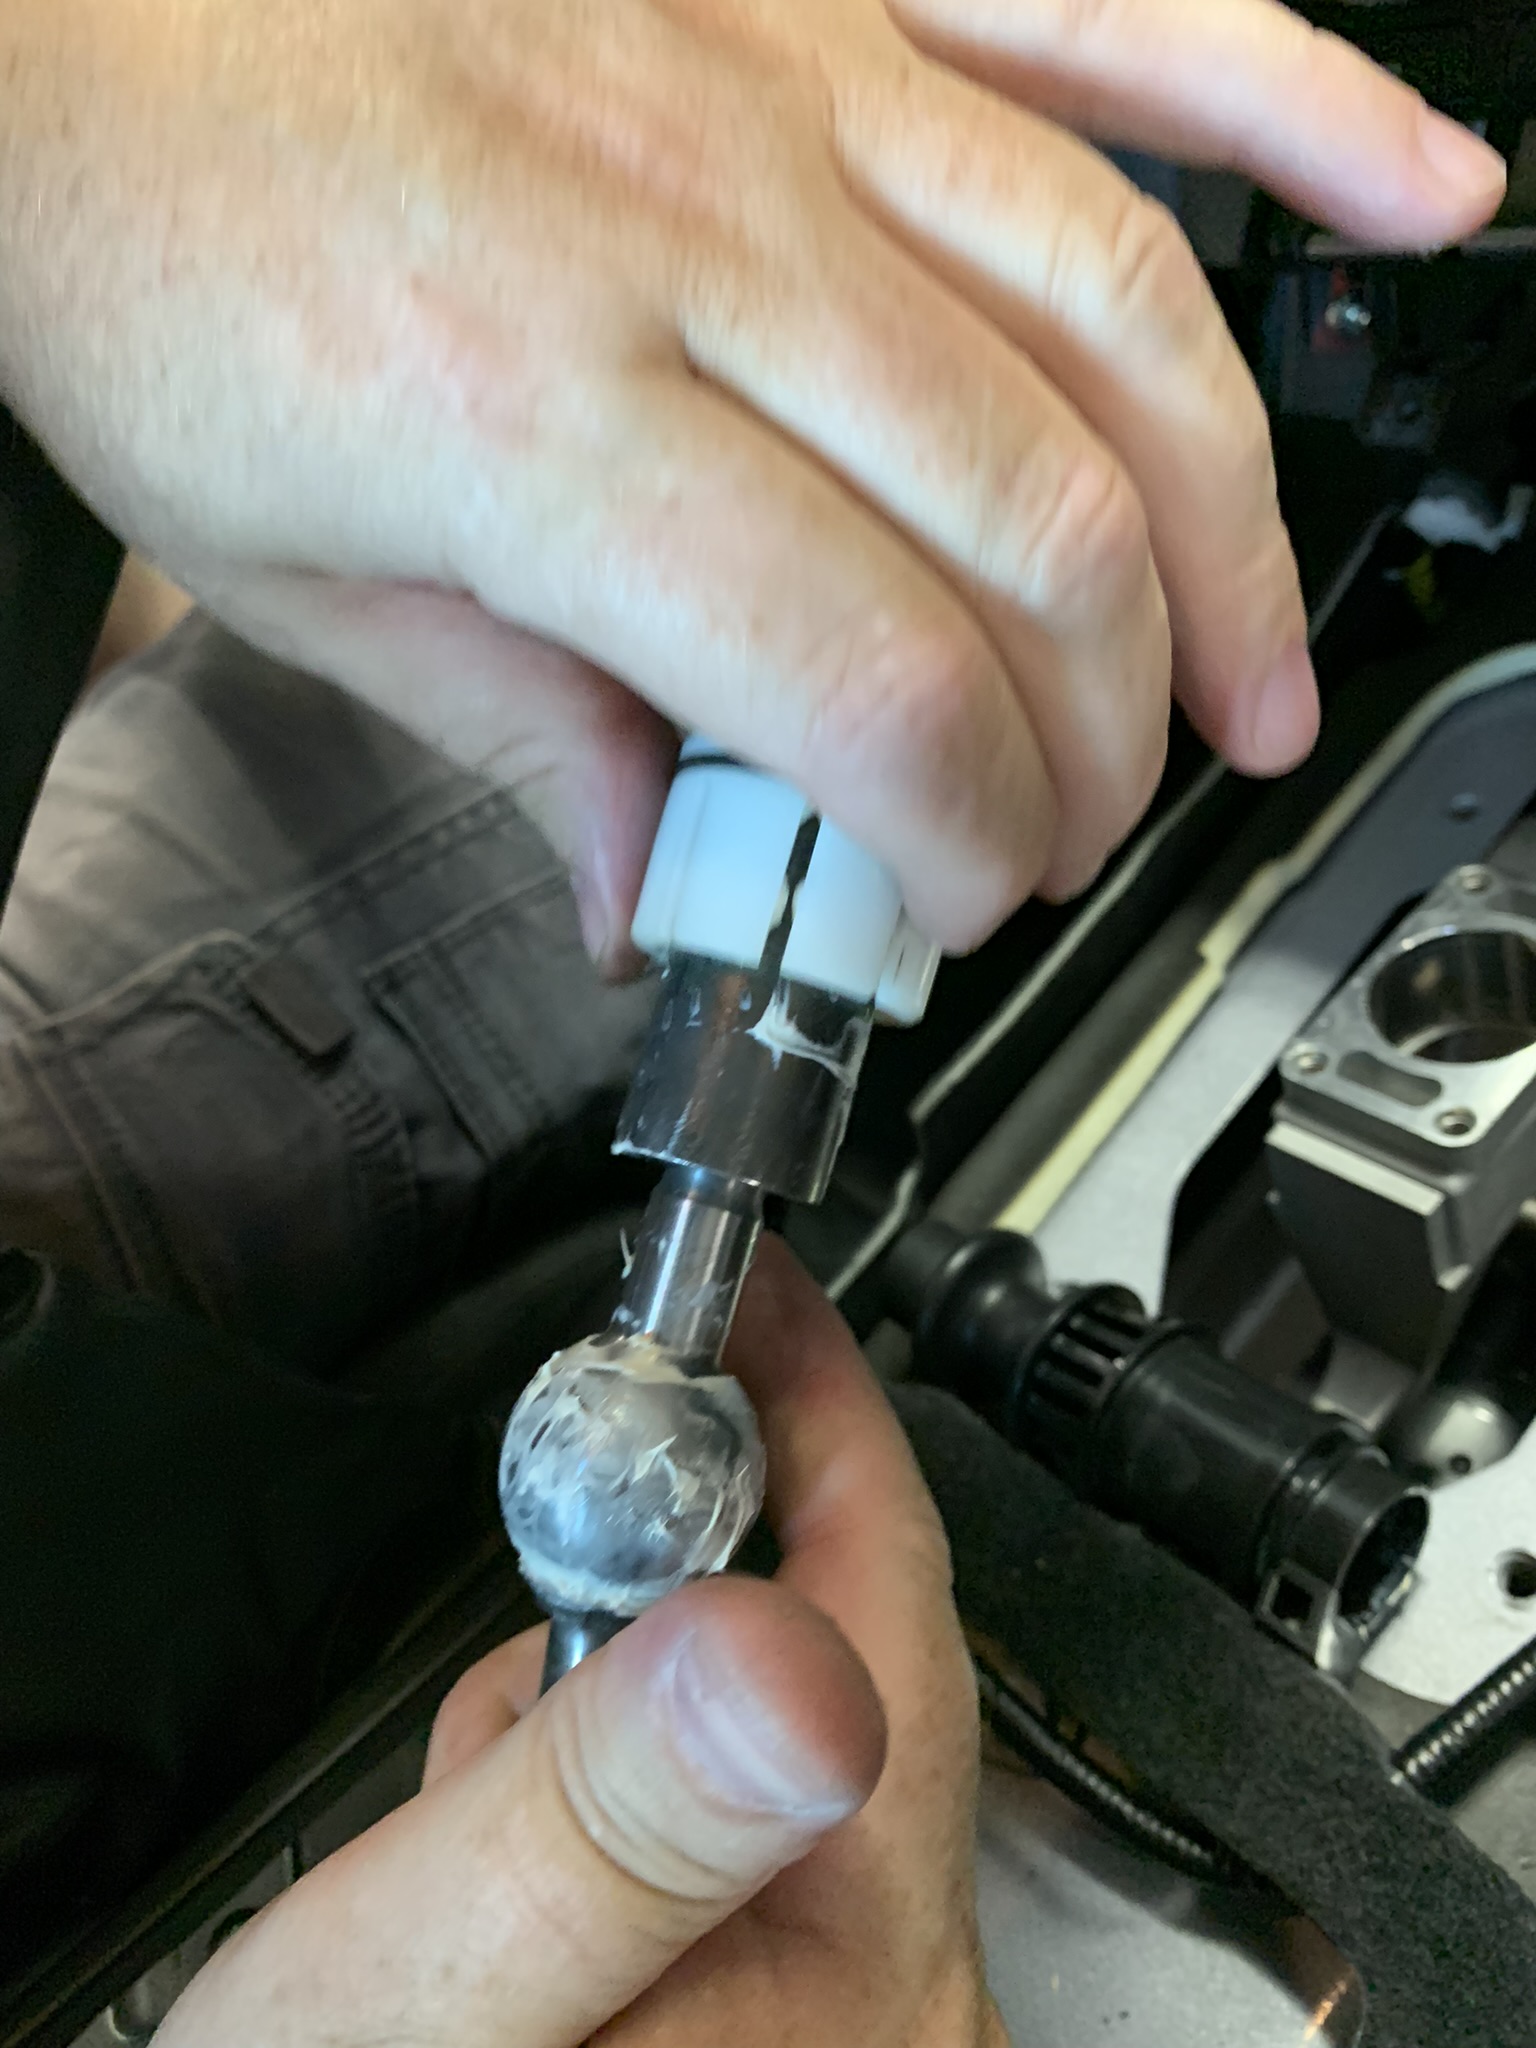
Pop the factory shift lever main pivot bushing off of the pivot ball.
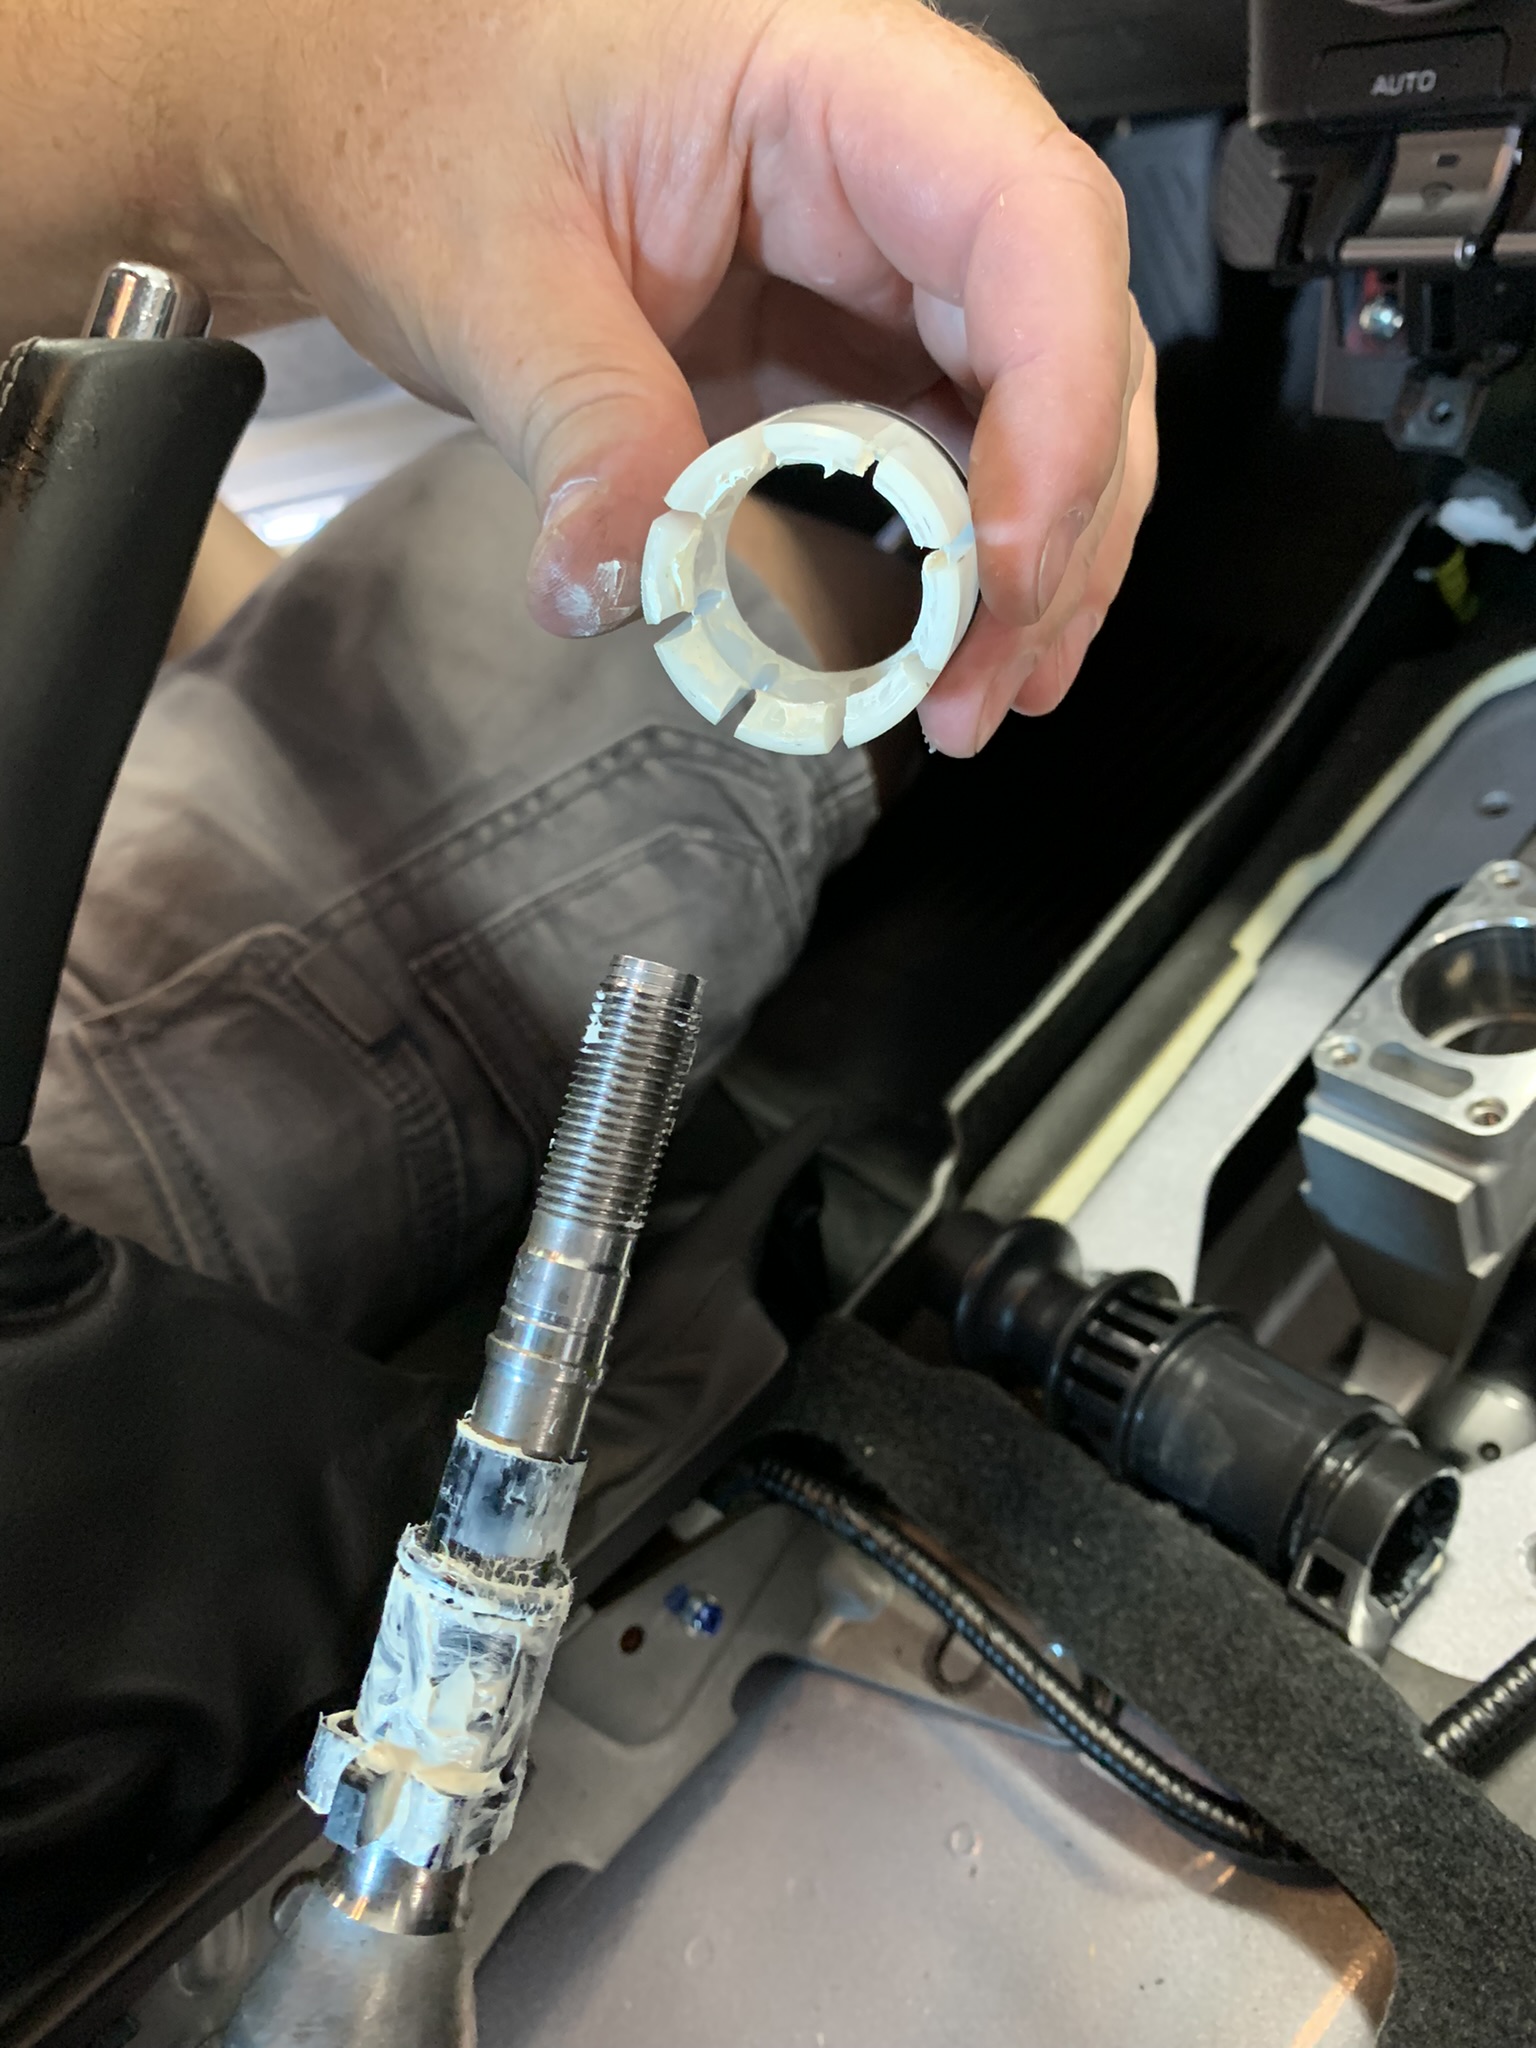
-
Reassemble the factory shift lever, sans bushing and rectangle plate and place it in your parts bin. Don't forget to remove the top hat shaped bushings from the lower pivot if you haven't already done so.
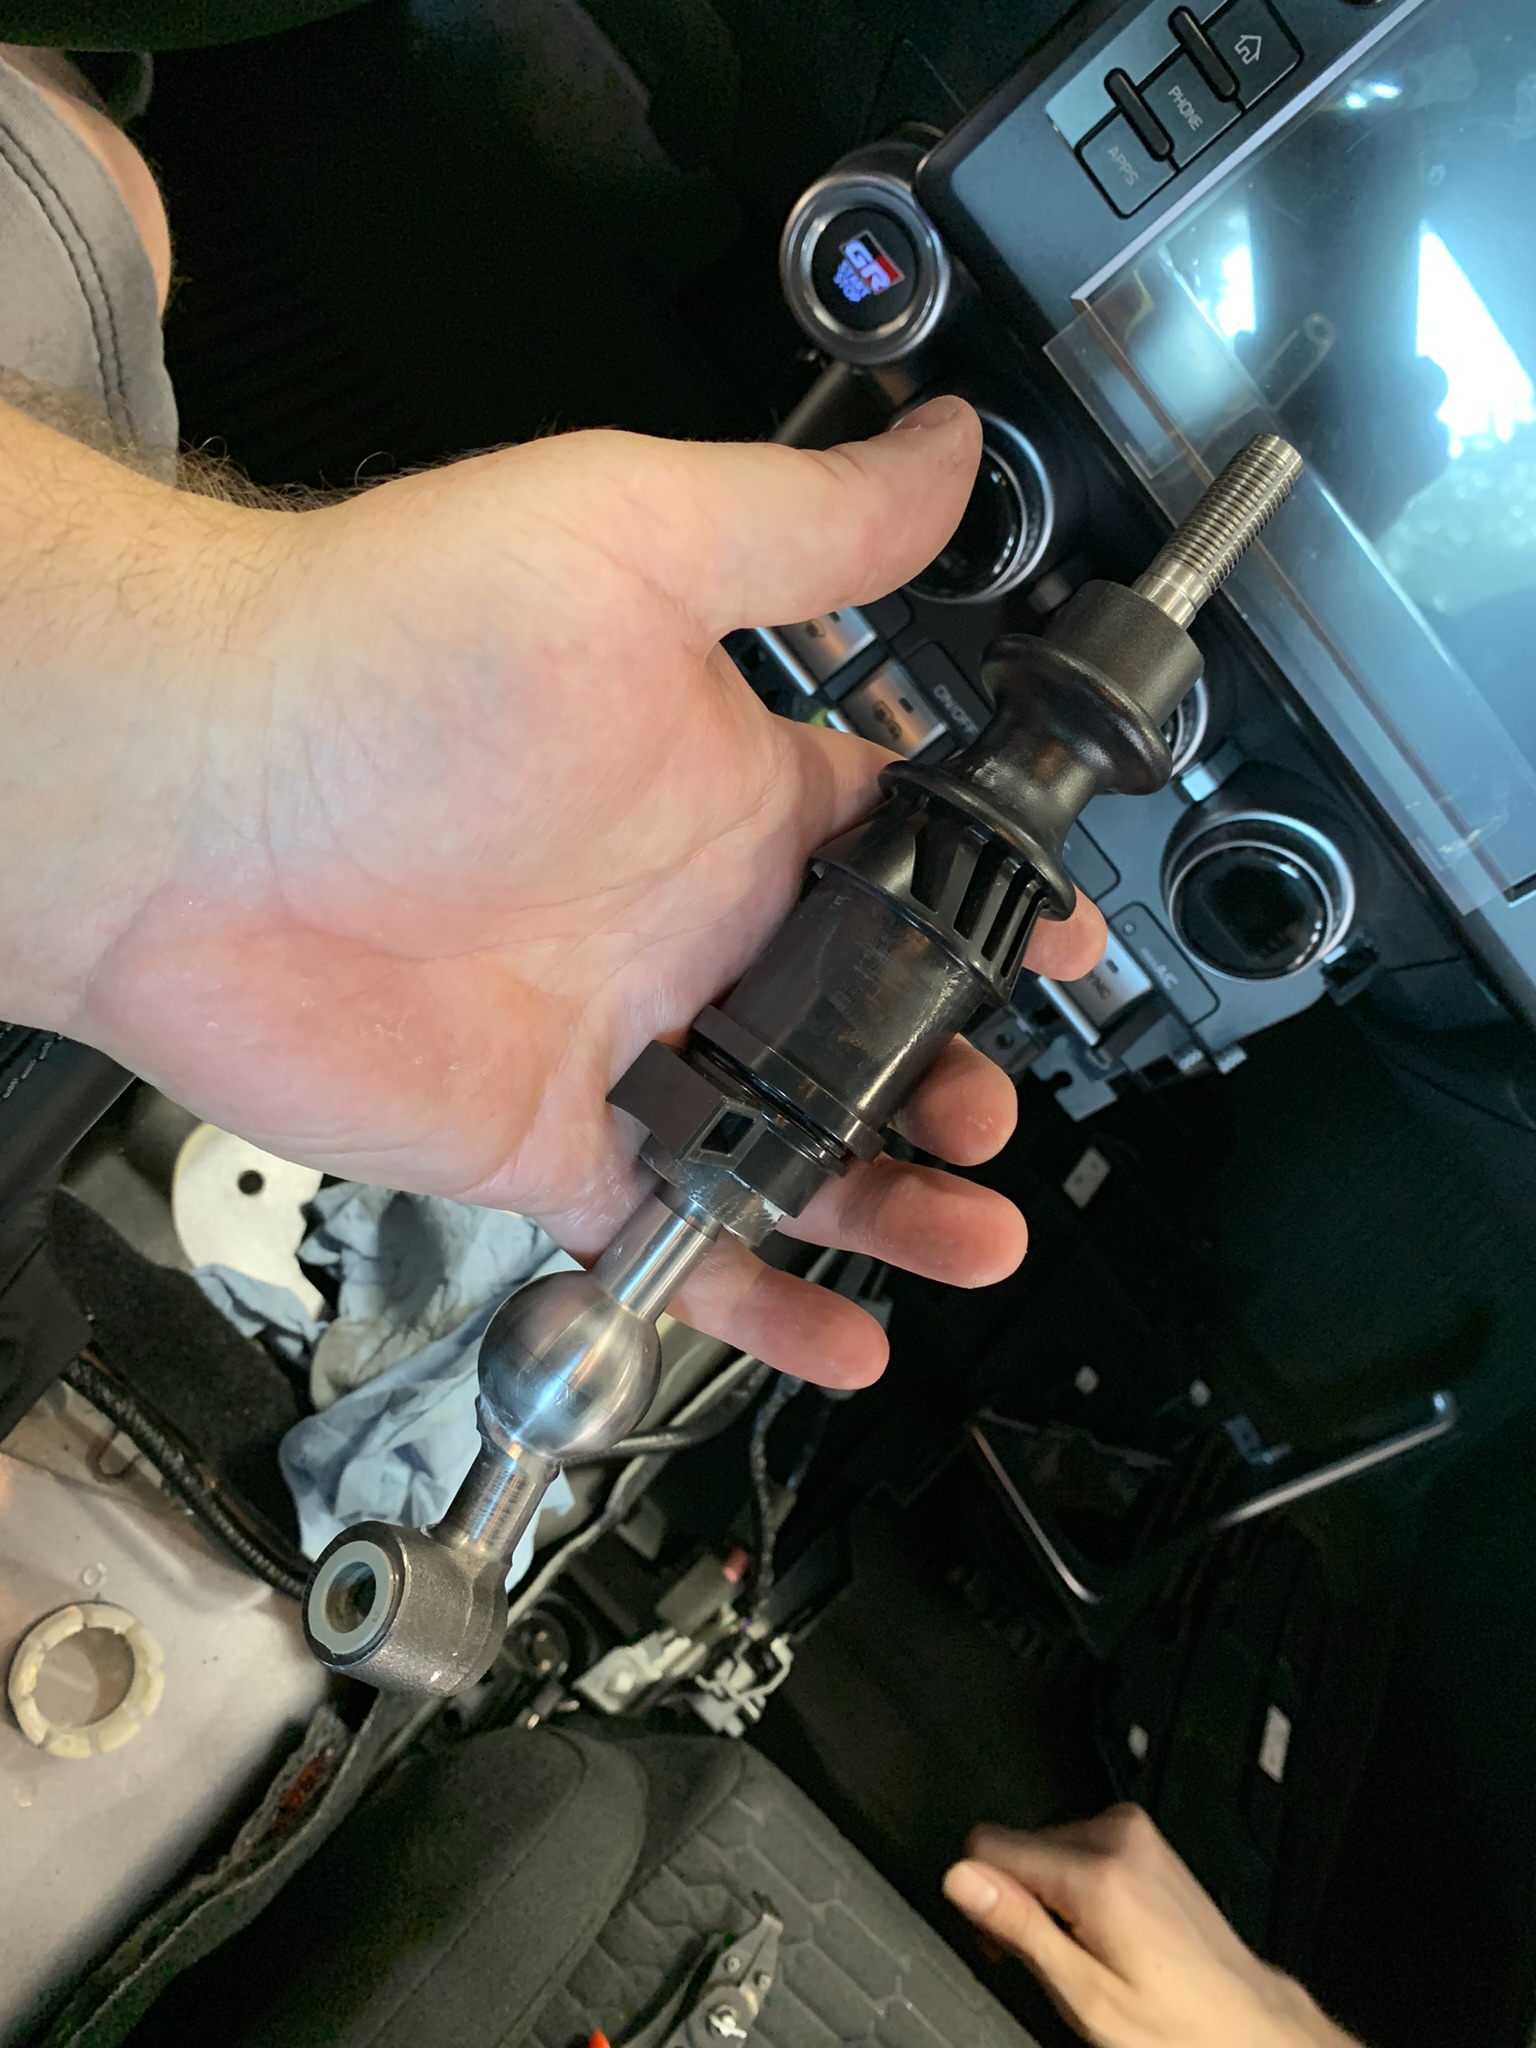
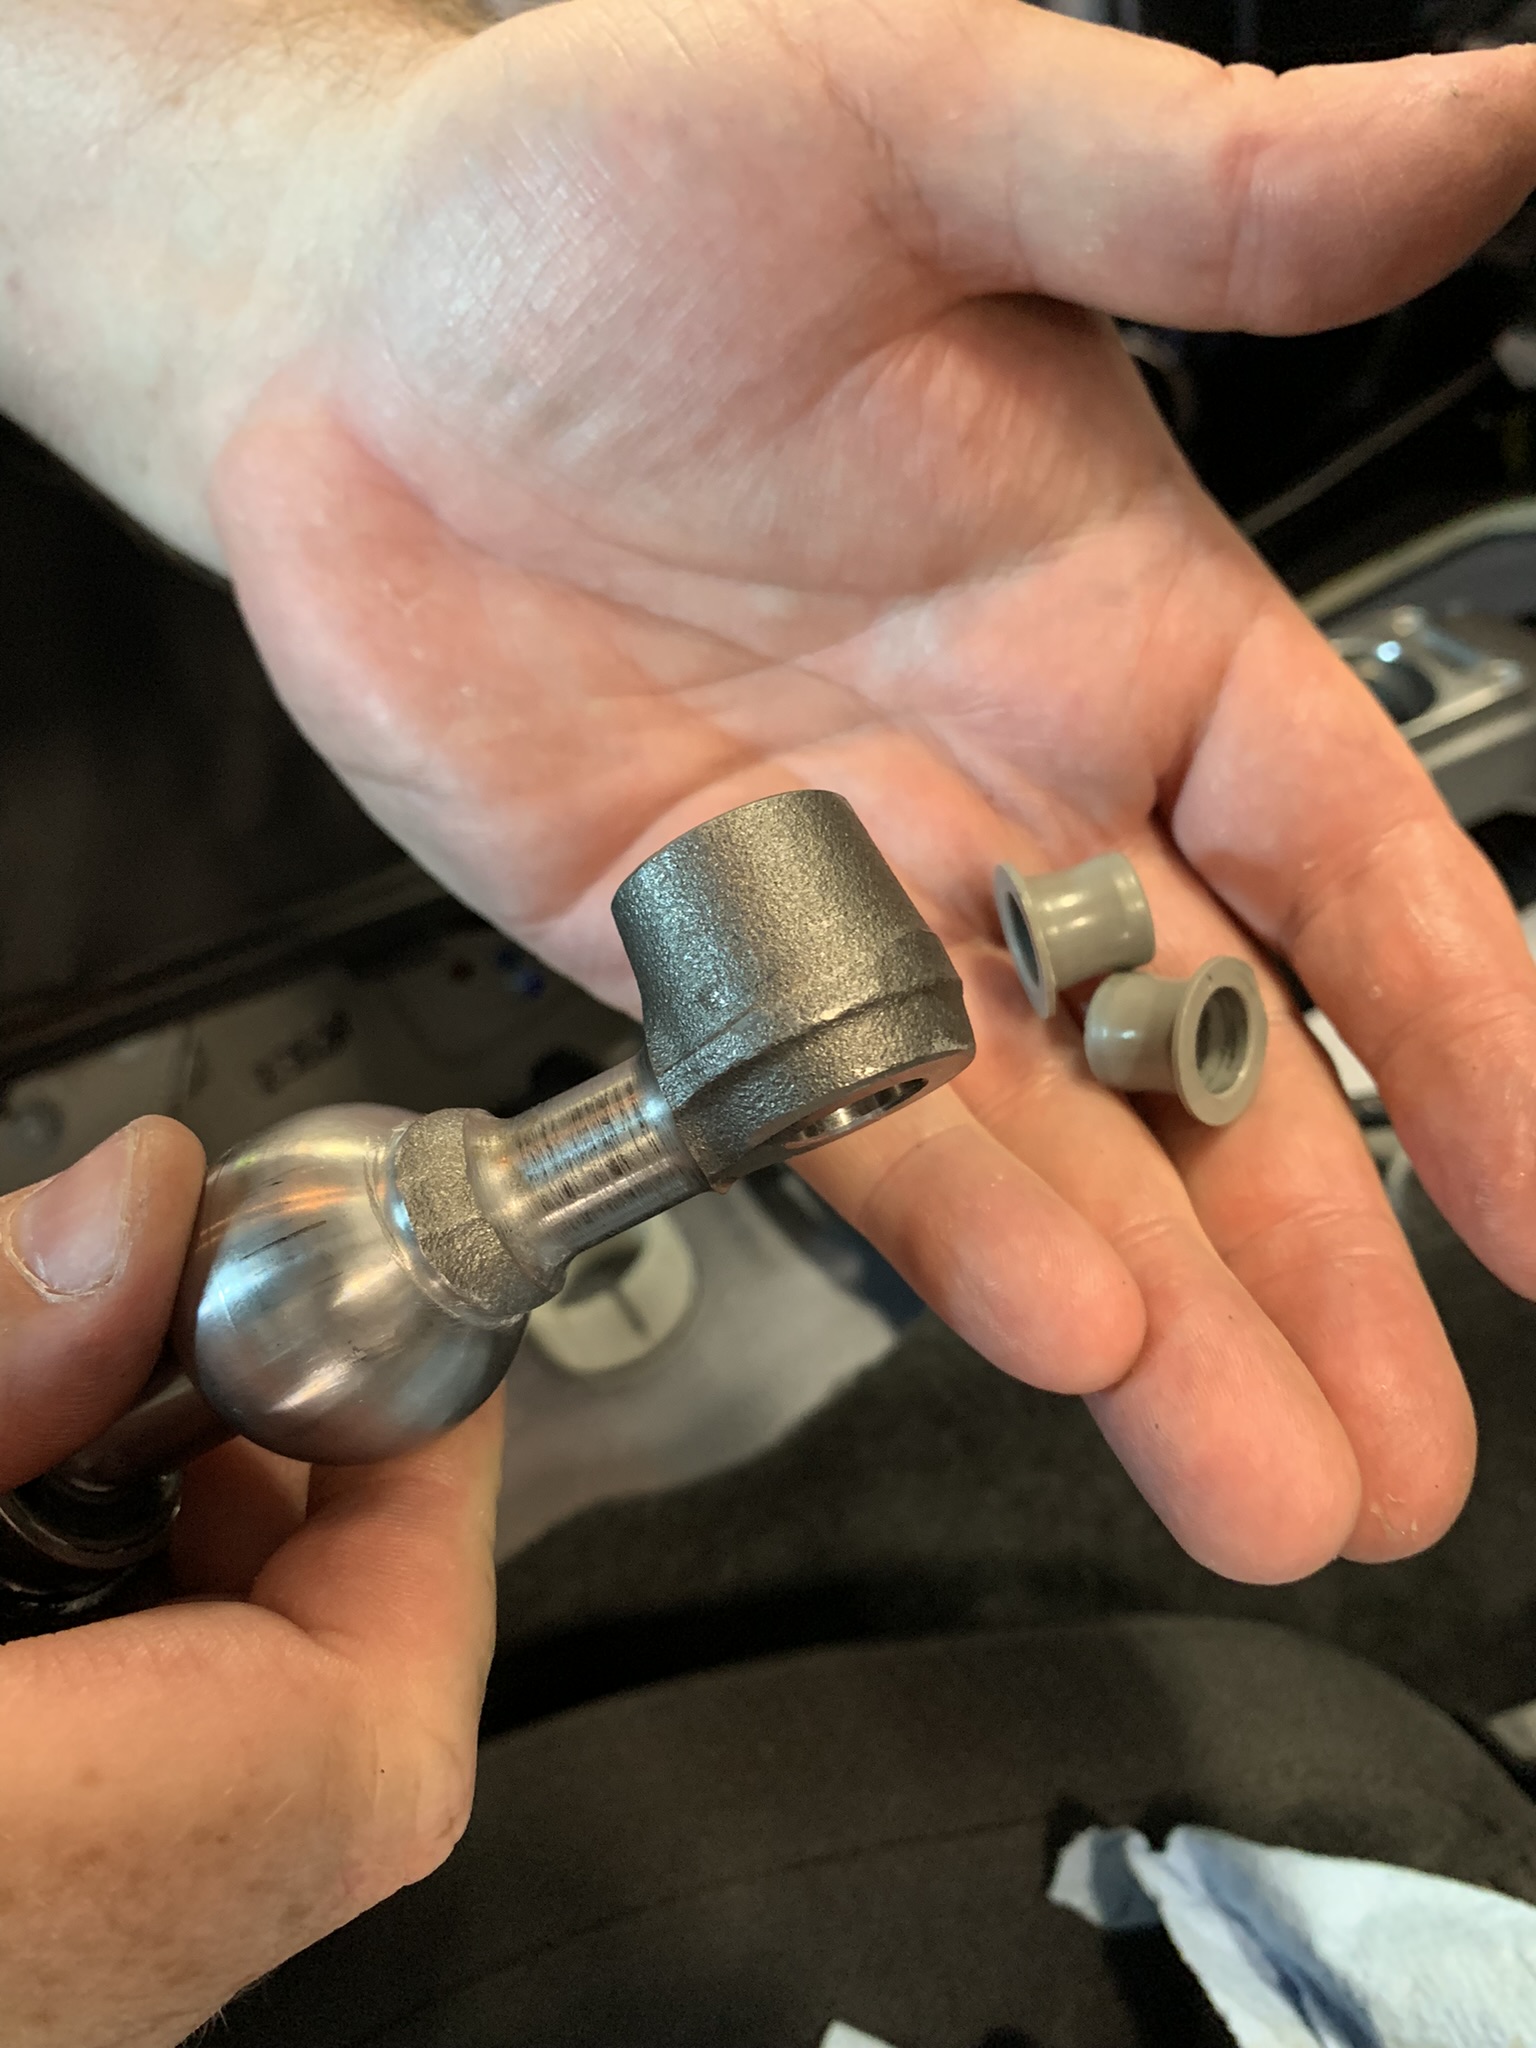
-
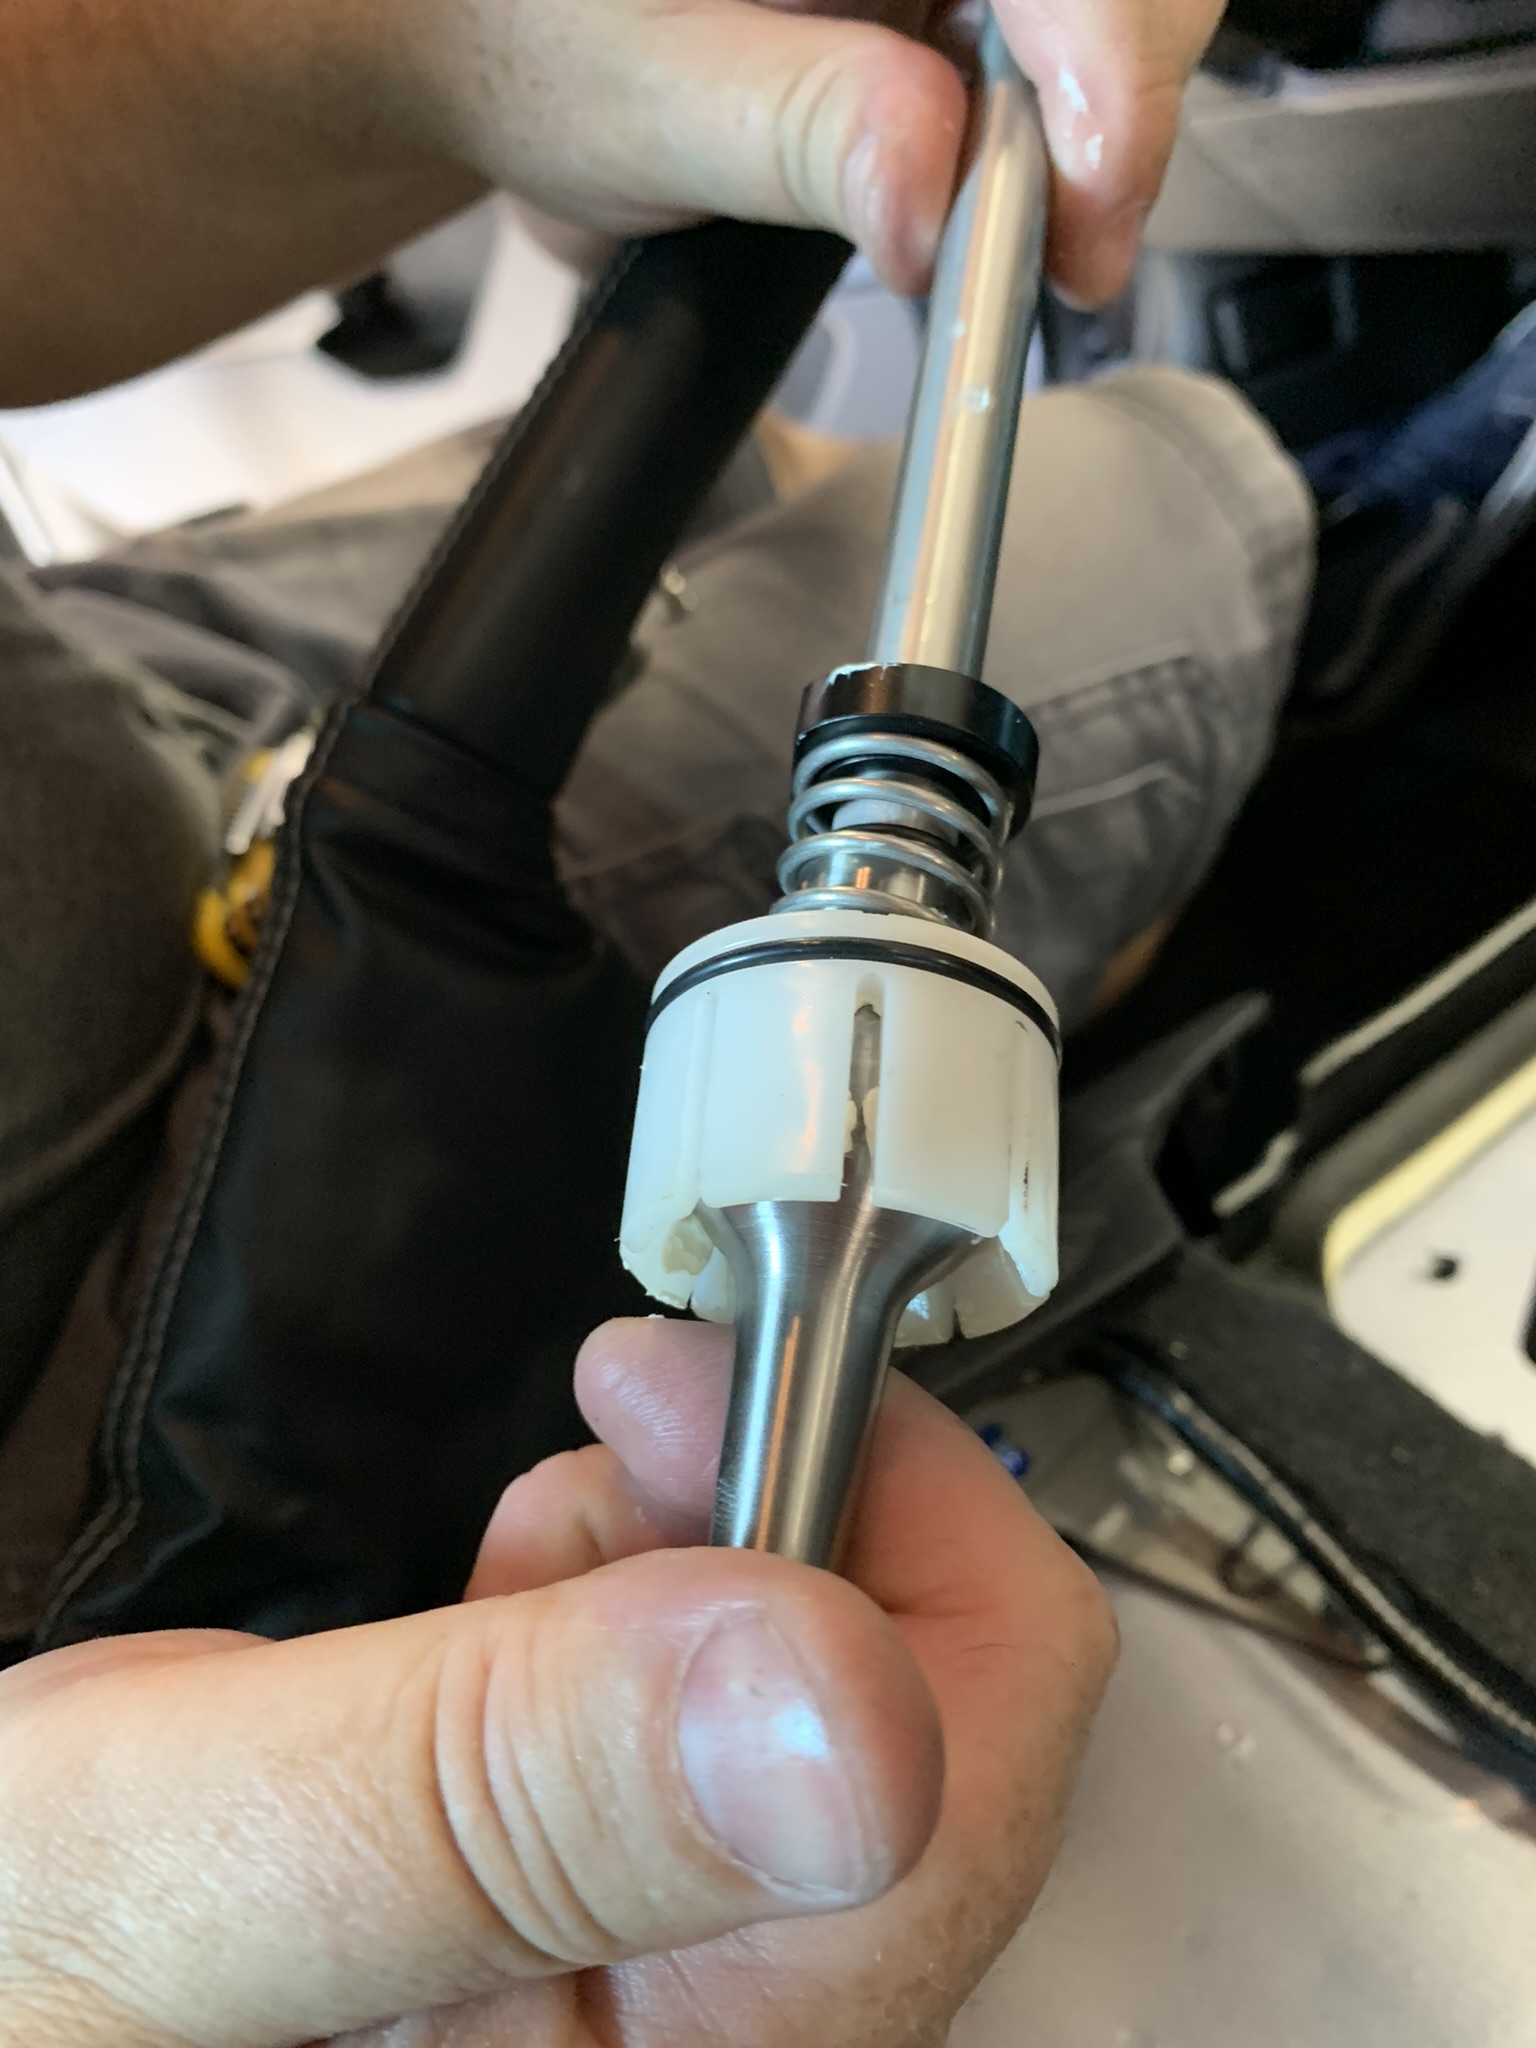
Install the factory main pivot bushing onto the CravenSpeed short shifter. Use some of the included PTFE Multipurpose grease if necessary.
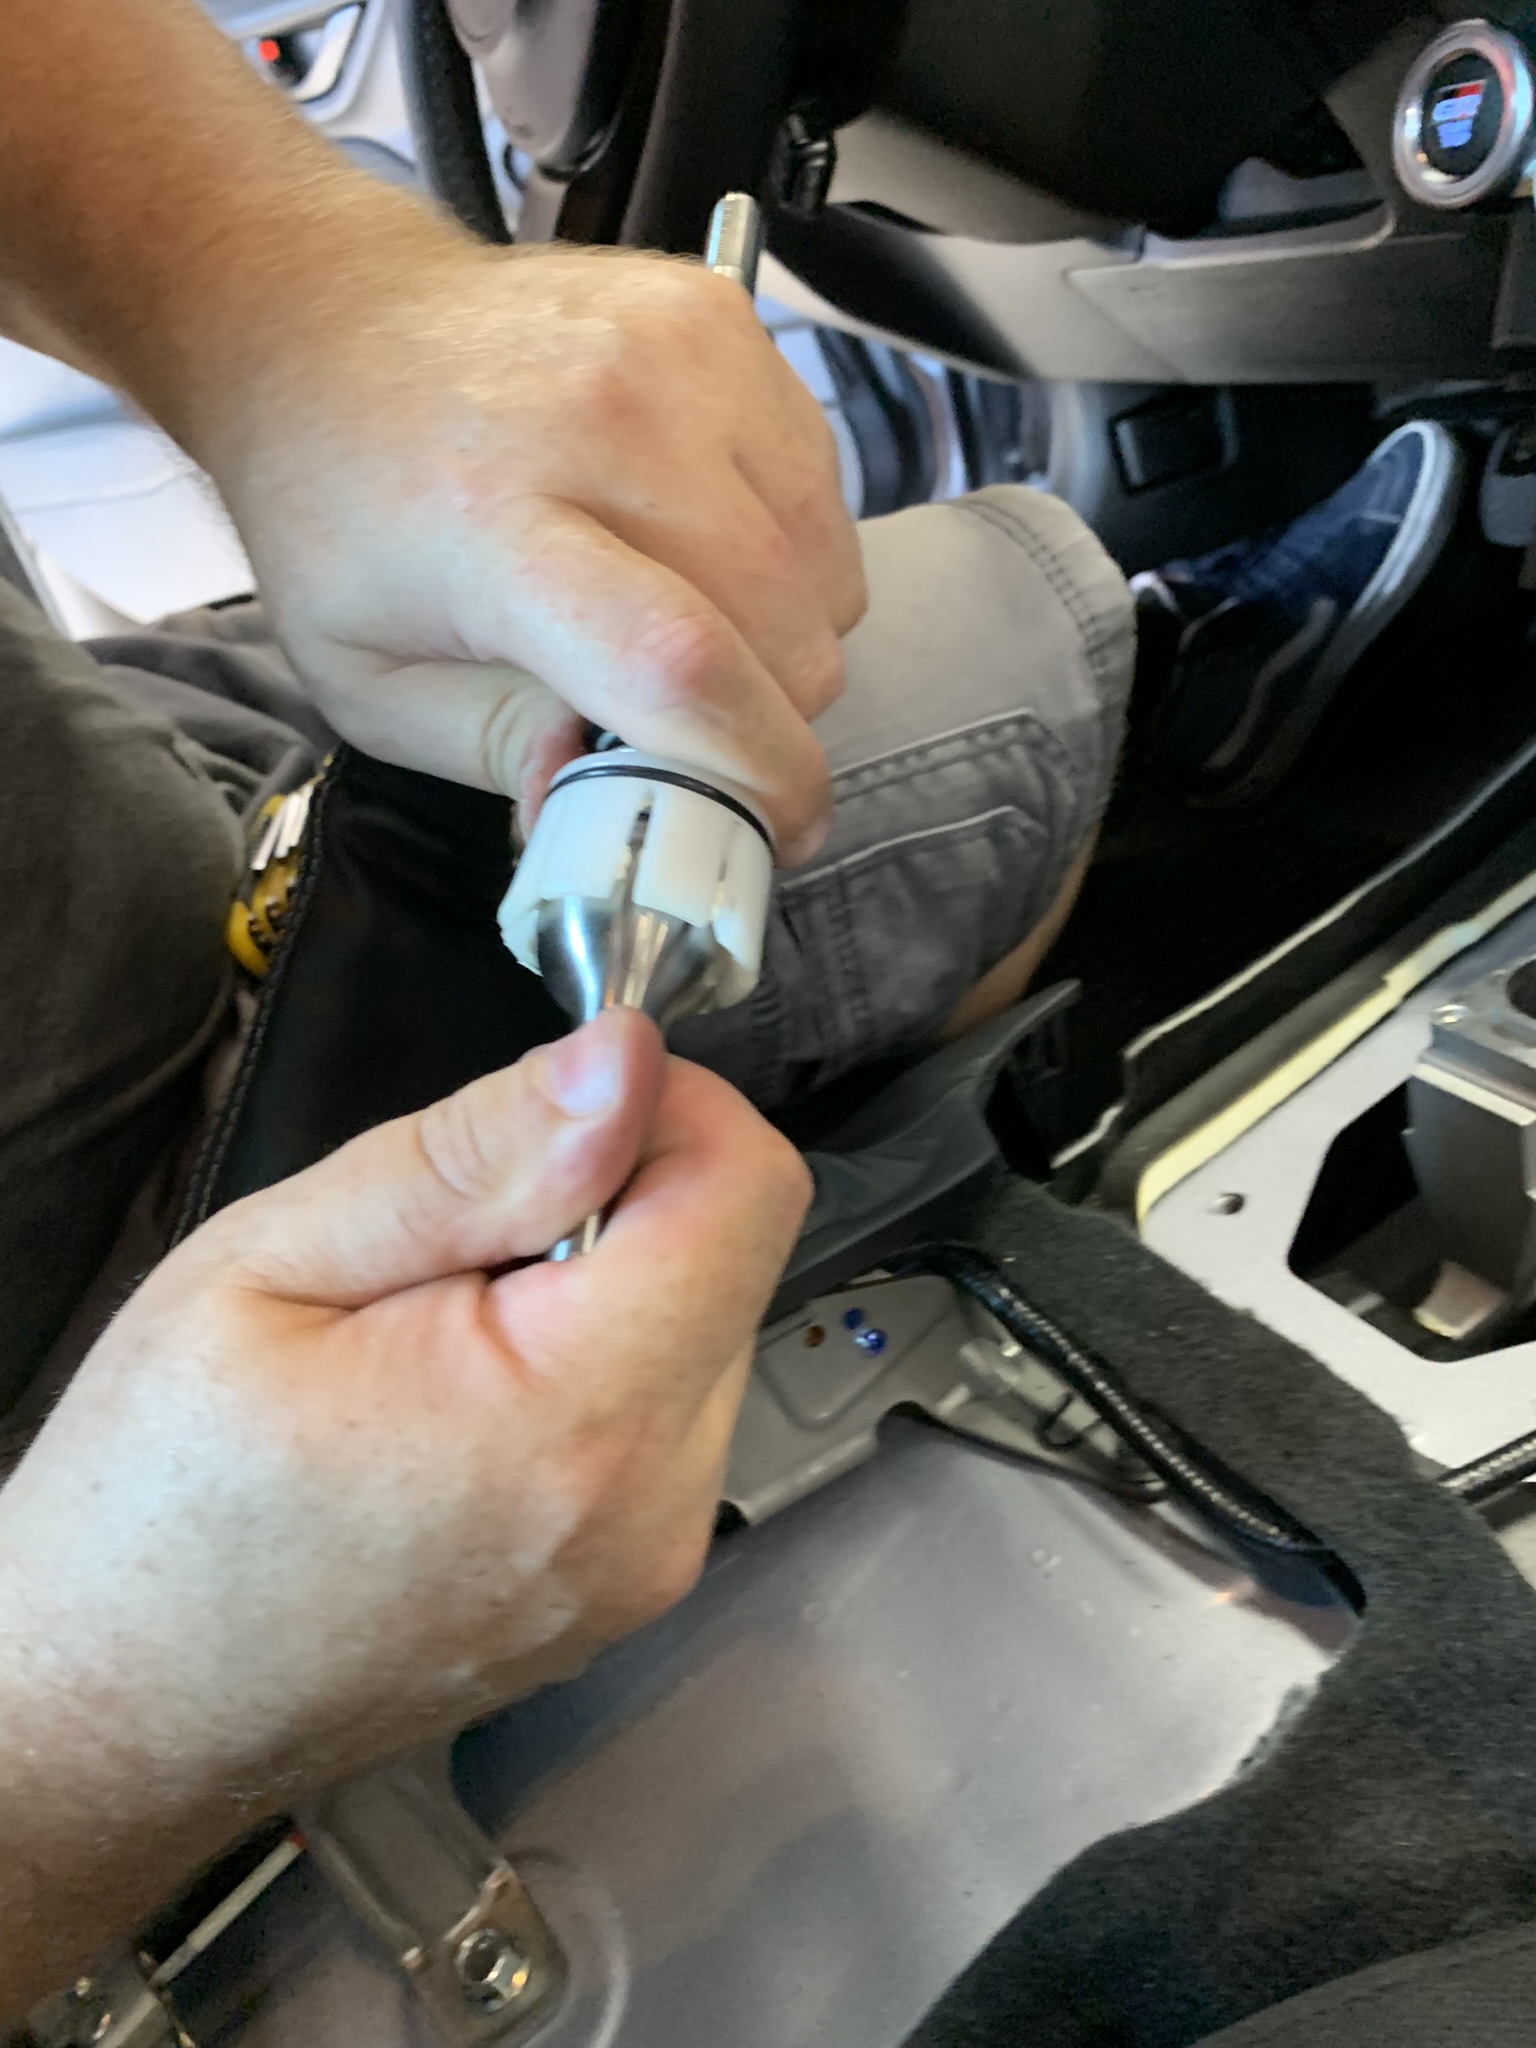
-
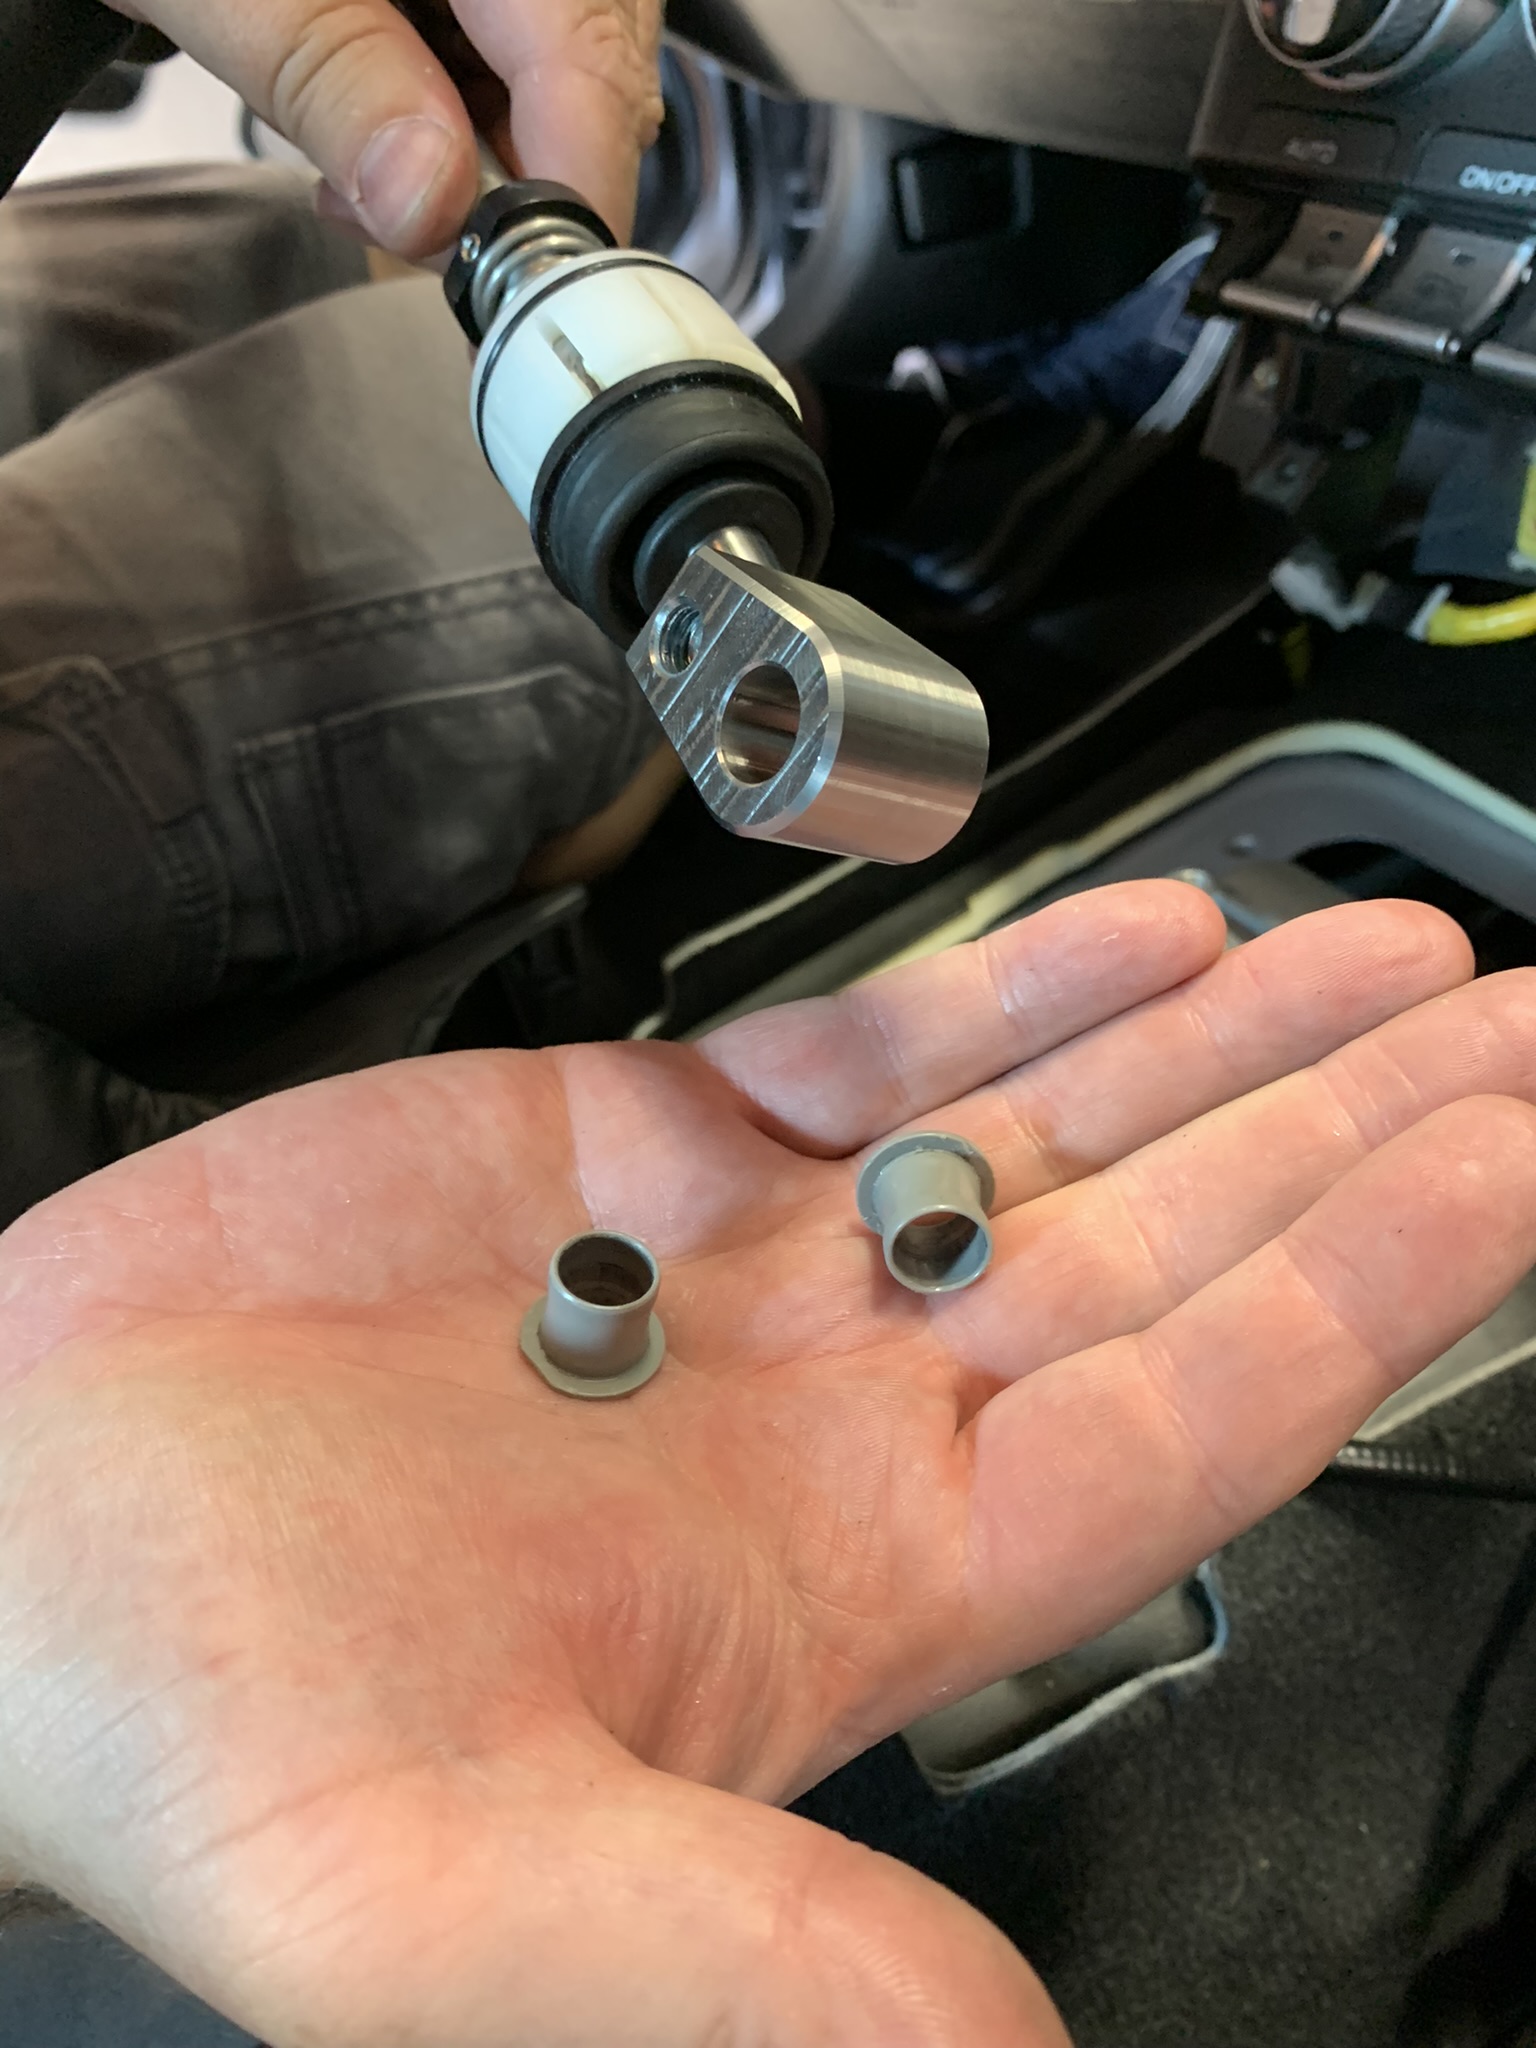
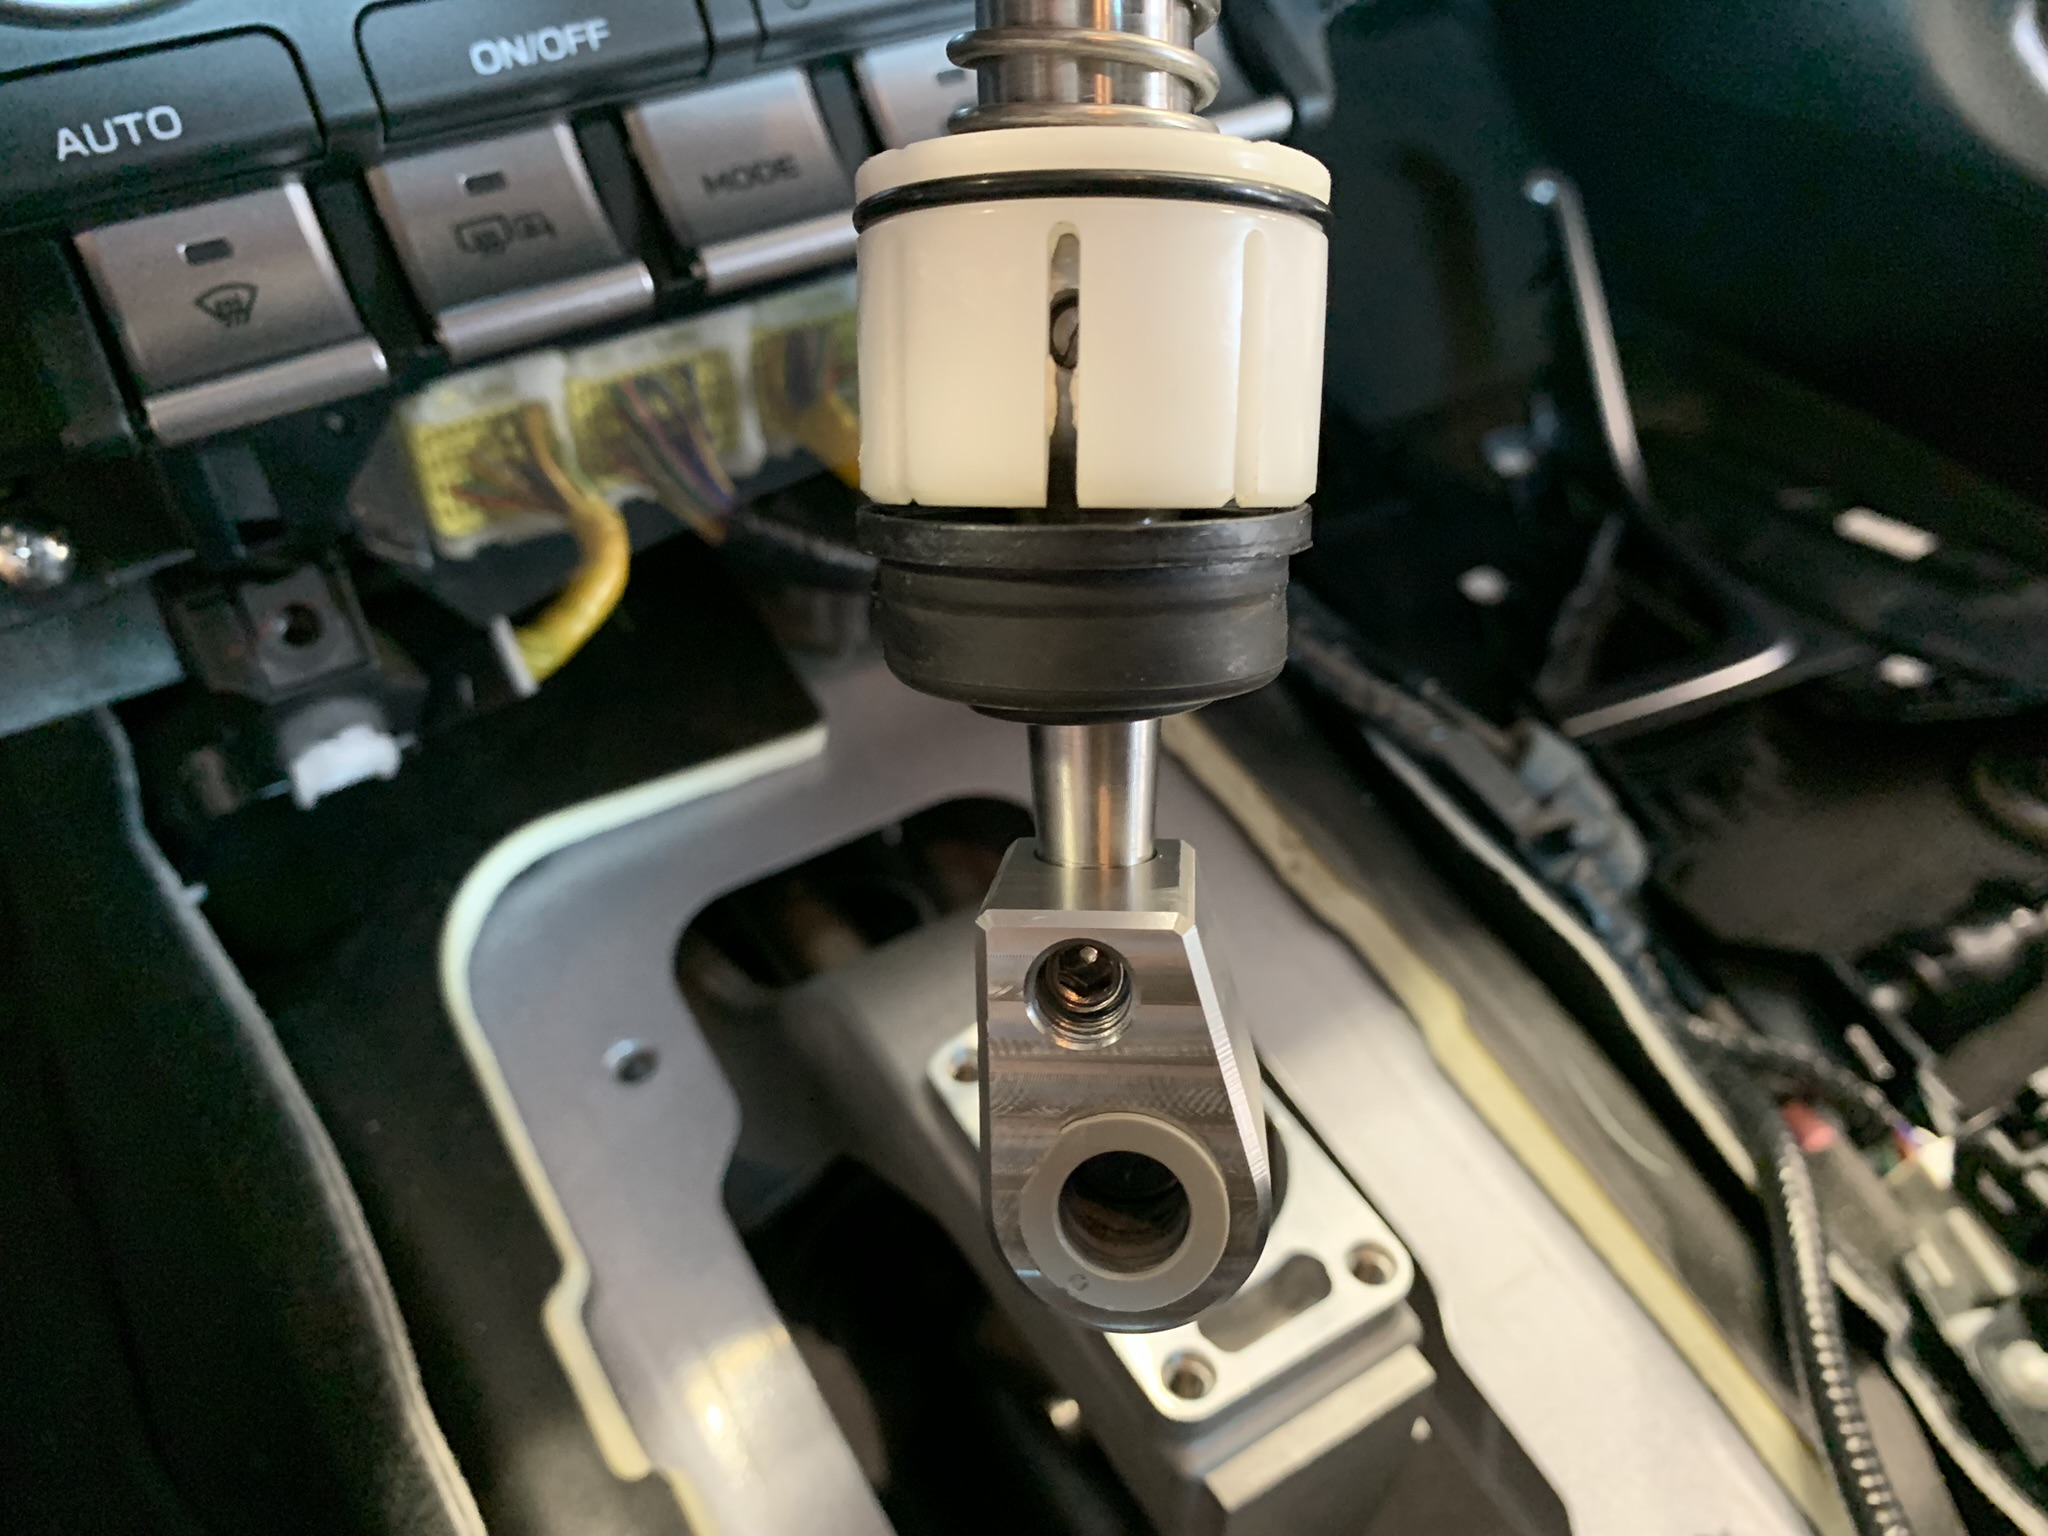
Carefully install the main pivot rubber gasket over the end of the CravenSpeed short shifter and install the top hat shaped bushings to each side of the lower pivot.
Installing the CravenSpeed Short Shifter Assembly
-
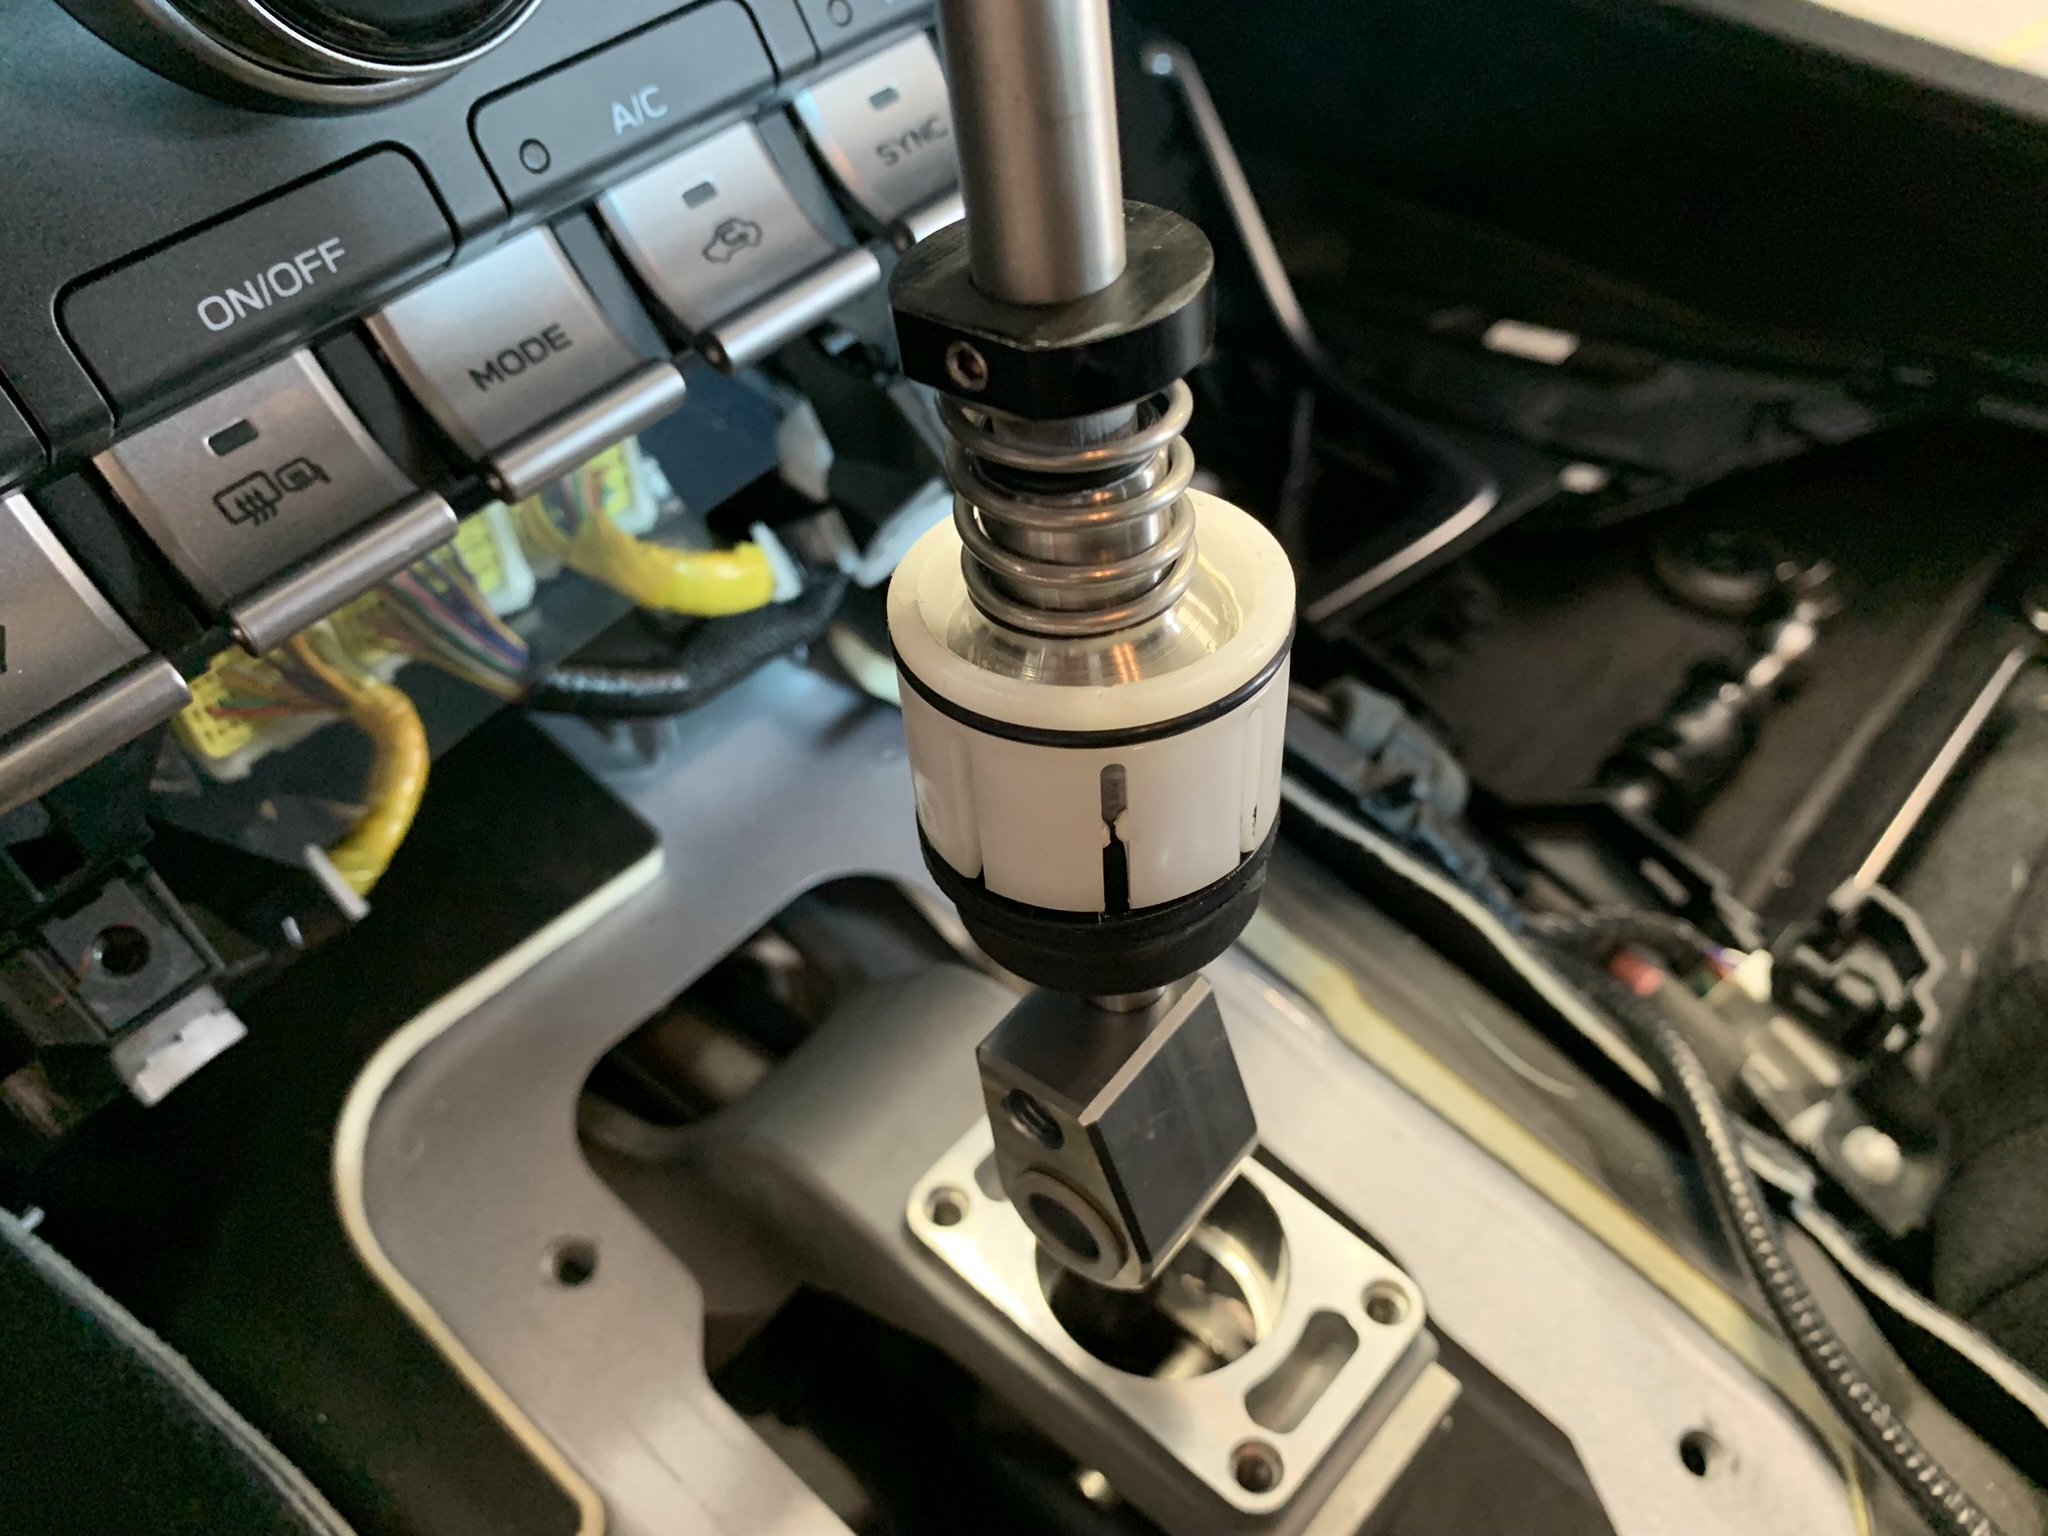
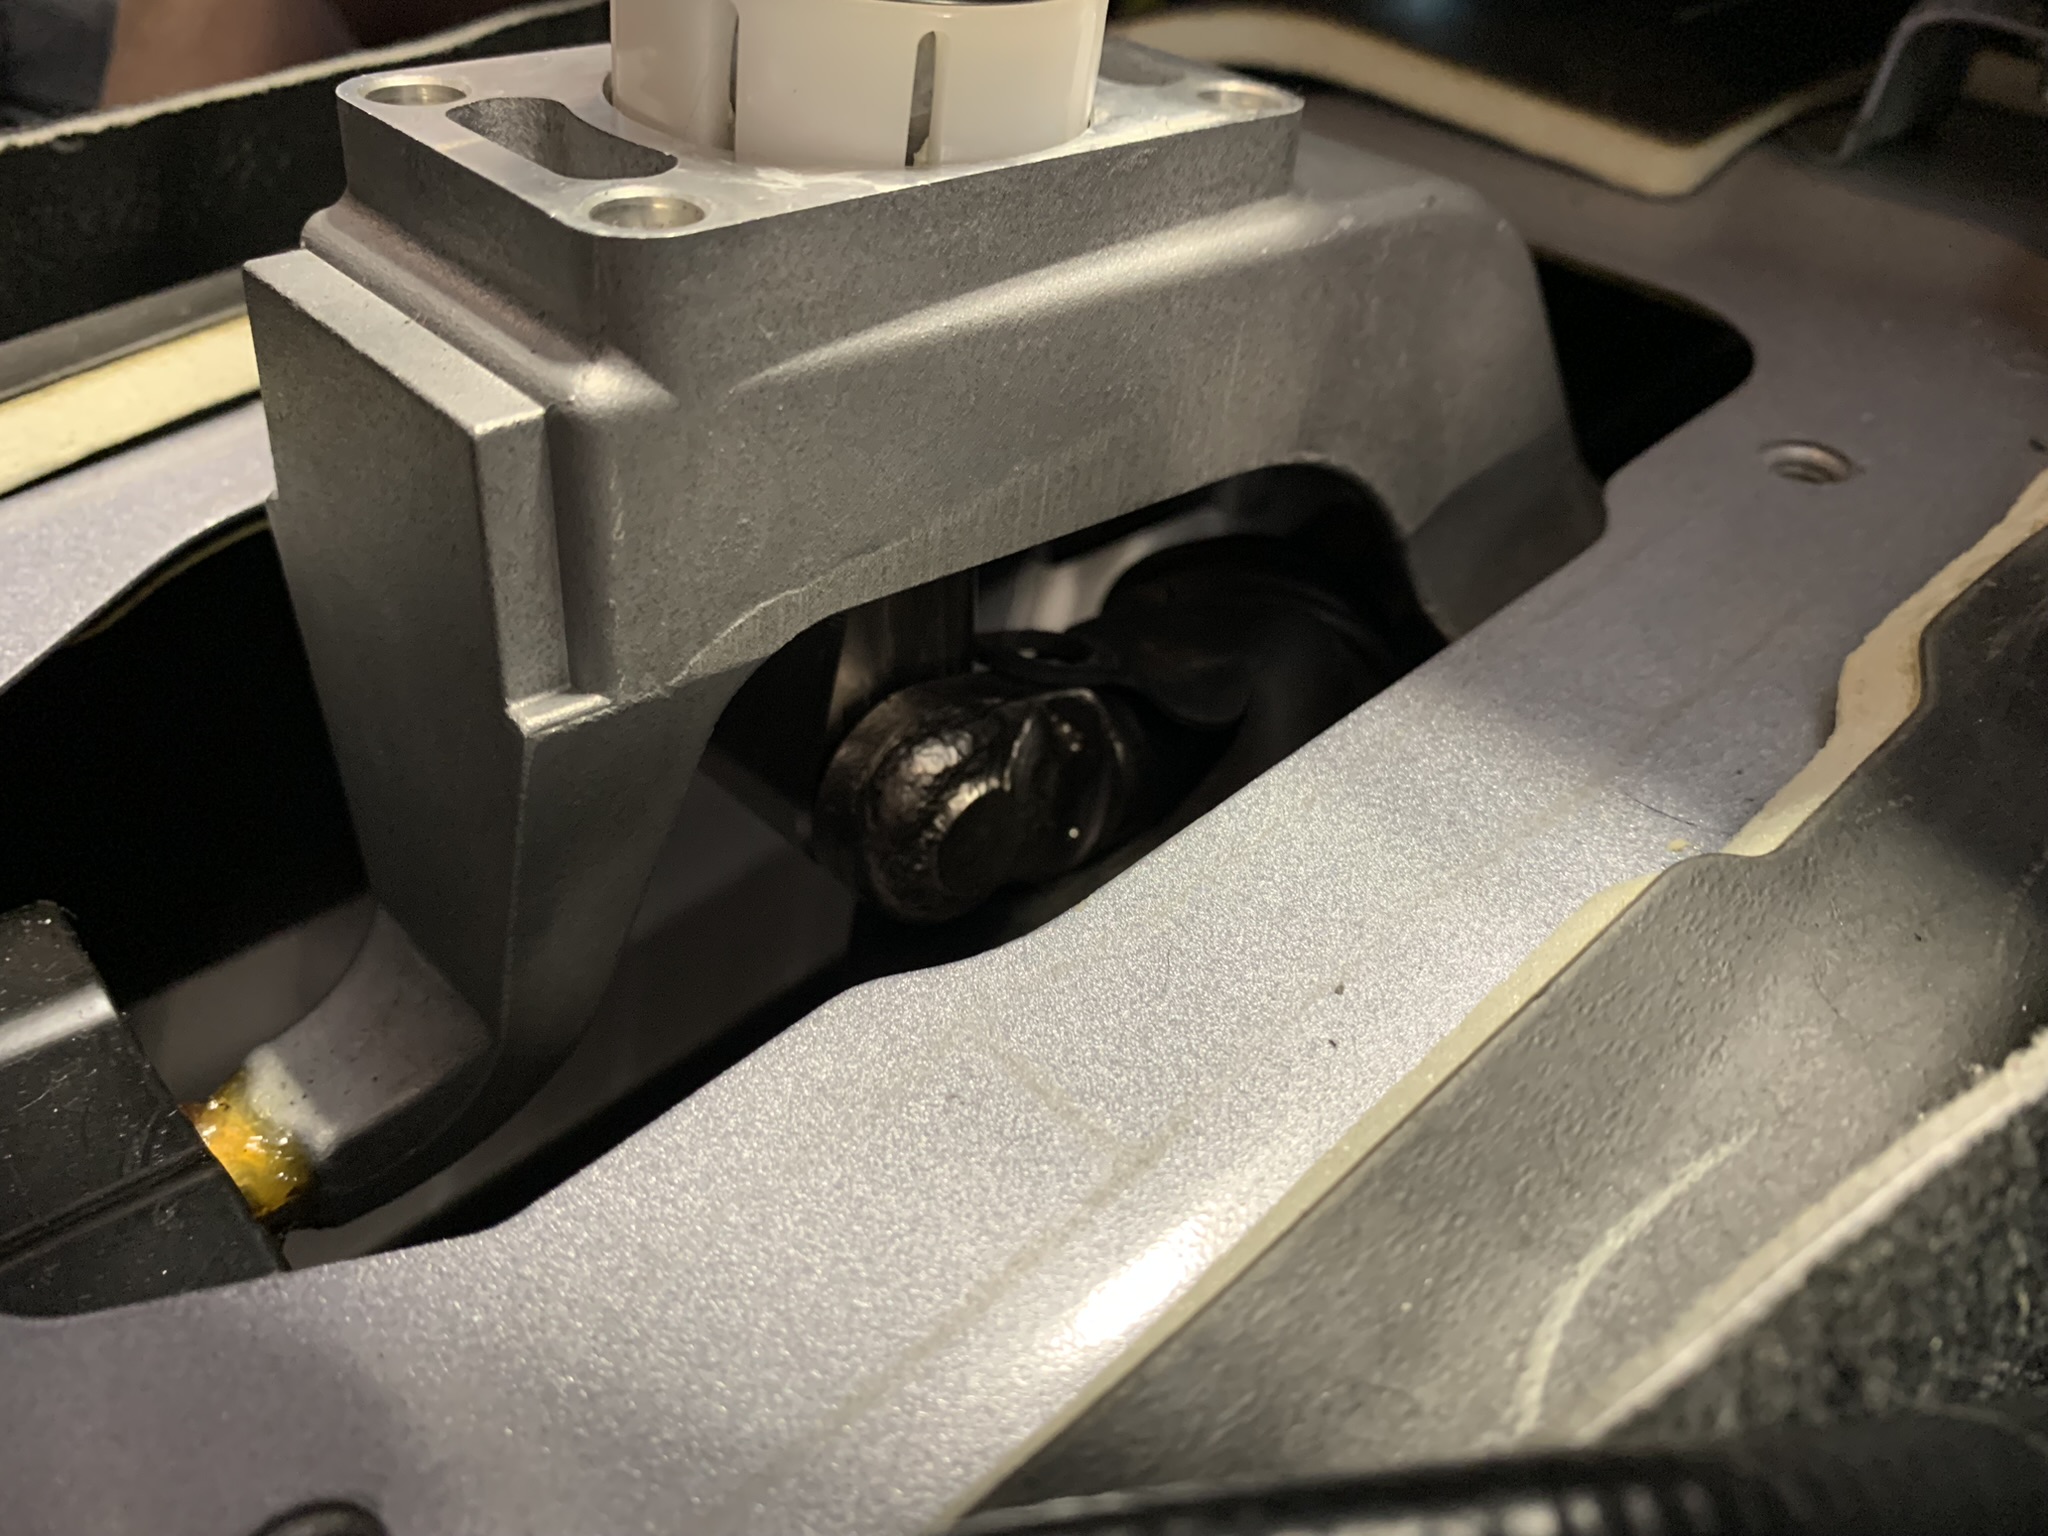
Ensure that the main pivot and the rubber gasket are lined up with each other then lower the CravenSpeed short shifter assembly down into the shifter mount. If everything is lined up with no binding, the top of the white plastic main pivot bushing should just barely protrude above the flat top surface of the mount.
Note: Orientation of the shifter is critical in this step. The flat, vertical side of the lower pivot must be directed towards the front of the car. Additionally, the flat side of the spring collar (with the set screw) must be facing the left side of the vehicle.
-
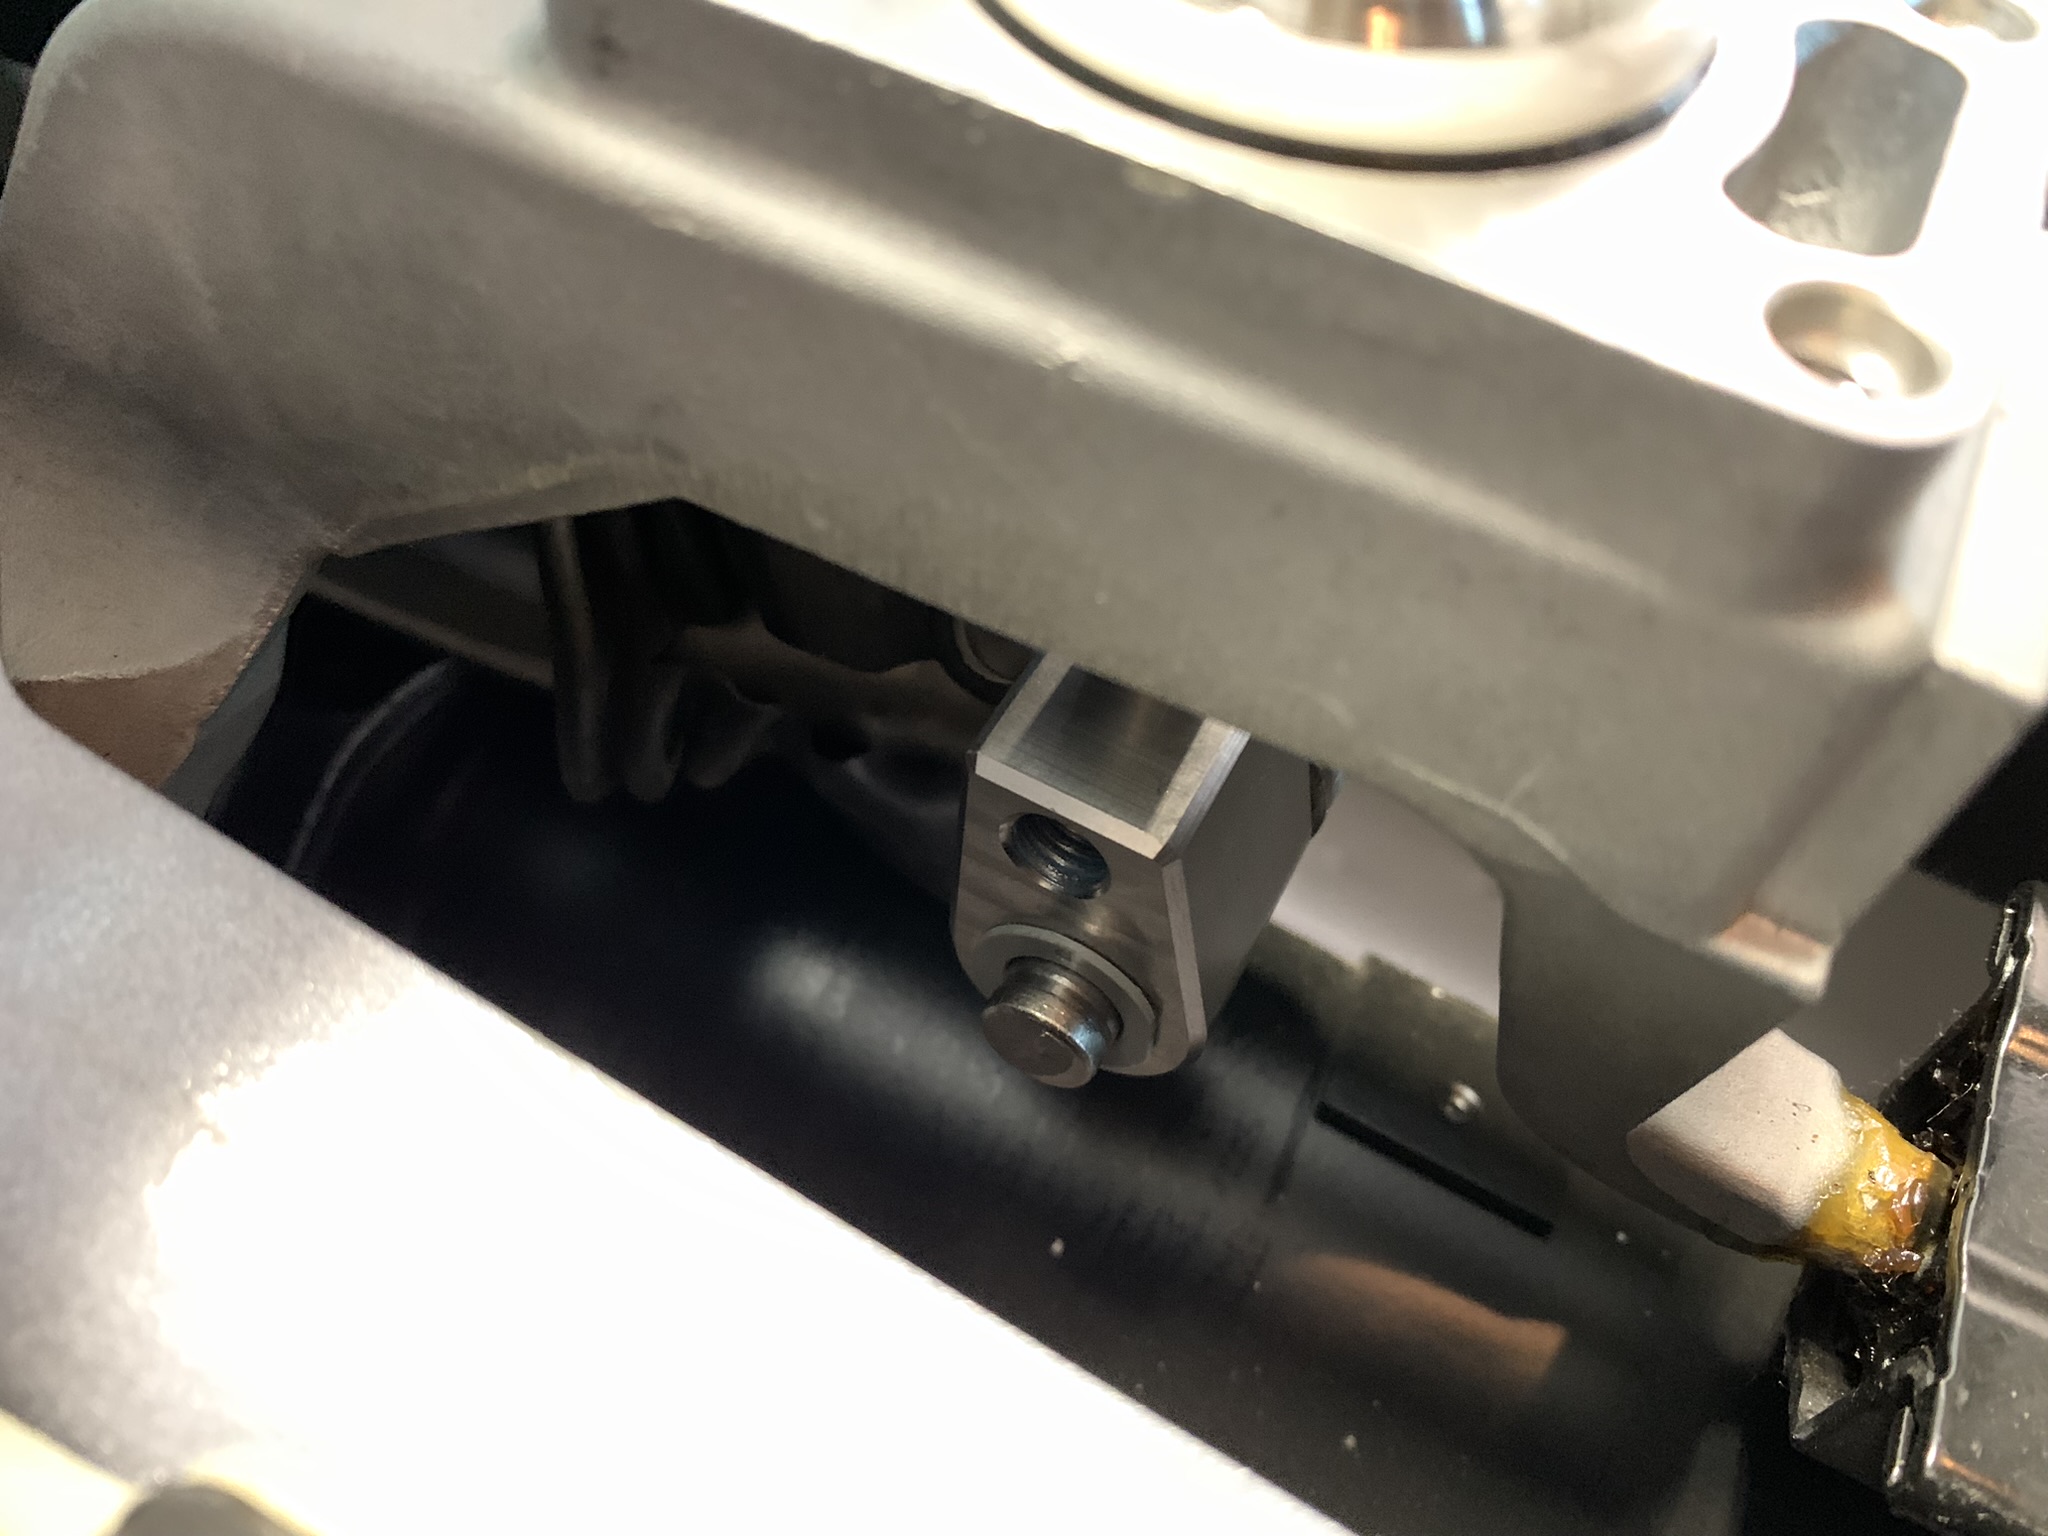
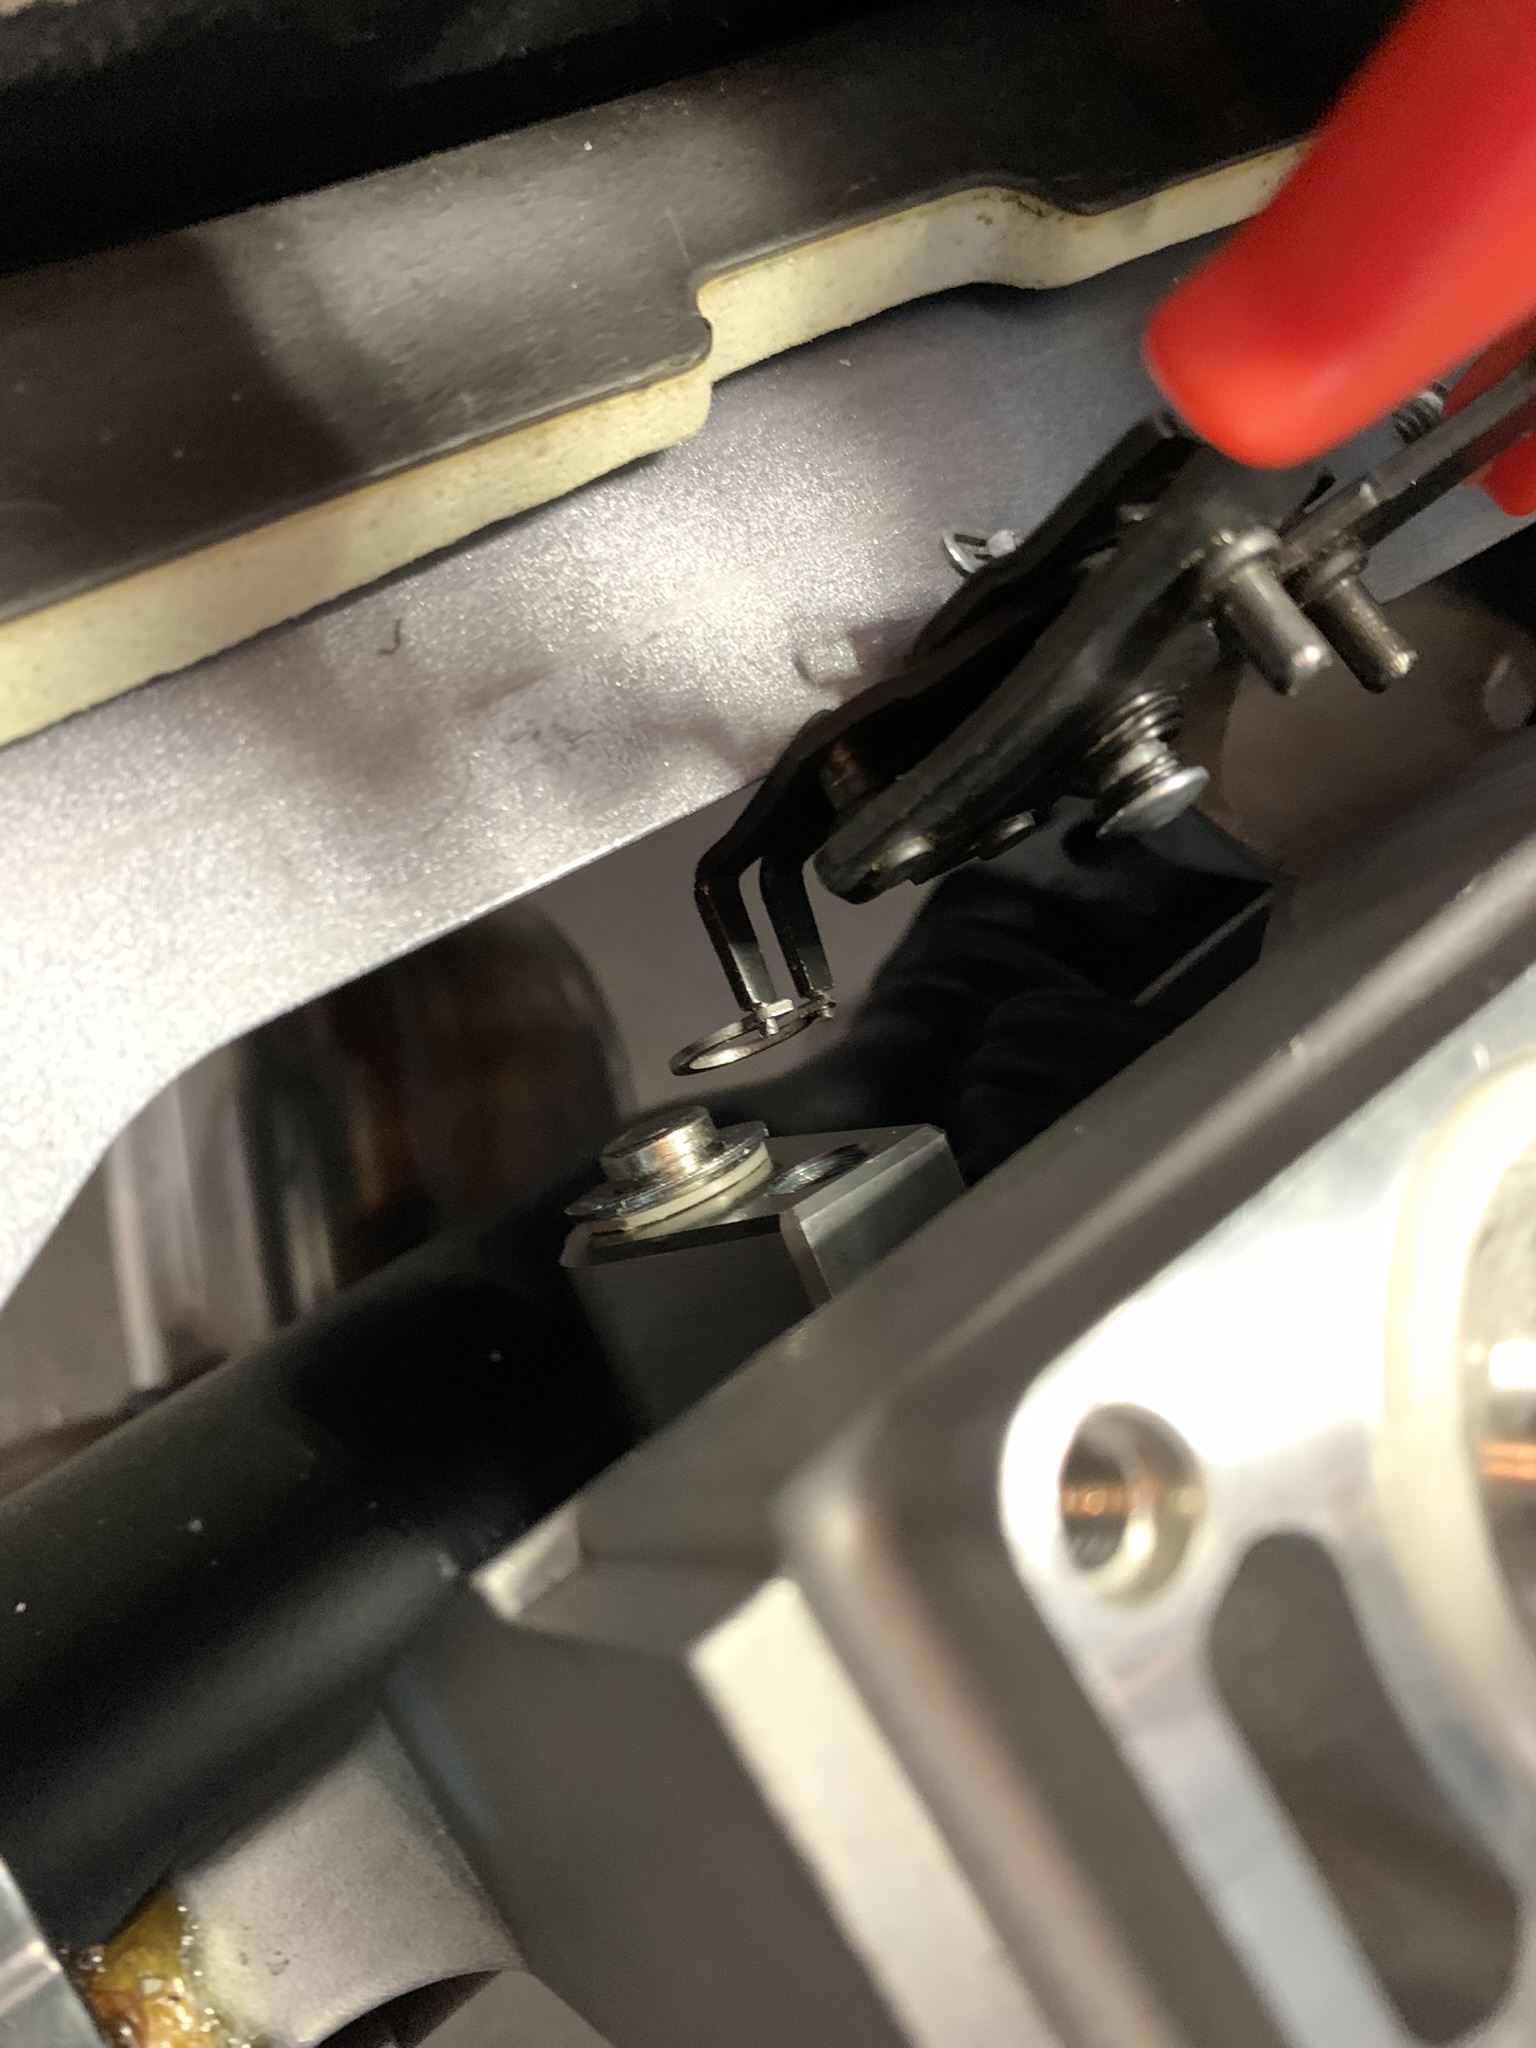
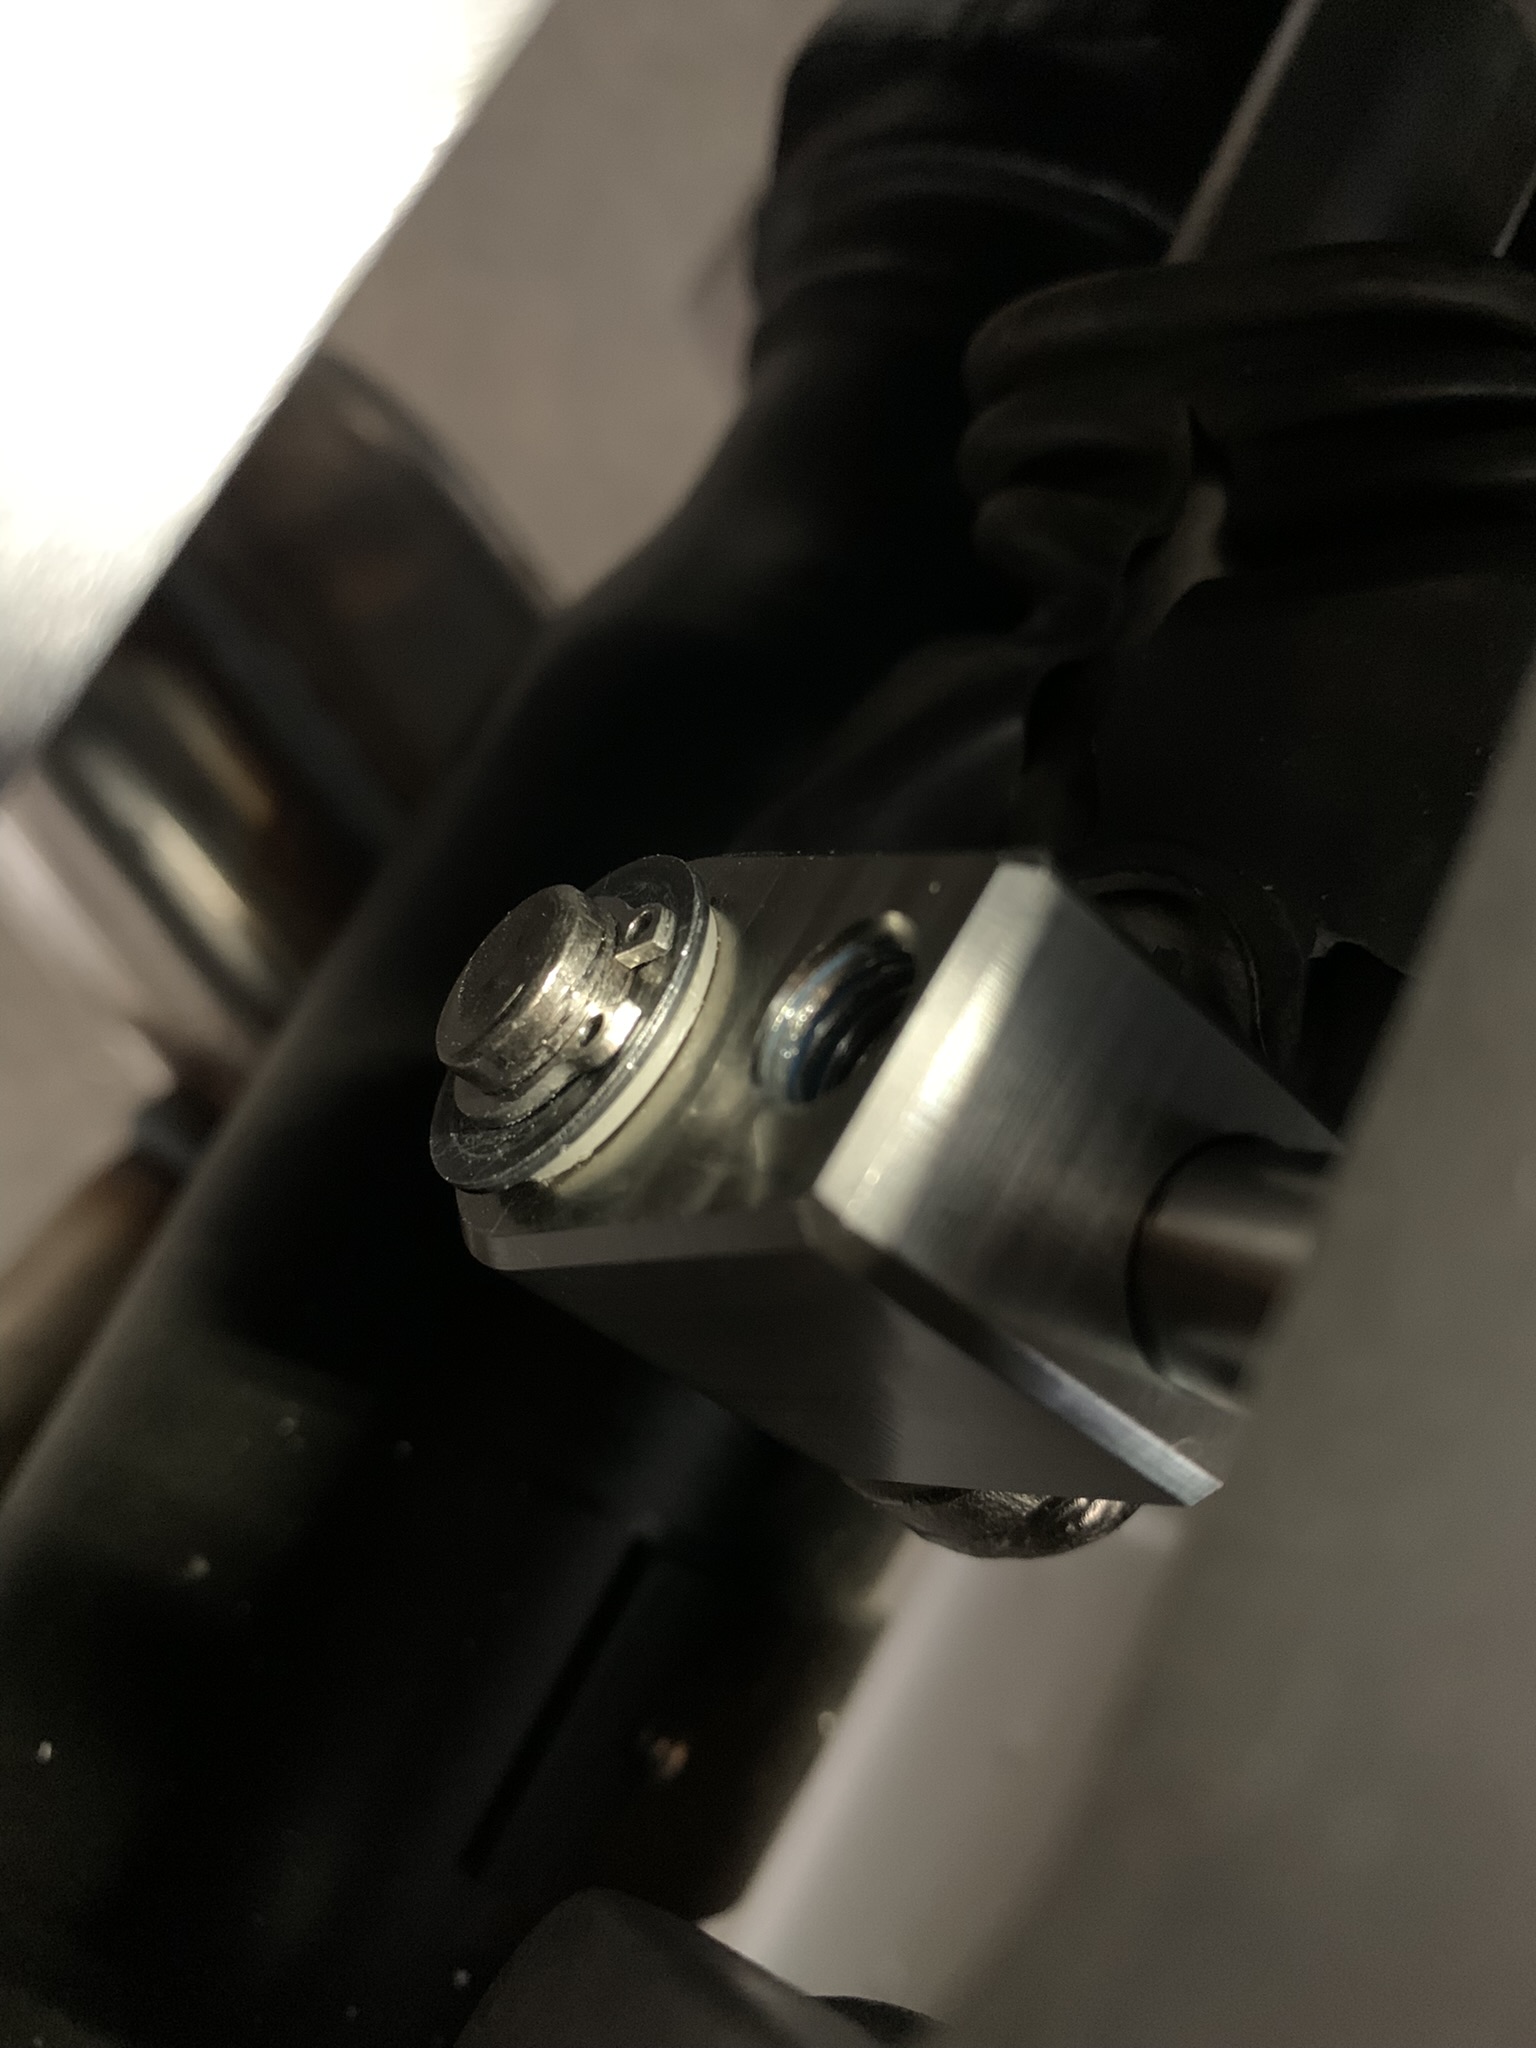
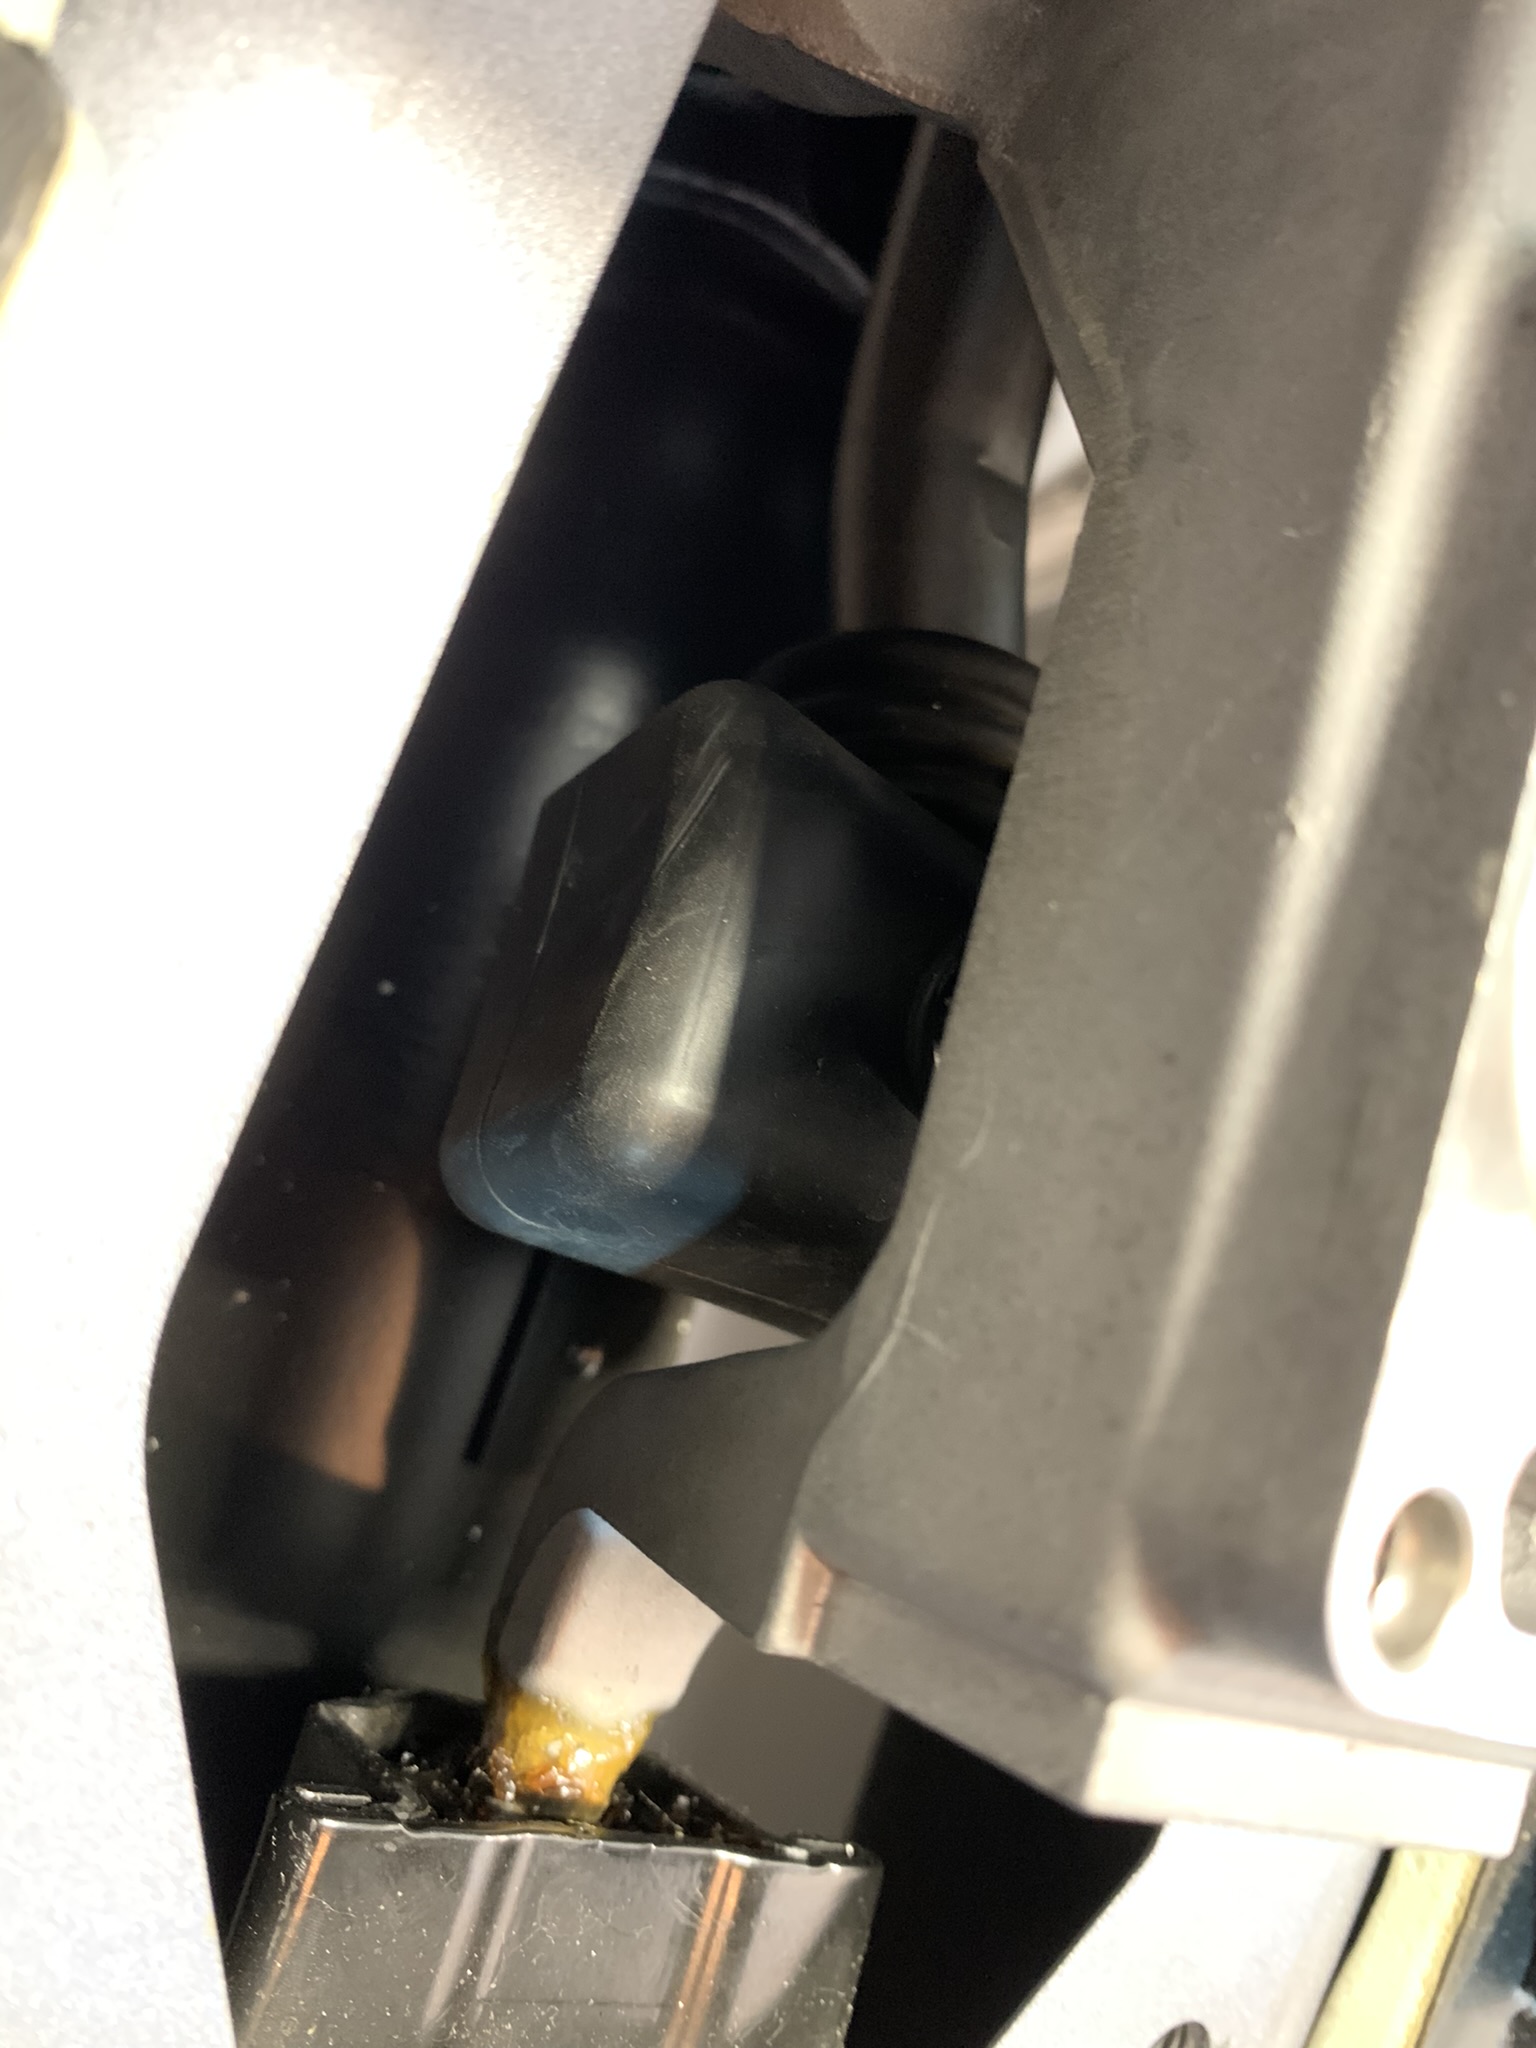
Install the shift rod linkage pin through the bottom pivot of the CravenSpeed short shifter making sure that the top hat bushings stay fully seated. Add the washer and then the snap ring. Confirm that the snap ring is fully seated into the groove on the connection pin.
-
Reinstall the rubber boot that covers the lower shifter pivot/linkage connection.
-
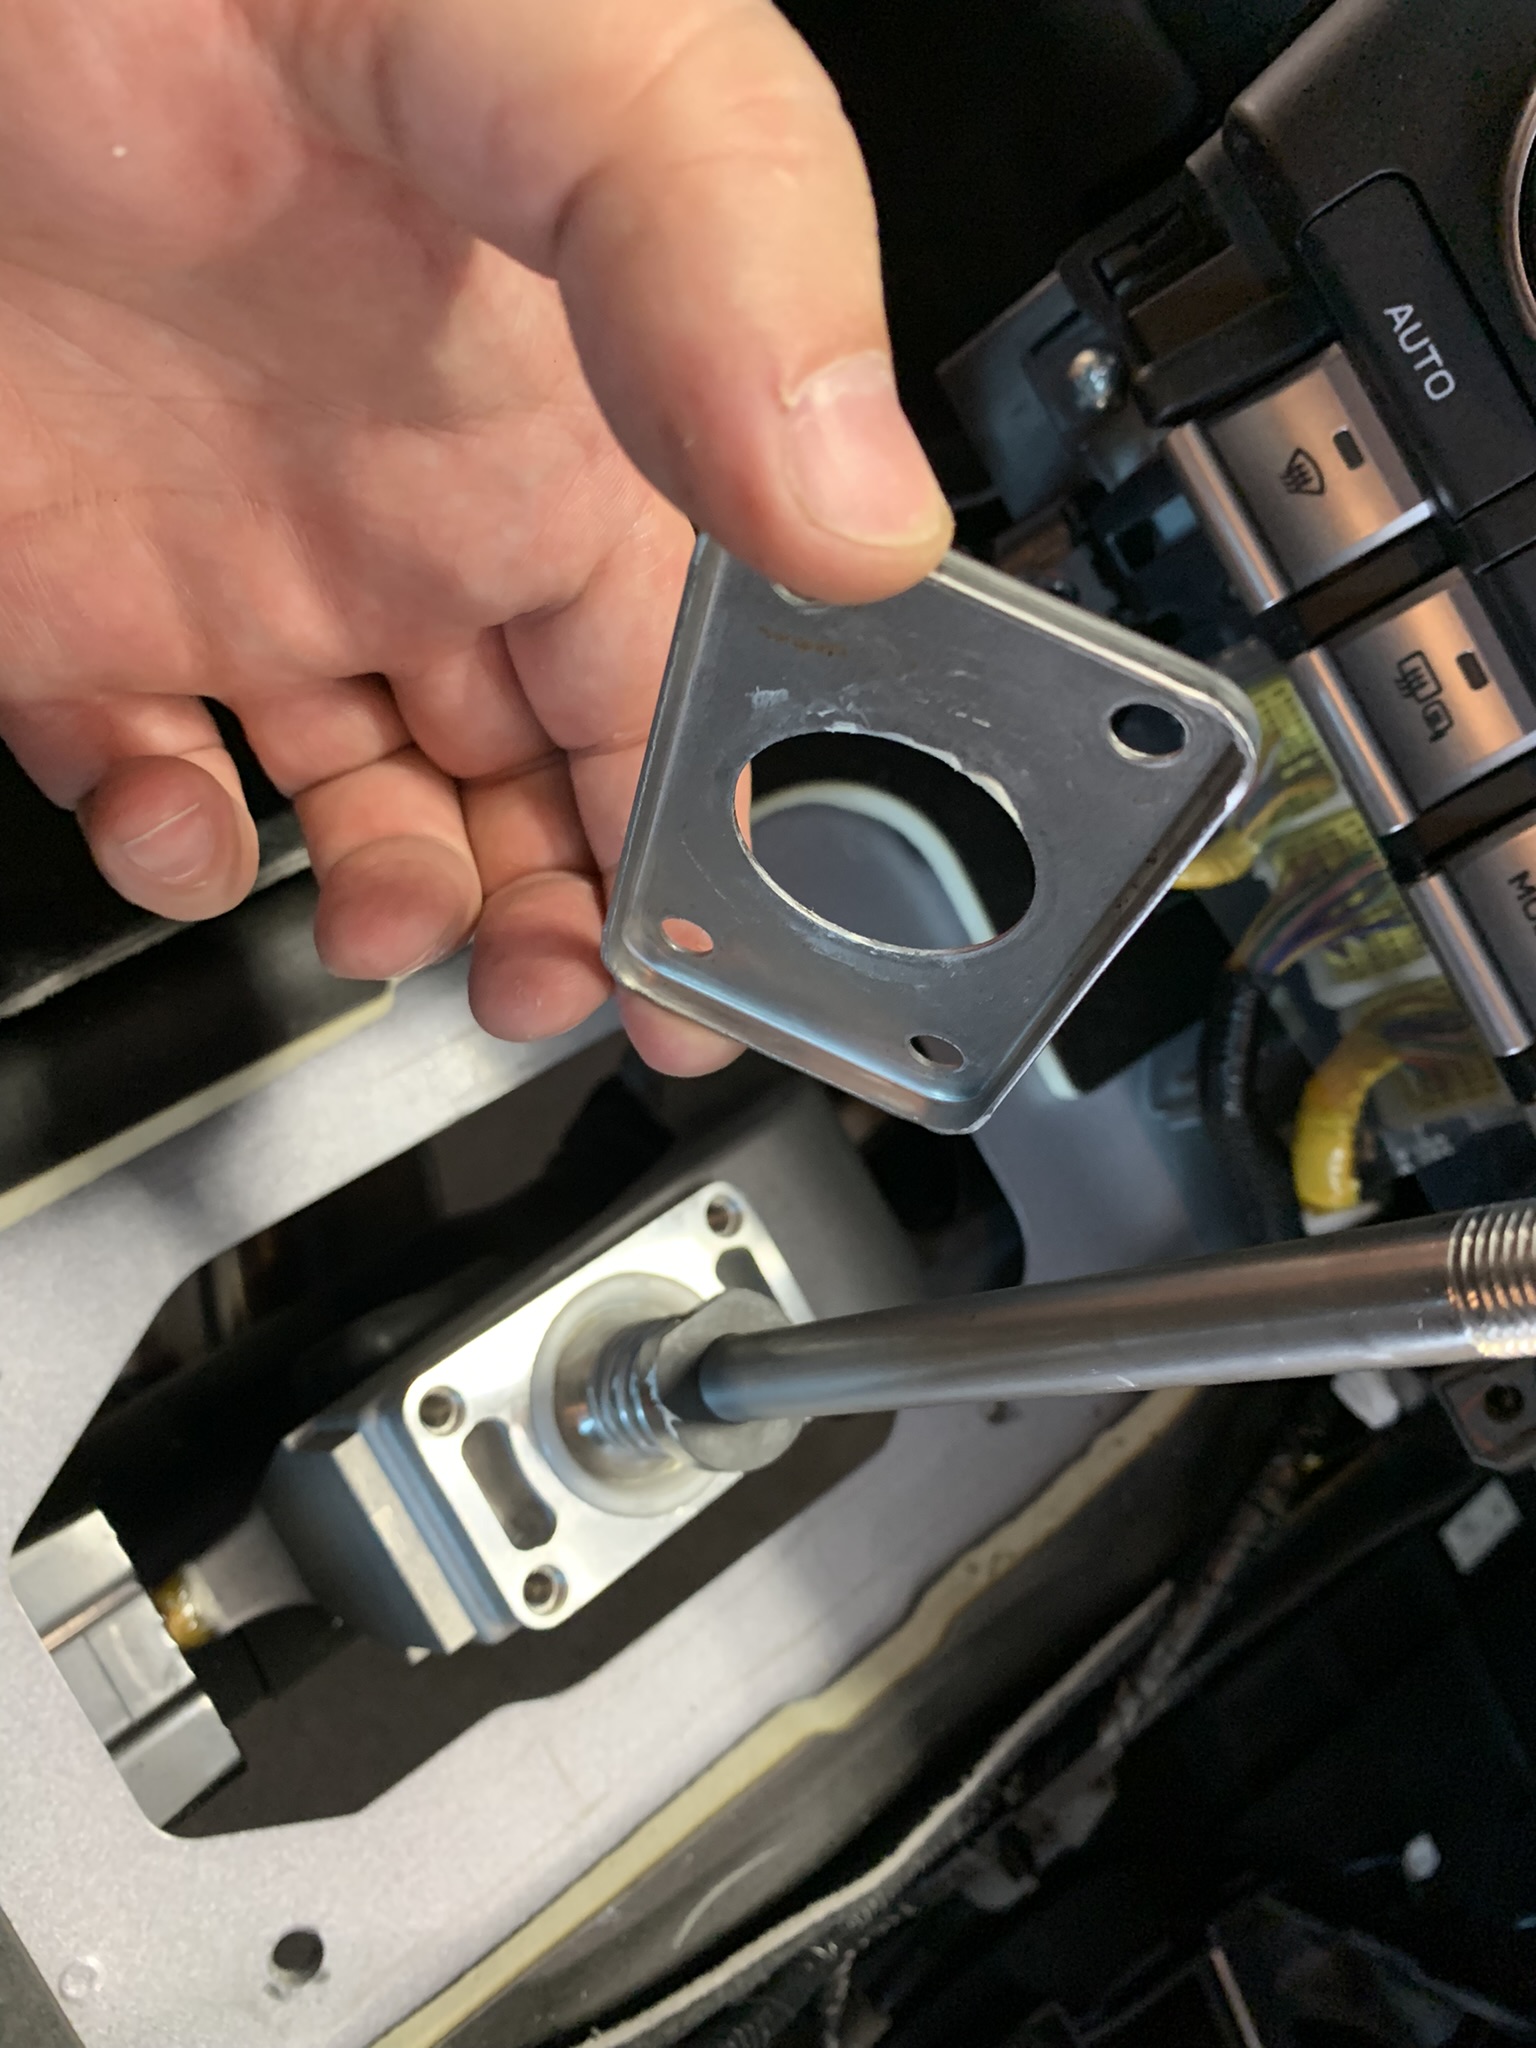
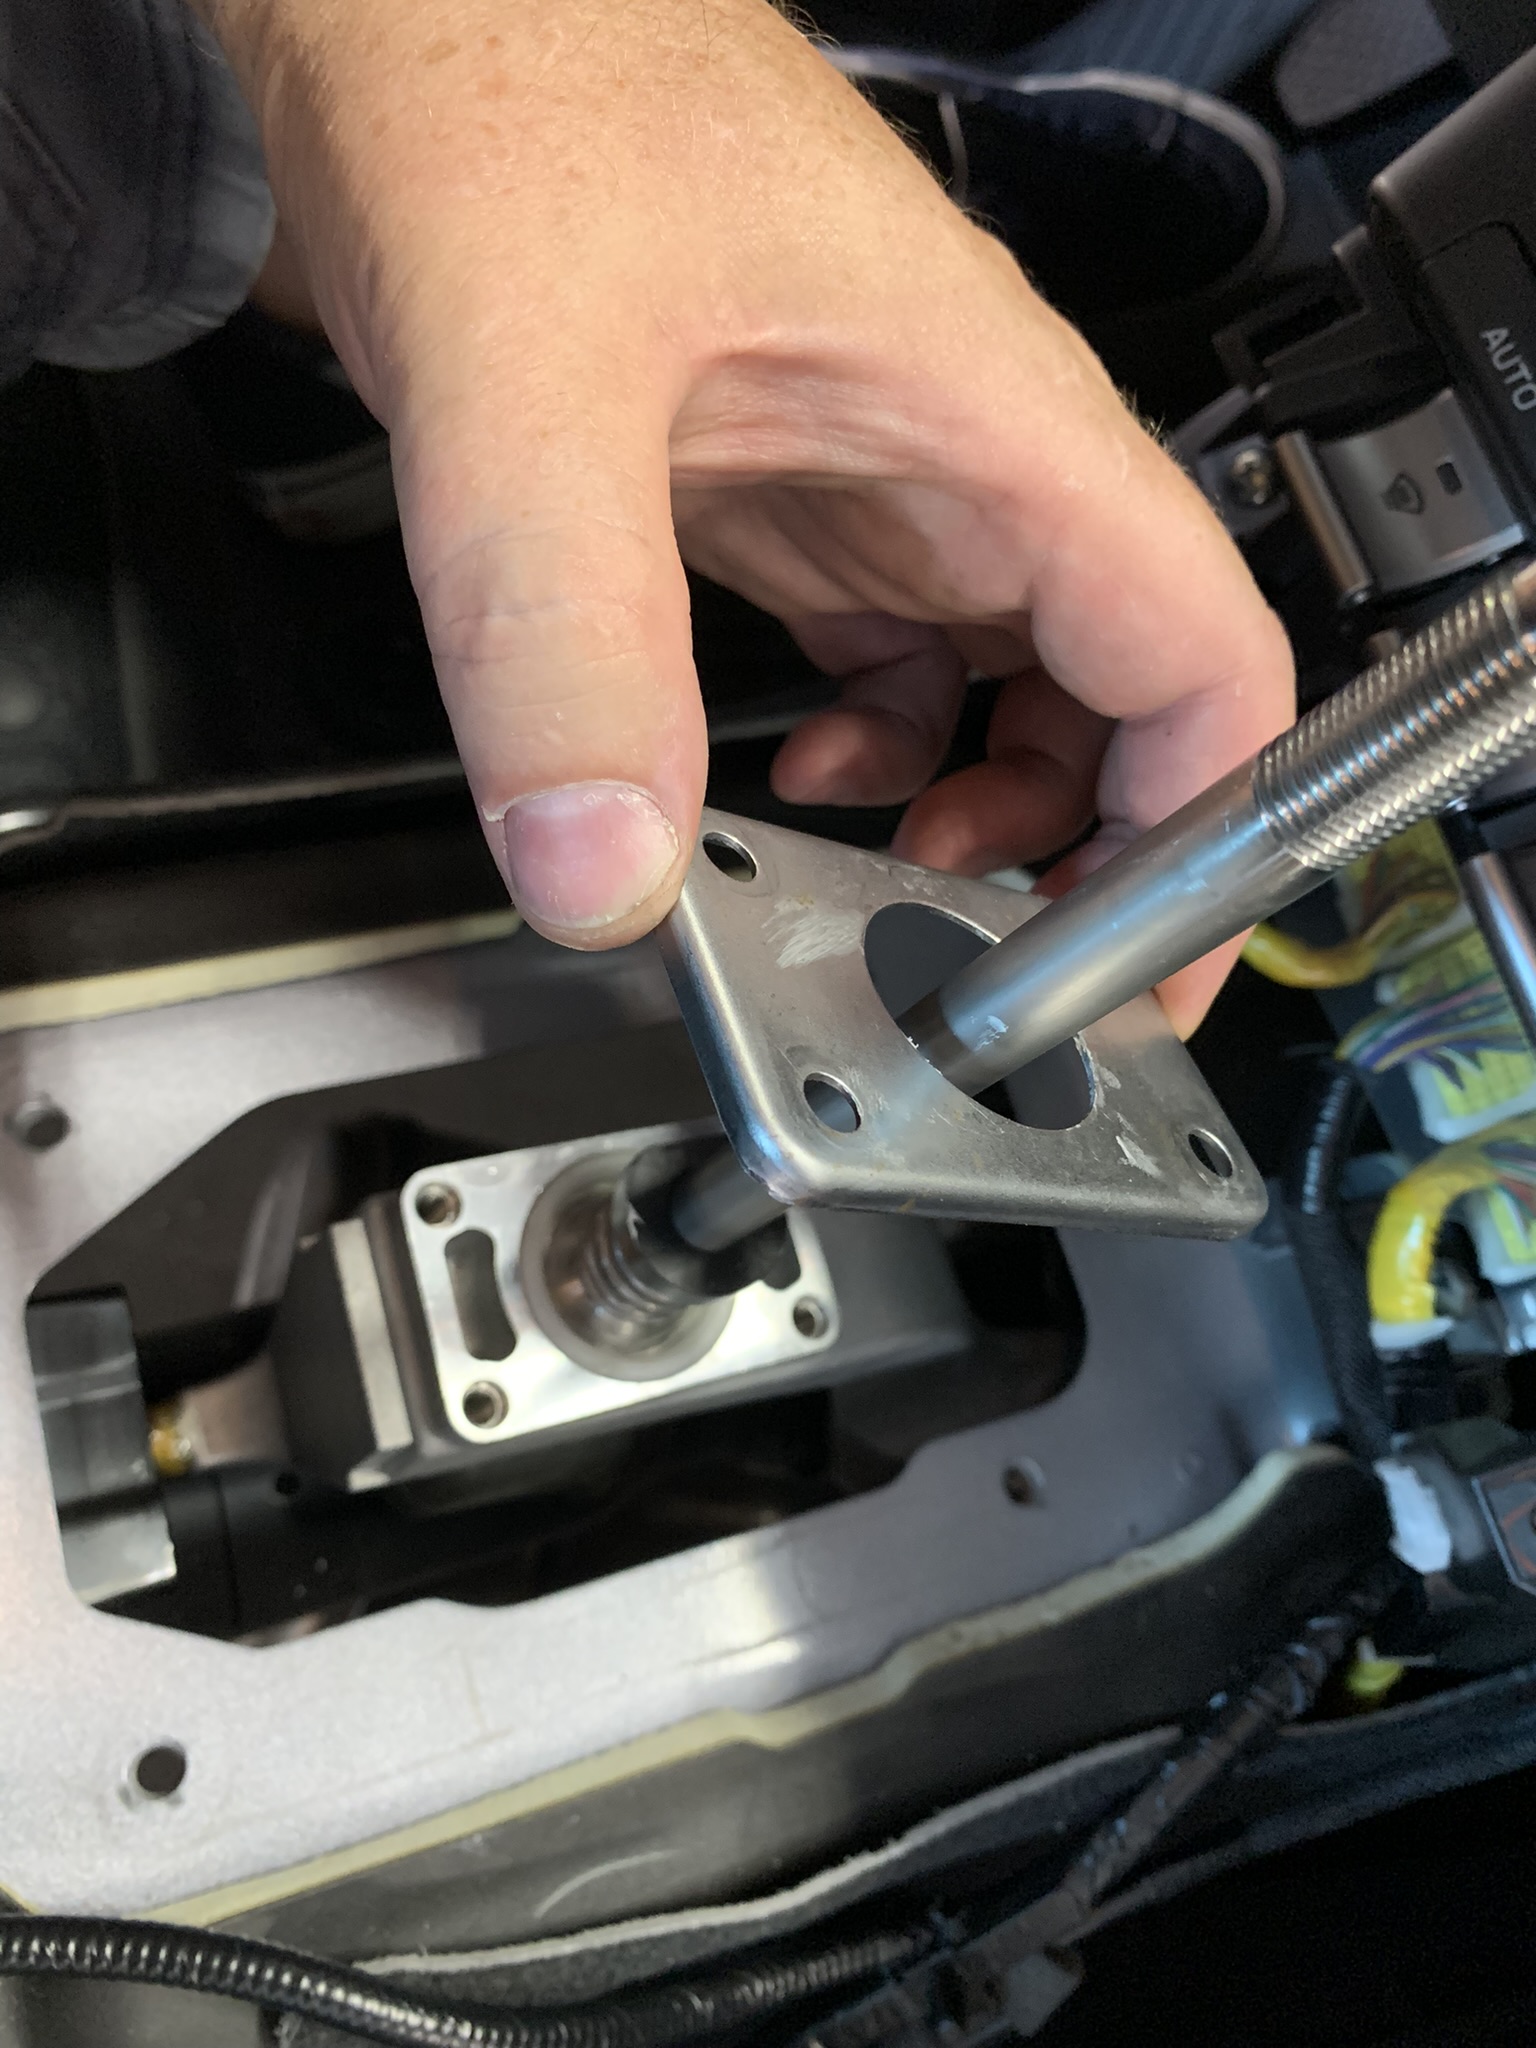
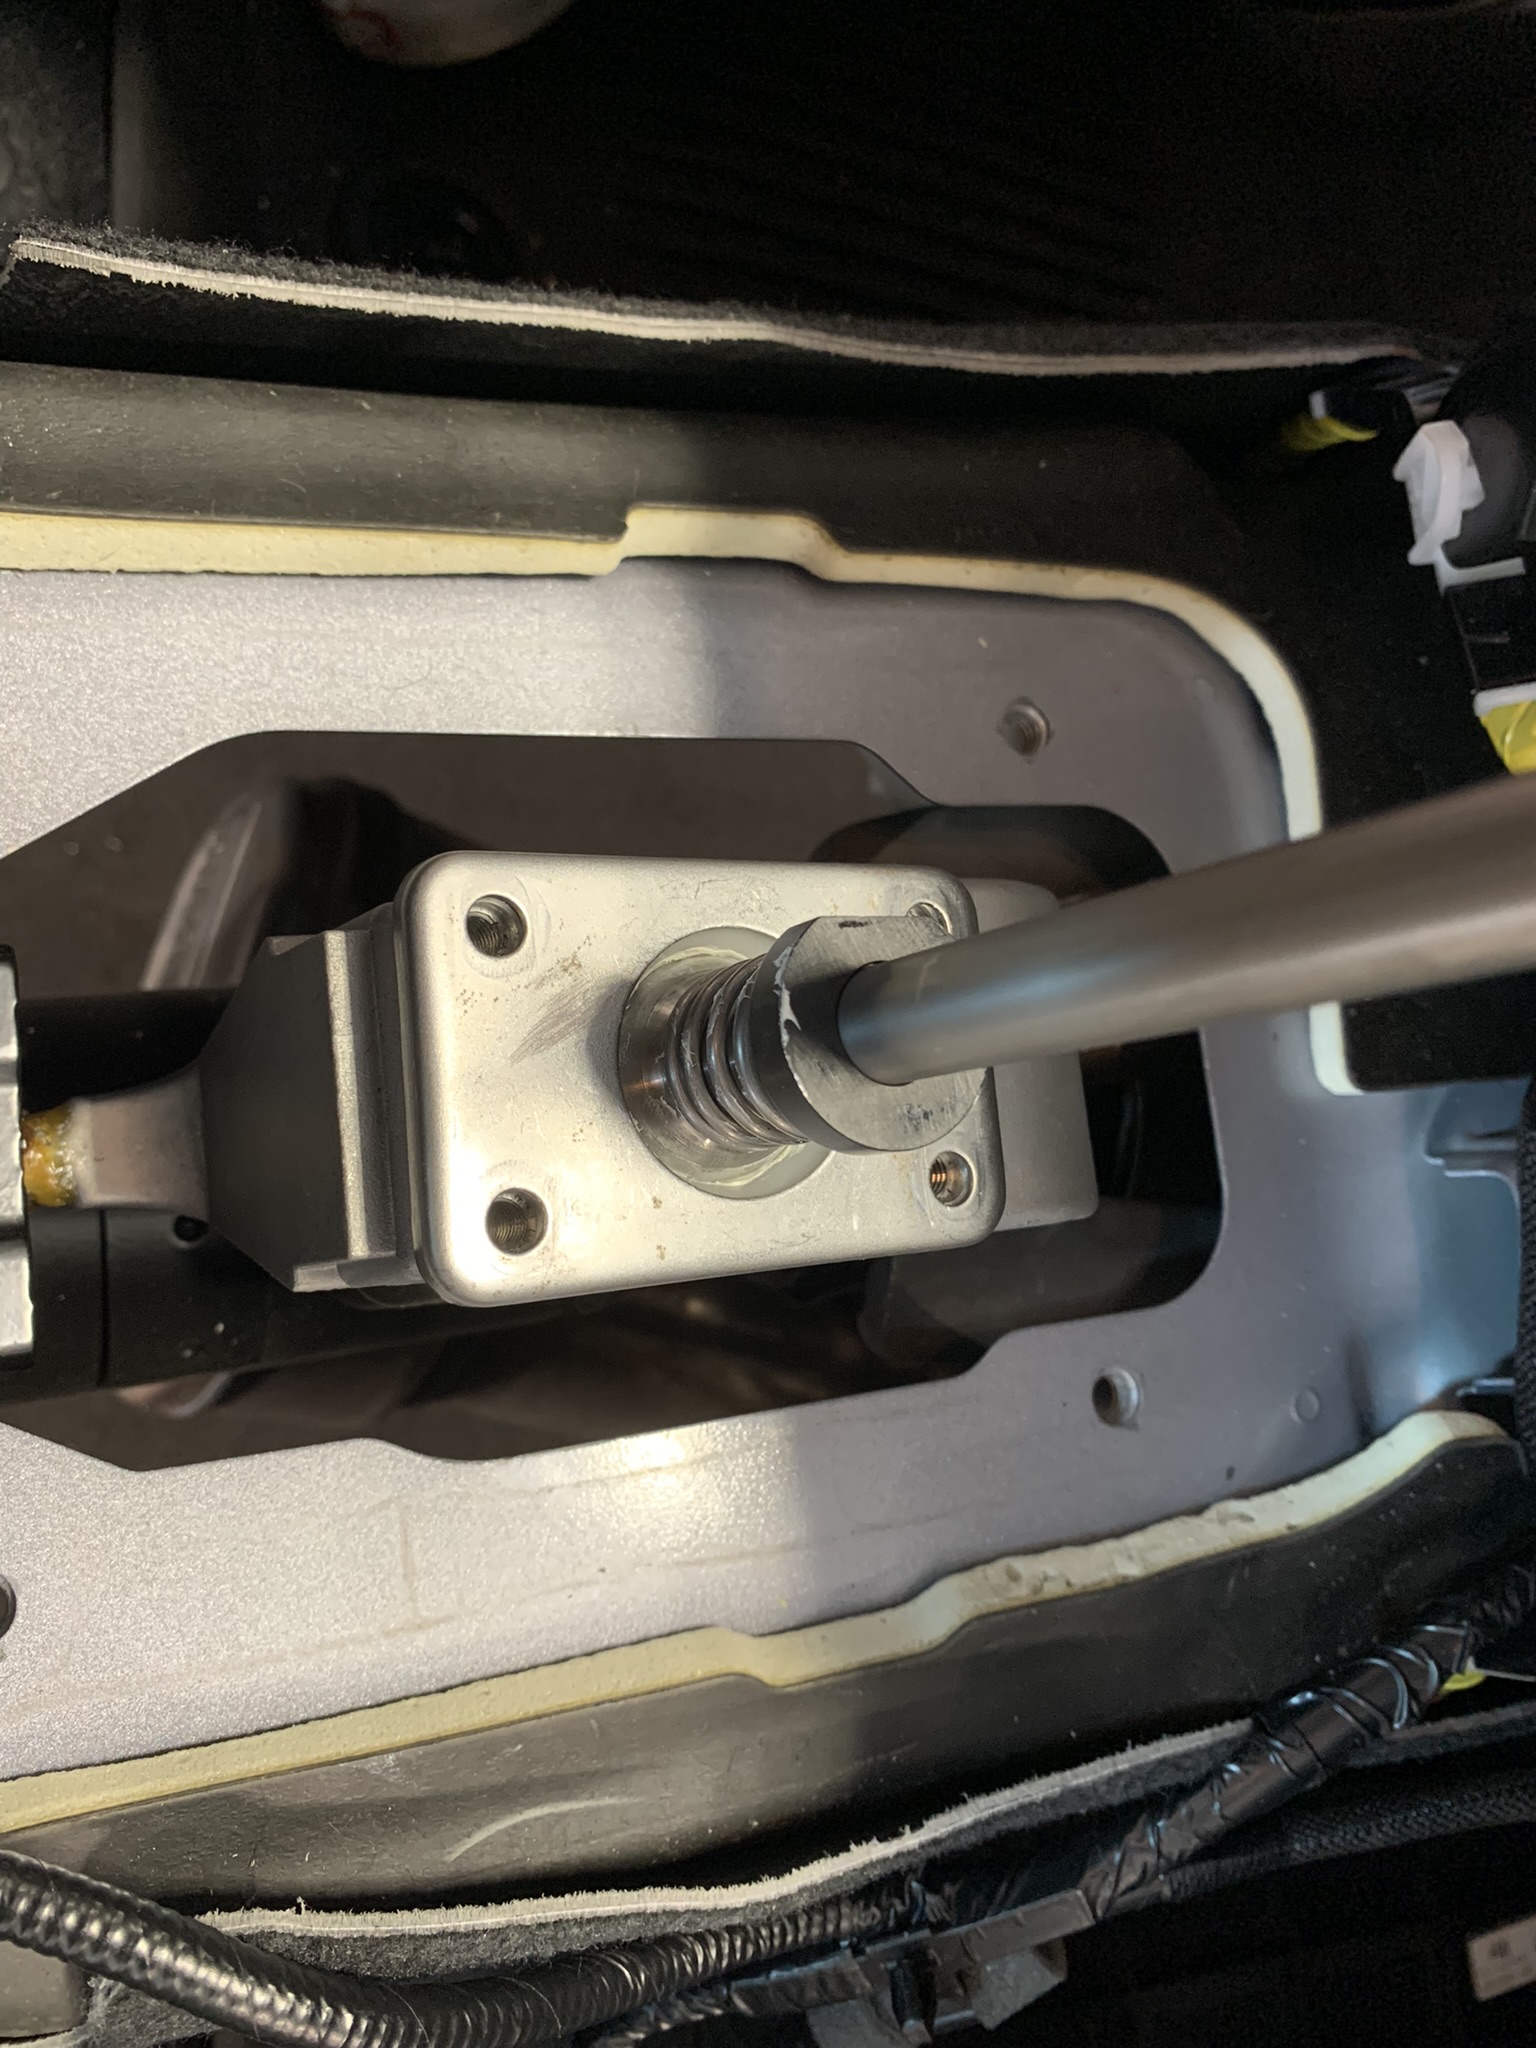
Take the rectangular plate we removed from the factory shift assembly and install it over the CravenSpeed unit down to the flat surface of the shifter mount. Ensure that it's curved edges face down.
-
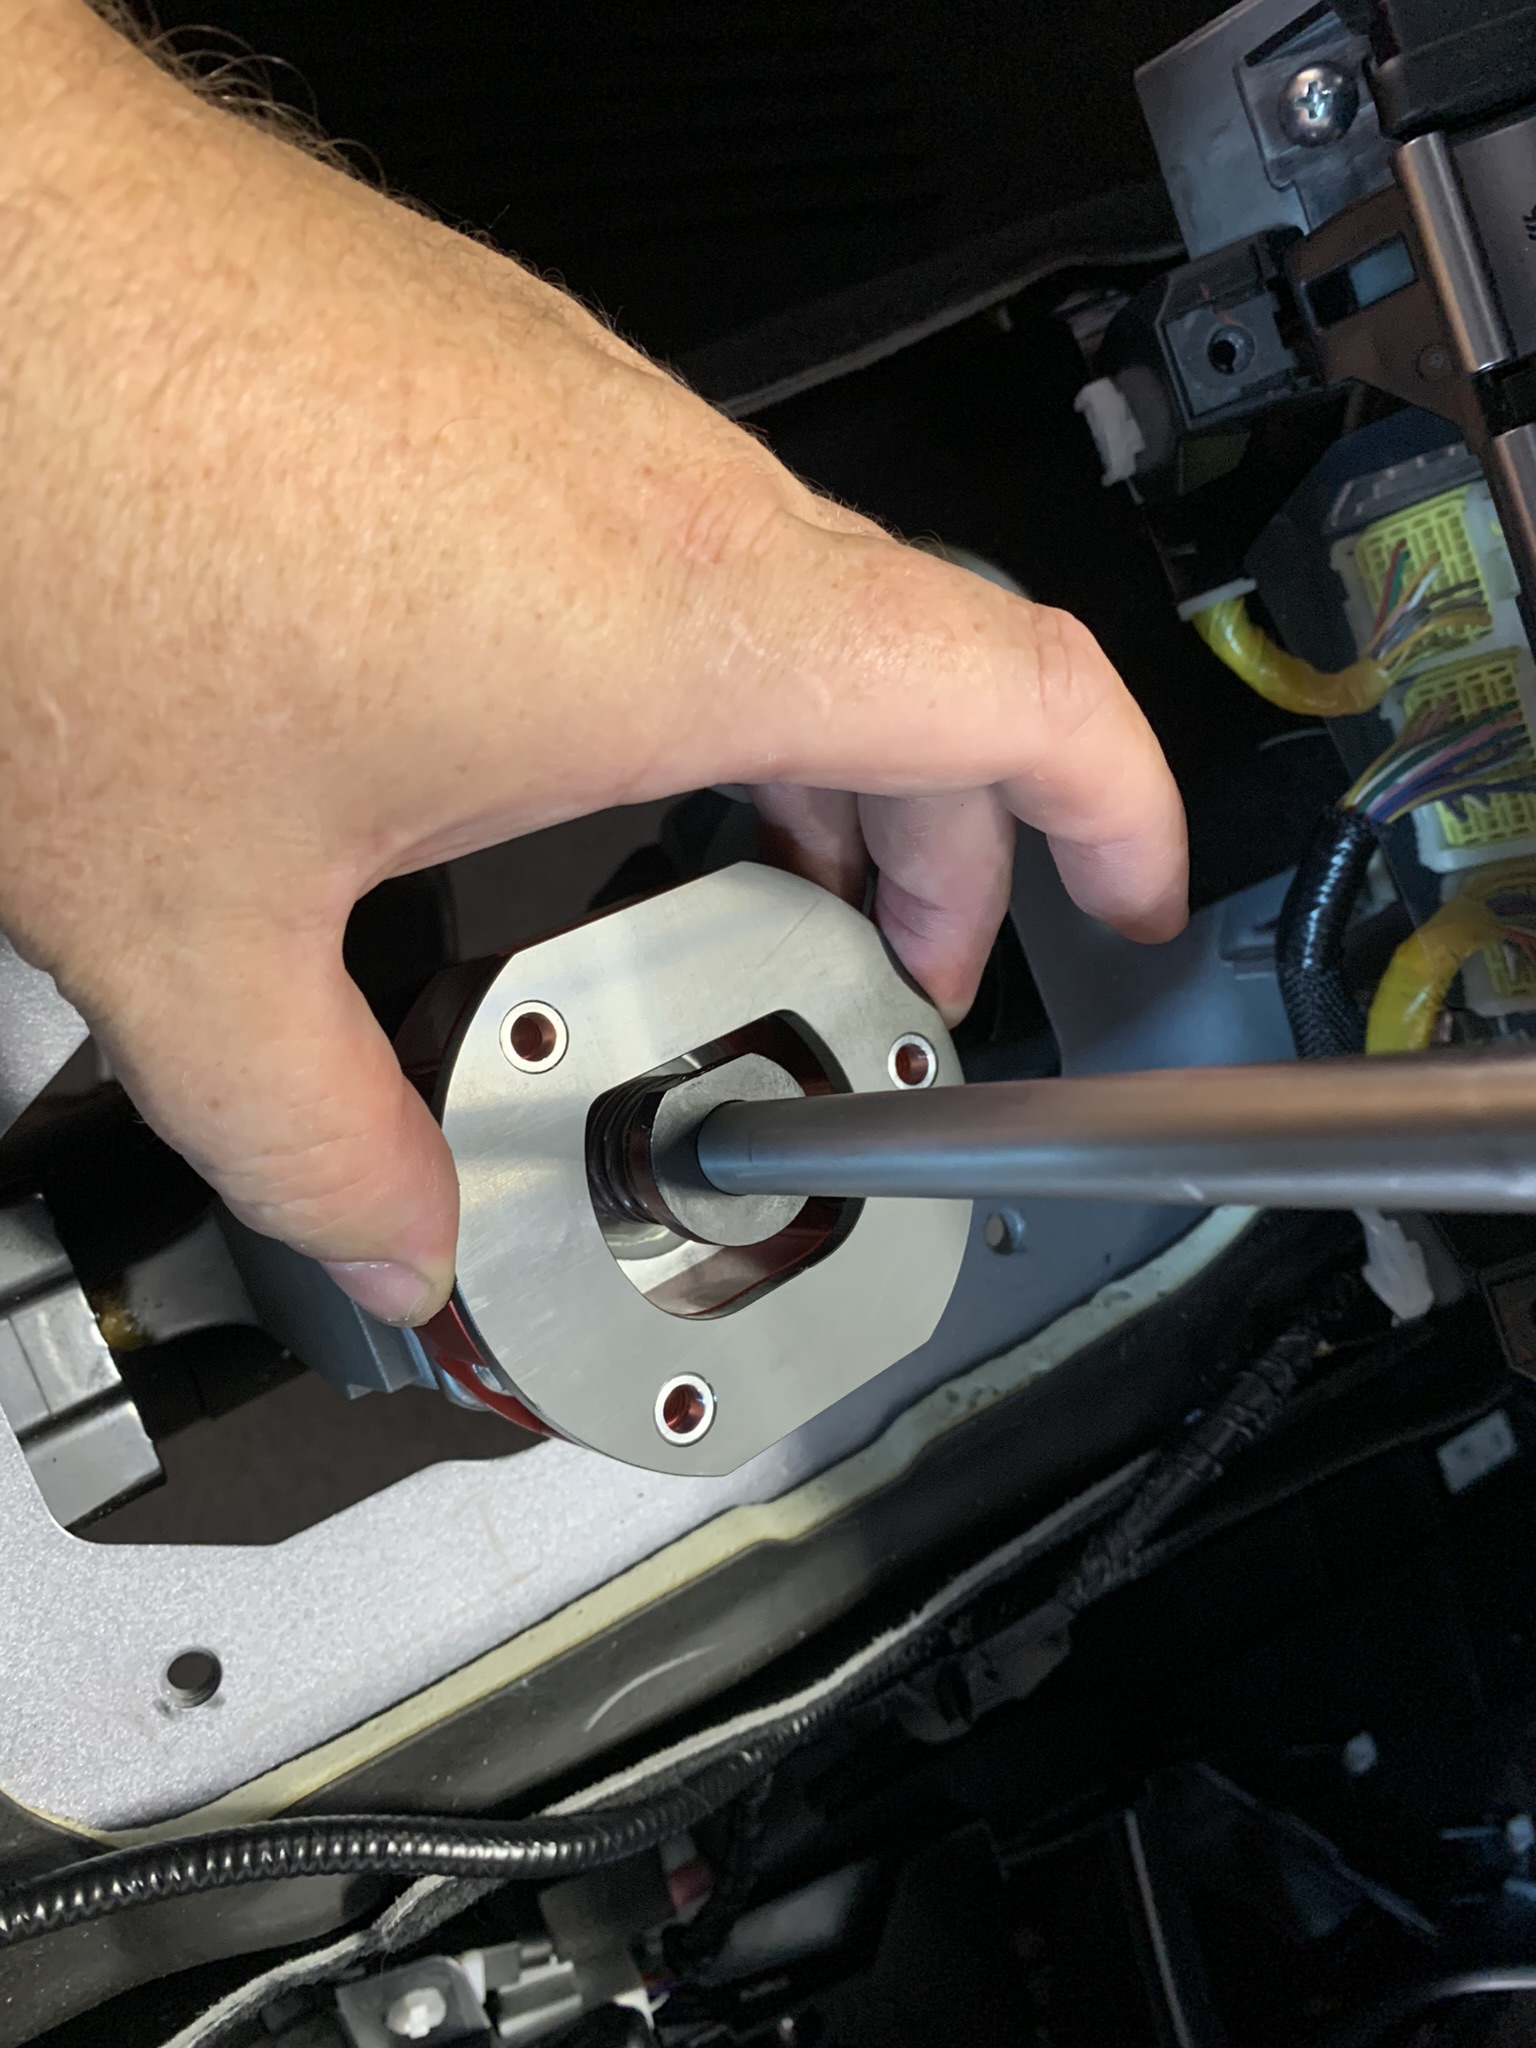
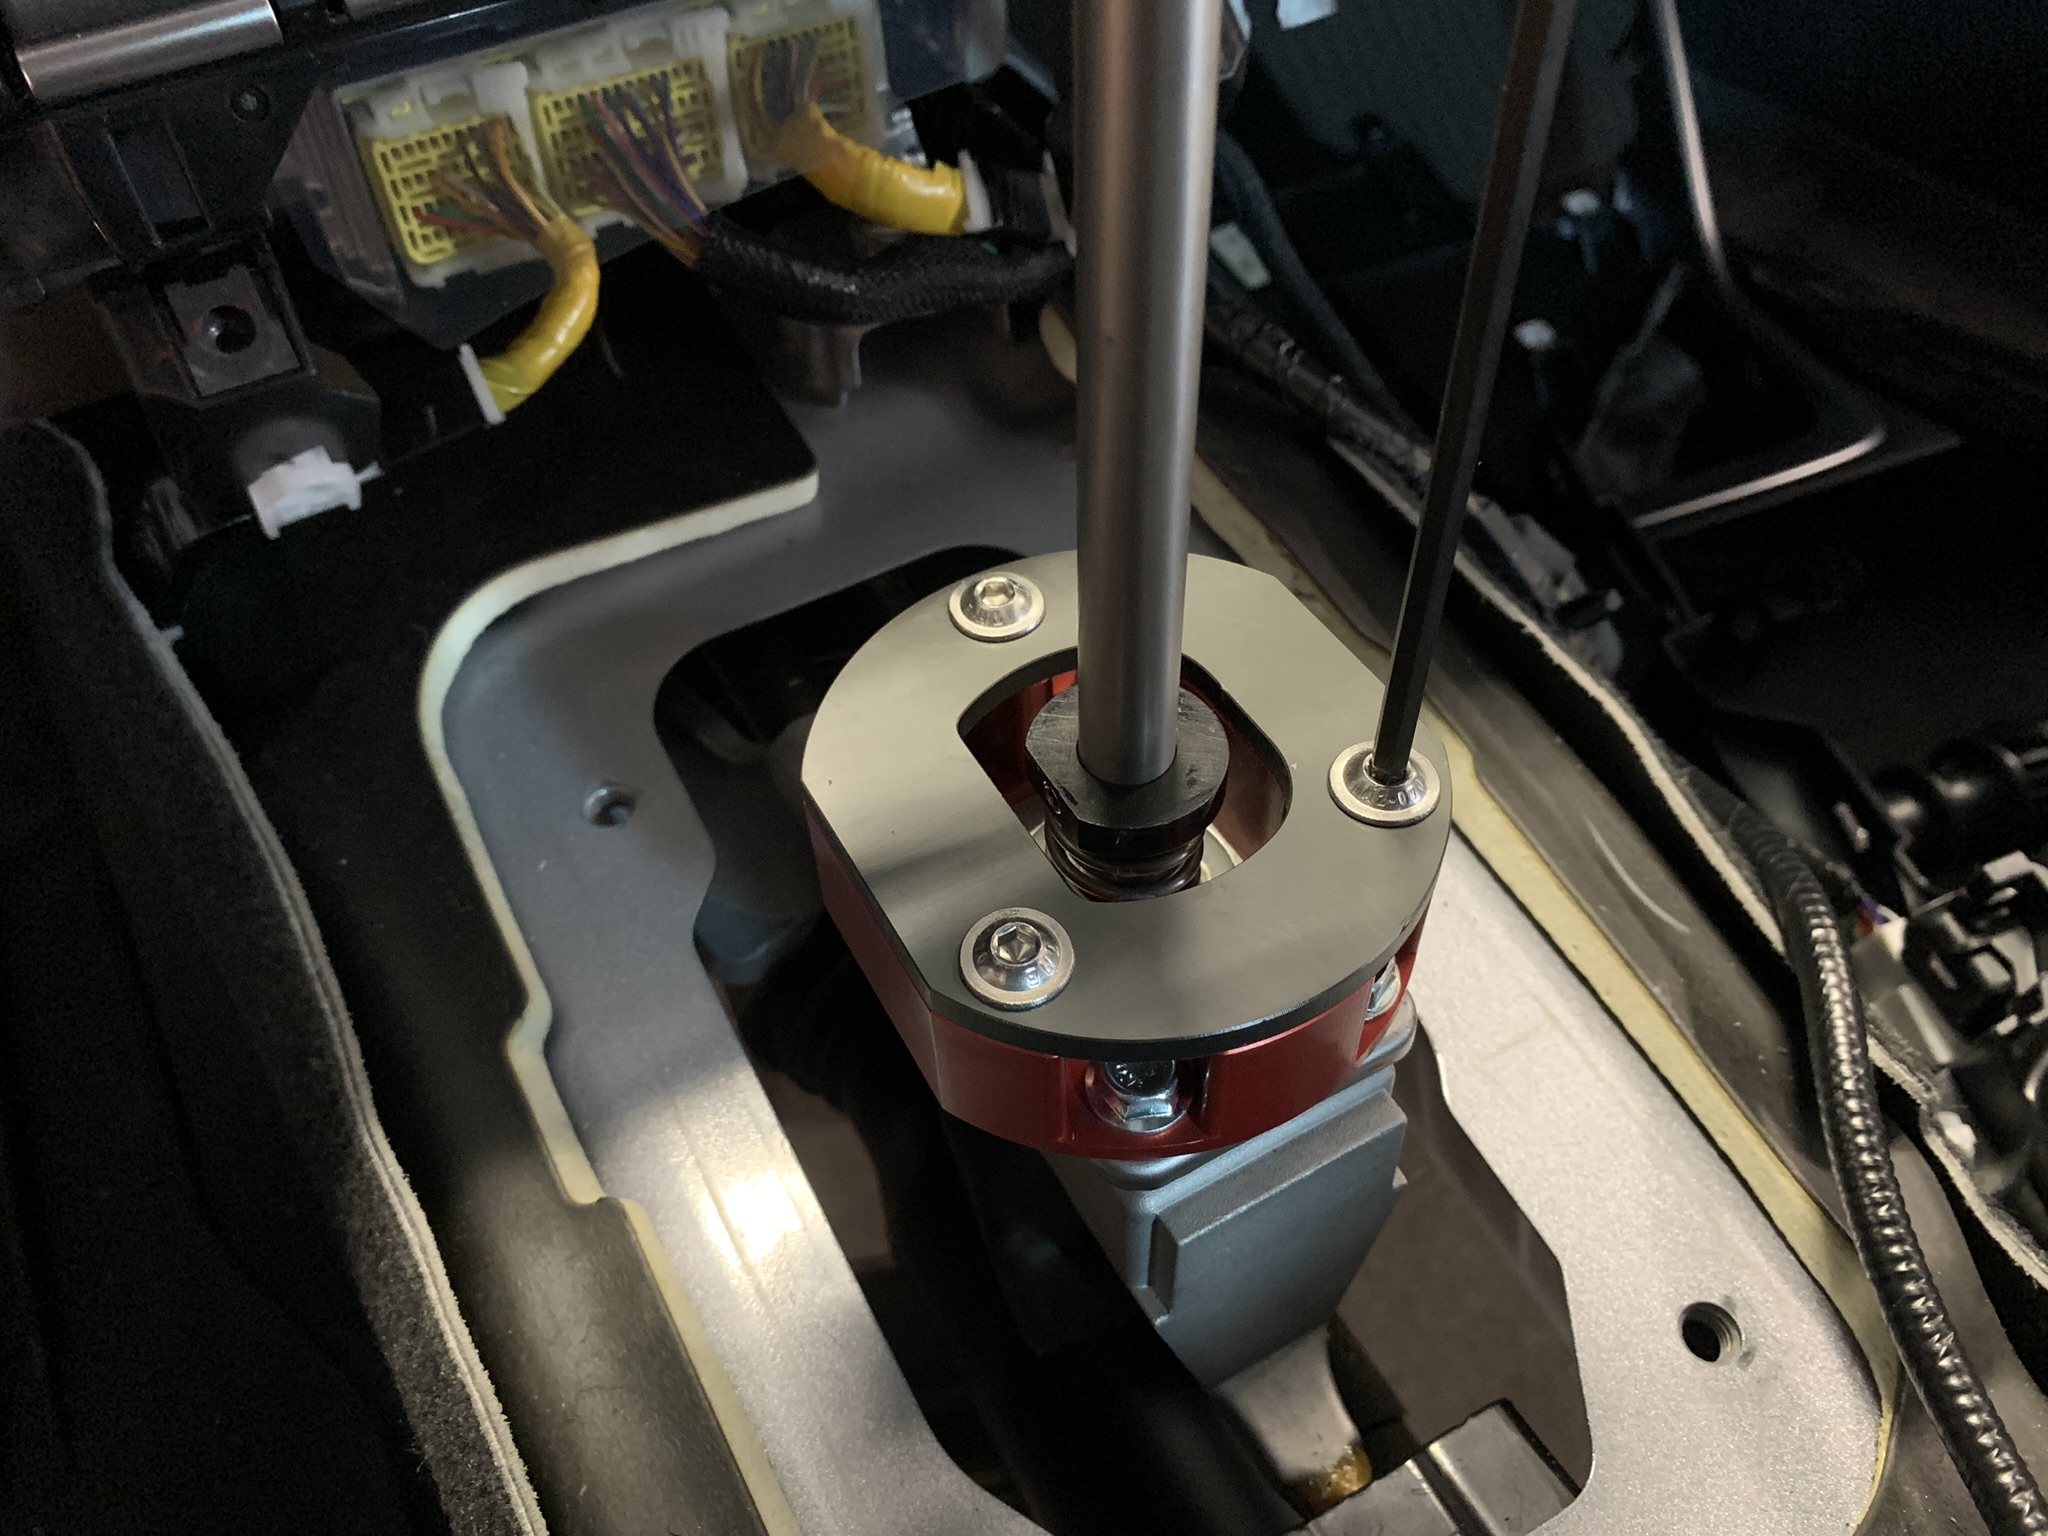
Next, install the red anodized lockout bracket into place, making certain that it's orientation has the long inner flat edge facing the left side of the car. Utilize the three (3) 10mm screws that originally held the factory lockout bracket into place and add the additional provided 10mm screw from the CS kit. Before tightening, push the red lockout bracket toward the left via the oblong holes in the base.
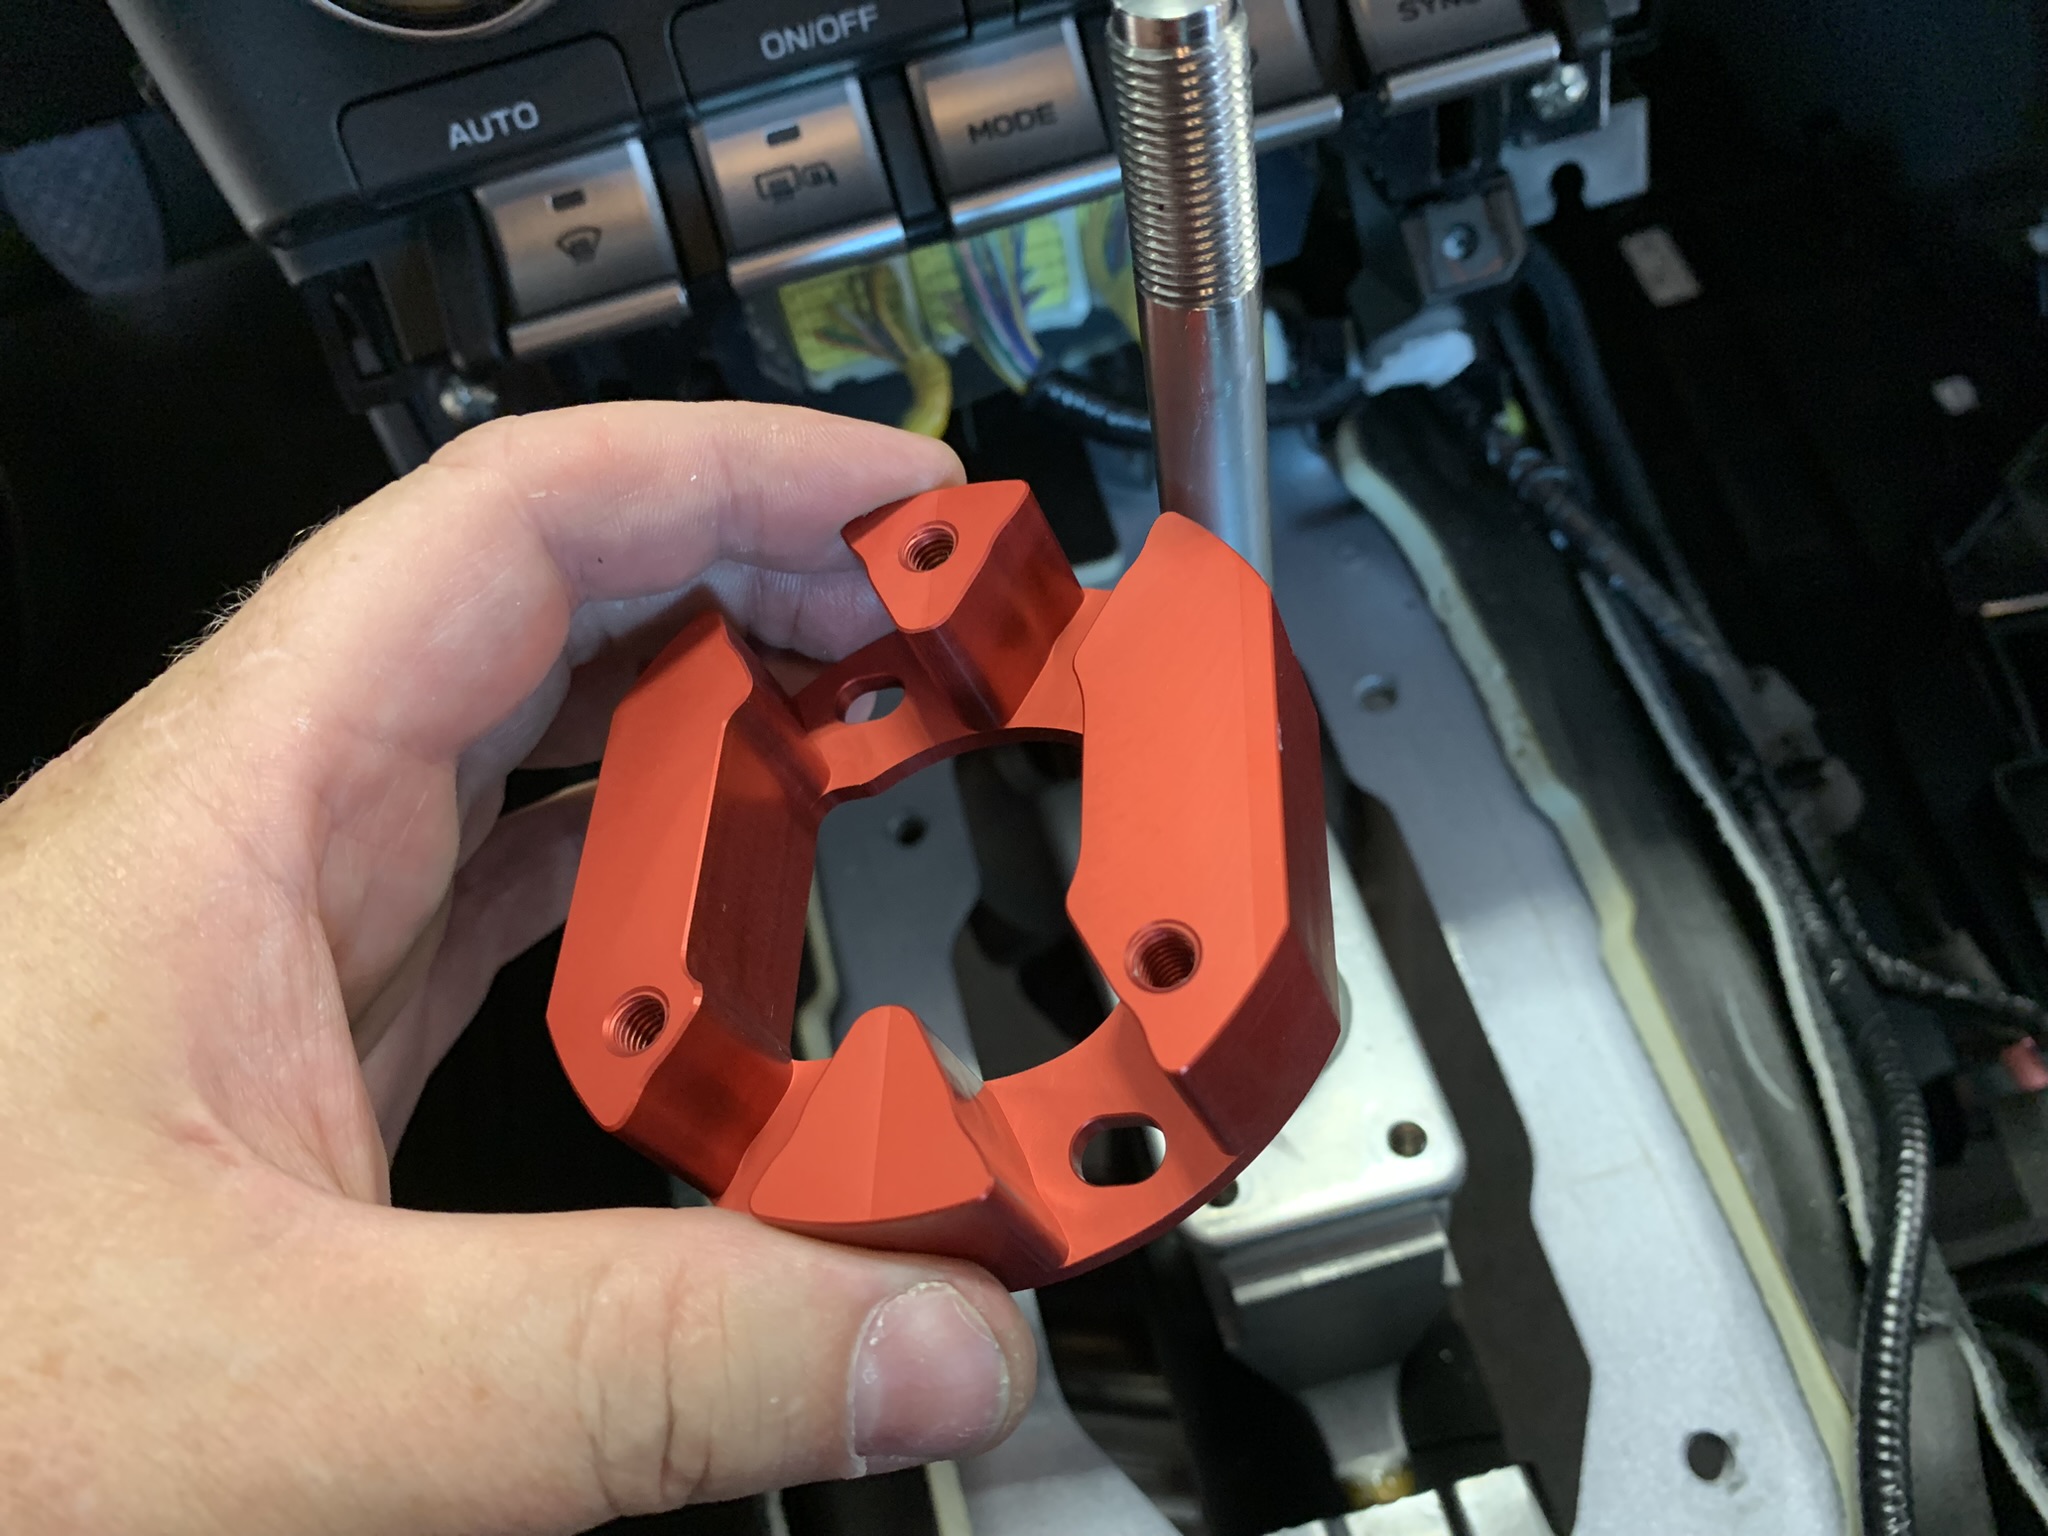
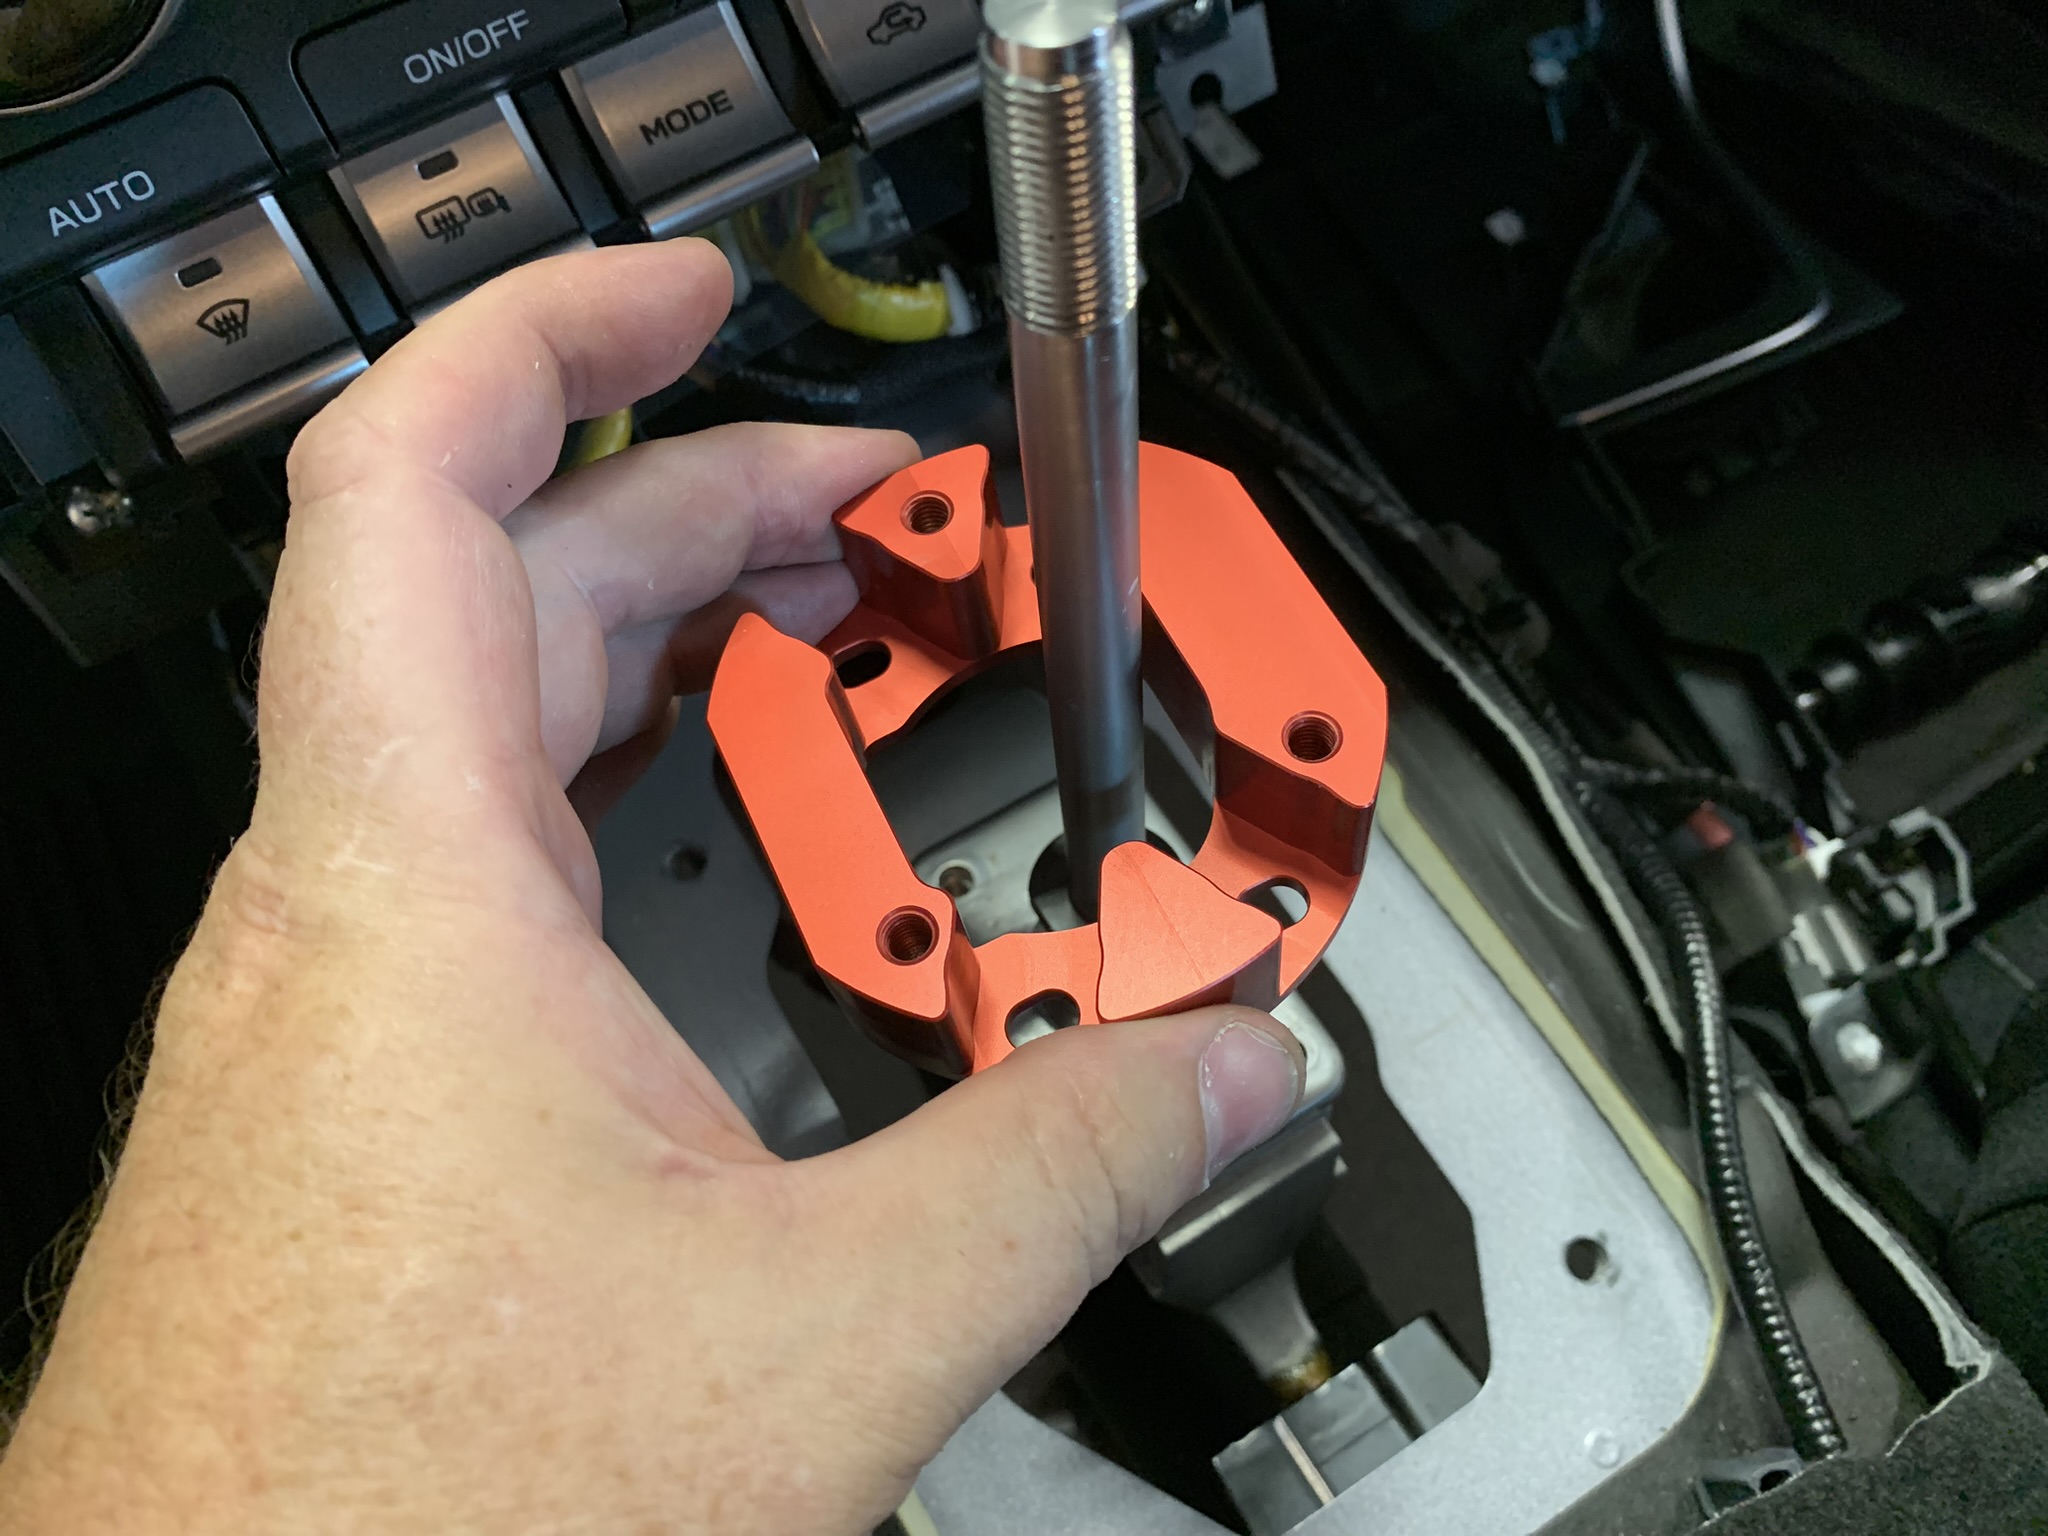
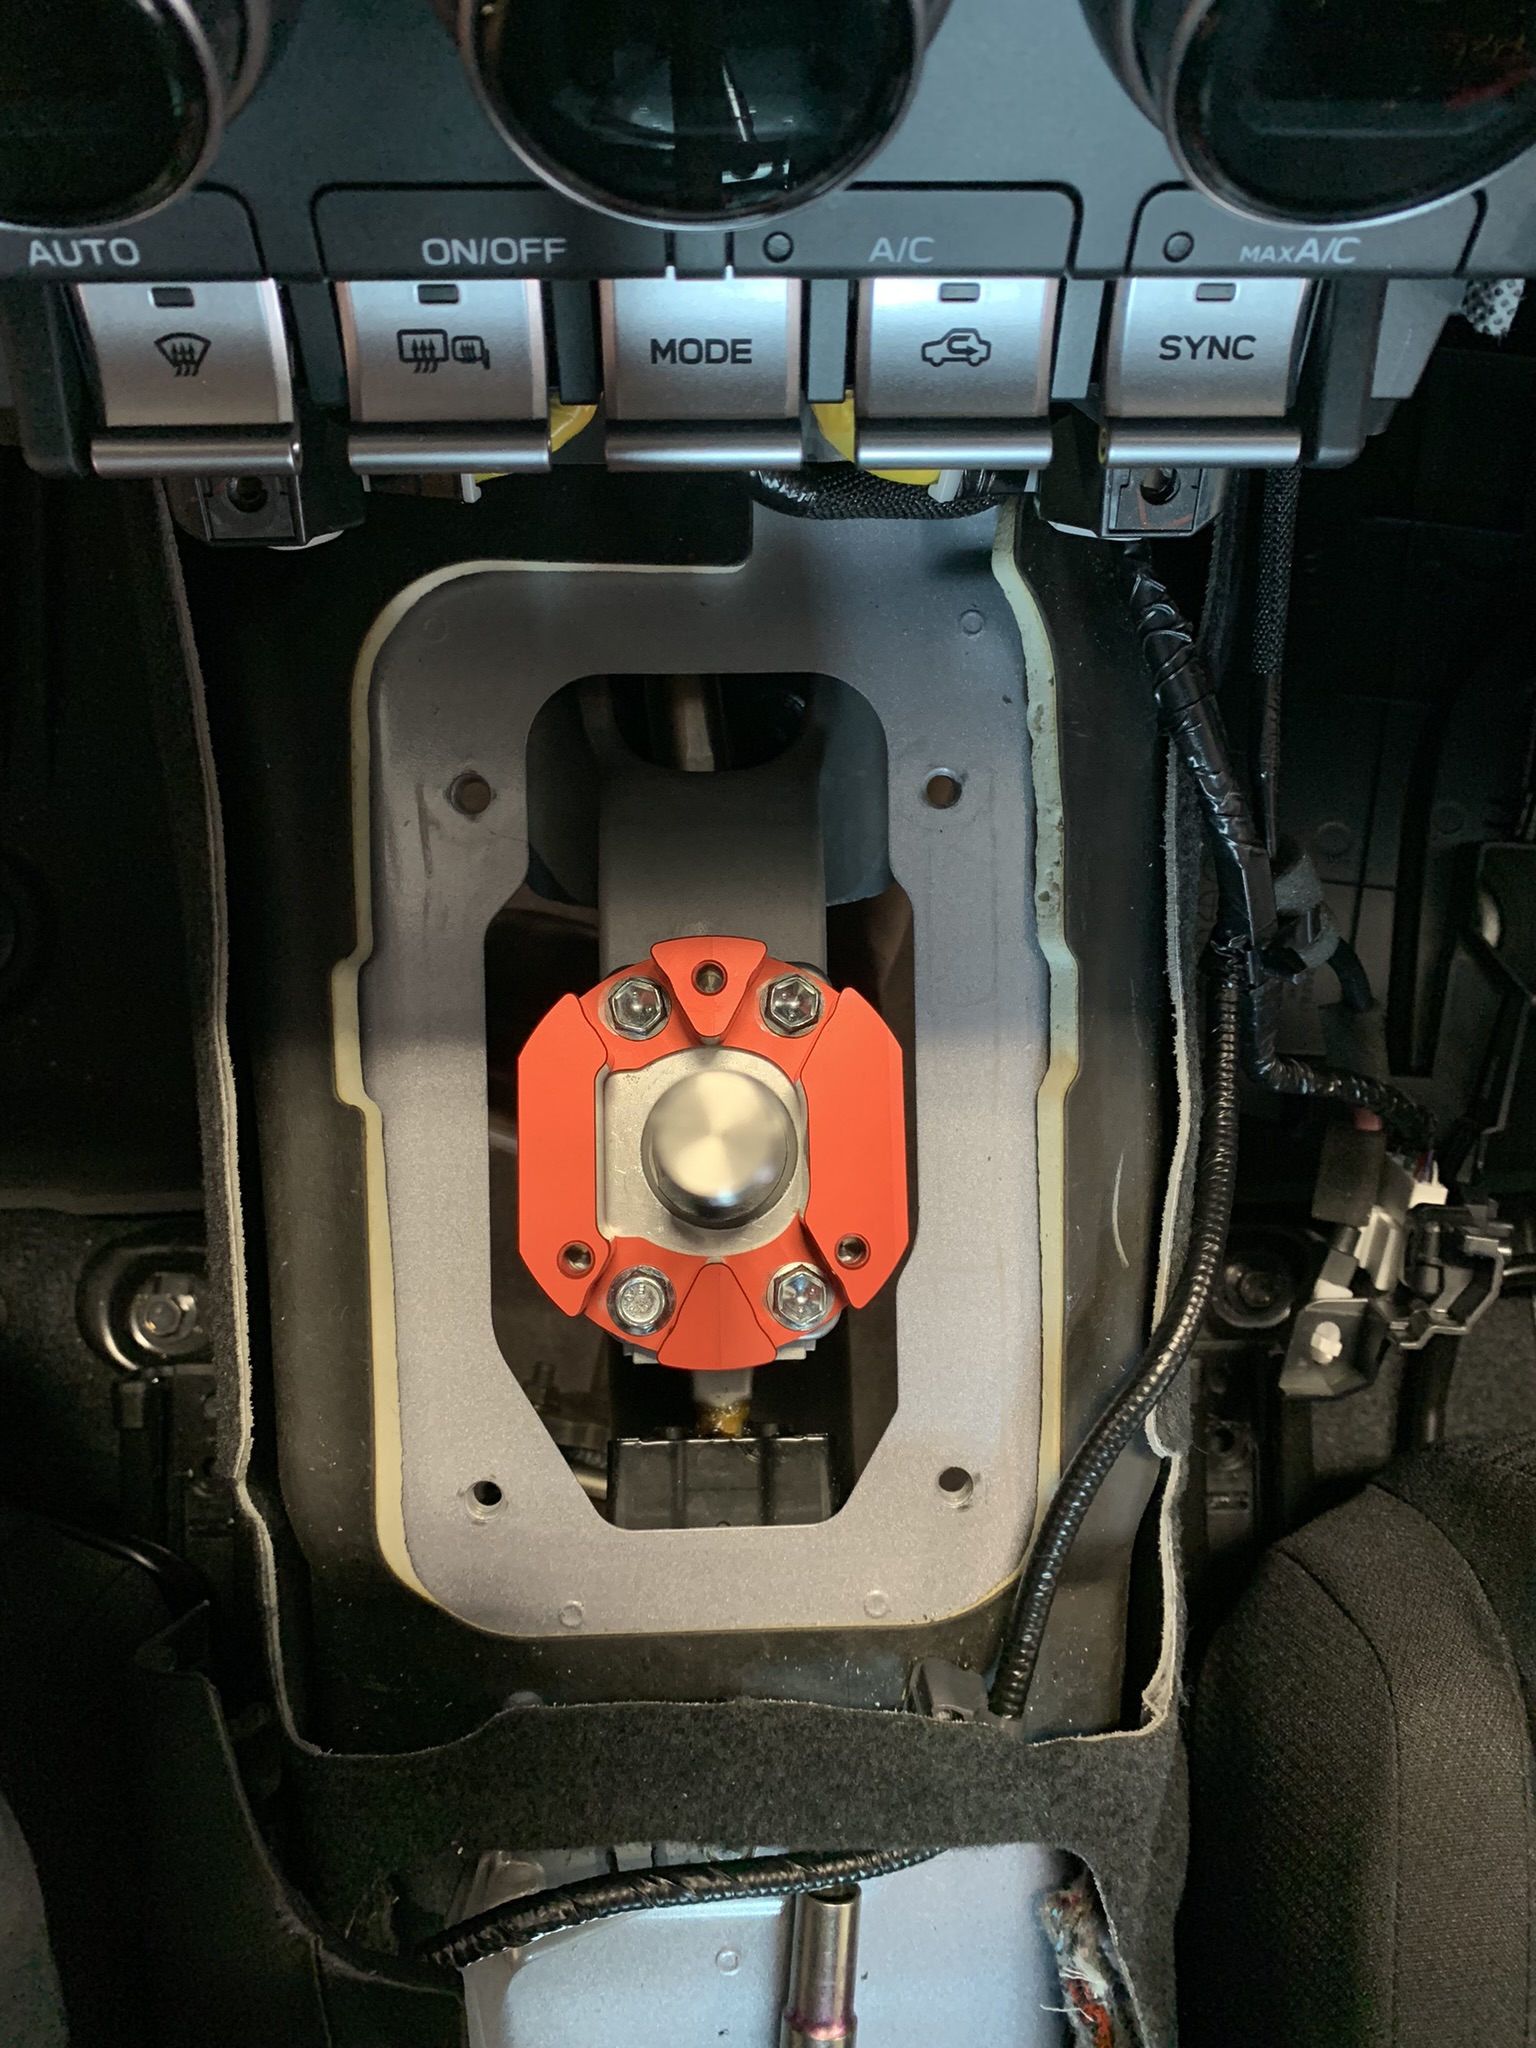
-
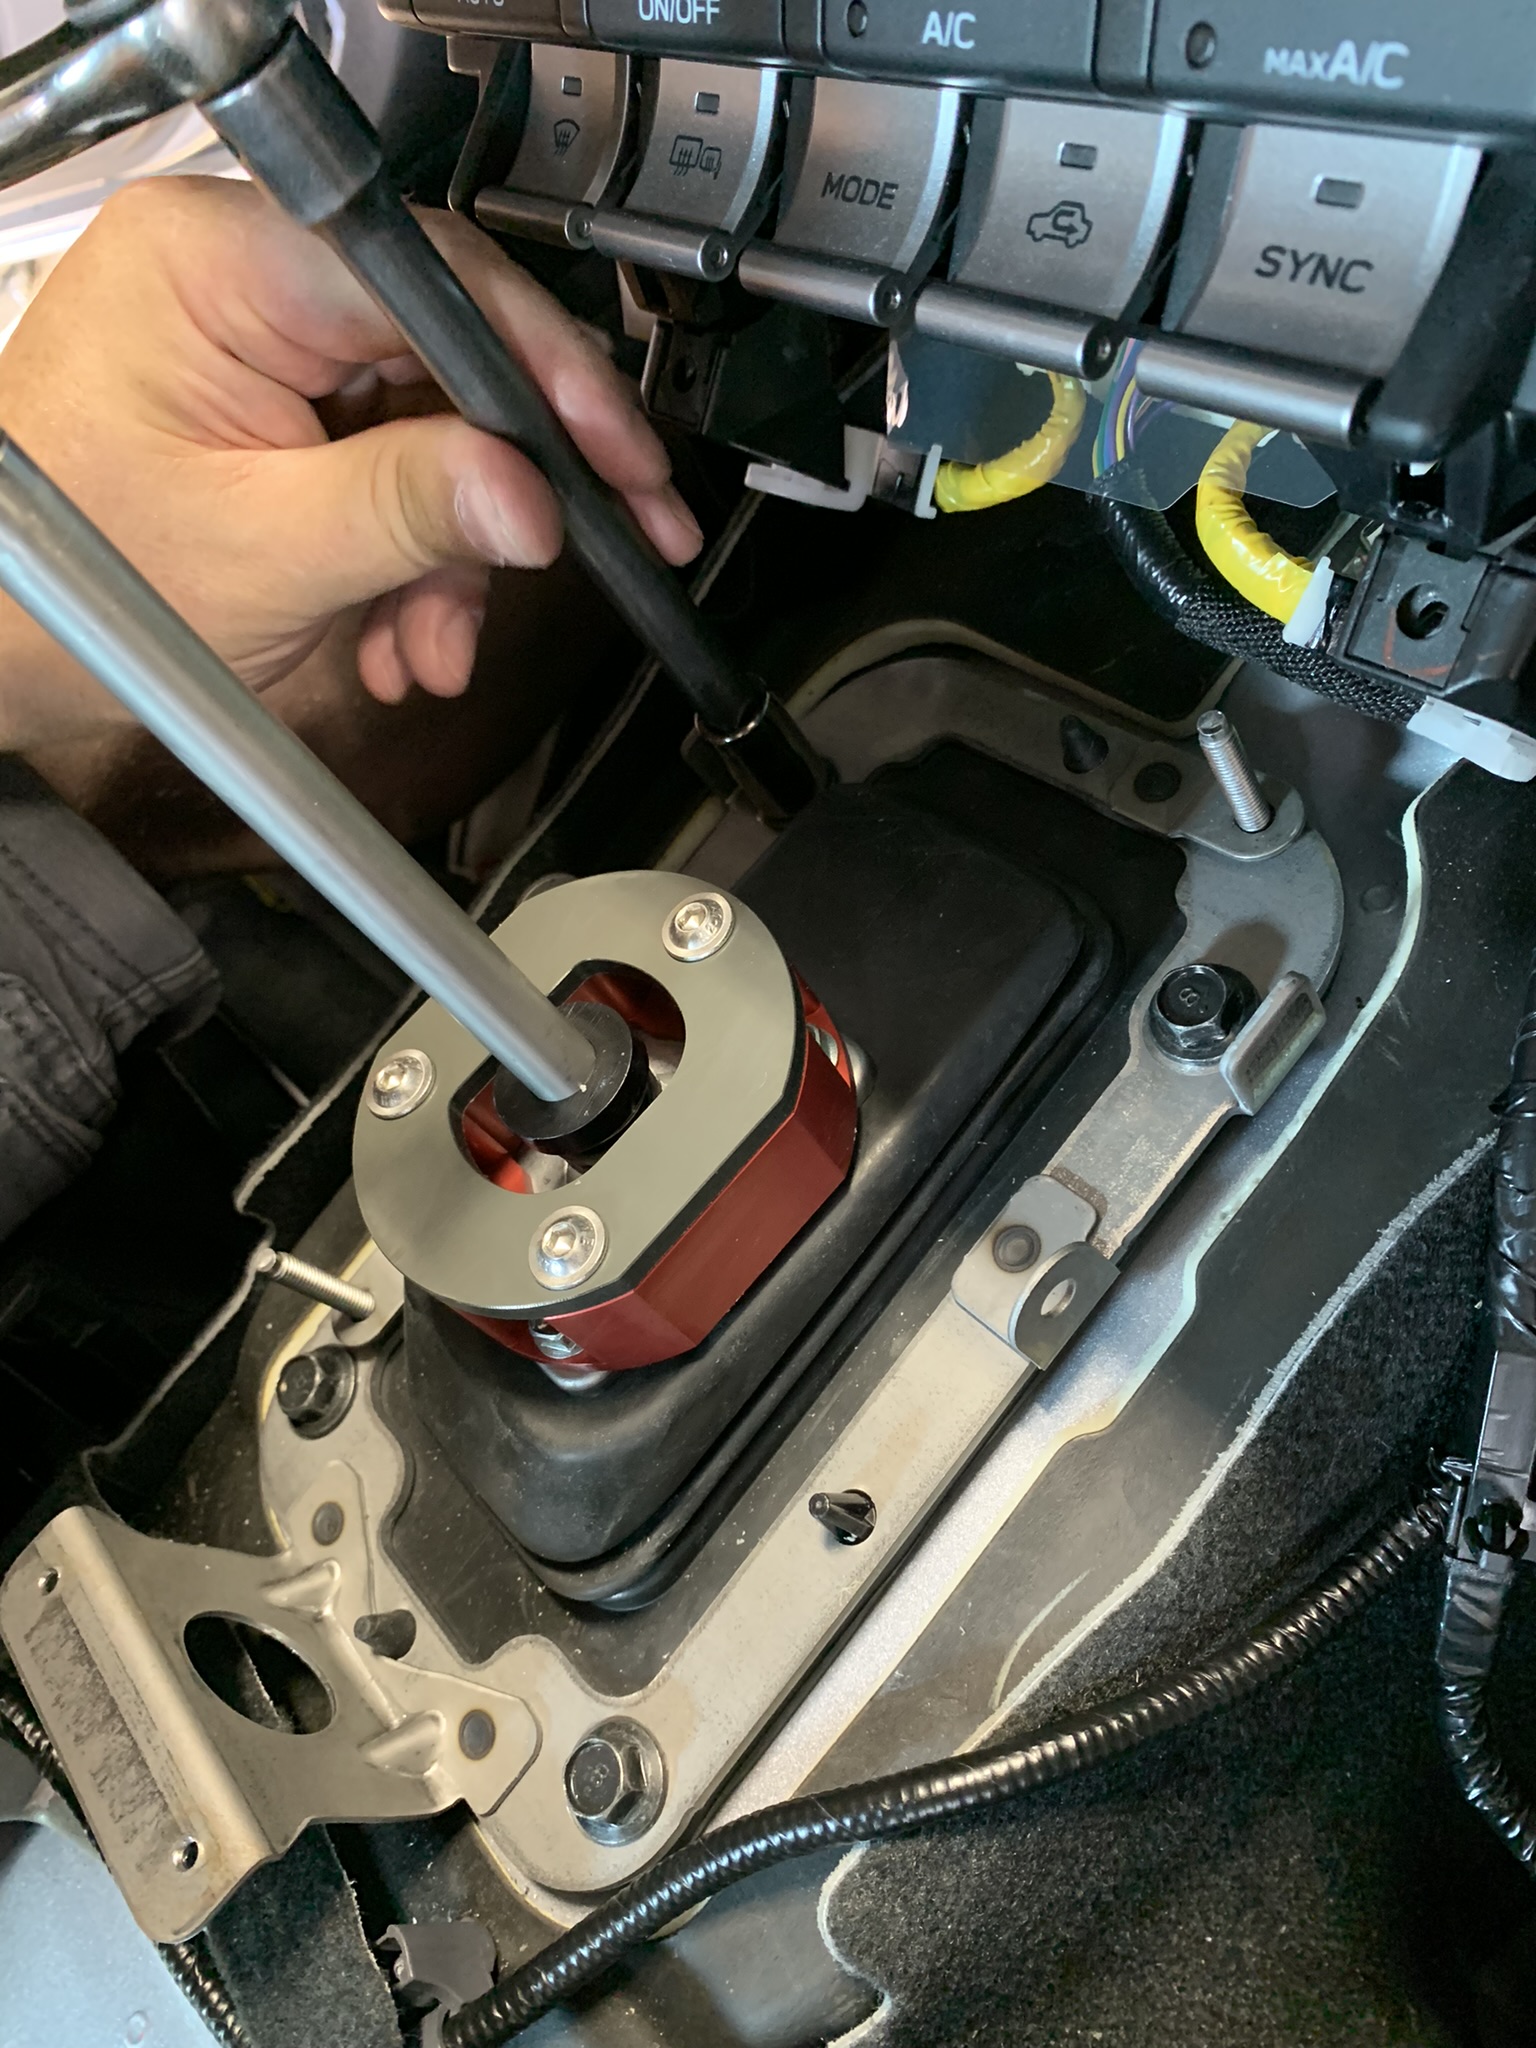
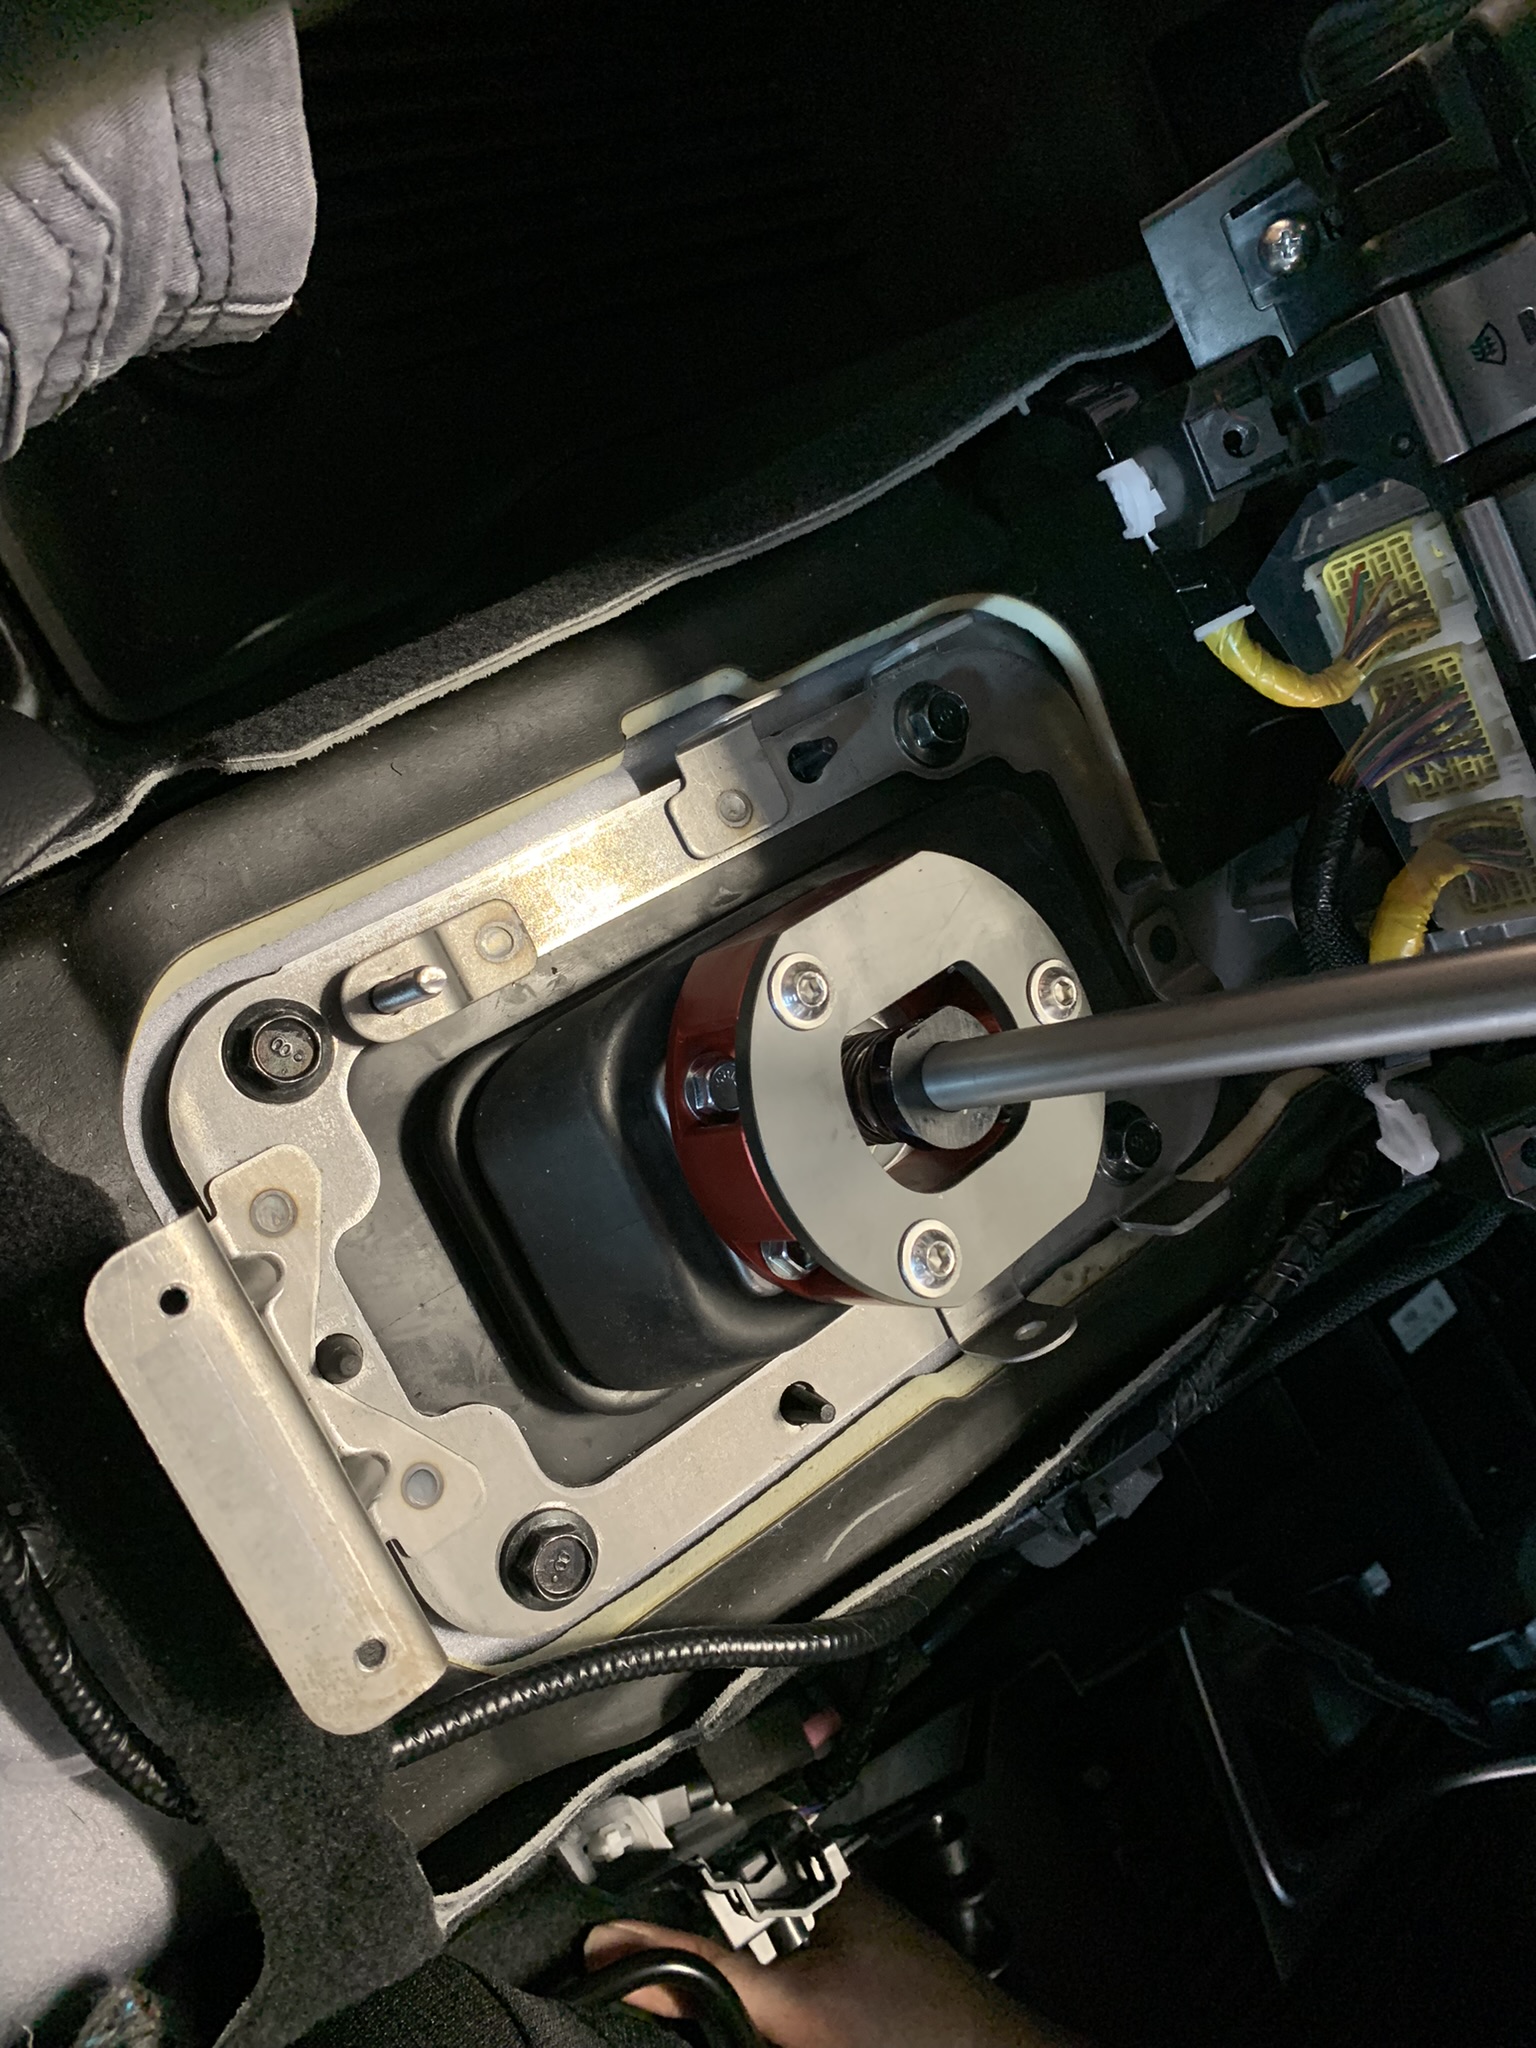
Now set the reverse lockout plate into place on top of the lockout bracket. Again, long flat edge of the inner hole needs to be facing the left side of the car. Use the three (3) included M6 flange button-head screws along with a 4mm hex wrench.
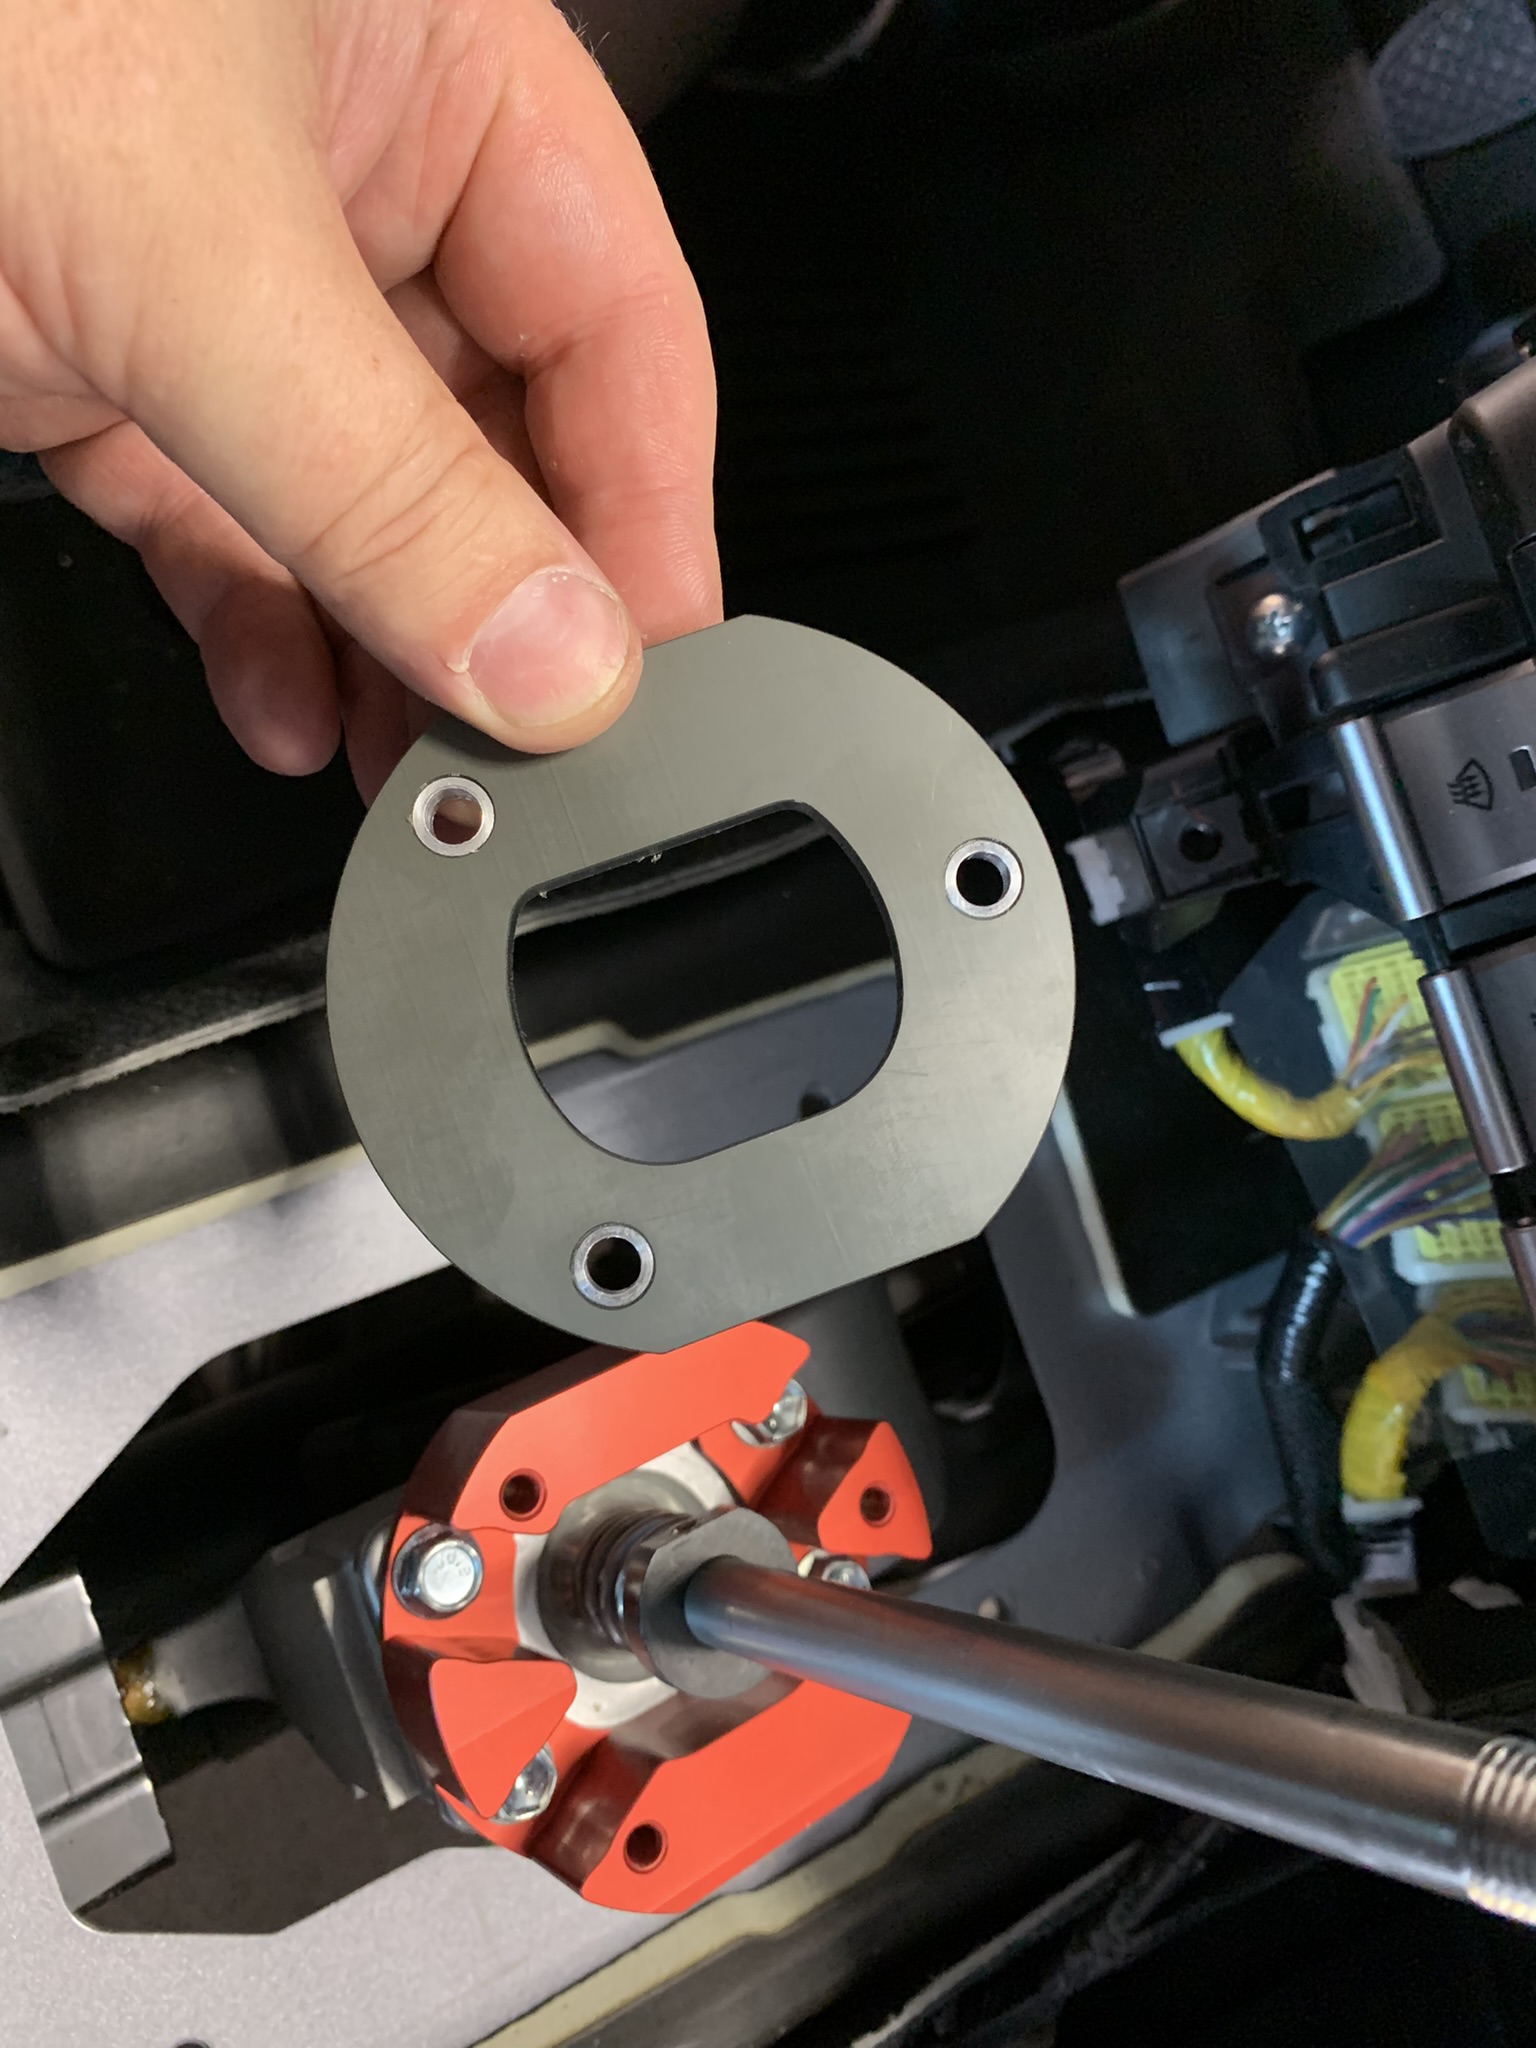
-
Reinstall the 12mm shoulder bolts.
-
Reinstall the rubber/foam shift lever gasket and push the two white plastic fasteners back on.
-
Reattach the wiring anchor and fit the side panels back into place. Connect the two halves together and fit the two Philips screws.


-
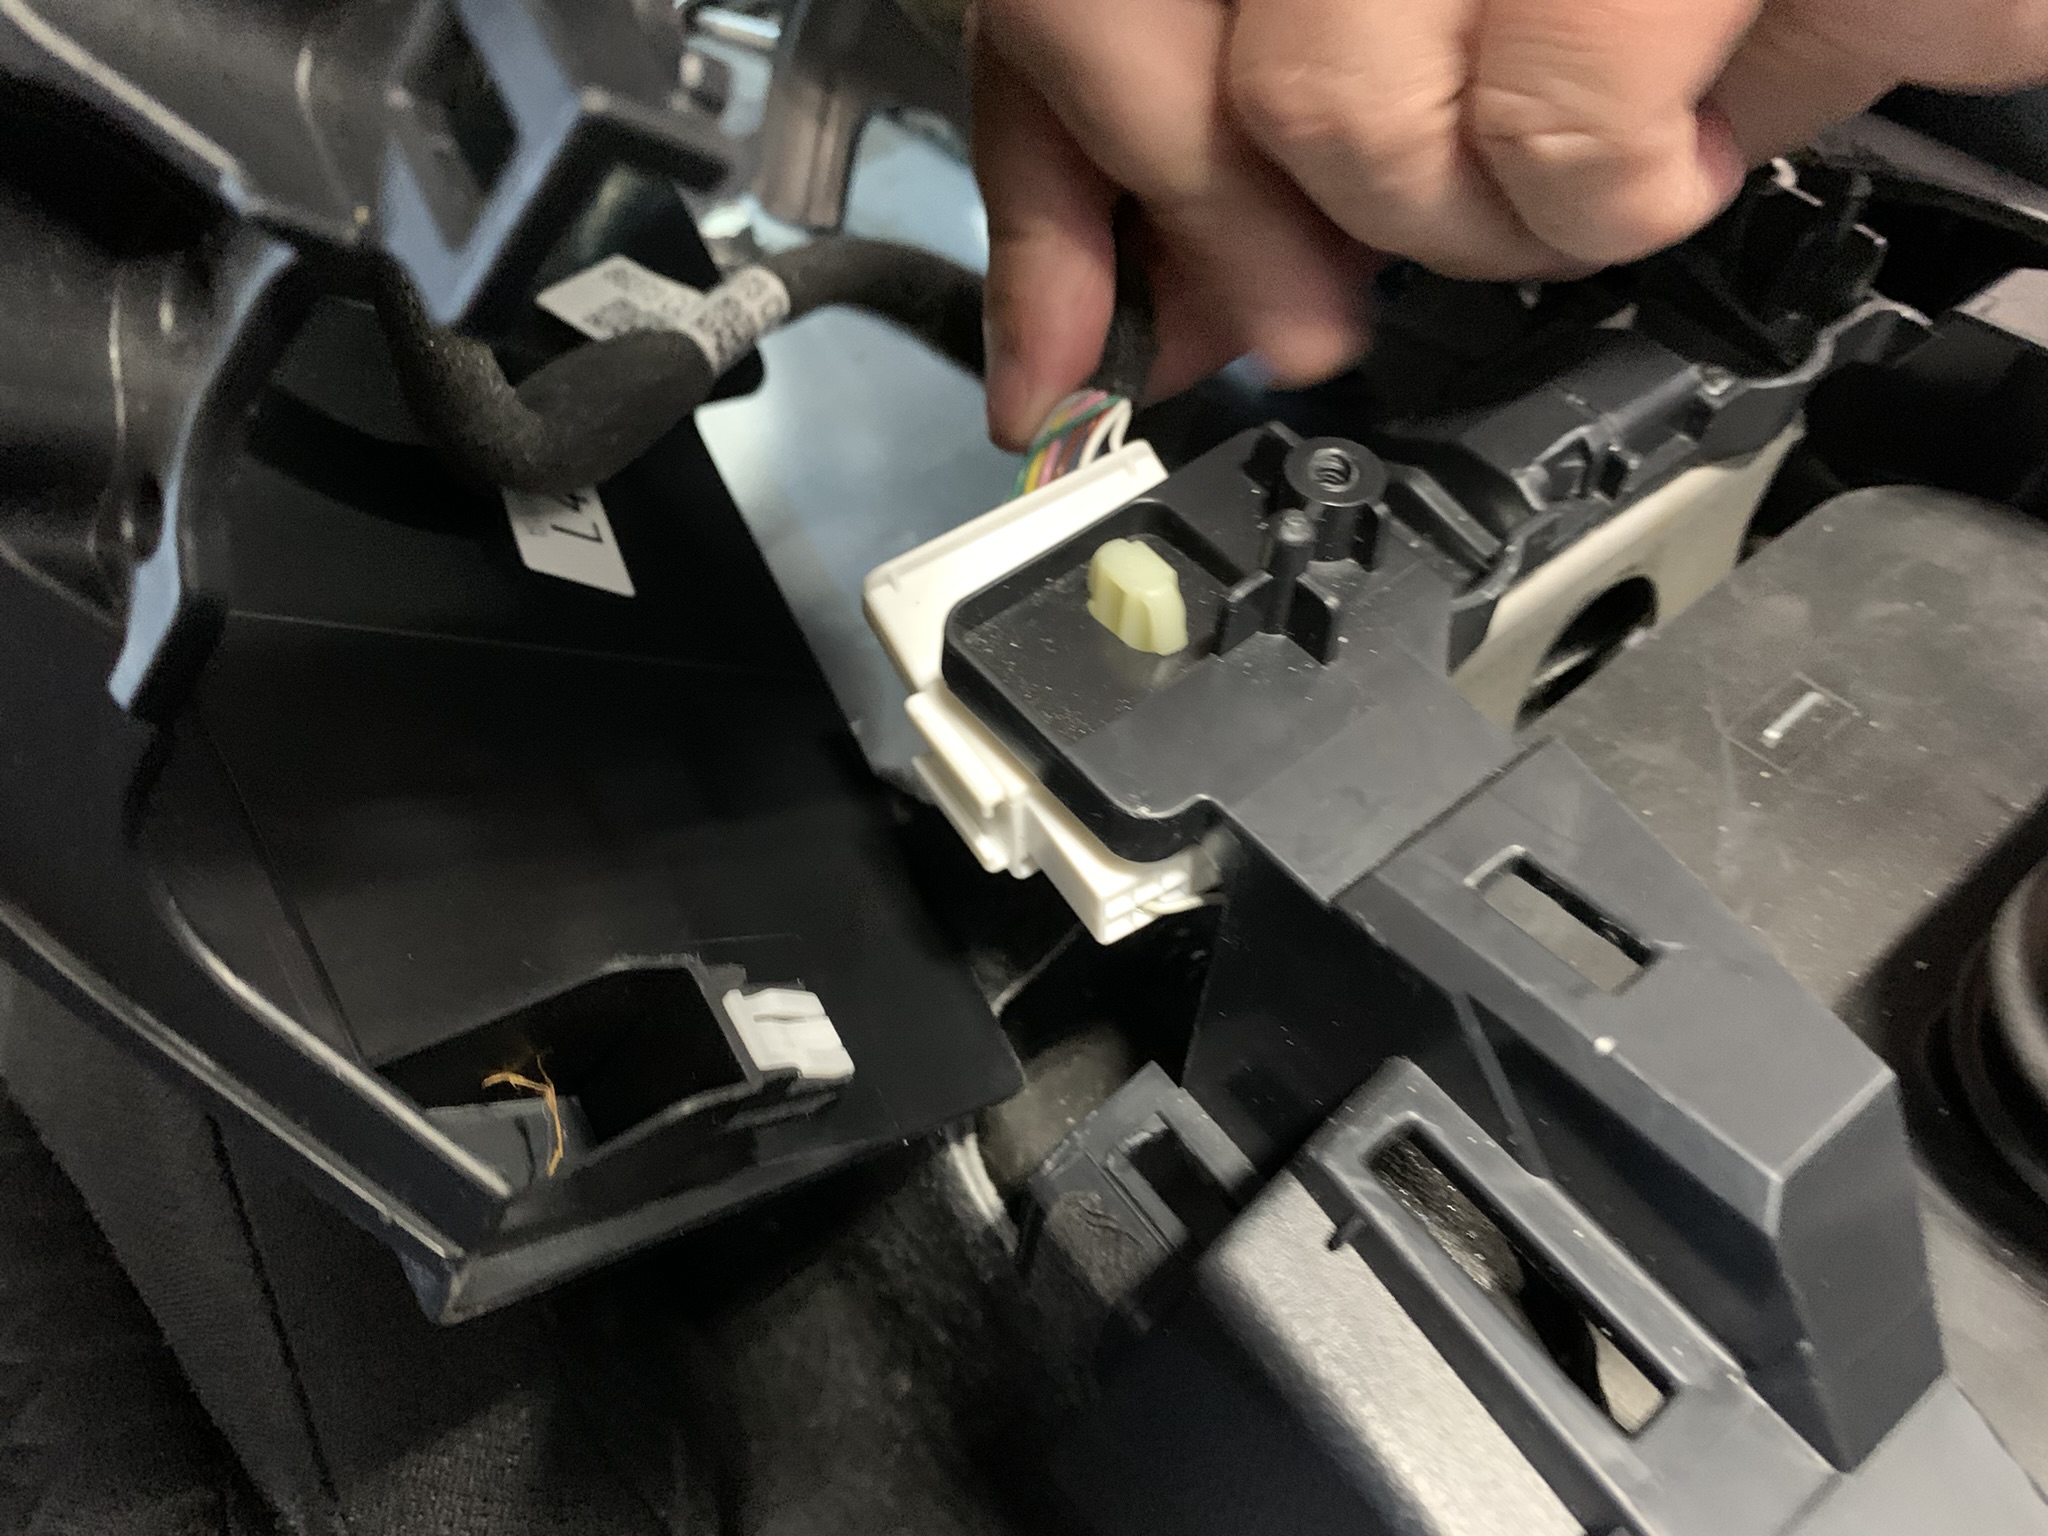
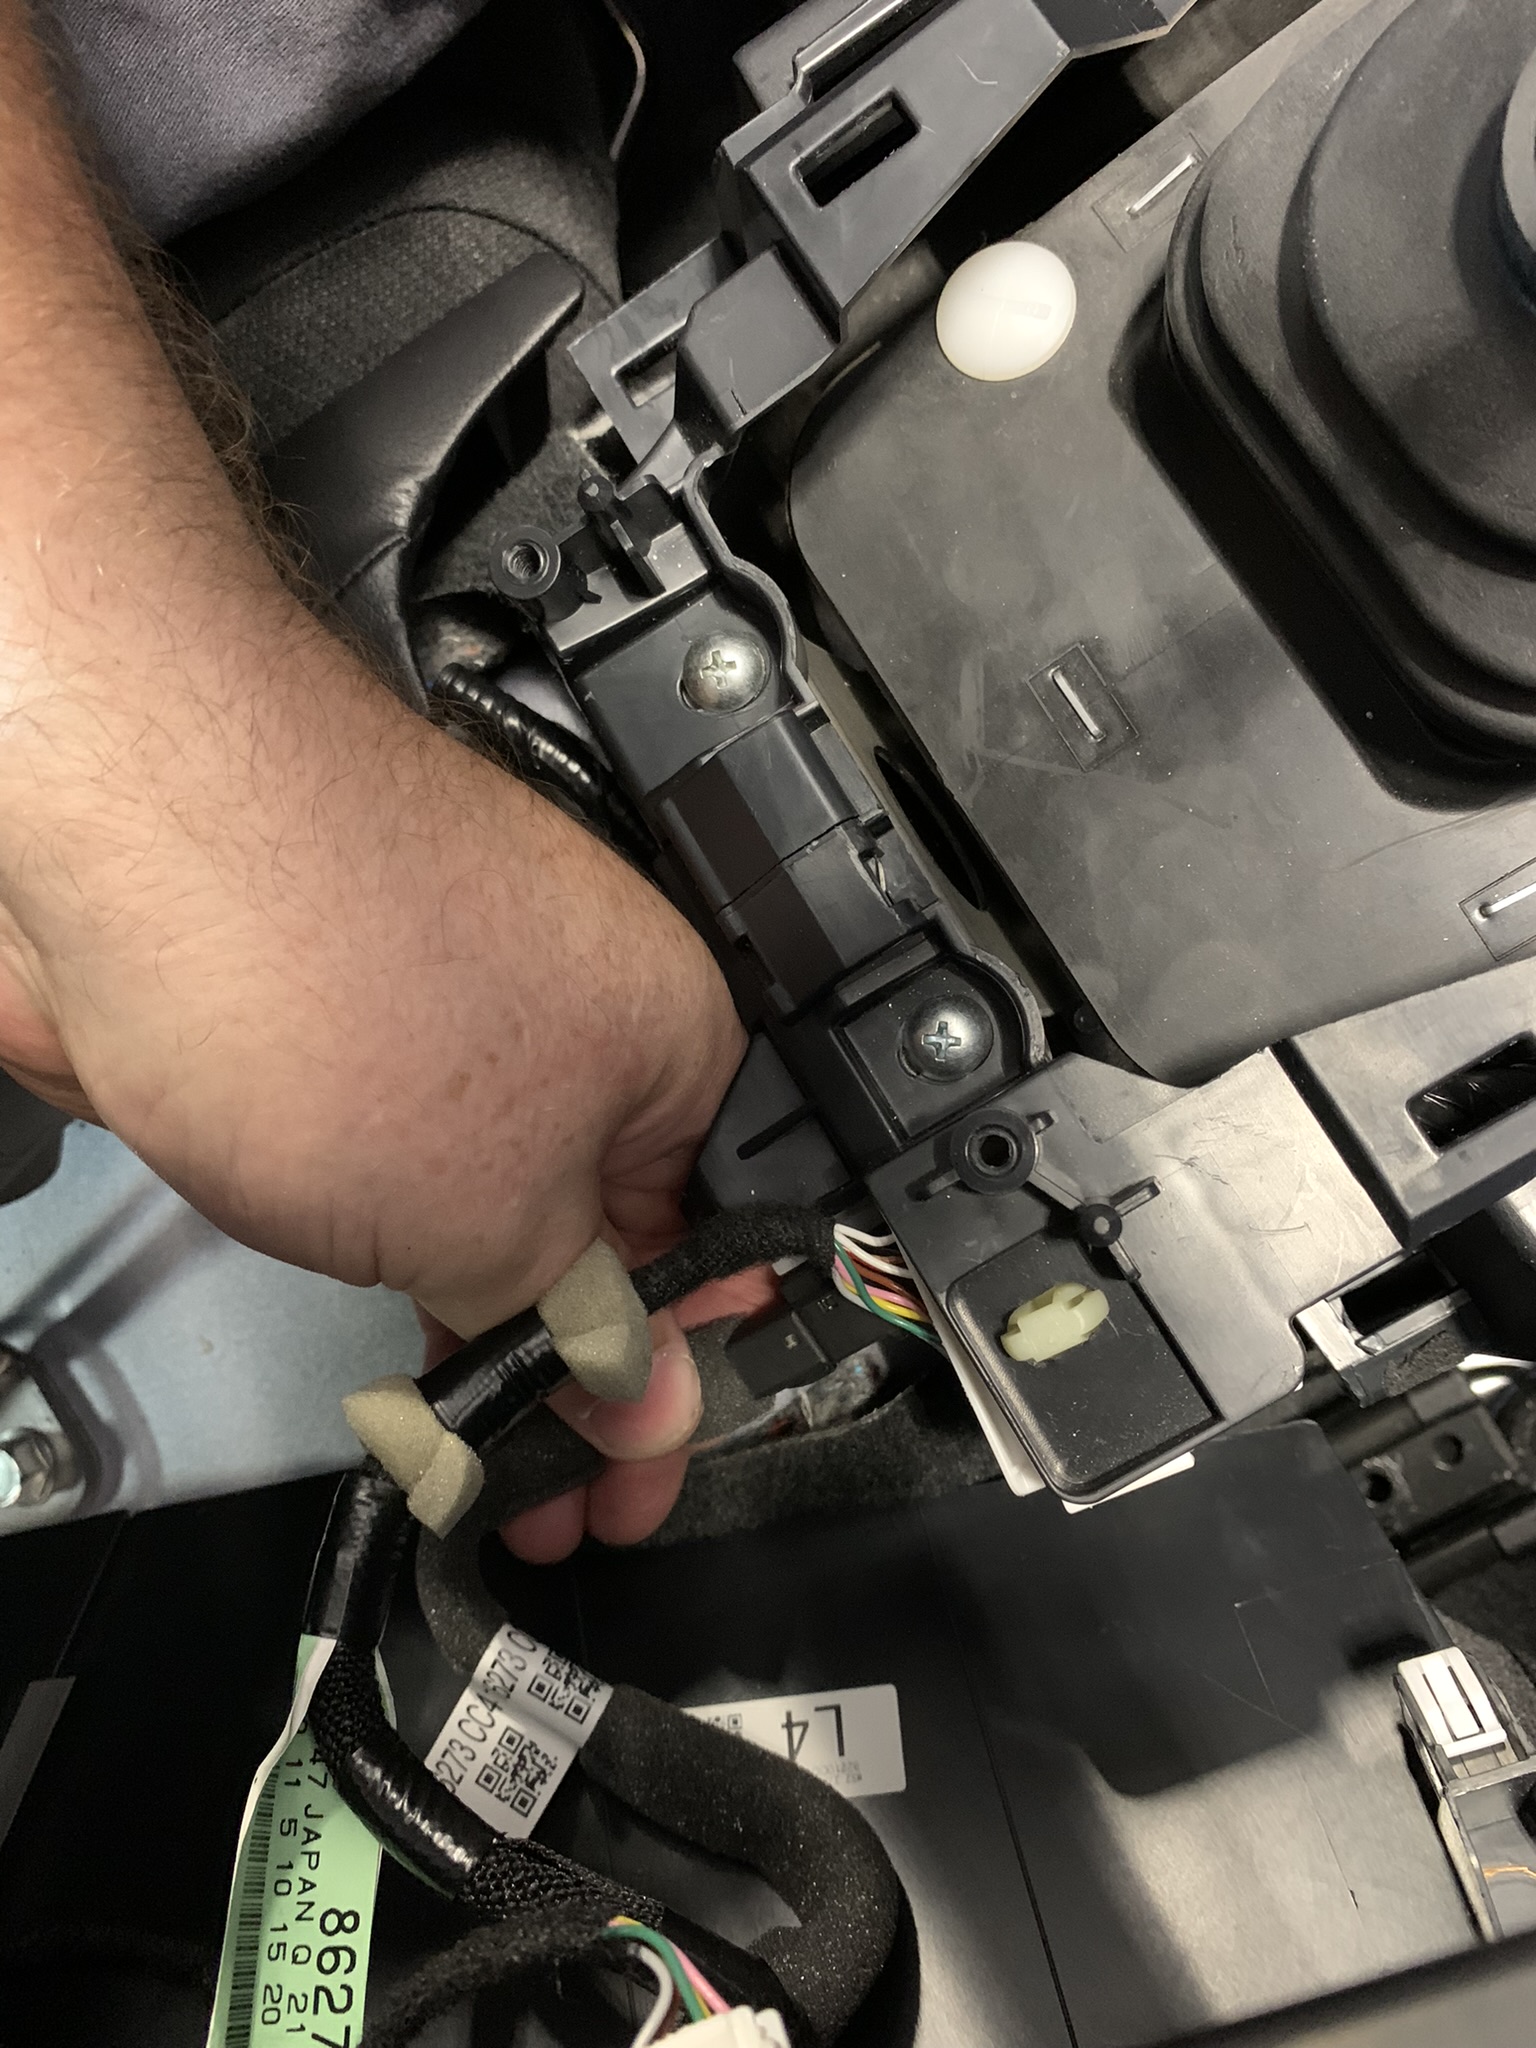
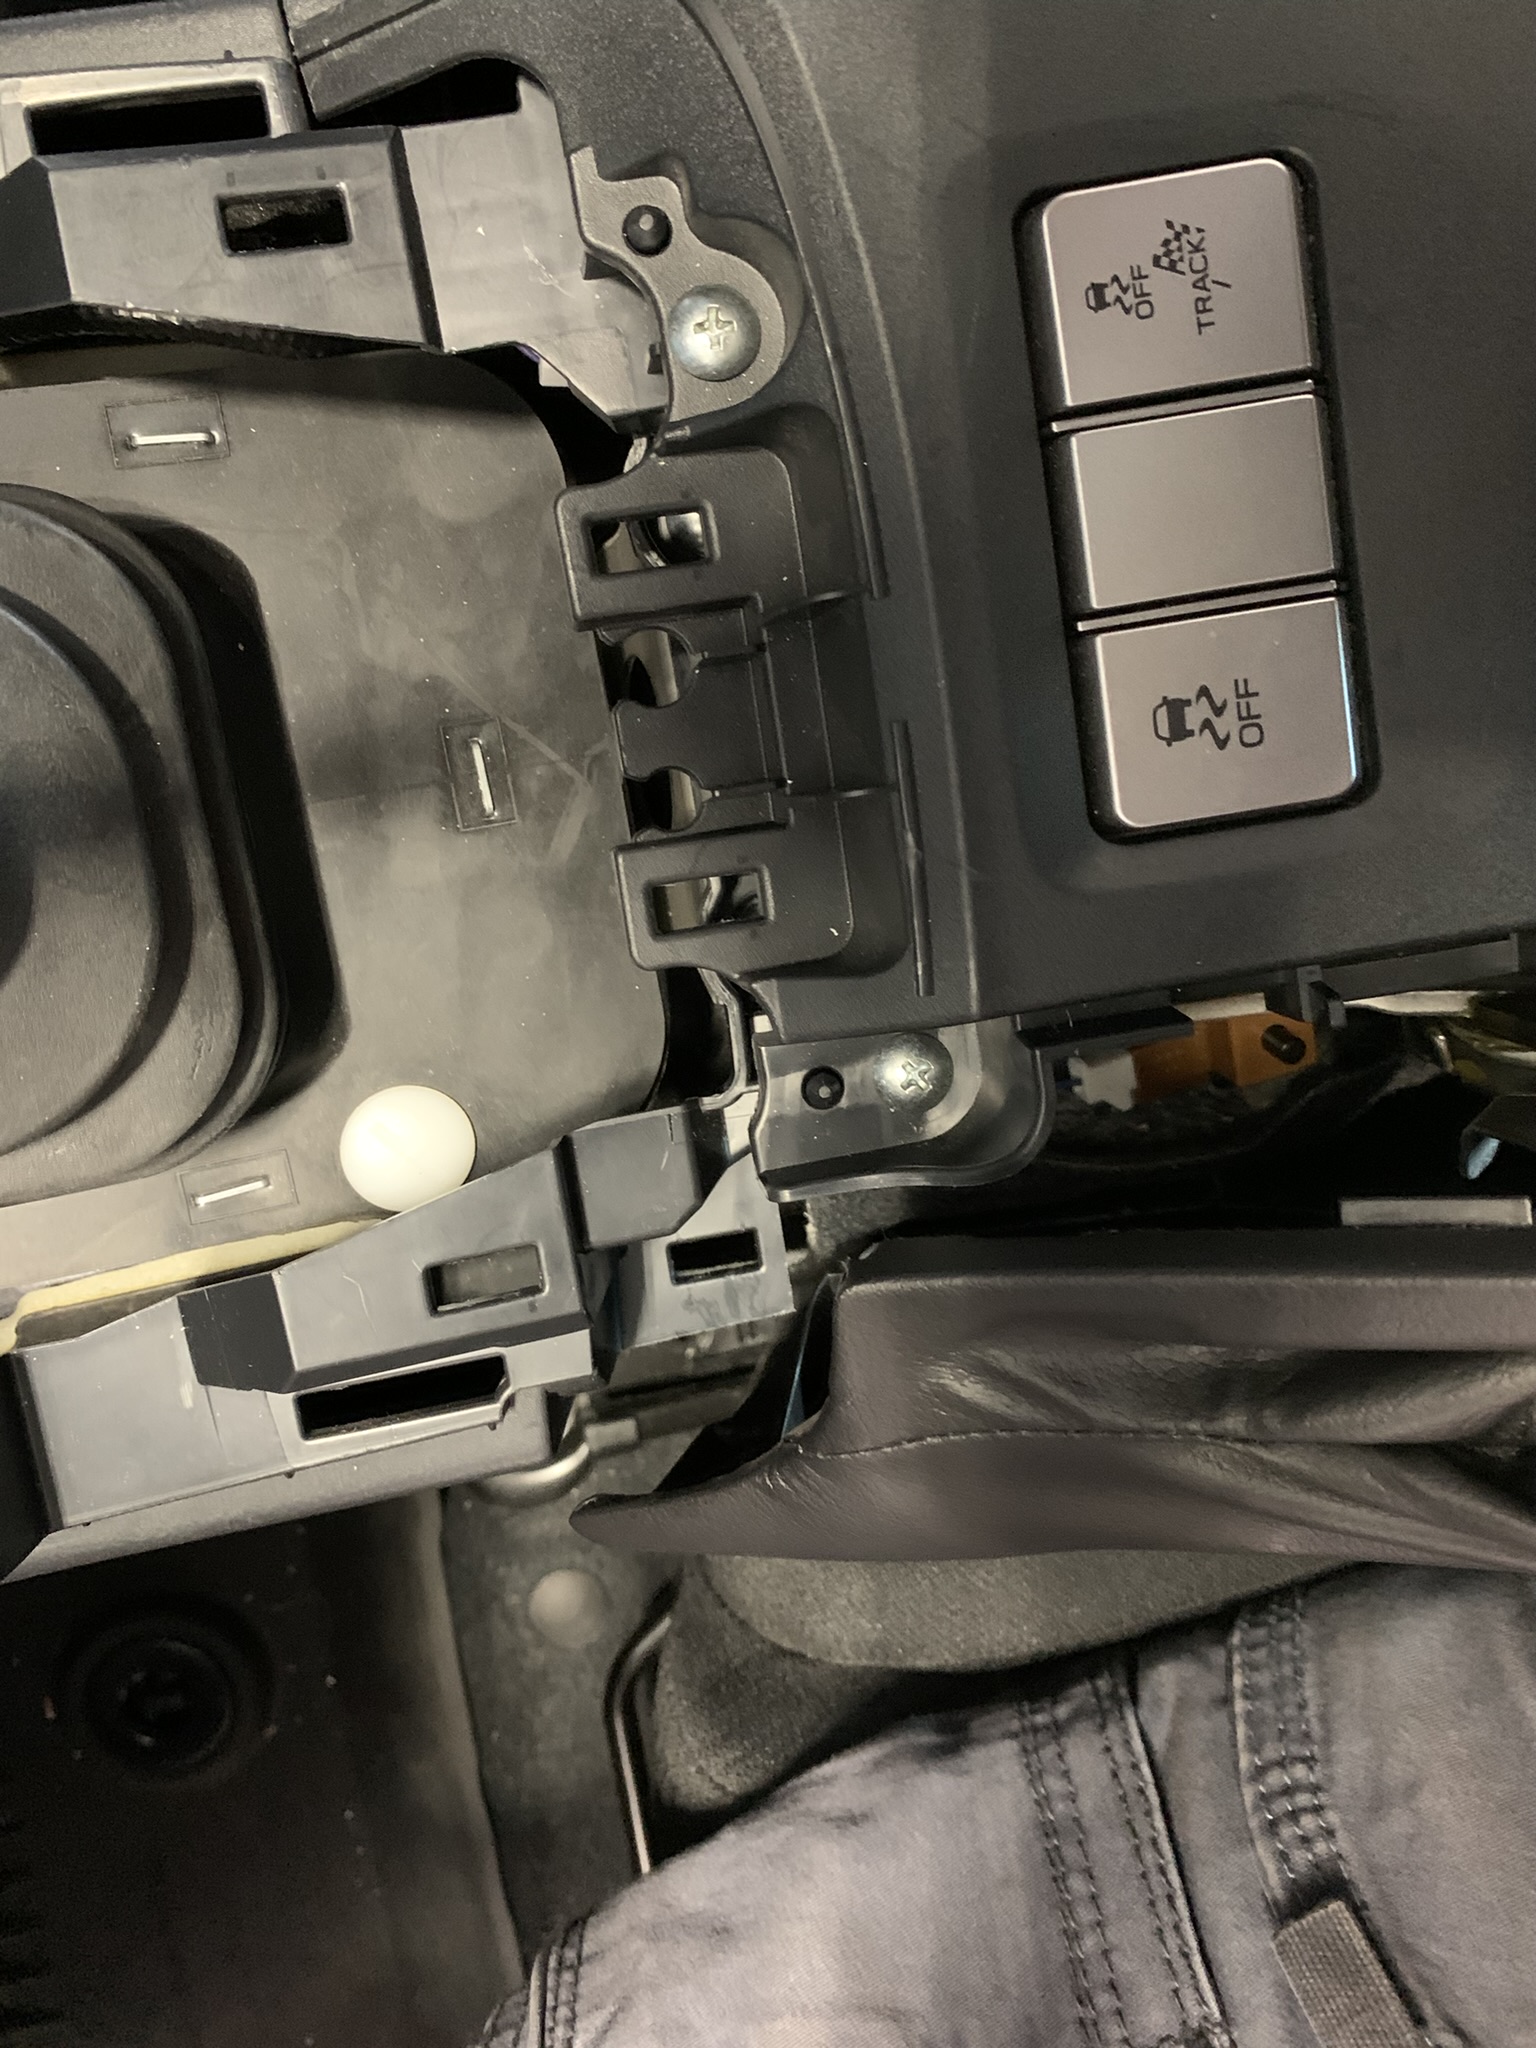
We're now reinstalling the tunnel cover back on, so set it into place and reconnect the two wiring plugs. Fit the two Philips screws to the front edge and the two screws in the back alongside the rear passenger footwells.
-
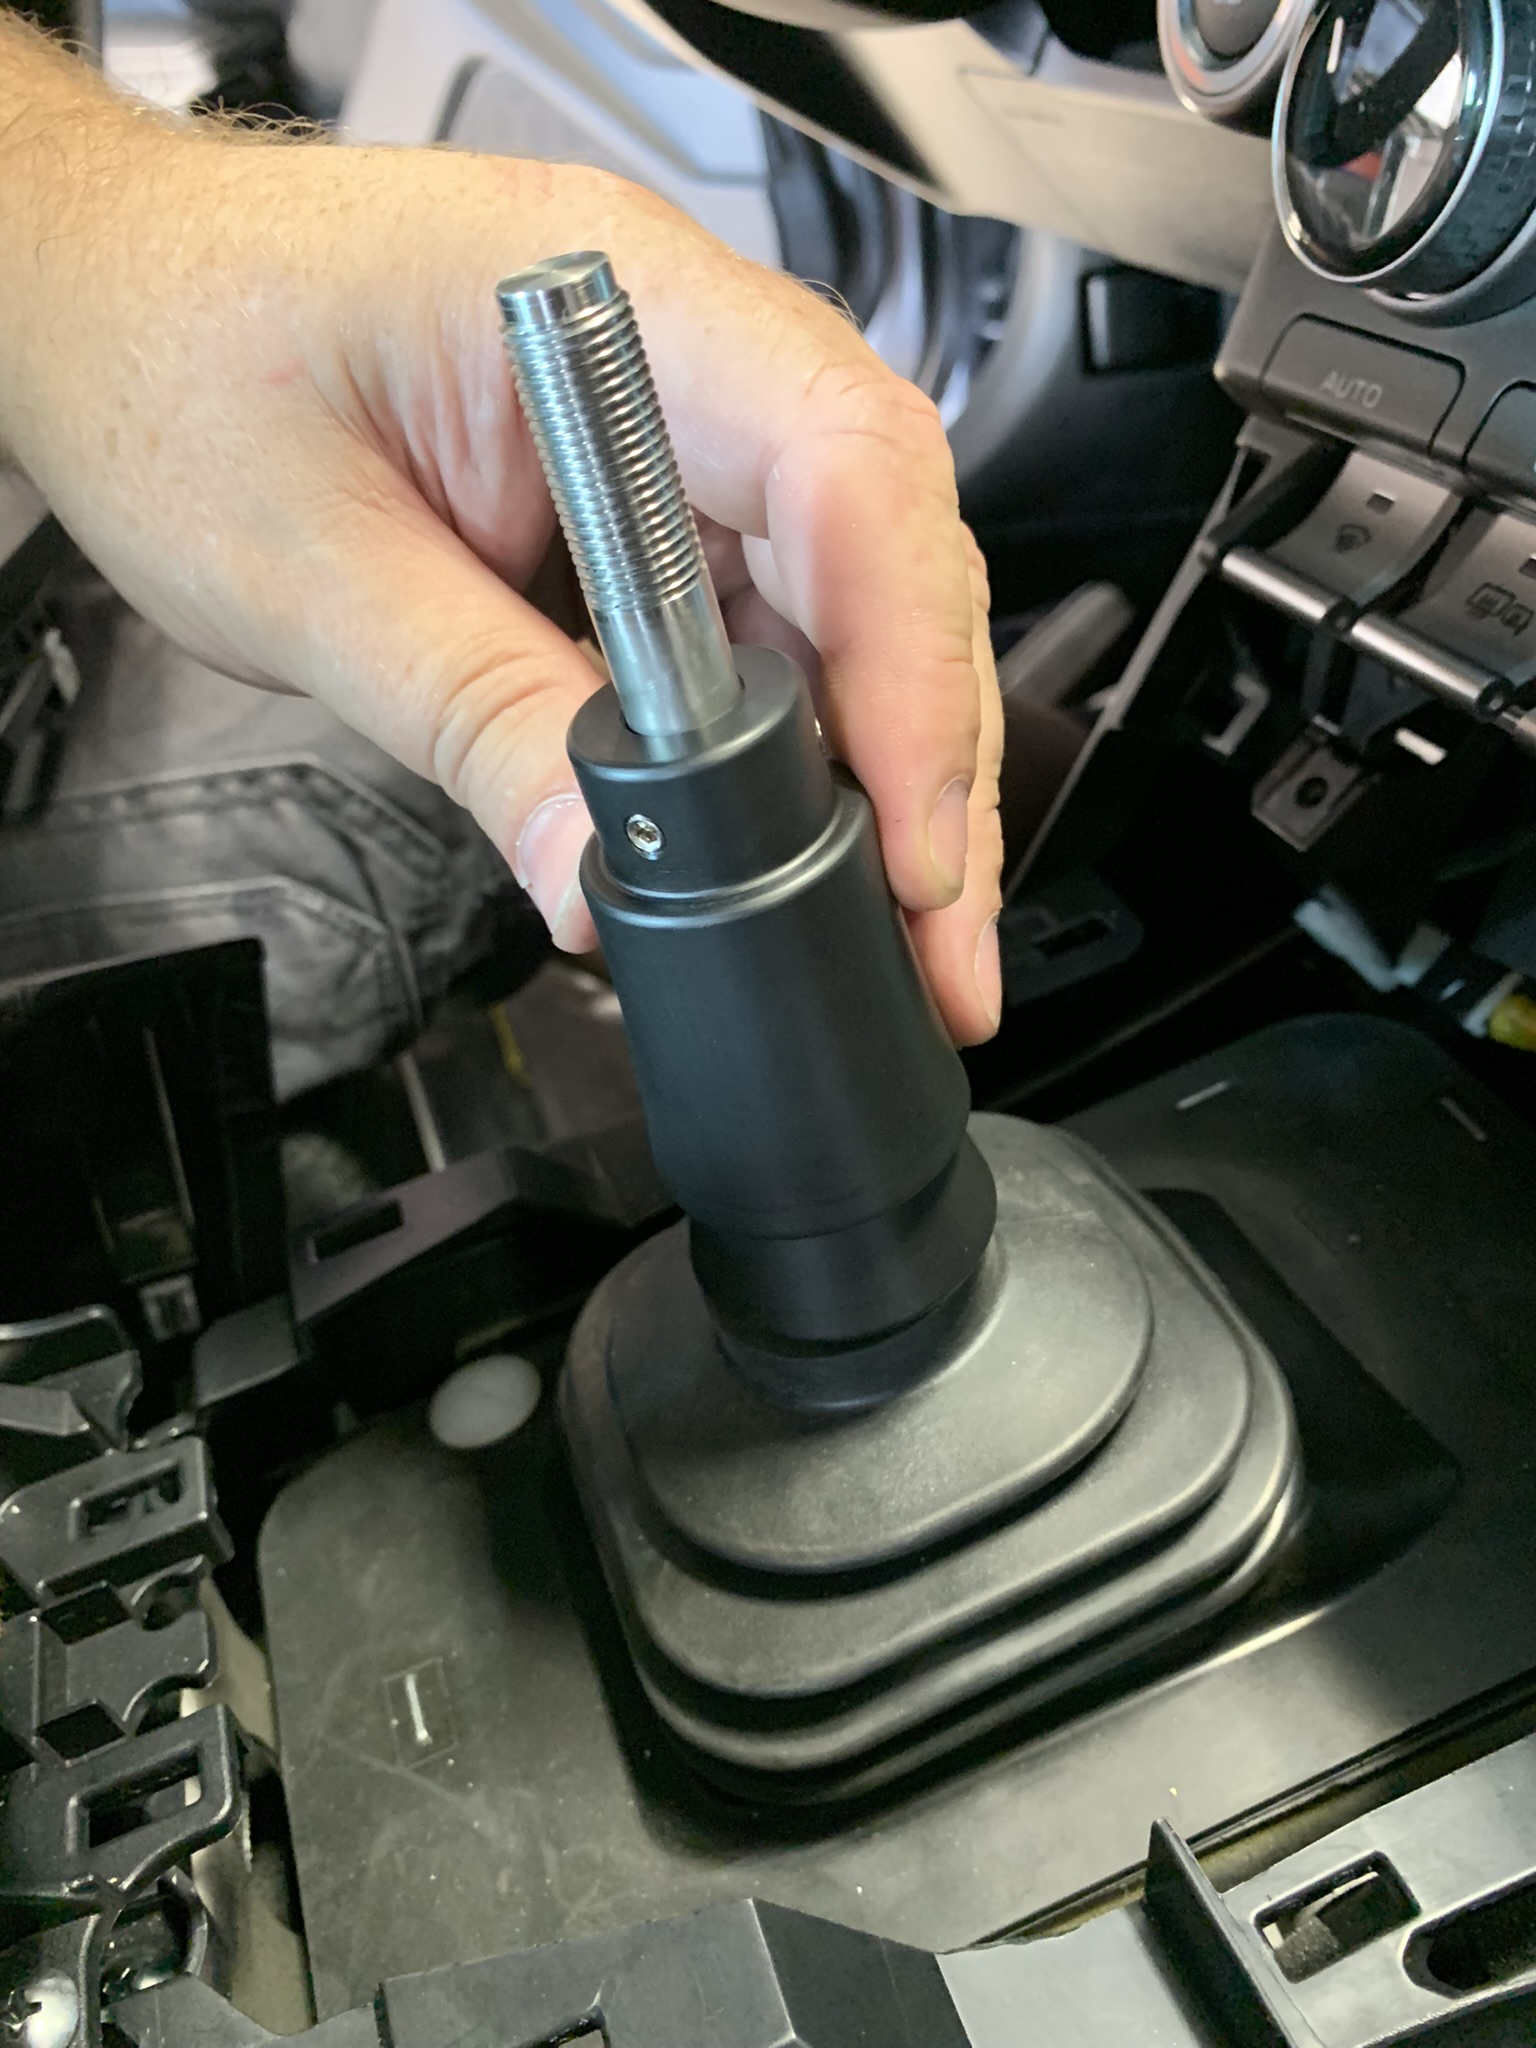
Take the shift knob boot collar and thread in the three (3) 10-32 set screws with the provided 3/32" hex key. Slide the boot collar onto the shift lever and lightly tighten the set screws so the boot collar can still move up and down.

-
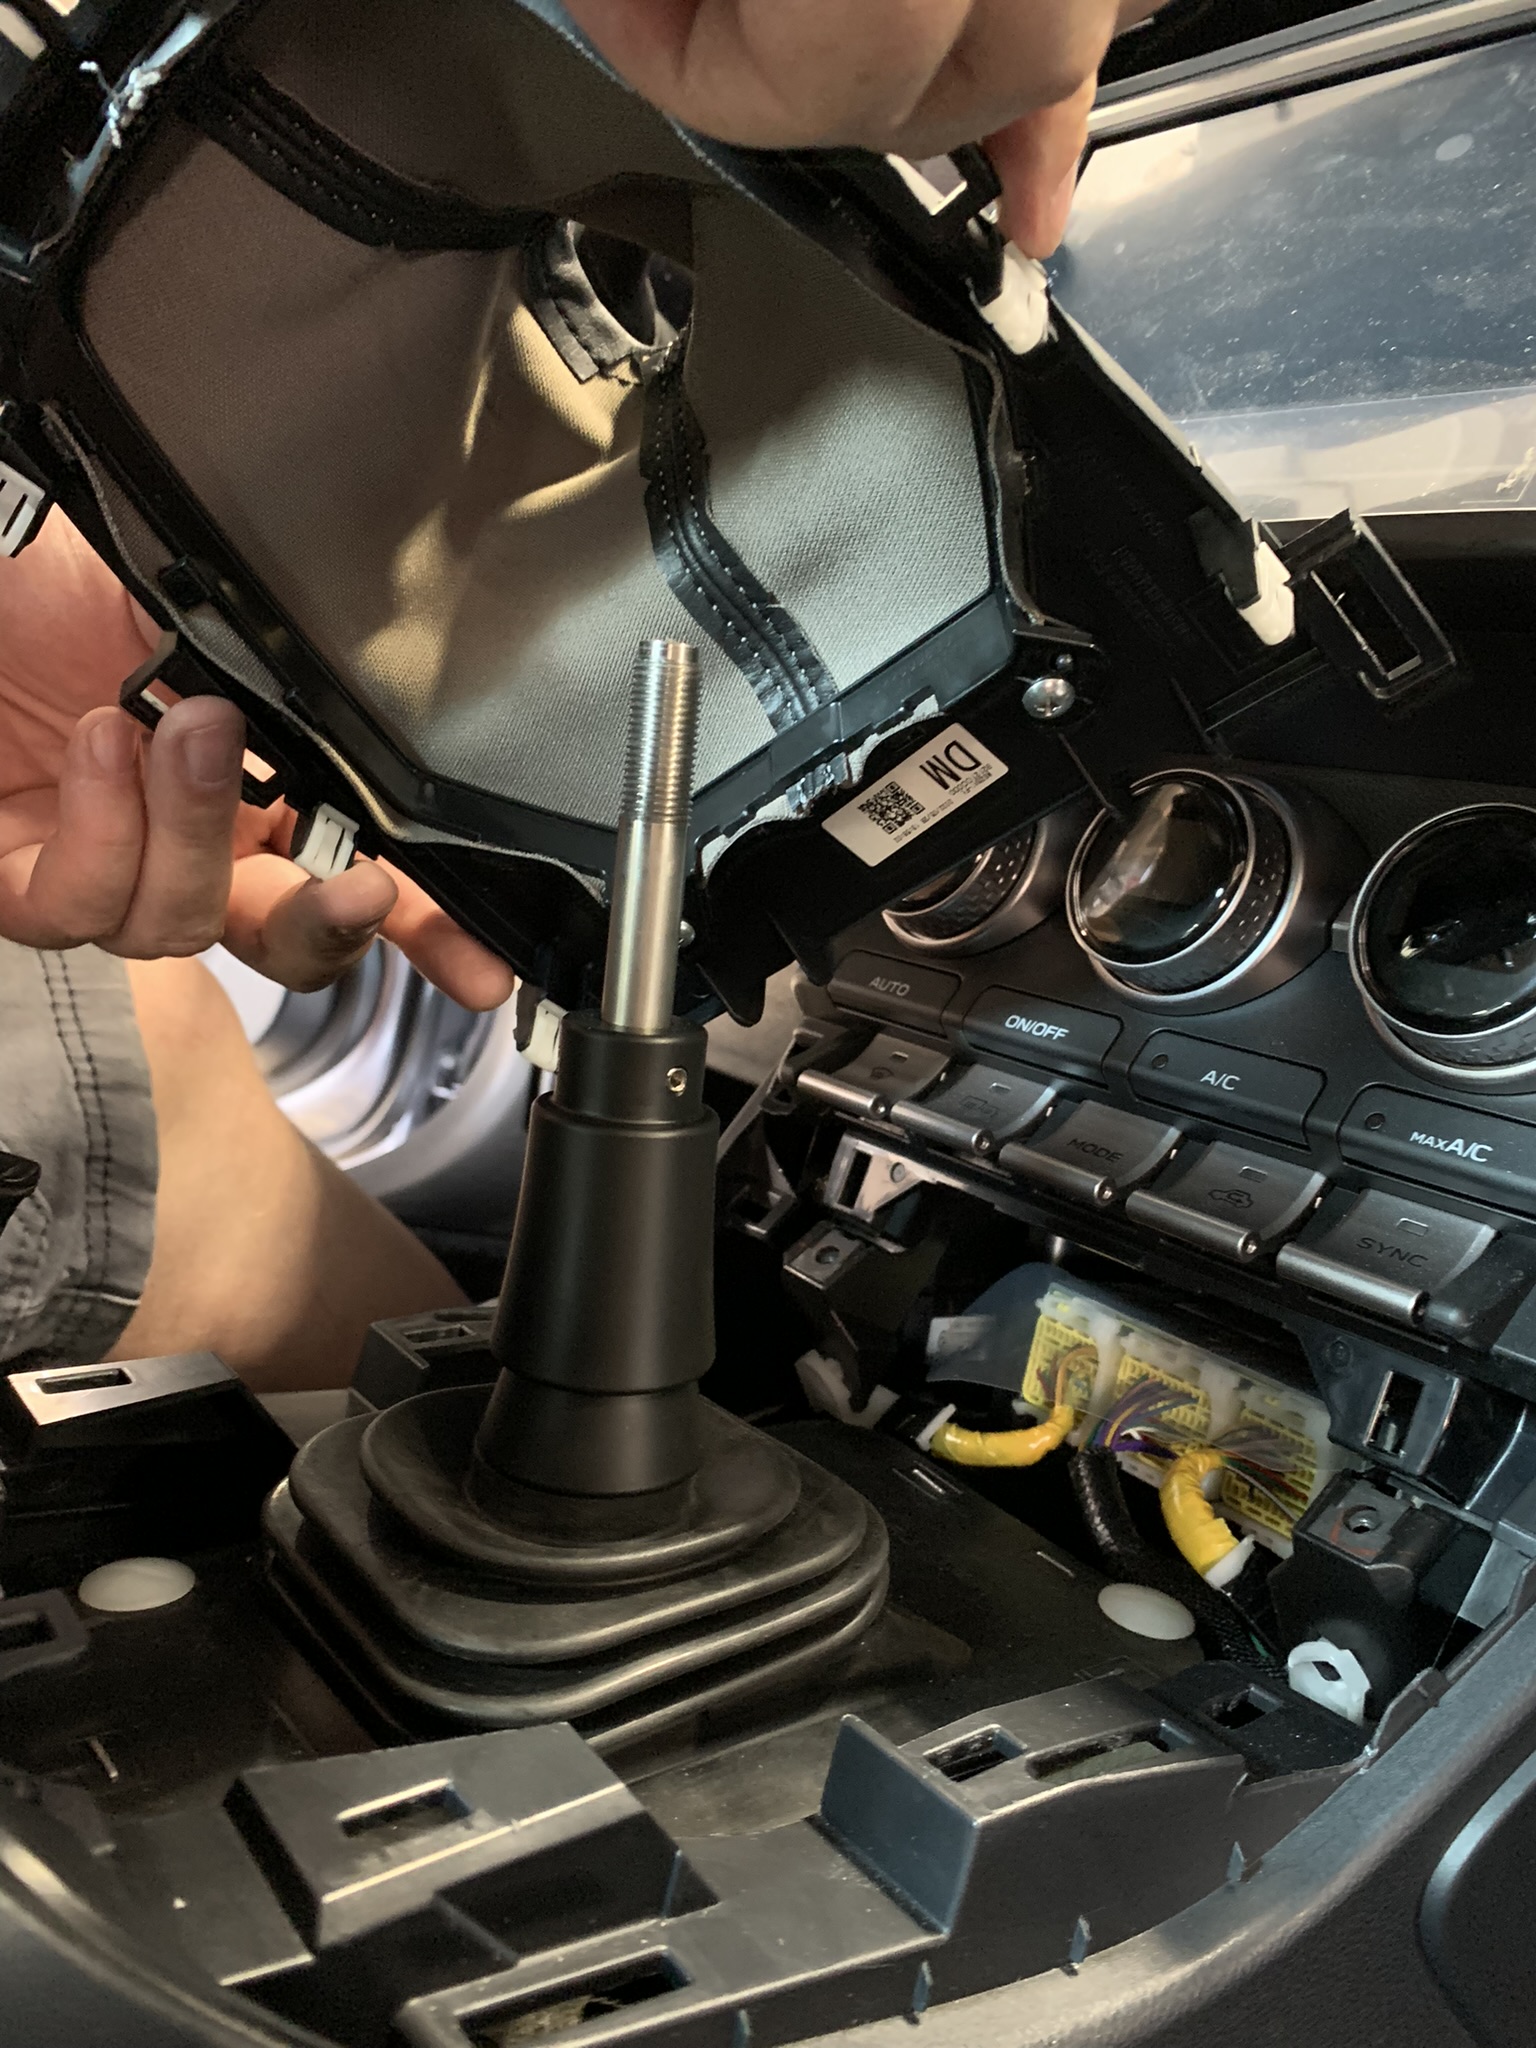
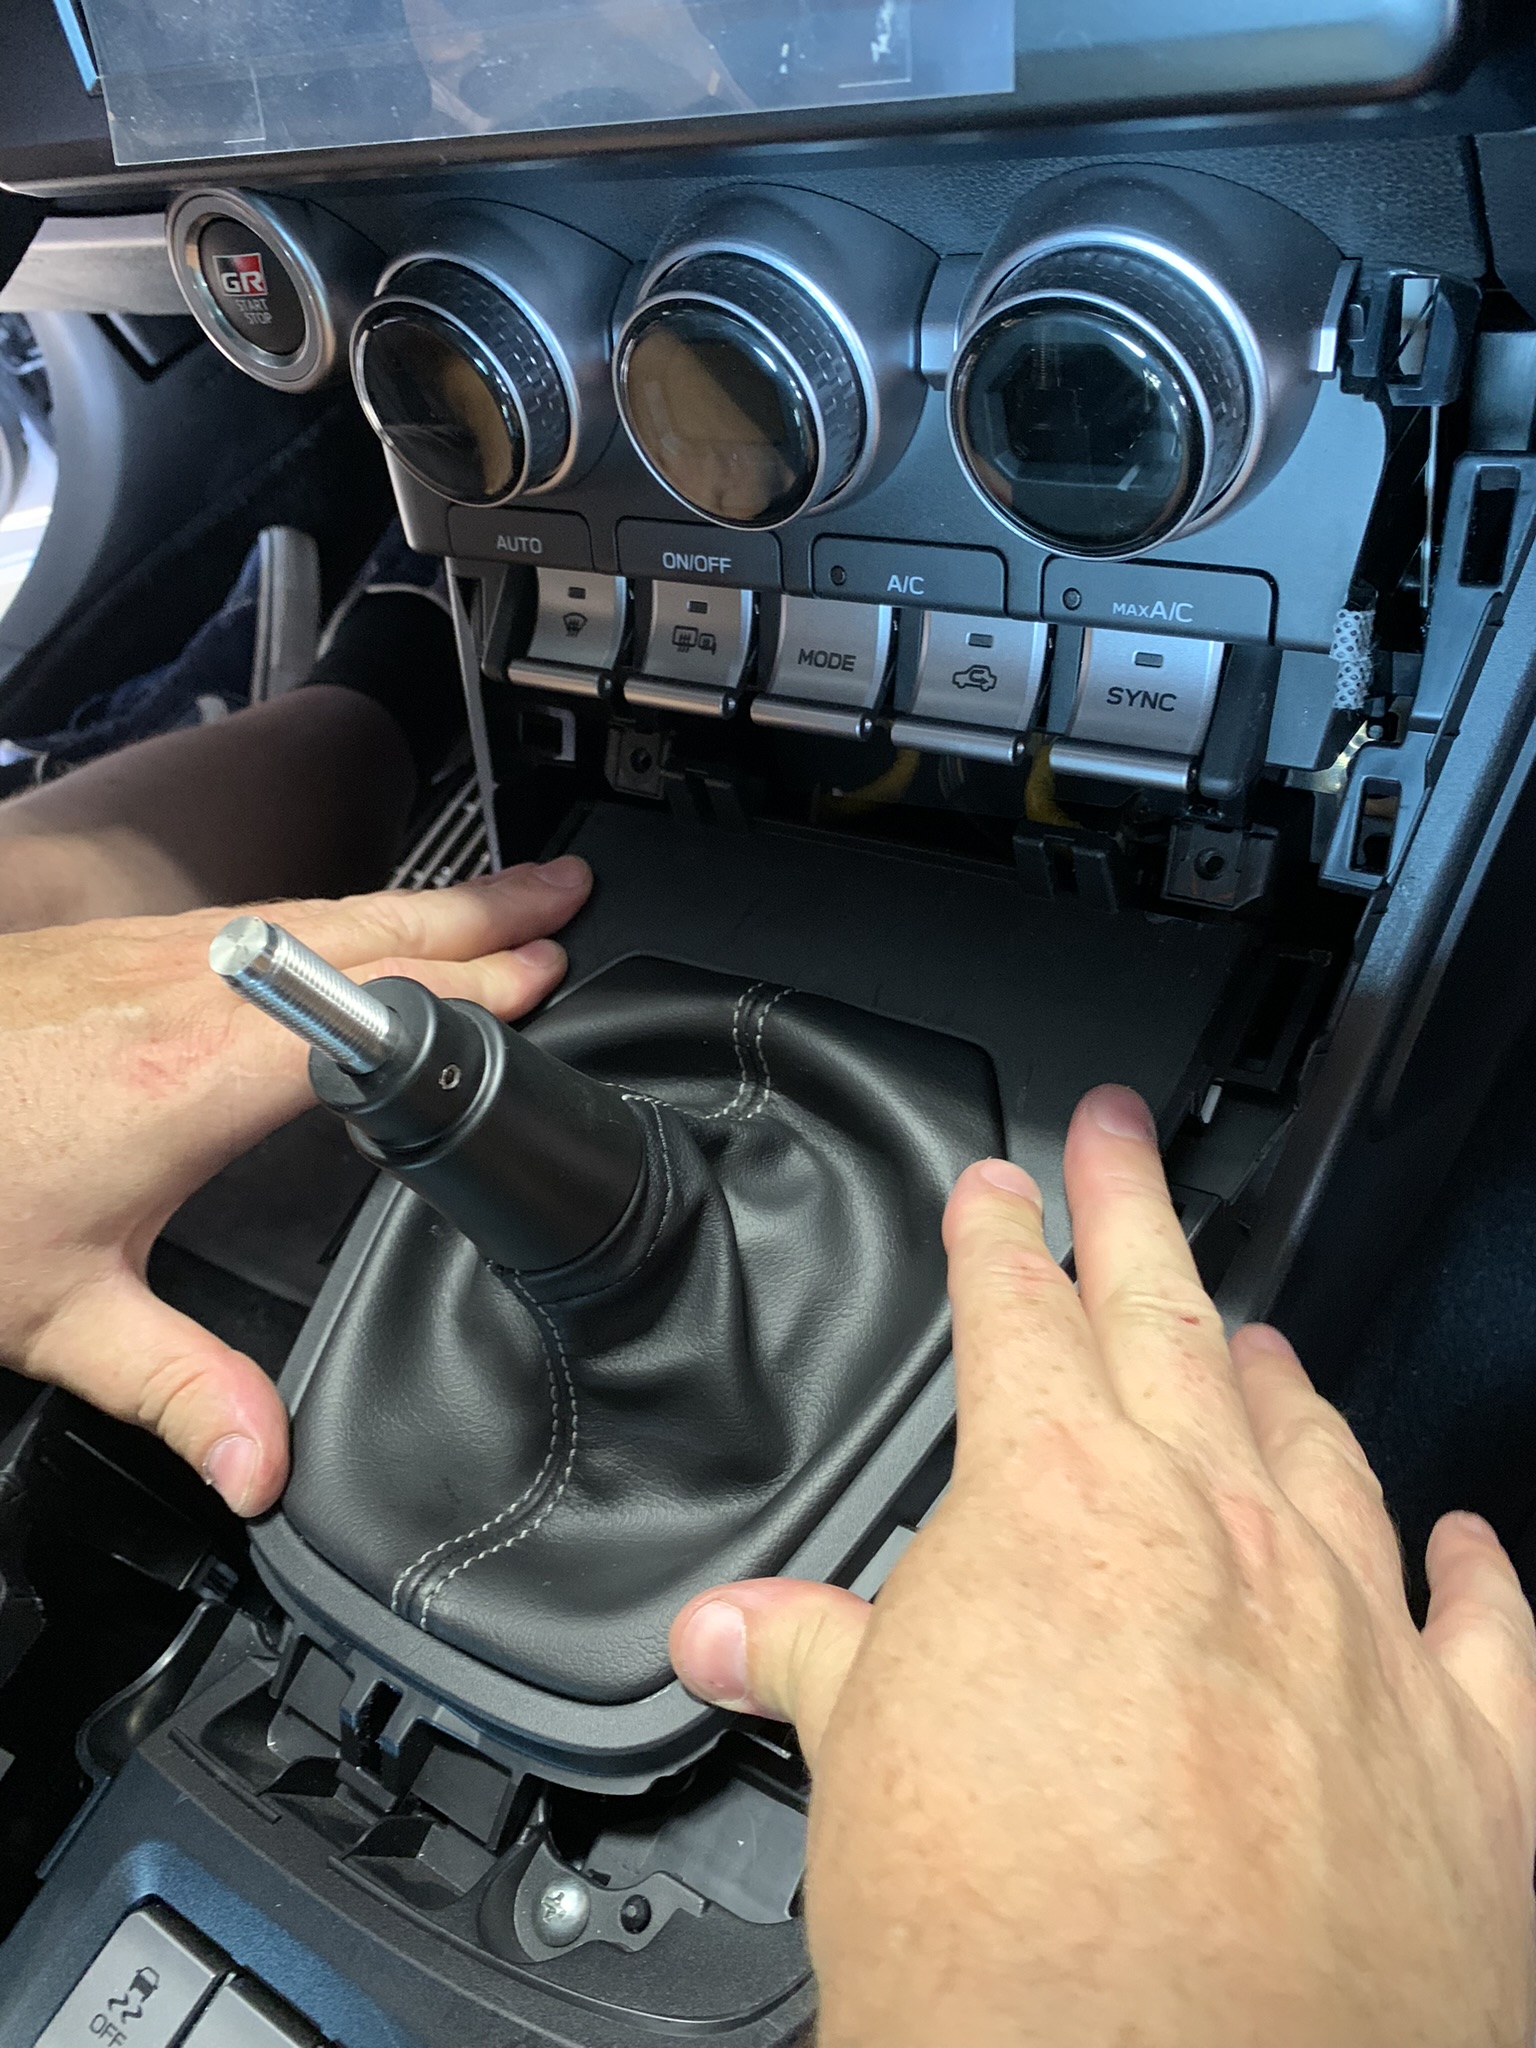
Reinstall the factory shift boot and trim. Fit the boot down onto the bottom flange of the shift knob boot collar.
-
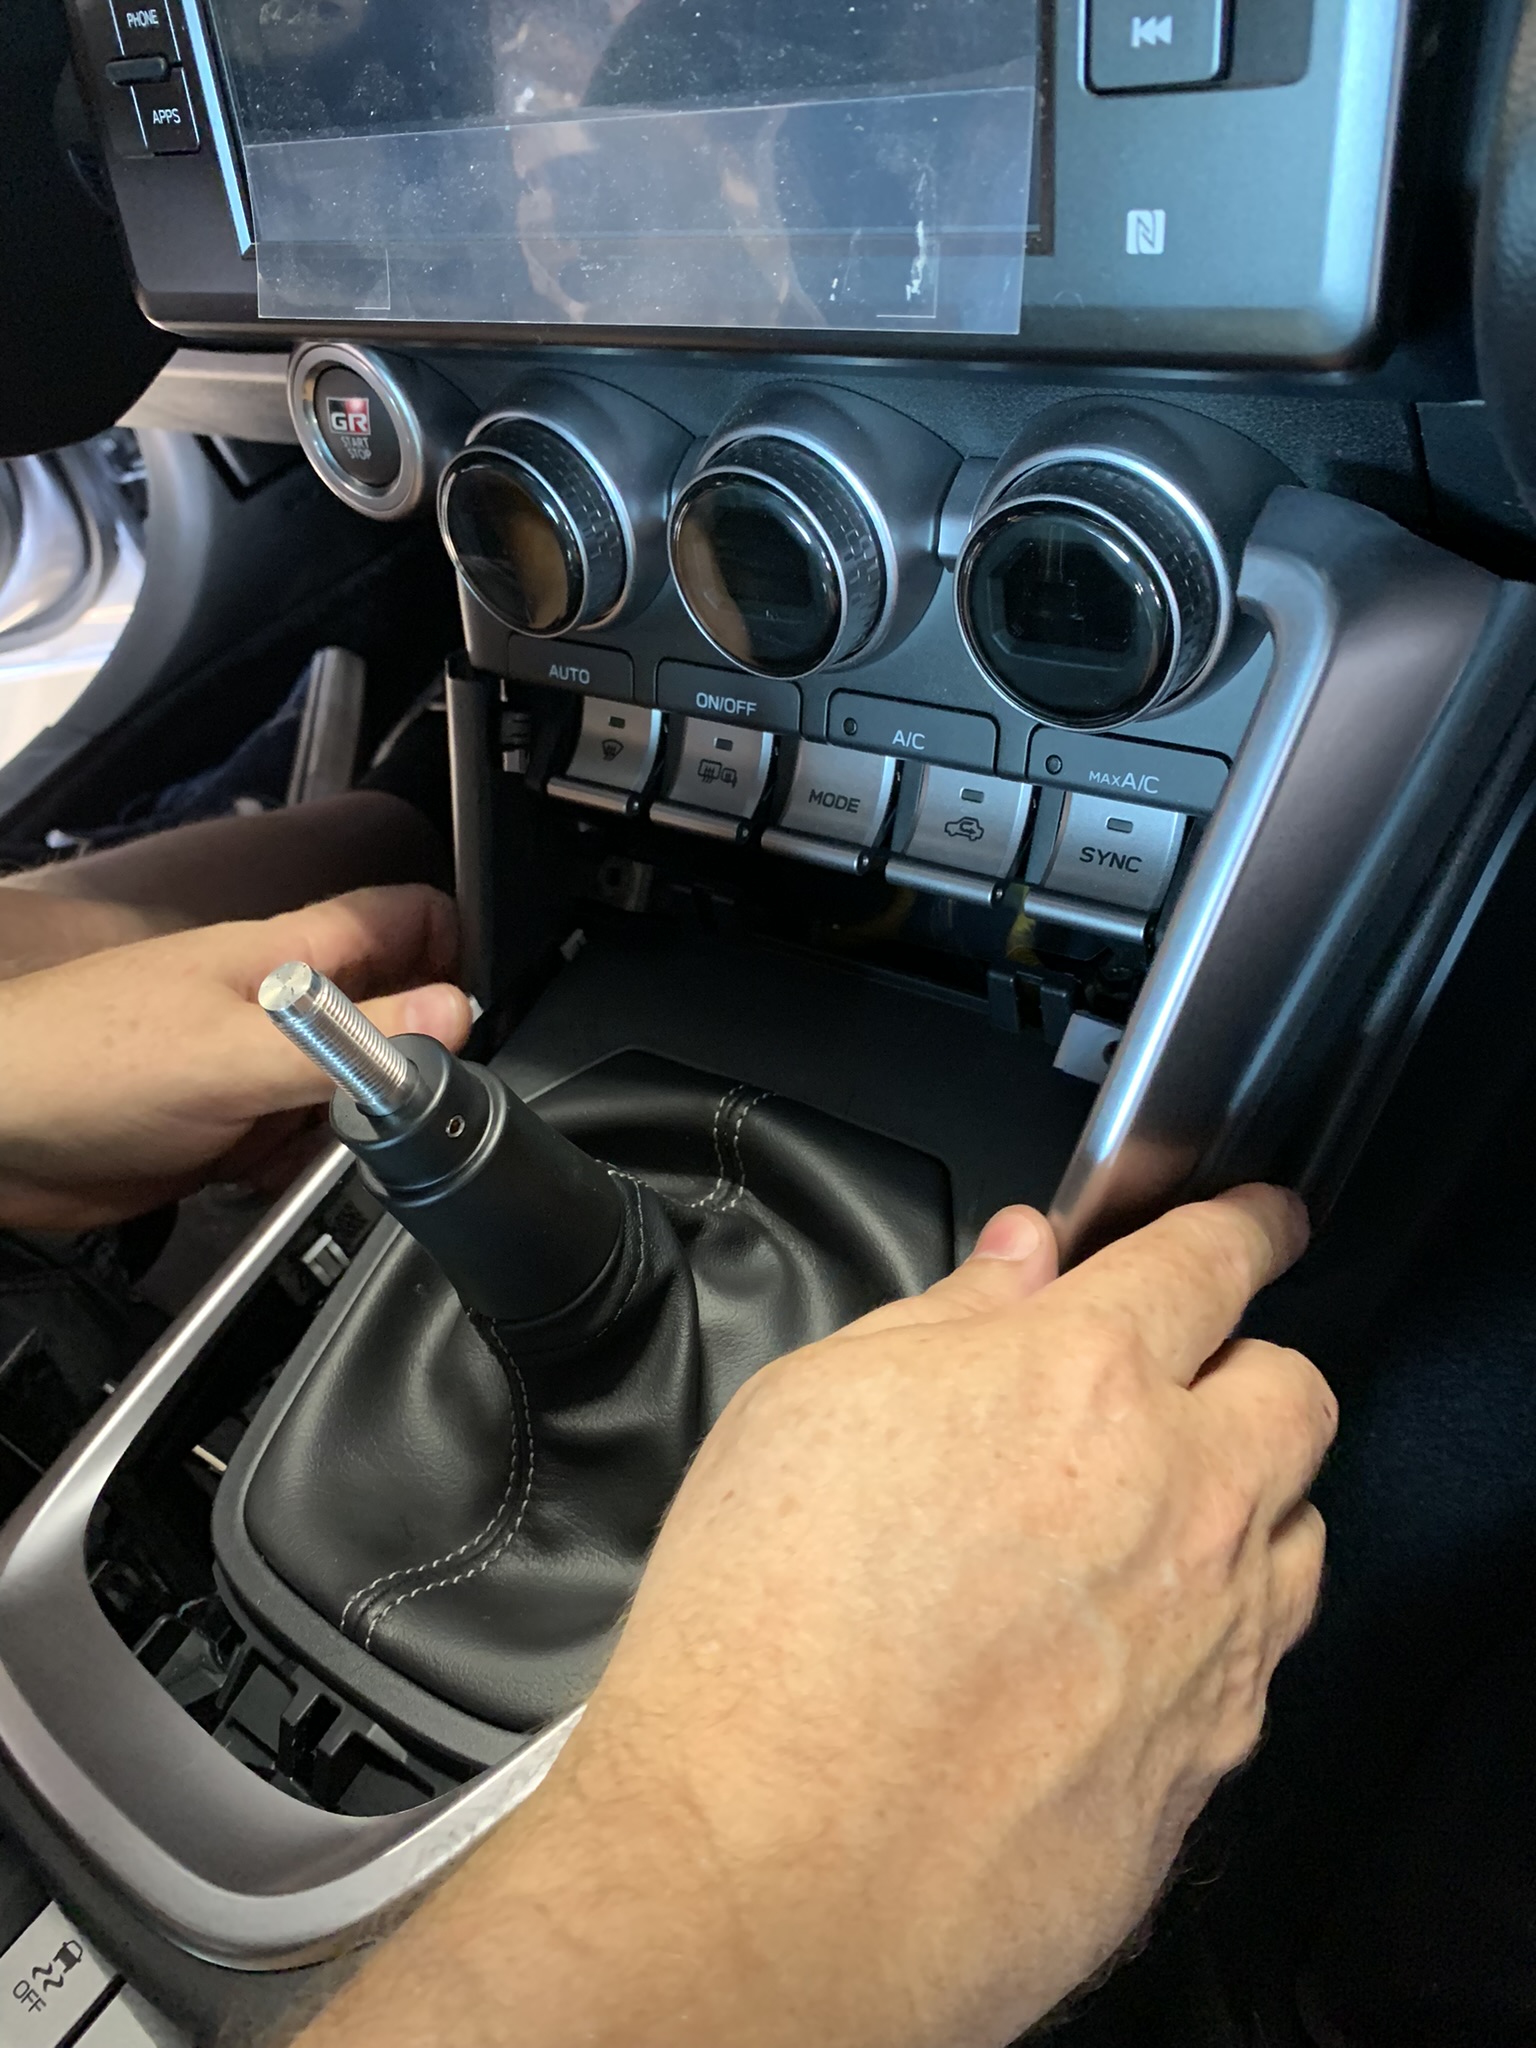
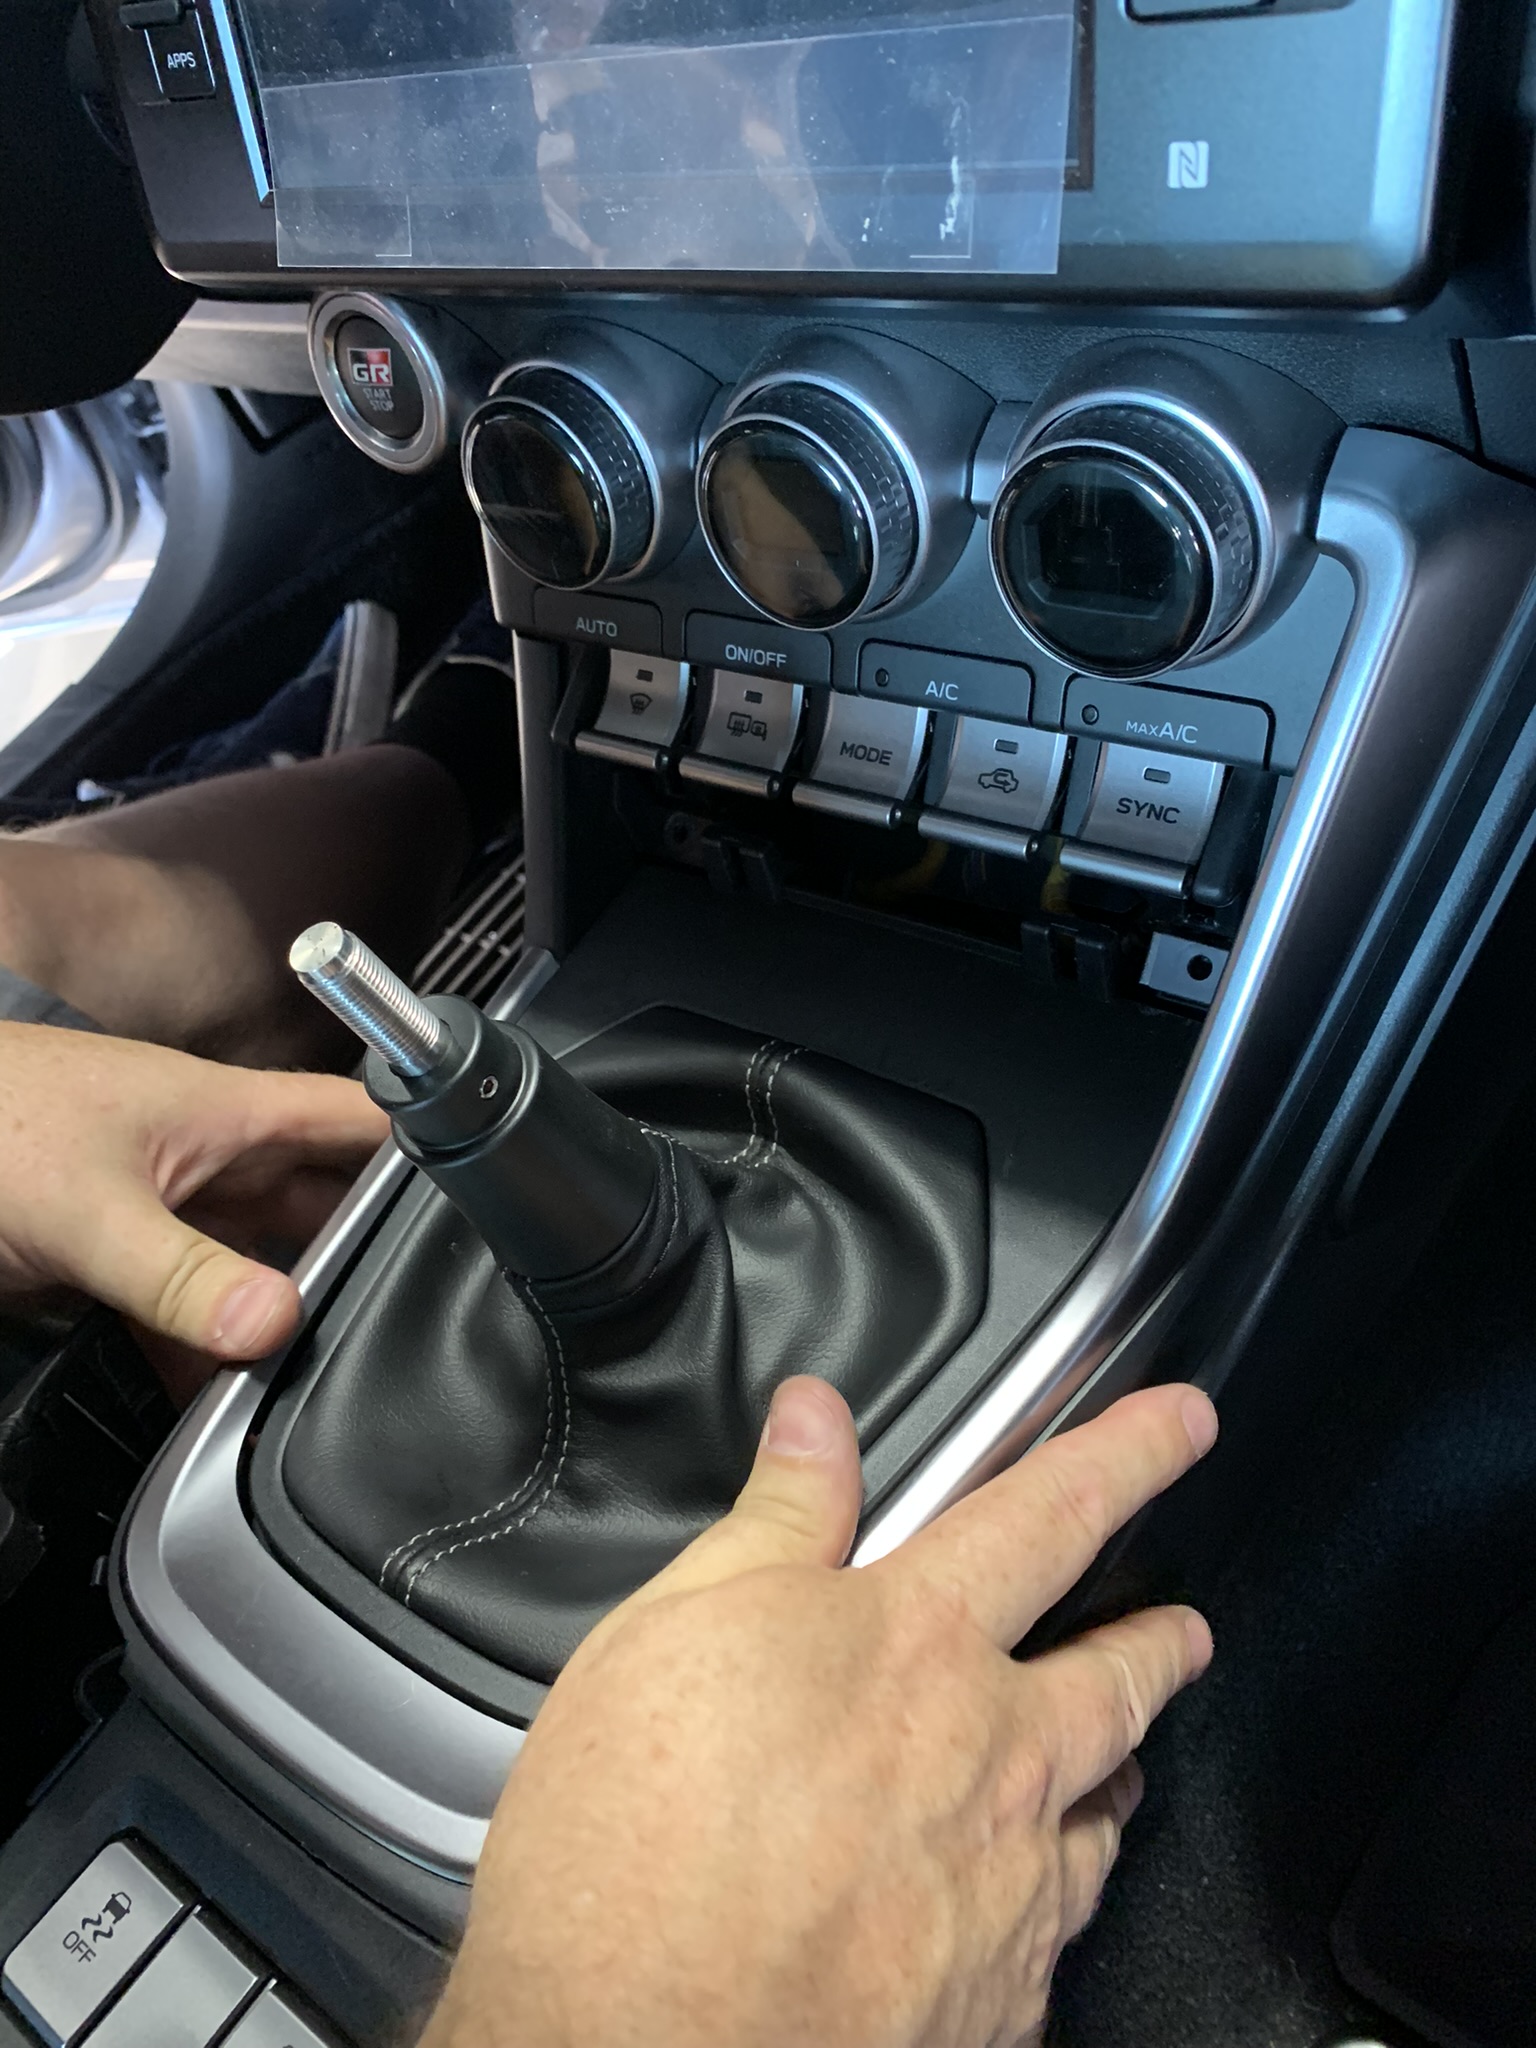
Reinstall the center console shifter surround and add the last two Philips head screws. Pop the trim piece back into place.
-
Refit the ebrake boot frame.
Assemble and Install the Shift Knob
-
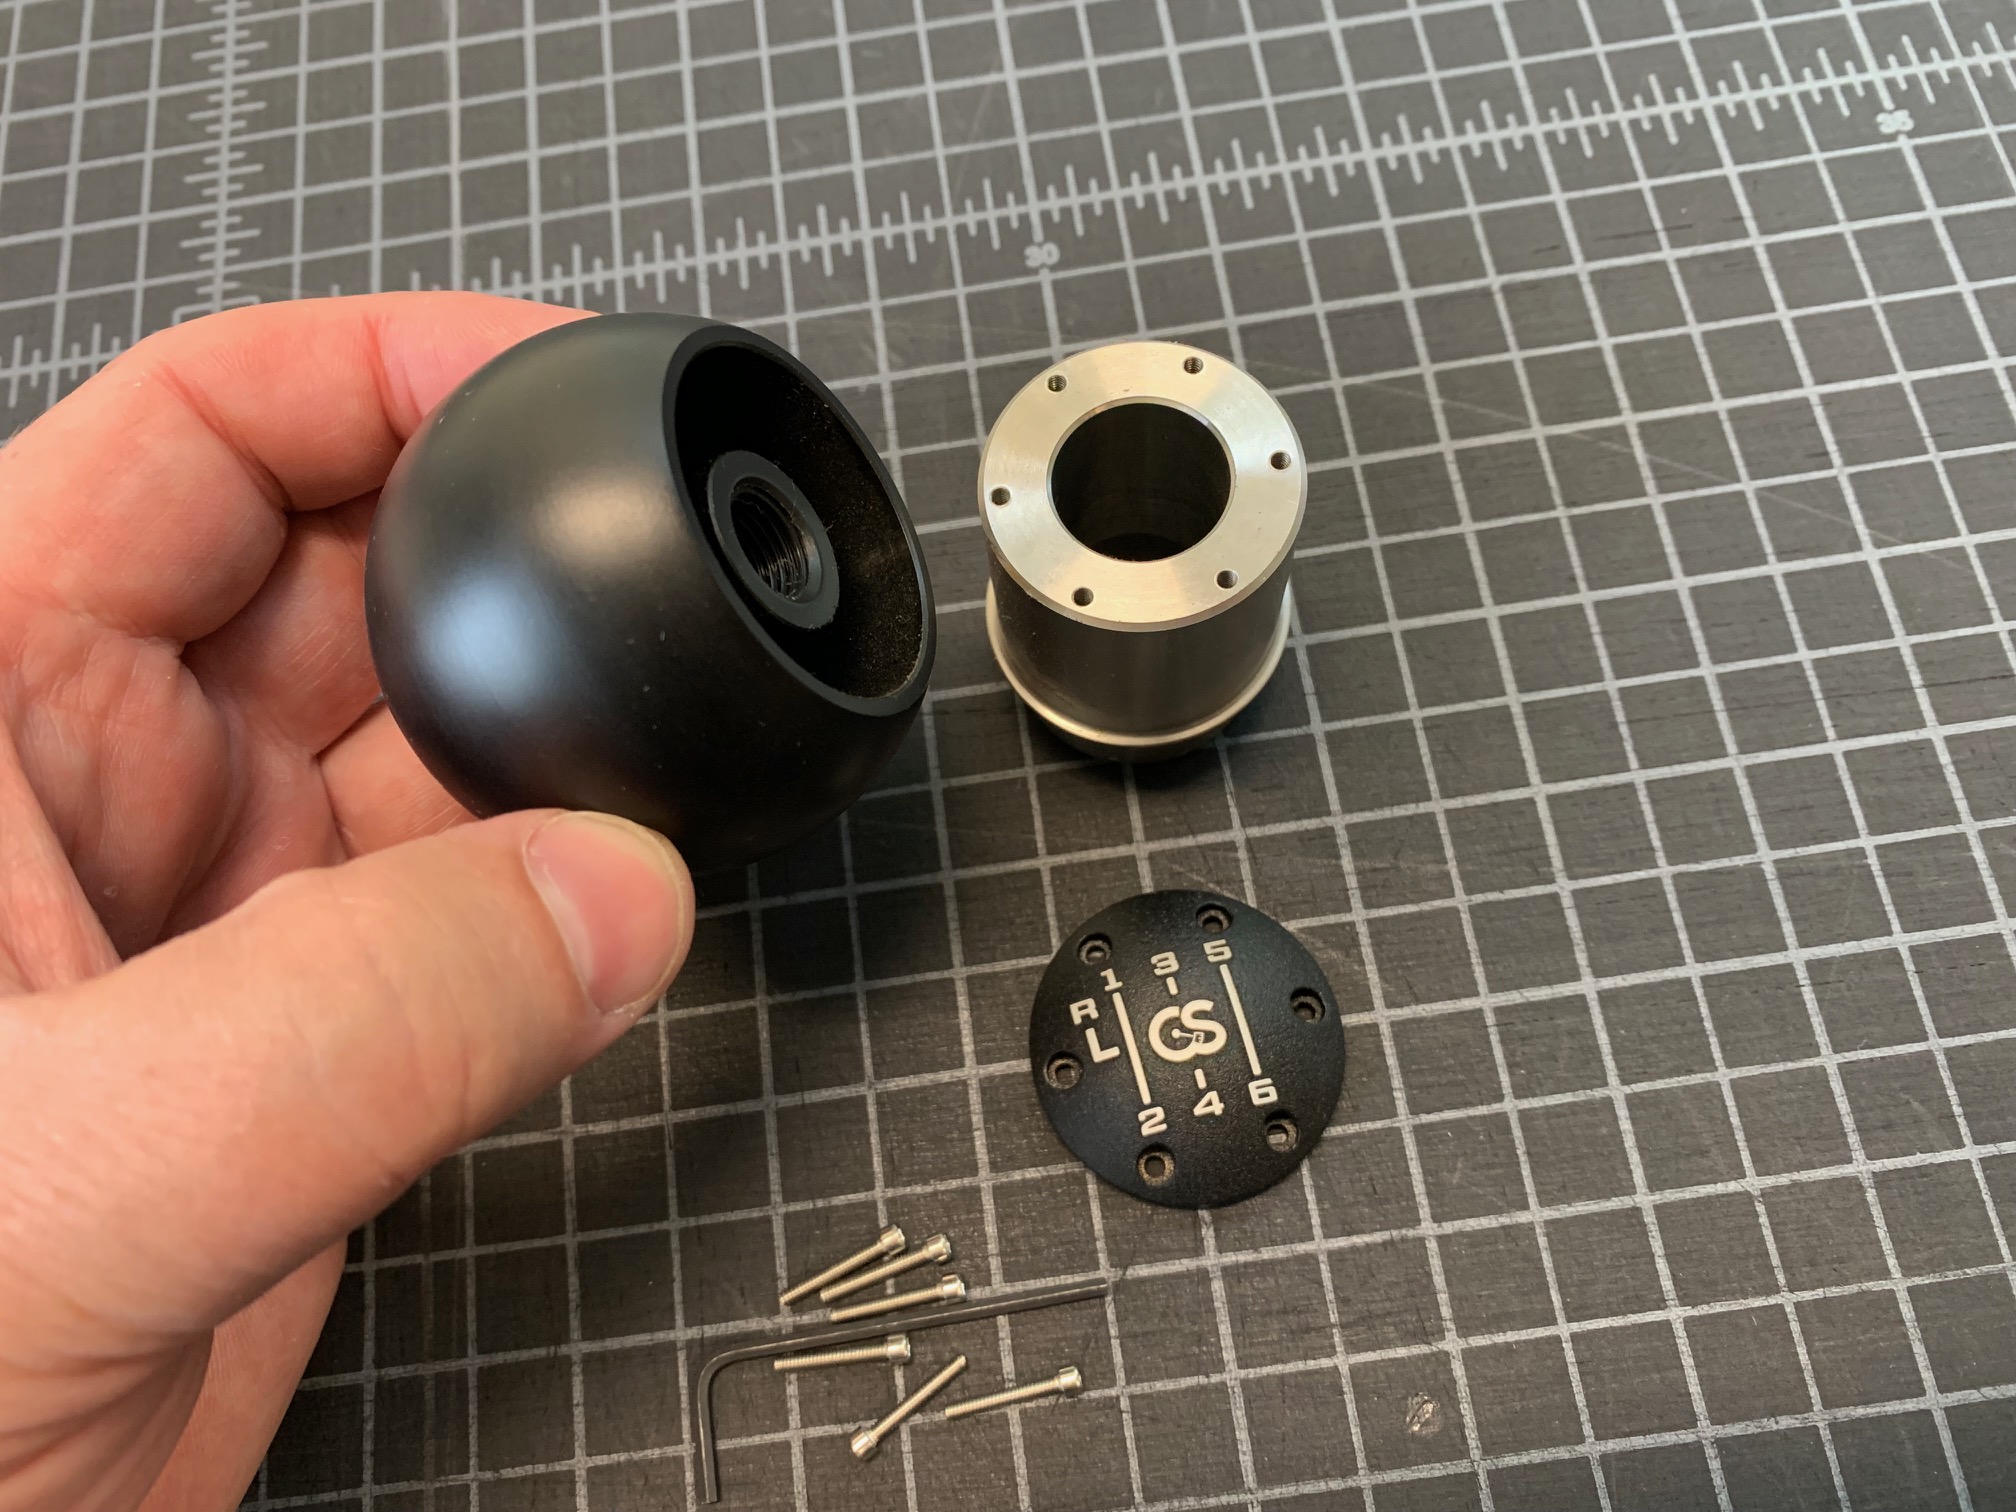
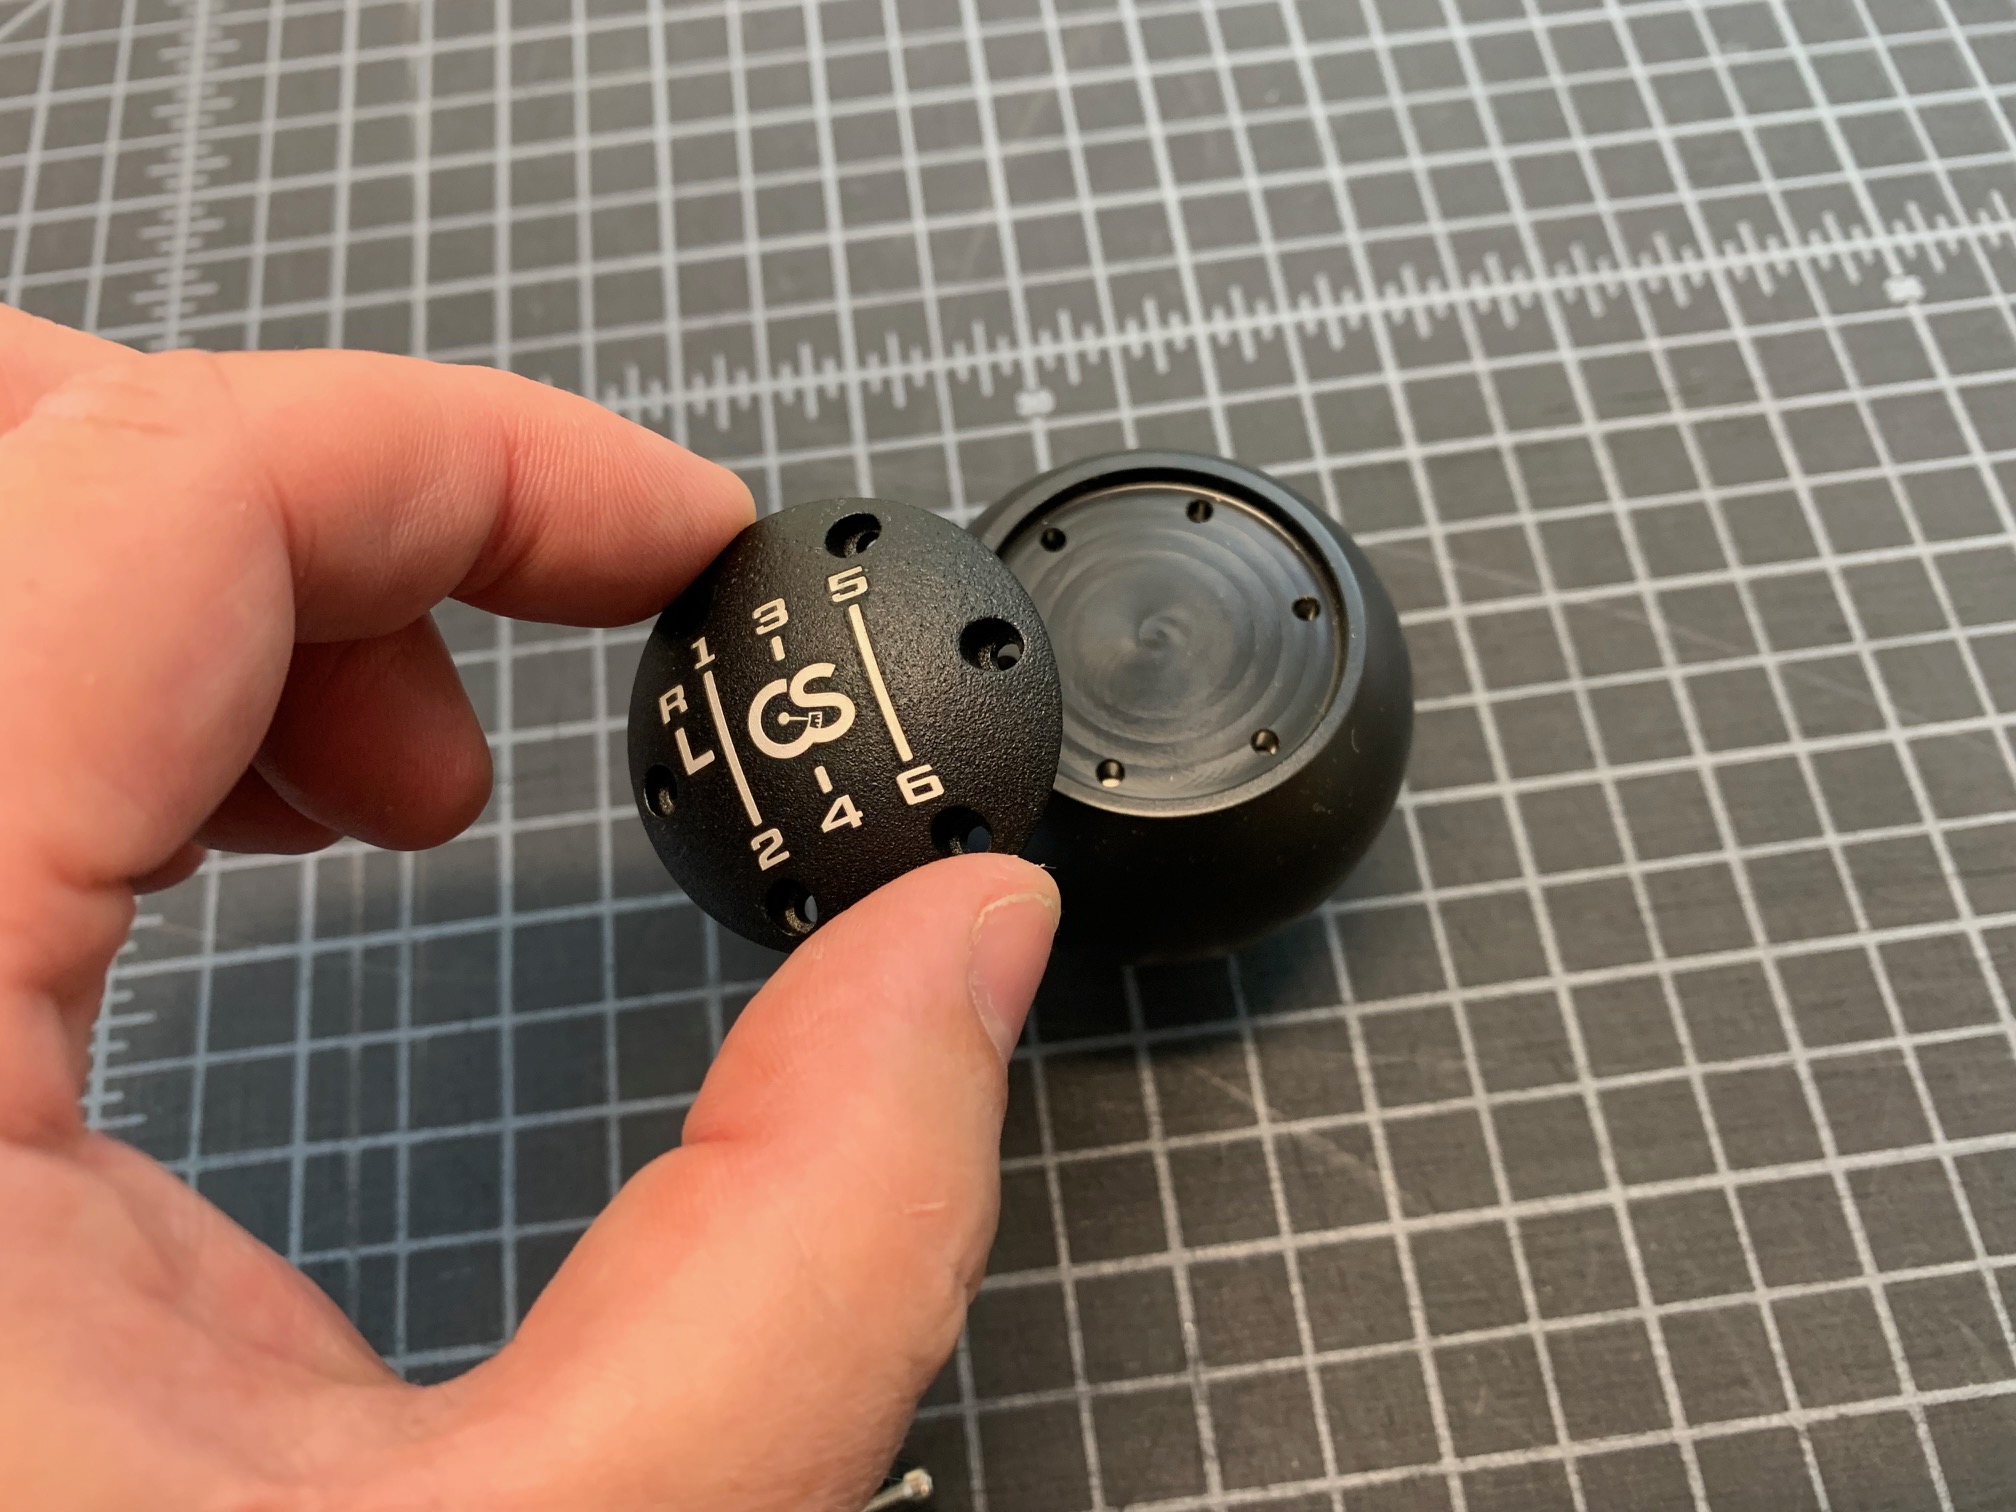
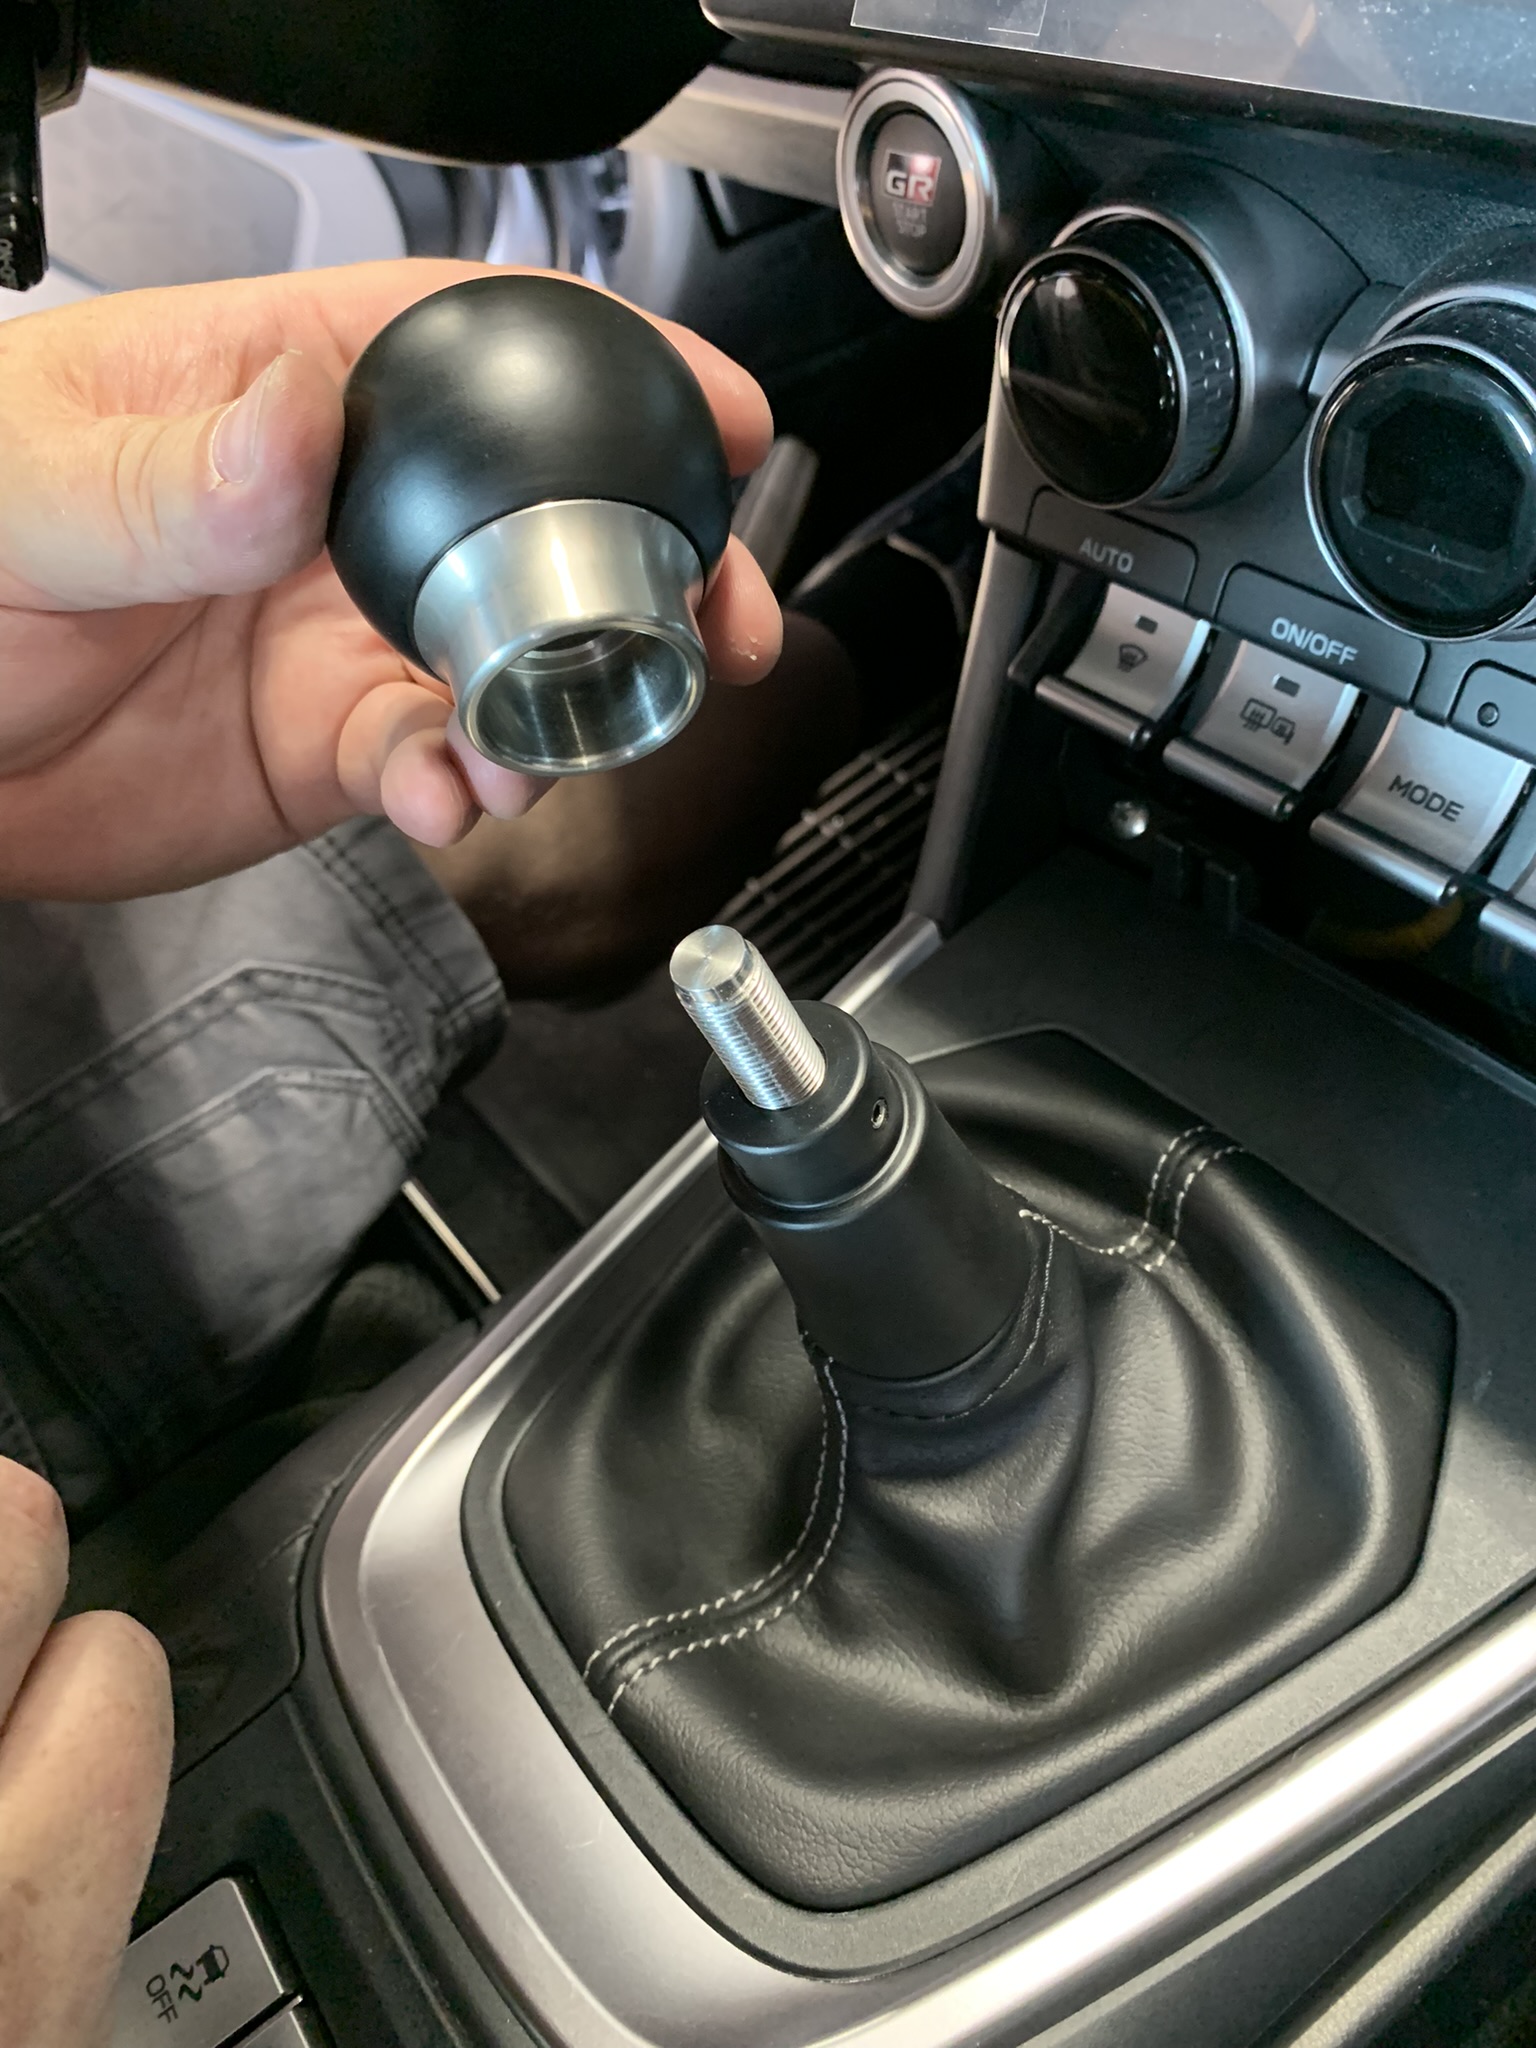
Slip the shift knob body down over the stainless steel core and place the shift knob cap on top.
-
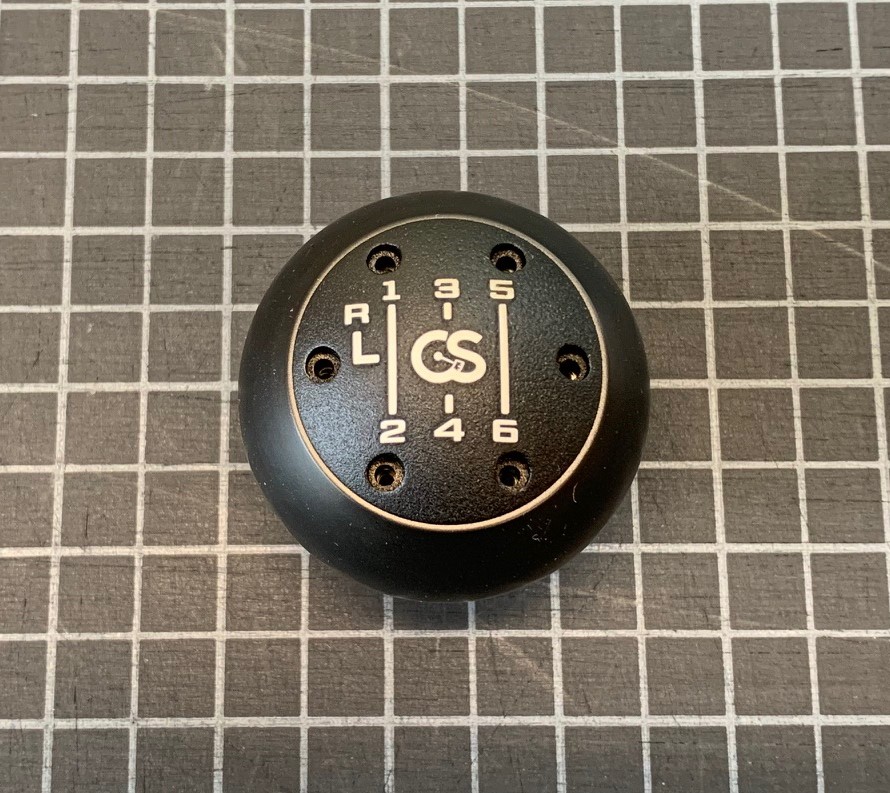
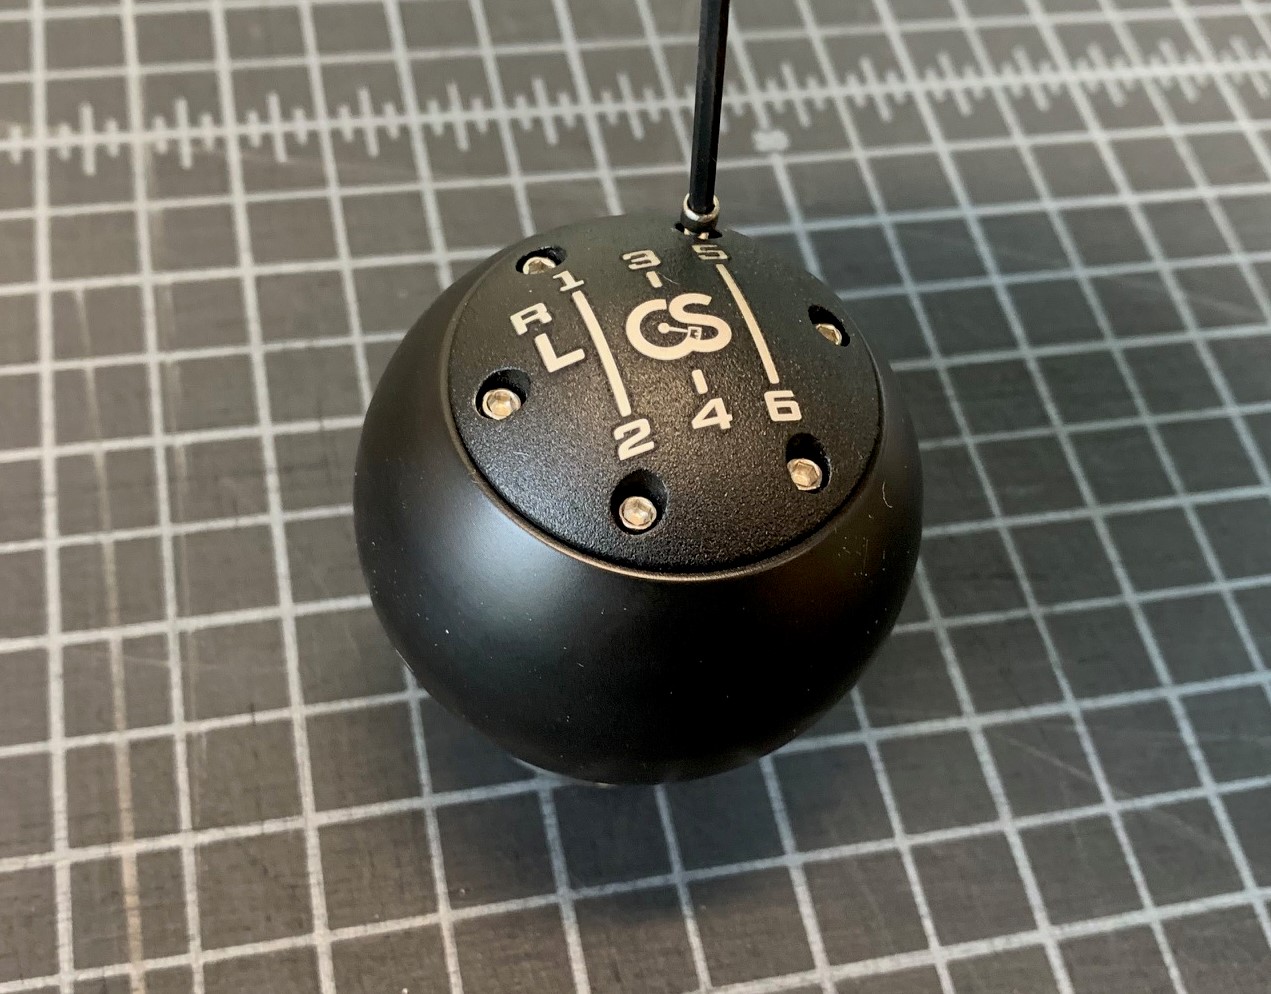
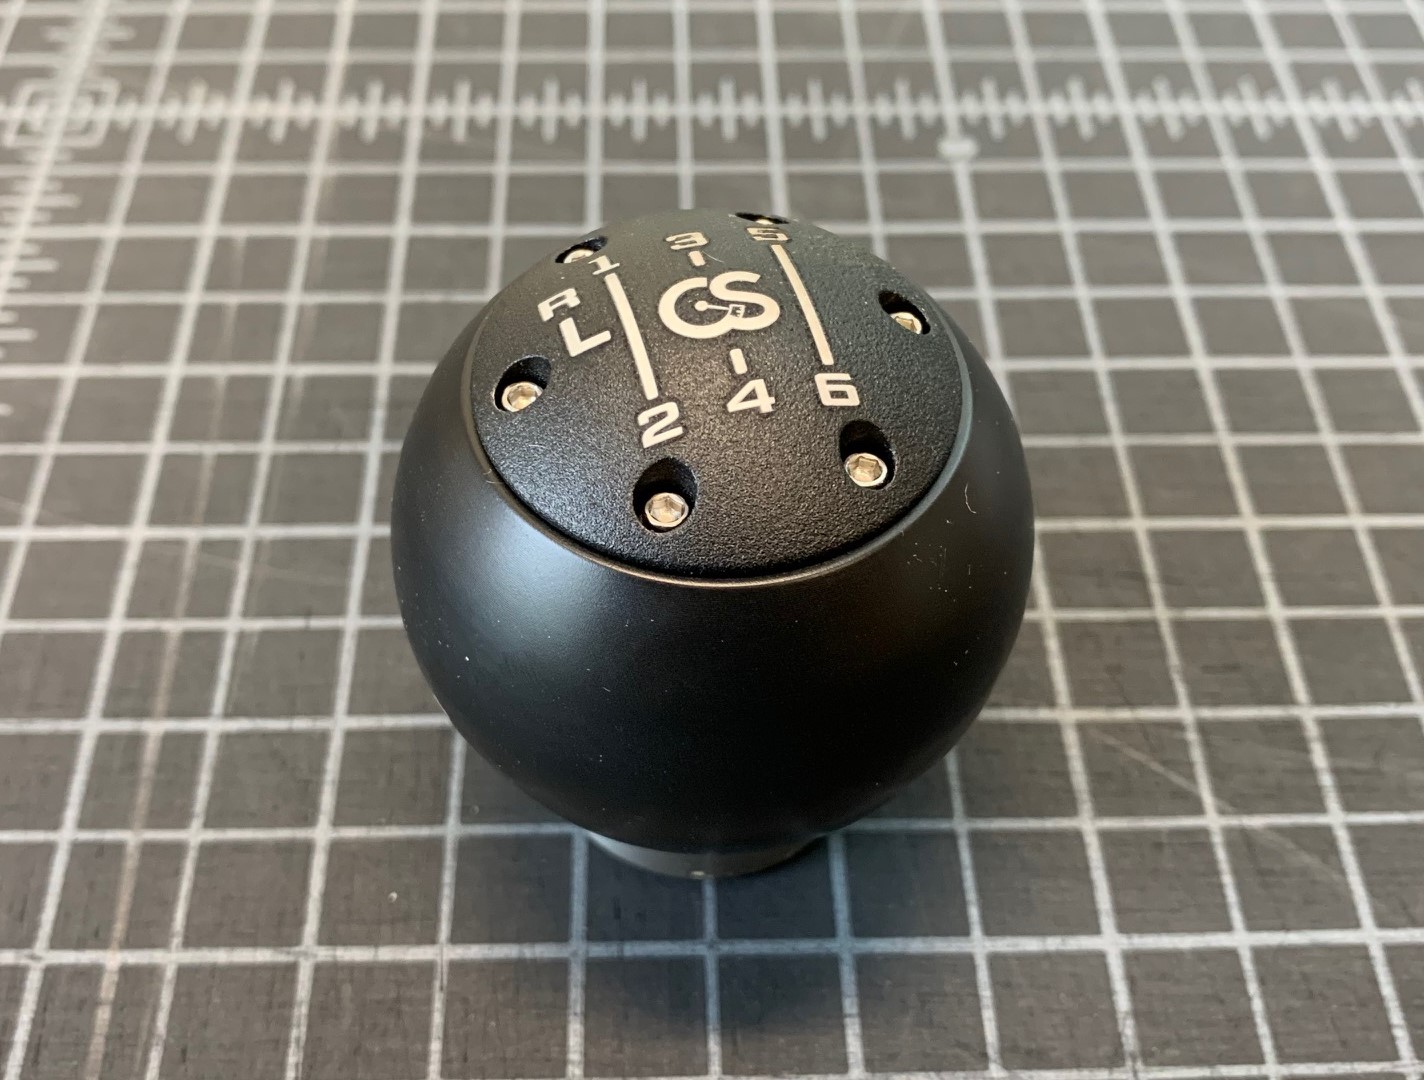
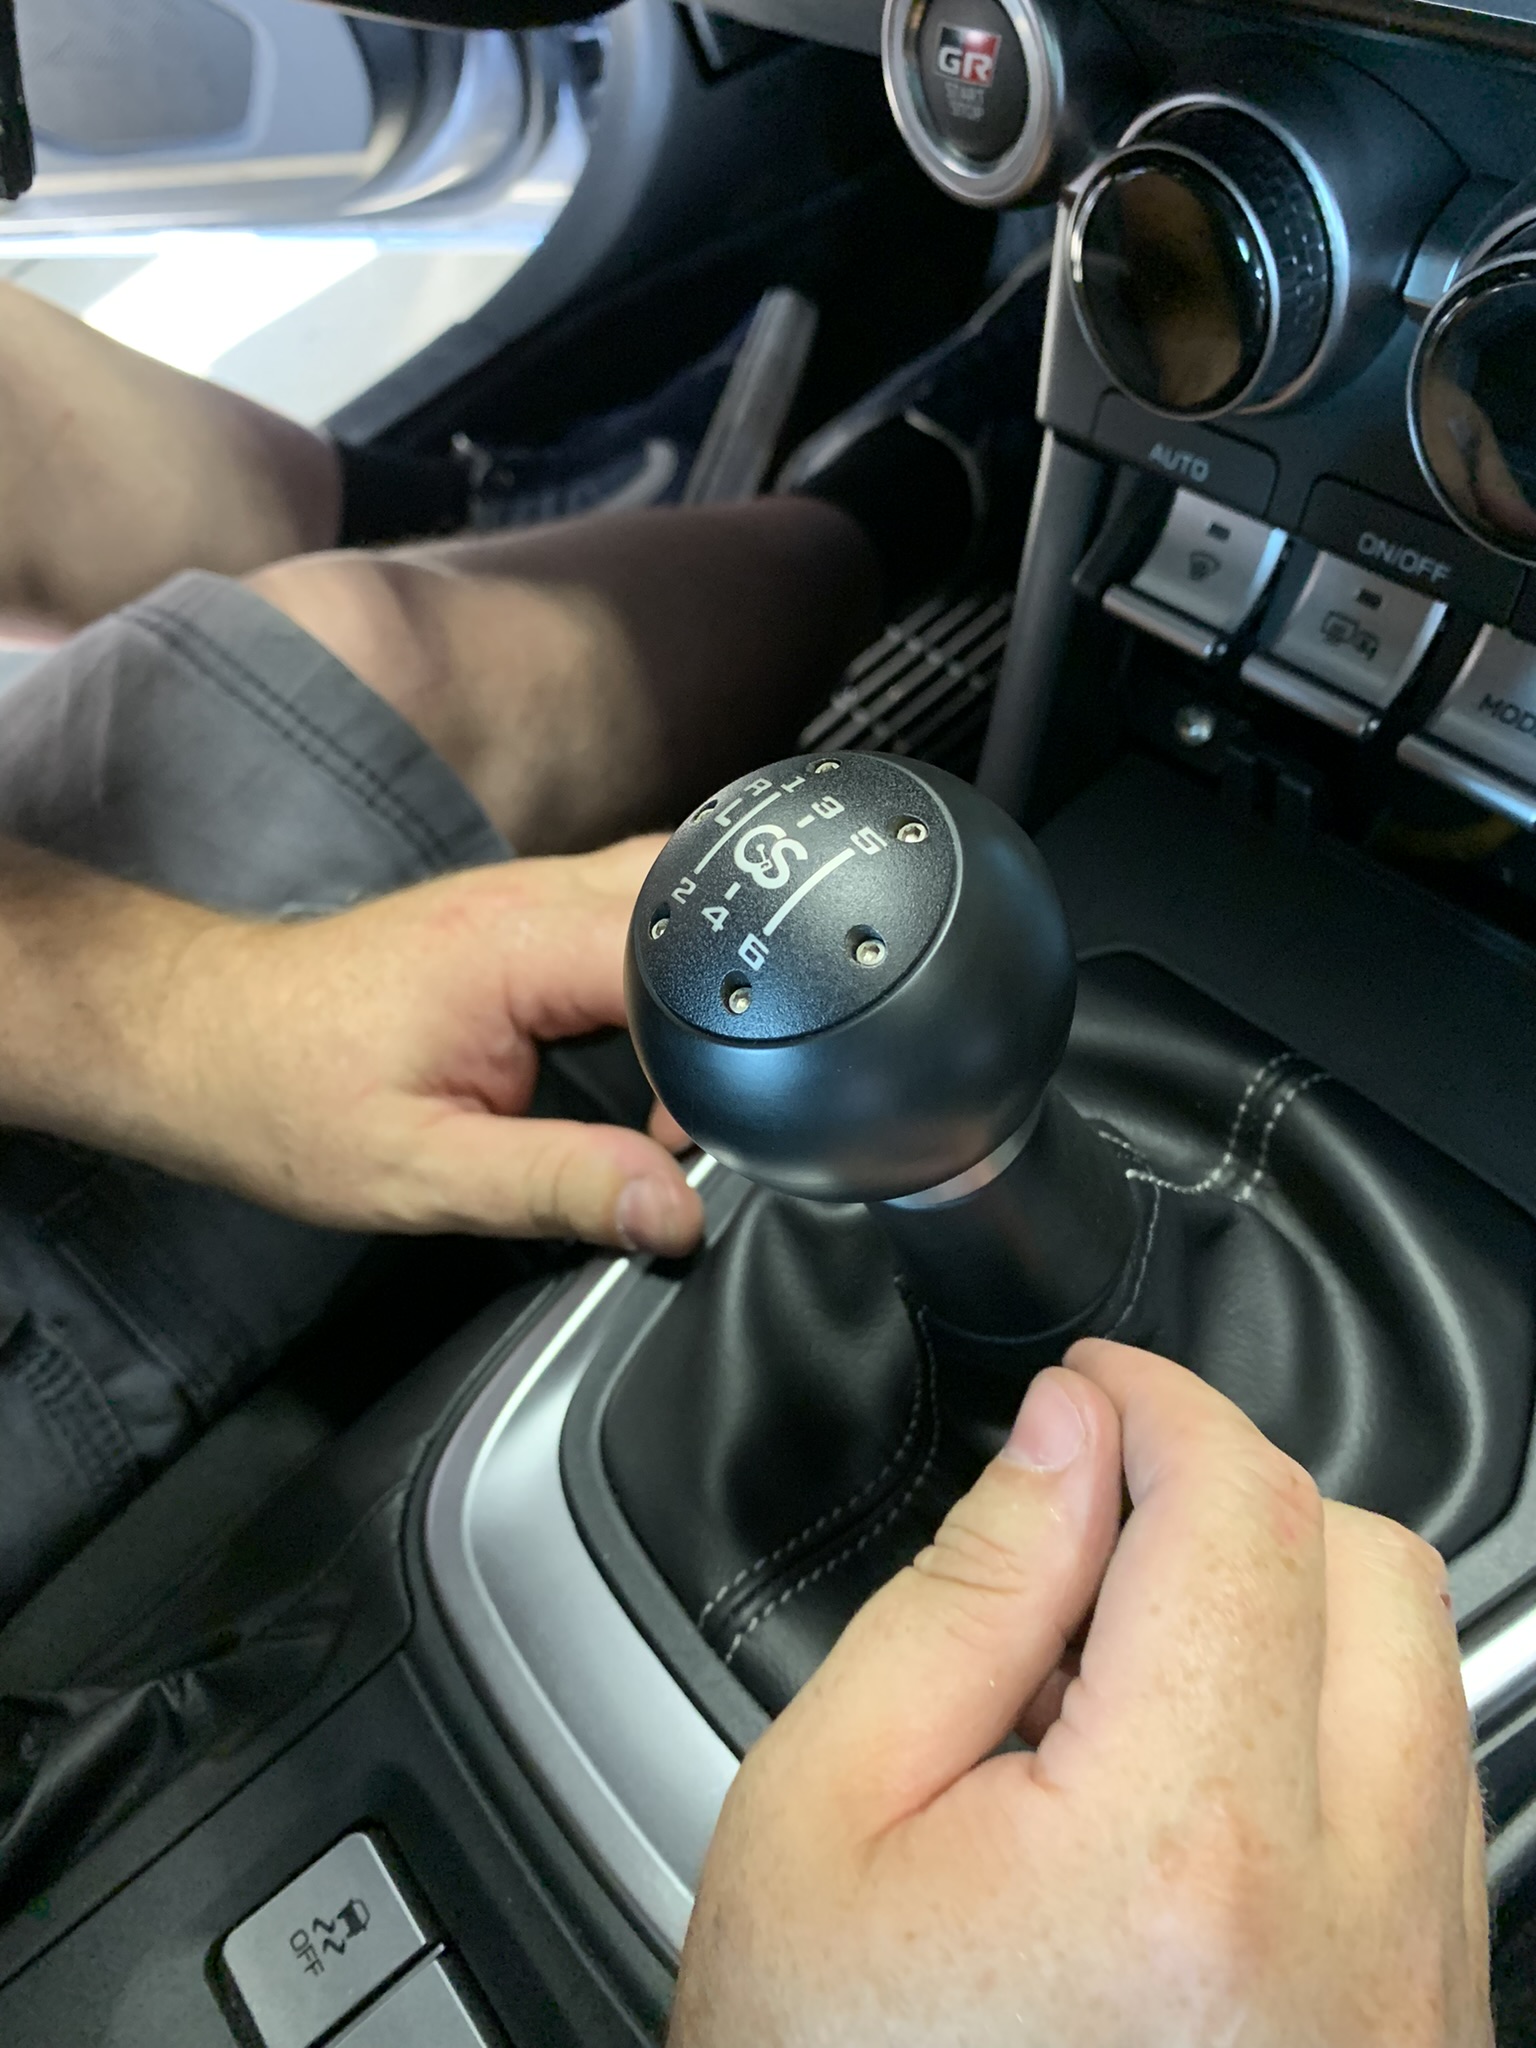
Line up the six (6) hole pattern integrated into each of these components and install the six (6) 2-56 stainless steel cap screws with the 5/64 hex key provided. If the knob cap pattern doesn't quite line up the way you'd like when the shift knob is fully tightened, you can remove the six screws and rotate the knob cap to your desired orientation.
-
Spin on the shift knob until it tightens to where you want it and push the shift knob boot collar up to meet the bottom of the shift knob. Remove the shift knob and perform a final tightening of the three set screws, locking the boot collar position into place. Retighten your shift knob down to it's preferred location.

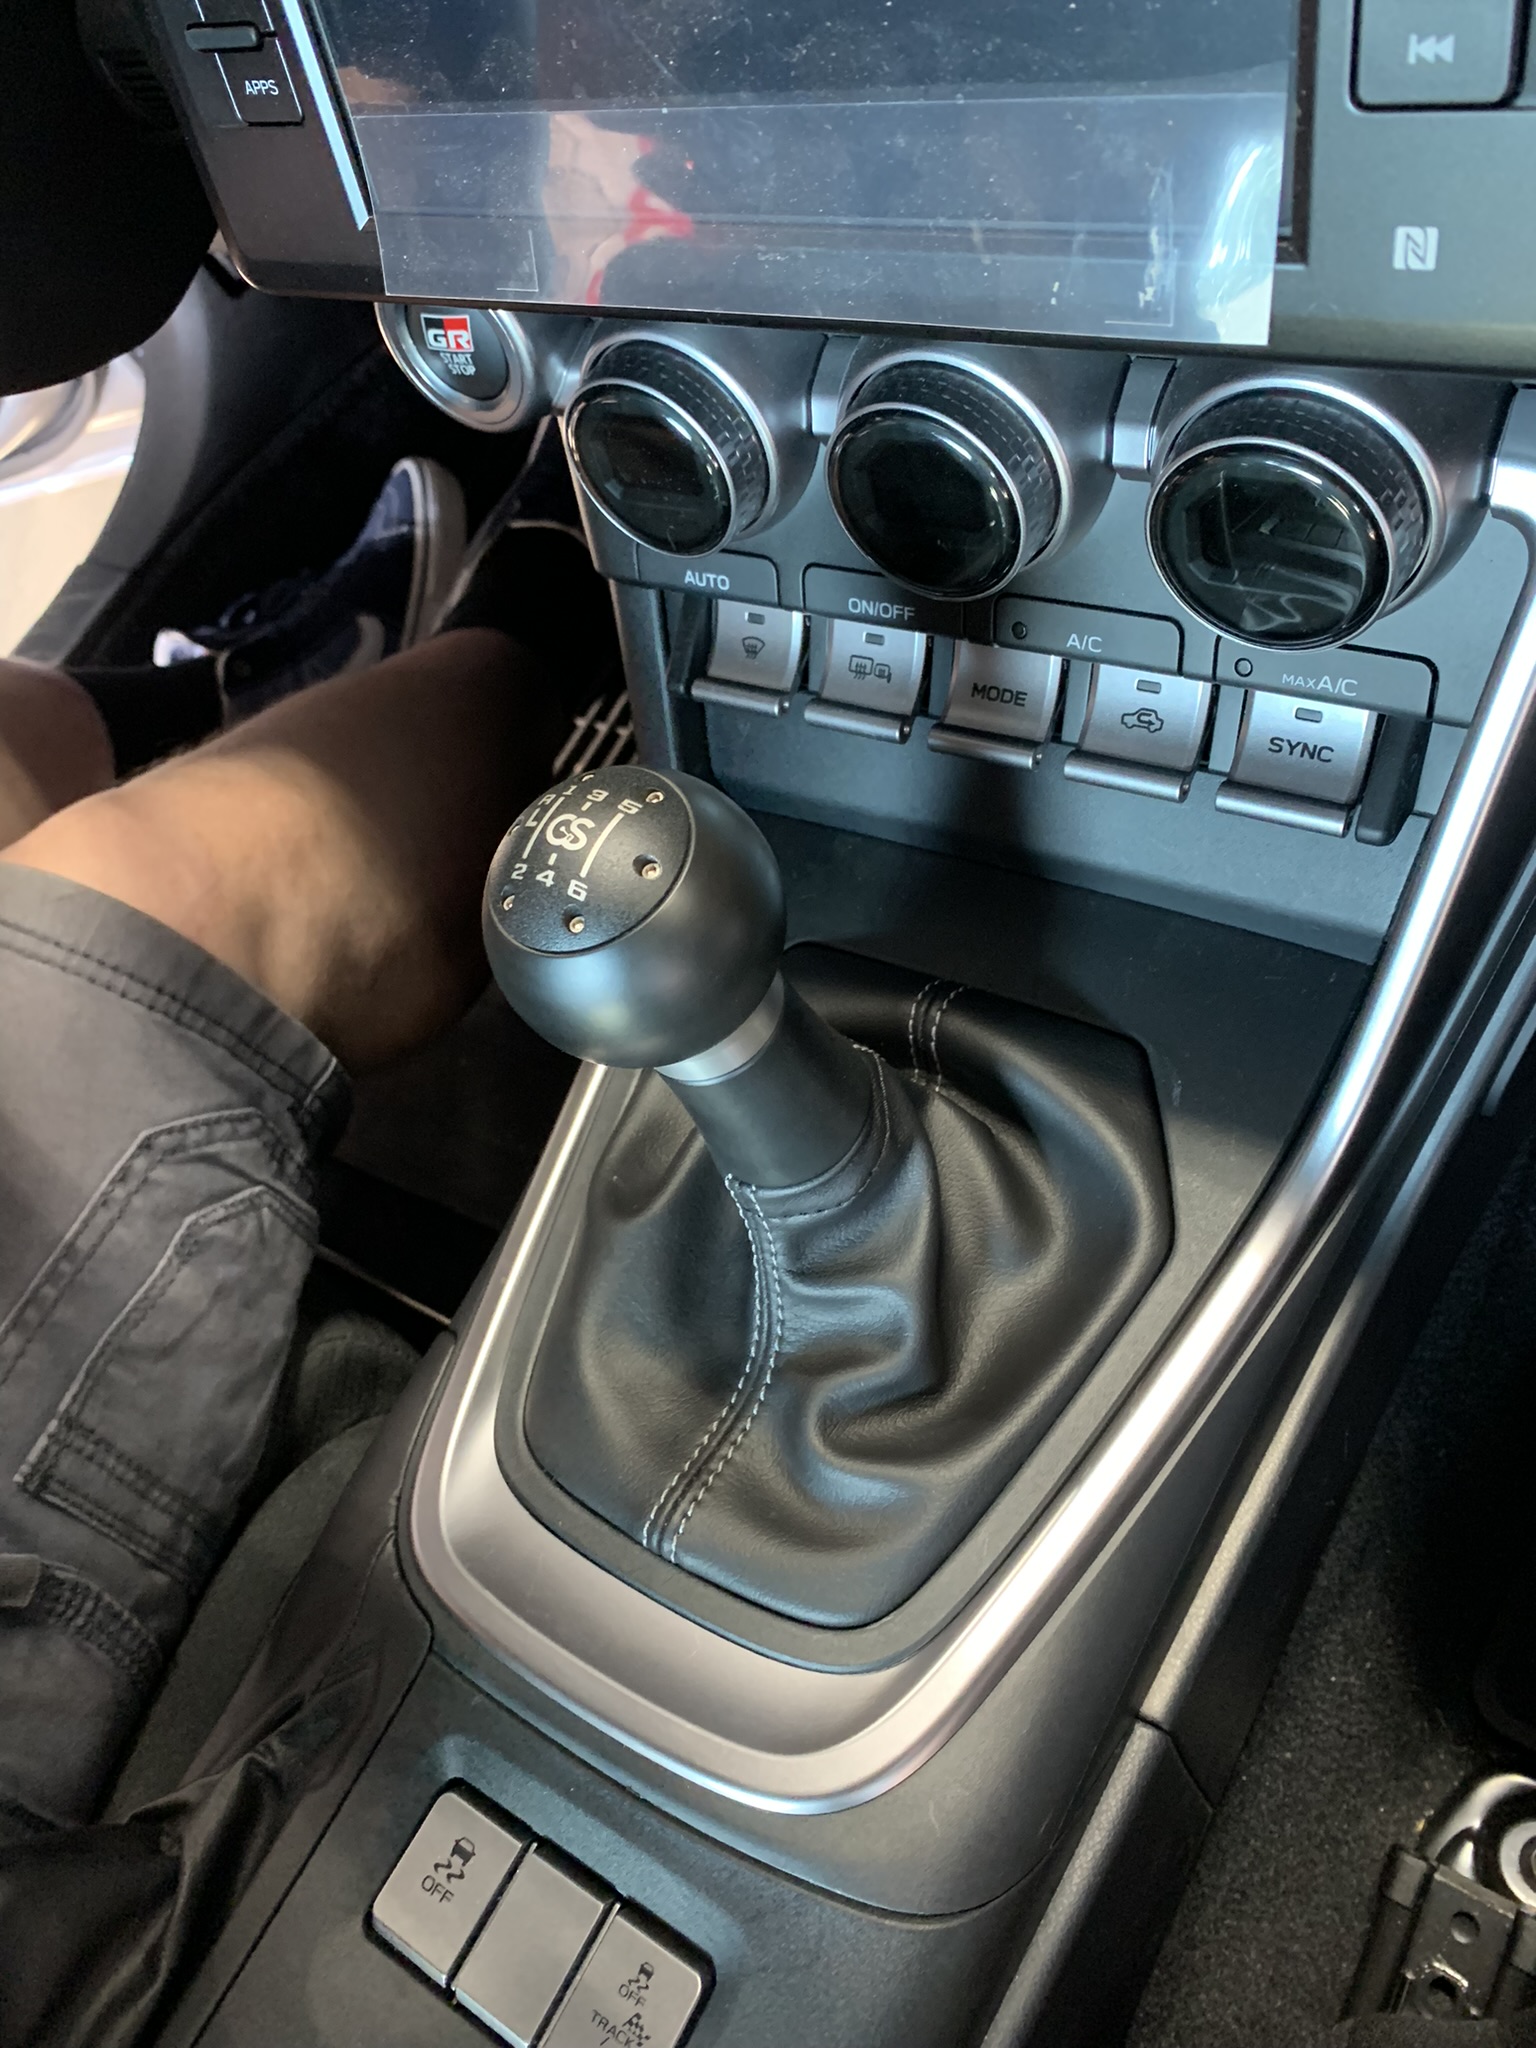
Congratulations! Your CravenSpeed GR86 Short Shift Kit installation is now complete!
