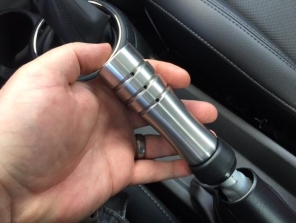
THANK YOU for purchasing the MINI F56 Stainless Steel E-Brake Handle from CravenSpeed. This product is made from the highest grade materials, and is guaranteed to be free from defects.
You can buy our CravenSpeed Stainless Steel E-Brake Handle for MINI F56 here
Parts Included:
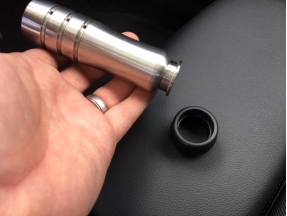
- 1x Stainless Steel Handle
- 1x ABS Collar
- 3 ea O-Rings
- 3 ea Set Screws
- 1x 1/16 Hex Key
Tools Required:
- None (possibly a little WD-40)
Procedure
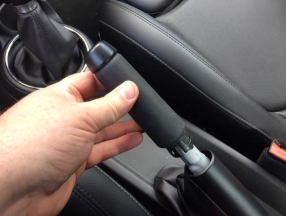
- Remove the factory e-brake handle. It is not glued on, but it will be snug. Grasp it firmly and pull off towards the button. It may help to torsionally twist it slightly back and forth during removal. If it’s being extra stubborn, spray a little WD40 inside (using the red tube on the can) between the handle and the button.
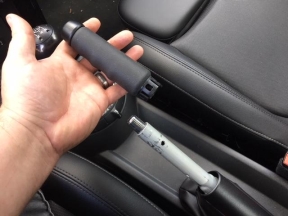
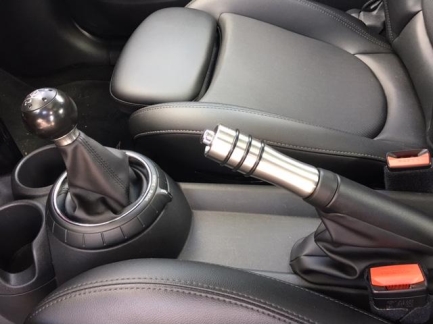
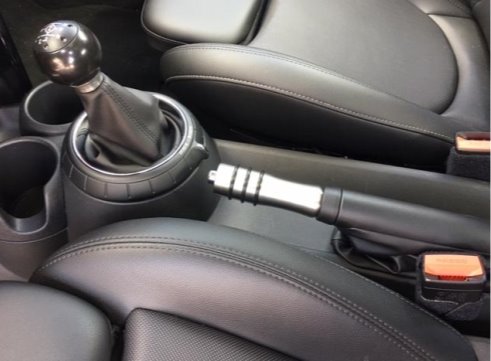
- Take the CravenSpeed stainless steel e-brake handle and fit the included ABS collar on the e-brake boot end. It should just slip on over the flange on the end of the handle.
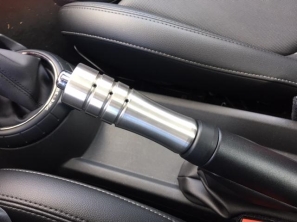
- Slide the assembly onto the MINIs e-brake inner handle structure. The ABS collar has a ‘step’ on the end that will fit tightly into the plastic trim of the factory e-brake boot.
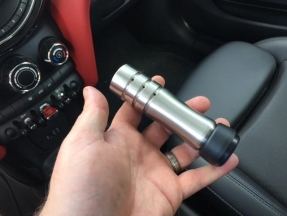
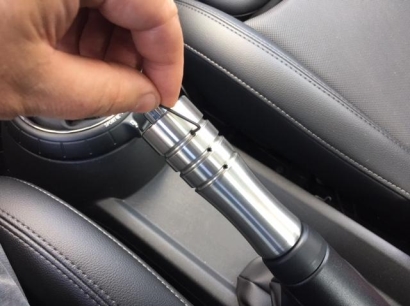
- Ensure that the (3) threaded holes are facing up and insert the included set screws into the handle, tightening them with the included hex key.
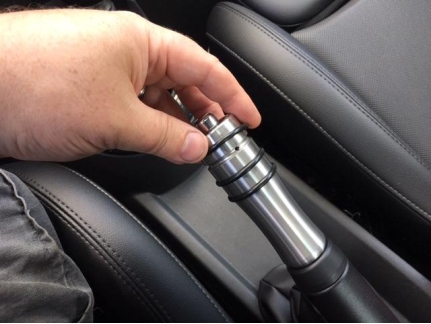
- Finish the install by rolling the included o-ring ‘grips’ onto the handle and into their respective grooves.
- You’re finished! Marvel at your handywork then go for a drive and enjoy your new shiny piece of kit!