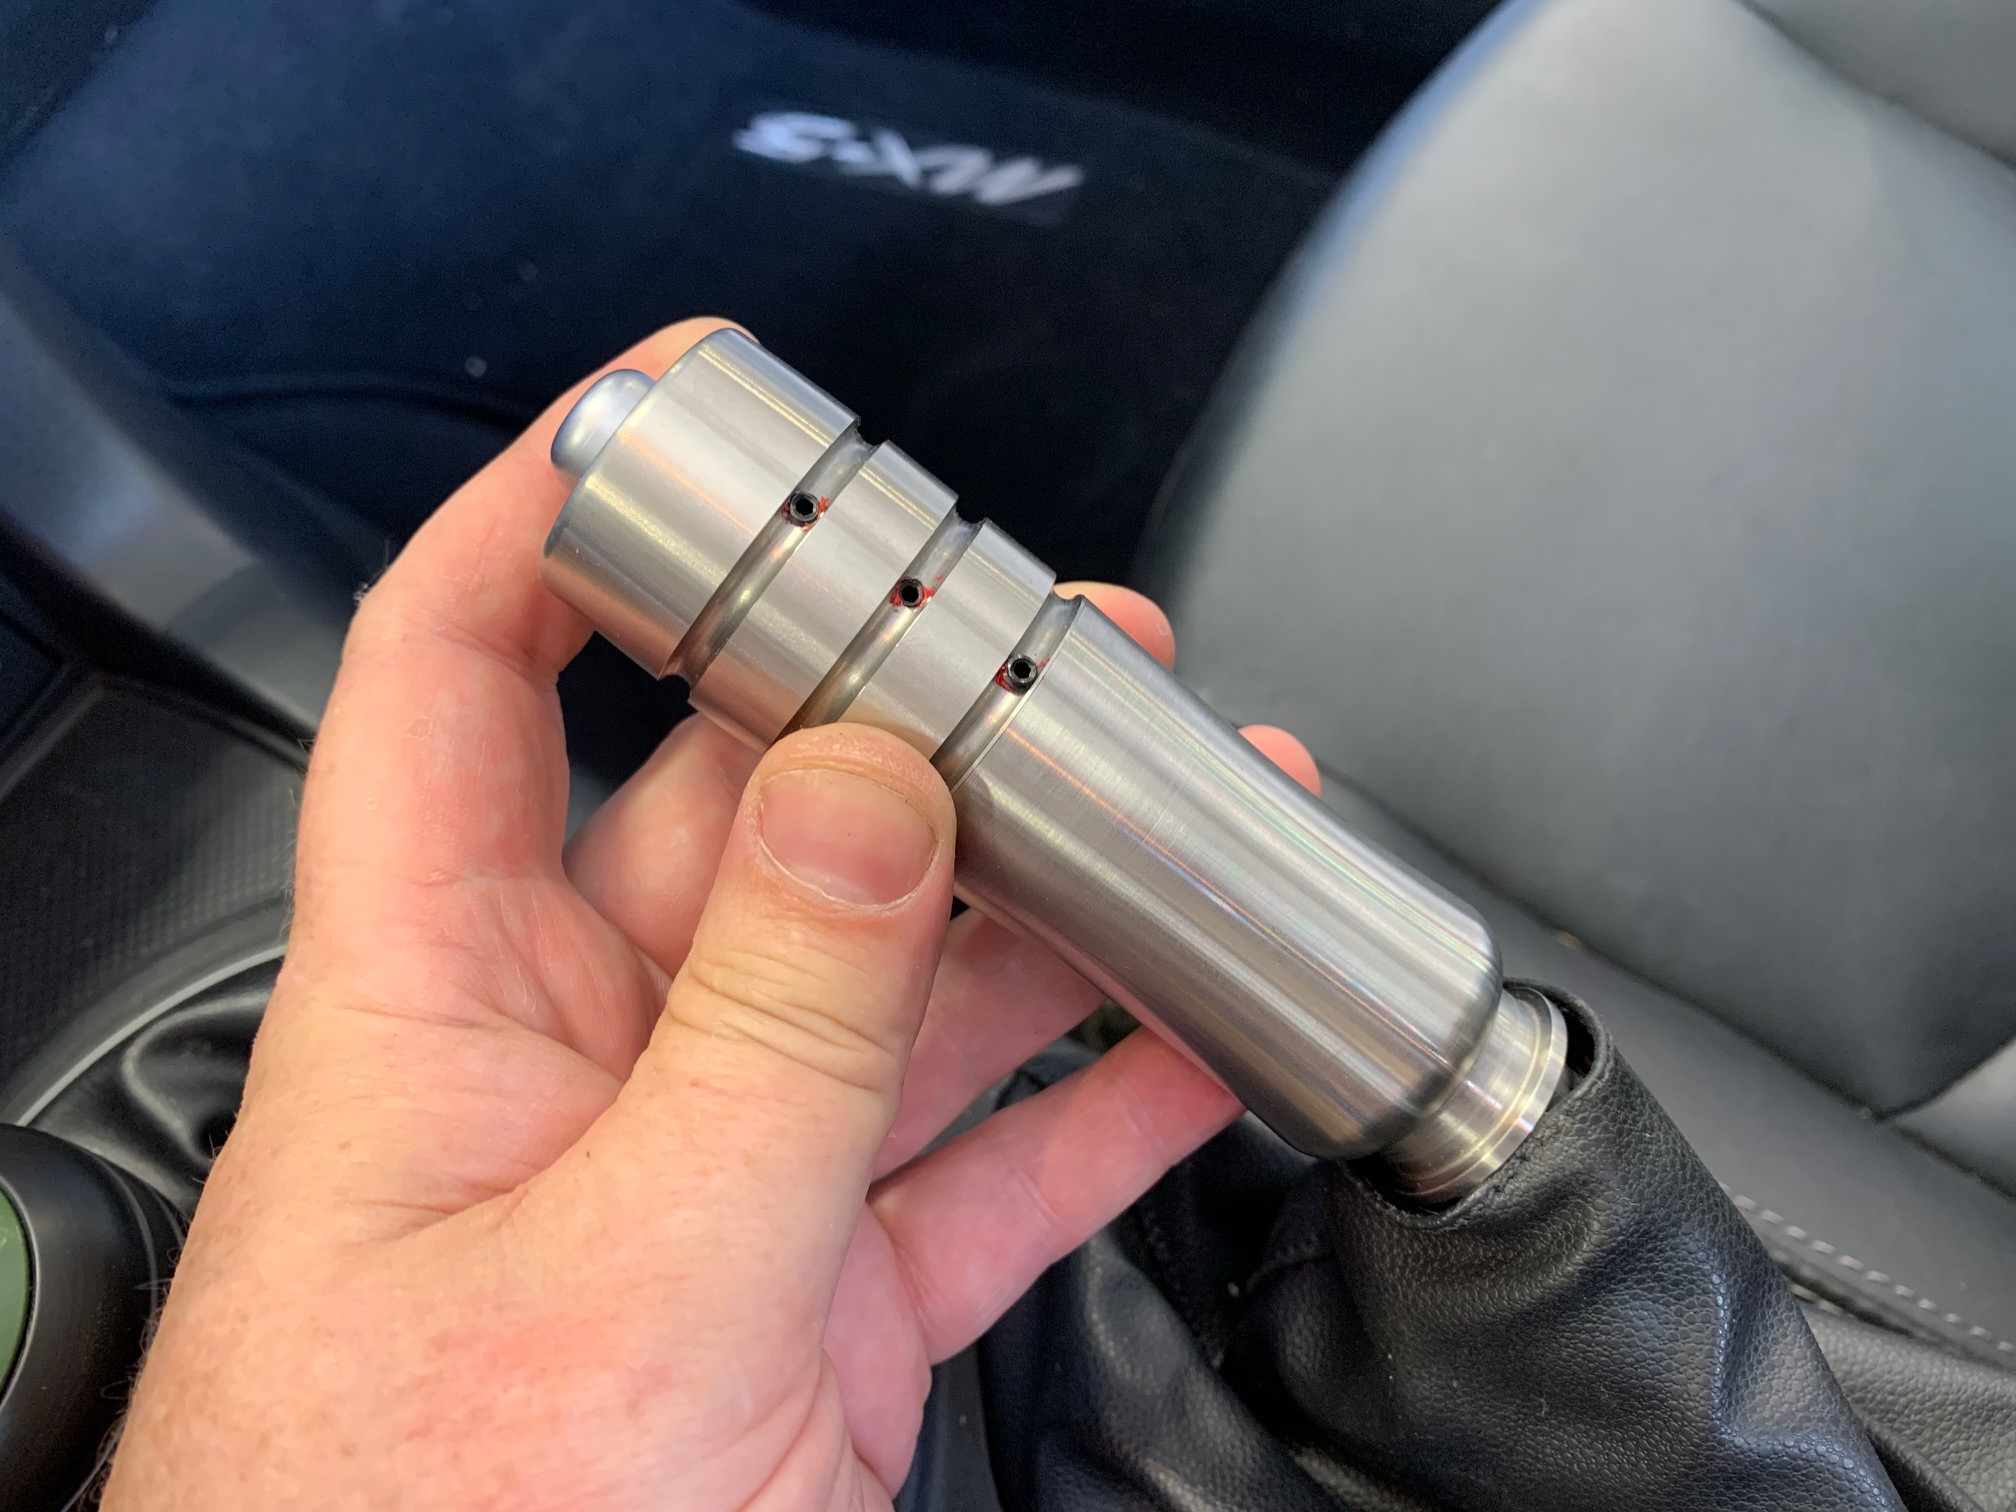
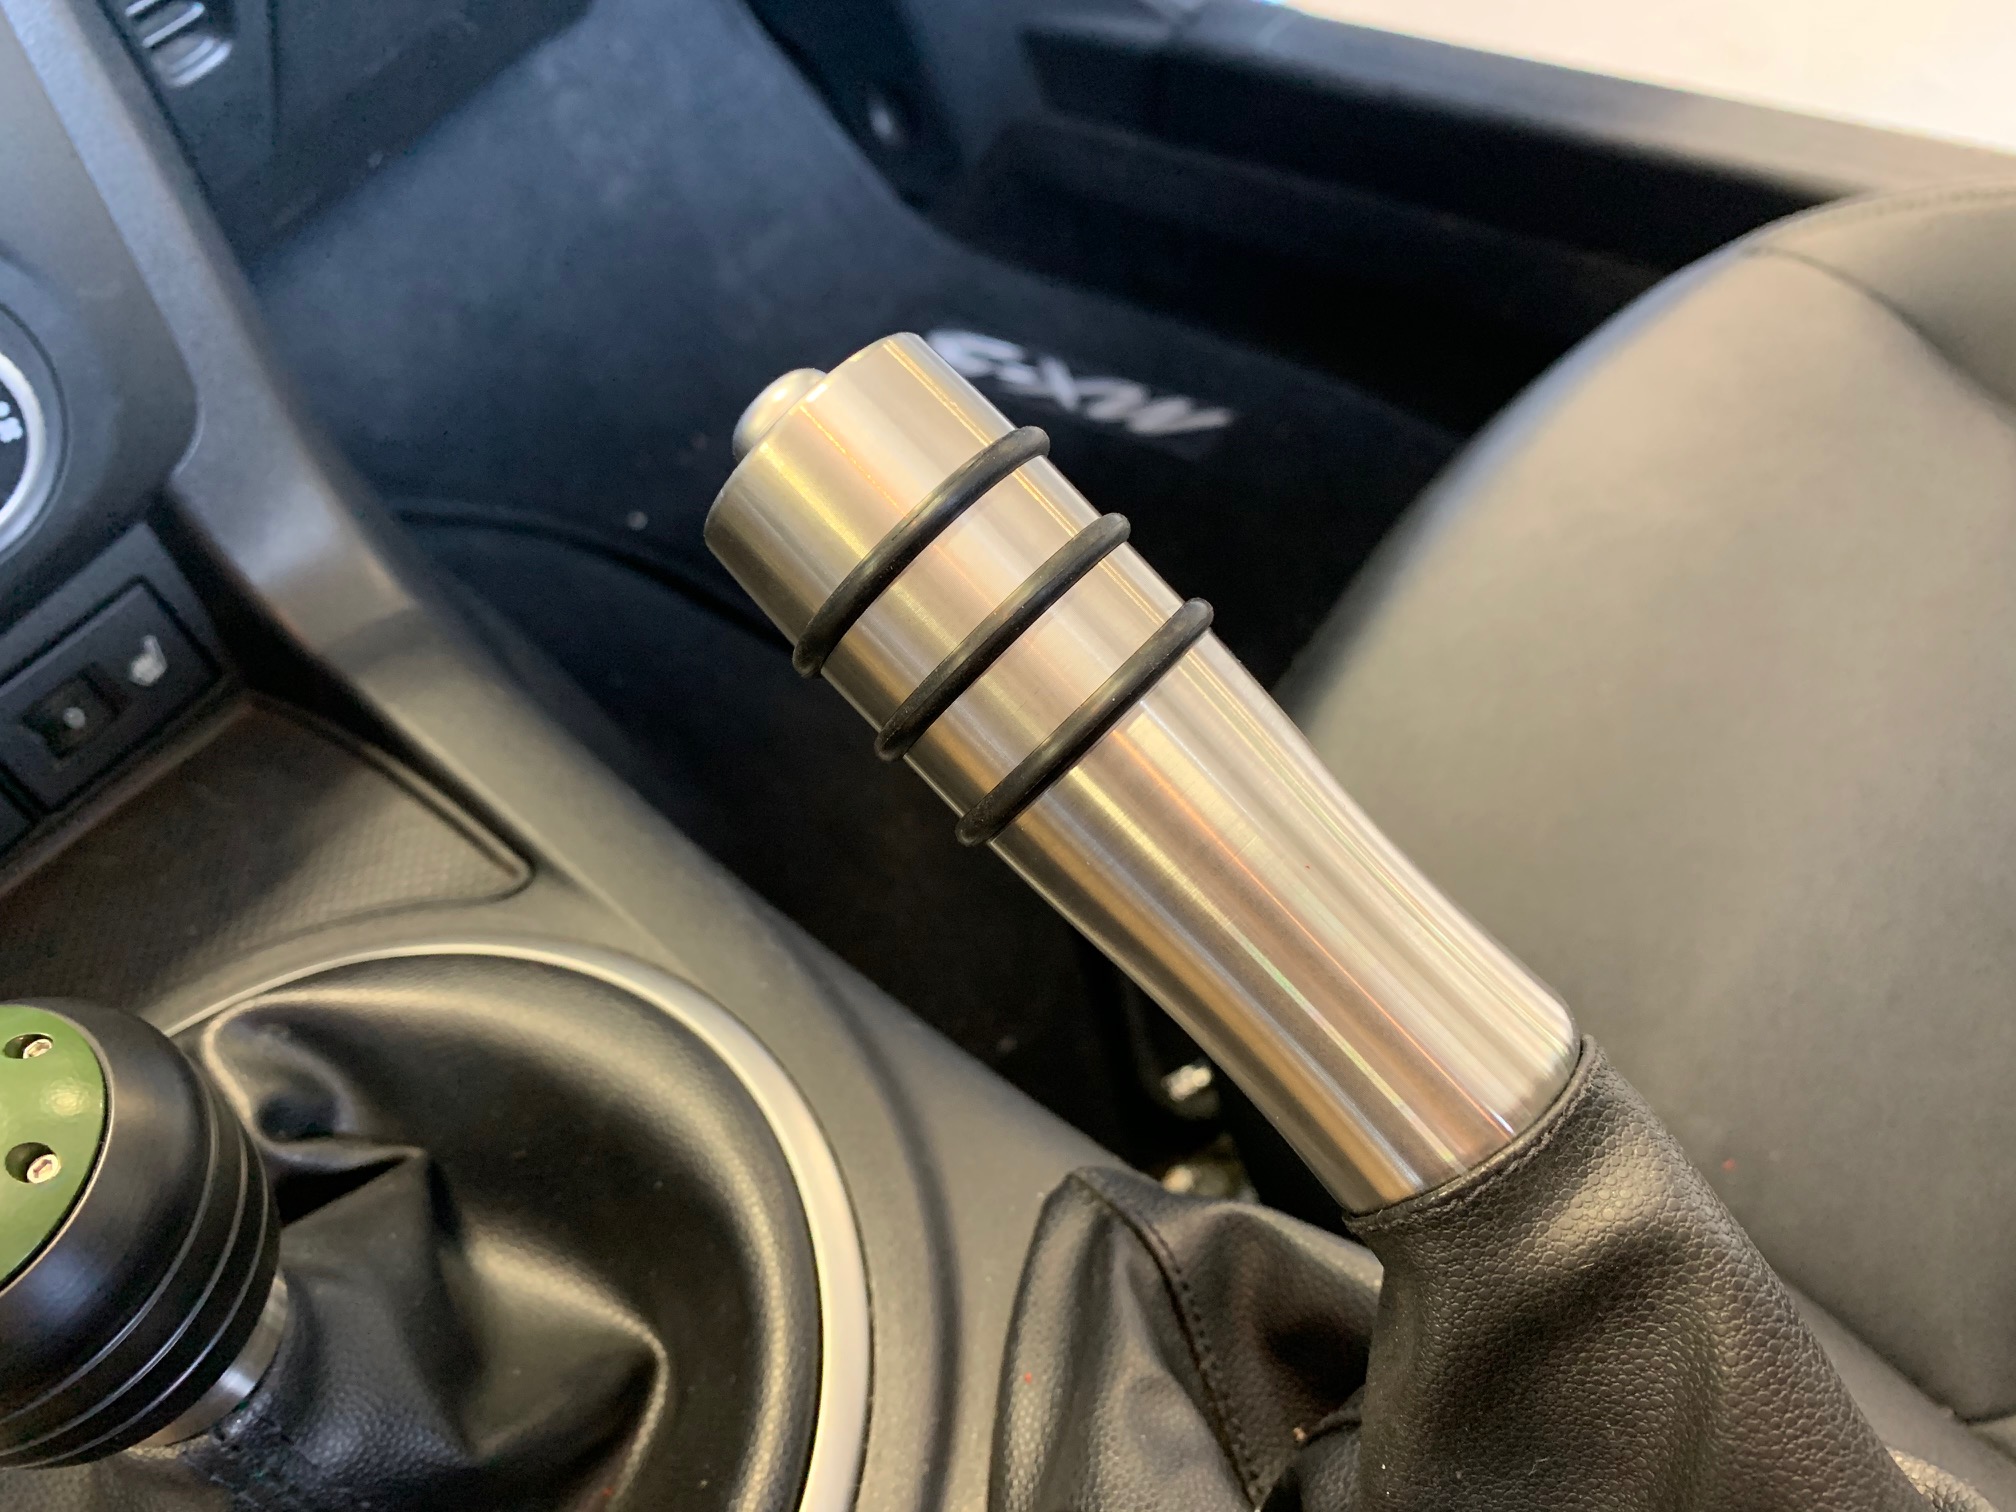
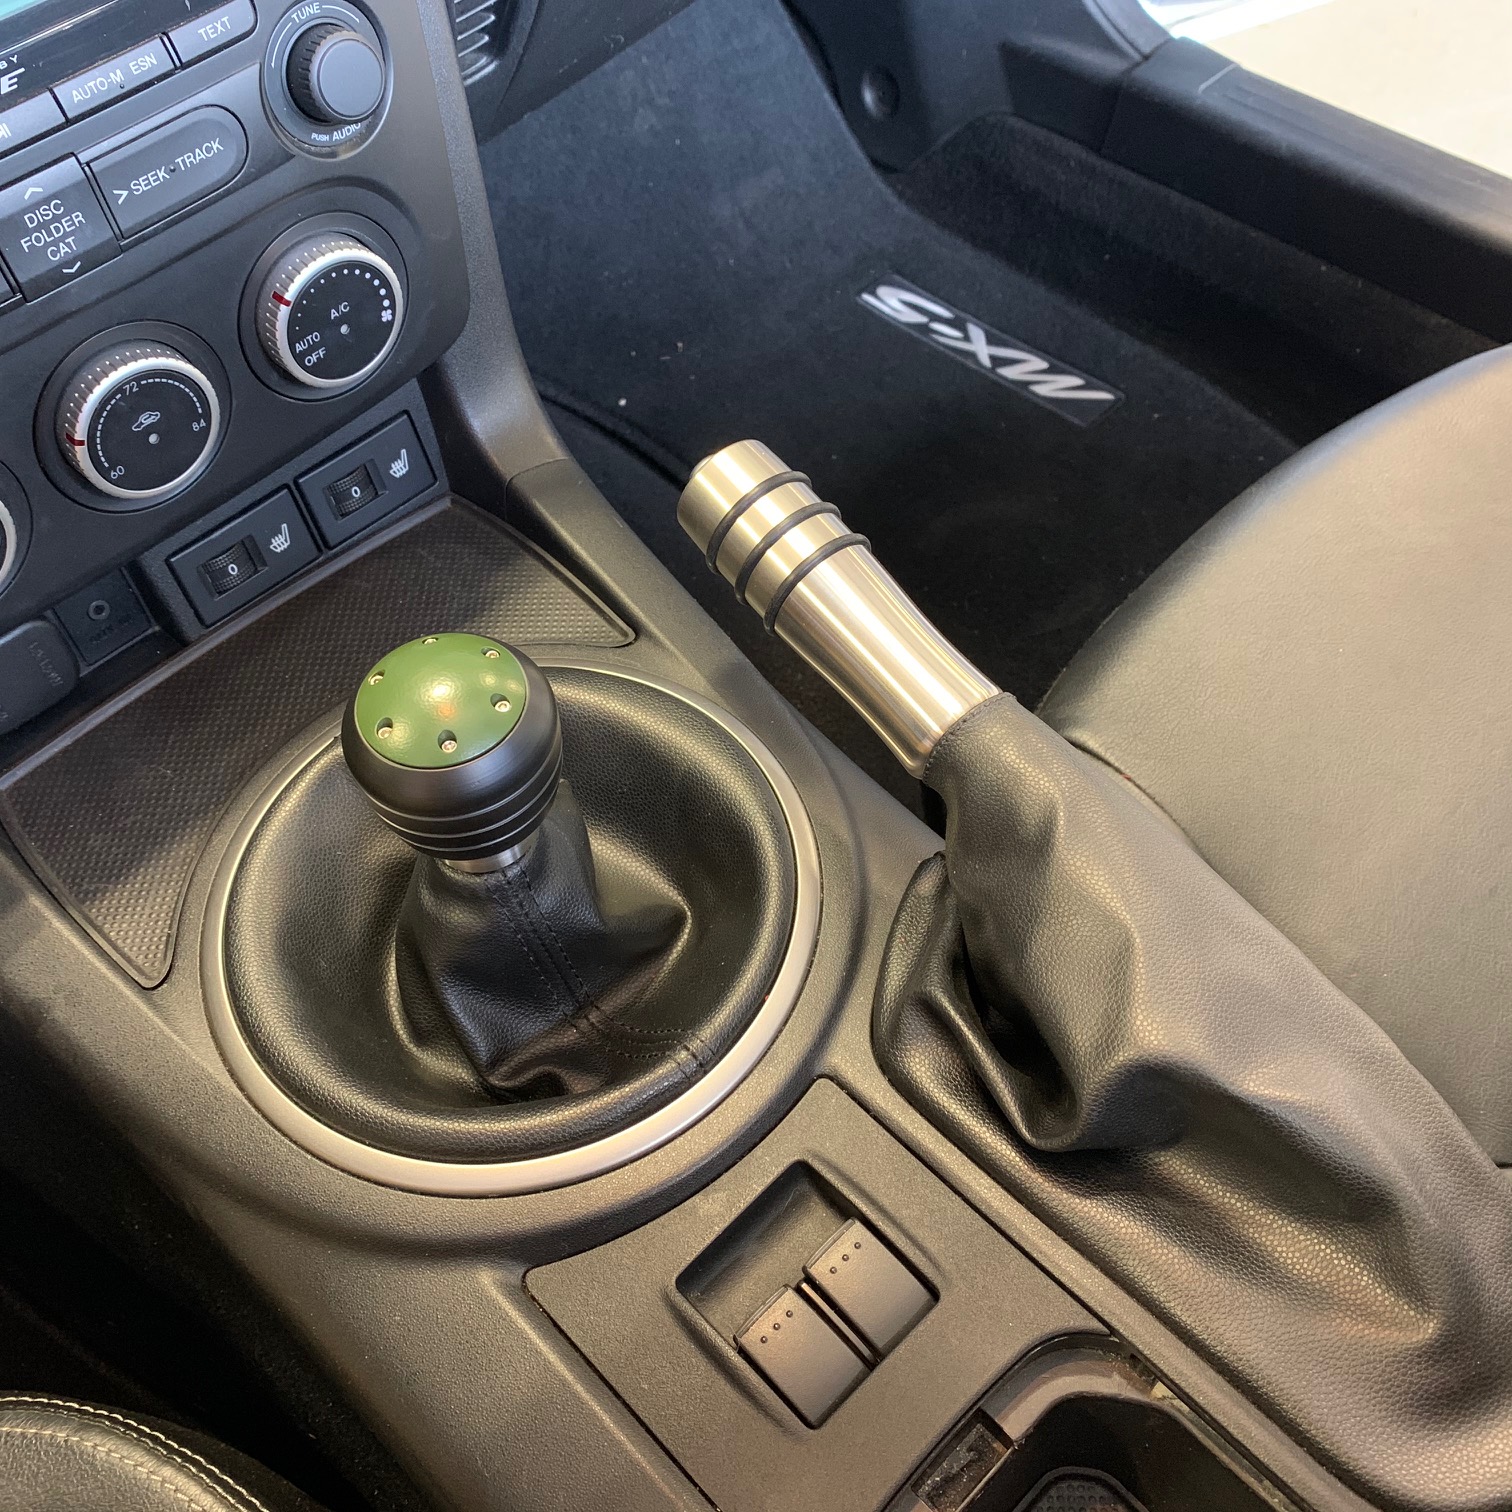
THANK YOU for purchasing the Mazda NC MX-5 Stainless Steel E-Brake Handle from CravenSpeed. This product is made from the highest grade materials, and is guaranteed to be free from defects.
You can buy our CravenSpeed Stainless Steel E-Brake Handle for NC MX-5 Miata here
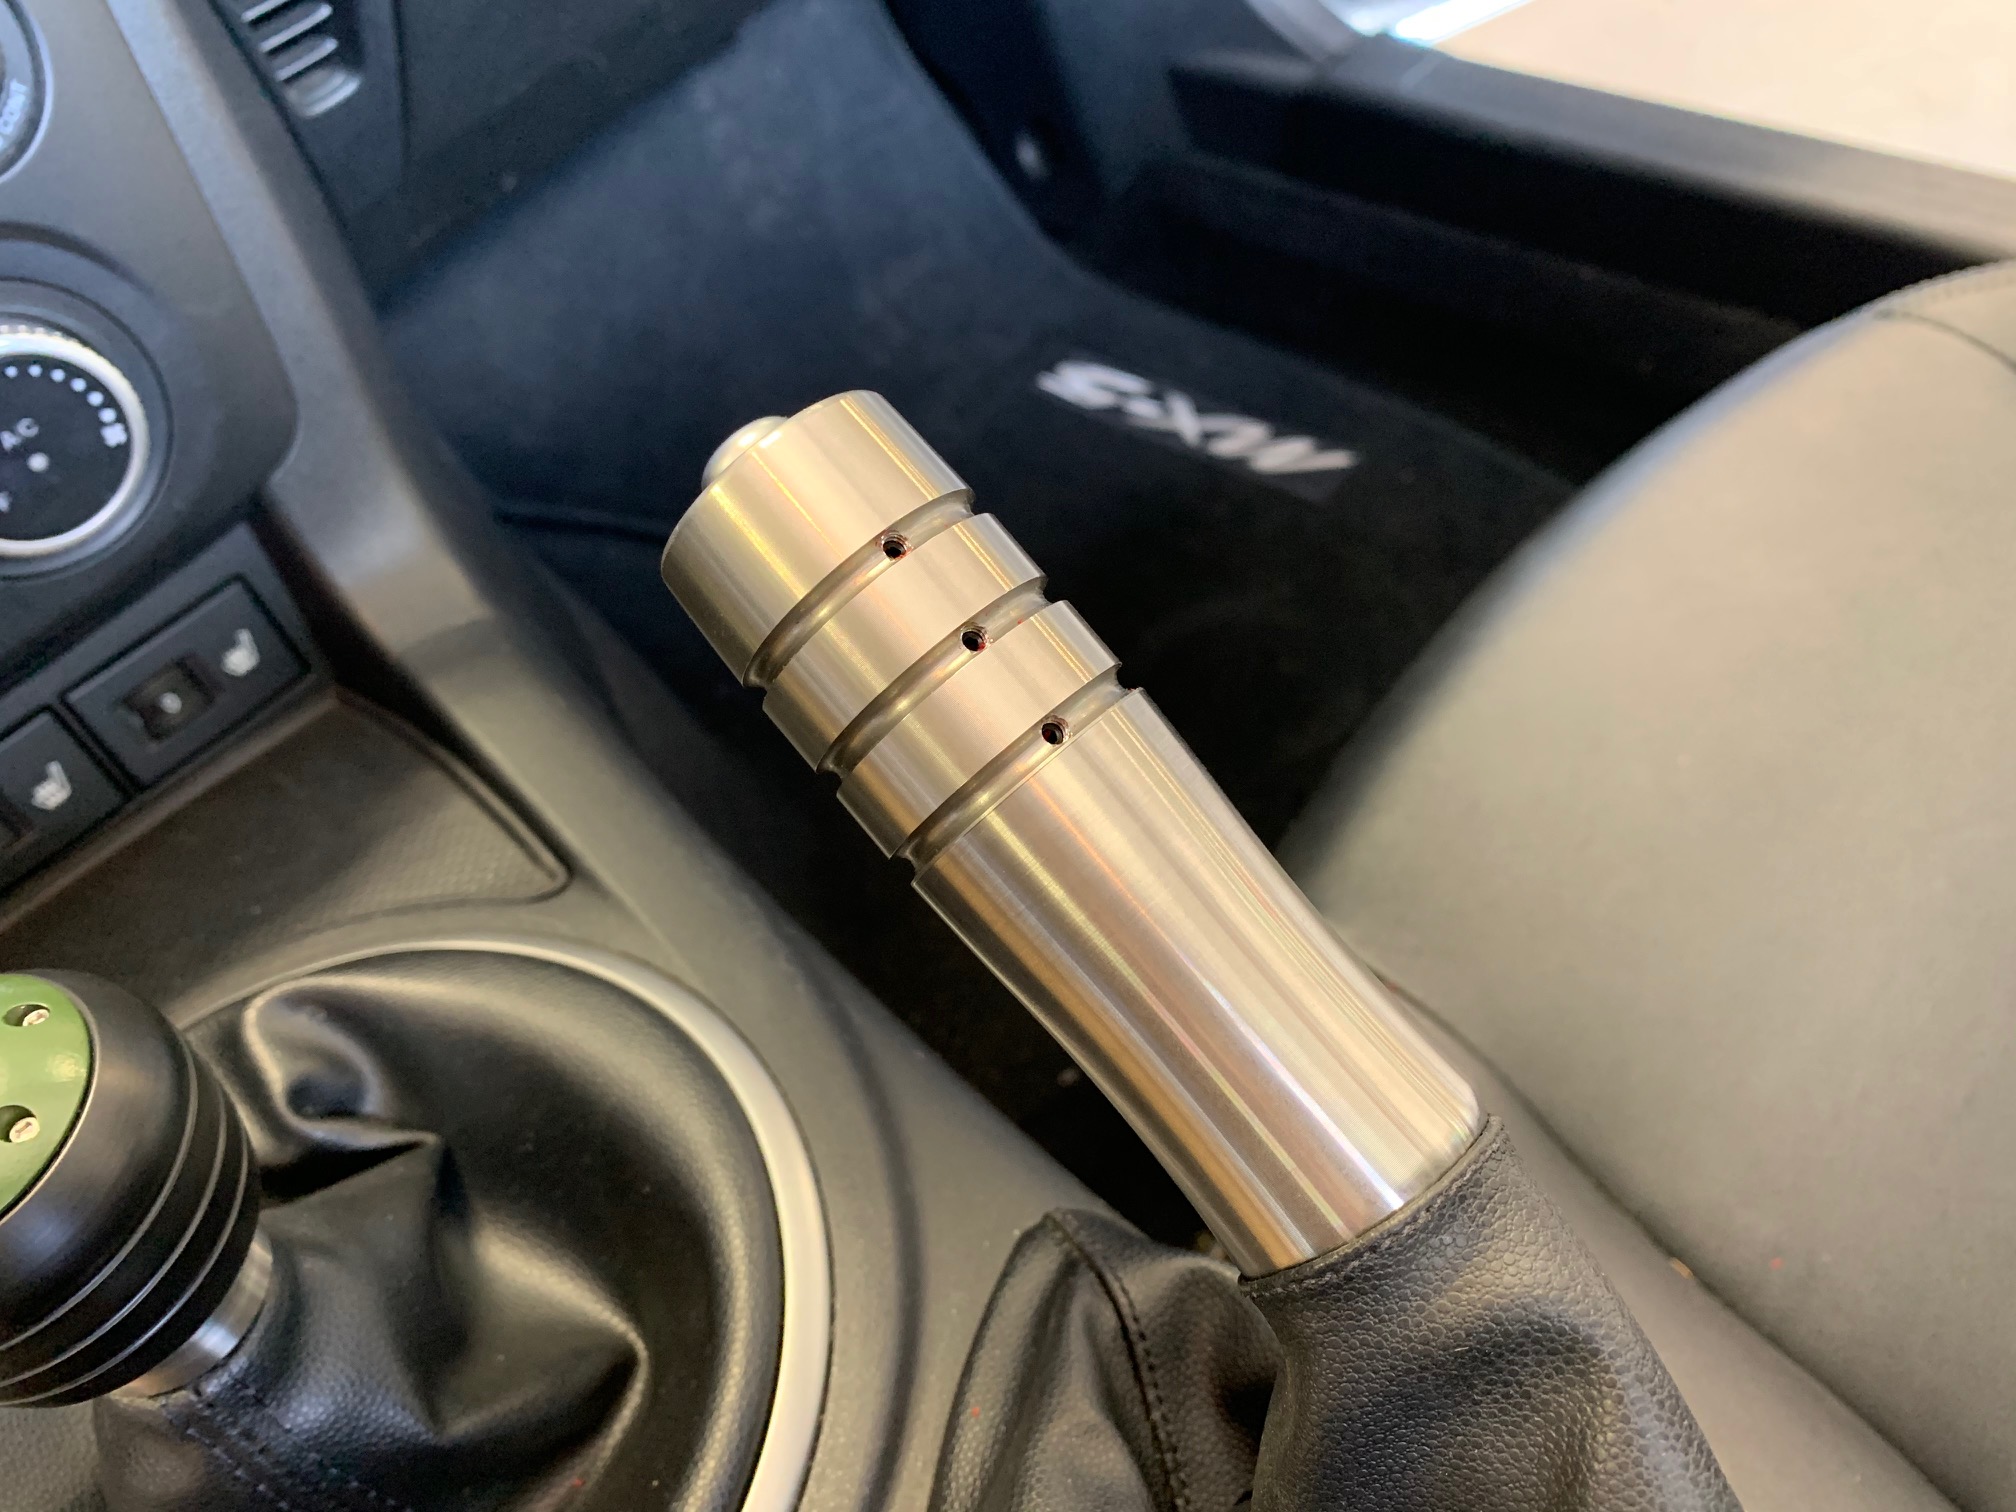
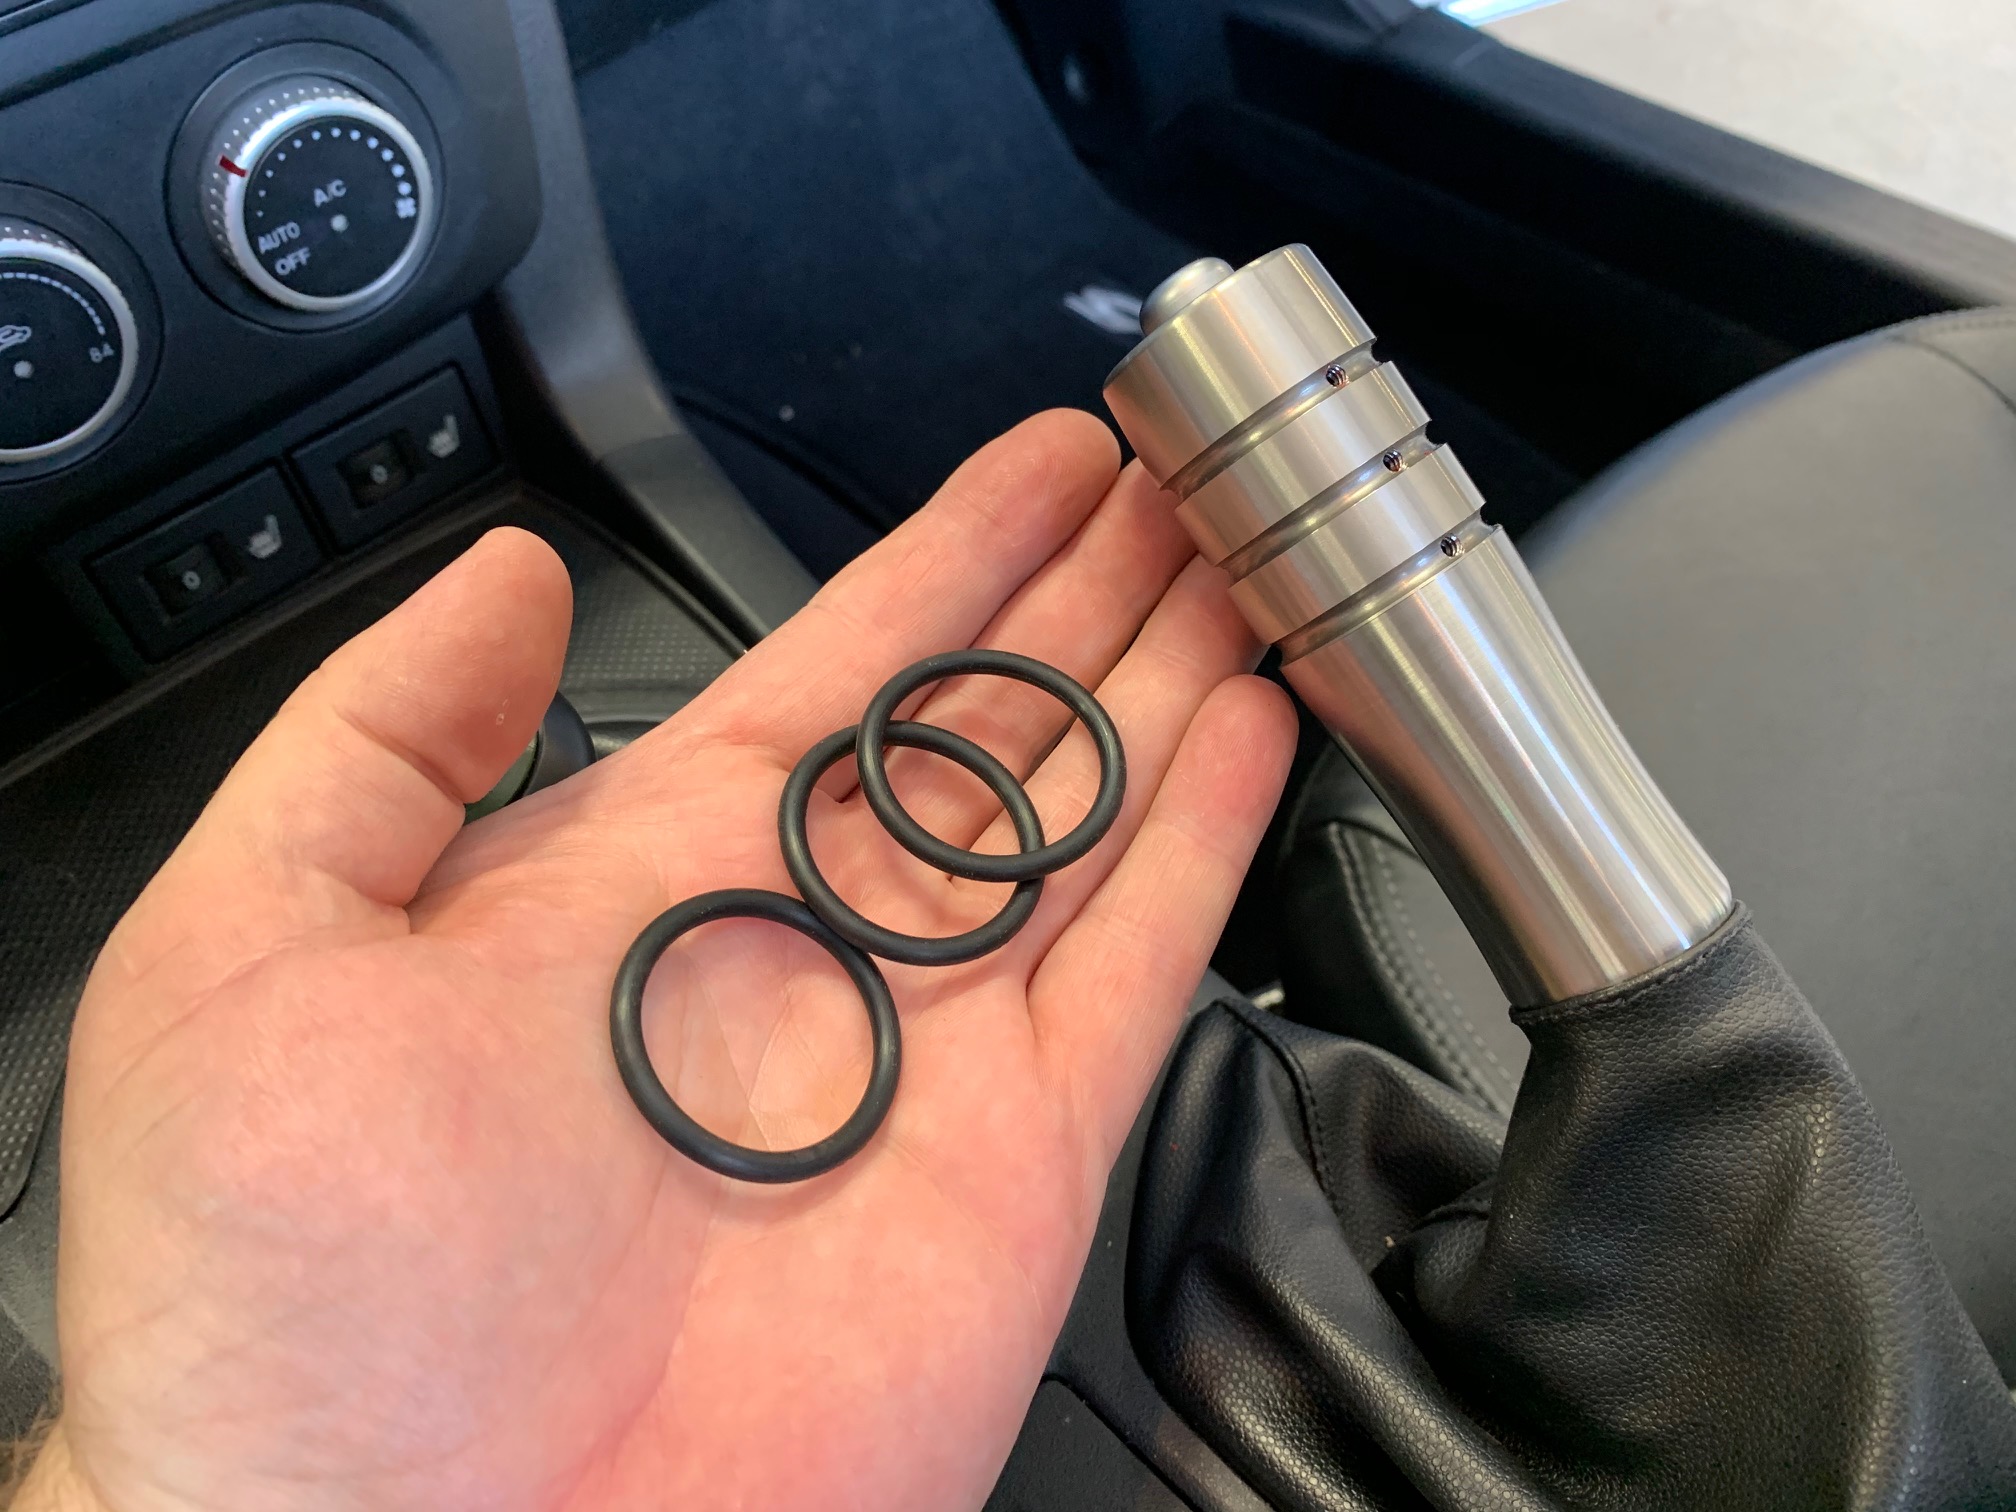
Parts Included:
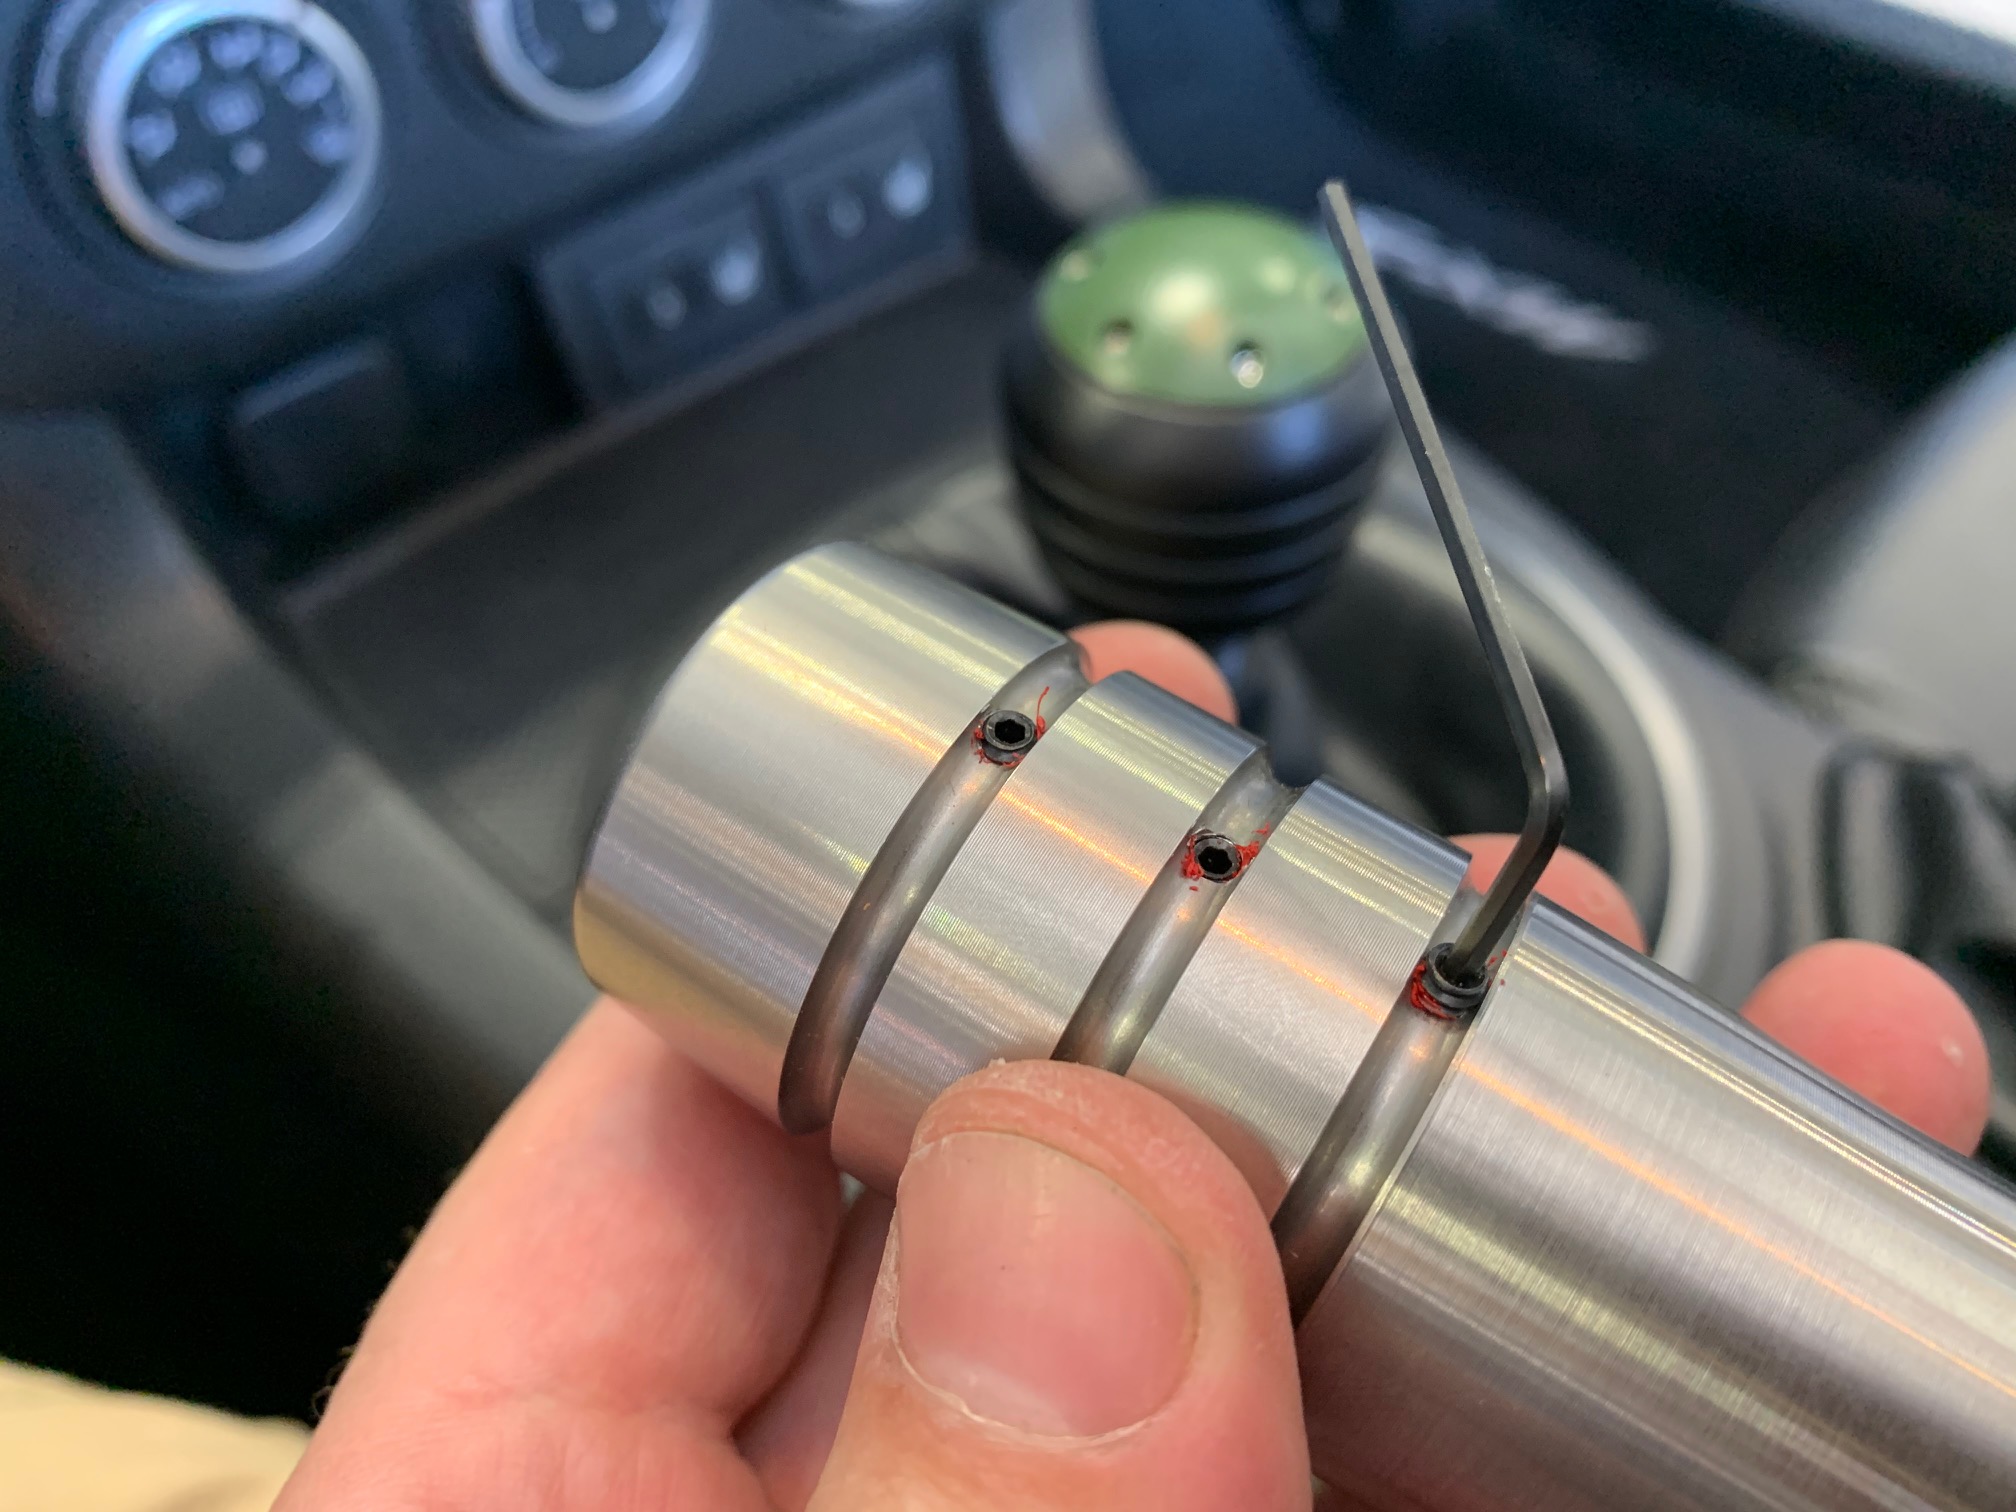
- 1x Stainless Steel E-Brake Handle
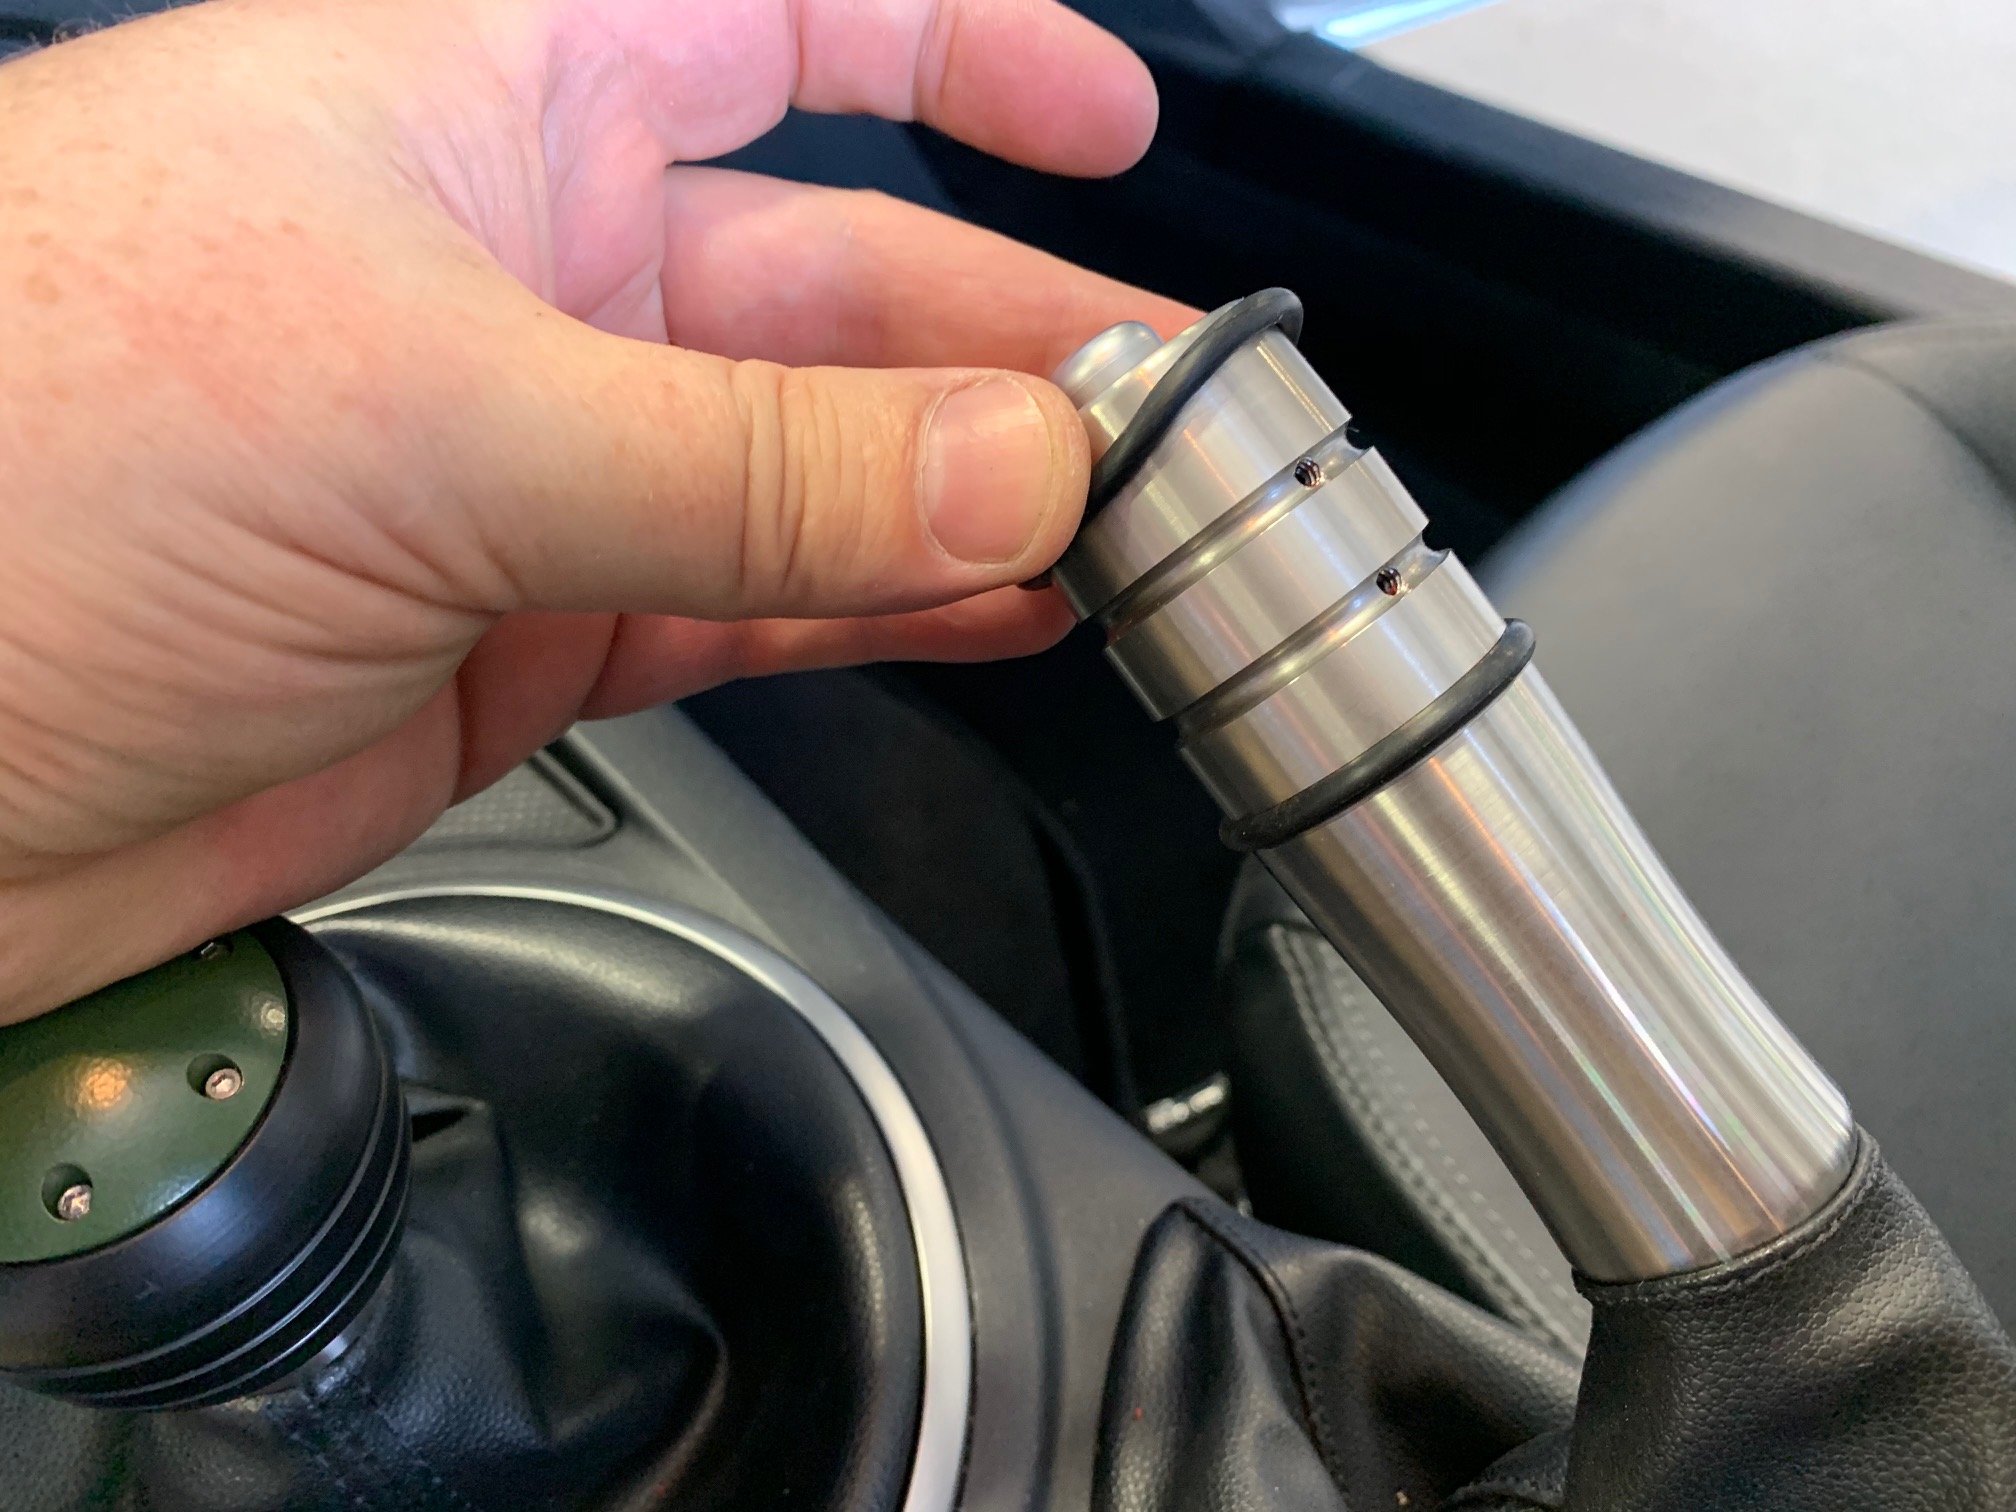
- 3 ea O-Rings
- 3 ea Set Screws
- 1x 1/16" Hex Key
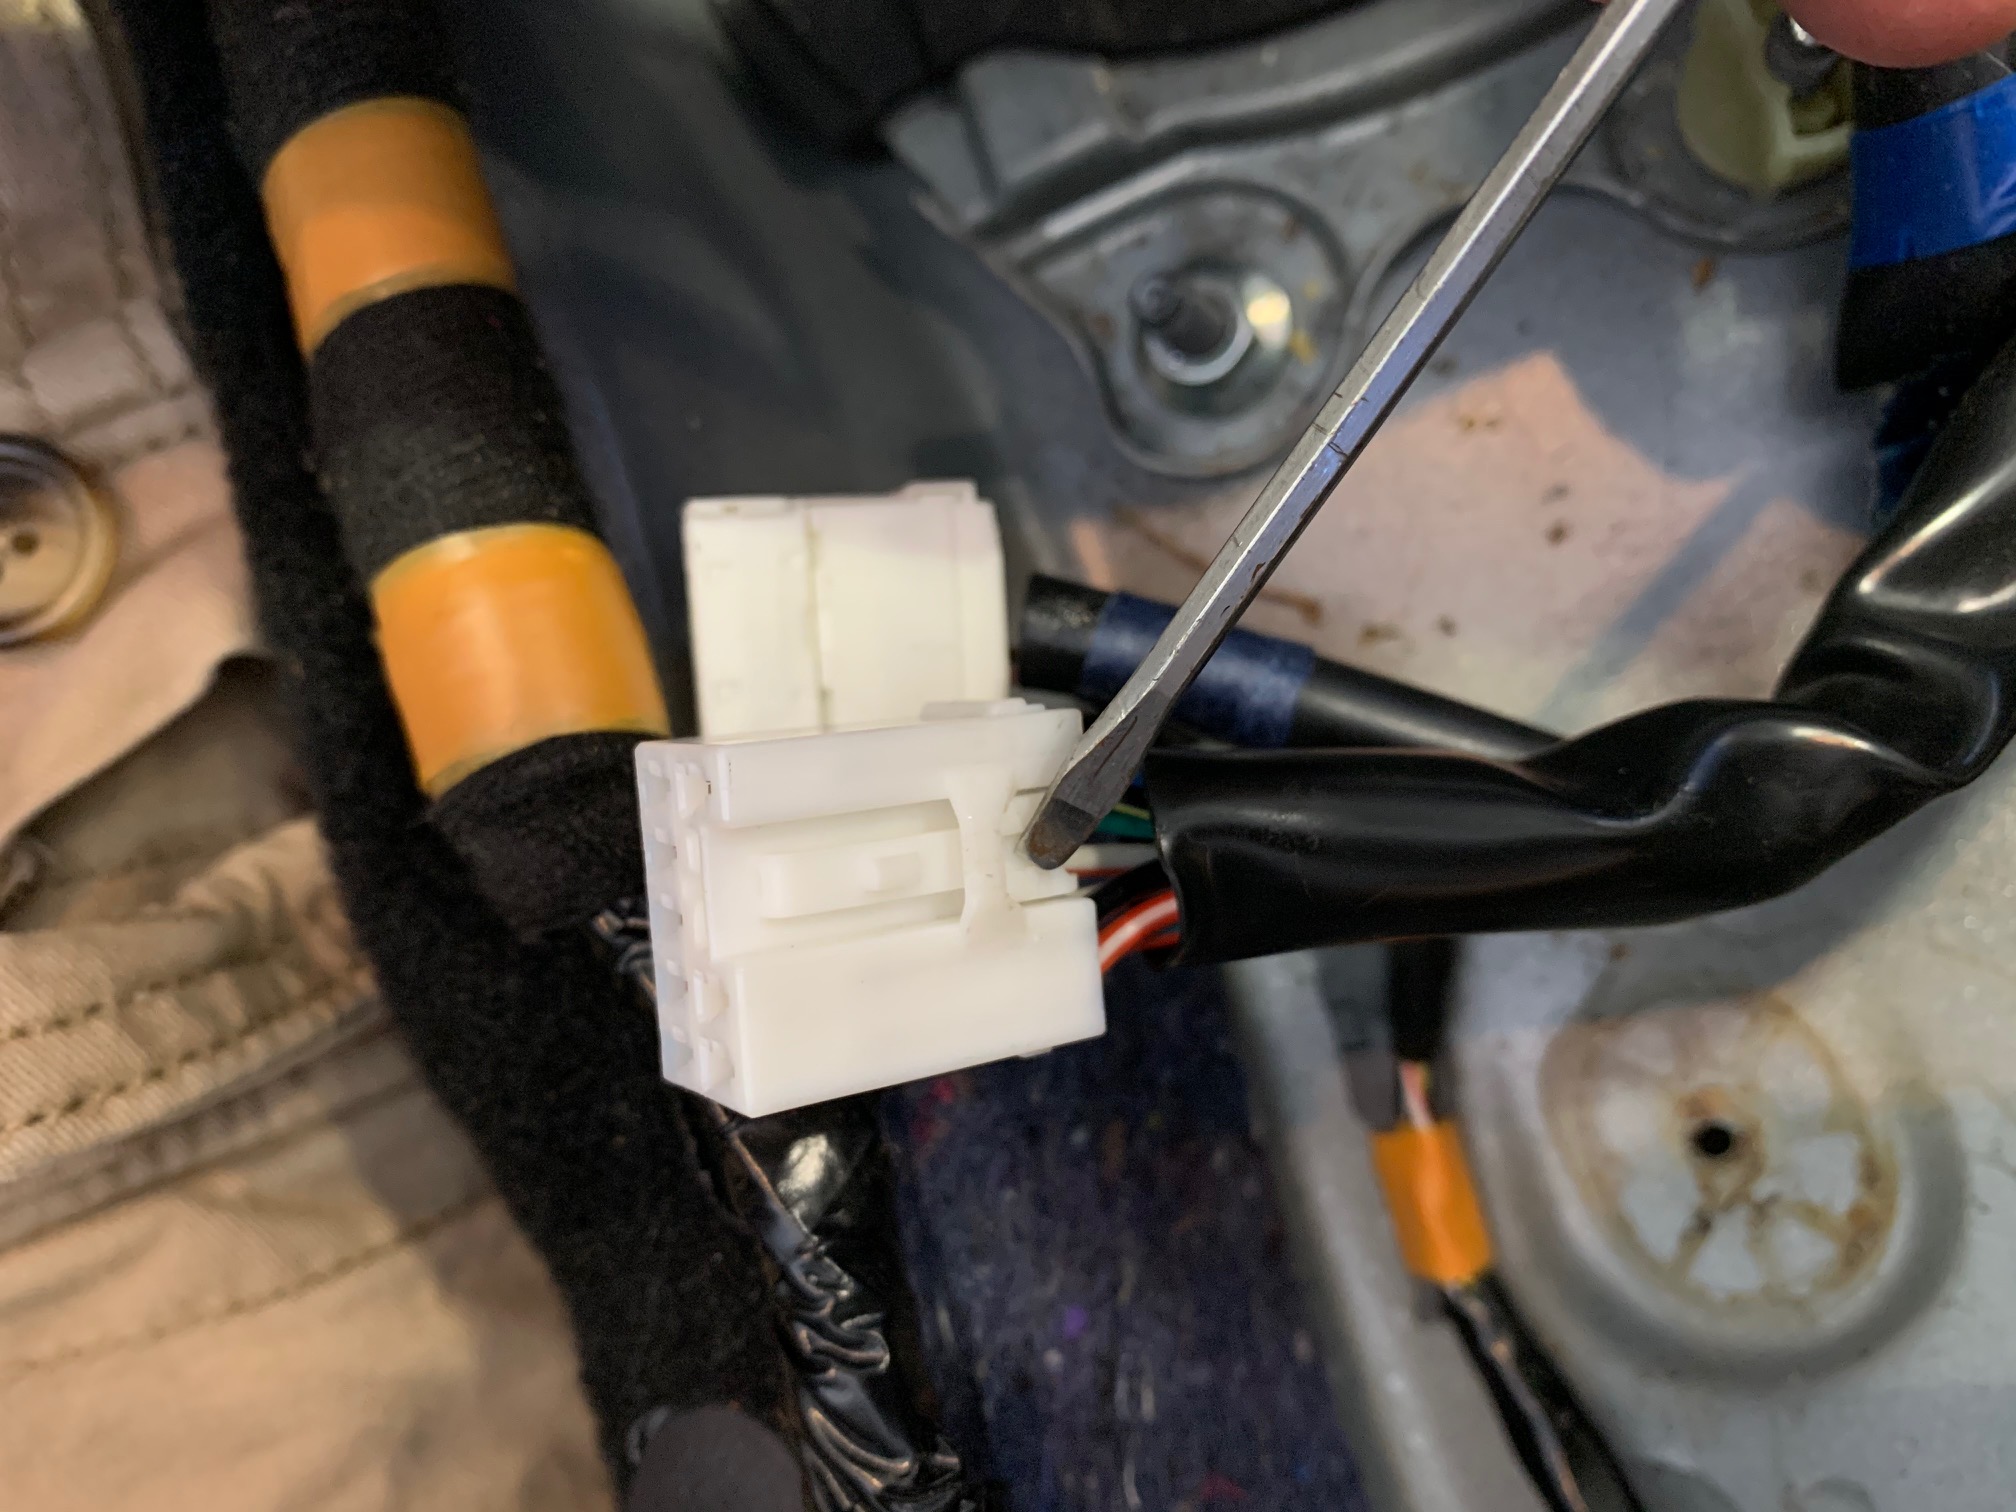
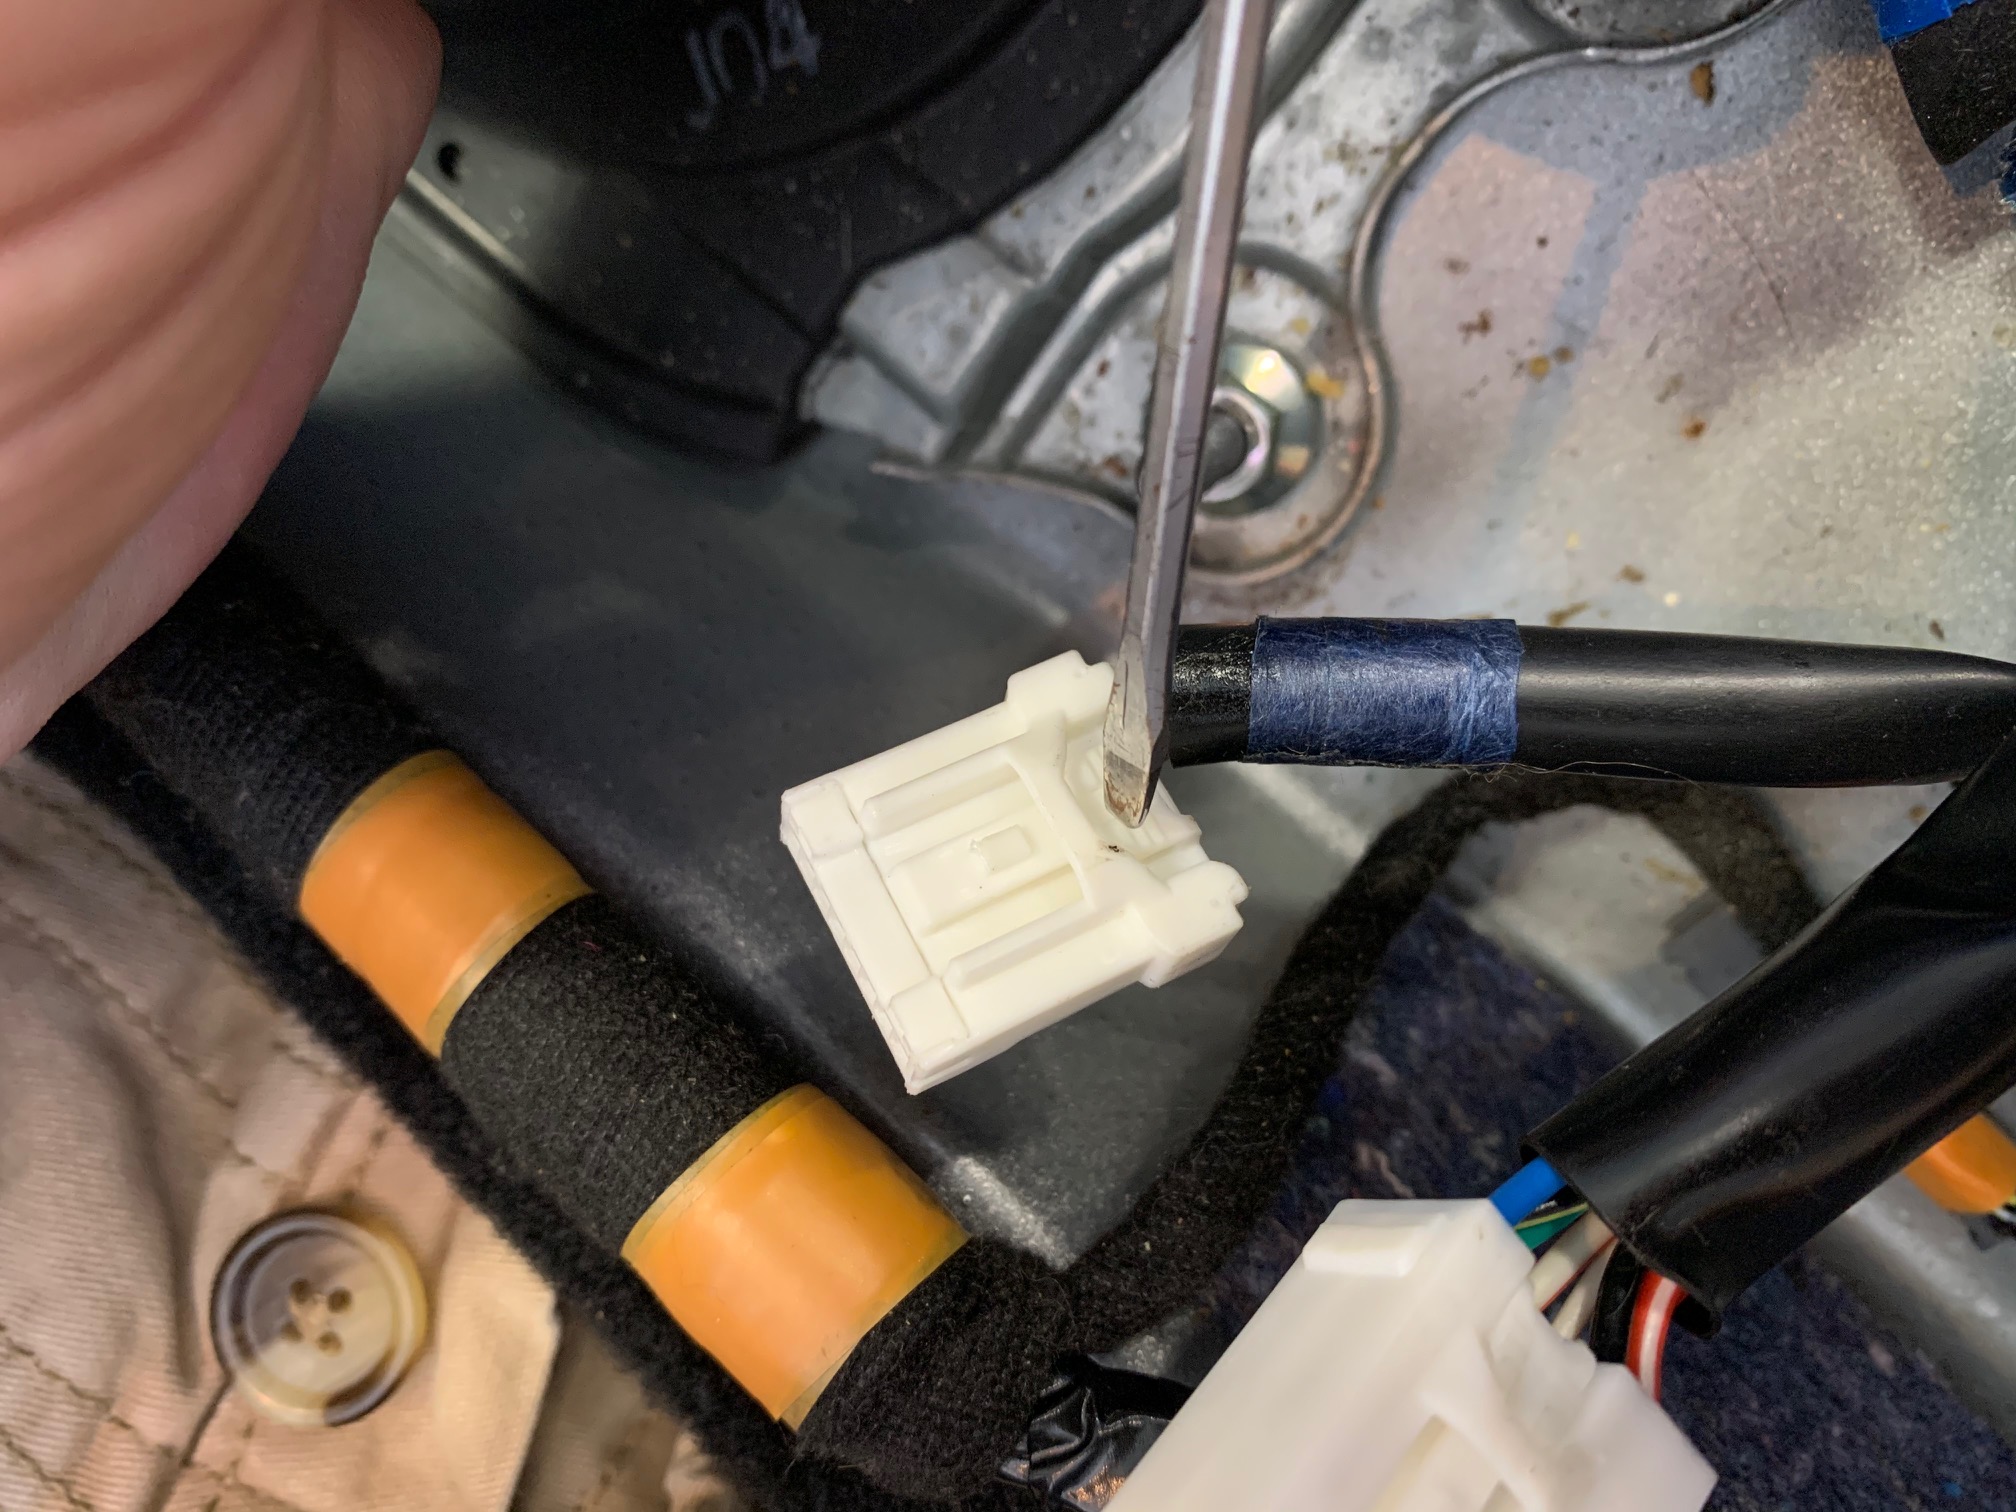
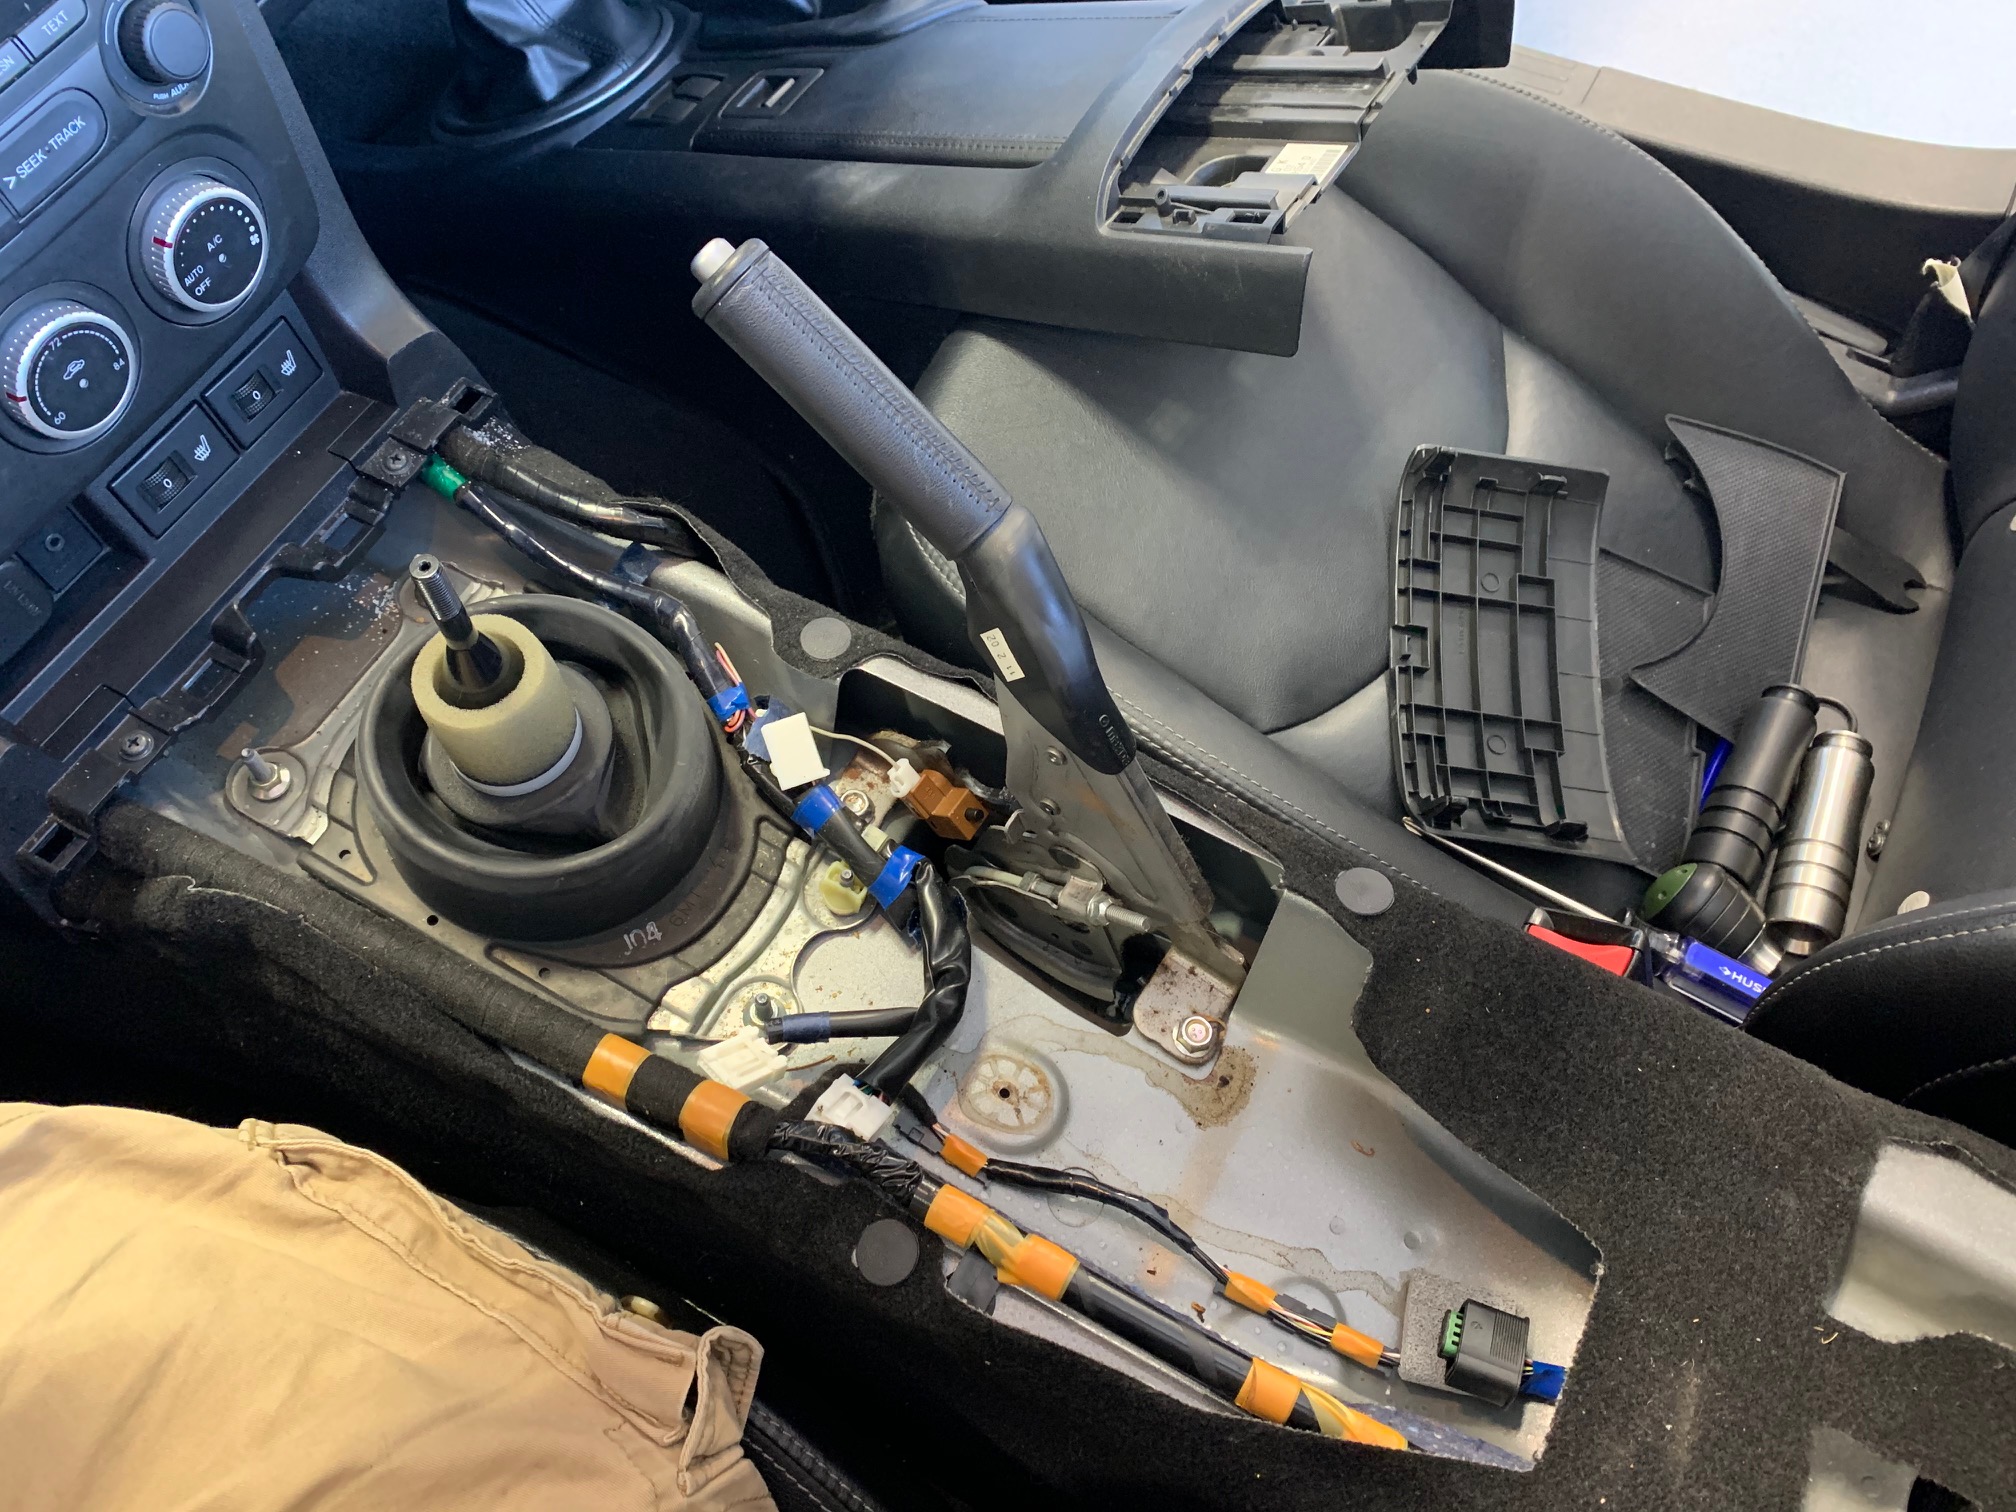
Tools Required:
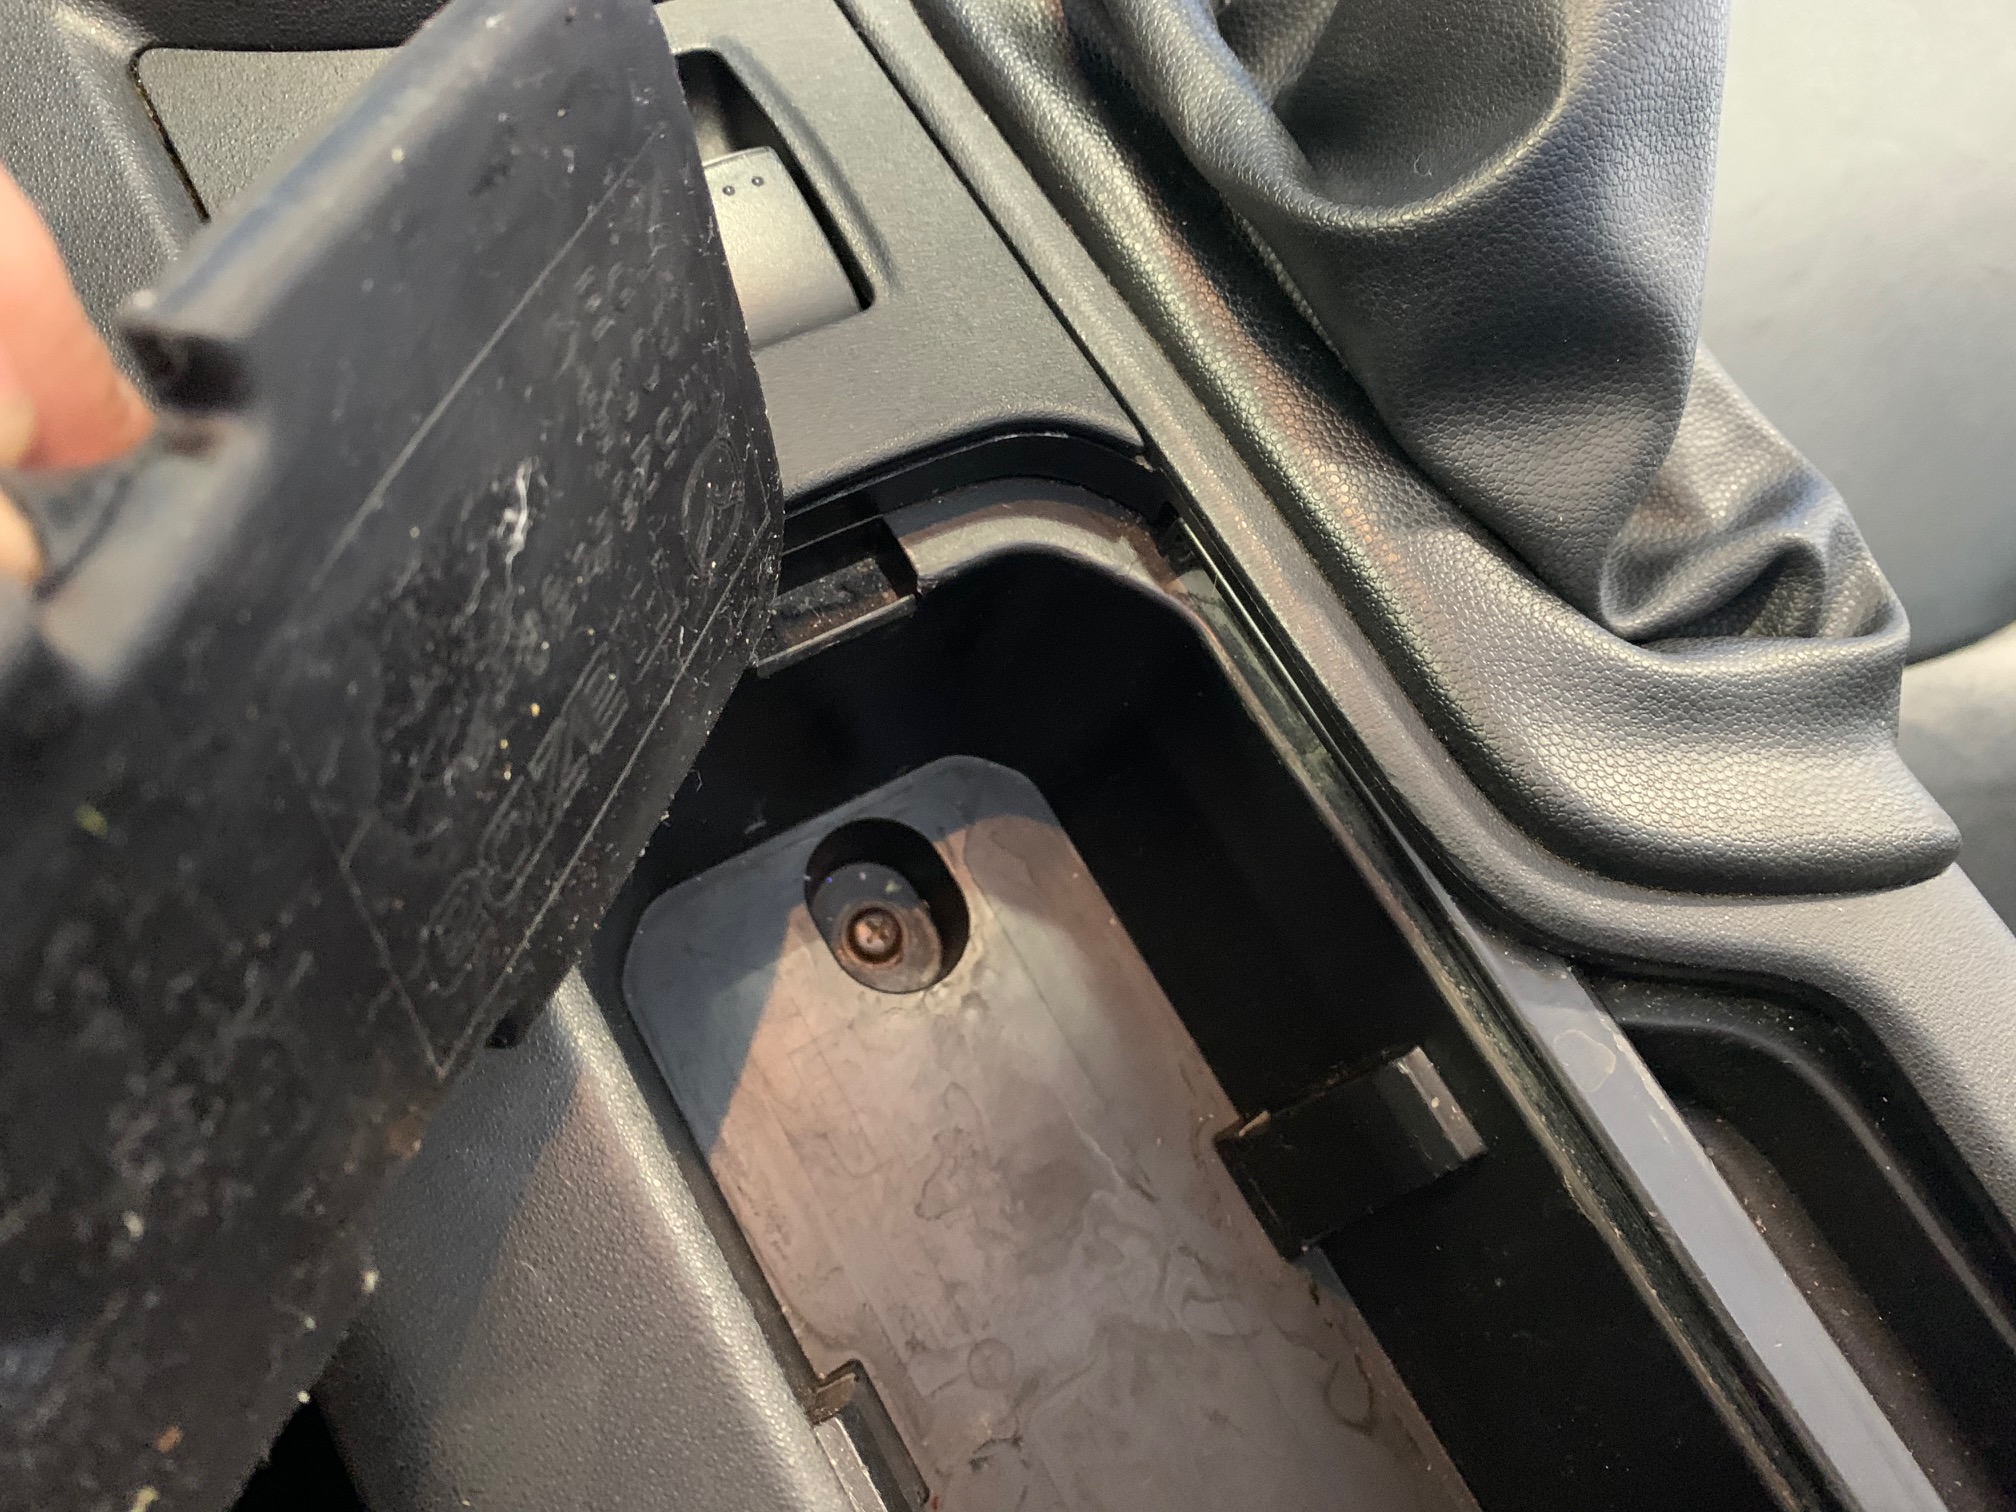
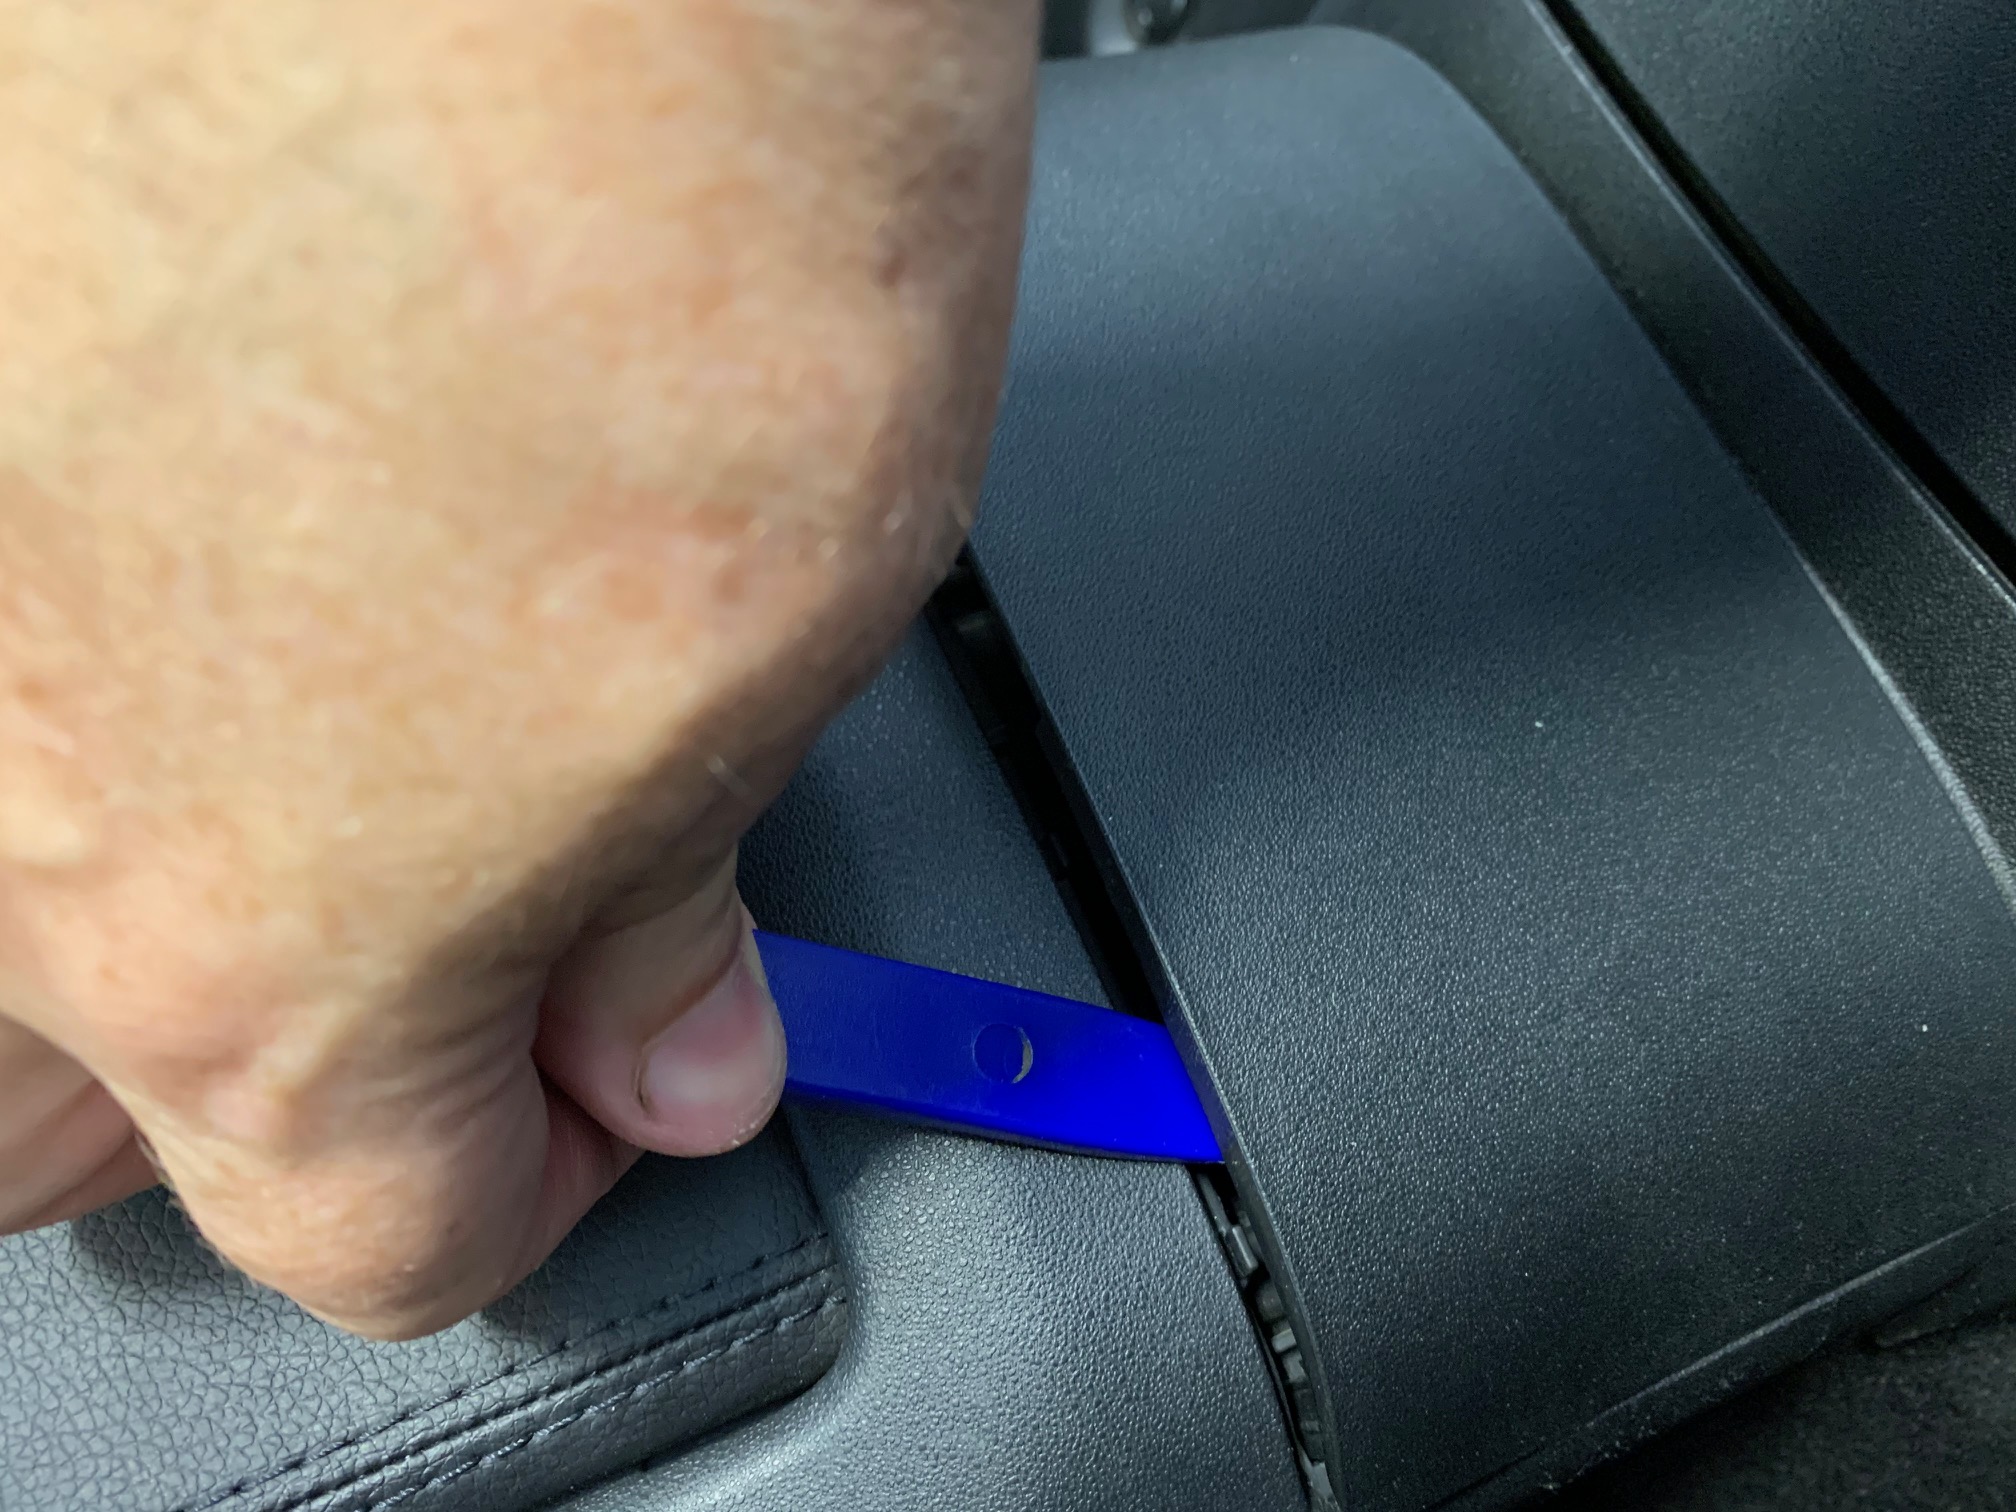
- Trim Removal Tool (table knife will work with care)
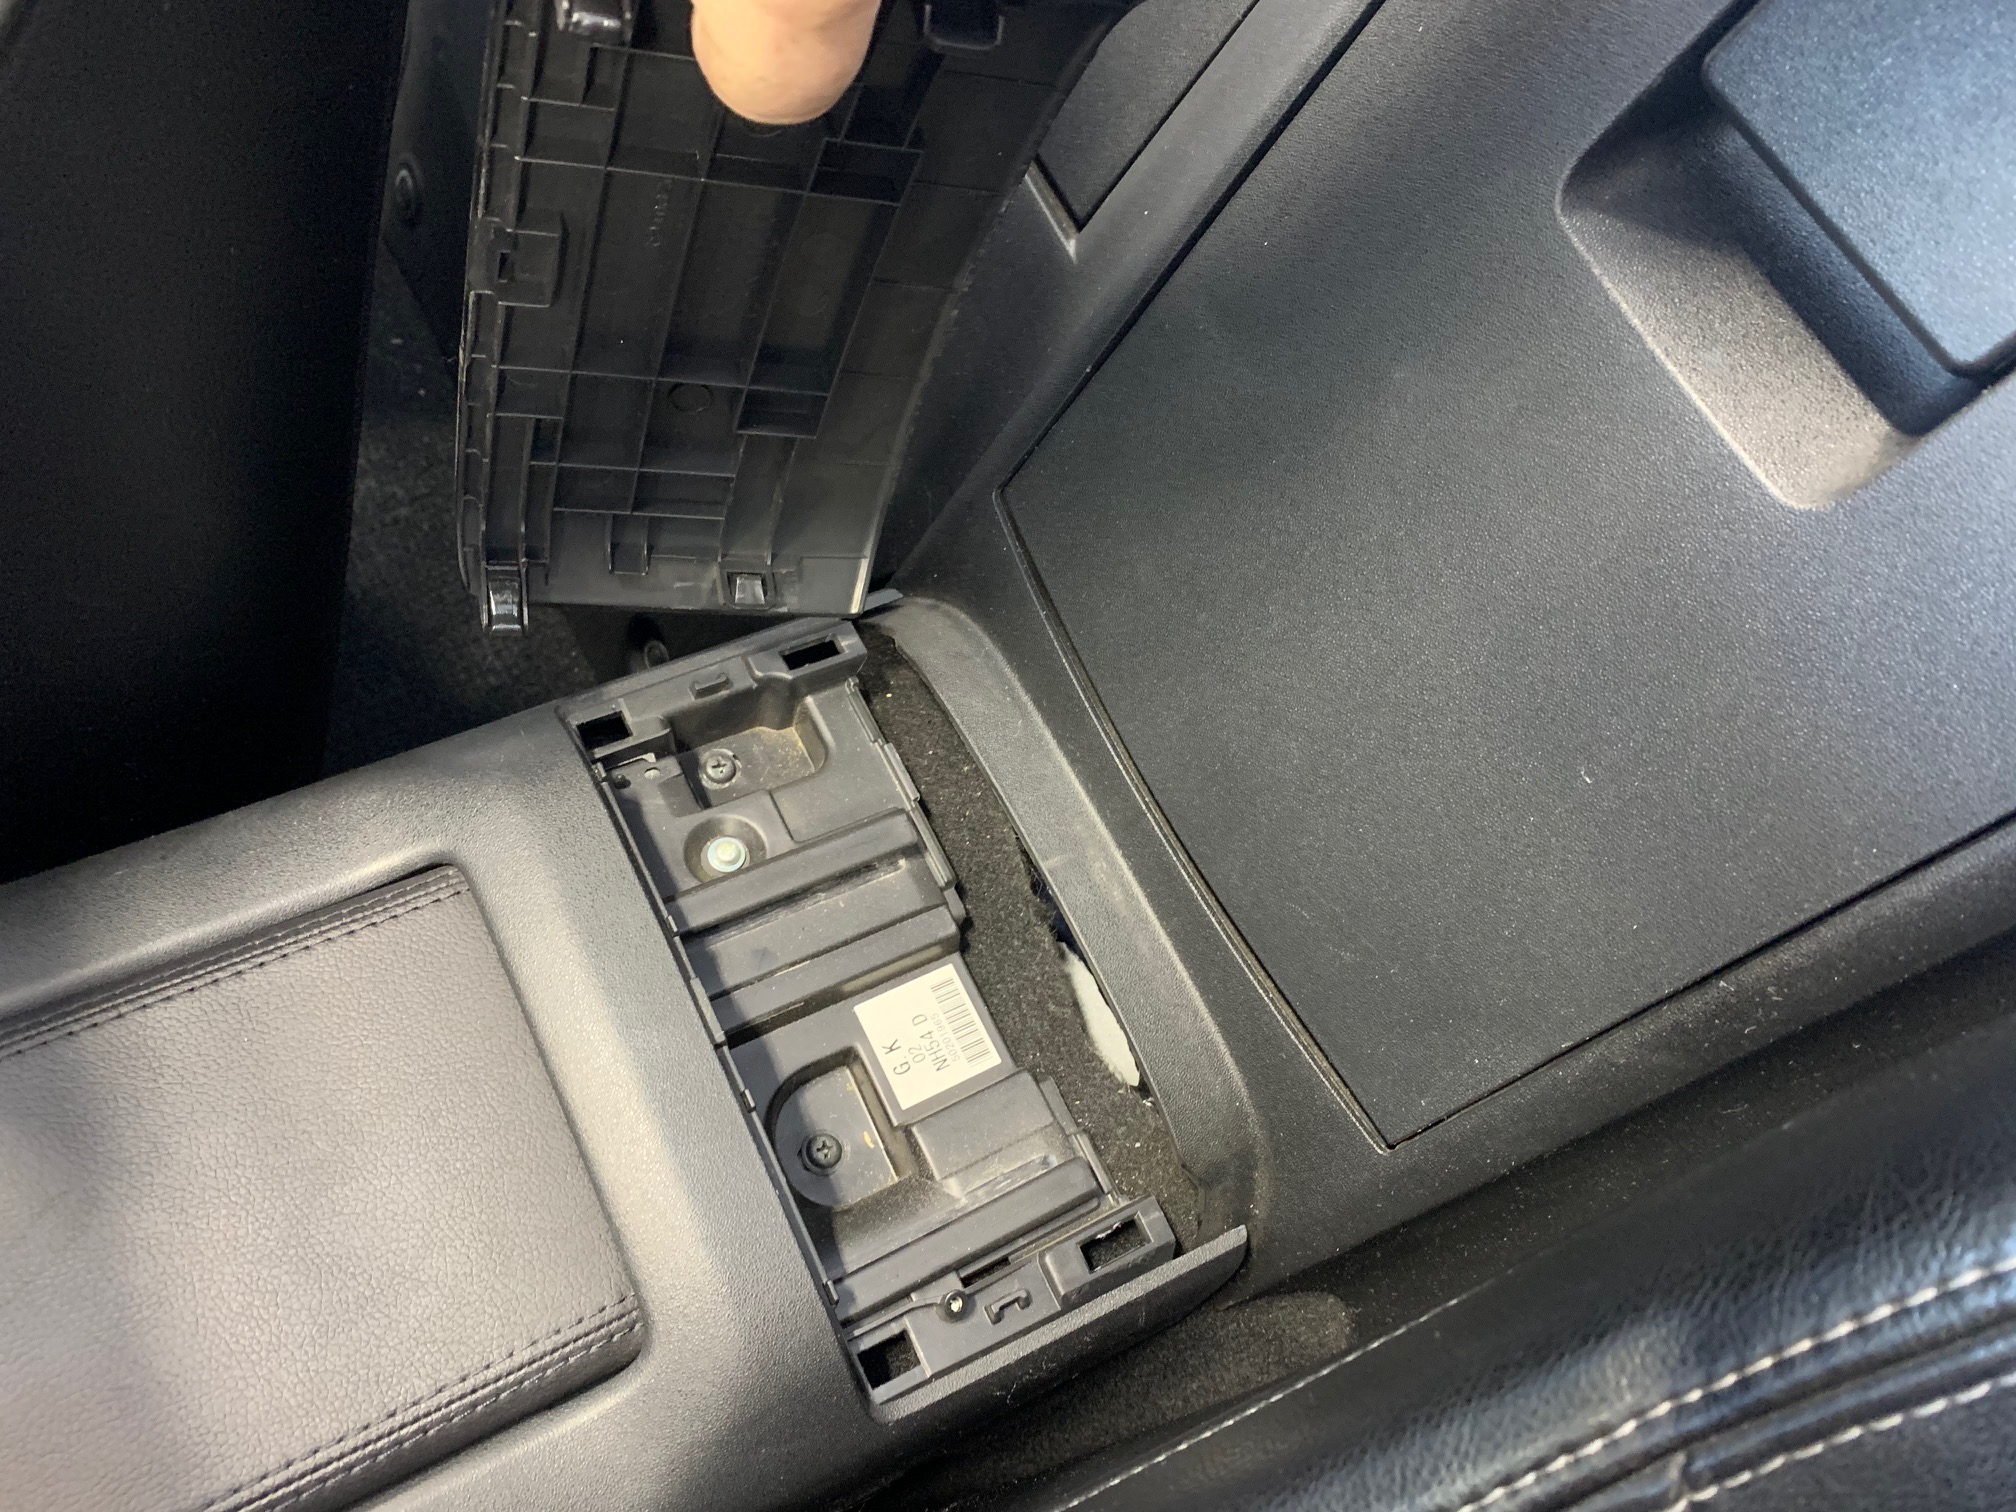
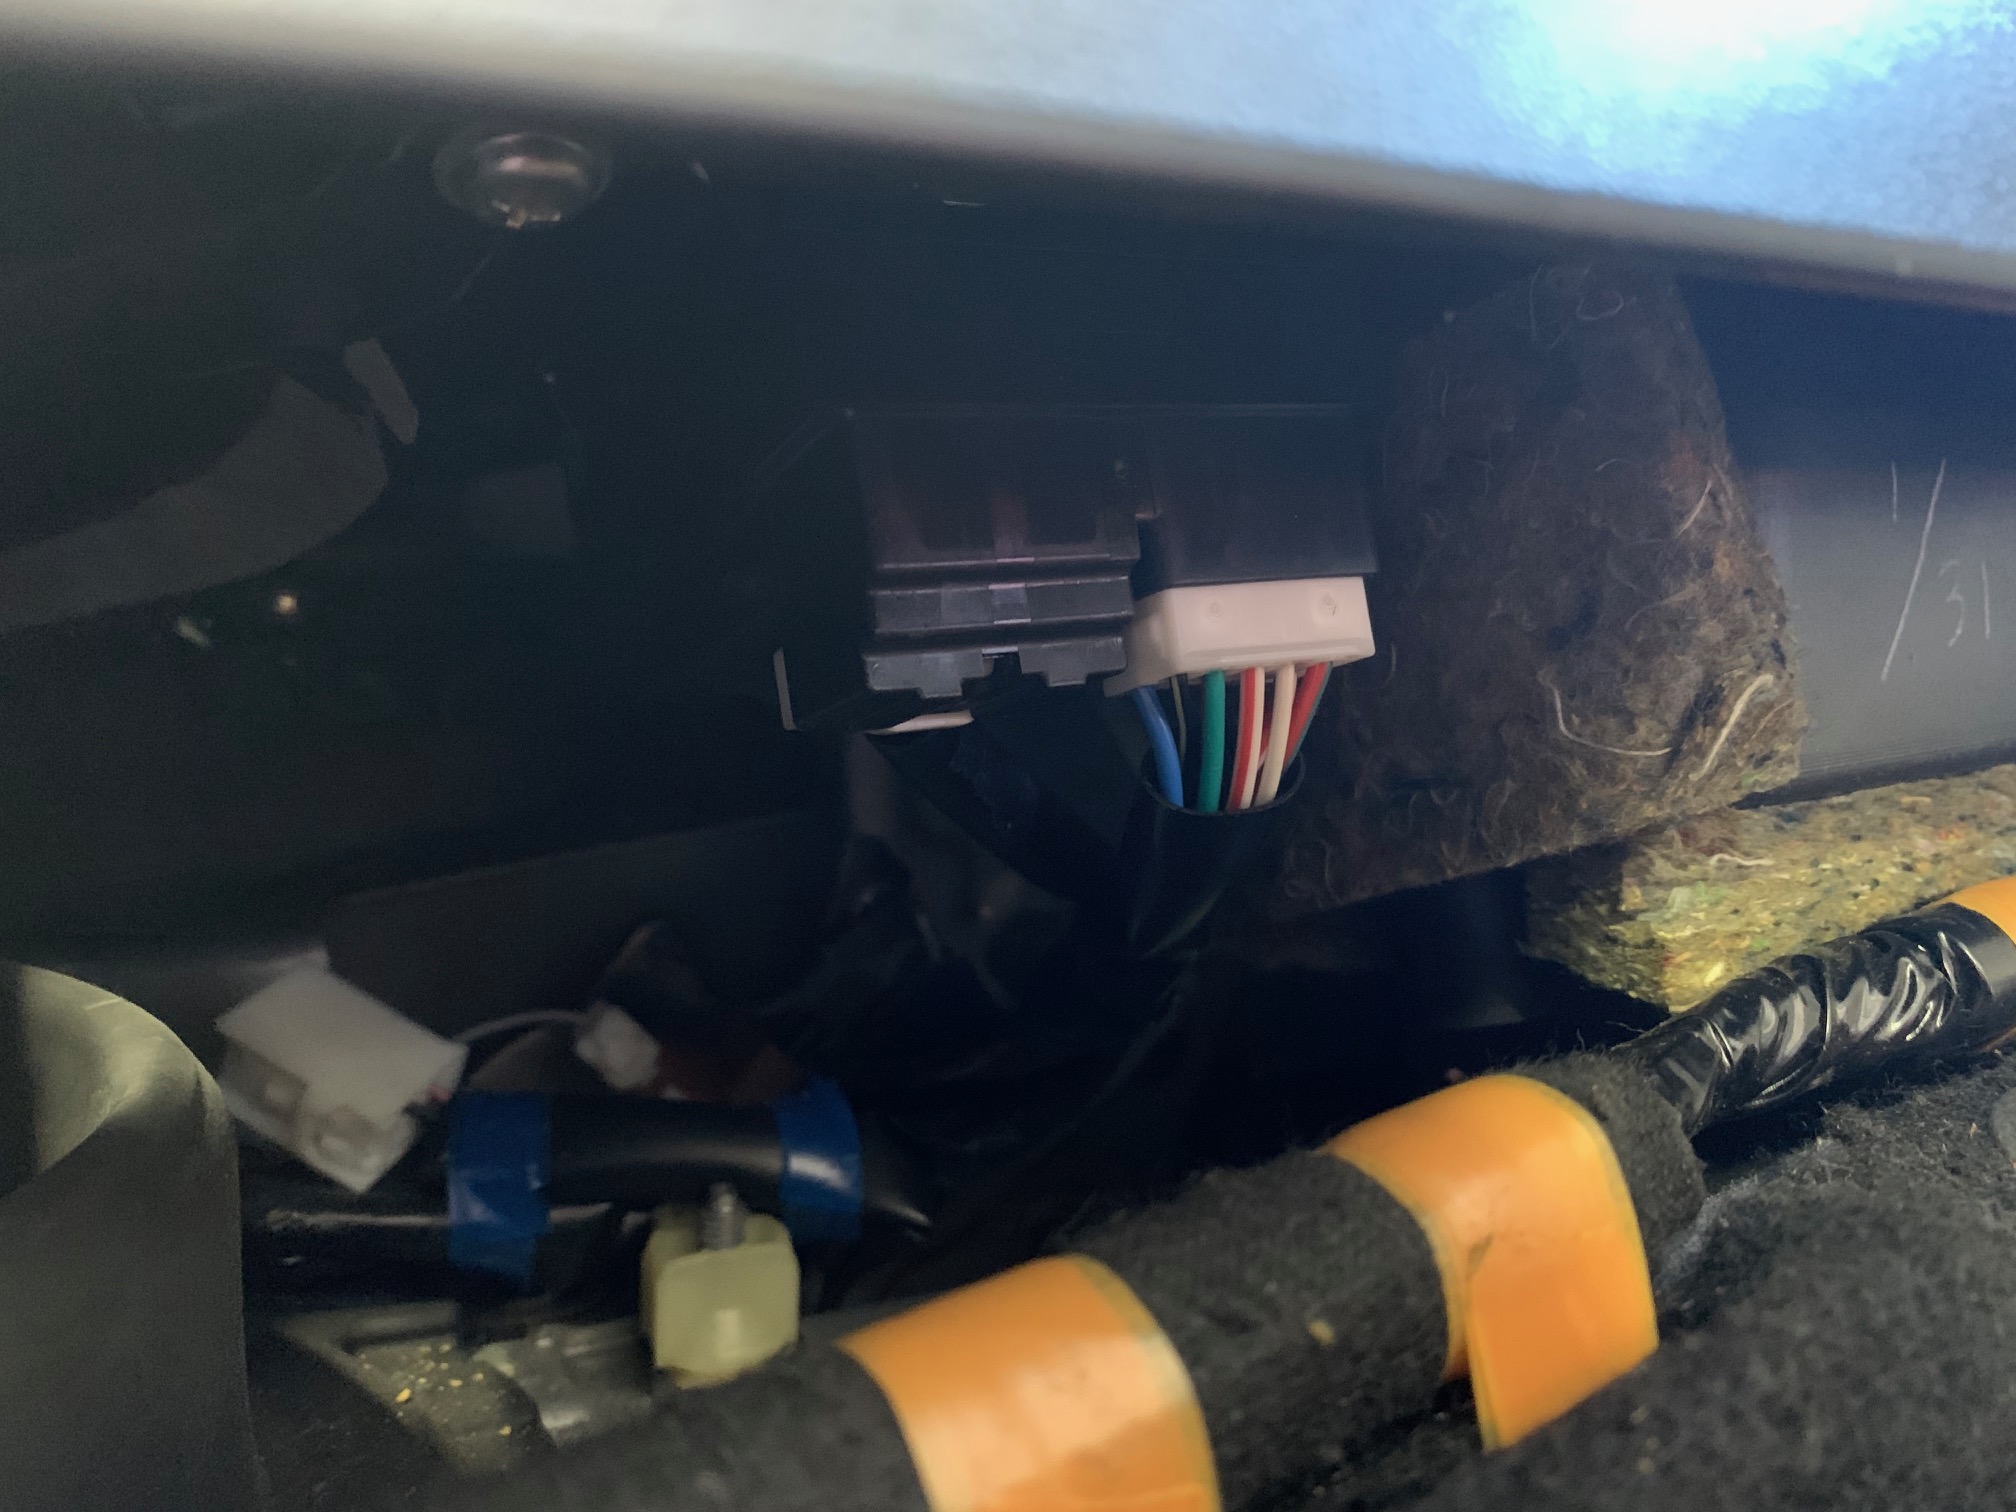
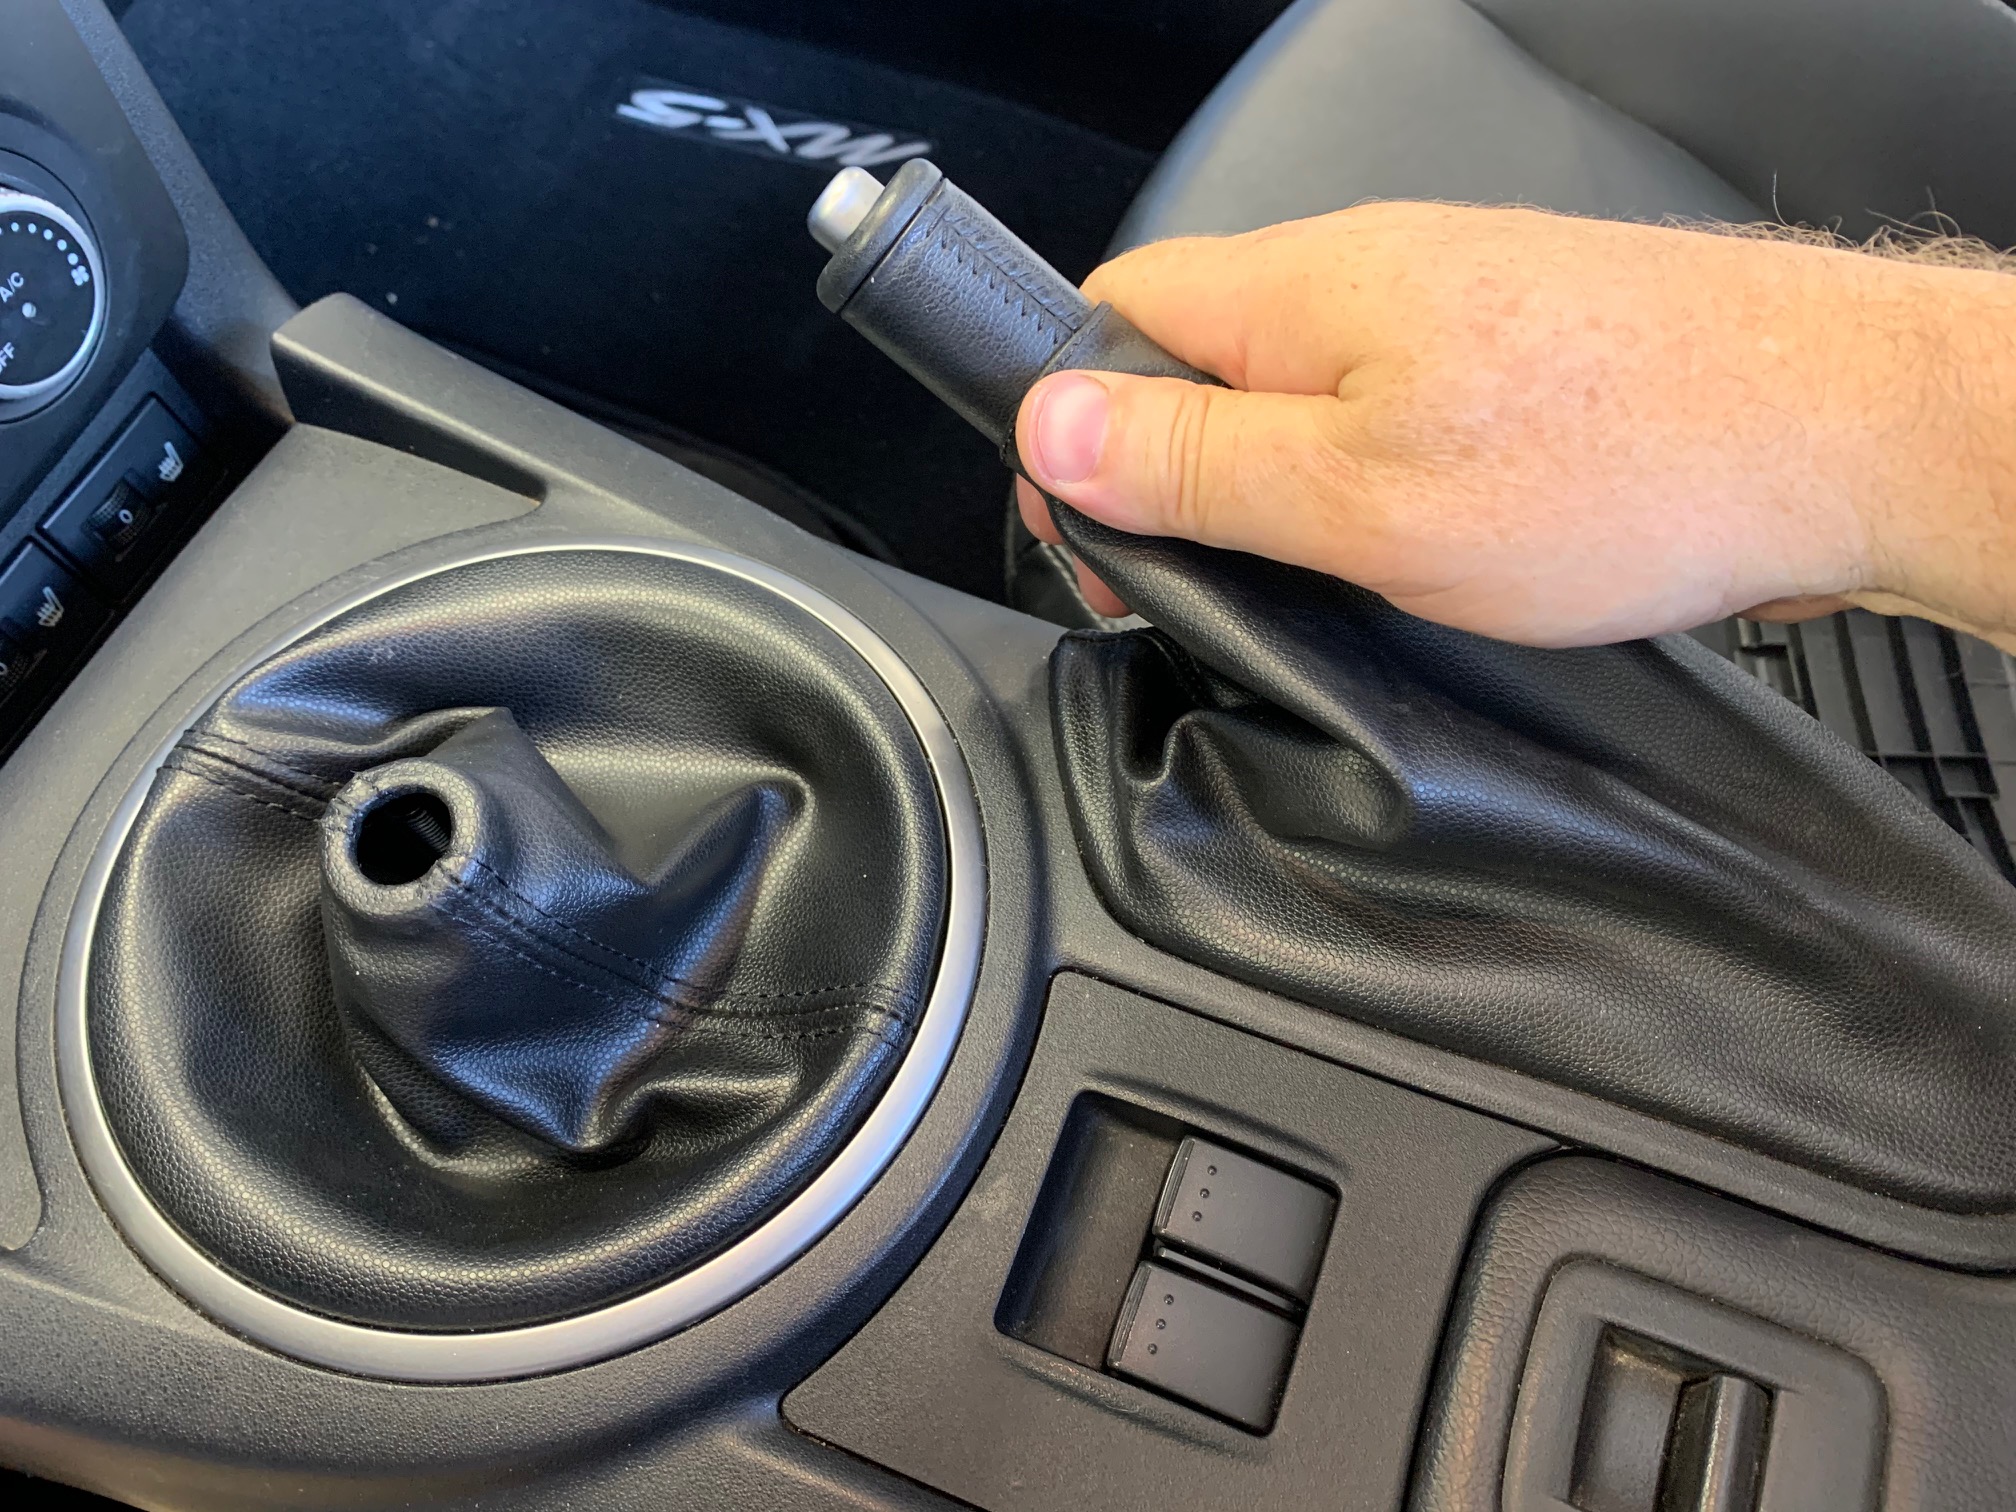
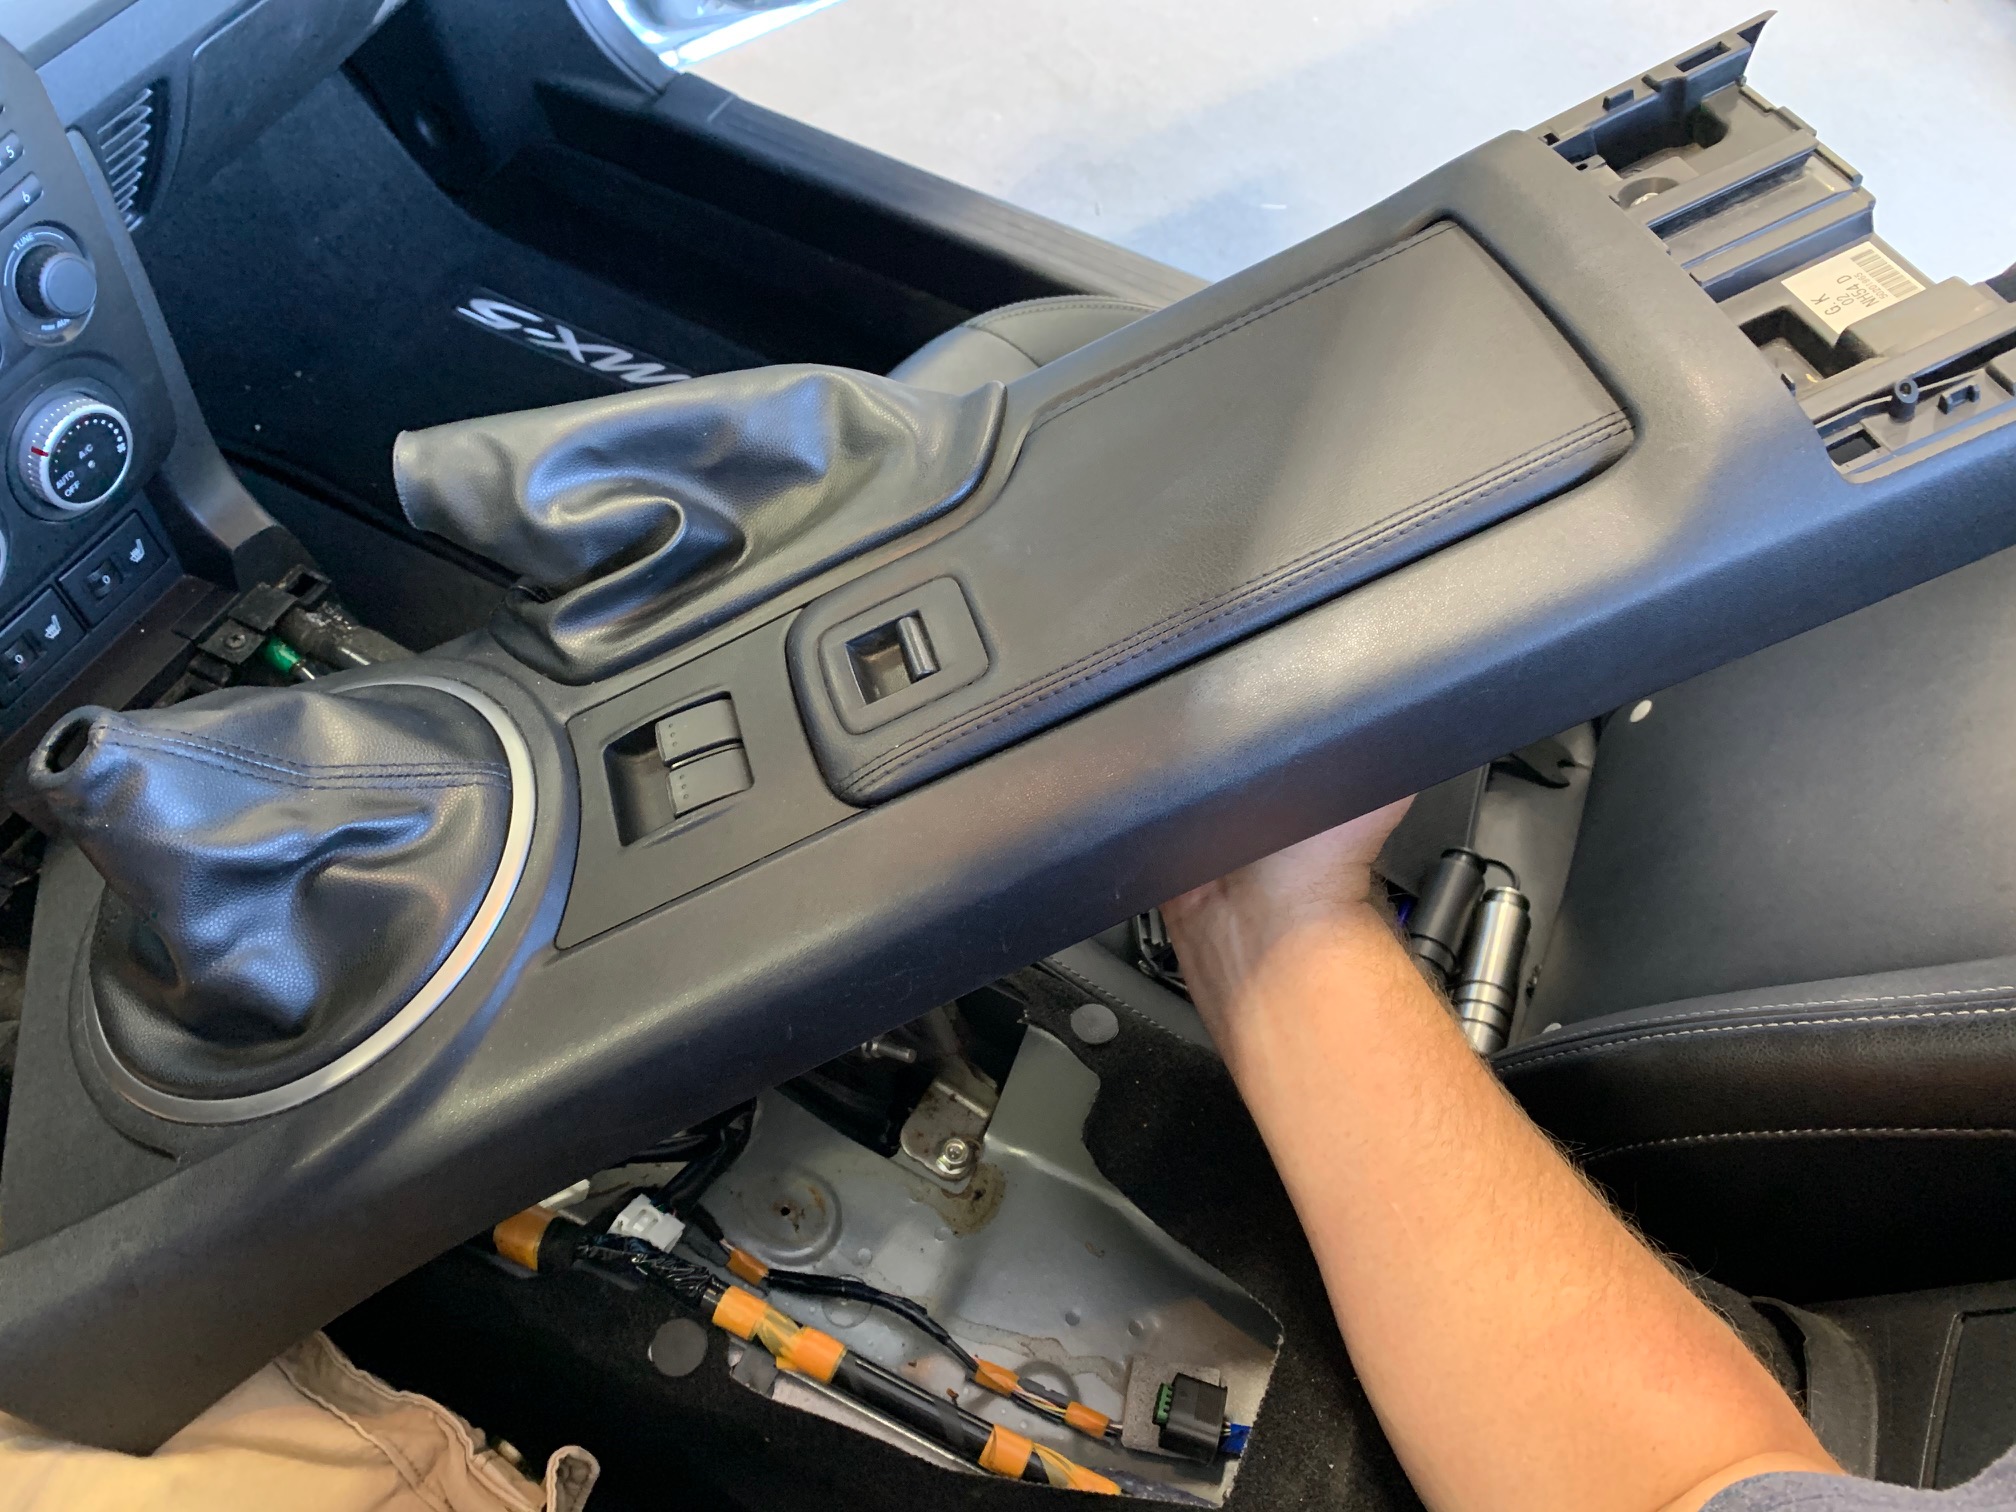
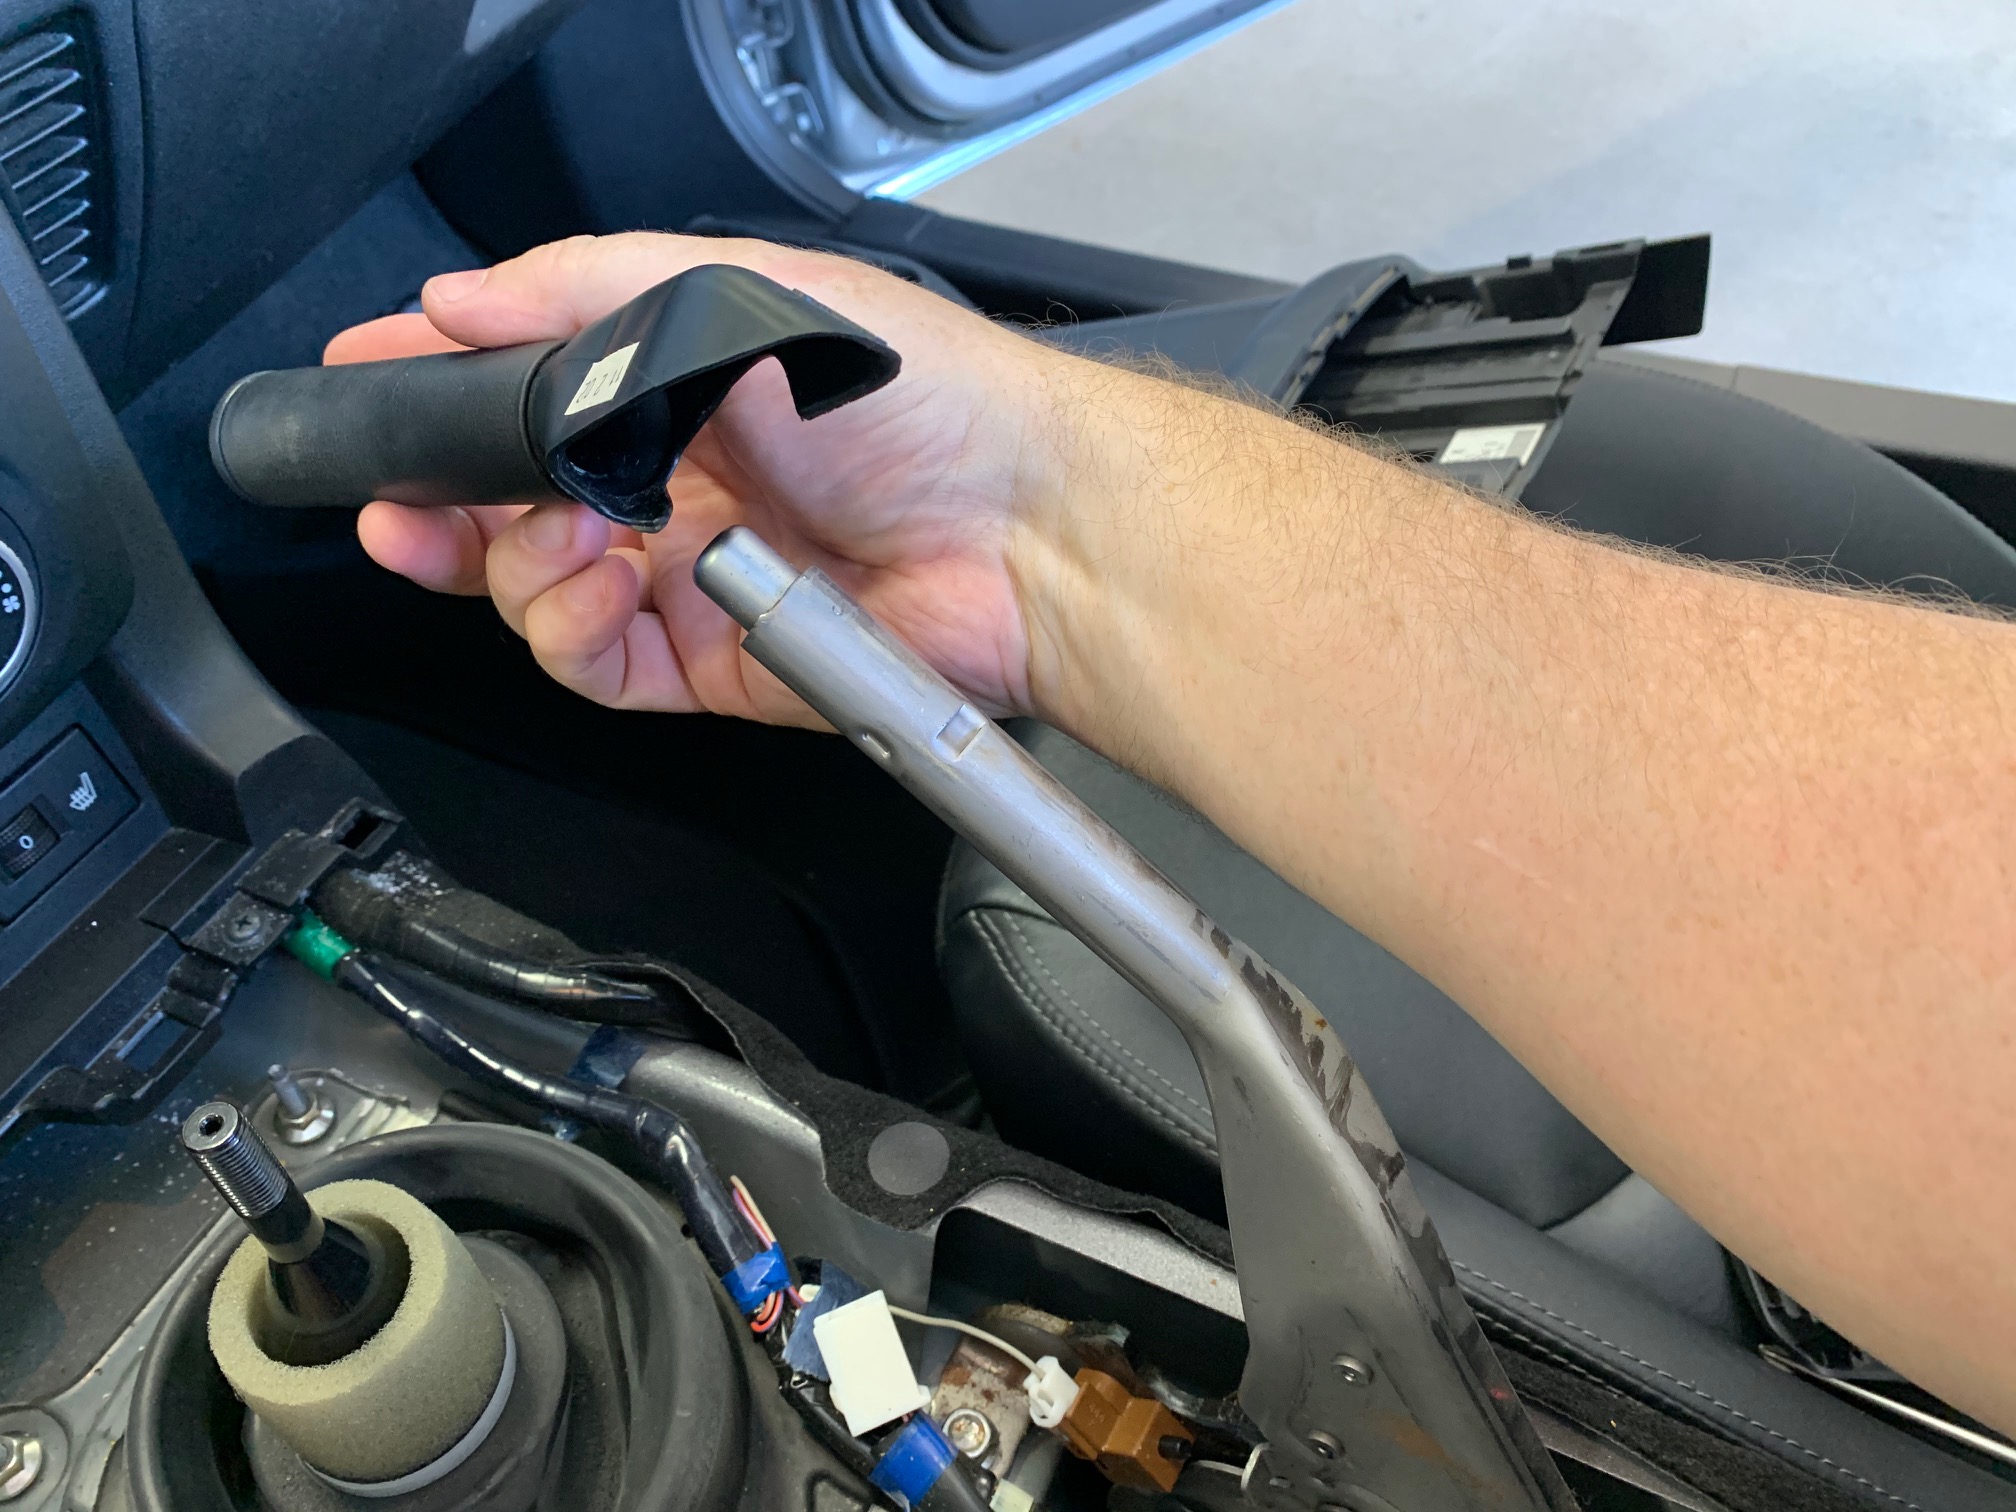
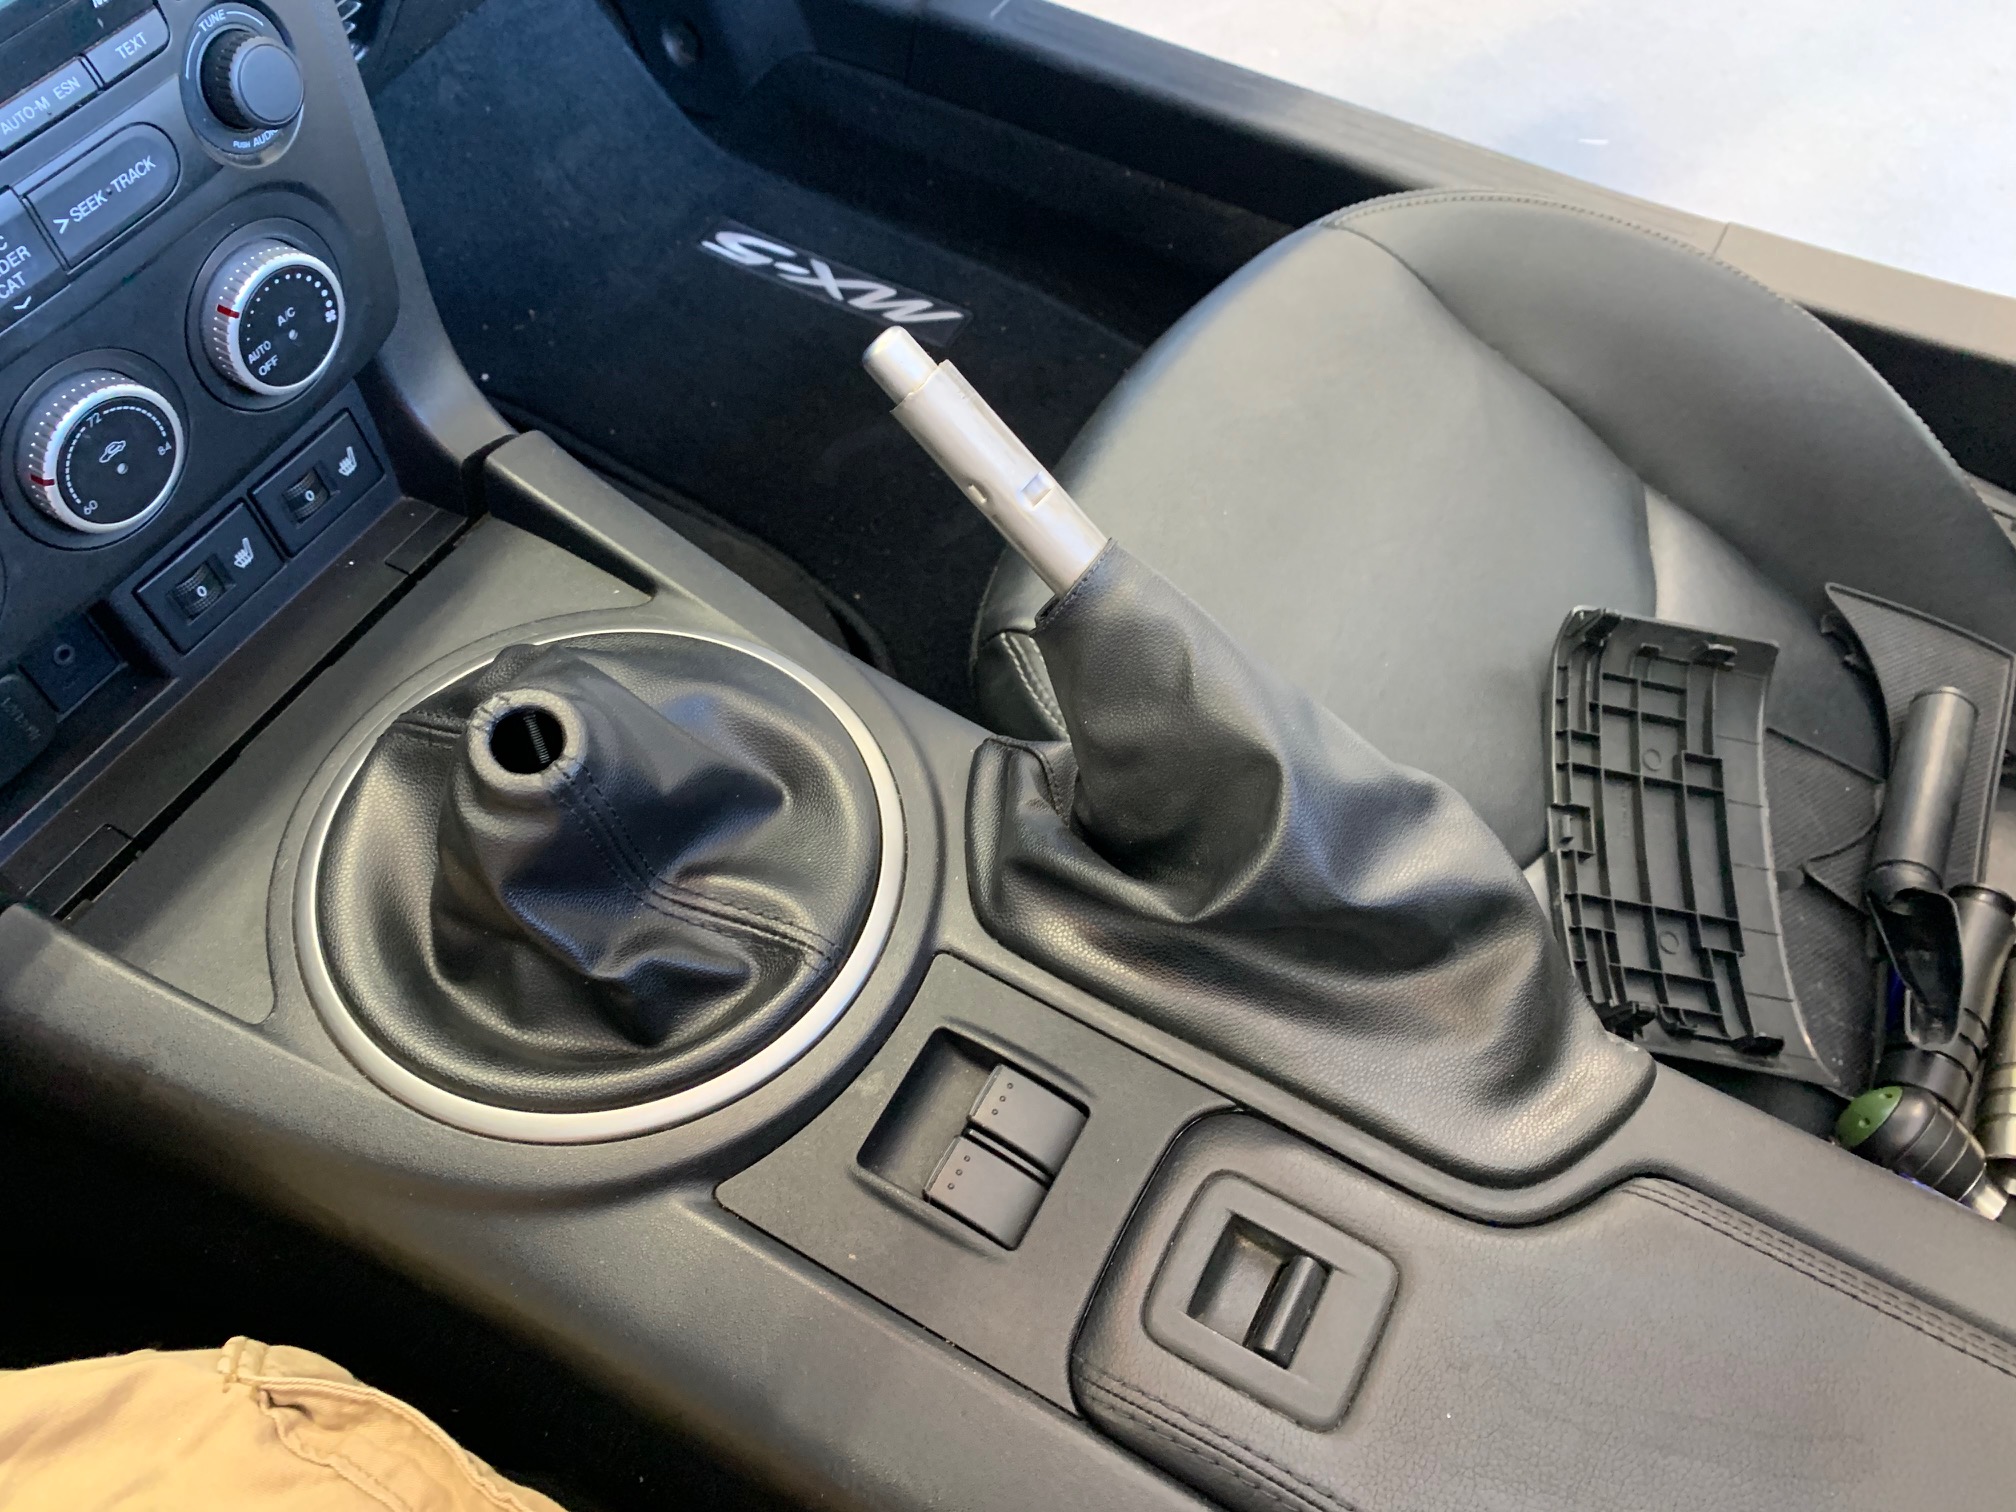
Procedure