THANK YOU for purchasing the Throttle Body Spacer for FIAT from CravenSpeed. This product is made from the highest grade materials, and is guaranteed to be free from defects.
You can buy our CravenSpeed Throttle Body Spacer for Fiat 500 here
Parts Included:
- 1 - Throttle Body Spacer
- 1 - O-Ring
- 4 - Screws
Tools Required:
- 7mm Socket Wrench (for hose clamps)
- T30 Torx Driver (for factory lower throttle body bolts)
- 10mm Socket Wrench (for factory upper throttle body bolts and intercooler hose bolt)
- 7/16" Socket Wrench (for new throttle body screws)
Procedure
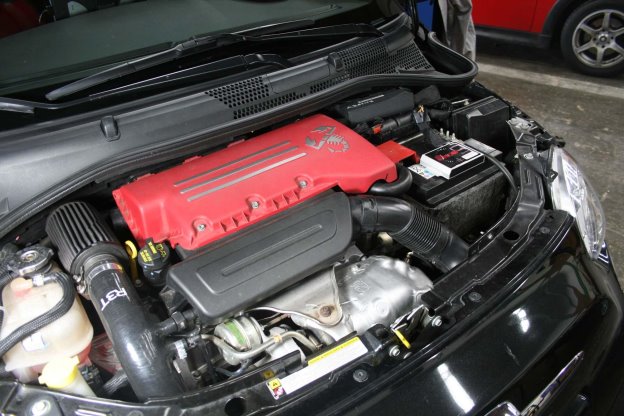
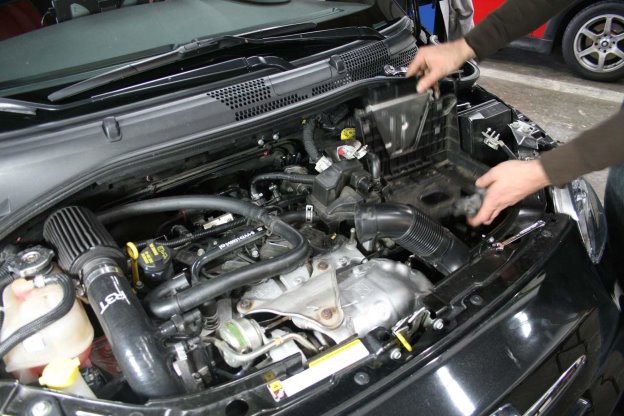
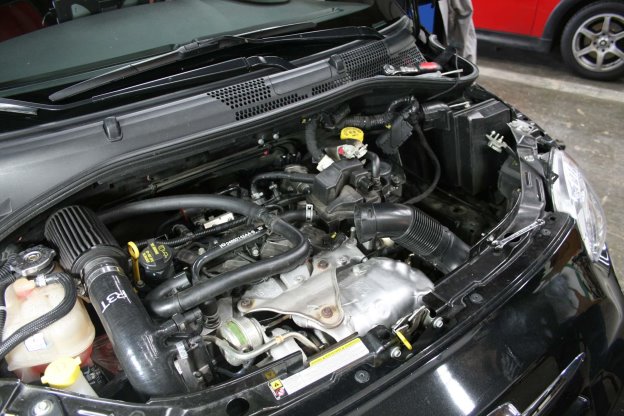
1. Remove your engine cover. It is held on with clips and should come off quickly/easily.
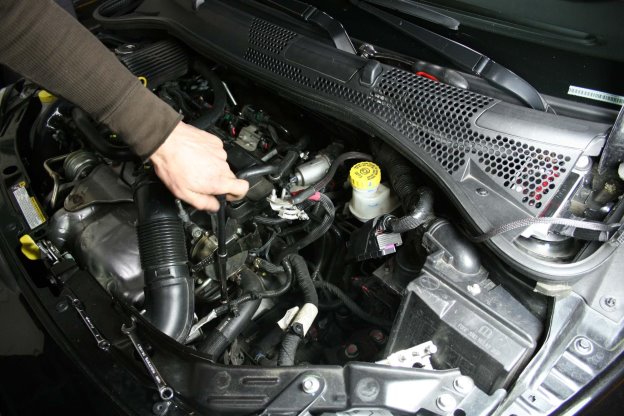
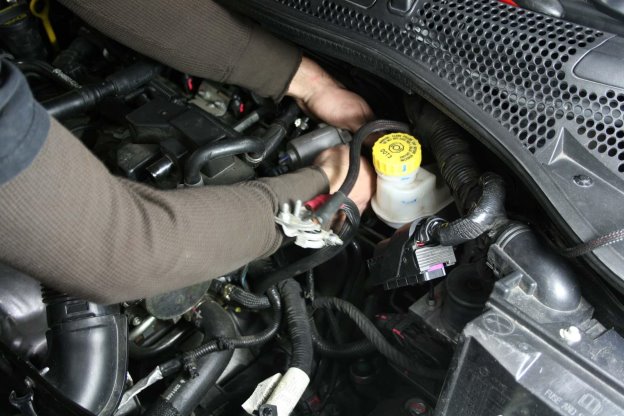
2. Disconnect and remove your battery.
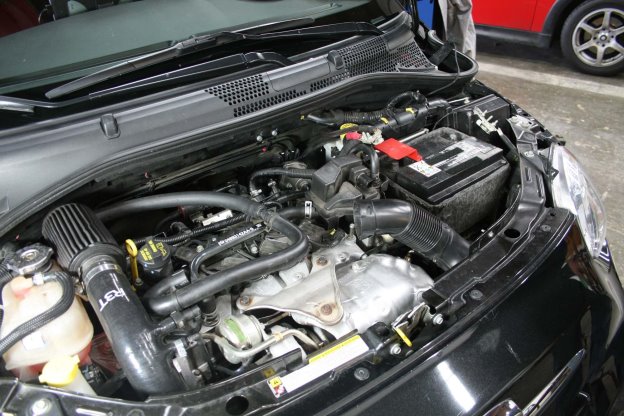
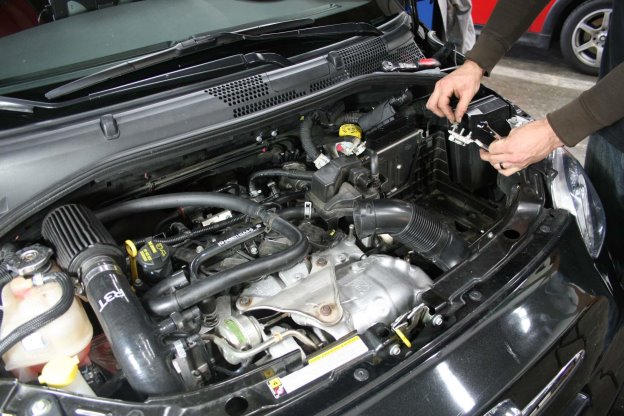
3. Unhook and remove the battery housing/holder. Remove three 13mm screws holding the battery box to the chassis. l
4. Loosen and remove your boost tube. One 10mm screw.
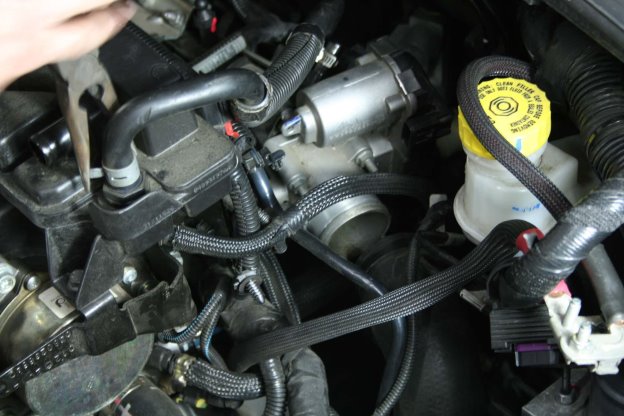
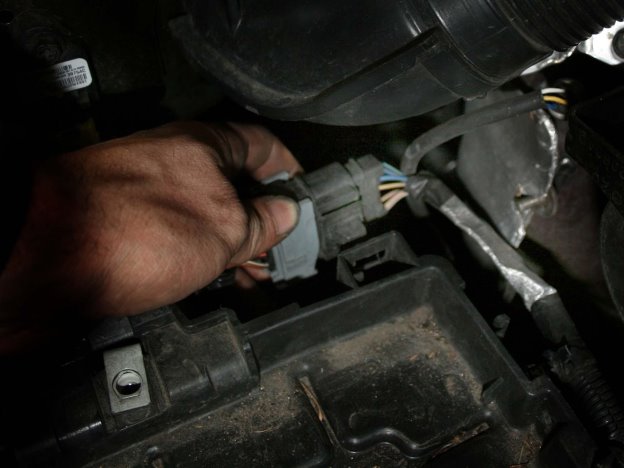
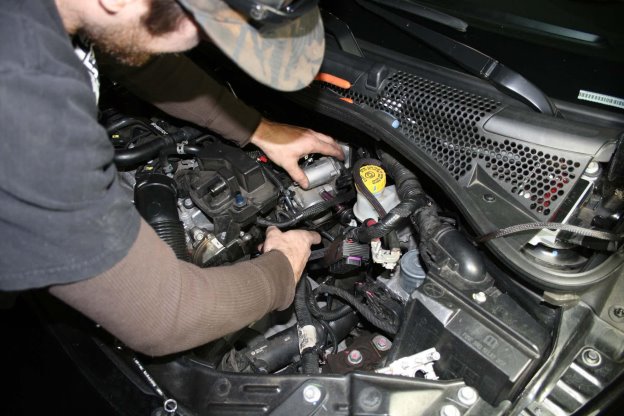
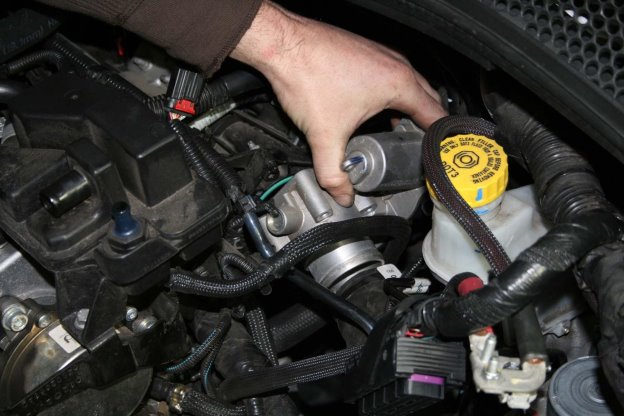
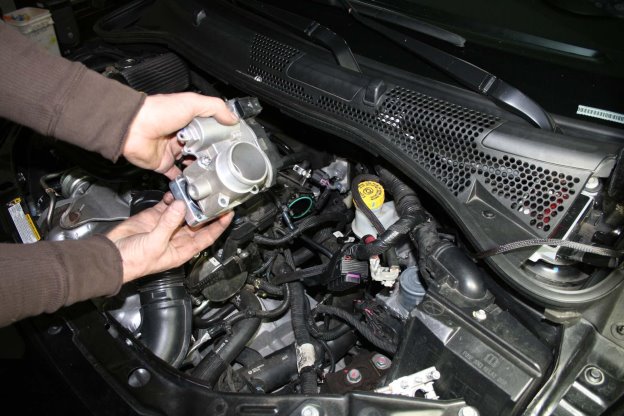
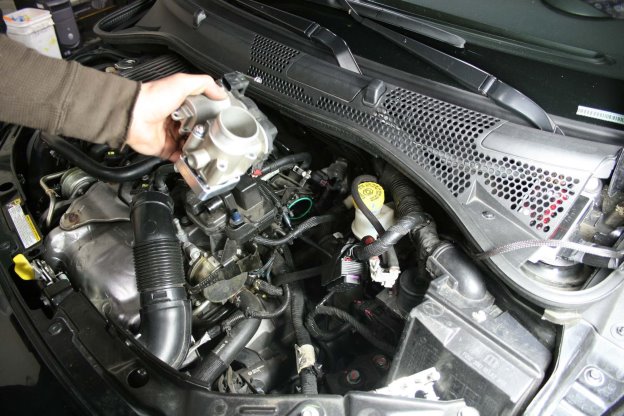
5. Remove your throttle body. There are 4 screws in a square pattern holding it in place. The top two are socket and the bottom two are Torx.
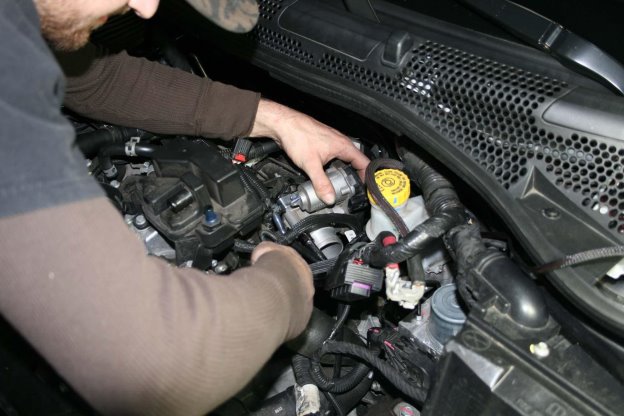
6. Set the Cravenspeed throttle body spacer in place on the throttle body and put the top 2 screws into place. This will help you place the throttle body back in and lined up. Remember to place the side with the ⅛ npt hole into a position you can easily install your boost gauge tap. Depending on your particular intake box, you may need to use the Torx head plastic screws, or the socket head machine screws. NOTE: When installing your throttle body spacer sender, be sure to use Teflon tape to properly seal the threads.
7. Start the top two screws and then the bottom two. Do not over-tighten as you’re screwing metal into plastic.
8. Put your boost tube back in place.
9. Re-attach and install your battery housing.
10. Re-install and connect your battery.
11. Take over the world.