THANK YOU for purchasing the MX5things Trunk Lid Popper from CravenSpeed. This product is made from the highest grade materials and is guaranteed to be free from defects.
If you're viewing these instructions before purchase, you may acquire them here: CravenSpeed Trunk Lid Popper for ND MX-5 Miata.

Parts Included:
- Spring-Assist Units (Driver and Passenger sides)
- (2) U-Shaped Washers
- Zip-tie
Tools Required:
- 10mm Socket and Wrench
- Phillips Screwdriver
- Needle-Nosed Pliers
- Wire Cutters
- Small Jewelers Flat Head Screwdriver (optional)
NOTE: This installation process is quite simple, and should take around 15-20 minutes. Please read through the entire instructions before you begin.
Procedure
- As you could have probably guessed... let's open the trunk and get started!
- Lay out the kit components and take note of it's what you have. You should see two spring-assist units, two U-shaped washer spacers, and a small zip-tie.
- The spring-assist units have a stainless button-head screw on the side that needs to be removed prior installation.
- Head on over to the passenger side trunk hinge and remove the plastic wire loom anchor clip. Use your needle-nosed pliers to pinch the clip and remove it from the hinge.
- At this point you can either cut this anchor off the wiring loom or utilize a small jewelers screwdriver to unlock the zip-tie portion to salvage the anchor clip. You will not be using it for this install, so place it in your parts bin for safe keeping.
- With the wiring loom temporarily out of the way, place the passenger side spring-assist unit against the inboard surface of the trunk hinge (See images for proper orientation). The hole where the wiring loom was mounted is the hole we'll be using to affix the spring-assist unit with the previously removed button-head screw.
- Ensure that the felt pad side of the spring-assist pad is against the underside trunk surface and set the spring housing into place against the hinge. The side hole on the spring housing should index with the pivot rivet of the trunk hinge mechanism. Once located properly, place the stainless button-head screw through the hole and tighten it into the spring-assist housing.
- The passenger side spring assist housing includes a zip-tie anchor on it's inboard side. Use the included zip-tie and re-affix the wiring loom to this point. A quick clip of the zip-tie tail with your wire cutters cleans this right up.
- Perform the same steps to the driver side trunk hinge (sans the zip-tie).
- At this point, you've got the spring-assist units installed and you're probably wondering what to do with the U-shaped washer spacers. Since the spring units place the hinges in a state of opening tension, some folks have experienced an ever-so-slight misalignment of the leading edge of the trunk lid to the body of their MX-5. If your installation reflects this, you can bring the two panels back into alignment with the use of these U-shaped washer spacers.
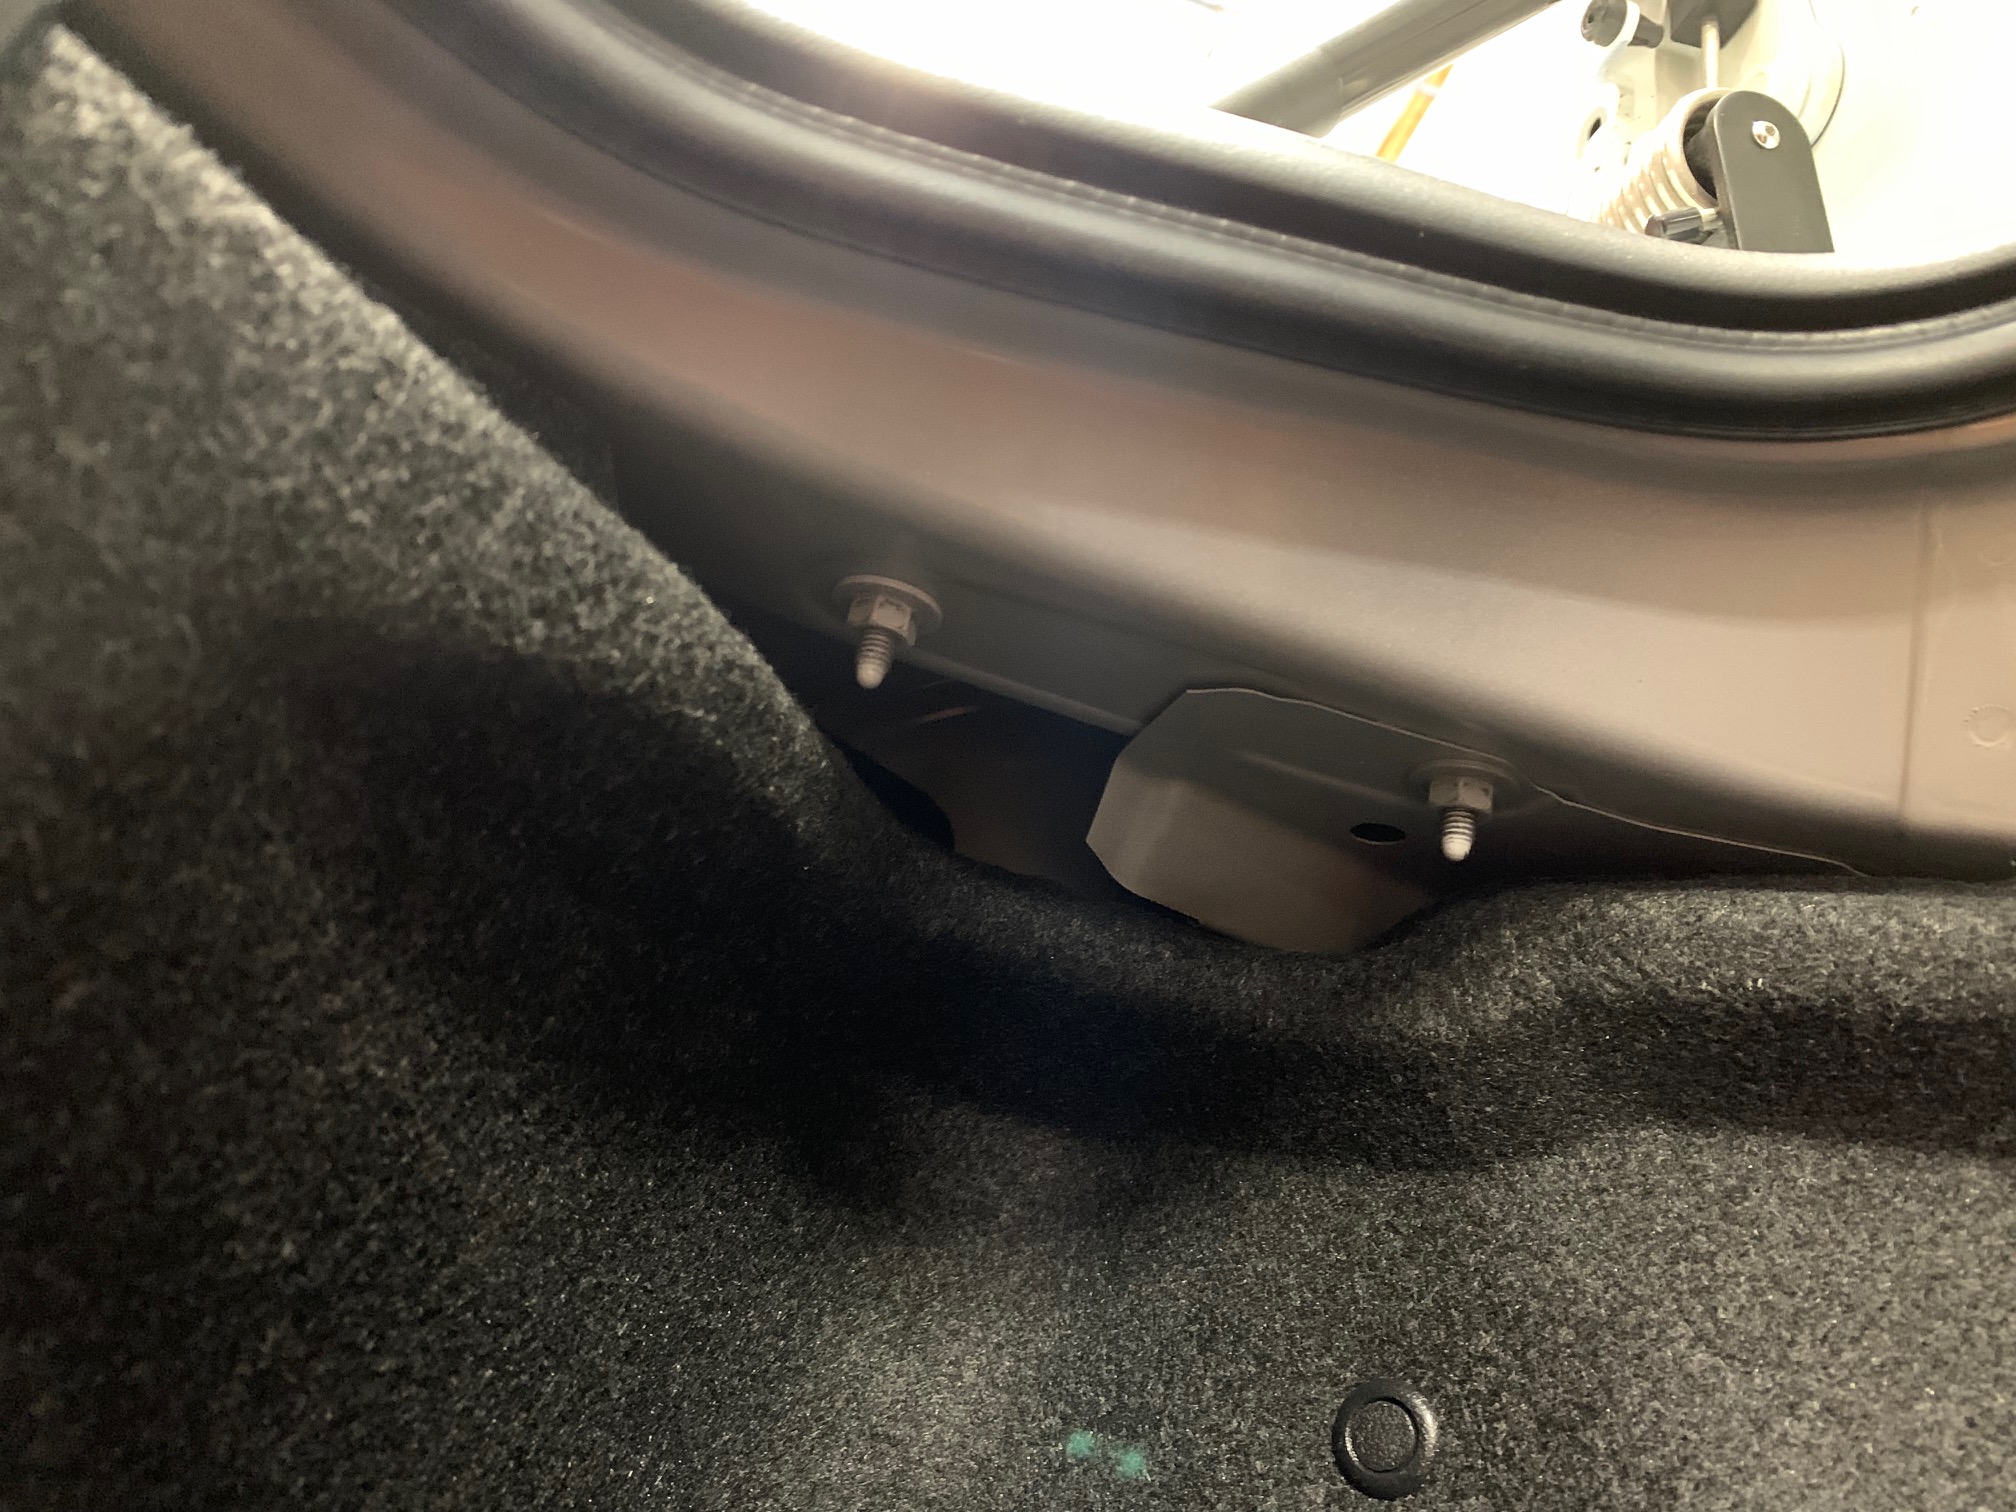
- Each trunk hinge is attached to the body via two studs along the base. The holes in the body that these studs fit through are not slotted, so there's no stress about misaligning anything during this process. Dip your head down into the trunk and take a peep at the underside of the hinge mounting area. You'll see the two 10mm nuts that will need to be loosened approx 1/8". No need to fully remove them as the U-shaped alignment correction spacers are designed to slip in from the side.
- With the two 10mm nuts loosened, head topside and slip one of the U-shaped washers under the hinge at the rearmost position.


Prior to the spacers being installed.

With the spacers installed.


Retighten the 10mm nuts and you're all done! Close the trunk, go press your trunk release switch and marvel at the hands-free, trunk-popping awesomeness!