THANK YOU for purchasing the A-Pillar Light Bracket Kit for 2019+ Ford F-150 and Raptor from CravenSpeed. This product is made from the highest grade materials, and is guaranteed to be free from defects.
You can buy our CravenSpeed A Pillar Auxiliary Light Bracket Kit for Ford Trucks here
Parts Included:
- 2 x Lower A-Pillar Aux Light Brackets
- 2 x Upper A-Pillar Aux Light Brackets
- 2 x 1/4-20 x .750" Stainless Steel Flat Head Cap Screws
- 2 x M6 Sized Flat Washers
- 2 x 1/4-20 Locknuts
- 2 x Anodized Countersunk Washers
Tools Required:
- Stepladder
- Masking Tape
- Ratchet Wrench w/ 10mm & 12mm sockets
- 7/16" Combination Wrench
- 5/32” Hex Key
NOTE: The installation of this kit is fairly straightforward, but we always recommend reading through the entire instructions before you begin. It's good to have a relatively clear understanding the the whole process before performing any installation.
Procedure
Prep the truck for bracket installation.
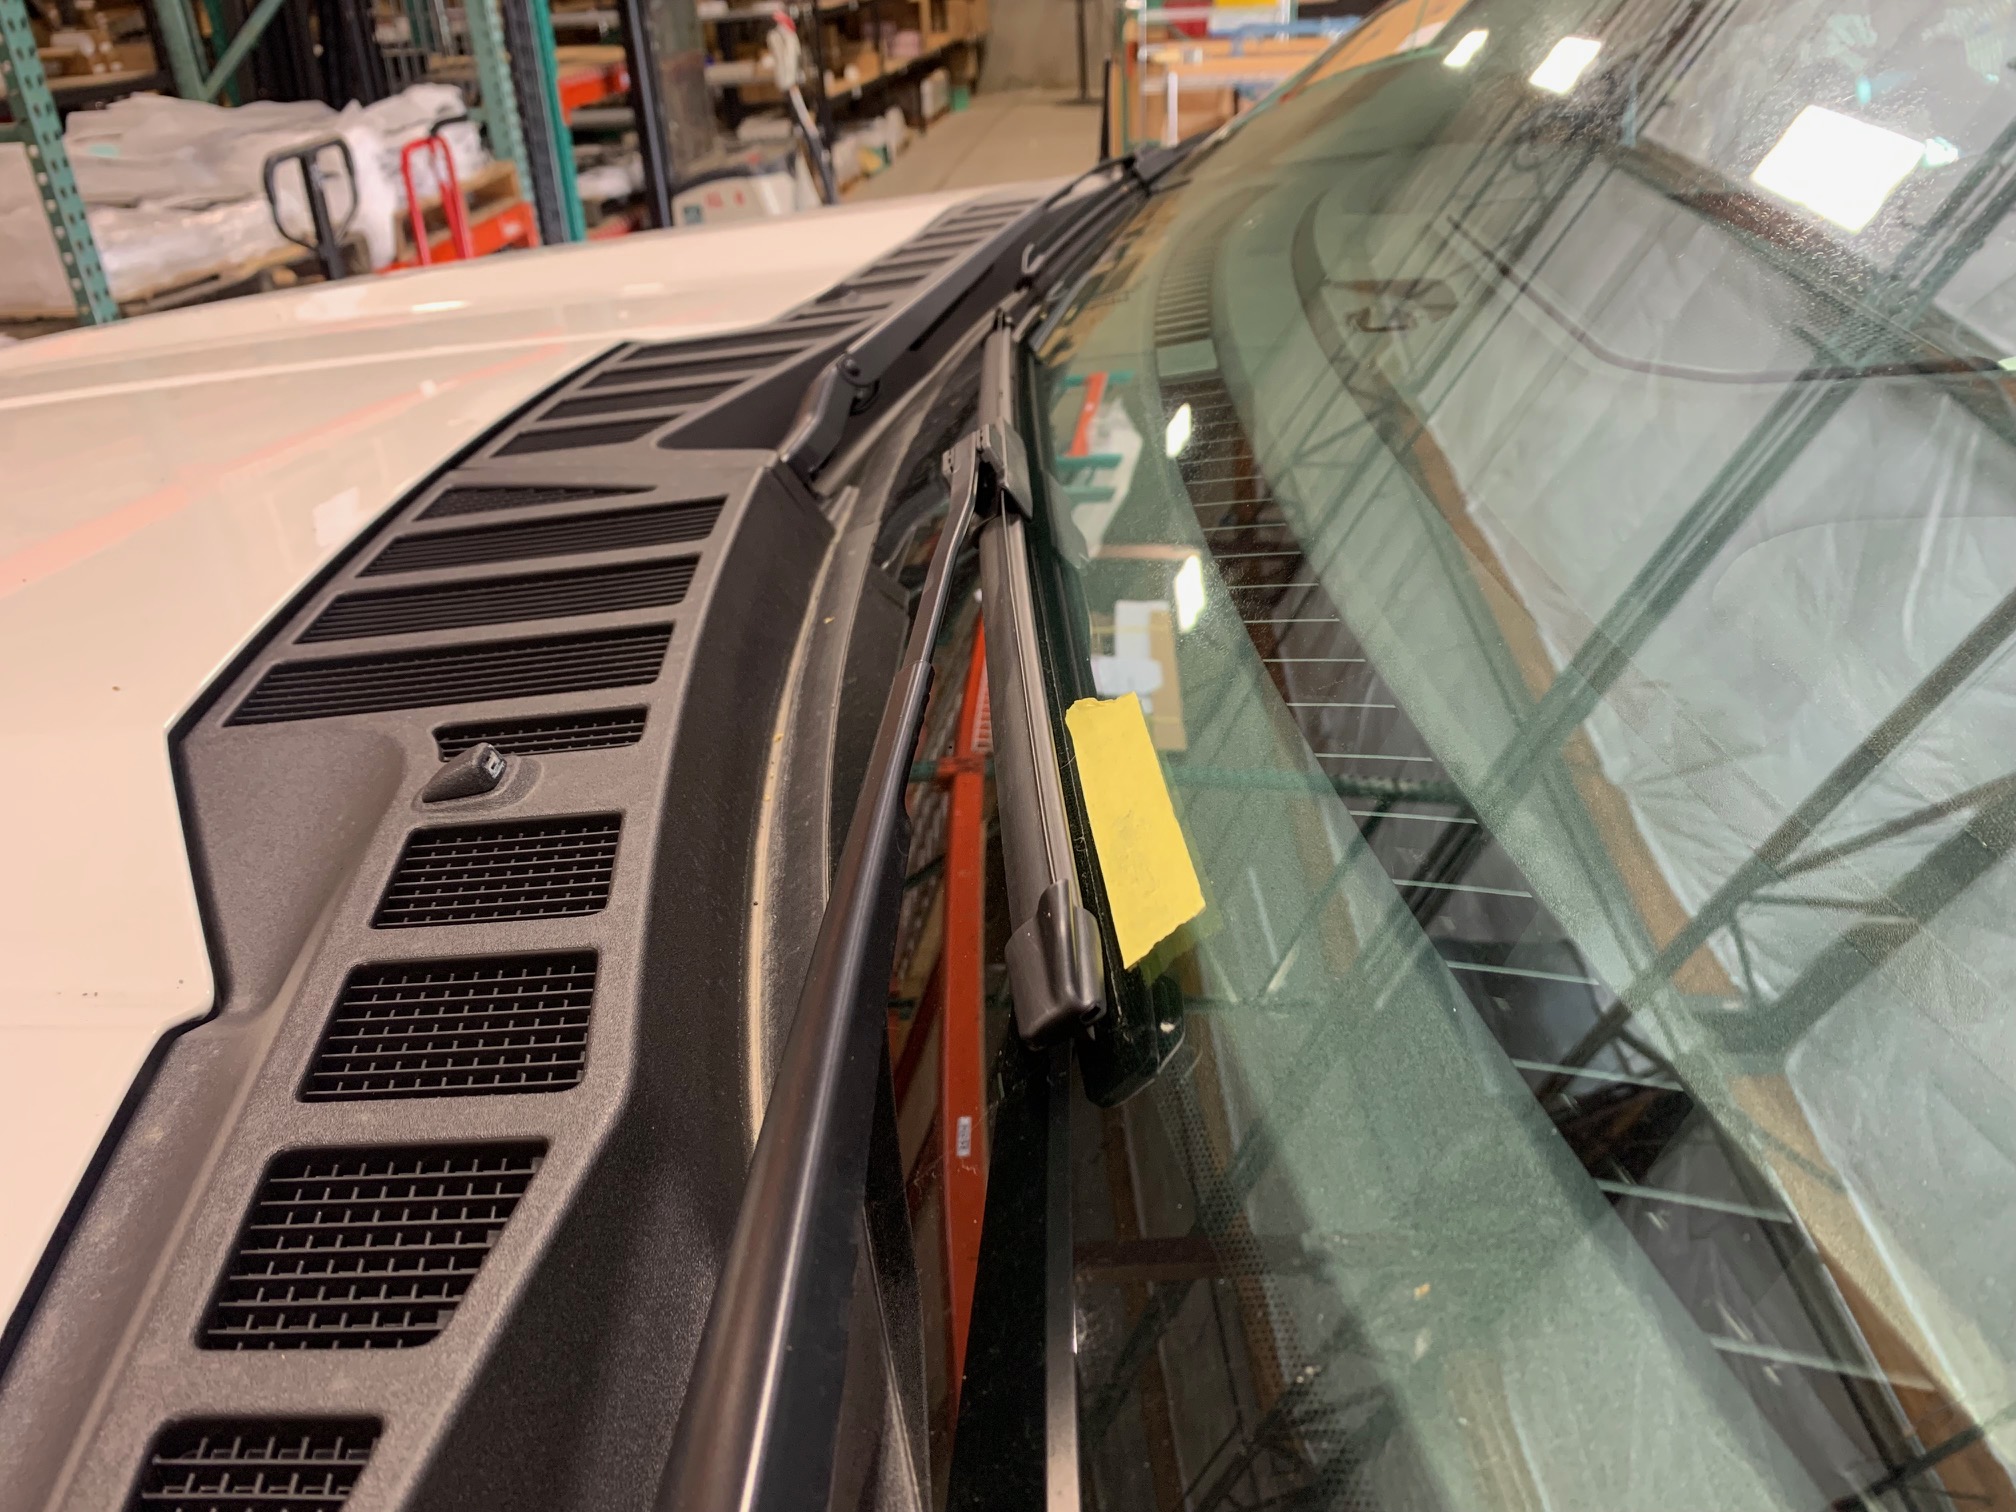
- First thing we'll need to do is remove the windshield wipers. With the wipers in their 'parked' positions, lay a piece of masking tape onto the windshield just above the wiper blades so that you can reinstall them into their proper locations afterwards.
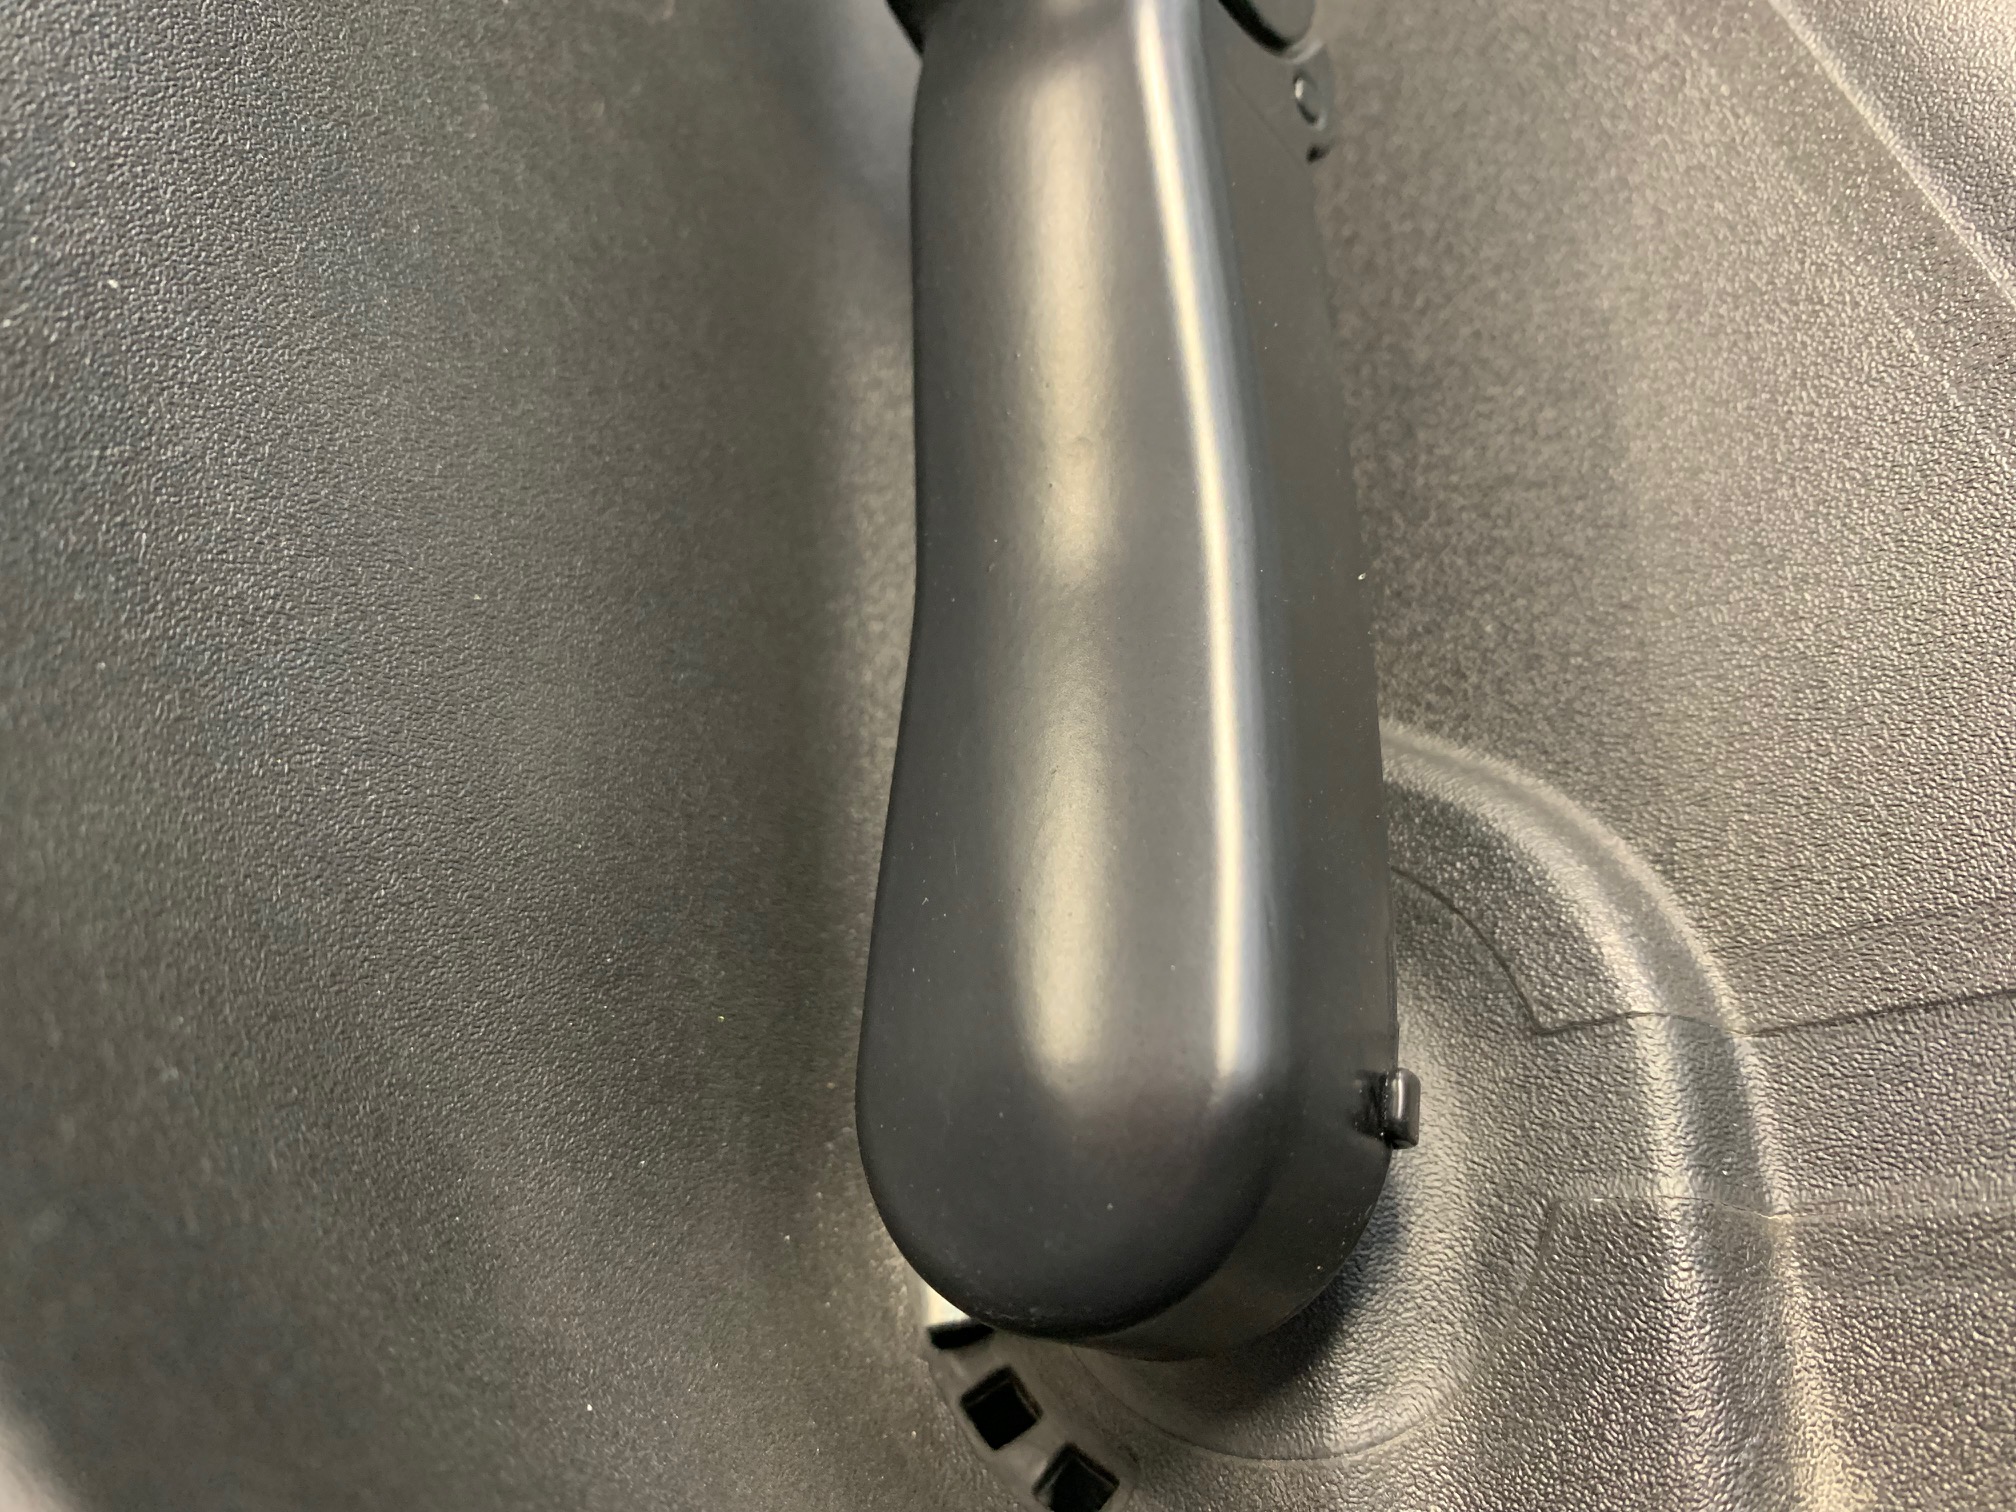
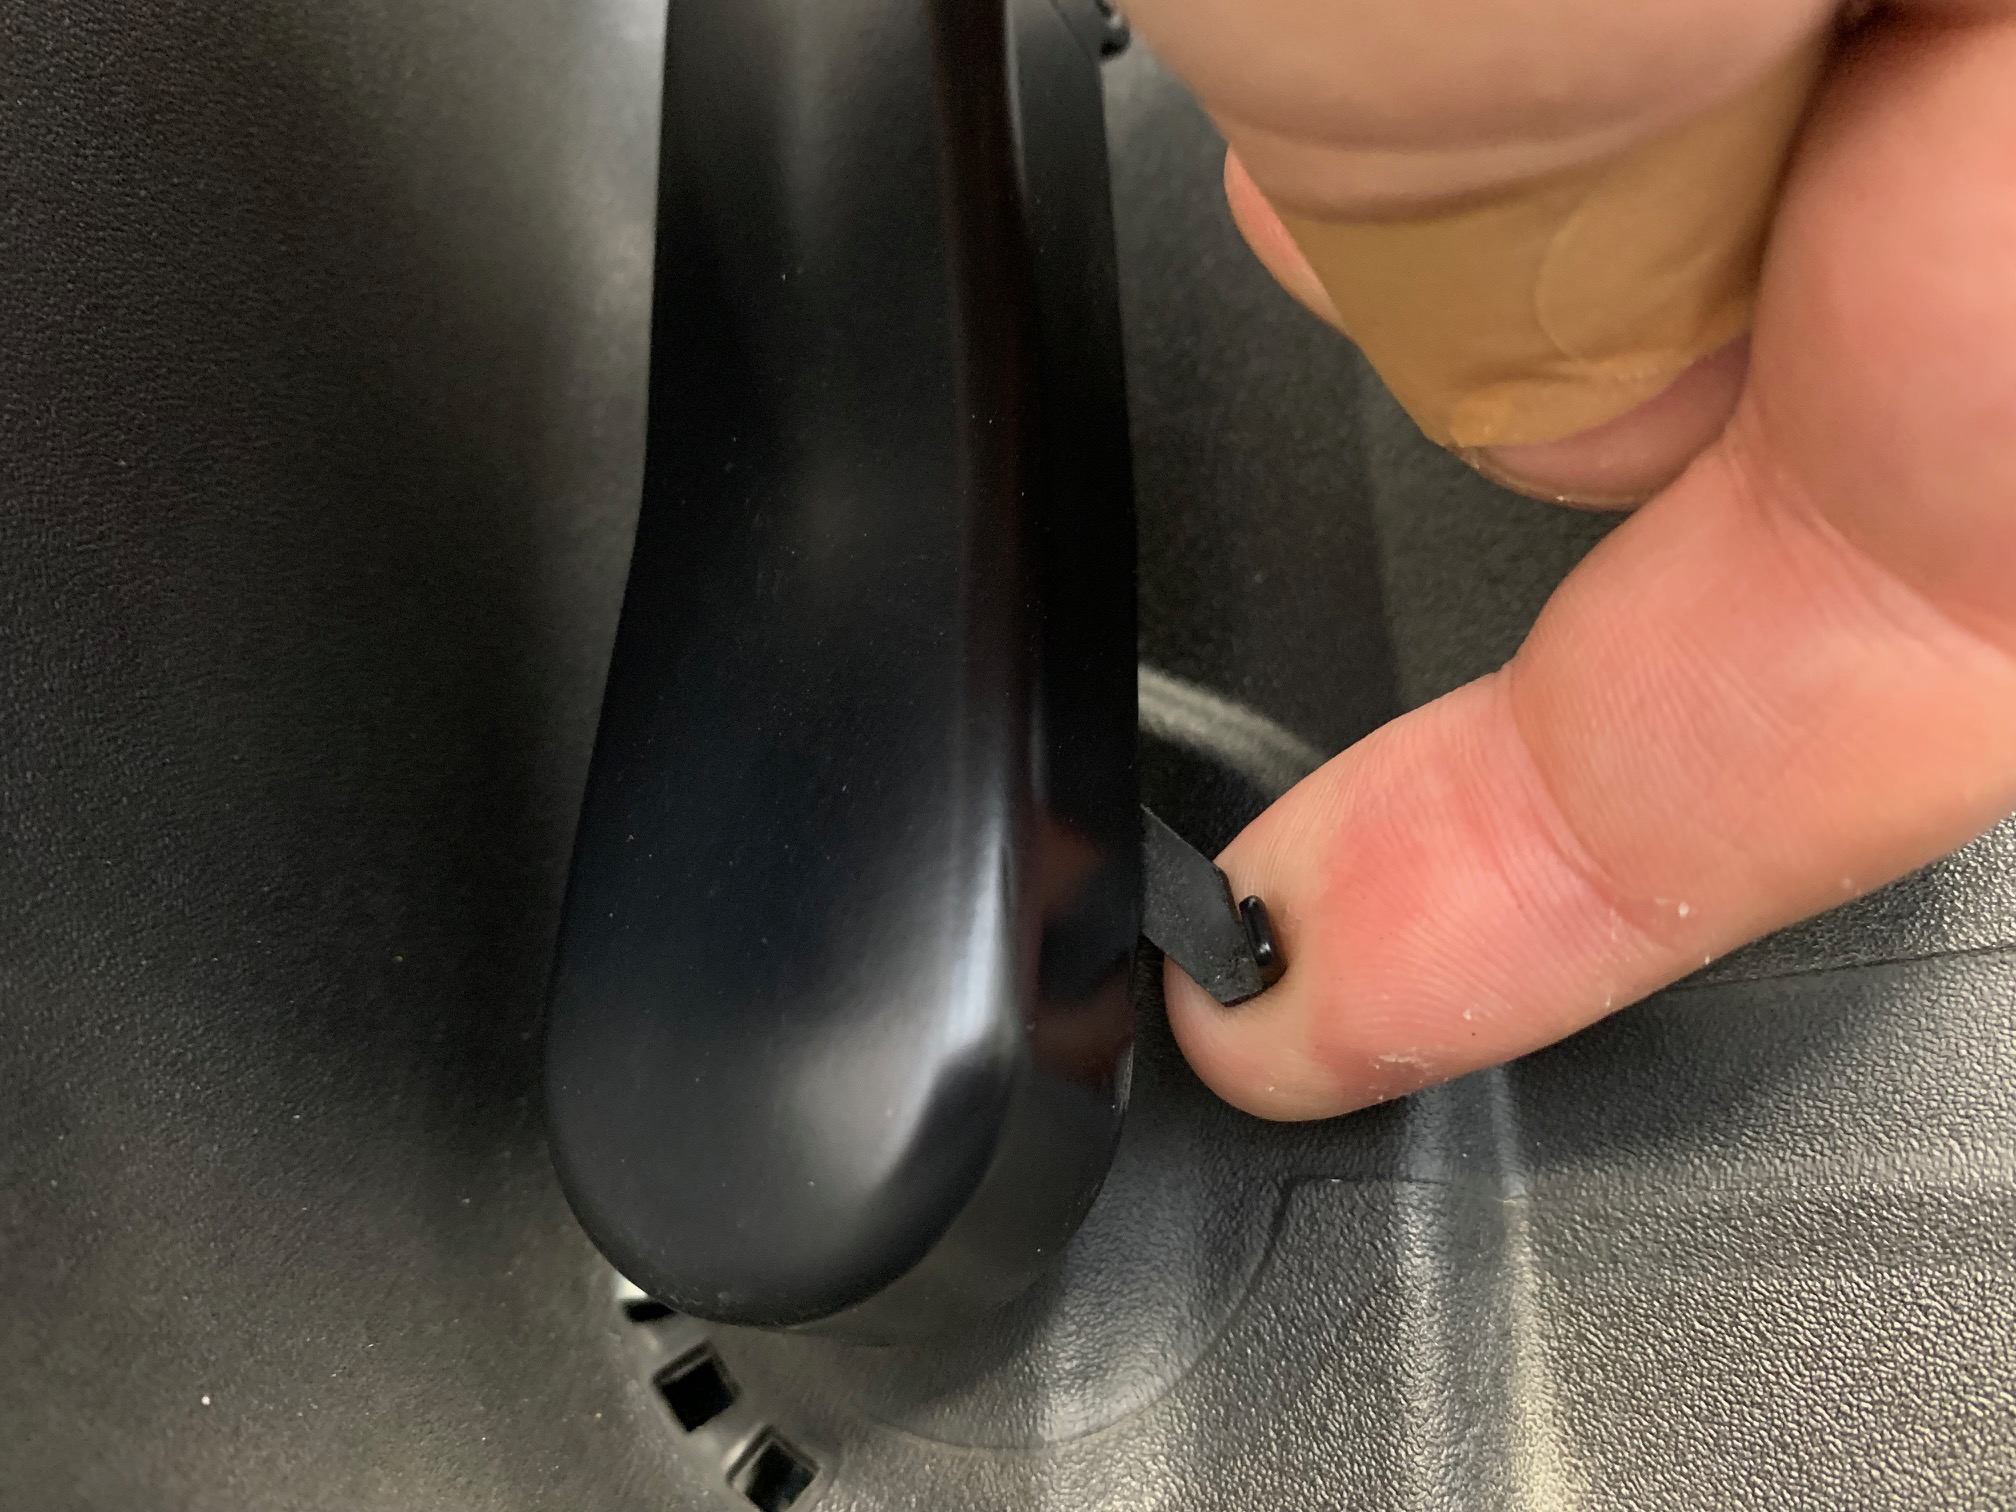
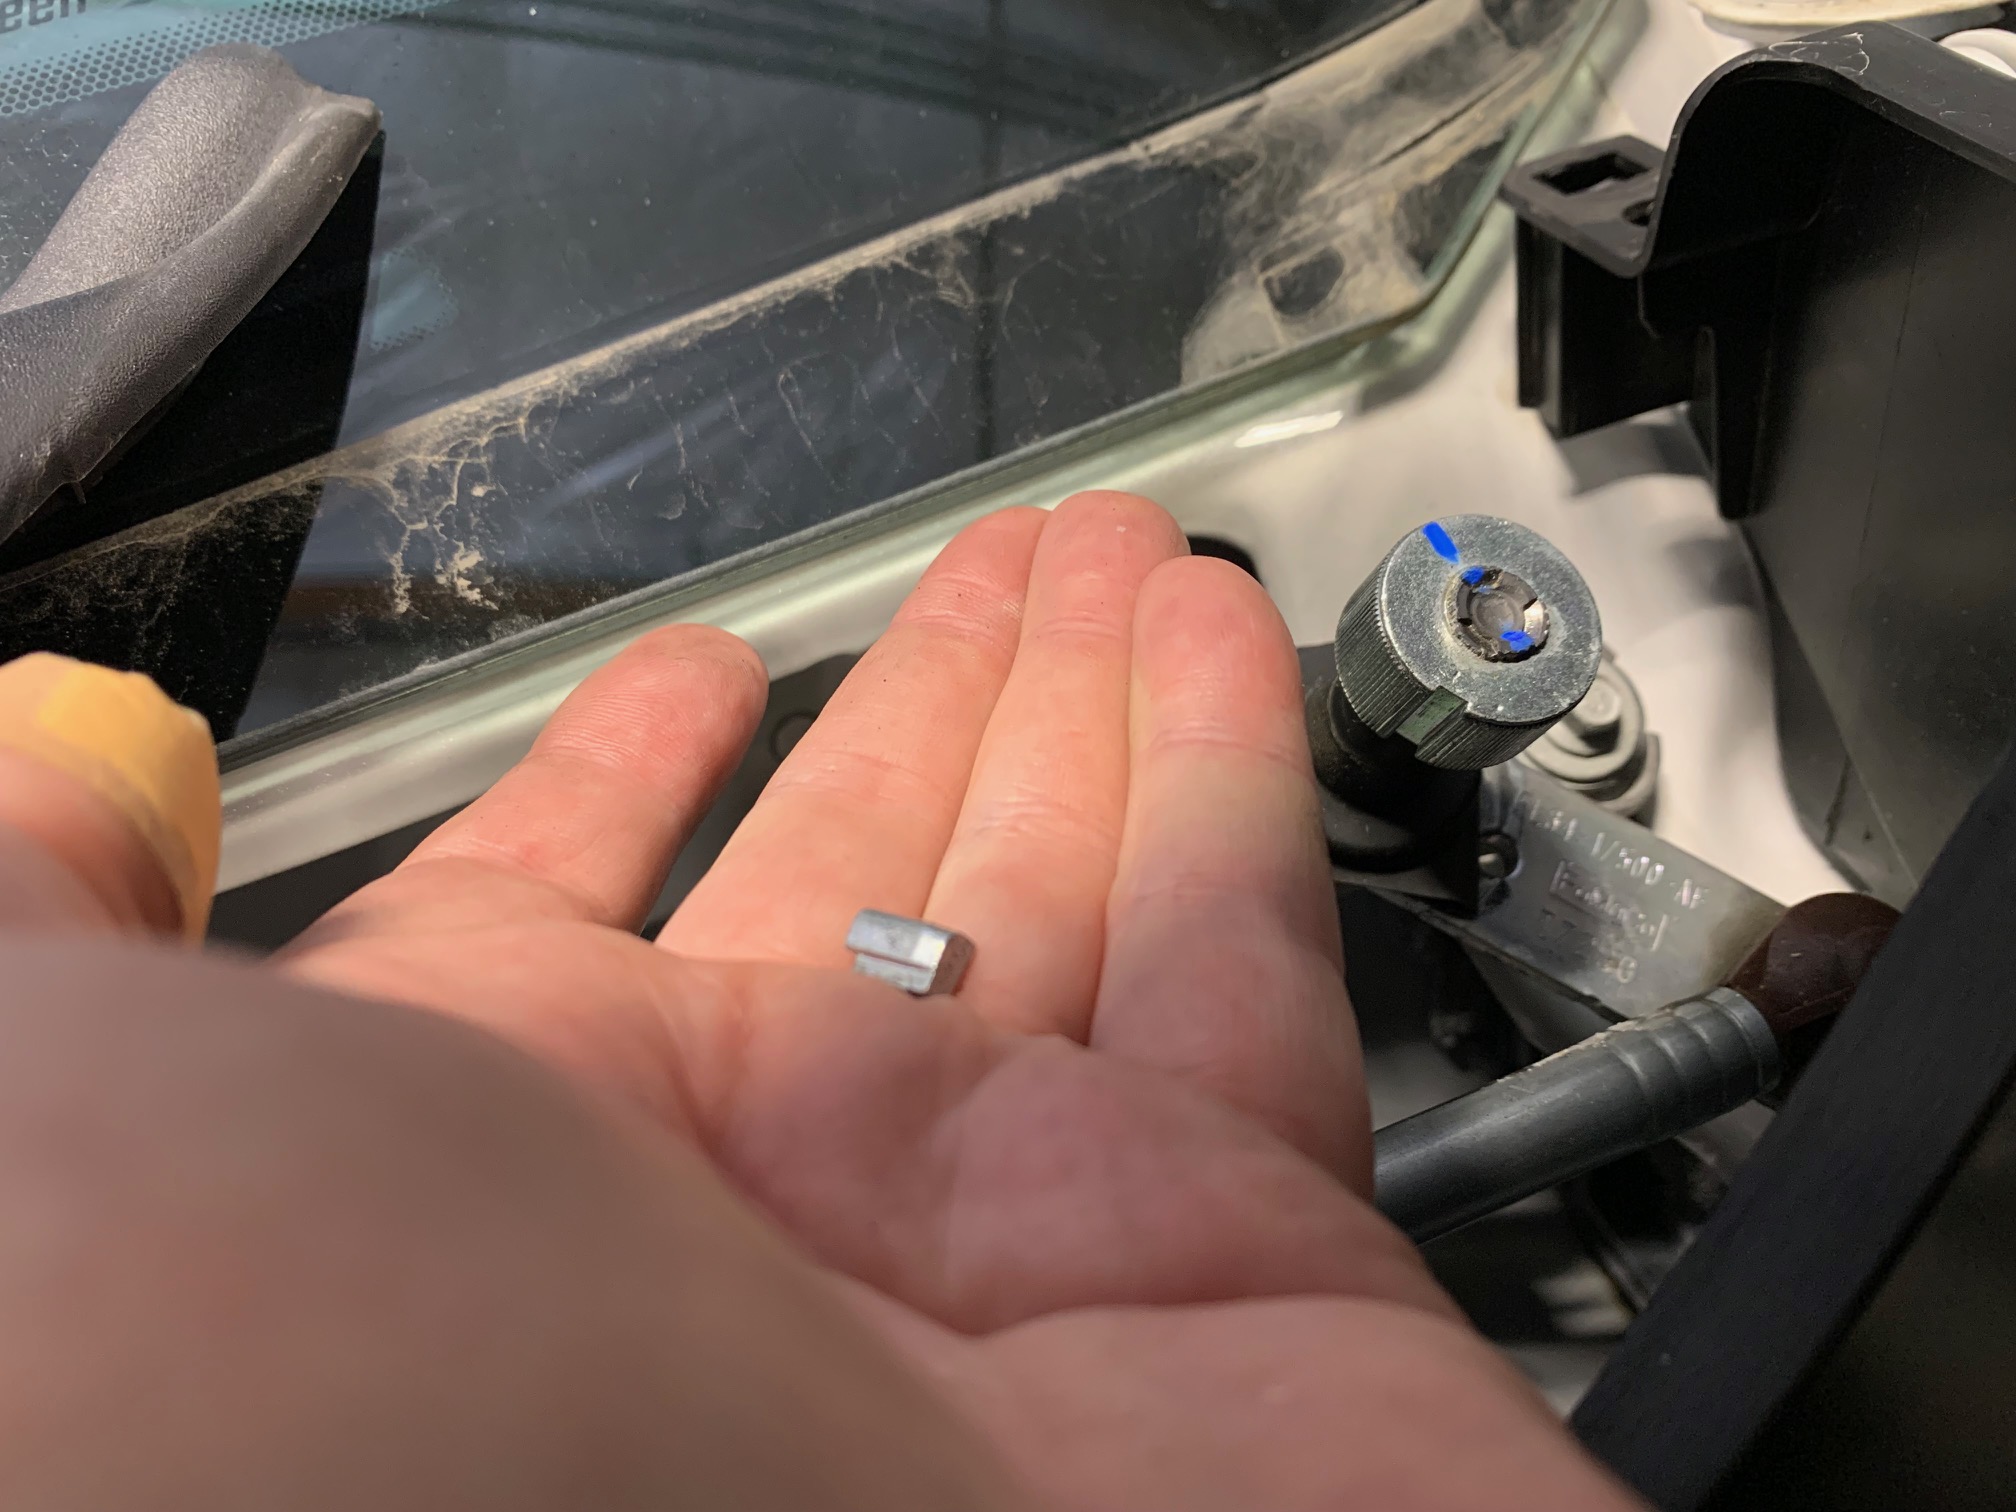
- What was once a dreaded procedure, removal of the windshield wiper arms is now ridiculously easy. Flip up the wiper arm off of the windshield and just underneath the pivot cover is a small lever tab. Pull this tab to the side and gently lift the wiper arm assembly off of the splined mount. There is a very small locator 'key' inside that helps line up the two components, so watch for it and don't lose it.
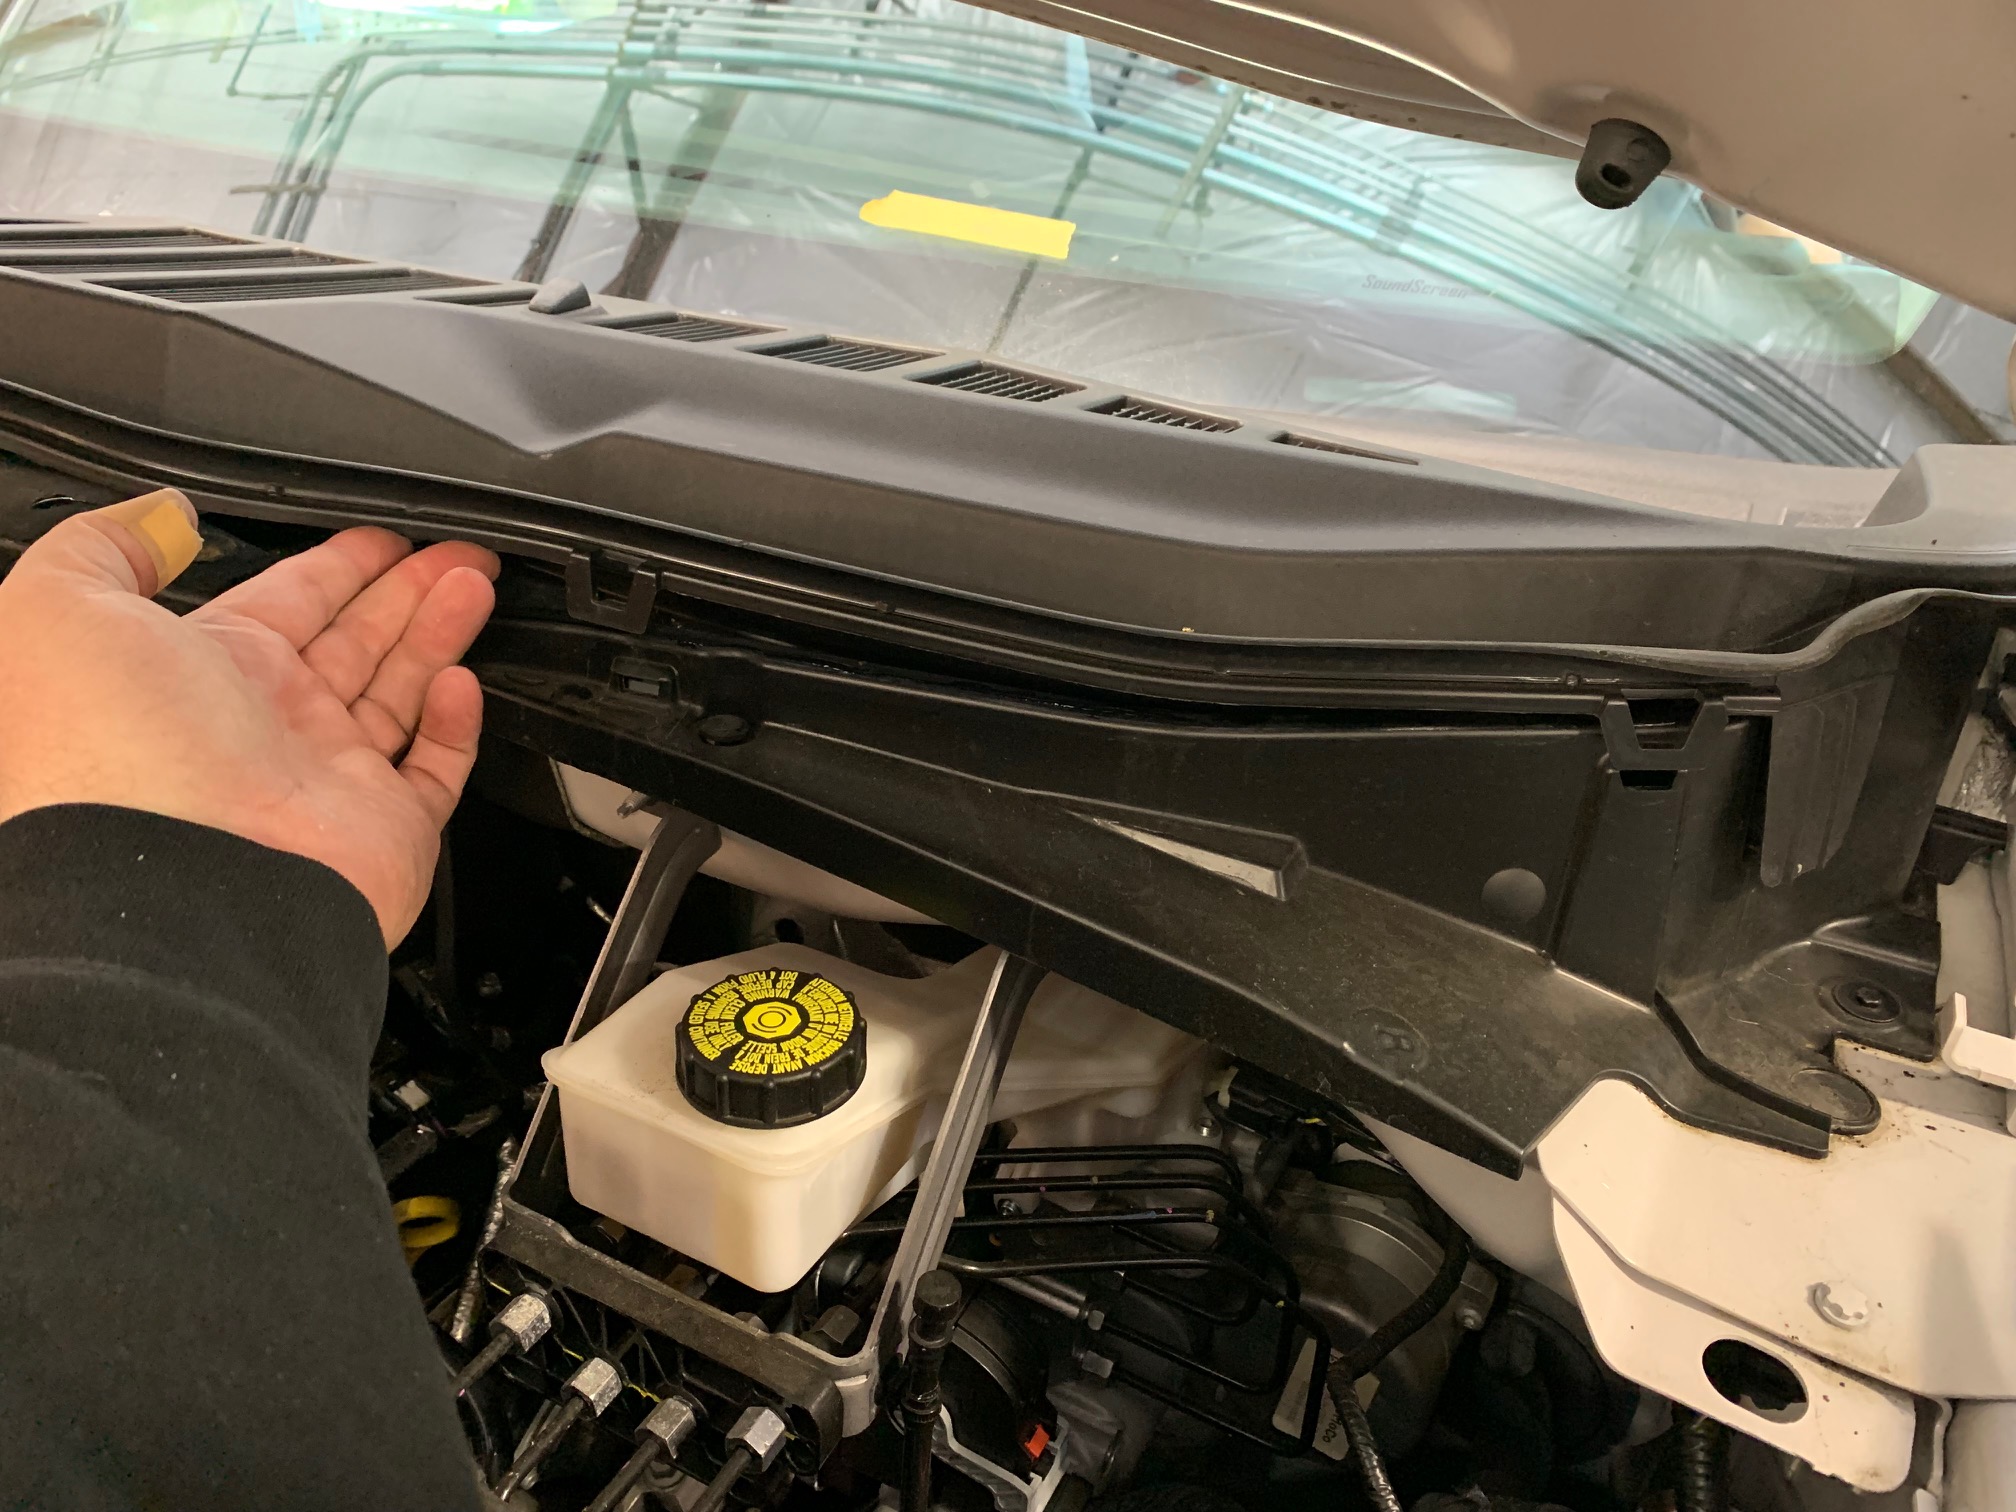
- Open the hood and observe the eight (8) lock tabs along the front edge of the plastic cowl that affix it to the truck. Release these tabs with your fingers or a flat-bladed screwdriver.
- Remove the driver side cowl piece first as it's center seam lies on top of the passenger side. Along with a few tab snaps along the backside of the cowl panels, there also are rubber skirts that surround the wiper arm pivot shafts so you'll need to forcefully pull the cowl up off of the splined mounts. Be aware of the washer nozzle hose attached to the driver side cowl piece. No need to completely remove these panels from the truck, just set them to the side so they're not in your way.
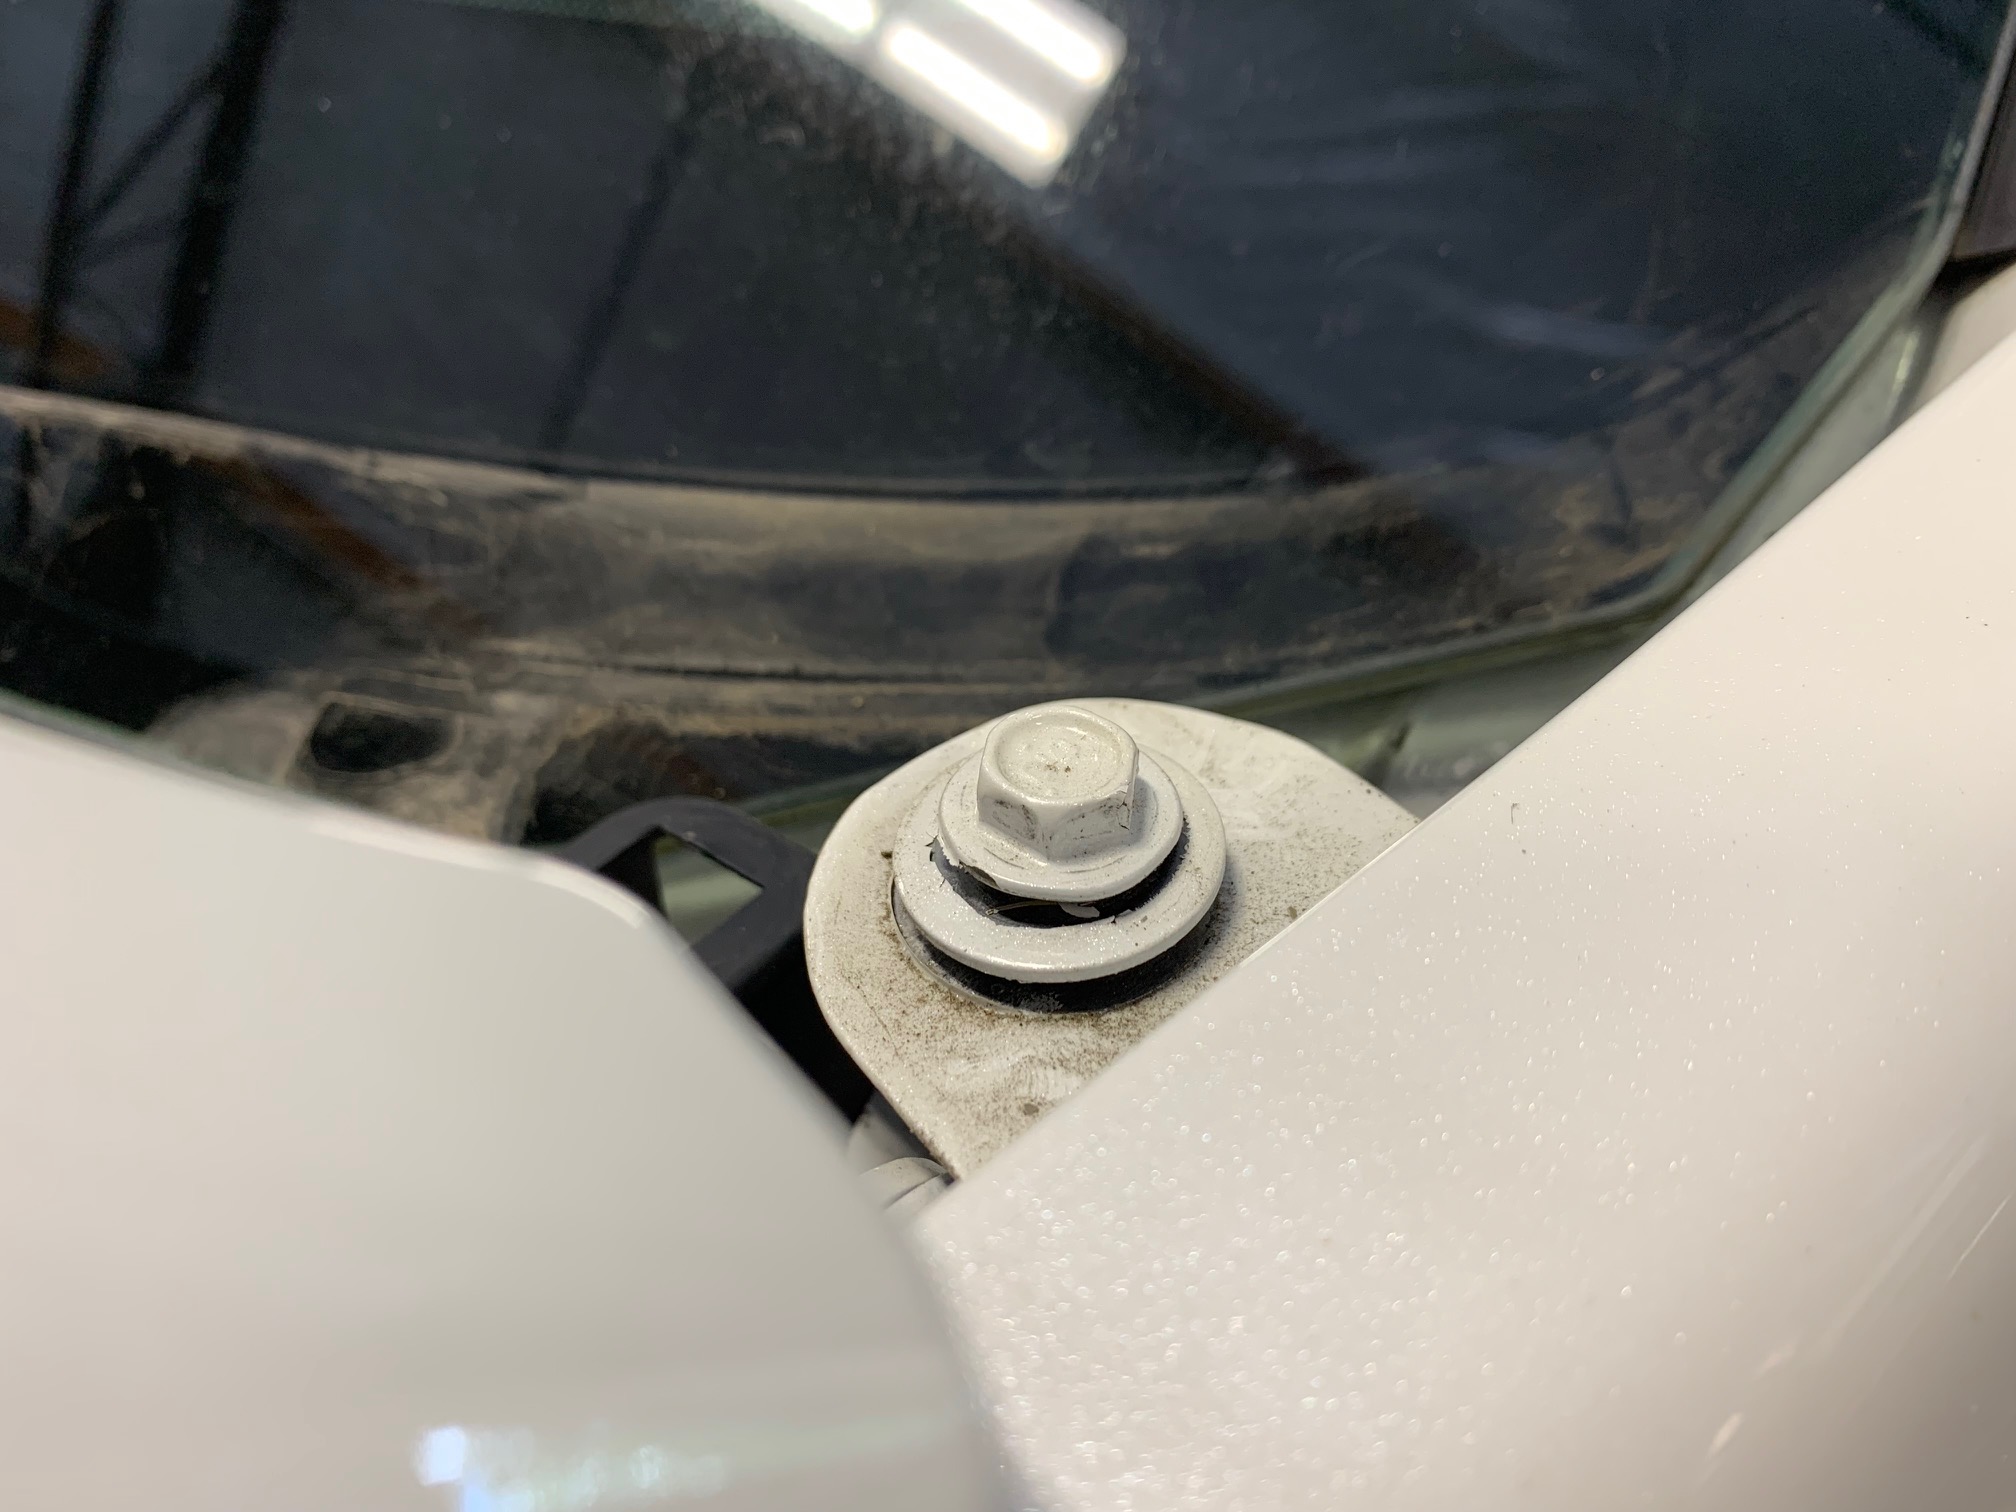
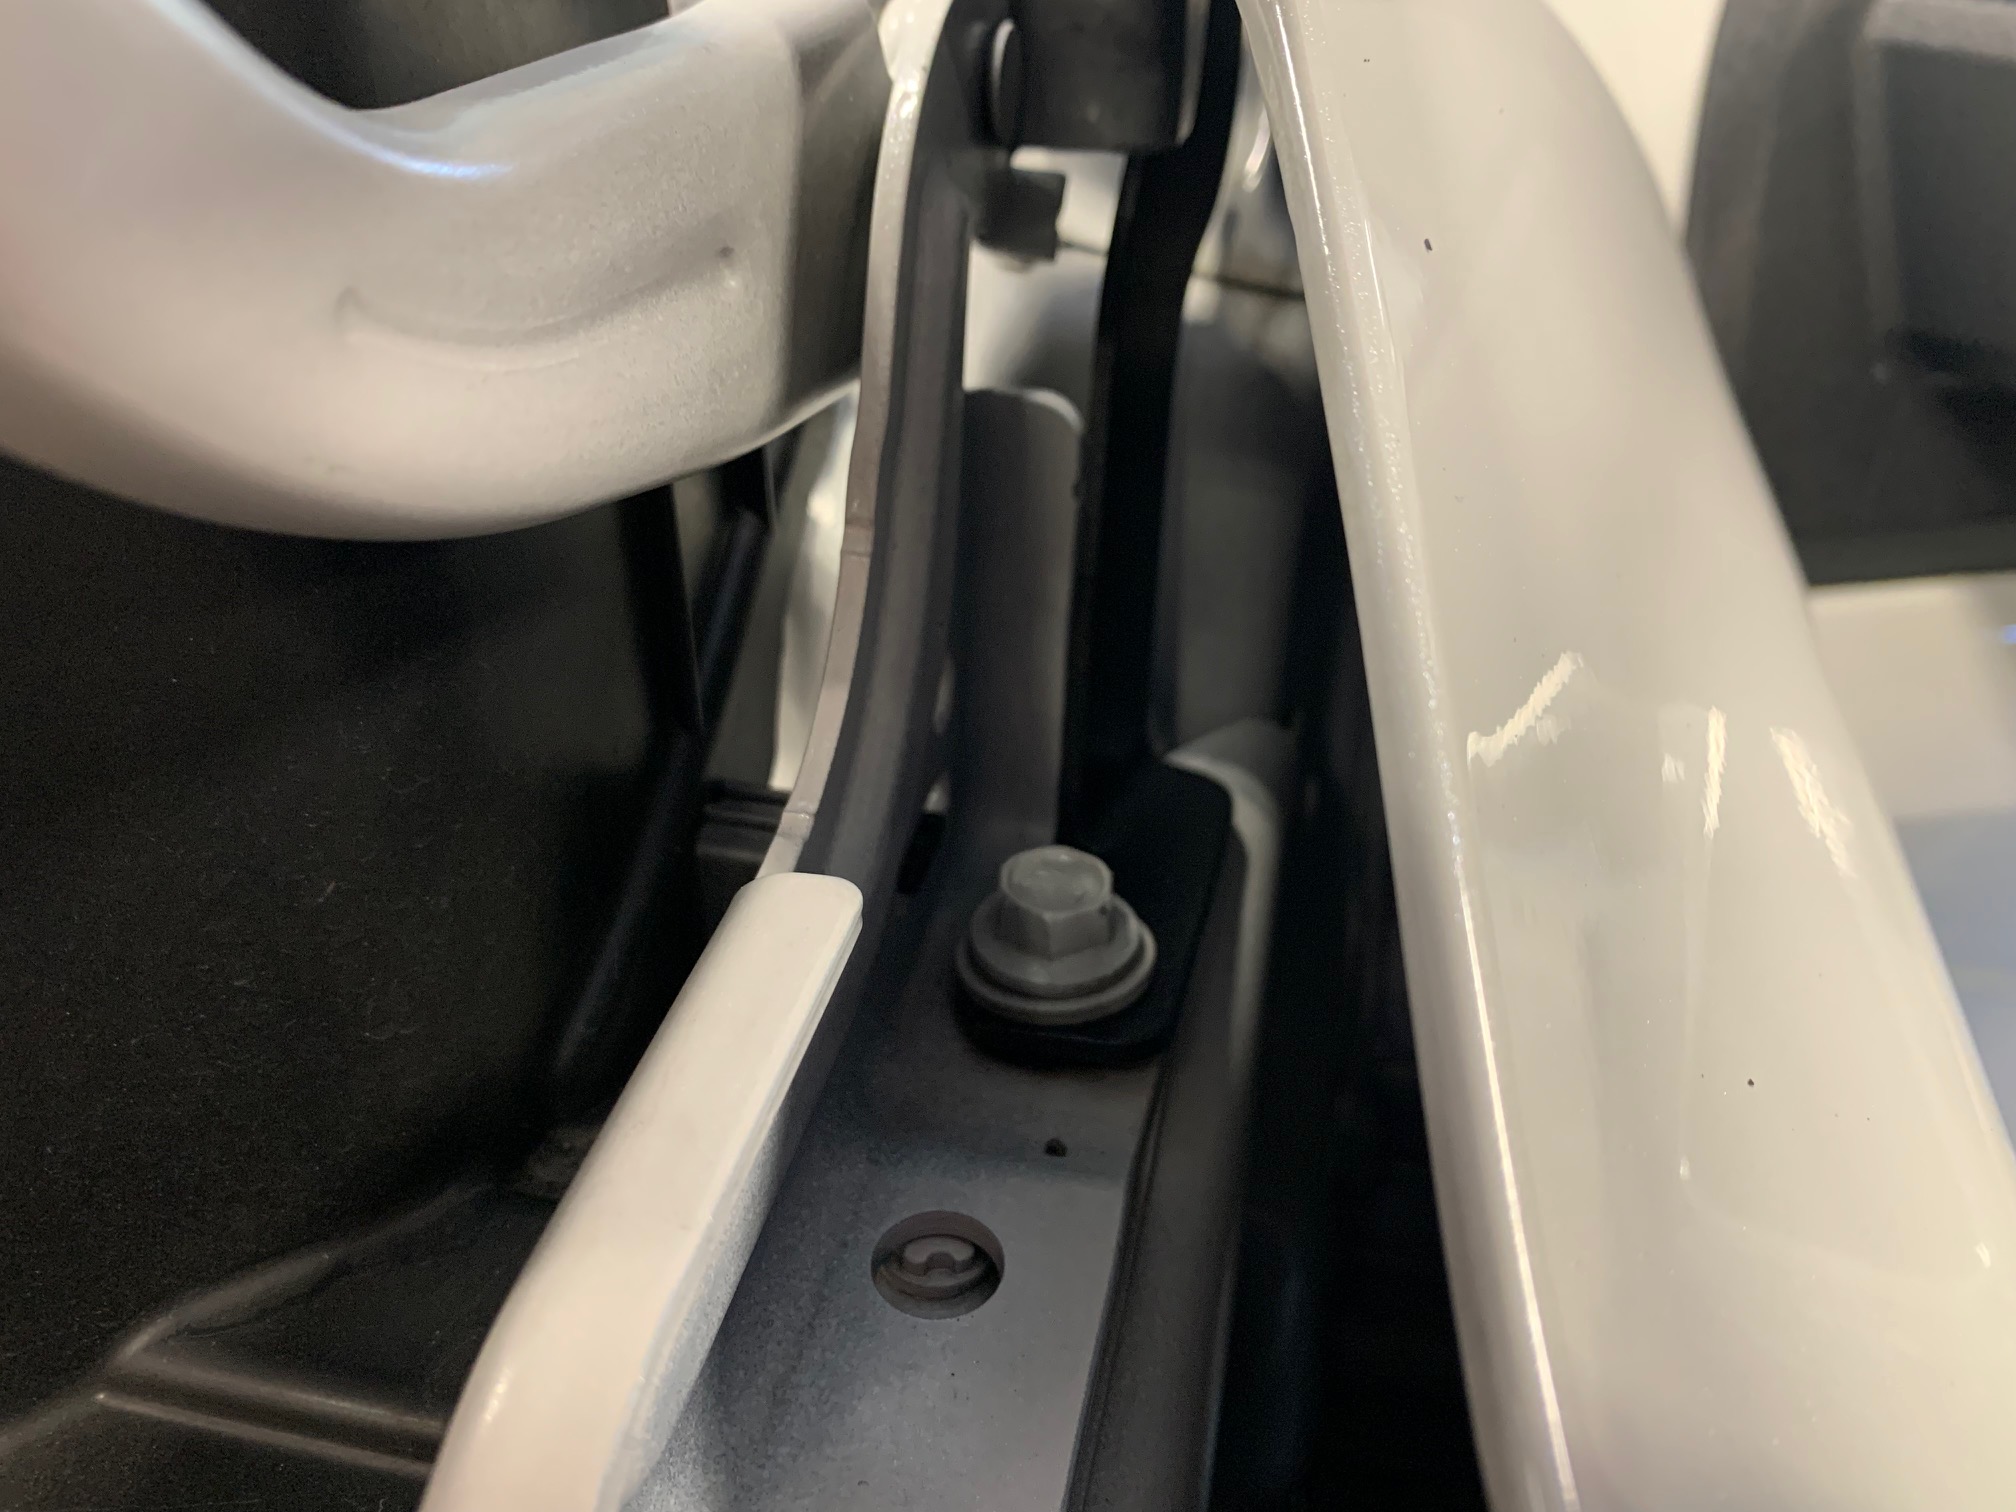
- Now that you have access to the mounting screws for the A-pillar mounts, loosen the top 10mm screw to about a 3/16" gap with your socket wrench.
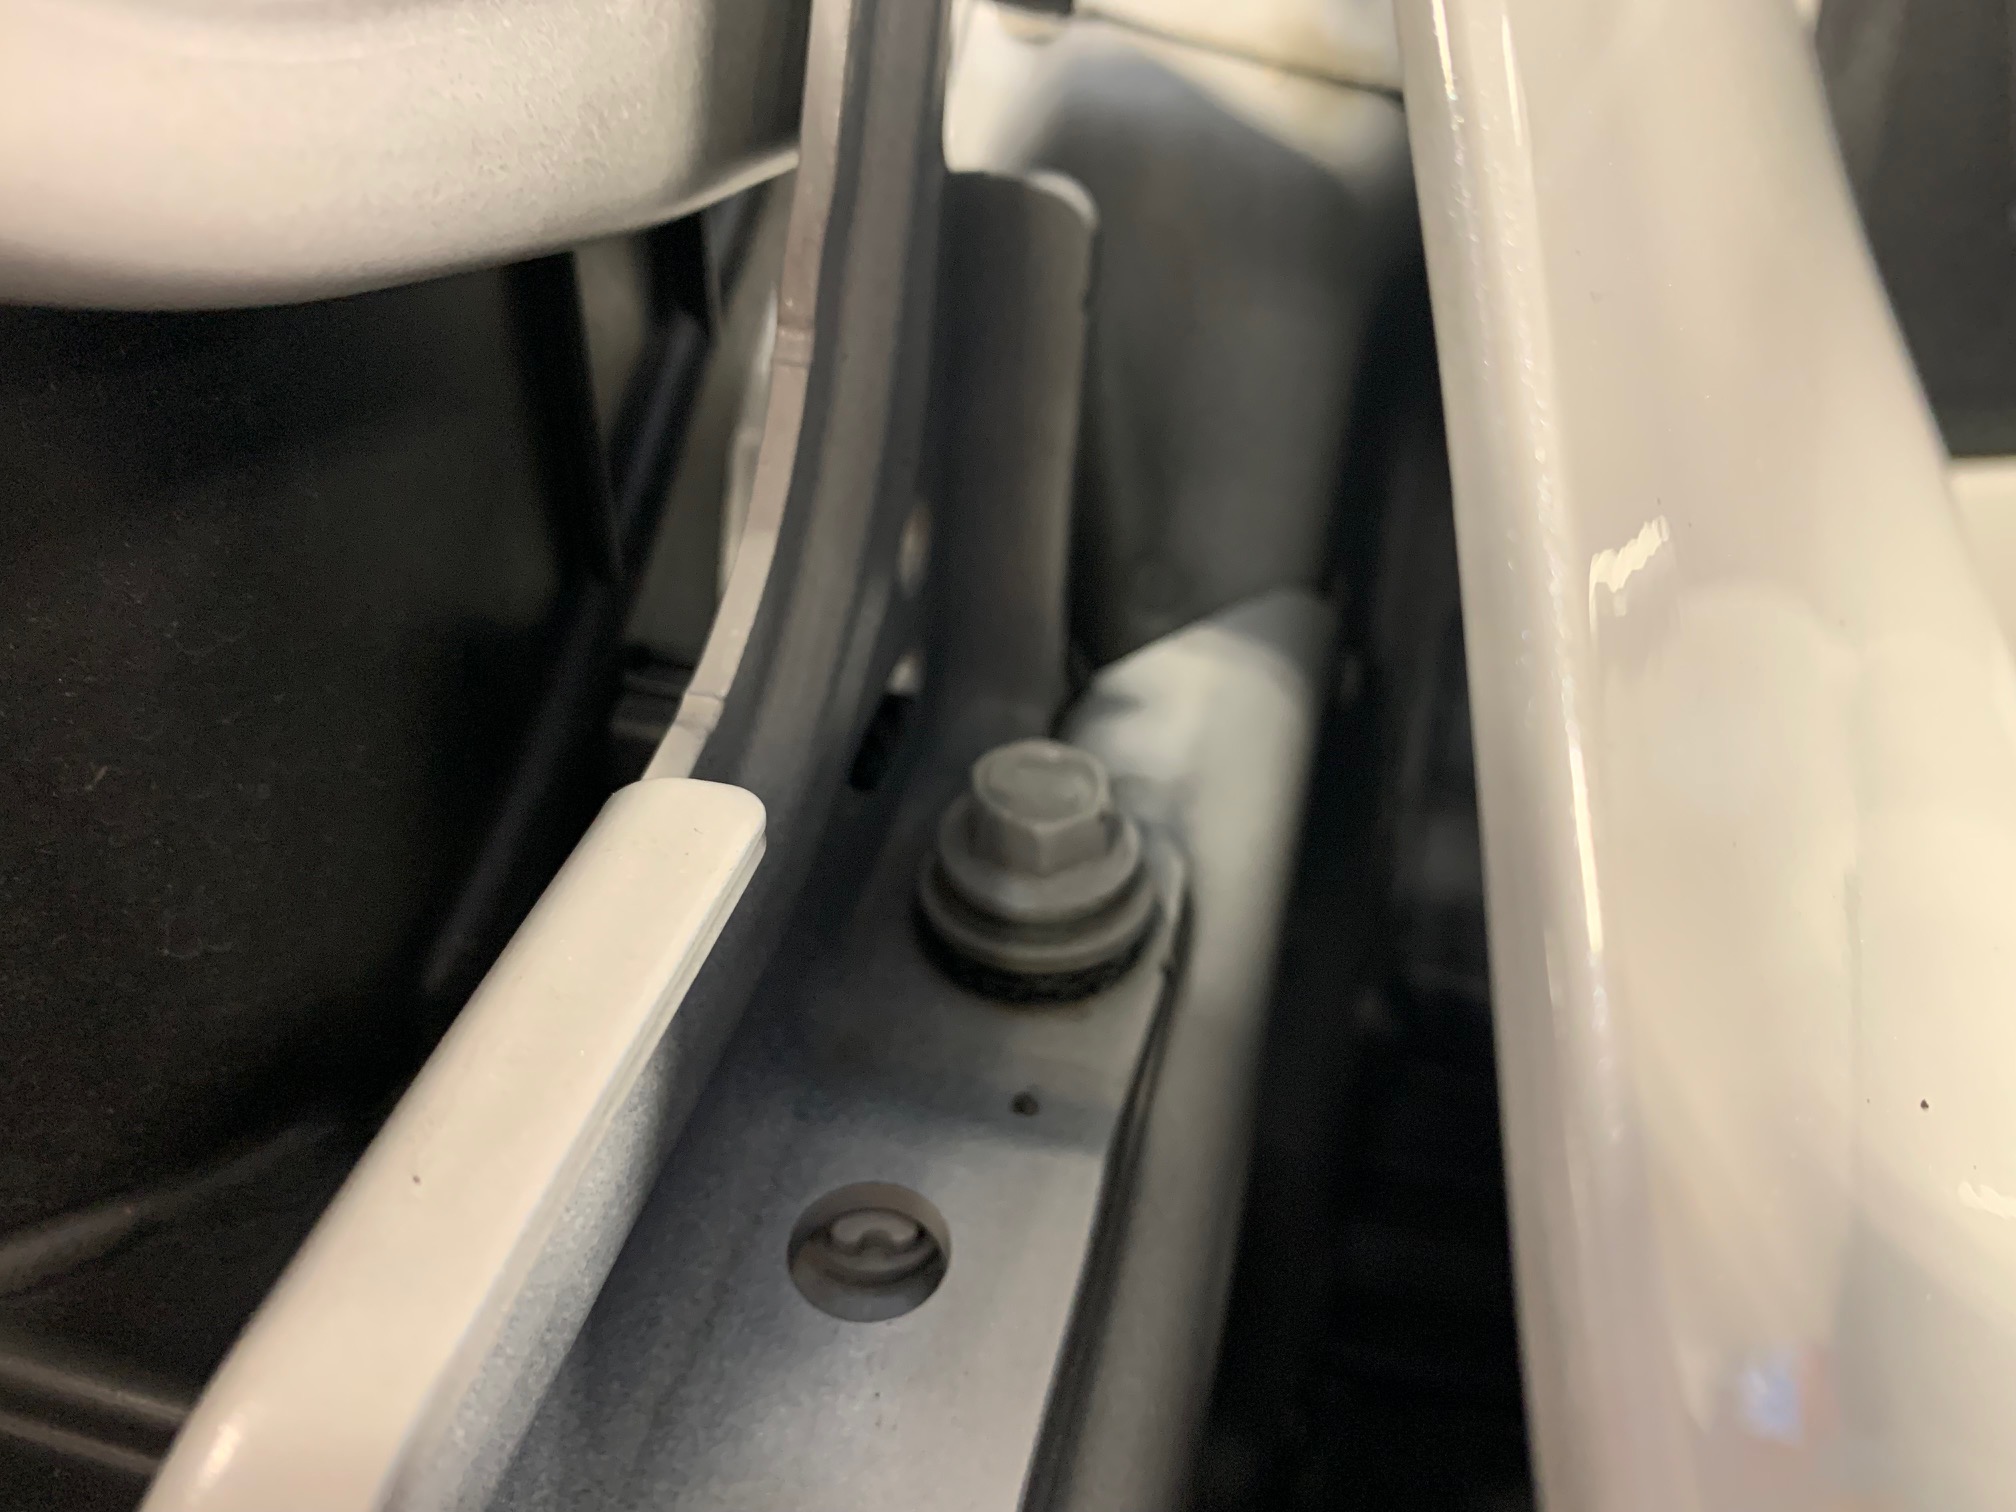
- Inside the gap in the fender there will be another screw to address. This one is 12mm, so get in there with your socket wrench and loosen it to a 3/16" of a gap.
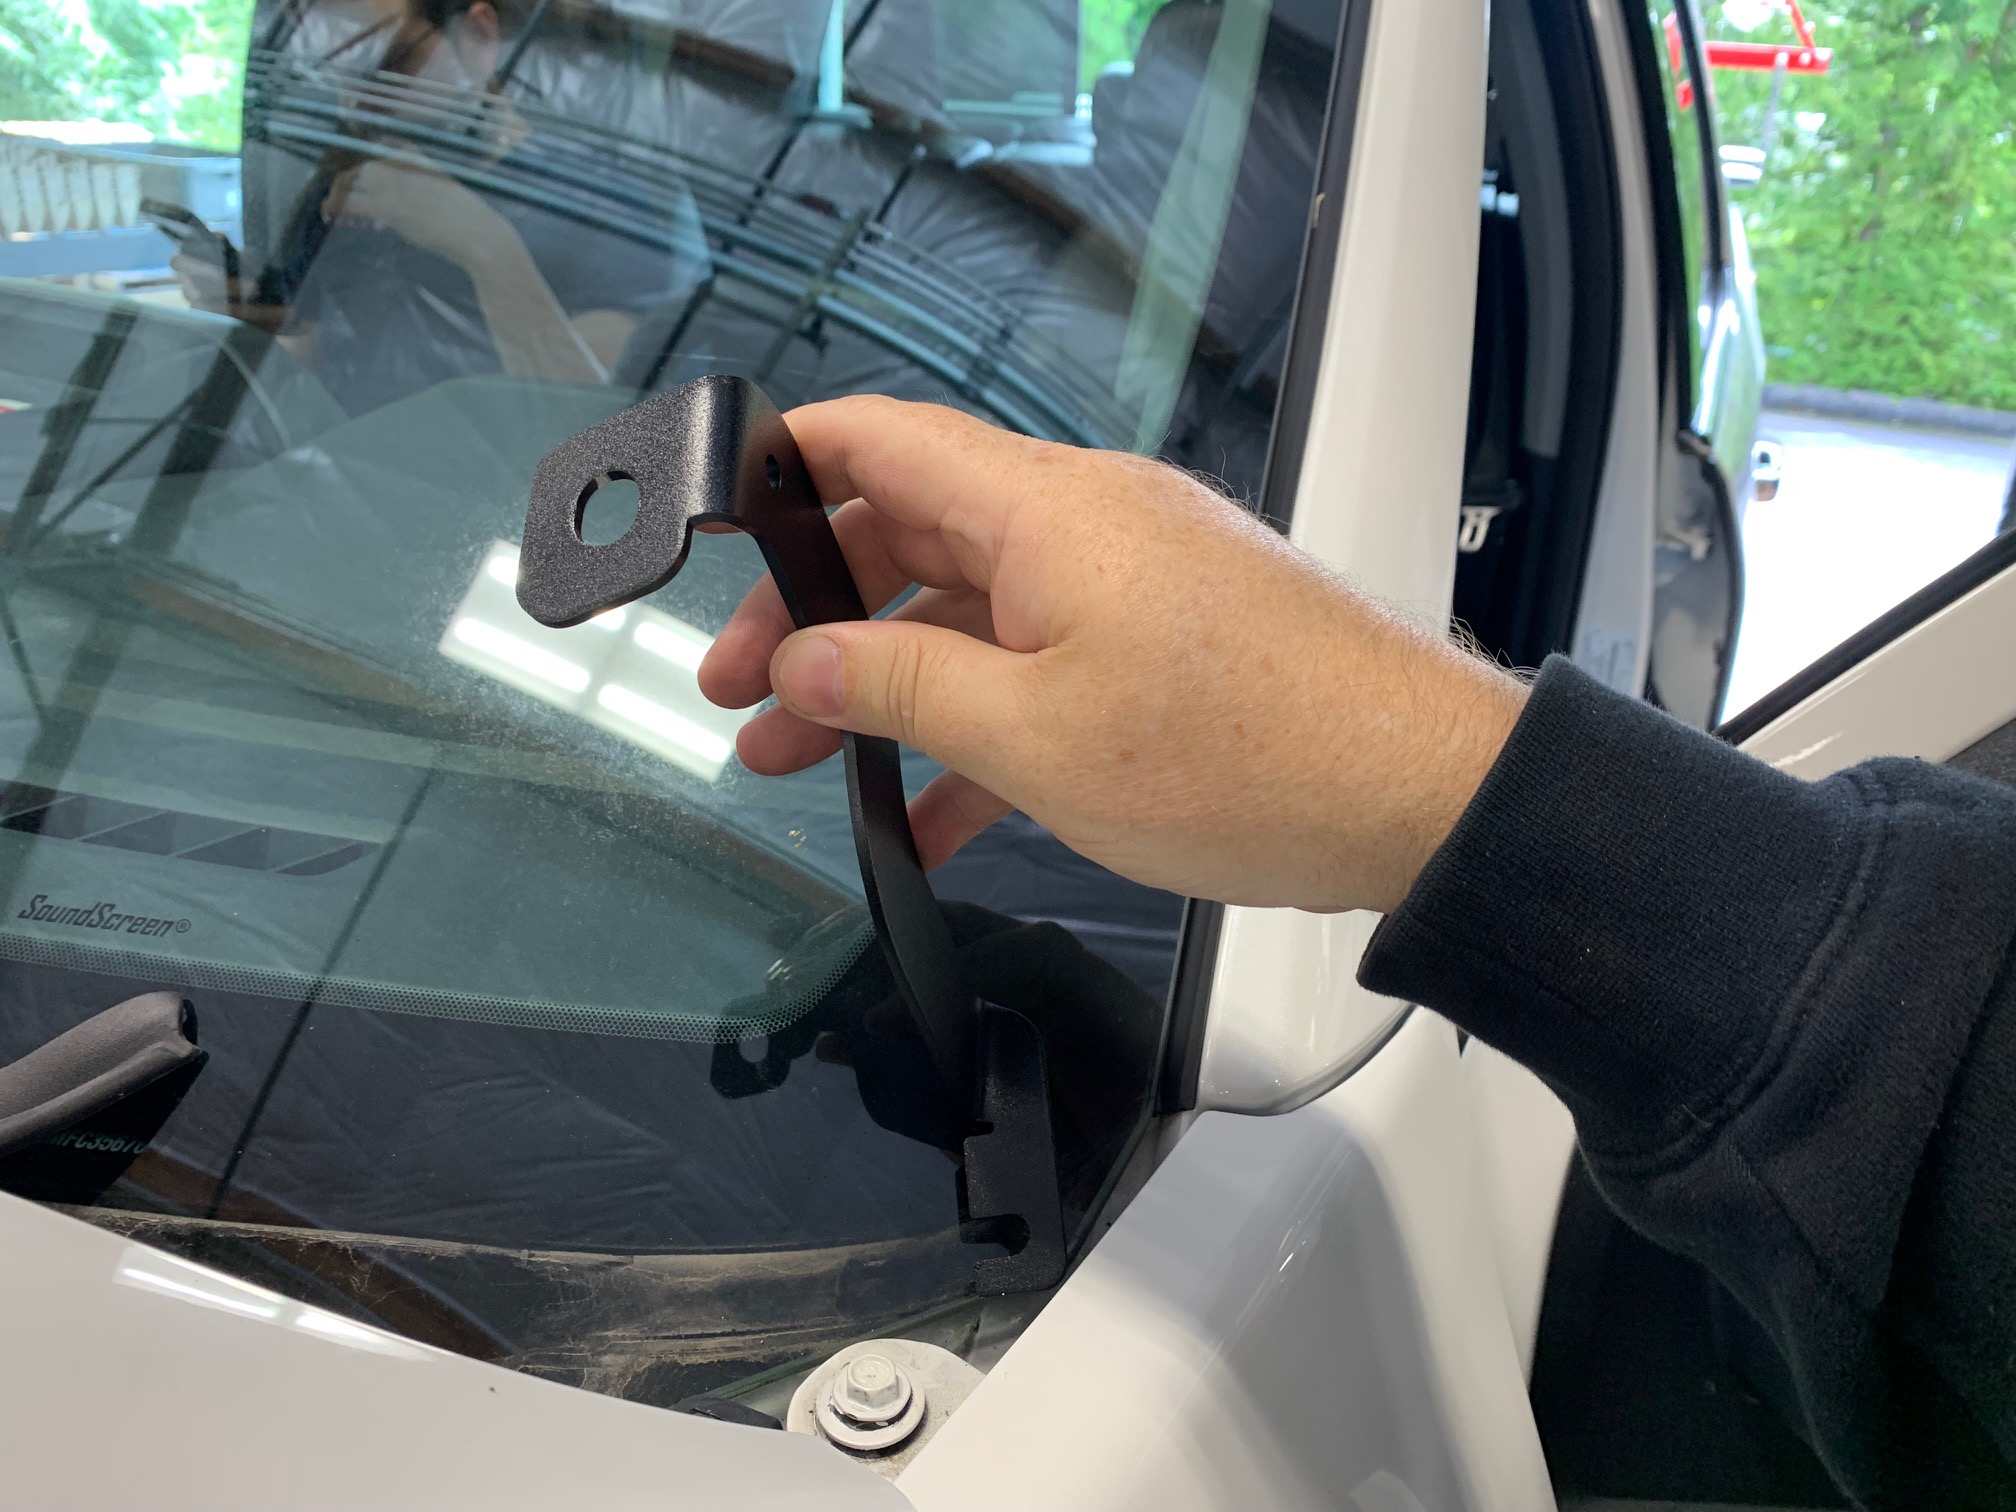
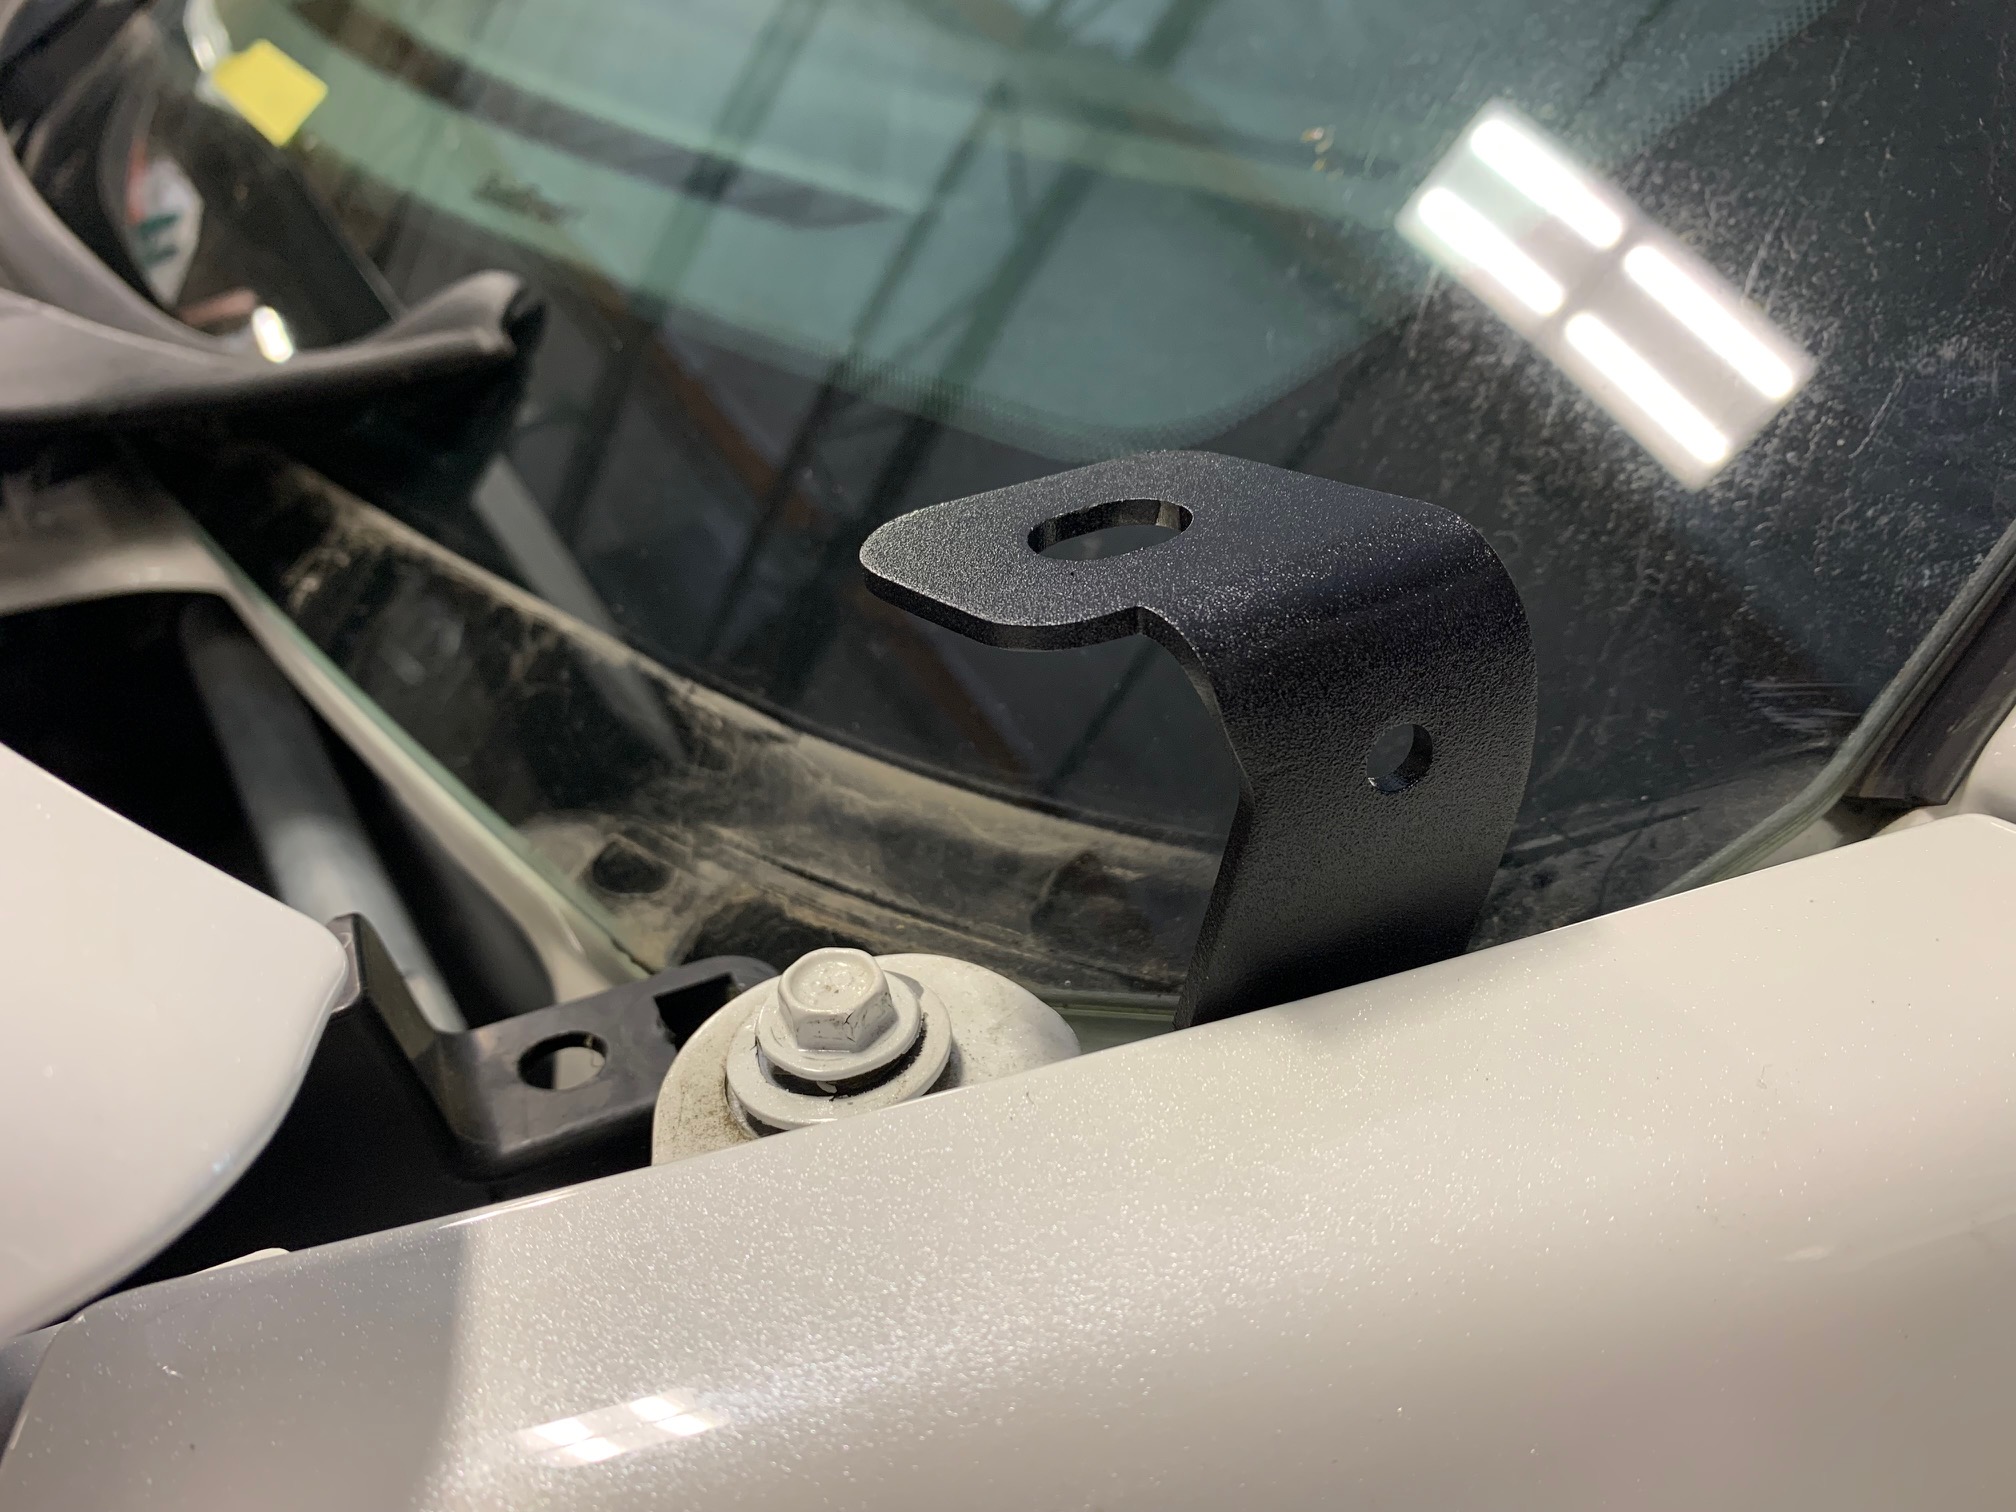
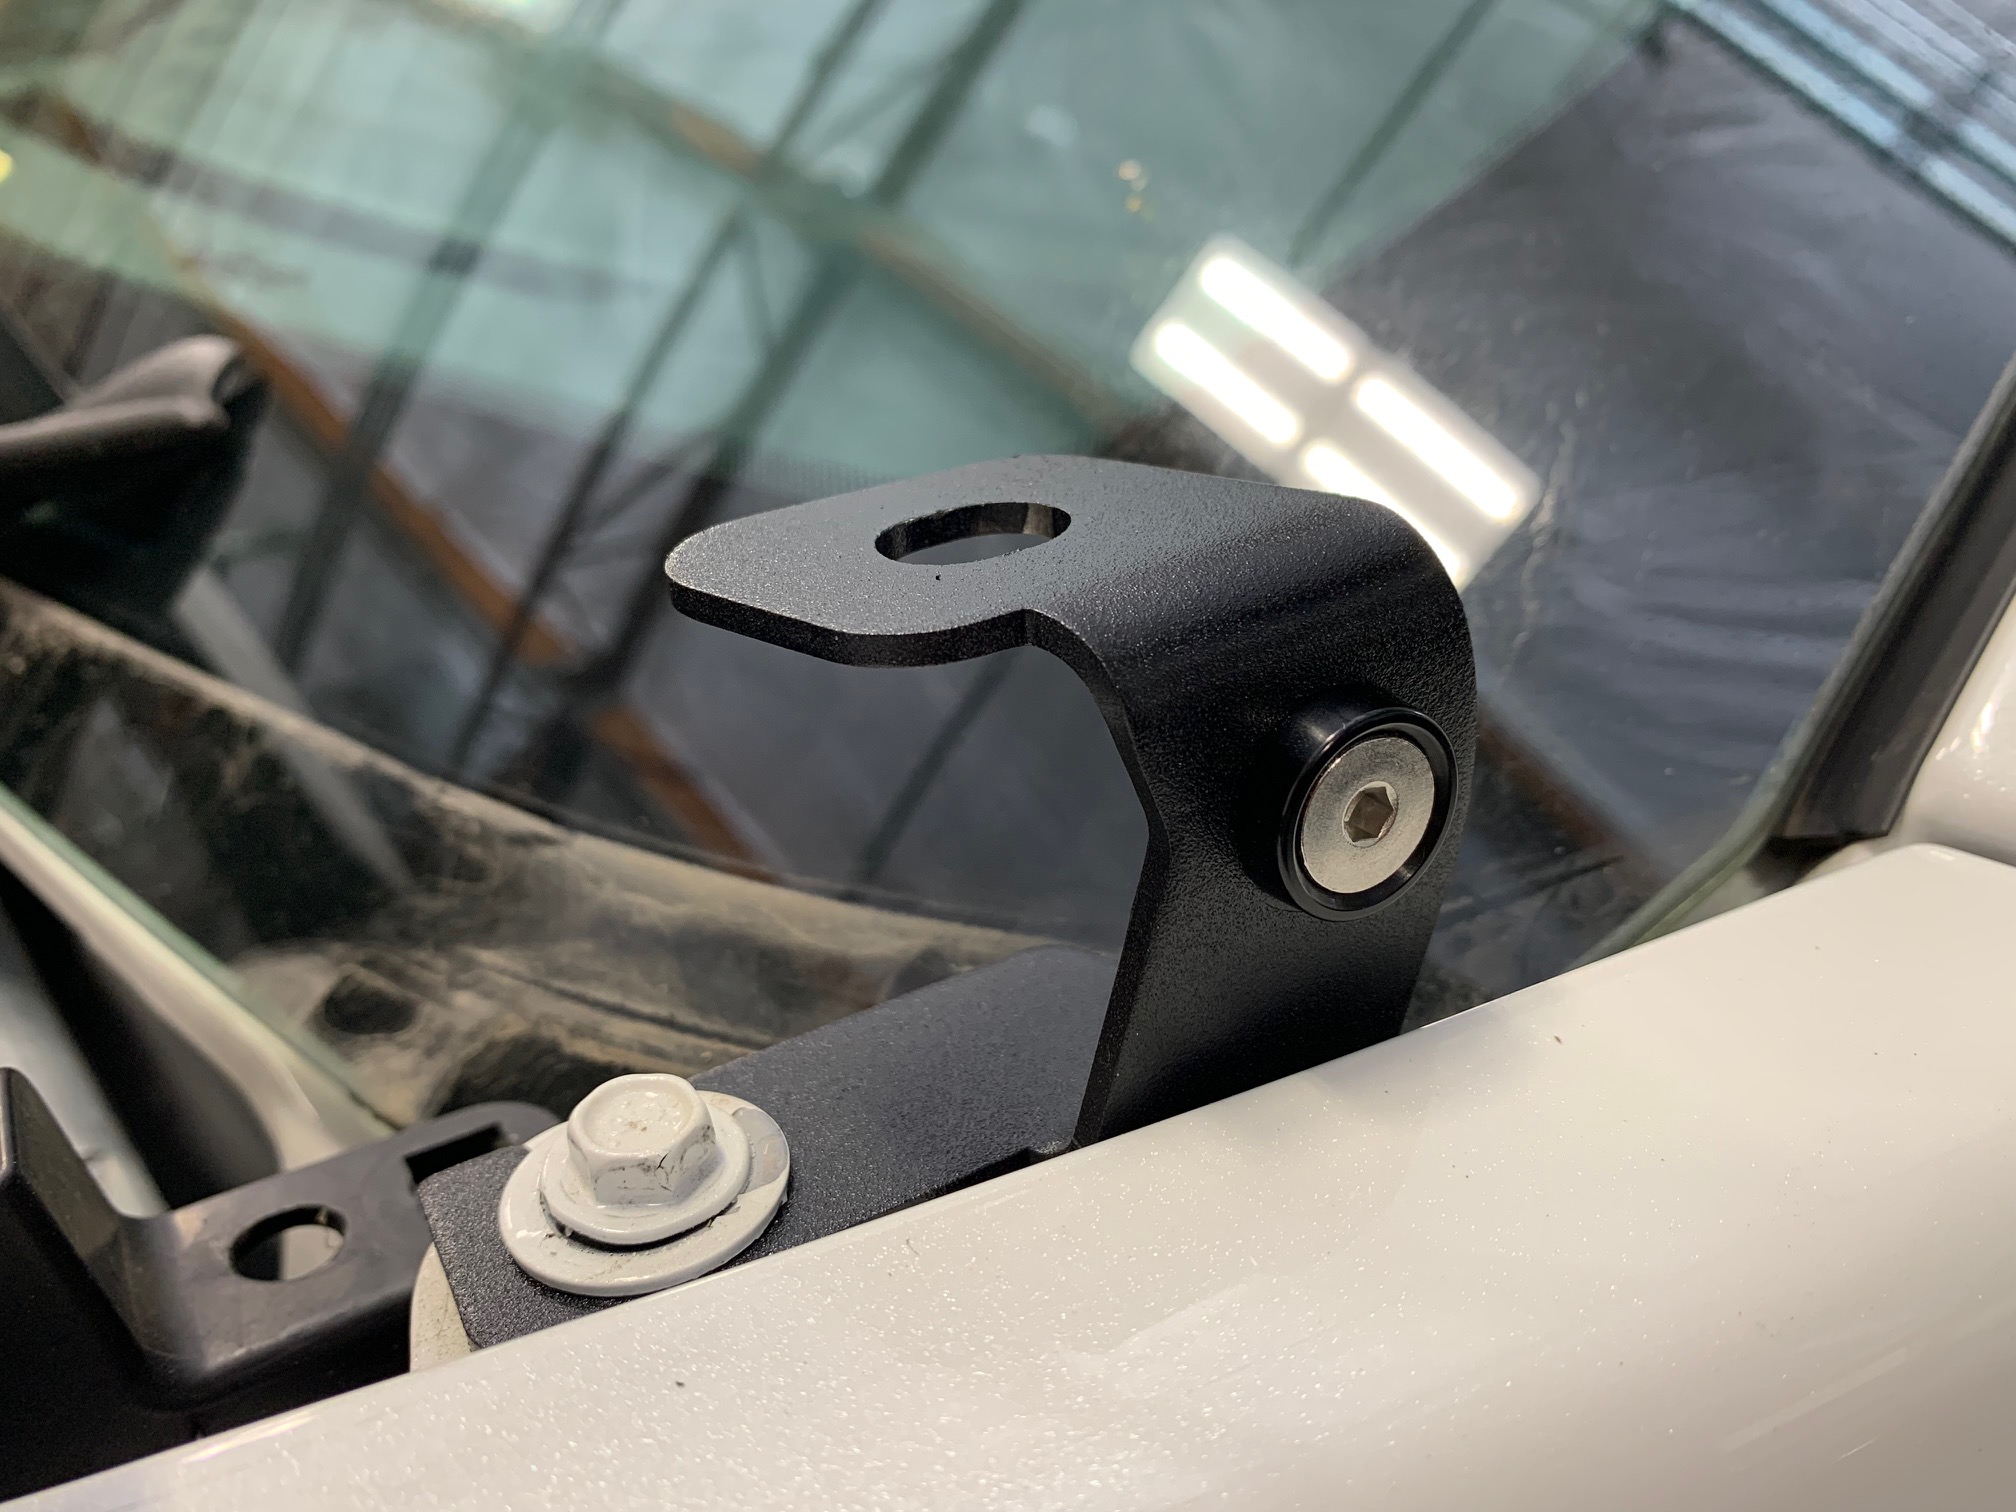
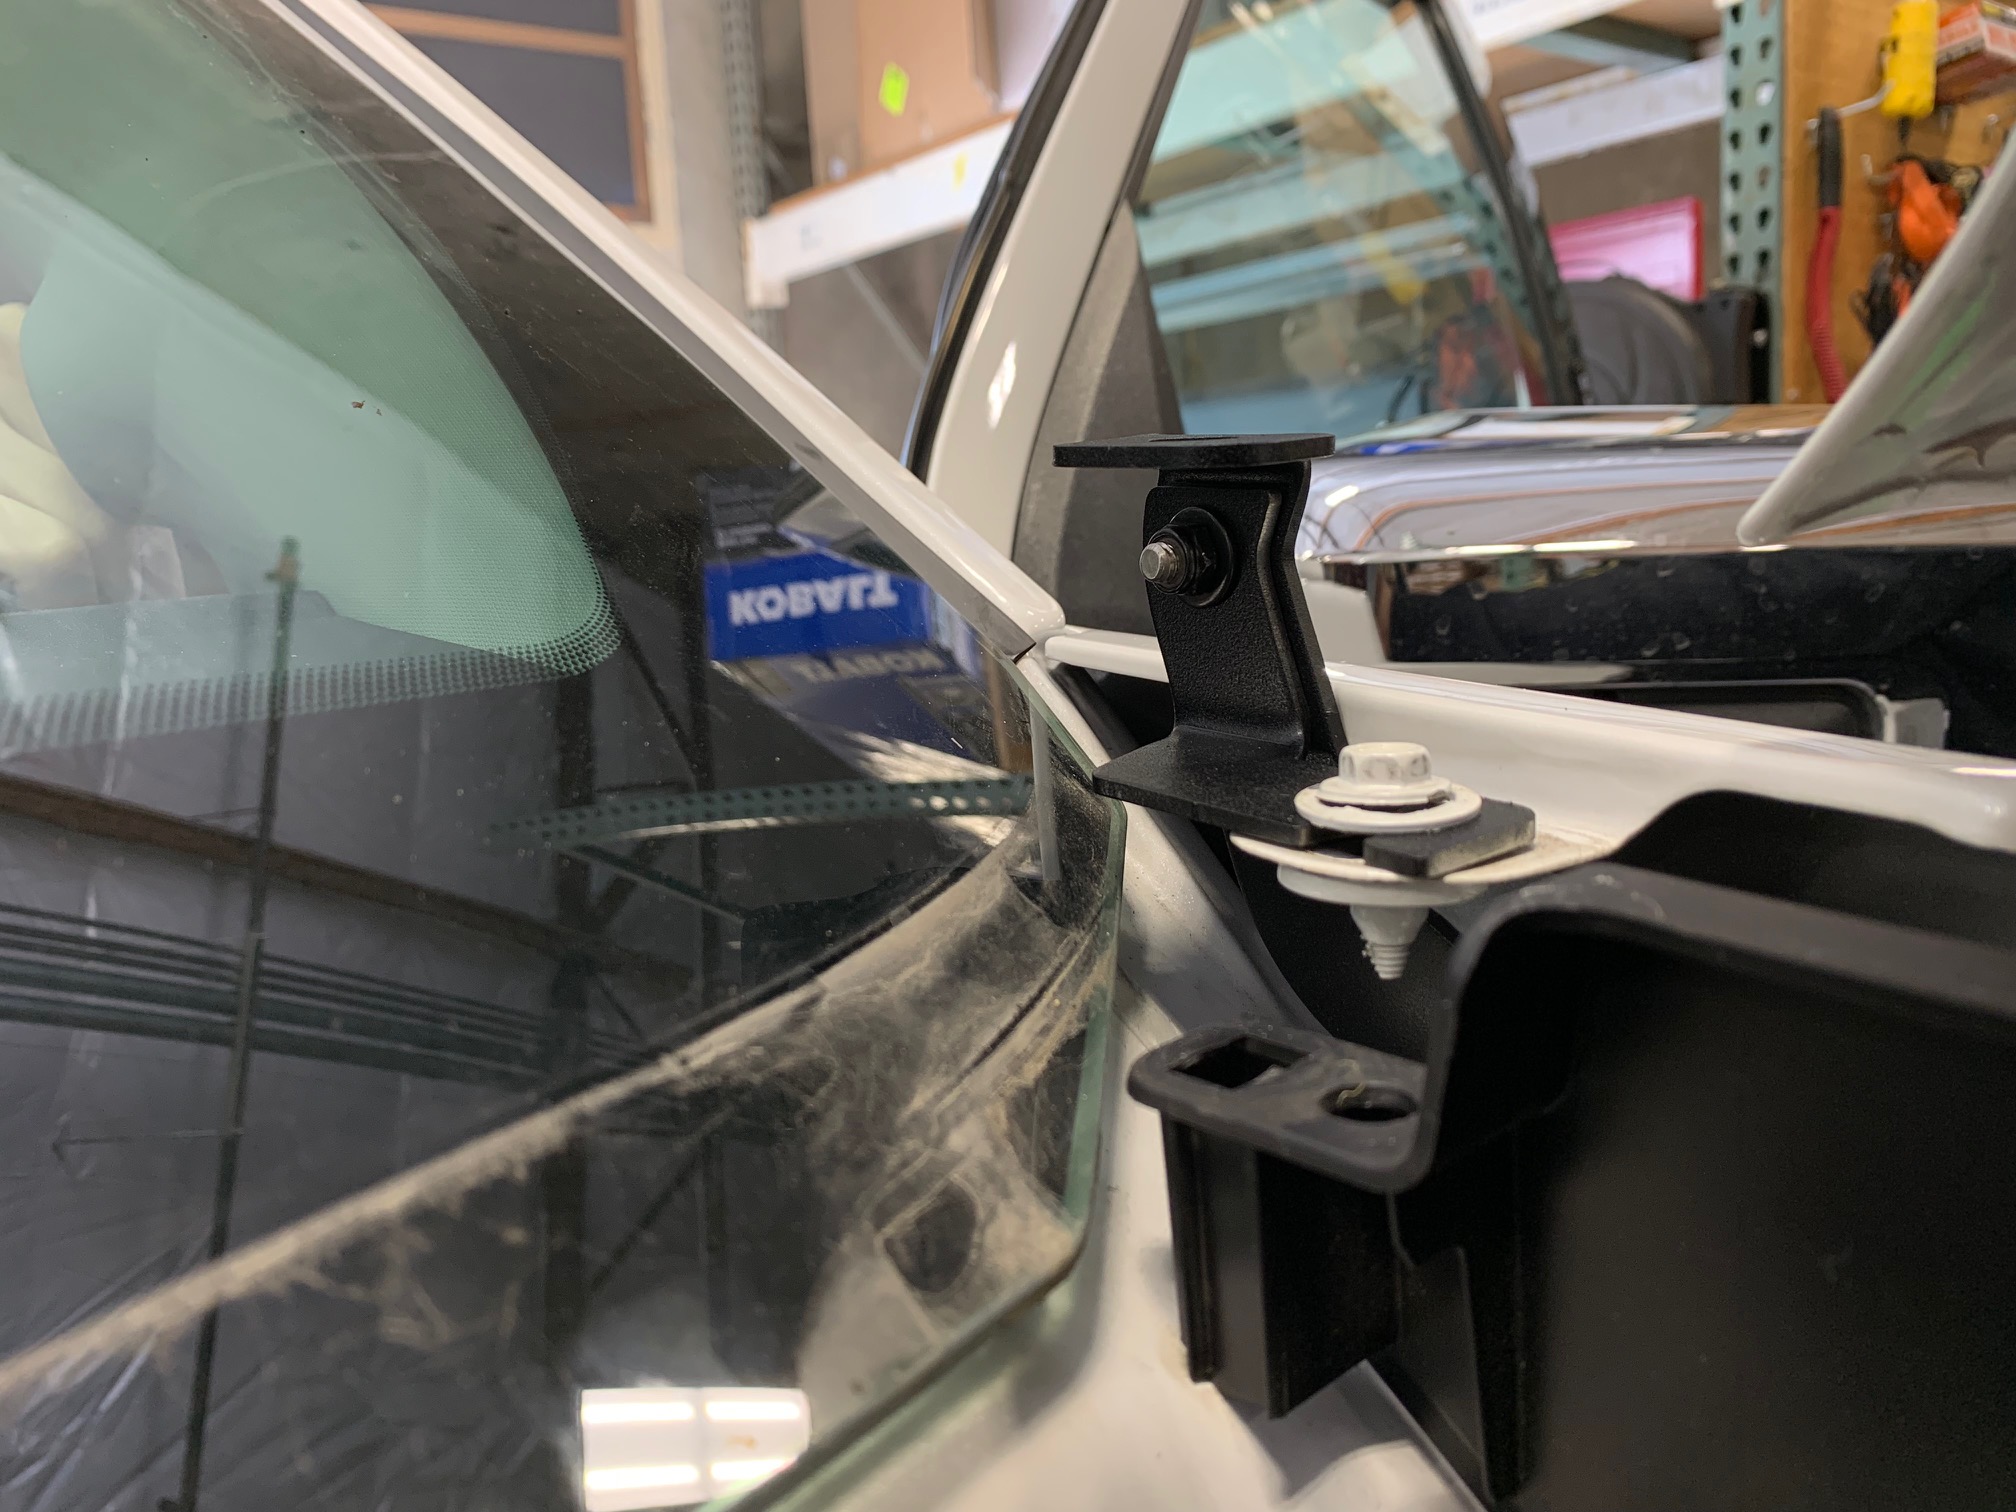
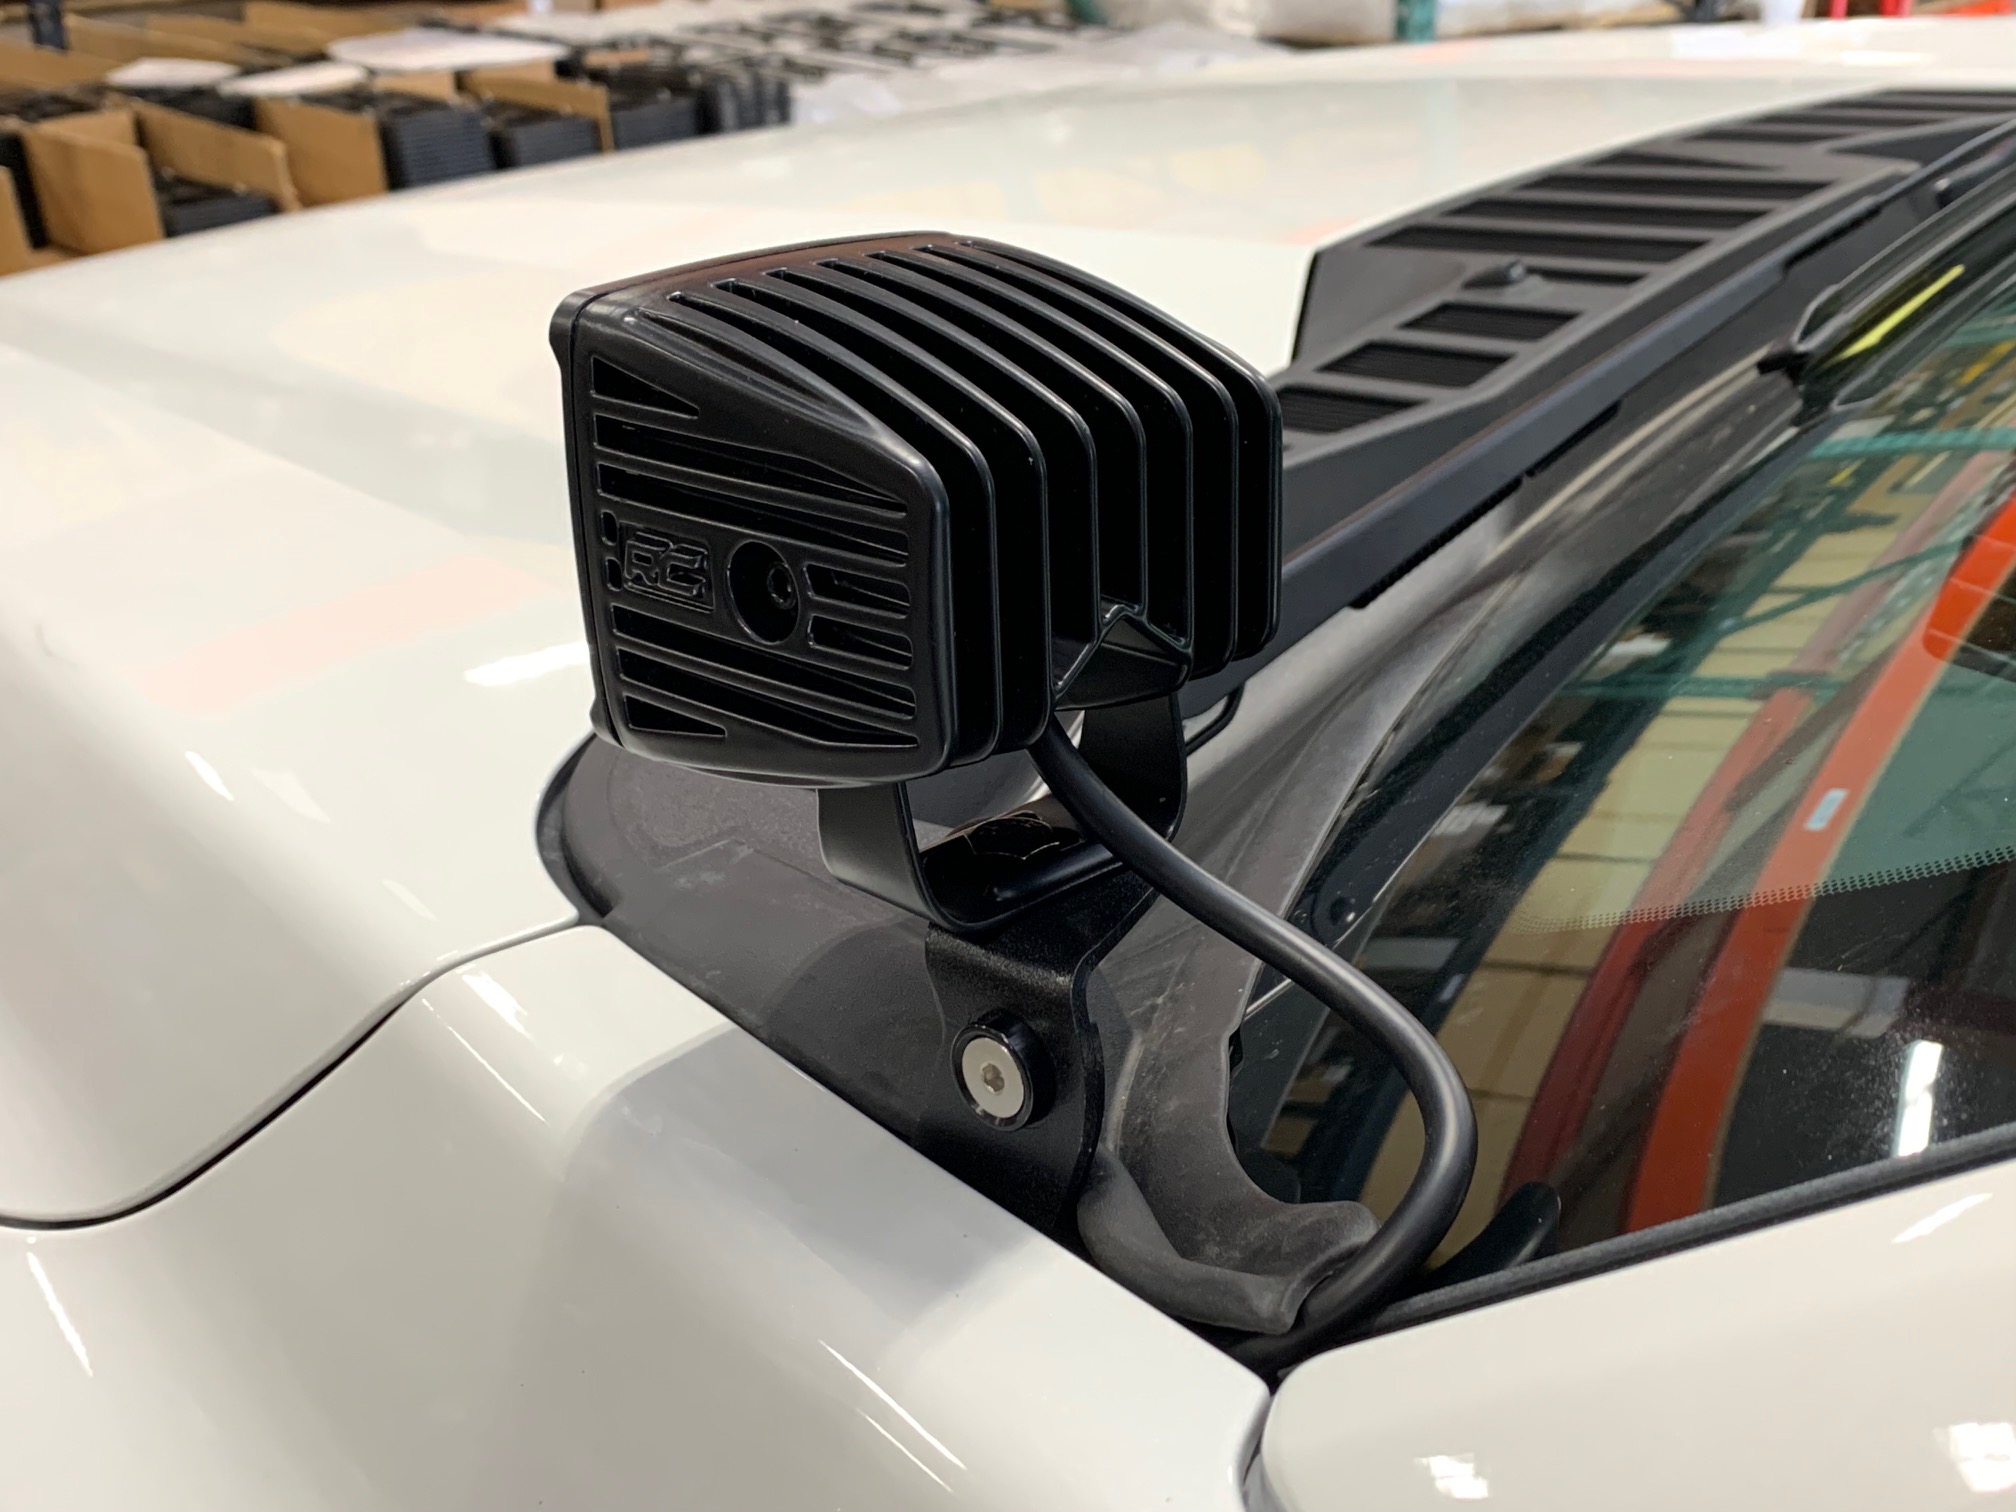
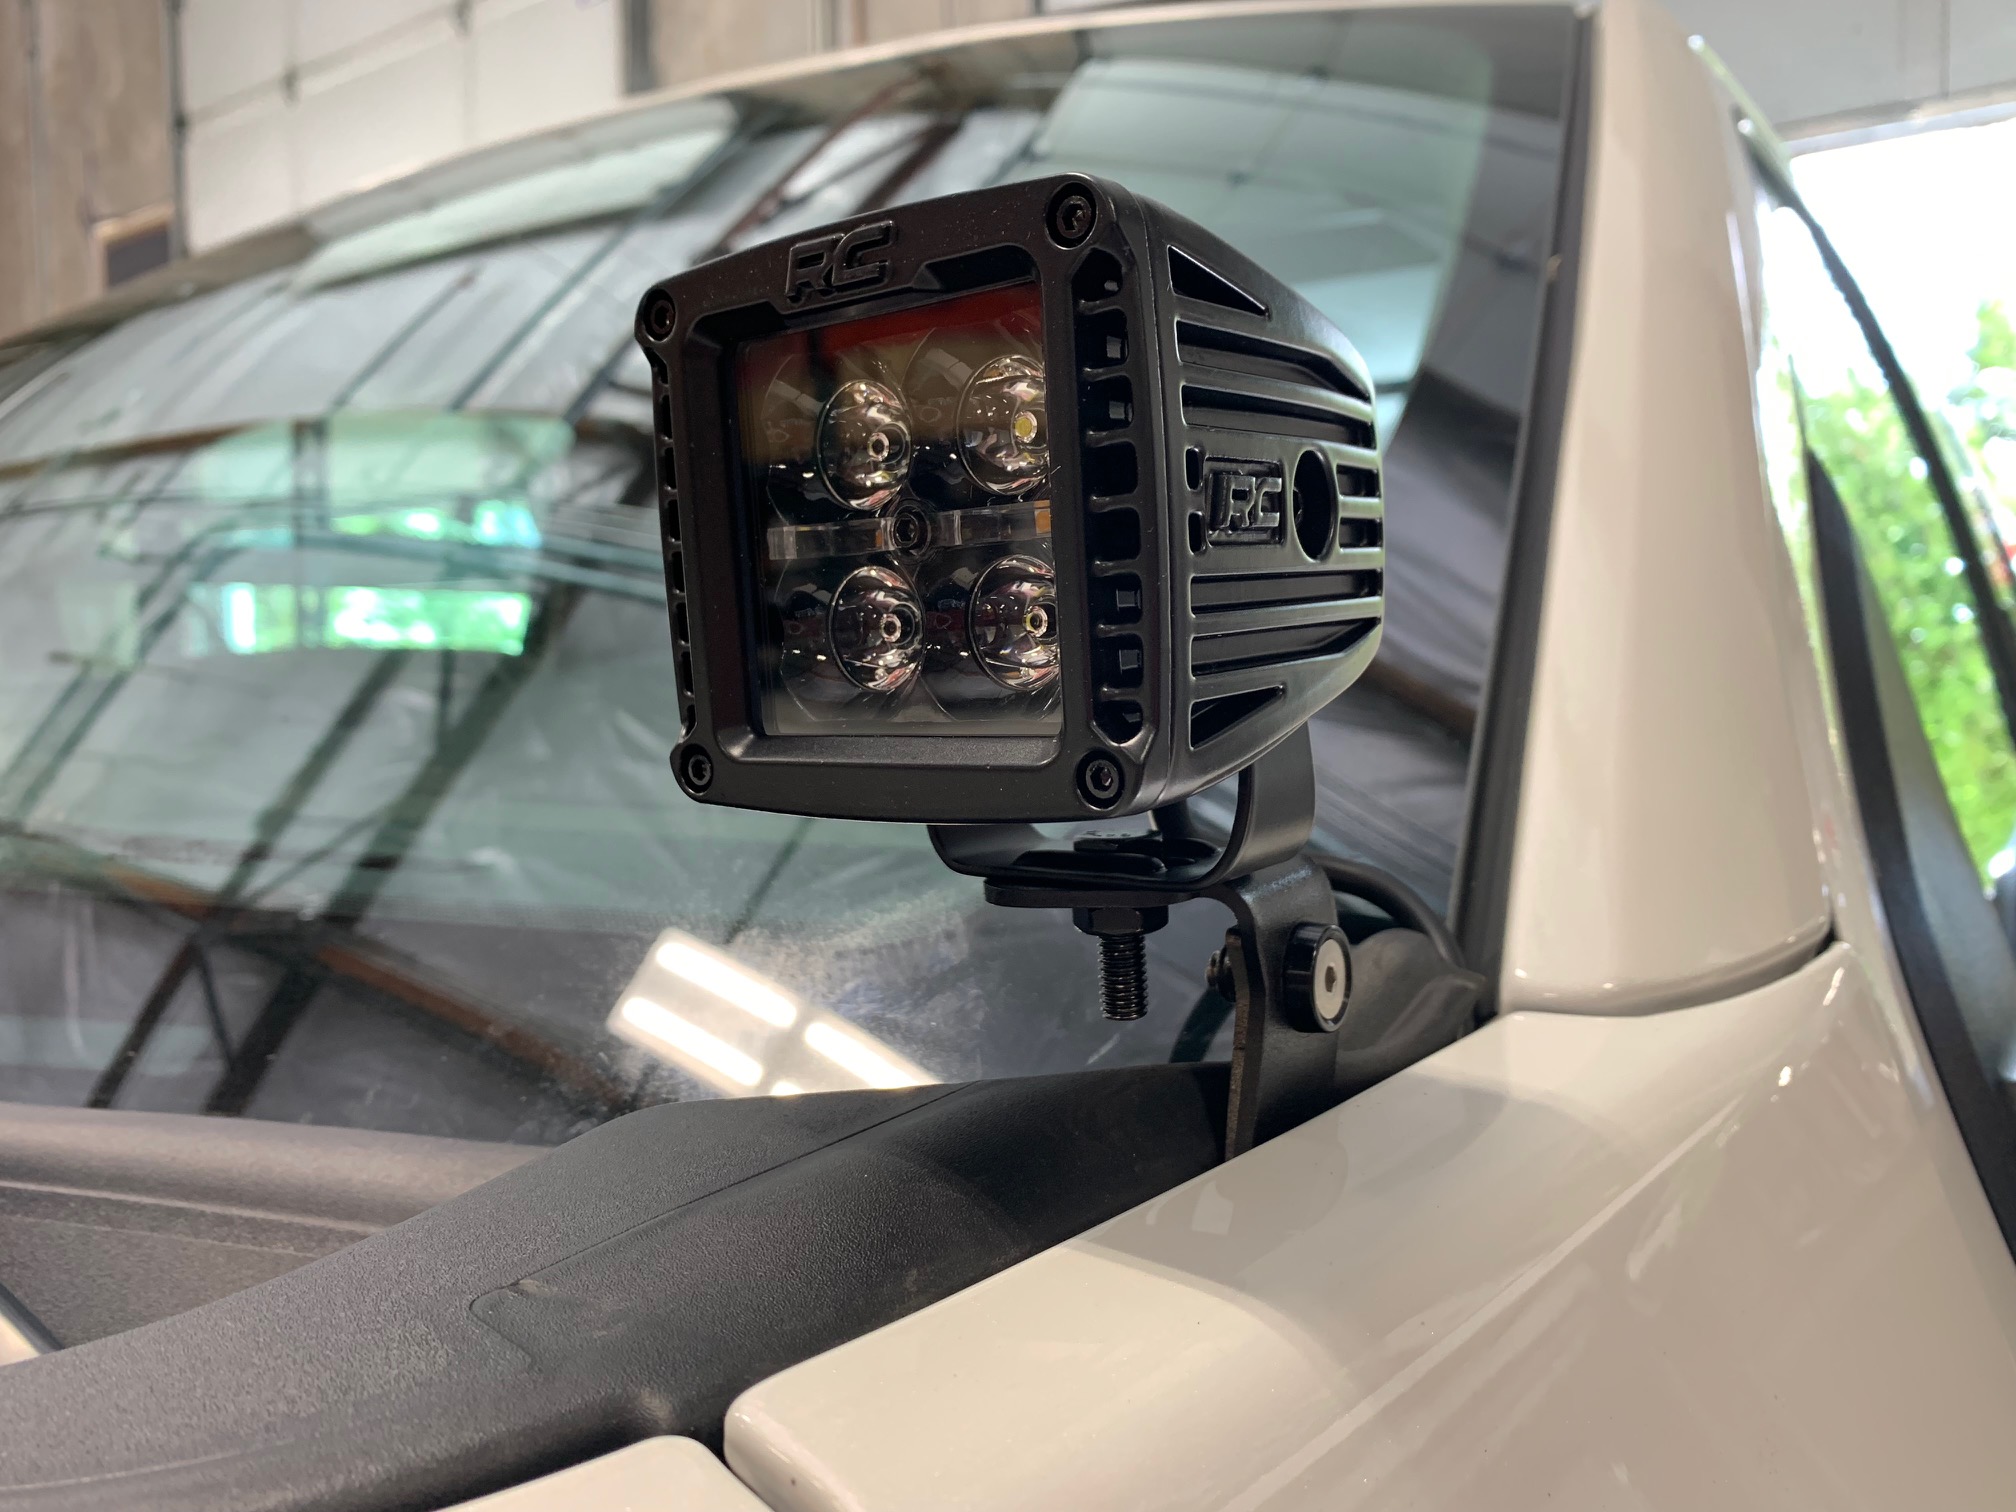
- Install the lower bracket first by inserting it down from the topside and slipping the open tab into the gap between the washer and the structure of the truck. Tighten this screw just enough so that there is still some movement of the bracket. We'll snug it up after the upper bracket has been added.
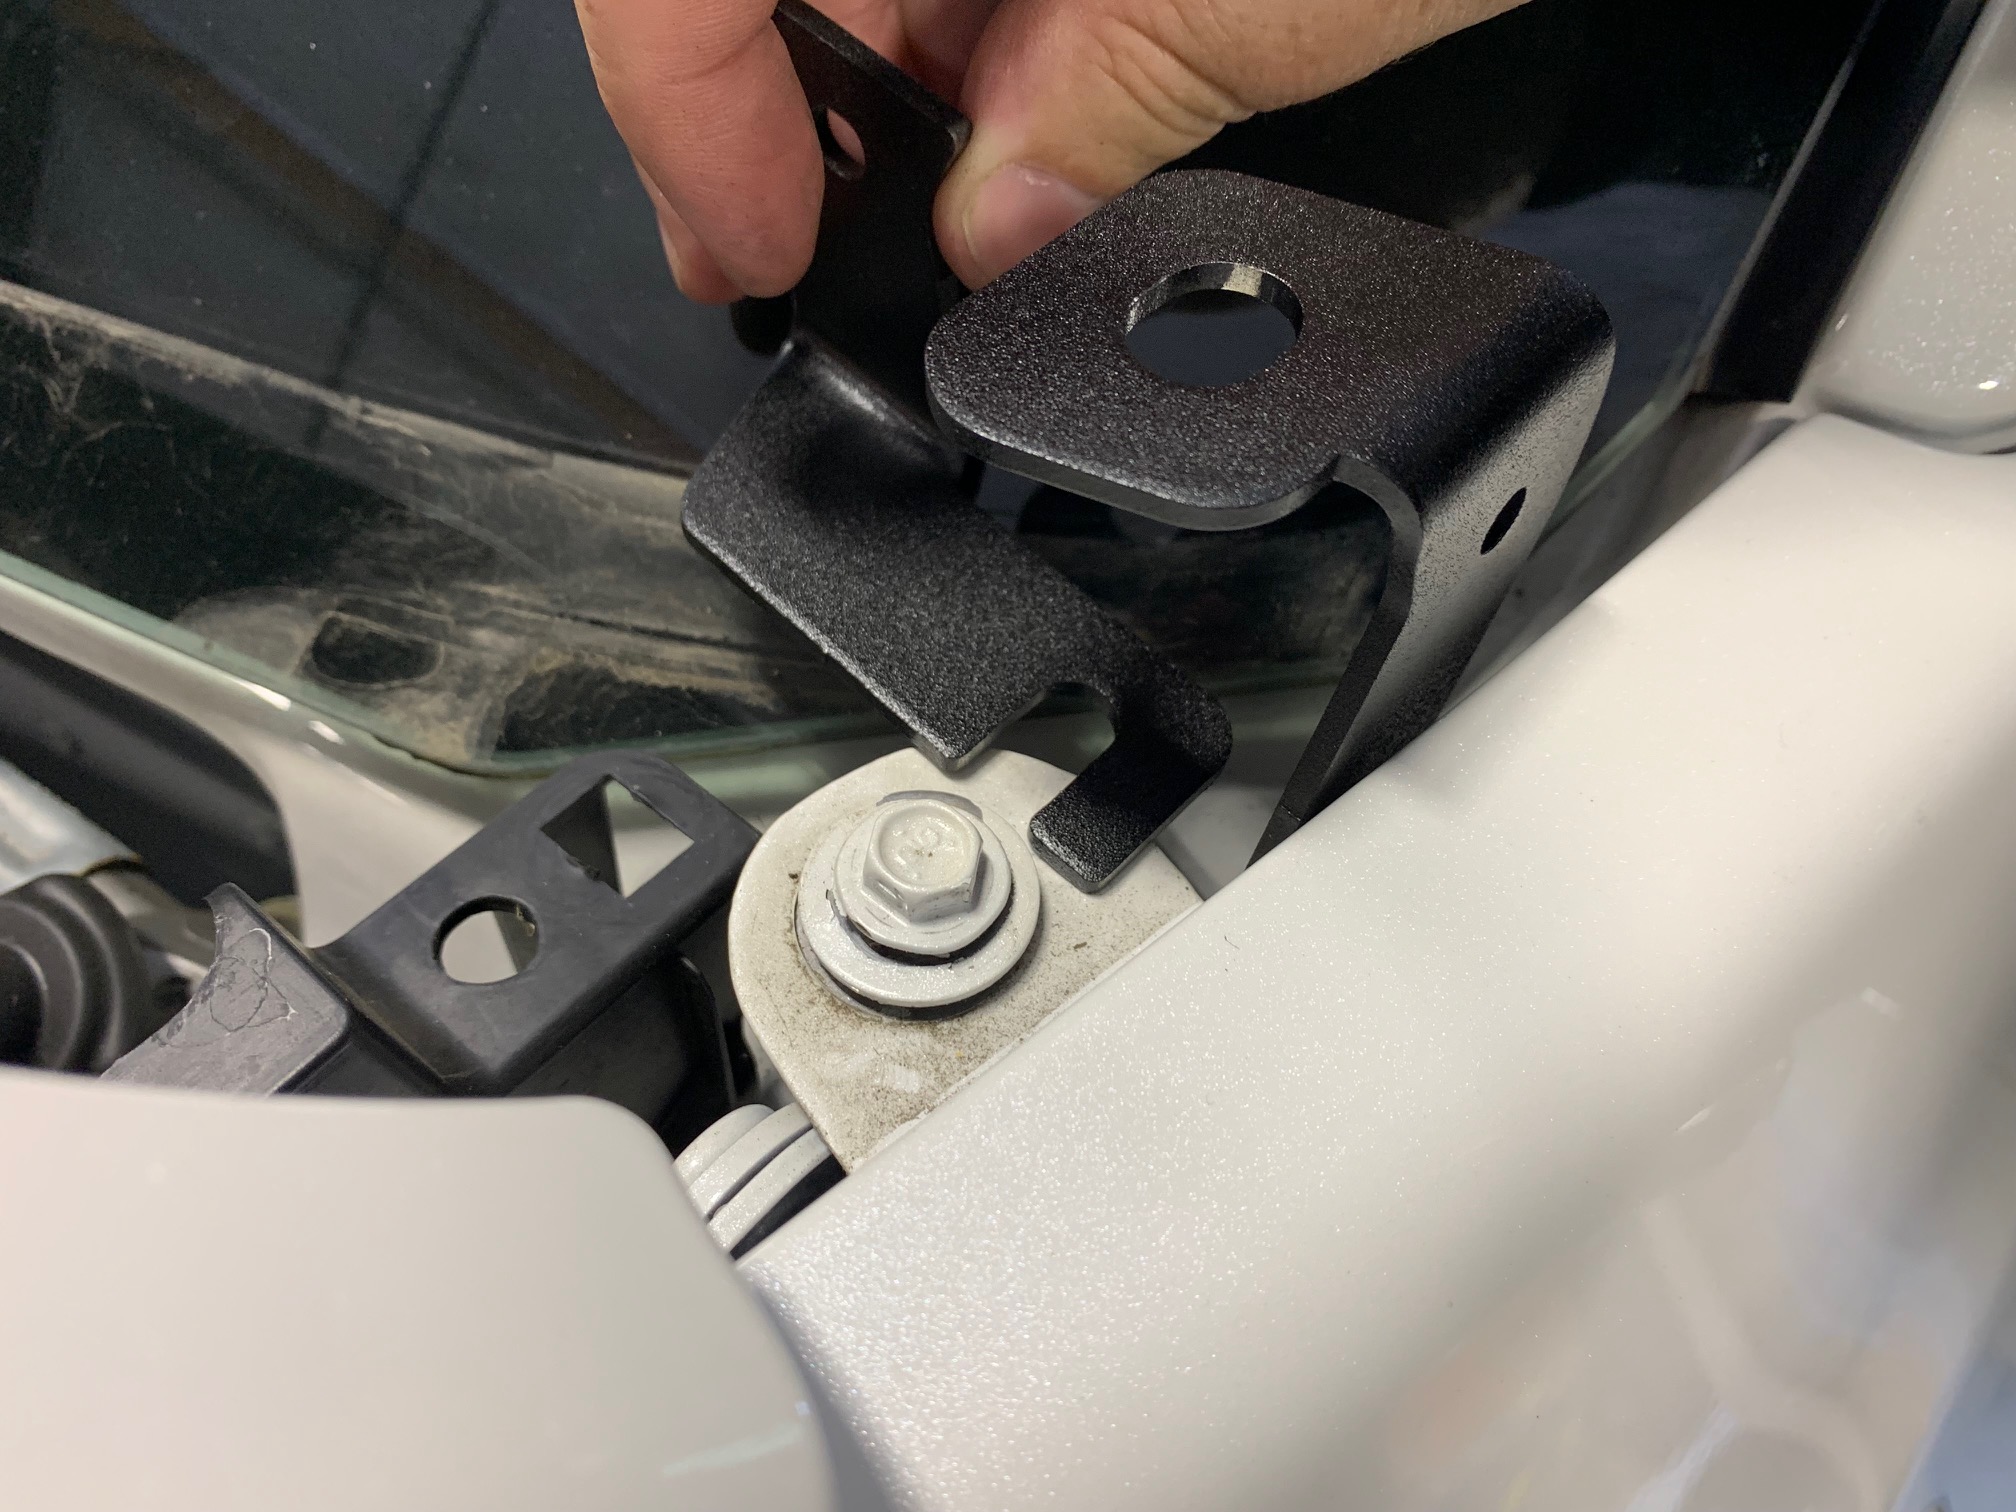
- Add the upper bracket by slipping the slotted tab under the loosened 10mm screw and lining up the side hole with the corresponding hole on the lower bracket.
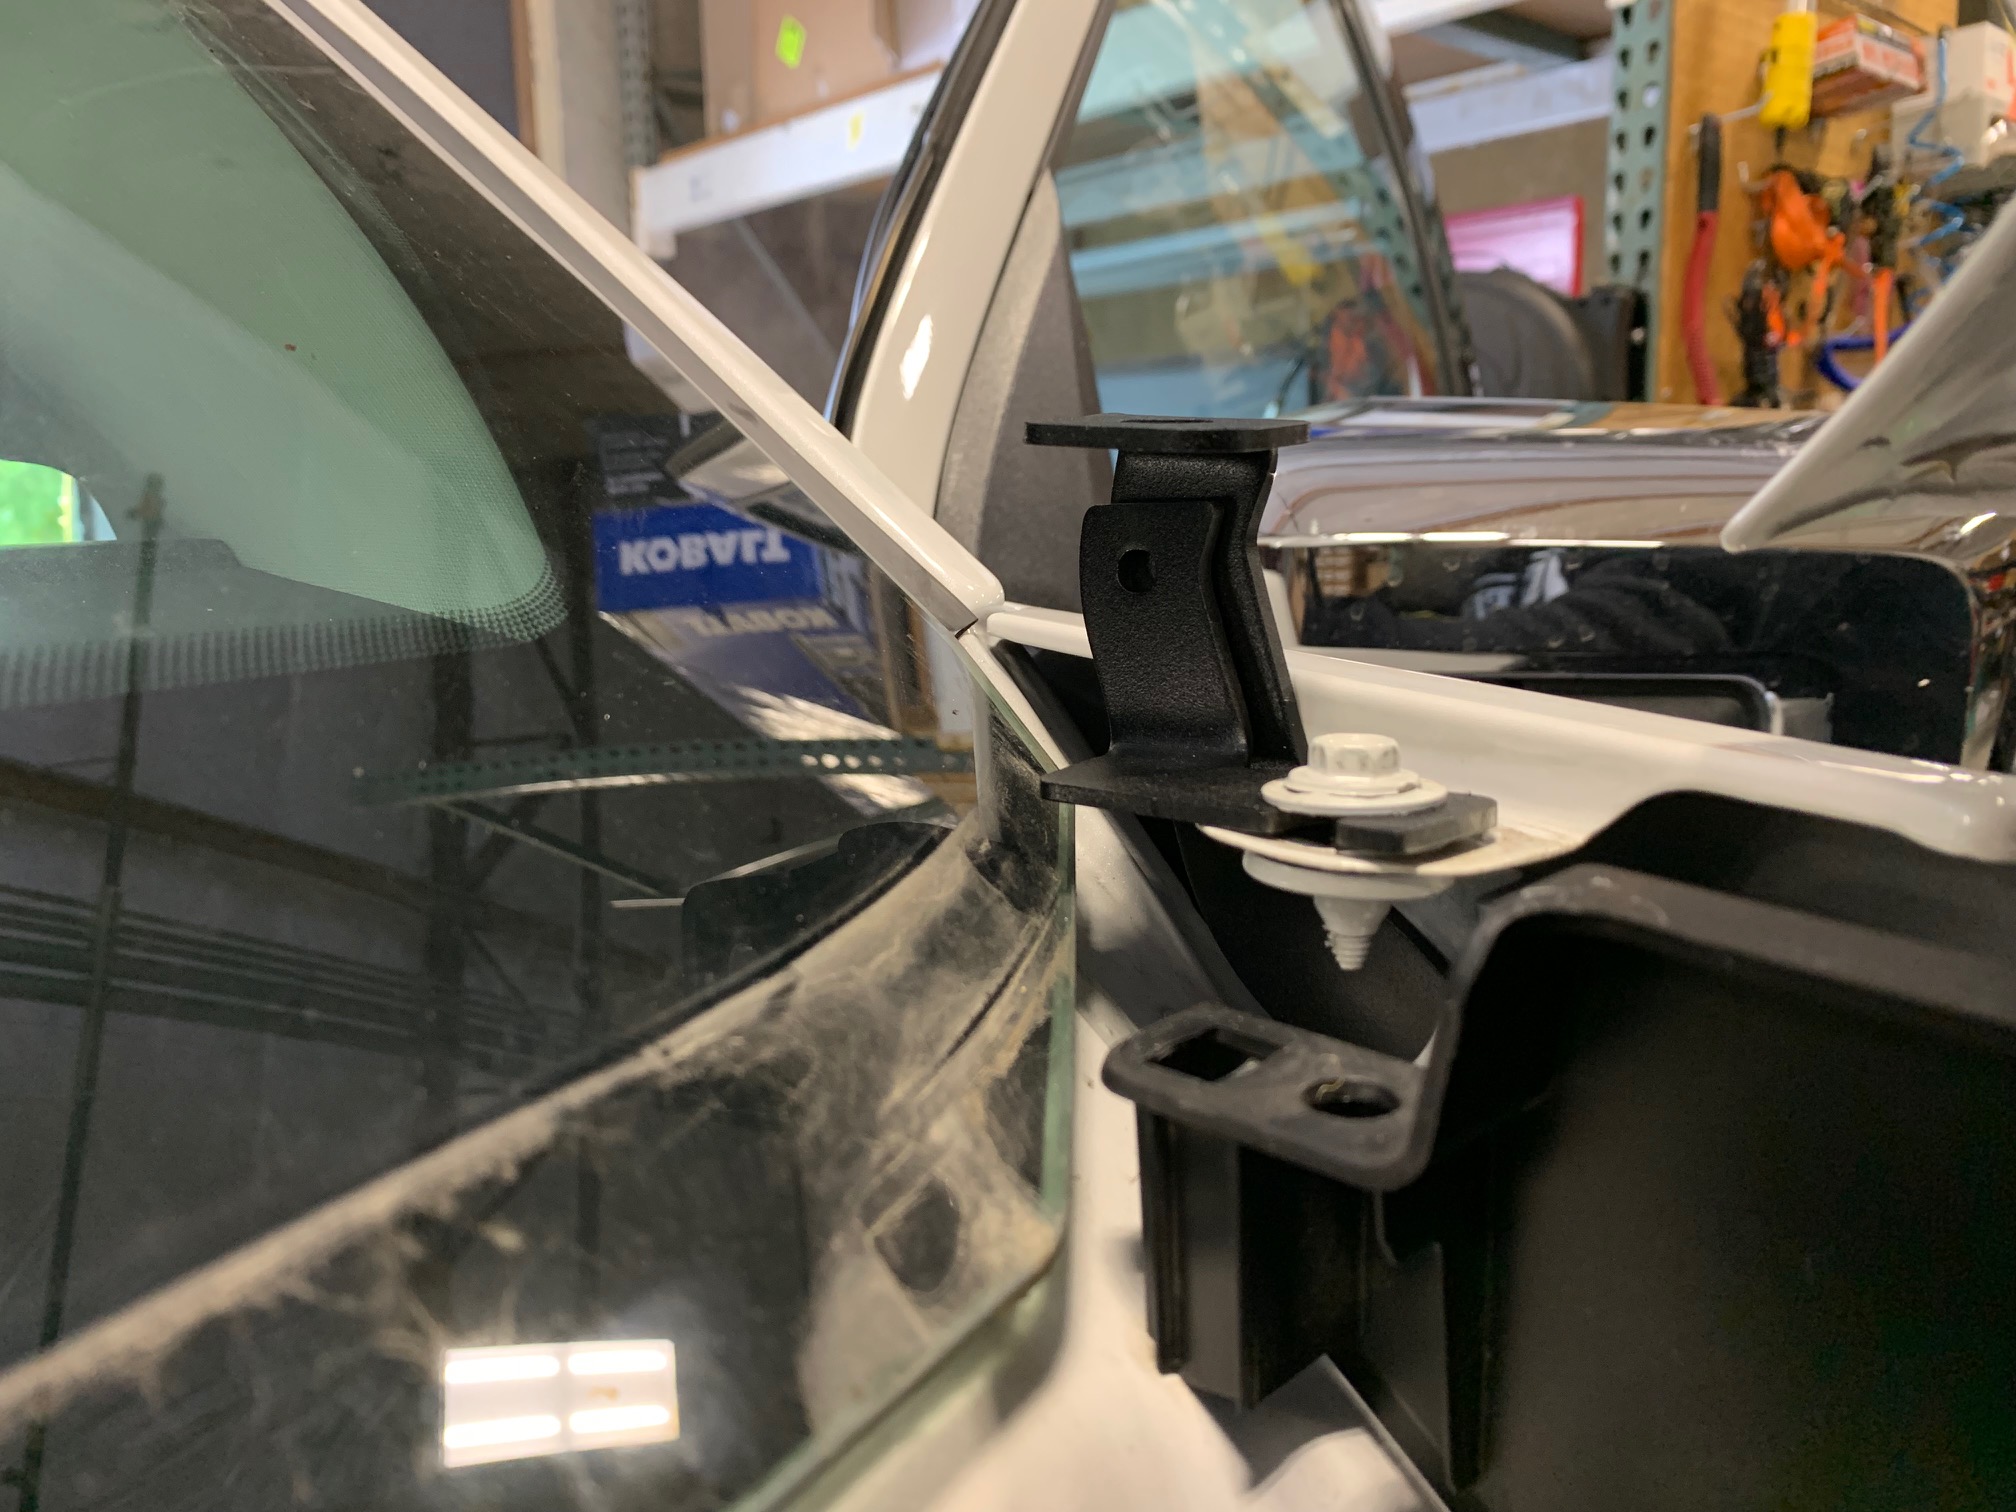
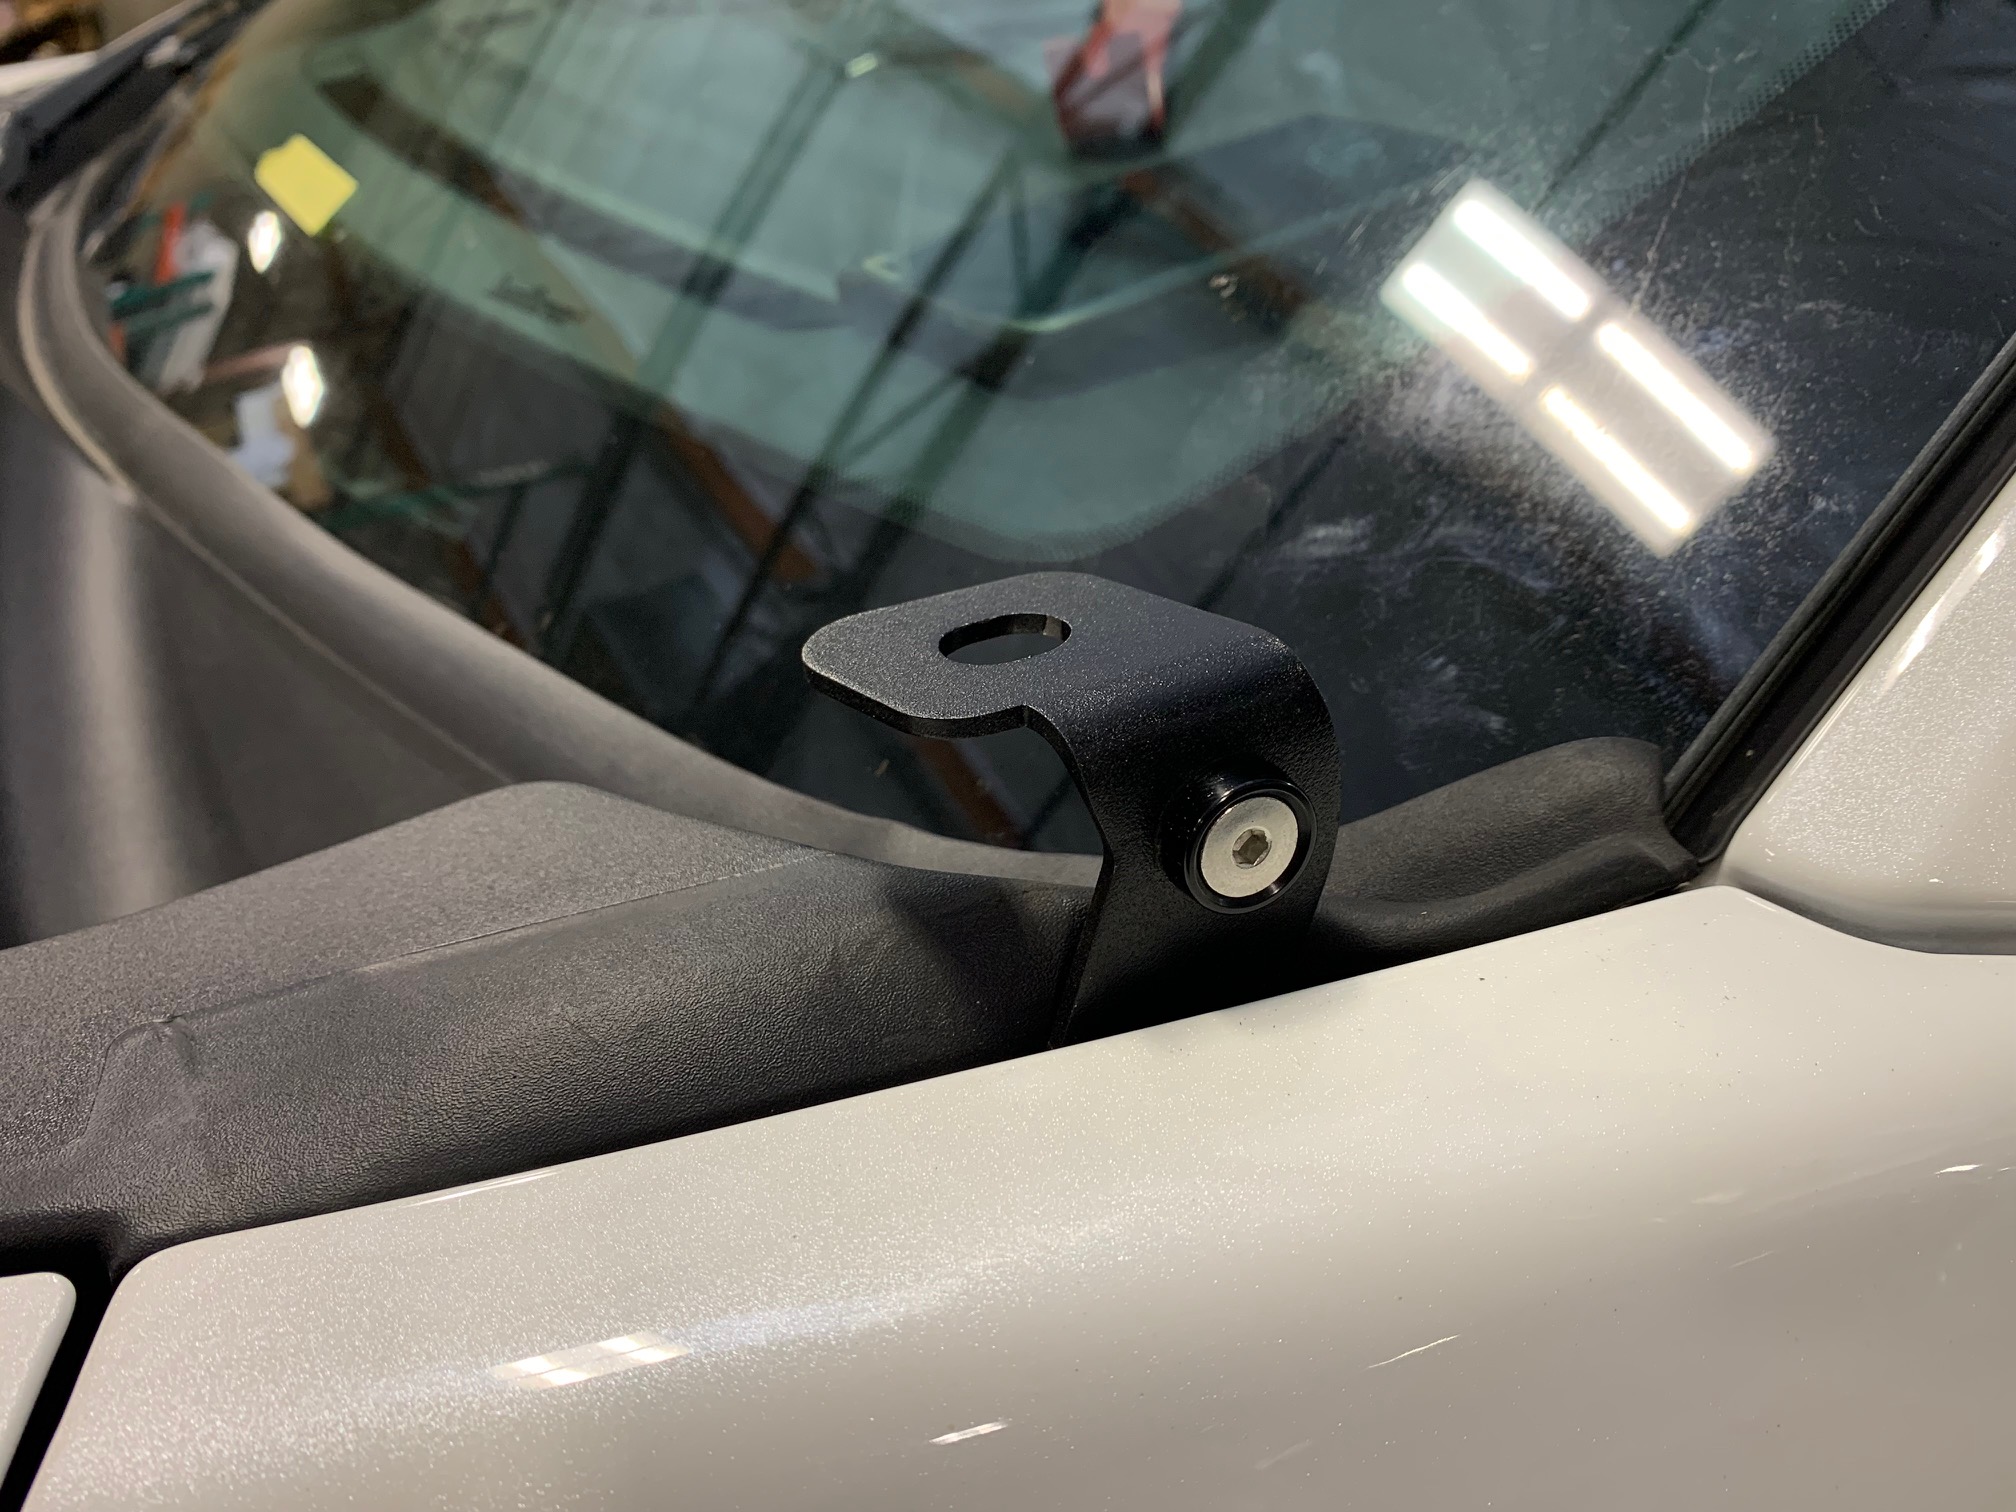
- Fit a flat head screw through a countersunk washer then place it through the cross hole with the washer and locknut on the opposite side. Make sure everything lines up then tighten all three fasteners.
- After performing the bracket install on the other side of the truck, begin fitting the cowl panel back into place starting with the passenger side. The trailing edge of the cowl pieces have a rubber flange that seats up against the windshield. This seal needs to be tucked around the upper bracket and finessed into place. Alternatively, one may also cut a small section out of the rubber flange for a tighter fit, but this typically isn't necessary.
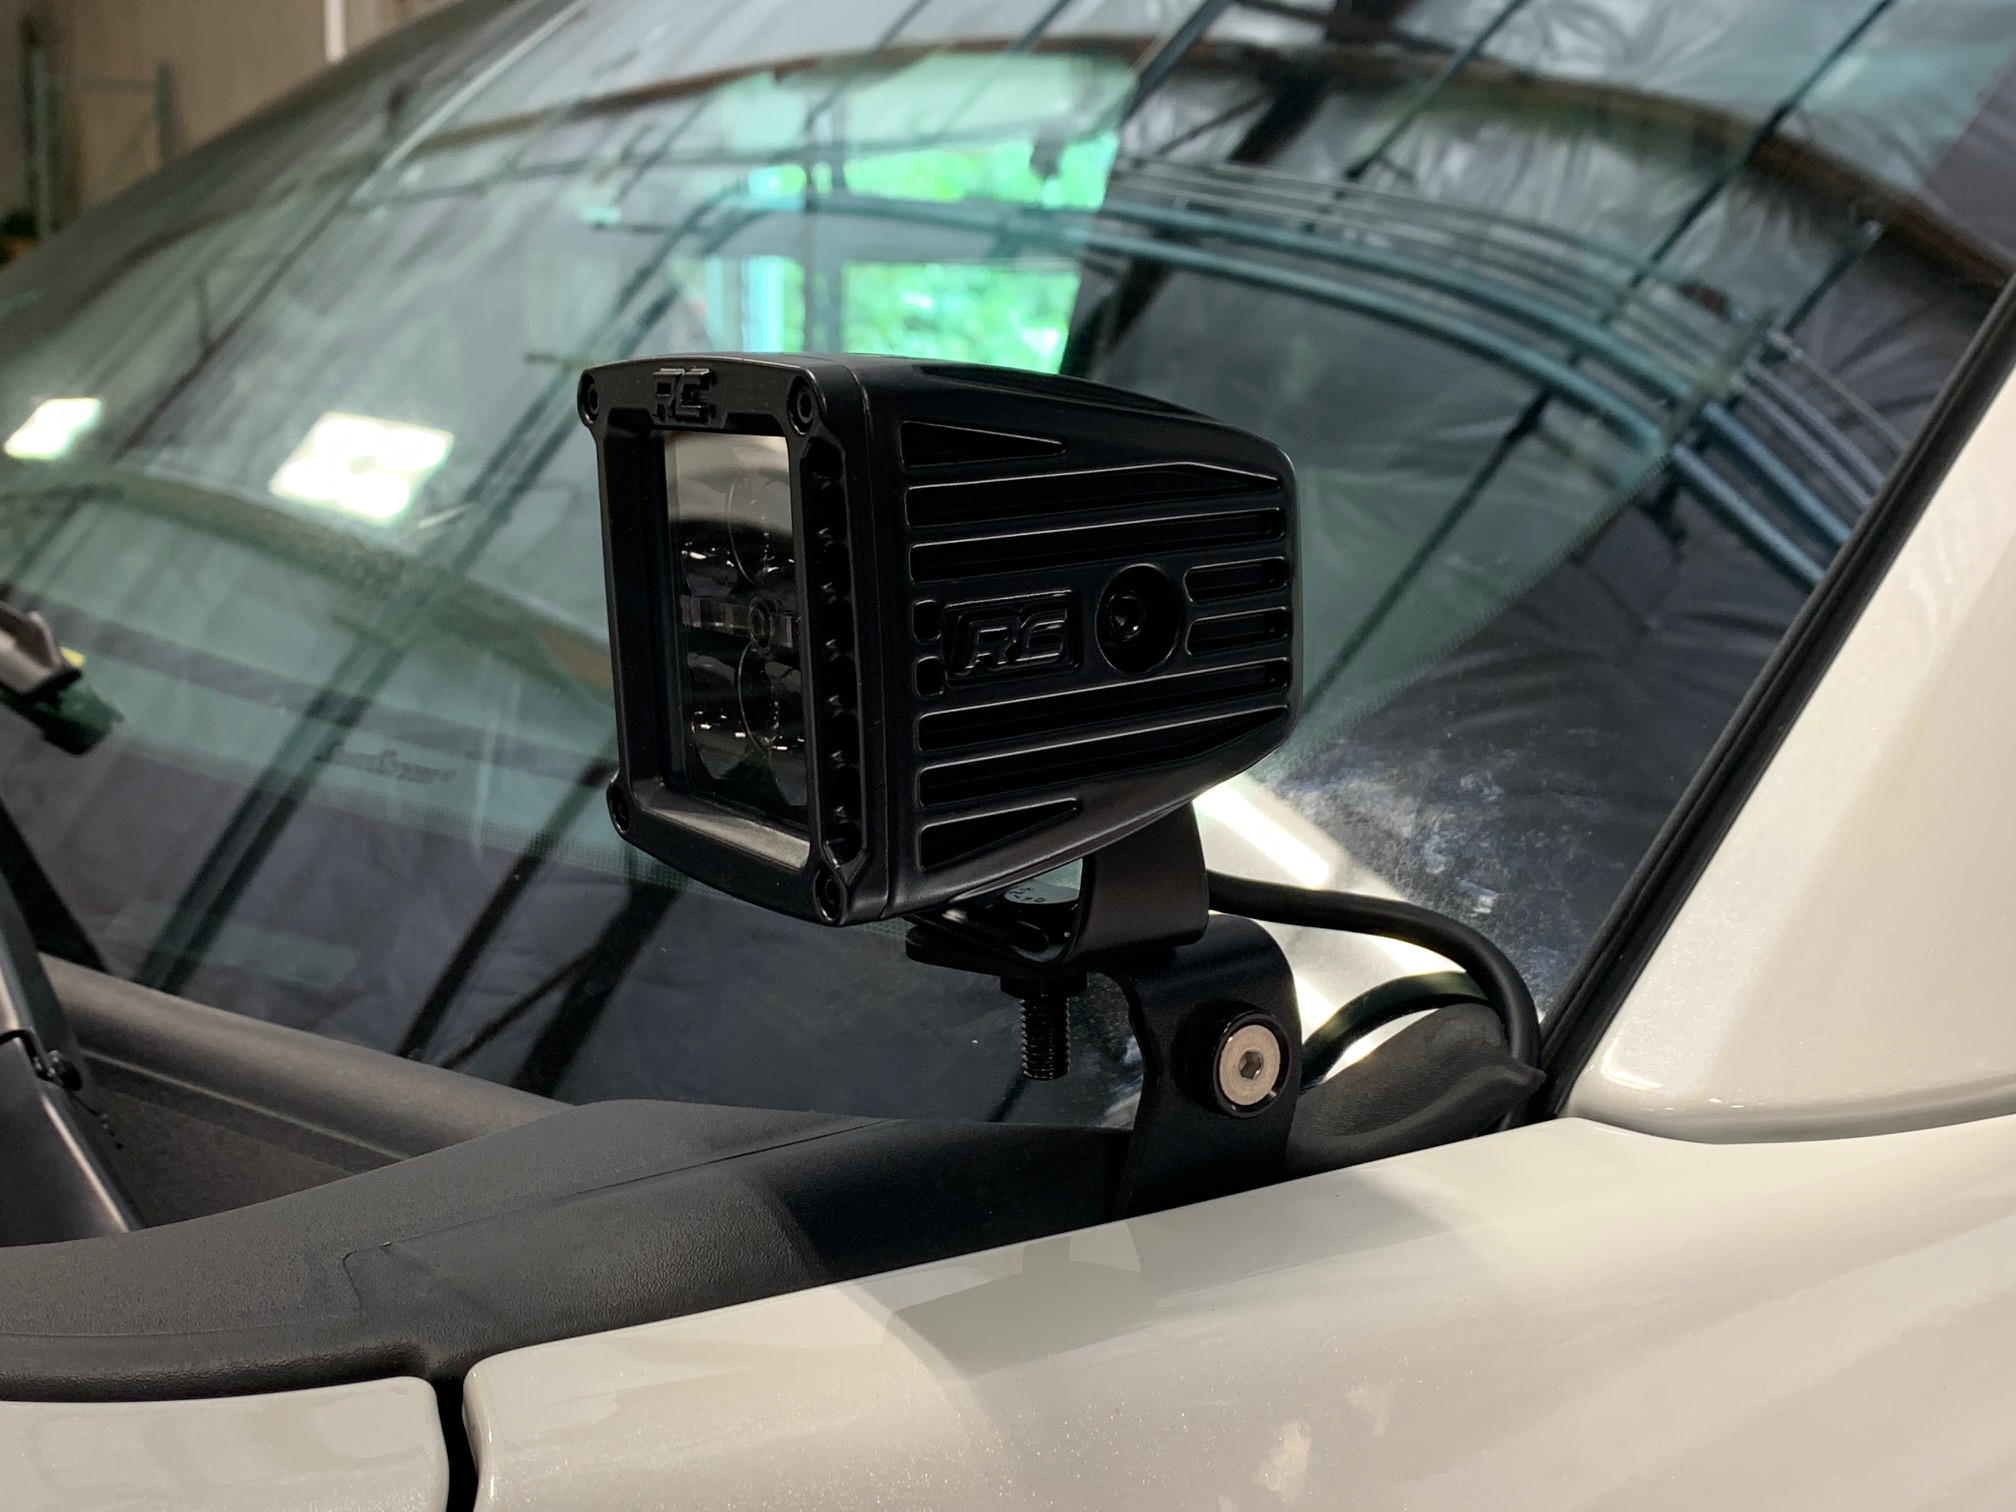
- Fit and install your preferred light kit and run the wires underneath the cowl panels. Follow the manufacturers instructions for proper light wiring connections, then refit your wiper arms ensuring that you reinstall the index key and that the wipers match the tape marks you made on the windshield.