THANK YOU for purchasing The Action Cam Bumper Mount from CravenSpeed. This product is made from the highest grade materials and is guaranteed to be free from defects.
You can buy our CravenSpeed Action Cam Bumper Mount for here
You can buy an Action Cam Bumper Mount for your car here
Parts Included:
- Action Cam Mount
- Hex Stud
- M10 Flanged Bolt
- 1/4-20 Thumb Screw
- Serrated Washer
- Action Cam Bracket
Tools Required:
- 15mm and (1', 7/8", or 3/4") socket wrench
- Plastic Trim Panel Tool (recommended)
NOTE: This installation process is very easy, and should take around 5 minutes. Please read through the entire instructions before you begin.
Procedure
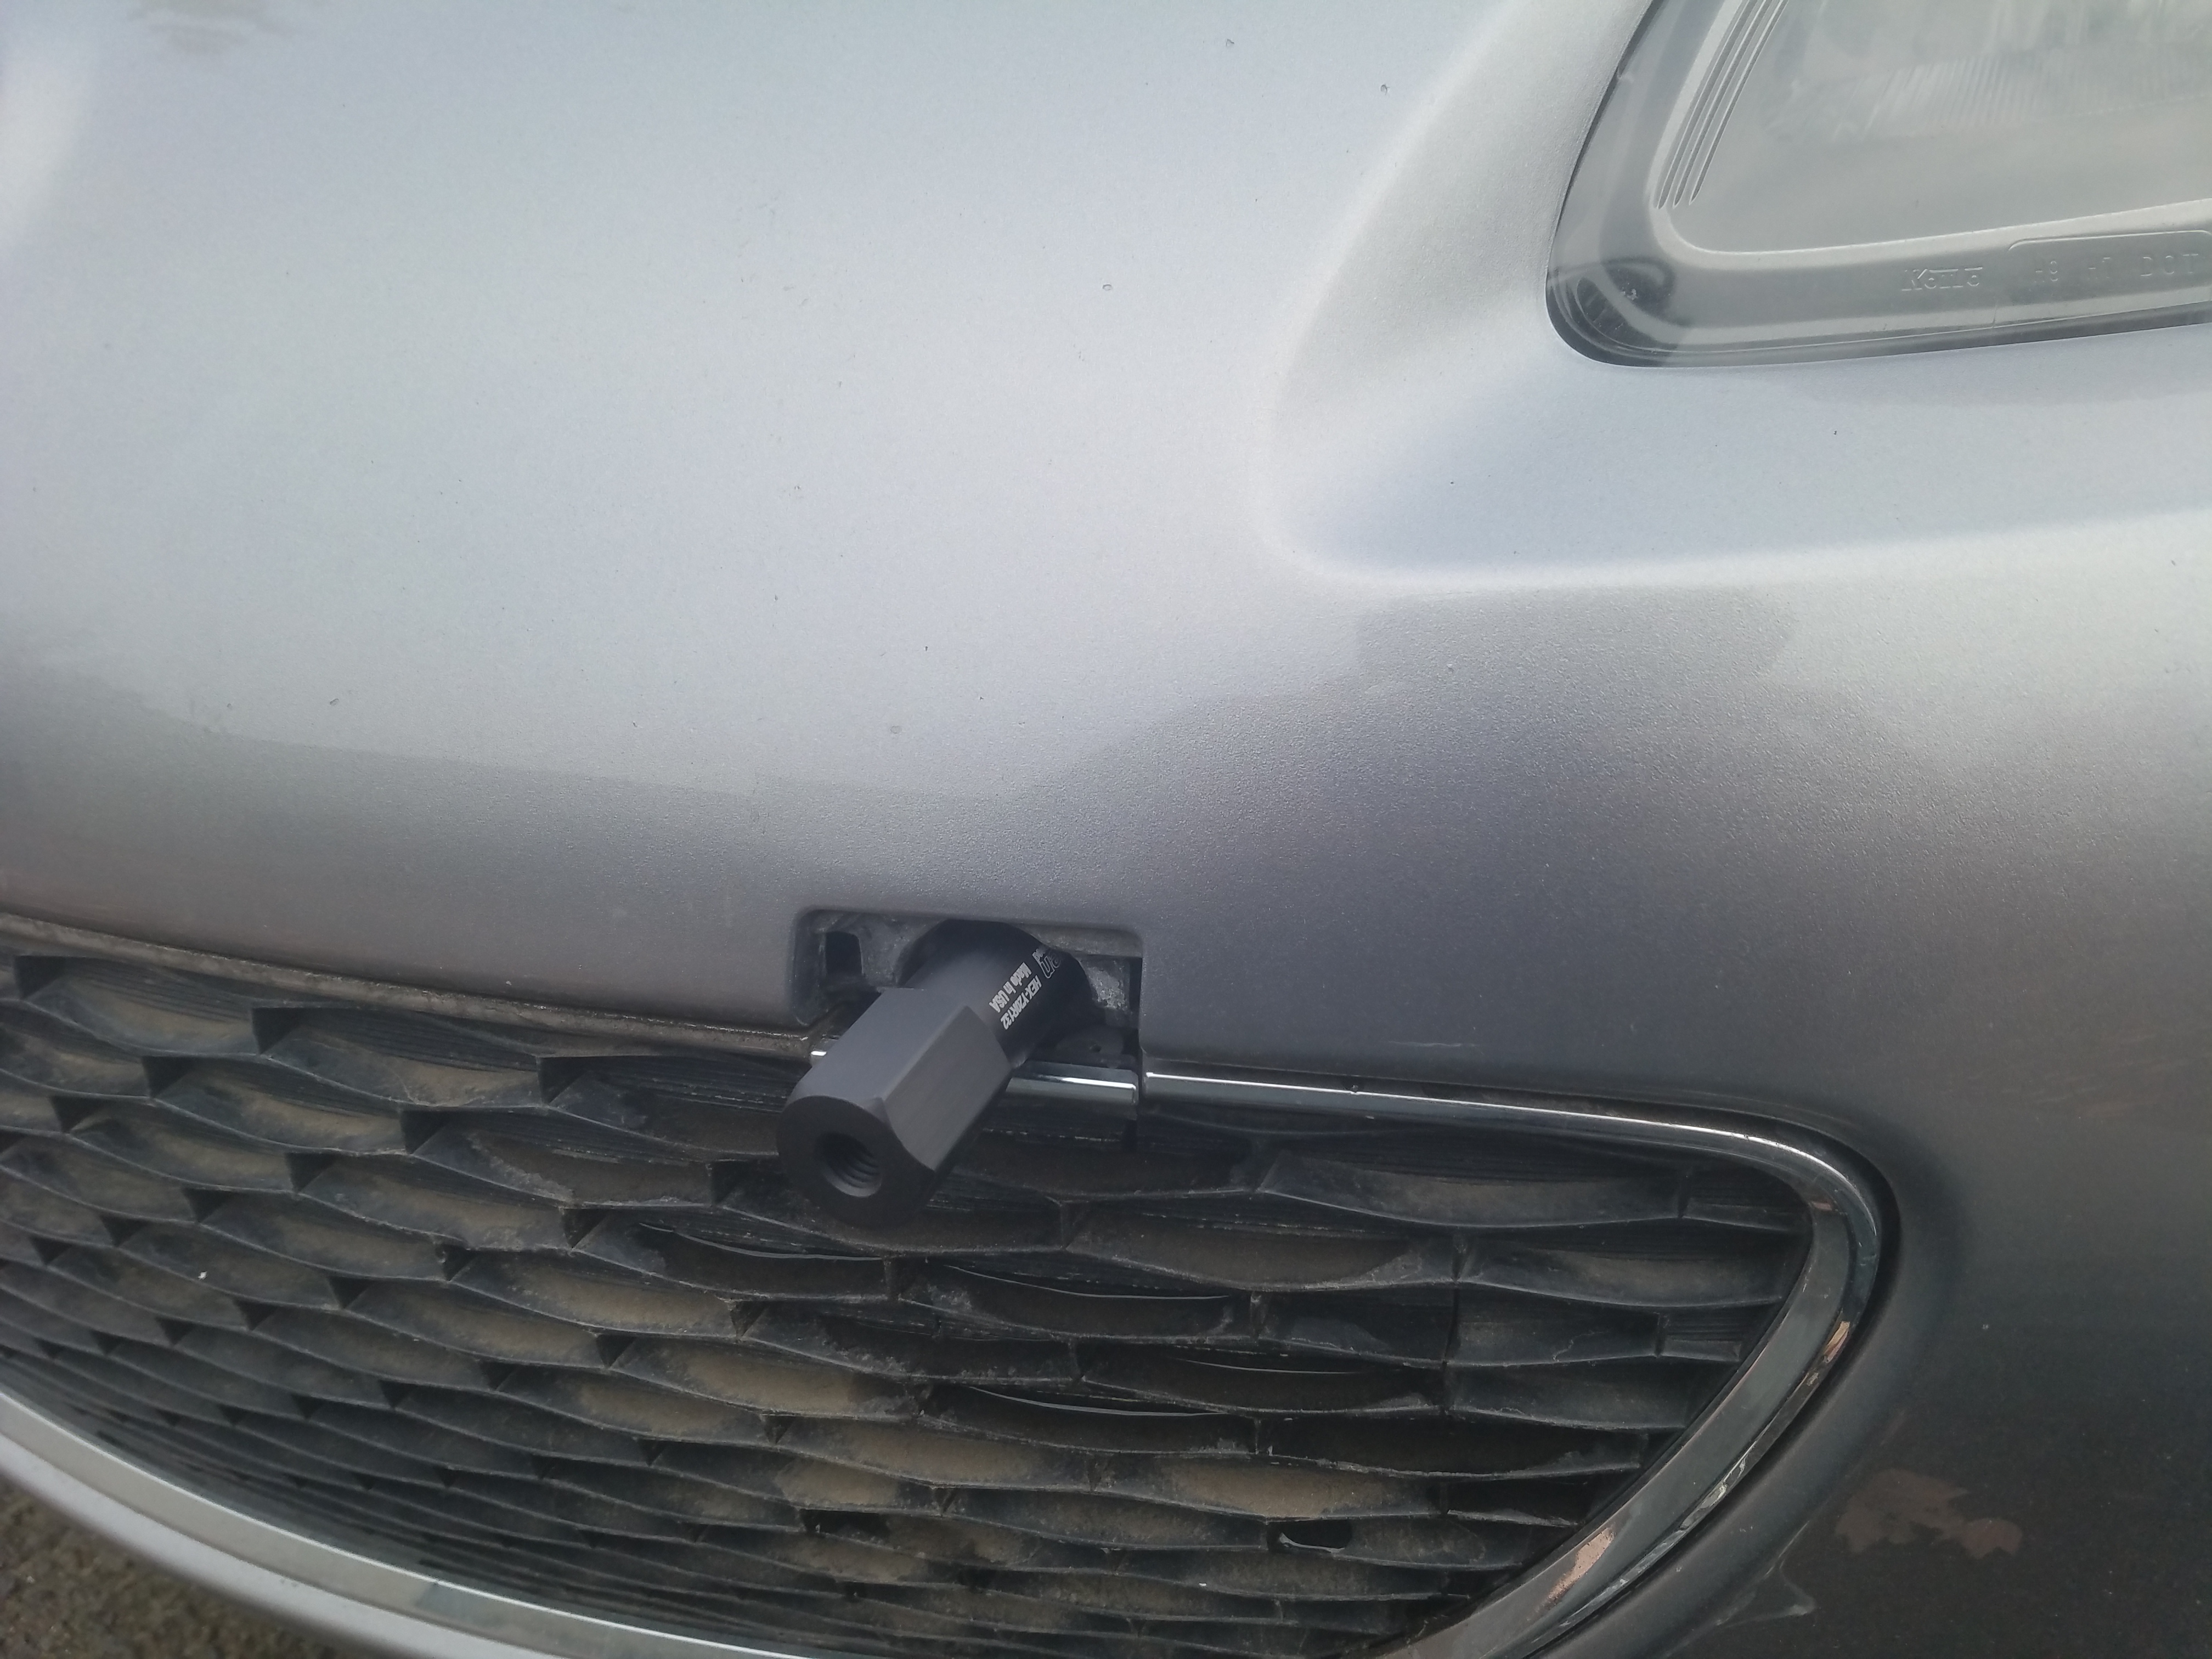
Remove the towing eye cover
Locate and remove the towing eye cover on the front bumper. Some covers indicate where to push, others may require prying with a panel removal tool.
Install the hex stud
- Screw the hex stud into the threaded towing eye receiver behind the cover. Best to do it by hand at first and then use the appropriate sized socket to tighten it the last bit.
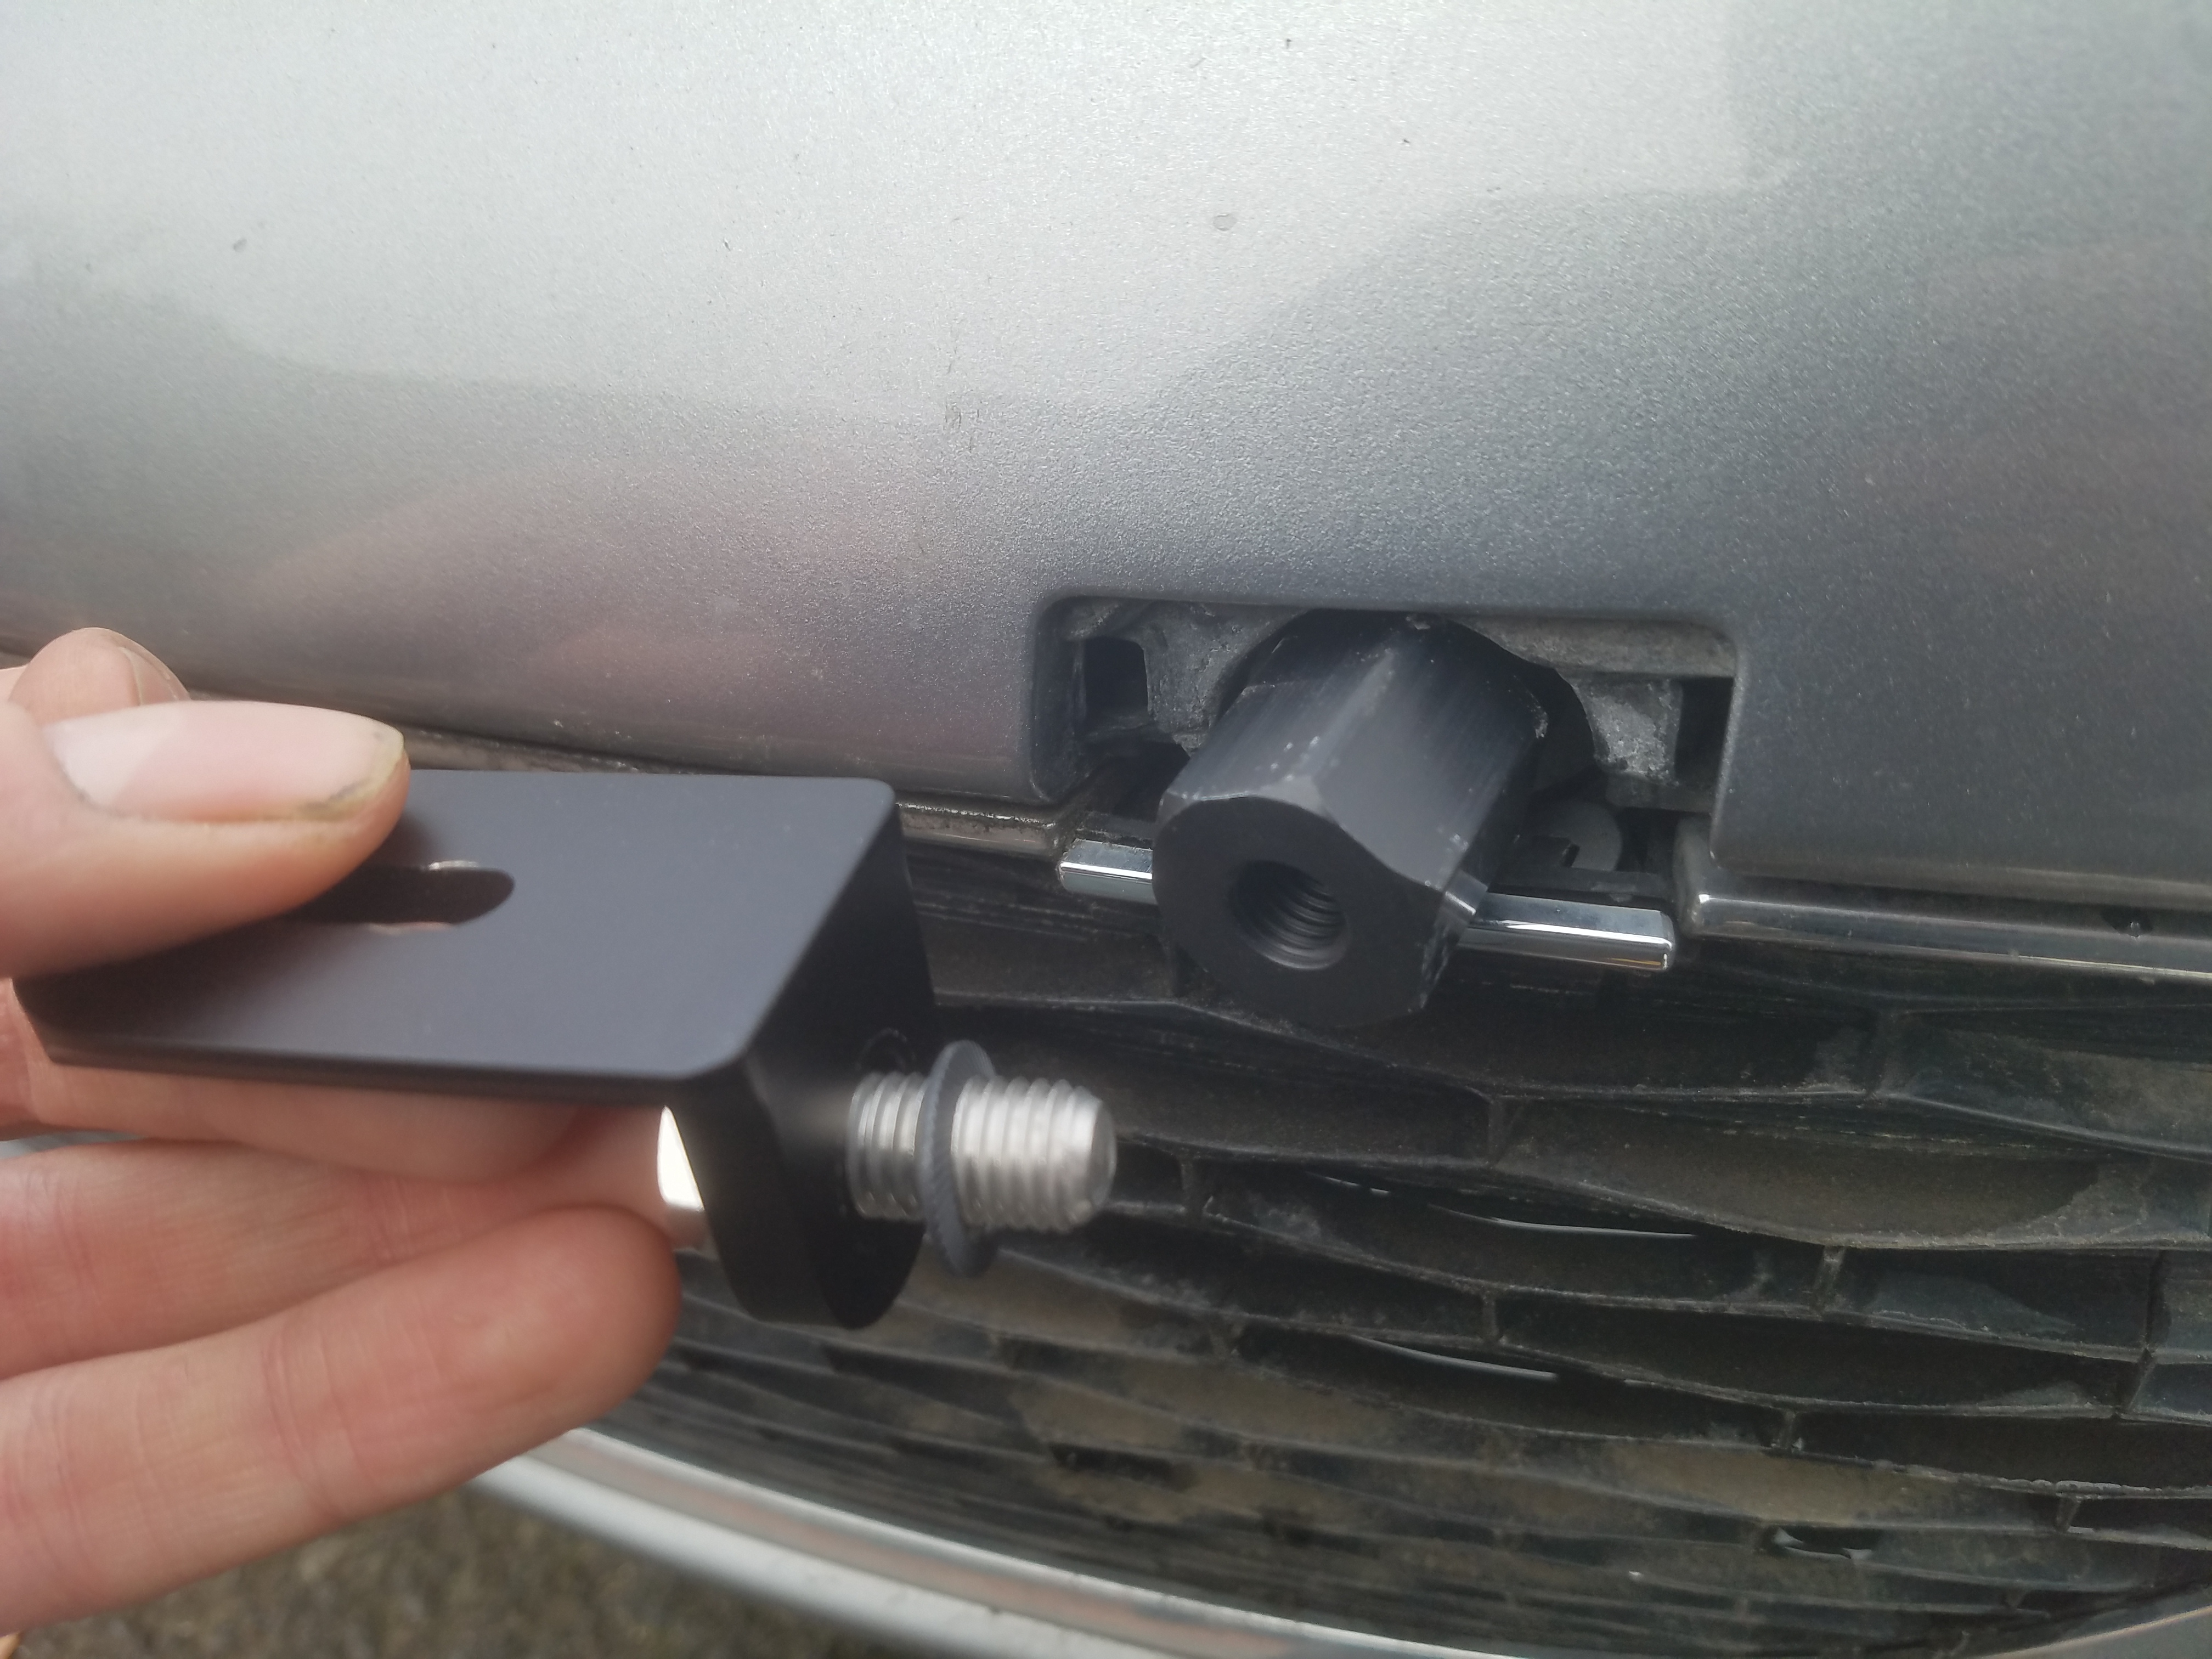
Install the Action Cam Bracket
- To install the backplate, place the flange bolt through the bracket, and place the serrated washer over the bolt, as shown. Then hand tighten the bolt onto the hex stud.
- Use a 15mm wrench to tighten the stainless steel flanged bolt. Orient the mount such that the flat side is facing up.
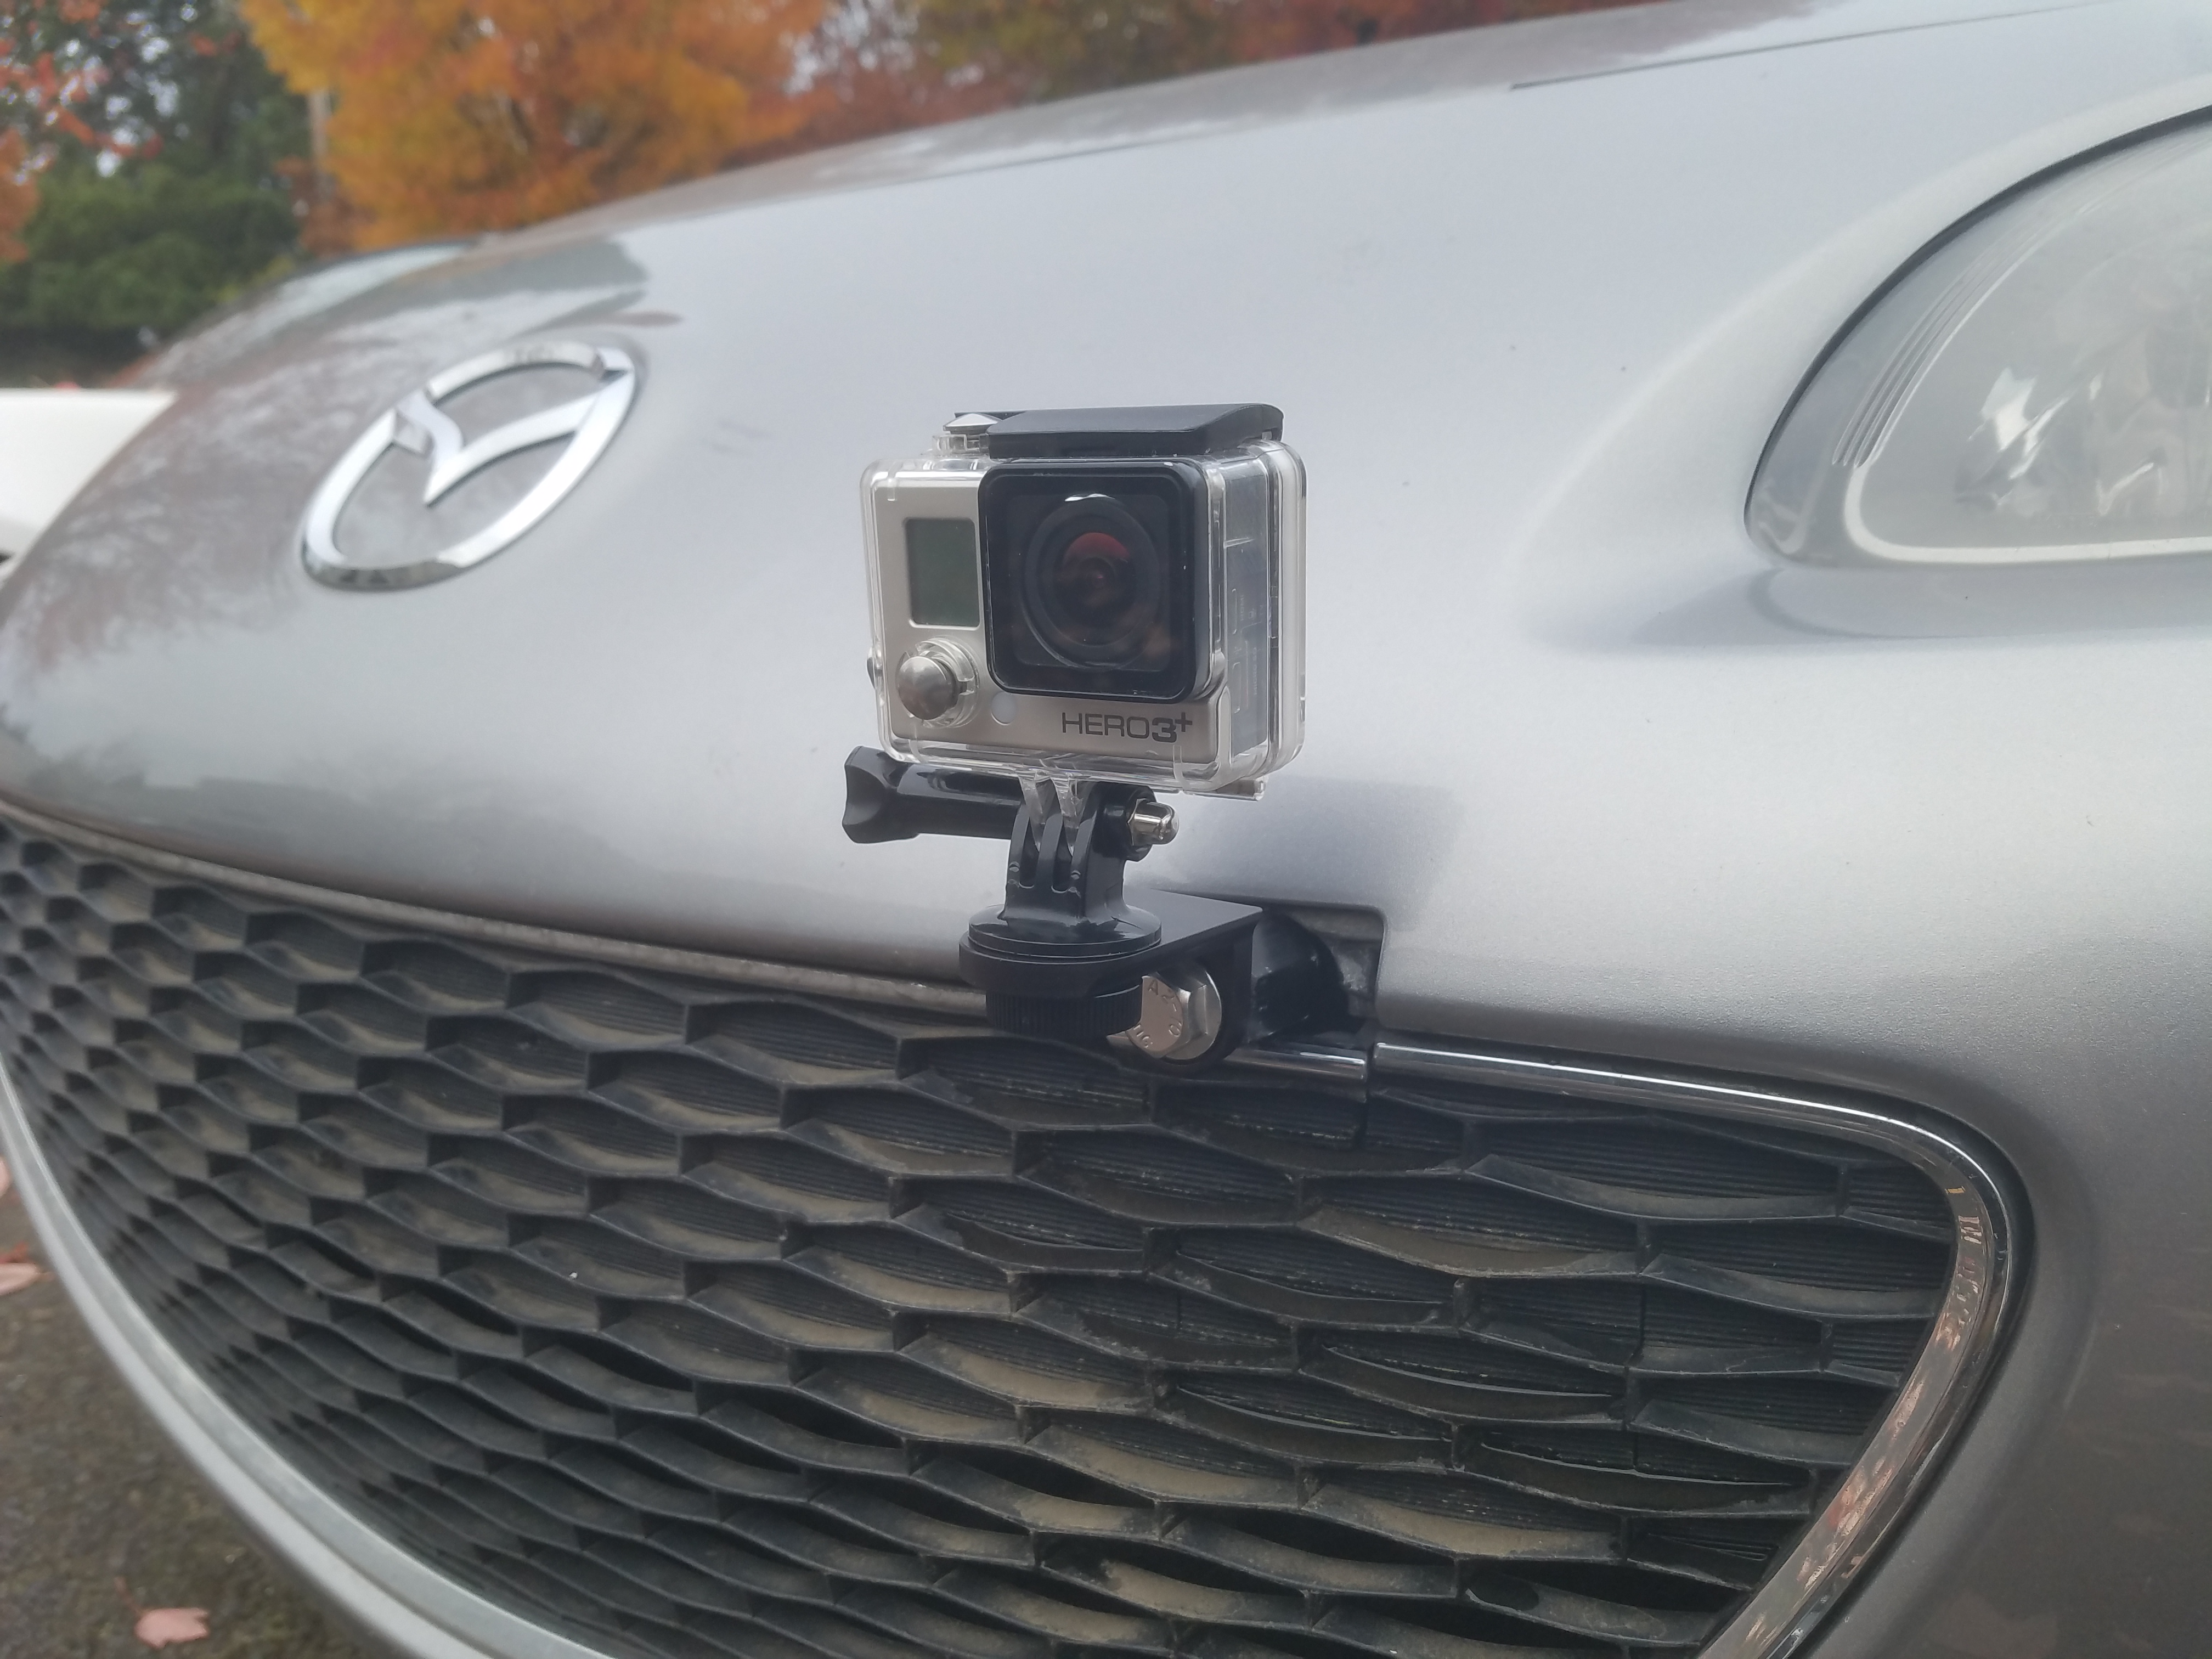
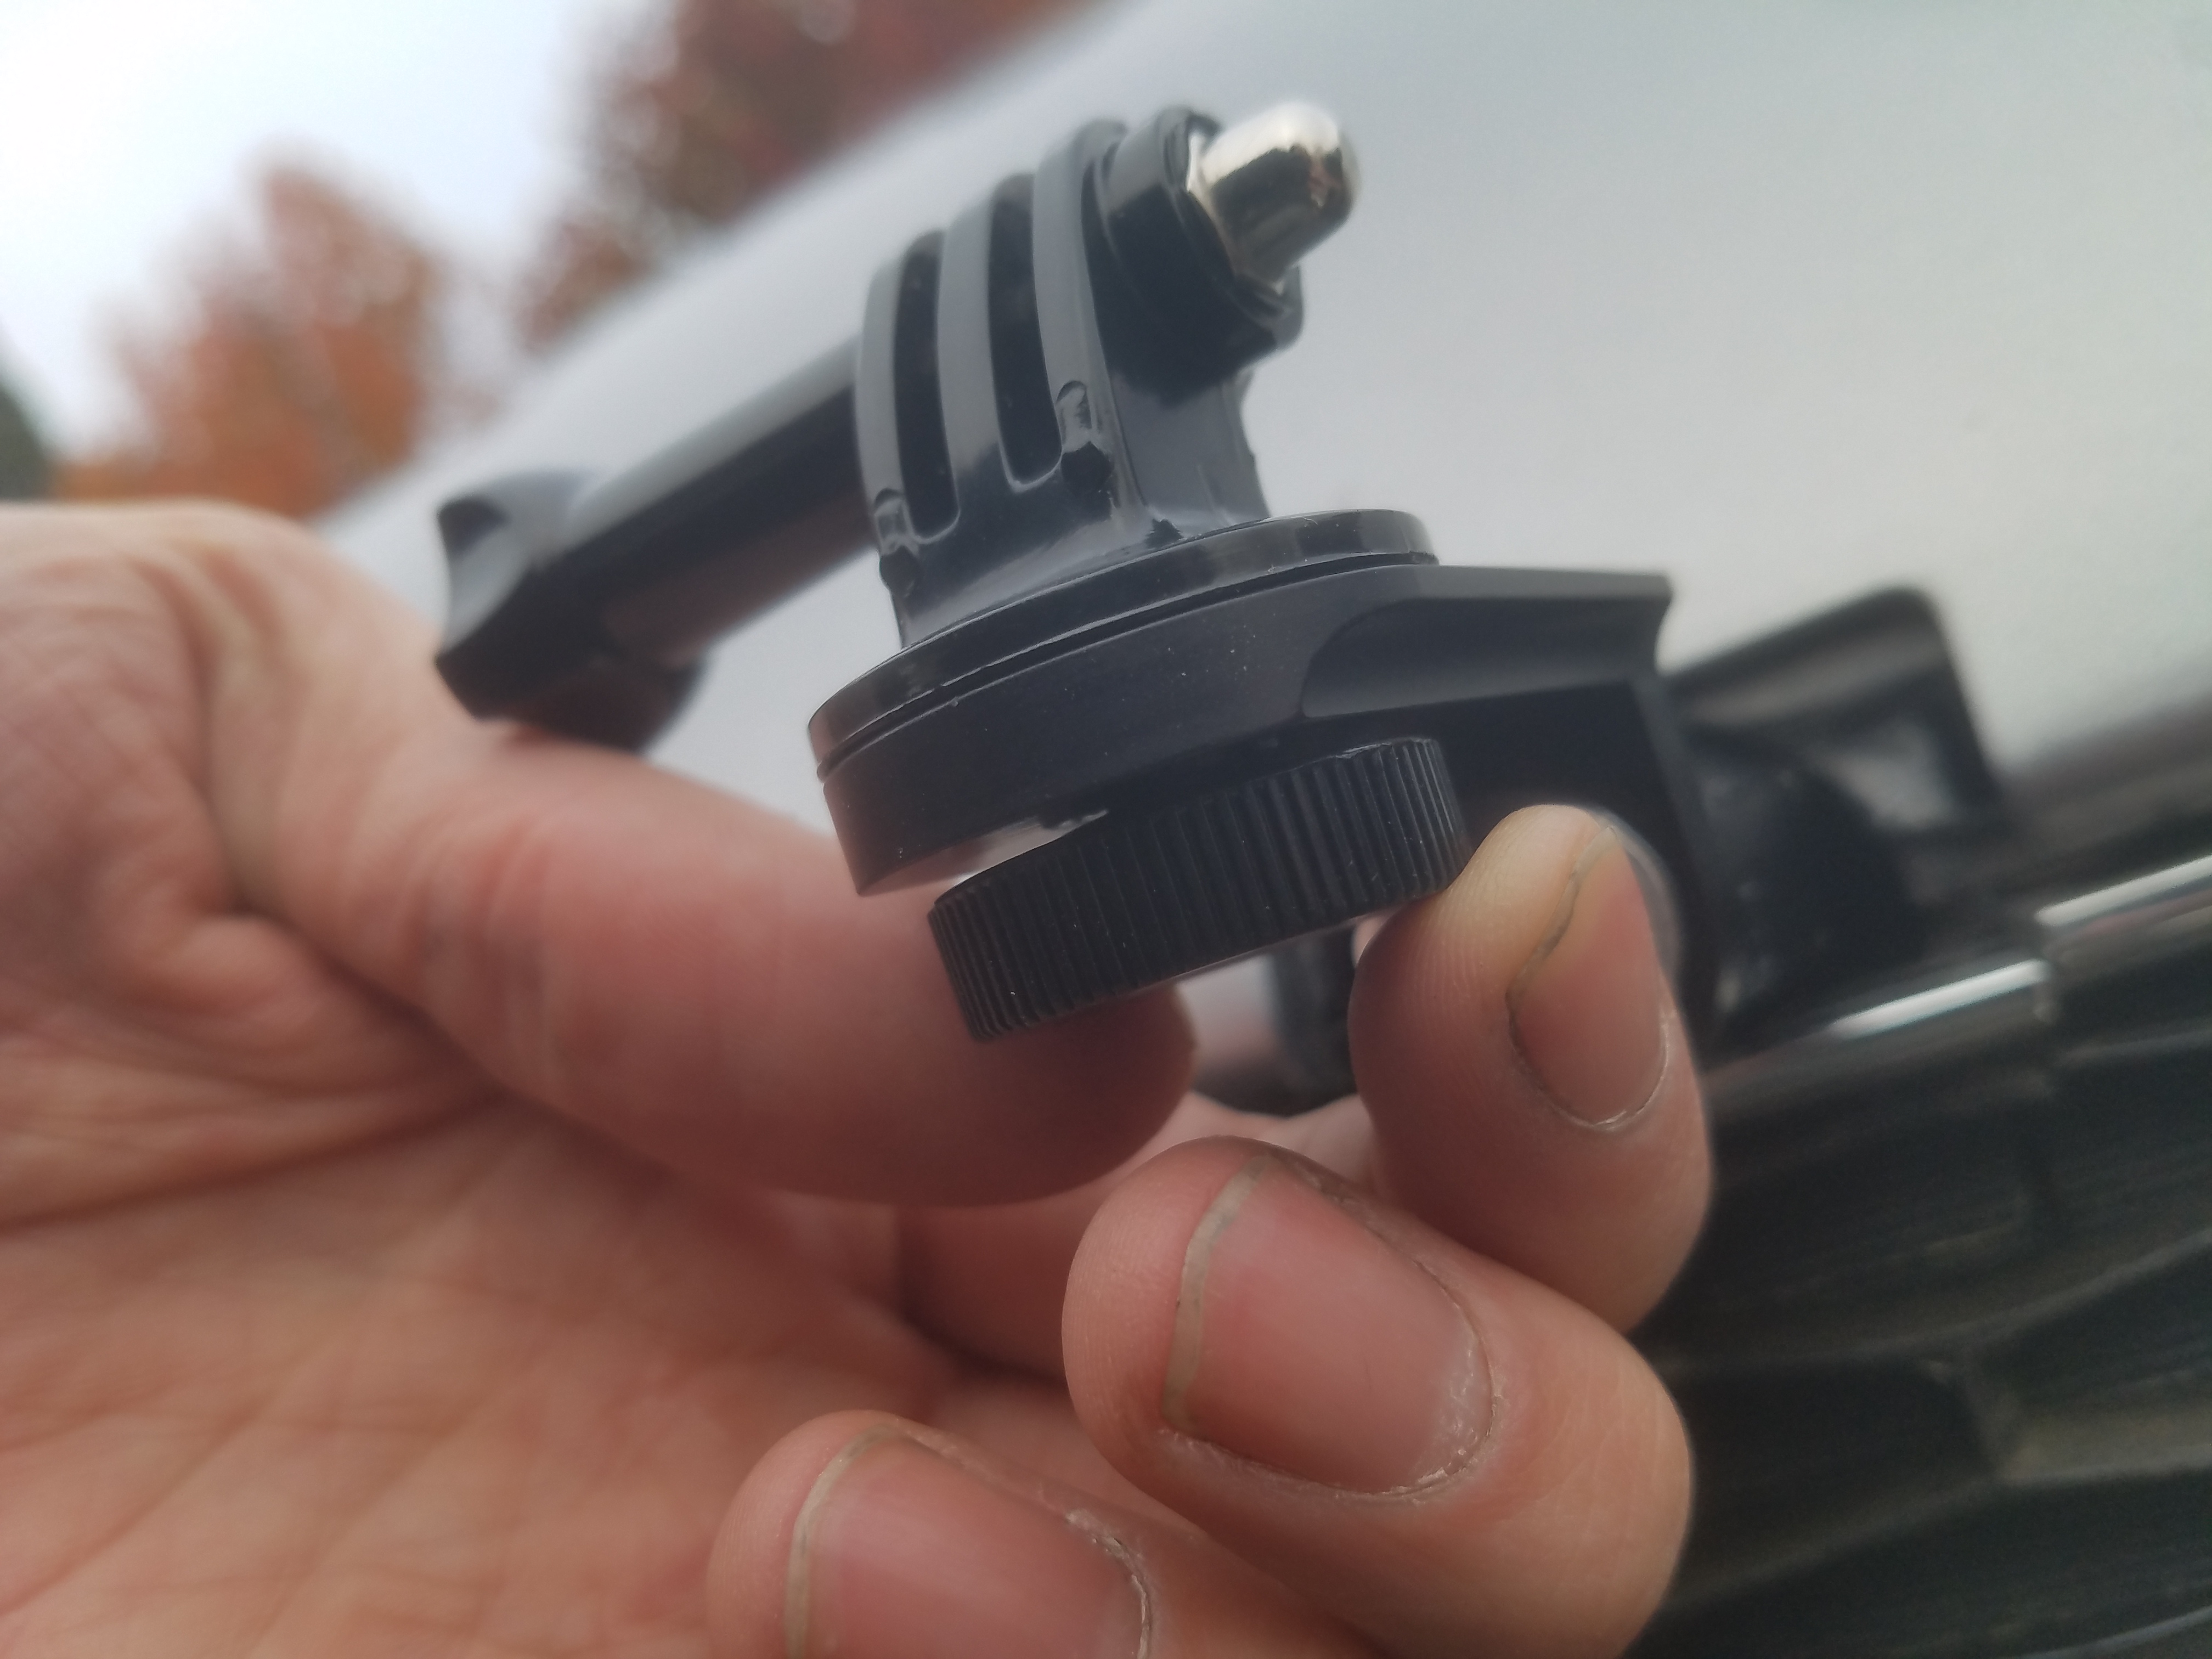
Install the Action Cam Mount
Use the included thumb screw to tighten the Action Cam Mount onto the bracket, as shown
Installing the Action Cam
Remove the bolt from the Action Cam Mount, place the Action Cam into the gaps on the mount, and reinstall the bolt.
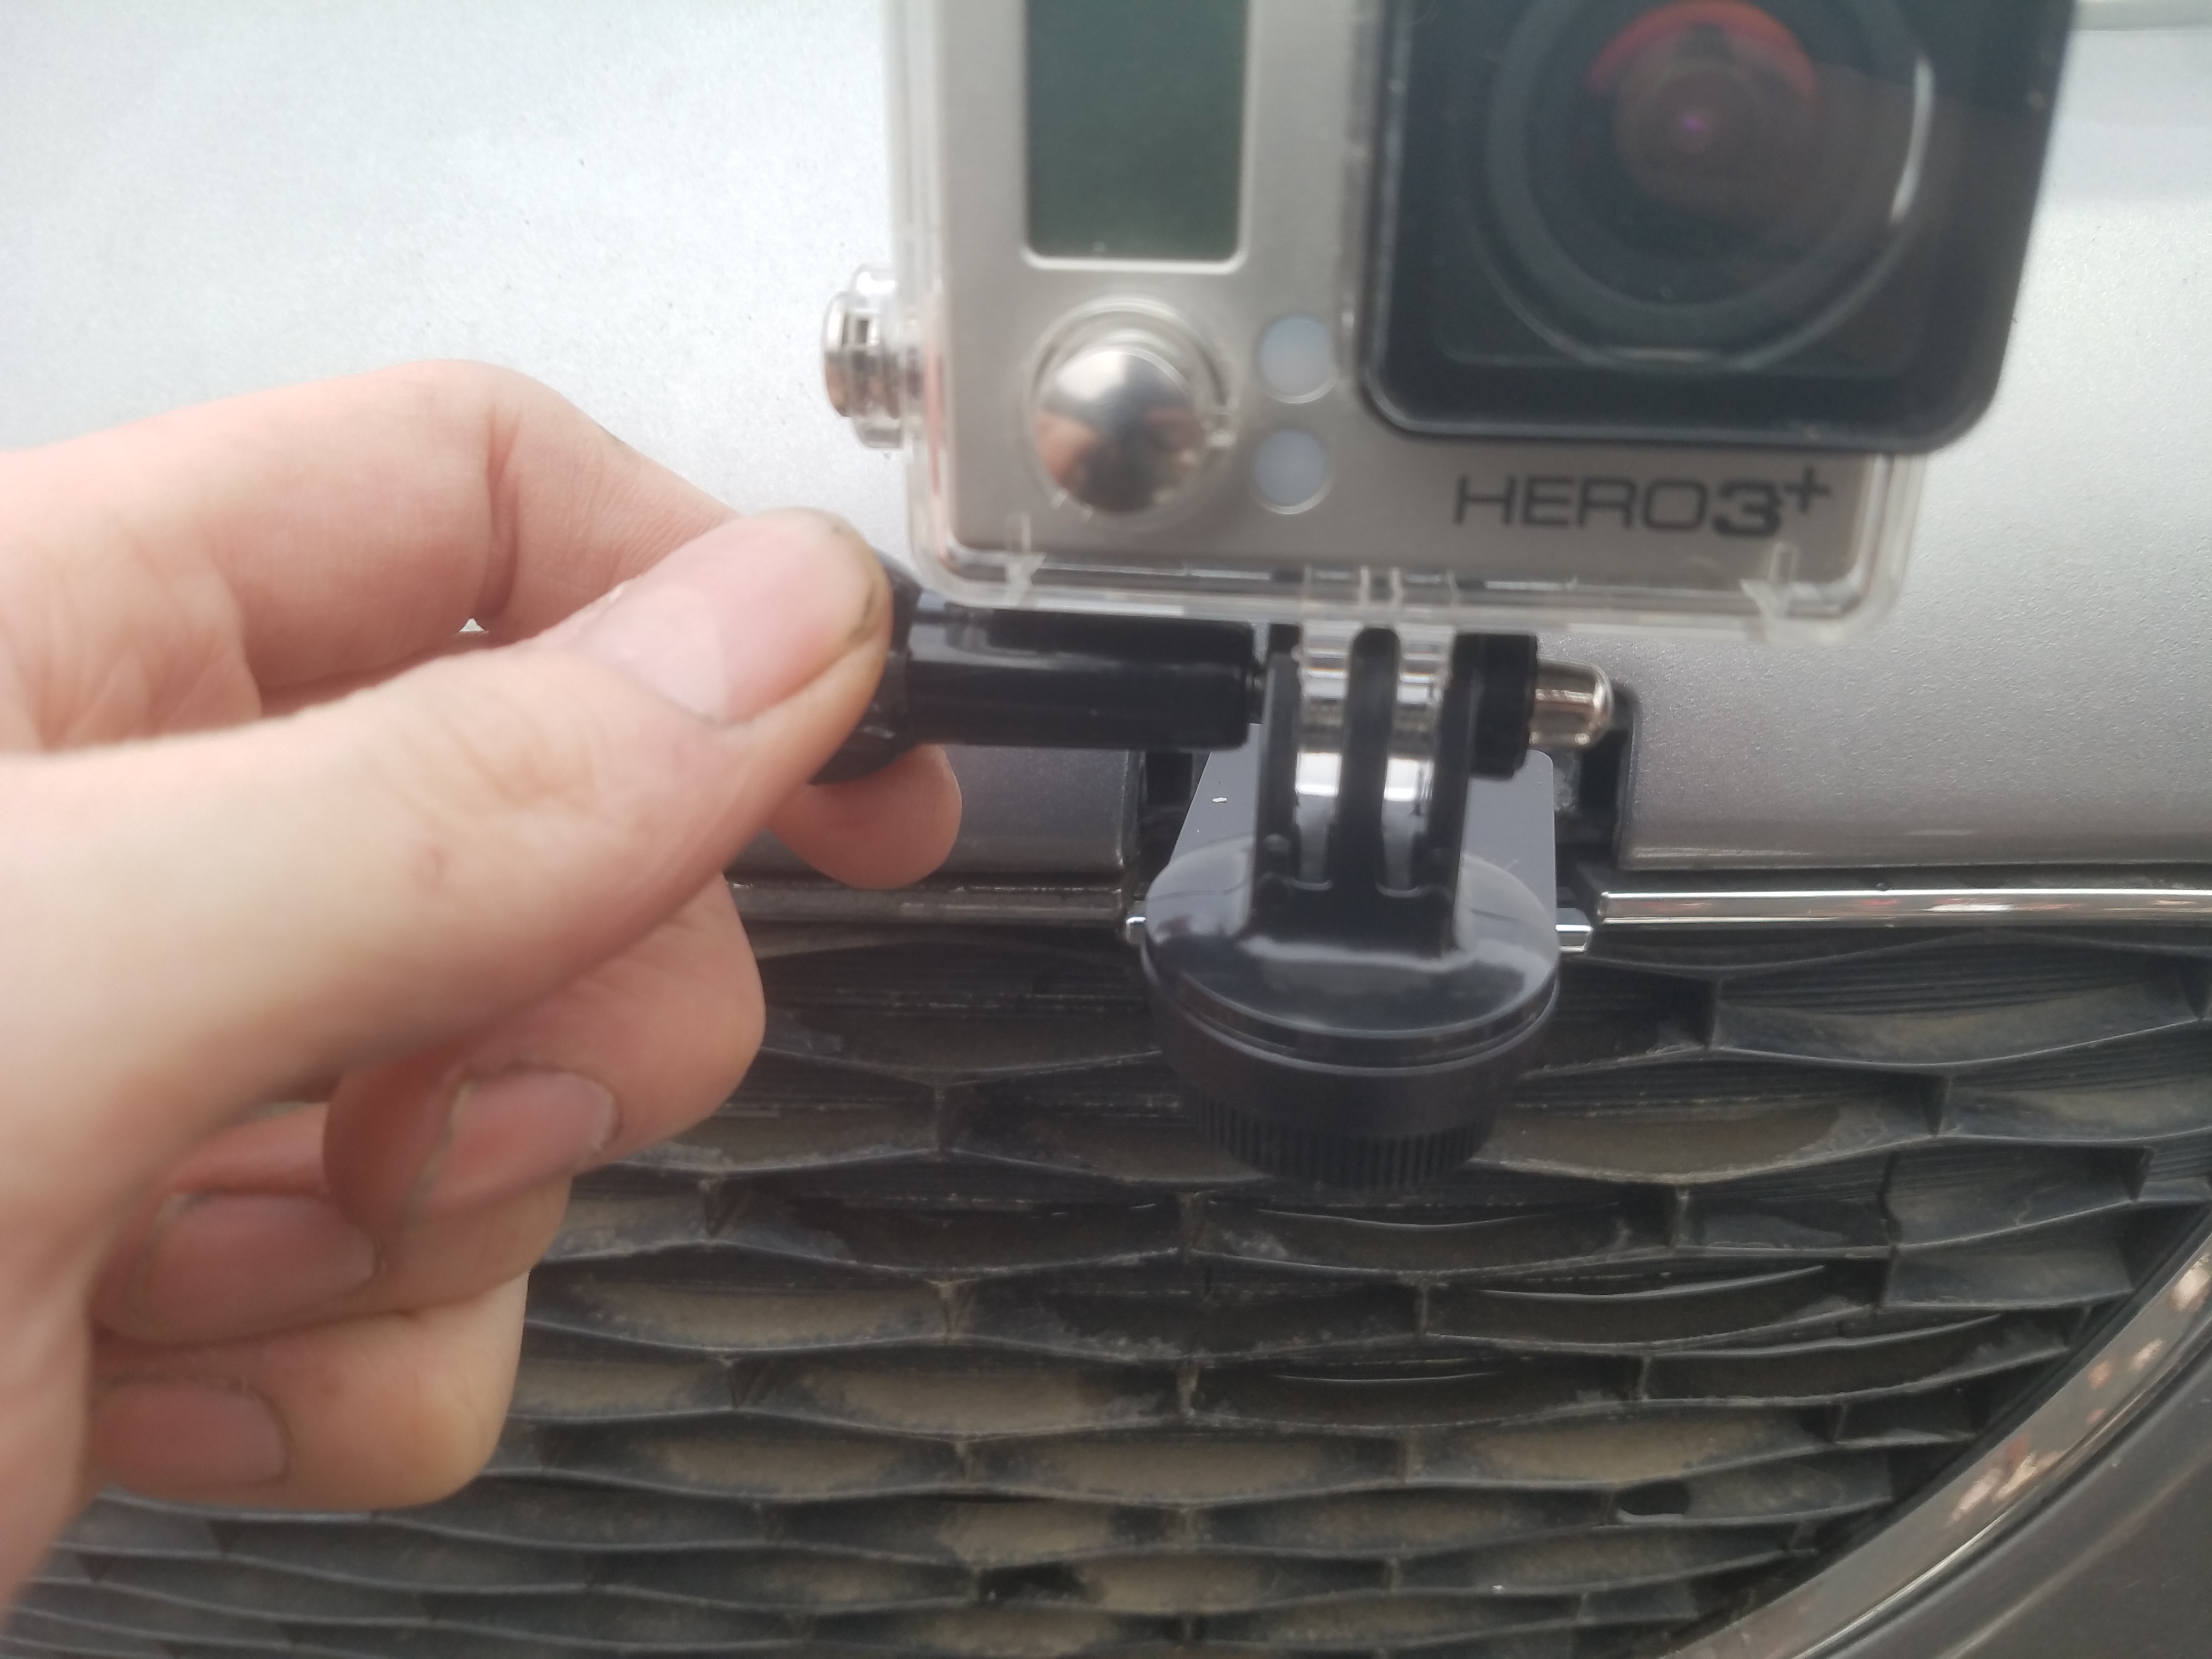
You can loosen all 3 bolts in order to rotate your camera into the optimal position, just remember to tighten them back up!