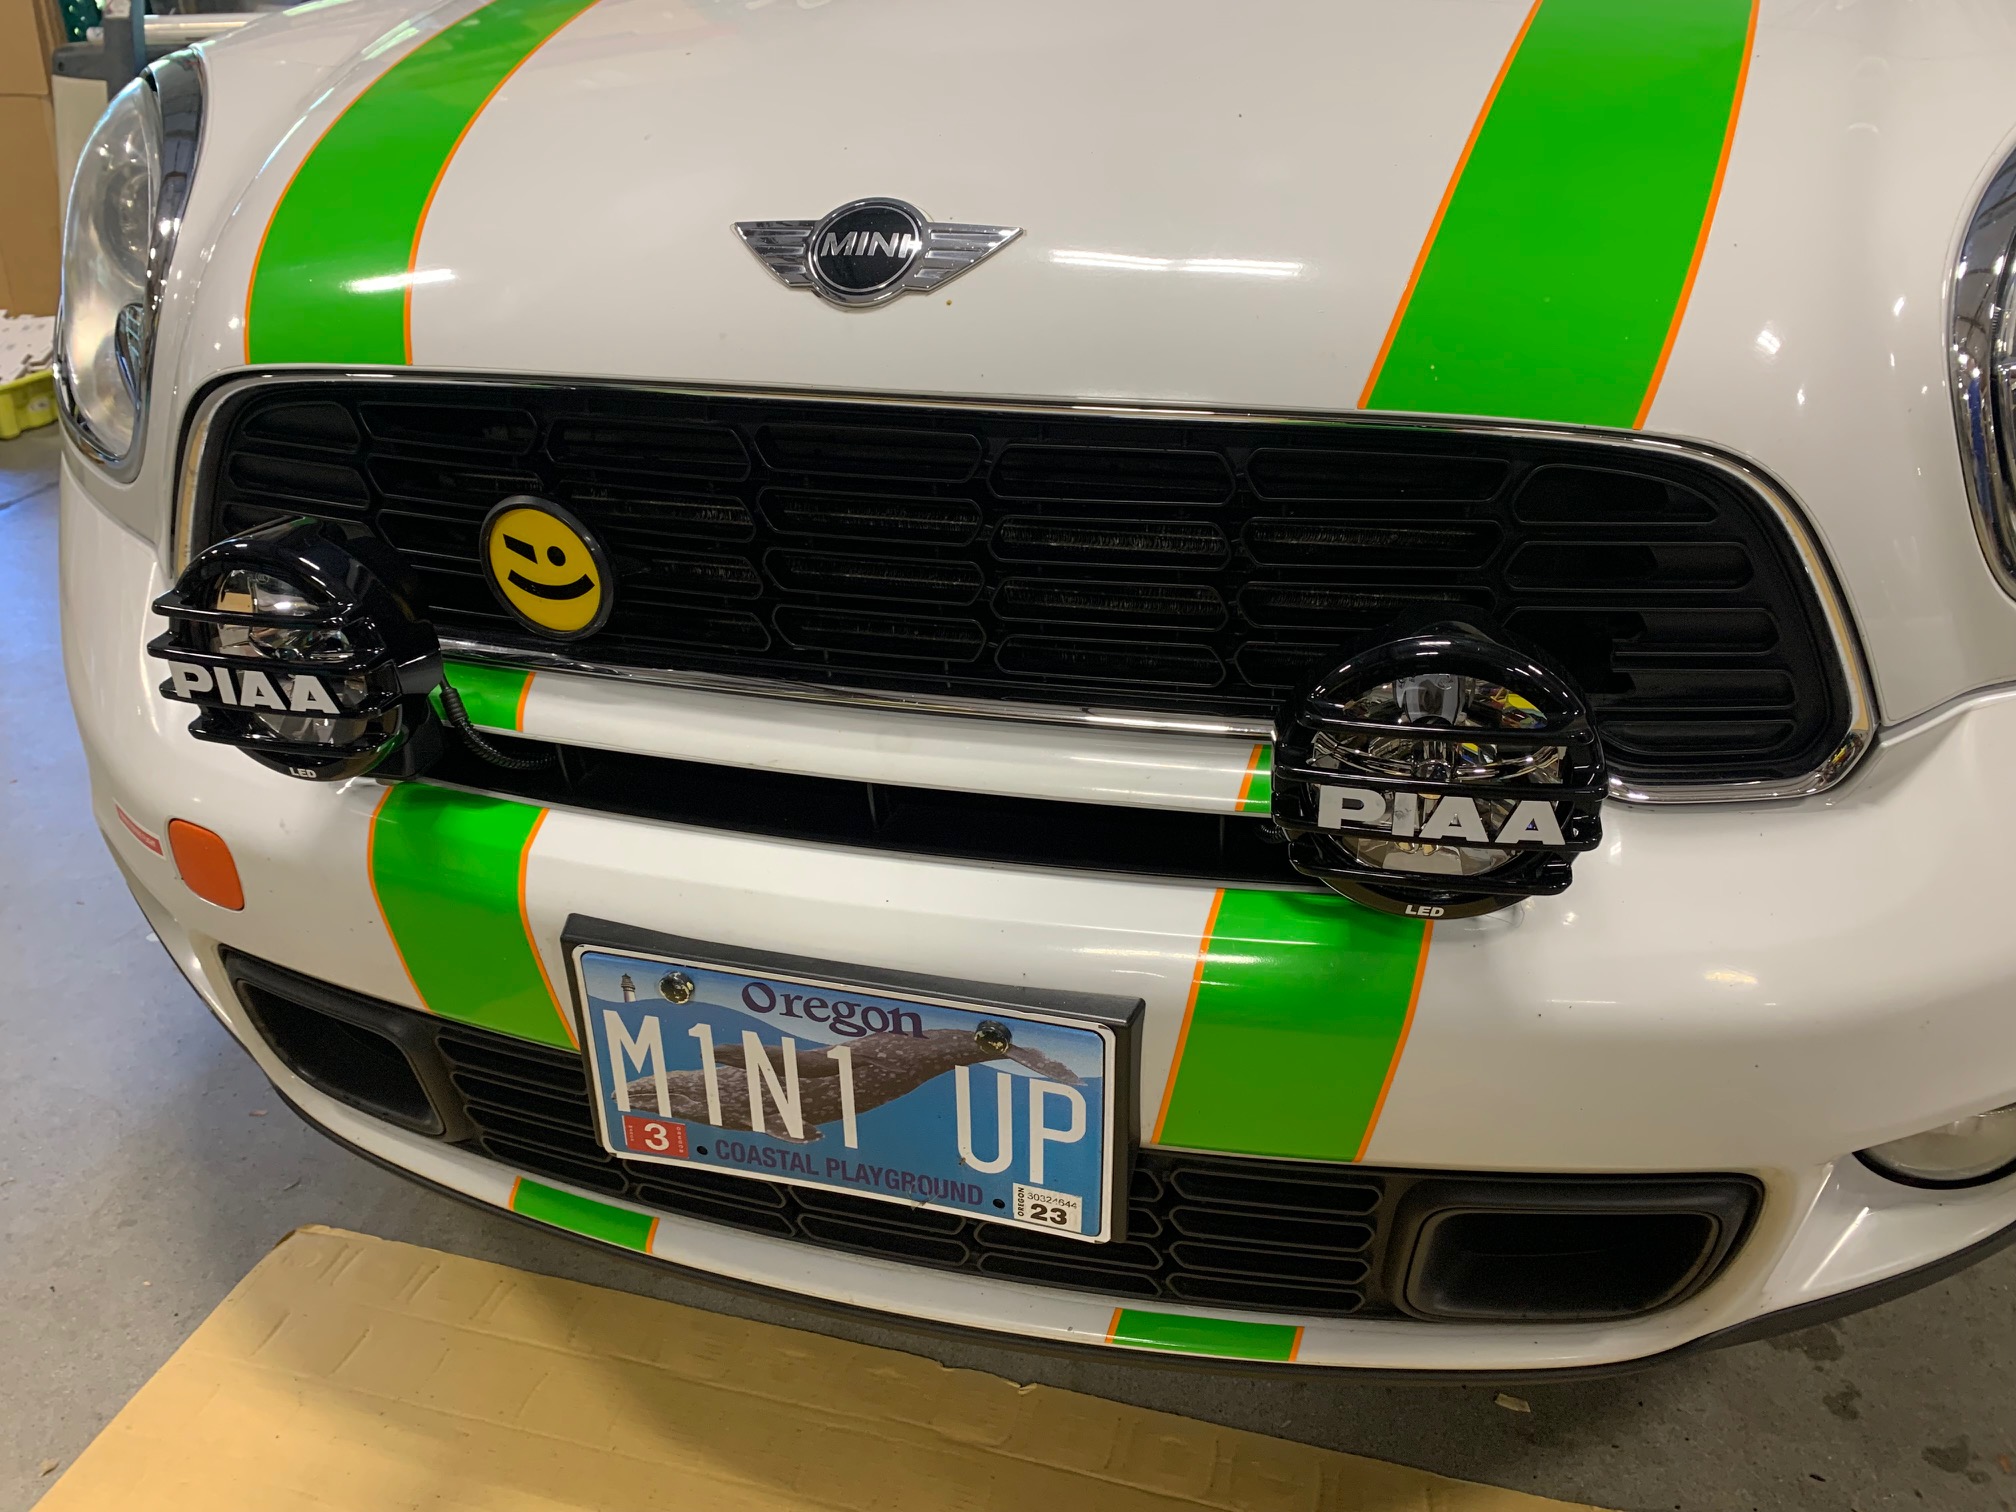
THANK YOU for purchasing the MINI R60 Aux Driving Light Kit from CravenSpeed. This product is made from the highest grade materials, and is guaranteed to be free from defects.
You can buy our CravenSpeed Auxiliary Light Kit for MINI R60 here
Parts Included:
- 1x PIAA 5 LP550 High Intensity LED Driving Lamps Kit
- 1x CravenSpeed R60 Aux Light Bracket Kit
- 1x Add-a-Circuit Fuse Holder w/1ma Mini Fuse
- 5x Zip Ties
Tools Required:
- Ratchet Wrench w/ 10mm Socket
- 19mm Box End Wrench
- 3/16 Hex Key Wrench
- Wire Terminal Crimper Tool
- Wire Stripper/ Cutters
Please read through these instructions completely to get an idea of what is involved before starting.
Procedure
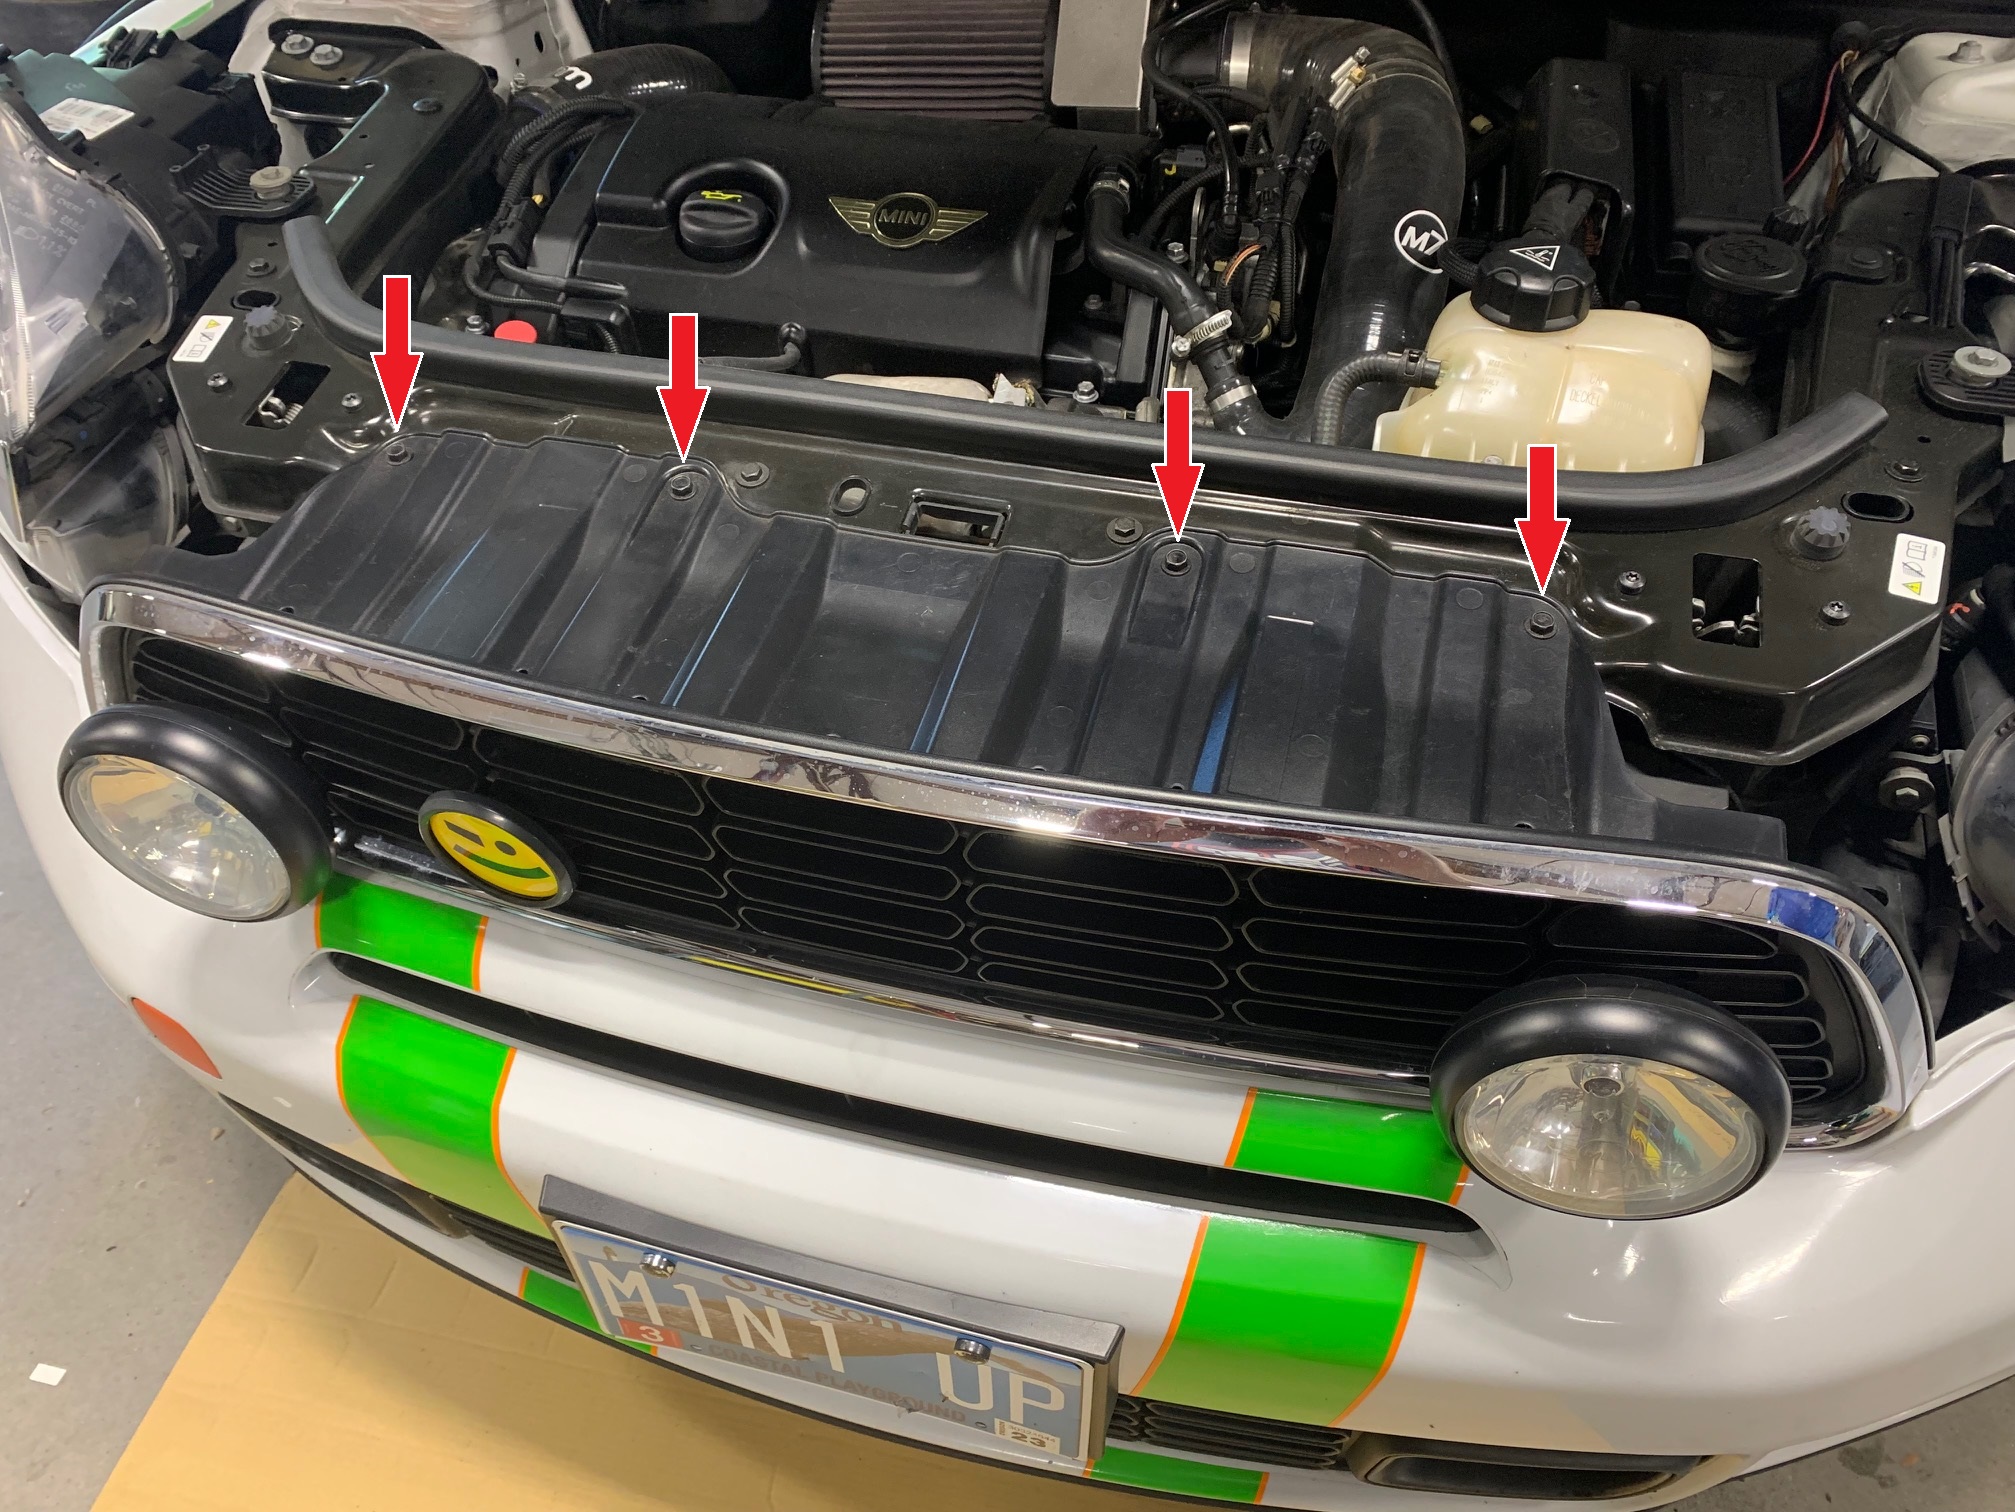
- Locate a level, clean, and well-lit location to perform this installation. We'll need to remove the grill to access the area to mount the light brackets, so grab your trusty 10mm socket and wrench and remove the four (4) screws affixing it to the top of the core support.
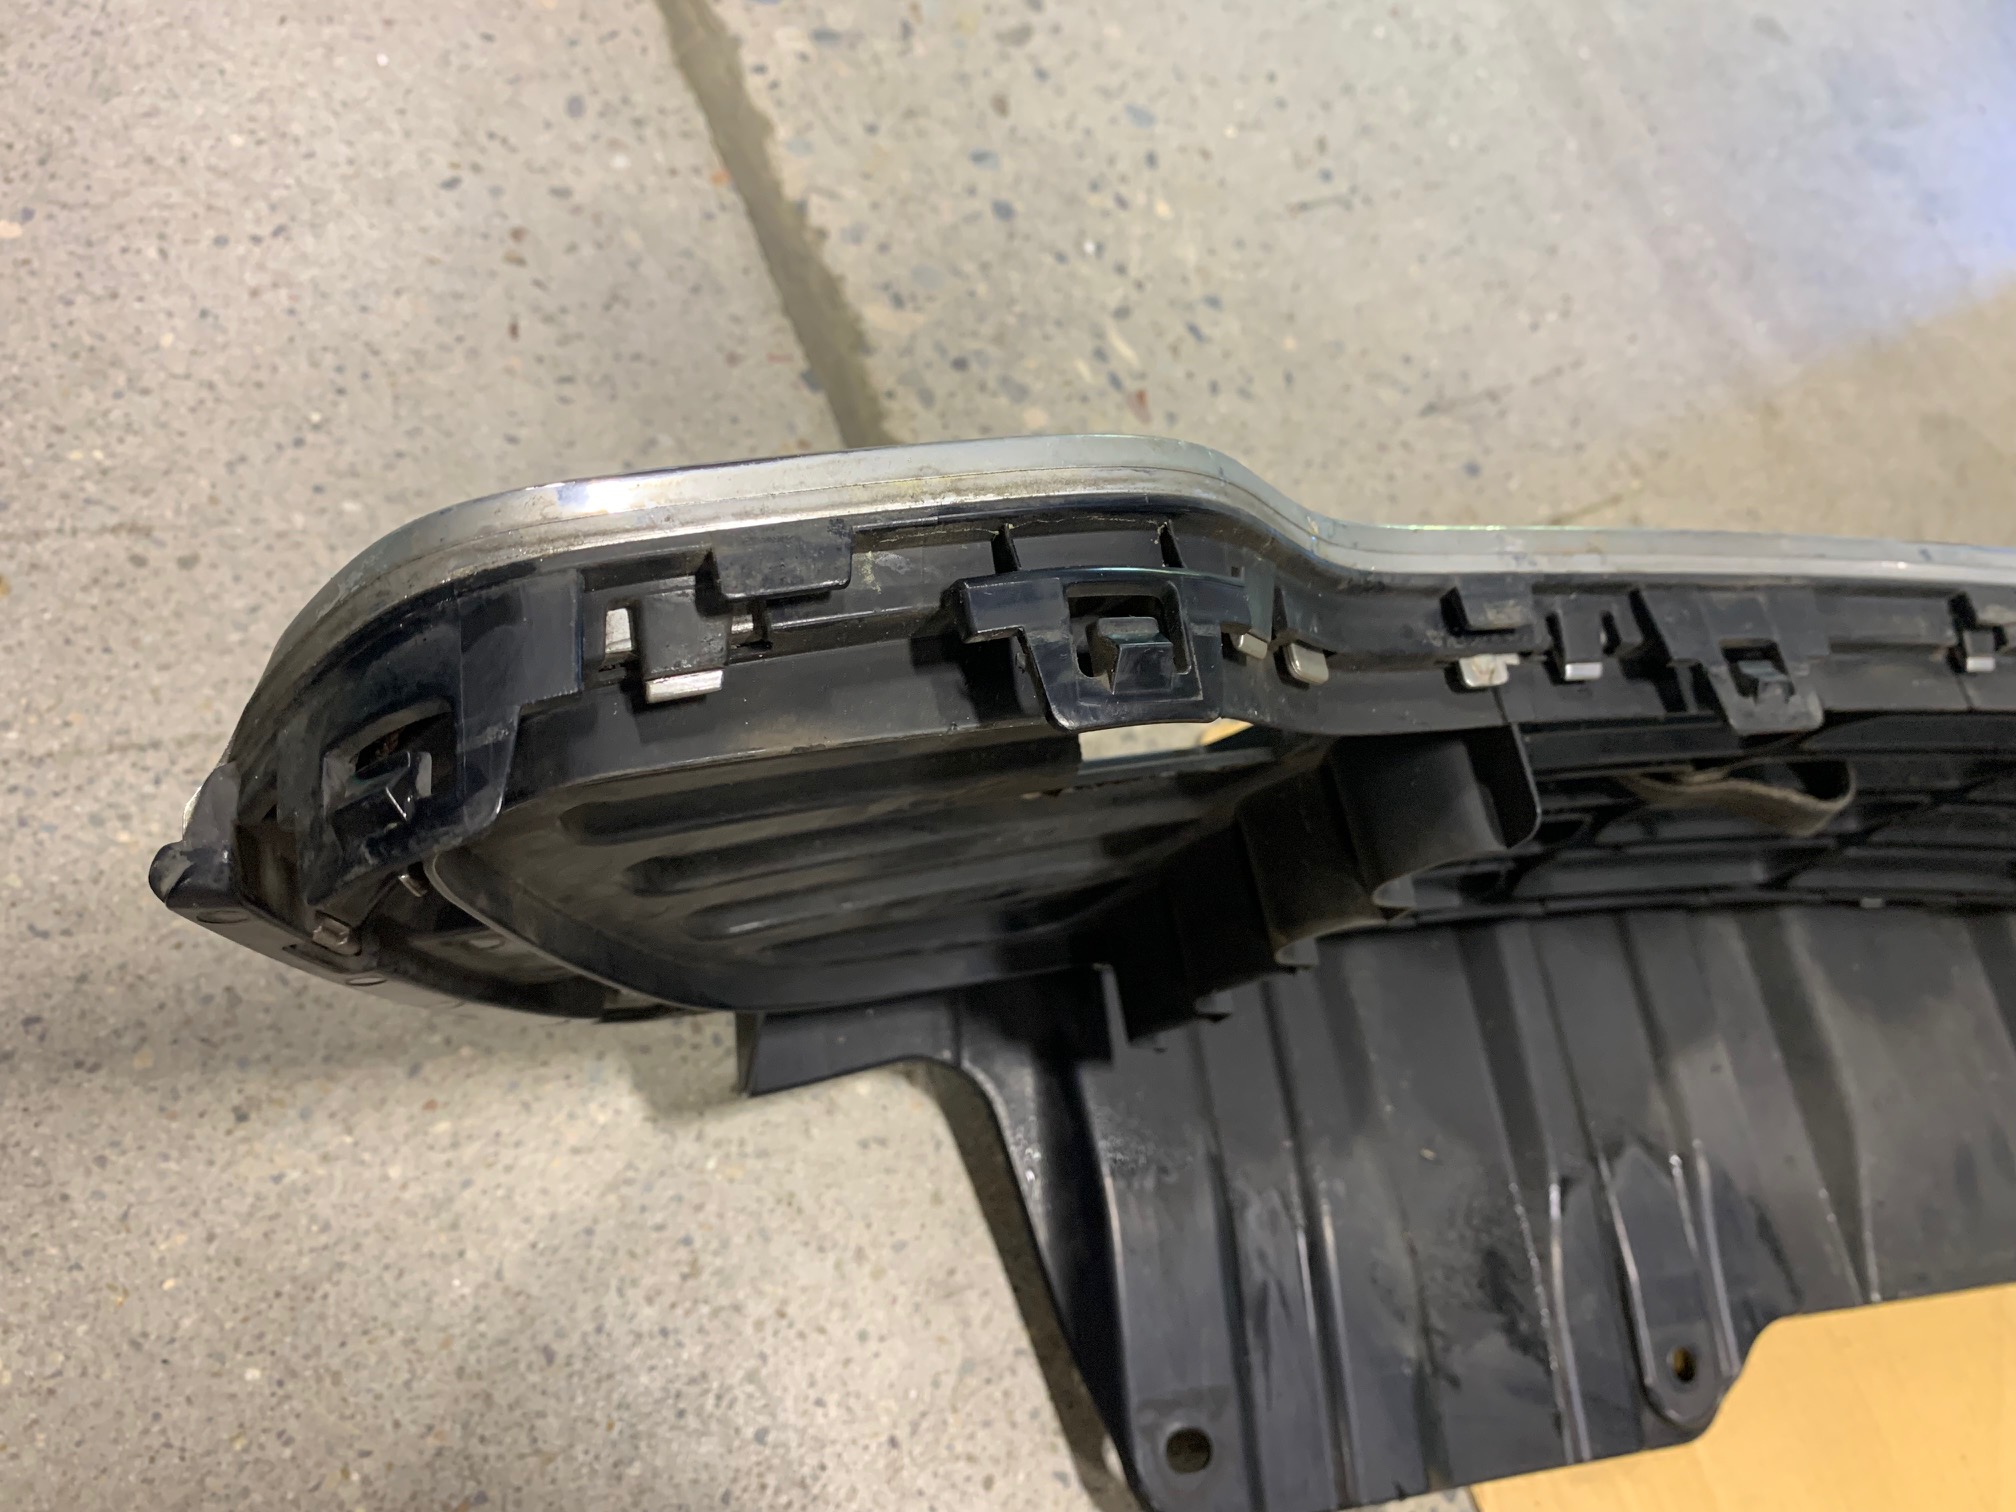
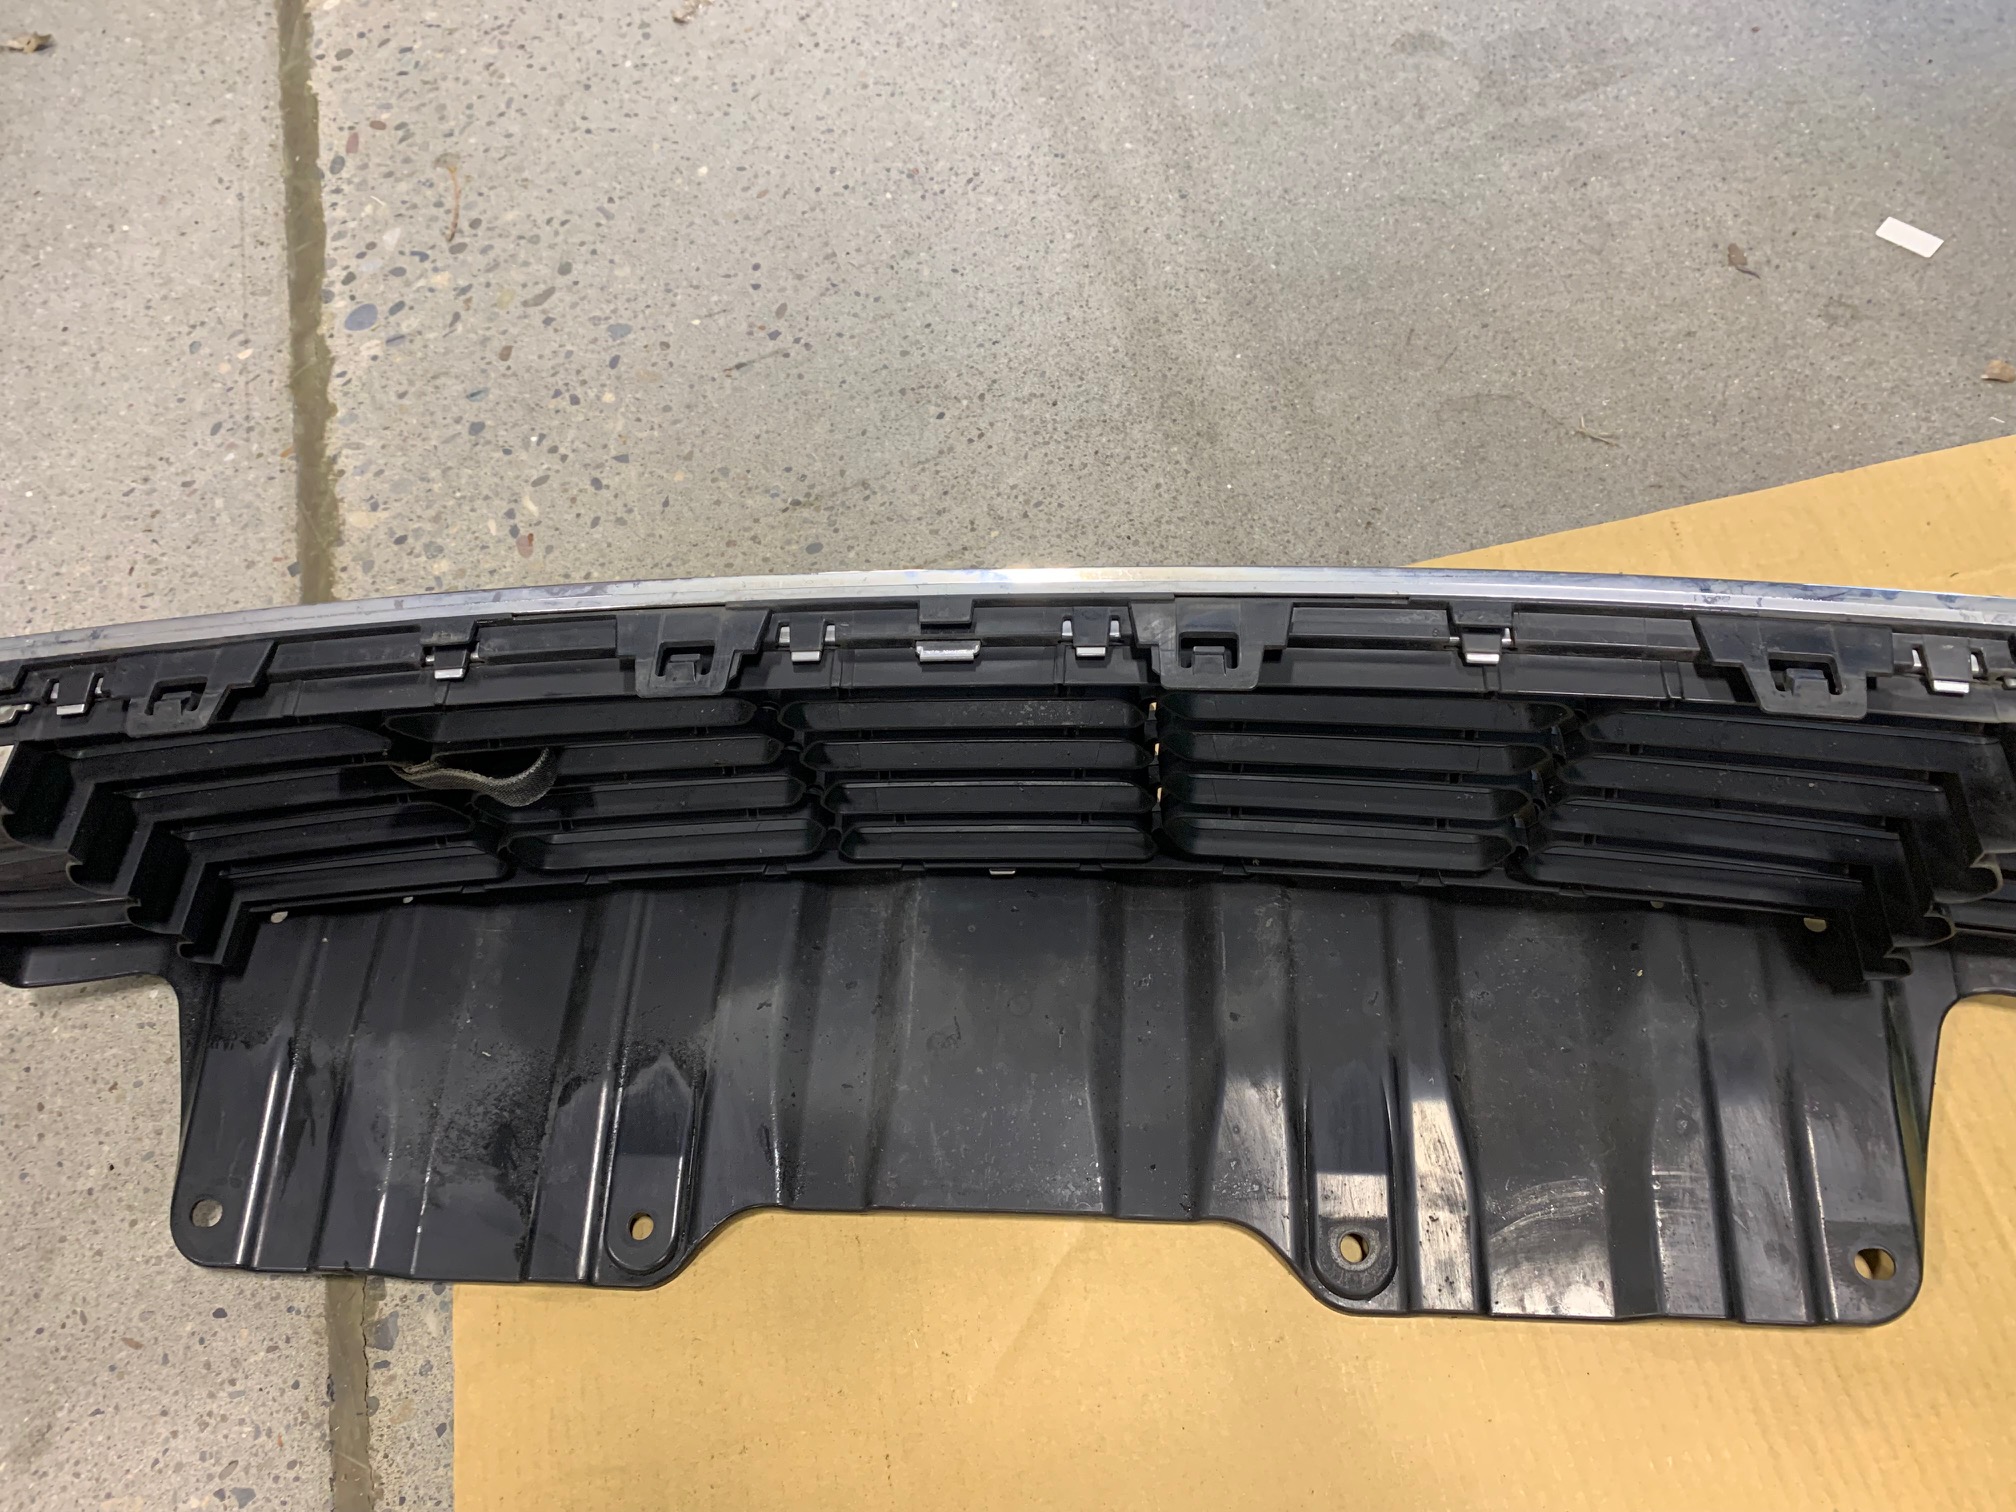
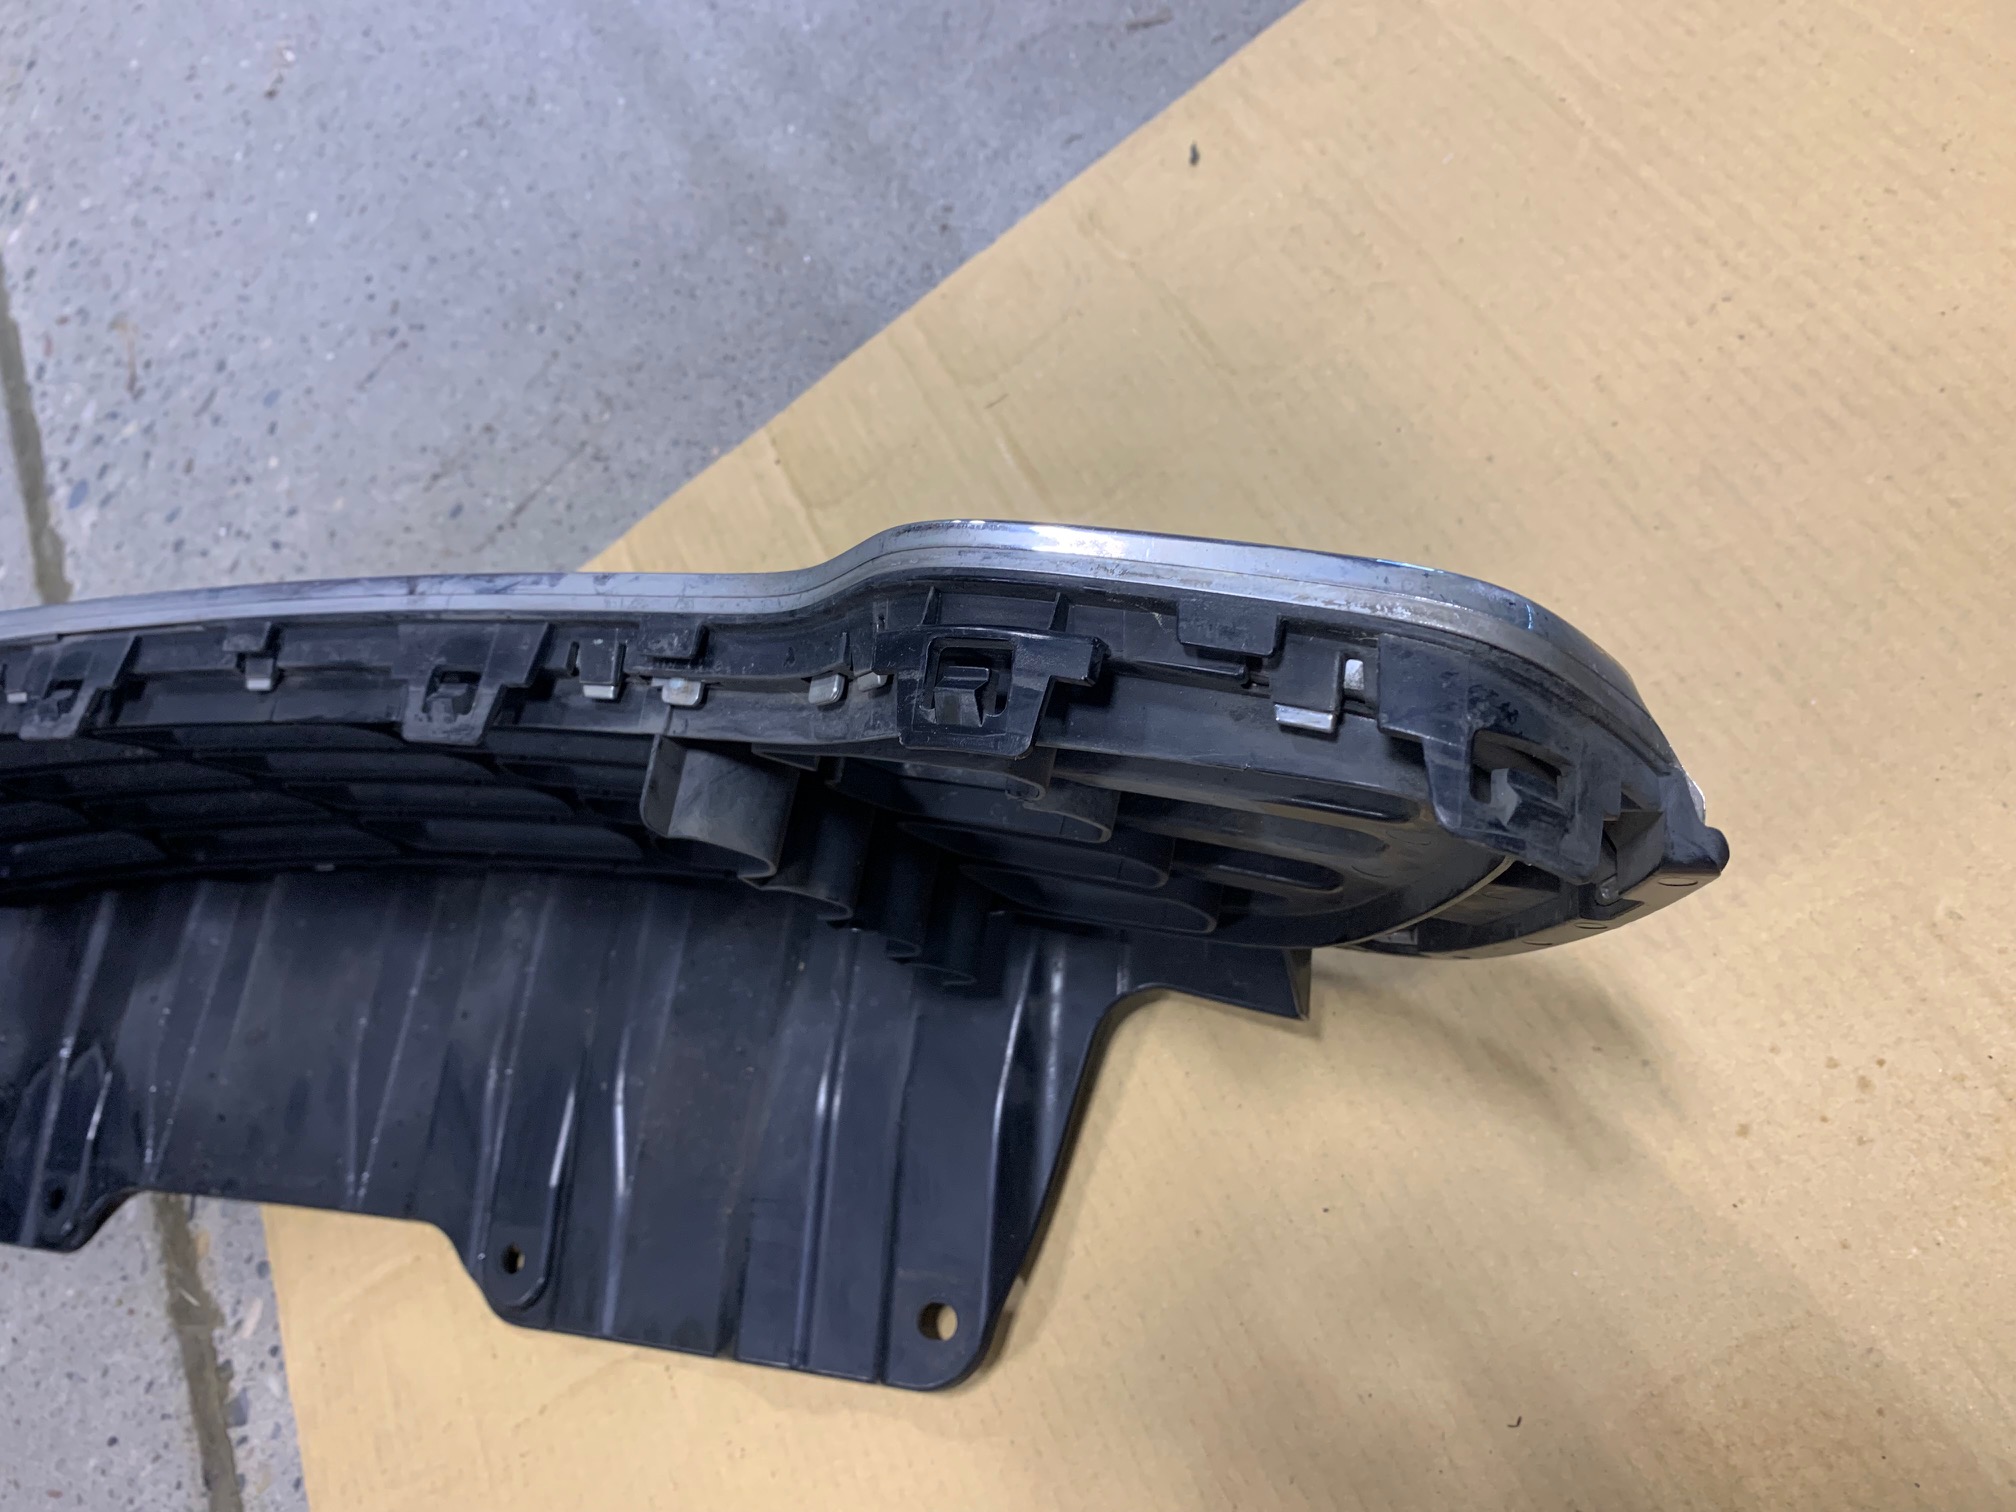
- With those four (4) 10mm screws removed, you'll now need to gently pull along the bottom edge of the grill to release the clips. Start from the outer edges, working your way to the center area and give the grill a bit of a wiggle while applying a constant pulling pressure. The following series of images show what the clips you're disengaging look like.
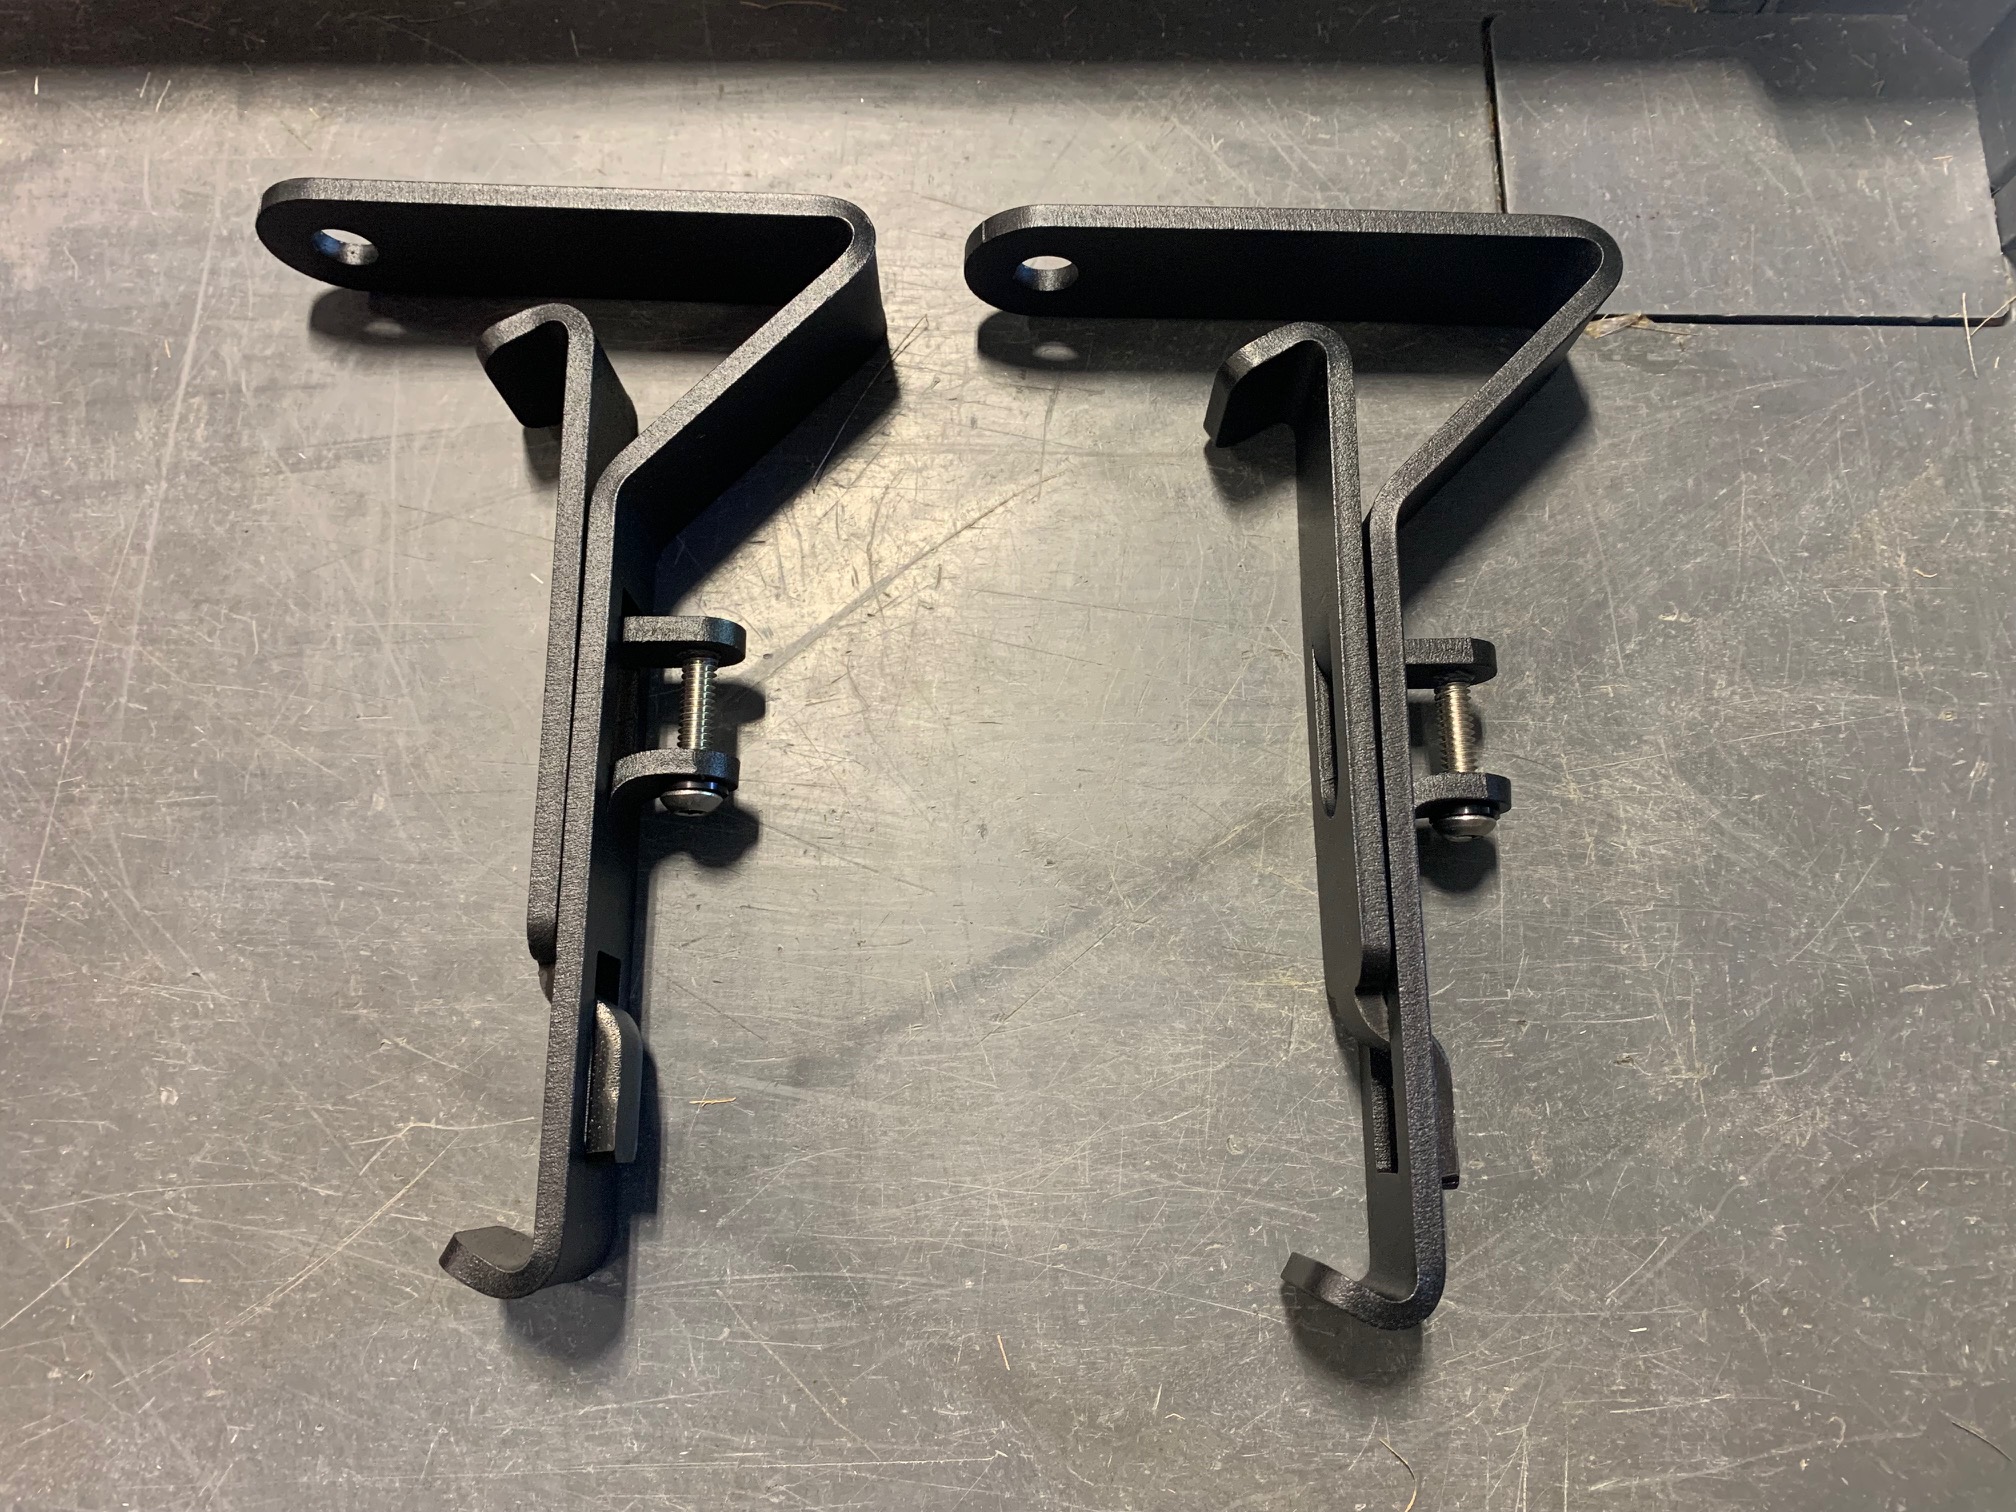
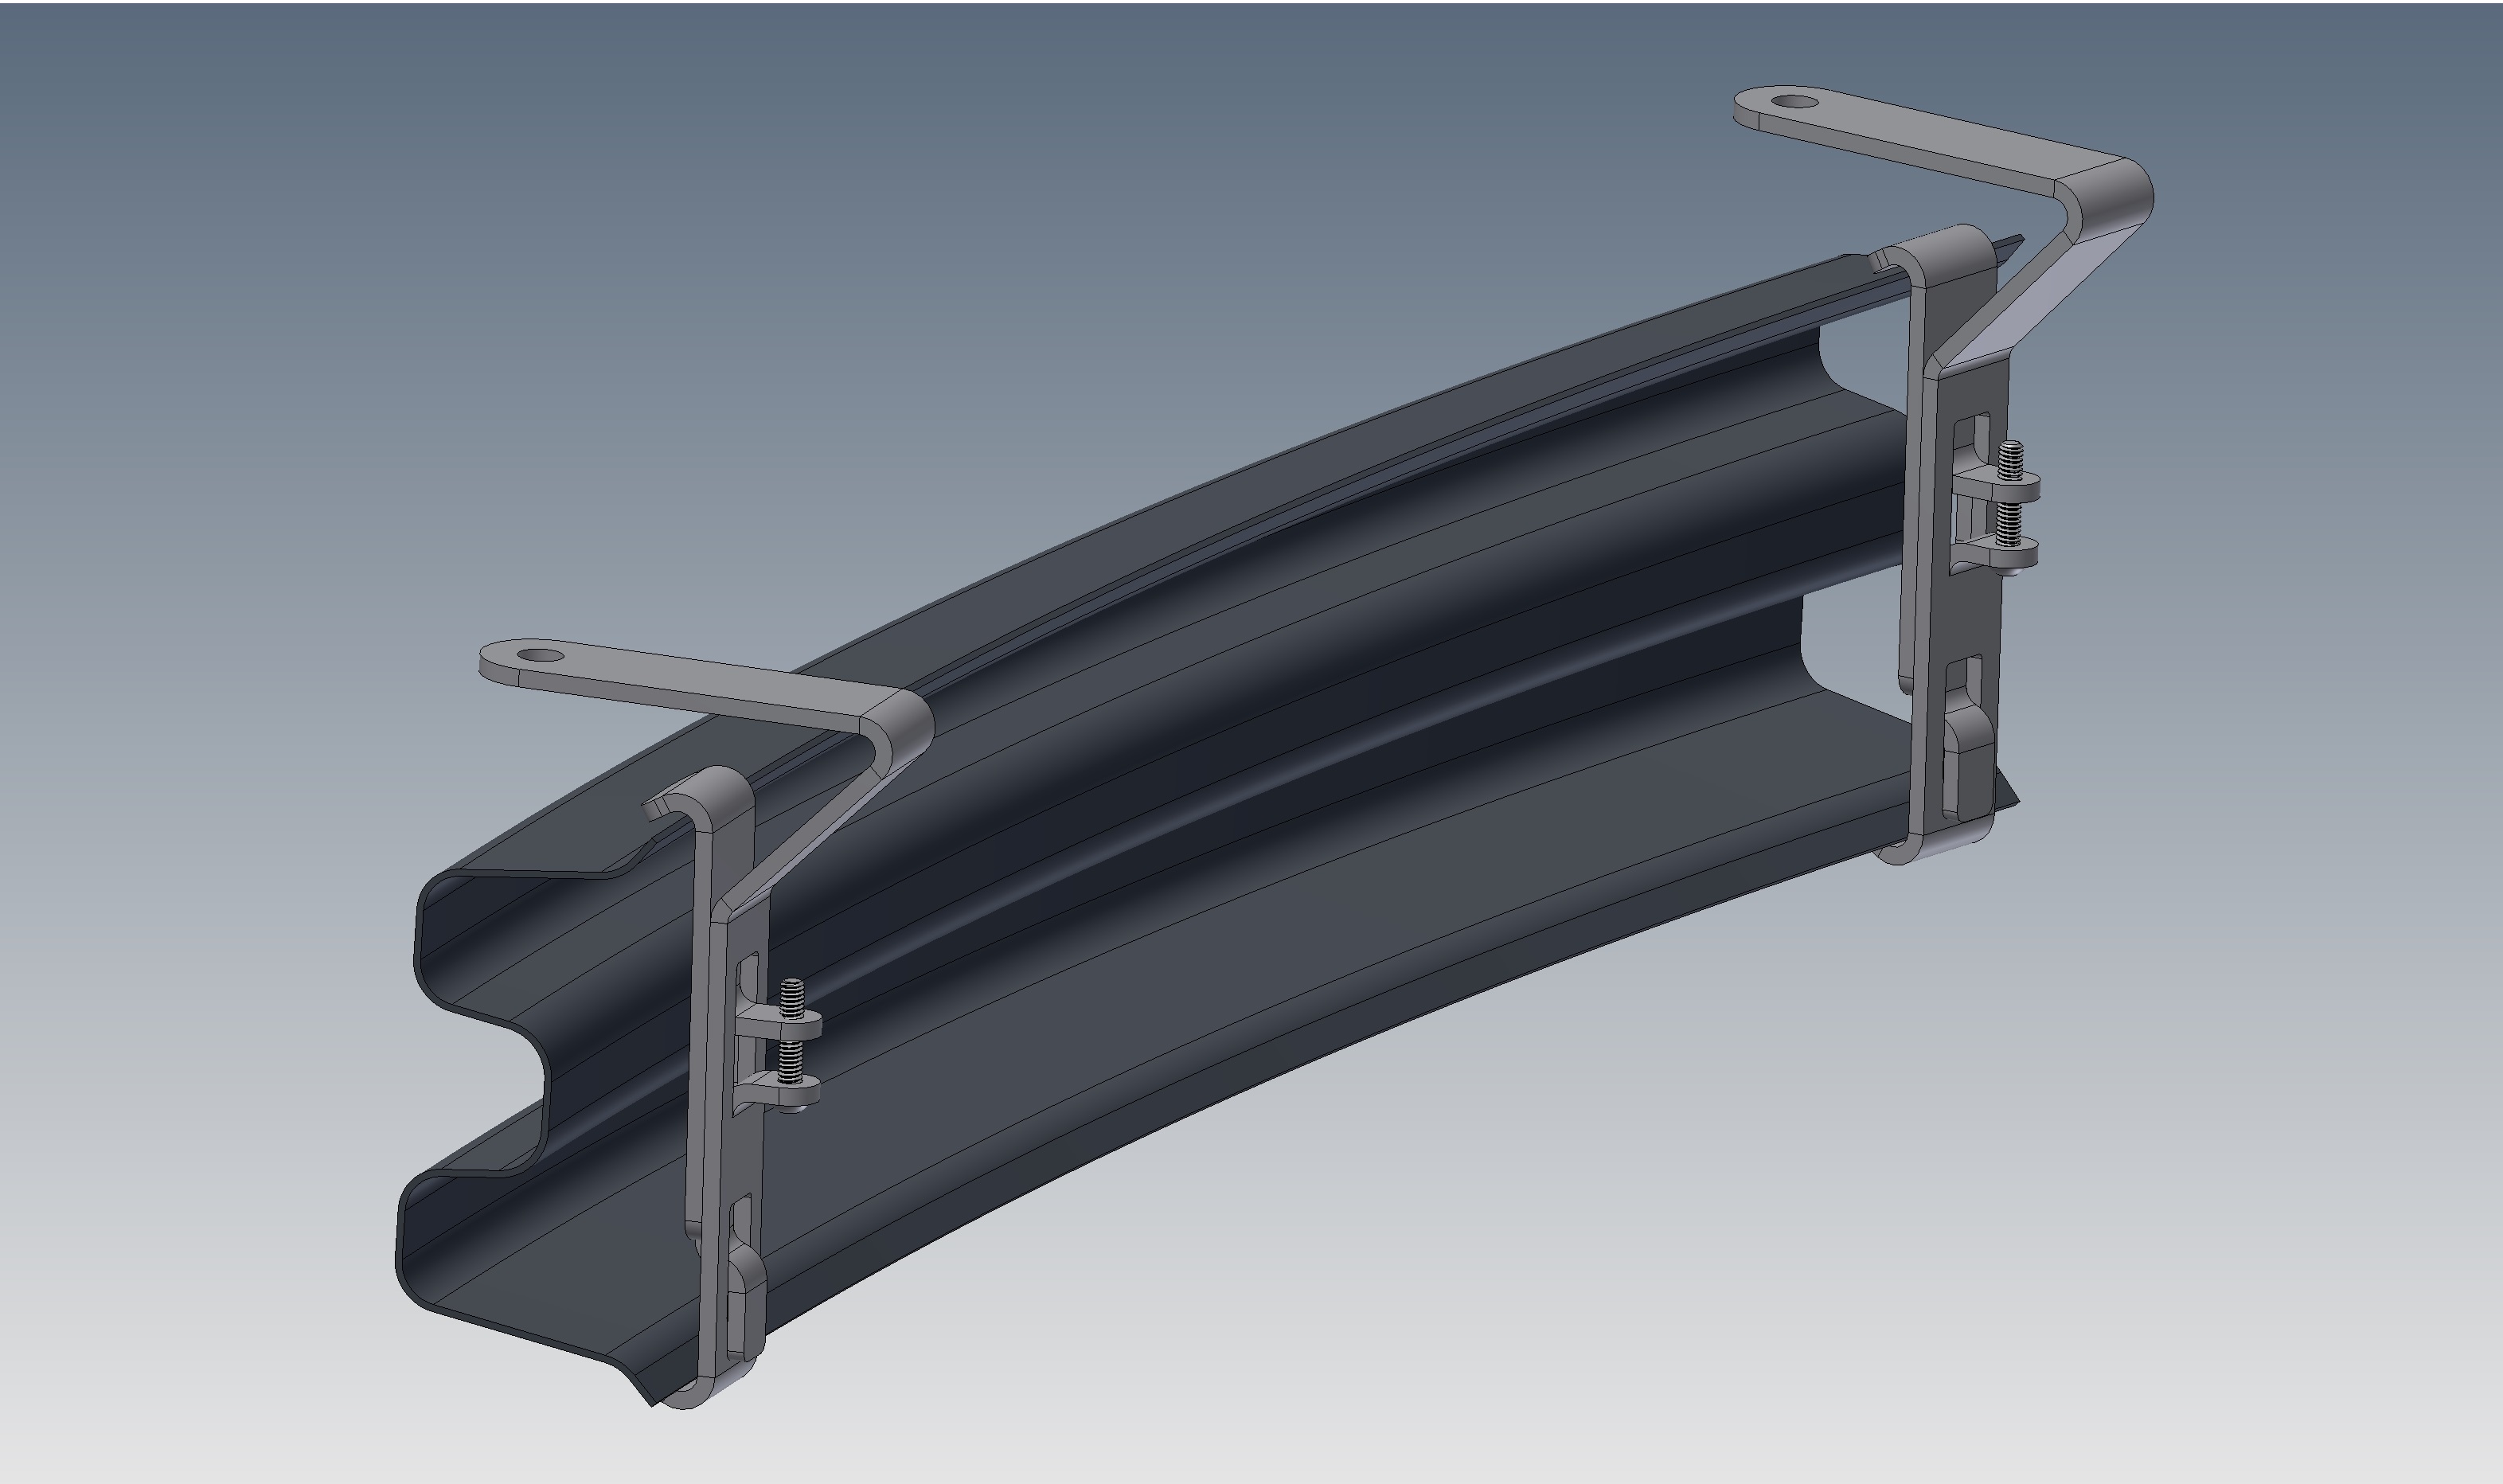
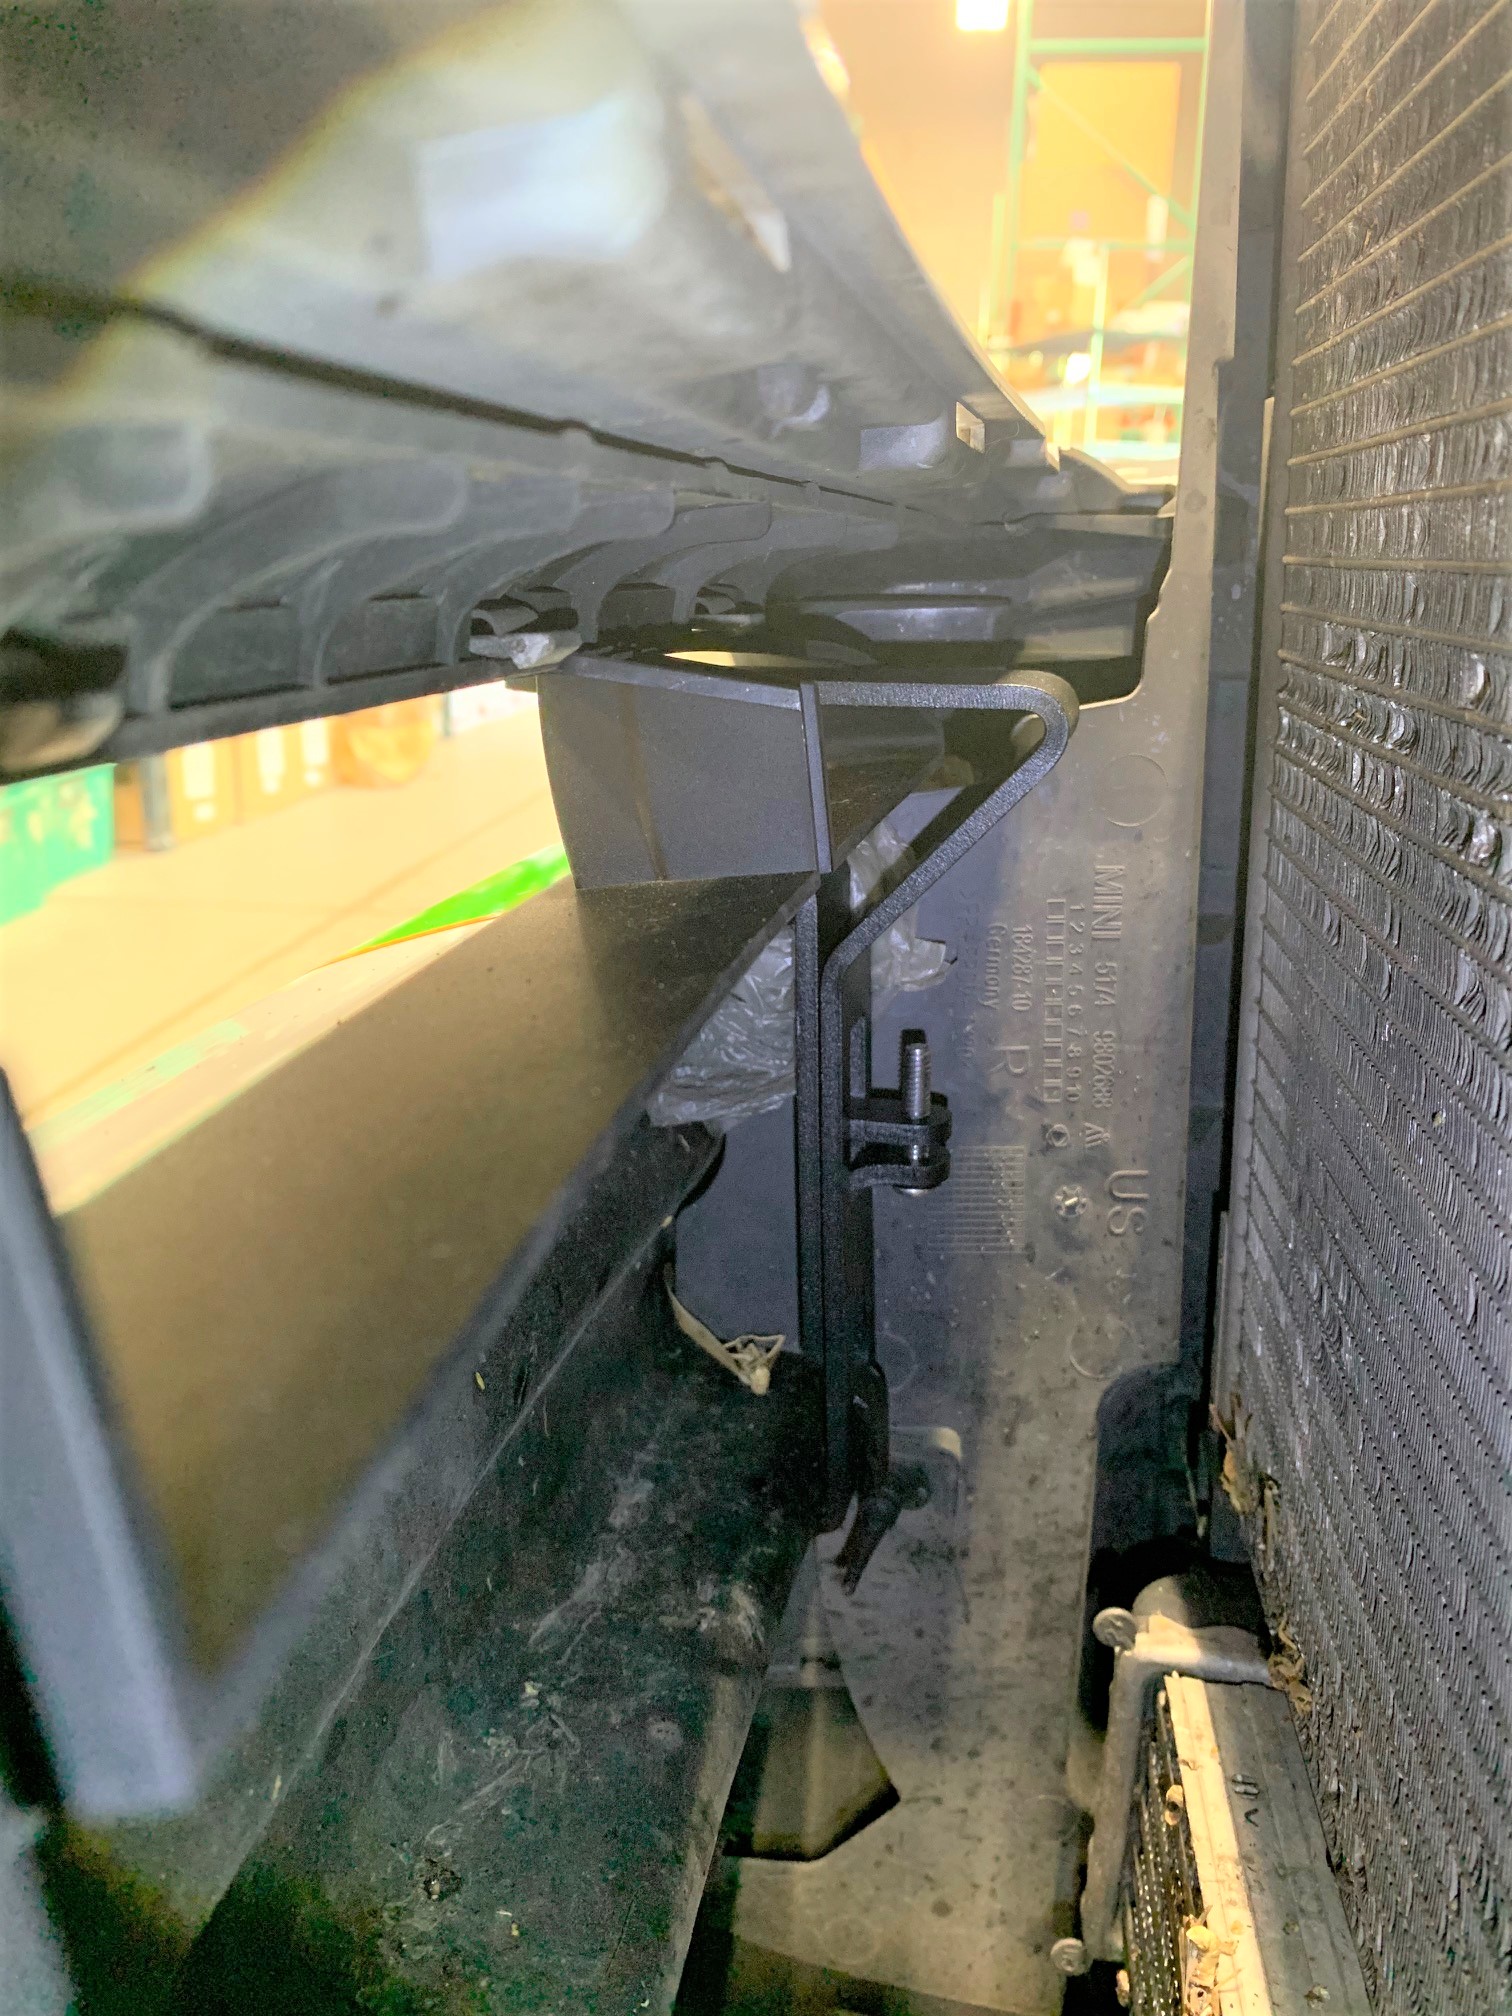
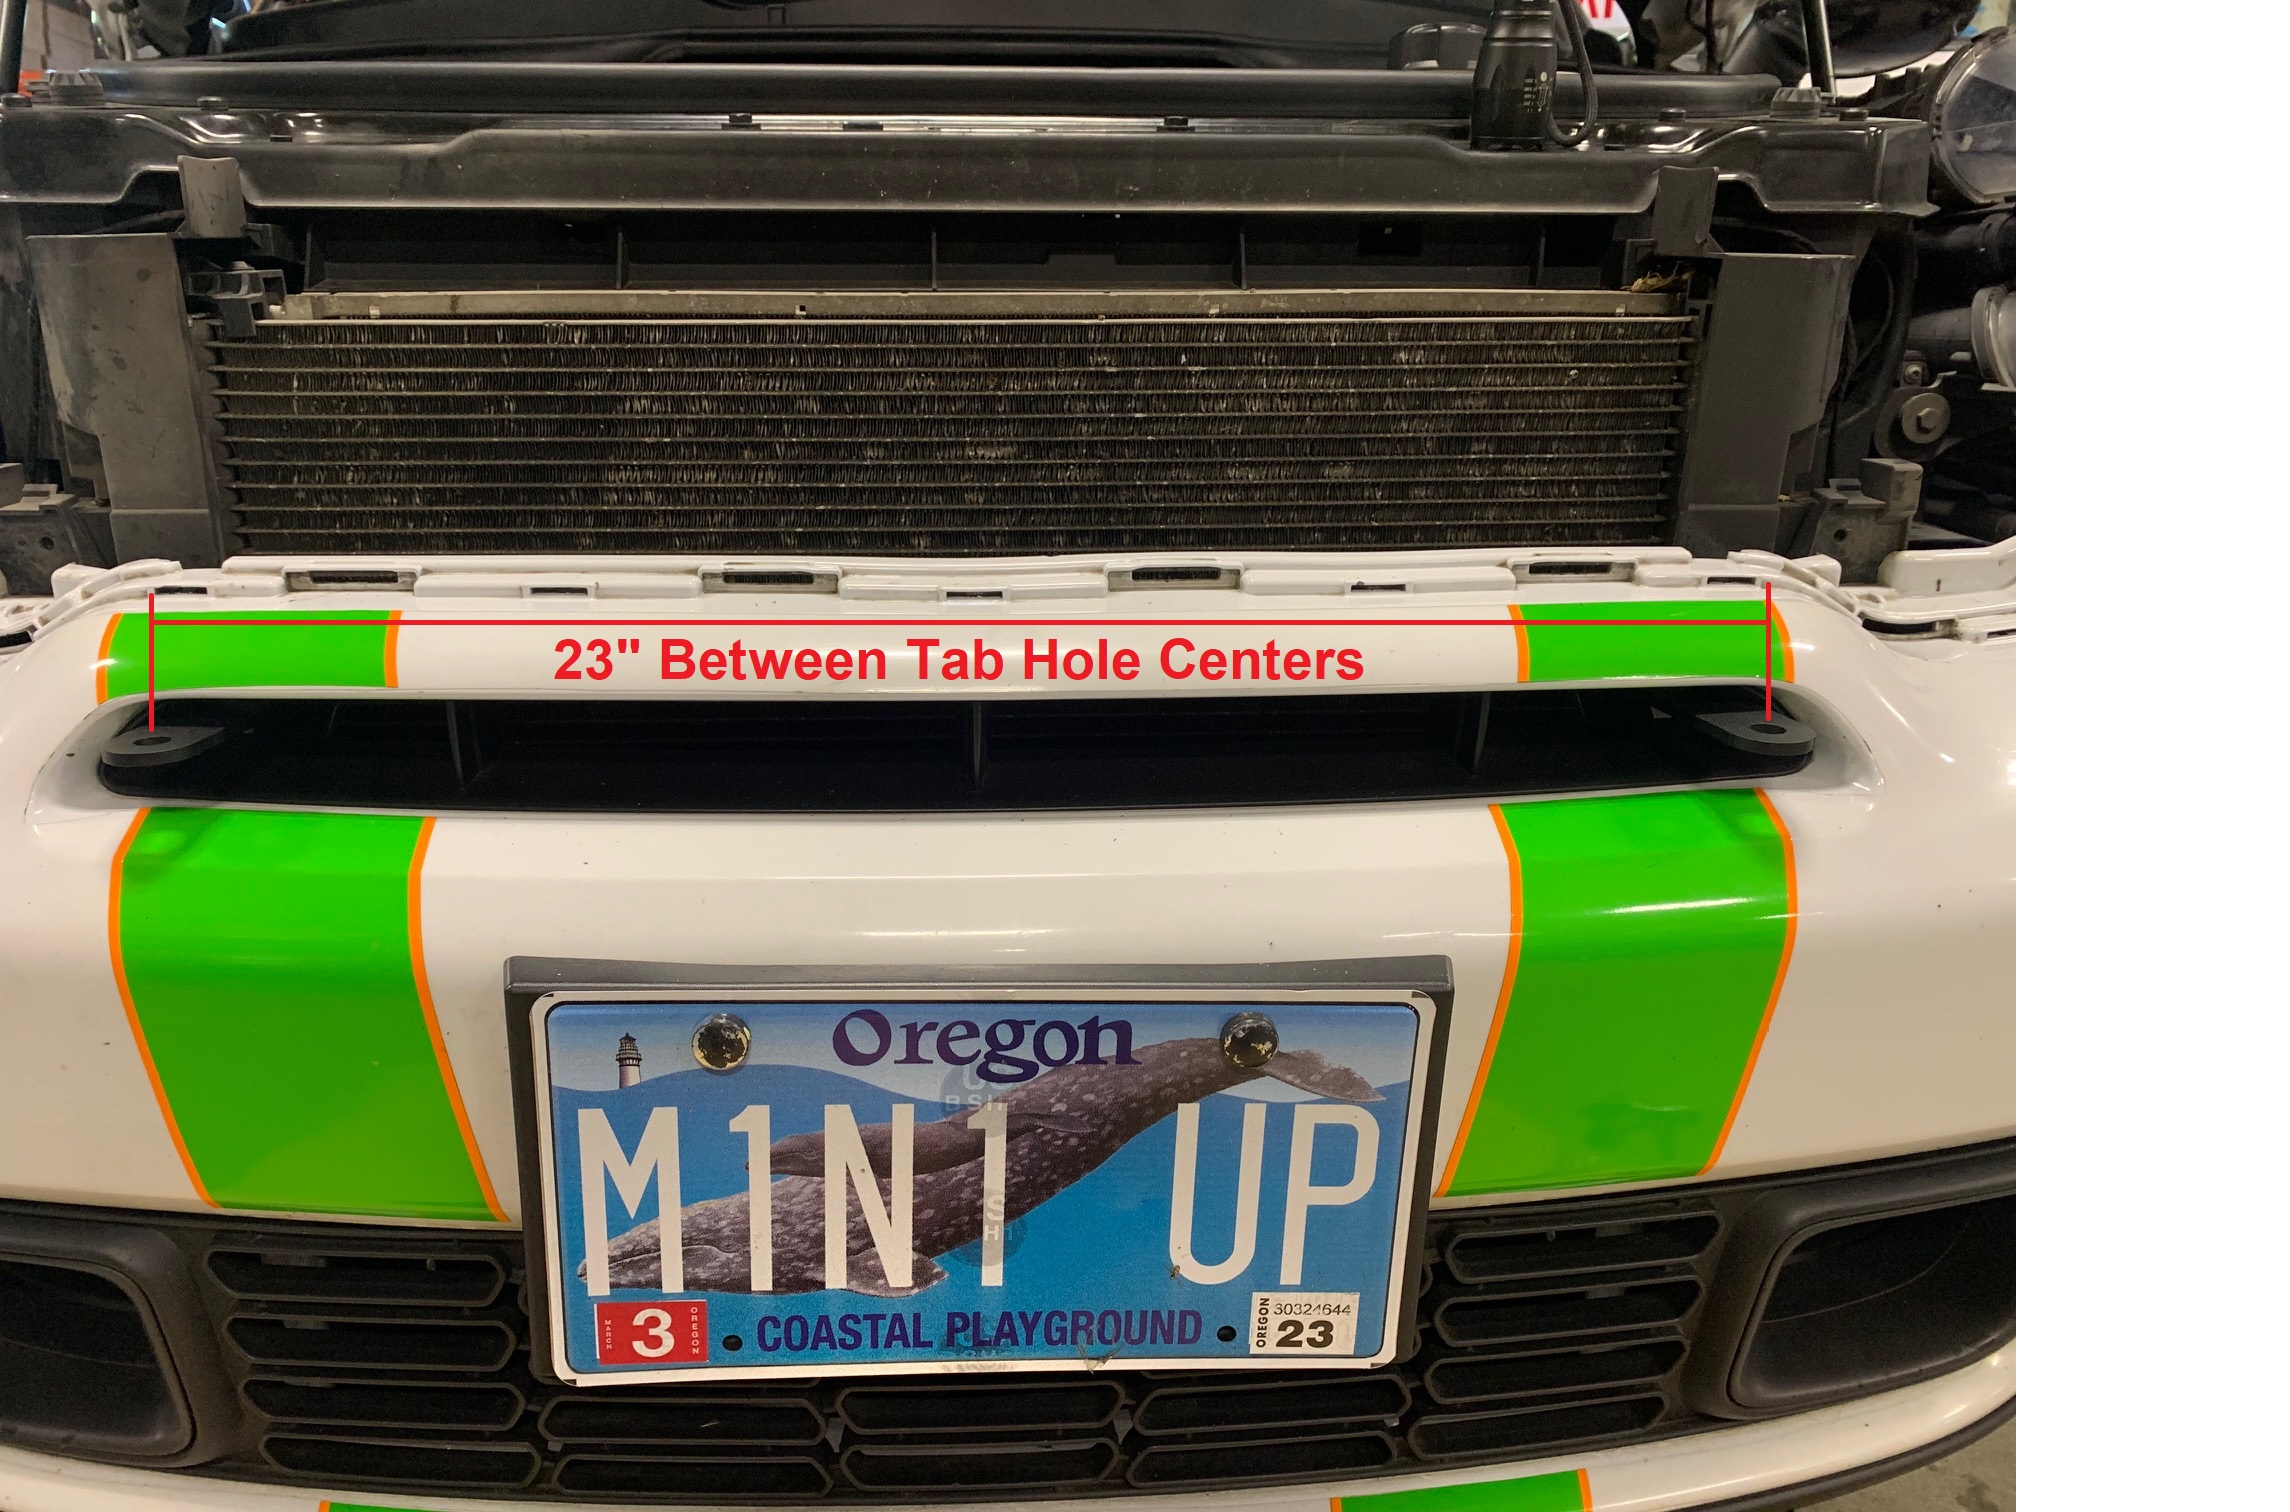
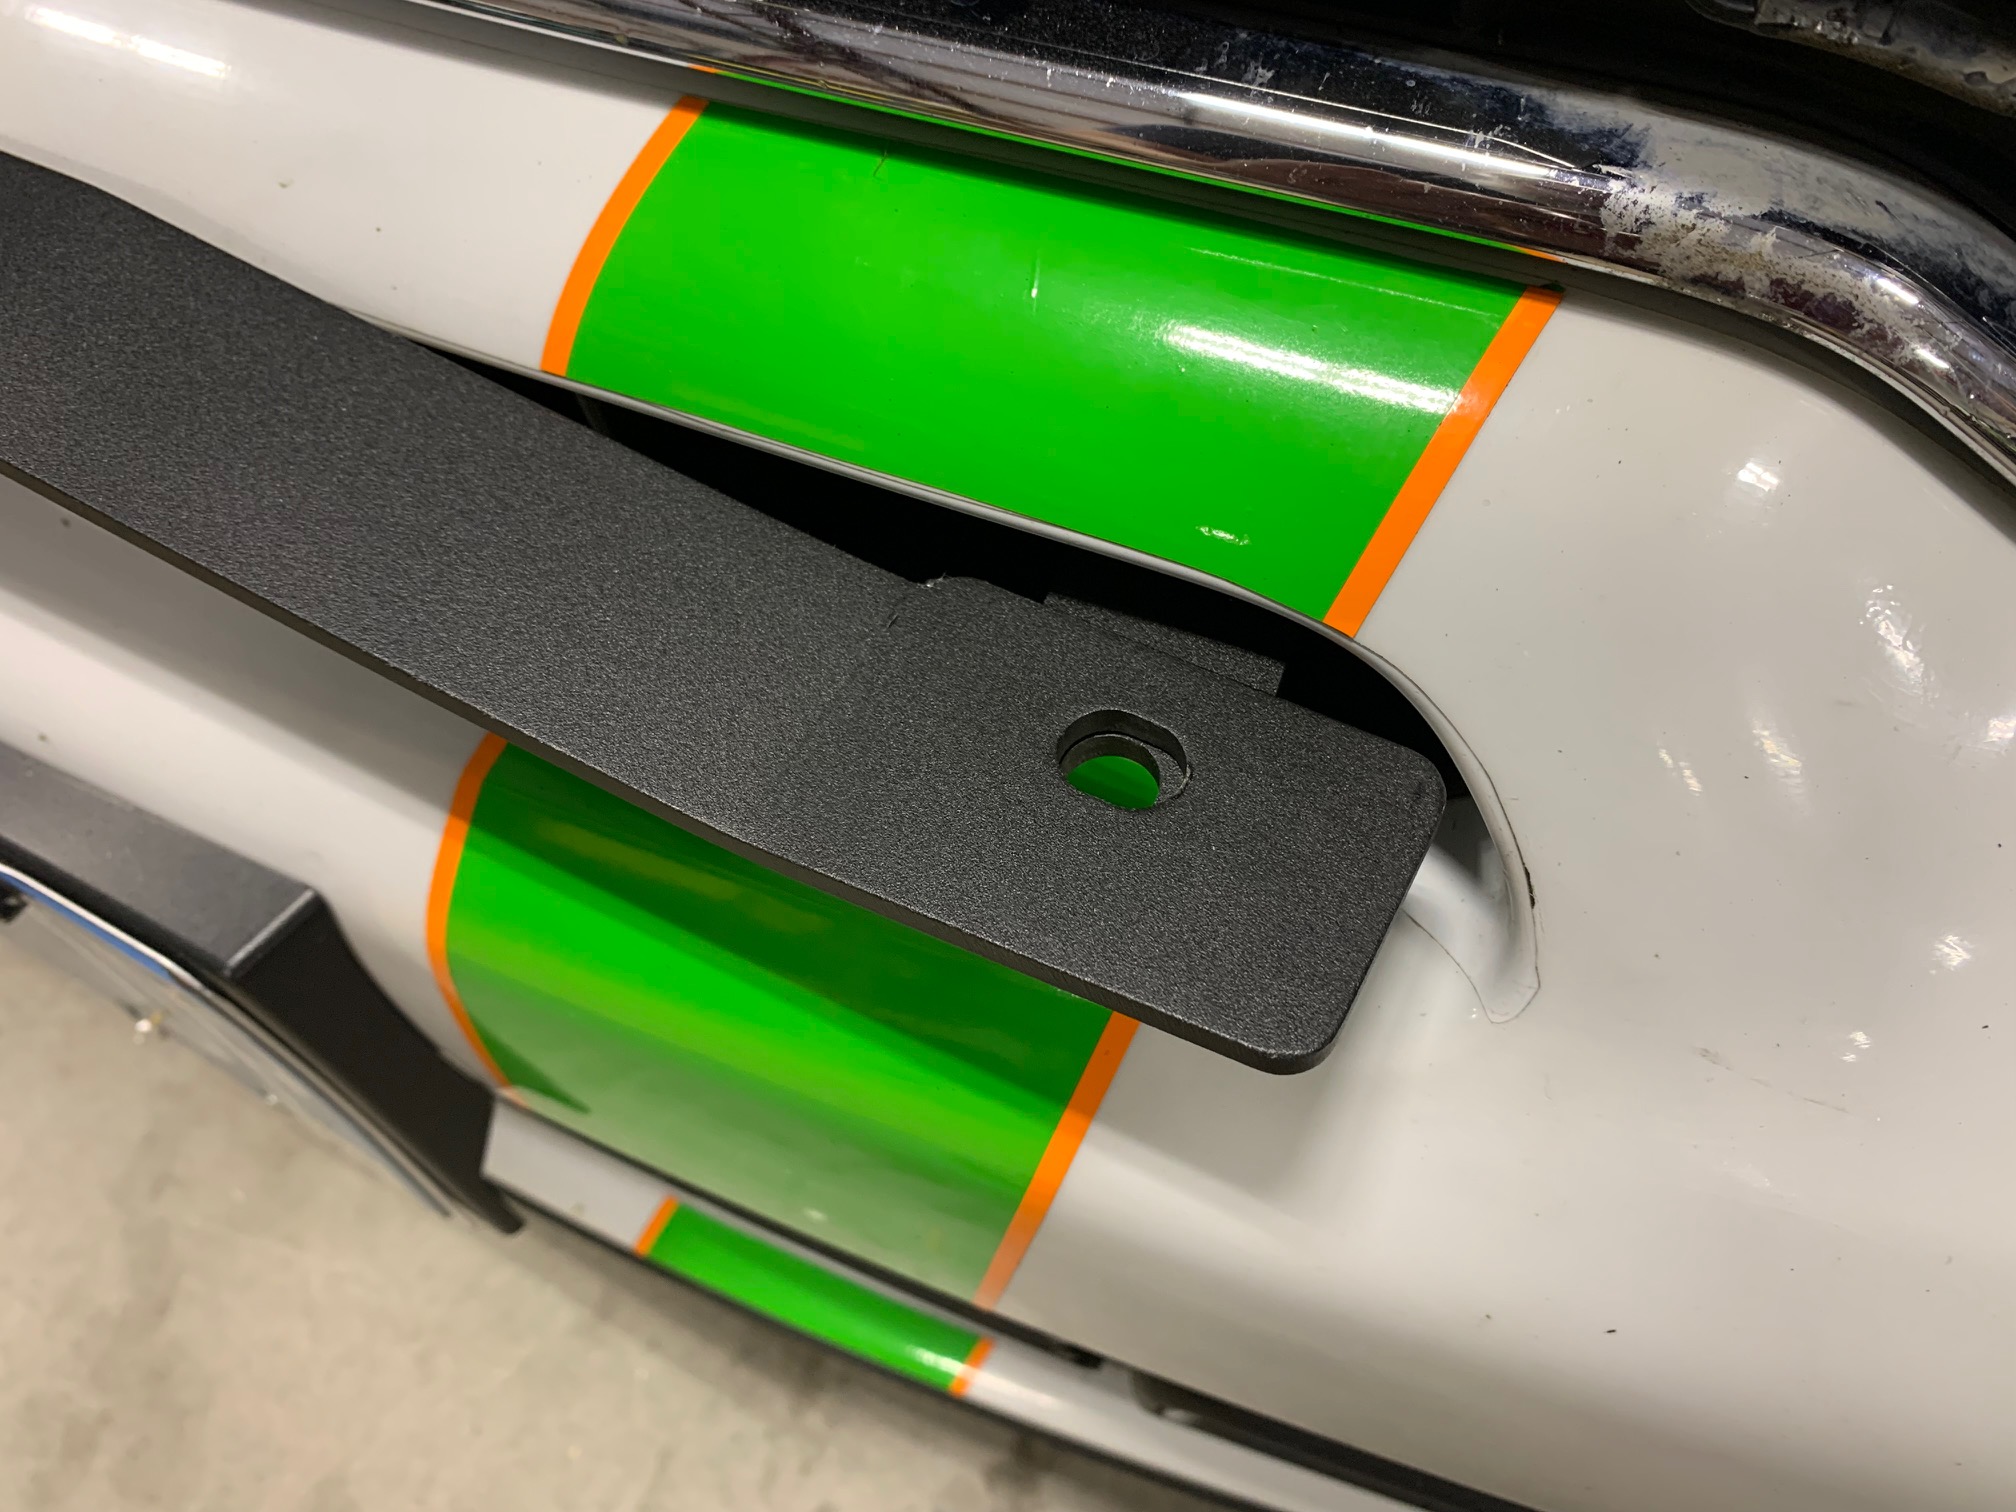
- You should now be able to access the area behind the bumper. Configure the light brackets as shown and using a 3/16" hex key, tighten the center screws to clamp the 'hooked' sections of the brackets to the flared perimeter edges of the inner bumper reinforcement structure. The light bracket tabs will protrude through the thin intake slot below the main grill.
- You may set the placement of the bracket tabs anywhere you like, but if you plan on installing the CravenSpeed Quad Light Bracket then you will need to place the center tabs hole width to approx 23".
- Now that the light brackets are mounted, you may begin installing the aux light wiring harness. It is recommended to leave the main grill off for this portion as it allows greater access to assist with placement of the wiring. Please refer to the installation instructions of the aux driving lights for wiring harness install process. We have provided an 'Add-a -Circuit' so that you may connect the switched power lead from the light wiring harness to a switched power source in the fuse box.
- Once the aux light wiring harness installation has been completed, reinstall the grill by setting it into place and pressing against the lower portion where the mounting clips are located. You should hear audible 'clicks' when they fully engage. Finish up by reinstalling the four (4) 10mm screws across the top.
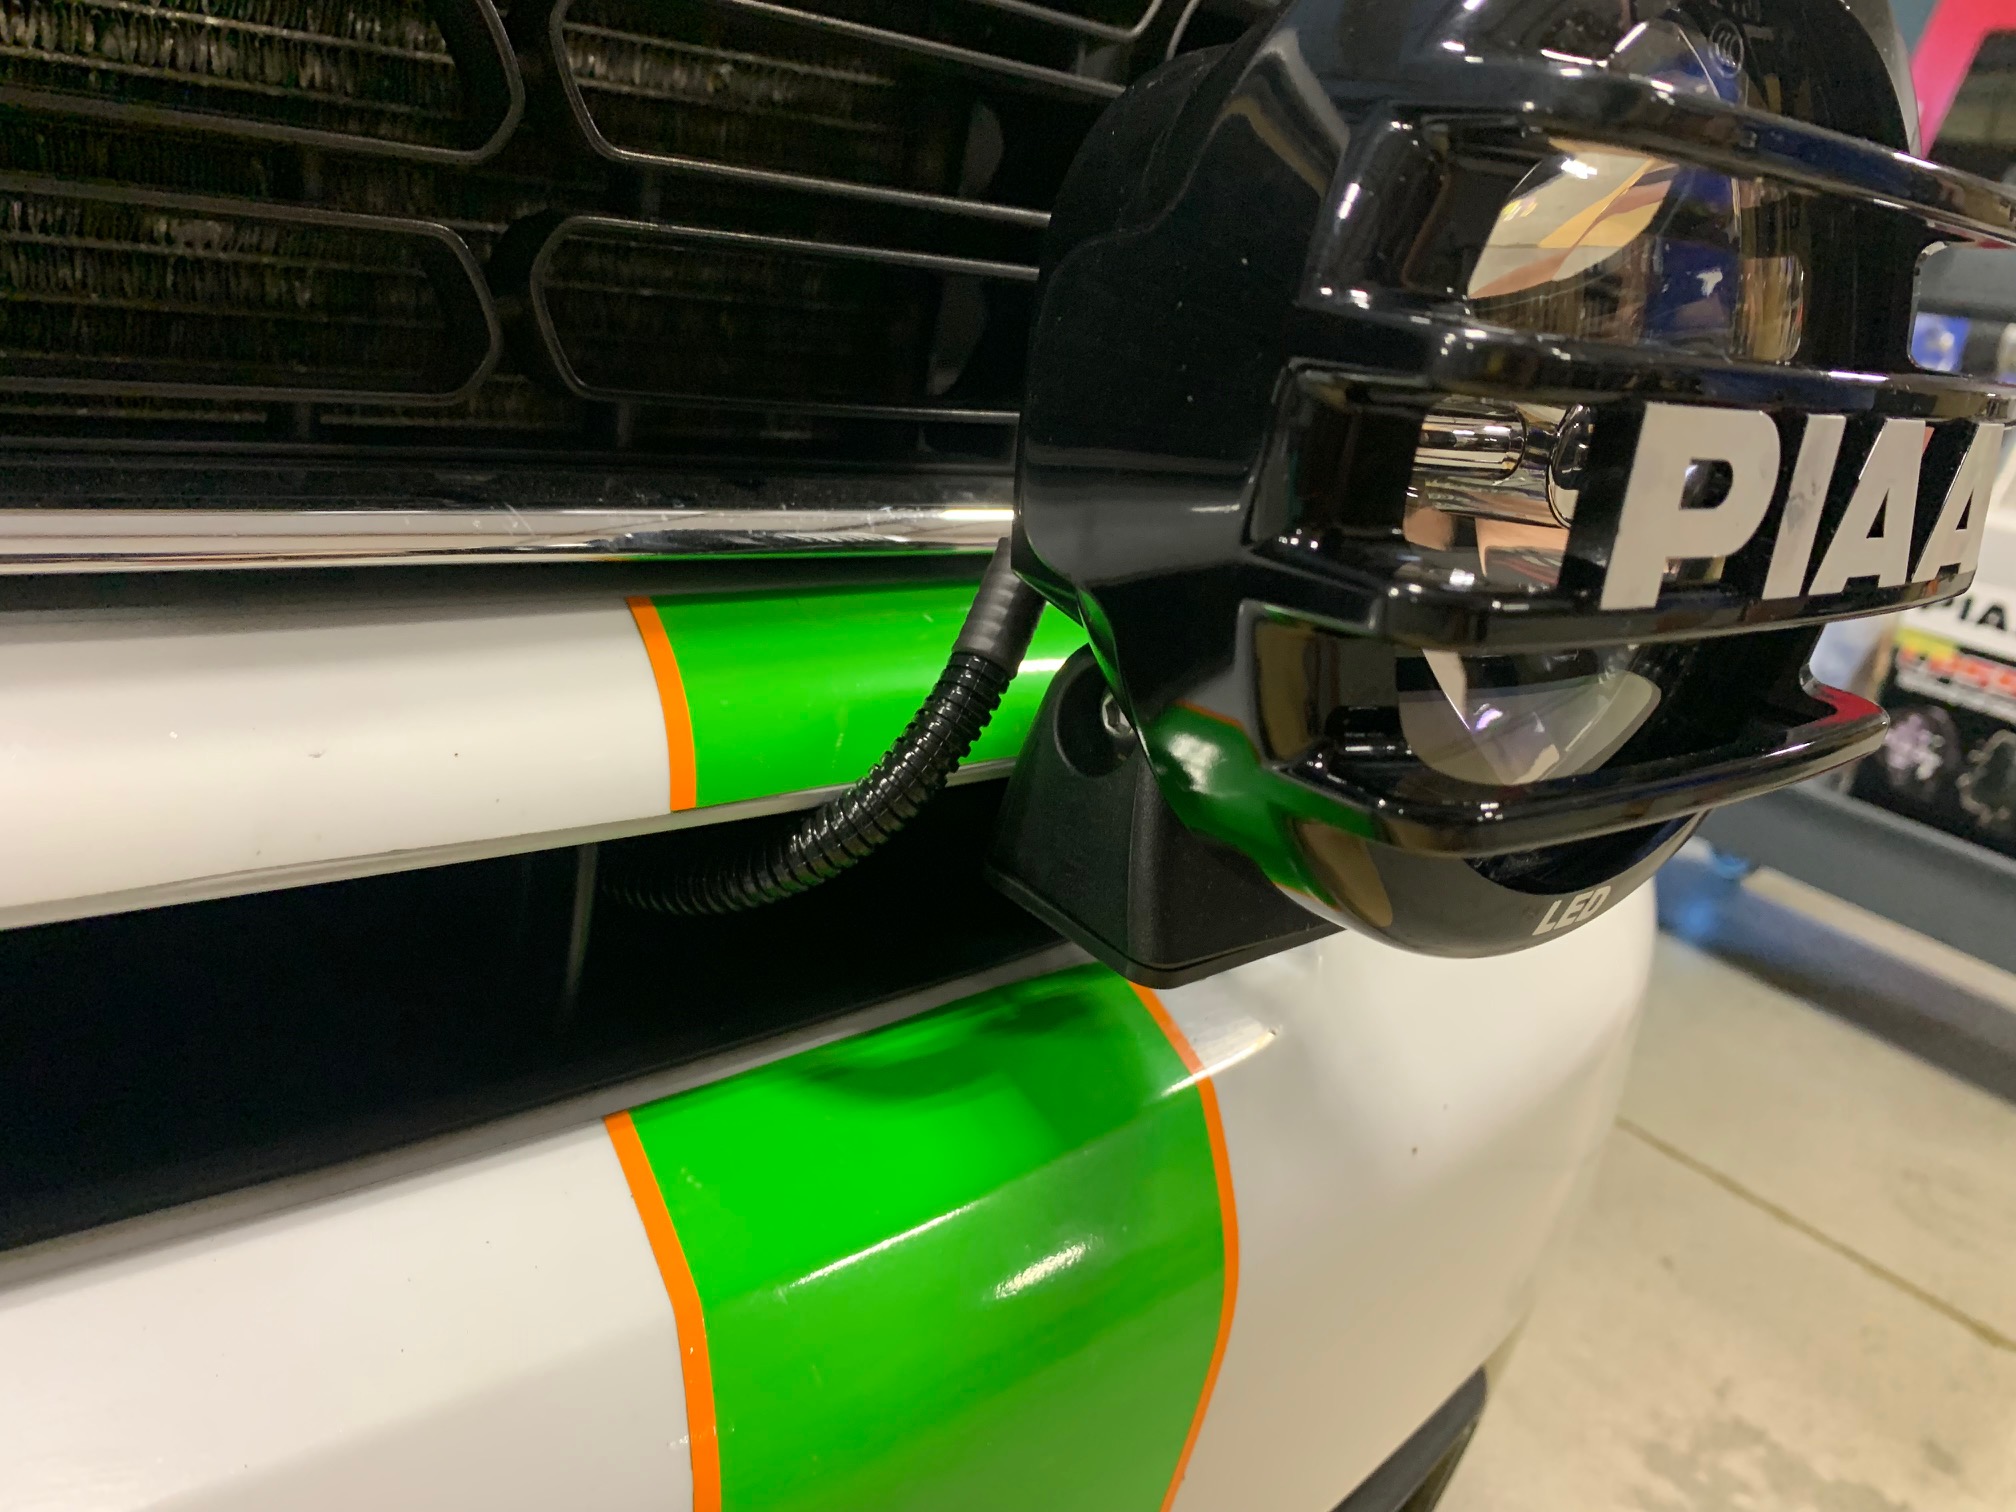
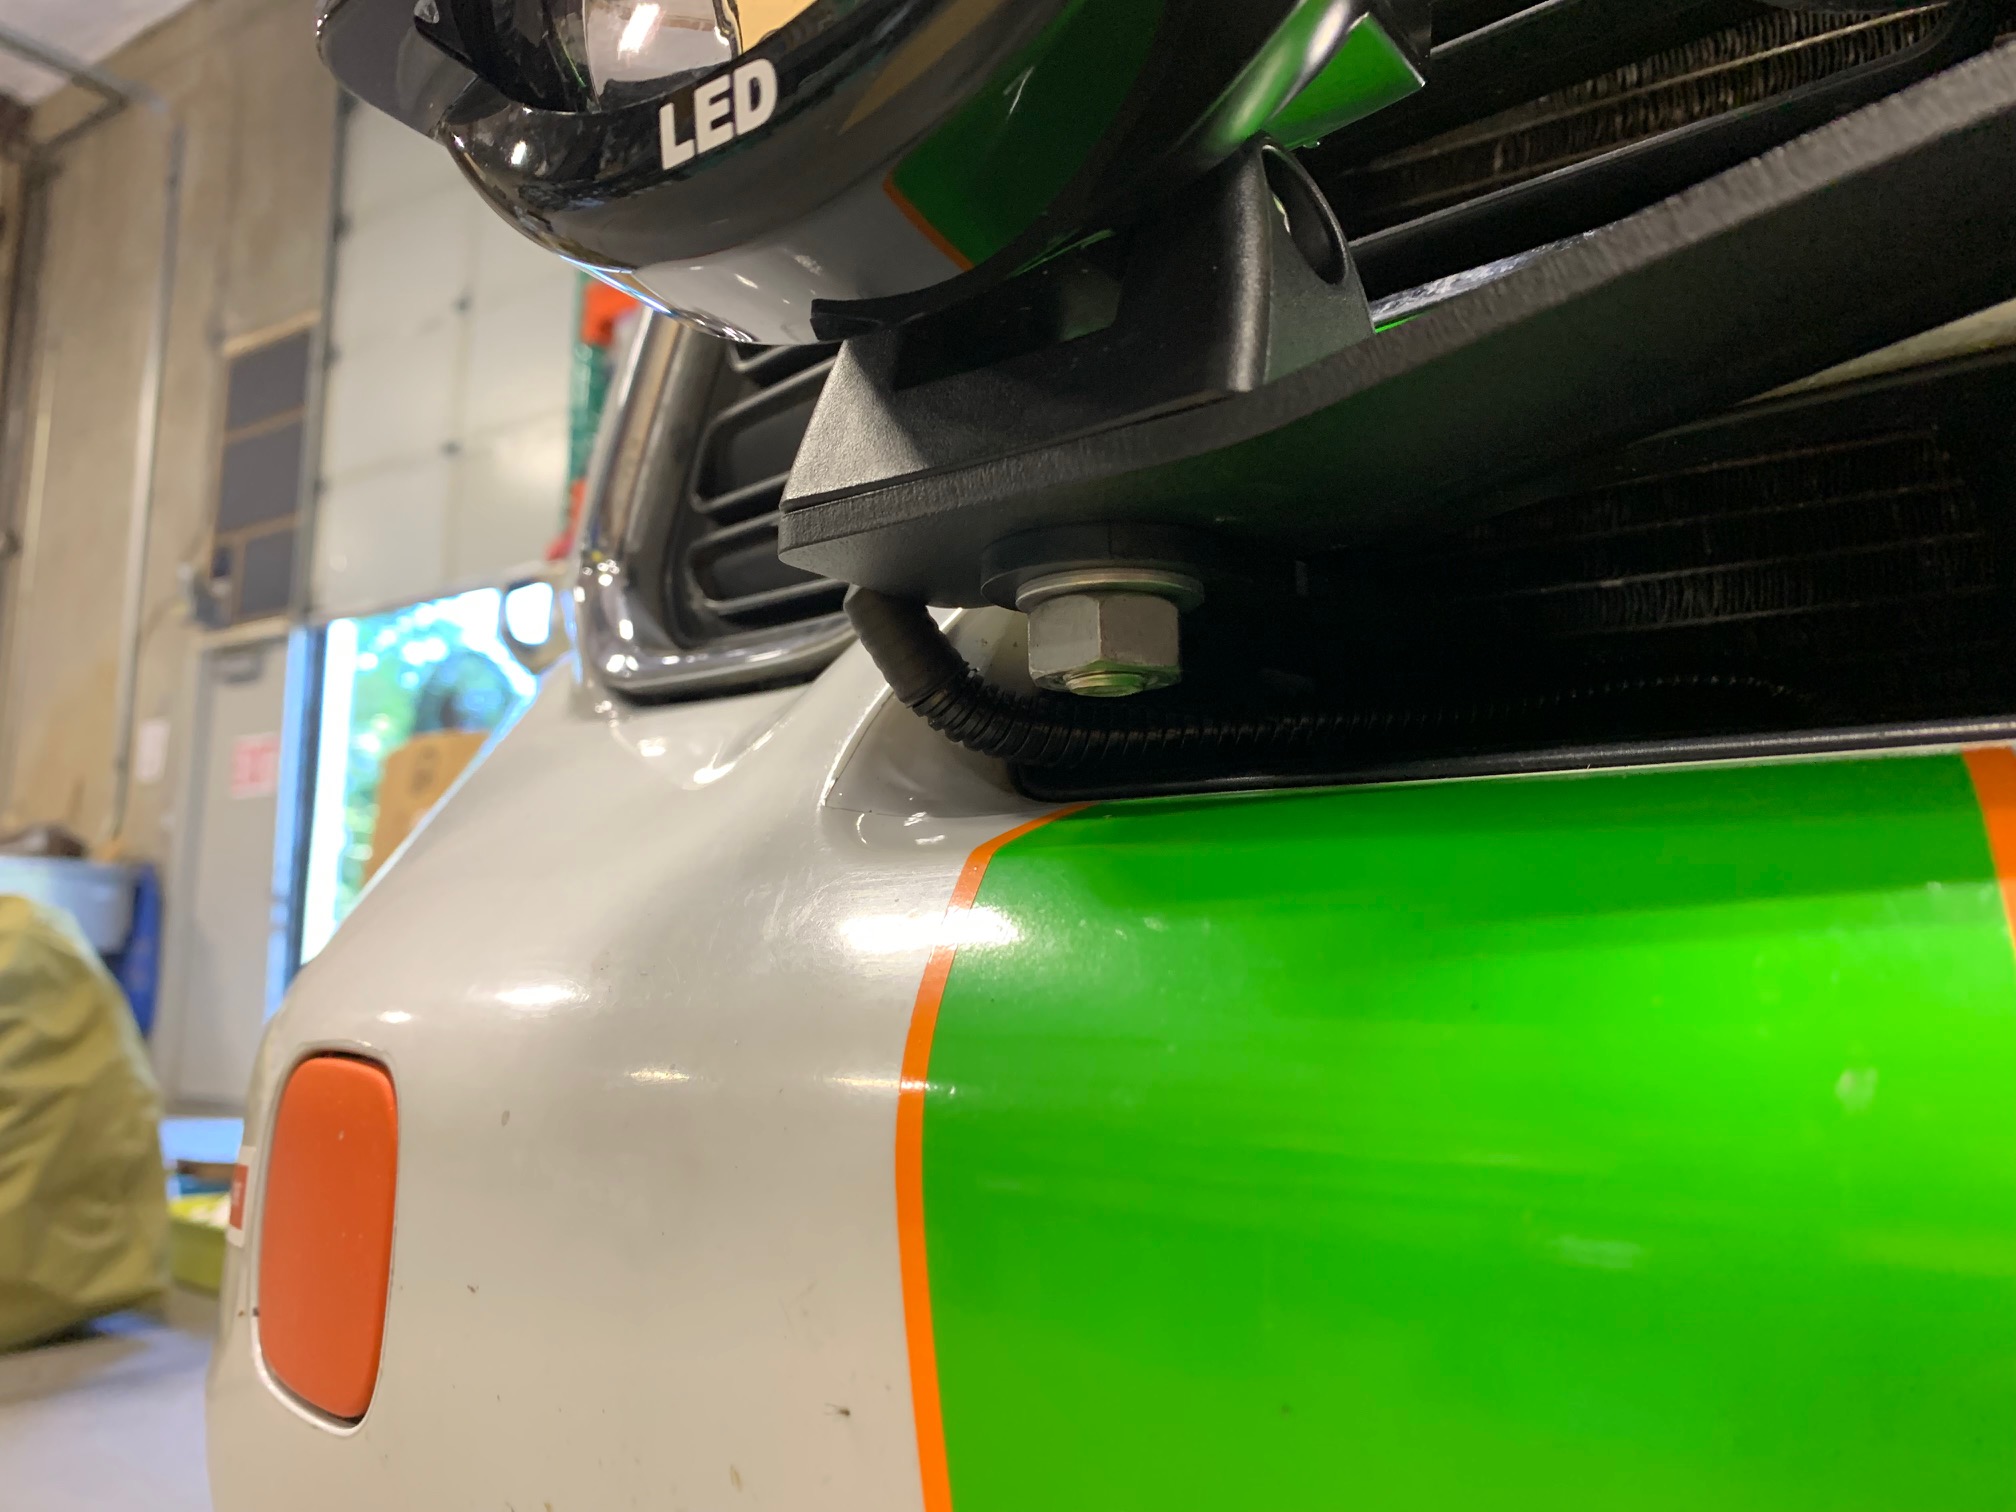
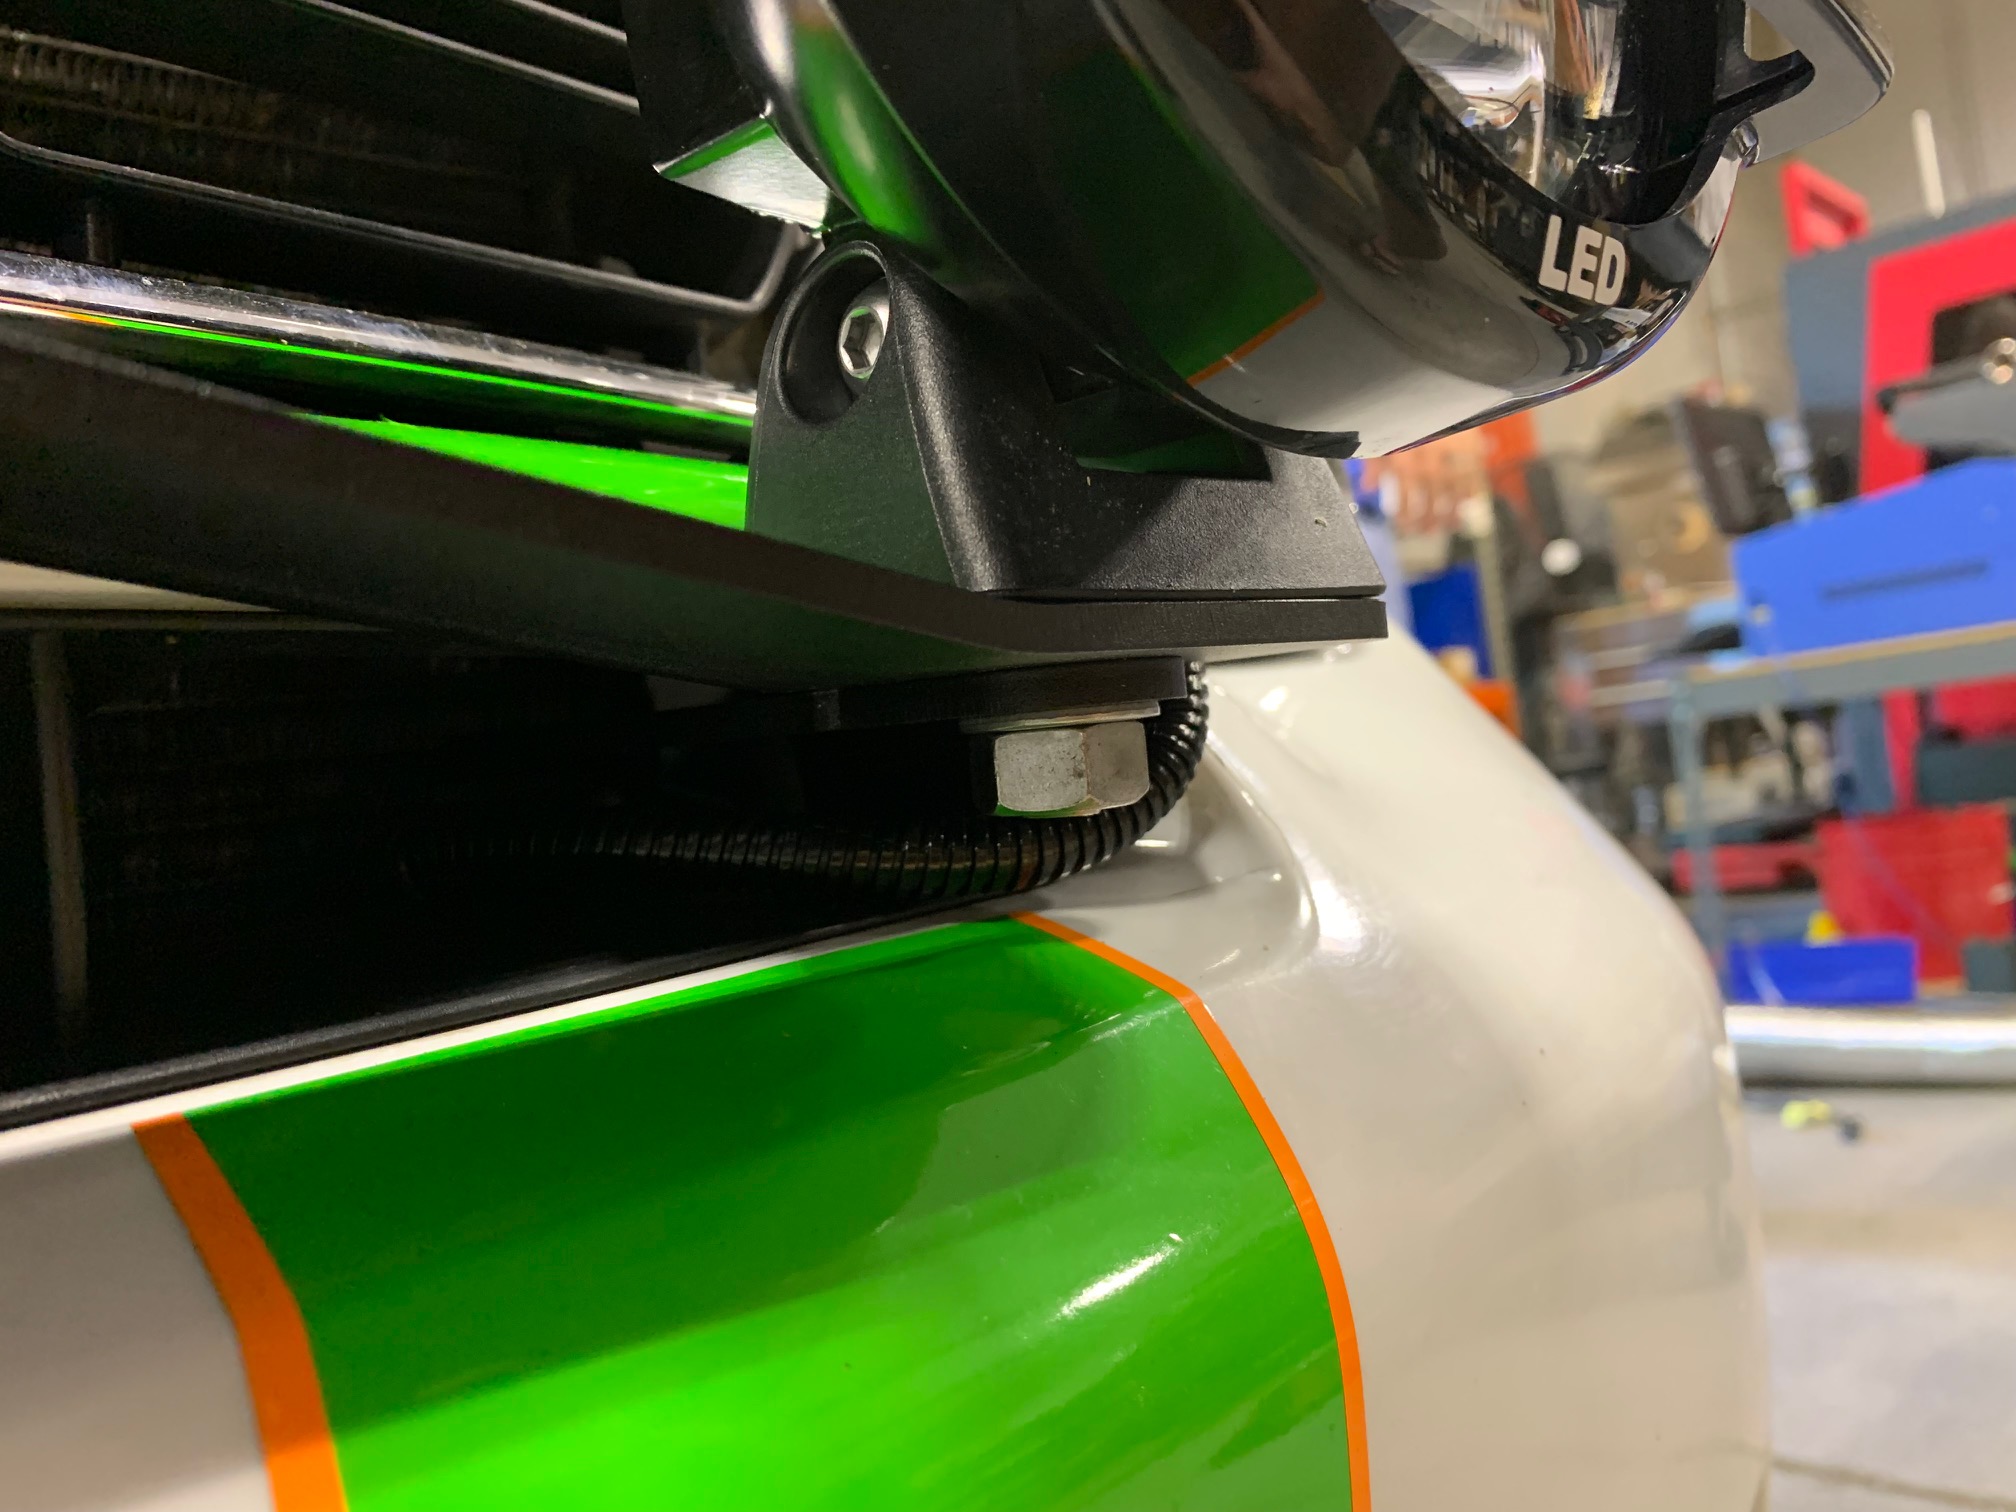
- With the grill refitted, proceed to installing the aux lights onto the brackets. Run the plug wiring through the same slot the light brackets protrude through.
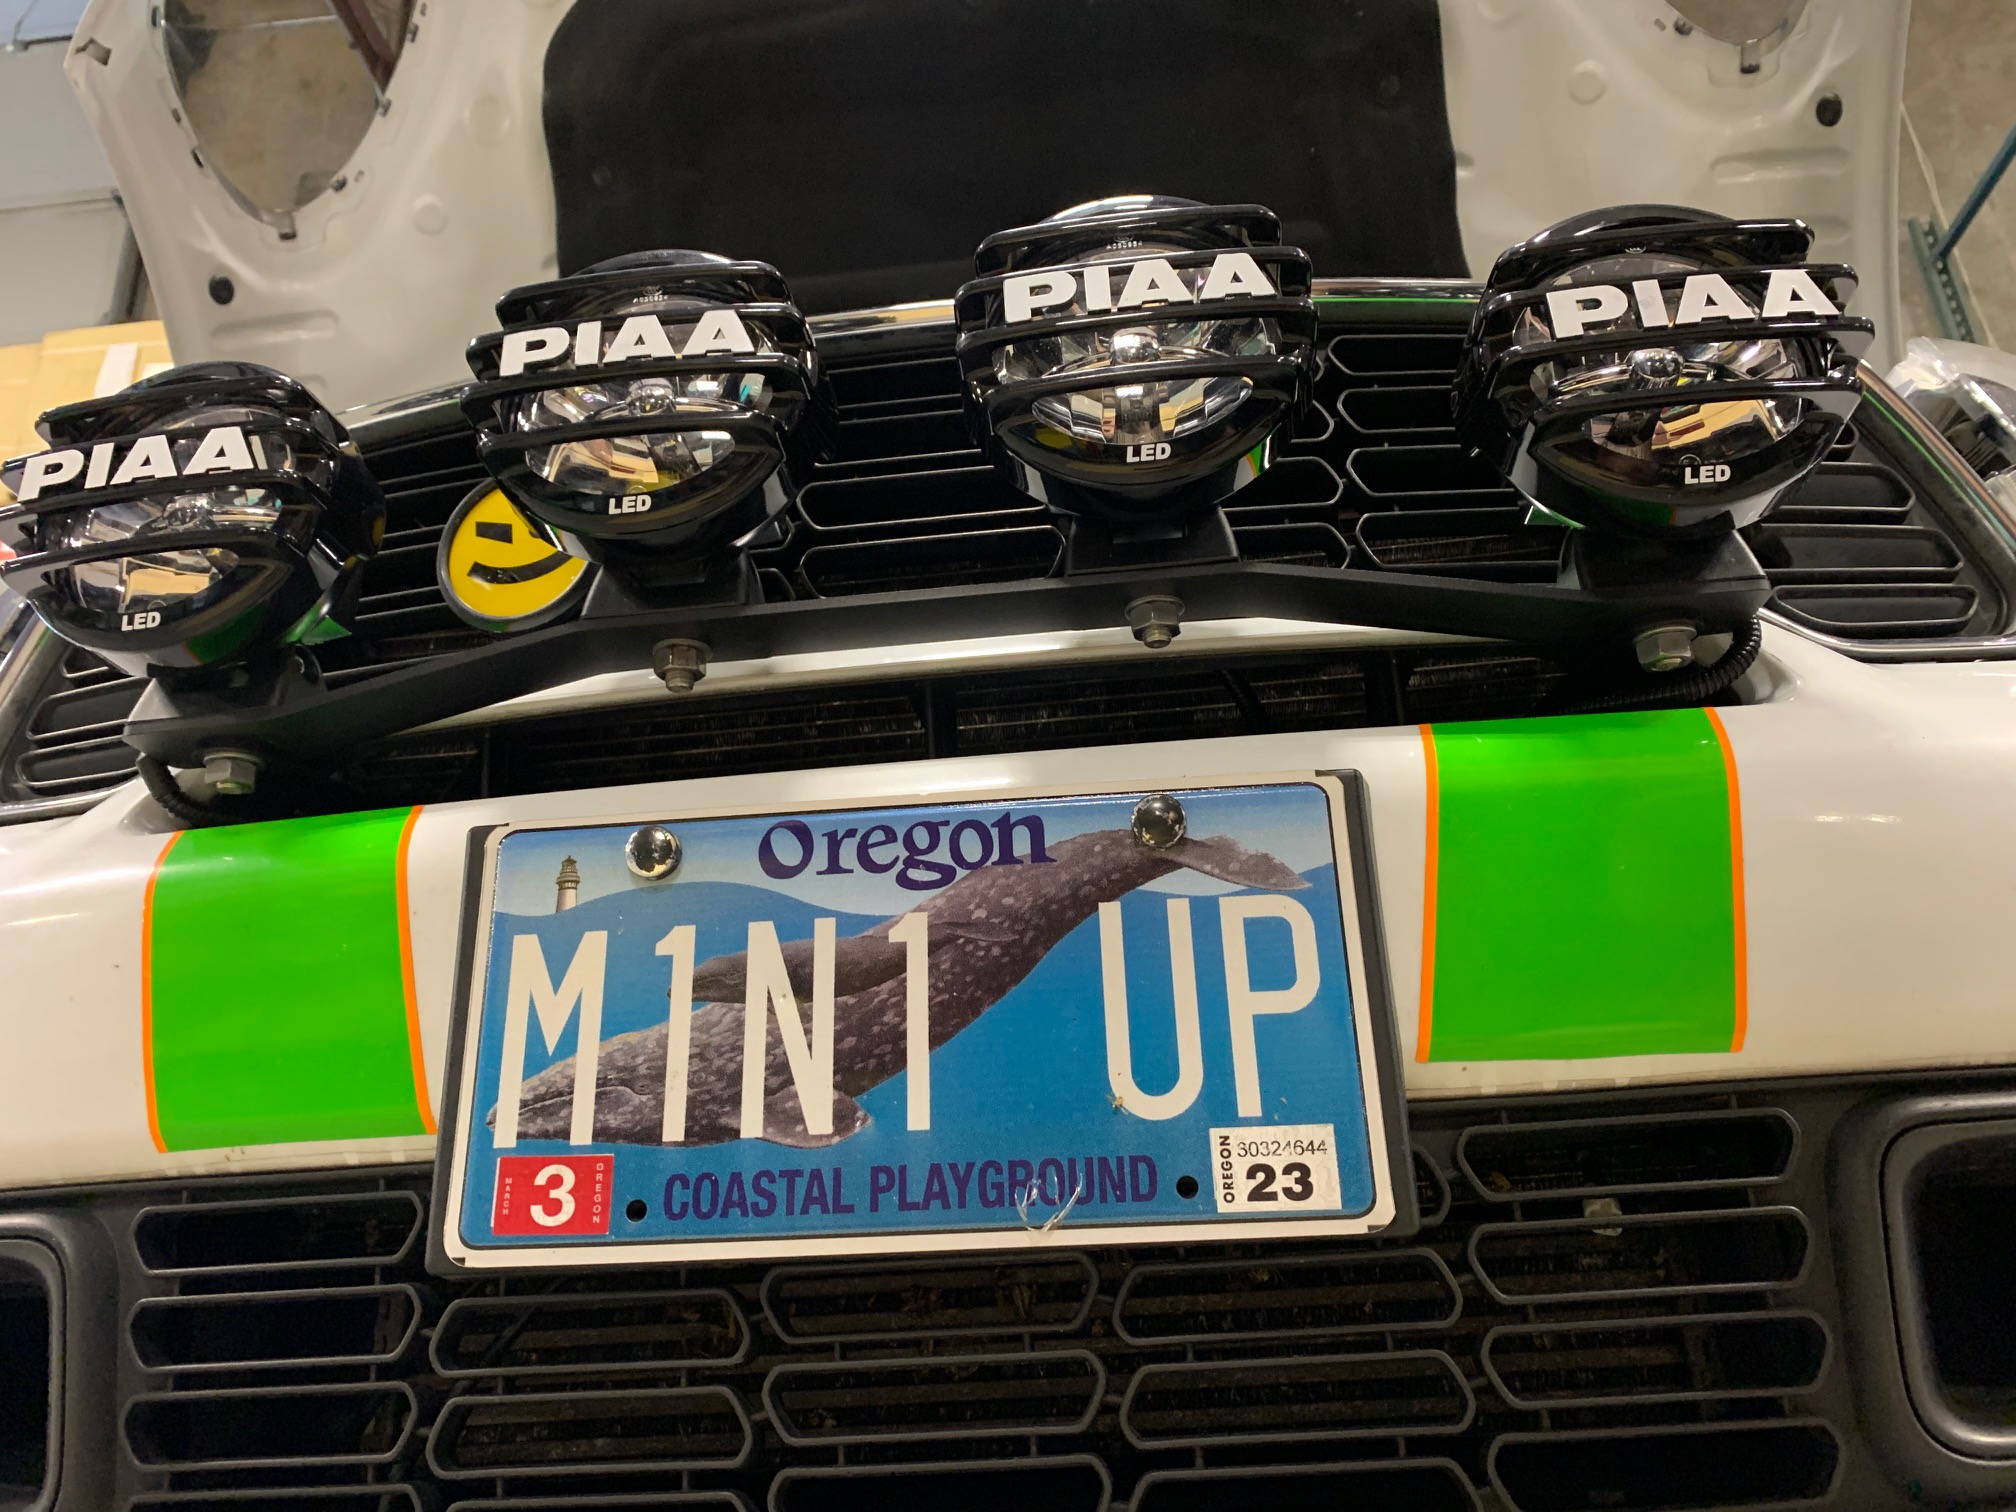
- If you are fitting the Quad Light Bracket to this installation, before mounting the outer two aux lights, set the Quad Light Bracket onto the bumper-mounted brackets then sandwich them together with the hardware for the aux light.
- With the Quad Light Bracket fitted via the outer two aux lights, proceed to mount the remaining two aux lights at their designated points at the center of the bar.


PLEASE NOTE: These lights are intended to be used in rain and during foggy or snowy conditions where visibility is diminished. Do not use the lights during normal driving conditions and please be courteous to oncoming traffic.