THANK YOU for purchasing The MINI R56 Crank Pulley Bolt Locking Bushing from CravenSpeed. This product is made from the highest grade materials and is guaranteed to be free from defects.
You can buy our CravenSpeed Crank Pulley Bolt Locking Bushing for MINI R56 here
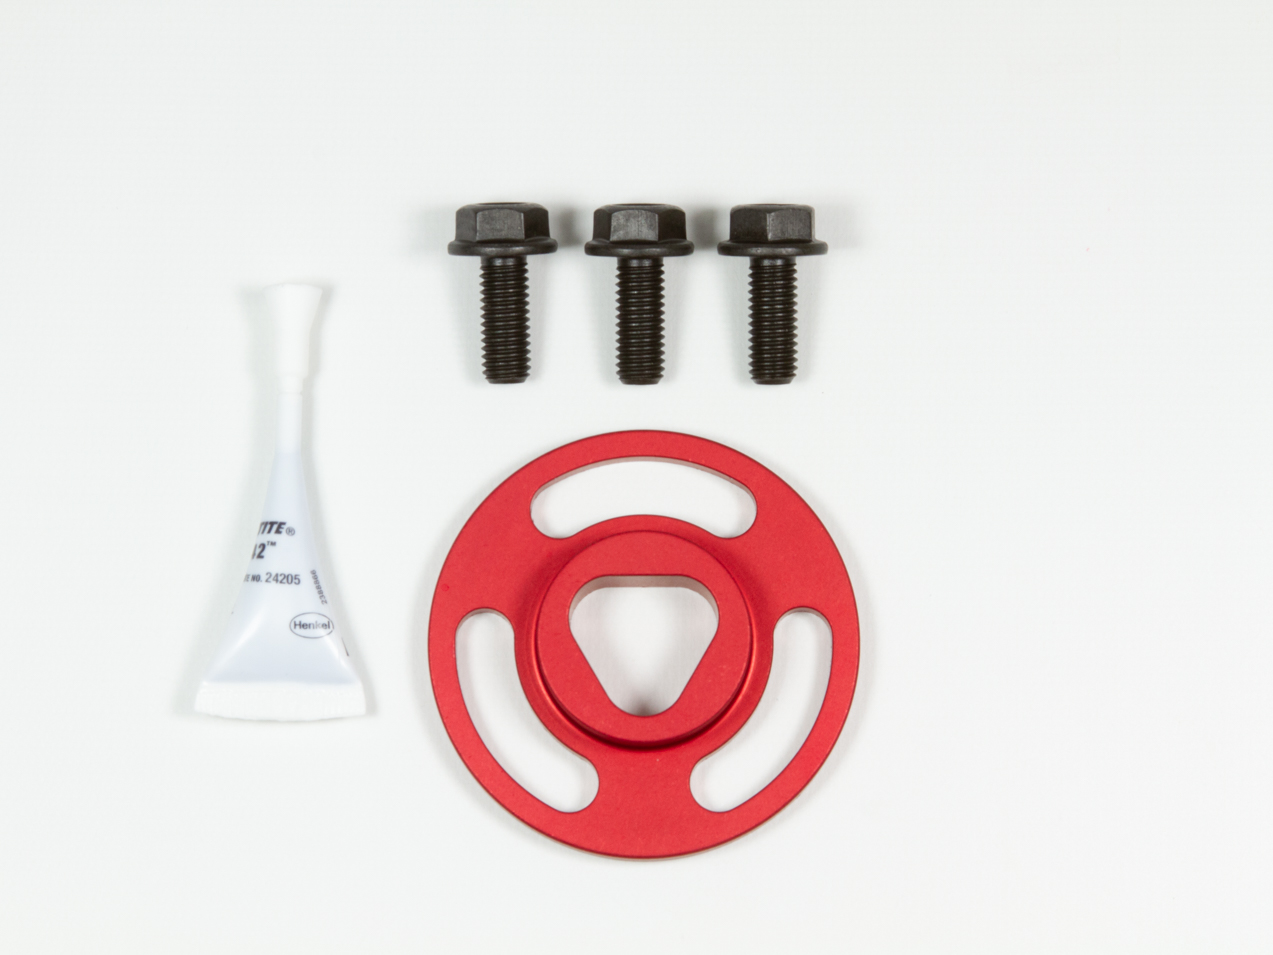
Parts Included:
- Anodized Aluminum Bushing
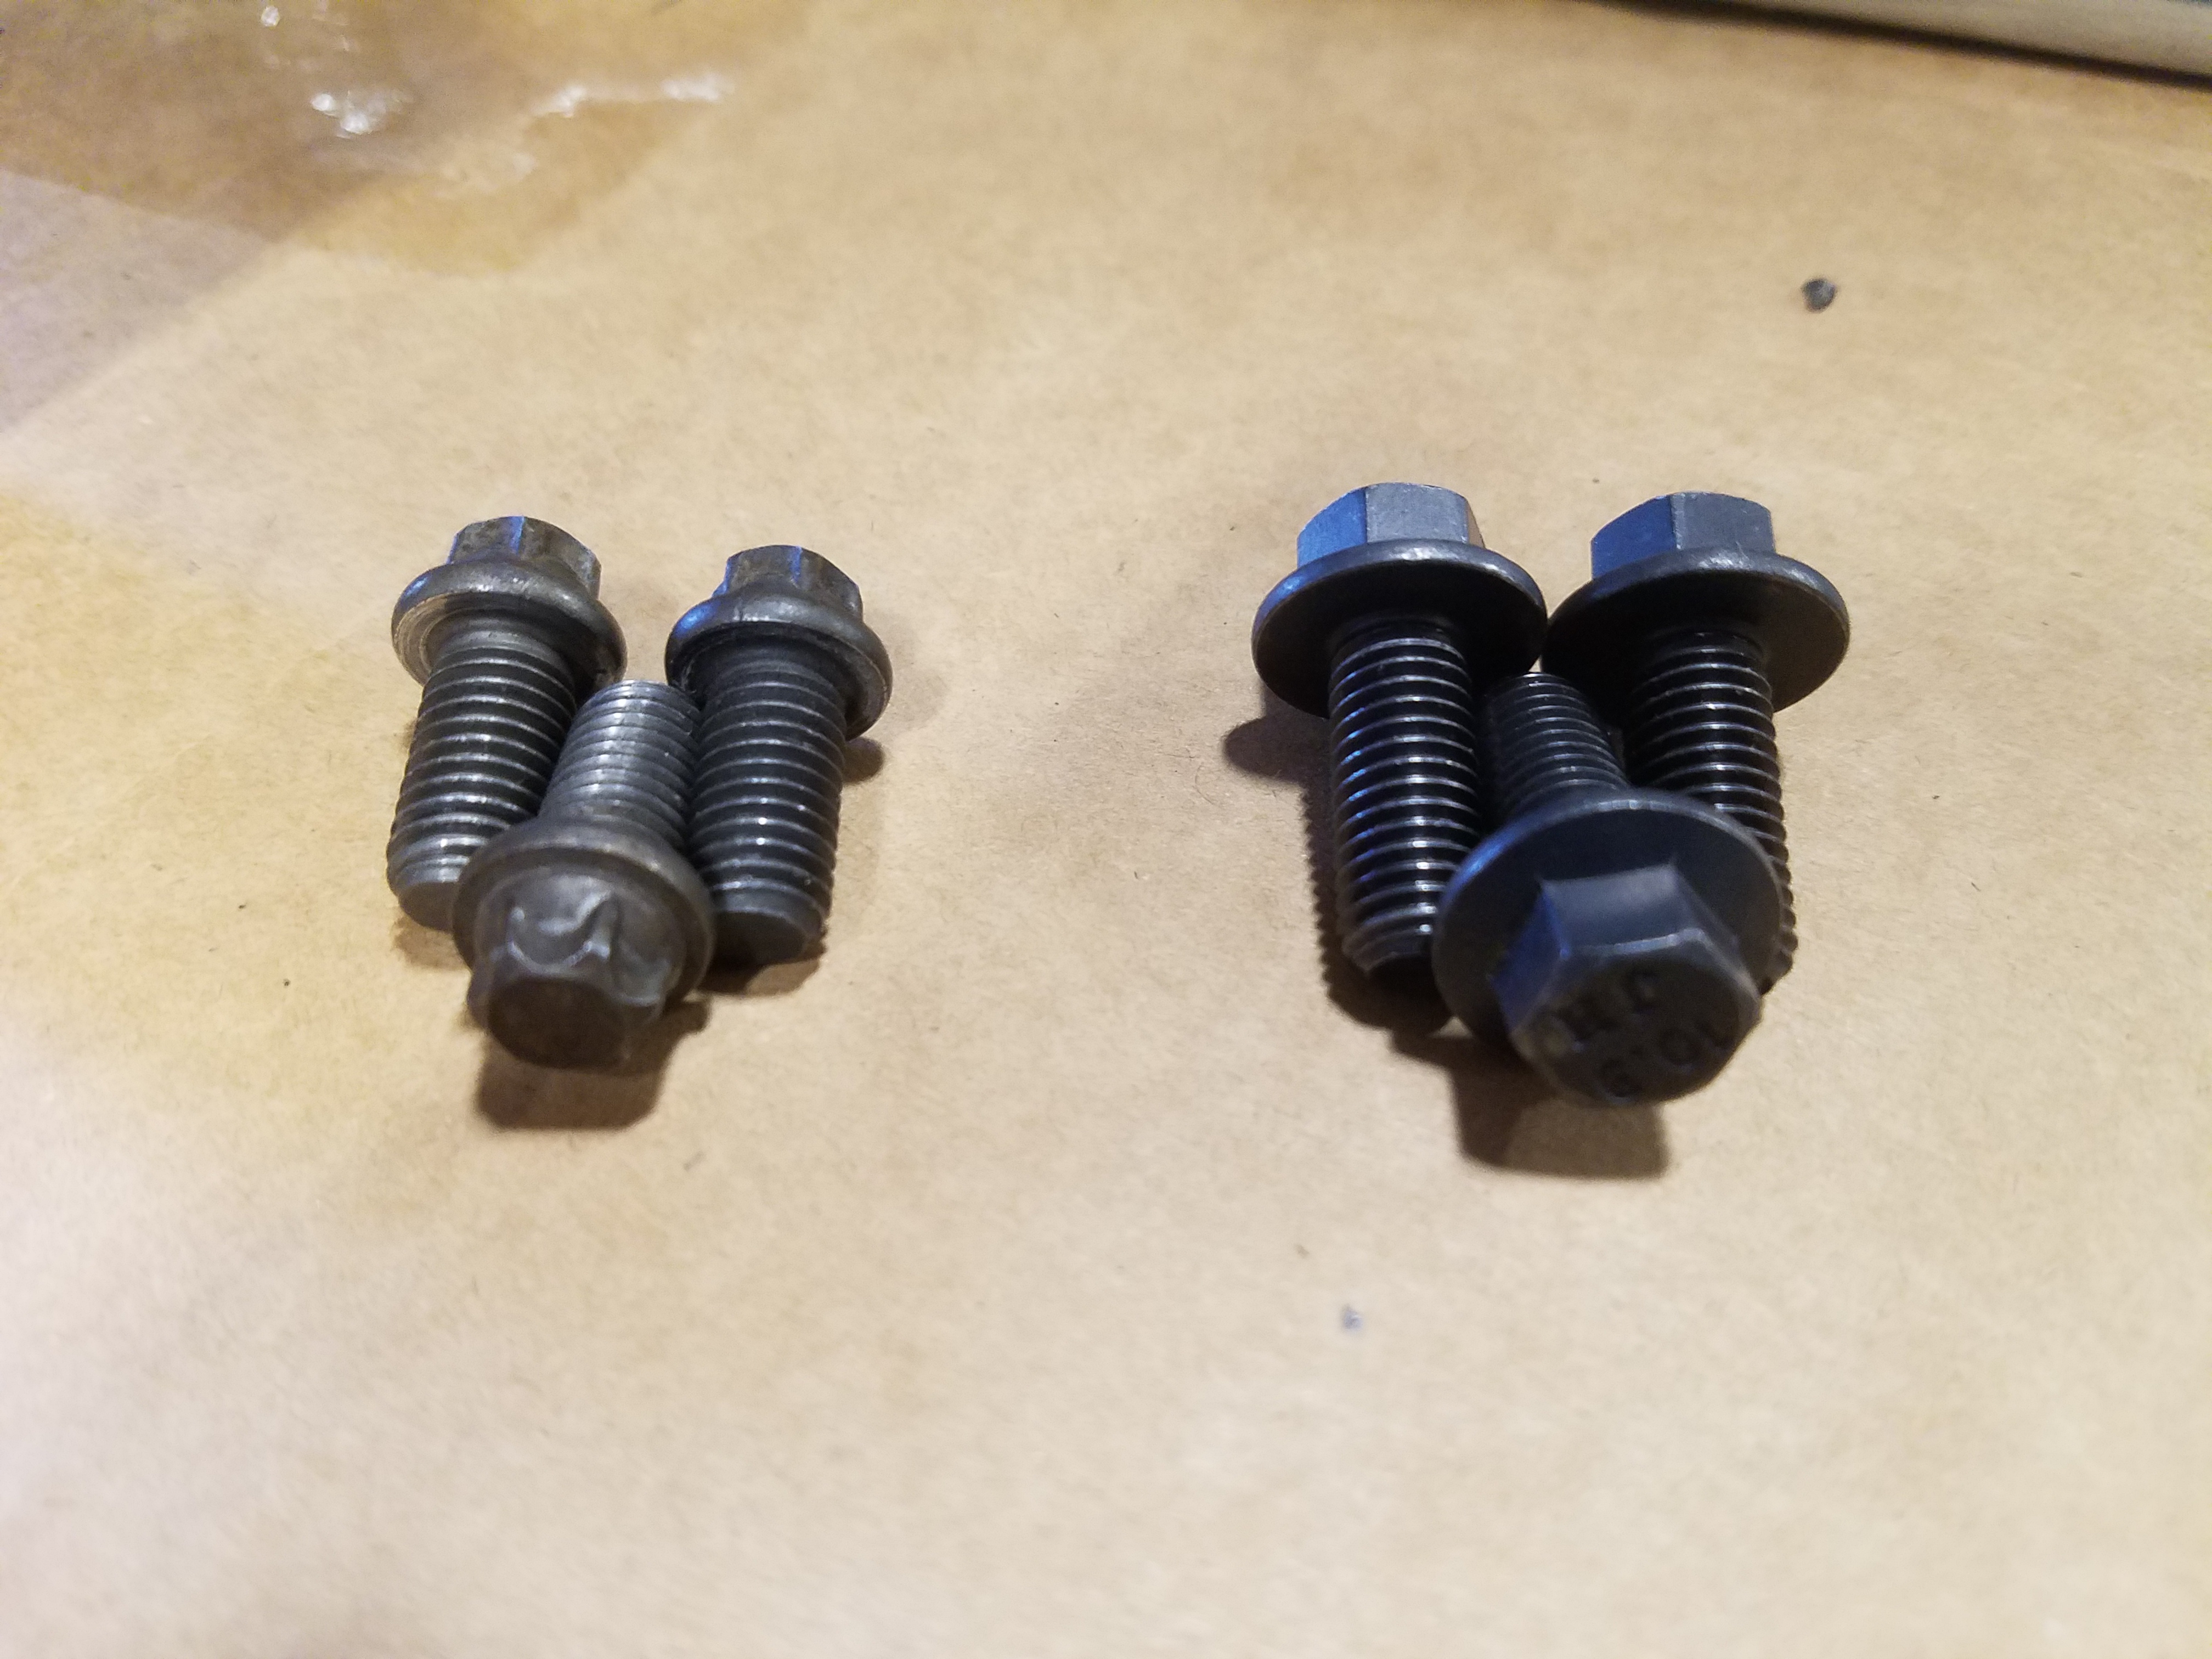
- 3ea M8x1.25 20mm length grade 10.9 flange bolt
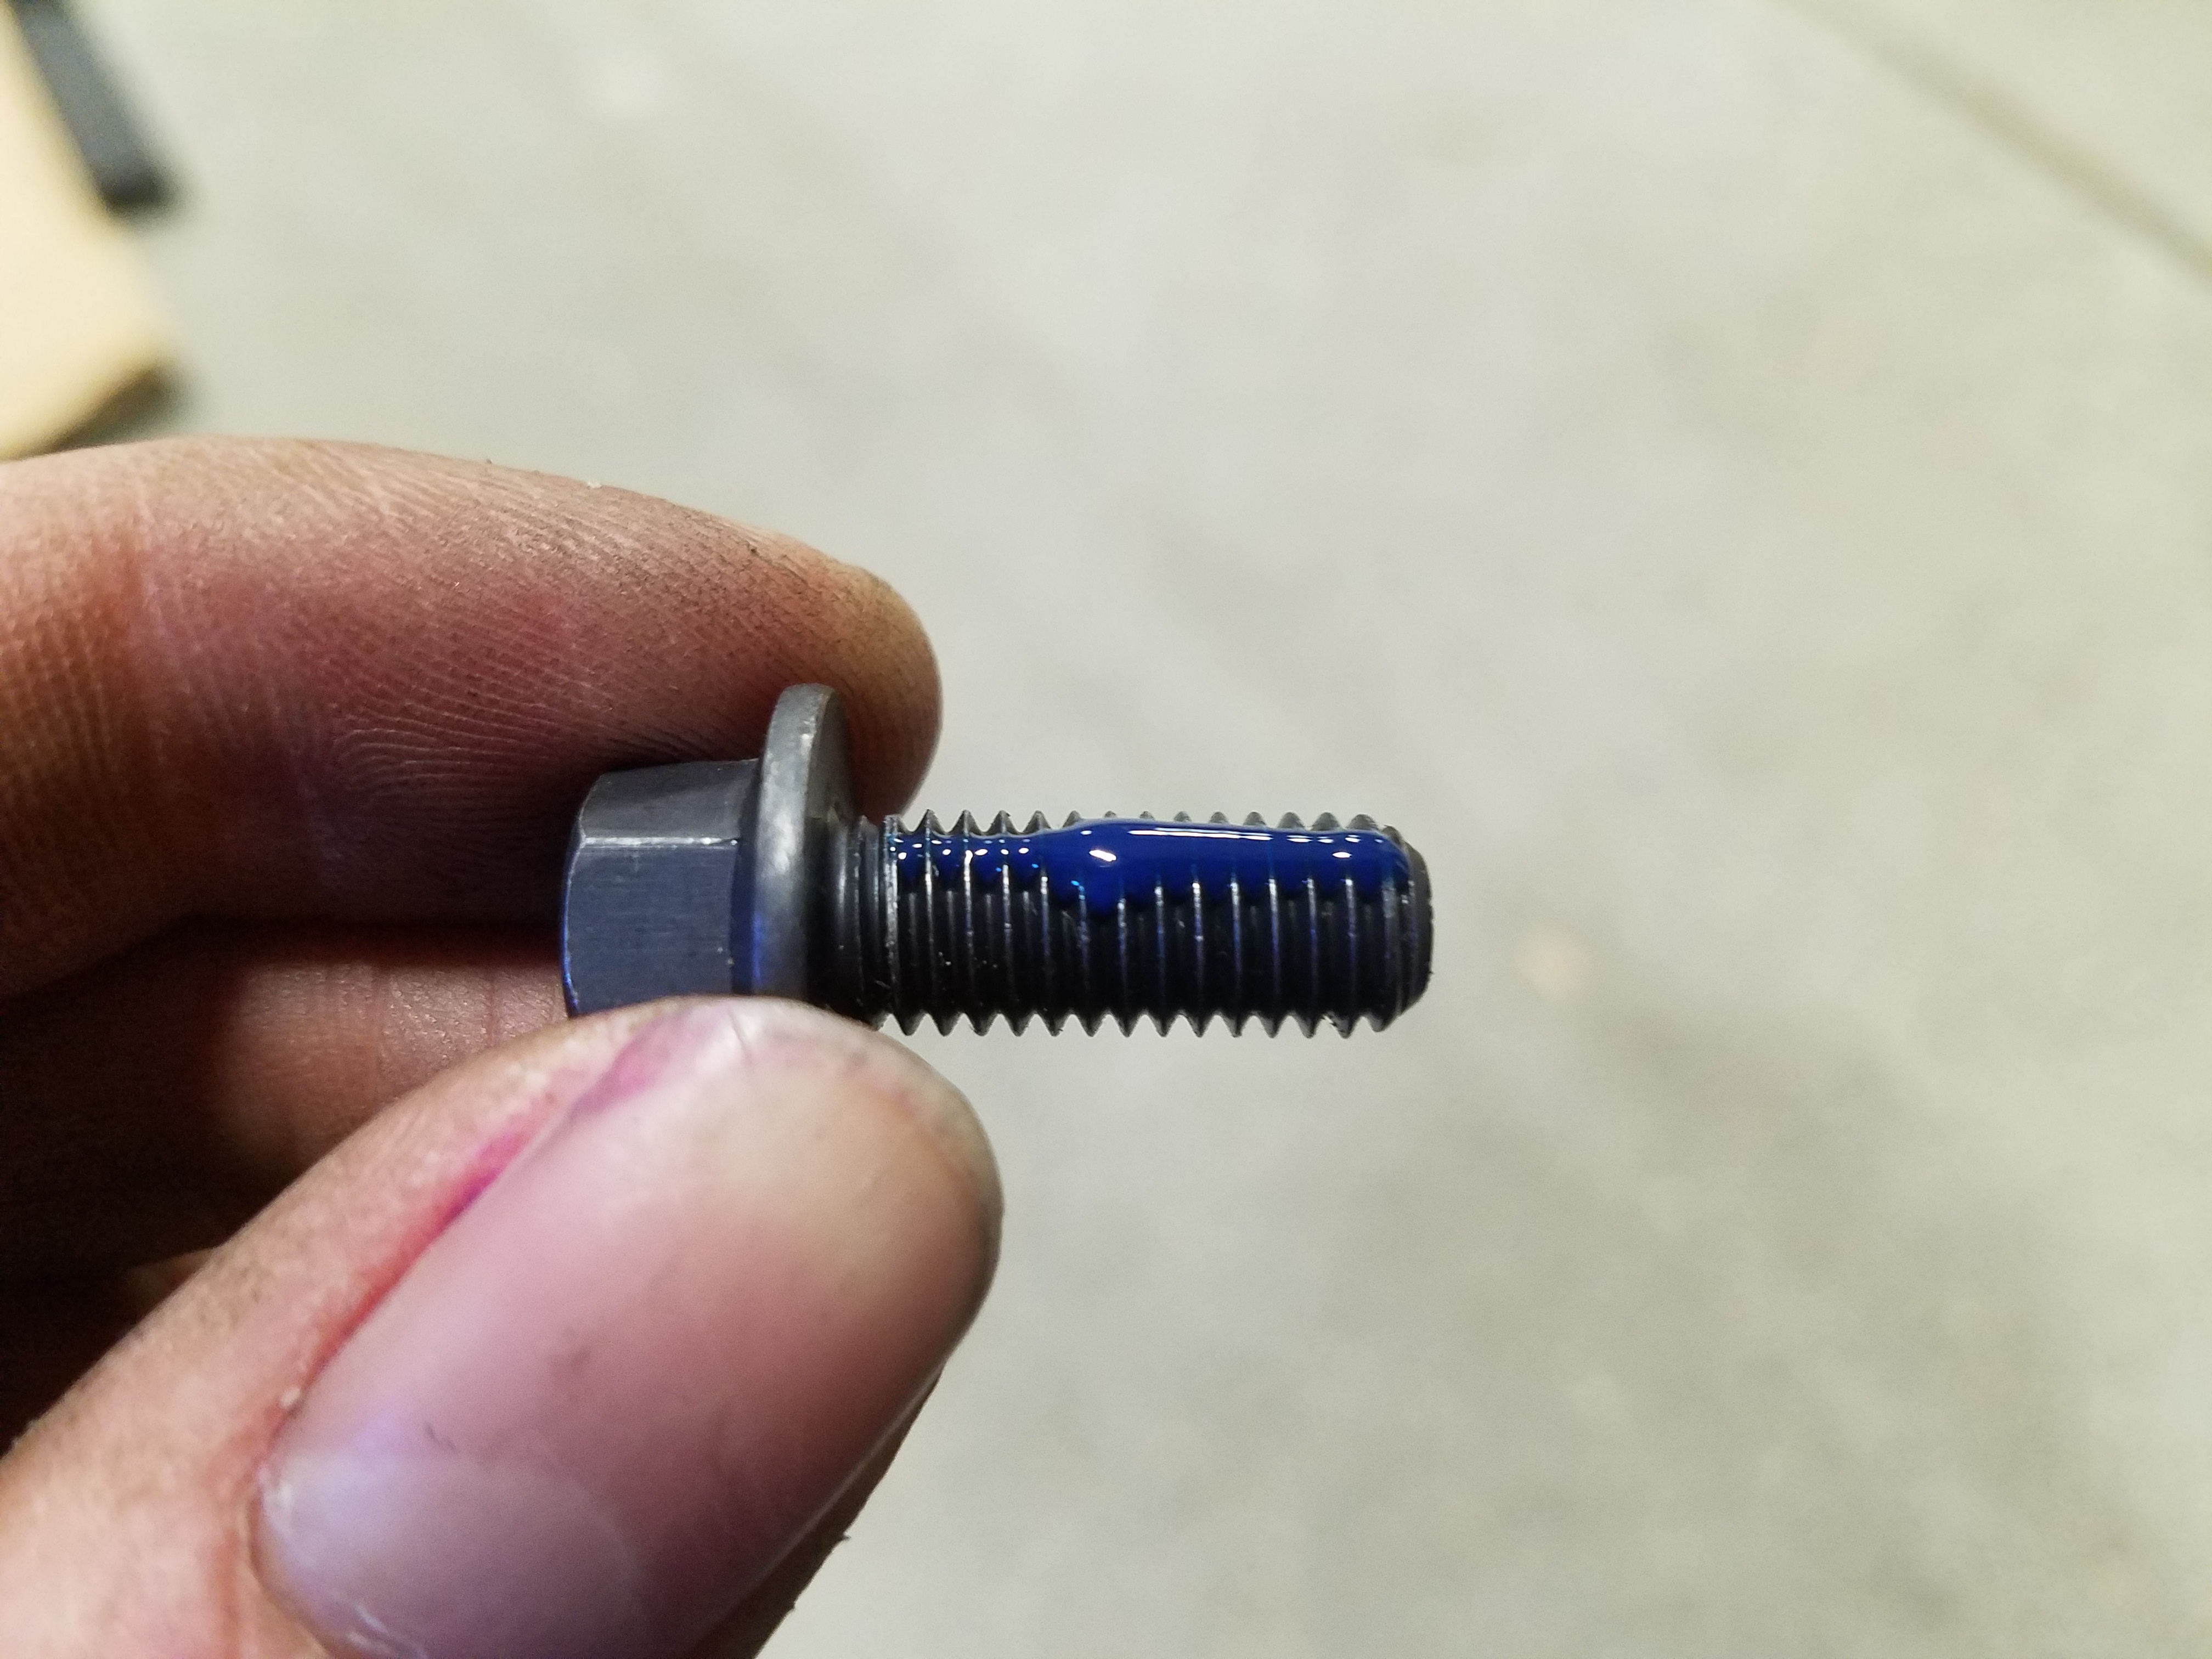
- Threadlocker
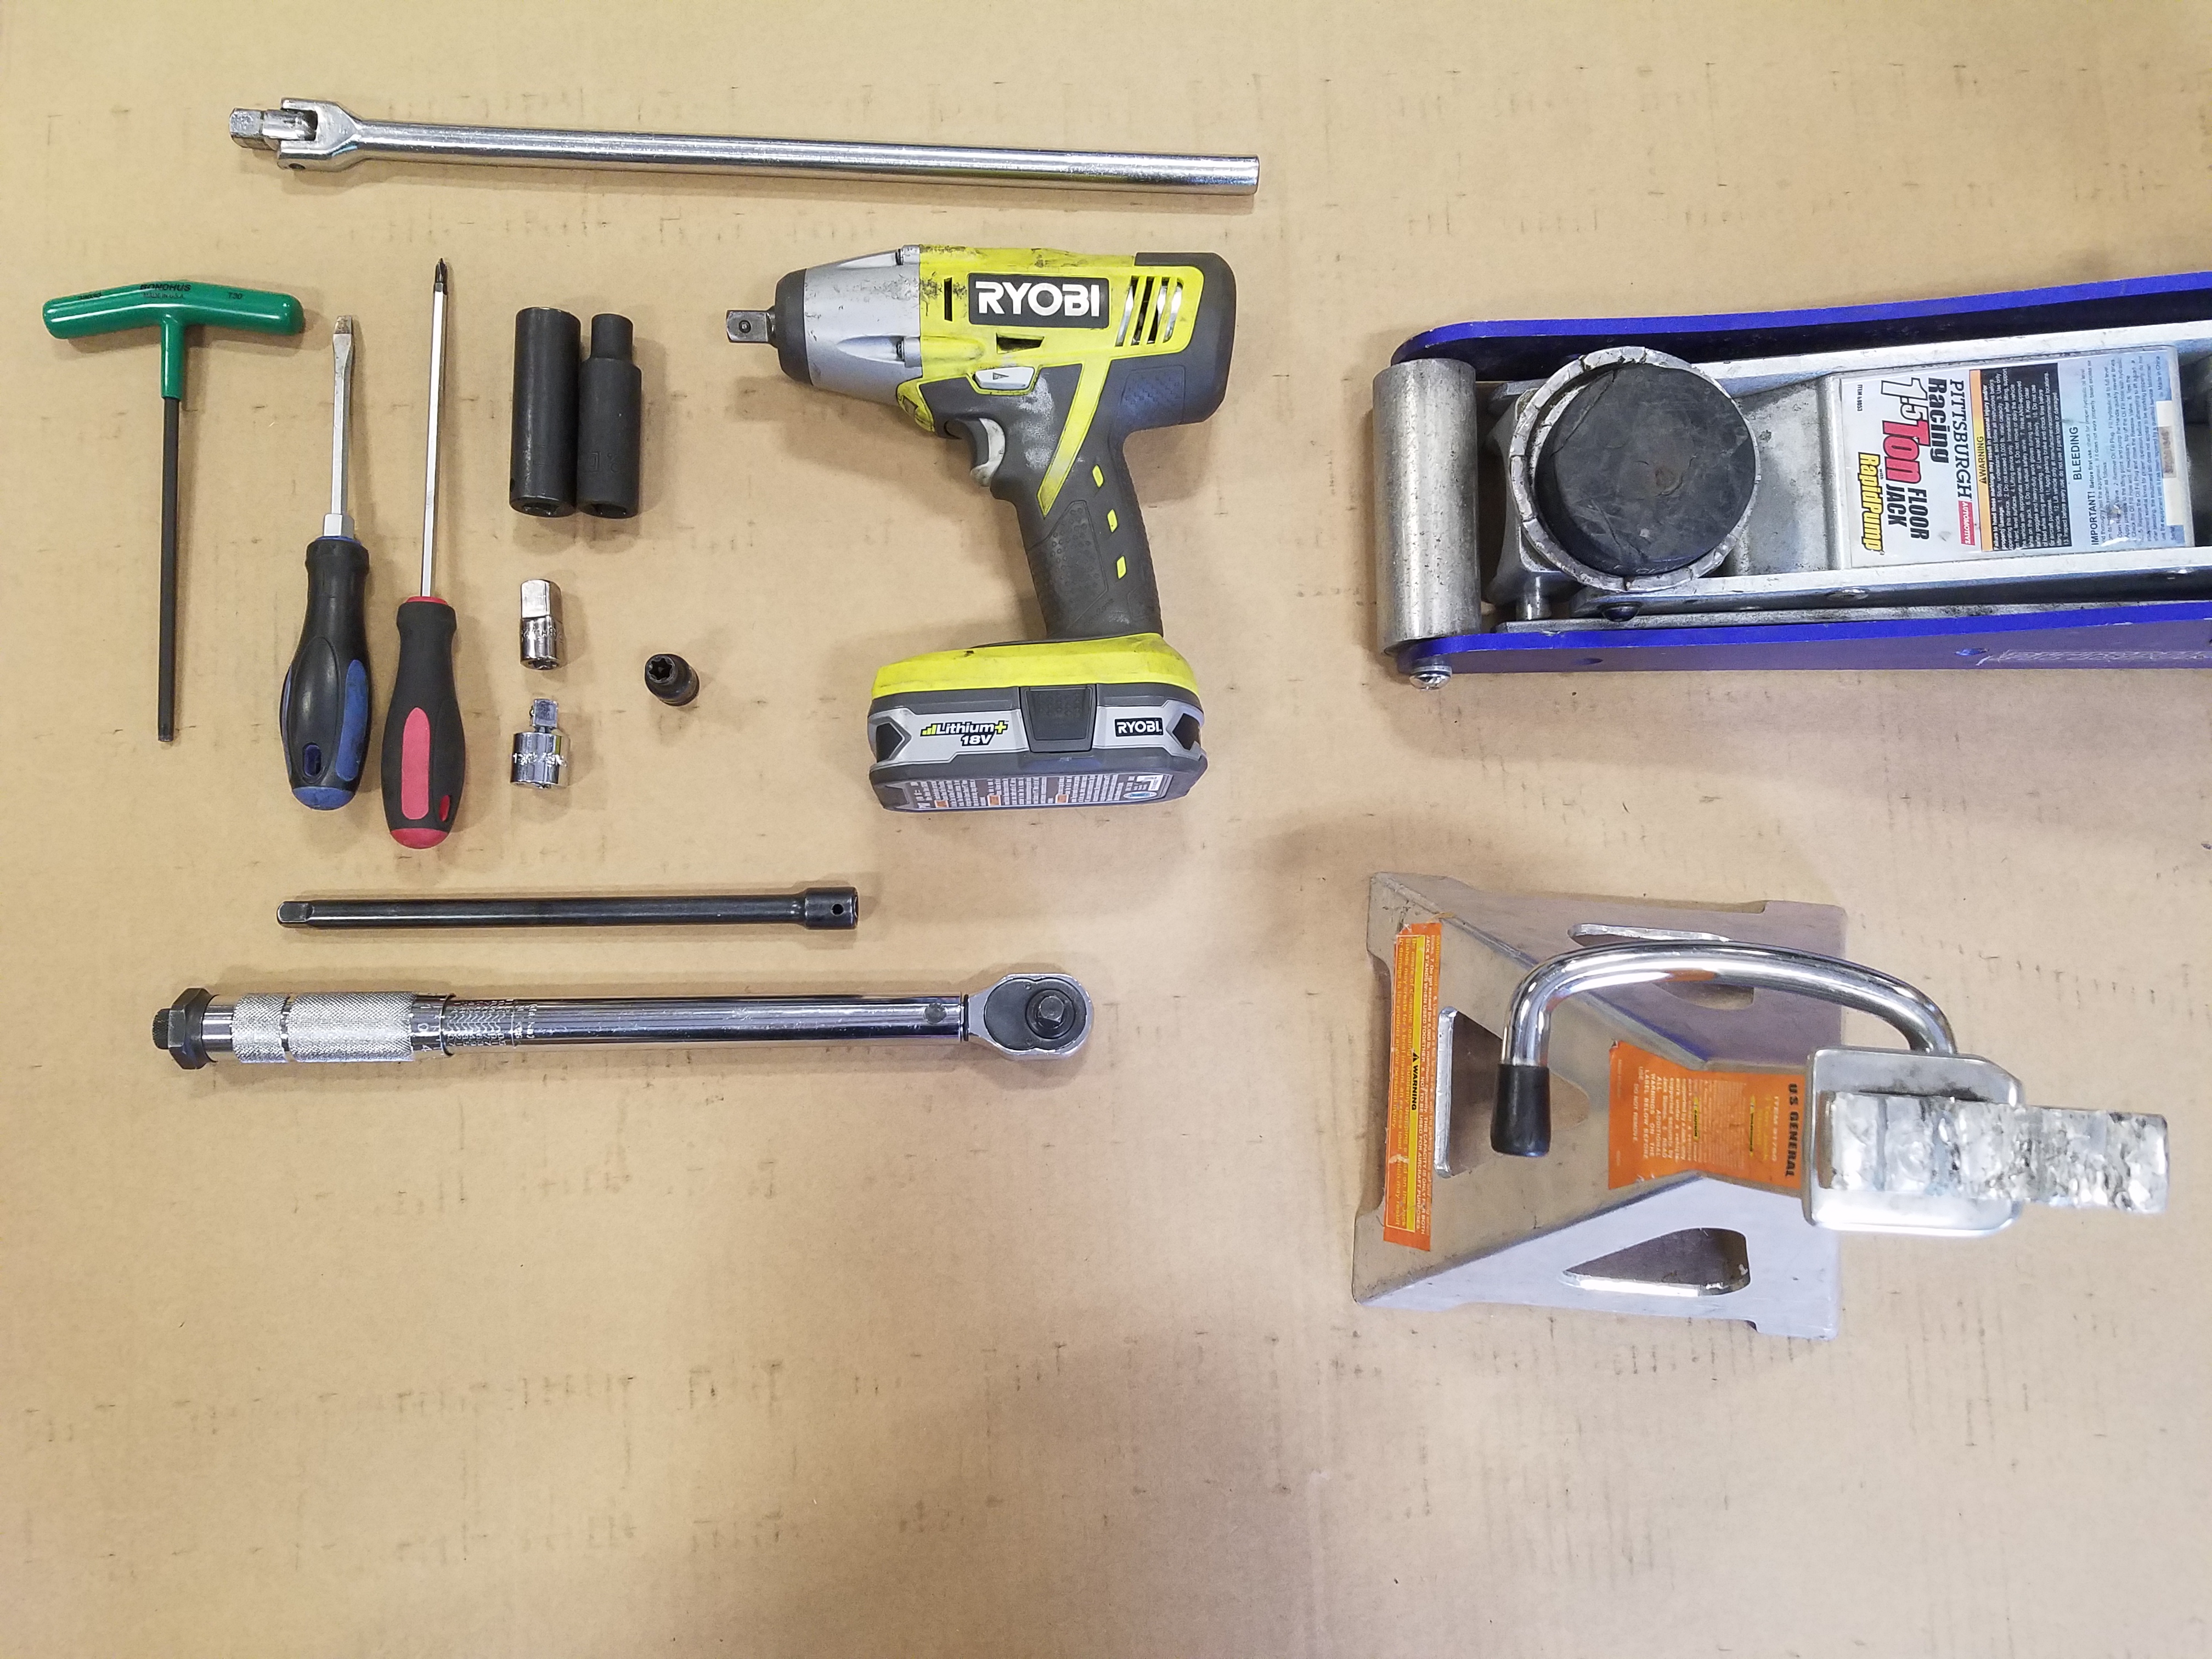
Tools Required:
- Hydraulic Jack and Jack Stand
- Phillips Screwdriver
- T30 Torx Wrench
- Socket Wrench
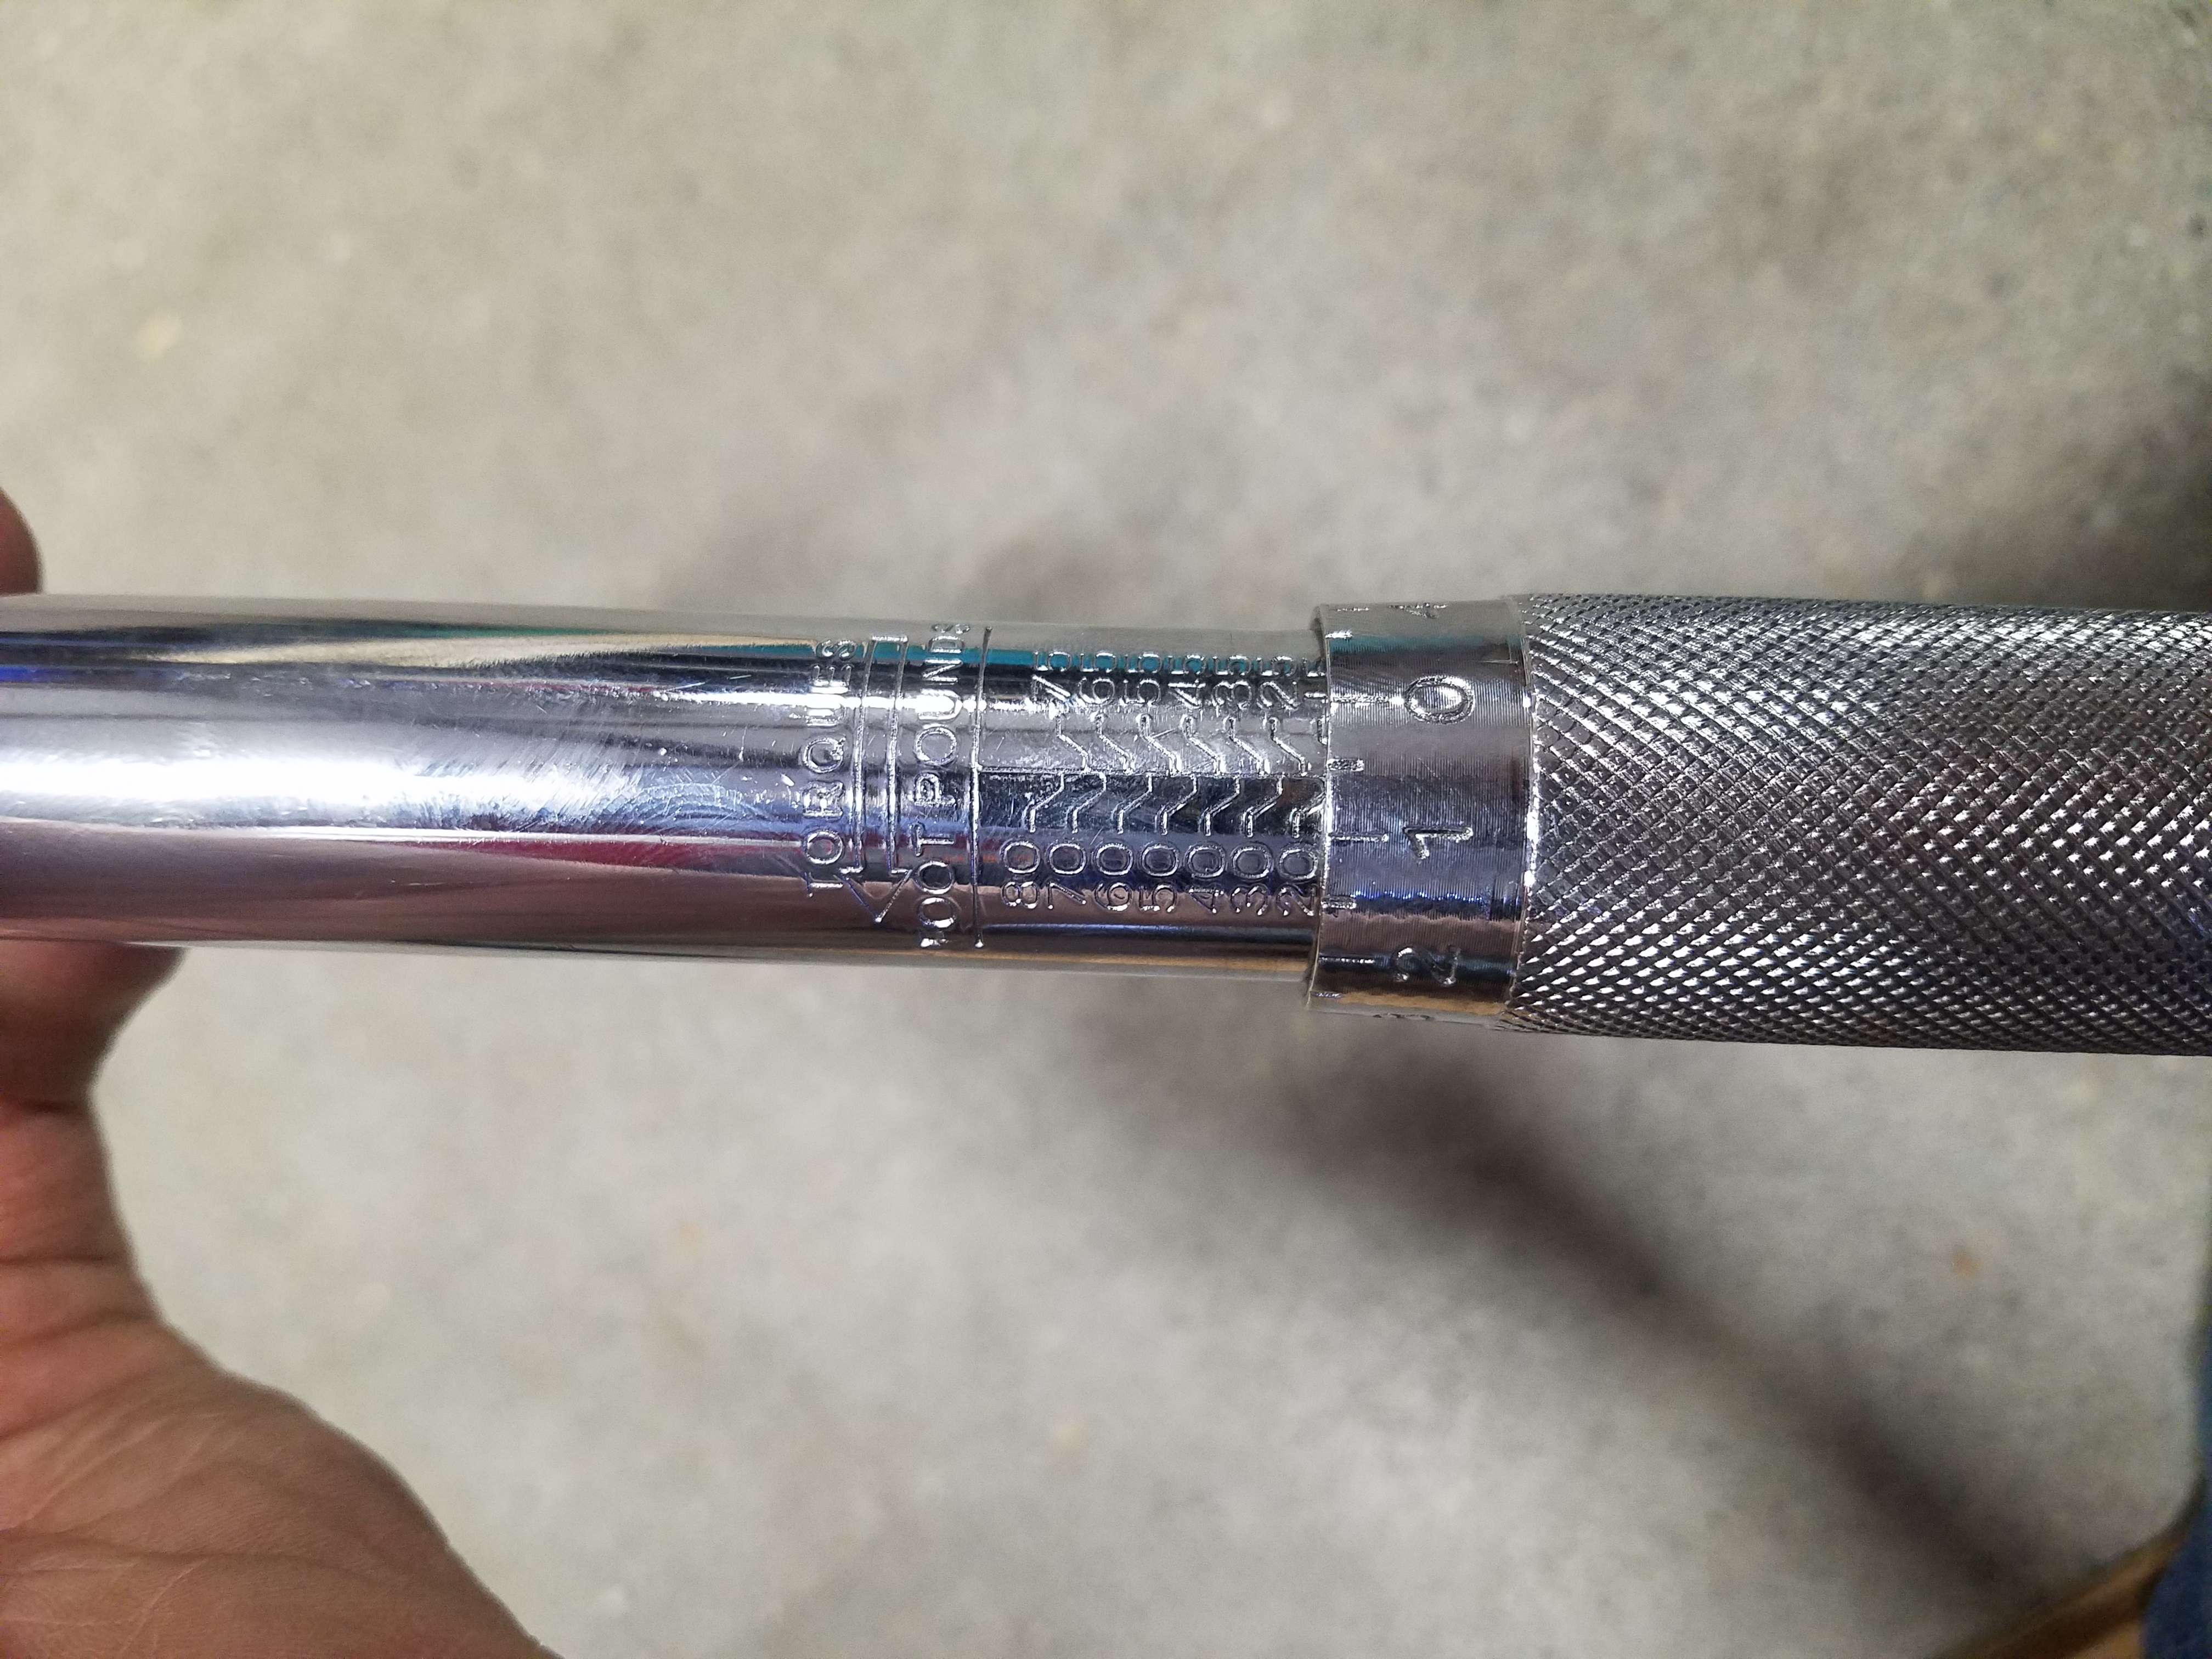
- Torque Wrench (20 & 100 ft/lb)
- 17mm Socket
- 10mm Socket
- Breaker Bar
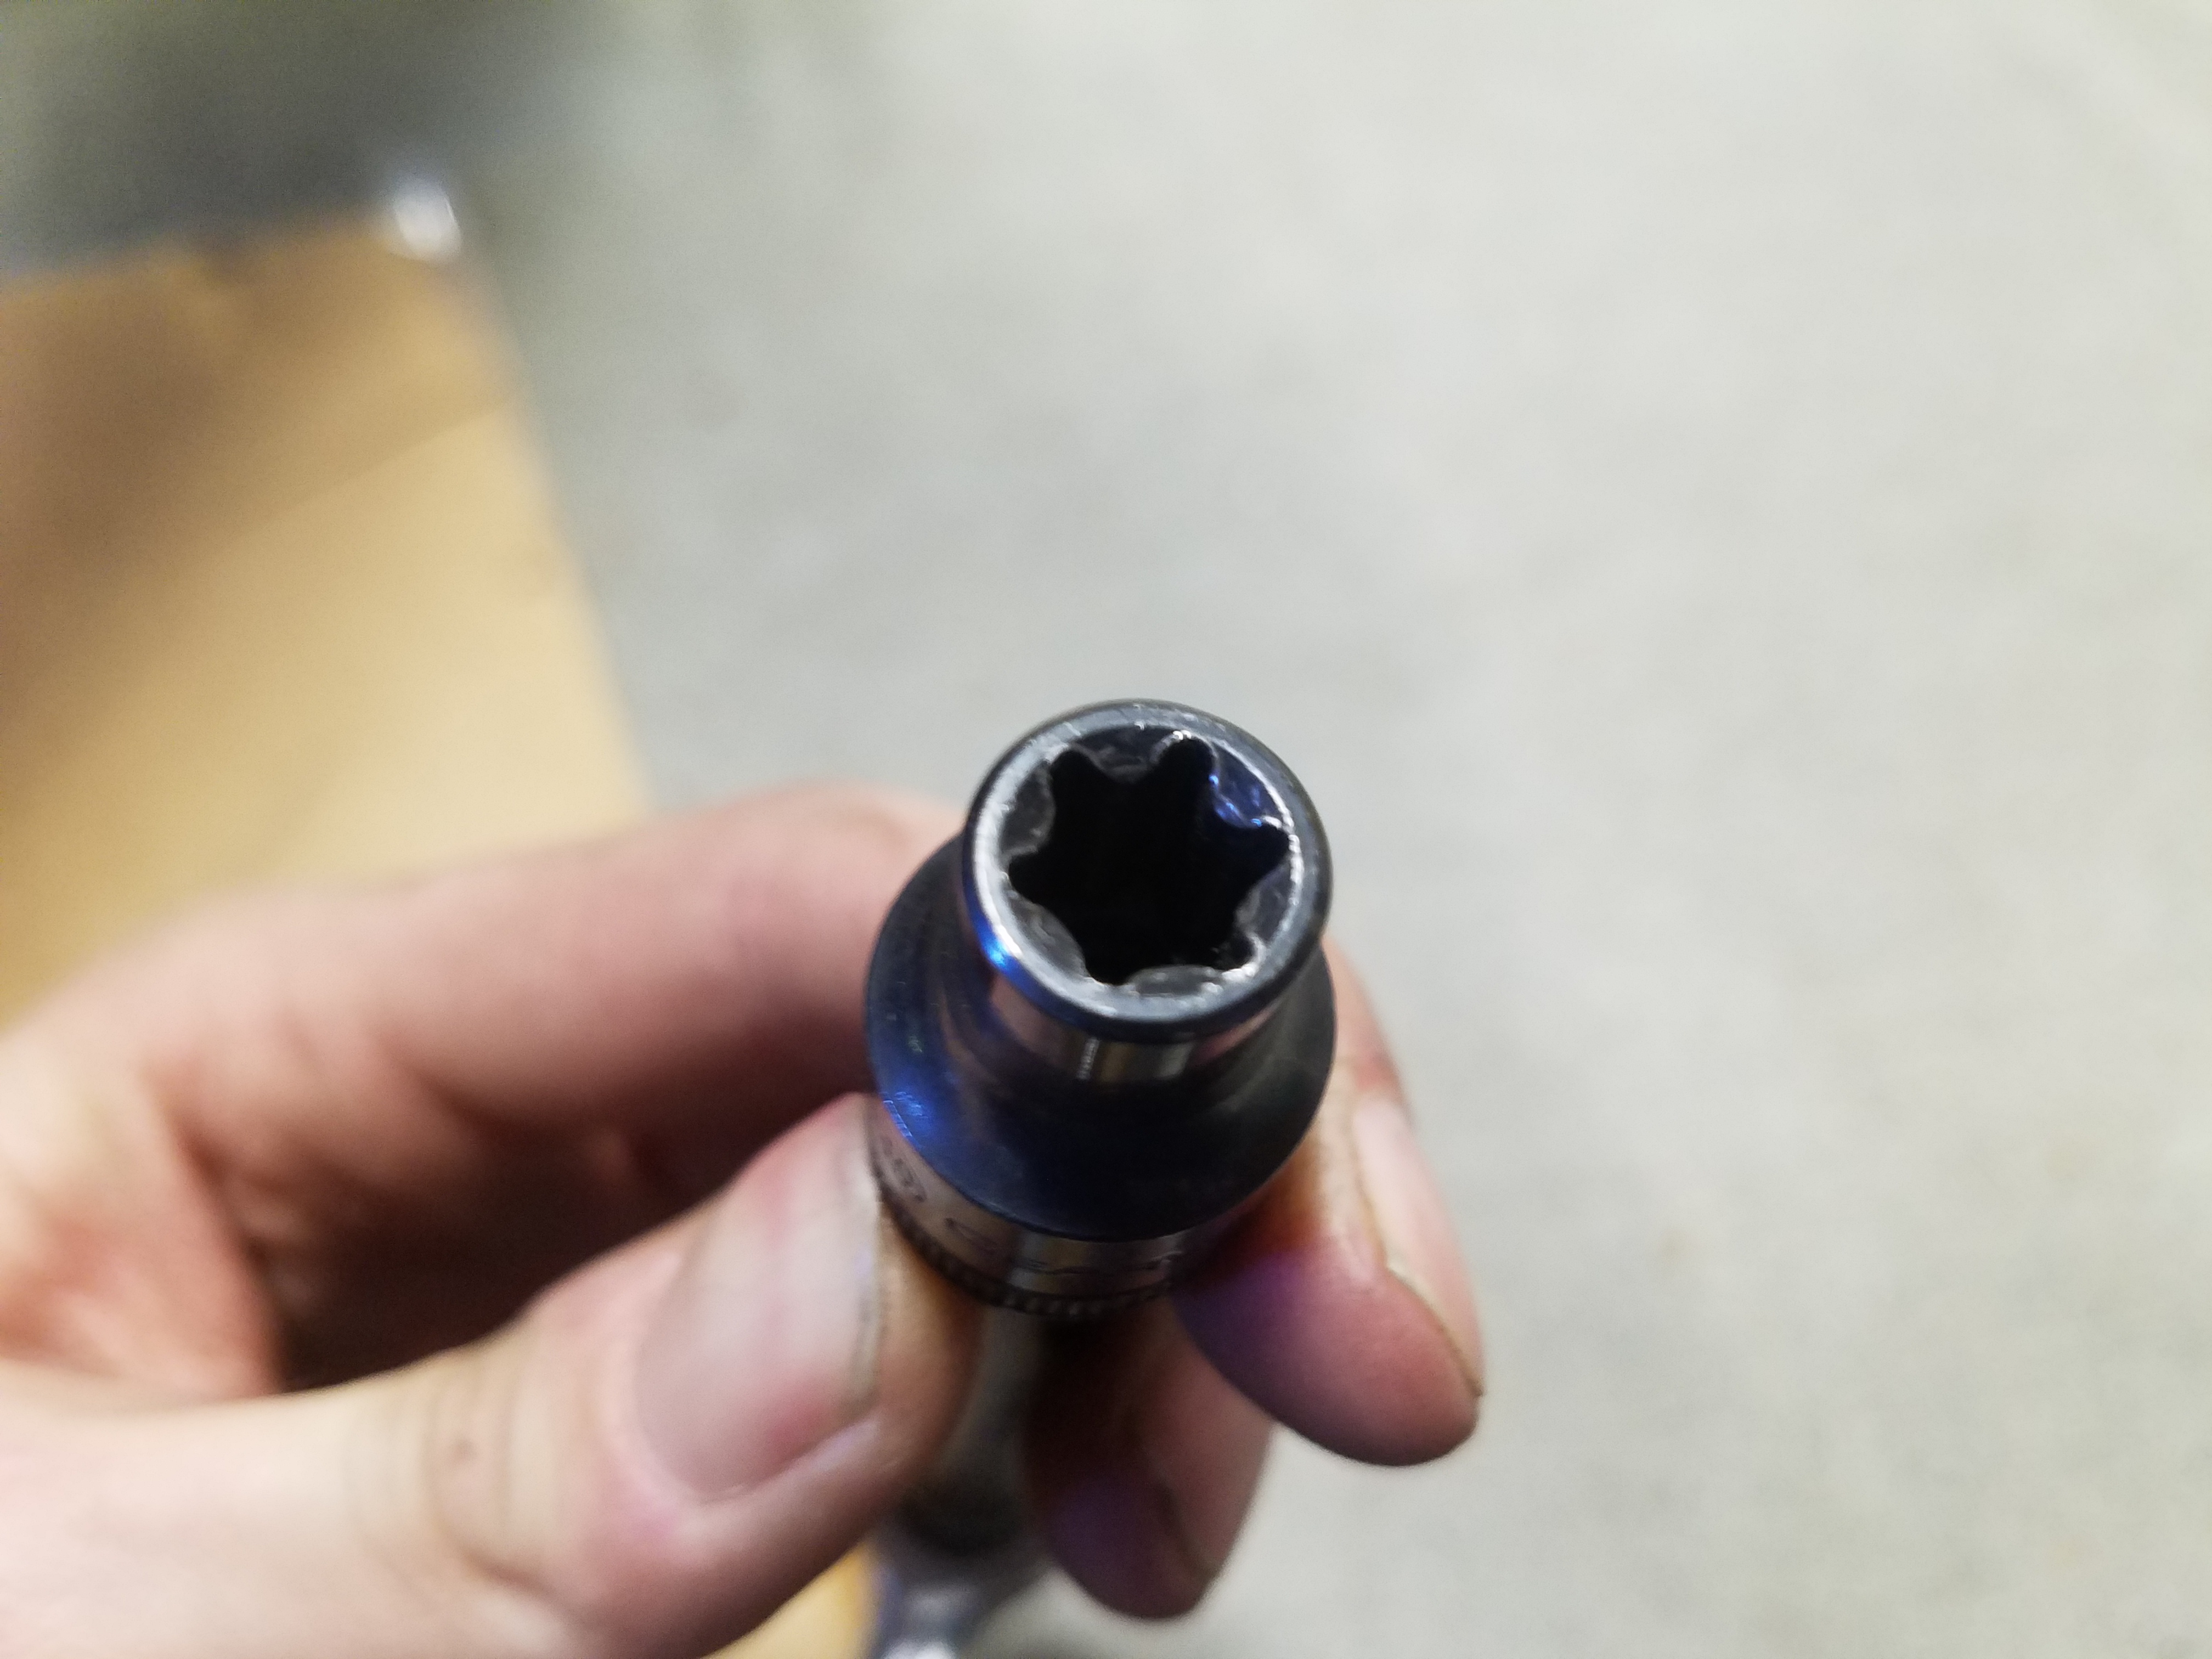
- E10 Externak Torx Socket
- Socket Extension (optional)
- 18mm Socket (optional)
- Impact Wrench (optional)
- Flathead Screwdriver (optional)
- MINI Tensioner Tool (optional)
NOTE: Several portions of this process may benefit from a second pair of hands. If you are uncomfortable placing your vehicle on jack stands or locking the tensioner, this may be a job for a mechanic. Remember, when dealing with an engine's timing system, it is always beneficial to read through the entire process before beginning. Following these instructions will in no way risk damaging your engine, but failure to follow instructions correctly certainly could.
Procedure
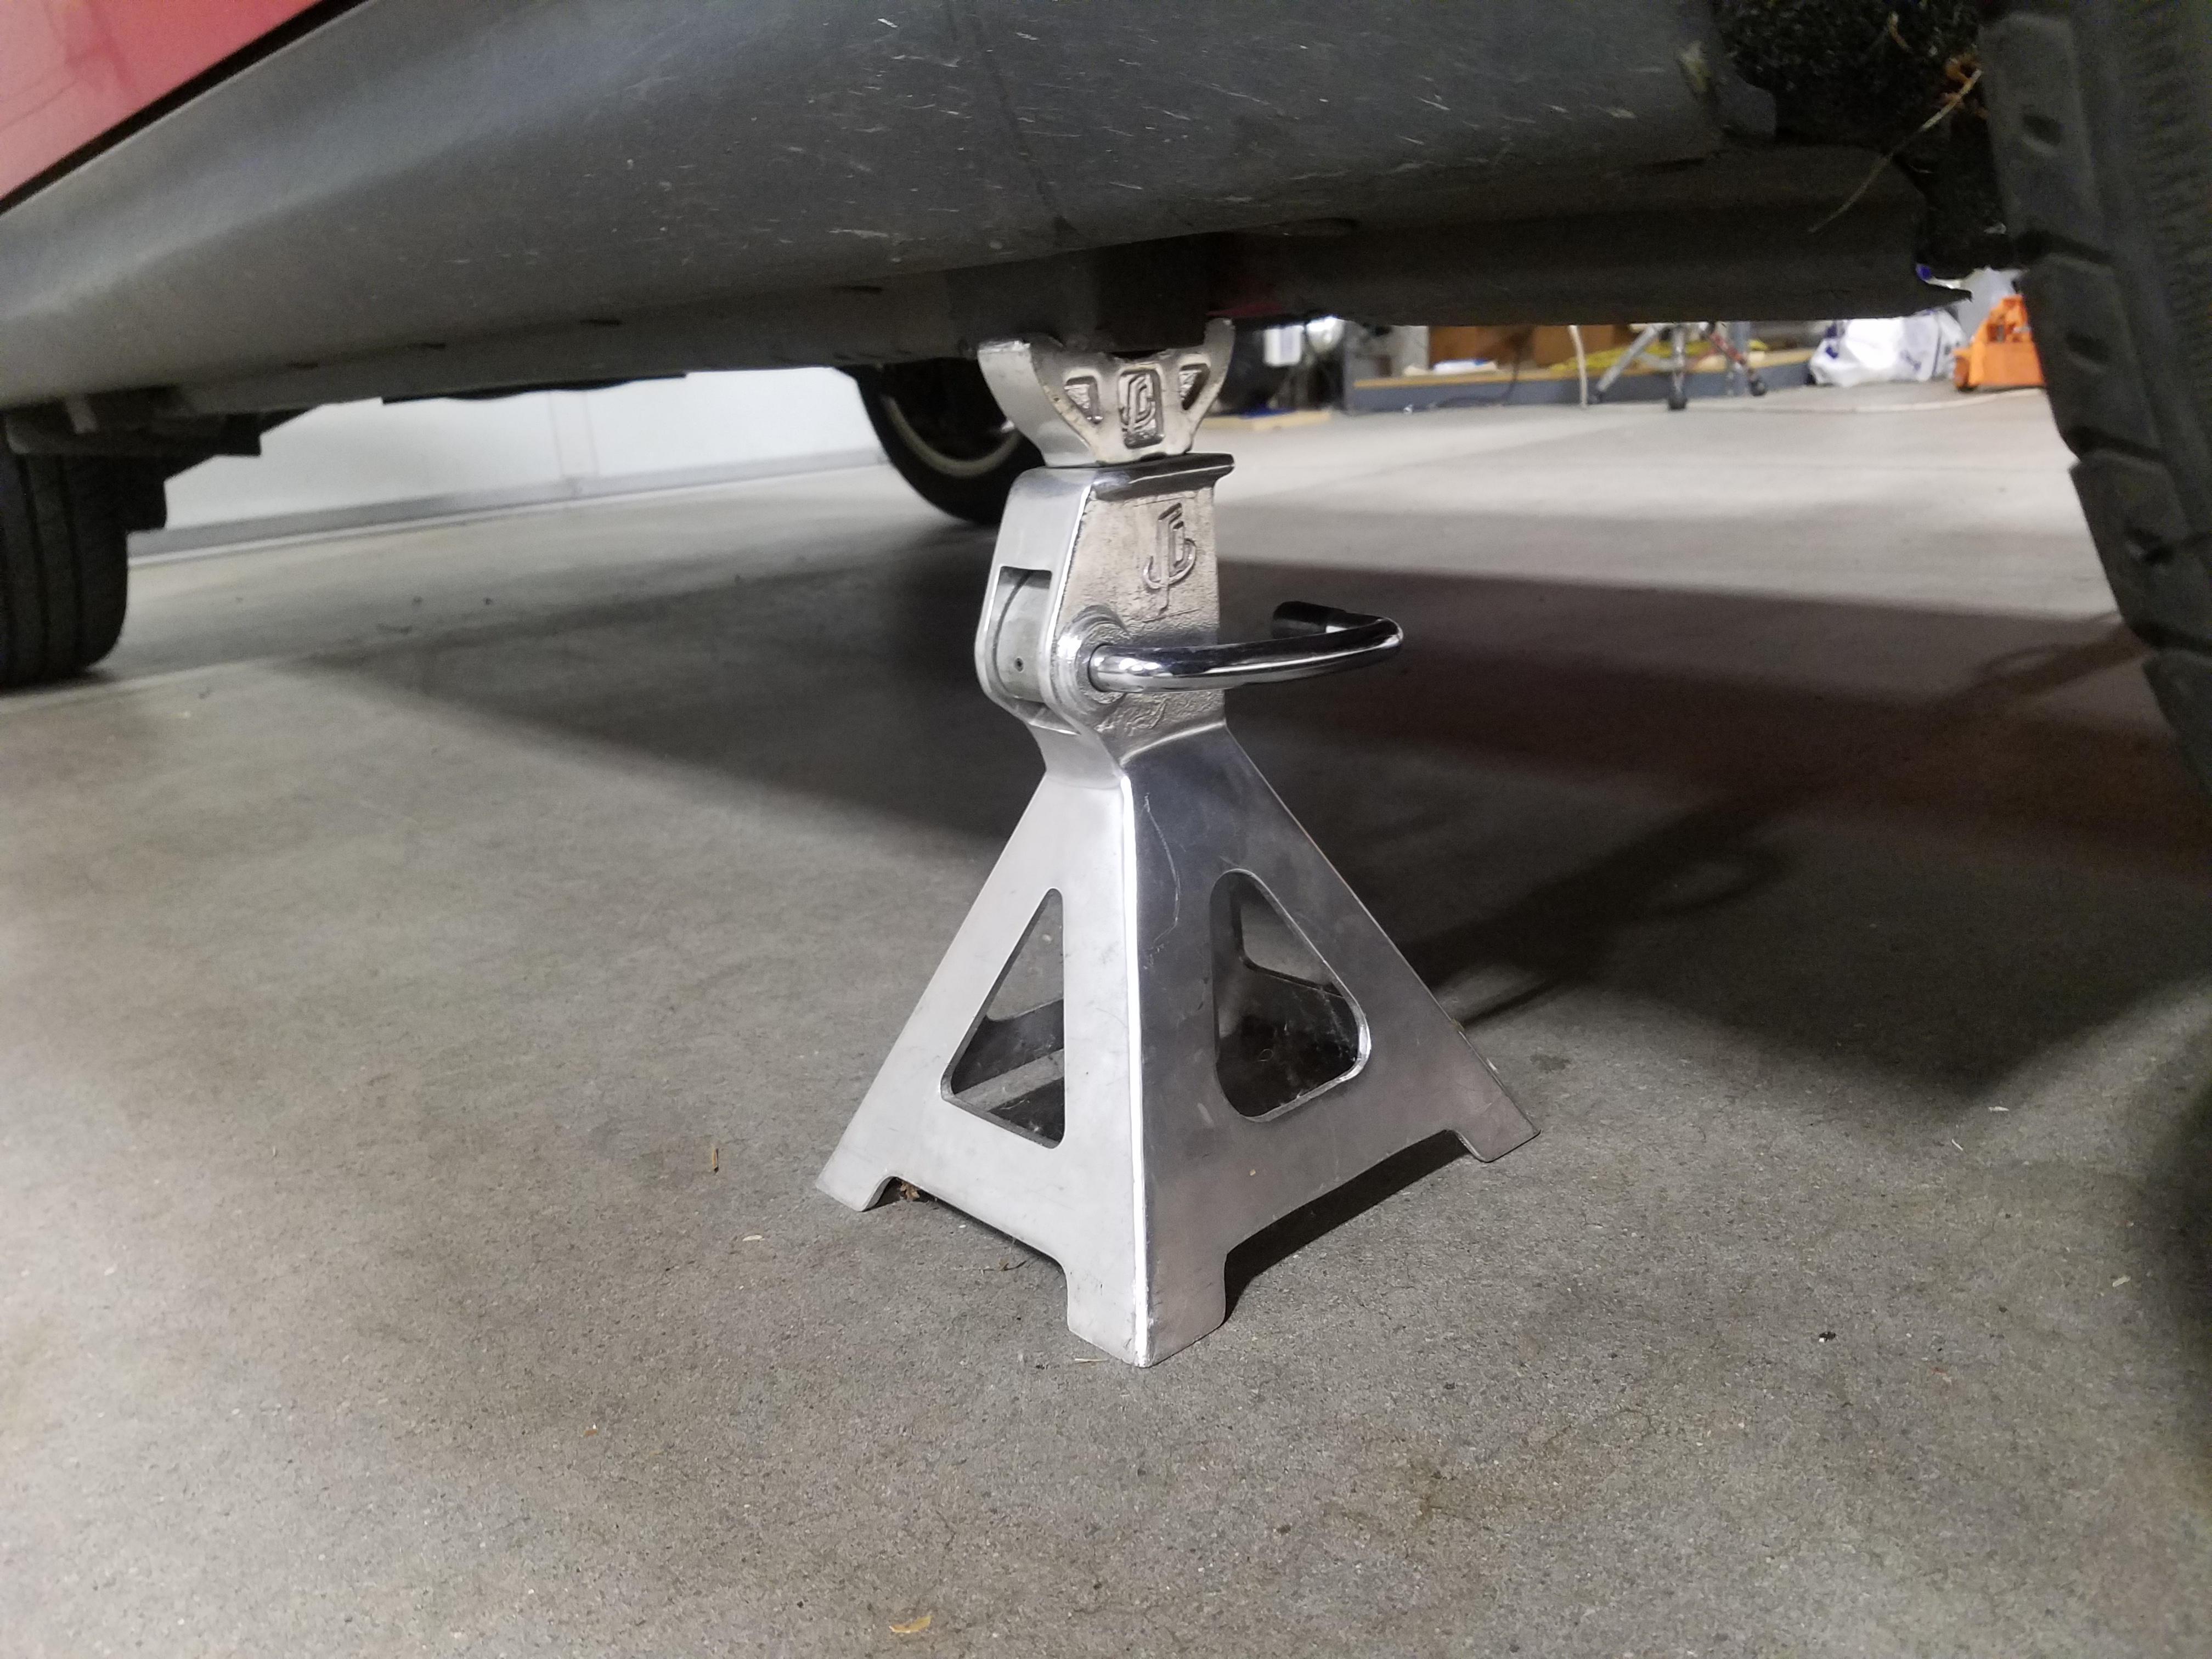
Raising the Vehicle on Jack Stand
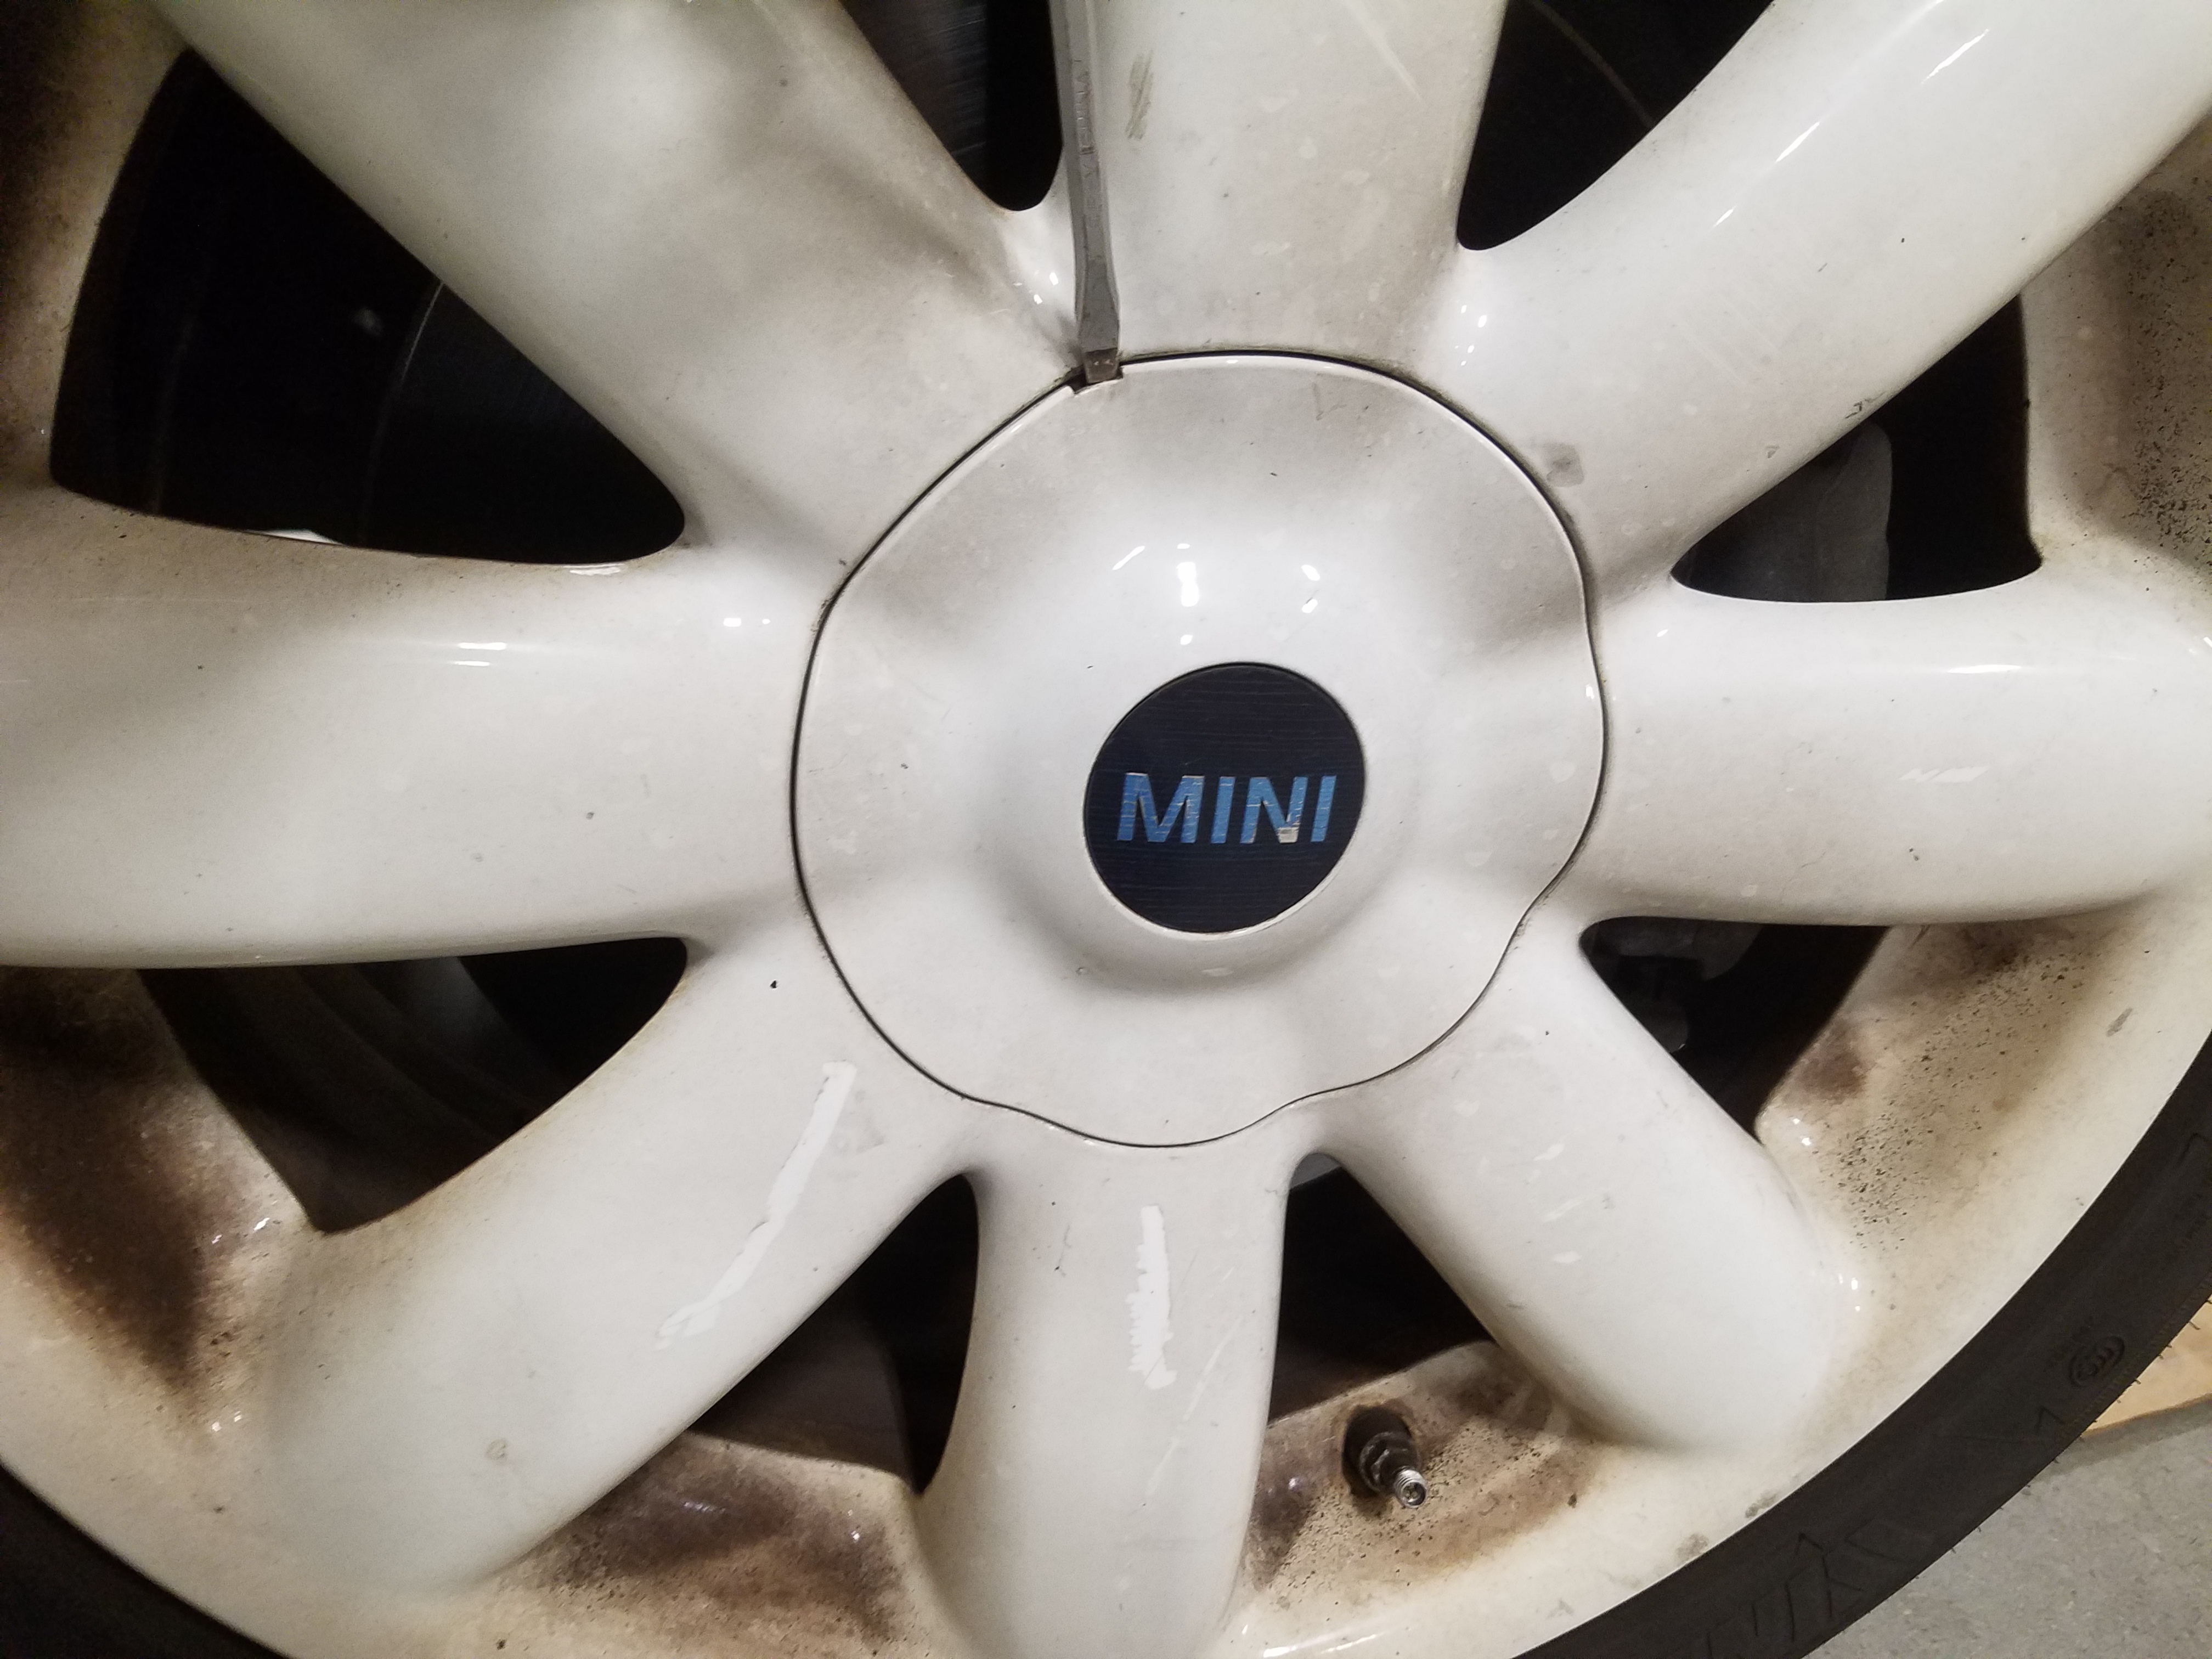
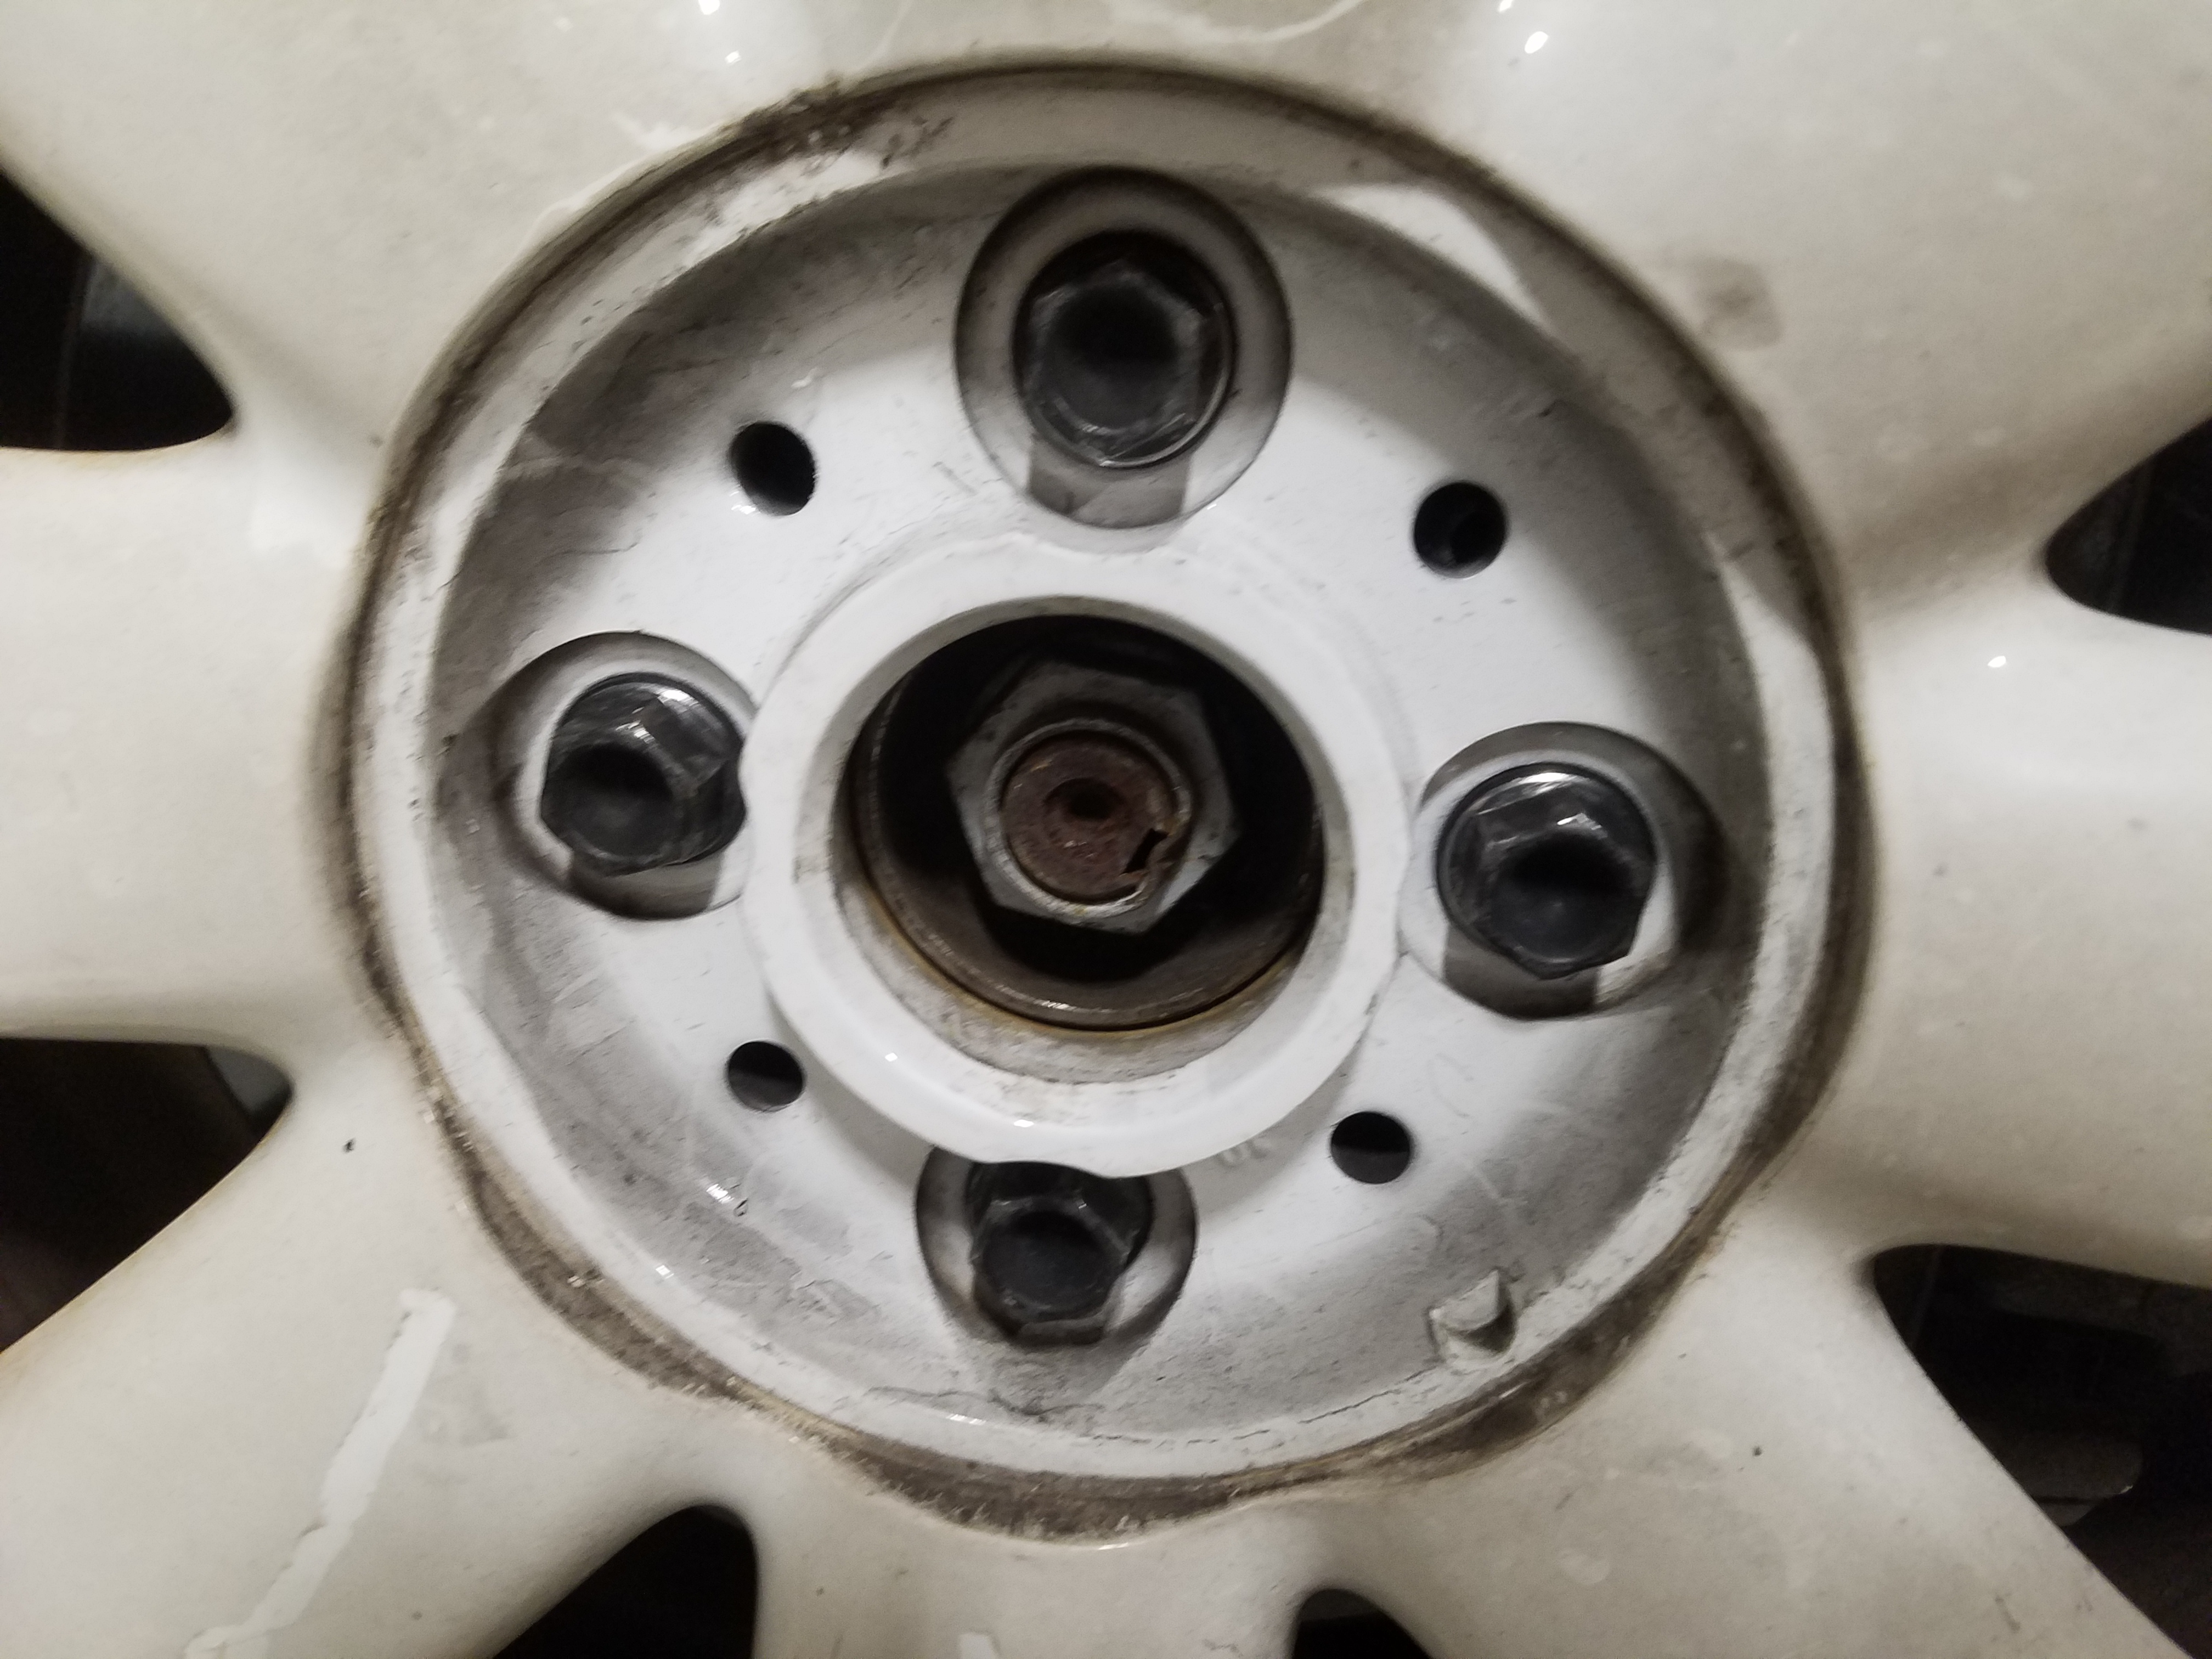
- First, if necessary, use a flathead screwdriver to remove the protective piece covering the lug bolts of the passenger side wheel.
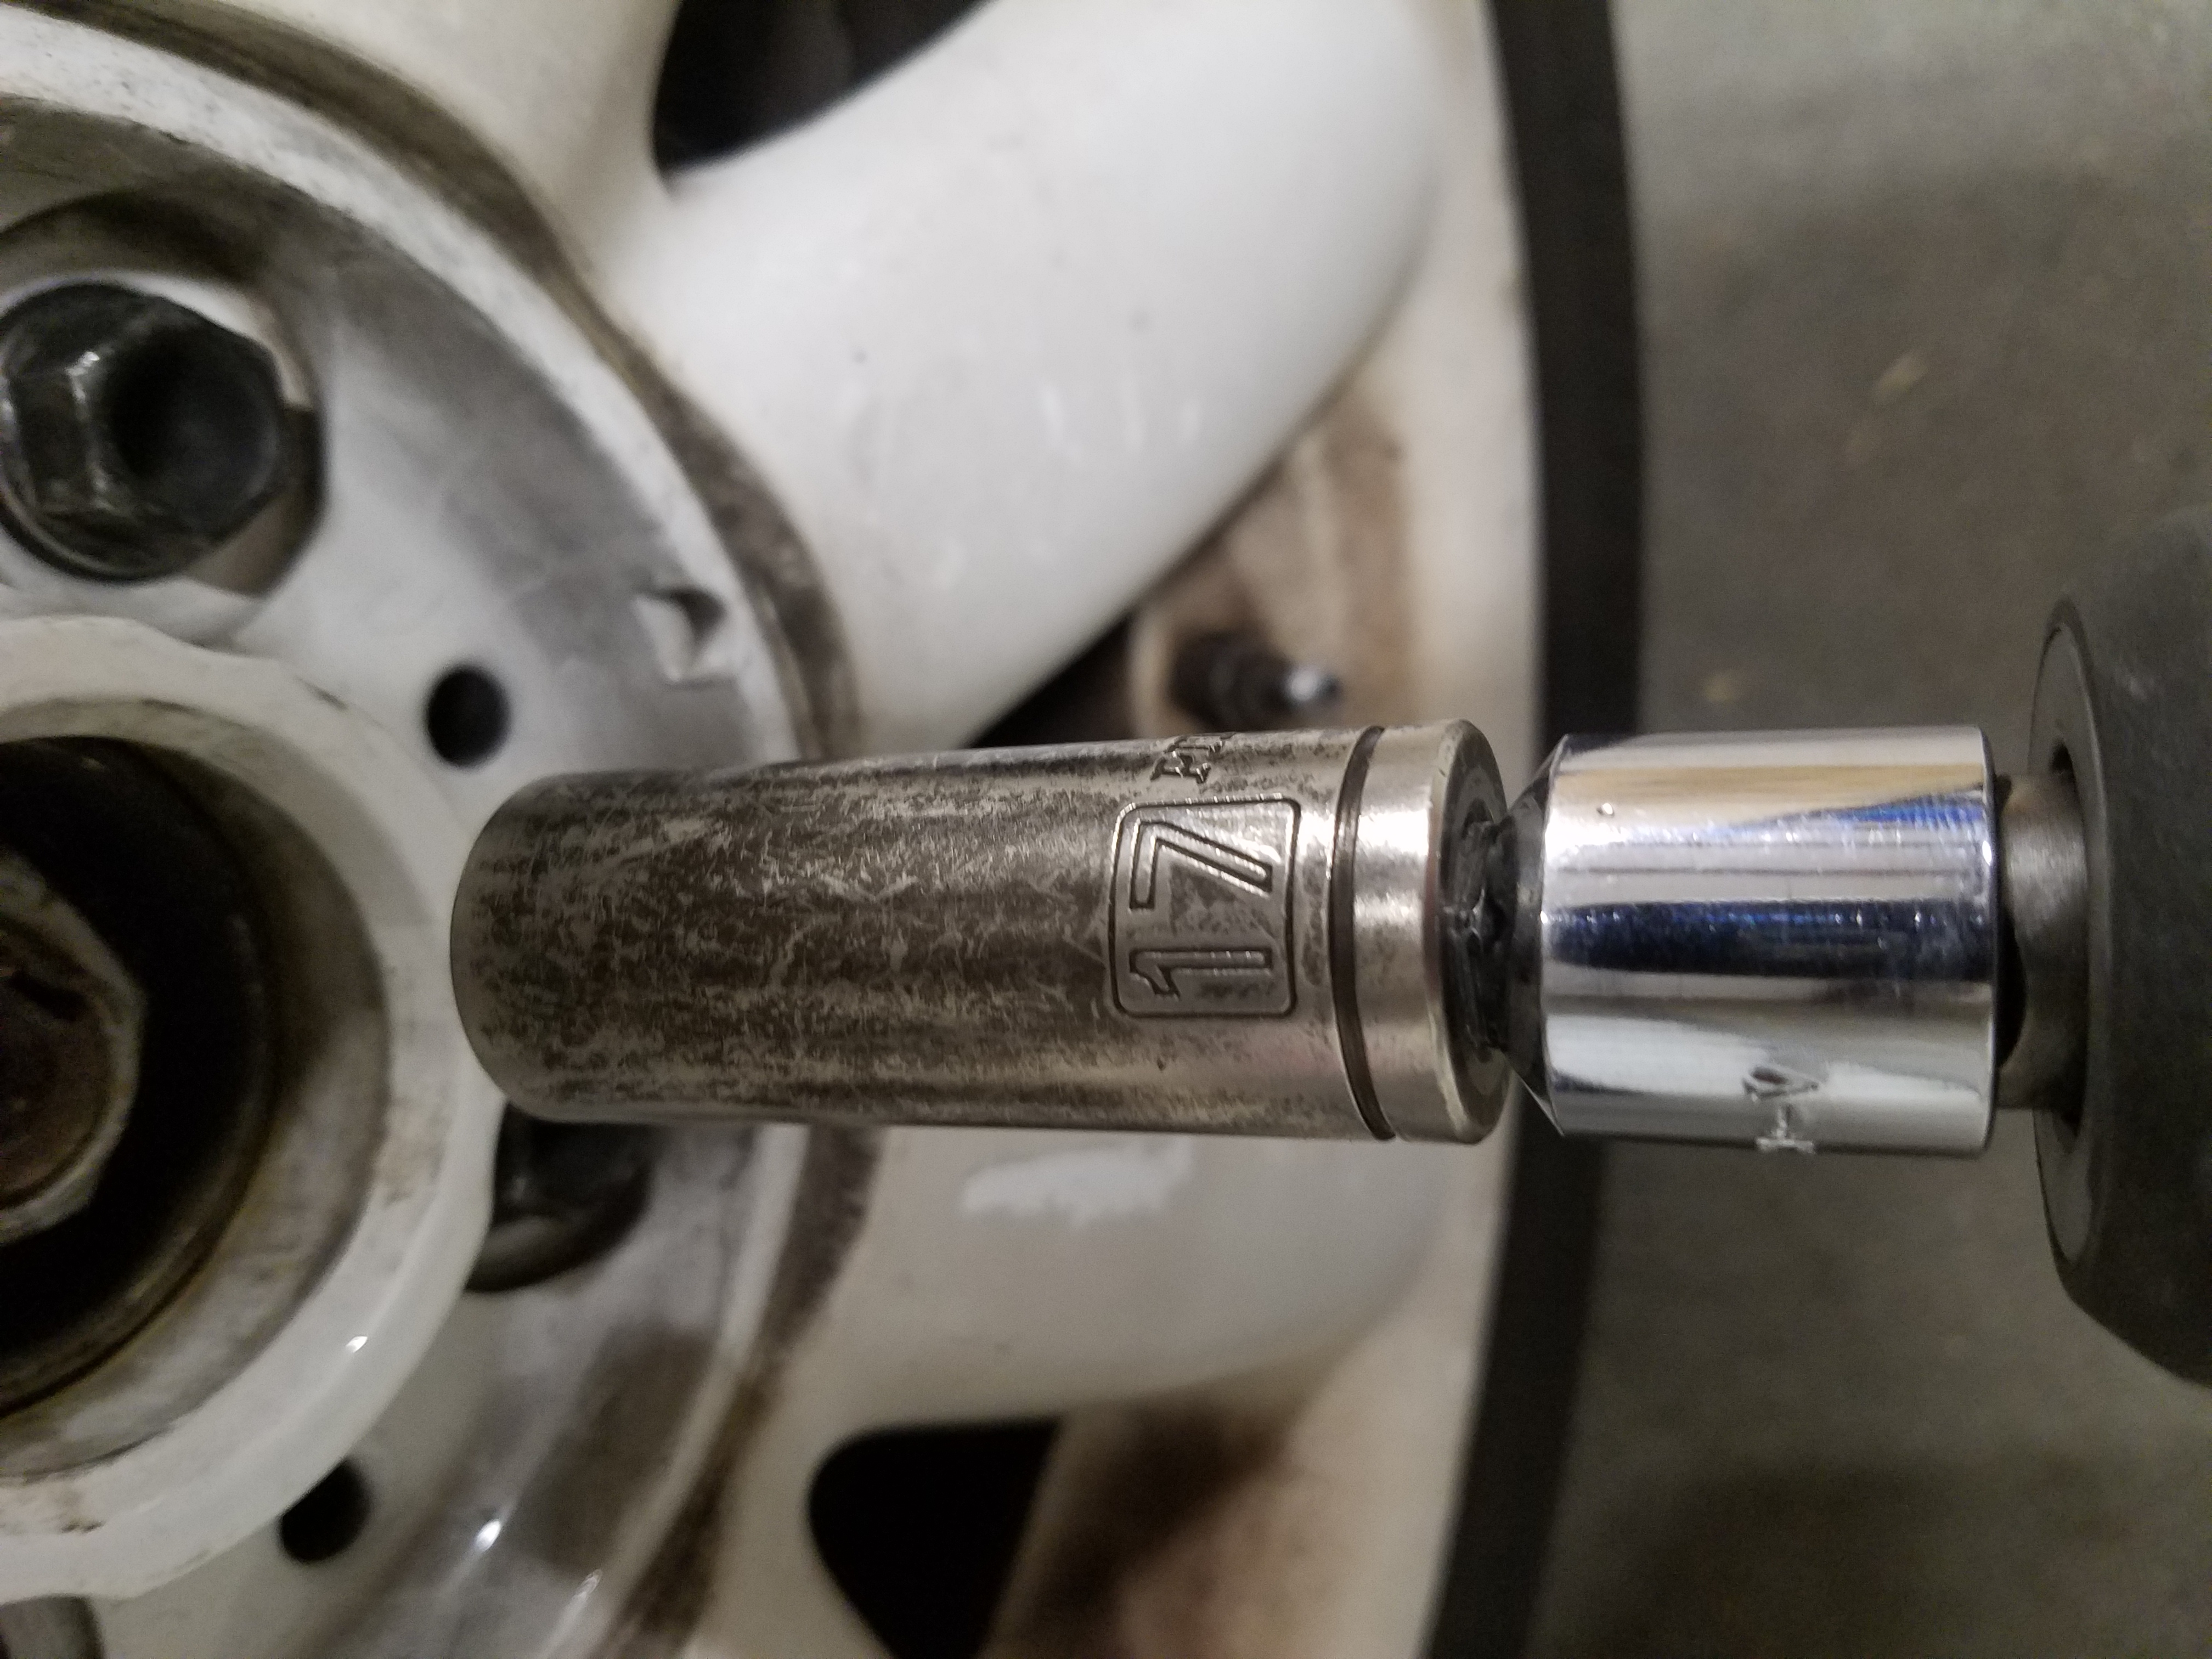
- Next, using a breaker bar or impack, break loose the 4 lug bolts with the 17mm socket.
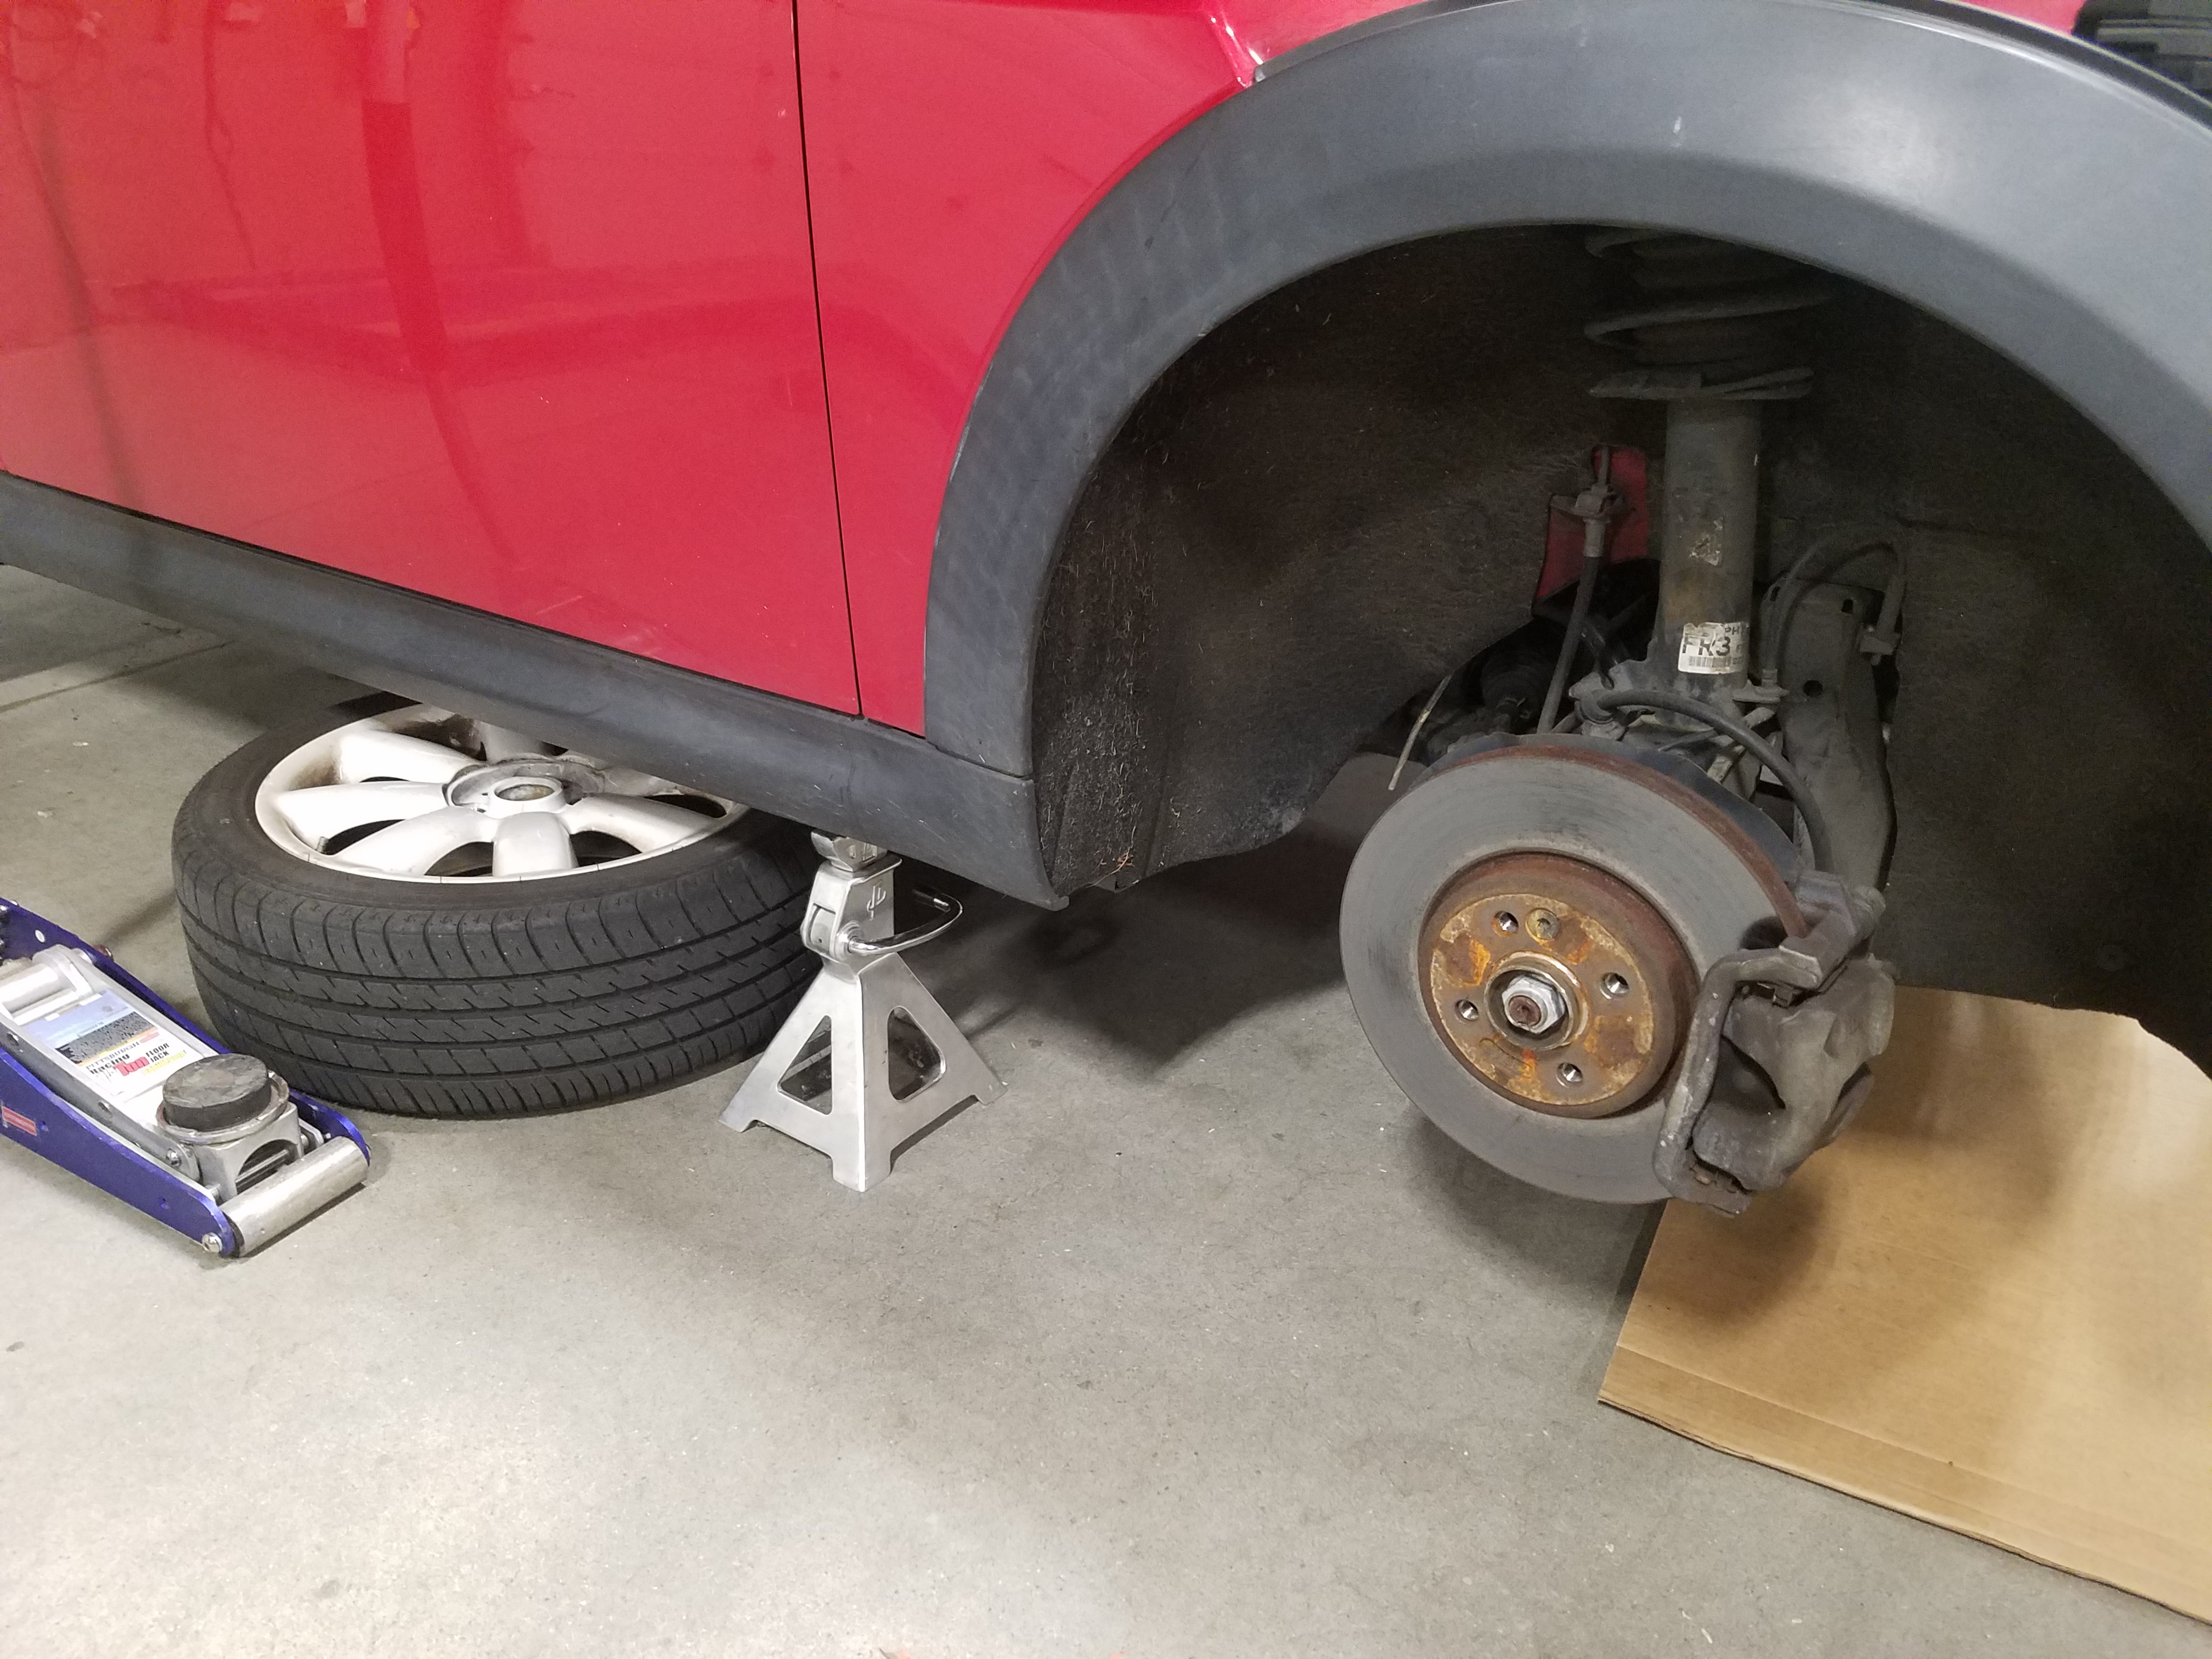
- Jack up the car by placing the hydraulic jack under the subframe, and then place a jack stand at the jack position.
- Remove the lug nuts, setting them aside, and then take the wheel off the hub and place it directly behind the jack stand, for safety.
Removing the Wheel Well Liner
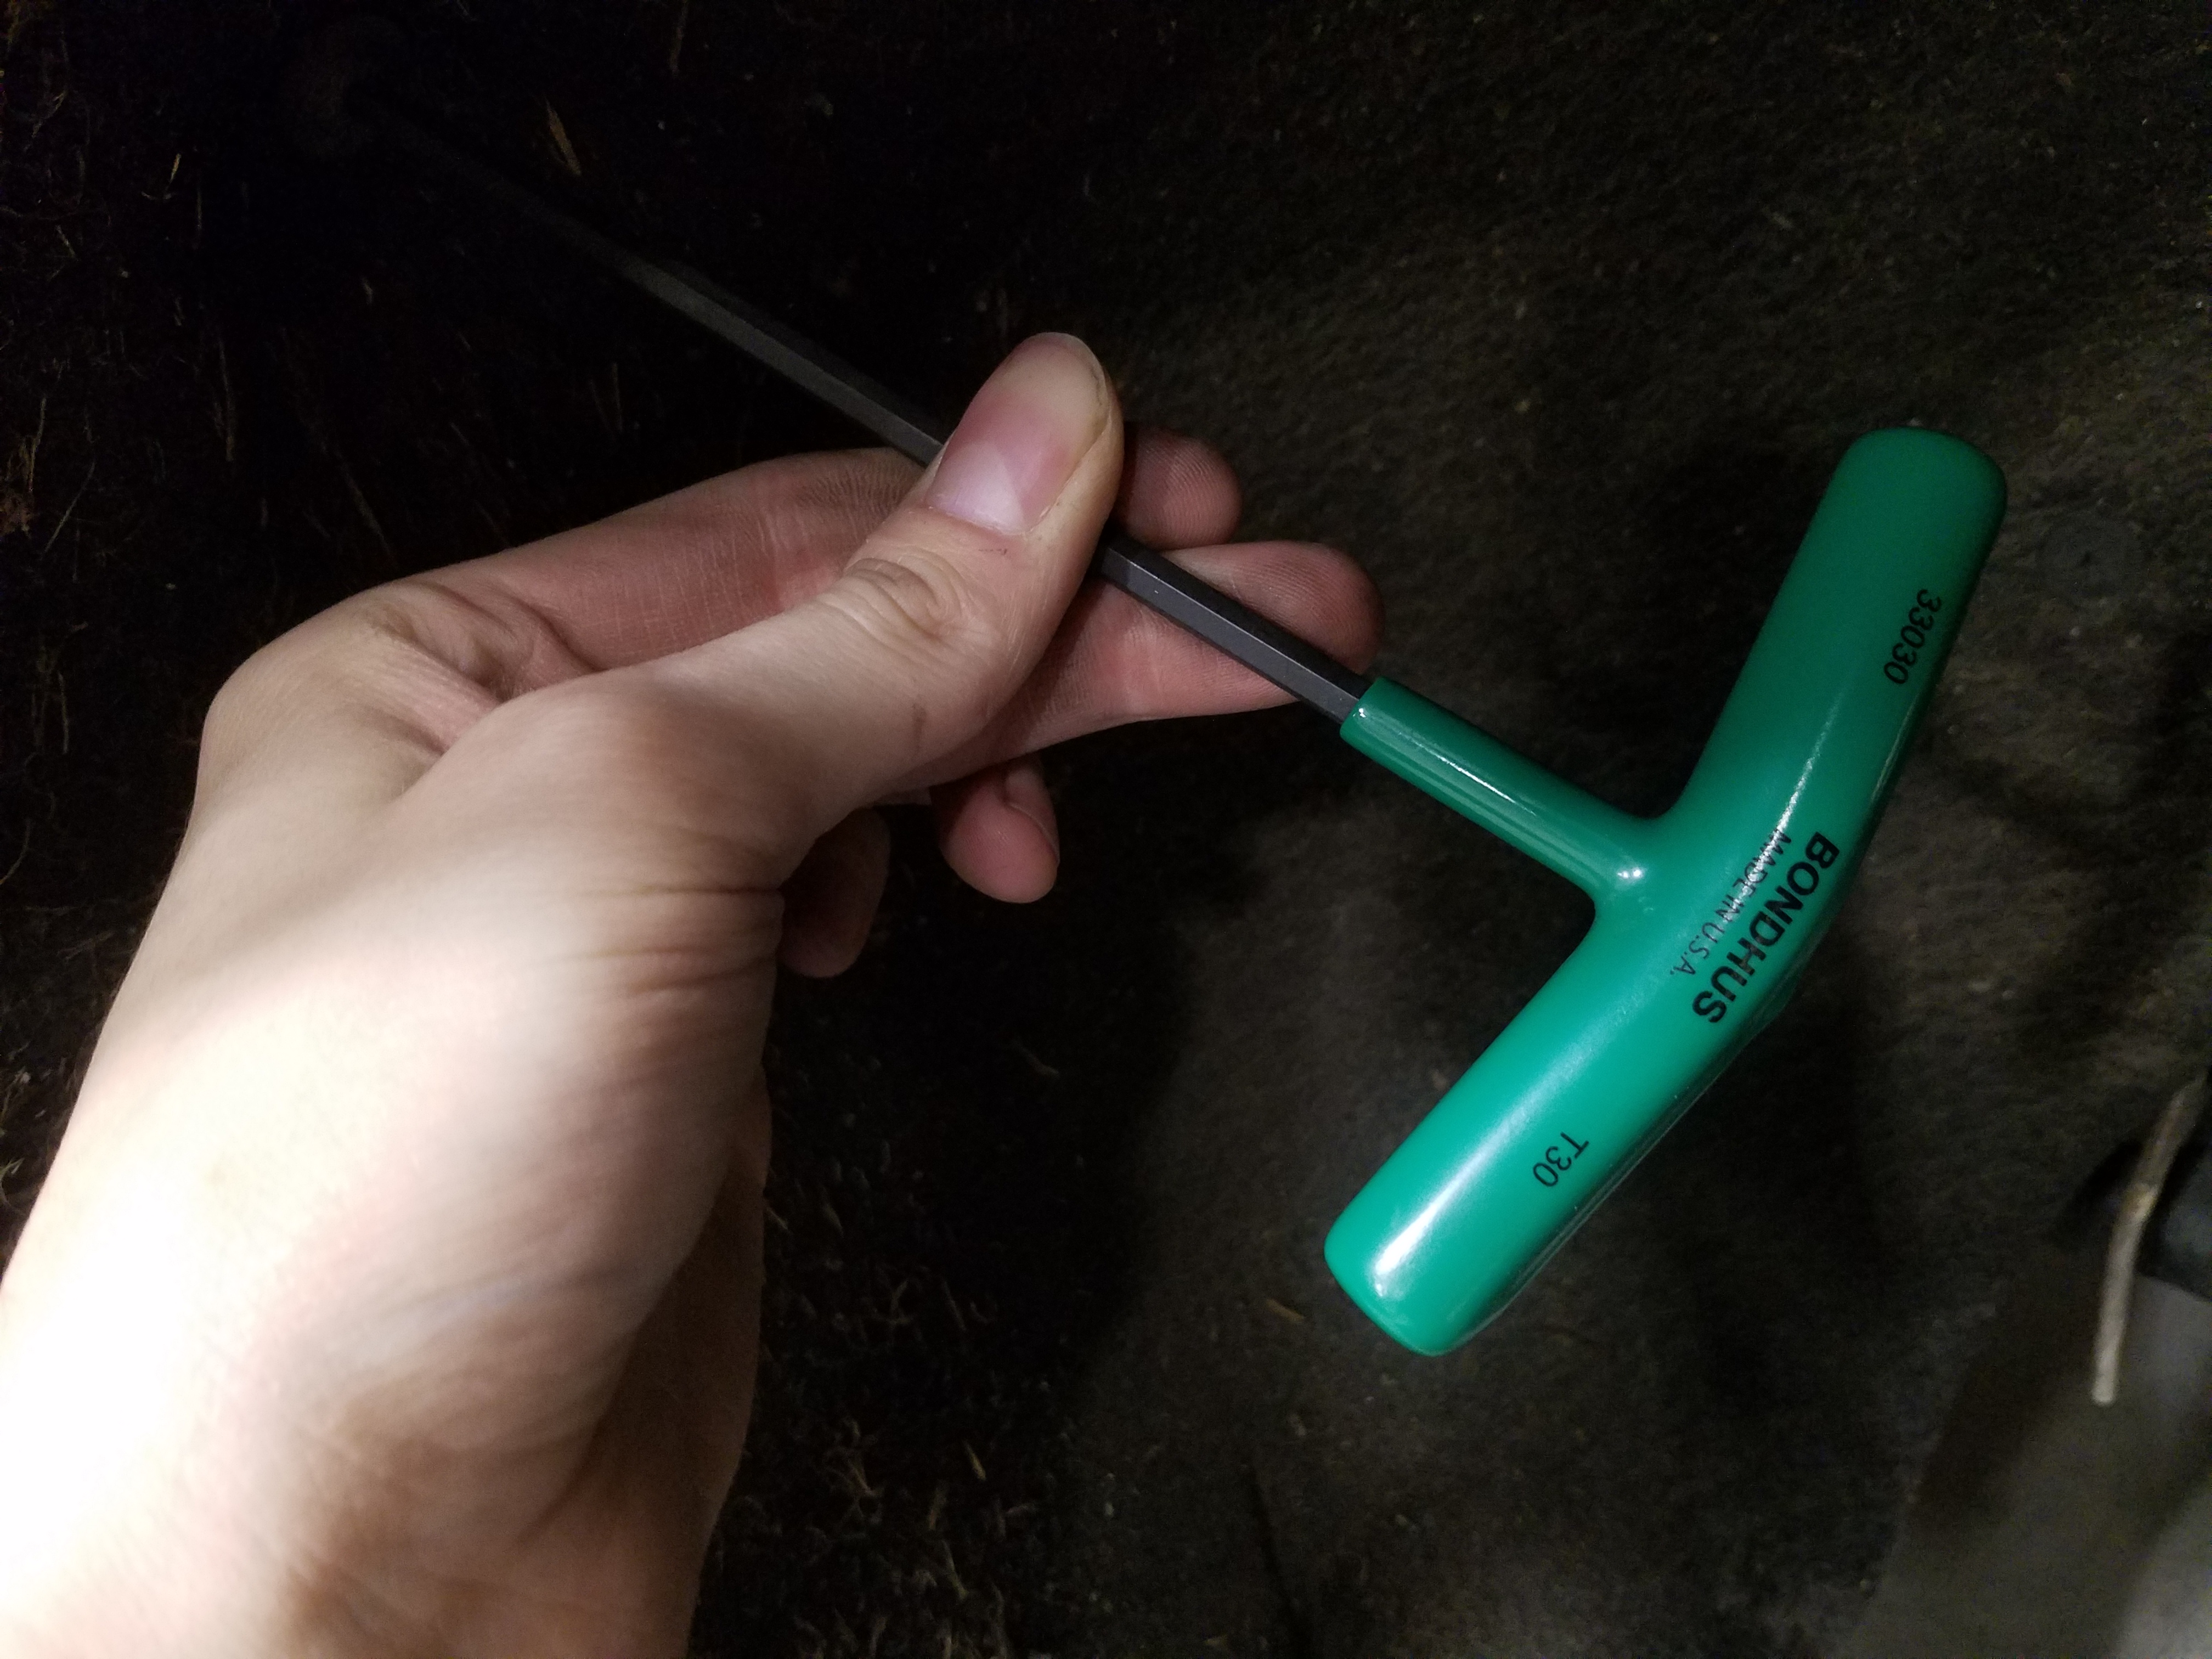
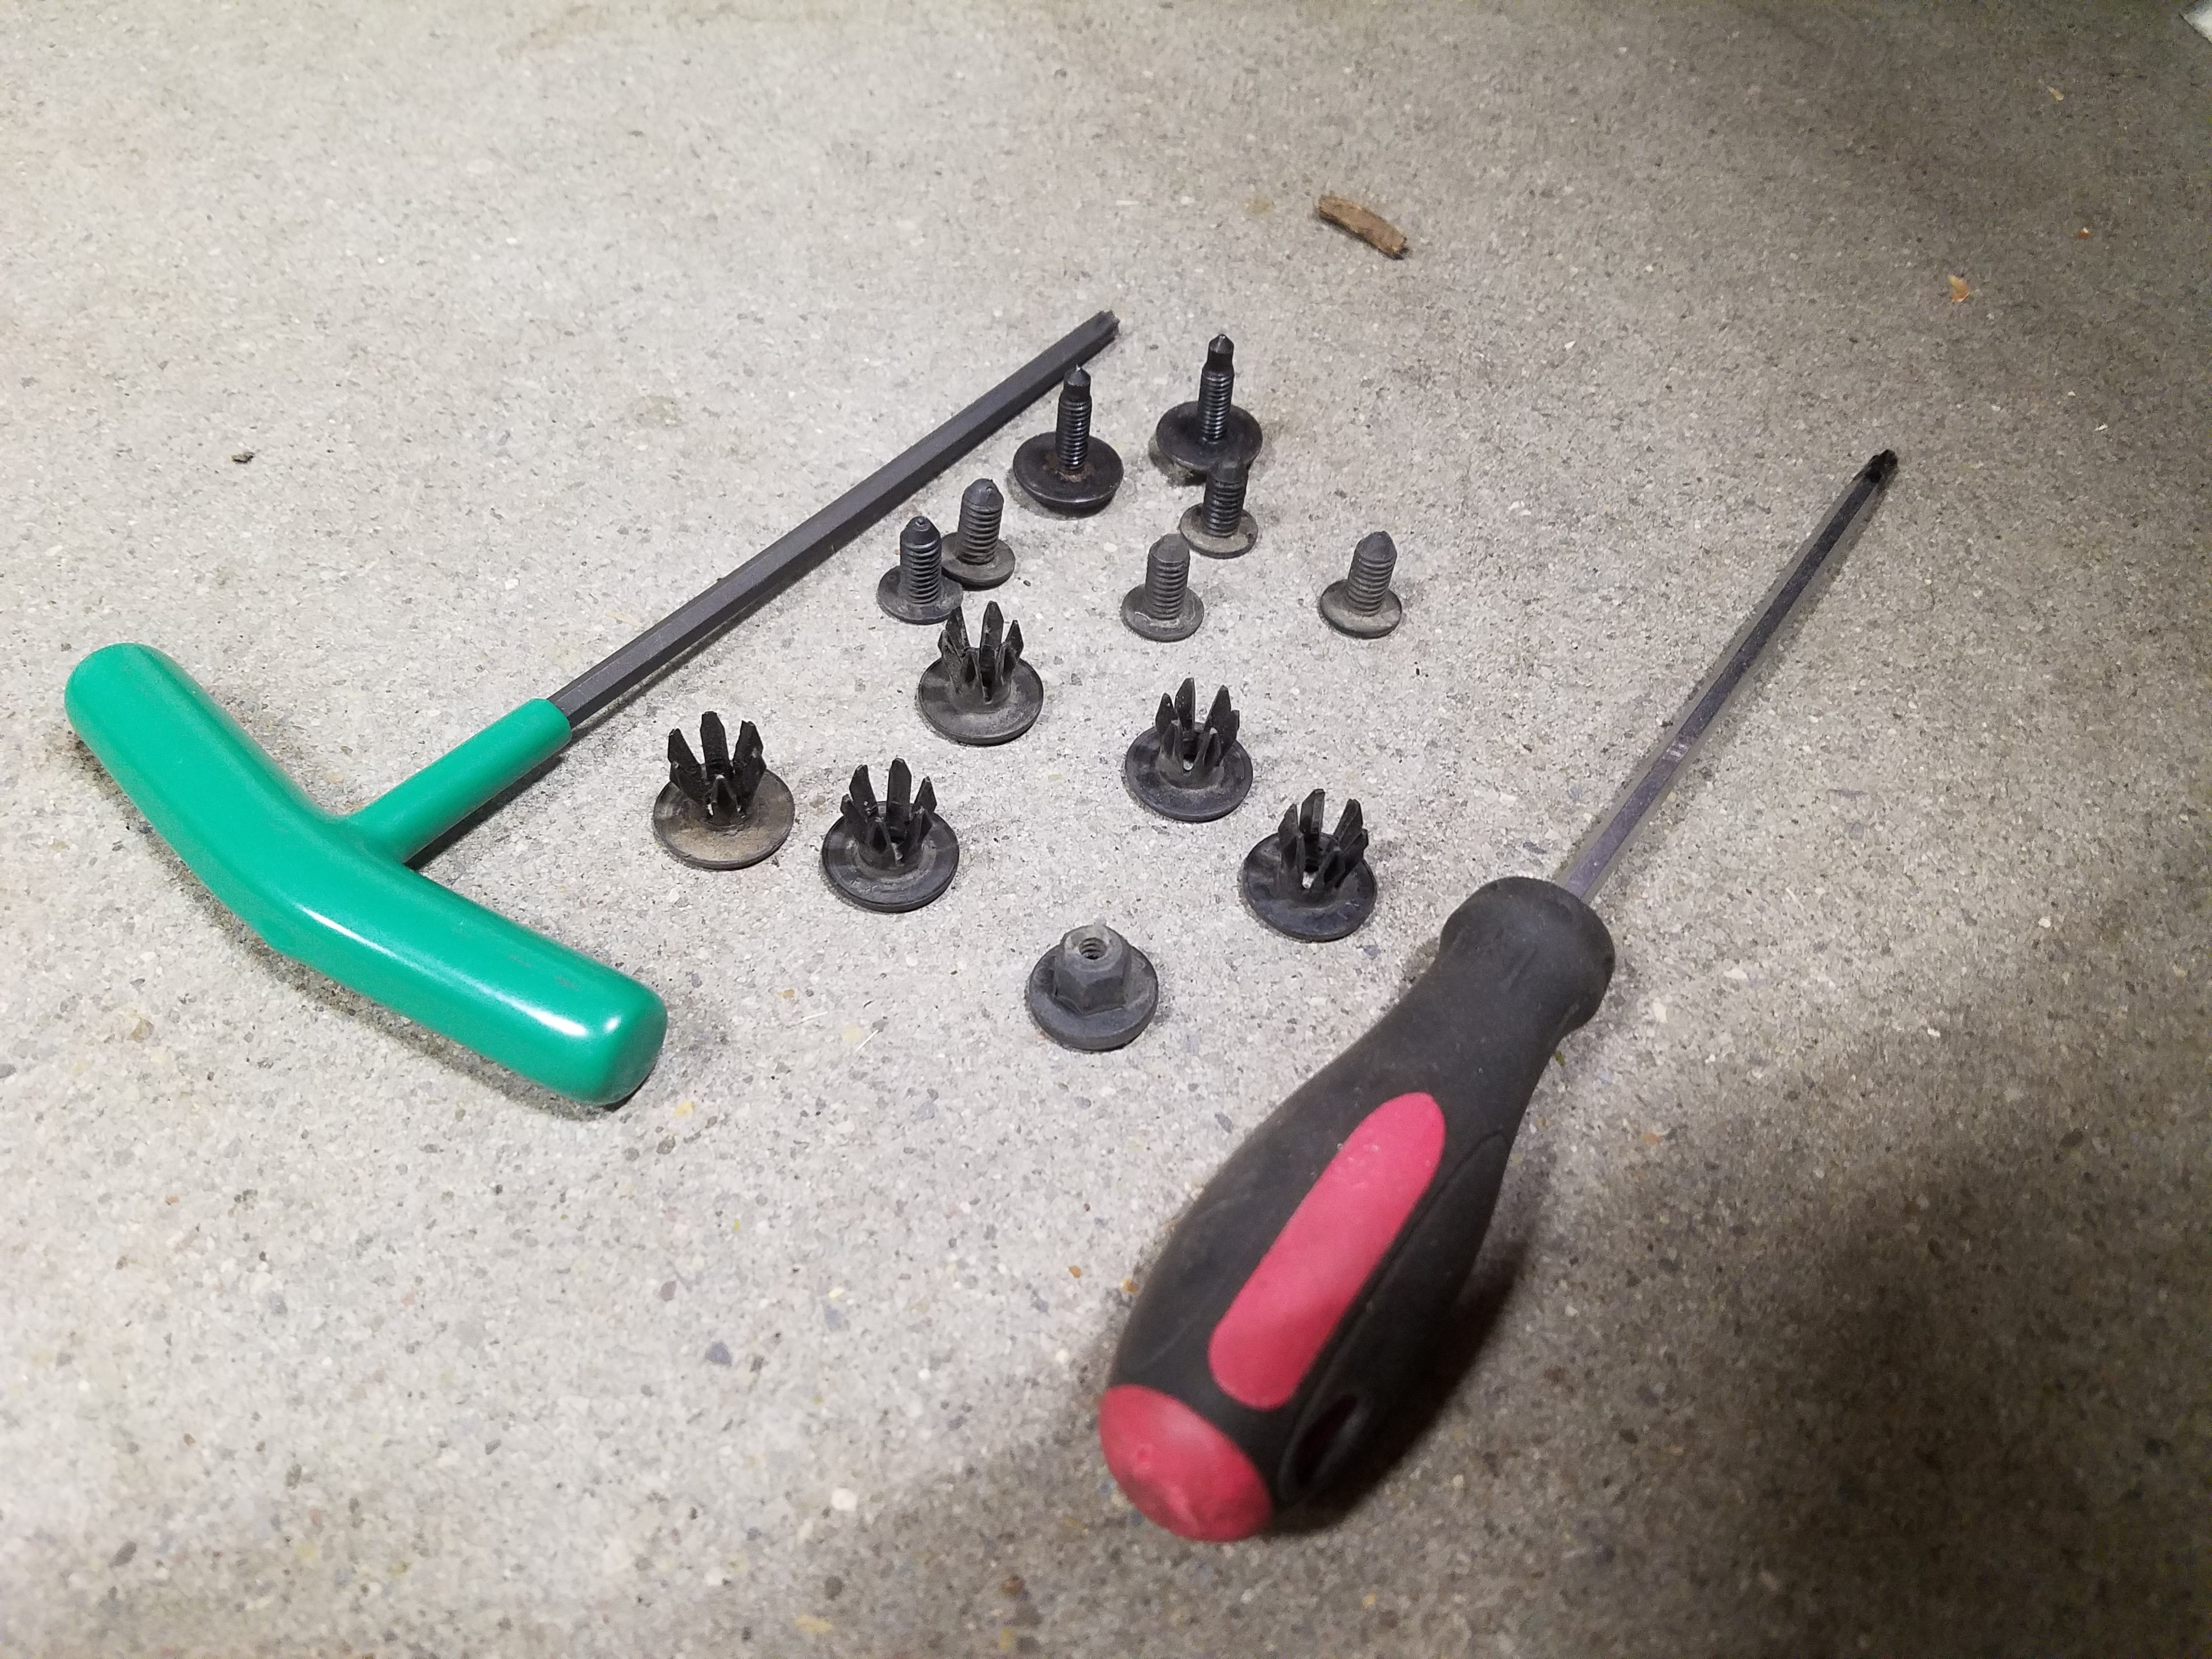
- The next step is to peel away the front half of the wheel well liner. The T30 Torx wrench and the Phillips screwdriver will be needed to remove the fasteners.
- There are two Torx bolts near the top, and 5 plastic Phillips head screws threaded into plastic expandable well nuts at various places in the wheel well.
- Once all of the plastic screws have been removed from the well nuts, pry the well nuts out from the wheel well liner.
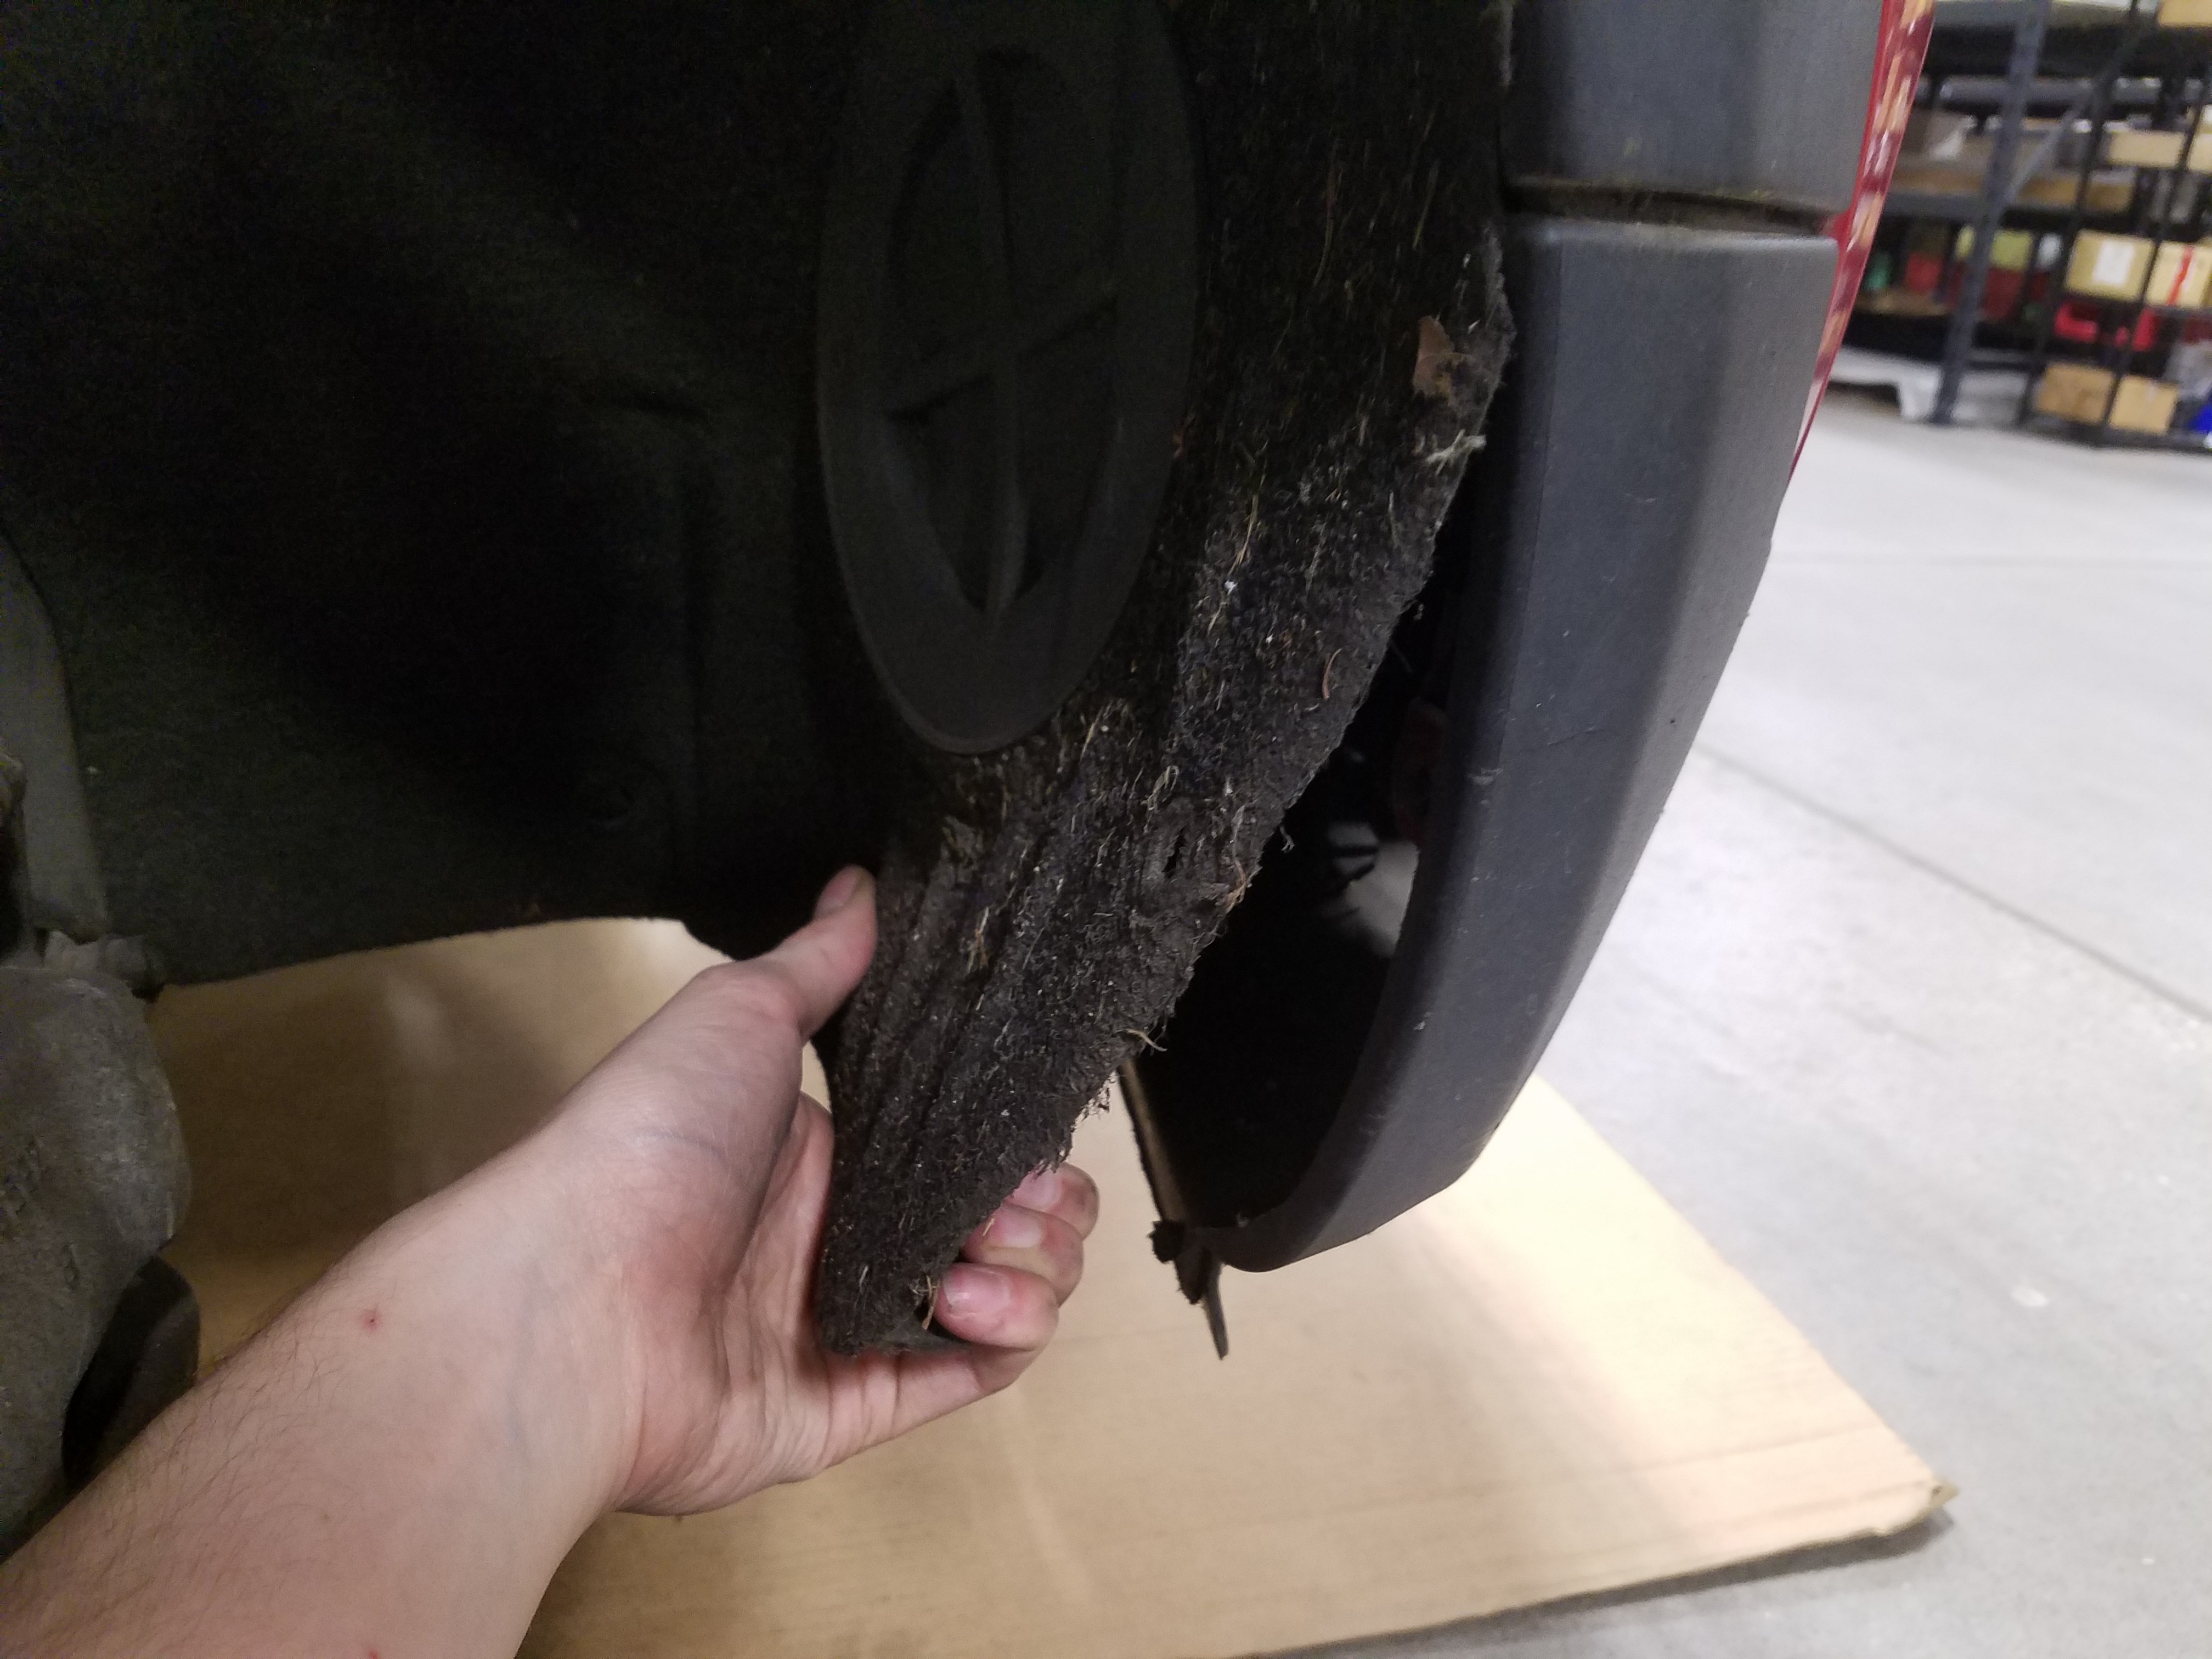
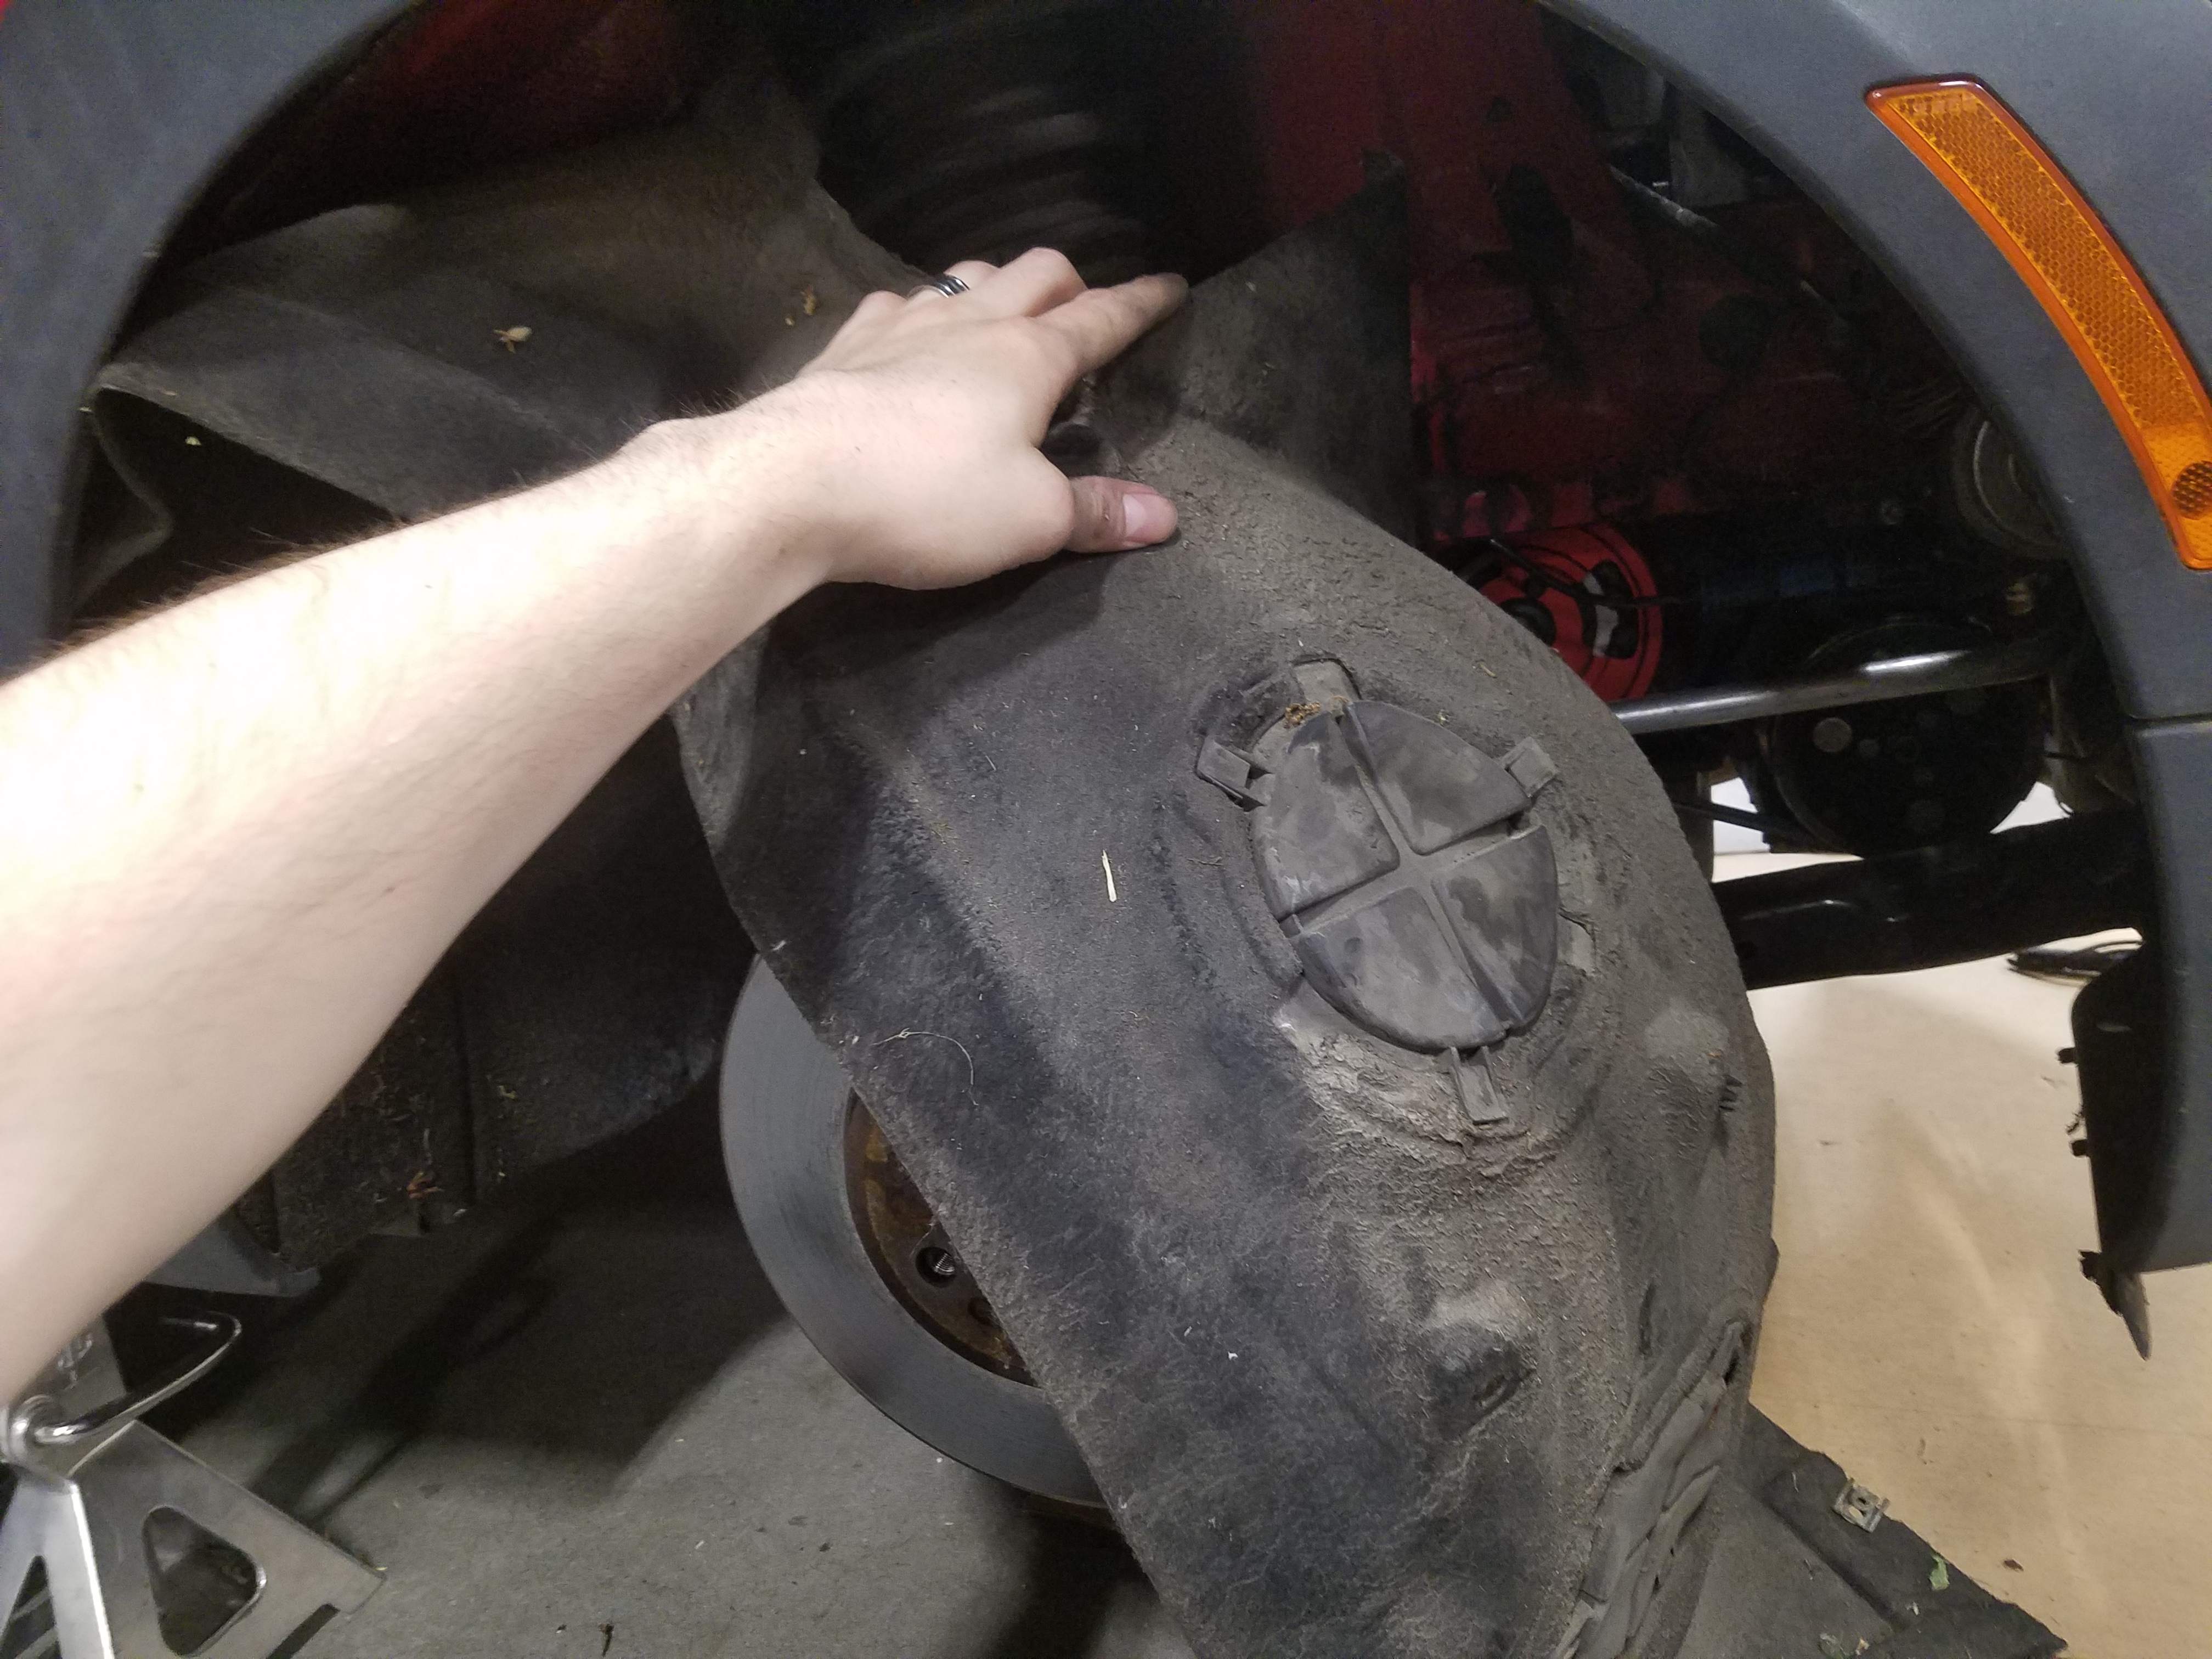
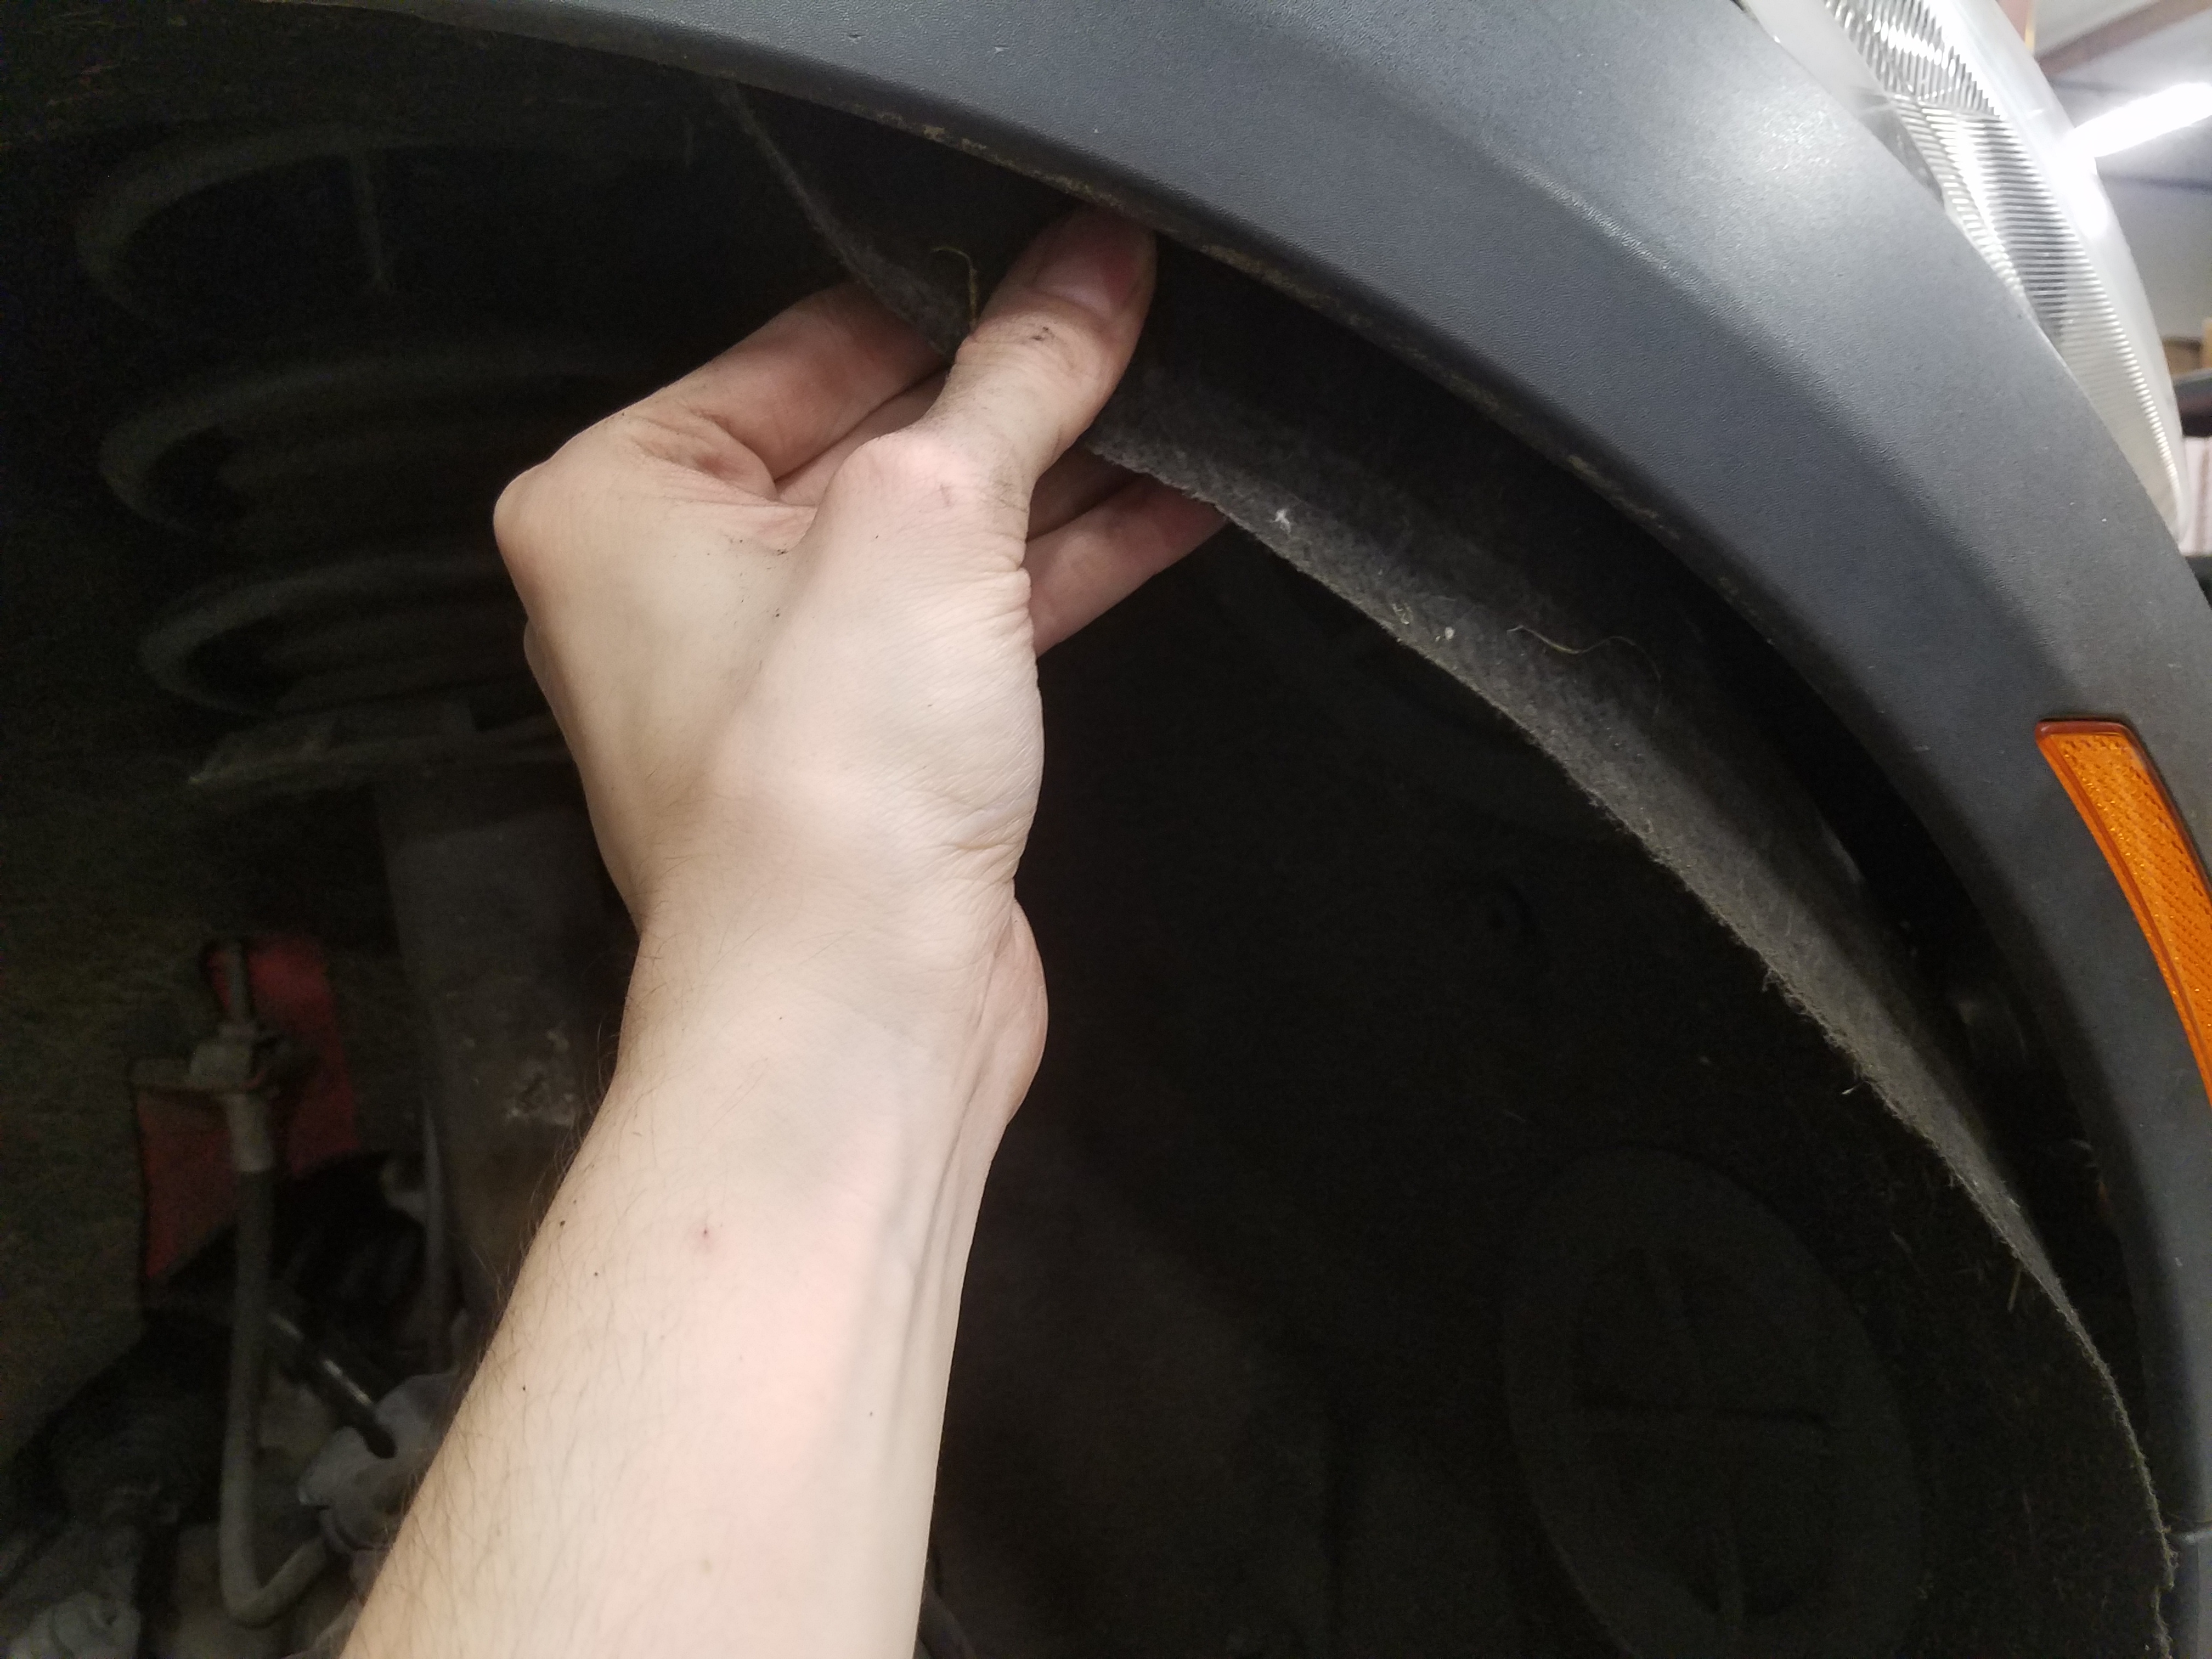
- Starting at the bottom front, begin to peel back the liner. Work it back behind the strut and tuck it behind the hub/brake assembly.
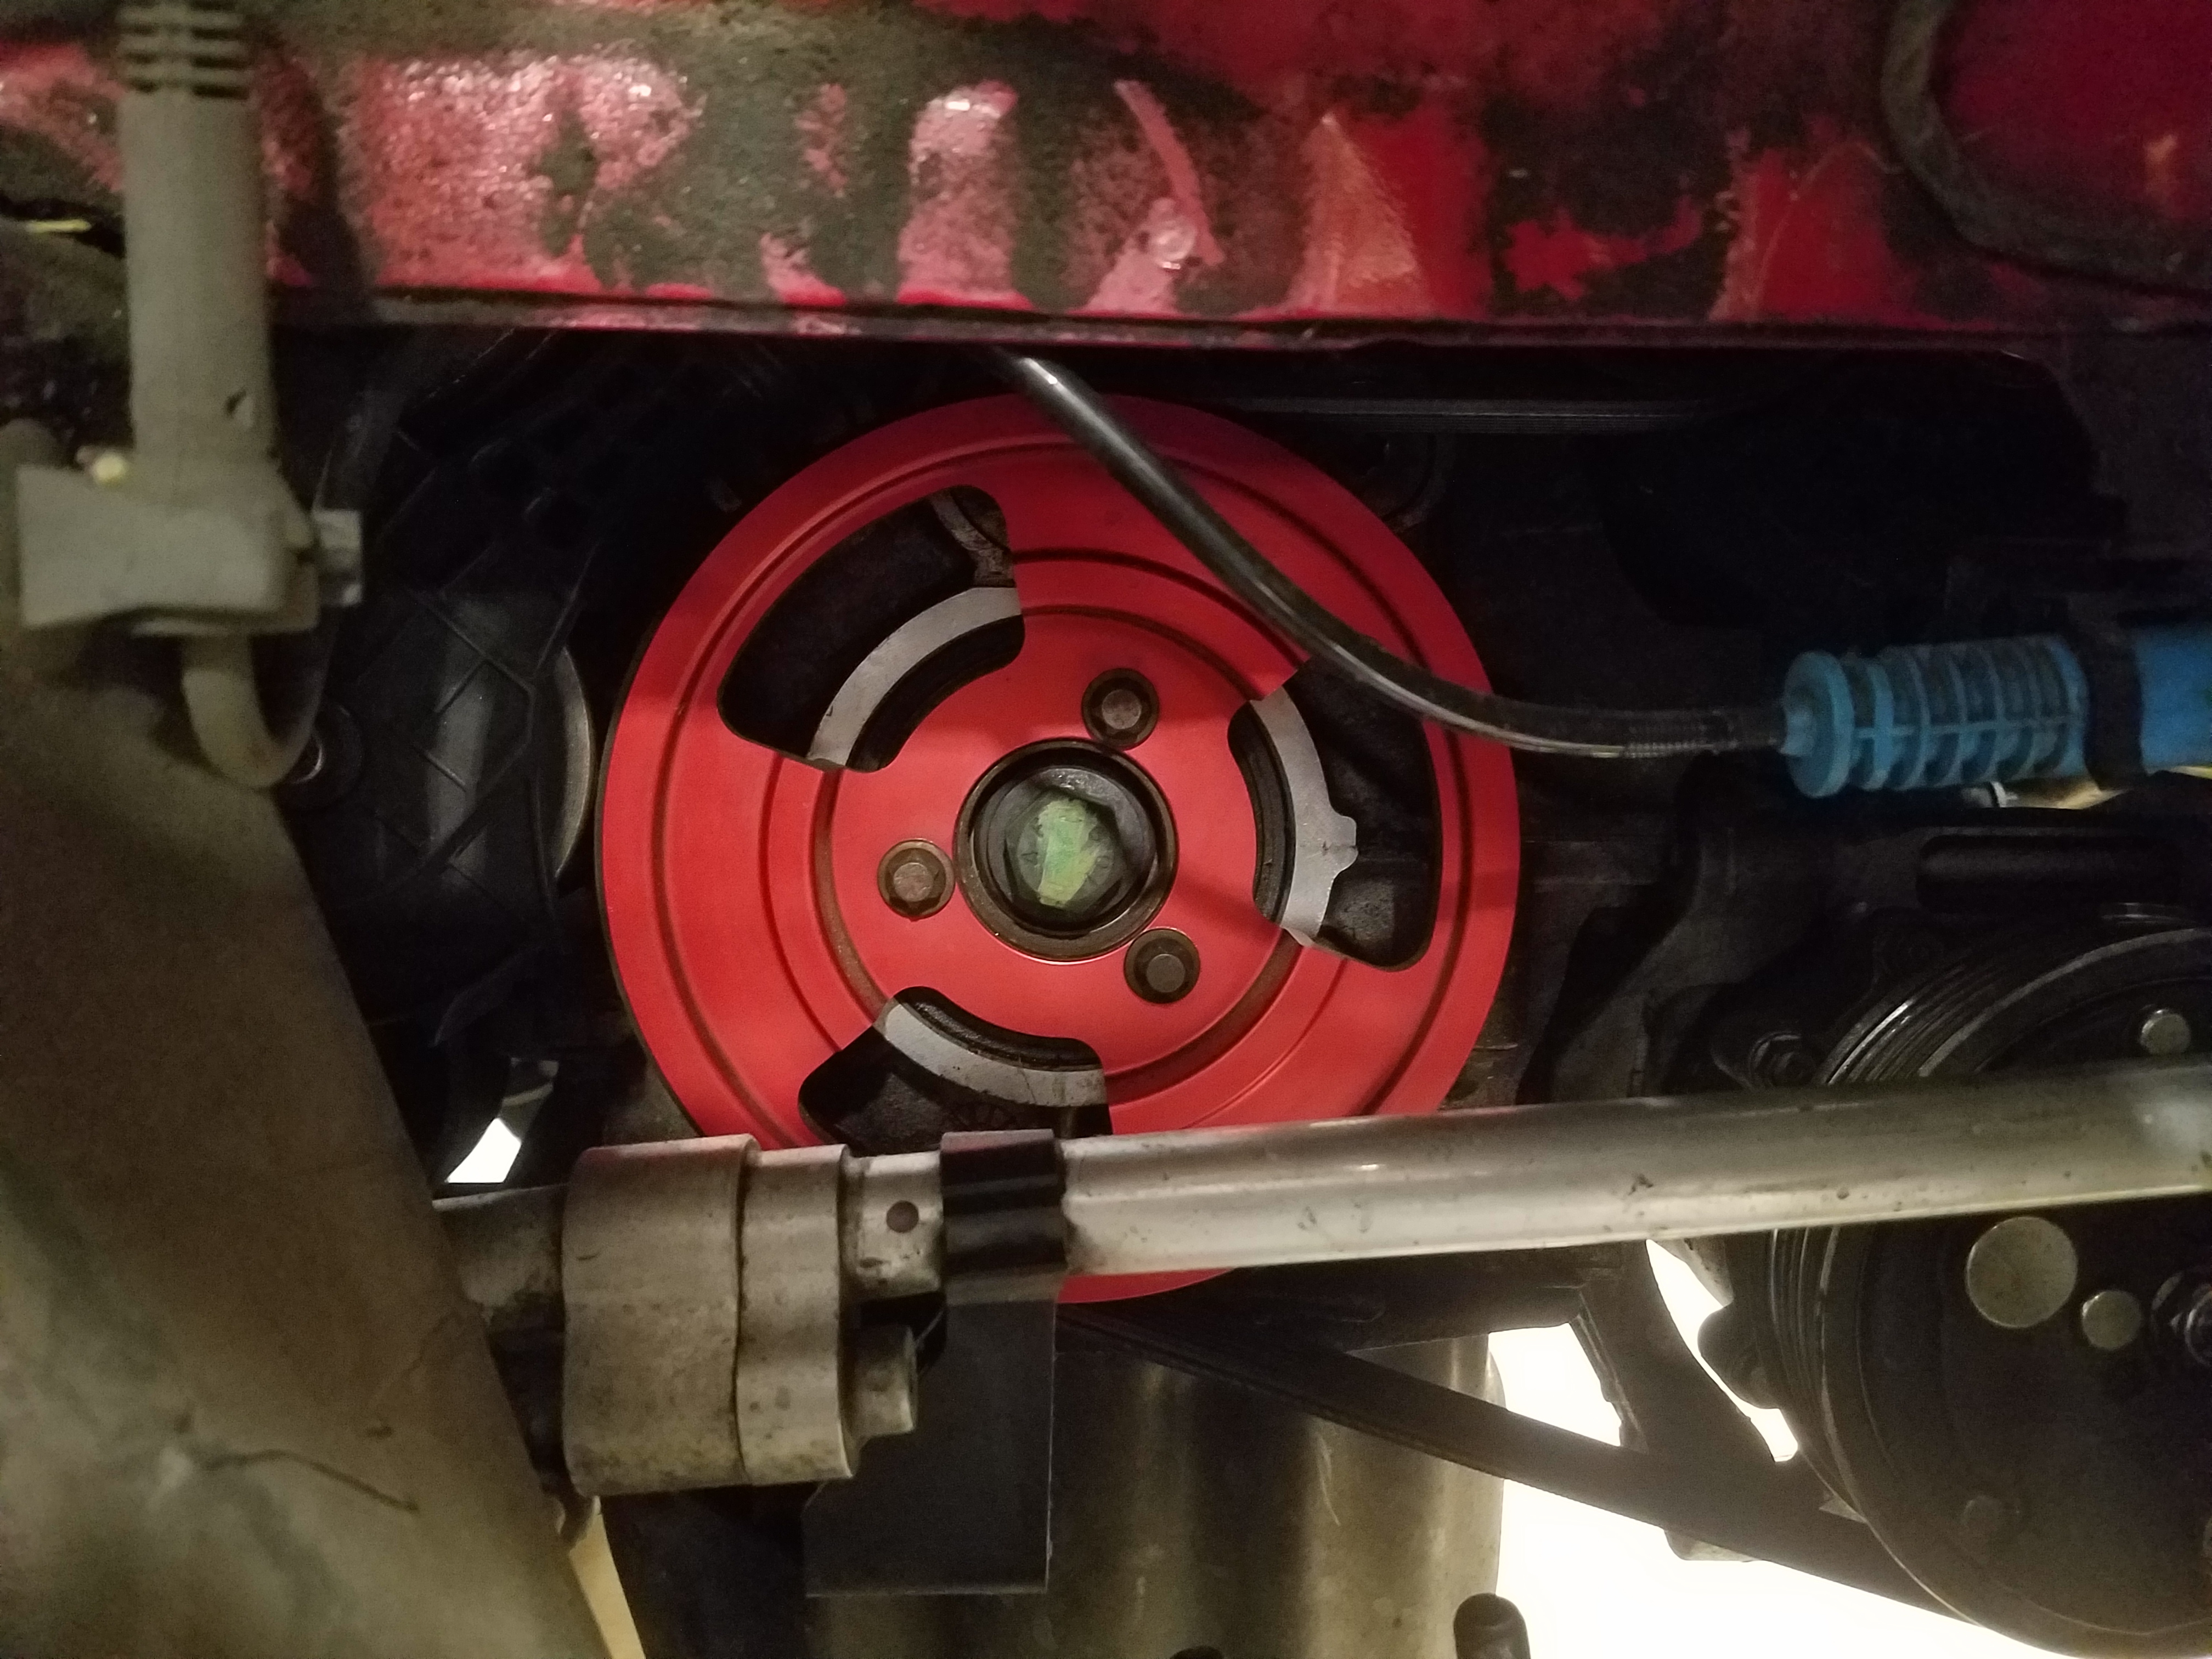
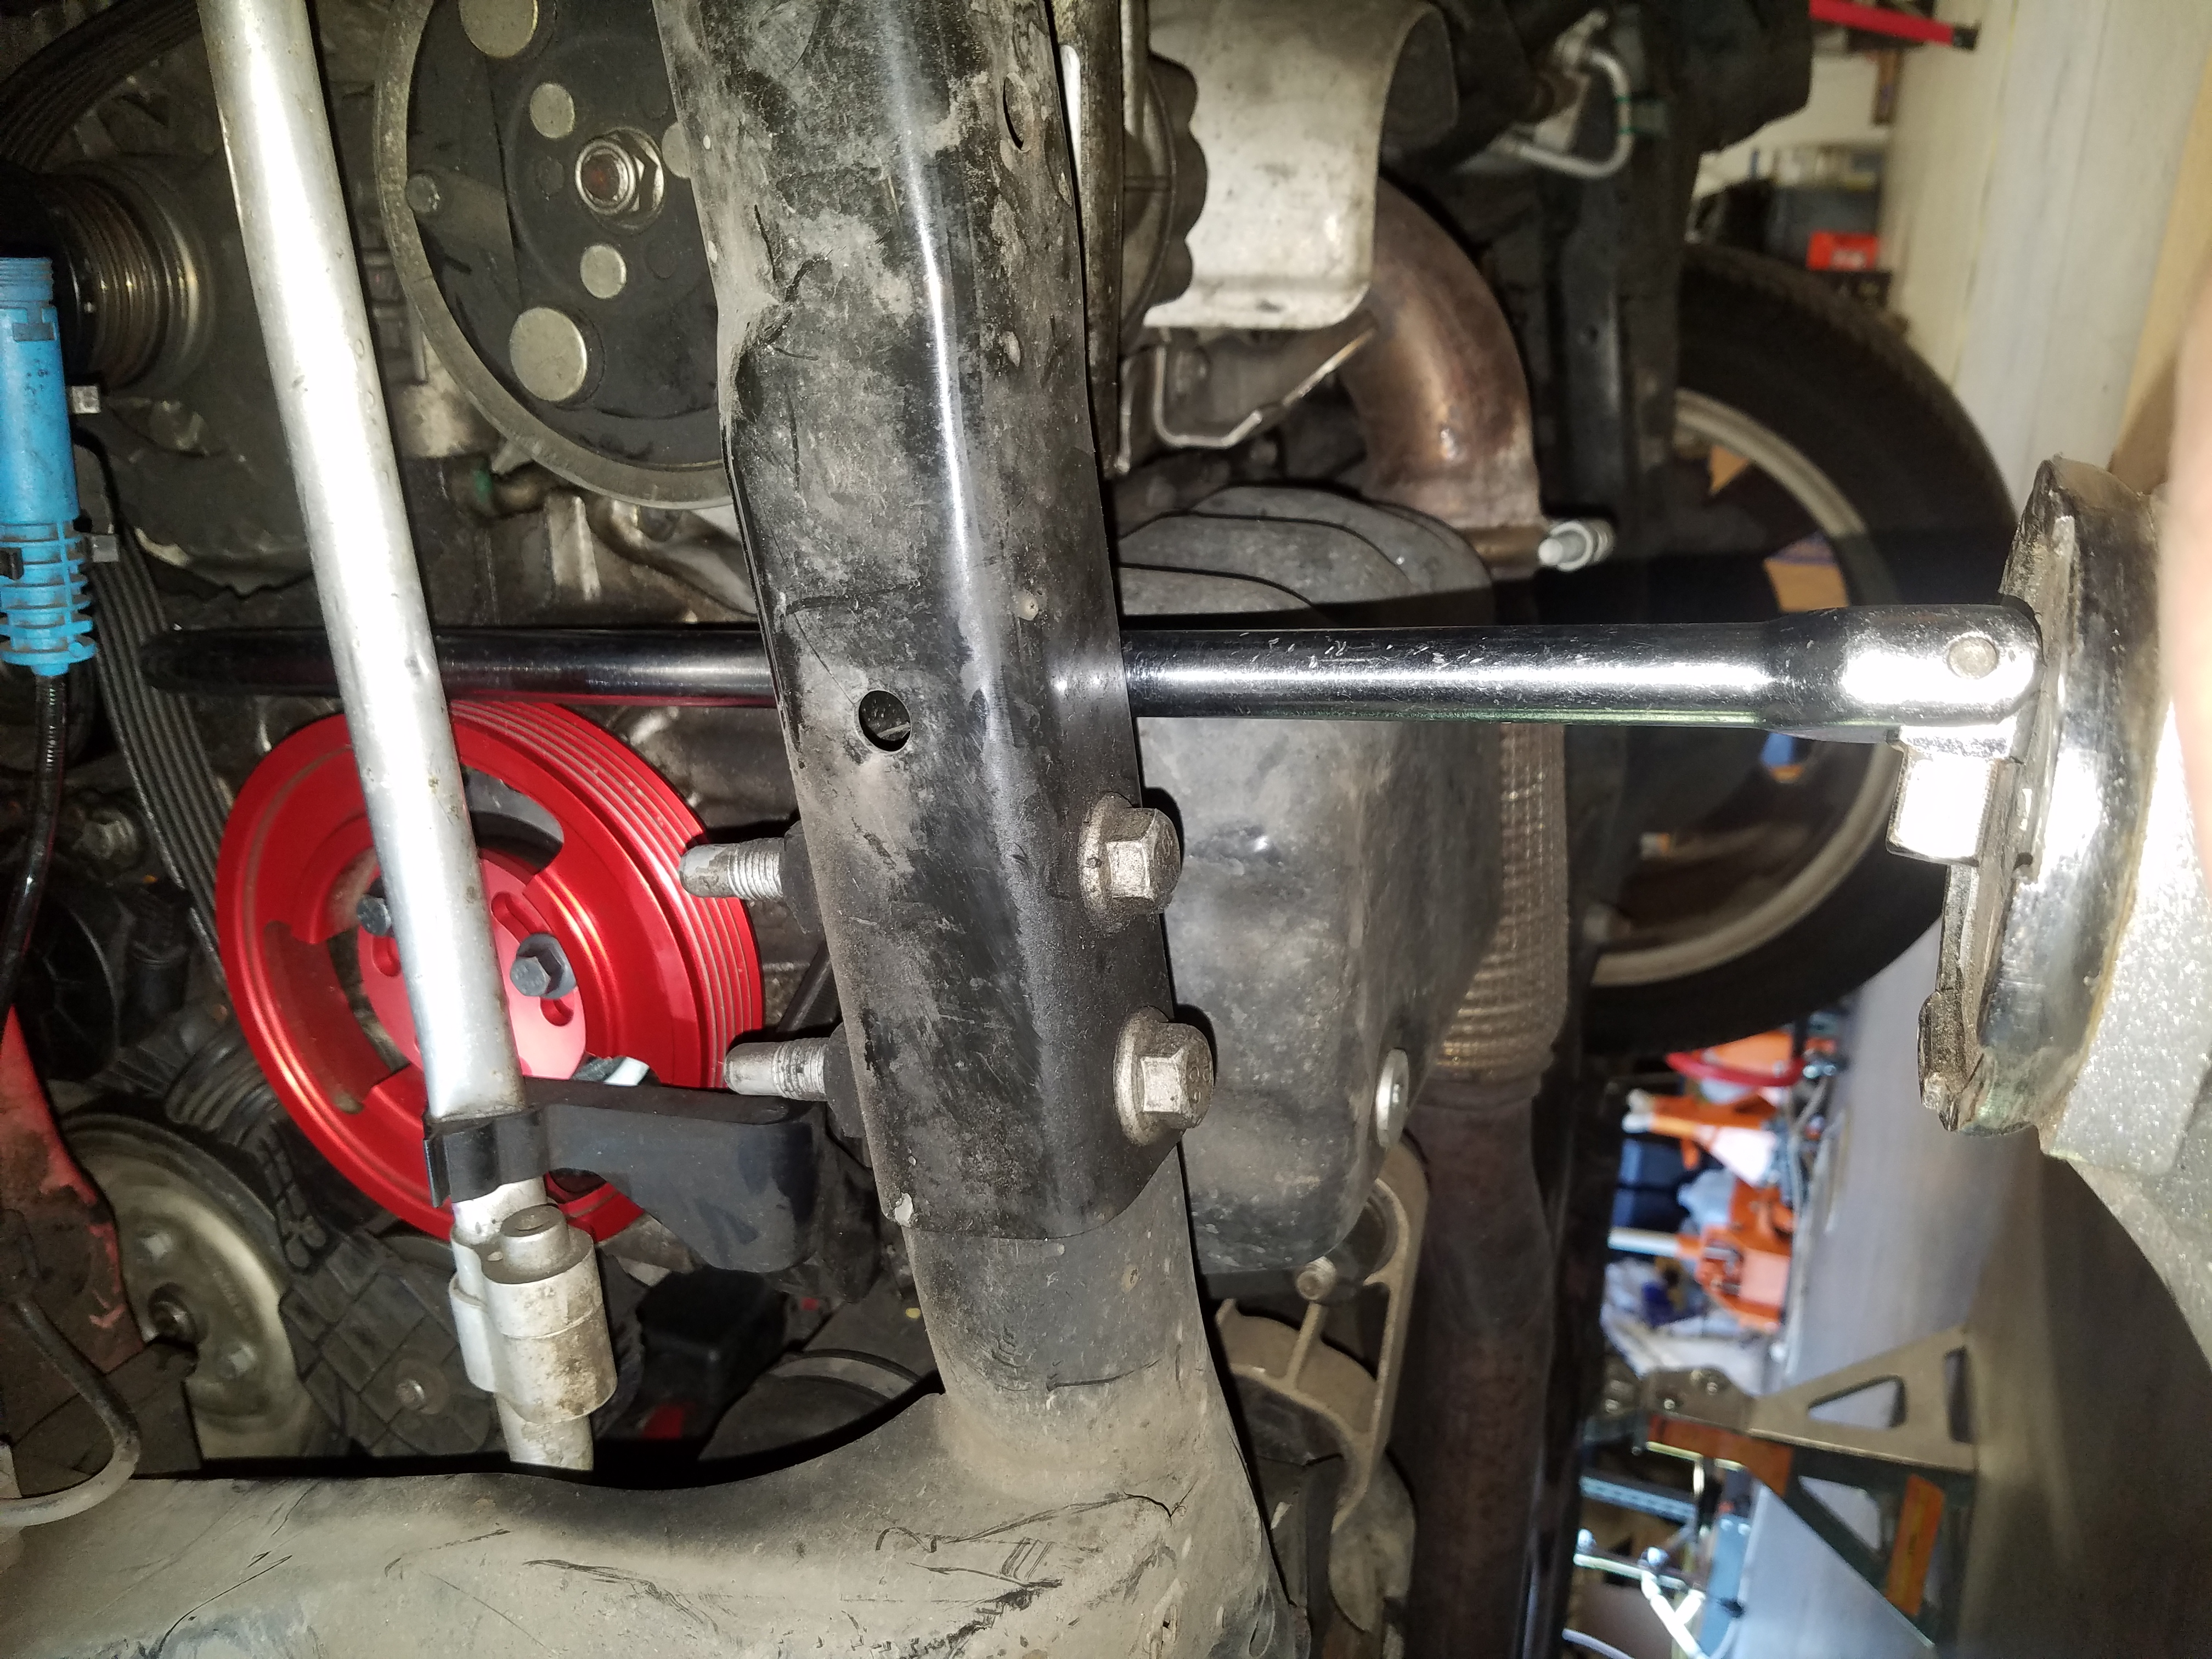
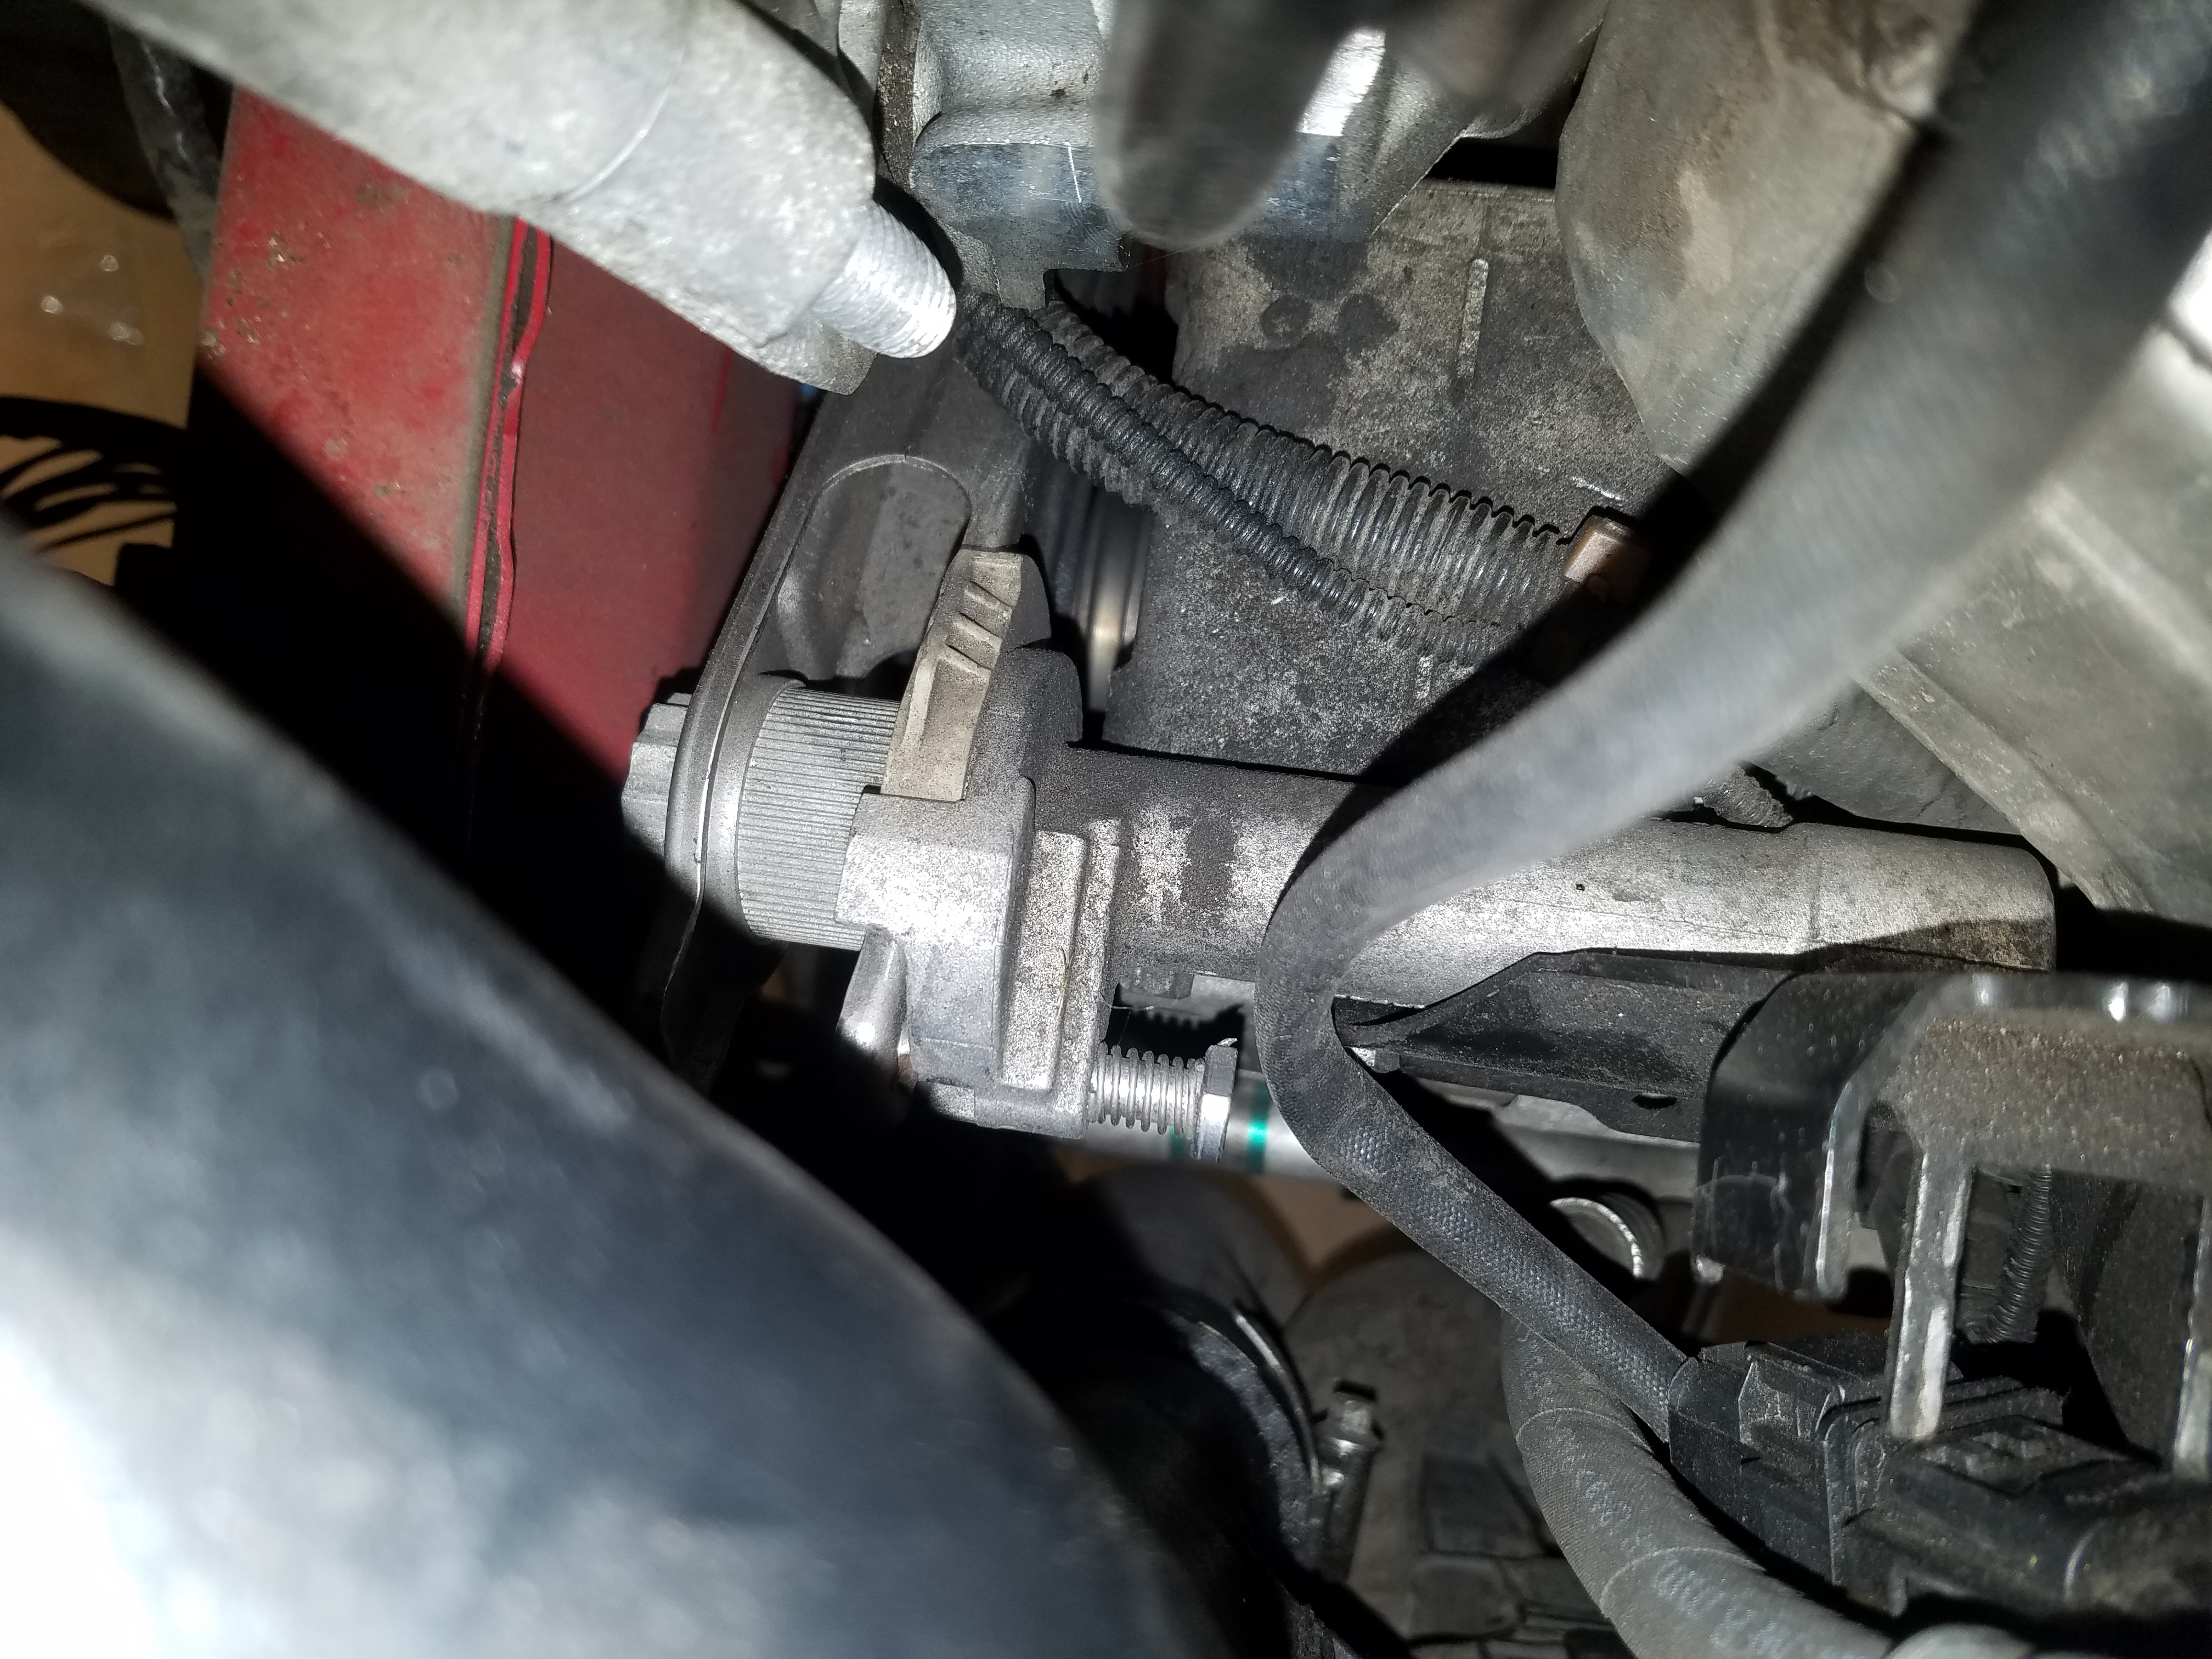
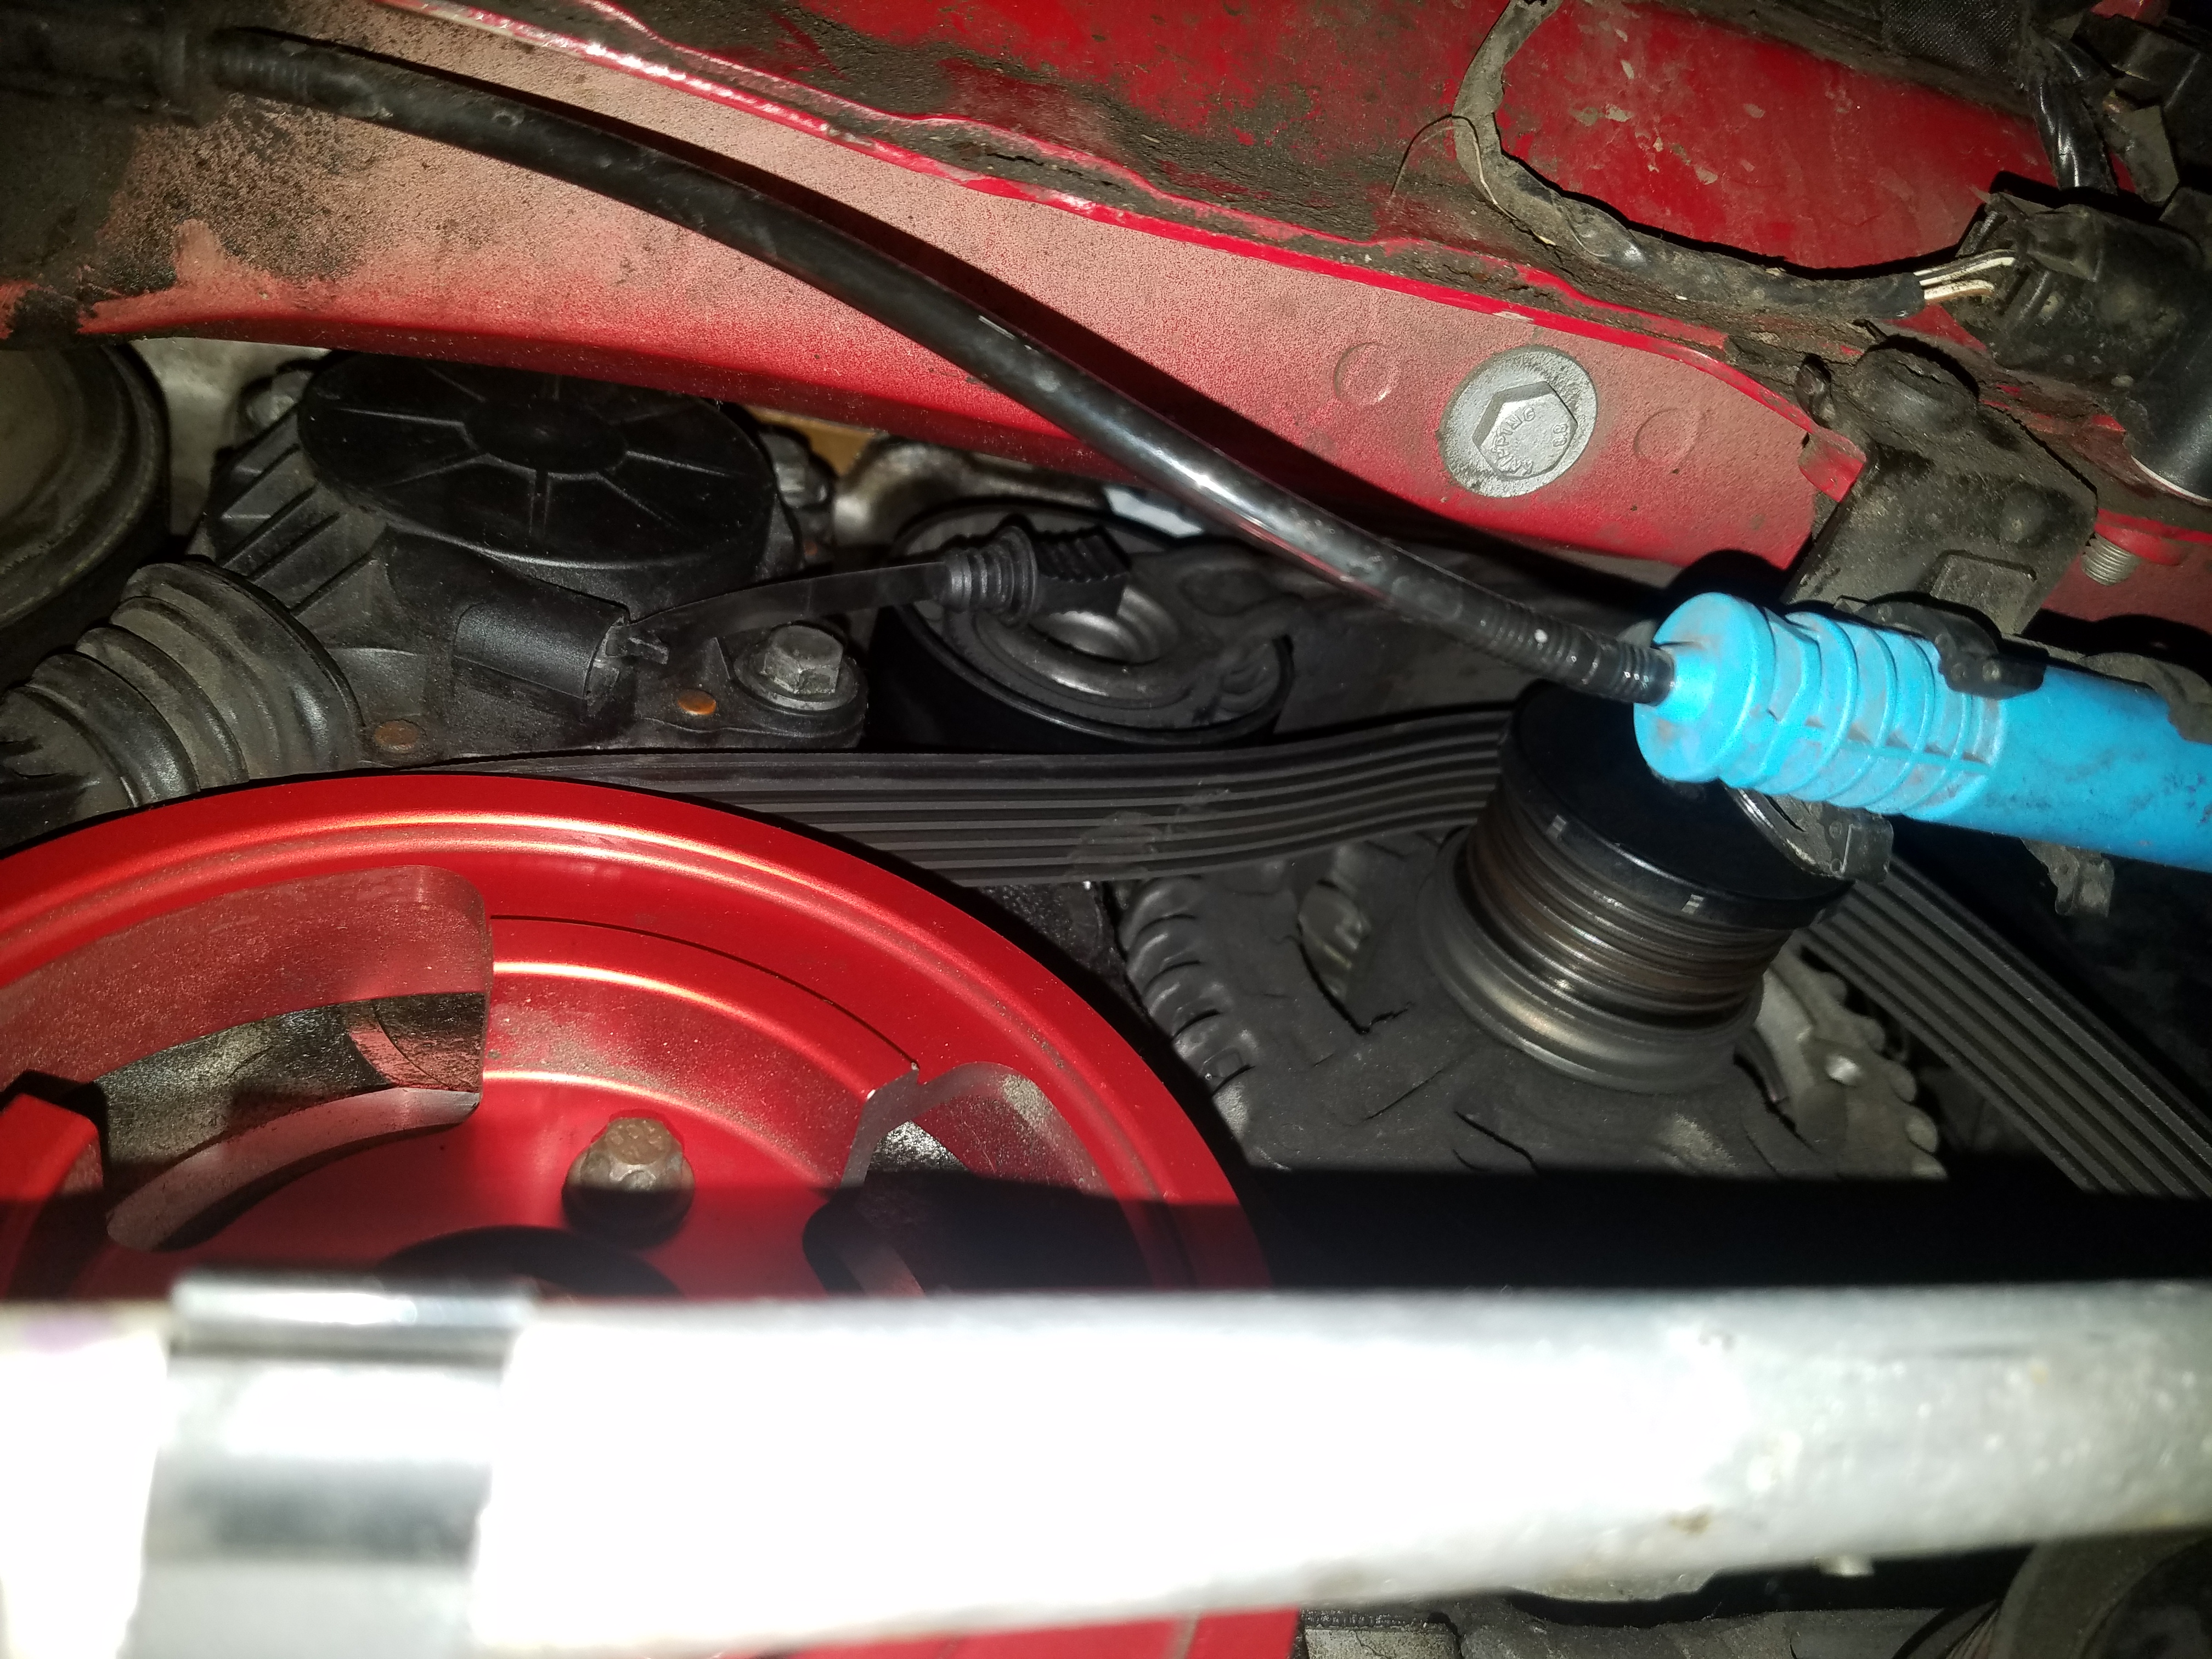
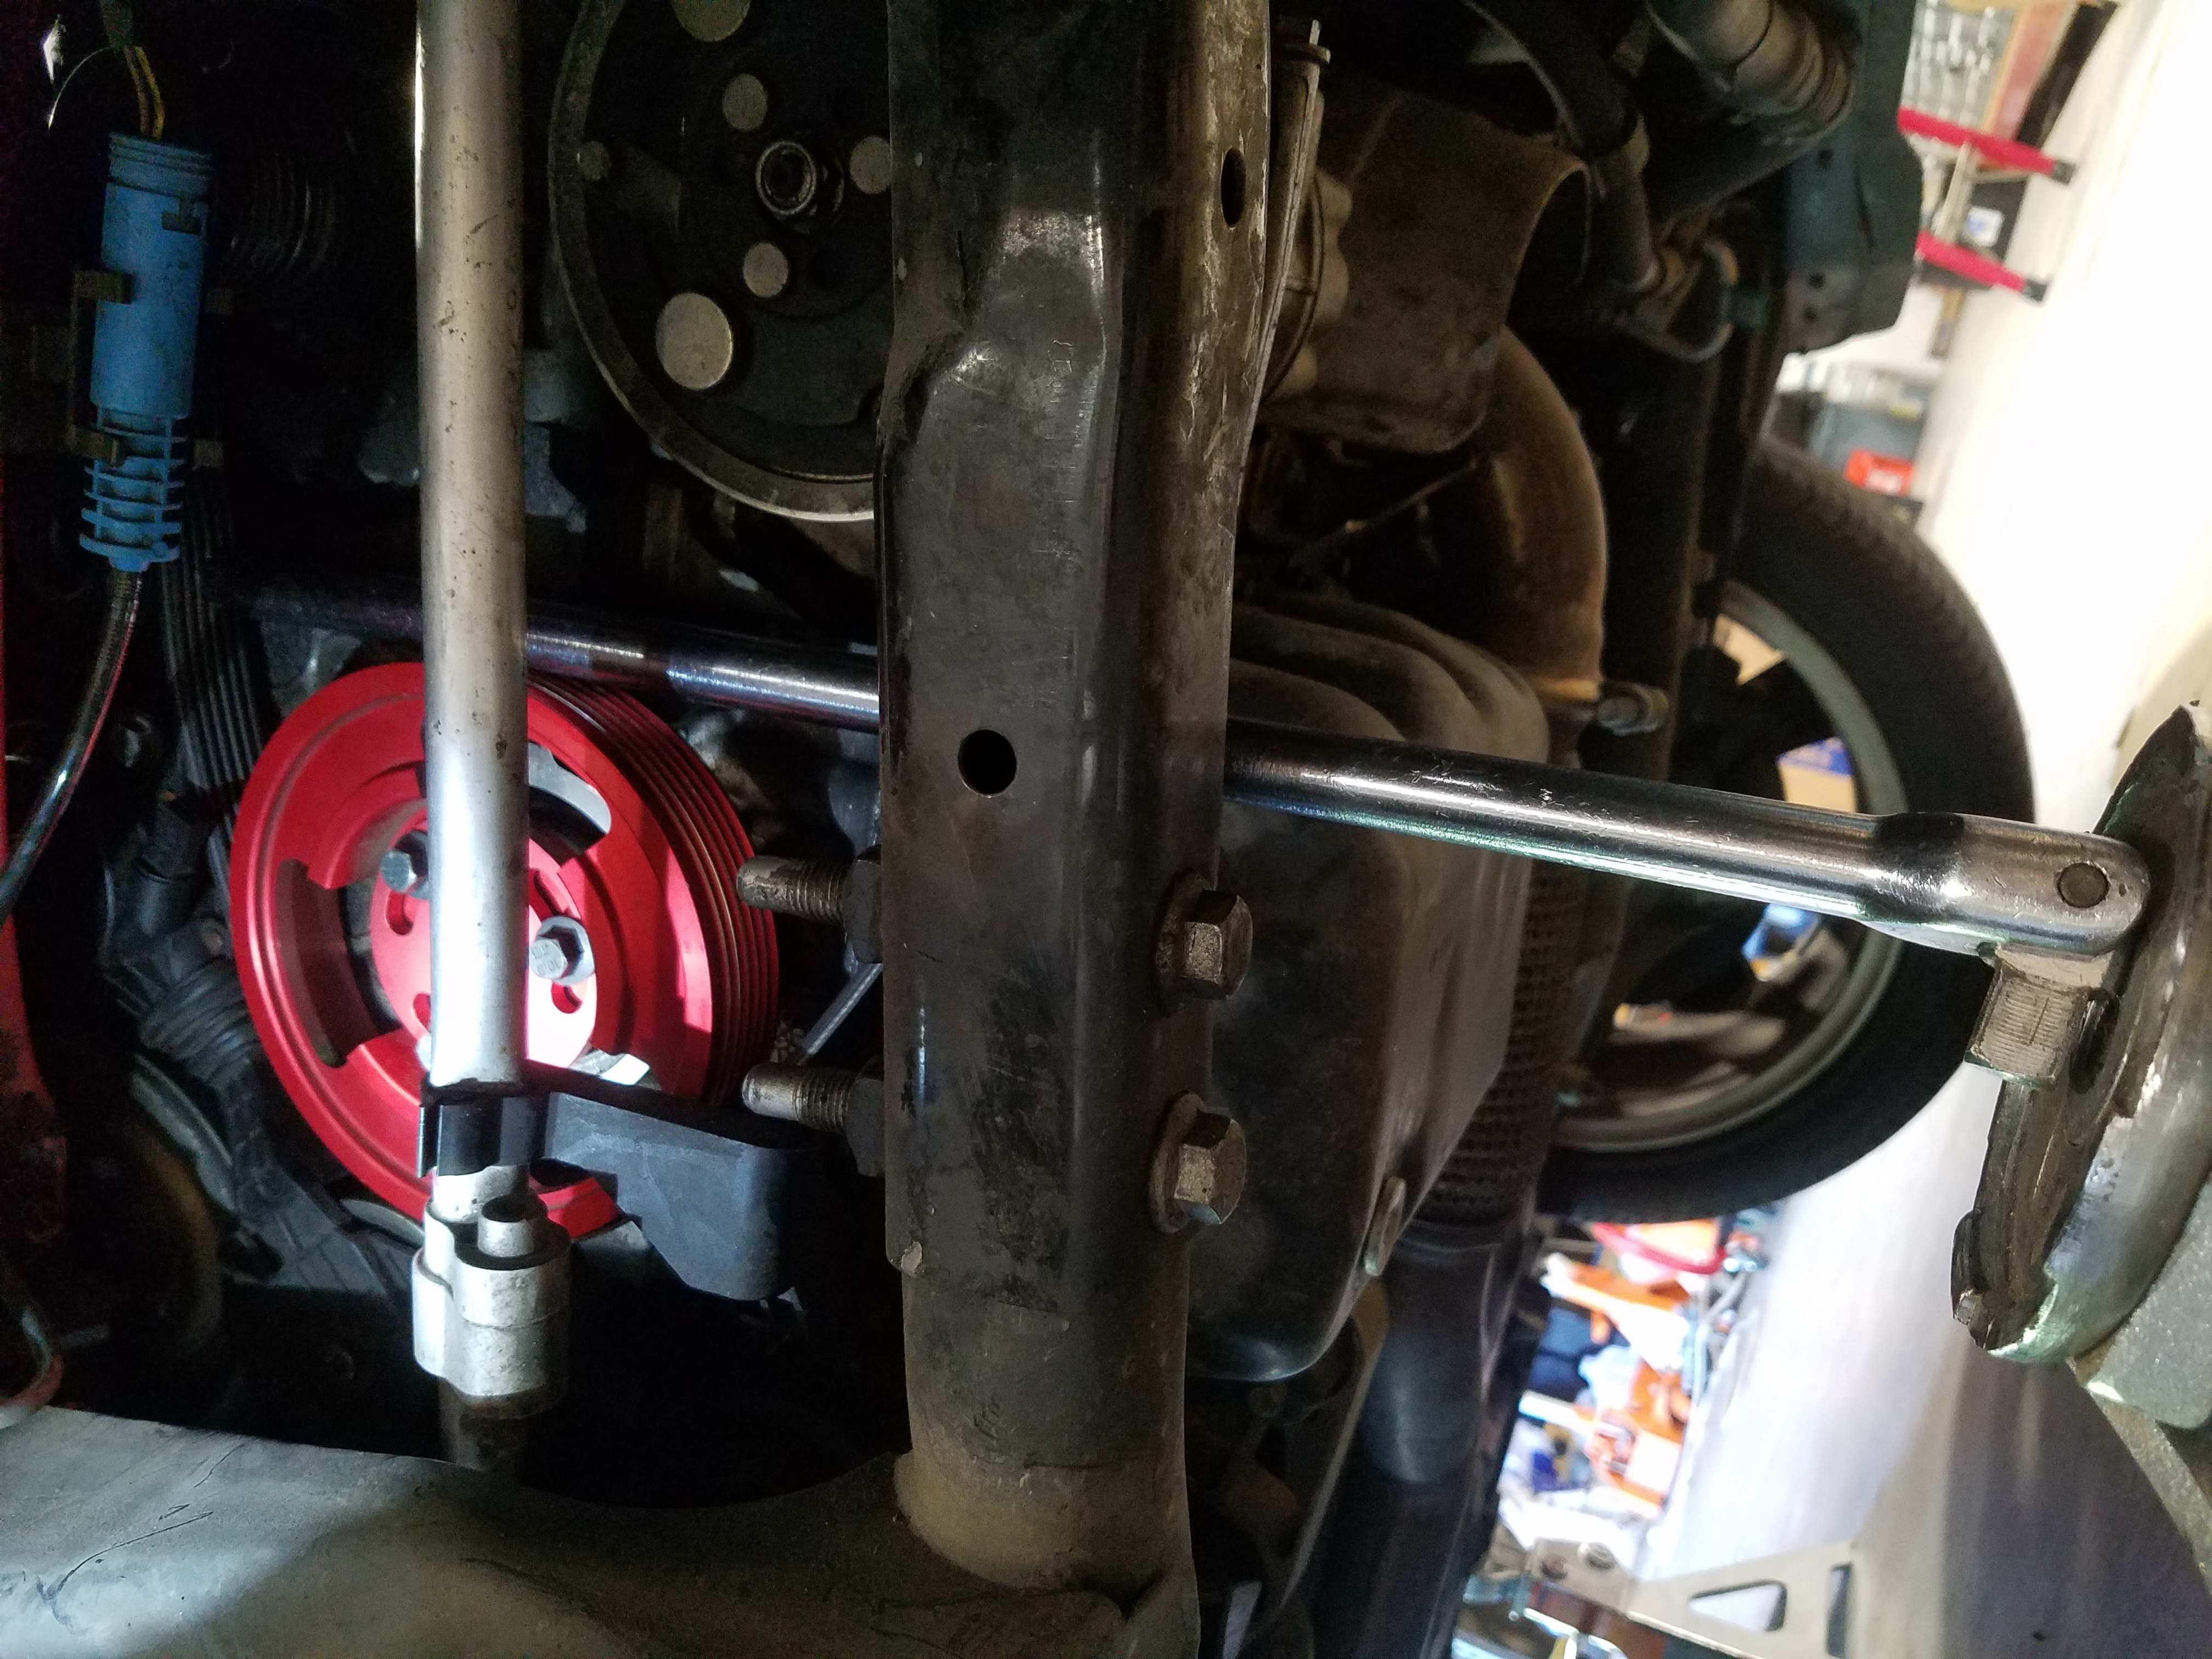
- You will need to relieve tension on the belt before removing the crank pulley. To do this, you either need to have a special 12point wrench that can manually turn the tensioner, or you can use the hydraulic jack and the breaker bar positioned directly under the tensioner wheel until you can lock the tensioner in place.
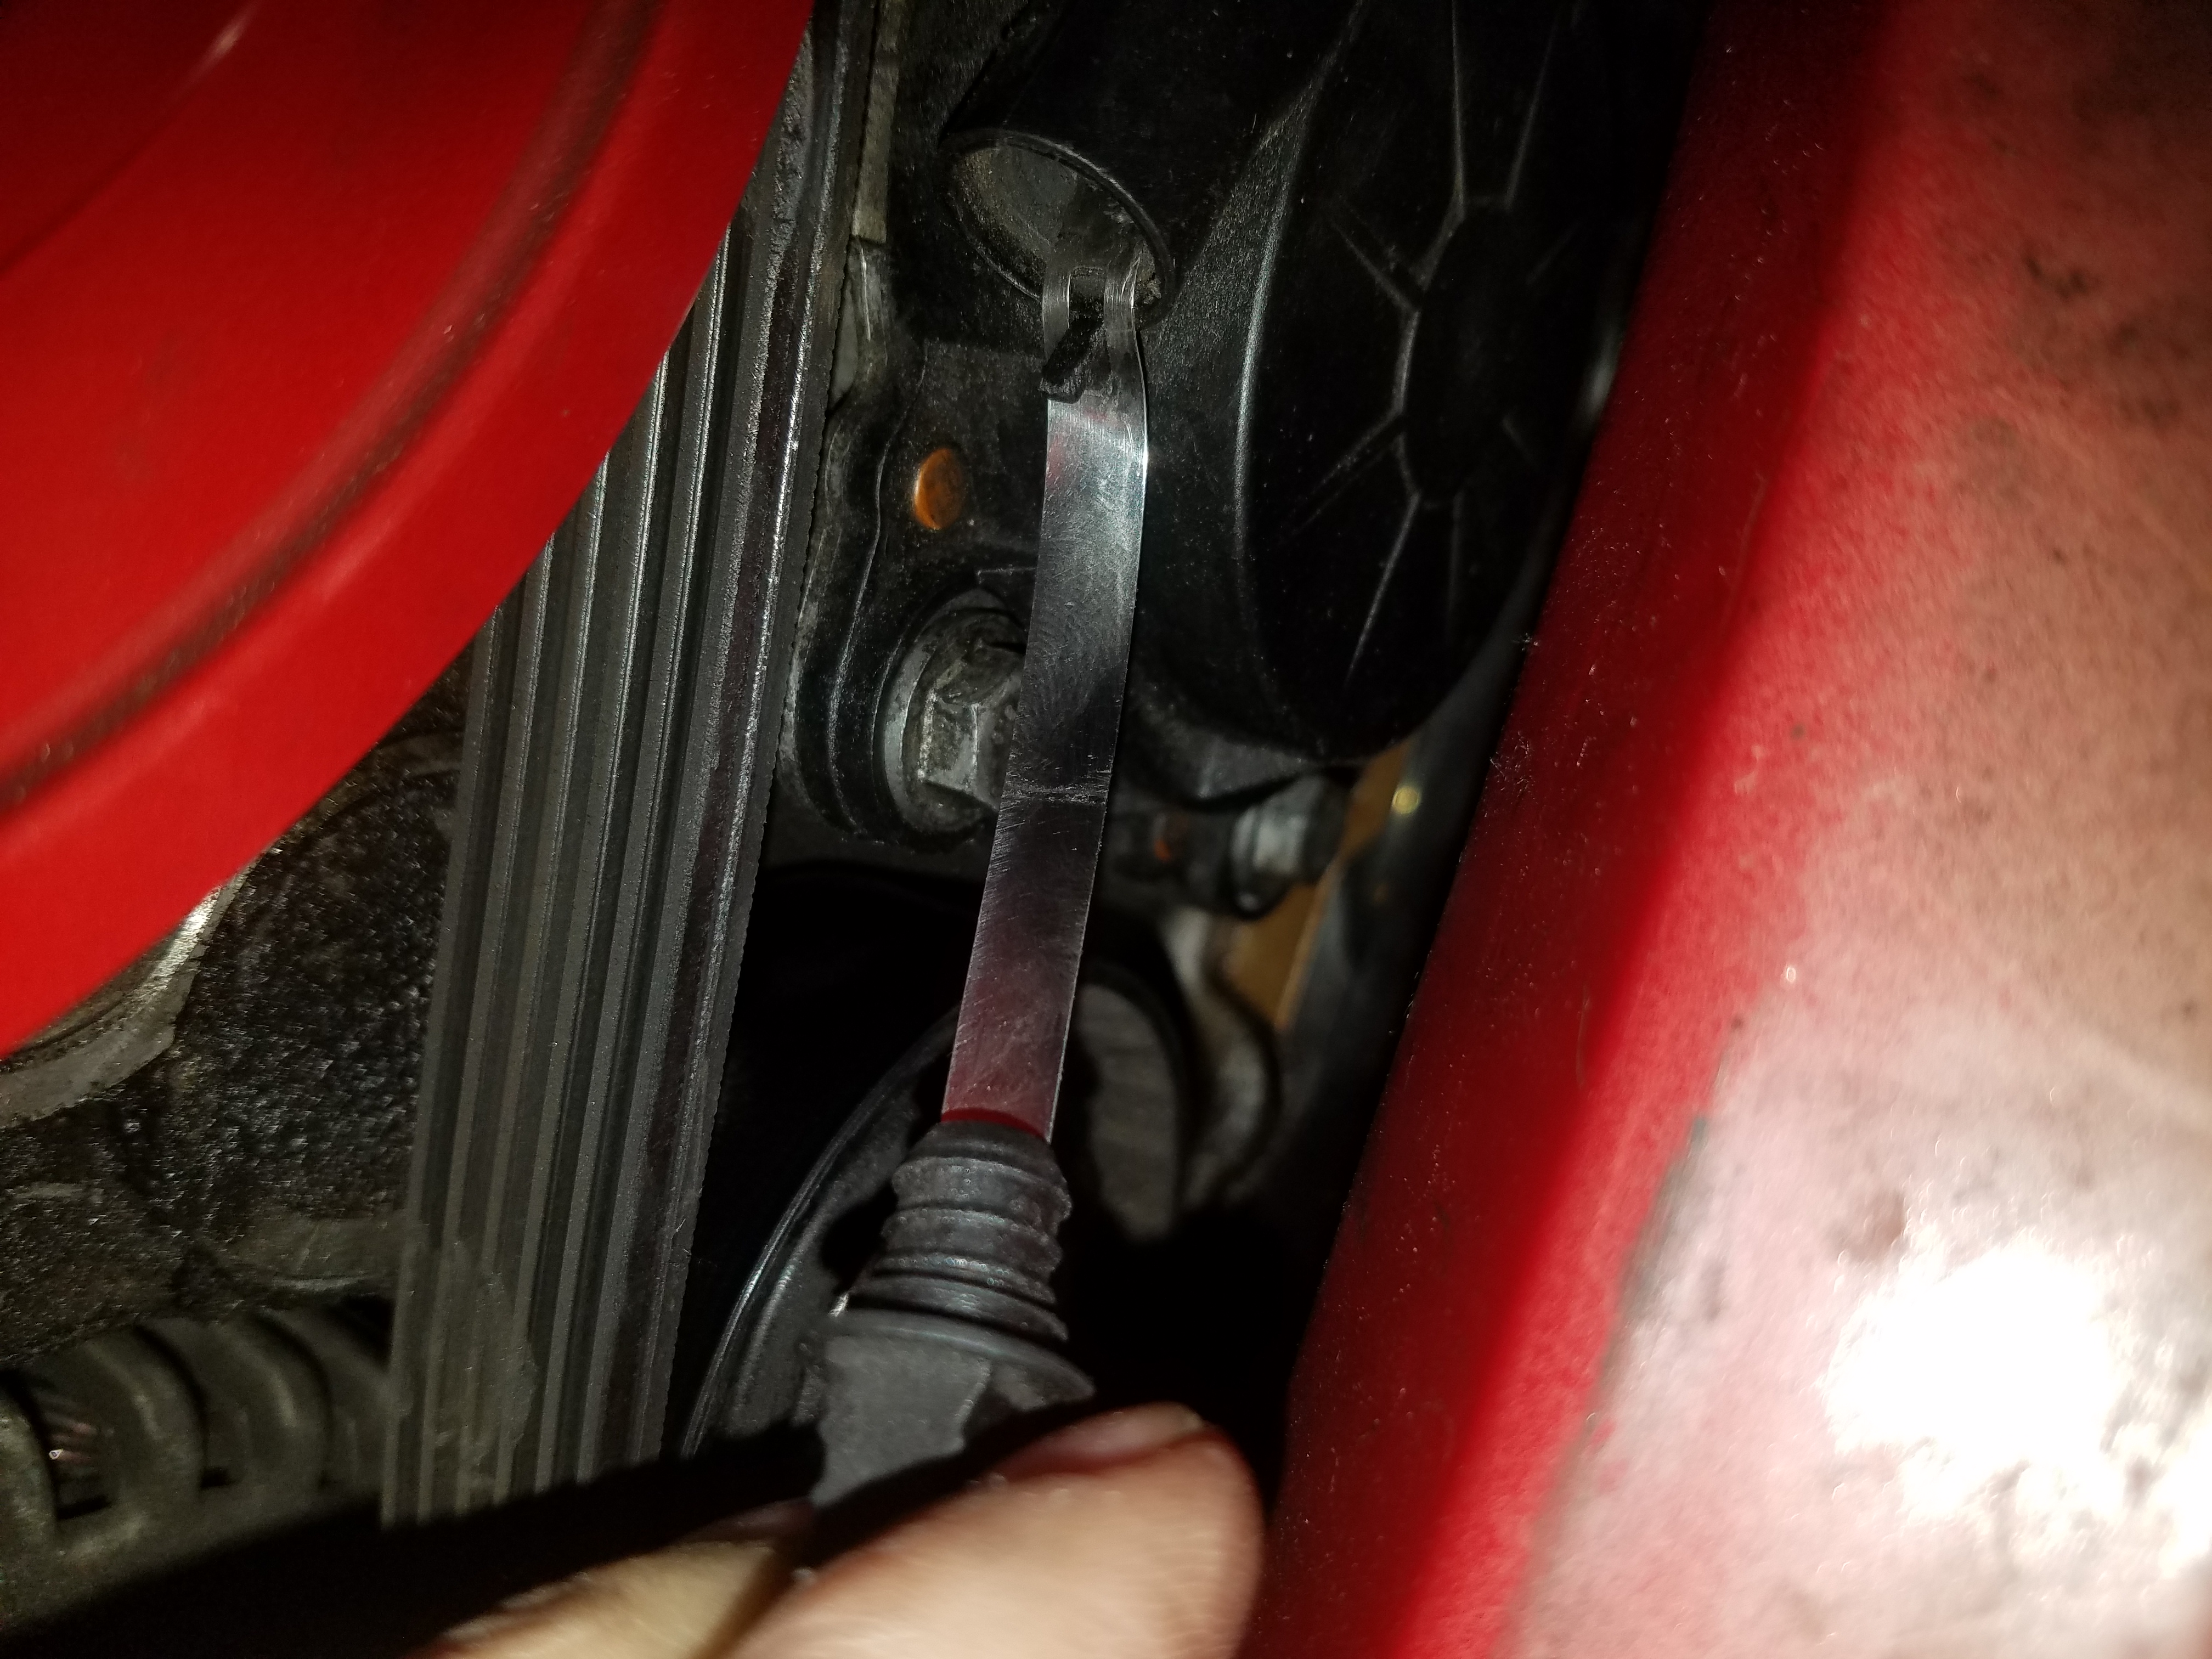
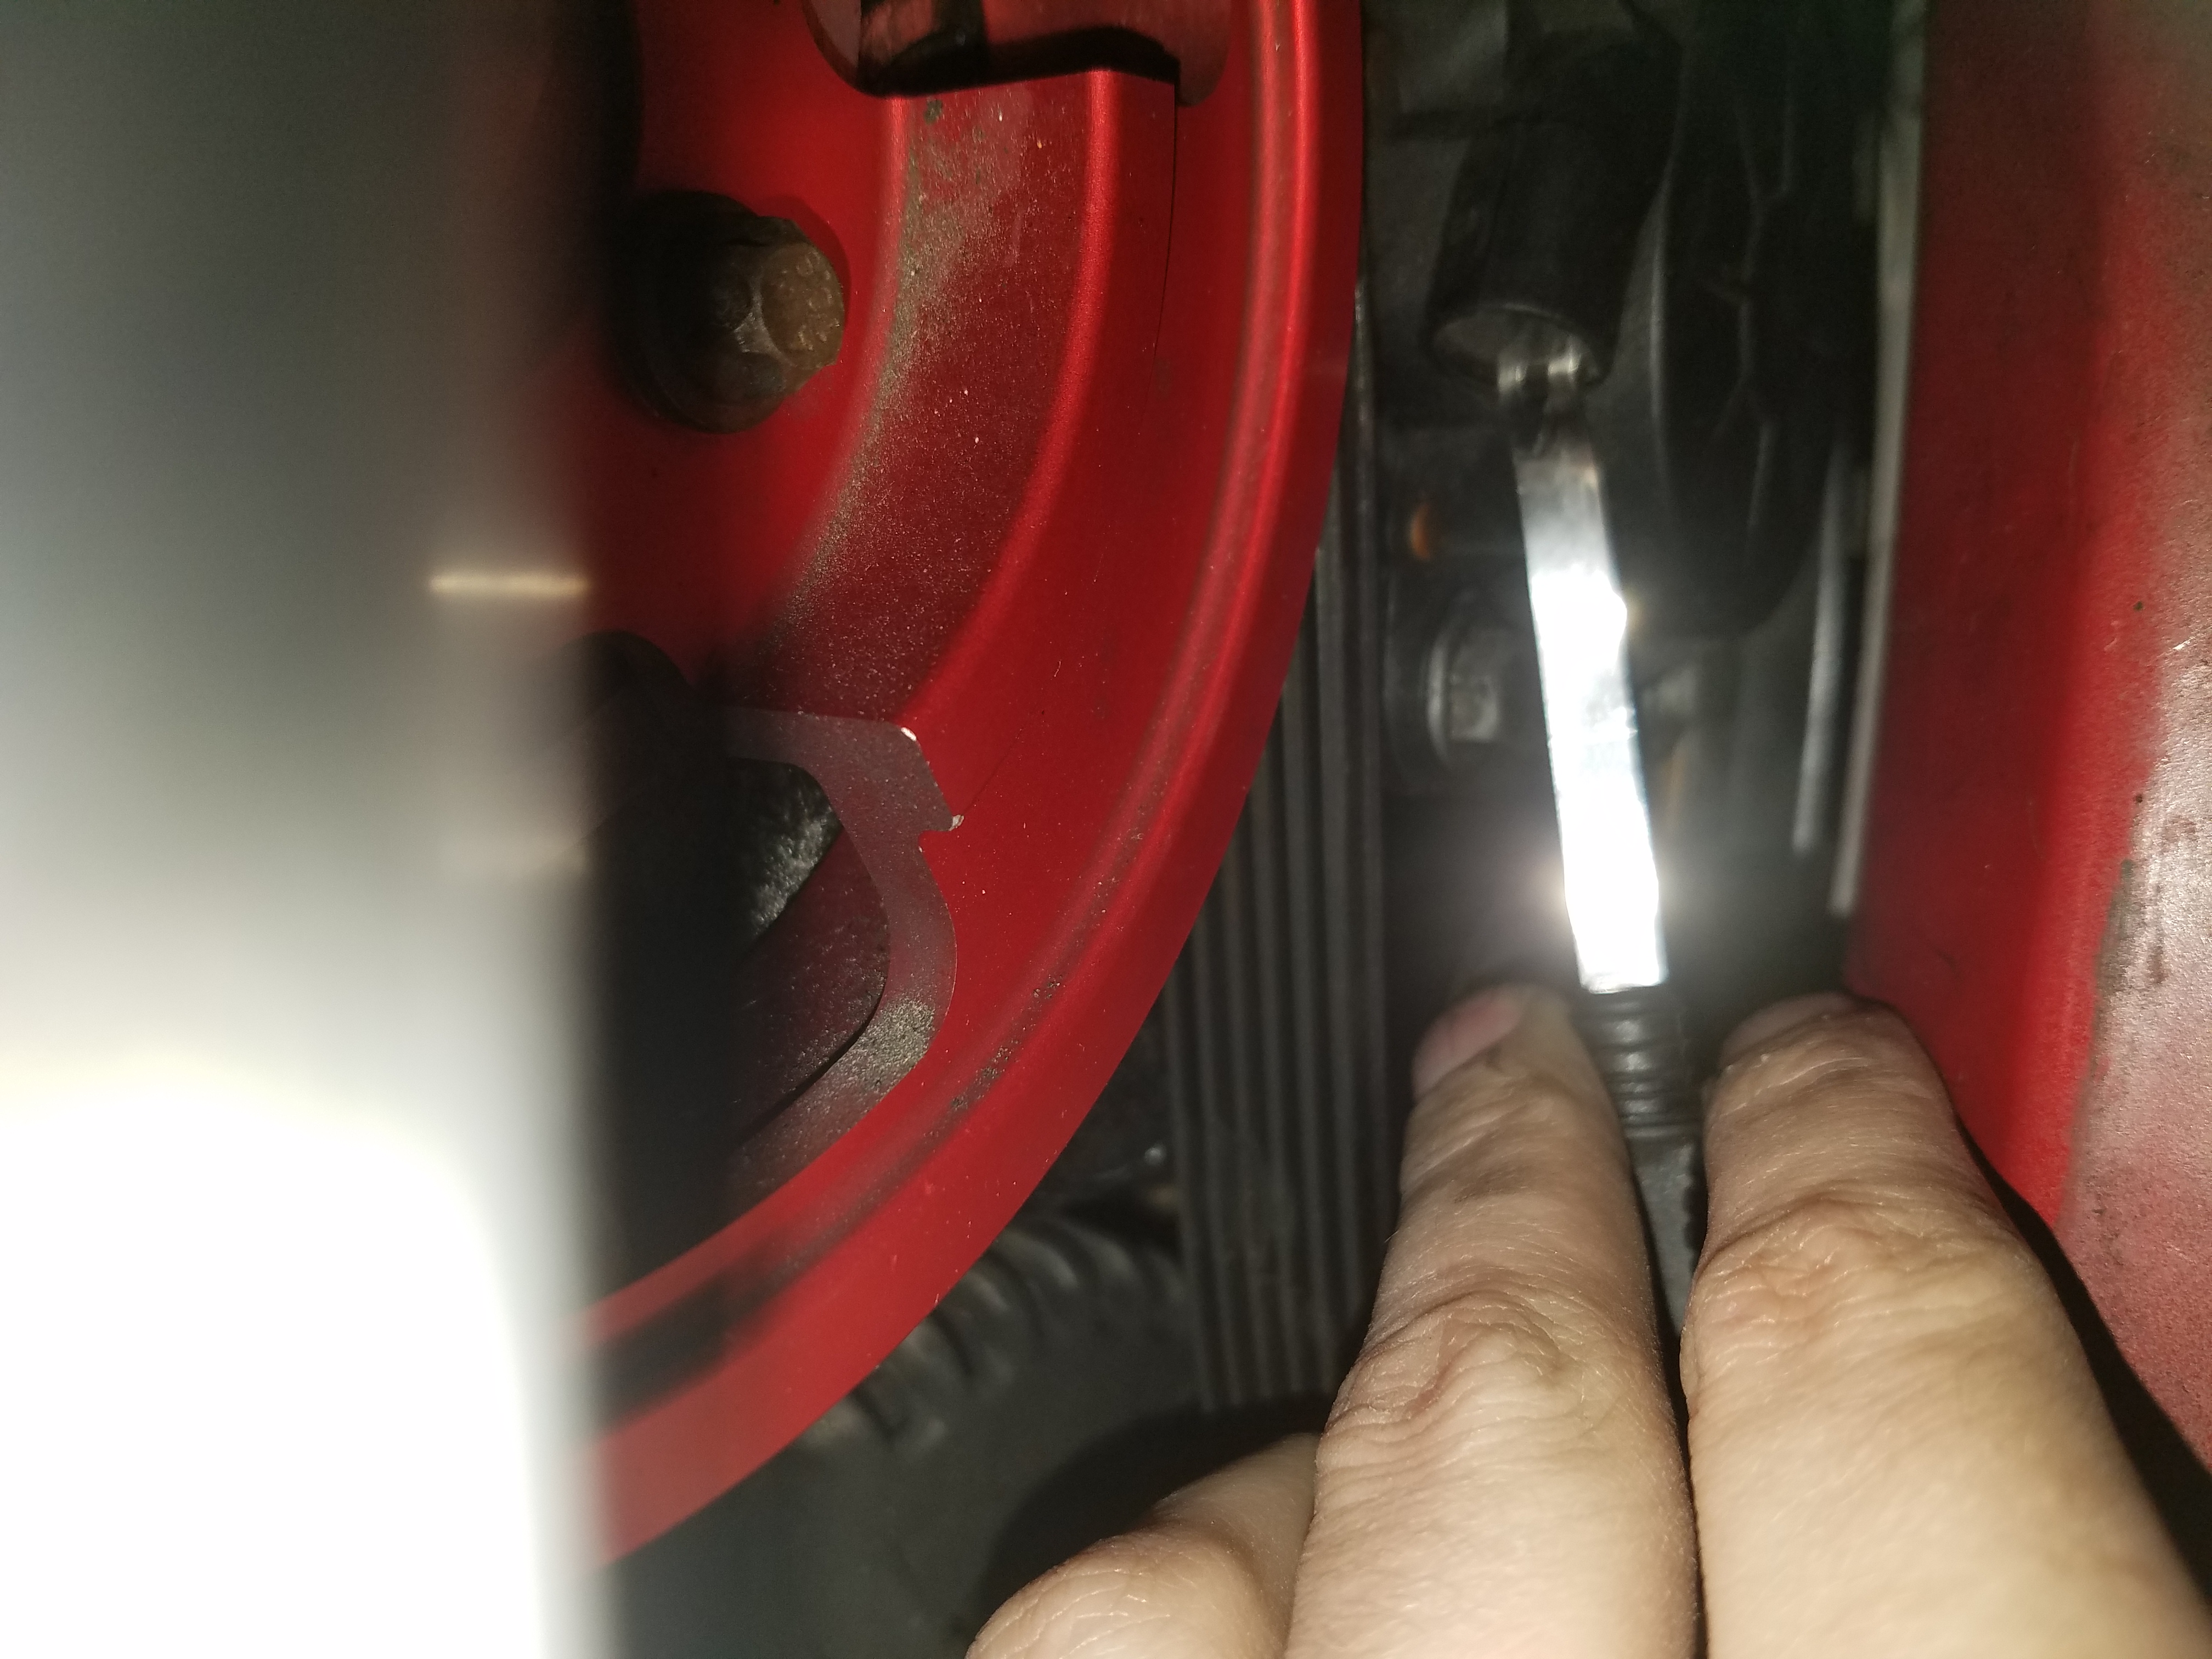
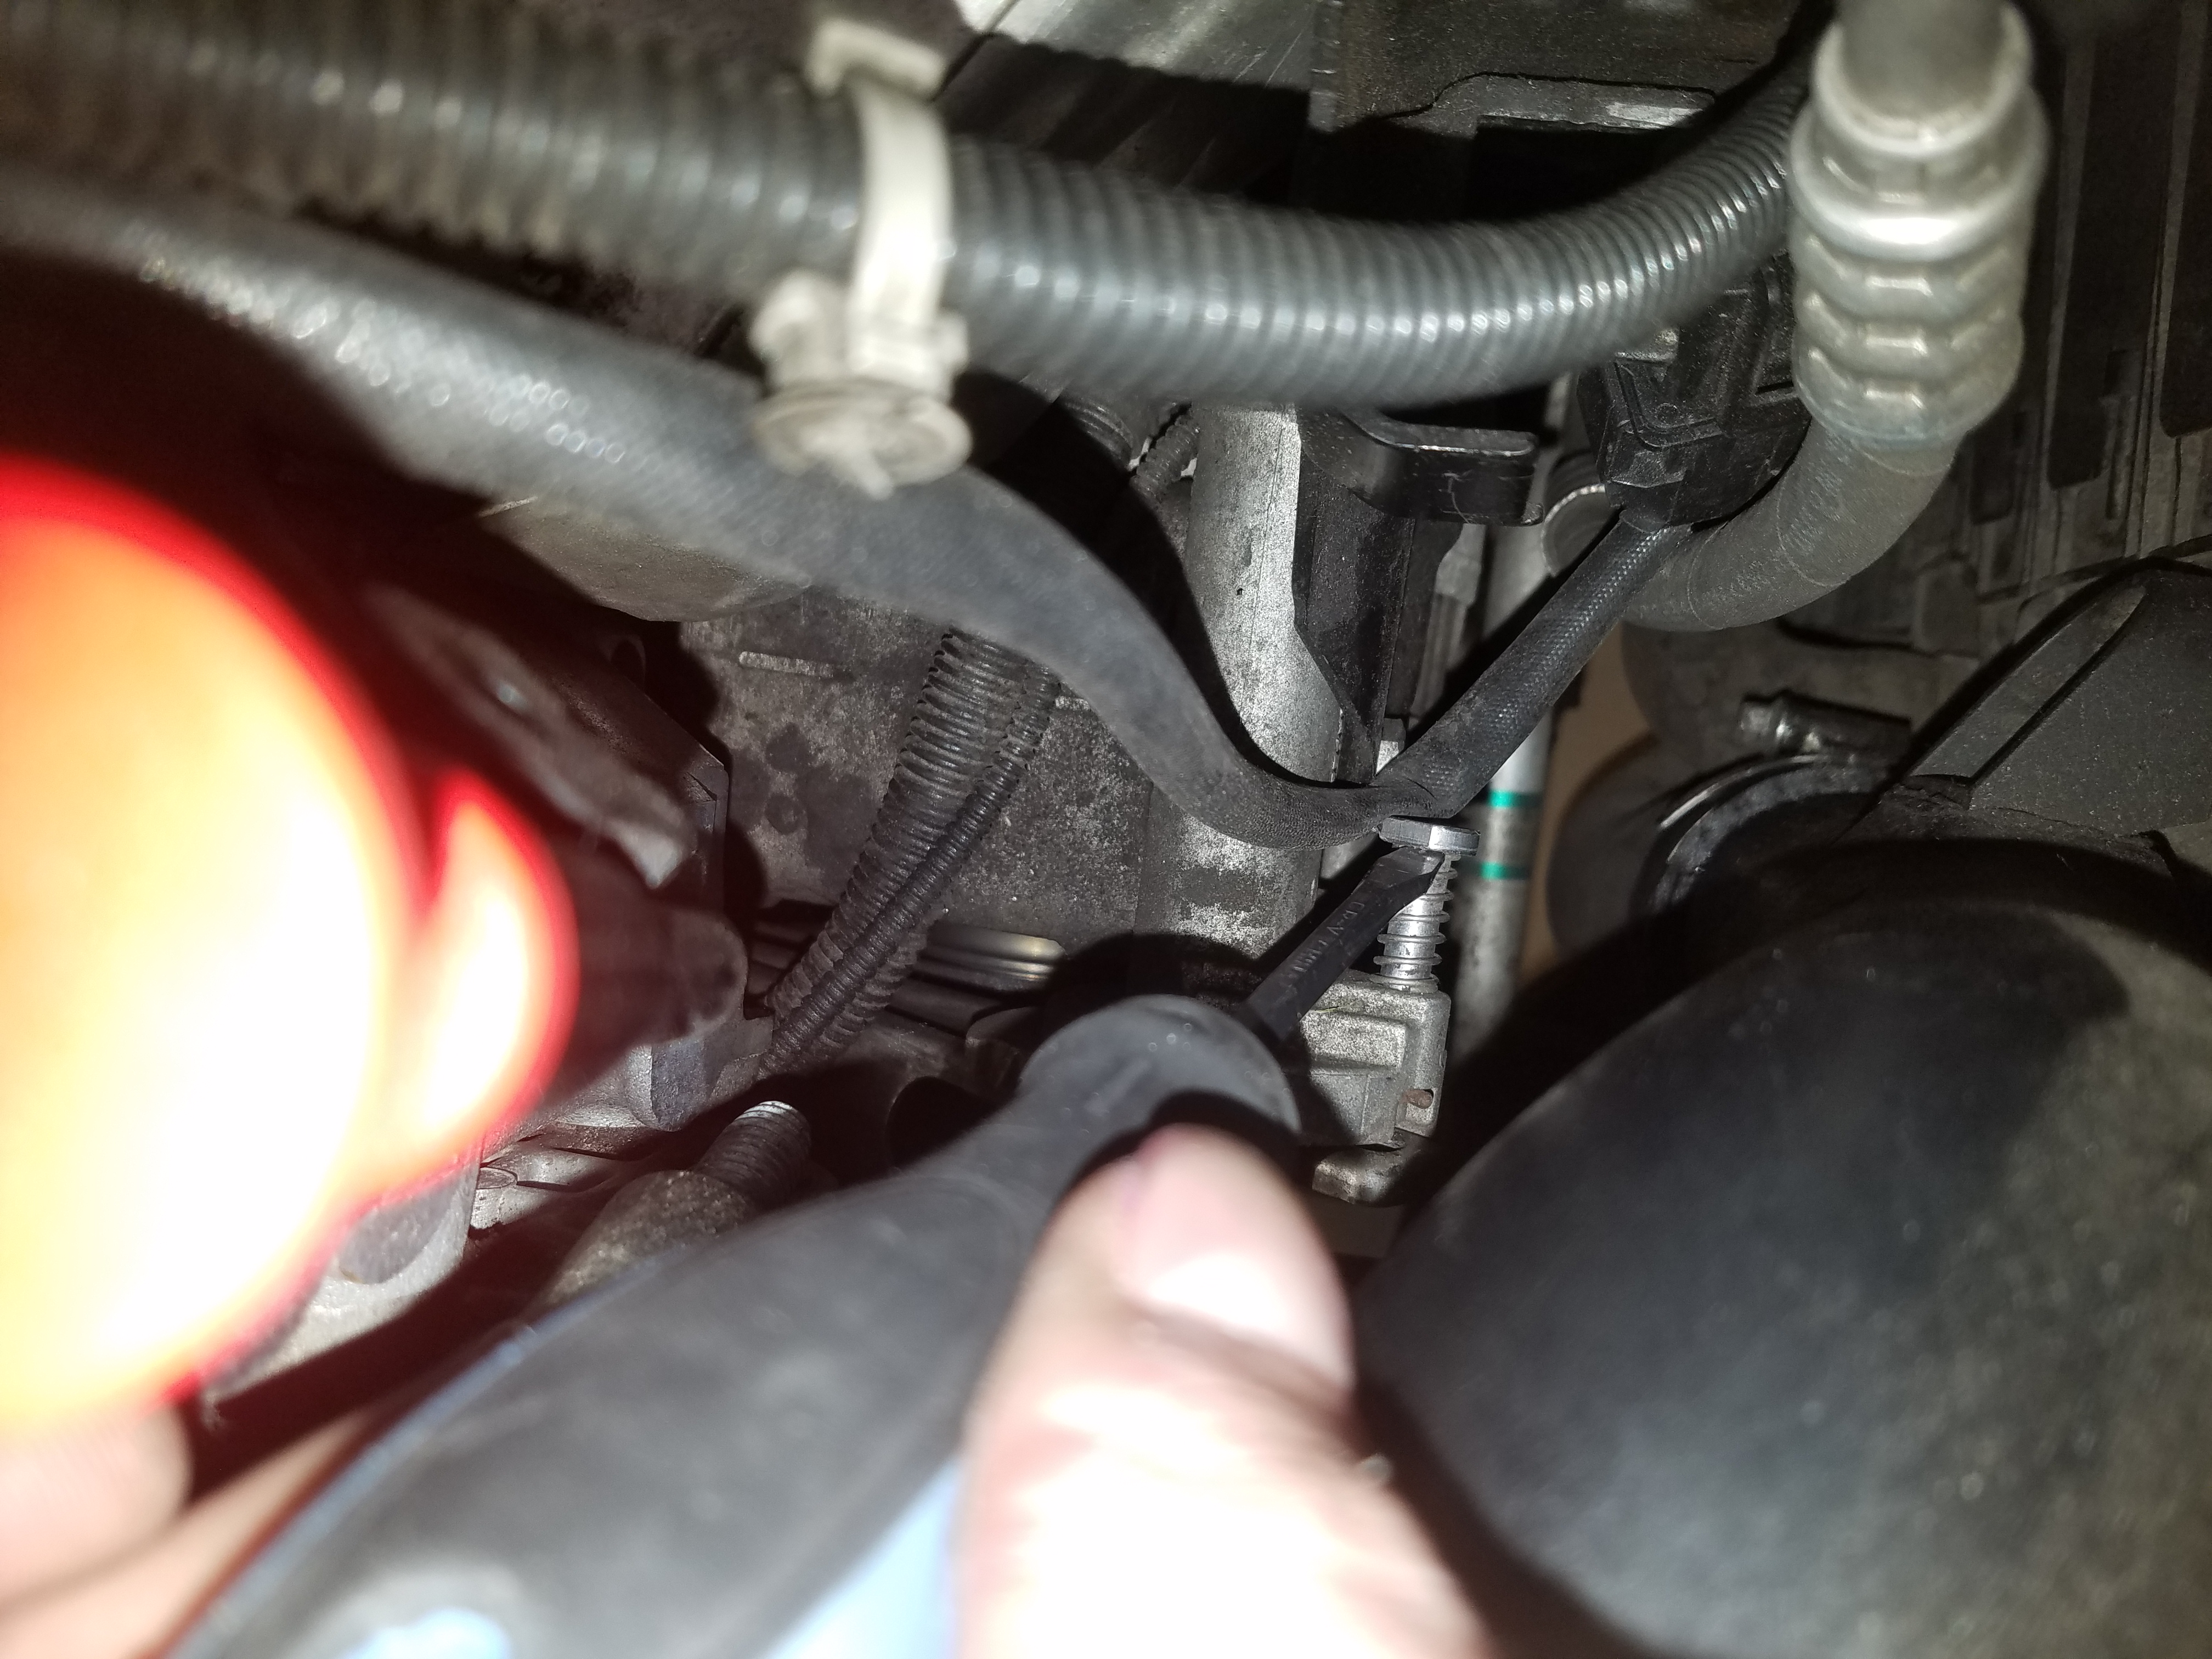
- Once the tensioner is locked you will need to place the water pump friction wheel in the service position. Pull on the black tab and fix the sheet metal strap over the mounting hook as shown.
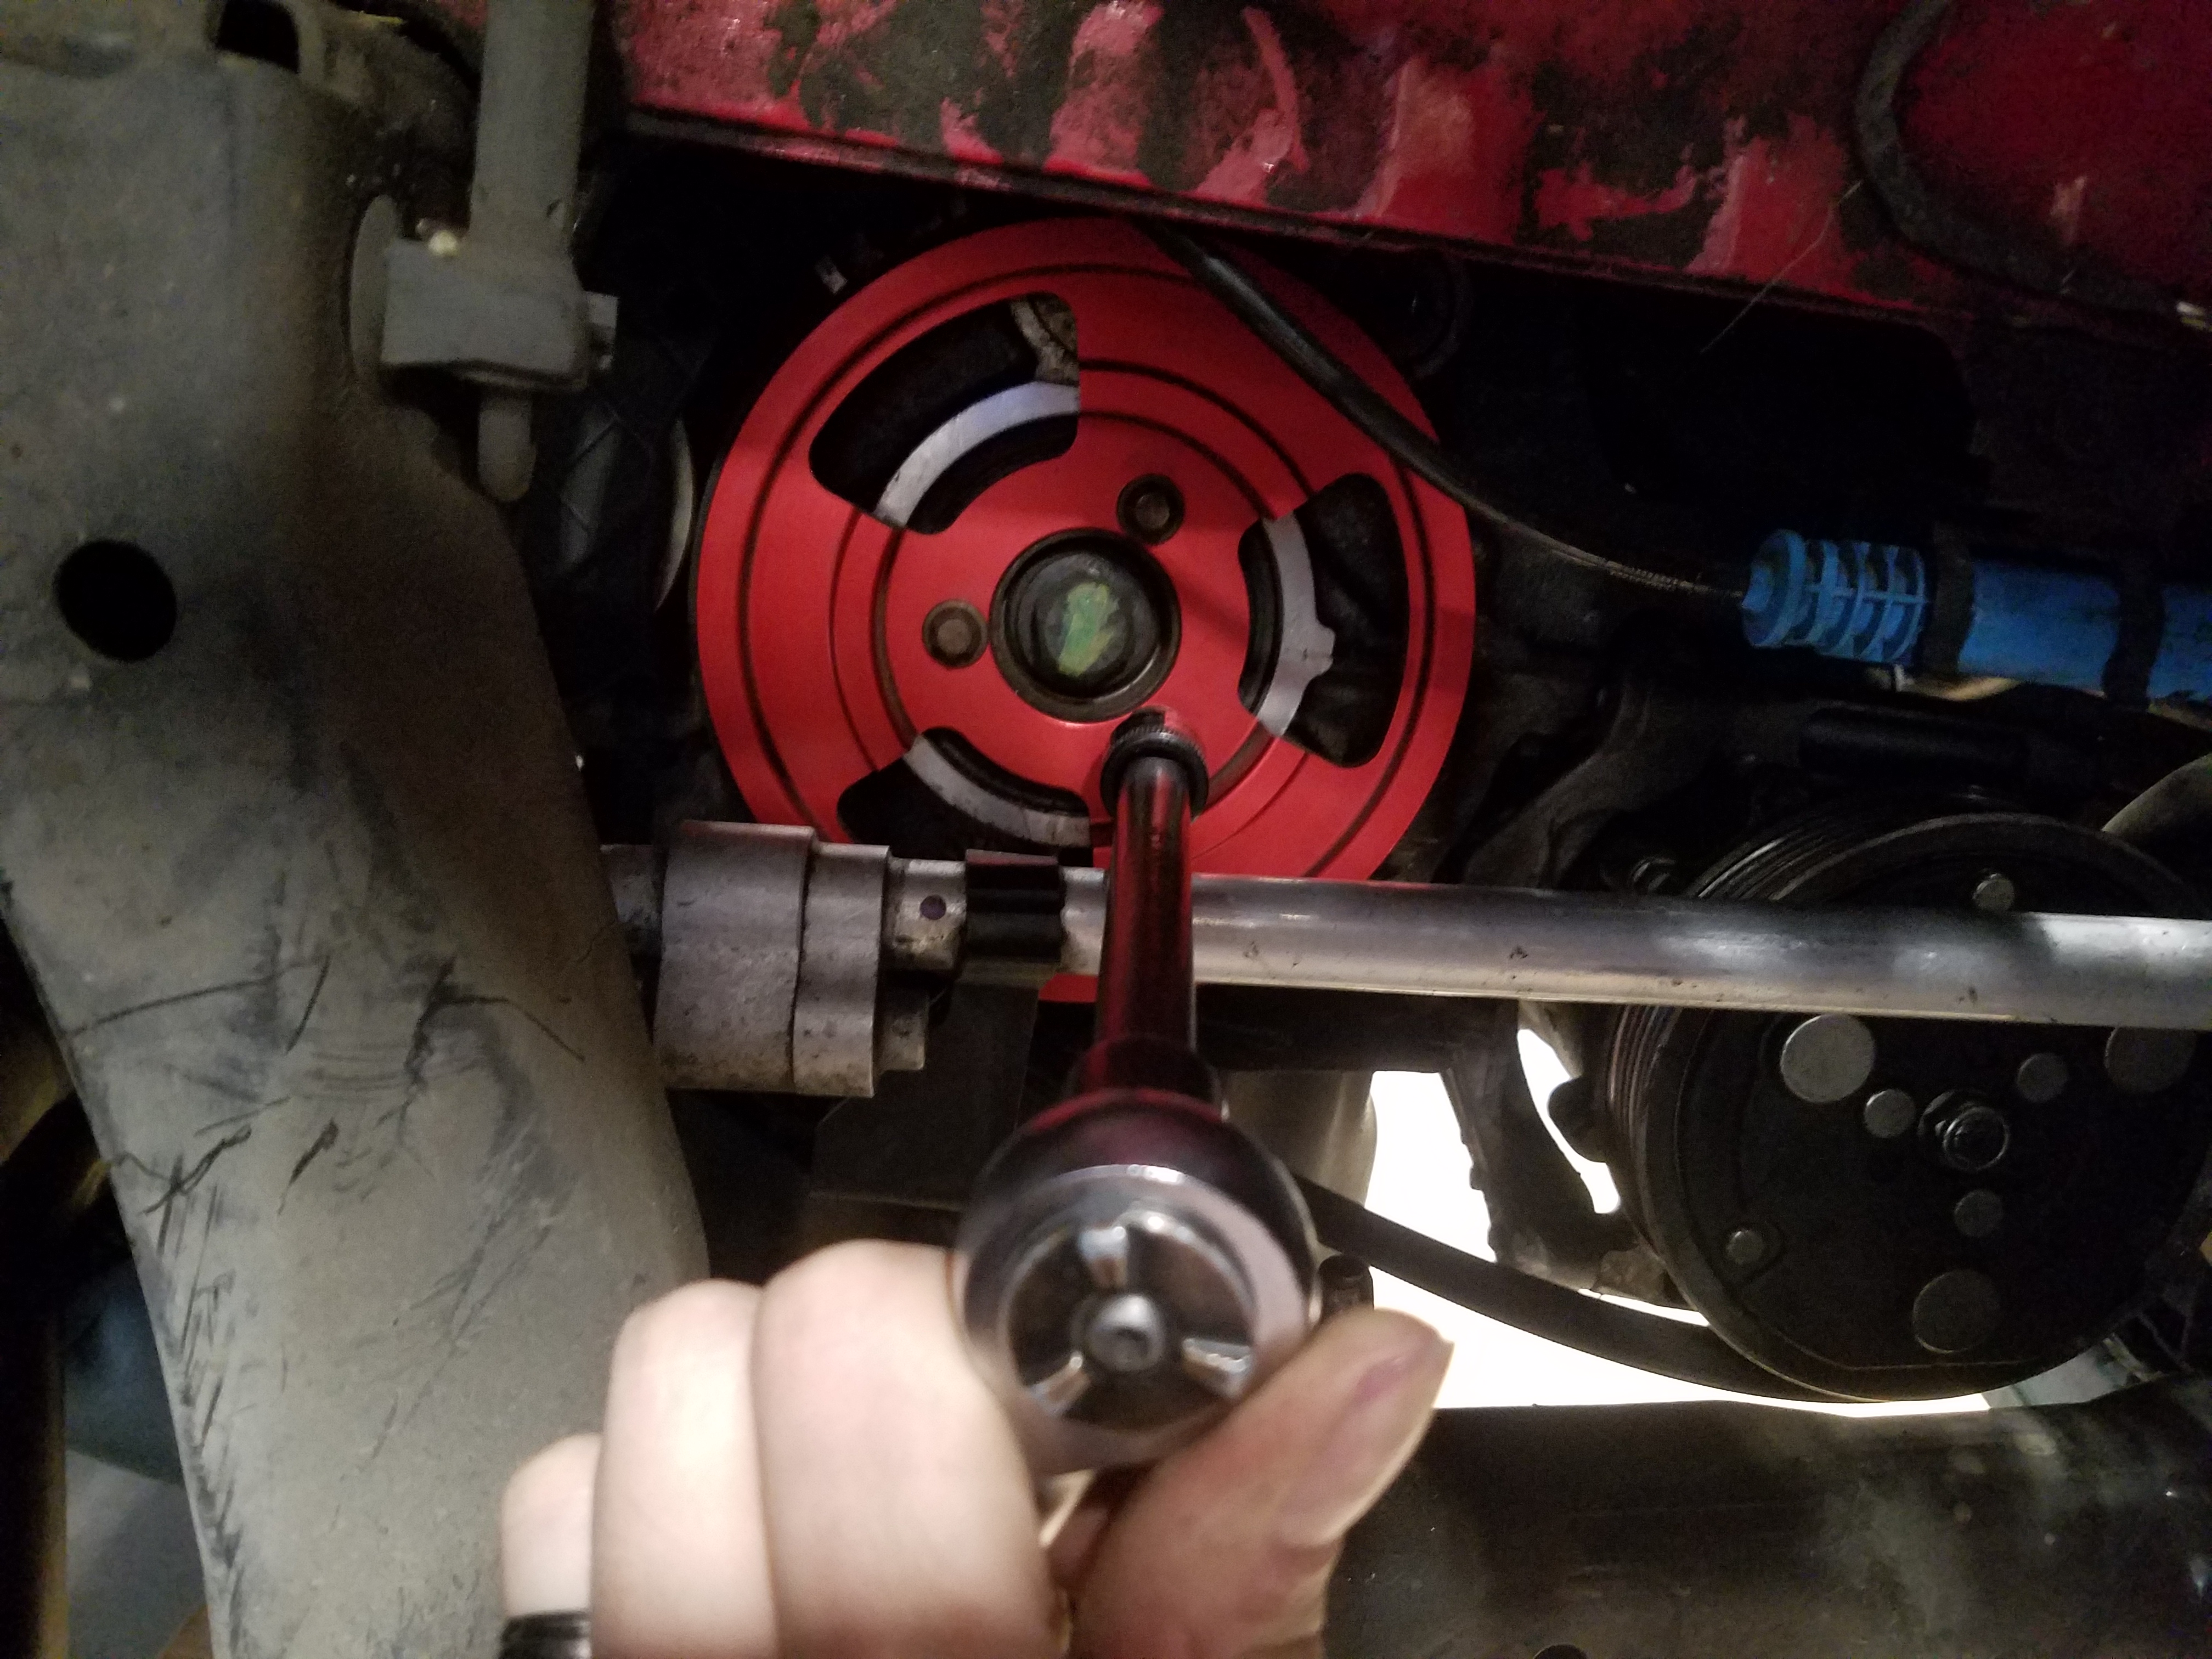
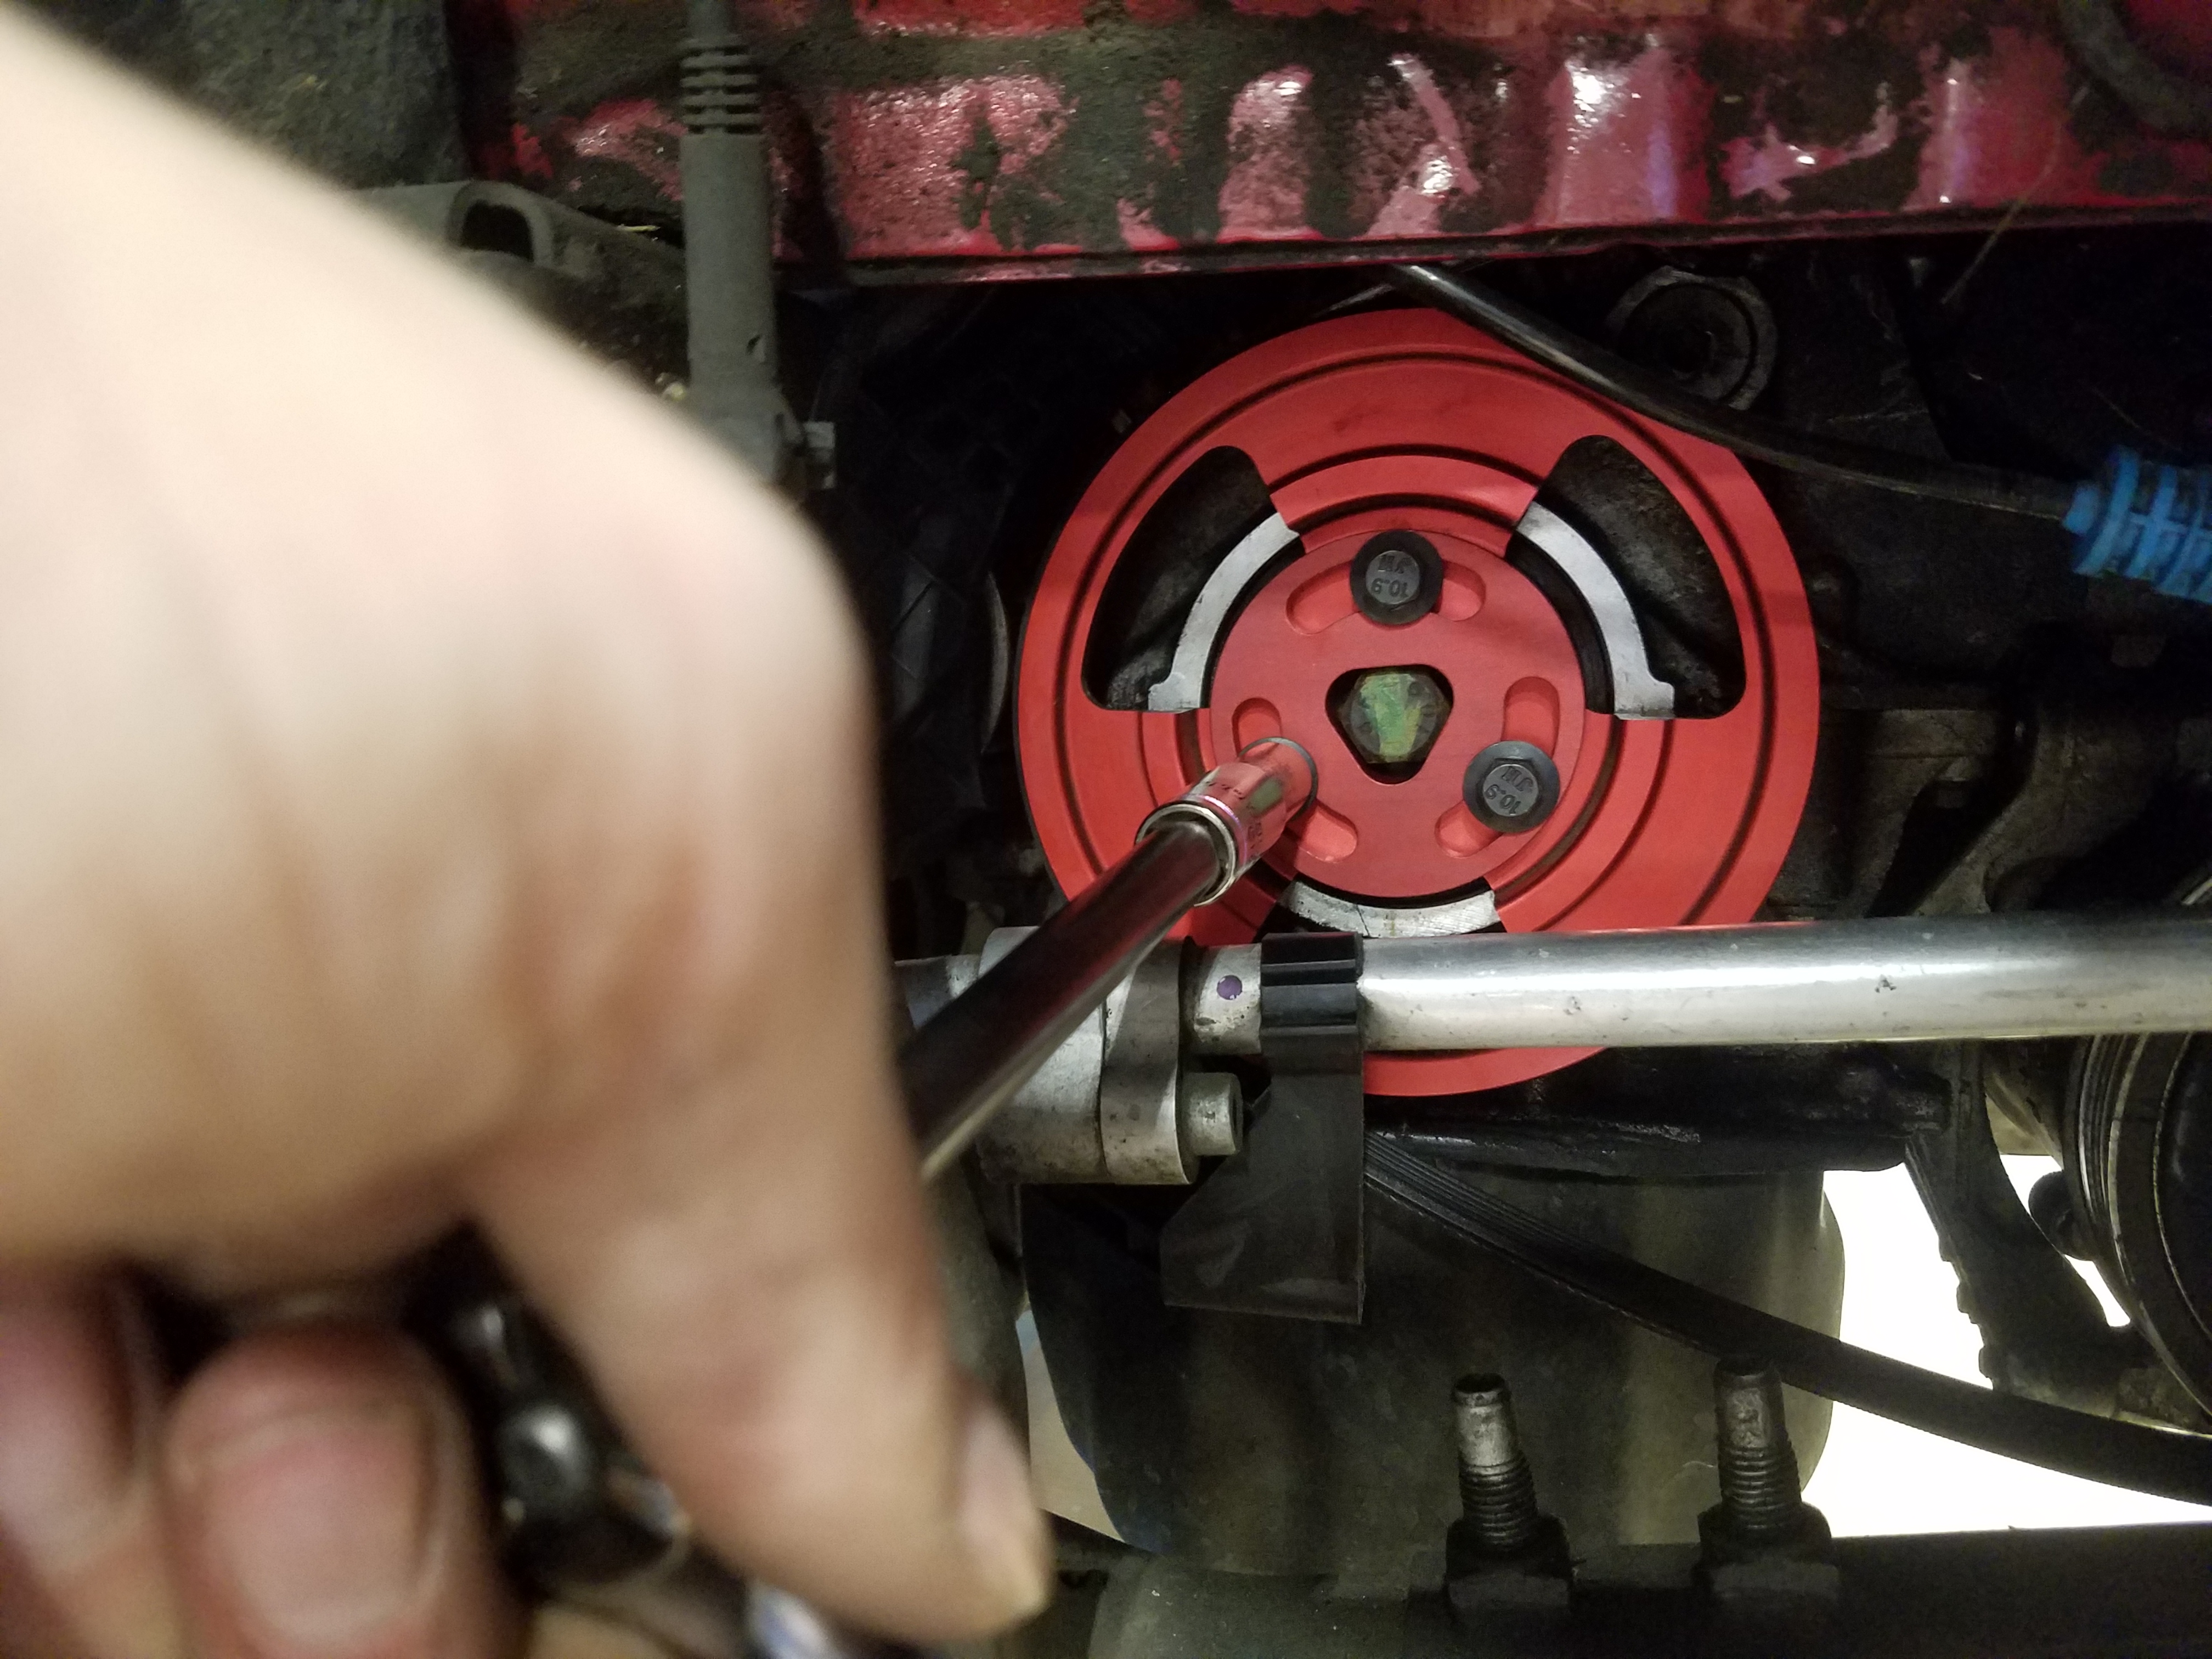
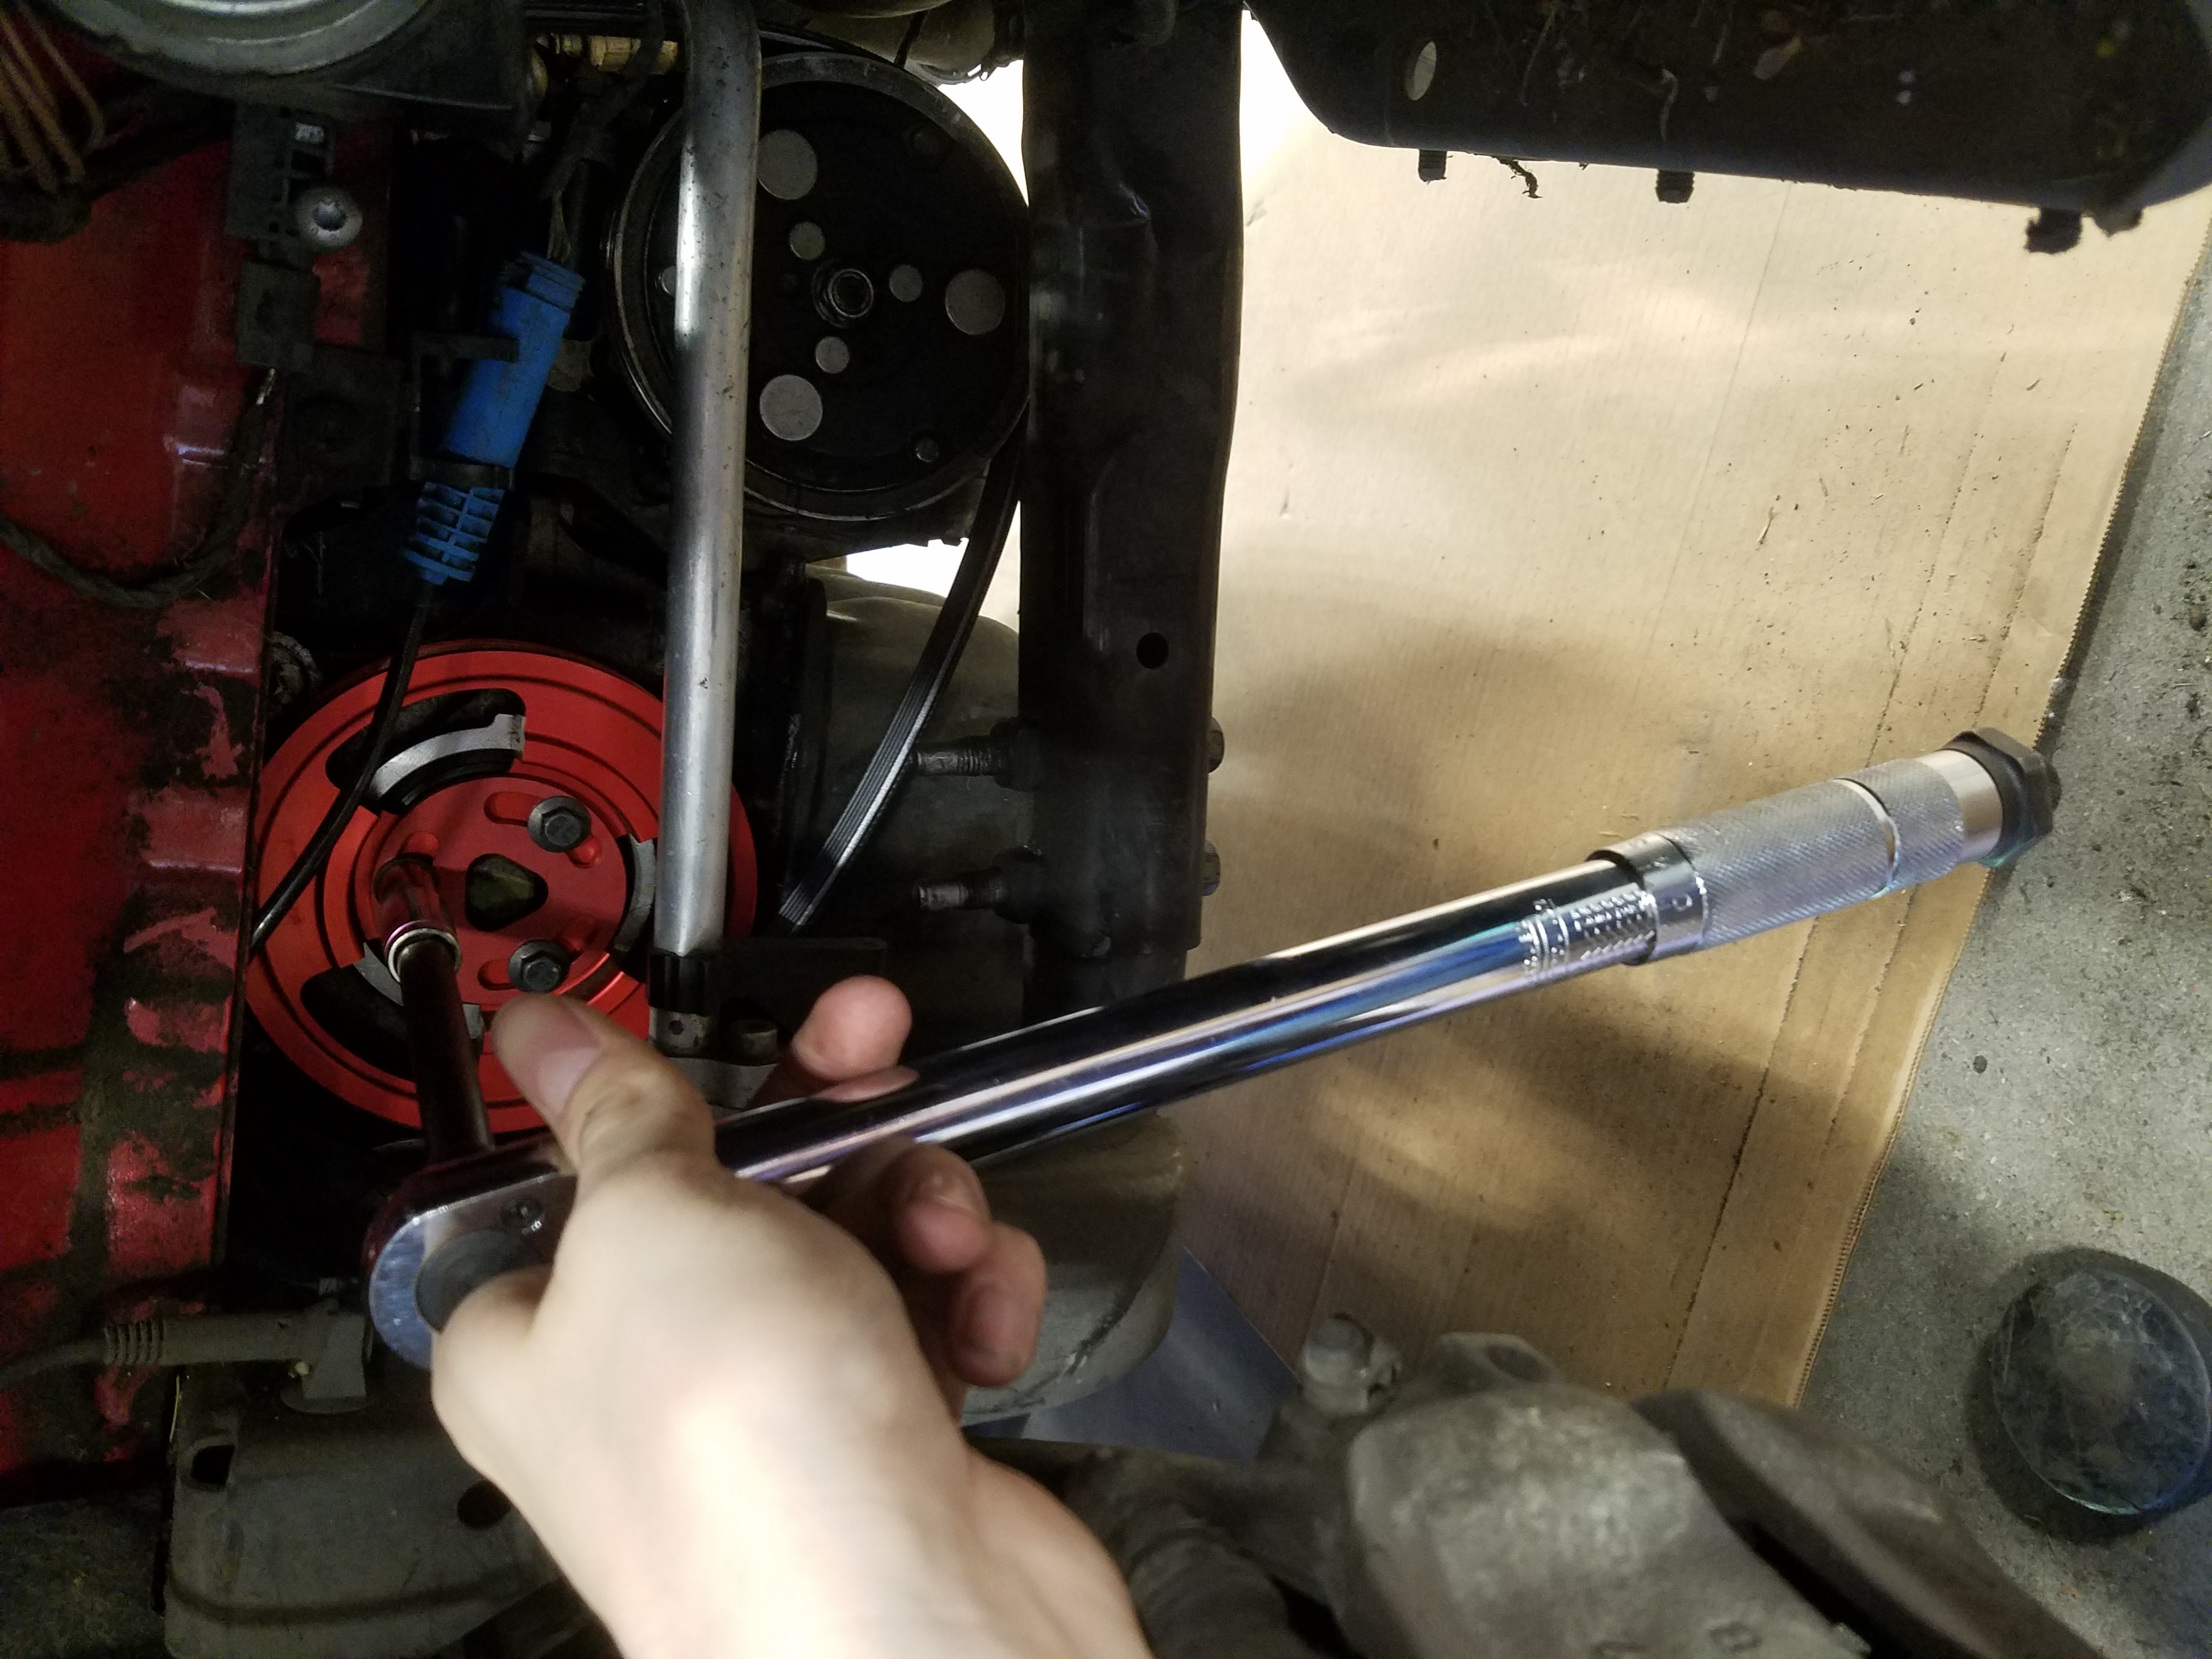
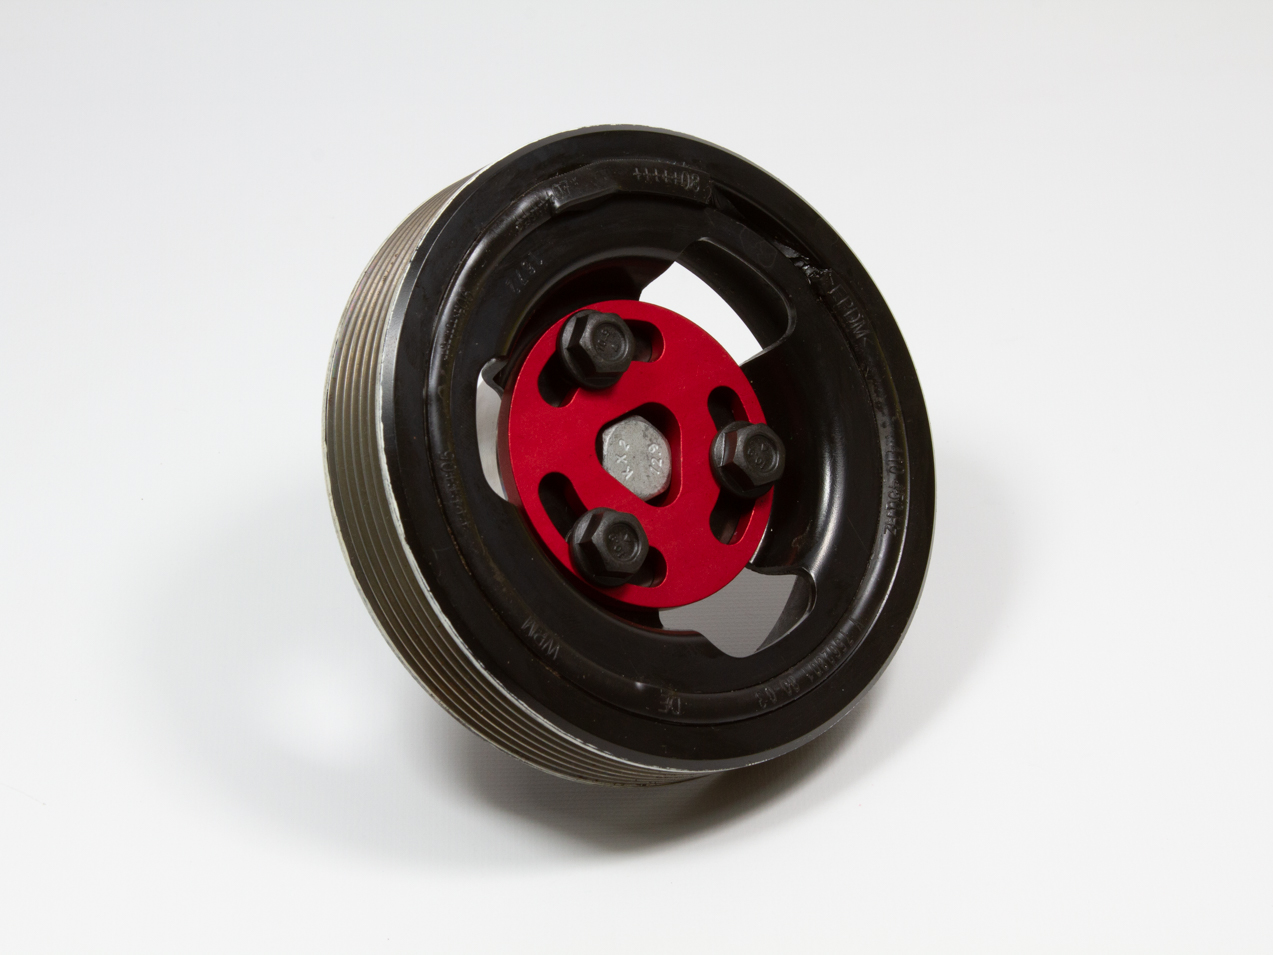
- Once all tension is relieved on the crank pulley, use the External Torx E10 socket to remove the three bolts mounting the pulley to the hub. If the bolts are installed too tightly and the pulley begins to turn, you may need to use a second socket wrench and an 18mm socket on the central bolt to hold it in place.
- Once these bolts are removed, place the supplied bushing over the head of the 18mm bolt.
- Then, using the supplied threadlocker, dab a few drops onto each of the supplied bolts. These larger, longer flange bolts are of the same 10.9 grade OEM quality, and will replace the original external torx bolts.
- Using the torque wrench, apply 20.6 ft/lb of force (28 Nm) onto these bolts to seat the bushing and crank pulley onto the hub.
- Now that this install is complete, it’s time to reverse this process and put everything back together. The first thing to do is place the friction wheel back into its operating position. To do this, pull the thin sheet strap off the hanger, and push the tab at the end back into its receptacle.
- Before resetting the tensioner, double check to make sure the drive belt is properly seated on the crank pulley, the AC compressor pulley, and the alternator pulley.
- Once you have done so, use either the MINI tensioner tool or the hydraulic jack/breaker bar combo to pop the locking pin out of the tensioner and reset the tension on the drive belt.
- Now it’s time to place the wheel well liner back into place. Make sure it is tucked in properly and that all the cutouts in the liner are aligned with the cutouts in the wheel well before replacing fasteners.
- Then, place all five well nuts back into position, and install the 5 plastic screws and the two steel torx screws.
- Place your wheel back on the hub and install the lug bolts until they are snug. Using the hydraulic jack under the subframe, remove the jack stand and place the vehicle back on the ground.
- Using the torque wrench set to 103 ft/lb (140 Nm) tighten the lug bolts in a crisscross pattern.
- If applicable, replace the plastic hub/lug bolt cover, and you’re set to go!
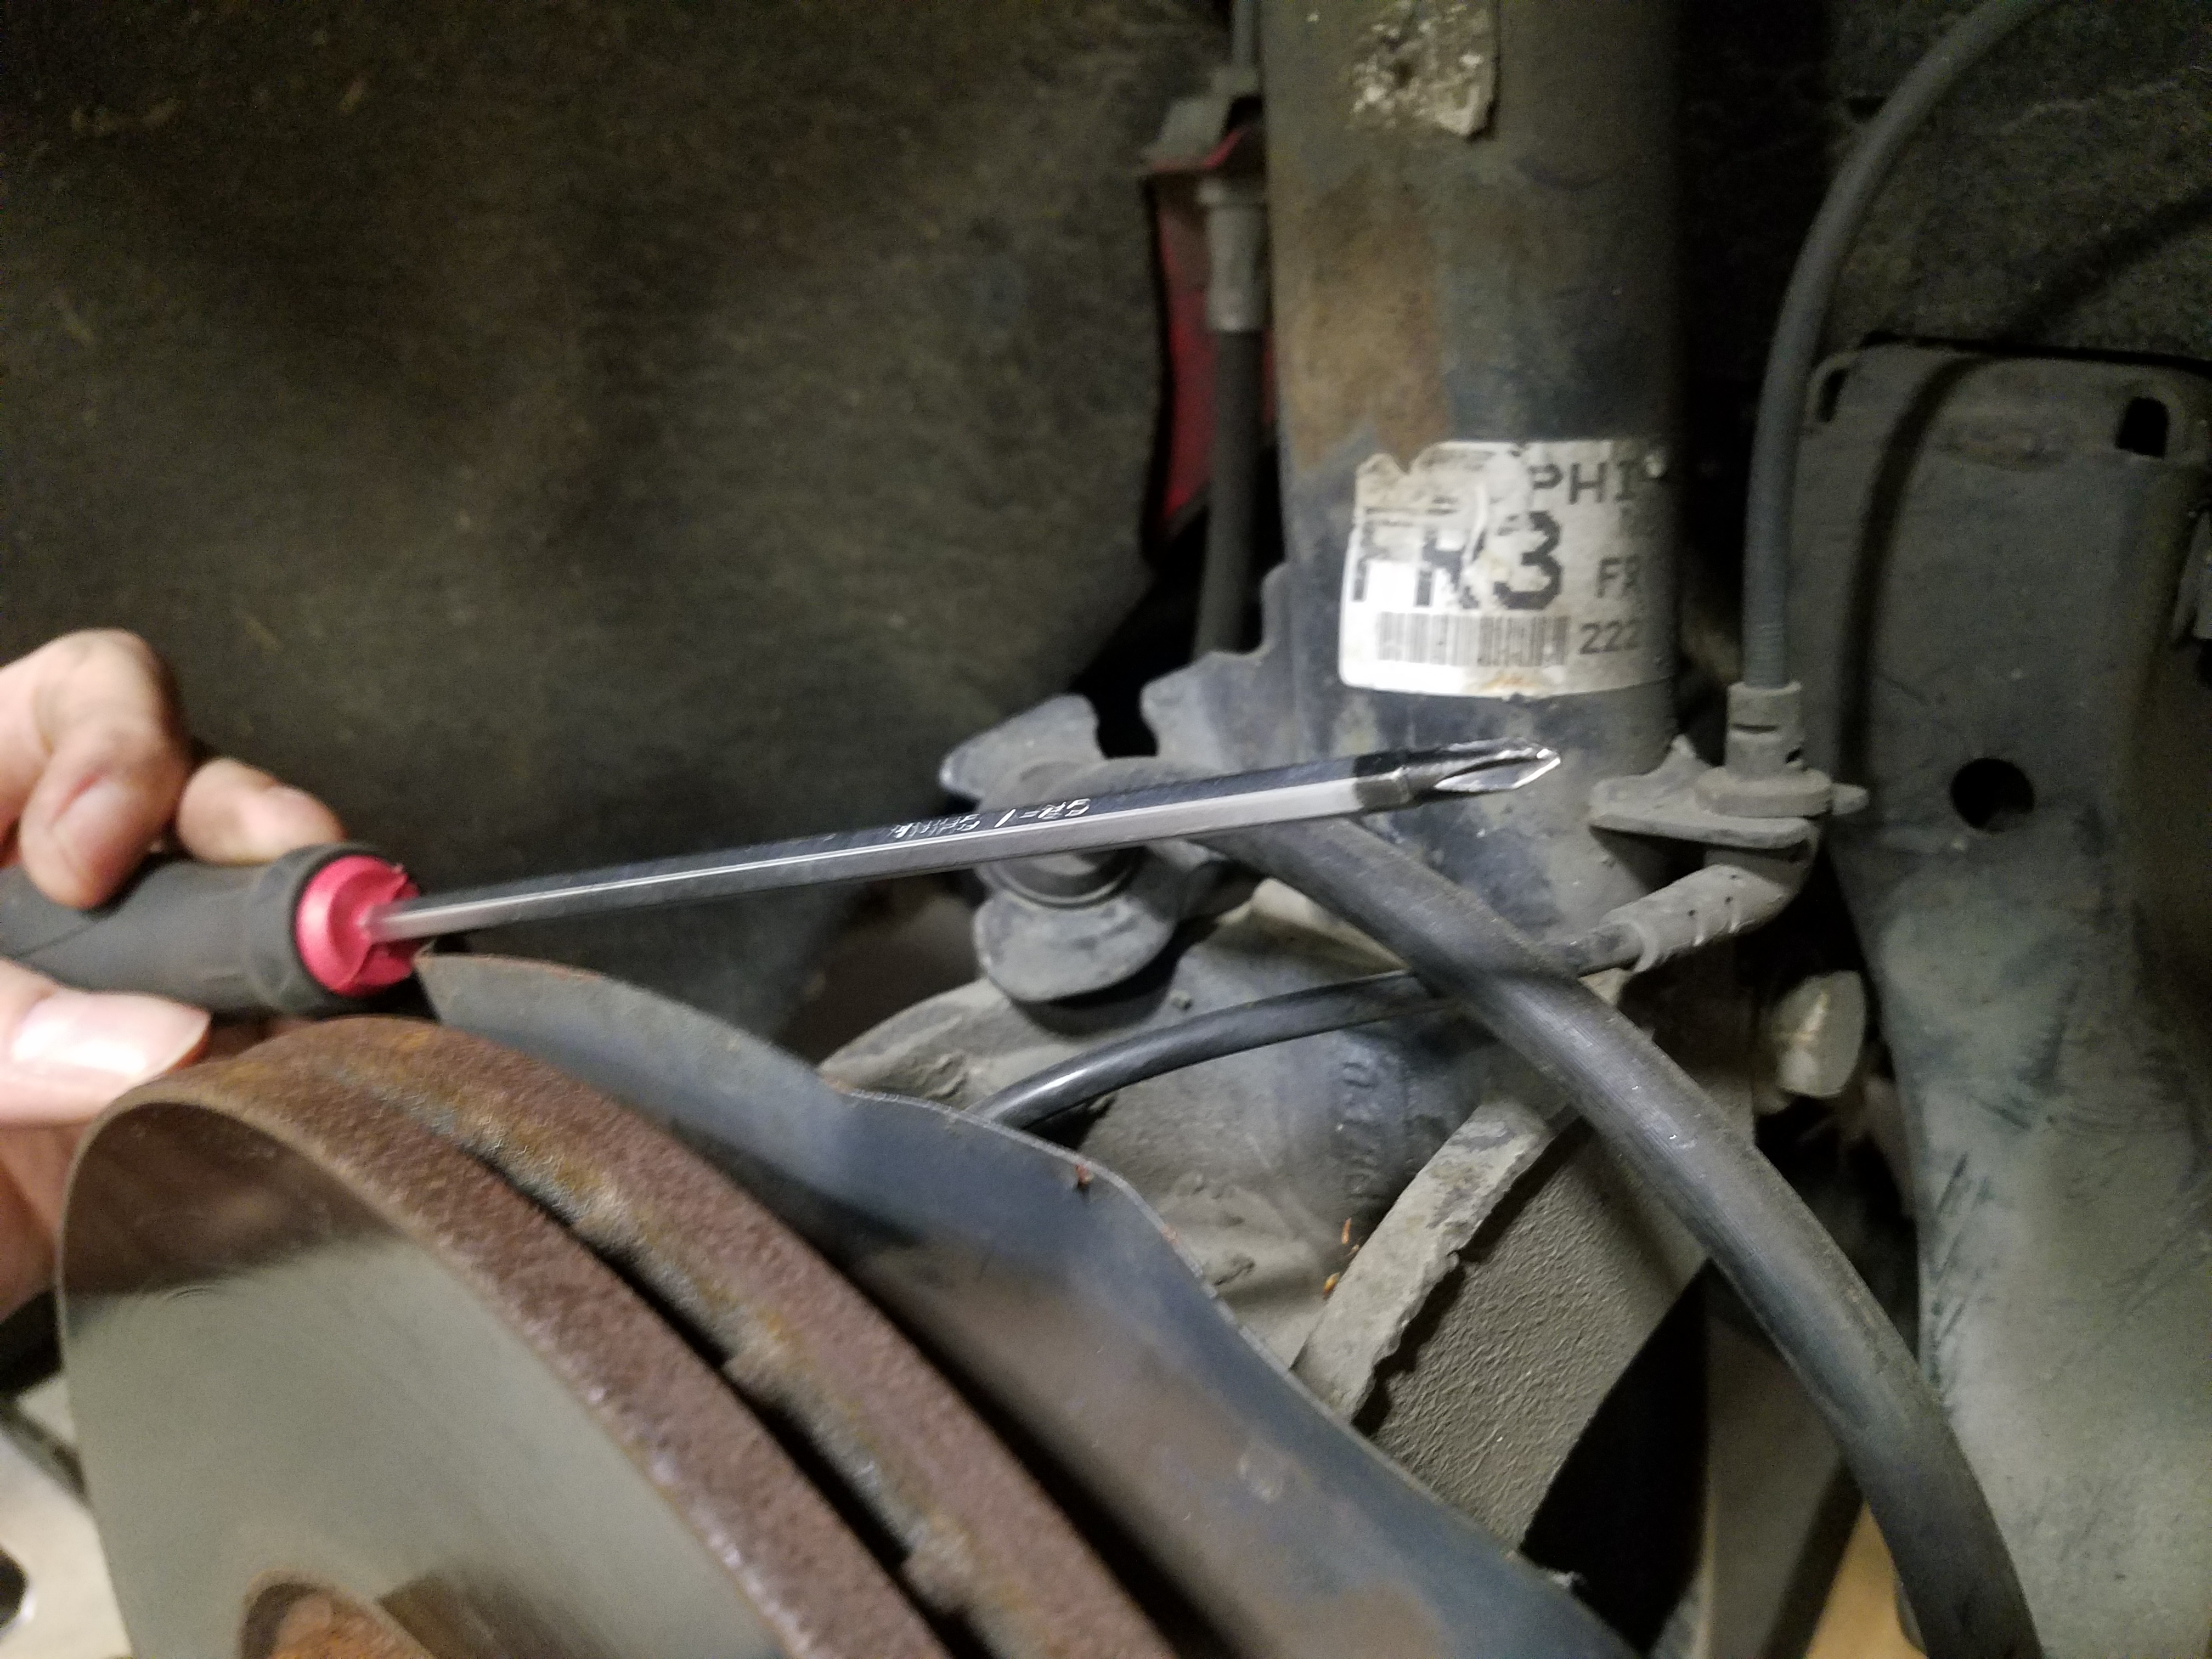
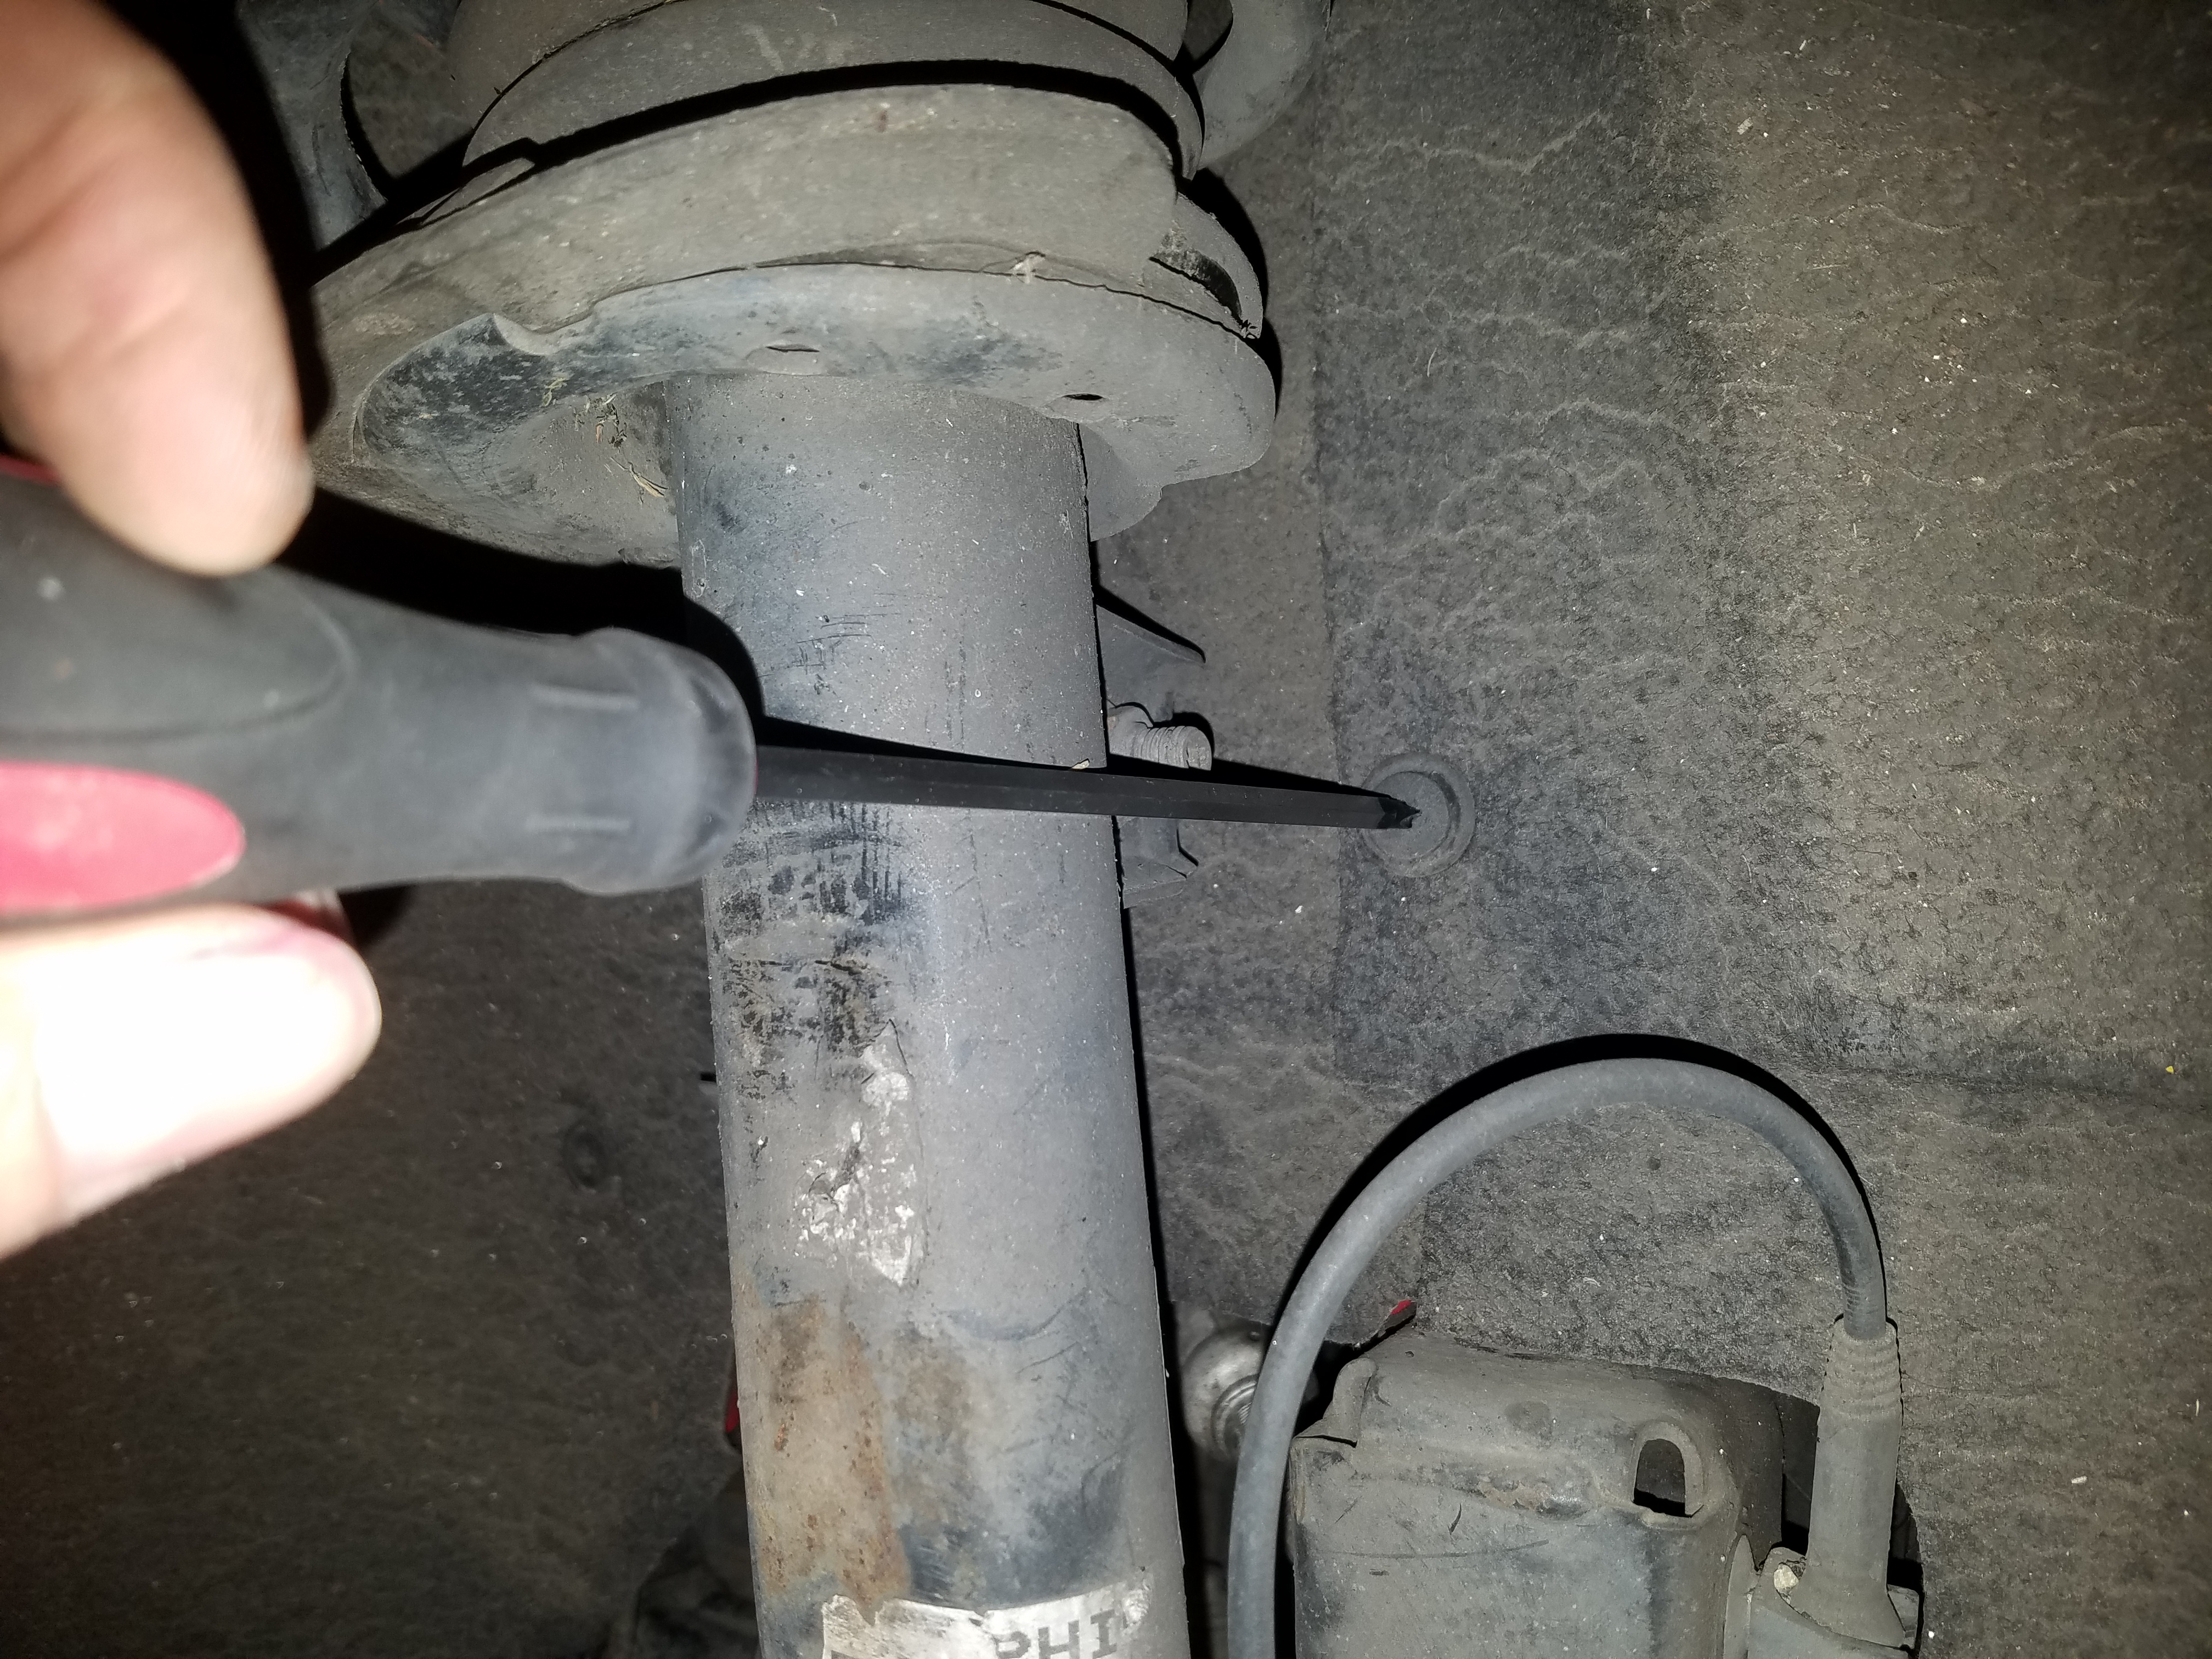
In order to remove the plastic screws from the well nuts it may be necessary to place the flathead screwdriver in one of the two slots on the face of the well nut to prevent it from spinning in place.
You should now have access to your crank pulley. We have one of our lightweight aluminum pulleys in red anodize installed on this vehicle.
Relieving Tension
Installing the Bushing
If this is necessary, remember to only exert clockwise force on this central bolt, as we risk engine damage if it were to come loose.

Putting You Car Back Together!
Congratulations… your MINI R56 Crank Pulley Bolt Locking Bushing install is complete! Rest easy, knowing that your timing system is safe and secure!