THANK YOU for purchasing the MagSafe Phone Mount for Toyota GR86 from CravenSpeed. This product is made from the highest grade materials, and is guaranteed to be free from defects.
You can buy our CravenSpeed MagSafe Phone Mount for Toyota GR86 here
Parts Included:
- 1x CravenSpeed Phone Mount Bracket
- 1x ¼-20 Button Head Screw
- 1x 17mm Ball Stud
- 1x MagSafe Base
- 1x Adhesive Ring
Tools Required:
- Trim Panel Removal Tool
- Philips Screw Driver
The installation time for this product is approximately 5-10 minutes.
If you have any questions/or concerns about this installation, feel free to send us an email at support@cravenspeed.com . We are always happy to help.
Installation Process
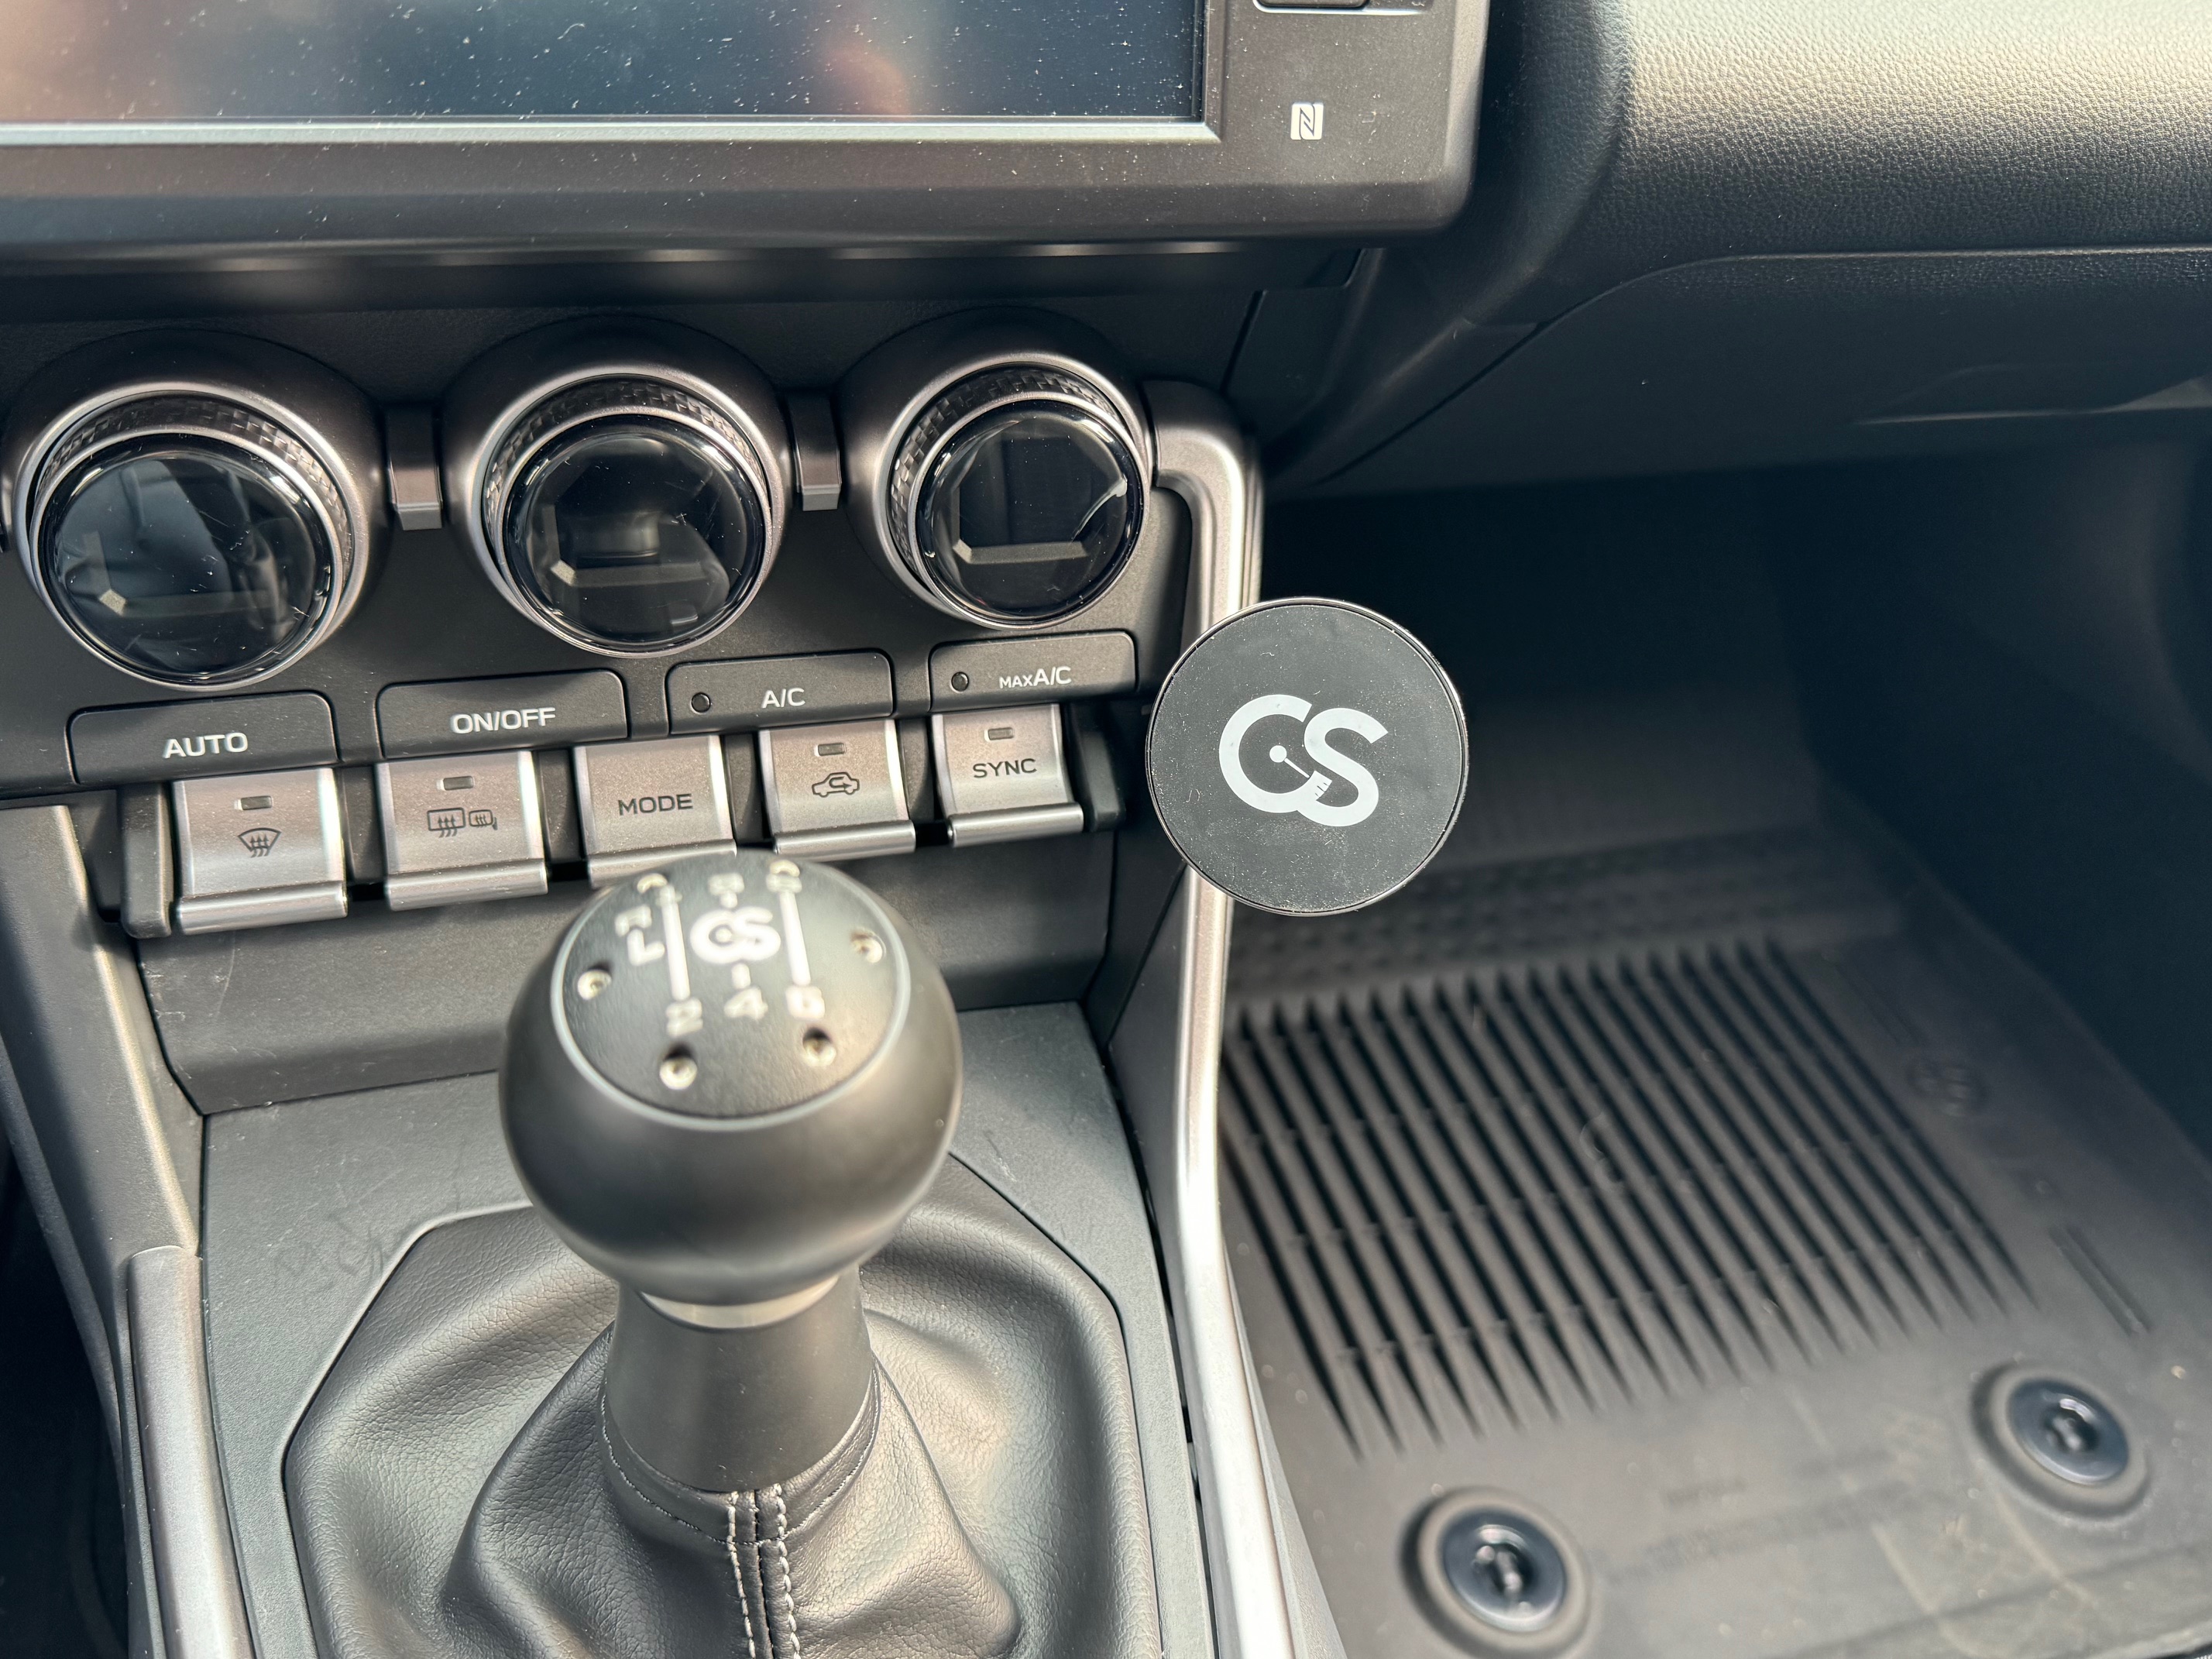
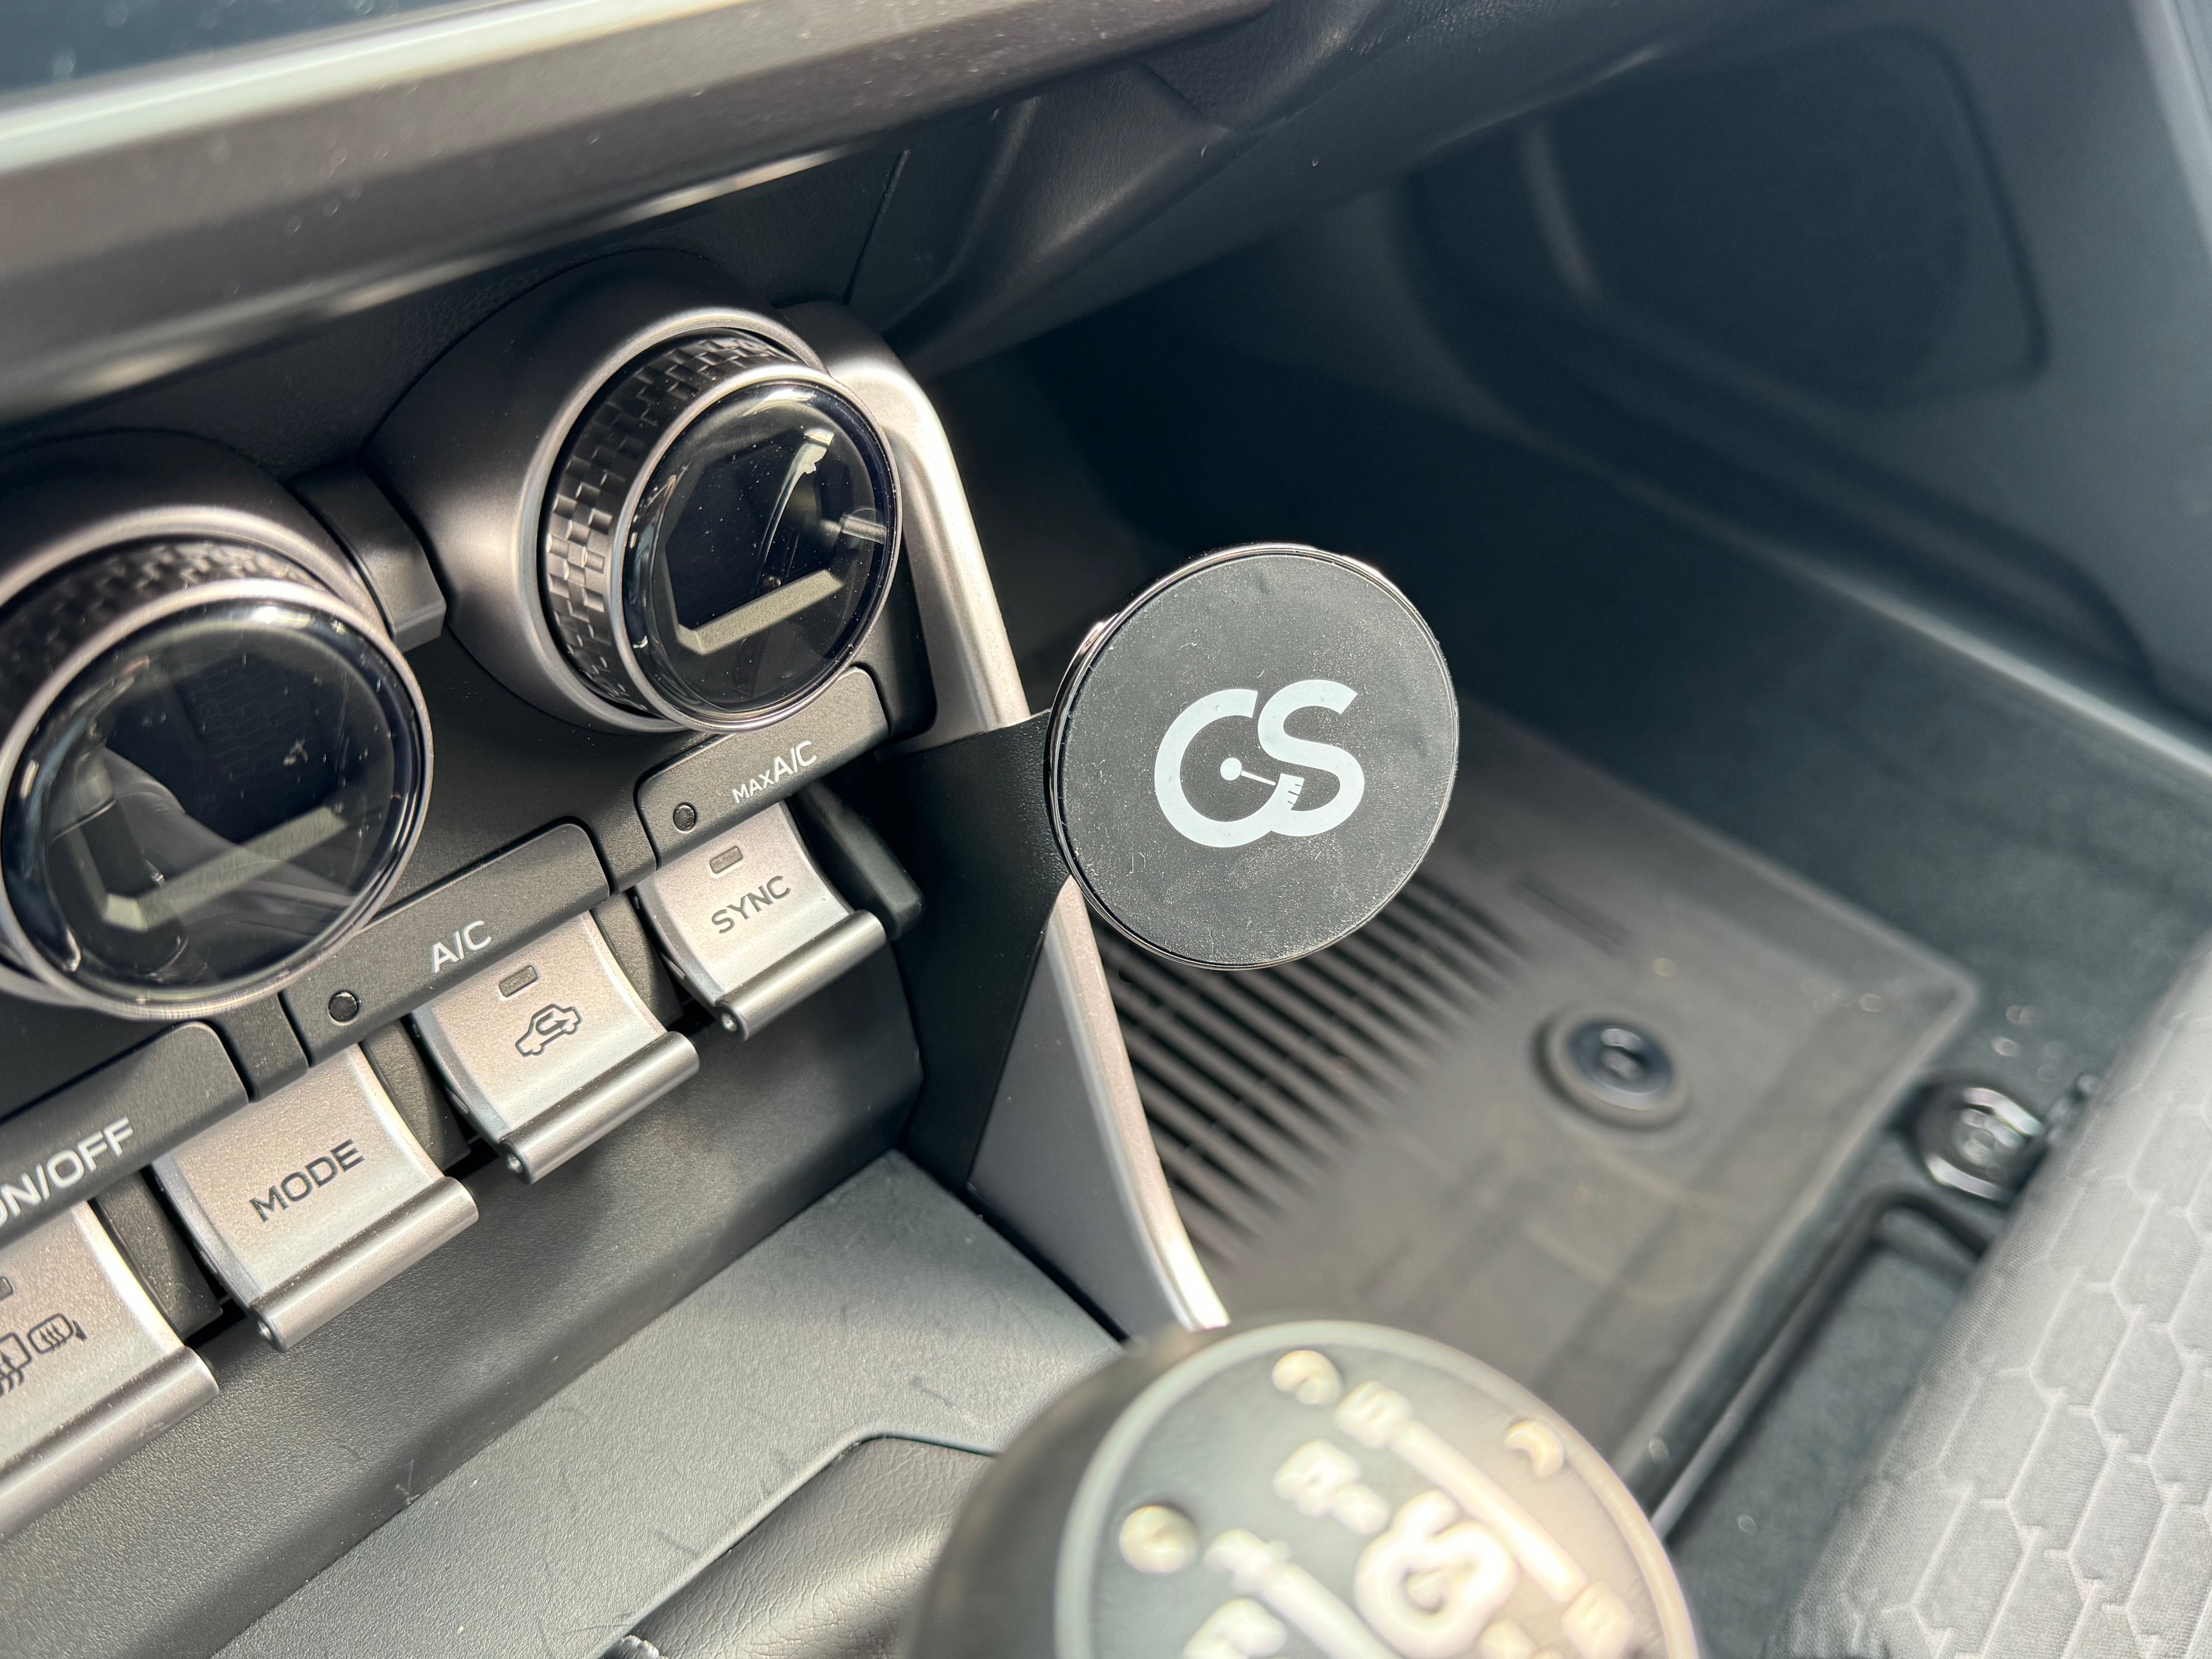
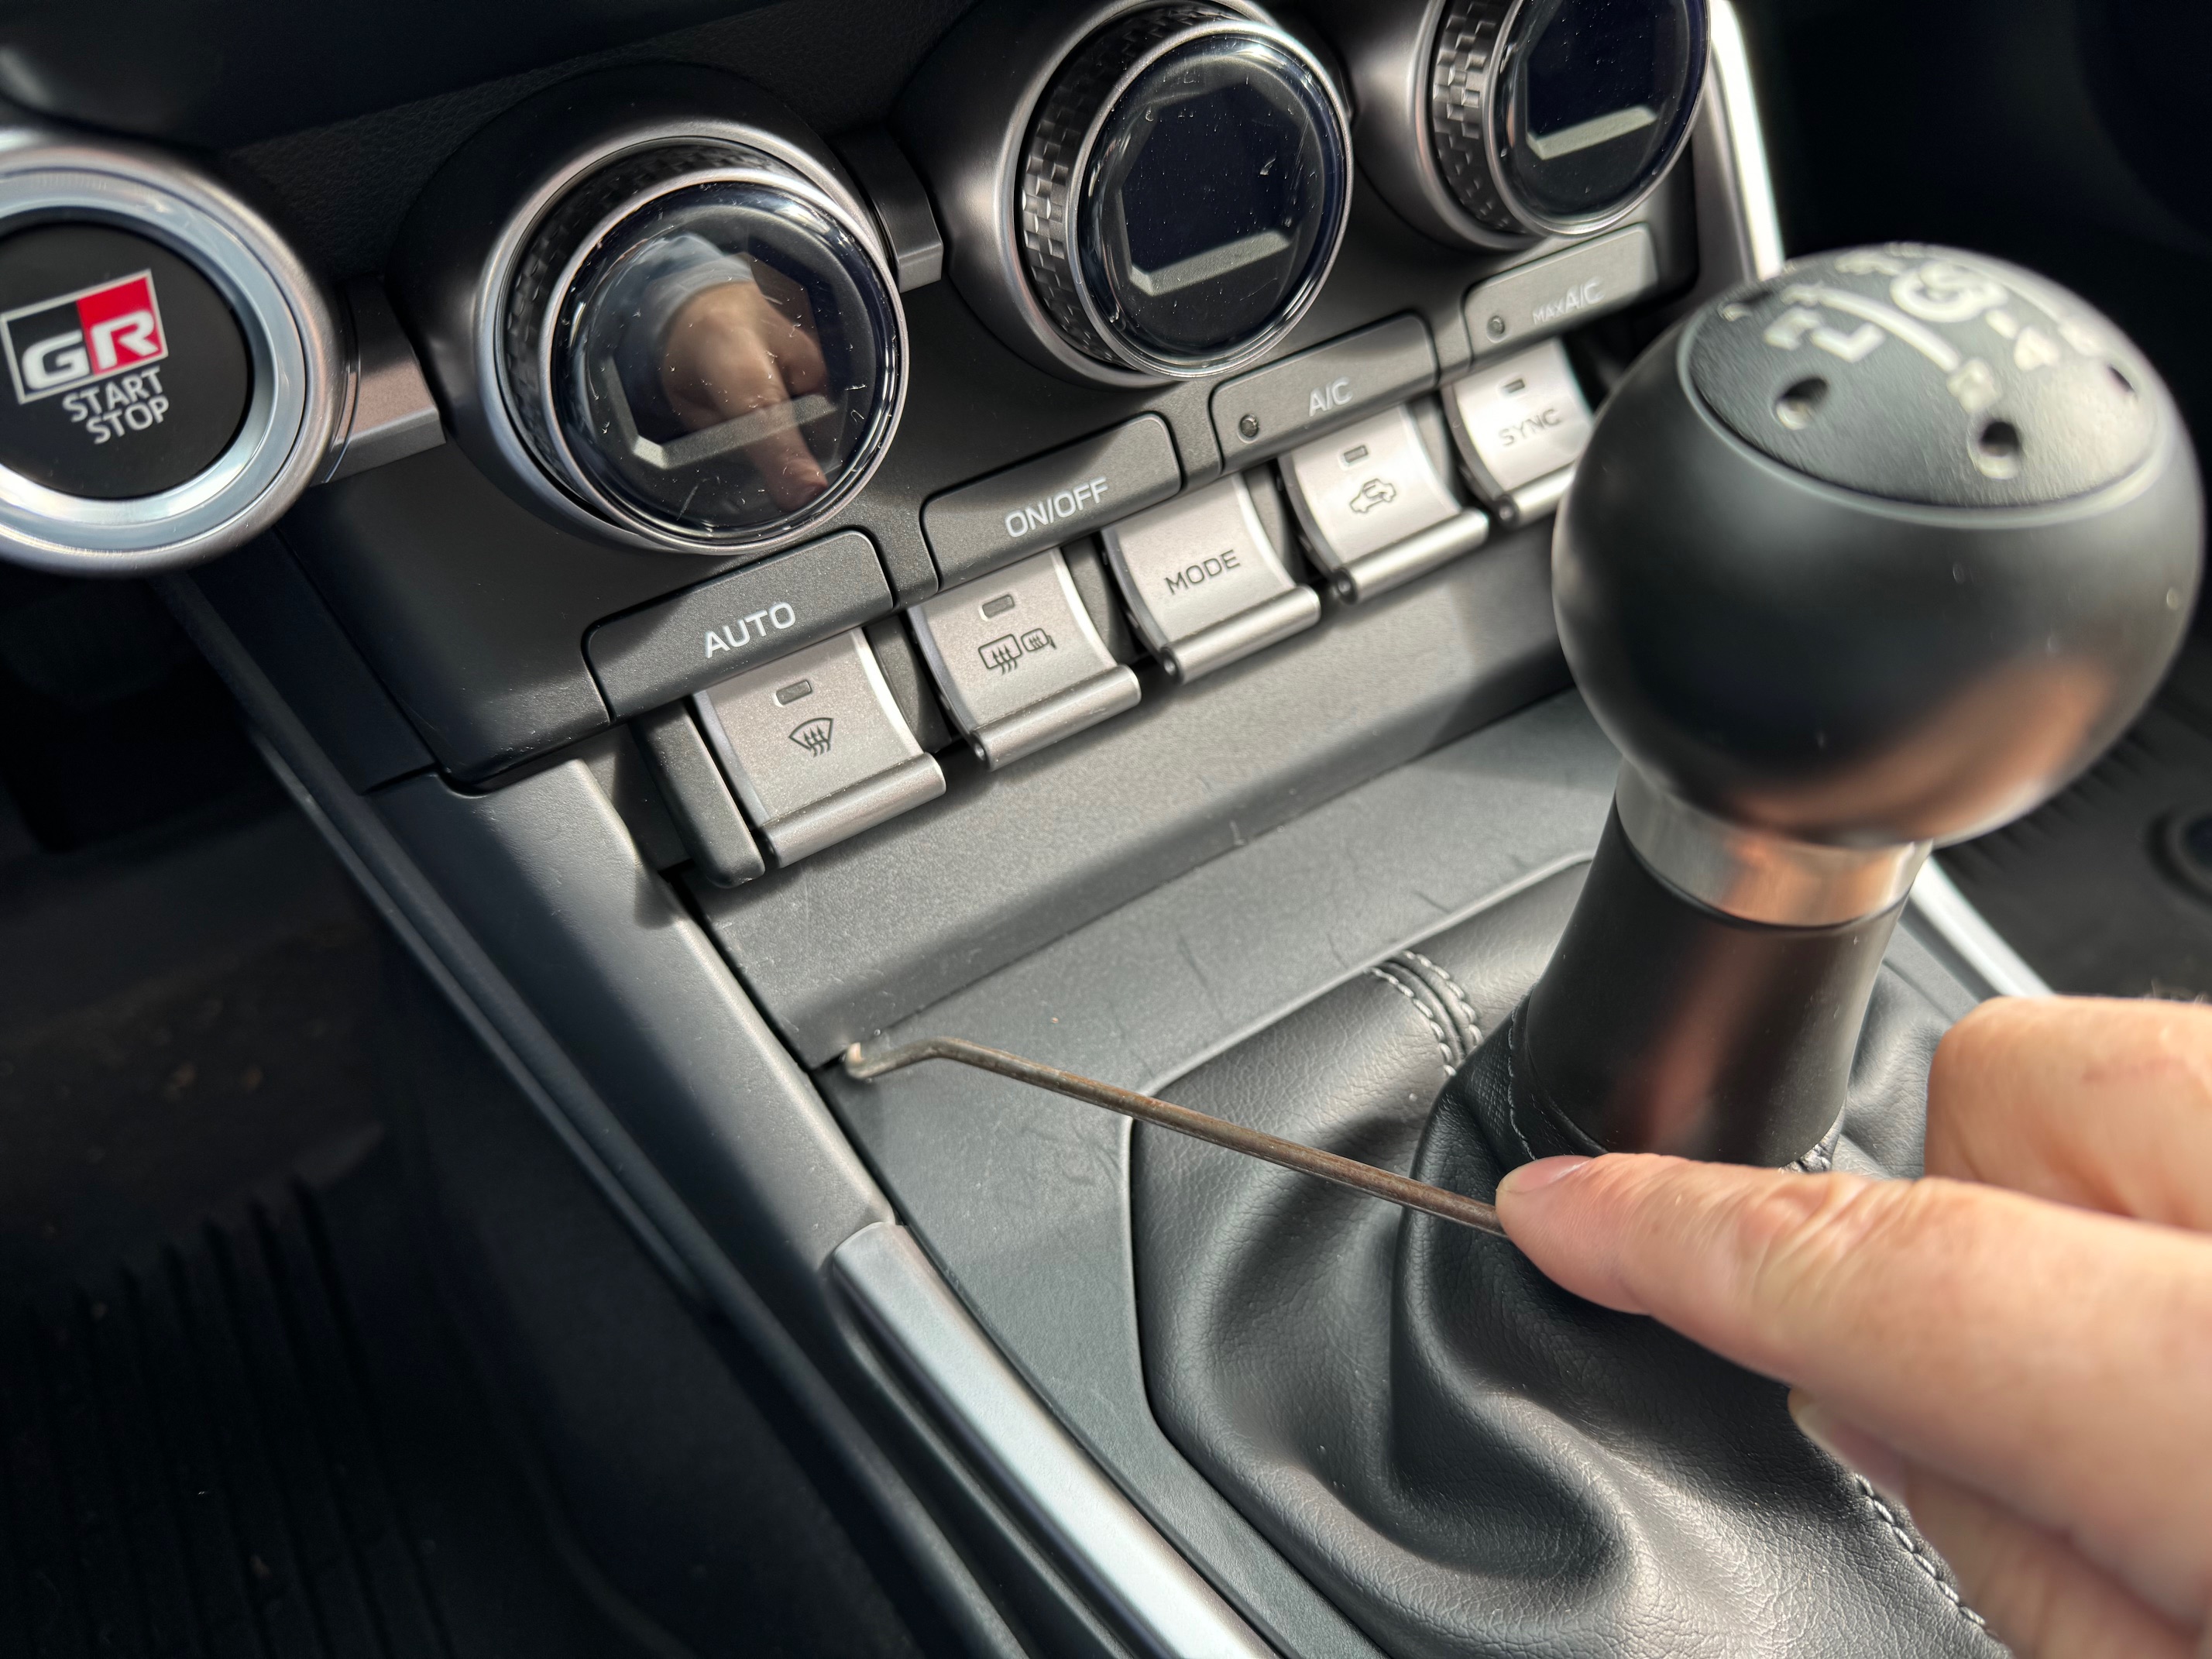
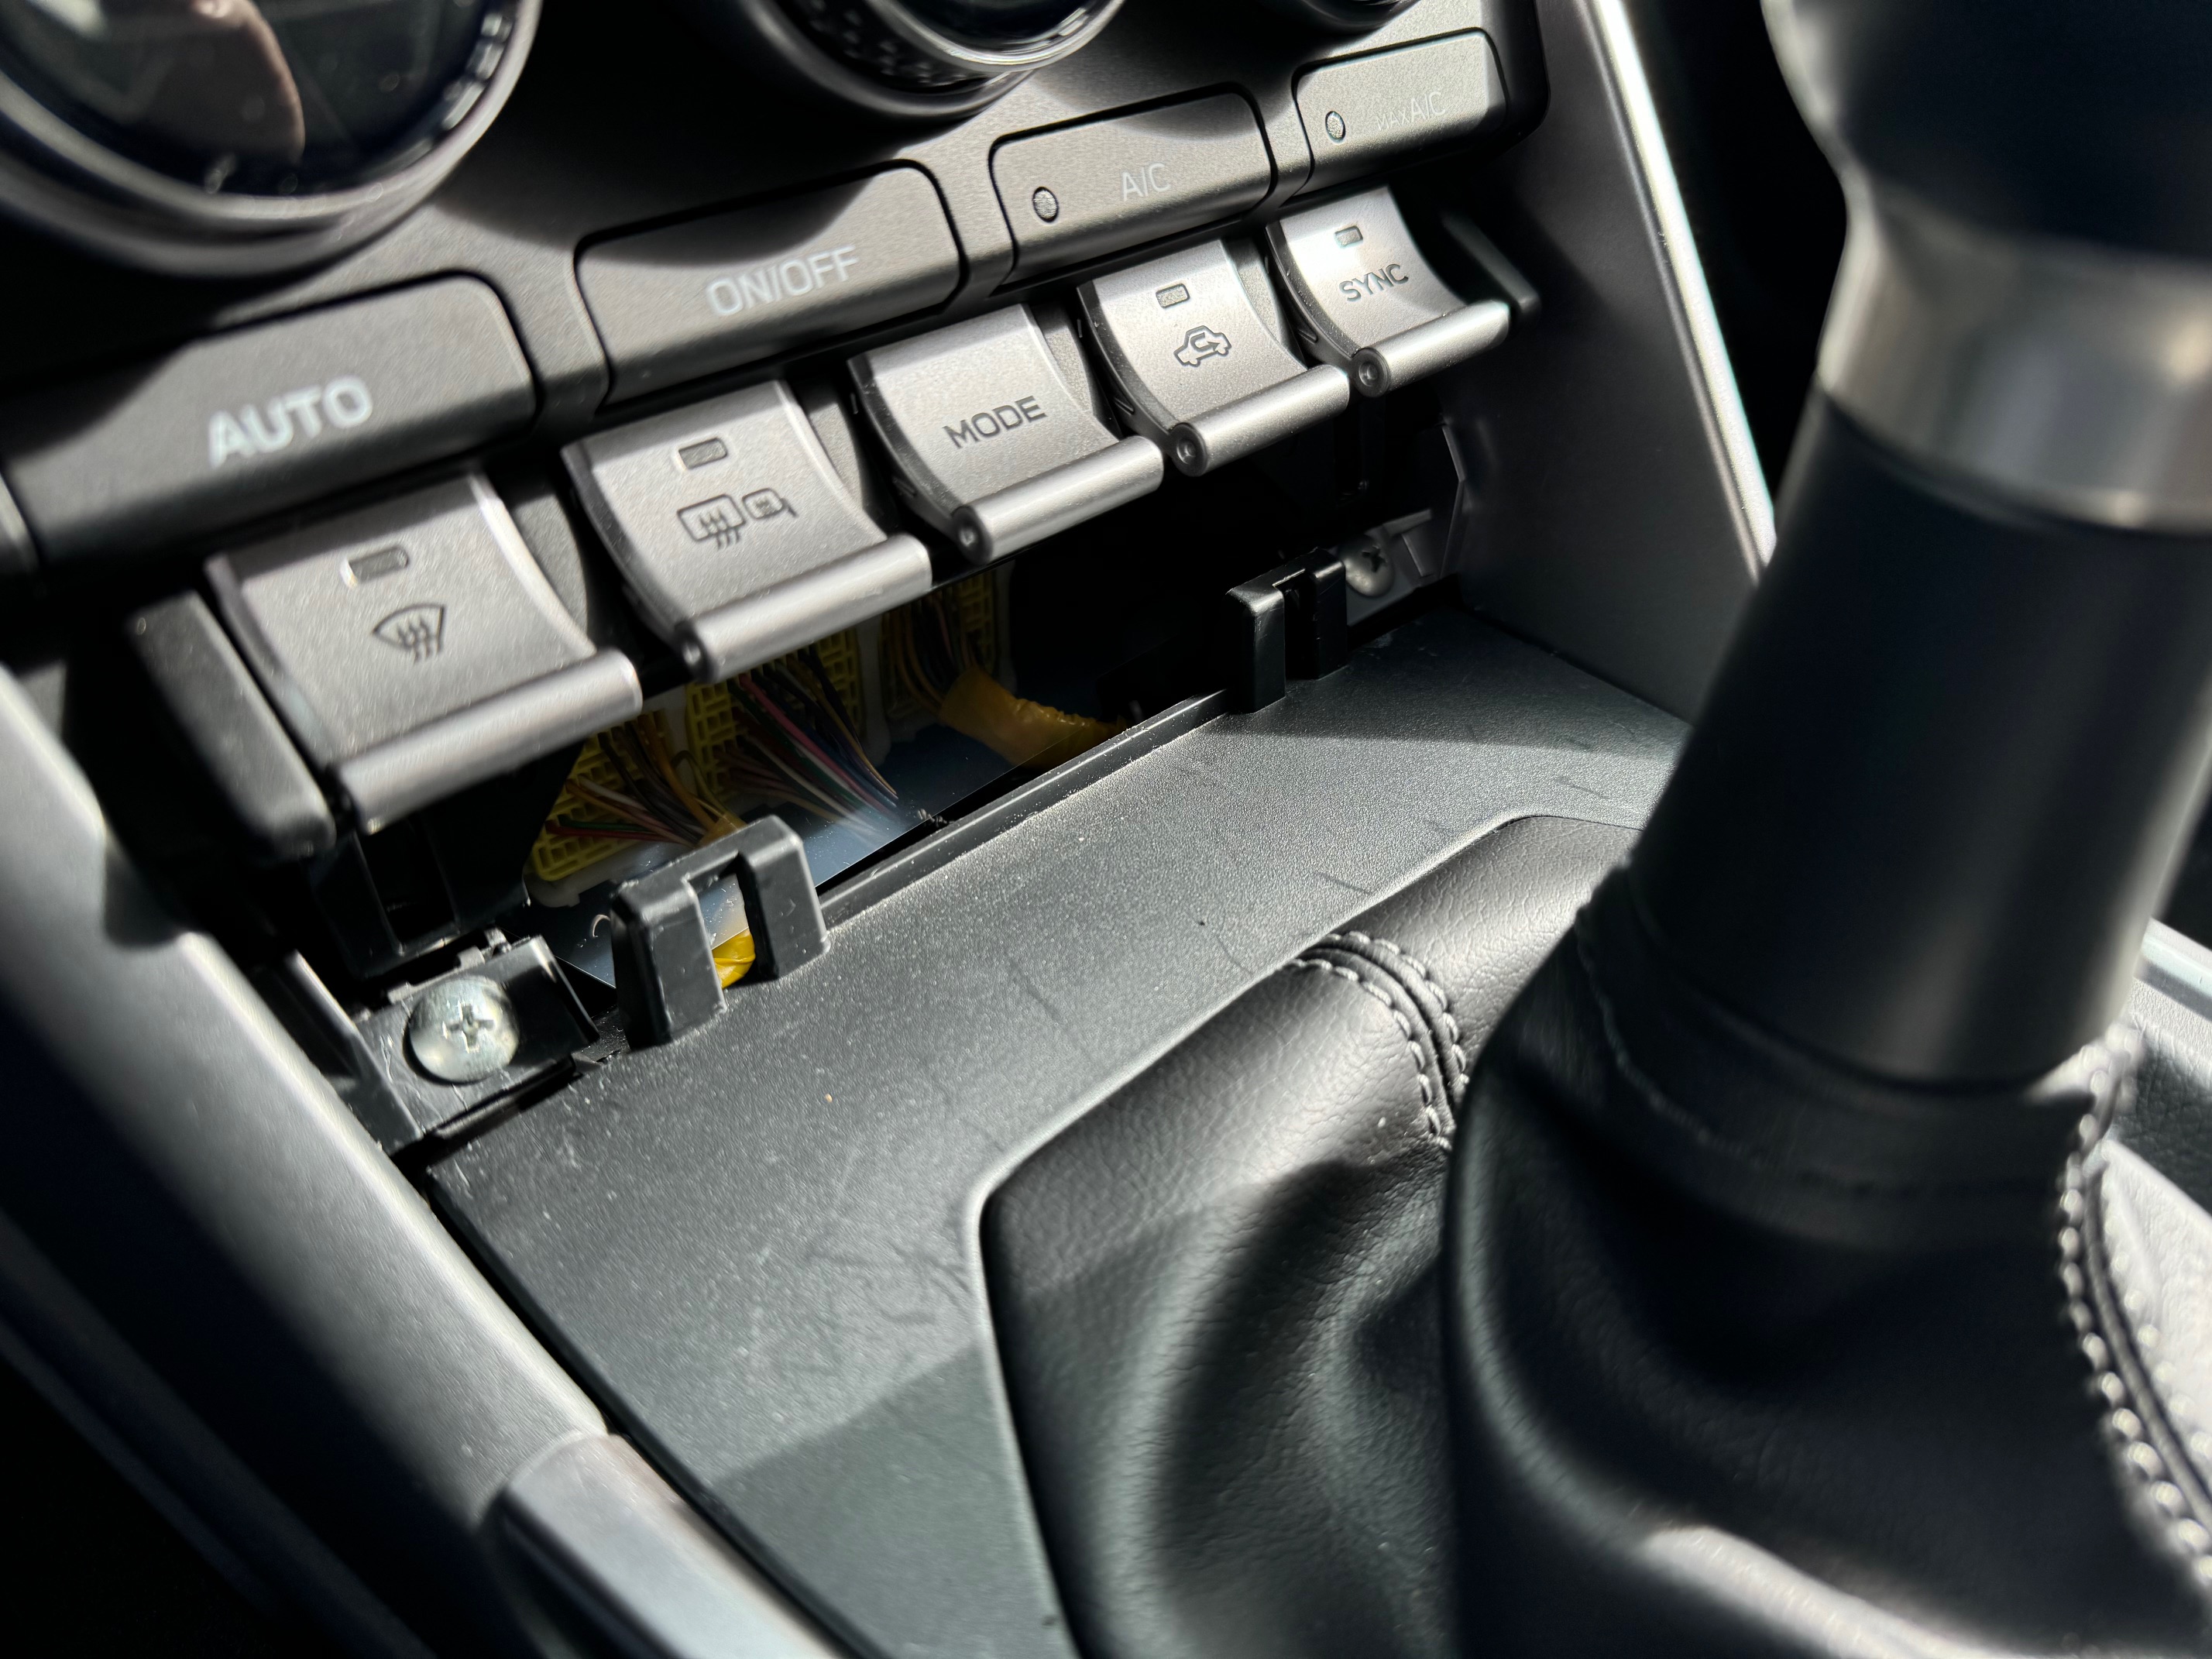
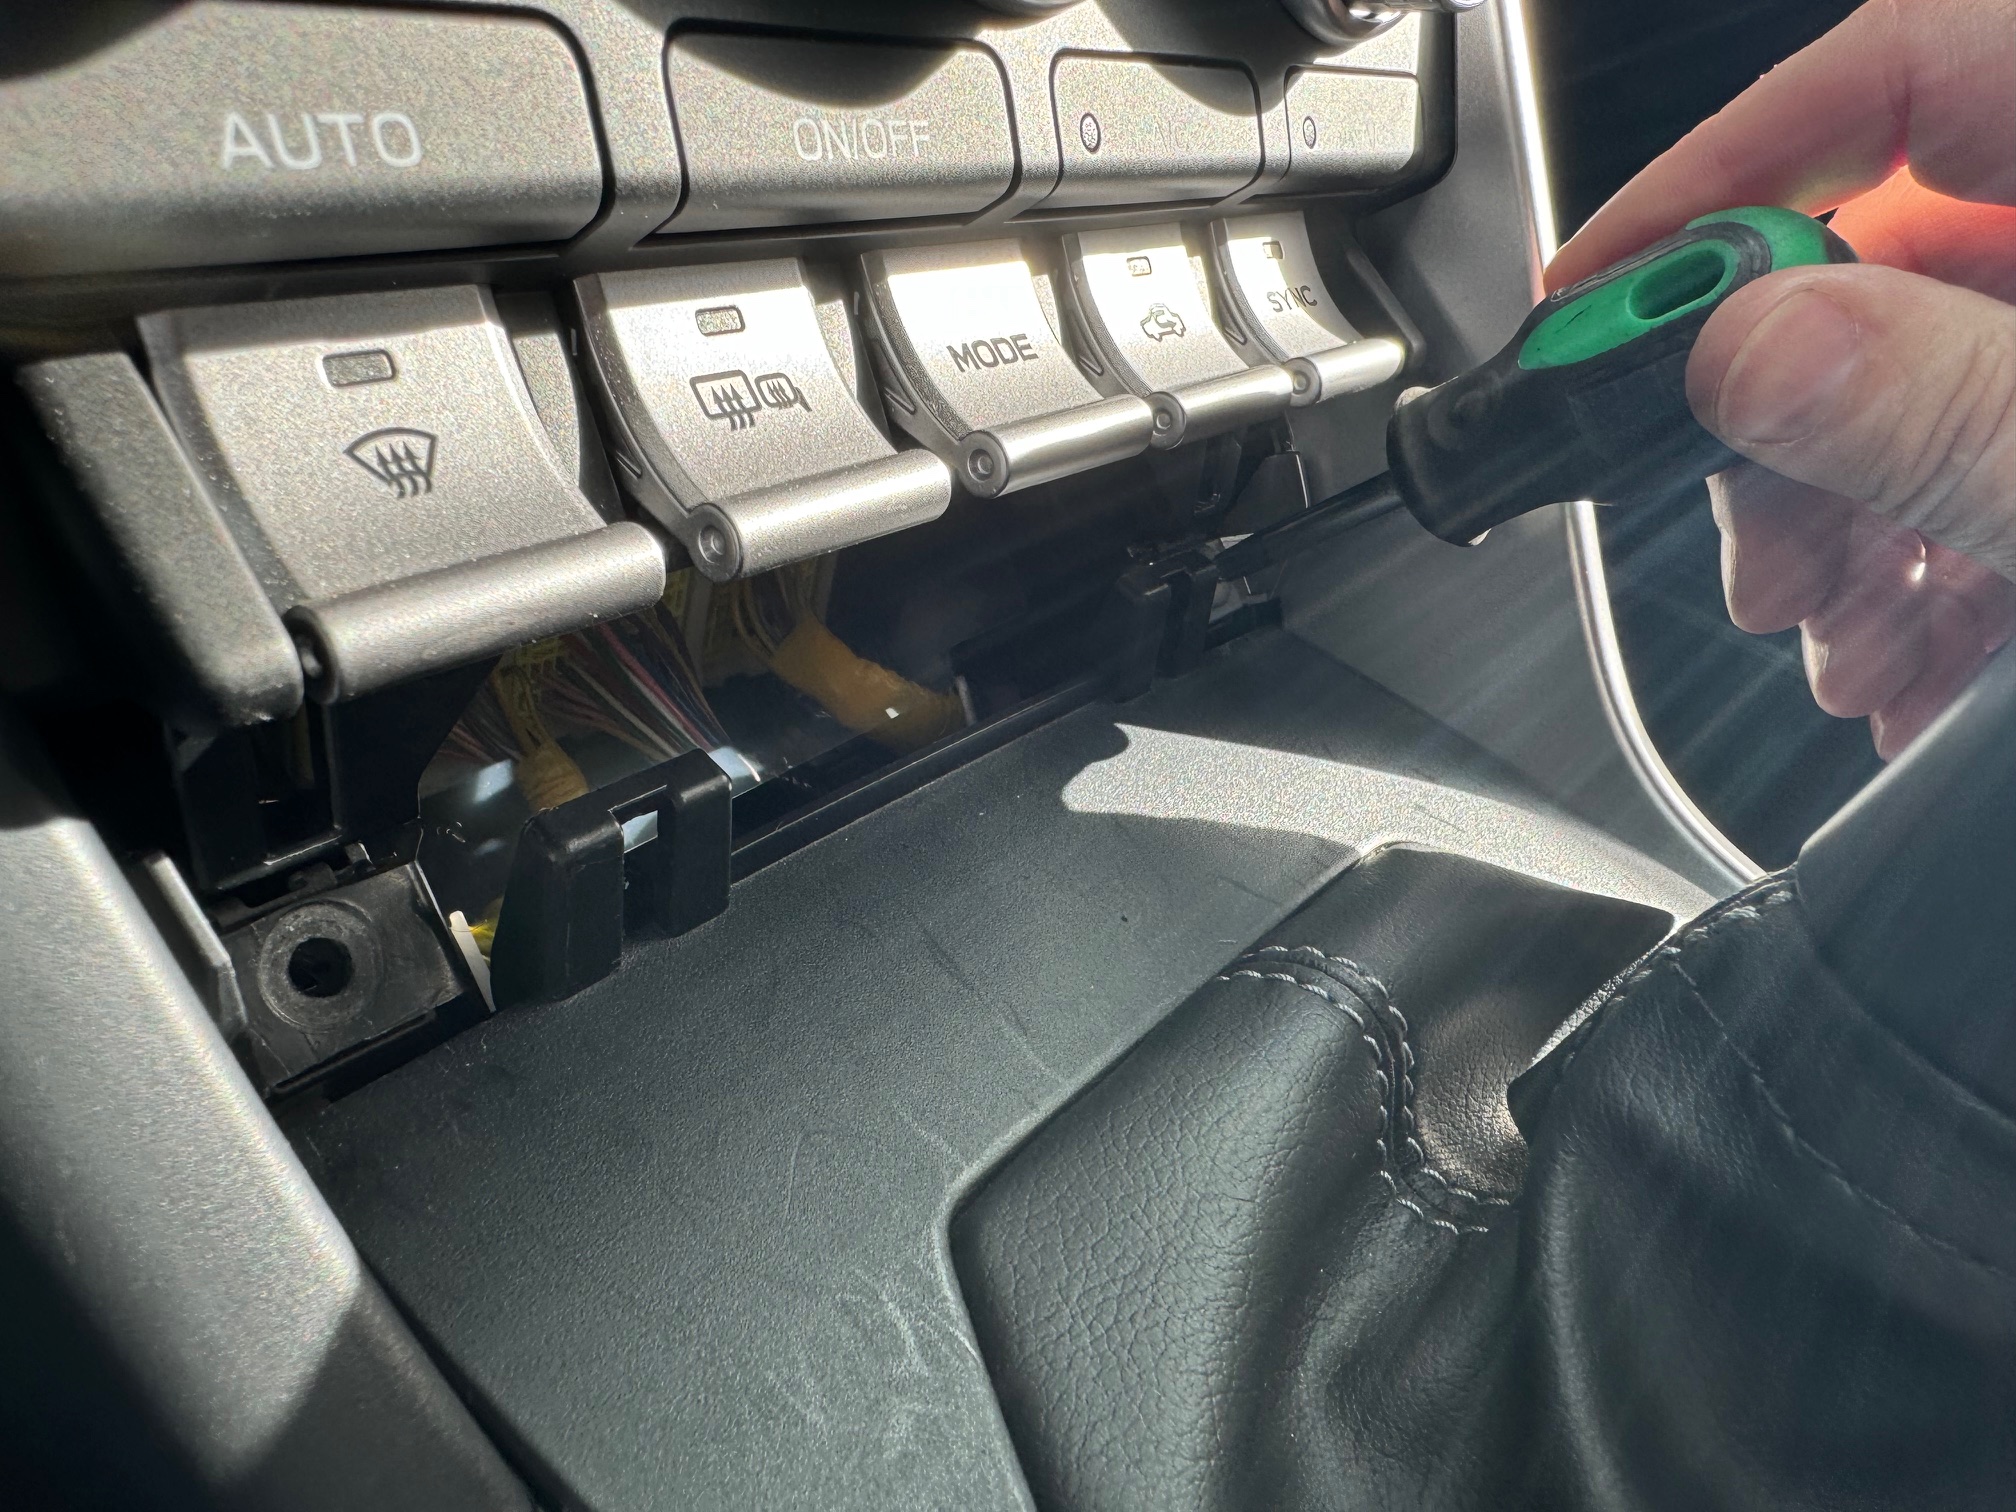
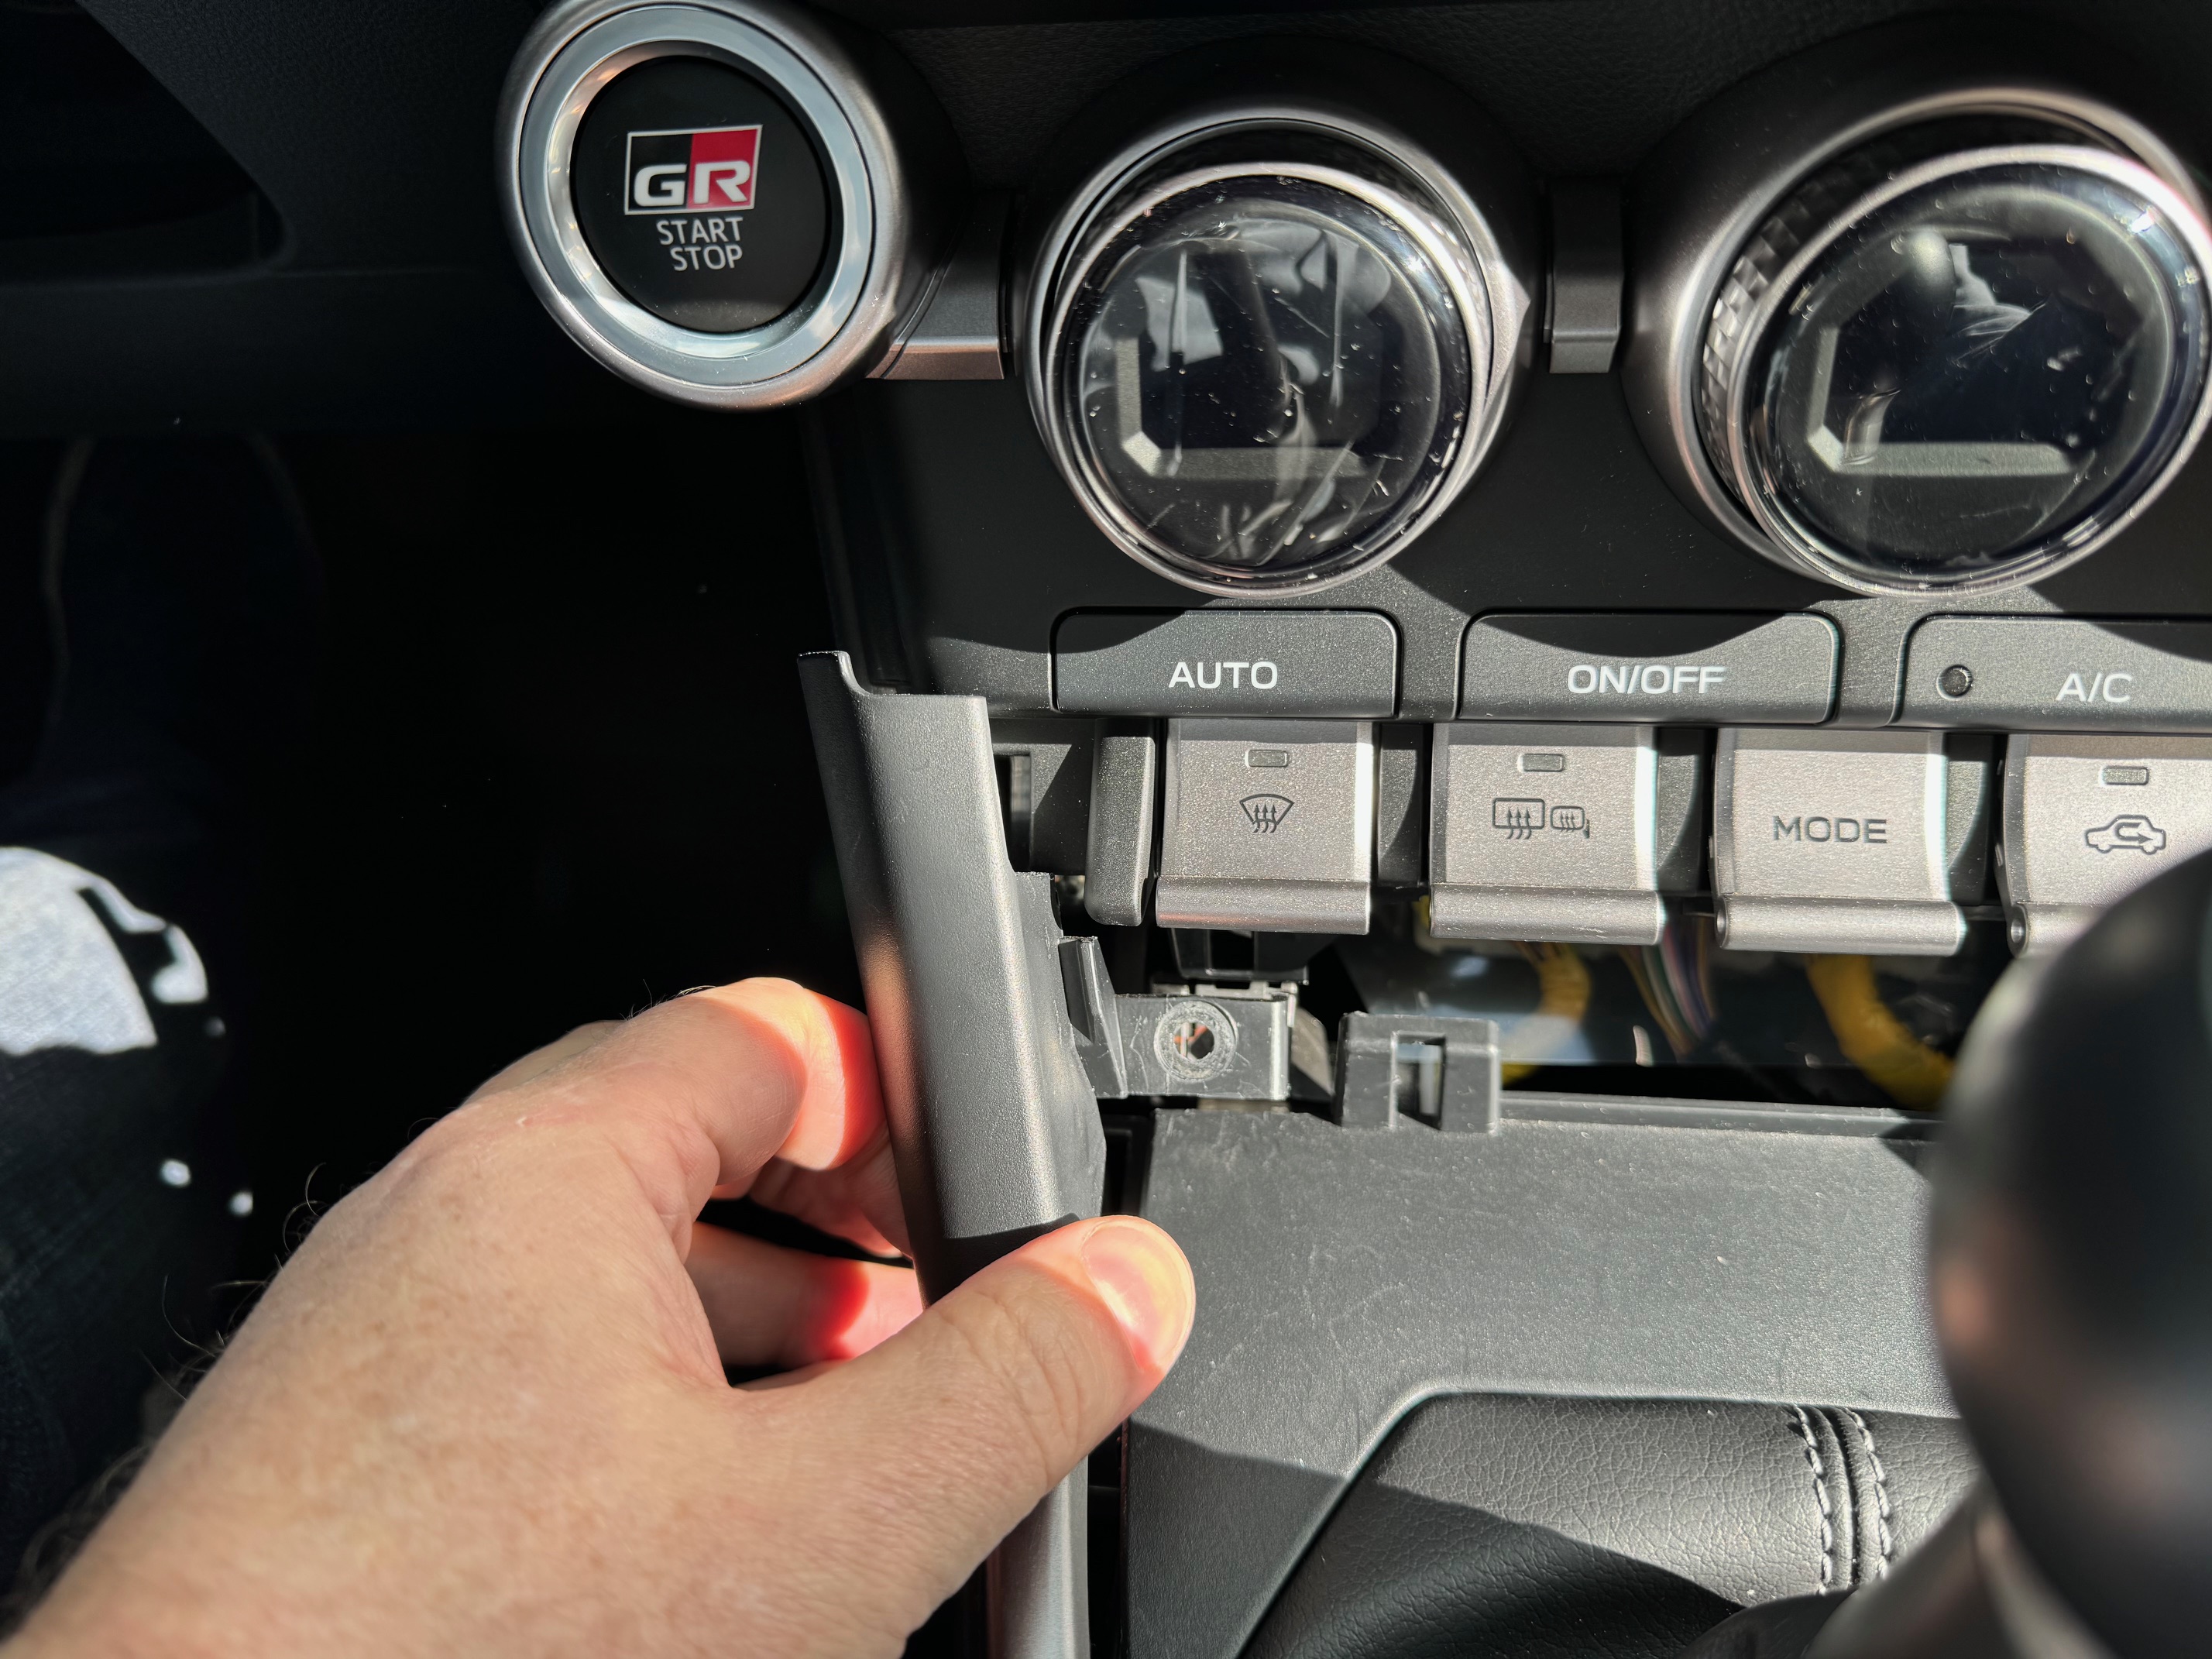
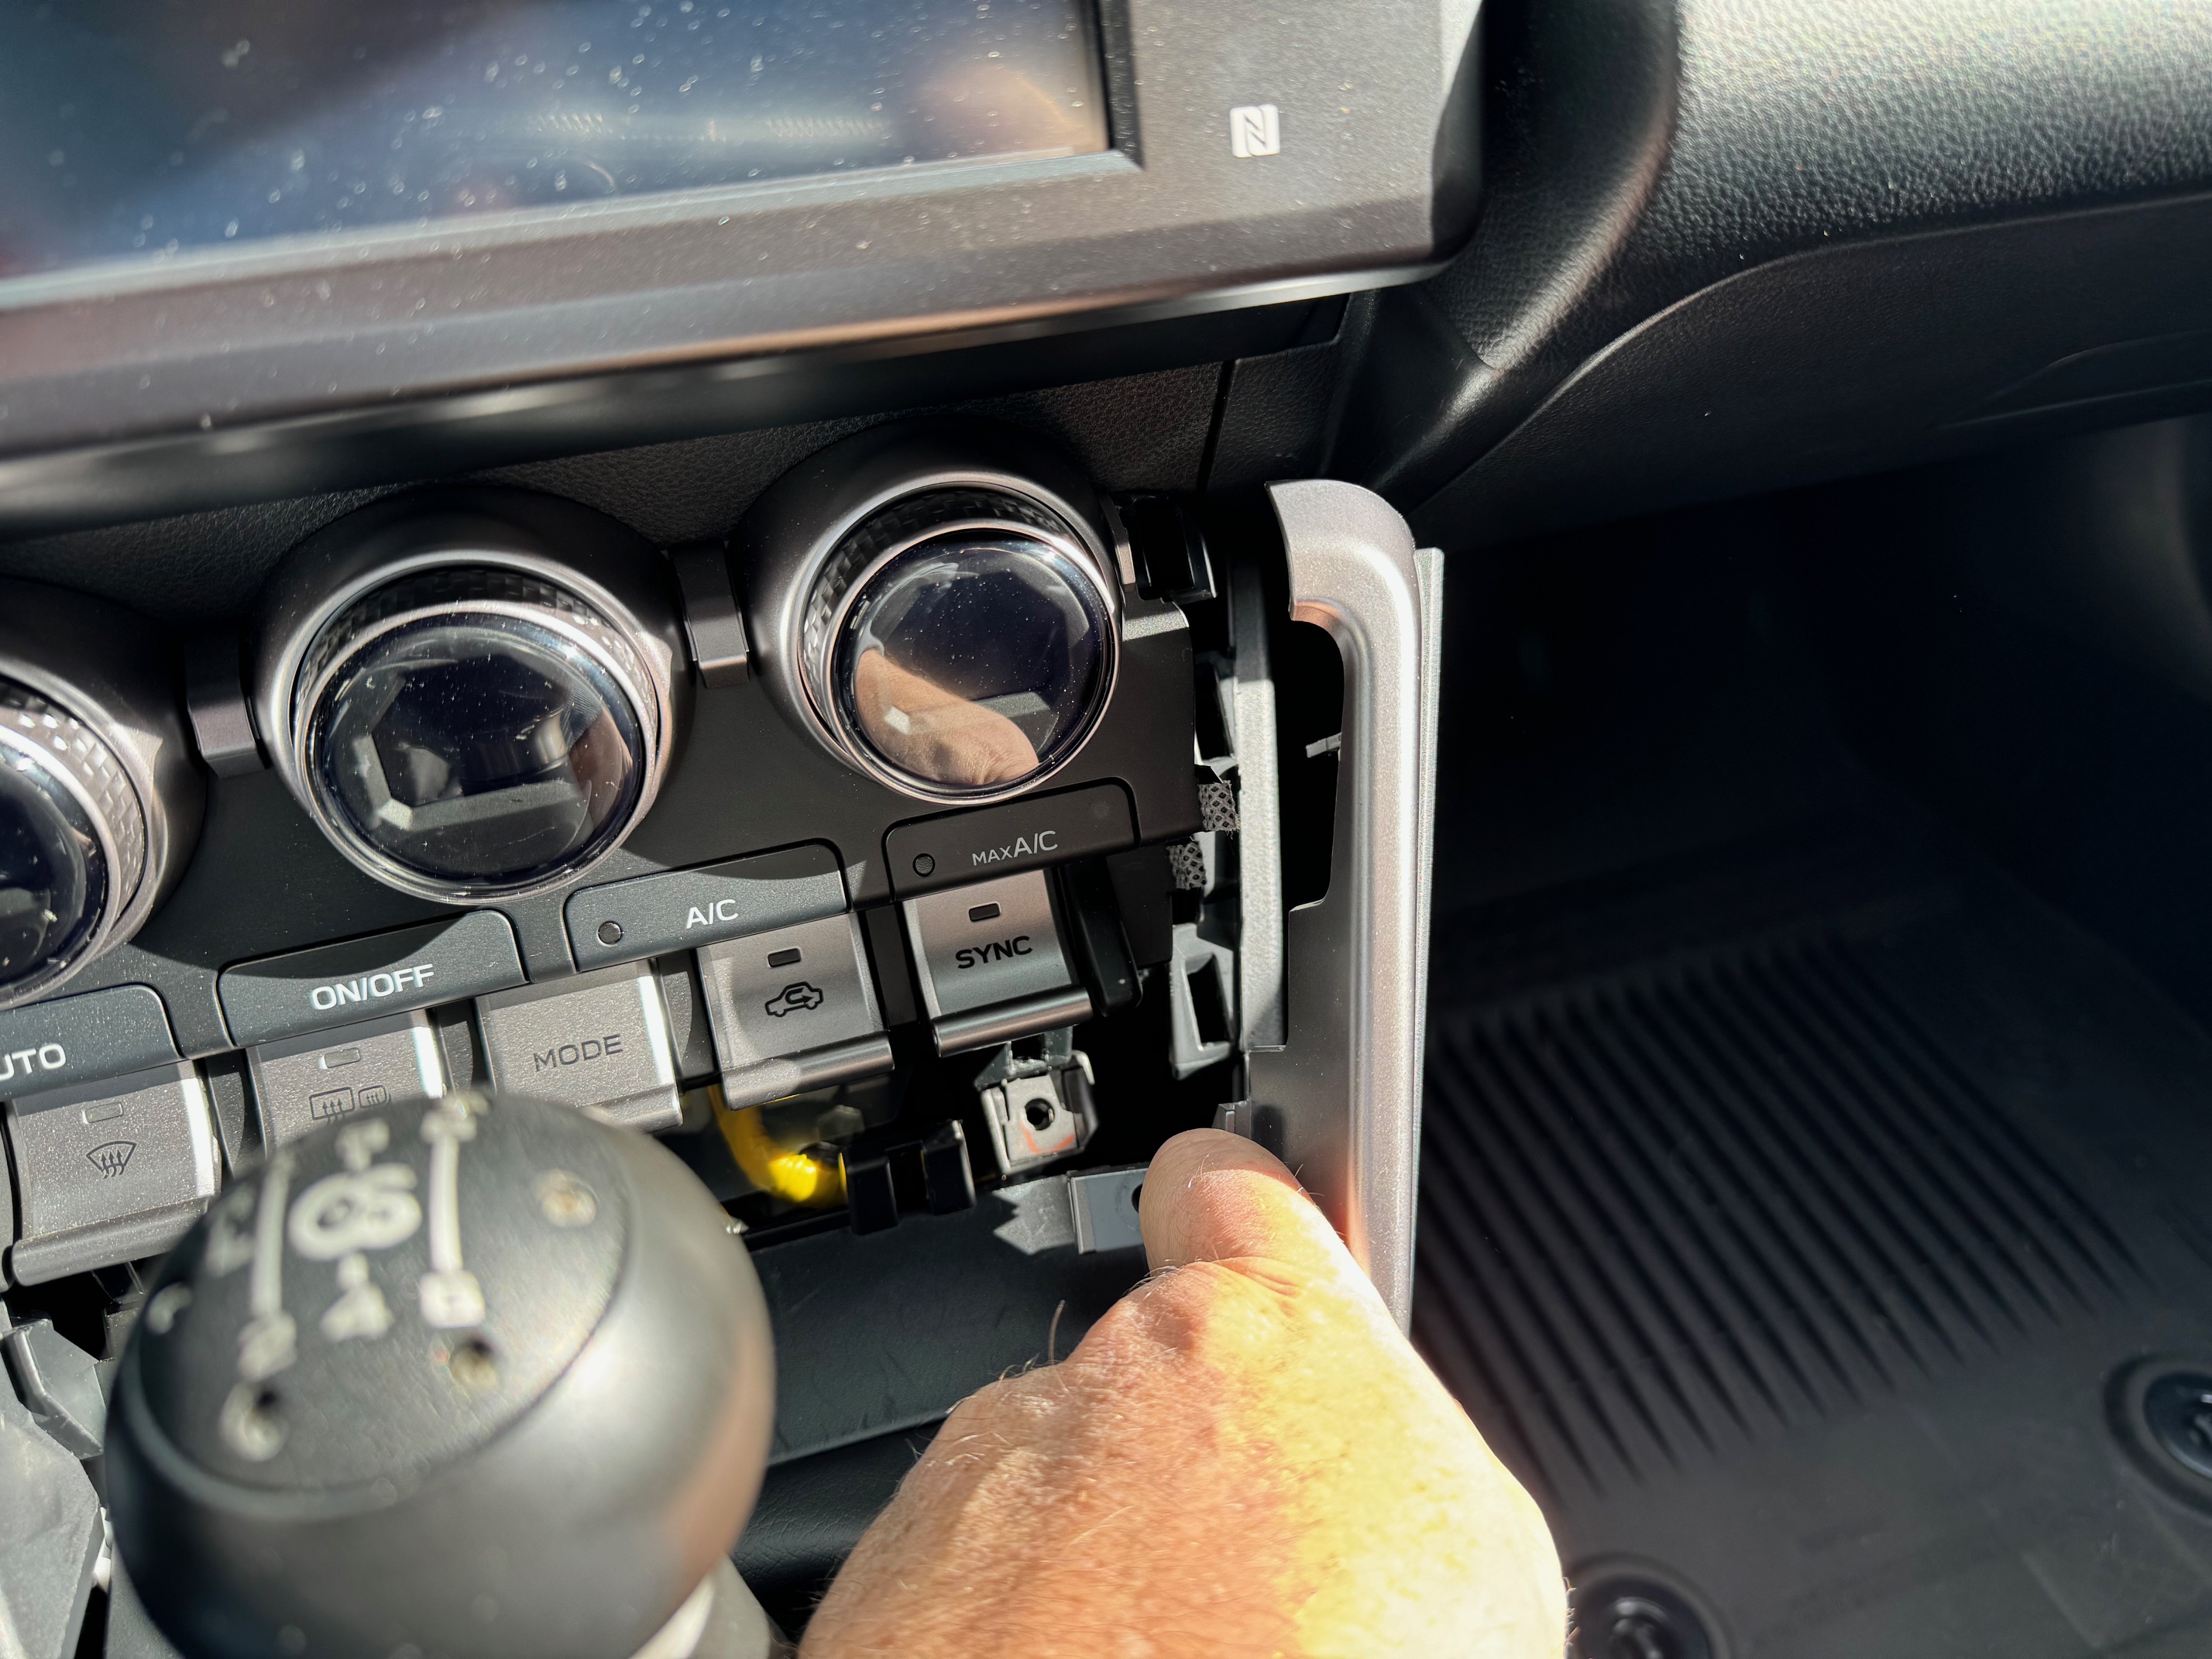
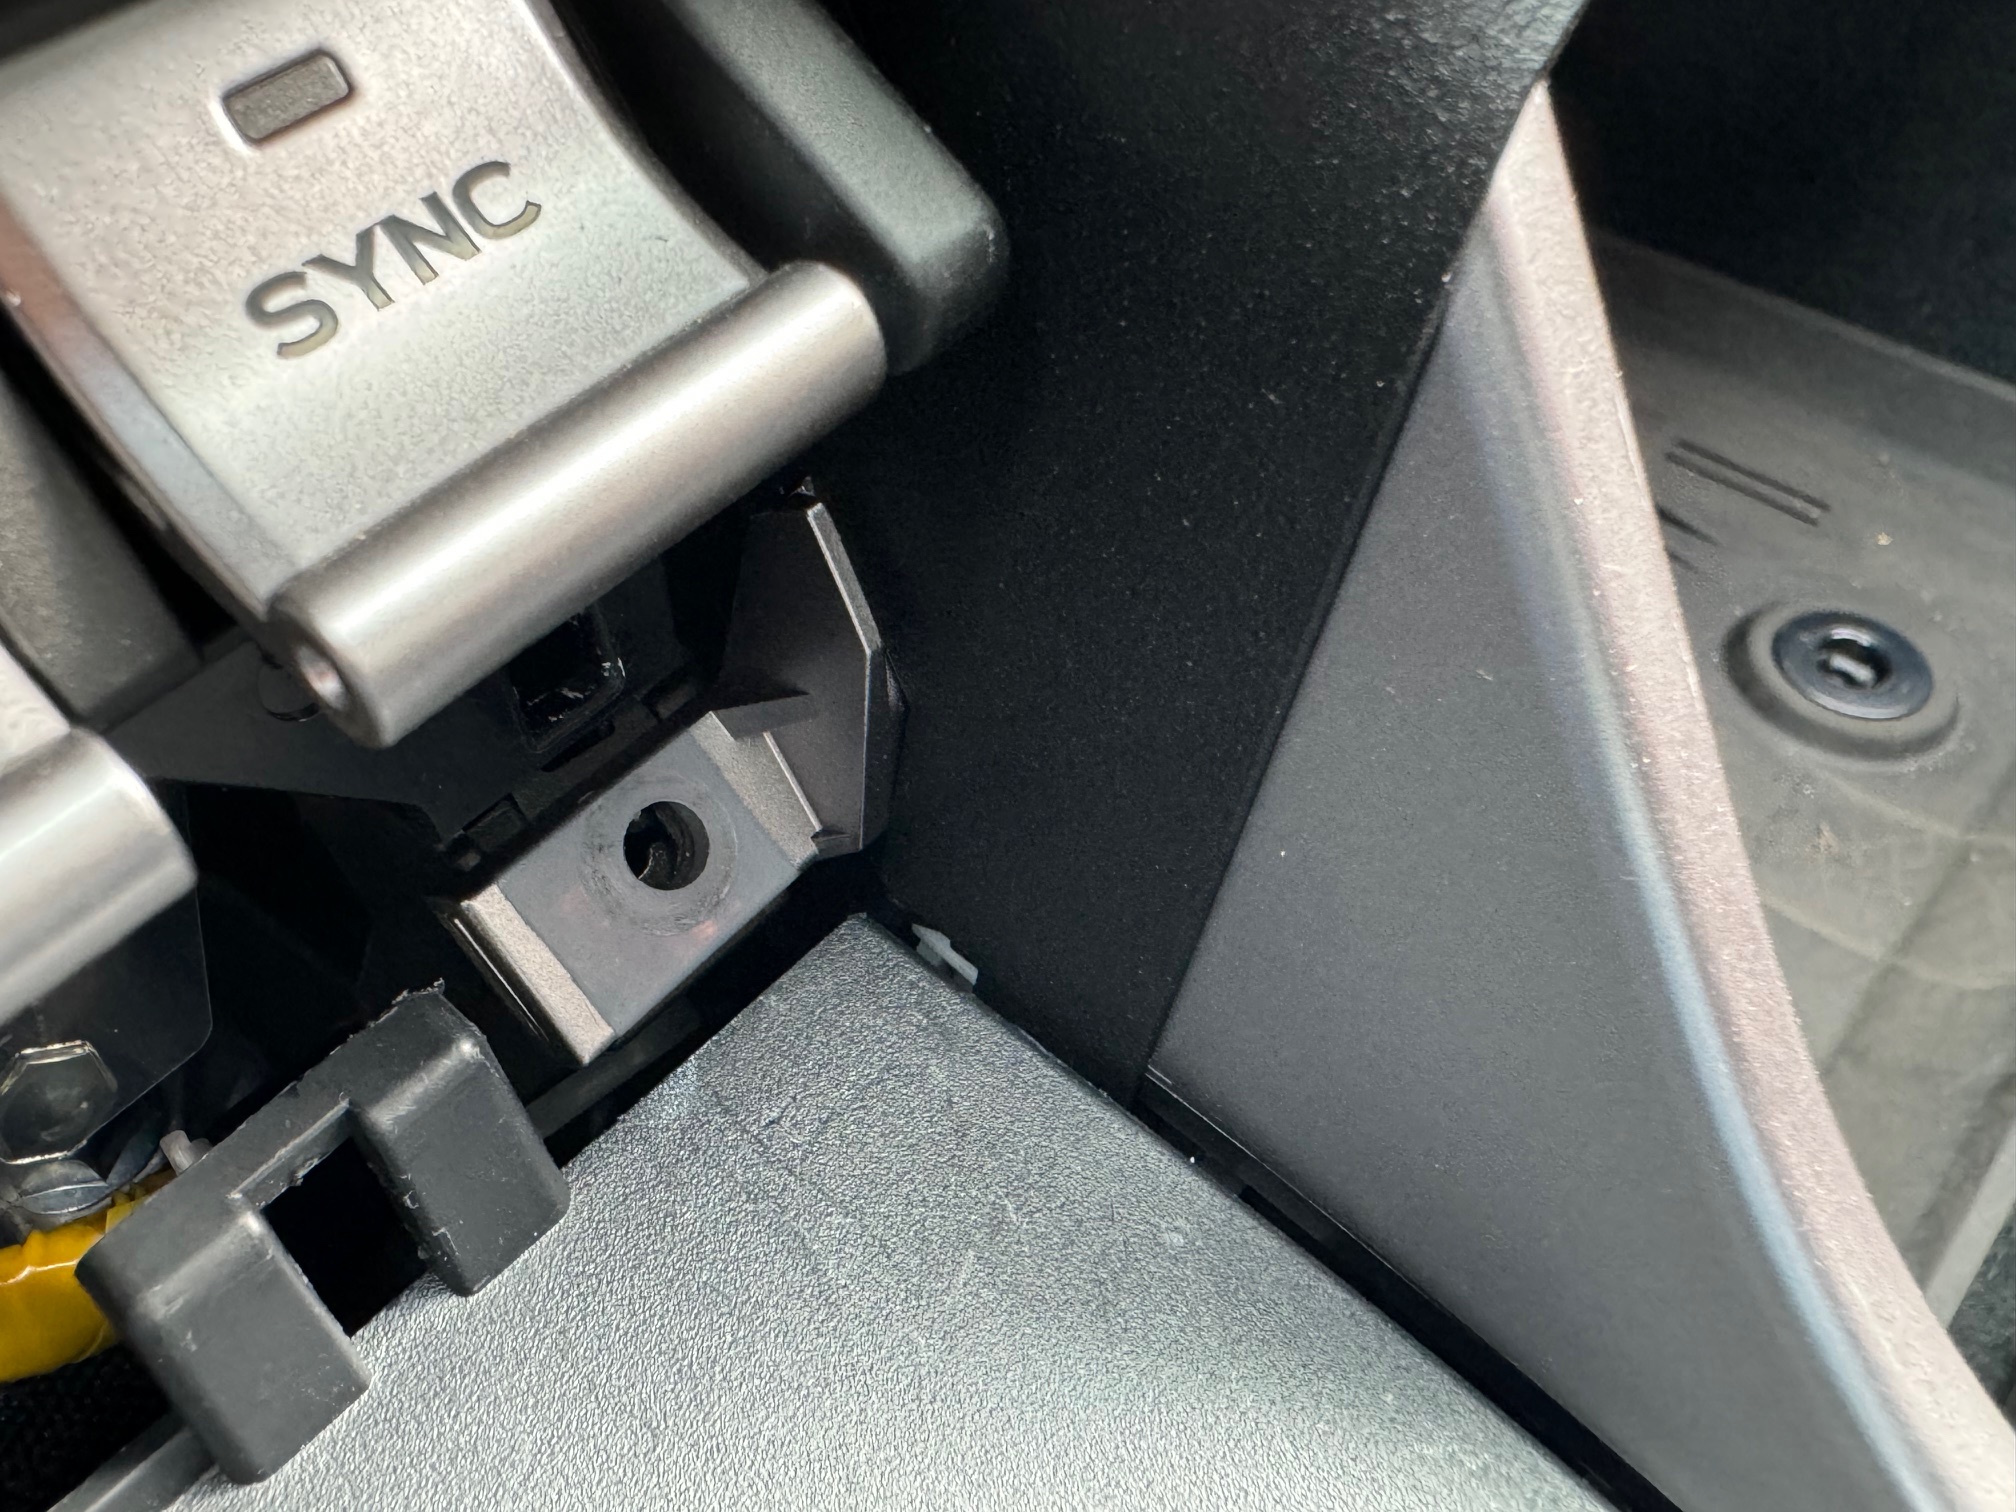
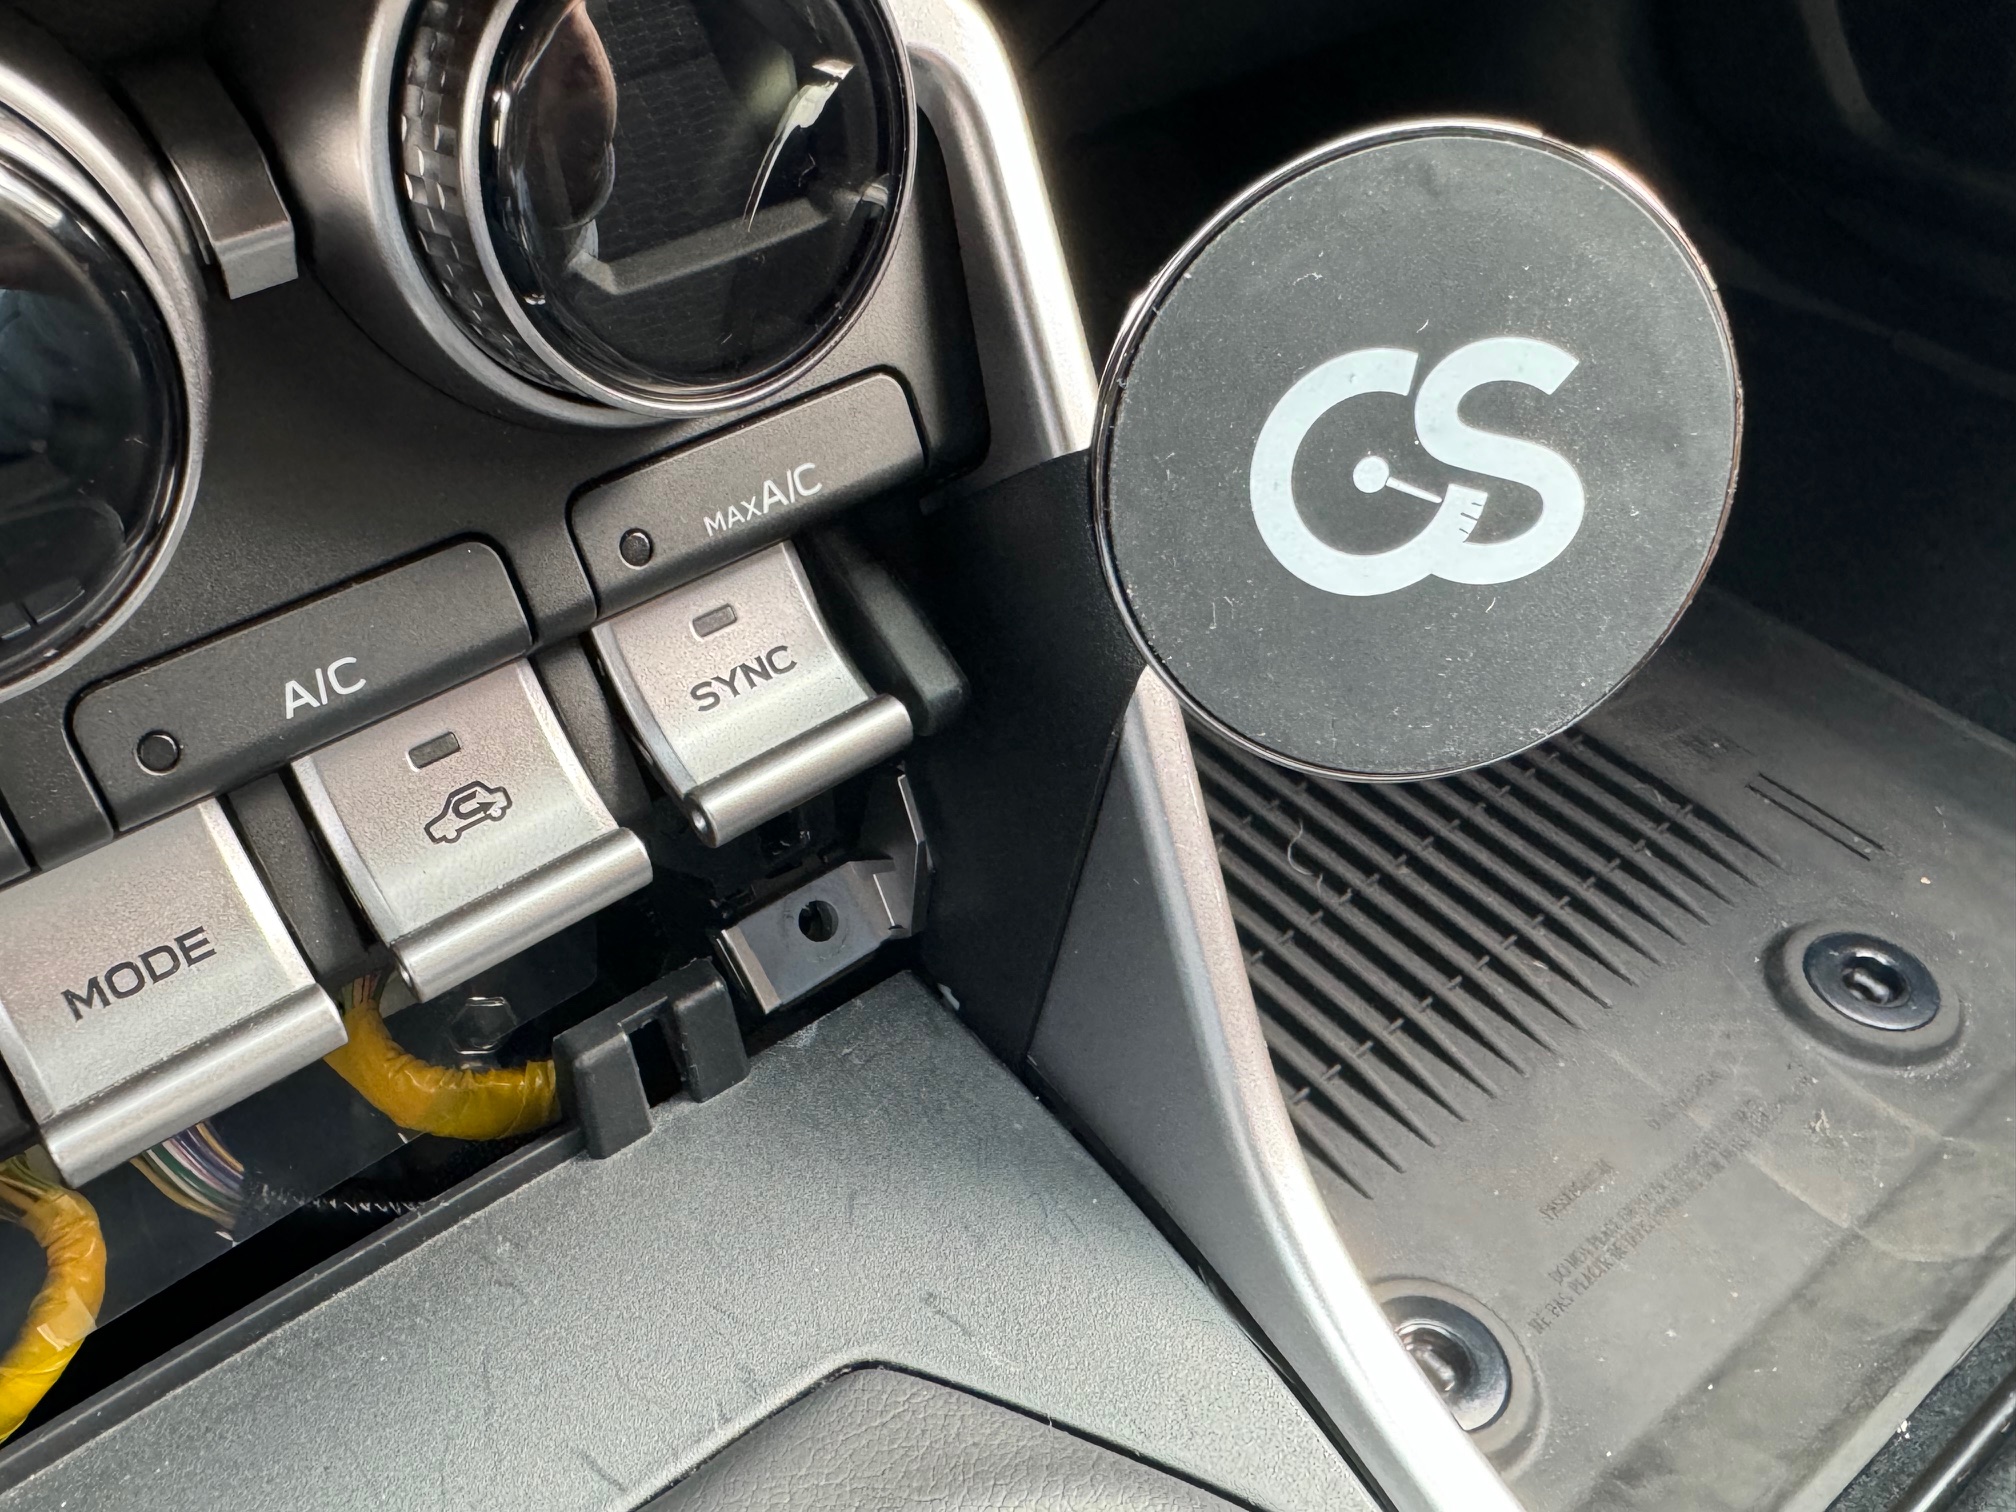
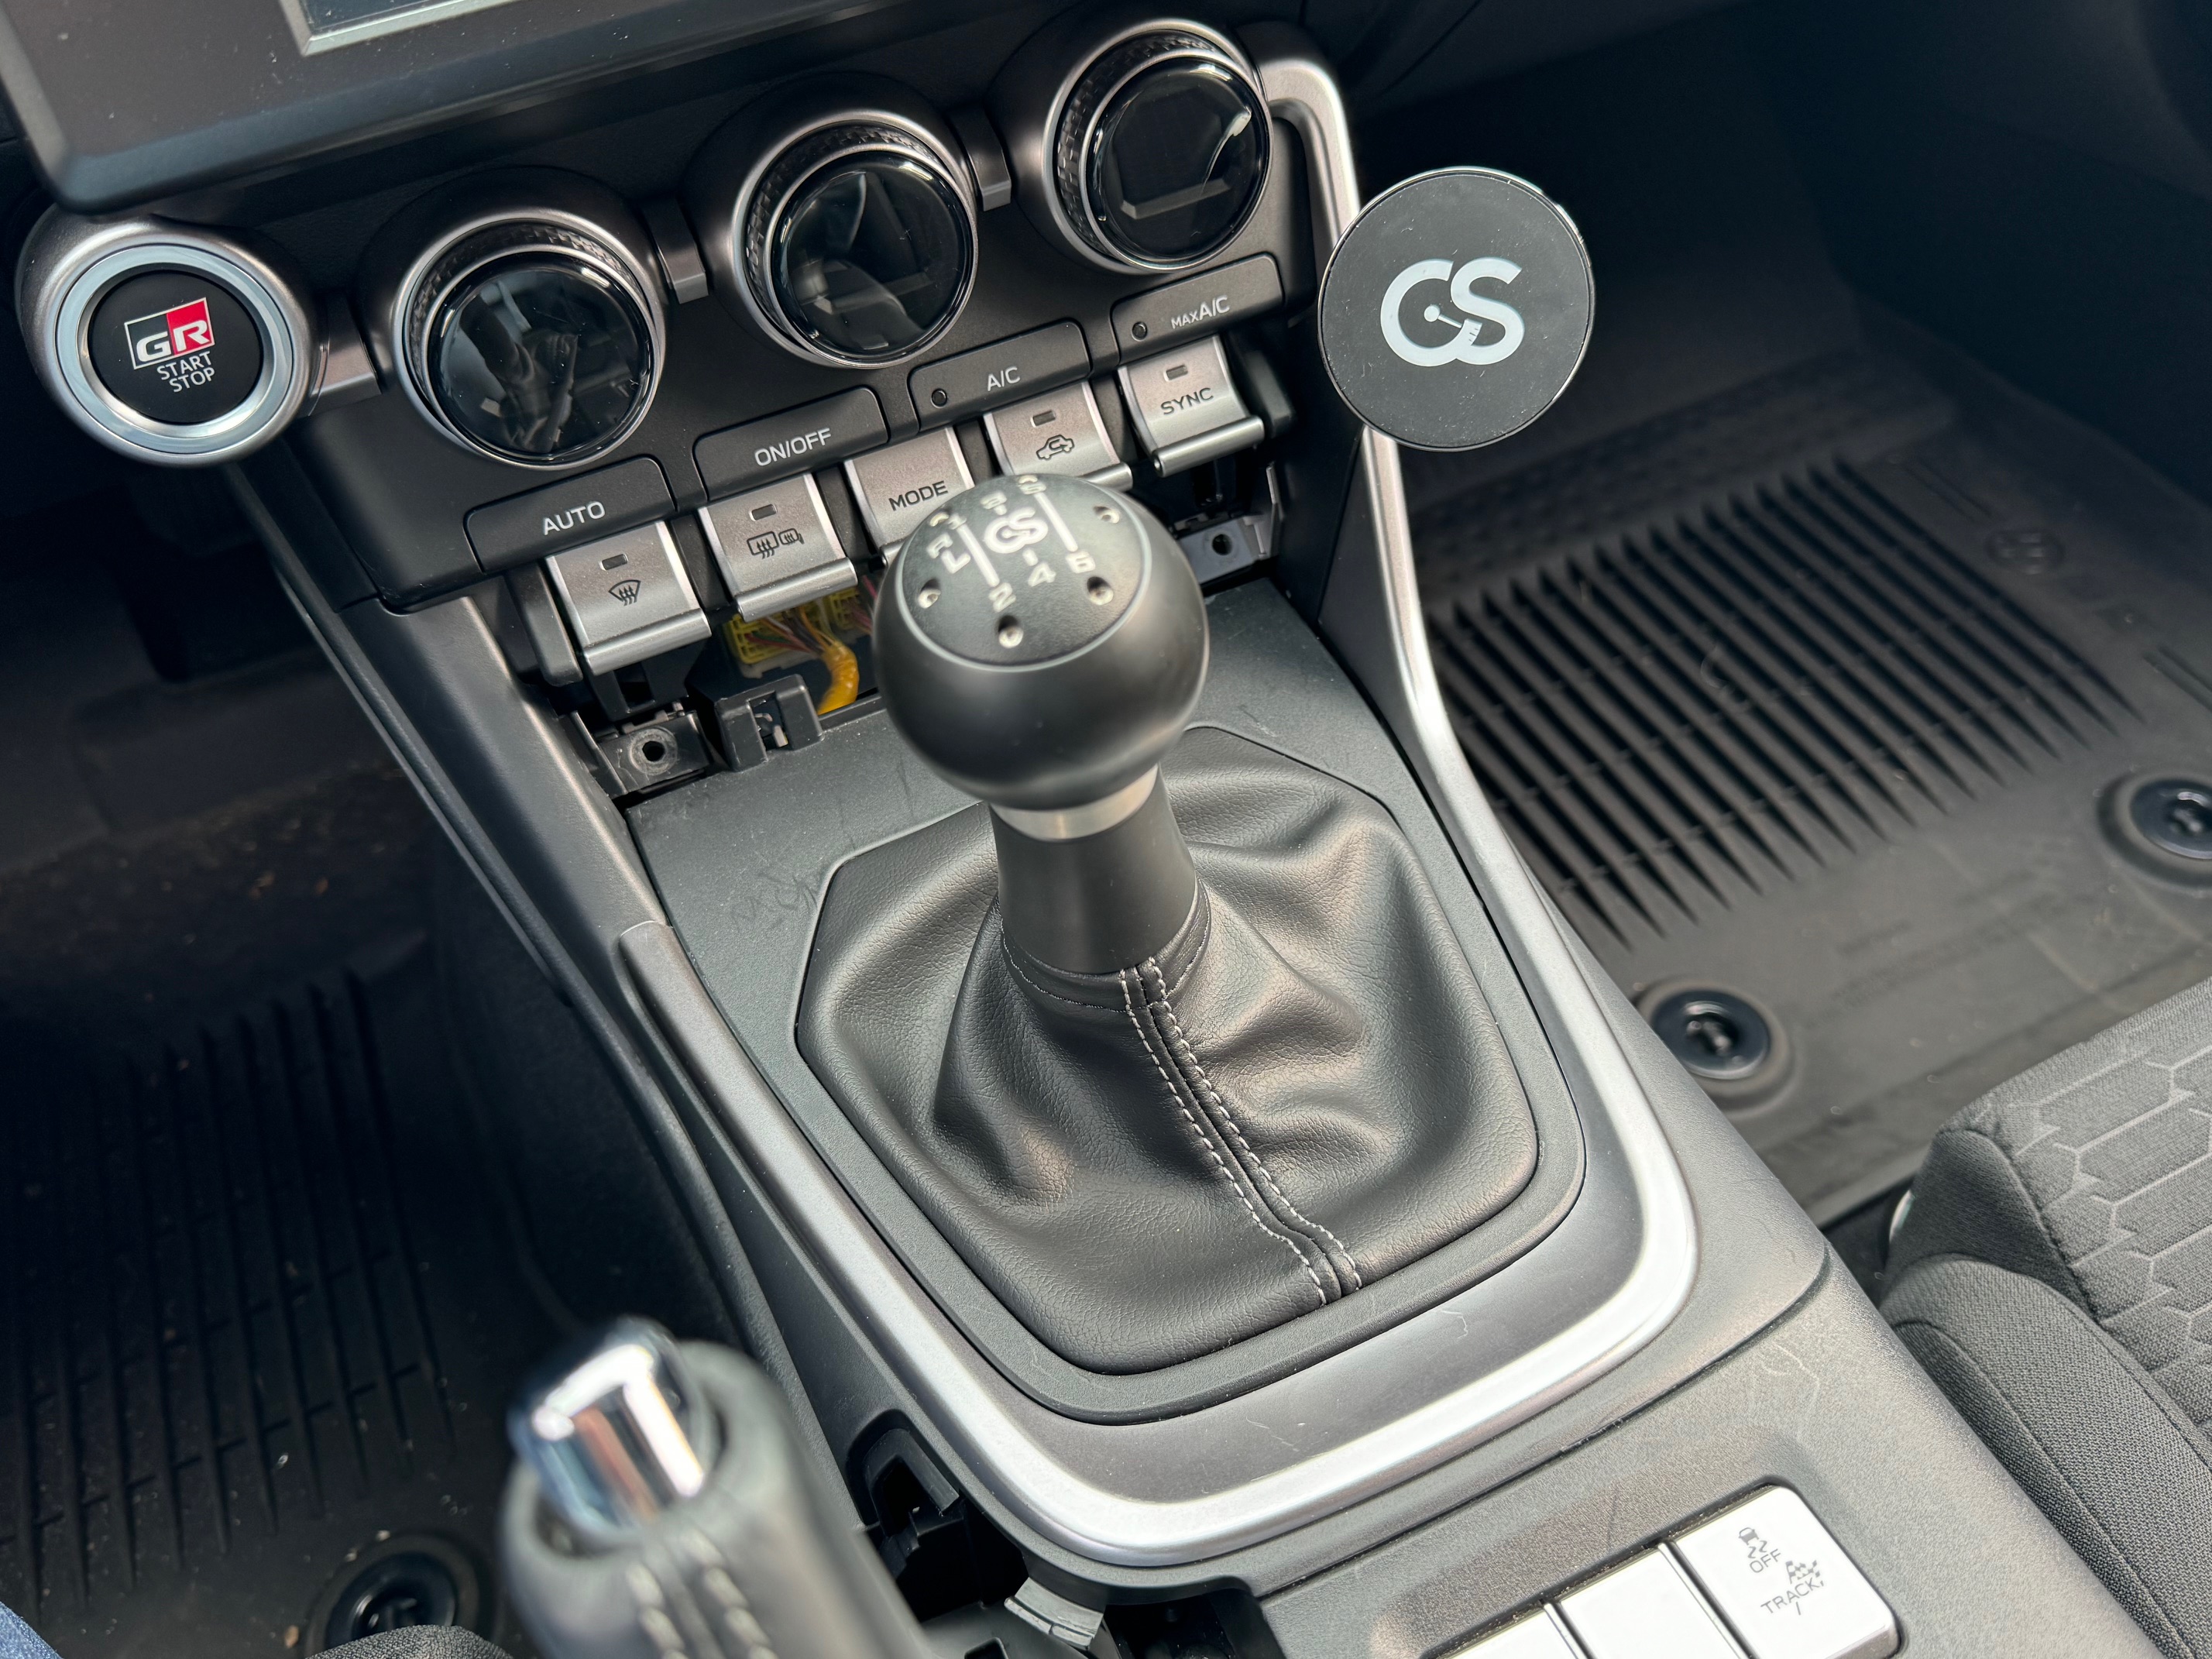
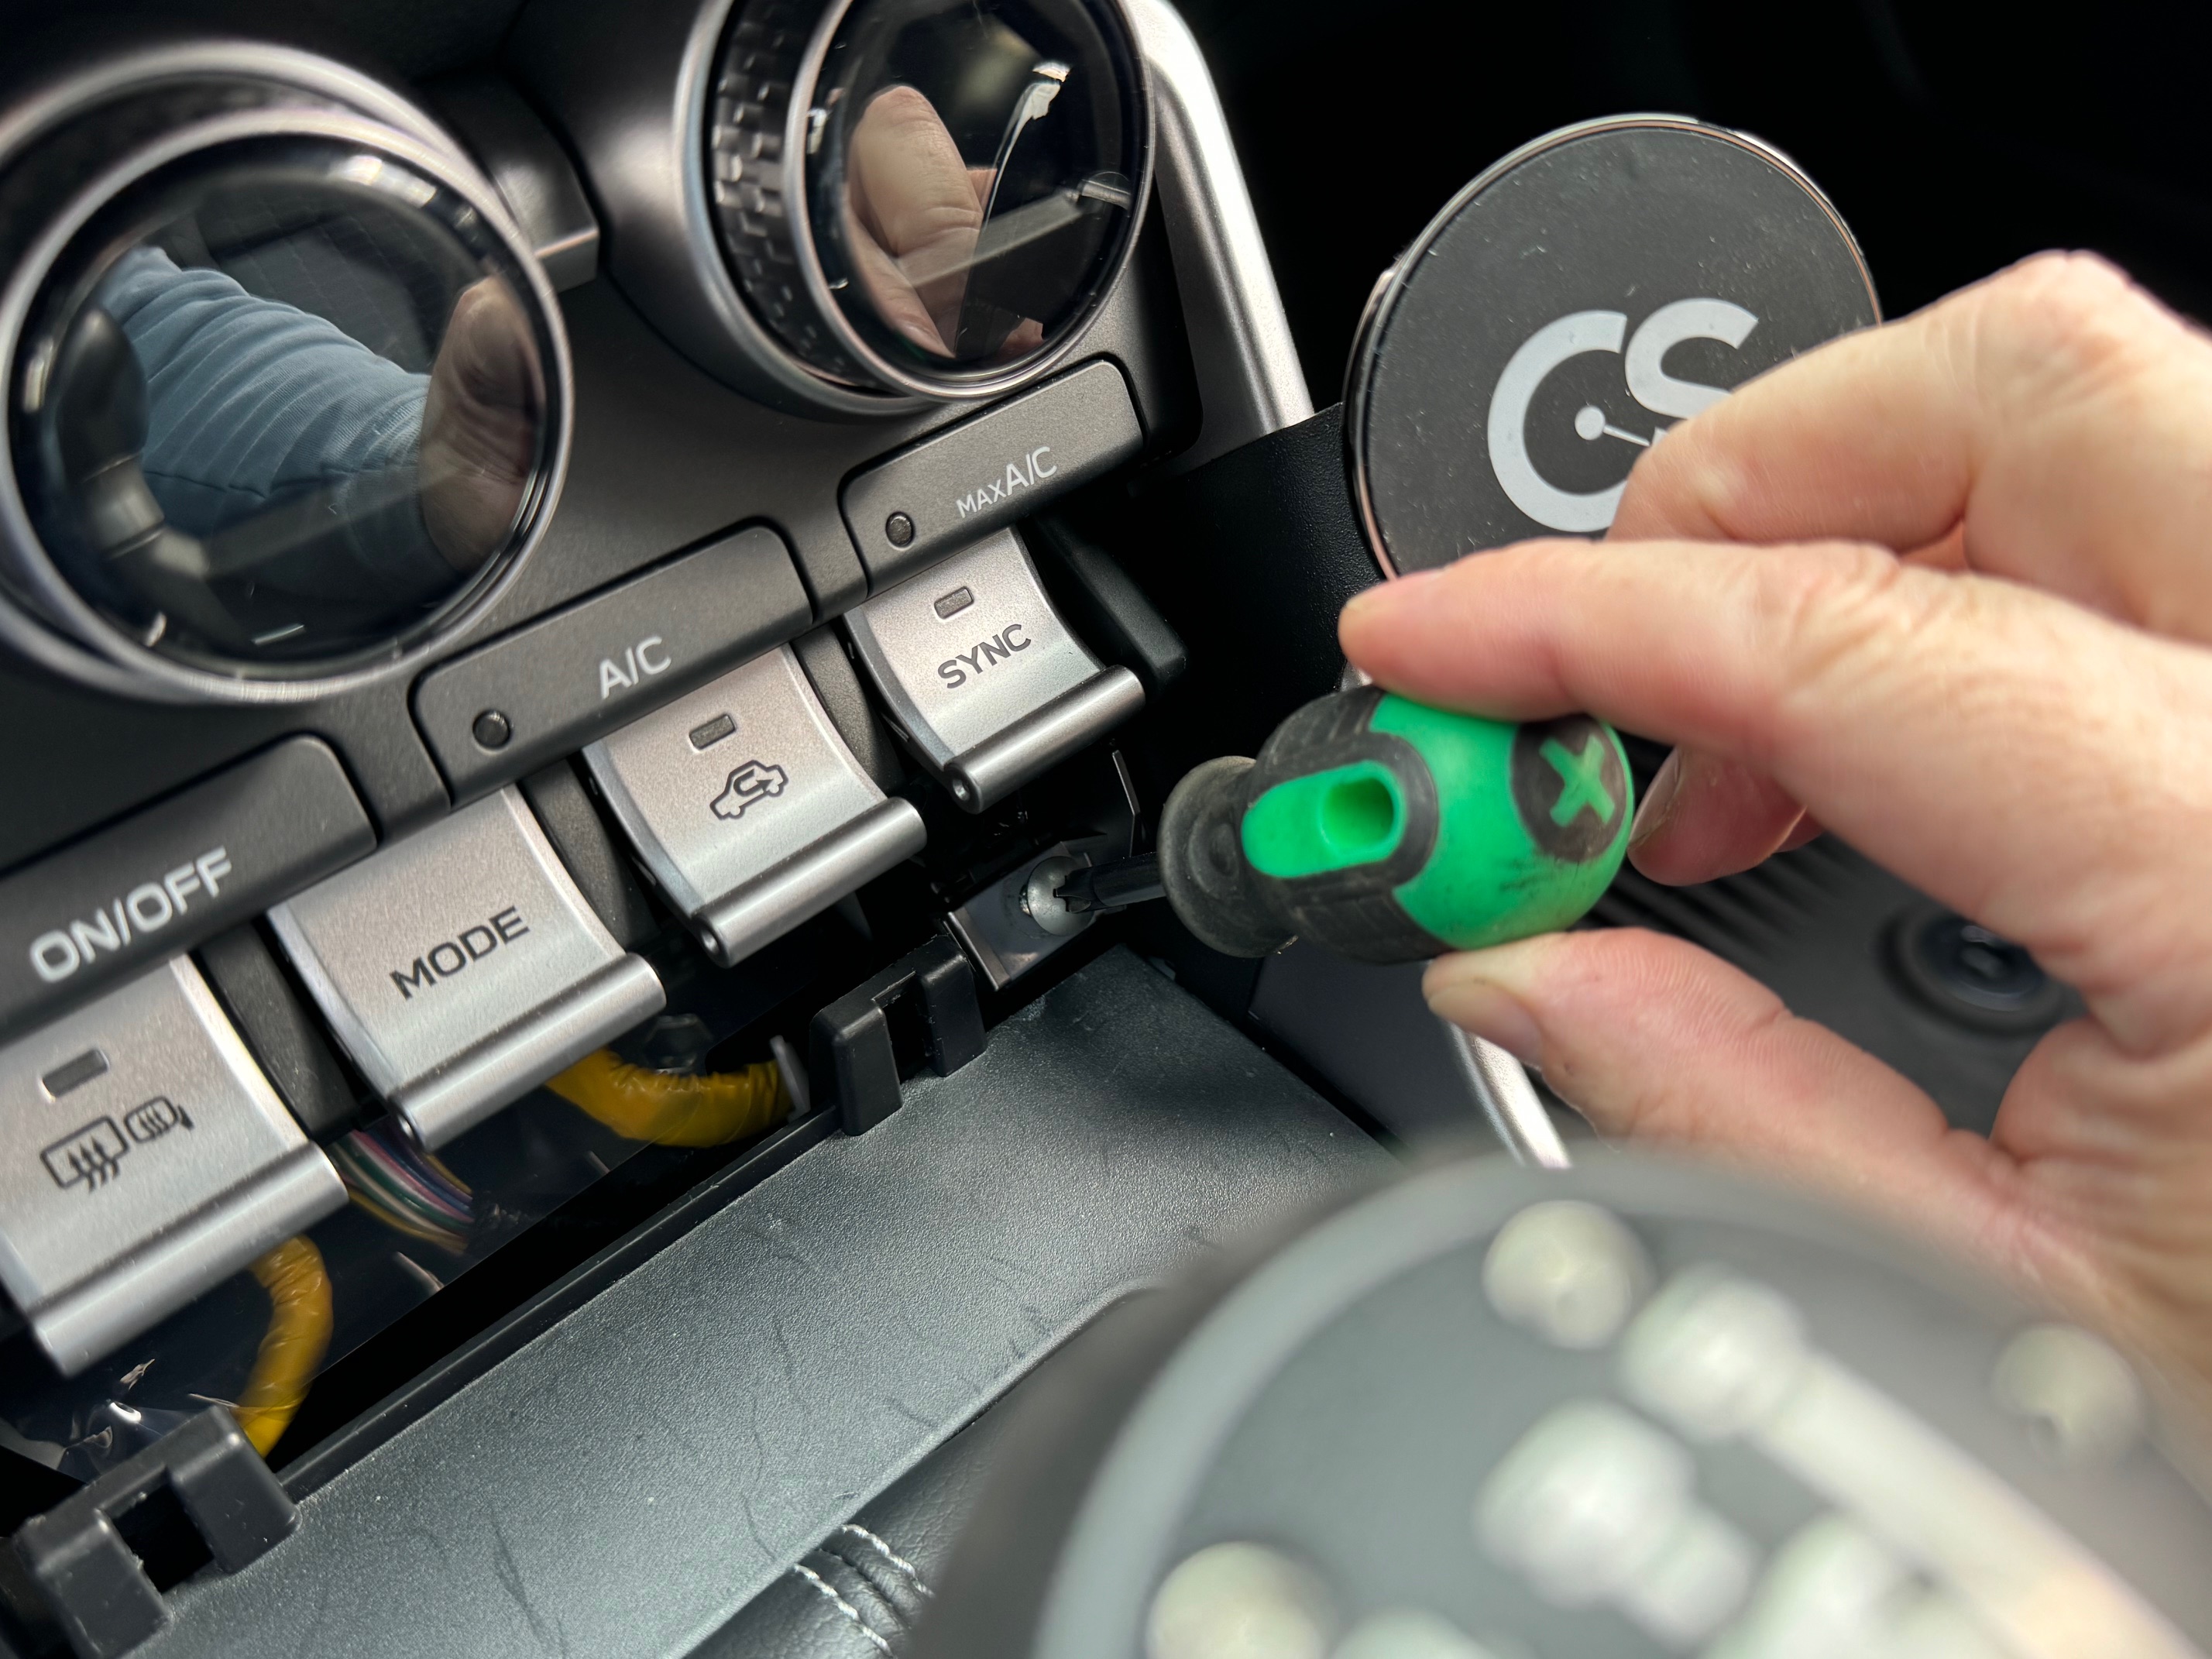
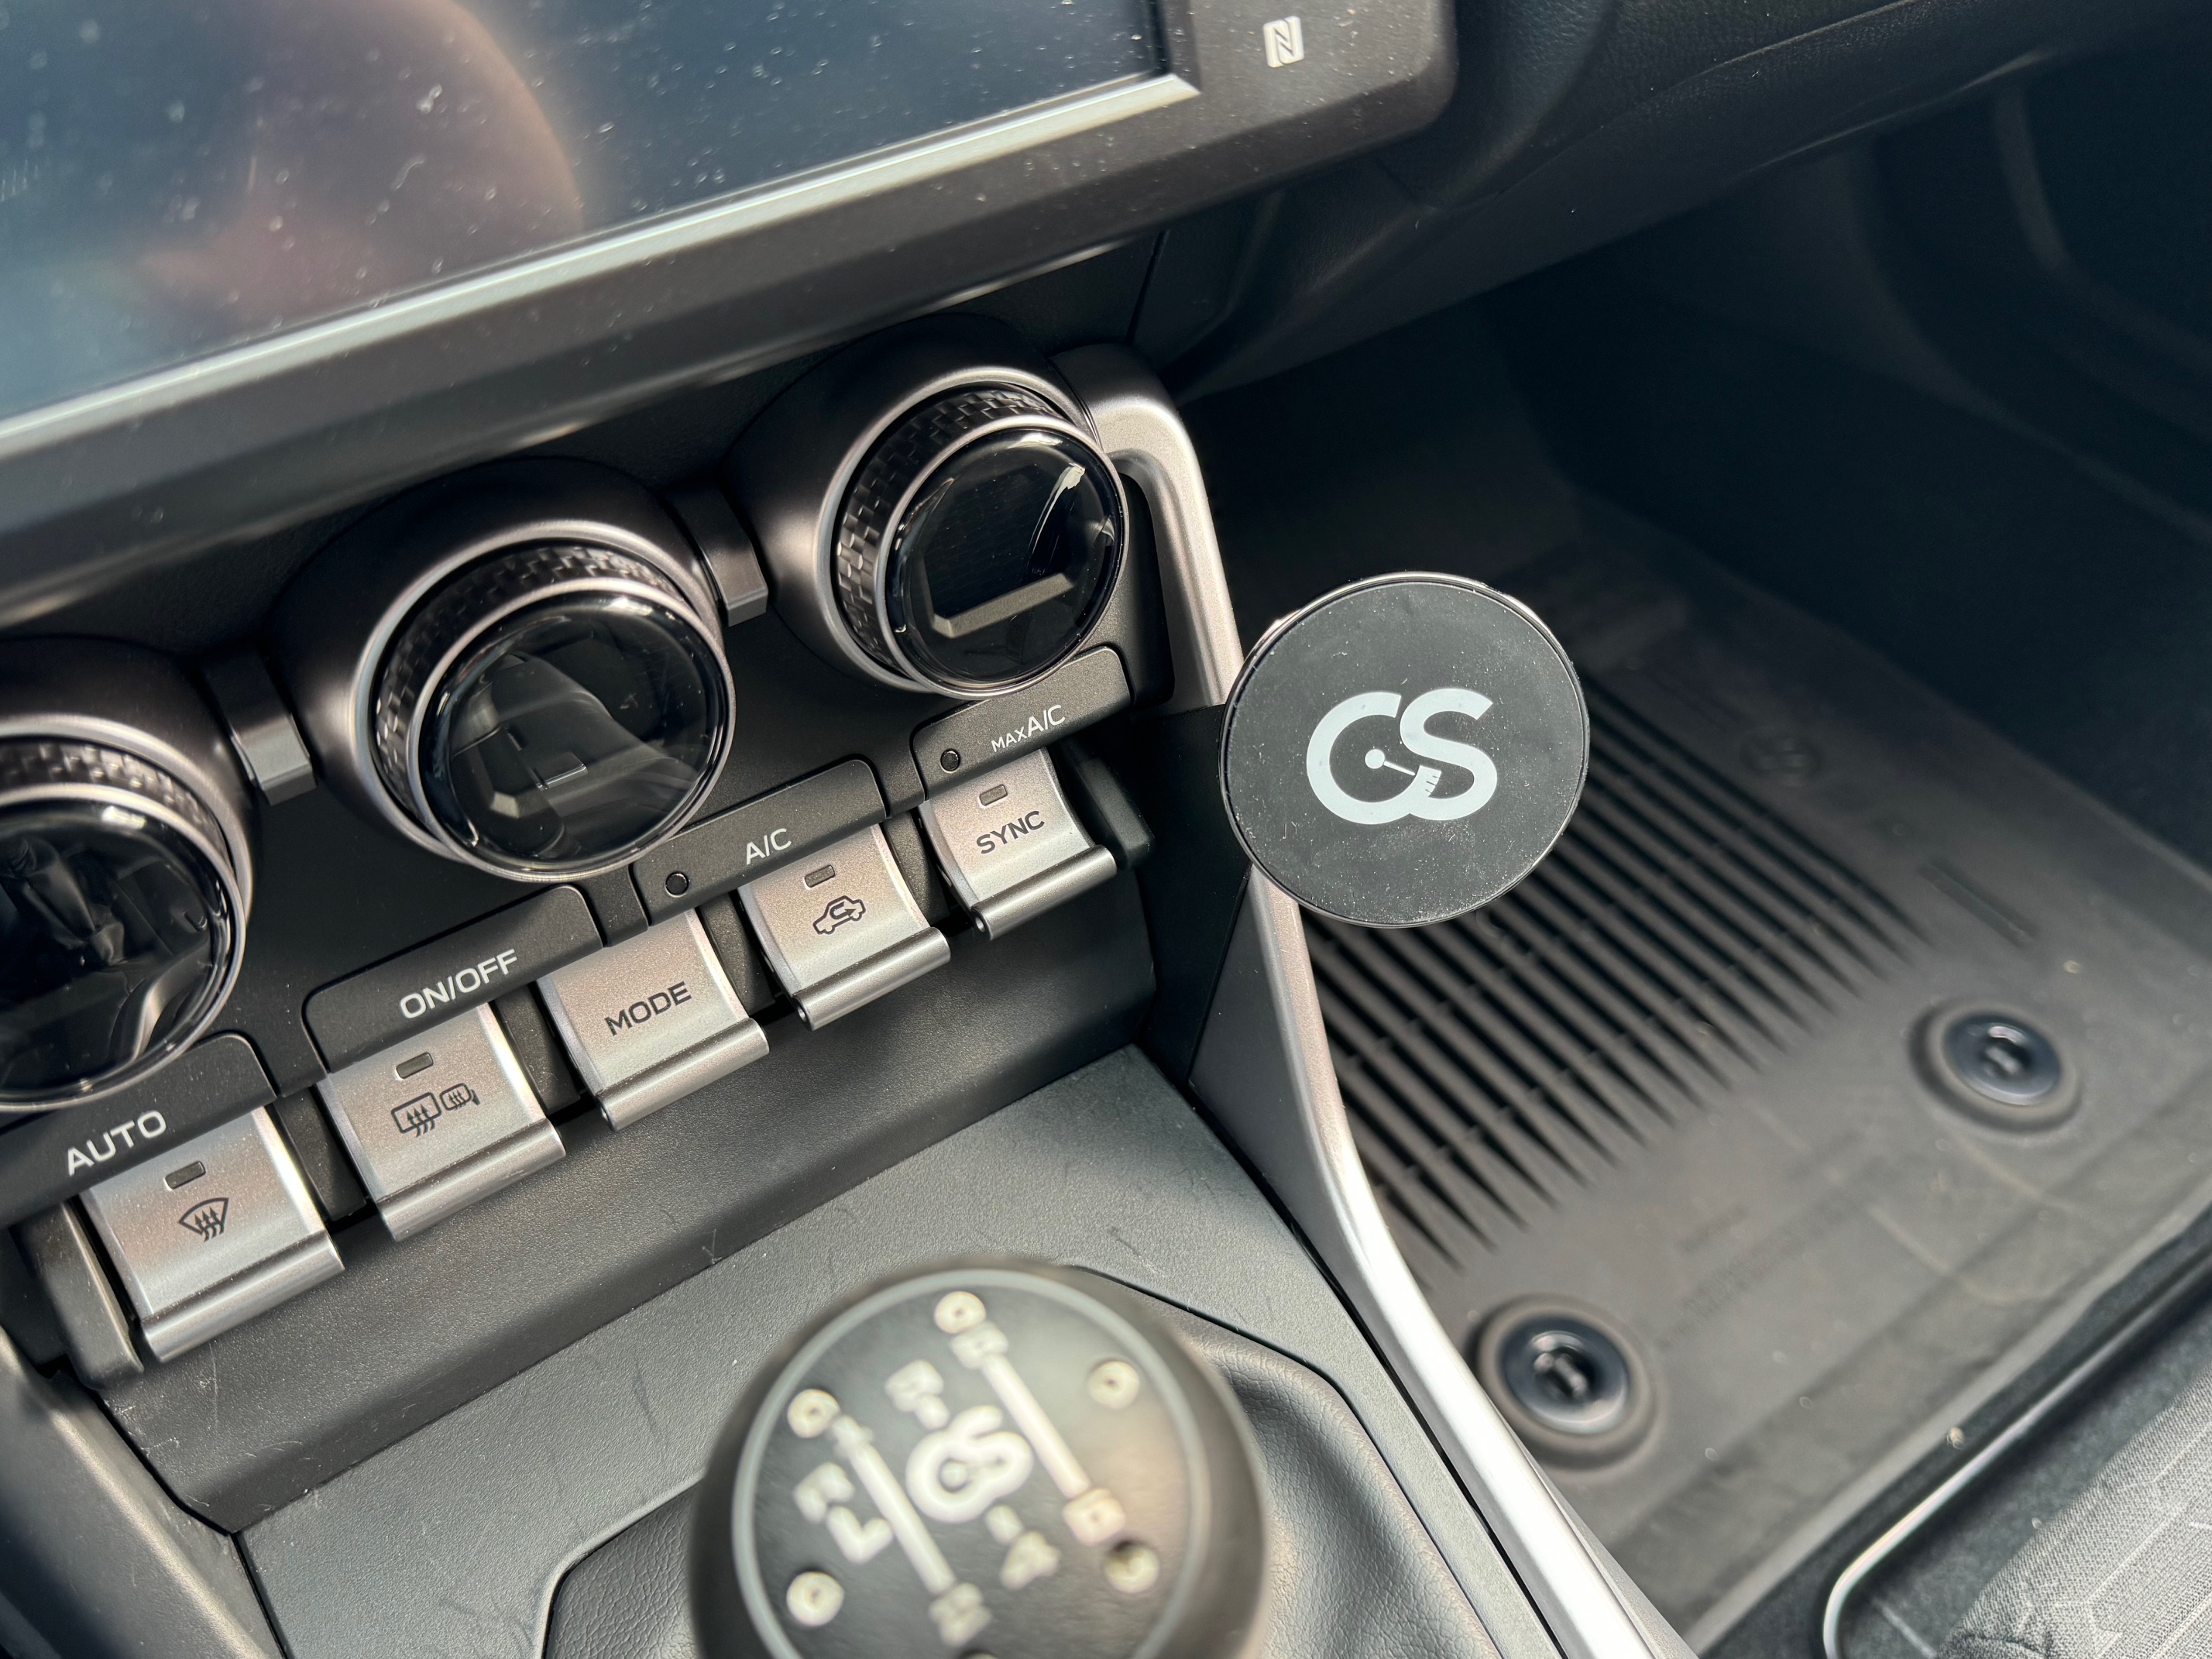
- The GR86 MagSafe Phone Mount is designed to be installed into the right side of the center console, just next to the climate controls. To begin the installation process, utilize a trim panel removal tool and pop off the panel just below the climate controls.
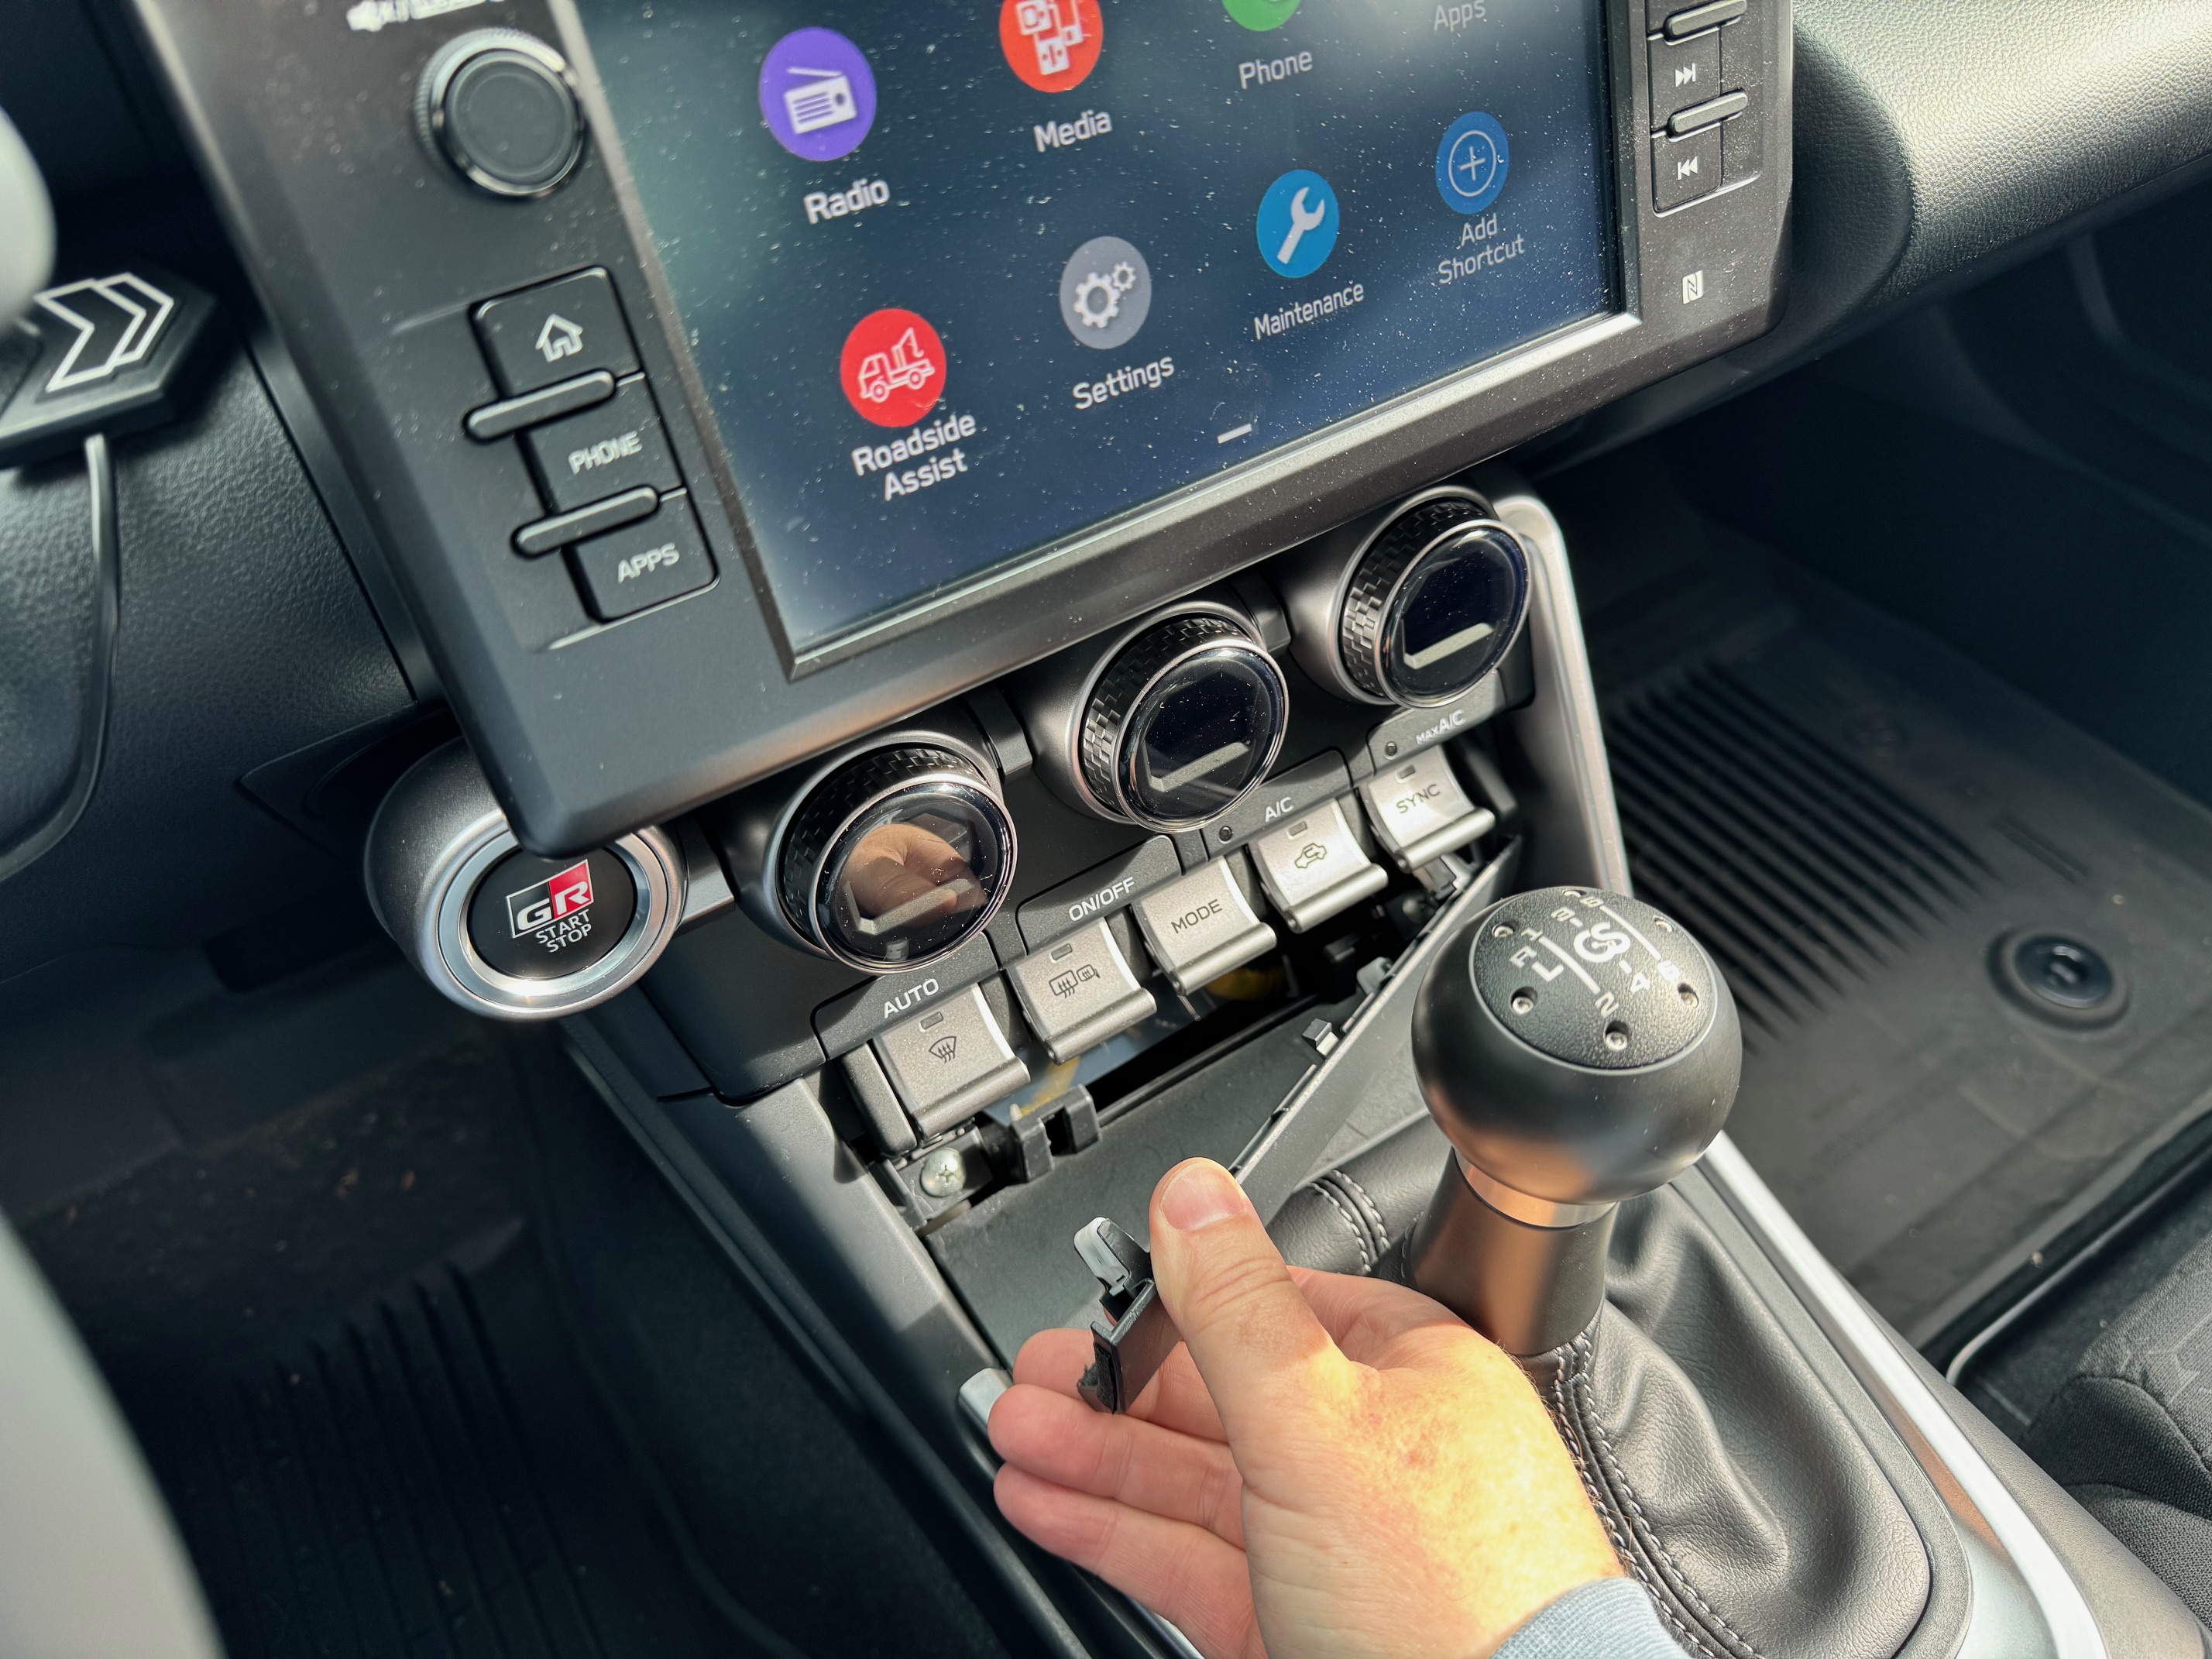
- This will expose two Phillips head screws needed to remove to complete this installation. Unscrew them and temporarily set them aside.
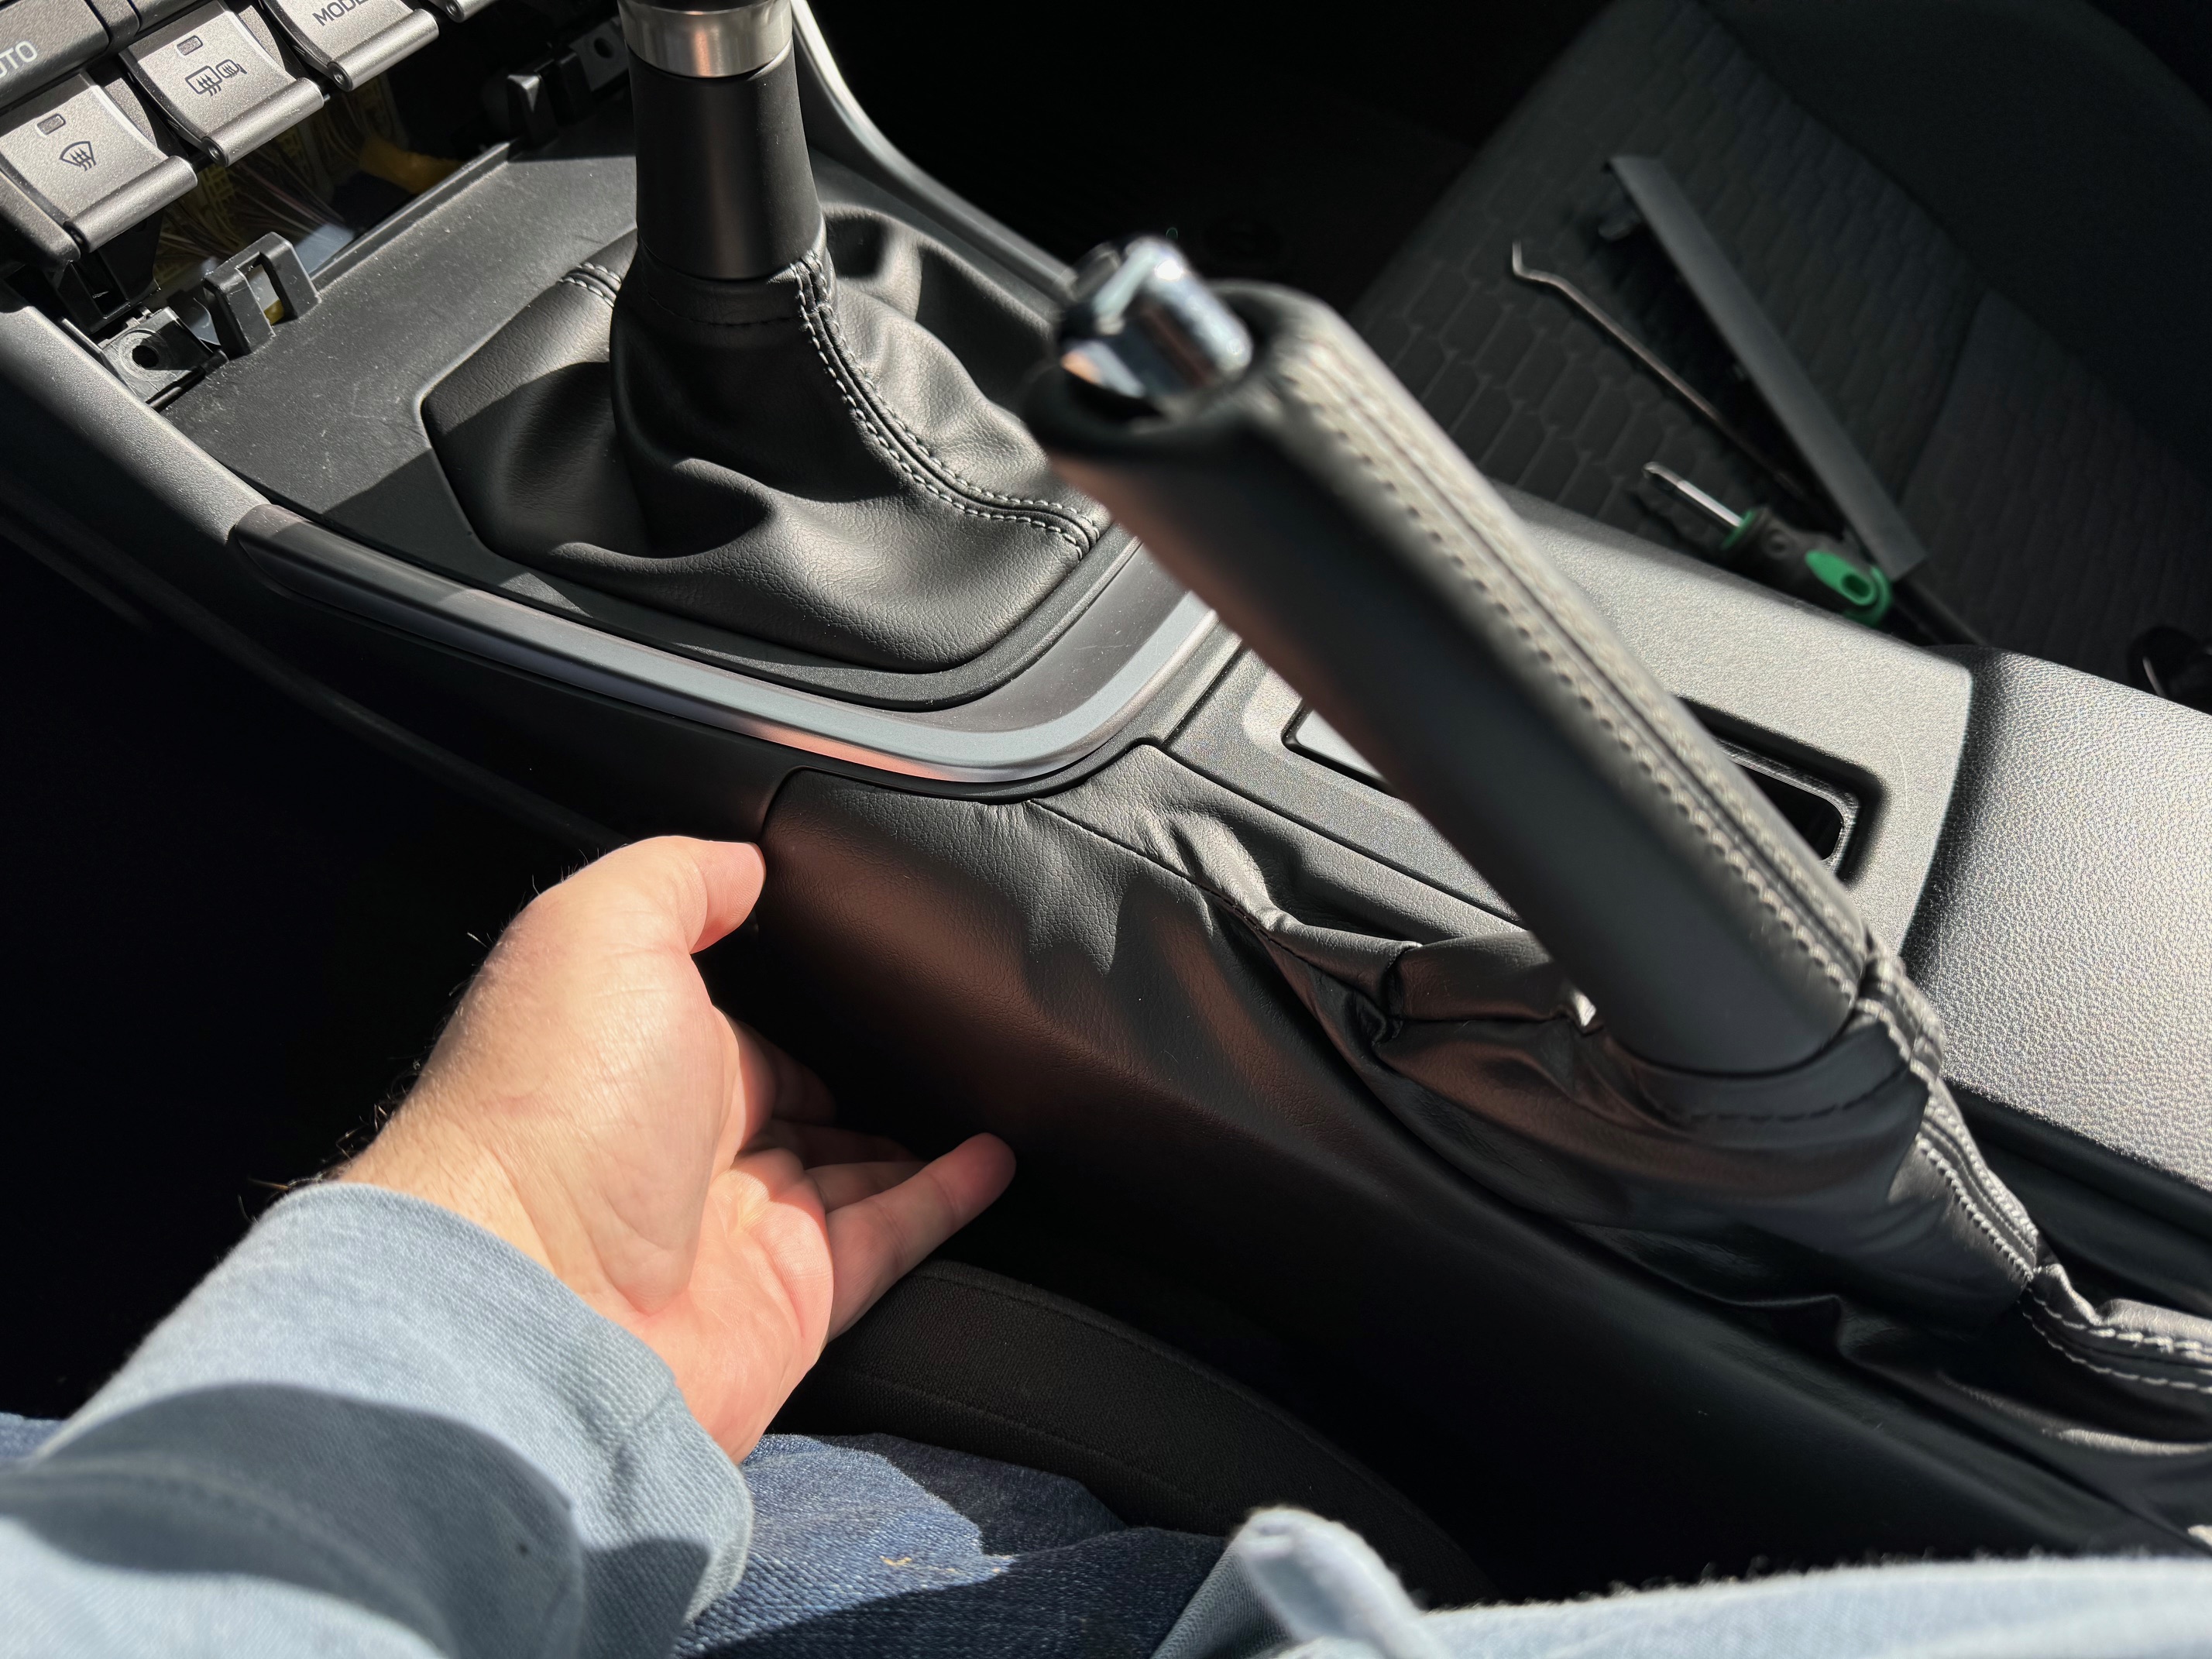
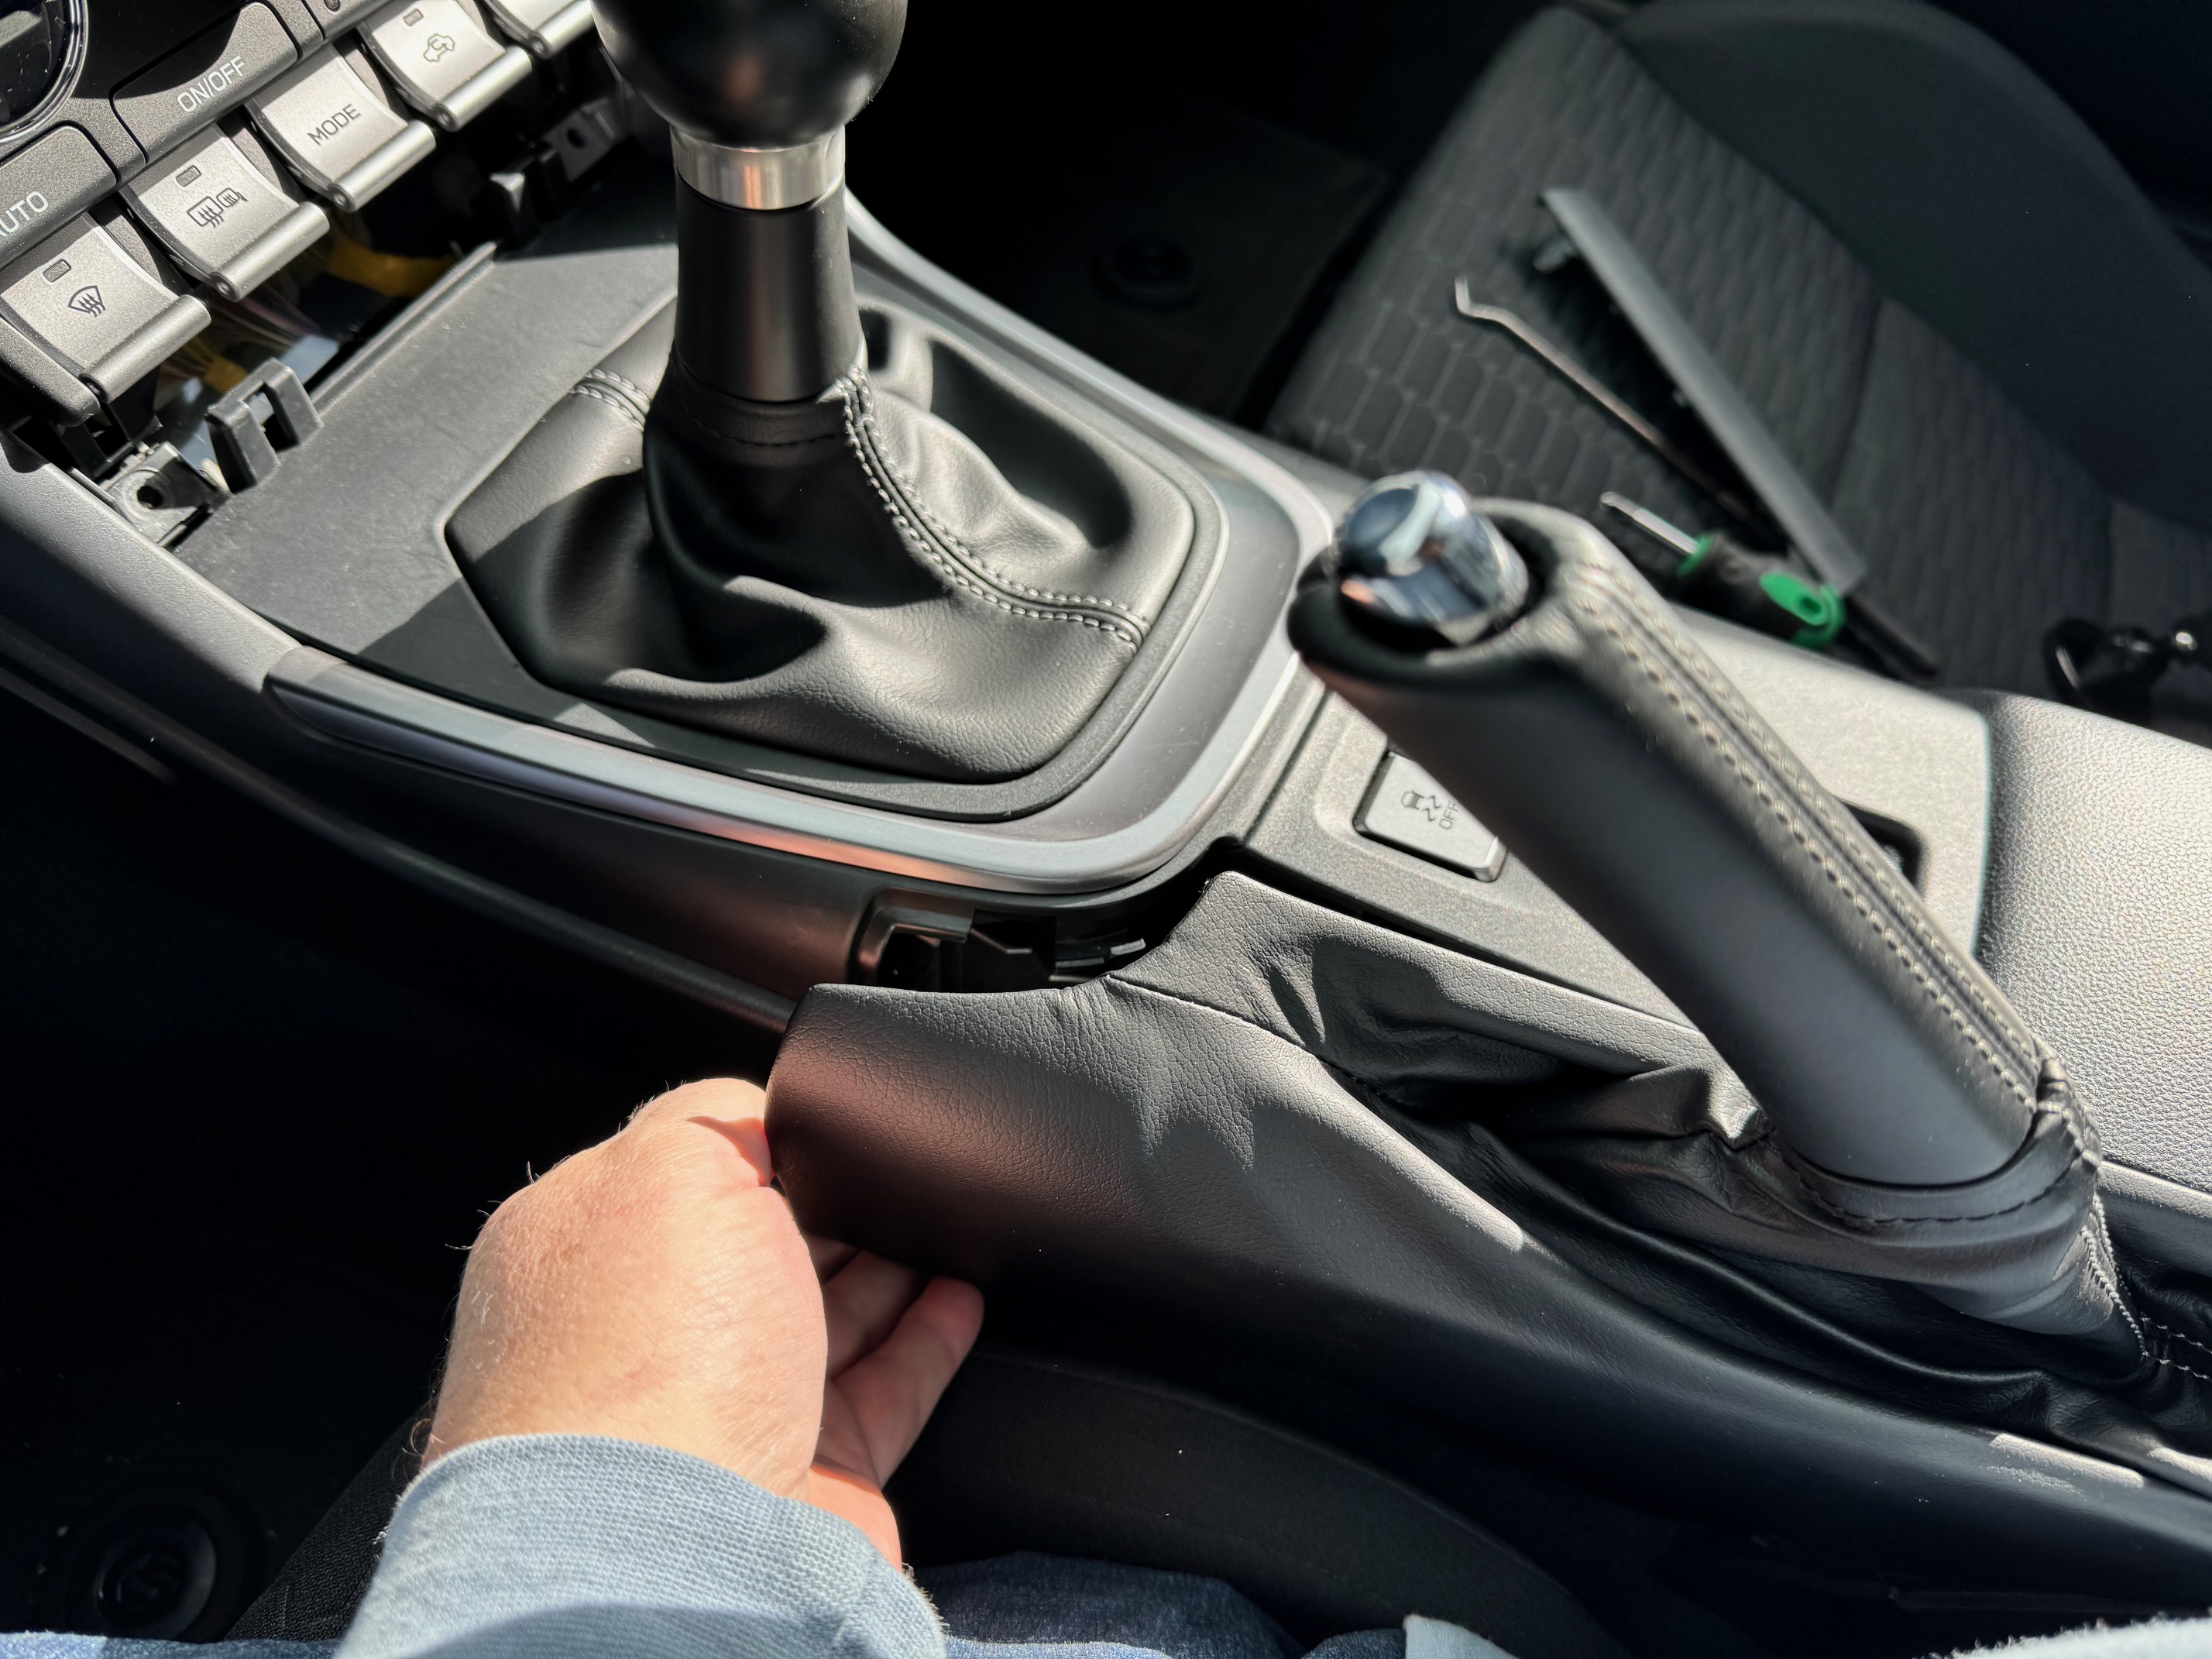
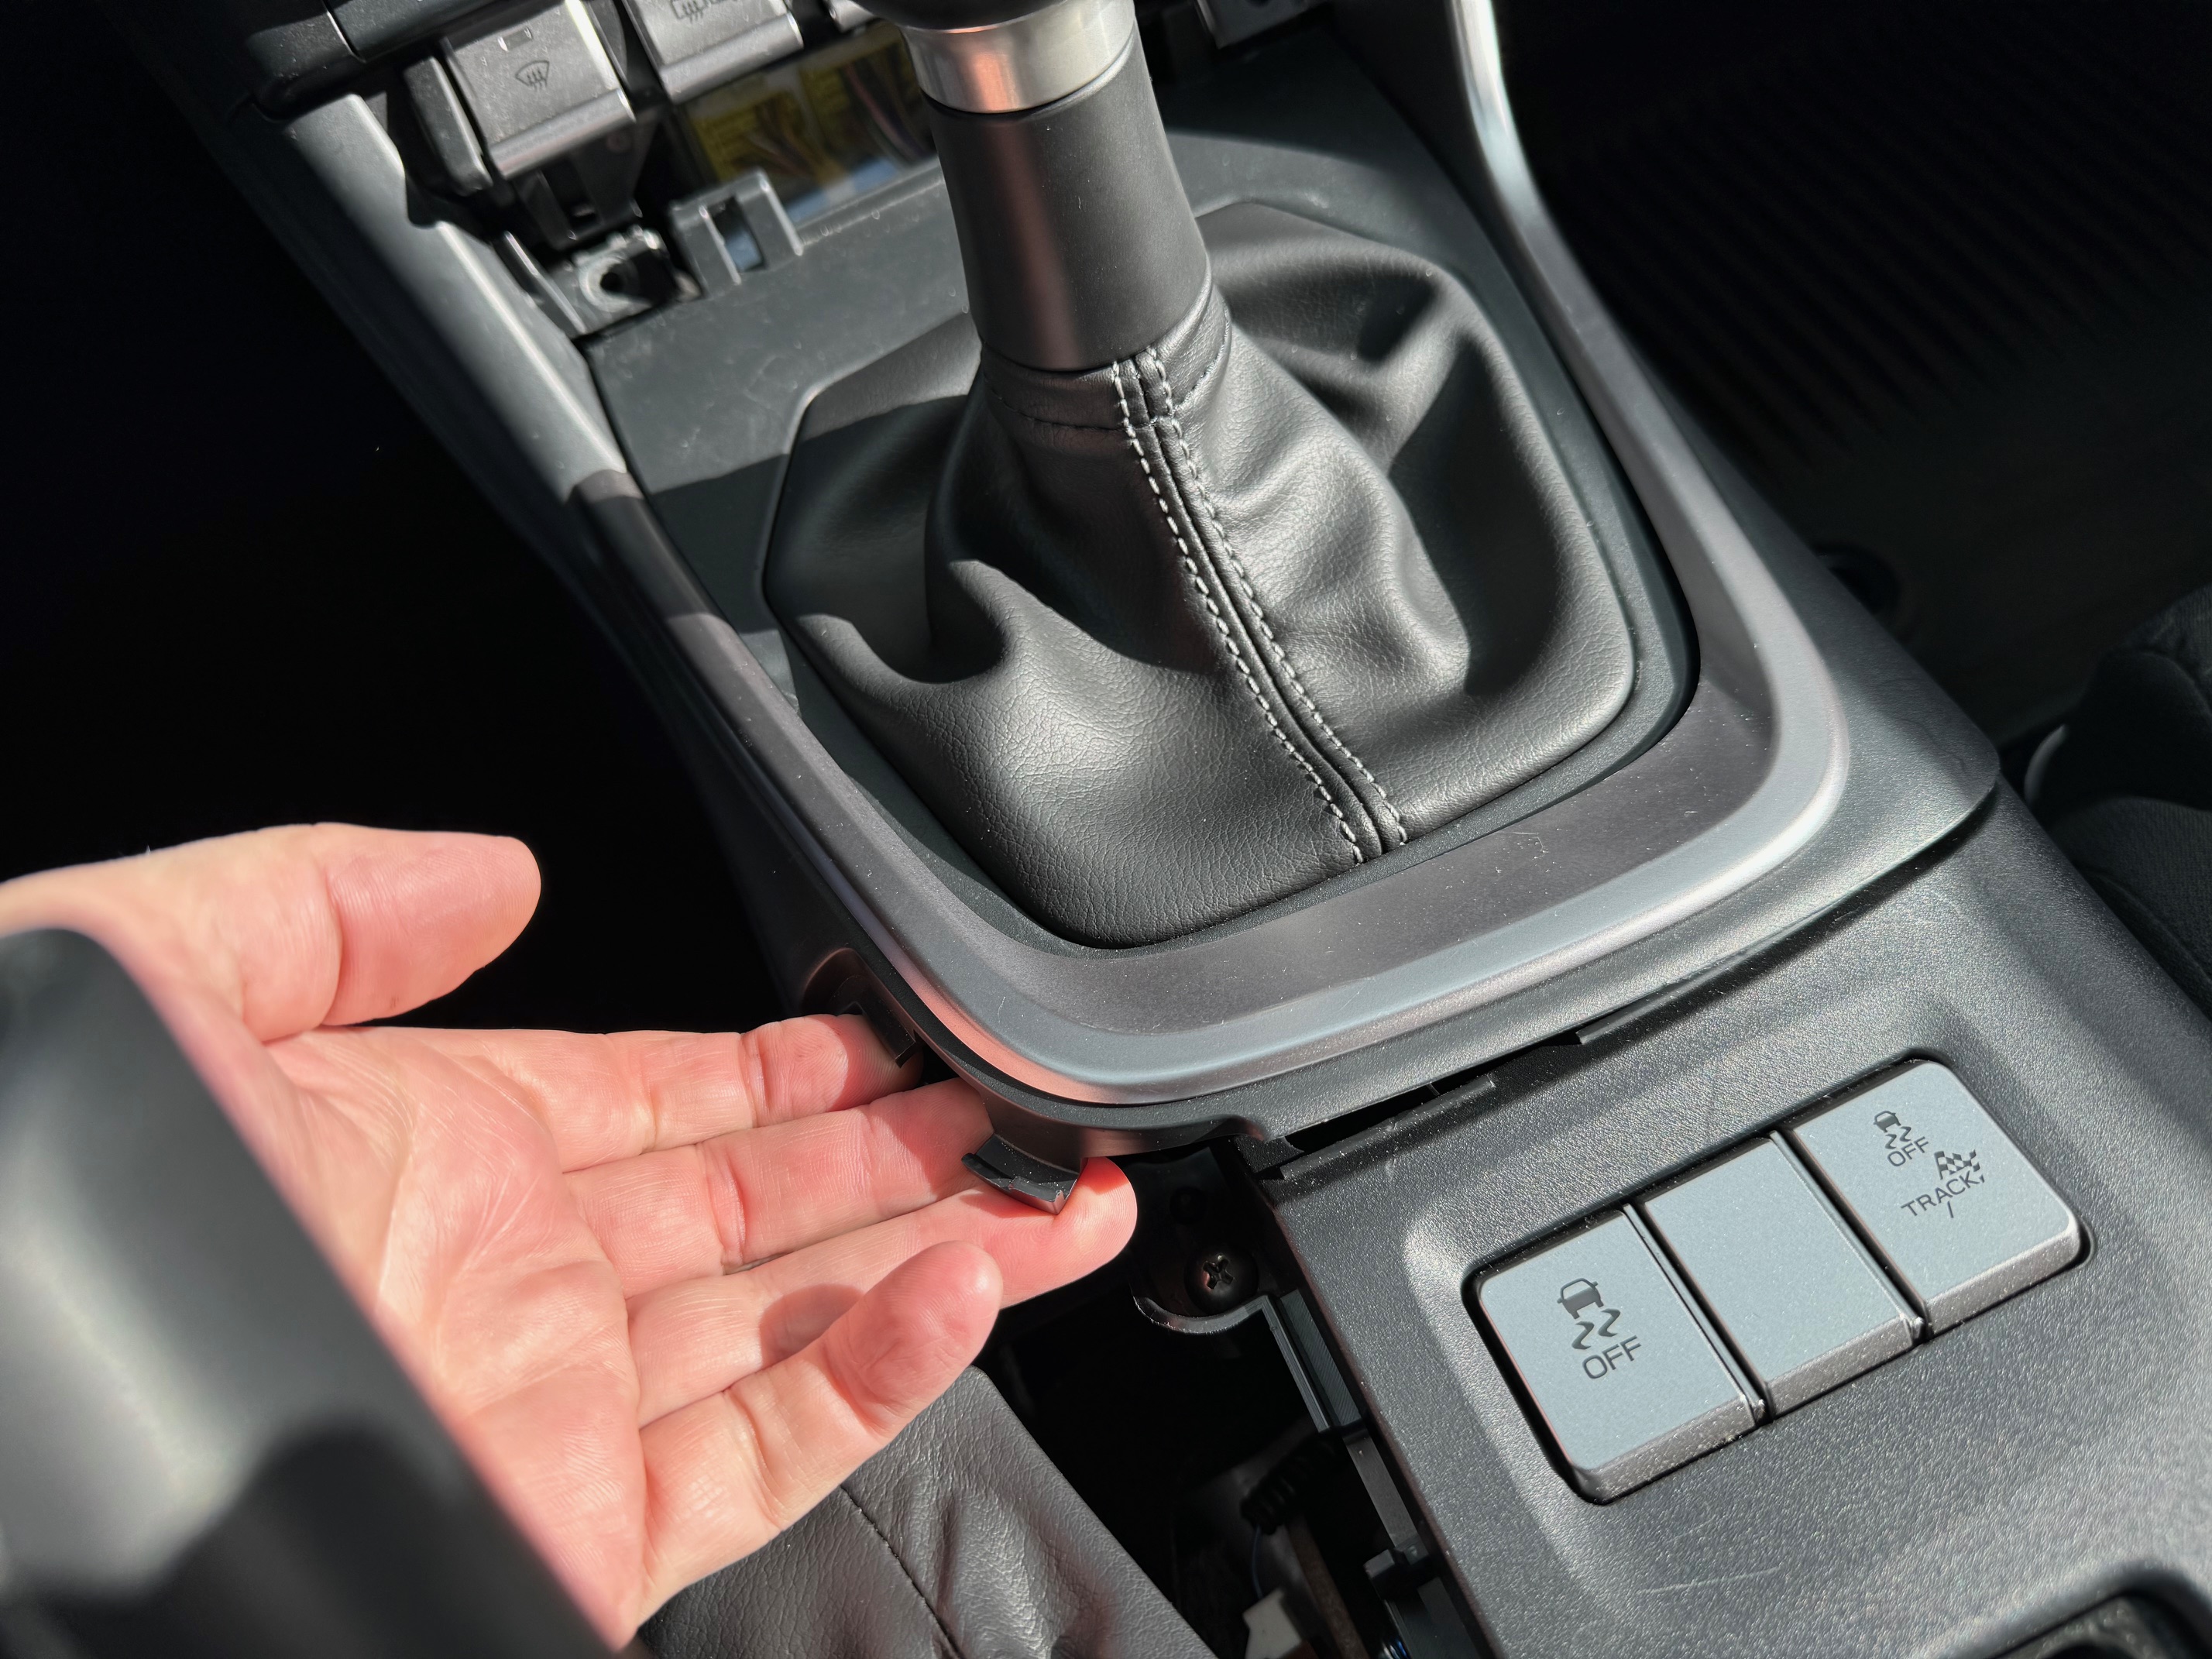
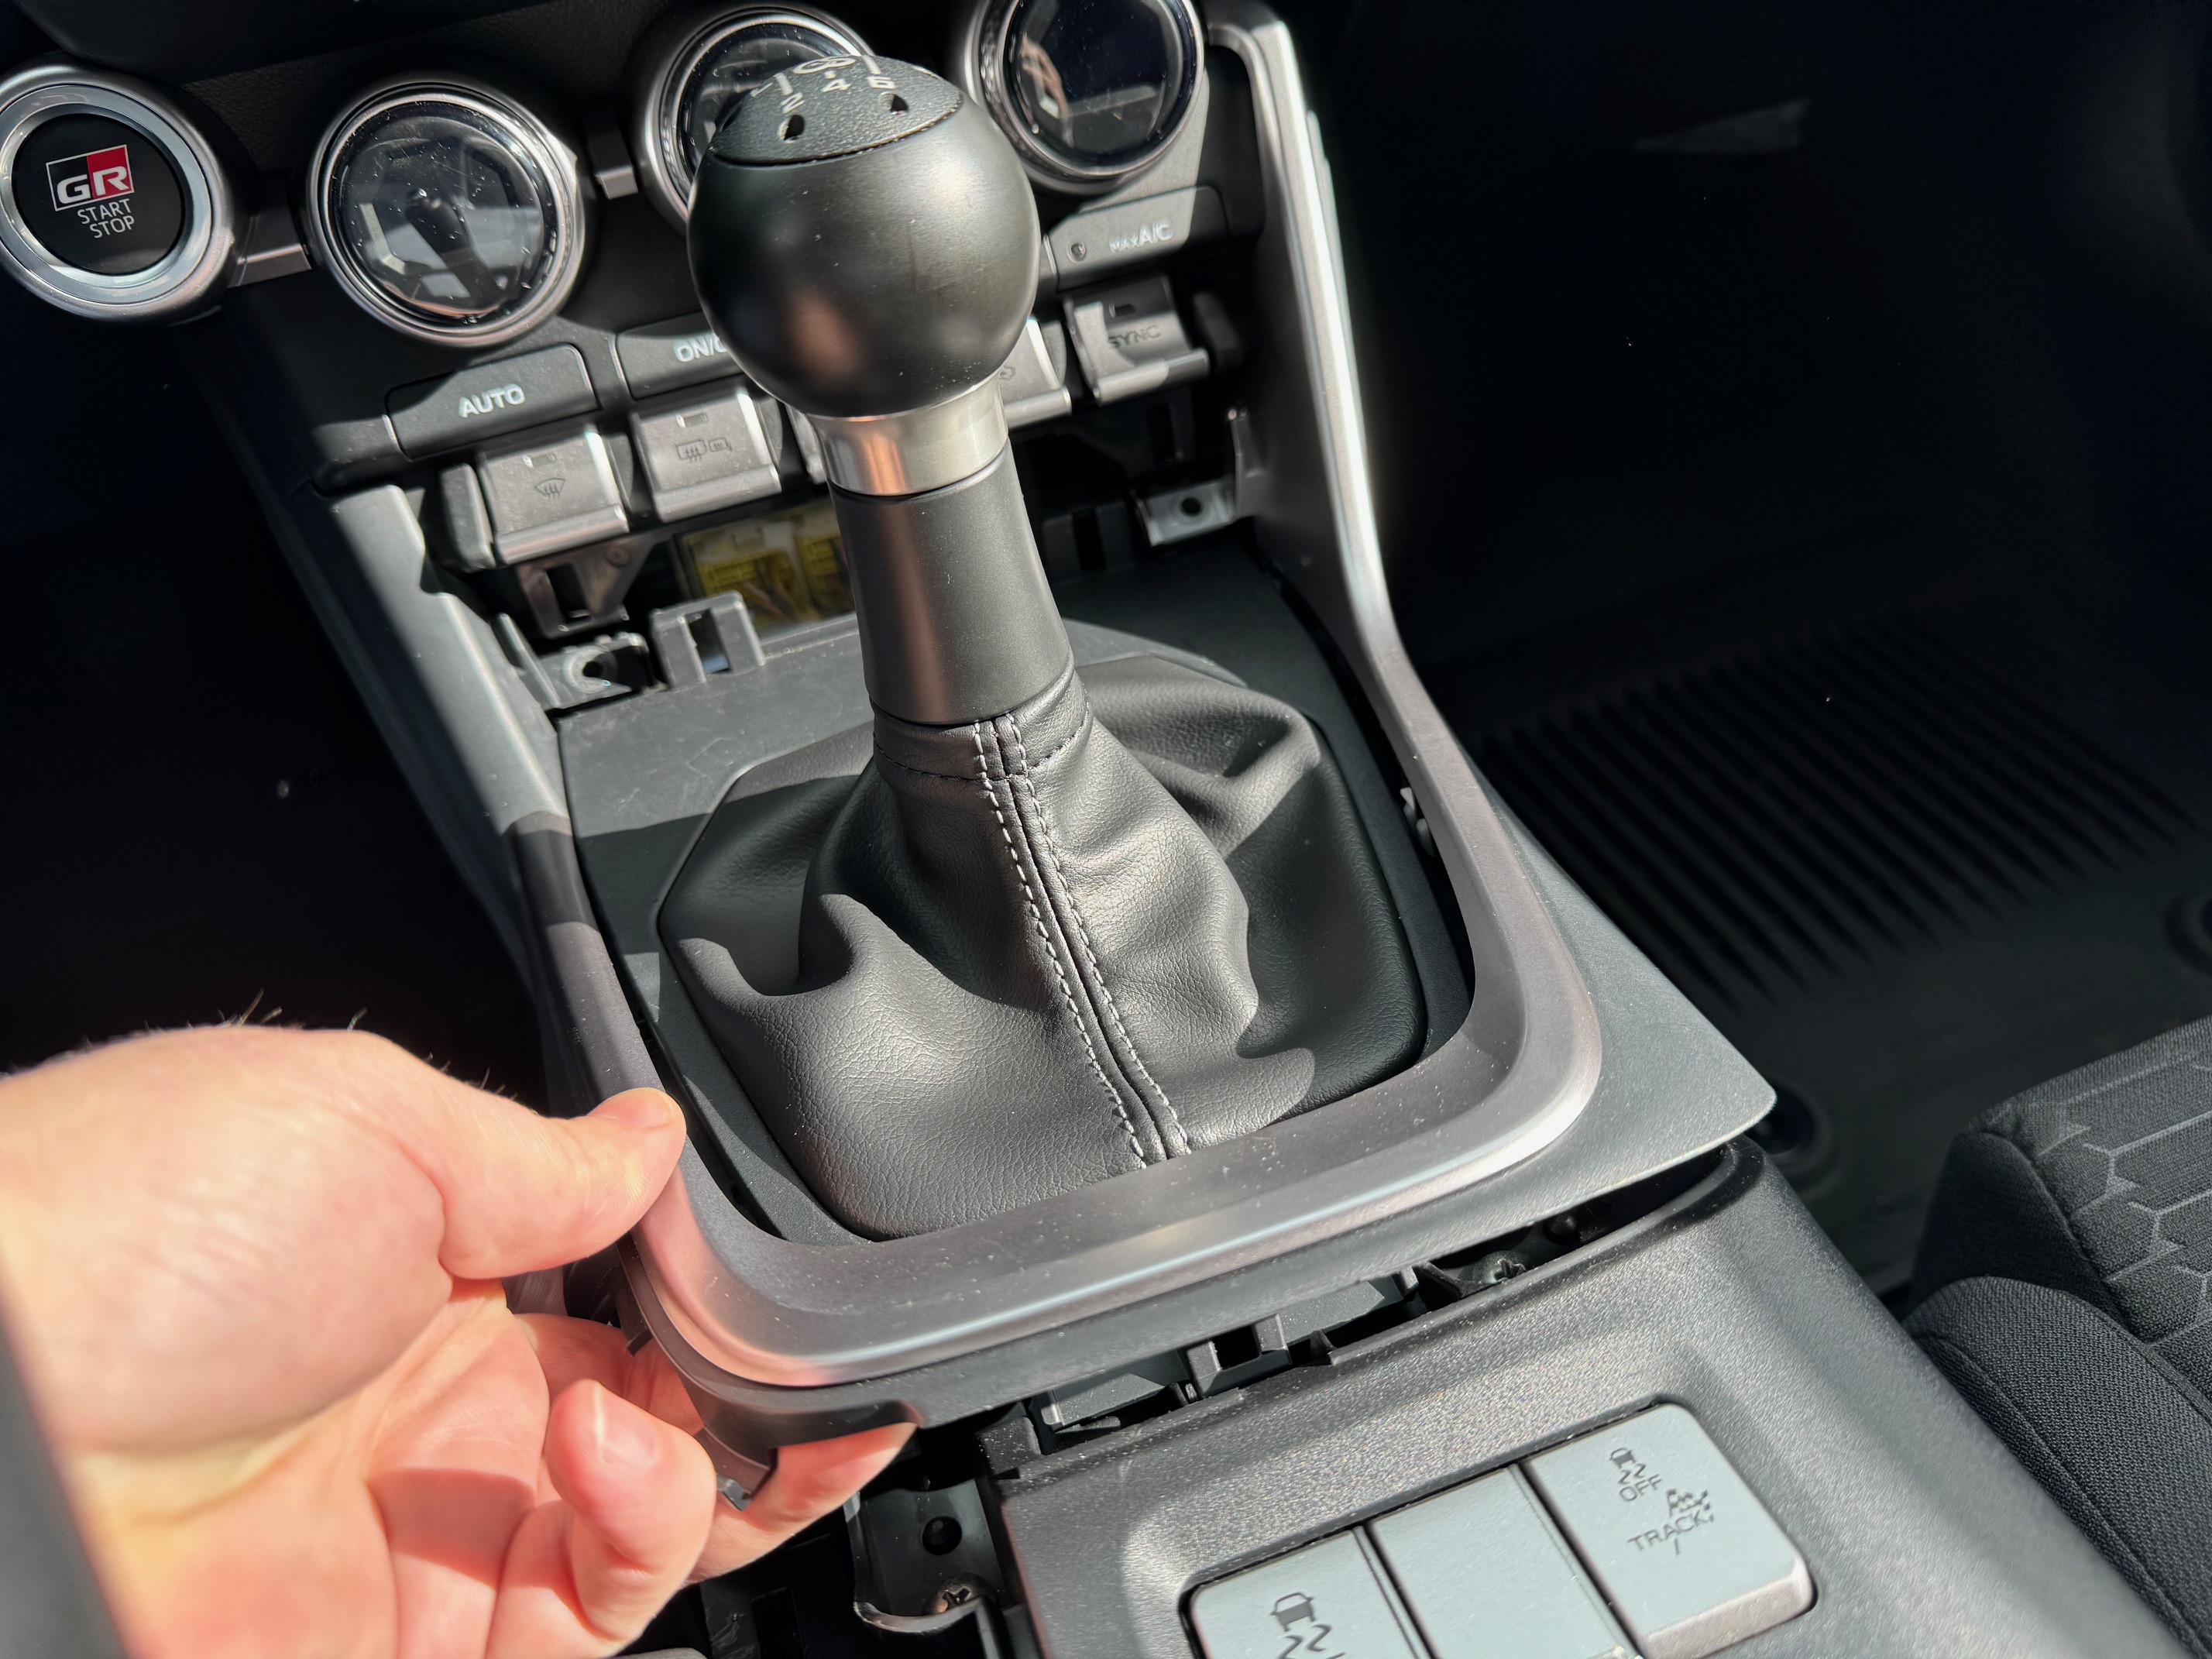
- Using your fingers, grasp the lower edge of the ebrake boot panel and pull it straight up to disengage it from the center tunnel cover.
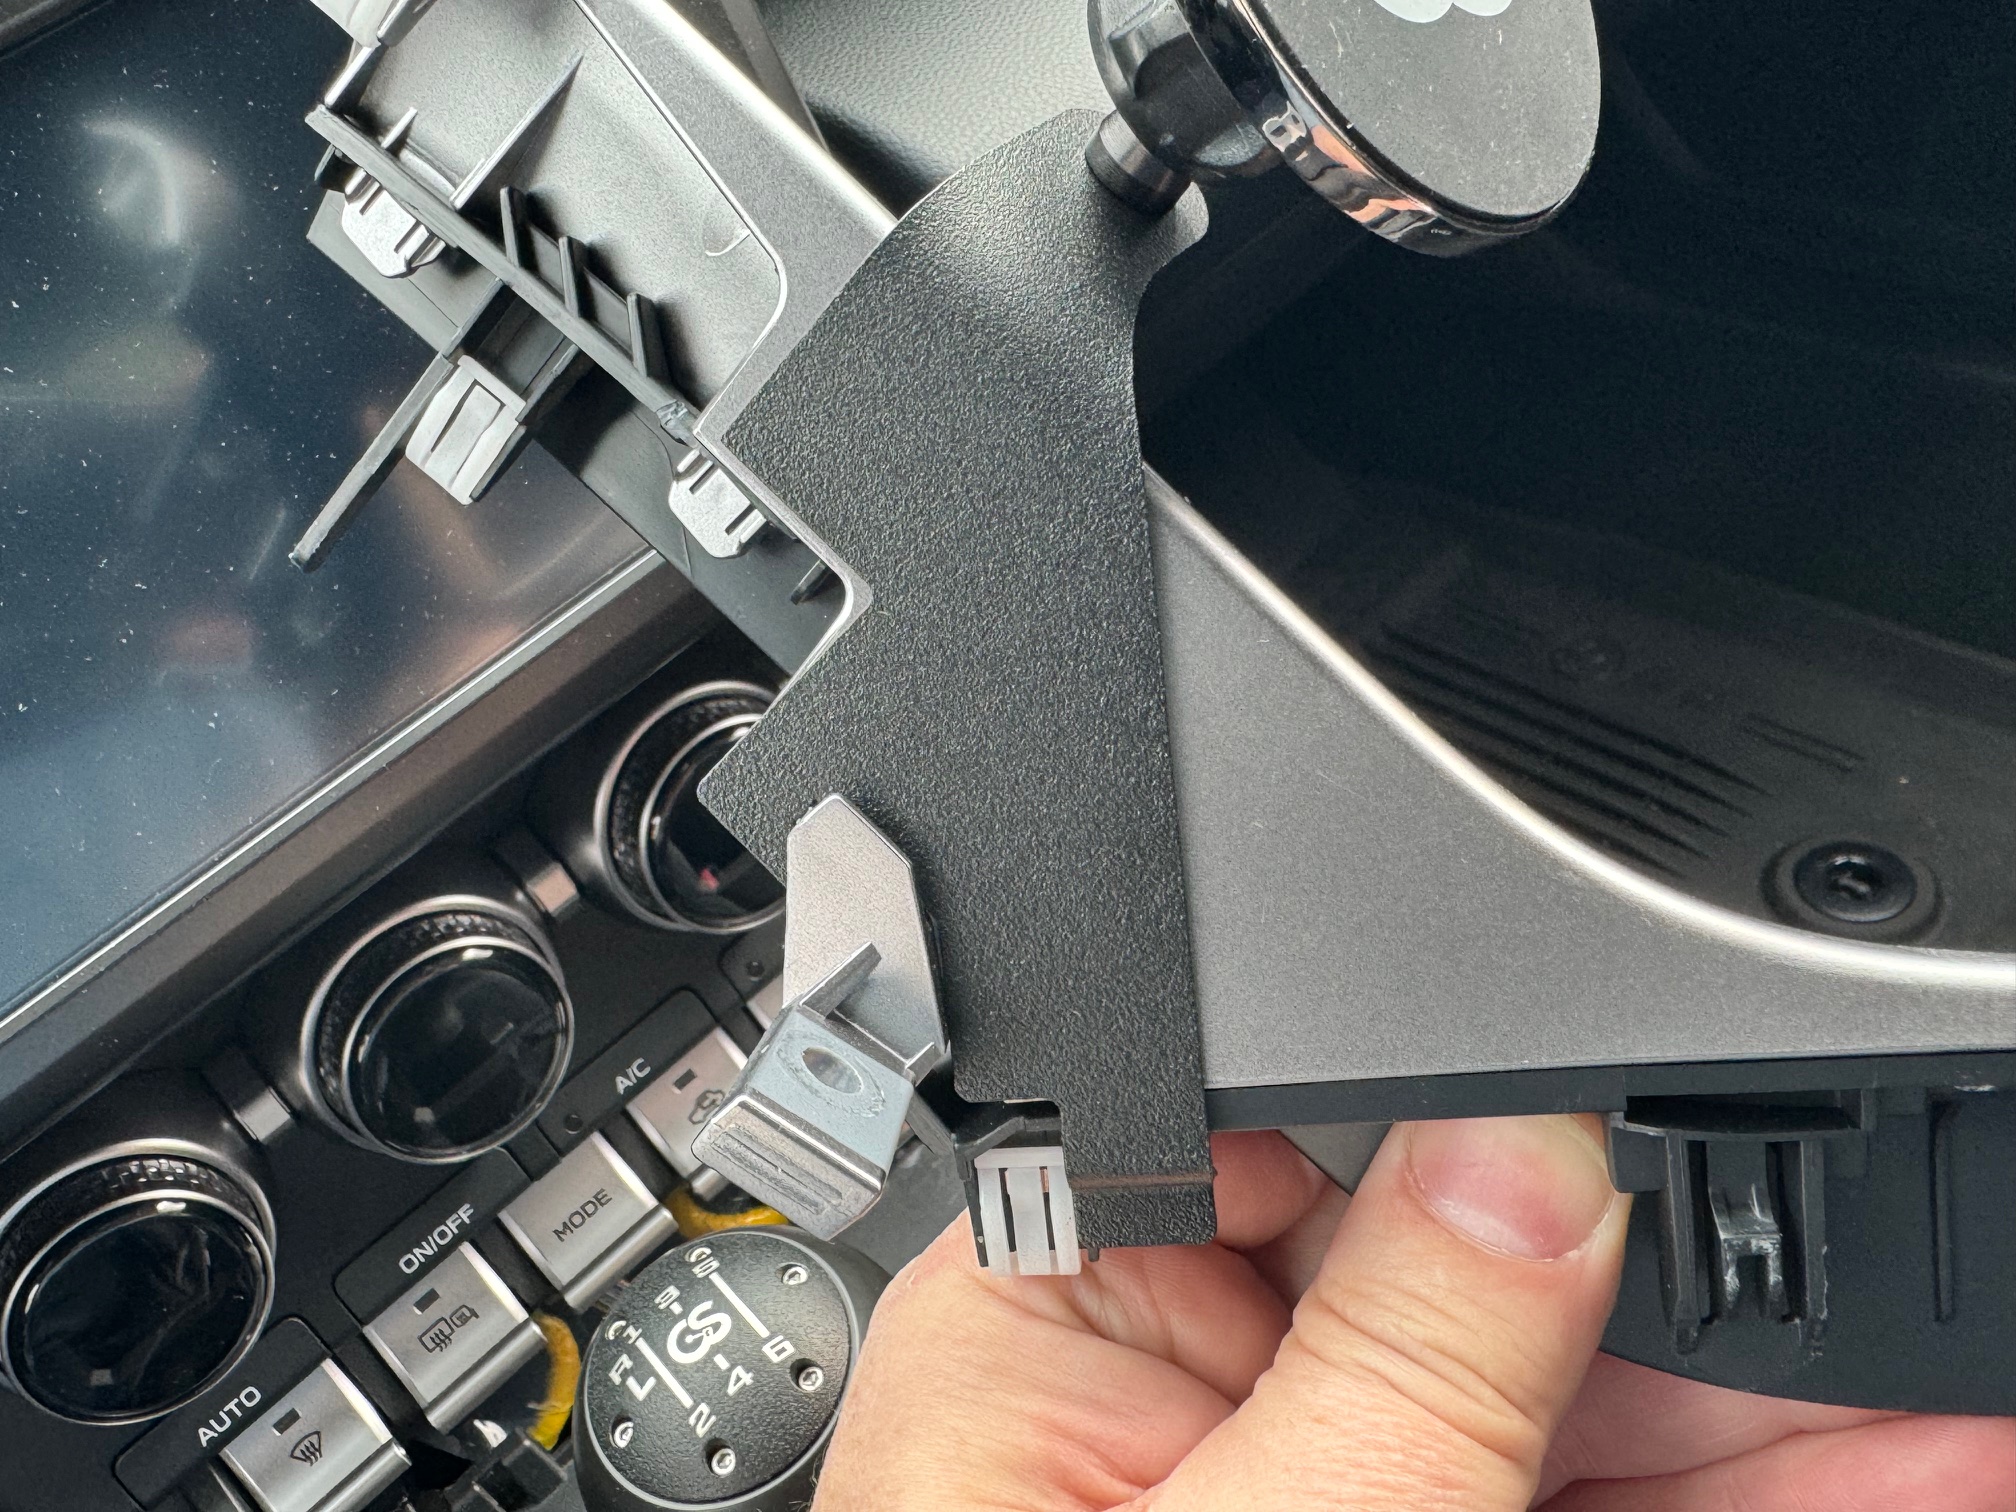
- You now have an exposed edge of the center console trim to facilitate its removal. Pull up to begin disengaging the clips and then work your way around the trim to pull it off the dash.
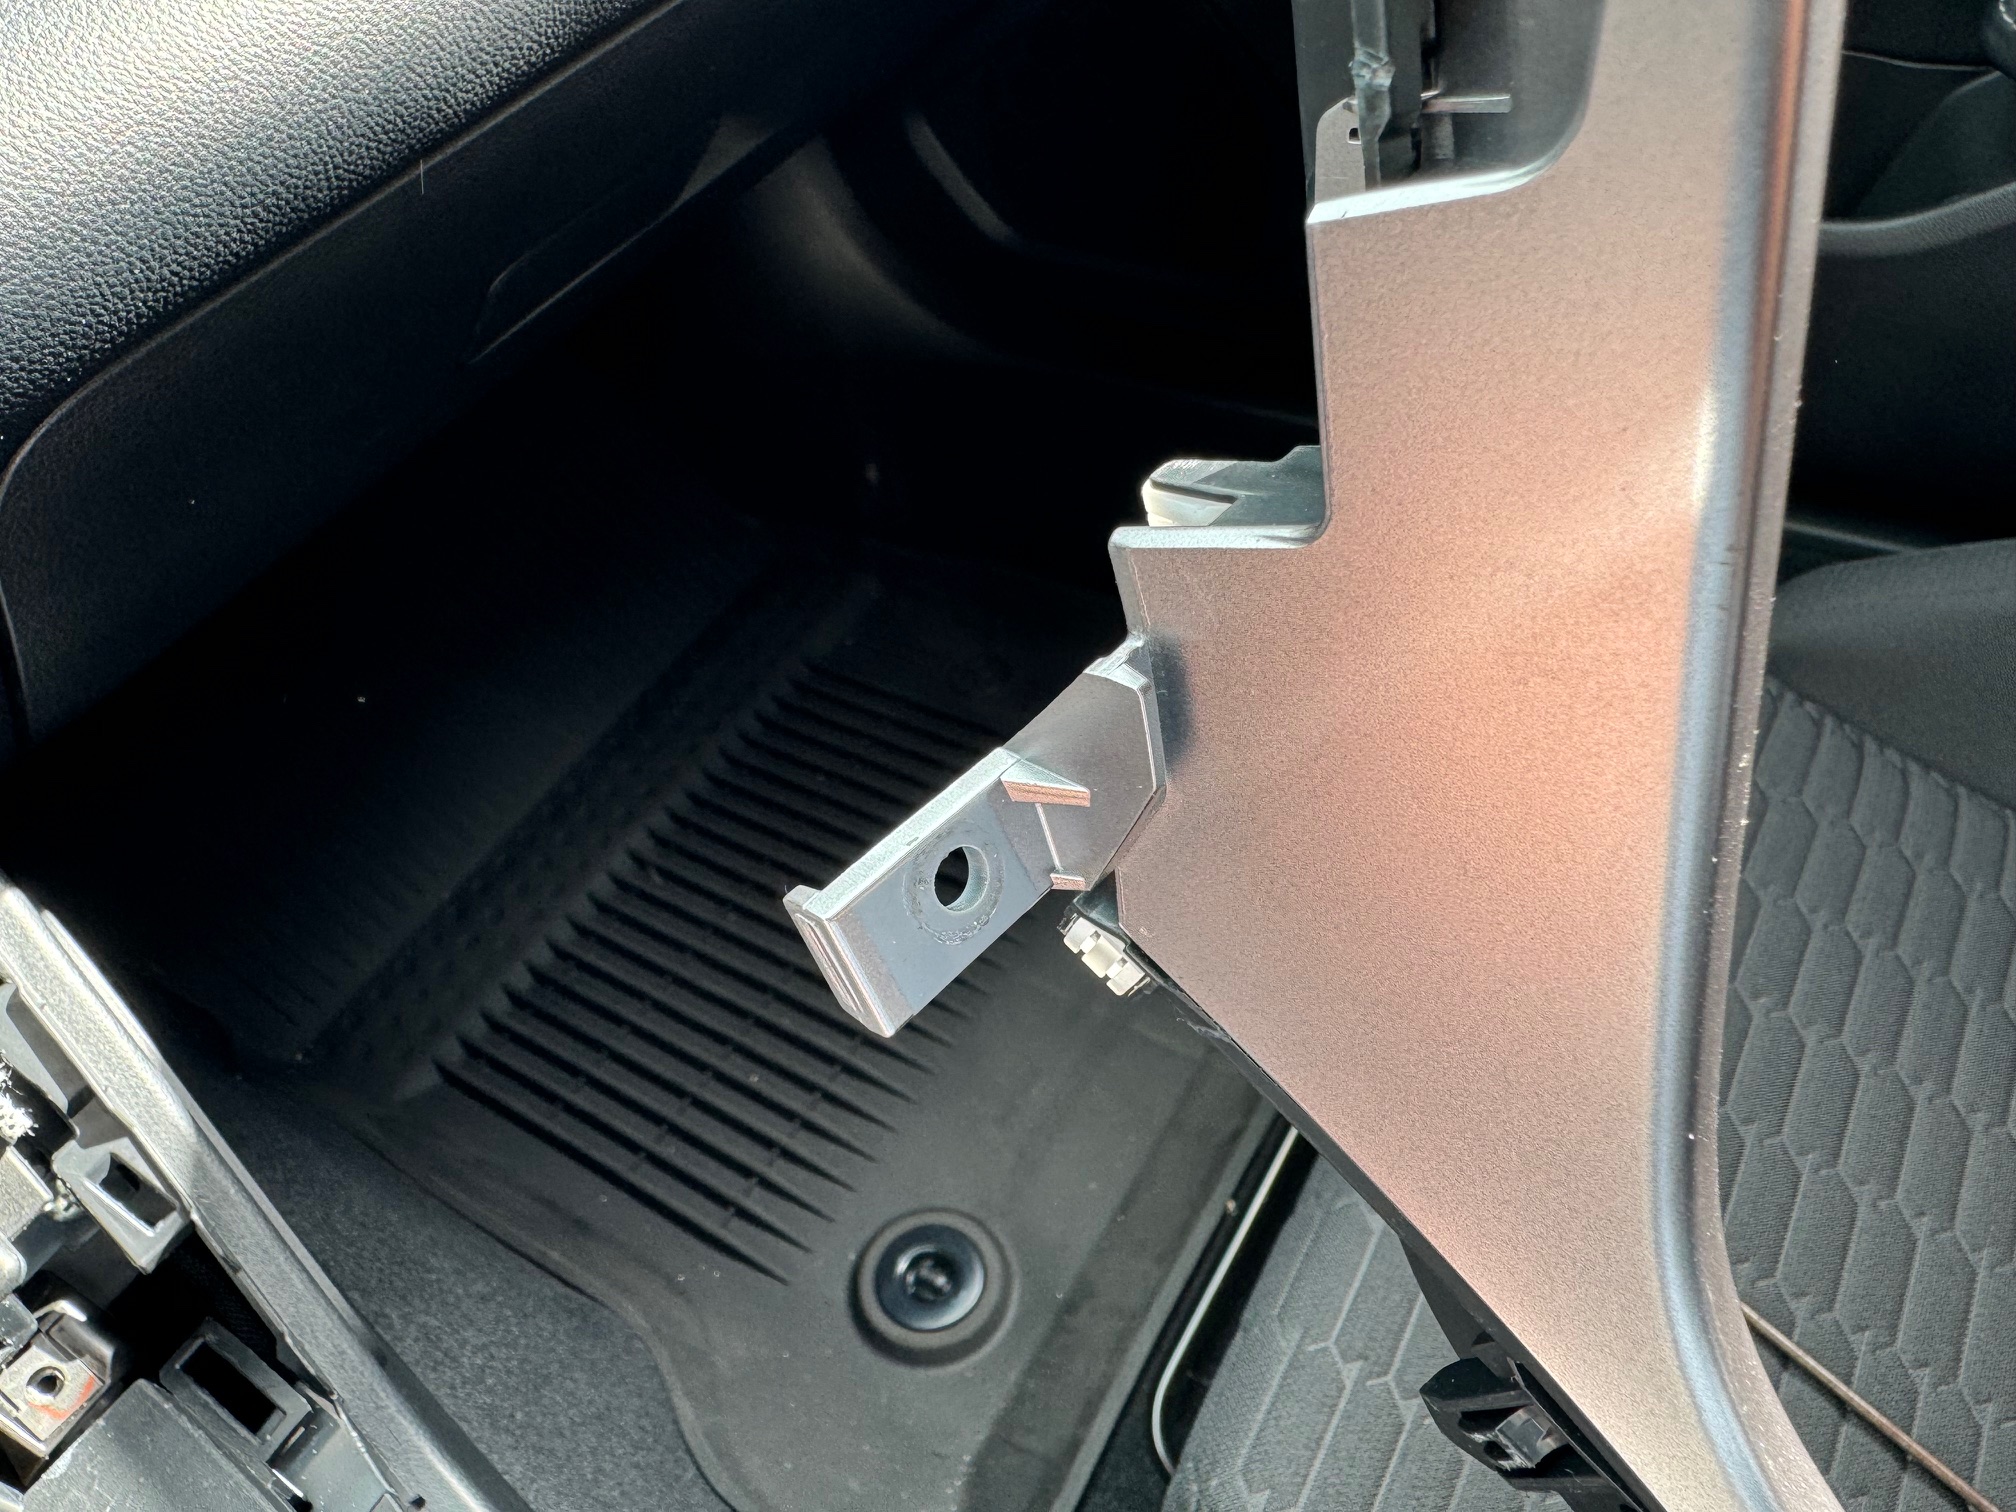
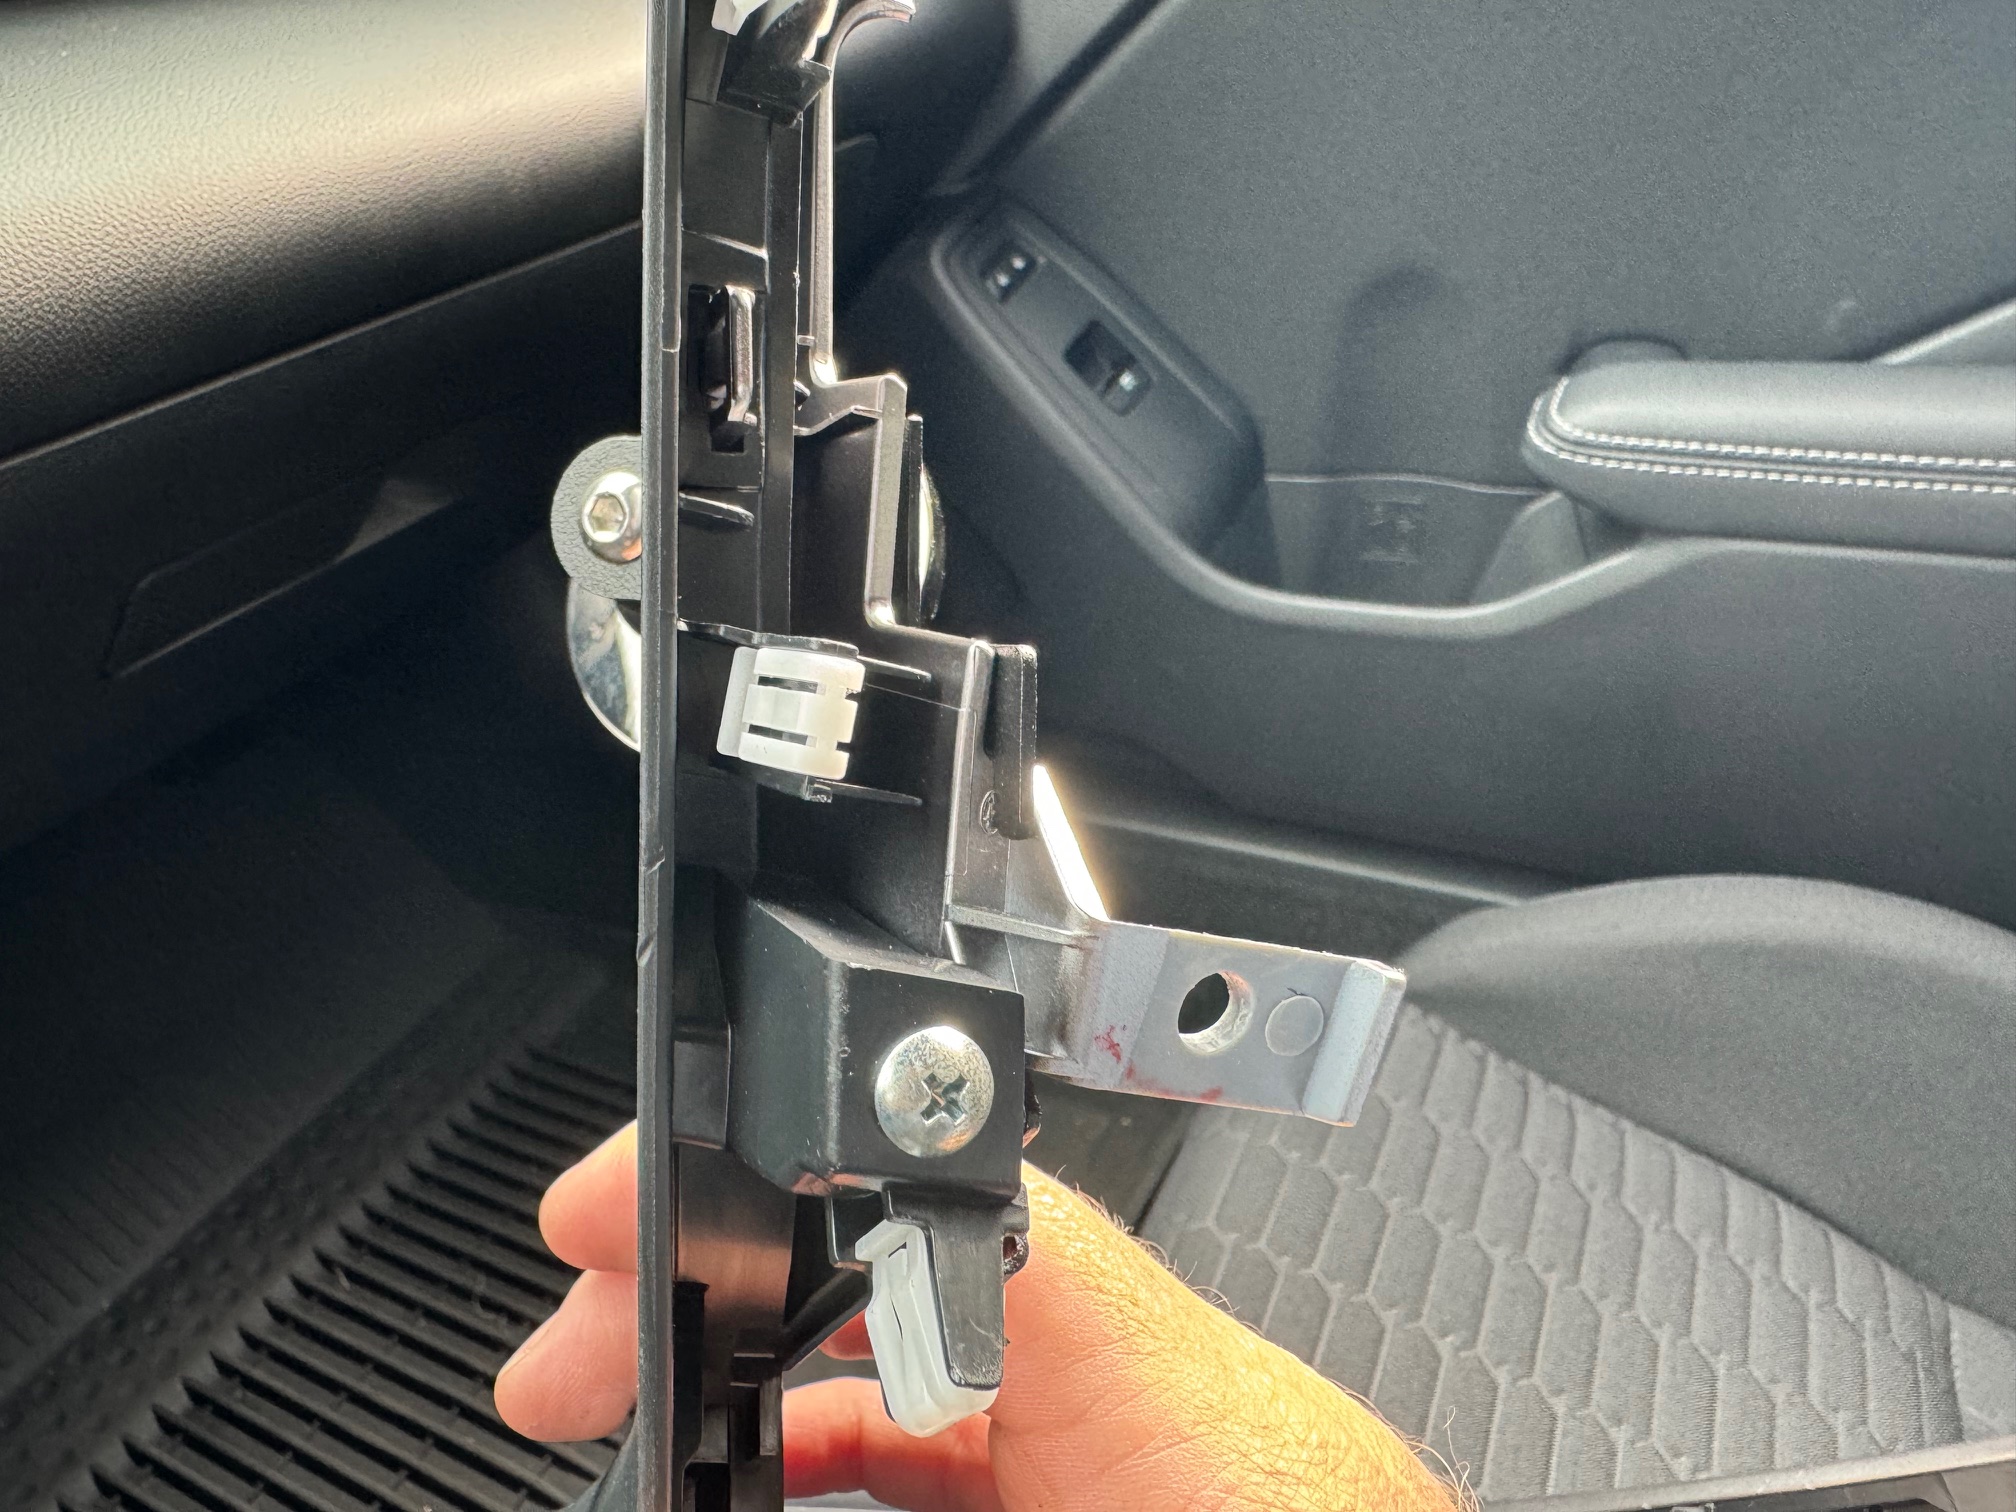
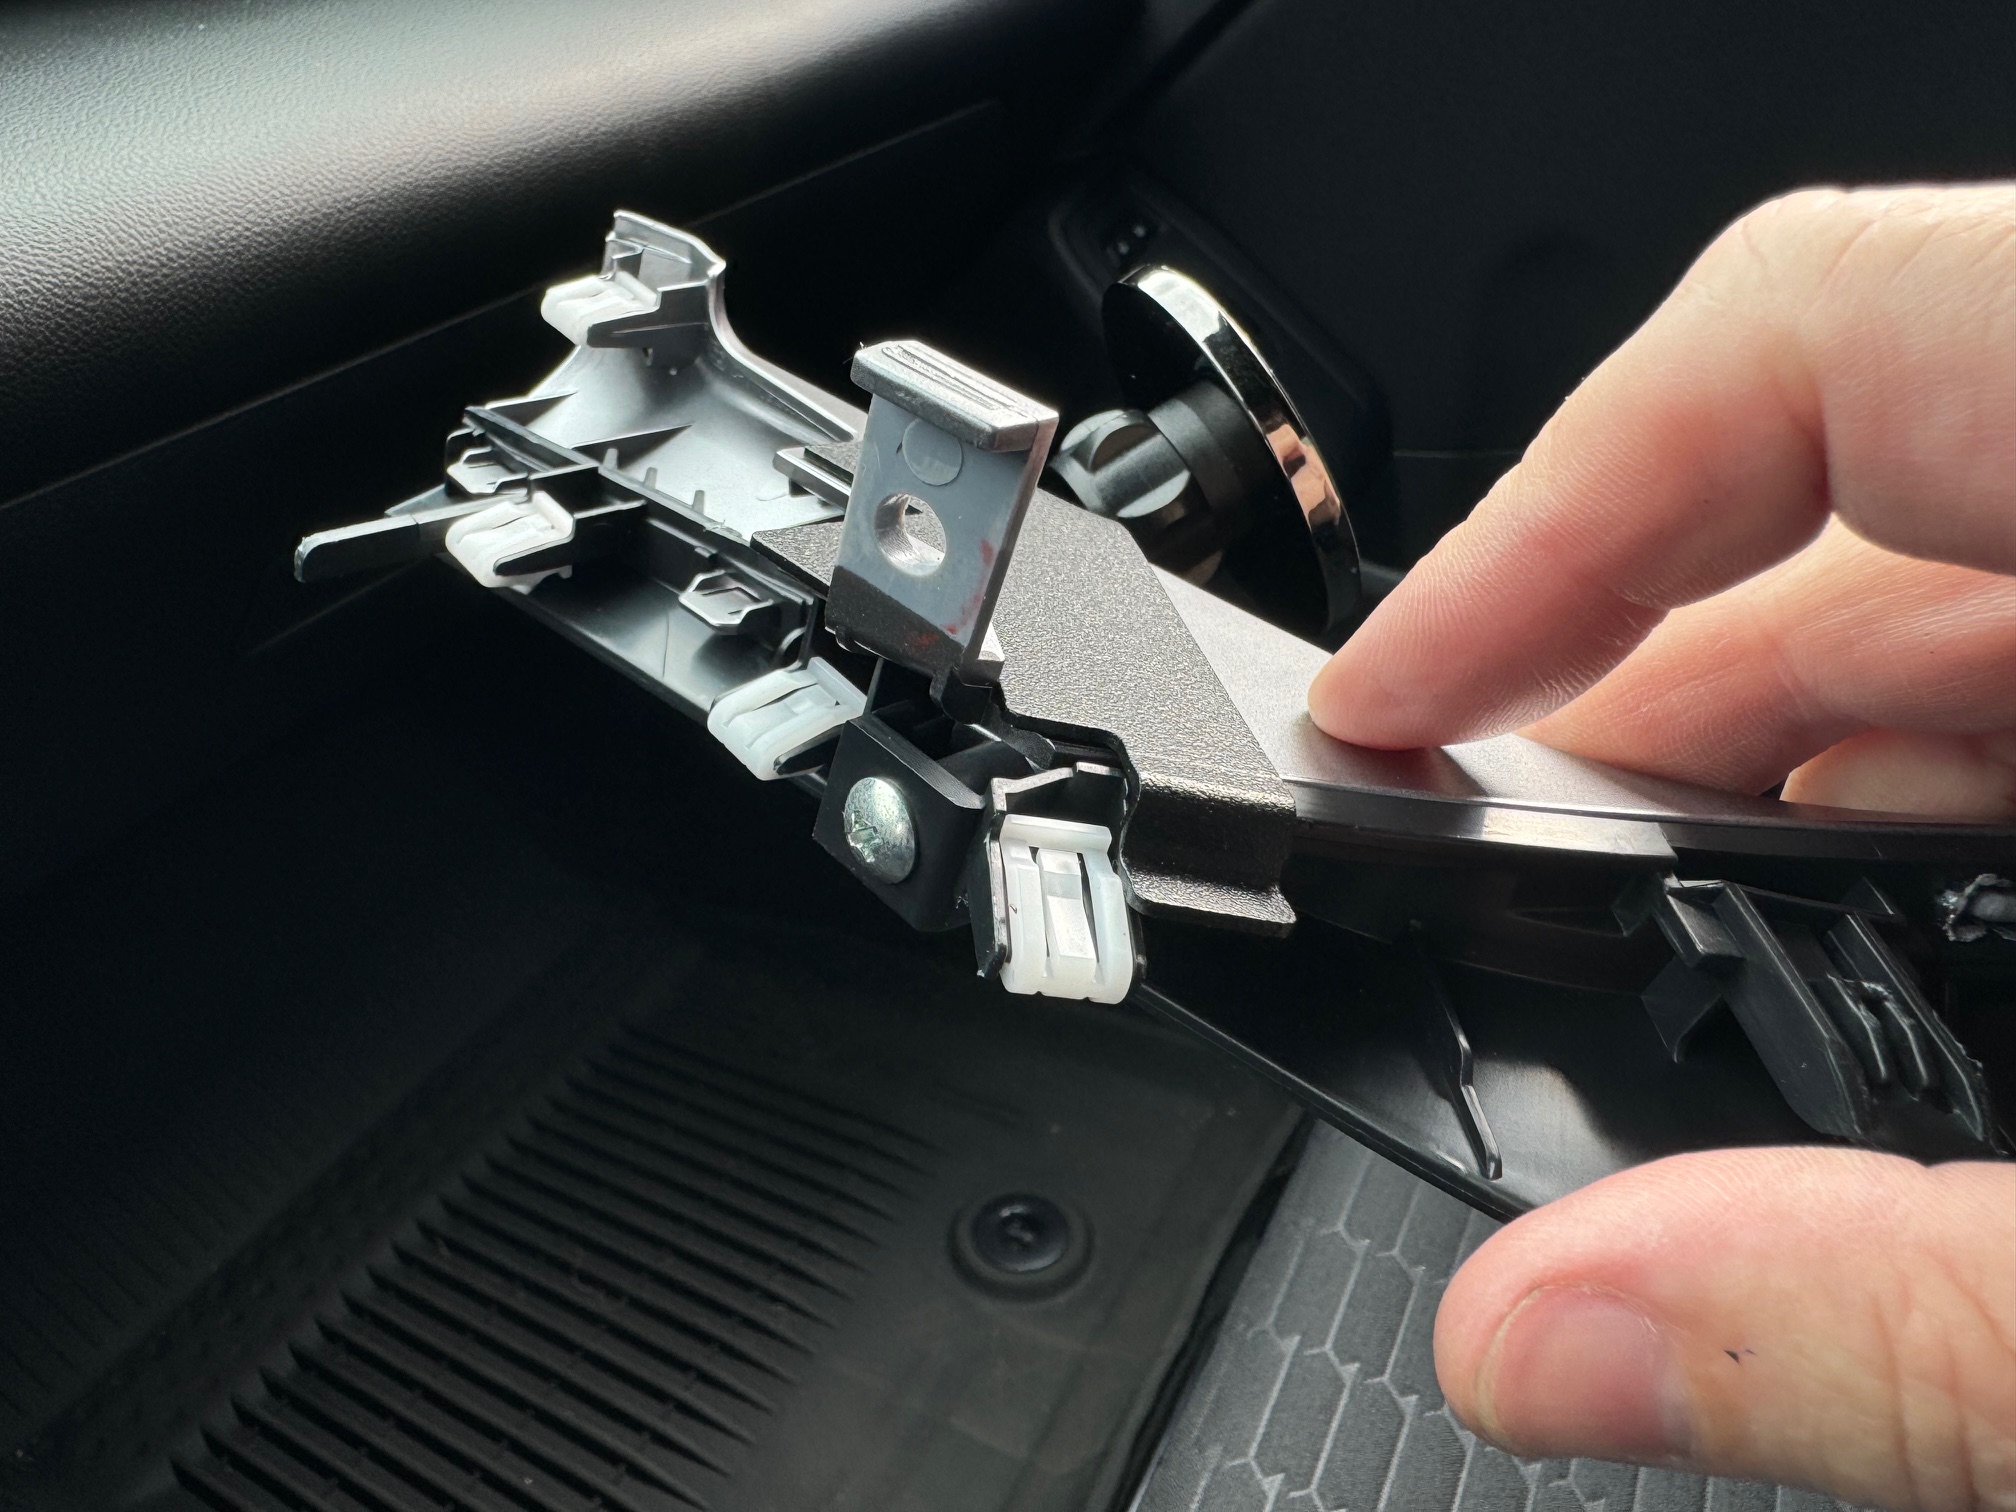
- With the center trim surround now removed from the dash, locate the tab on the right side that one of the Phillips head screws goes through. There is a small gap between the screw tab and the inner flat surface of the trim surround that we will be installing the phone mount bracket onto.
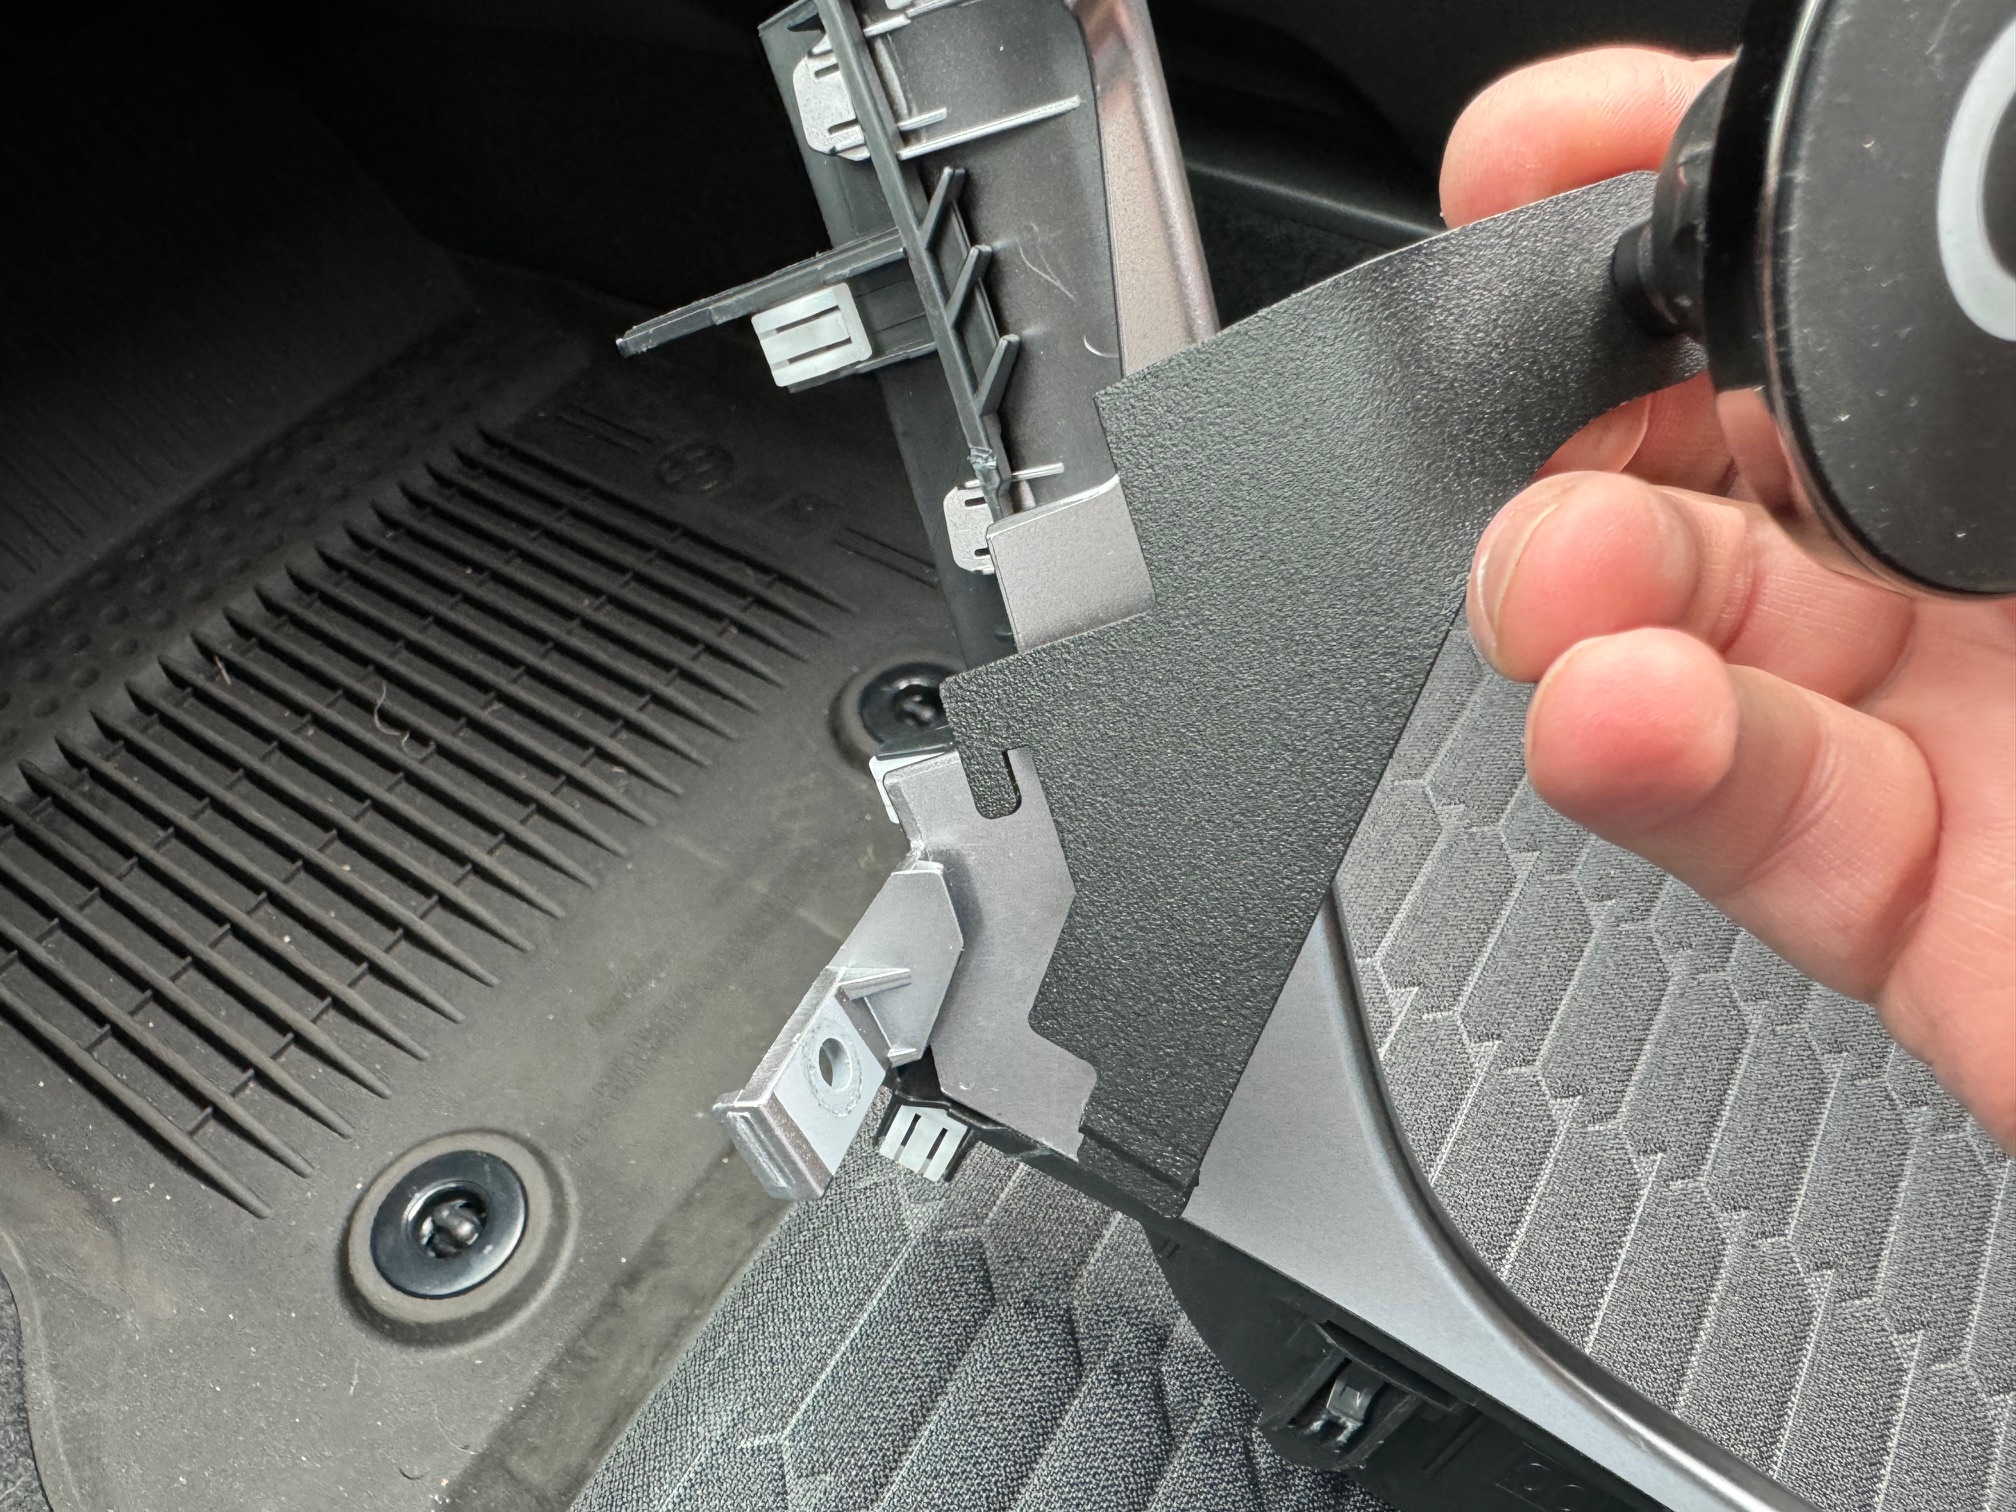
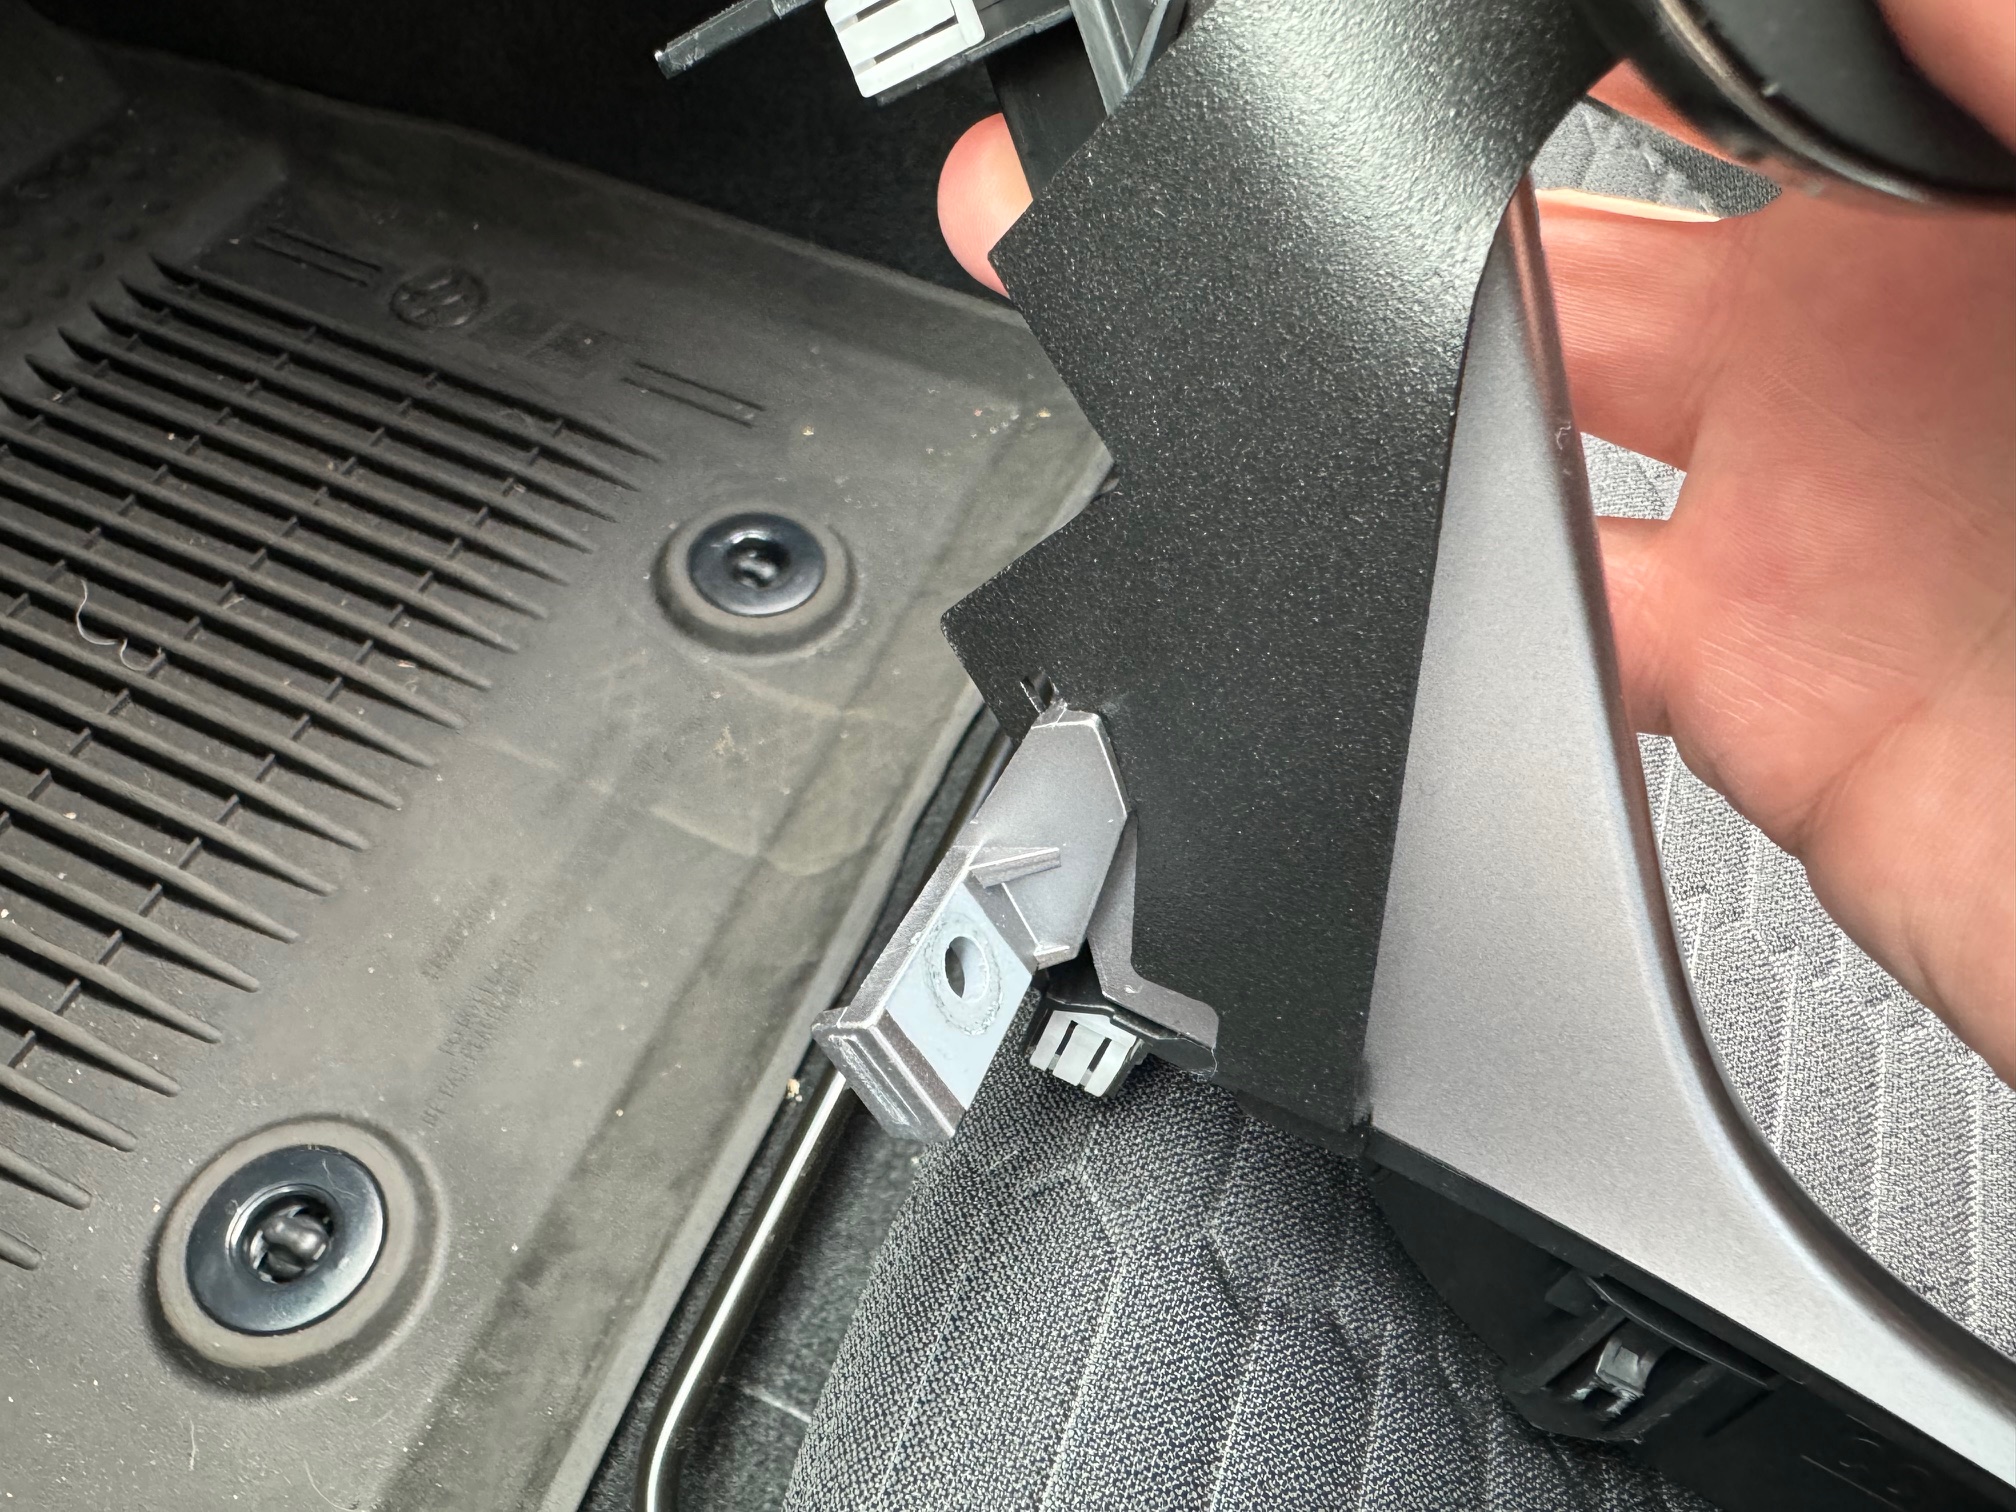
- The CravenSpeed phone mount bracket has a hook feature that will fit down into the slot/gap of the screw tab.
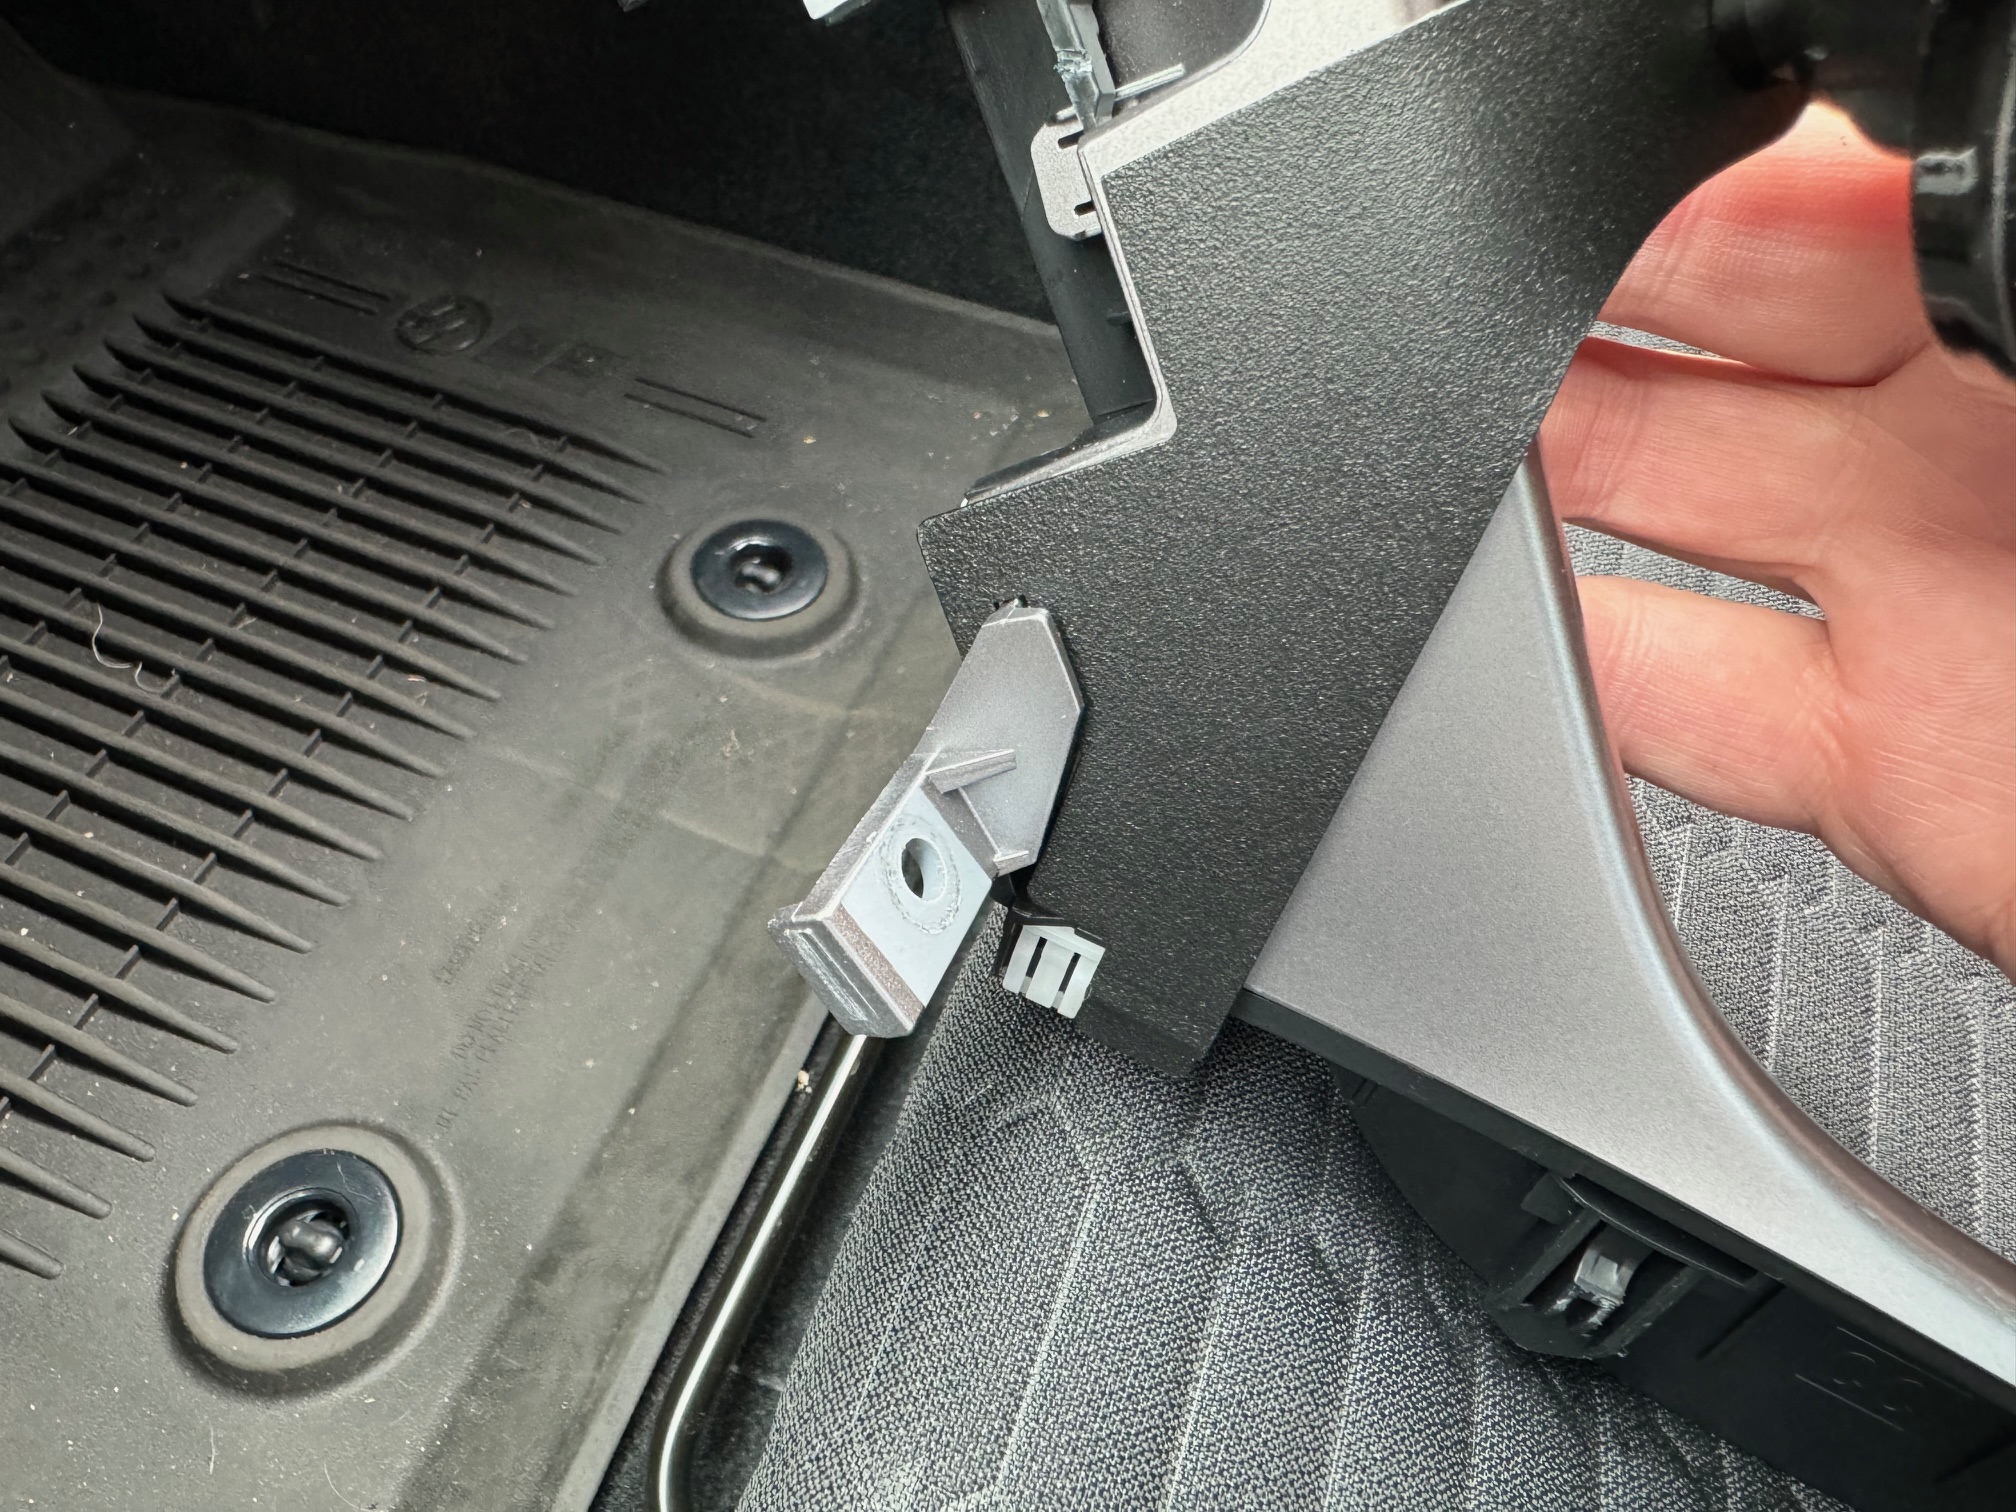
- Ensure that the main portion of the phone mount bracket is flat against the inner surface of the trim surround and the lower tab is inline with the white plastic clip.
- Reinstall the center trim surround back onto the dash making sure the phone mount stays tucked into place. Press fit the upper tabbed sections into place first, then work your way down the sides and around to the backside of the shifter surround. Refit the ebrake boot panel and reinstall the two Phillips head screws. Lastly, refit the small trim plate.
That's all there is to it! Congrats on your installation!