THANK YOU
for purchasing the MINI Gen2 Gemini Smartphone Mount from CravenSpeed. This product is made from the highest grade materials, and is guaranteed to be free from defects.
You can buy our
CravenSpeed Gemini Phone Mount for MINI Gen 2 here
This kit is designed to allow the driver to position a smartphone for heads-up view without needing to handle the device. The Gemini mount allows you to customize your view by adjusting the extension arm to the angle that suits you.
The installation time for this product is approximately 15-30 min. It is highly recommended that you only use magnetic tip drivers, as the screws securing the tachometer to the steering column are easy to drop behind the dash and can be tricky to recover.
It is important to note that this CravenSpeed Gemini Phone Mount is
compatible only with R55, R56, R57, R58, R59 and R60 MINI Cooper vehicles
. For other MINIs, please refer to these Installation Guides:
If you have any problems during installation, please contact the company that sold you this product to work through the problem. When contacting support, please have your order number and vehicle chassis number ready. If you’re unsure what your chassis number is, you can refer to our
MINI Chassis Model Code Guide
.
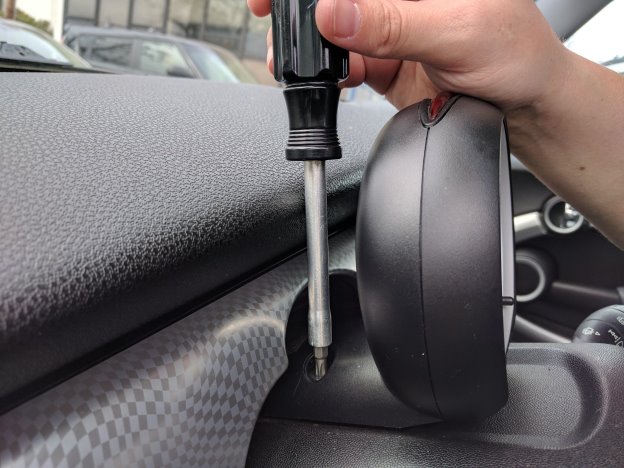
Start by lowering the steering column to the lowest position.
Find the 2 screws that fasten the tachometer to the steering column and remove them using your T-30 Torx Driver. Be careful not to drop them as this can double your install time! (This is where a magnetic tip comes in handy) Keep these Torx screws safe as you will need to re-install them later.
The tachometer is fastened to rails on the steering column, so take note as you remove it. It will be important to realign this rail for proper re-installation.
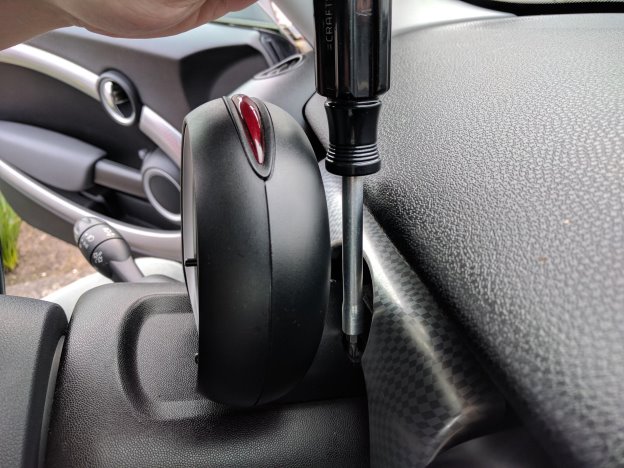
Pull the tachometer towards you to slide it off of the hidden rail. Lean the tach towards the wheel to gain access to the screws on the back of it. Don’t pull too strongly as the wiring will stay connected.
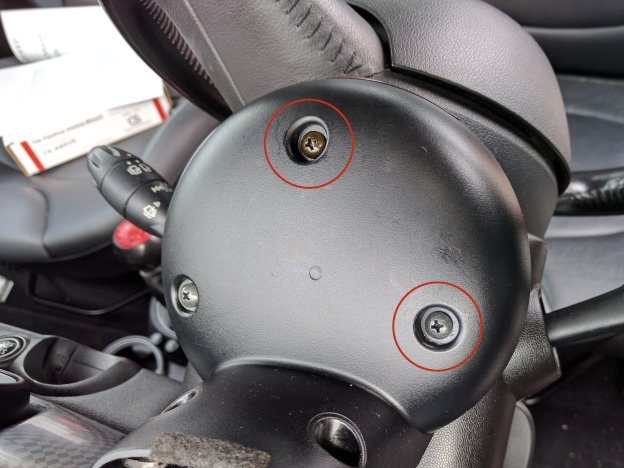
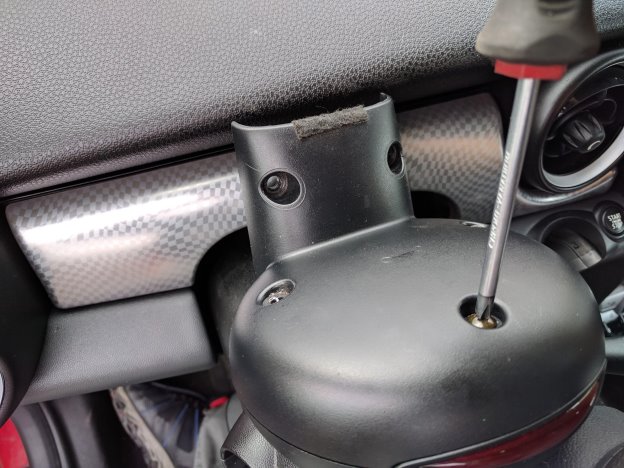
Use a Phillips head screwdriver to remove two of the three screws in the back of the tachometer. (shown below) You will not need these to complete the installation, but it is a good idea to hang onto them in case you ever remove the Gemini Mount.
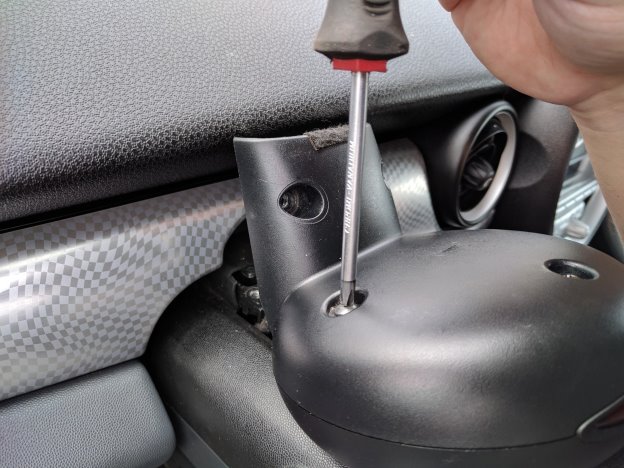
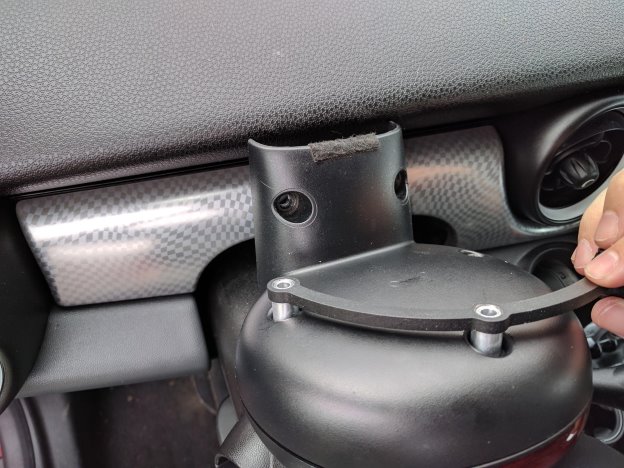
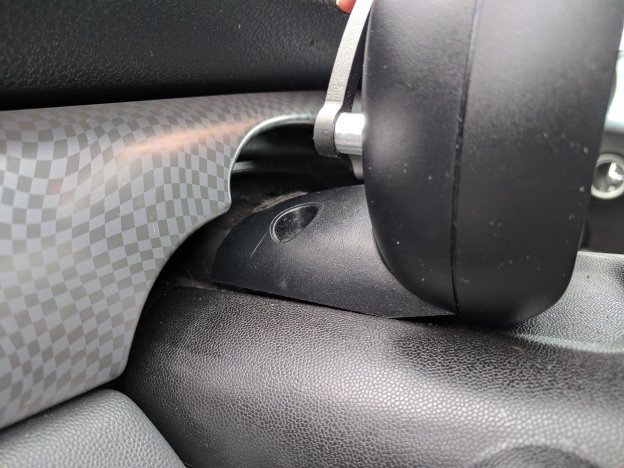
Align the mount with it’s aluminum spacers over the two holes shown here:
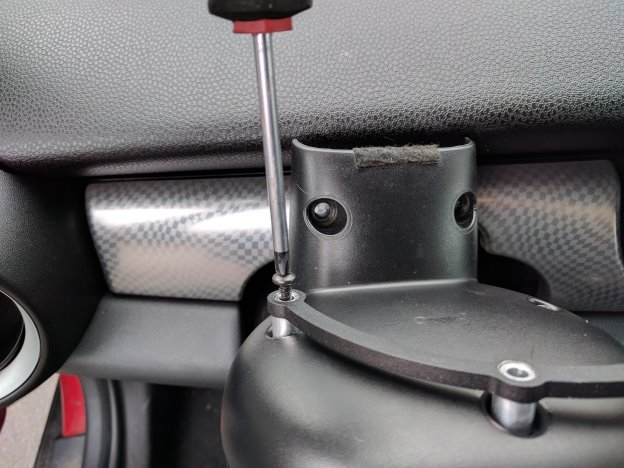
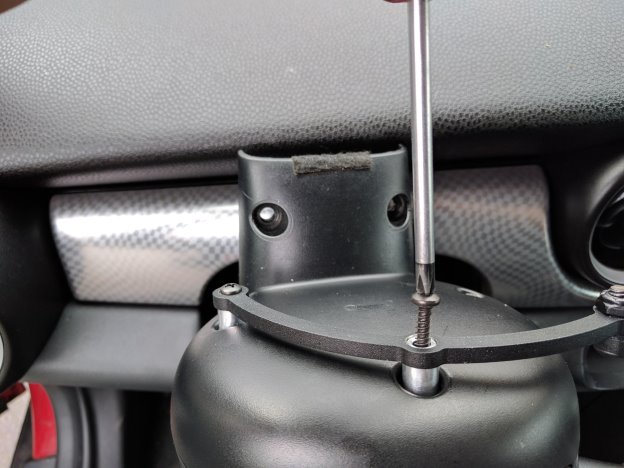
Use the included screws to secure the bracket to the back of the tach. These screws are slightly longer and wider than the factory screws. This is to ensure a secure attachment of the mount to the tach. They require a bit more torque to install than the stock screws. Once the screw bottoms out, do not keep tightening as you risk stripping out the hole.
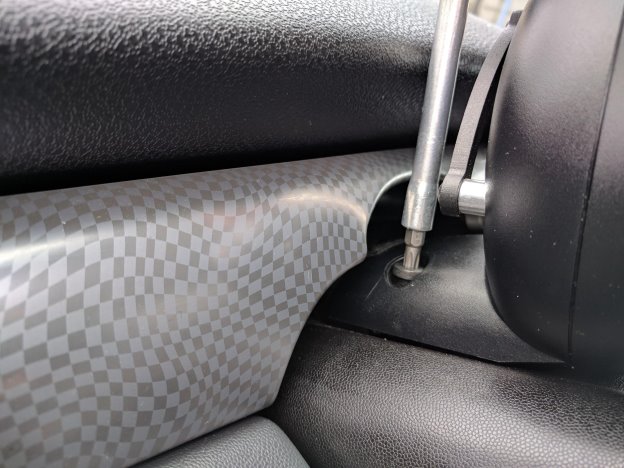
Align the tachometer back onto the steering column and re-install the two T-30 Torx screws.
Select which device holder you would like use (XXL Clip or Magnet). Next, simply loosen the collar and pop the holder onto the ball at the end of the extension arm, then tighten the collar back up. You can switch holders at any time using this same procedure in reverse. The extension arm can be adjusted to your preference as well with a 5/32" Hex Driver and 7/16" Wrench. Simply loosen the nut and bolt that secure the extension arm, adjust it into your preferred position and re-tighten the nut and bolt.
Parts Included:
Tools Required:
Procedure
Step 1 - Removing the Tachometer

IMPORTANT
Step 2 - Install the Bracket onto the Tachometer
Step 3 - Re-Install the Tachometer

Step 4 - Choose a Device Holder and Adjust As Needed