THANK YOU for purchasing The MINI Retaining Clip from CravenSpeed. This product is made from the highest grade materials and is guaranteed to be free from defects.
You can buy our CravenSpeed Shifter Retaining Clip for MINI here
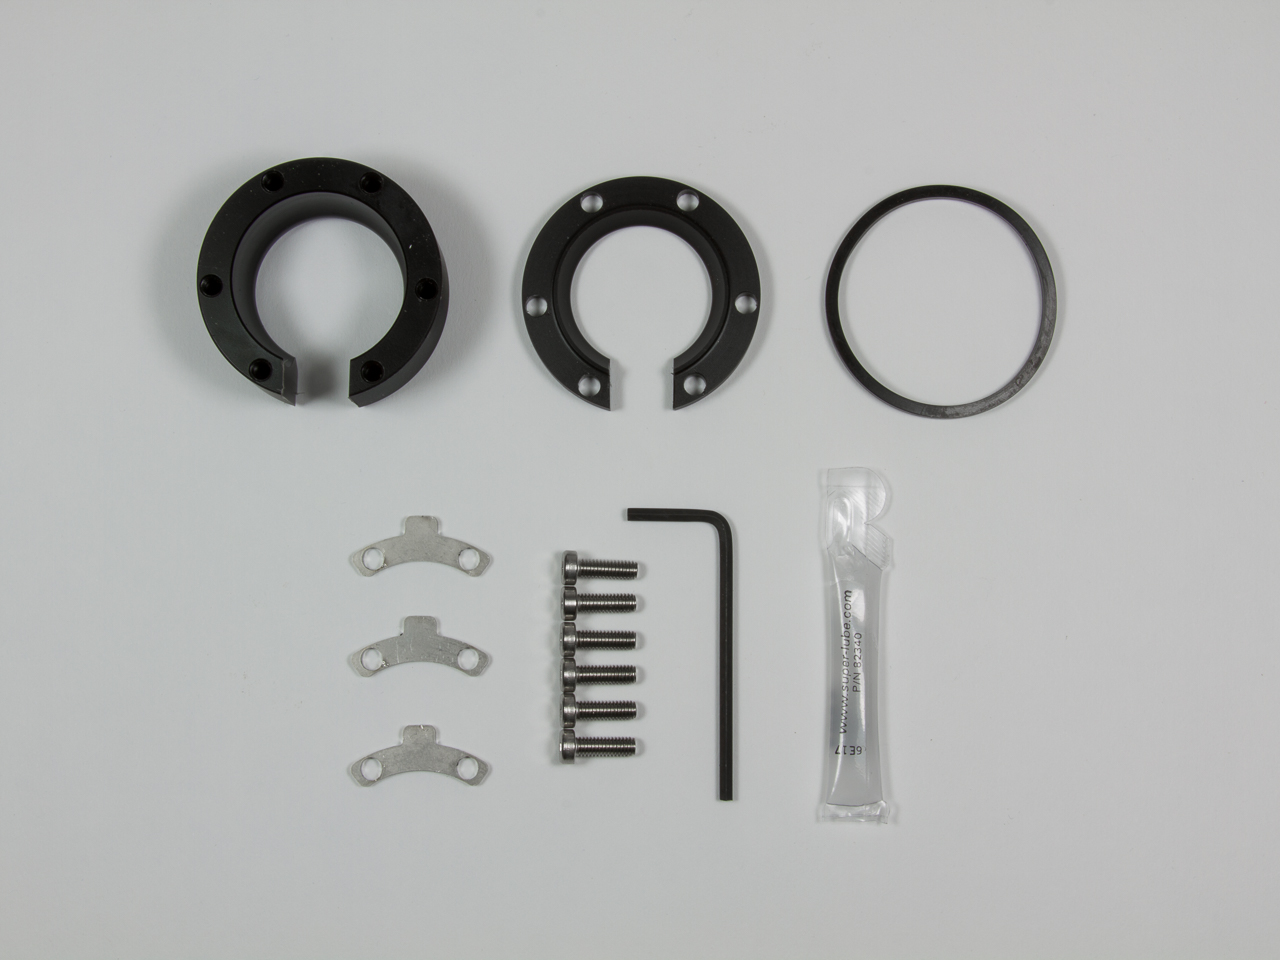
Parts Included:
- Acetal Lower Retainer
- Acetal Upper Retainer
- Buna-N Square O-Ring
- 6 ea Stainless Steel M4x0.7 Low Profile Hex Head Screws
- 3 ea Stainless Steel Retainer Locks
Tools Required:
- Included Synthetic Grease
- Included 2.5mm Hex Key
NOTE: These MINI Shift Retainer instructions outline the process of installing the fully machined retaining clip assembly. In order to install this assembly, you will need to first remove the shifter assembly from the housing. Instructions for this process can be found here .
Procedure
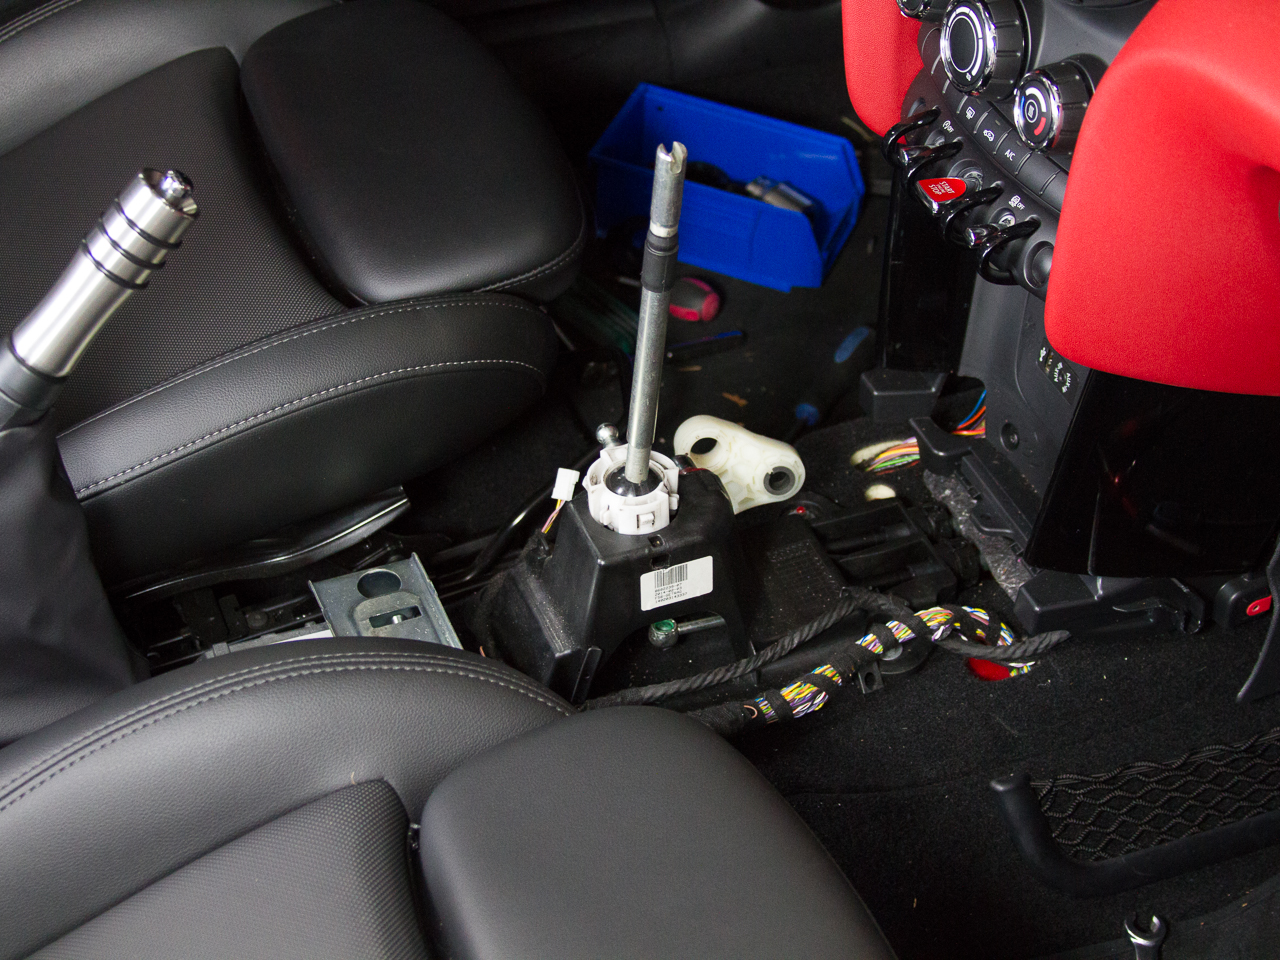
Disassembling the Shifter
- Referencing the instructions mentioned above, remove the shifter from the housing.
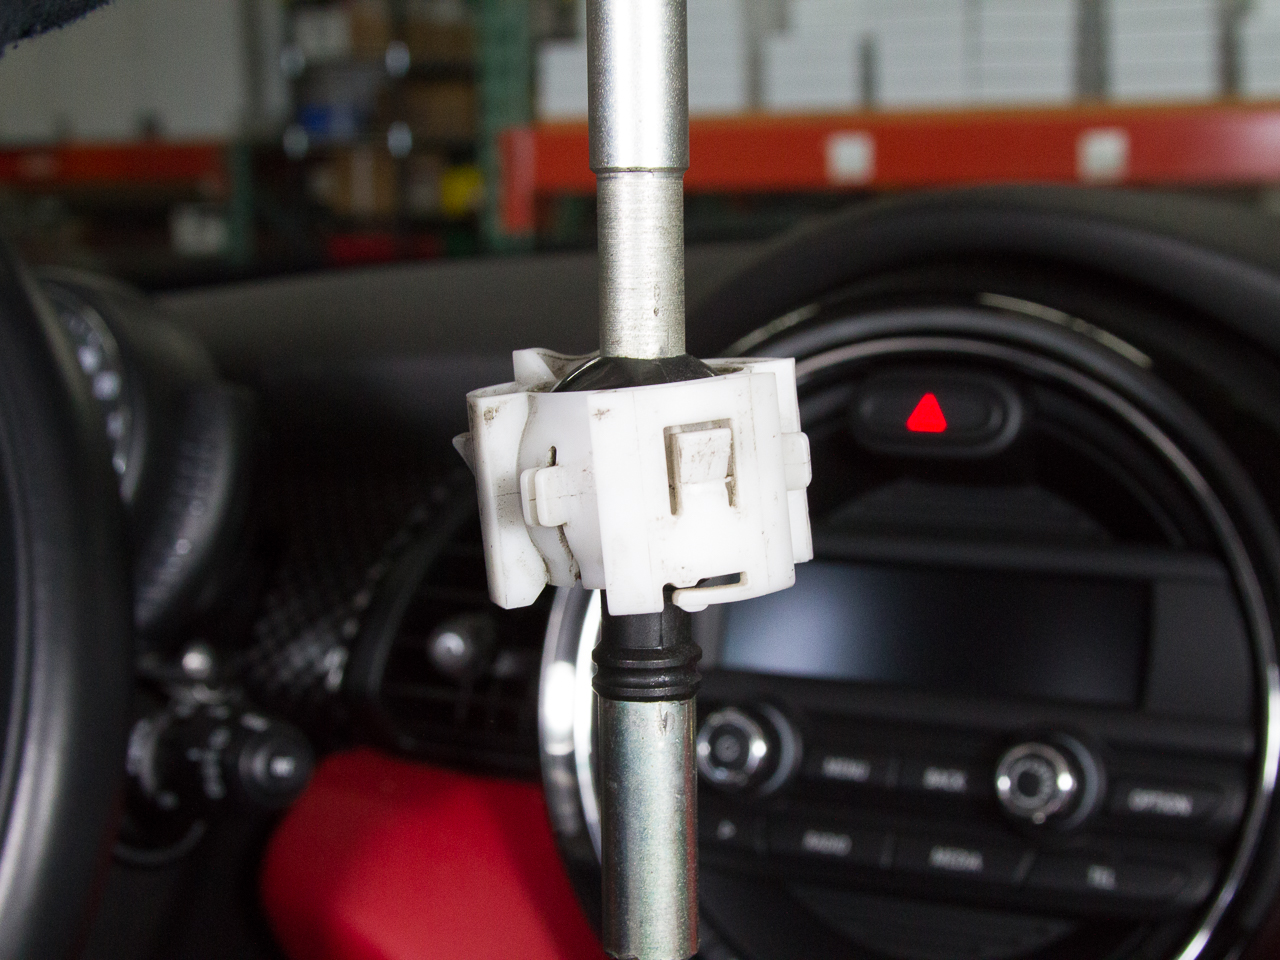
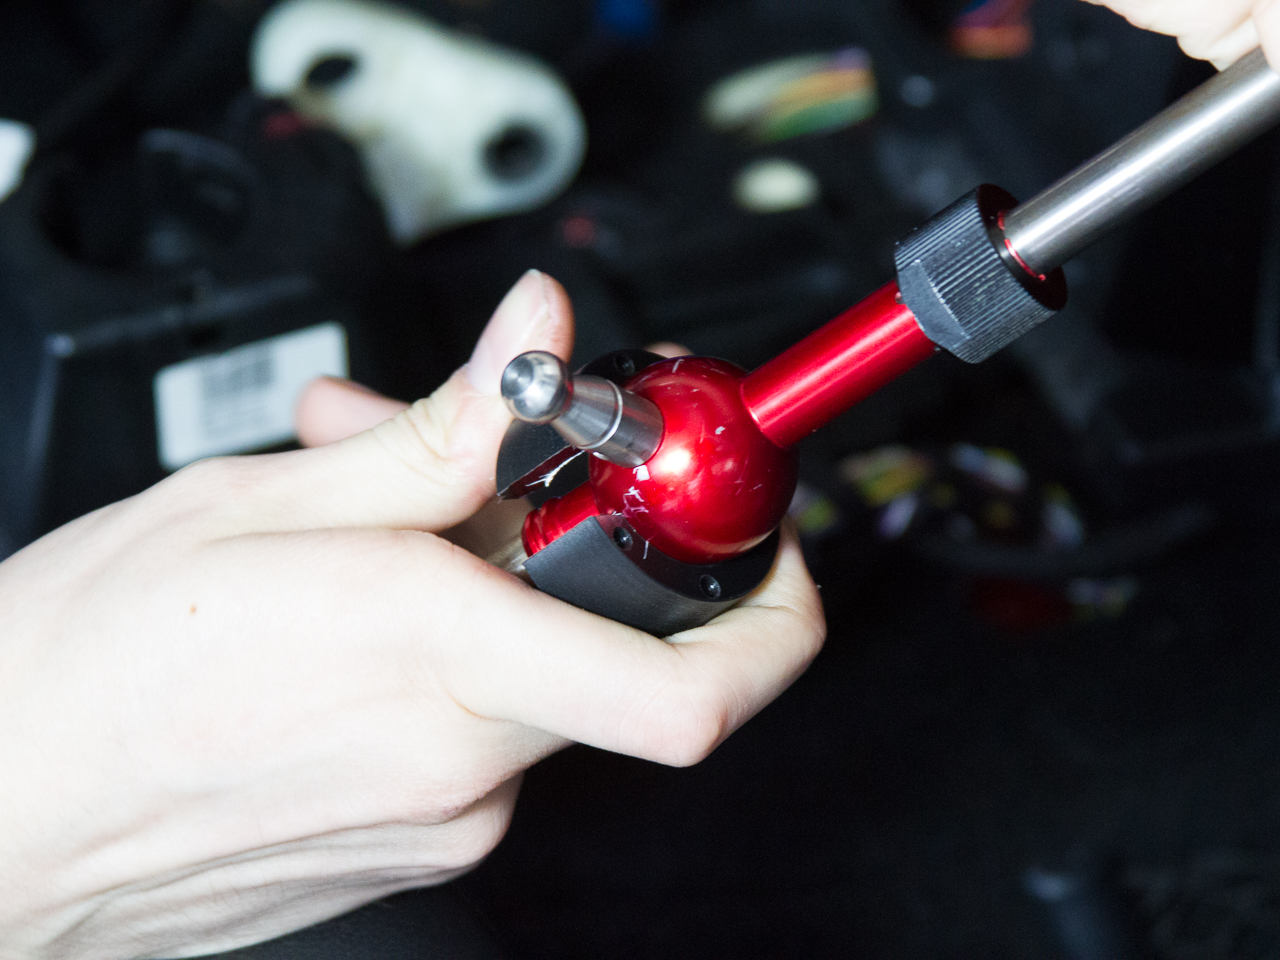
- If you are keeping your OEM shifter, remove the OEM retainer from the main pivot of the shifter by pulling up on it once the assembly has been removed from the housing.
Installing the Retainer onto the Shifter
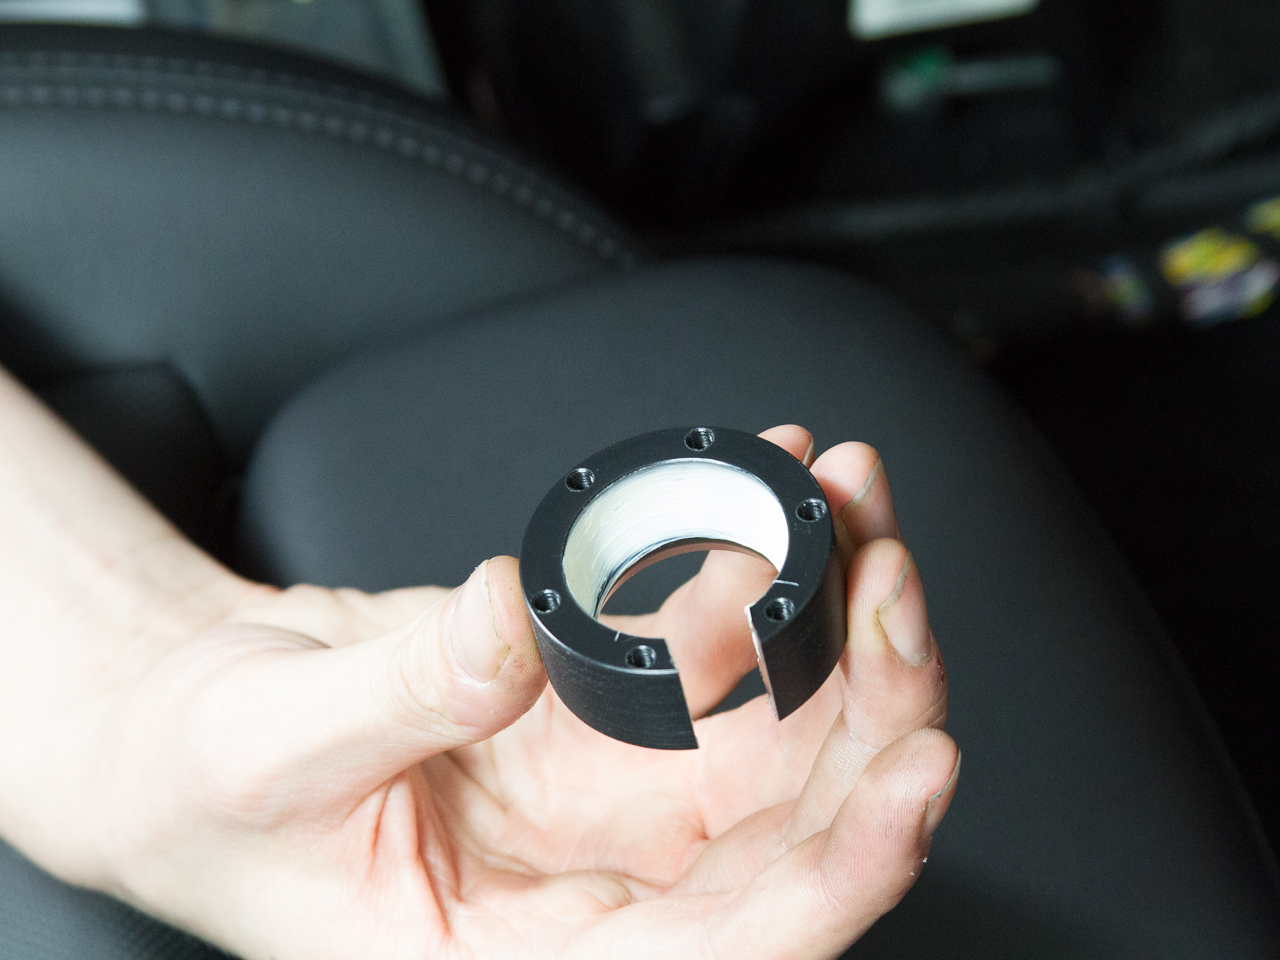
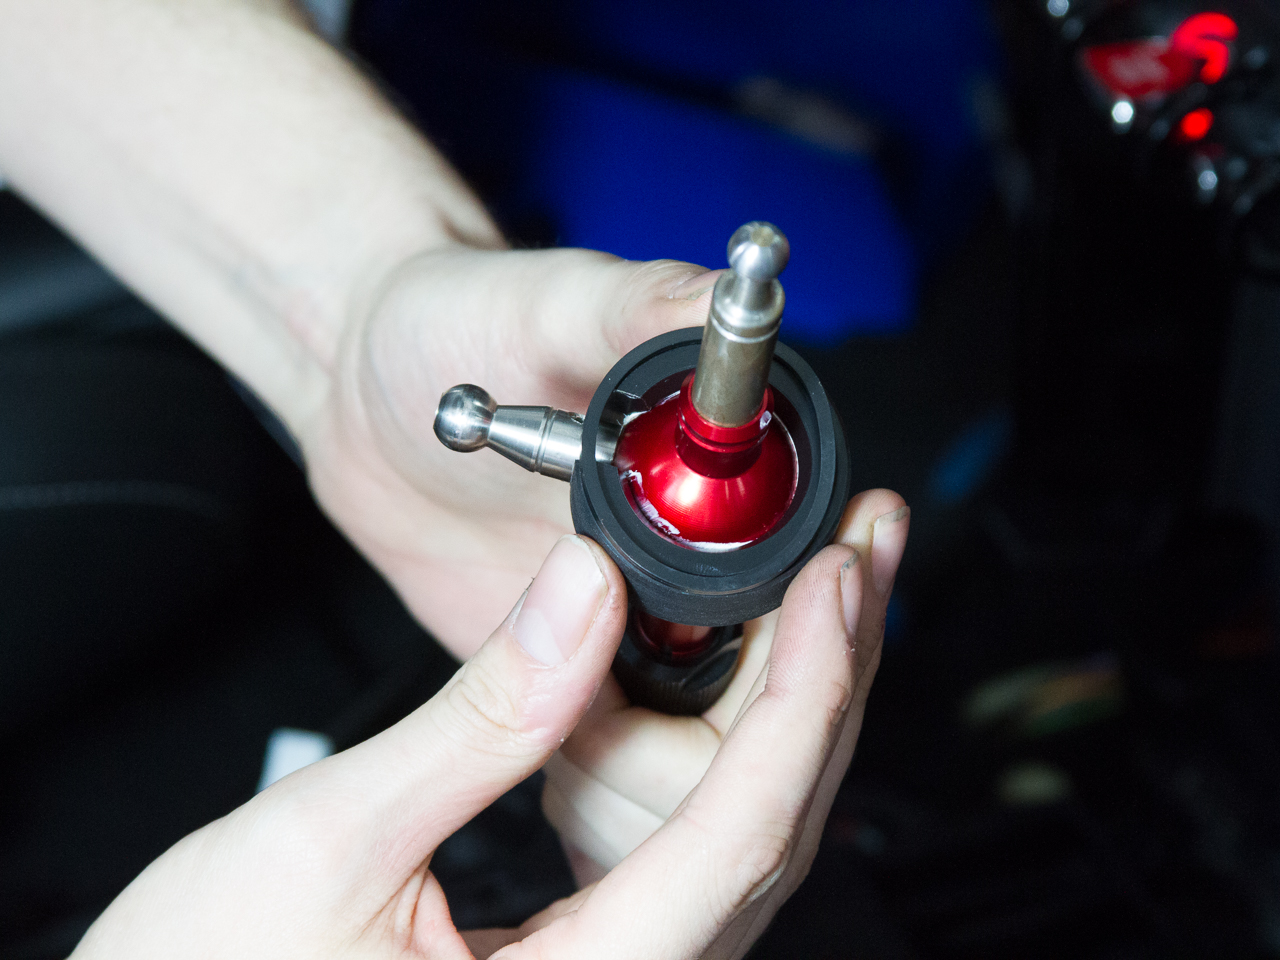
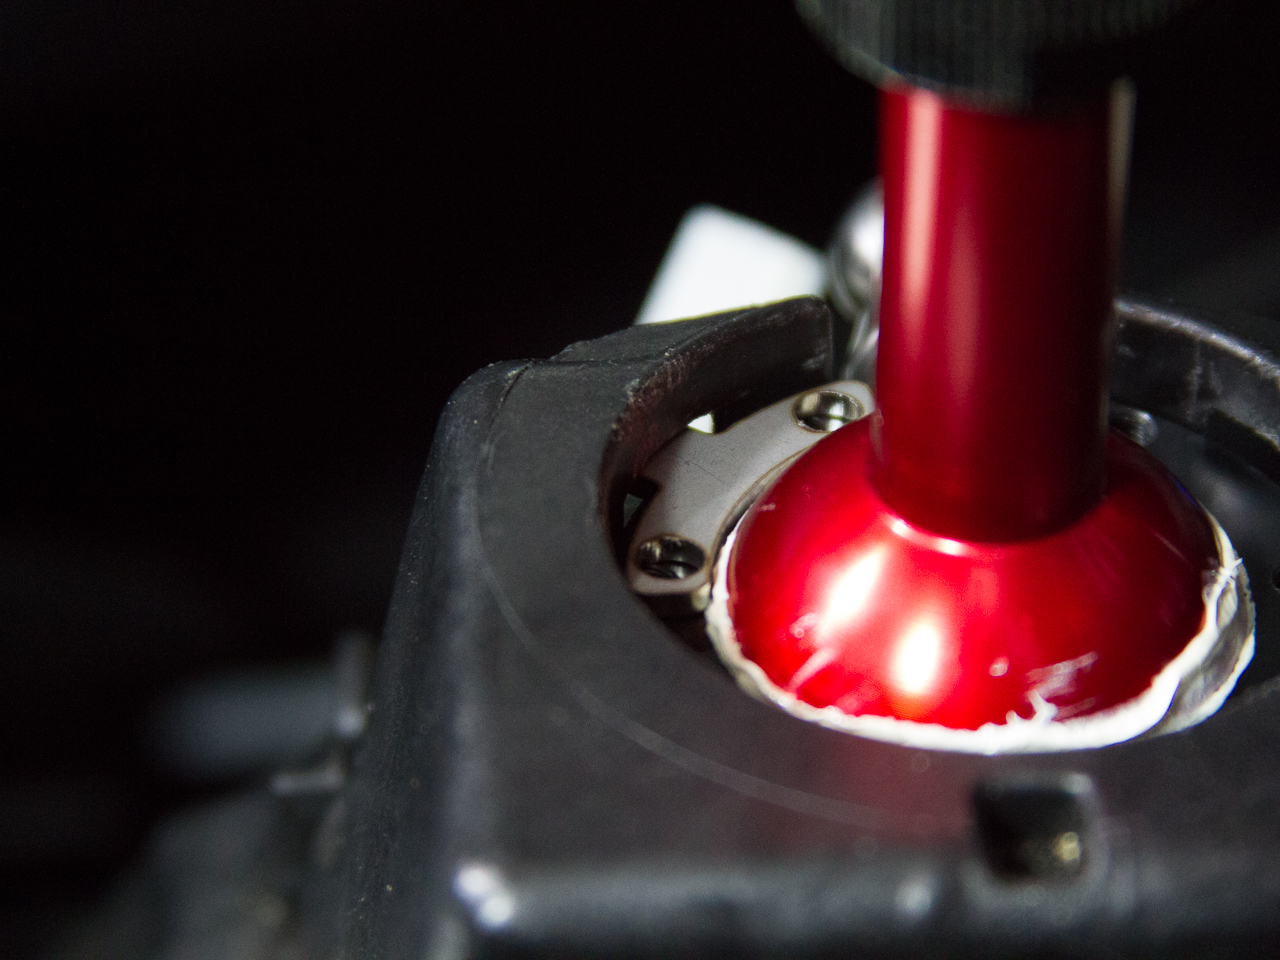
- Spread a small amount of the included grease into the ball feature of the lower retainer.
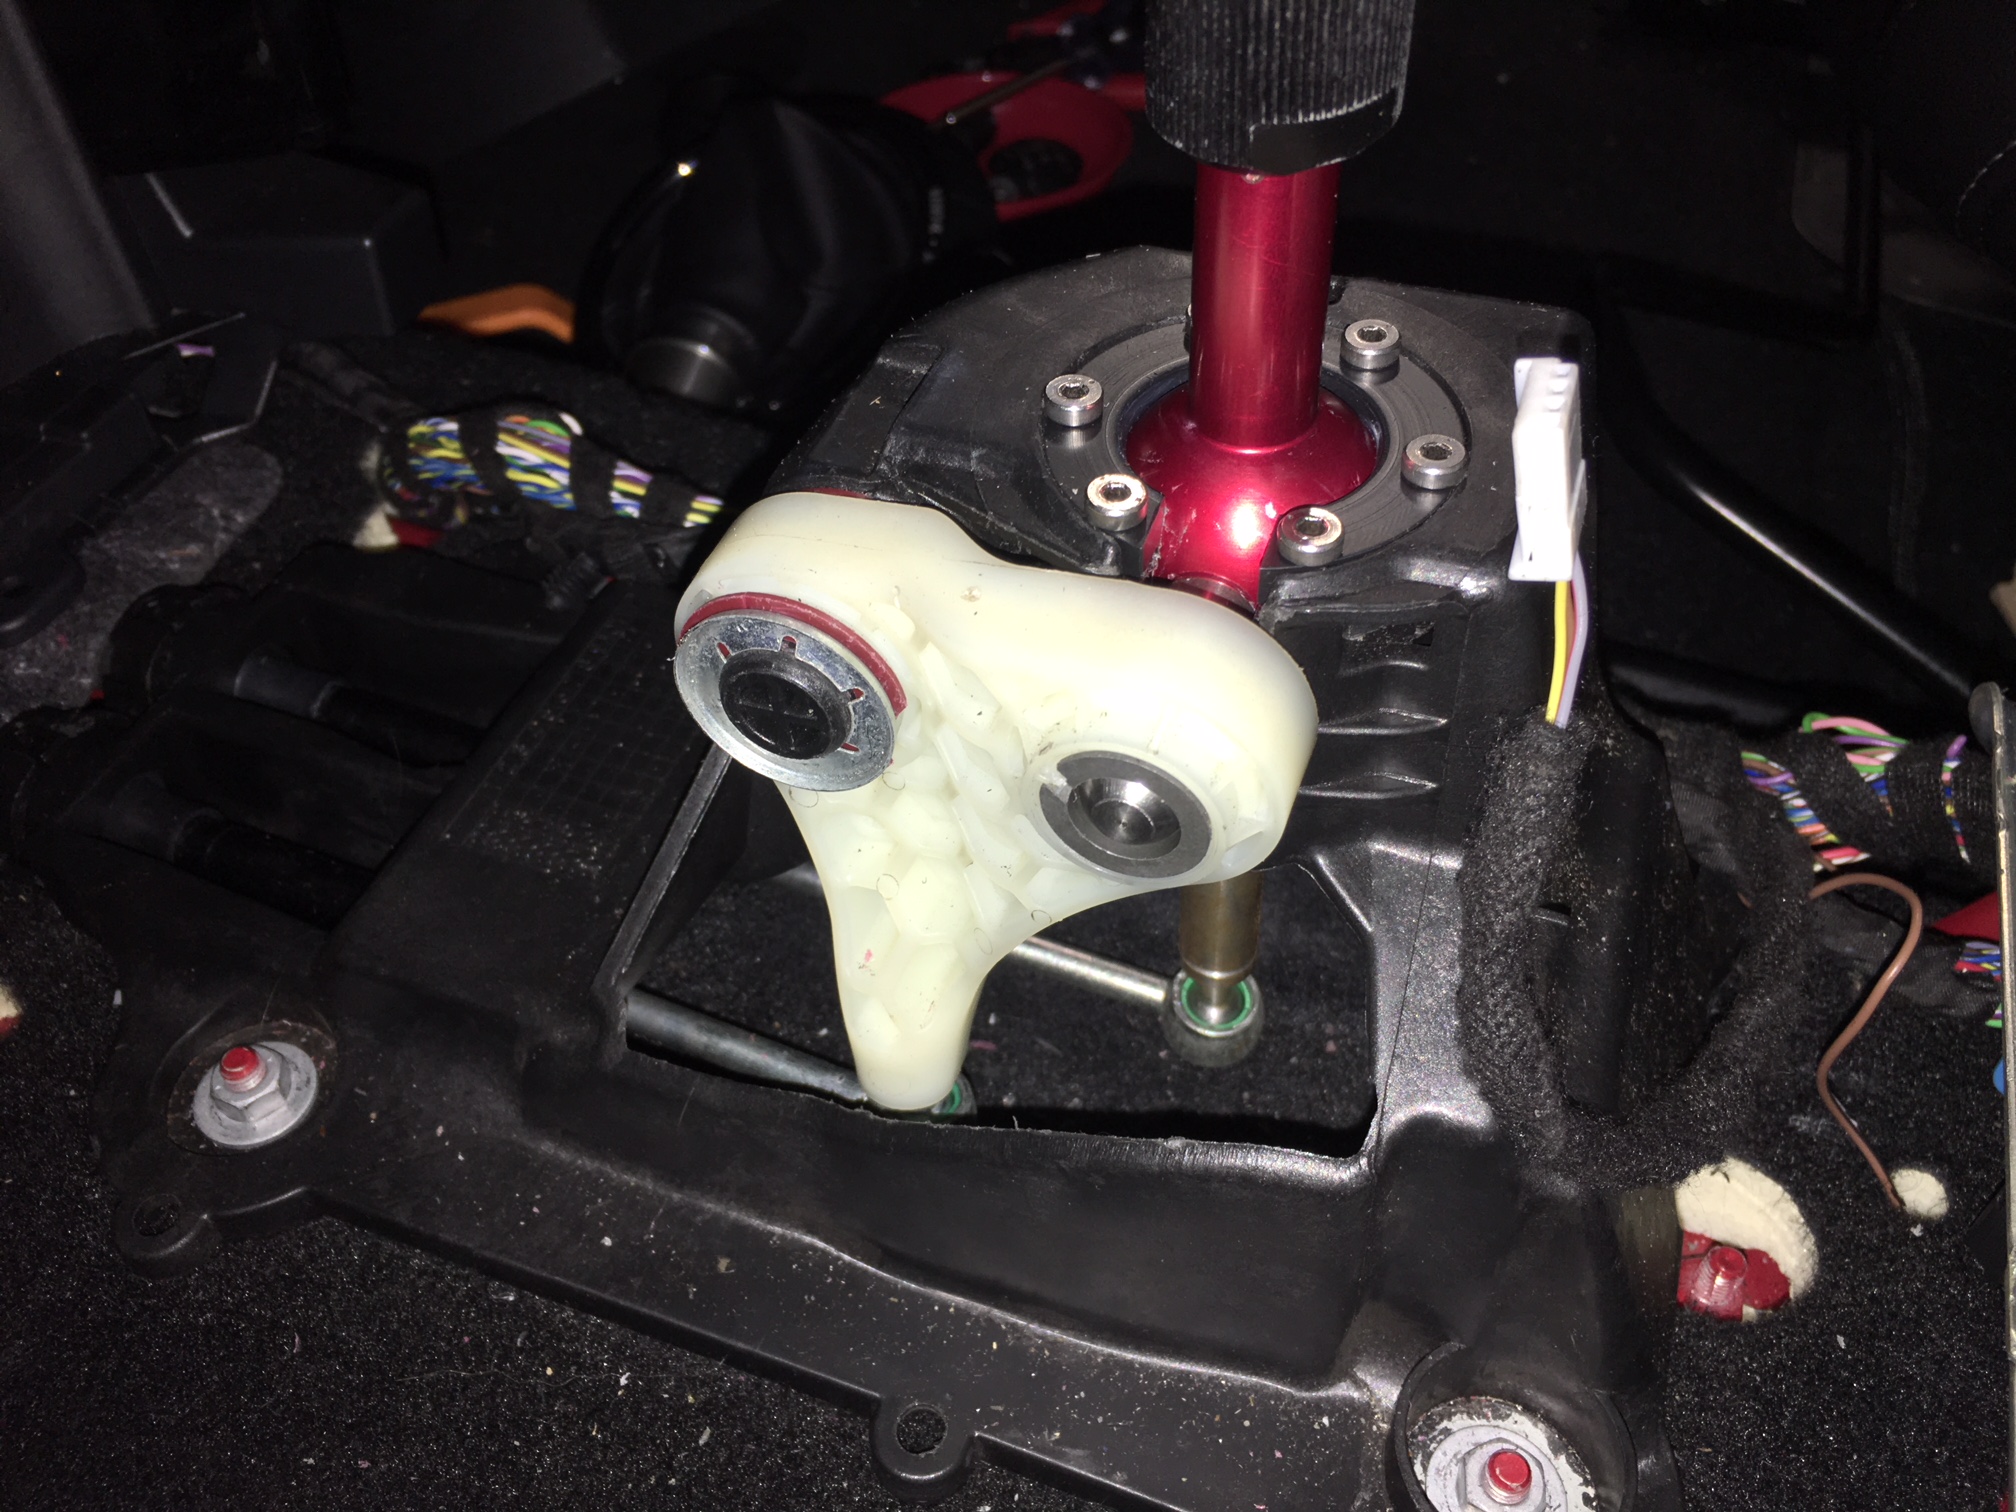
- Push the lower retainer onto the main pivot of the shifter, approaching from the bottom.
- Install the included o-ring onto the step on the bottom of the lower retainer.
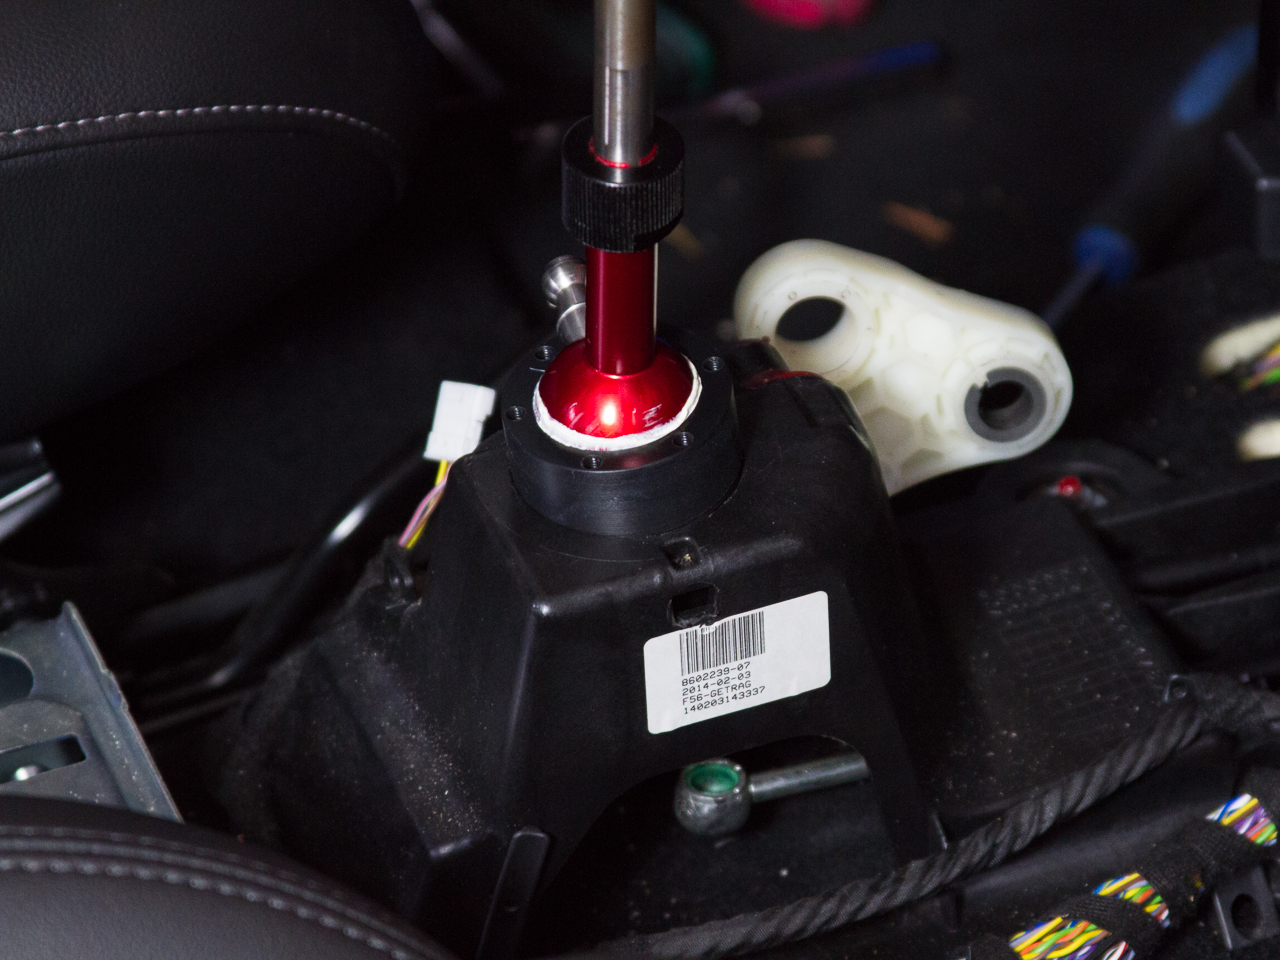
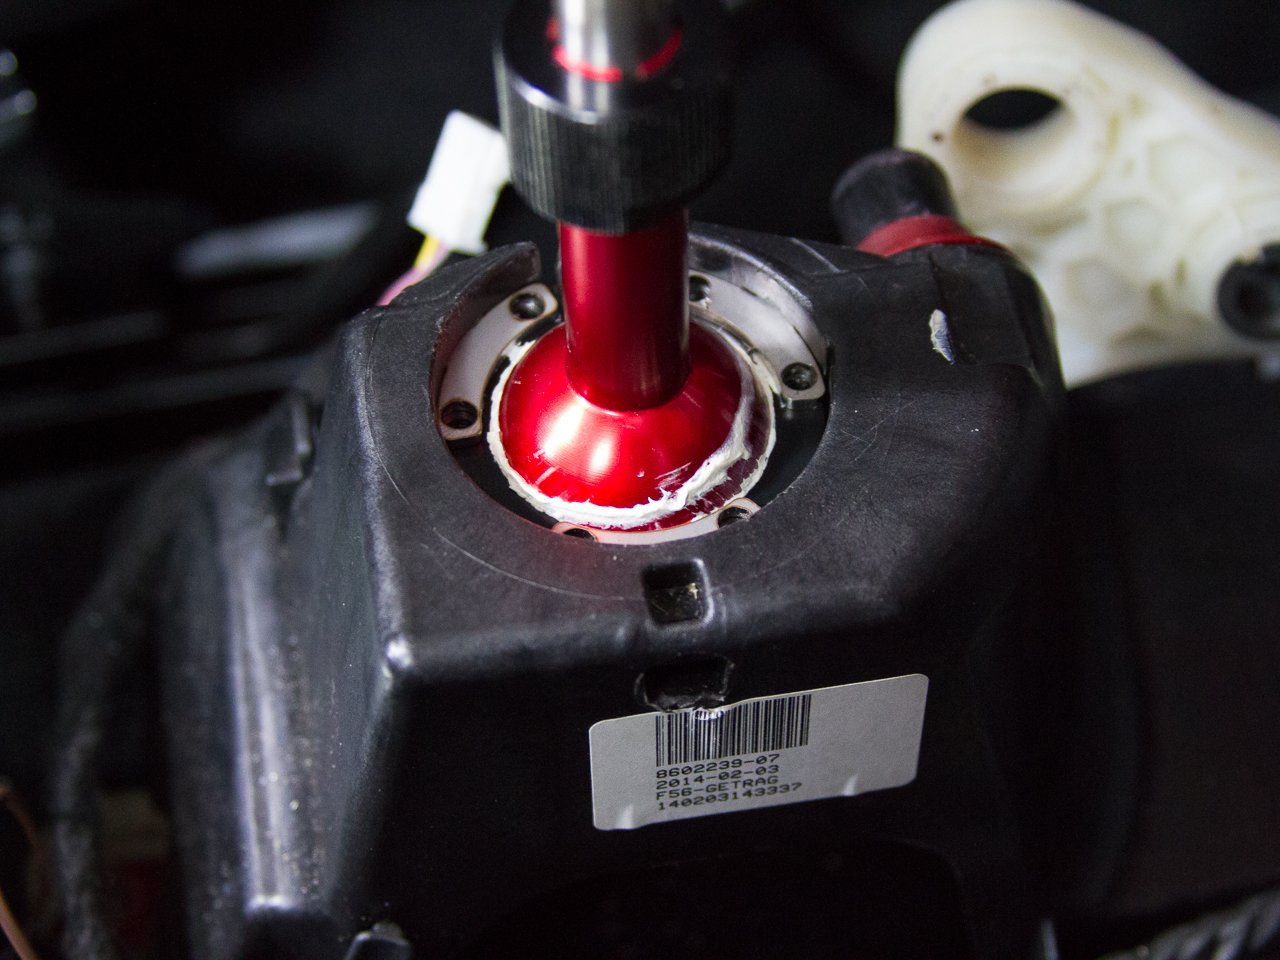
- Push the adjustable short shifter with the lower retainer into the shifter housing. Make sure that the o-ring stays in place on the step until it’s all the way seated.
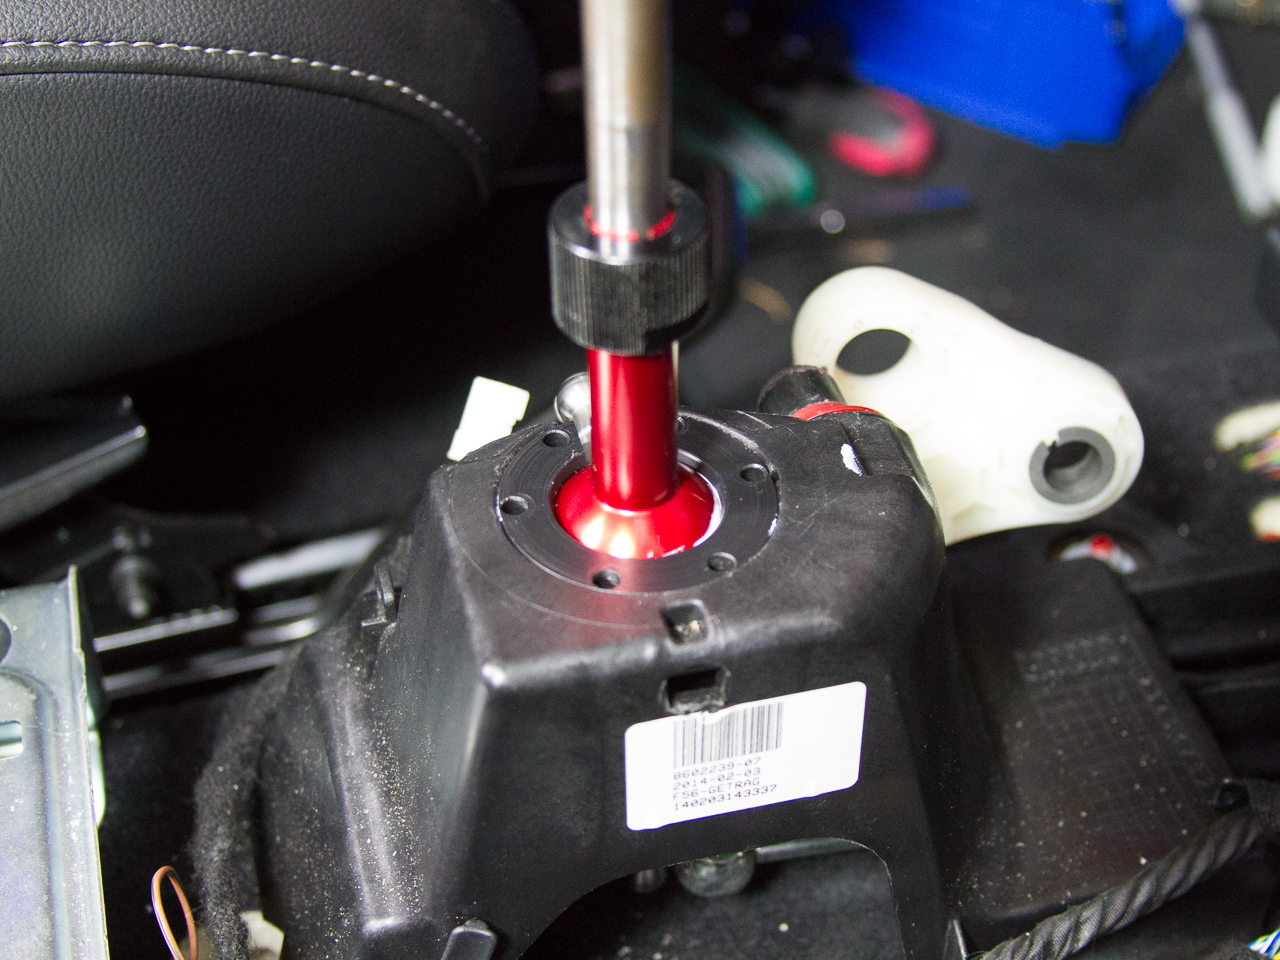
- Then, place the 3 stainless locks on top of the retainer, pushing each tab through the respective slit in the housing.
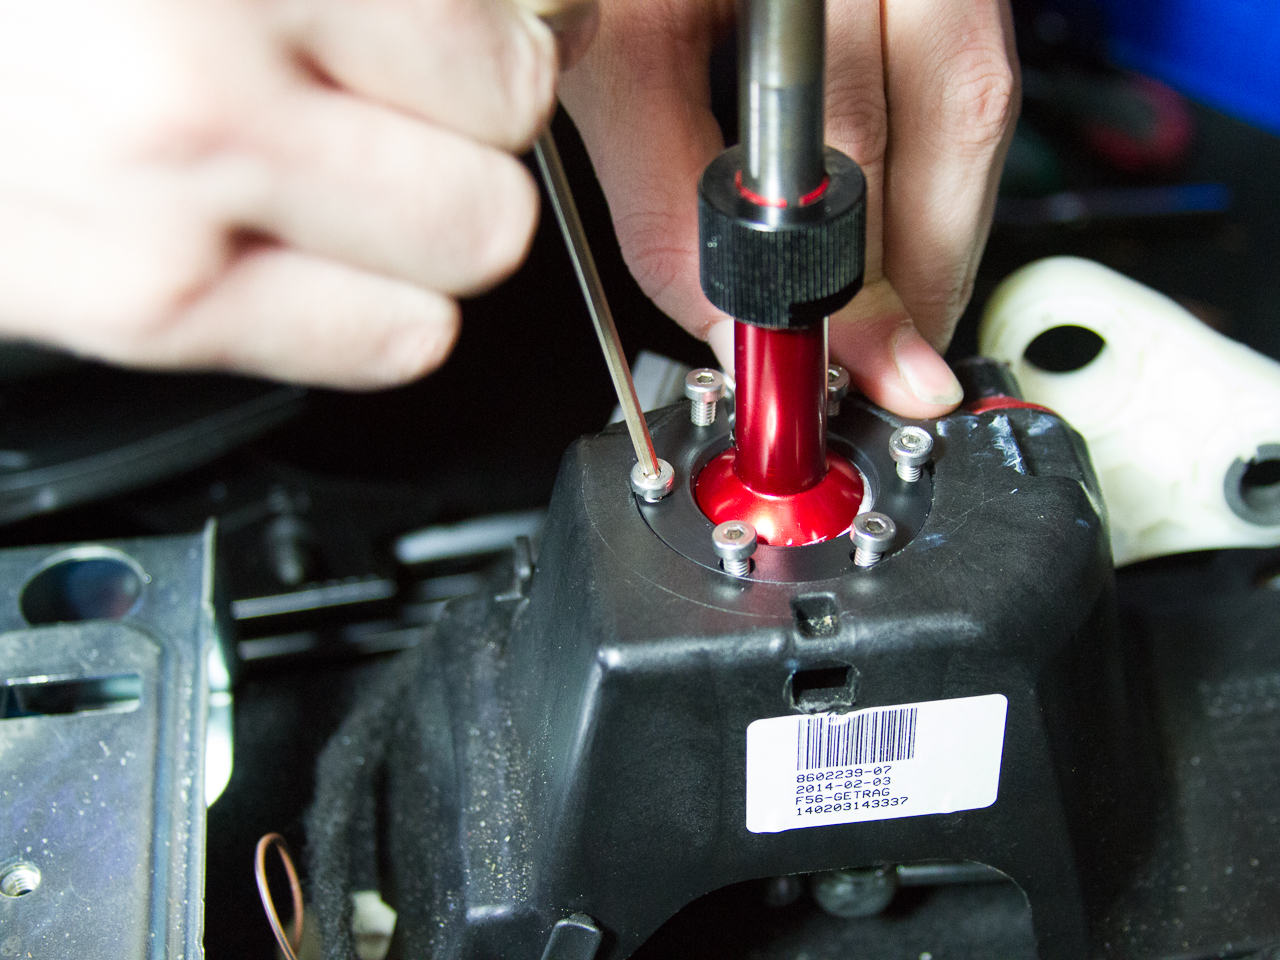
- Place the top retainer over the main pivot. Insure that the holes on the top retainer and the retainer locks line up with the tapped holes on the lower retainer to allow the fasteners to be installed.
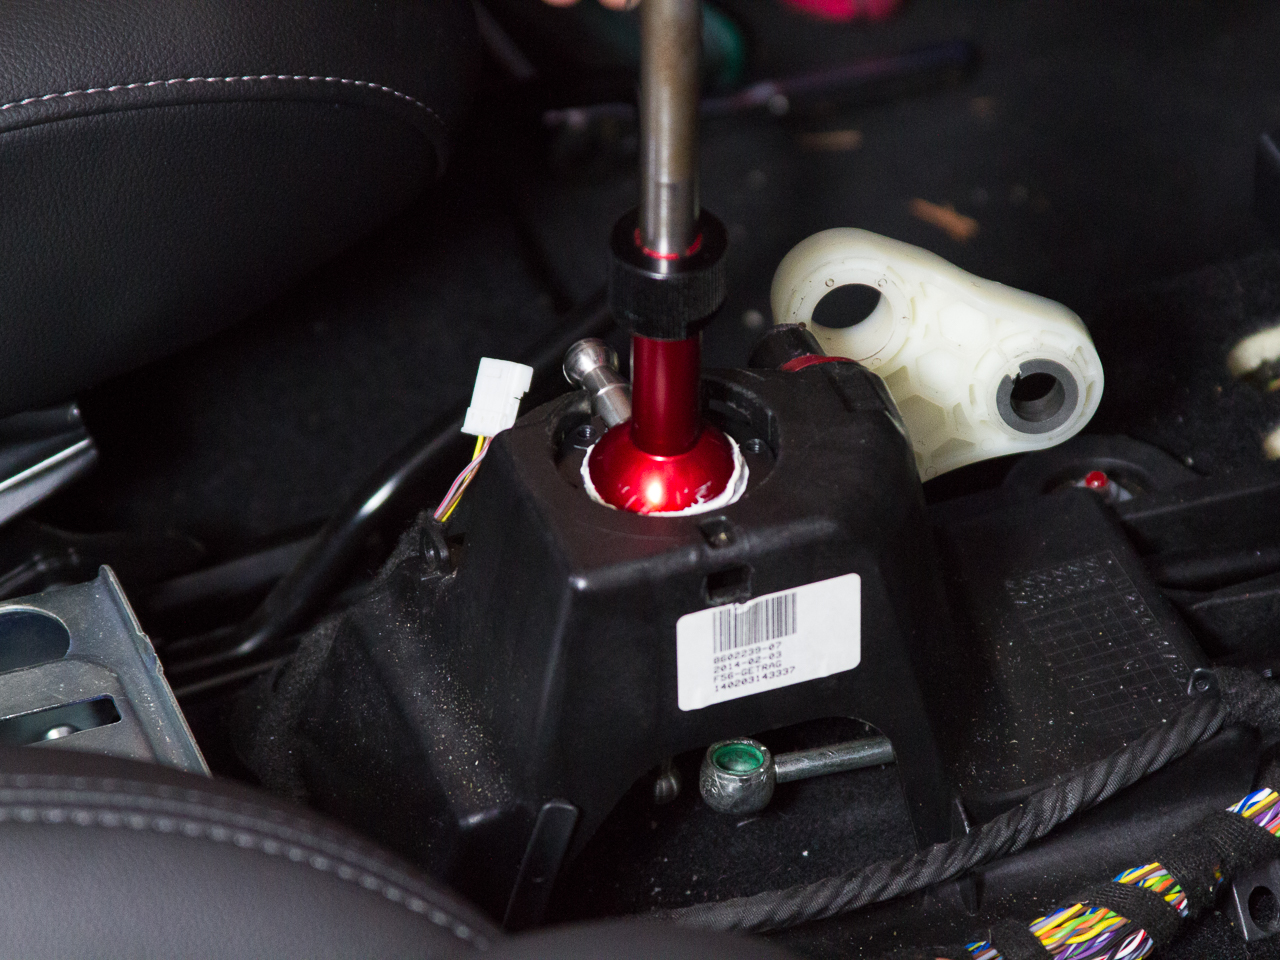
You may need to push down on the shifter assembly to compress the o-ring to allow the retainer locks to fit into the shifter housing.
Adjusting the Tension
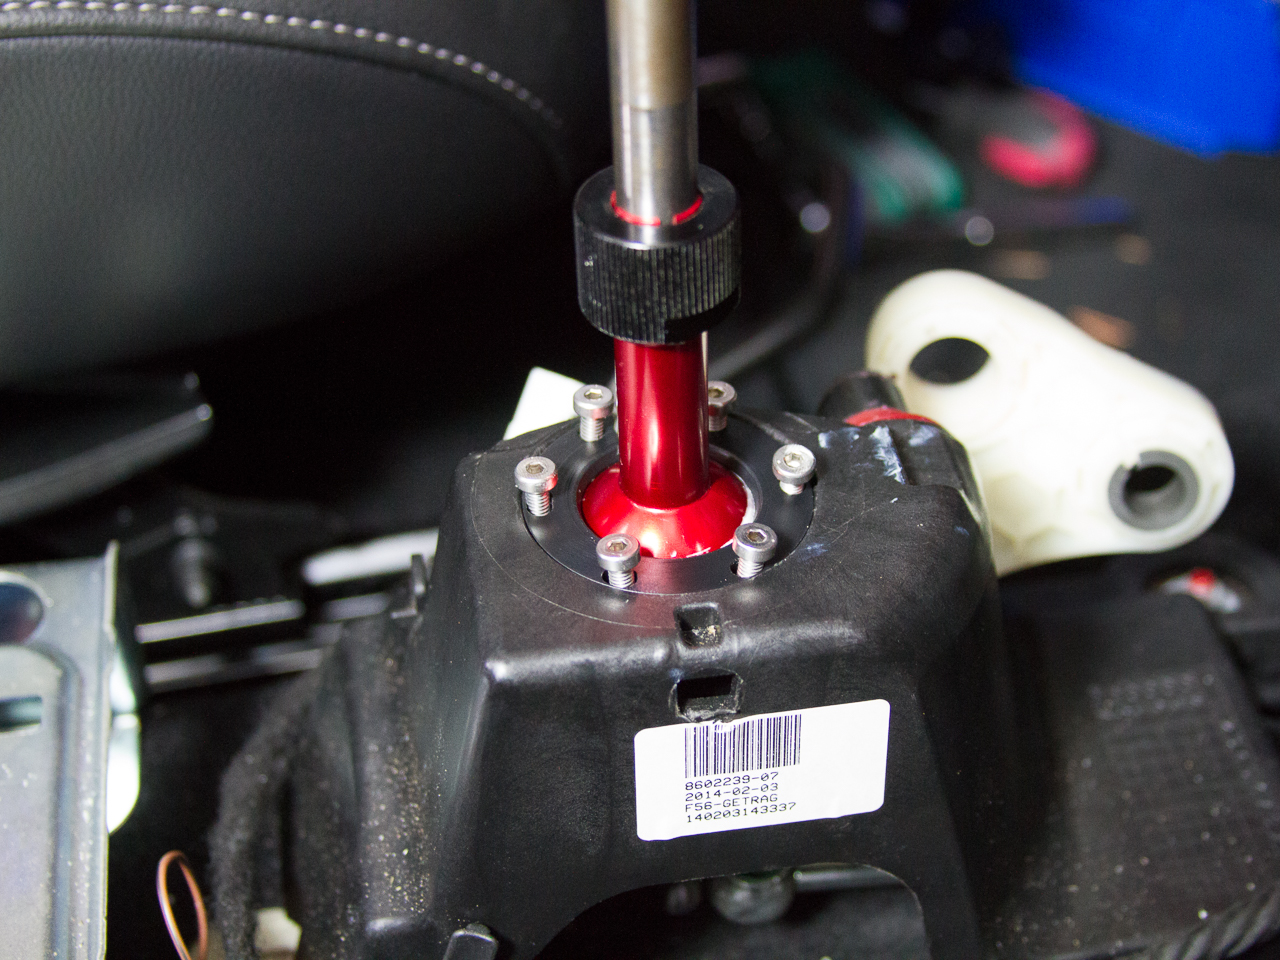
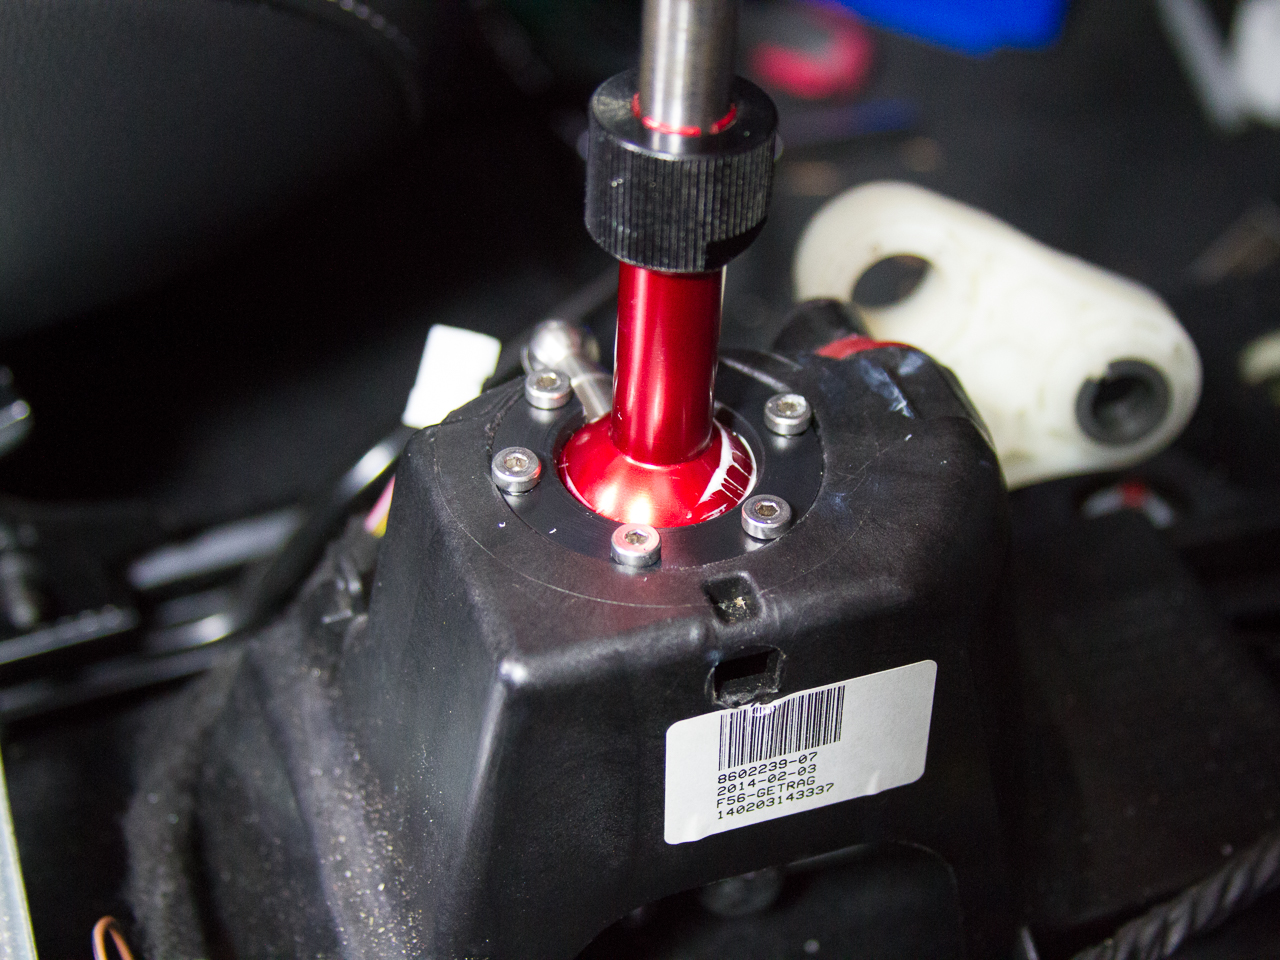
- Once they are aligned thread in the 6 provided bolts. Install the fasteners with the 2.5mm hex key. Tighten down loosely in a star pattern similar to lug nuts/bolts.
- Once installed, continue by reconnecting the shift linkage and practicing some mock shifts.
This process will allow you to fine tune your shifter feel. Start with the fasteners only slightly snug.
You will start with an easy, loose reset. Further tightening will result in a tighter, smoother shift. Find your happy medium, and you’re set to put your interior back together!
Congratulations… your MINI Shift Retainer install is complete! Enjoy your miles of crisp shifting