THANK YOU for purchasing The Stubby Flex from CravenSpeed. This product is made from the highest grade materials, and is guaranteed to be free from defects.
You can buy our CravenSpeed The Stubby Flex for here
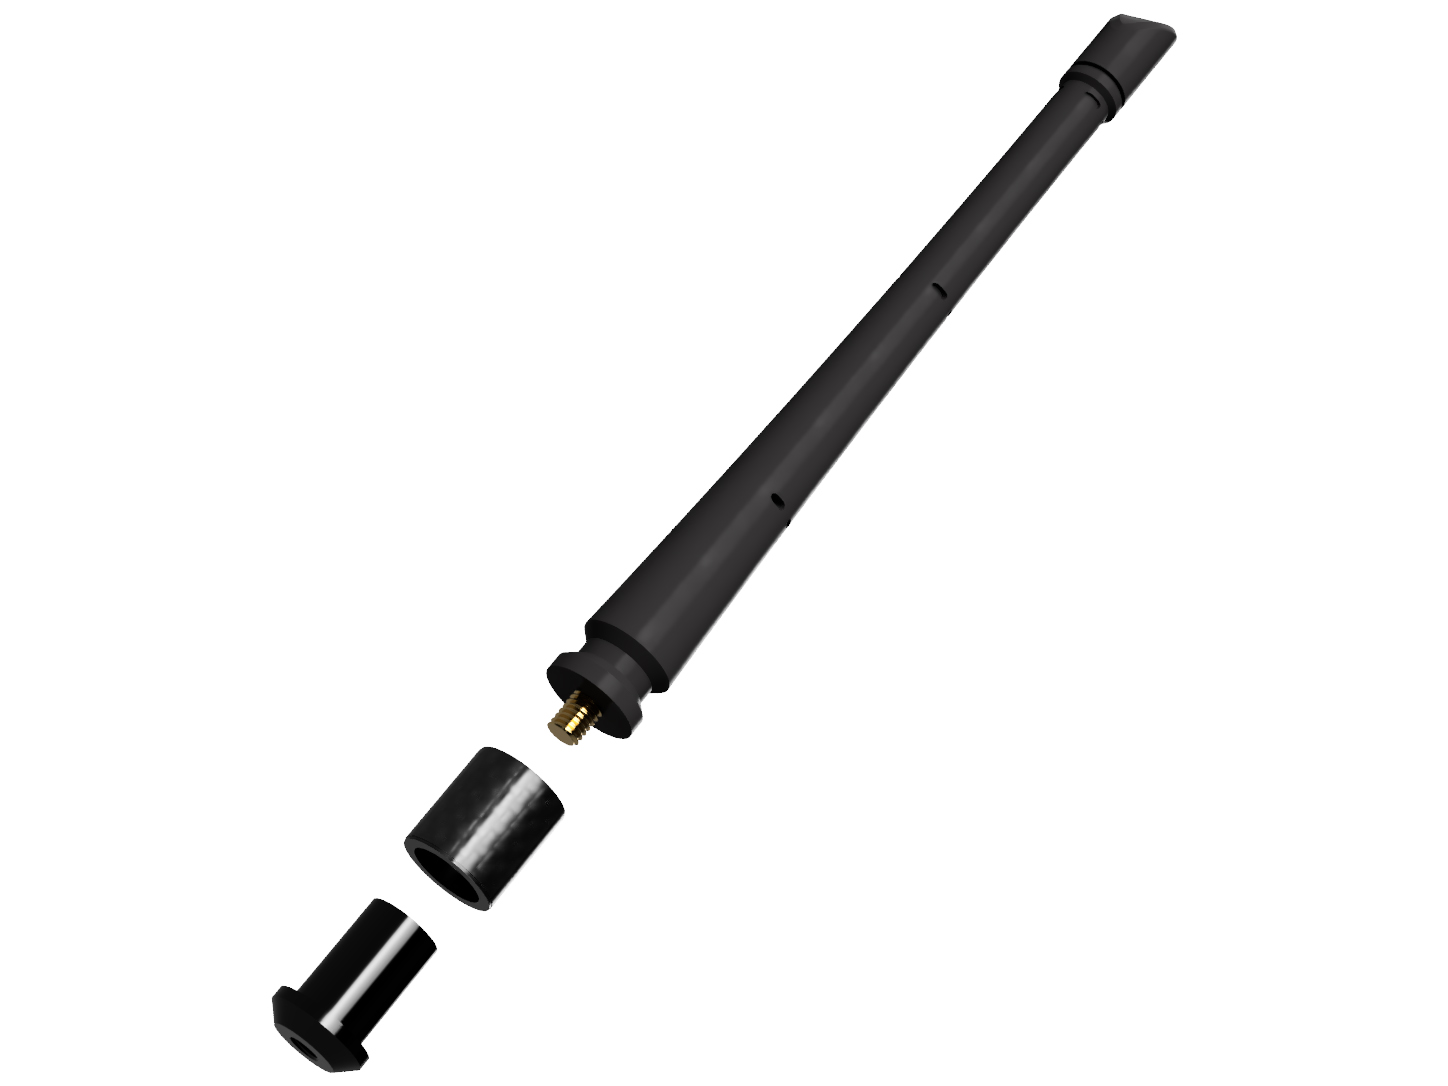
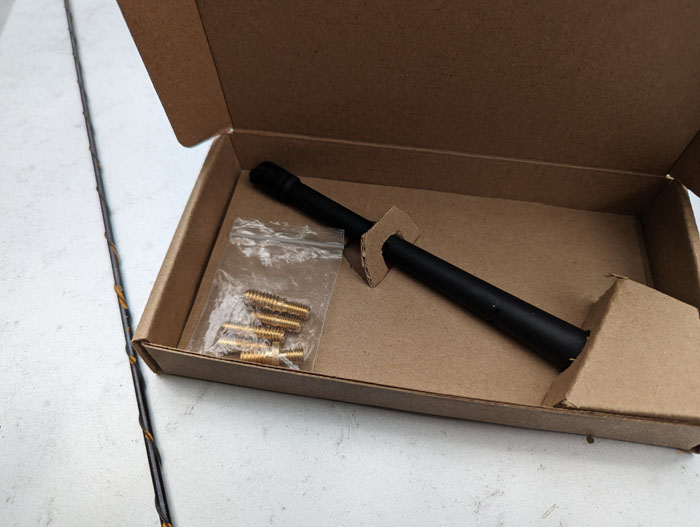
Parts Included:
- 1 x The Stubby Flex
- 1 x Bag of Brass Thread Adapters
Tools Required:
- Adjustable Wrench
Procedure
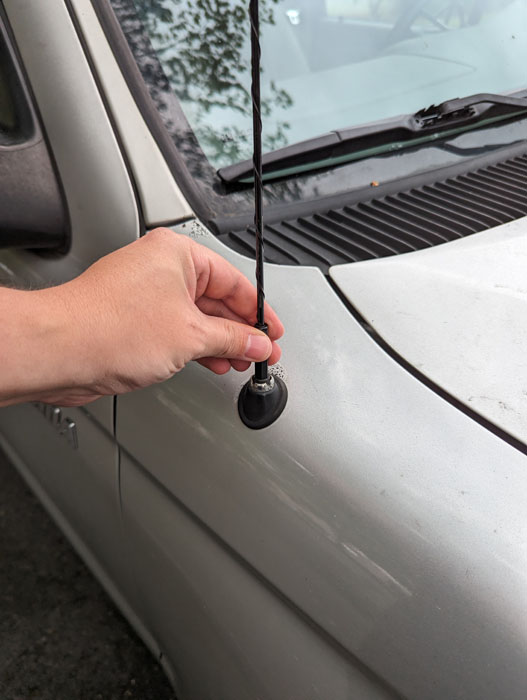
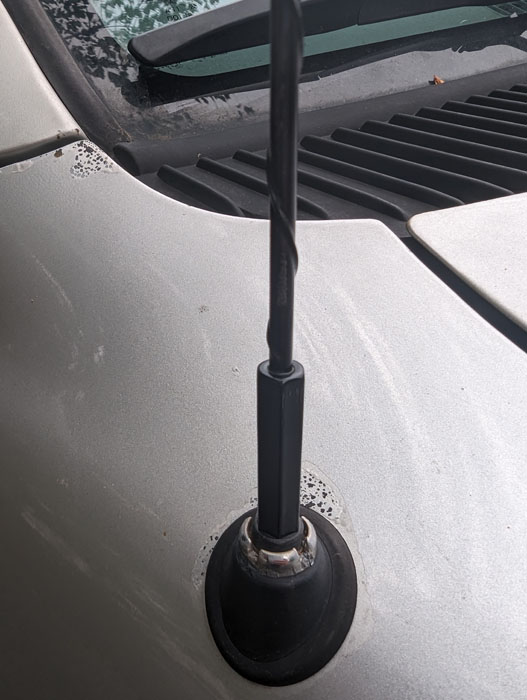
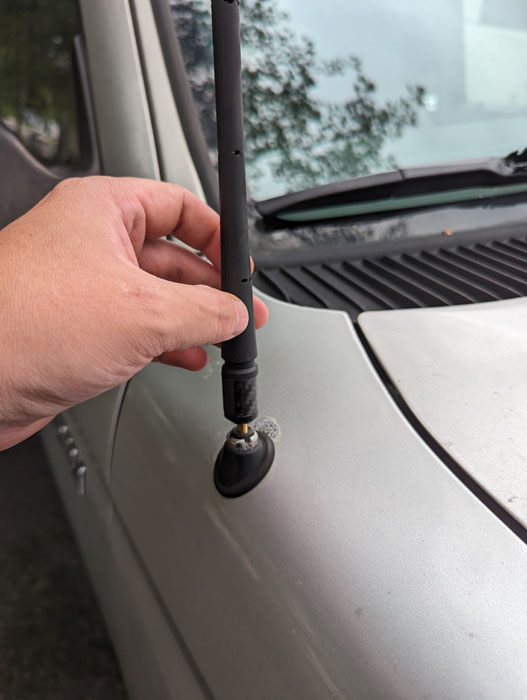
- Unscrew the factory antenna. Lefty loosey! You might be able to complete this step by hand. If not your antenna should have a hex on the base that you can use your adjustable wrench on if necessary.
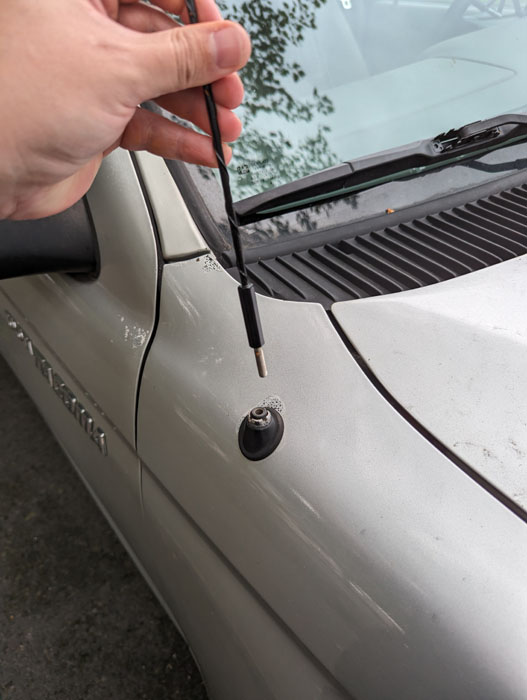
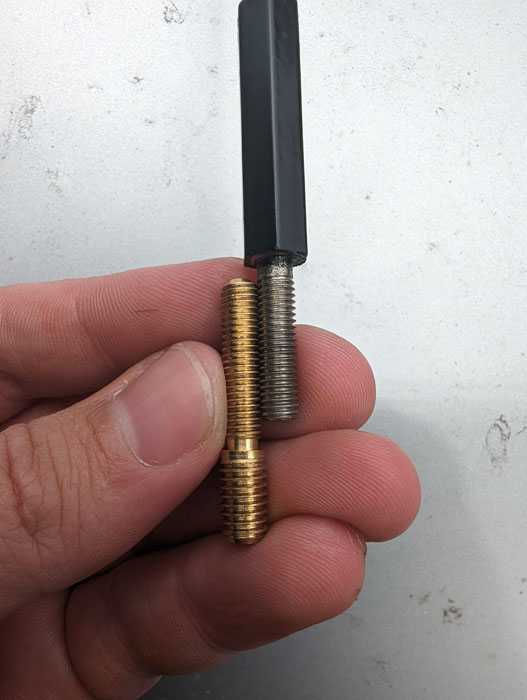
- If the factory antenna is male like this one, grab the bag of brass thread adapters out of the box and find the one that matches the threads on your factory antenna. You can line them up side by side to check if the threads mesh togther and are the same diameter. If your factory antenna is female, you can skip to the final step. Screw the matching adapter into the aluminum base of The Stubby Flex.
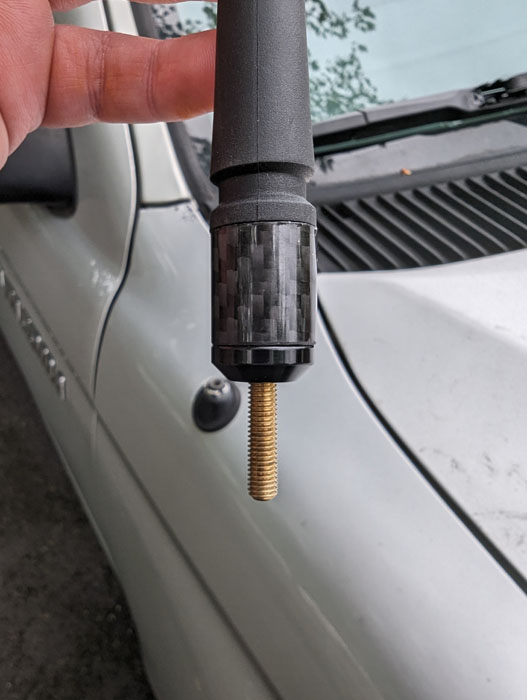
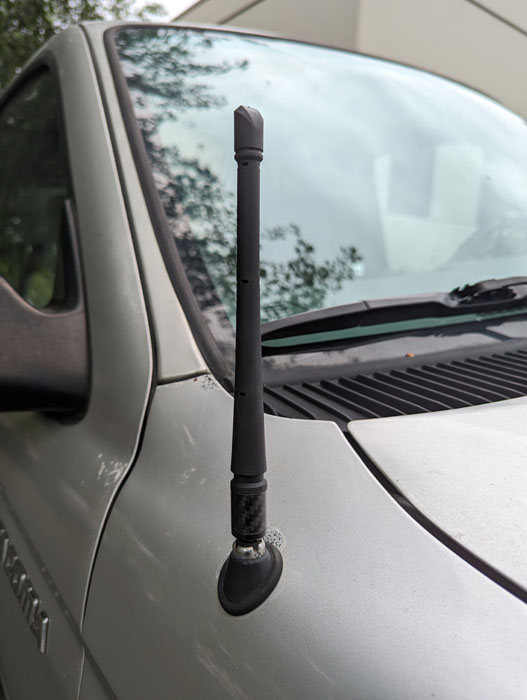
- Screw The Stubby Flex into the antenna base on your vehicle. Righty tighty this time! Hand tight is plenty. Dispose of your old antenna and the job is complete, nicely done.